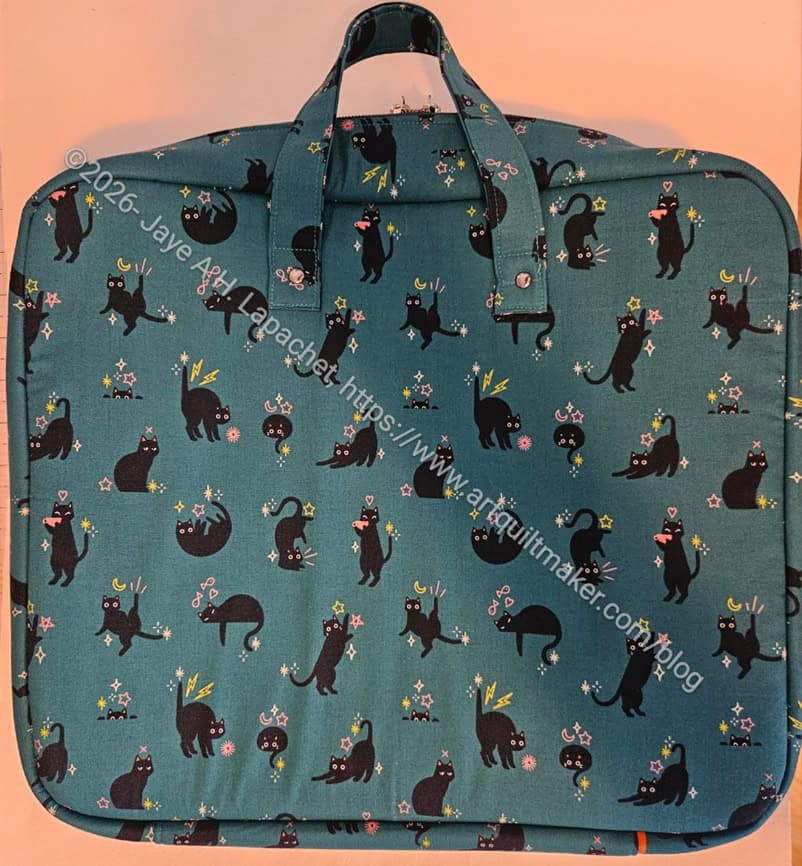
I finished the Natalma over the weekend. The finishing felt very different. I felt really happy. Usually, I feel a bit let down. It might be with myself or it might be just a letdown because of finishing.
This time I felt happy. The bag is far from perfect, but it looks good and is very functional. Of course, the design is quite unique and that is all Sara of Sew Sweetness. I am pleased and think the recipient will find it useful.
I plan to install some pages** that can hold a collection of enamel pins. I never knew such pages existed! The YM has a collection of such pins he has been storing on a hat (hats??), which doesn’t sound super comfortable to wear either, and there is no more space. The Natalma is more than he needs, but the use immediately came to mind when I saw Sara’s group of new patterns. I wanted to put the pages I bought in right away, but one of them was broken, so that will have to wait.
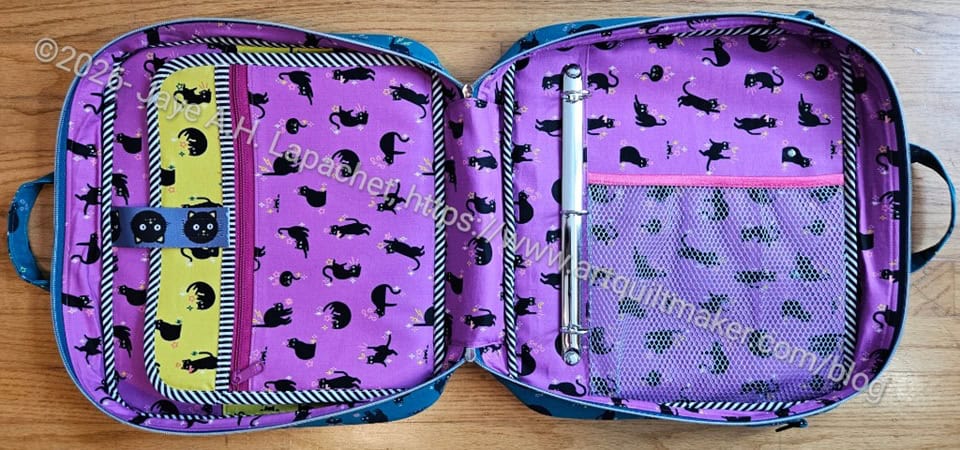
As I said before, I really want to make another one of these right away. I am struggling to think of how I could use it. If I went to an ongoing meeting where I had to refer back to previous notes, it would be great. It might also be good if I were taking a class. I am not doing either of those things at the moment, but I could be prepared, right? 😉
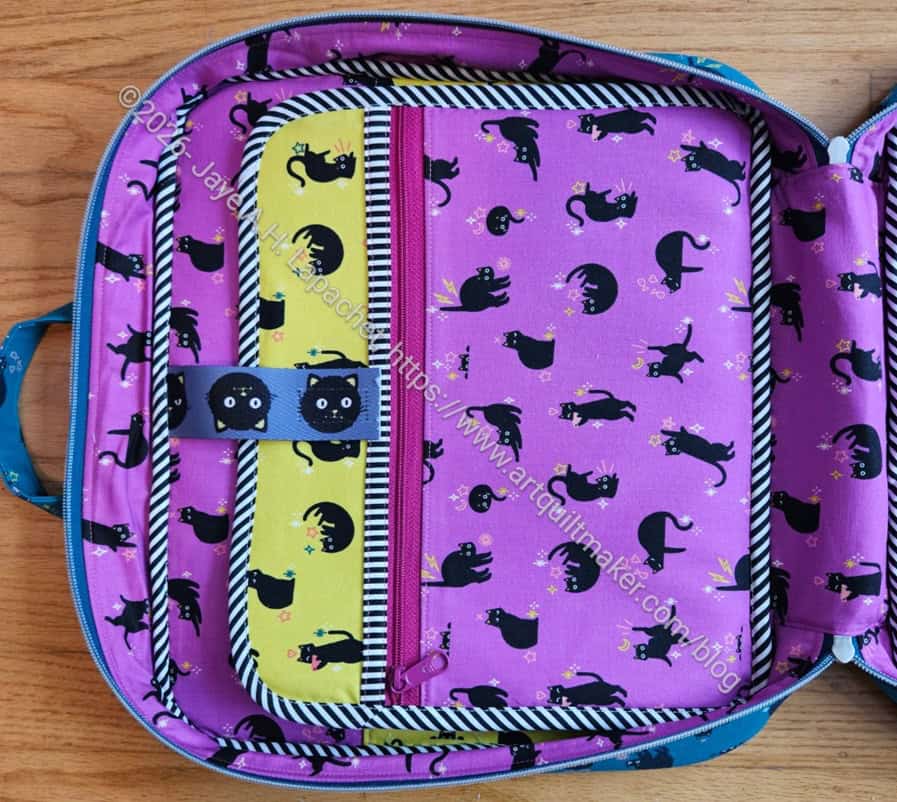
There are very few changes I would make to this bag.
There is a pocket on the front of this accordion section. I used the pink Freaky Familiars fabric. Next time I would make it with vinyl, so I could see inside of the pocket. That’s just me. I am kind of an ‘out of sight, out of mind’ kind of person.
Sewing and assembling the accordion section was awesome. It went together SOOO well and seems super useful.
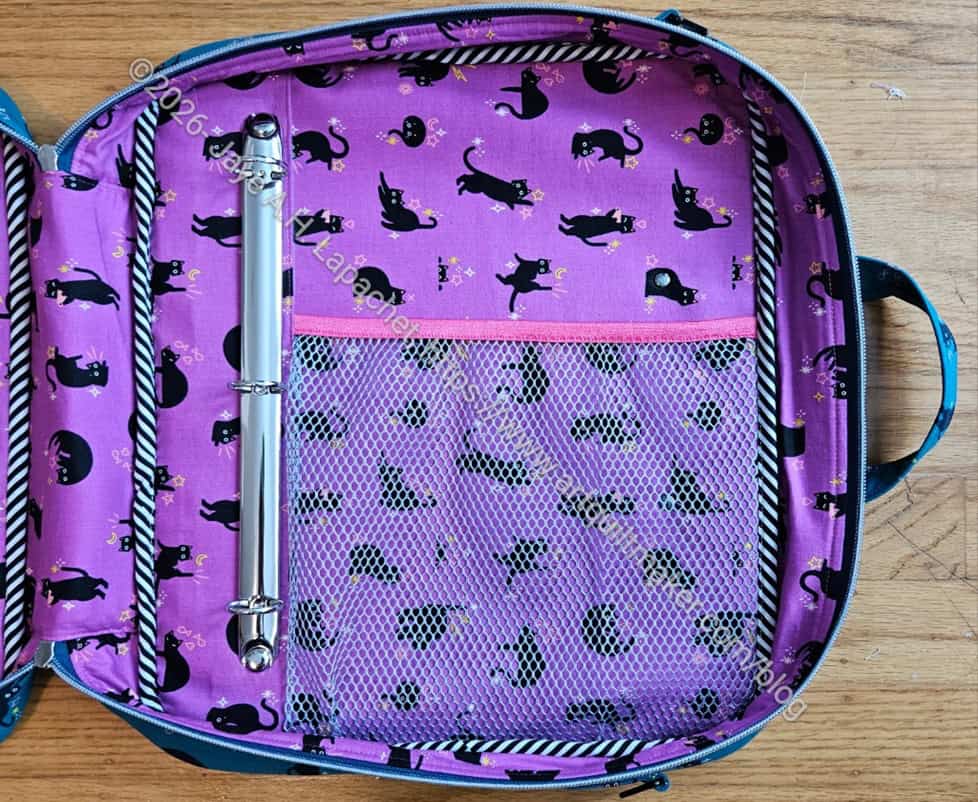
I am still looking for mesh with smaller holes than the ByAnnie mesh. I like the idea of mesh pockets and I also like the way they go together in the assembly process. I also like how they show the items within. I do not like how all the smaller things get stuck in the holes. I haven’t found a good substitute for the mesh.
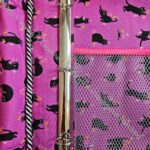
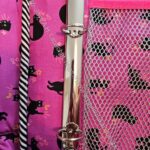
The pattern calls for riveting the binder mechanism into the layers of foam and Peltex. I had trouble with the interim steps. I used a double cap rivet to keep the Peltex in place, as indicated in the pattern. With all of the handling, the top cap popped off, which messed up the alignment of the layers that were already sewn into a space I could no longer access. I would use a Chicago Screw in the future. I don’t like them as a permanent part of a bag, but for temporarily holding the Peltex in place, they would work great.
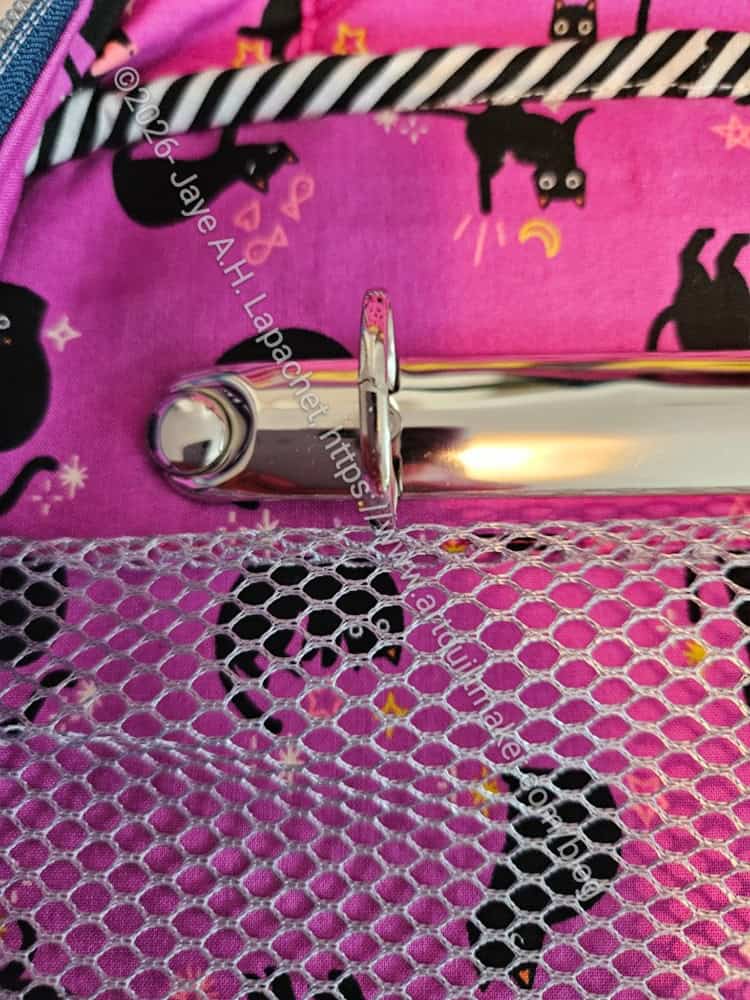
I am concerned about the size of the rivet I used, which was 12mm. It looks a little big to me, but Mary didn’t have any 10mm rivets in her kit. I ordered some and may change the 12mm for a 10mm. We’ll see.
I have made the Amethyst Project Bag and I am wondering if the basics – size, exterior construction – are similar? From the pictures in my post, it looks like it could be. I really like it when Sara uses similar construction techniques for new bags. I wouldn’t say you could make this, Natalma, bag if you already had the Amethyst Project Bag pattern, but I think the techniques for the exterior are probably similar.
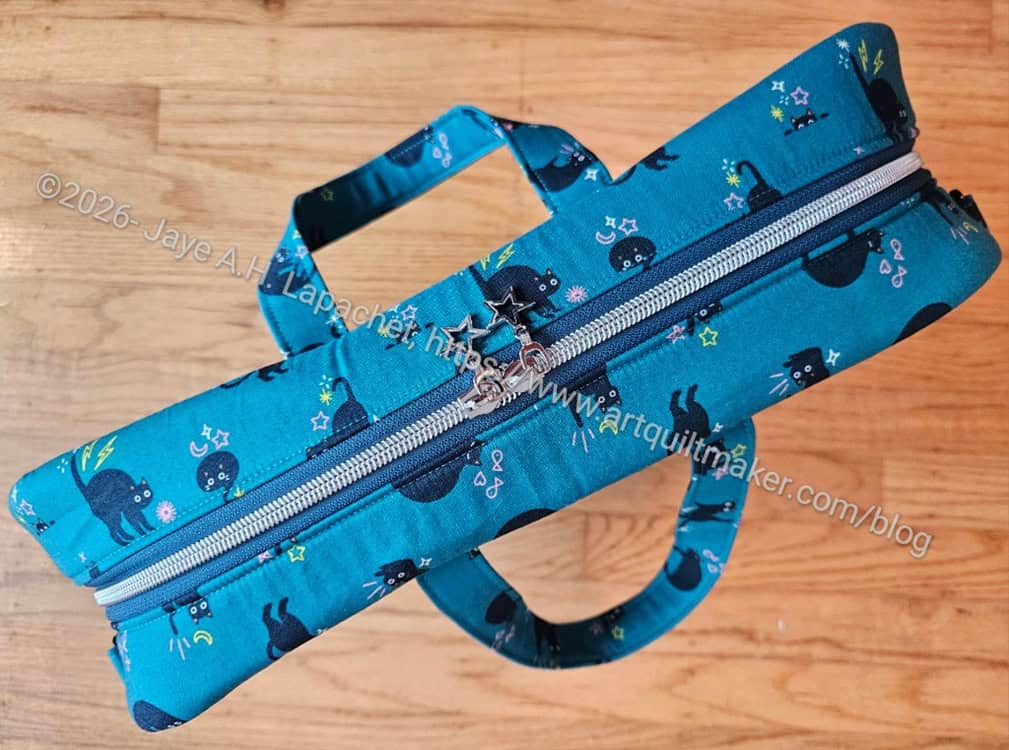
The Natalma has a should strap, which means it also has D-rings/triangles on the side. I have seen some bags that place the D-rings/triangles on opposite sides, e.g. the top of the front panel and the back of the front panel. The Take a Stand Bag is structured this way.
Sara has placed the D-rings/triangles on the same side of the front panel. When I make another one, I may try it on opposite sides.
All in all, this was a good bag to make. I am eager to see if the recipient likes it. I am pleased with the usability of this latest group of Sew Sweetness bags.
**Obviously, you should shop at local quilt shops and small businesses, as I did. However, if you are too busy, don’t have a local shop nearby or can’t find what you need, I use Amazon affiliate links. I may be paid for your purchase of an item when you click on an item’s link in my post. There is no additional cost to you for clicking or purchasing items I recommend. I don’t link to items I don’t like. I appreciate your clicks and purchases as it helps support this website.
