Another One Night Stand

Today I made fast art again, which, on this blog, is called a One Night Stand. Start to finish is all one session. A One Night Stand here has nothing to do with sex.

EBHQ, the East Bay Heritage Quilters, had a workshop with with Nance O’Banion. She is the head of the printmaking department at CCA (formerly the California College of Arts & Crafts) and teaches, among other classes, book making. I mentioned, earlier in the week, that I thought this class would be interesting in the visual journaling department. I was correct.

Nance O’ Banion doesn’t teach many workshops, as she is a full time faculty member at CCA and doesn’t really have the time. She taught this workshop for EBHQ as a special favor and it was fantastic!!! First, of all, we worked quickly. I finished two books today.

Second, we worked with a limited “palette.” It wasn’t a palette in the sense of colors, but a palette in the sense of materials. She gave a us a group of materials and our job was to make something out of the materials she gave us and what we brought. Since I couldn’t bring my entire sewing room, this limited what I had to work with, but it was fine. It was actually great. I think working with rules, even if they are self imposed, makes for more interesting projects/pieces.

Third, Nance was a very nurturing instructor. Not in a gooby, “I want to be your best friend forever” kind of way, but in a “you can do great work and I will support you” kind of way. I would love to take a semester long class with her. She normally teaches bookmaking with paper and I don’t think I would mind taking that with her.

Fourth, she was really organized. She had a packet of stuff that she had prepared for us (magazine pictures, pages ripped from books, blank paper, etc. She also had a schedule, let us k now what it was and stuck to it. I really enjoy working in that kind of environment. I am good with deadlines. I am not bothered by deadlines unless I don’t know what they are.
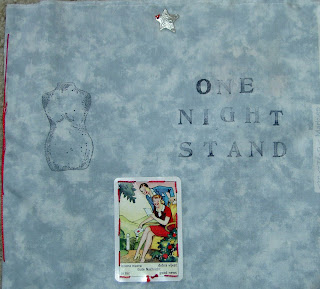
Cover. My book came out a little big for the first exercise, but I used it anyway. I wanted to play a bit with the double meaning of One Night Stand. Remember, I didn’t have much time, so I did what I could. I could always add more to the piece. I think I will shore up the pages with some interfacing as they are very floopy.

Page 1 (left) and page 2 (right): The red and white motifs on page 1 are on the back of the fortune card (Nance’s words) that was in my prepared packet. I didn’t want to lose them by gluing the card onto the page, so I sewed it on with Laura Wasilowski hand-dyed Perl cotton and cut the back out so the motfs would show through. Page 2 just plays more with the meaning of One Night Stand.
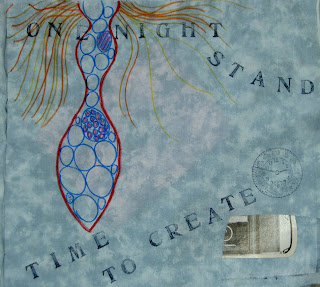
Page 3: Here I wanted to get the reader’s mind out of the gutter and tell them that a One Night Stand is about creating quickly. It allows things to happen with my work that wouldn’t happen if I thought too much about it. I also tried to incorporate a piece of the motif of the iron grille with the shadows I saw in Seattle. I was a also trying to reintroduce the woman shape I used for Desiree. This was the first attempt of the day and she looks a bit wonky. This page had a bit of a problem, because I had cut a piece out of the yardage and didn’t realize it was in the middle of my book until I was well into. I had planned to have the camera peek through, but I didn’t line it up properly. I may leave it but I may fix it somehow (door? sewed on ‘patch’?) . We’ll see.
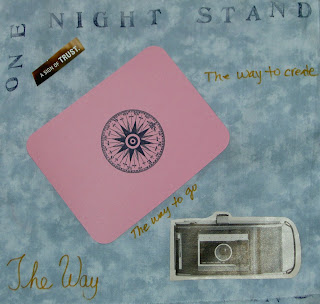
Page 4: At this point, things started to pop into my head and I would write them down. I was feeling like the piece was a bit word heavy, but just went with the flow. The pink card with the compass came in my prepared packet.

Page 5: Here I am back to a little bit of wordplay with the double meaning.
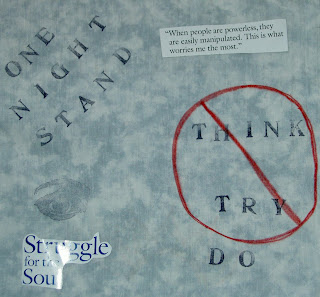
Page 6: The ‘think,’ ‘try,’ ‘do’ are relevant to creativity, I think, but they are also a take off on something that Yoda says to Luke in Star Wars, Episode 6: Return of the Jedi.
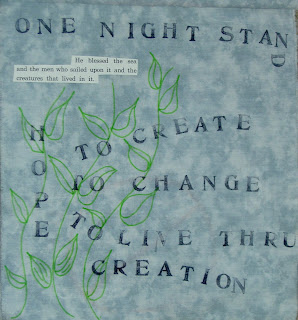
Page 7: While you see this page in the same orientation as the other pages it is actually oriented 90 degrees to the right, so you have to turn the book. This is one of my favorite pages, because it just told me what to put on it and I like the layering of the leaves.
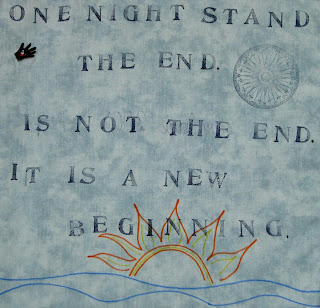
Page 8: I wanted to have a closing credit, so I started on a “The End” page. They I thought of the phoenix rising from the ashes and new beginnings came to mind.

I’ll write about the second book later.

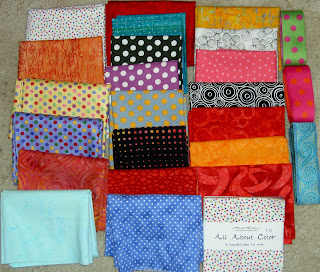
I stopped at New Pieces to see if they had interfacing for the bags and bought, in addition to the interfacing, the following:


The turquoise dots on the bottom will be a bag outside and the pink flowers with the black will be a bag inside for the white dots that I bought from fabric.com.

Fabulous Clementine Fabrics

Camilla, of the famous Clementine’s Dry Goods, posted these picts on her blog. Don’t want a happy birthday banner like that one? I love the fabrics she has chosen for her shop and the crisp white shelves on which she stores the fabric. I want that turquoise cupcake fabric!

  blog it

Flowering Snowball Inspiration

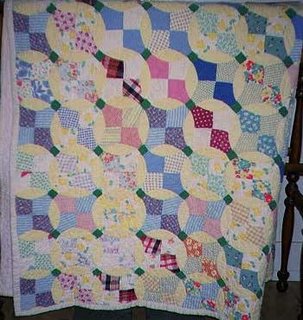
Clevelandgirlie asked me about the Cross Block/Flowering Snowball and I looked through the blog to see if I could point her to the original quilt that inspired this project. The original post was on October 20, 2006. I guess that is the official project start date?


Definitely different coloration than mine. Definitely different. I don’t remember where I saw this quilt, so I don’t remember anything about it (hand pieced vs. machine pieced, hand quilted vs. machine quilted), but I still like it and am thrilled with the inspiration as well as the interest that people are taking in the project.

Leaves

The Gabrielle Swain Workshop I am taking in May is about leaves. I, amazingly, looked at the supply list tonight (rather than the night before the workshop) and found that out. Now I have leaves on the mind! I think this is a great piece and I think the hanging rod and the dangling bits work for this piece. I don’t like cutesy hanging rods, or dangling things if they aren’t part of the design. I think they work with the overall design of this piece.

  blog it

Nance O’Banion Workshop

I will be taking the Nance O’Banion workshop on Saturday with EBHQ. It is a little different than the normal quilt workshops, but I thought it would help with the visual journaling theme that I have been dipping into of late. I also hope that it will give me some ideas (and freedom???) to do more of the visual work. We’ll see!

clipped from www.ebhq.org
  • Nance O’Banion
  • Saturday, April 26, — Cloth Books and the Creative Process

    (Supply List)
    Combining found materials and cloth in an experimental setting;
    we will work to discover a meaningful narrative in the book format.
    Two sewn book structures utilizing cloth as a basis,
    a simple transfer technique, collage, rubber stamps, and
    more will all be a part of the game. Come ready to play.
    < /br>
      blog it

    Make CHEERFUL Quilts

    EBHQ Show April 12-13, 2008

    The East Bay Heritage Quilters held their bi-annual show last weekend at the Oakland Convention Center. The best part of the weekend was that TFQ came down to visit and go to the show with me. As usual, I took a lot of pictures. TFQ has a new camera, so her photos are included in the group, which I have added to Flickr.

    The show was well hung with plenty of room to look and photograph. The lighting was excellent and while well attended, it wasn’t so crowded that we had to fight with people to see the quilts. The disappointing part of the show was the brown. The overall impression of the show was that there was a preponderance of quilts made from brown or beige or some equally depressing color. These were not the rich chocolate browns of dark chocolate, but the sad, world weary browns of a country/area that is sad.

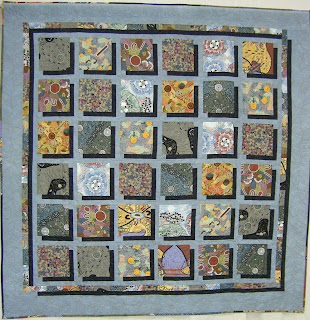
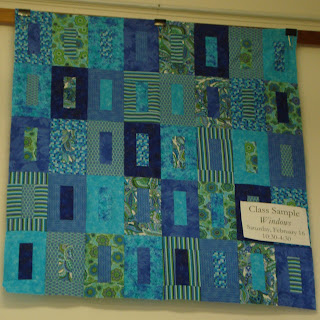
    The above quilt, by Carol Lee Blangsted, a former president of EBHQ, was probably my favorite in the show. The fabric didn’t make my heart sing, but the design was wonderful and the quilt was well executed. Ithought it was a good design for the lovely large print fabrics available now.

    The shopping was ok, but there weren’t nearly enough vendors selling fabrics and there were barely any fabrics from any of the new groups that have come out recently. Their loss was Black Cat’s gain.

    We spent a lot of time at Black Cat chatting and looking at the fabric. We didn’t get as much bang for our buck, but the fabric choices were fantastic.

    I did buy a few fabrics at the show, and one booth, a friend of TFQ’s, had luscious ribbon (see right side of picture above). As you can see dots are still the rage in my life!

    I was also on a button kick. The totes require a button and I have been at a loss to find the right ones for various projects. I stocked up at Britex on Friday and partook of one booth’s antique buttons at the show.

    The above fabrics were a gift from TFQ. YAY!

    Weekend Inspiration + Updates

    I have been driving around and seeing all the cherry trees blooming and never have my camera with me. This is a photo by my friend, JeanneN (aka TFQ!). I though I would put it up to keep up the tradition of welcoming spring and celebrating these beautiful cherry trees.
    This photo, also by TFQ, is the historic dome in the San Francisco Center. It used to be above the restaurant in Emporium Capwell’s. You can see some information about the raising of this dome when the SF Center was remodeled.

    We stopped by Black Cat Quilts to look at their fabric.
    This is a quilt we saw there. Apparently you can find the pattern in Quiltmaker’s Color Workshop: The FunQuilts’ Guide to Understanding Color and Choosing Fabrics. TFQ commented that the above color choices were better than the one on the cover of the book.

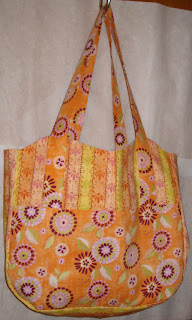
    I also finished this bag. It is a gift, but I am making a similar one for myself.

    This is the inside of the bag. I love the stripes! In being with TFQ this weekend, we realized that a pocket for a glasses case would be really useful. I may try and add one to the next bag.

    Gifts Bags Spread

    It is a little too early in the year for me to be encouraging you to get out your fabric and make fabric bags to wrap your gifts in (though it really is never too early), but Deirdre pointed me to the site below and I thought I would share another option for wrapping gifts in fabric.

    clipped from www.env.go.jp

    Minister Koike created the “Mottainai Furoshiki” as a symbol of Japanese culture to reduce wastes.

    Ms Yuriko Koike, Minister of the Environment, has created the “Mottainai Furoshiki” as a symbol of Japanese culture to reduce waste. Furoshiki is a Japanese traditional wrapping cloth which is used repeatedly in a stylish way. (The utilization of this “Mottainai Furoshiki” will contribute to reducing household waste from plastic bags.) The Minister presented the “Mottainai Furoshiki” at the Senior Officials Meeting on the 3R Initiative held in Tokyo, Japan on March 6-8, 2006

    blog it

    Bags Return, Part 2


    As I mentioned in my previous post, I bought fabric to make a bag for my SIL for a gift.

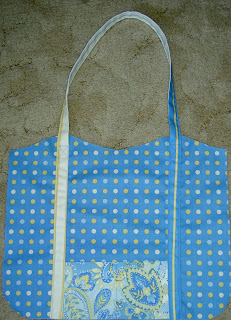
    TFQ and I were emailing back and forth about the EMT bags and she mentioned an easier way to make the straps. The method she found on another pattern has you make them quadruple the size of the finished strap, fold in half, open, fold each raw edge towards the middle and press. I used this method for making straps for my latest bag (above) and after about an hour of work I am ready to apply the large outside pocket and sew the bags together. The straps are on the outside, the pockets are positioned. TFQ’s method, while using more fabric, made the process amazingly fast. I didn’t think that the process explained on the pattern was terrible, but making the straps was terrible and this is much better. I think I will have time to make a couple of other bags for people I will visit this summer. YAY!

    This is a good example of why collaboration is so important. As you can see, I have made a lot of progress on the project.

    Bags Return


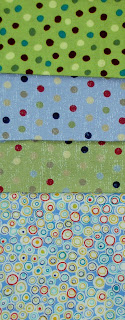
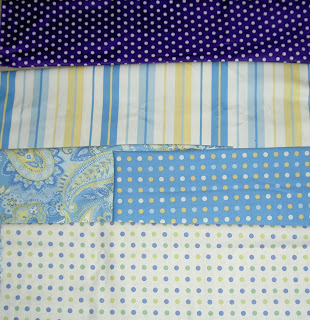
    Here are some recent fabrics that I bought from Fabric.com. The bottom fabrics are all home dec fabrics. I am going to use them to make another Eco Market Tote. I have a running list in my mind of bags I’d like to make for friends, so this is crossing the first gift off the mental list. I may have enough to make a dotty bag for myself. I had planned to use the stripe as the outside, but DH said that he thought the blue dot outside would be better, so that is what I will do.

    The violet dot at the top was me attempting to replace the fabulous violet dot I got somewhere about a year ago. The color is absolutely right, but the weave (what is it with the weave thing I have going??) is really thin and the violet bleeds into the white dots.

    Note to online retailers: don’t buy thin fabric and sell it as first quality quiltmaking fabric. Thanks!

    Making Bullseyes, Part 2

    In the previous post about making bullseyes, I left you ready to sew the circles on. Tips on appliqueing the circles to the background:

    • use a quarter inch foot.
    • start sewing less that a quarter inch from one of the folds. This ensures that your stops and starts will be covered when you sew the pieces of the bullseye together later.

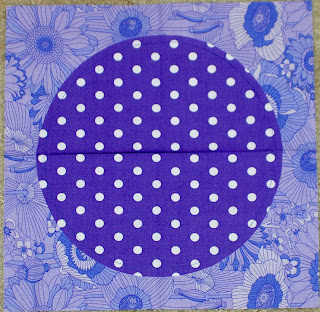
    Then you sew. Once you sew the circle on, you get the finished product pictured above.

    To cut out the back, carefully separate the top and the back of the block. Pinch a little bit of the back, inside the sewn line about a quarter inch from the sewn line. Make a small cut, being careful not to cut through to the front. Cut around the inside of the sewn line. I use a pair of applique scissors, which help to protect the front from cutting through.

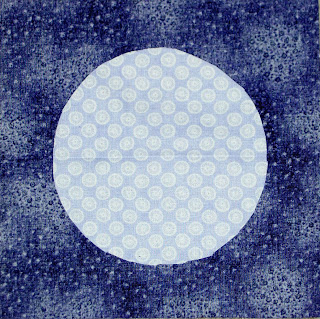
    Here is a block once I have cut out the back.

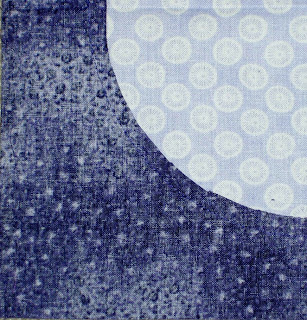
    Here is a close up of the sewn line and the cutting line.