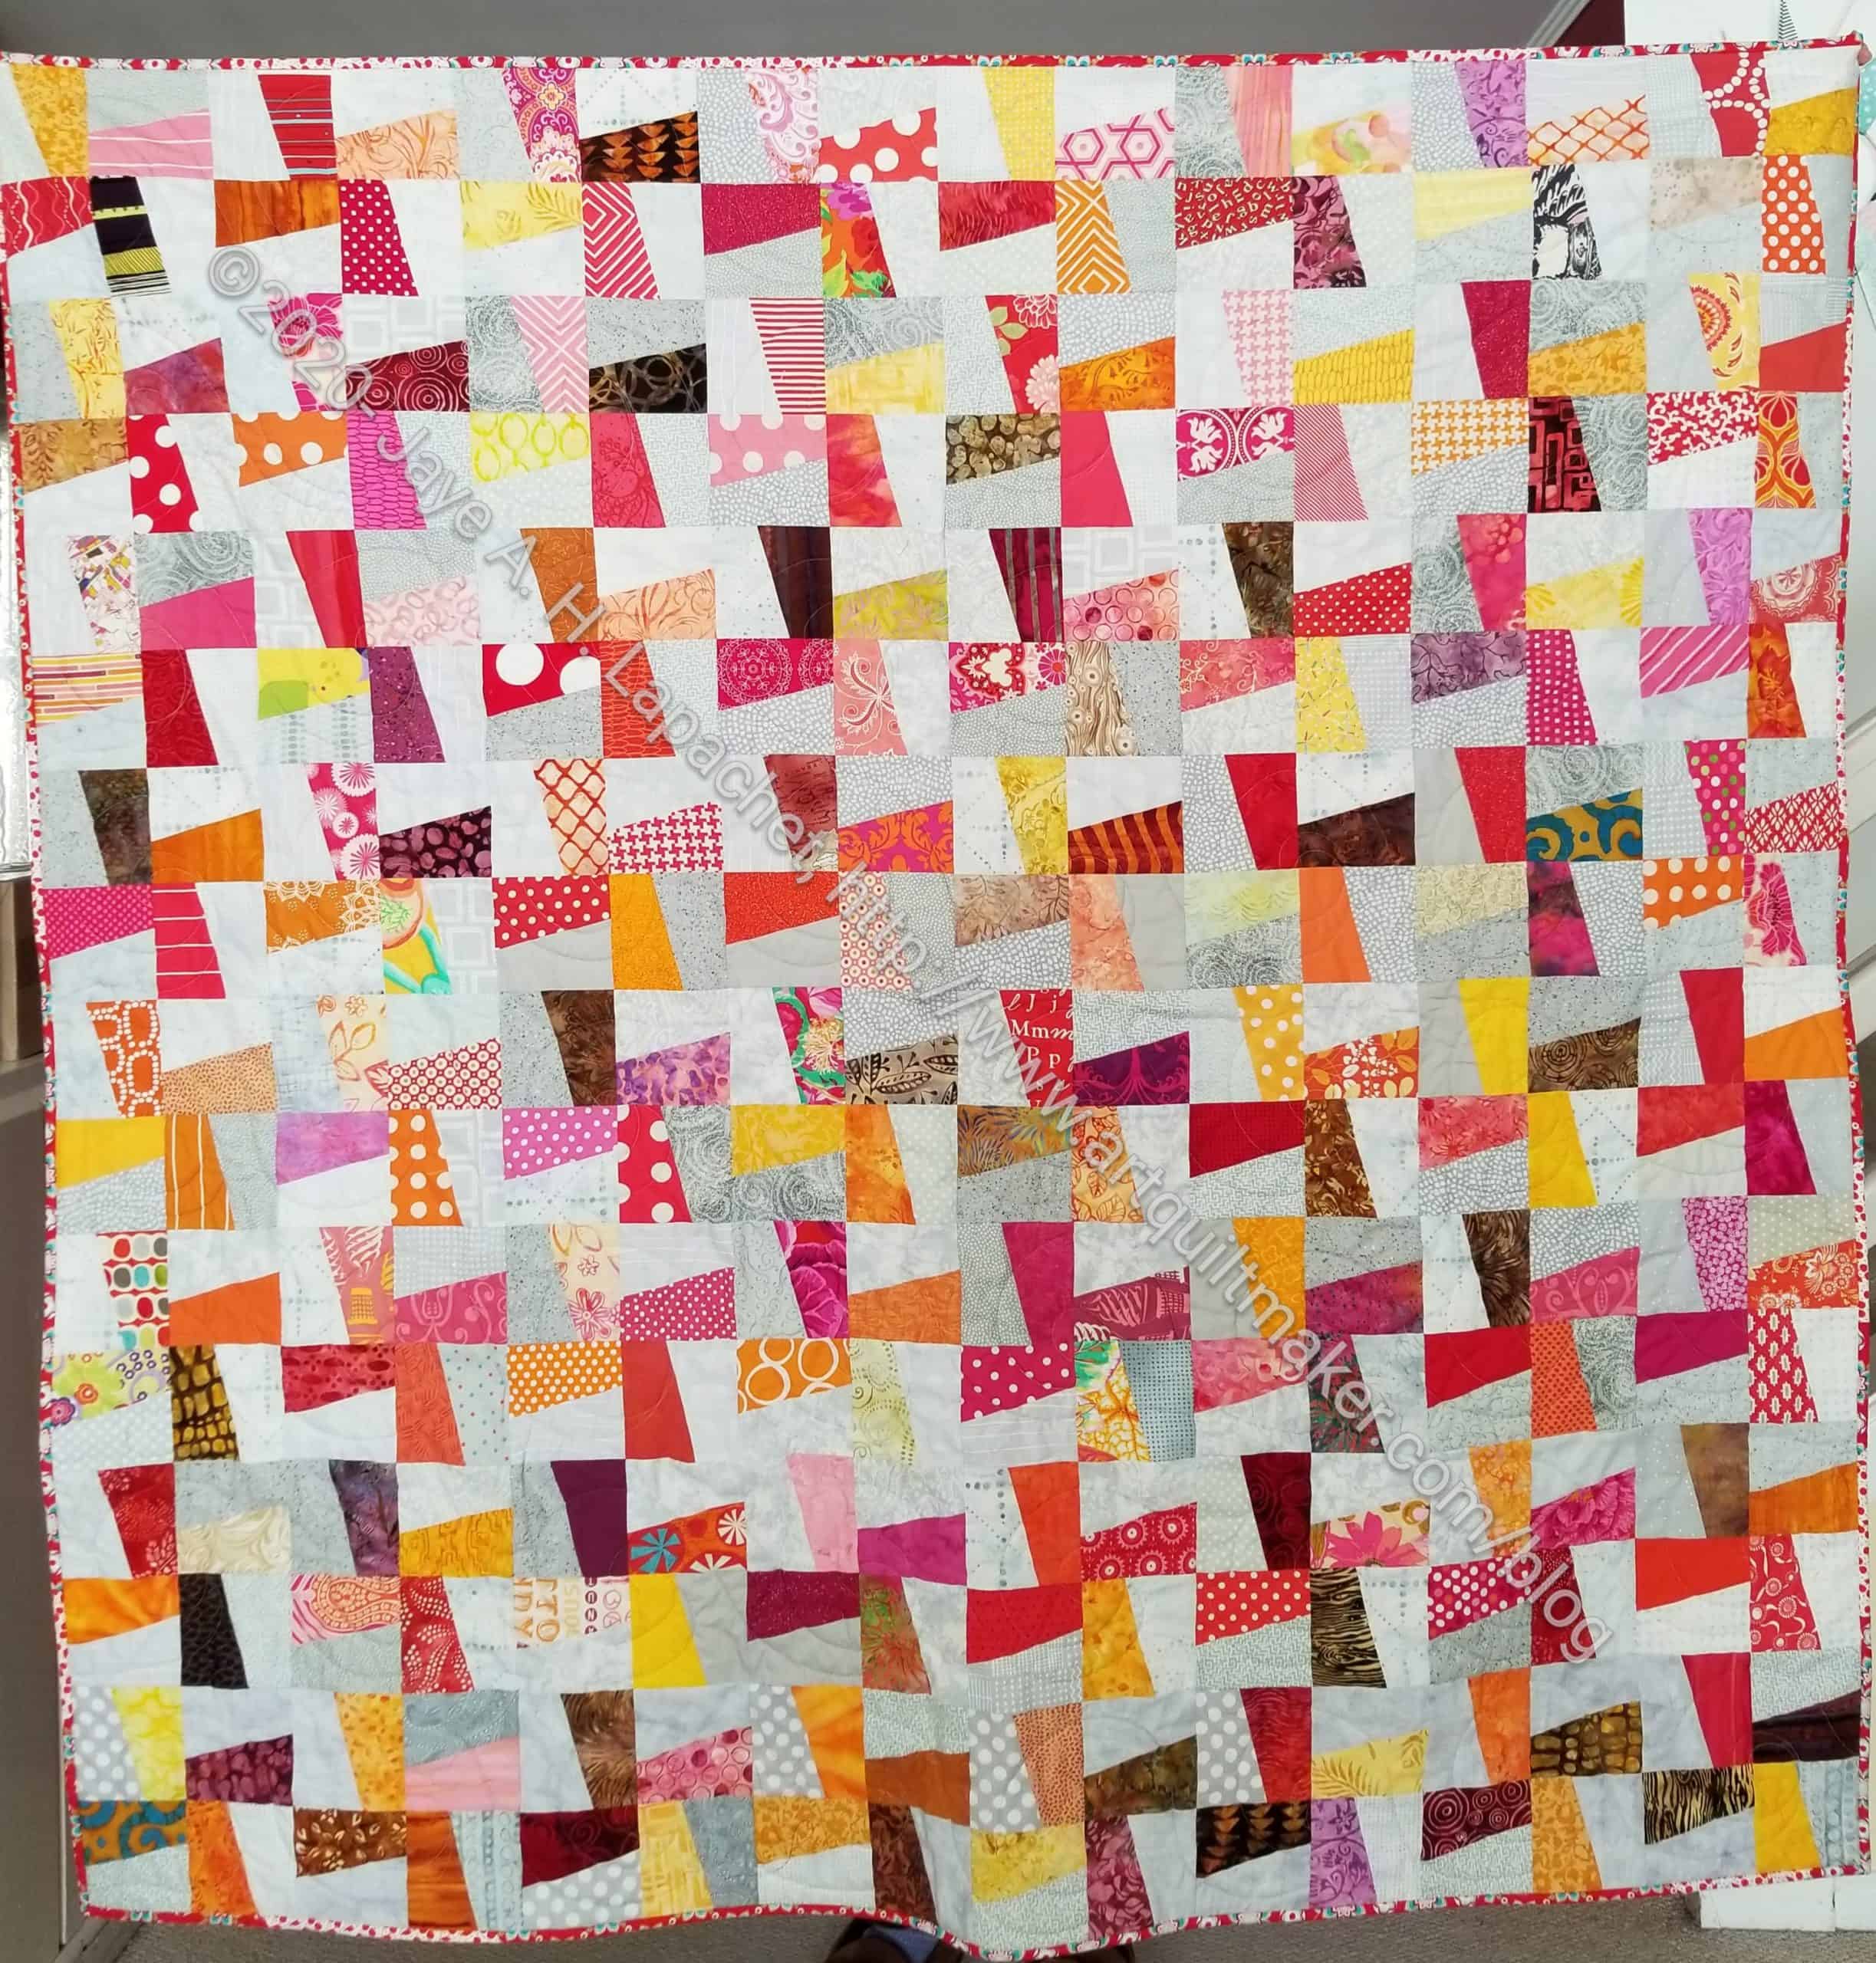
Cool Windmill Top

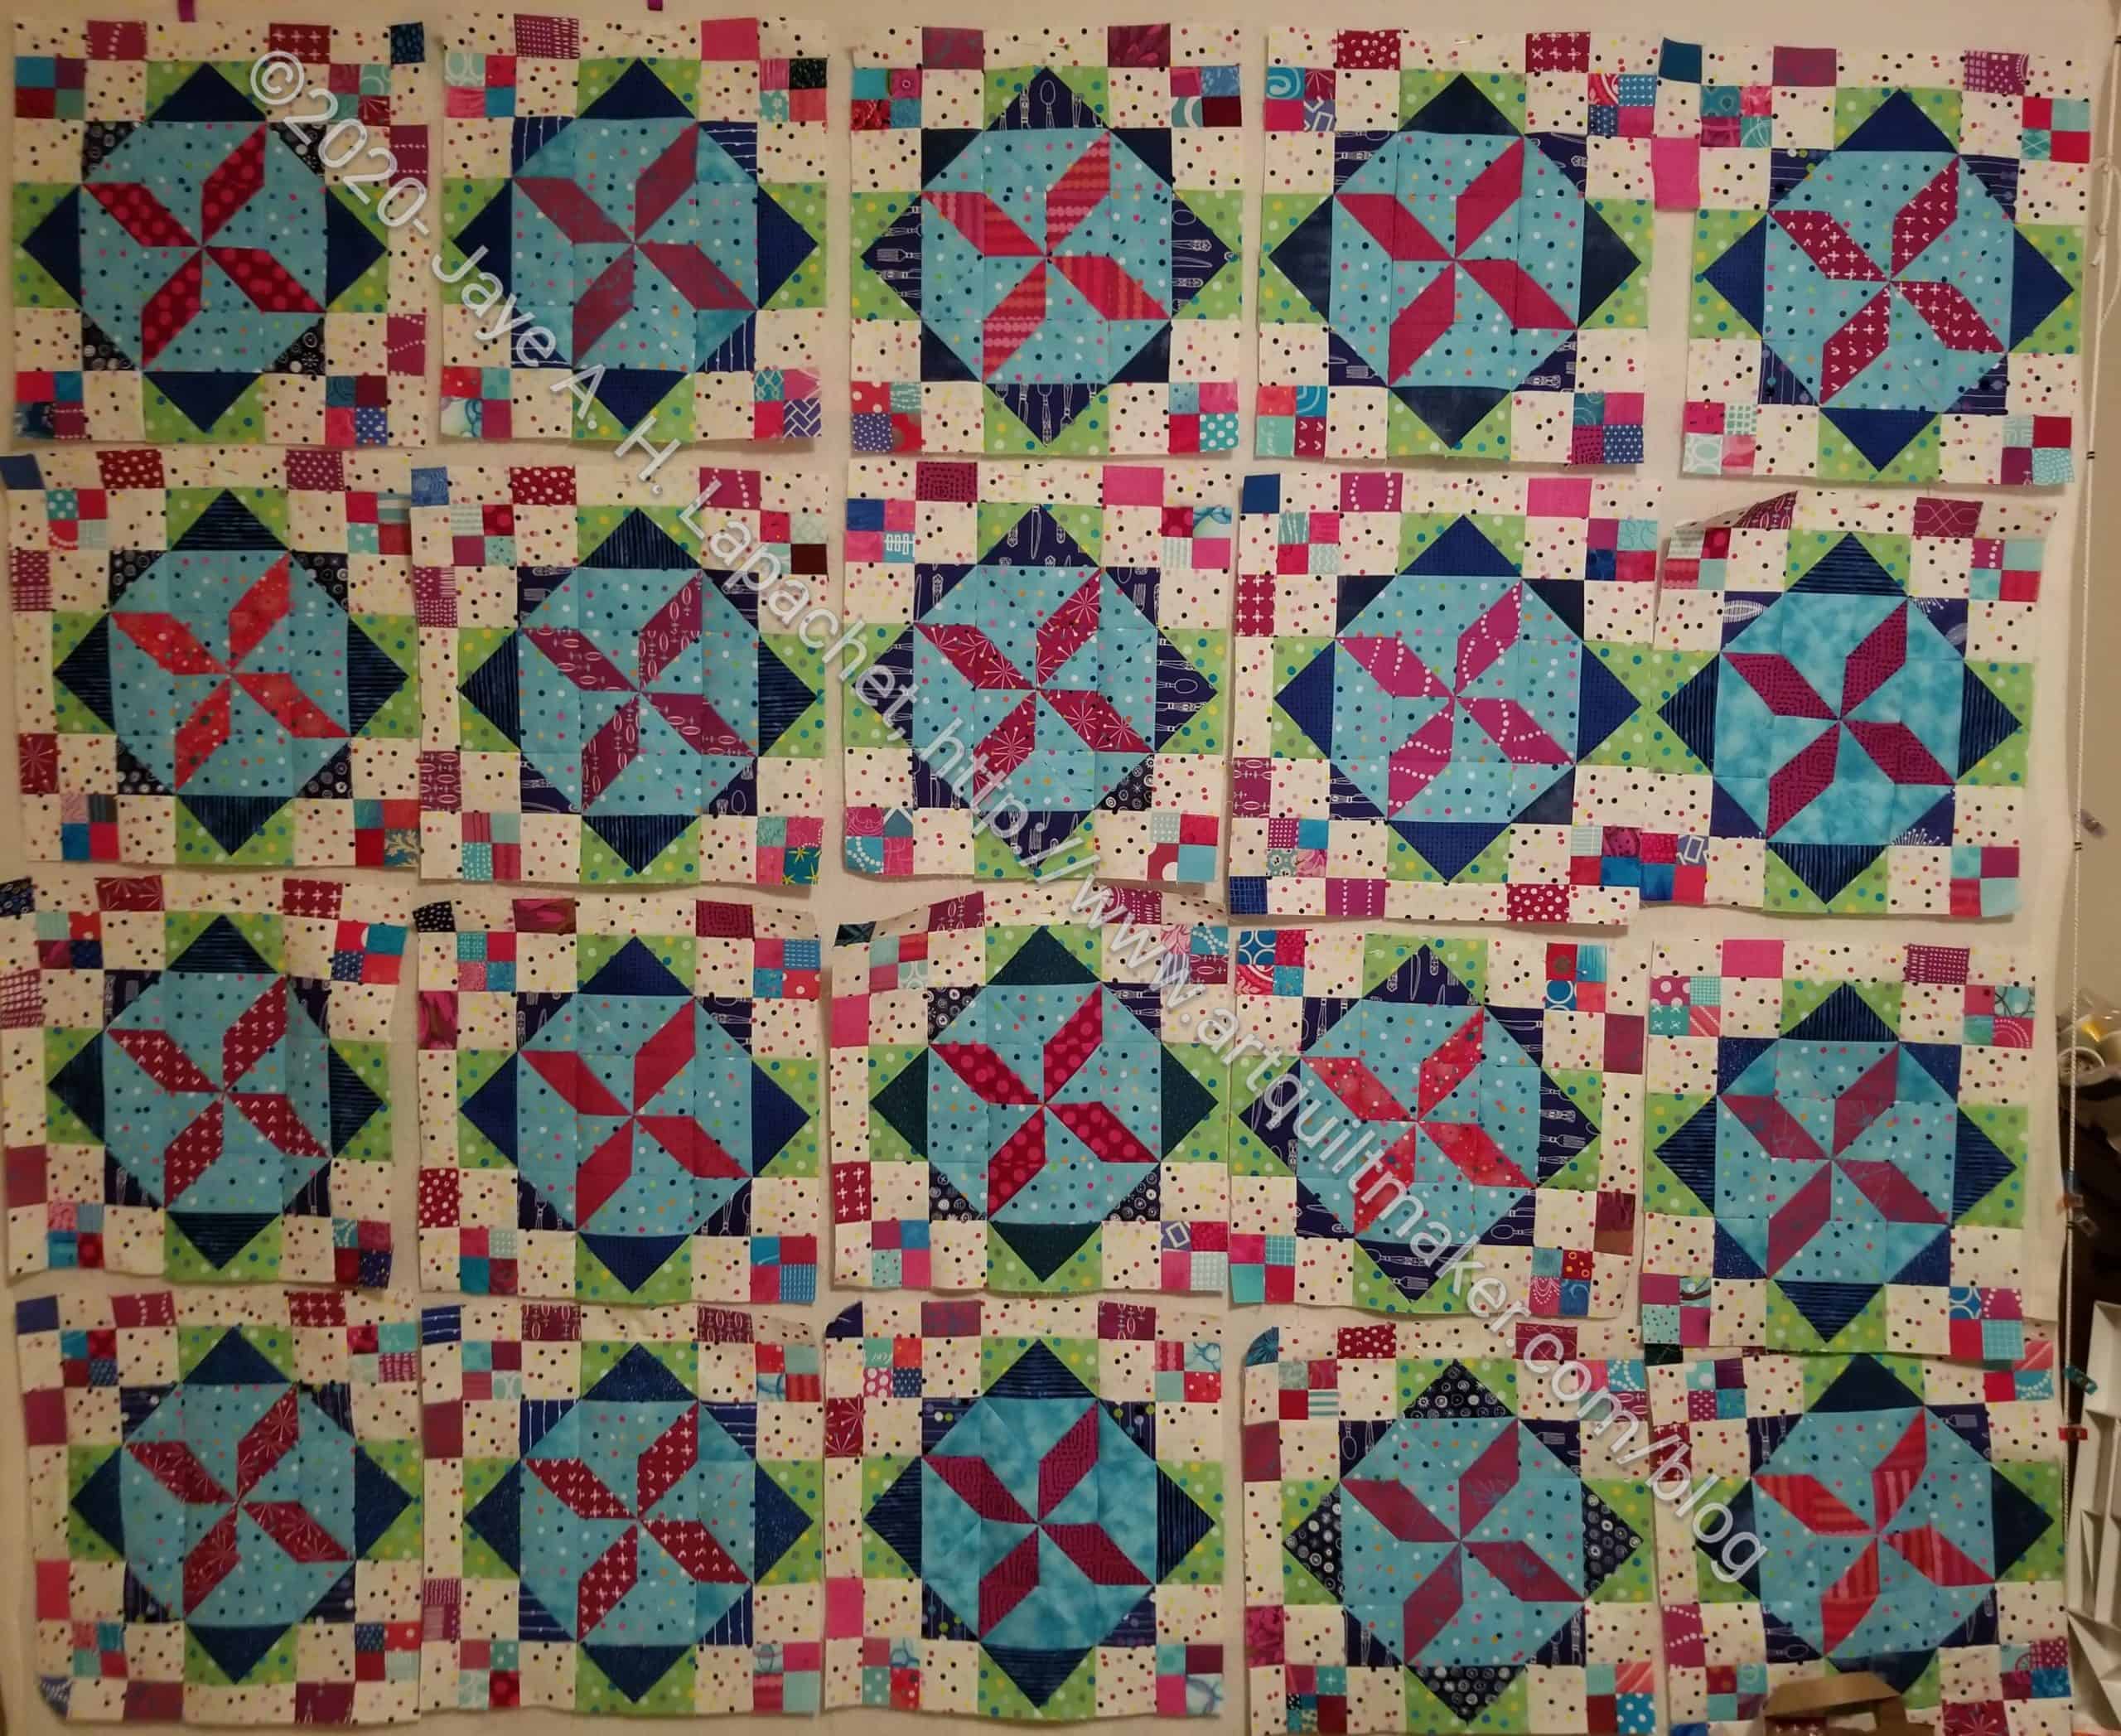
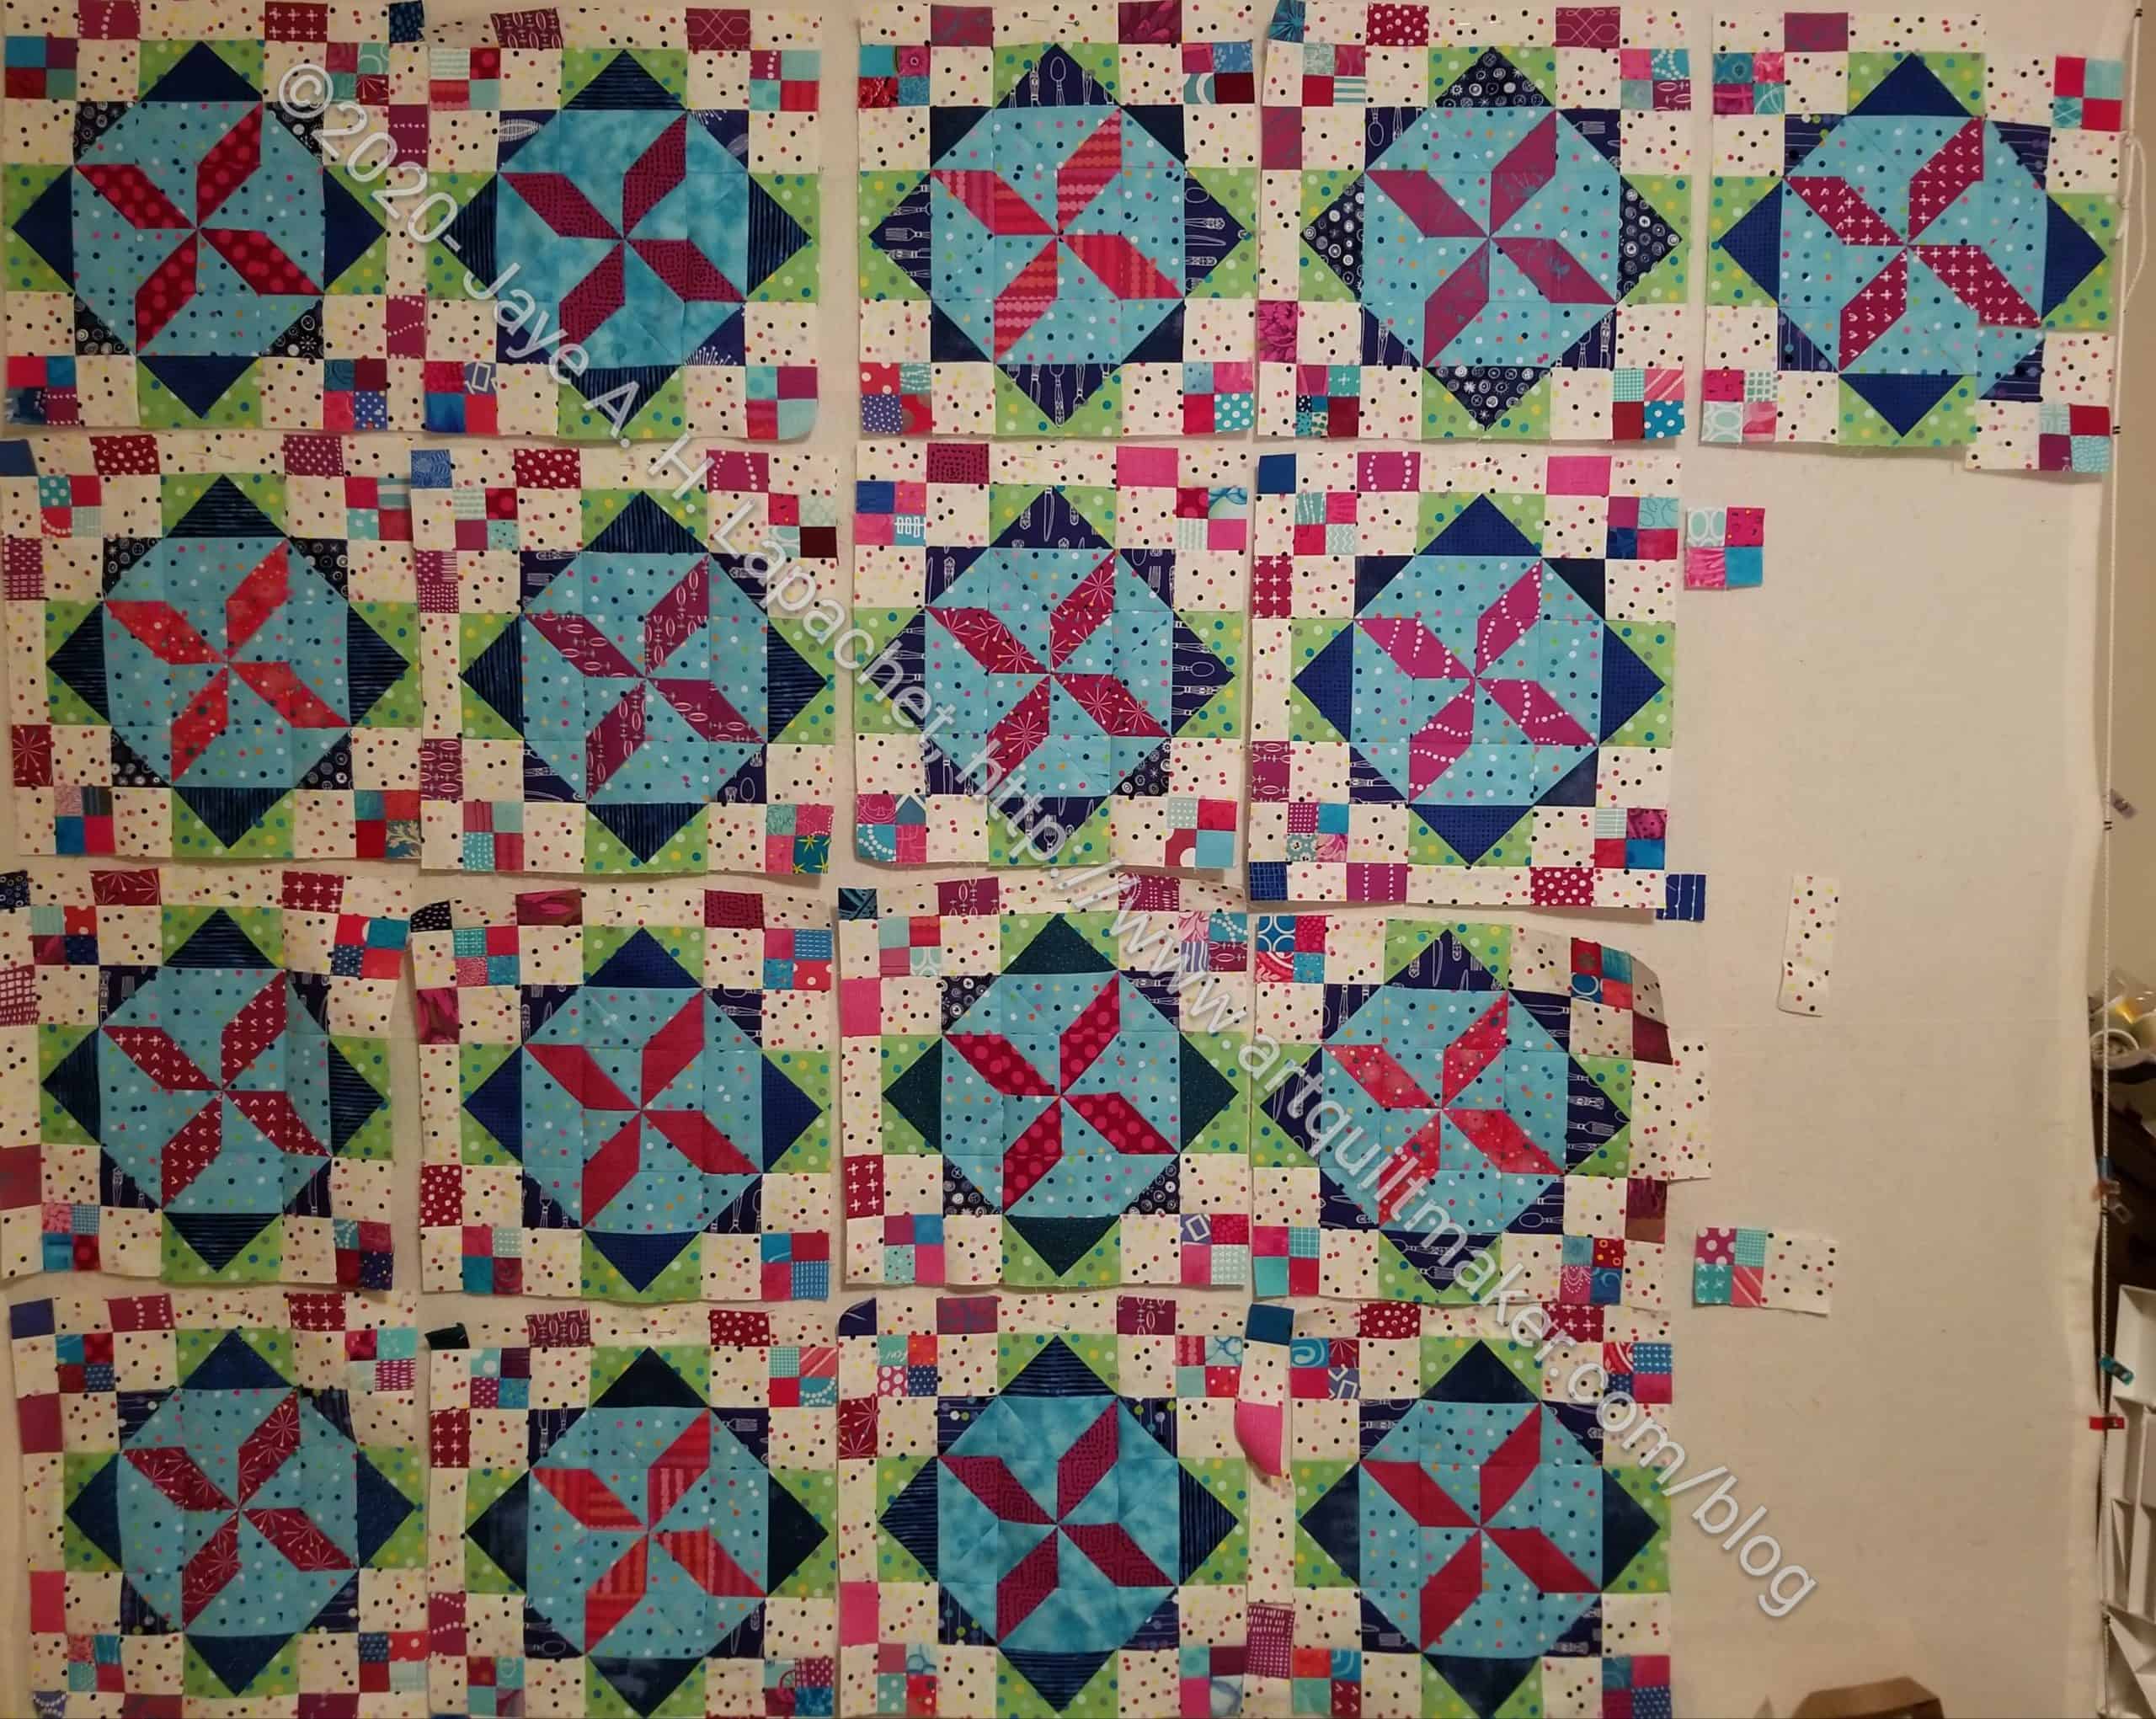
Cool Windmill top
Cool Windmill top

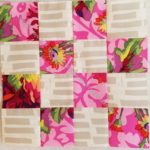
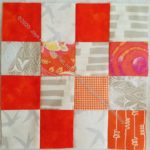
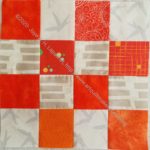
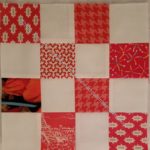
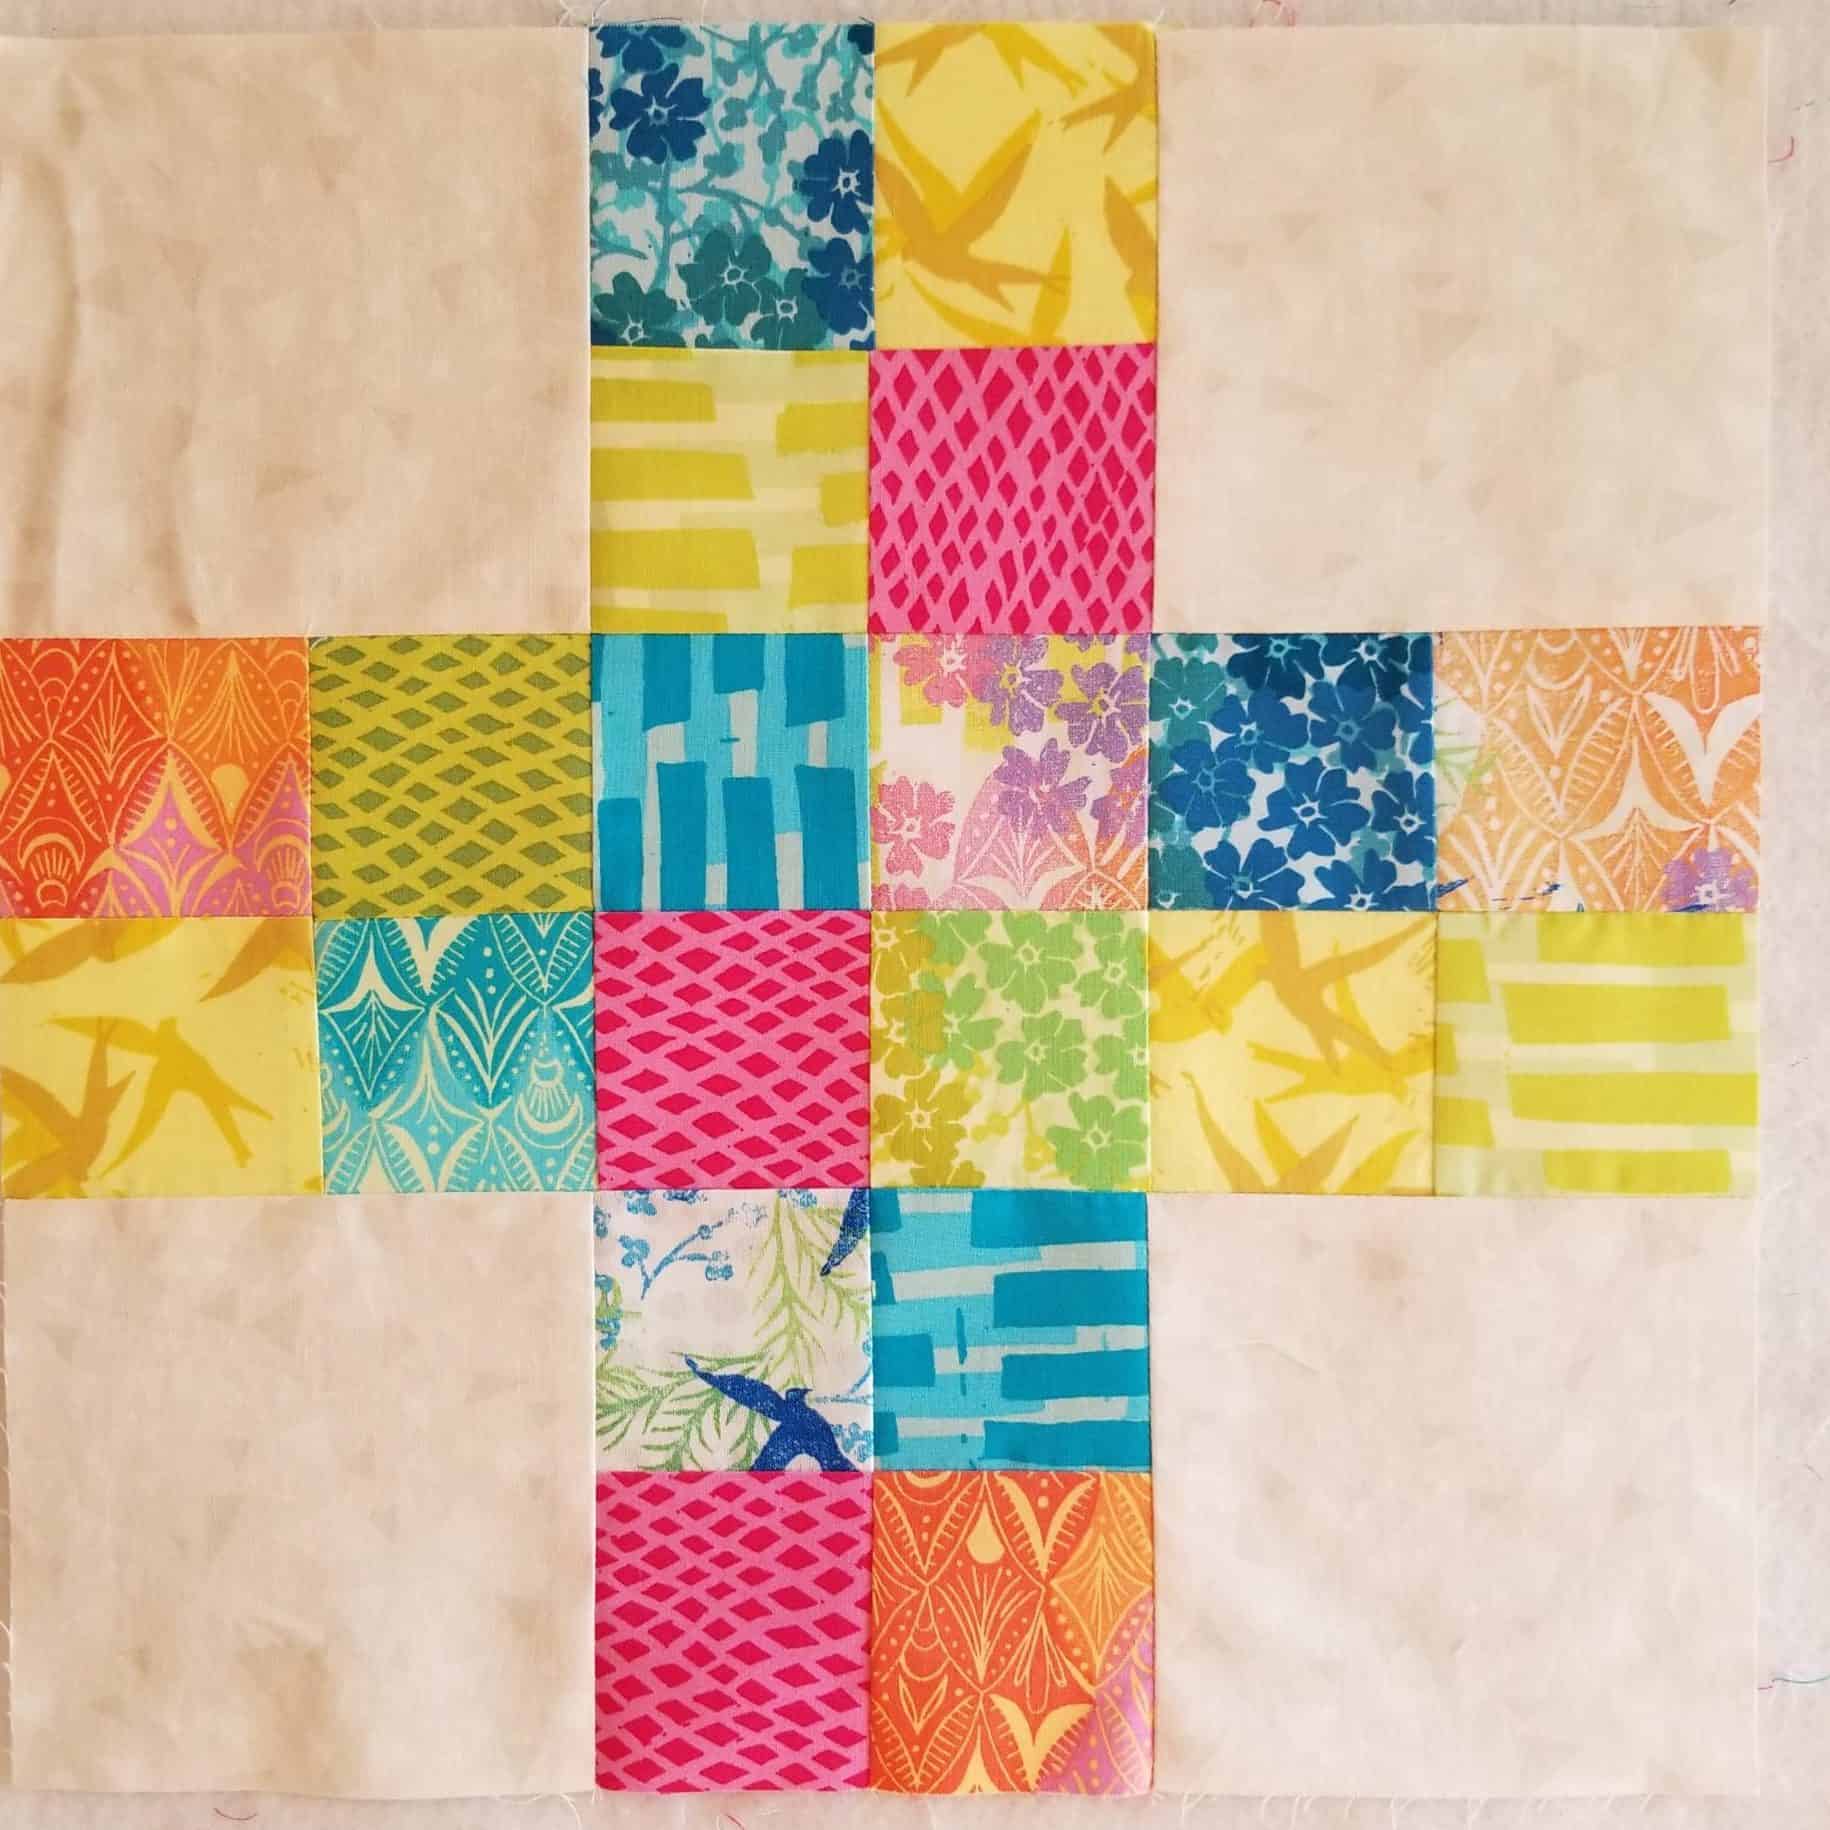
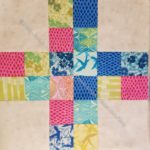
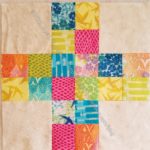
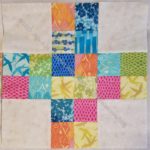
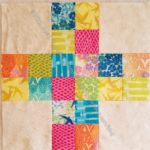
After Saturday, I was not feeling like I was accomplishing anything. I had three things on my list Saturday morning and hadn’t finished any of them. However, after yesterday, all three items were marked off my list. I finished the Frolic! flying geese early-ish on Sunday, which was the first task. Next was finishing the Cool Windmill top.

I am fairly pleased with the way this came out. I have used another 512 blades for this piece and still have a lot I can use or give away.  I’ll be making the backa nd binding this week as well.

Frolic pt.6 Finally

Flying Geese - Essential Triangles method
Flying Geese – Essential Triangles method

I finally finished part 6. I am now only 2.5 parts behind in the project. Bonnie published a sneak attack set of directions on New Year’s Eve. I just didn’t have a chance to do it when I finally did notice it, which wasn’t until the Friday.

Flying Geese - Wing Clipper method
Flying Geese – Wing Clipper method

I was vindicated in not finishing part 4 when part 6 was making Flying Geese from the quarter square triangles that were supposed to be cut in part 4. I did use the pieces I had cut to make Flying Geese using Bonnie’s Essential Triangle Tool* method, but I made the rest using the Deb Tucker Wing Clipper ruler* method. If you have the dimensions, you don’t actually need the ruler, but the chart of sizes is one of the benefits of the ruler. I also use this ruler to make Sawtooth Star blocks.


*I use affiliate links and may be paid for your purchase of an item you click on. There is no additional cost to you for clicking or purchasing items I recommend. I appreciate your clicks and purchases as it helps support this blog.

Warm Windmill Top & Back

I kind of feel like I am roaring into 2020 with the finishing of the top and back of this quilt. My office was closed for nearly two weeks over the holidays, so I had some time to work. I did have a lot of holiday stuff to take care of so I worked on this mostly after the Christmas holiday.

Warm Windmill Top
Warm Windmill Top

As I said previously, I really only had to cut backgrounds for this quilt so it went together pretty quickly. I had a lot of Windmill blades from which to choose.

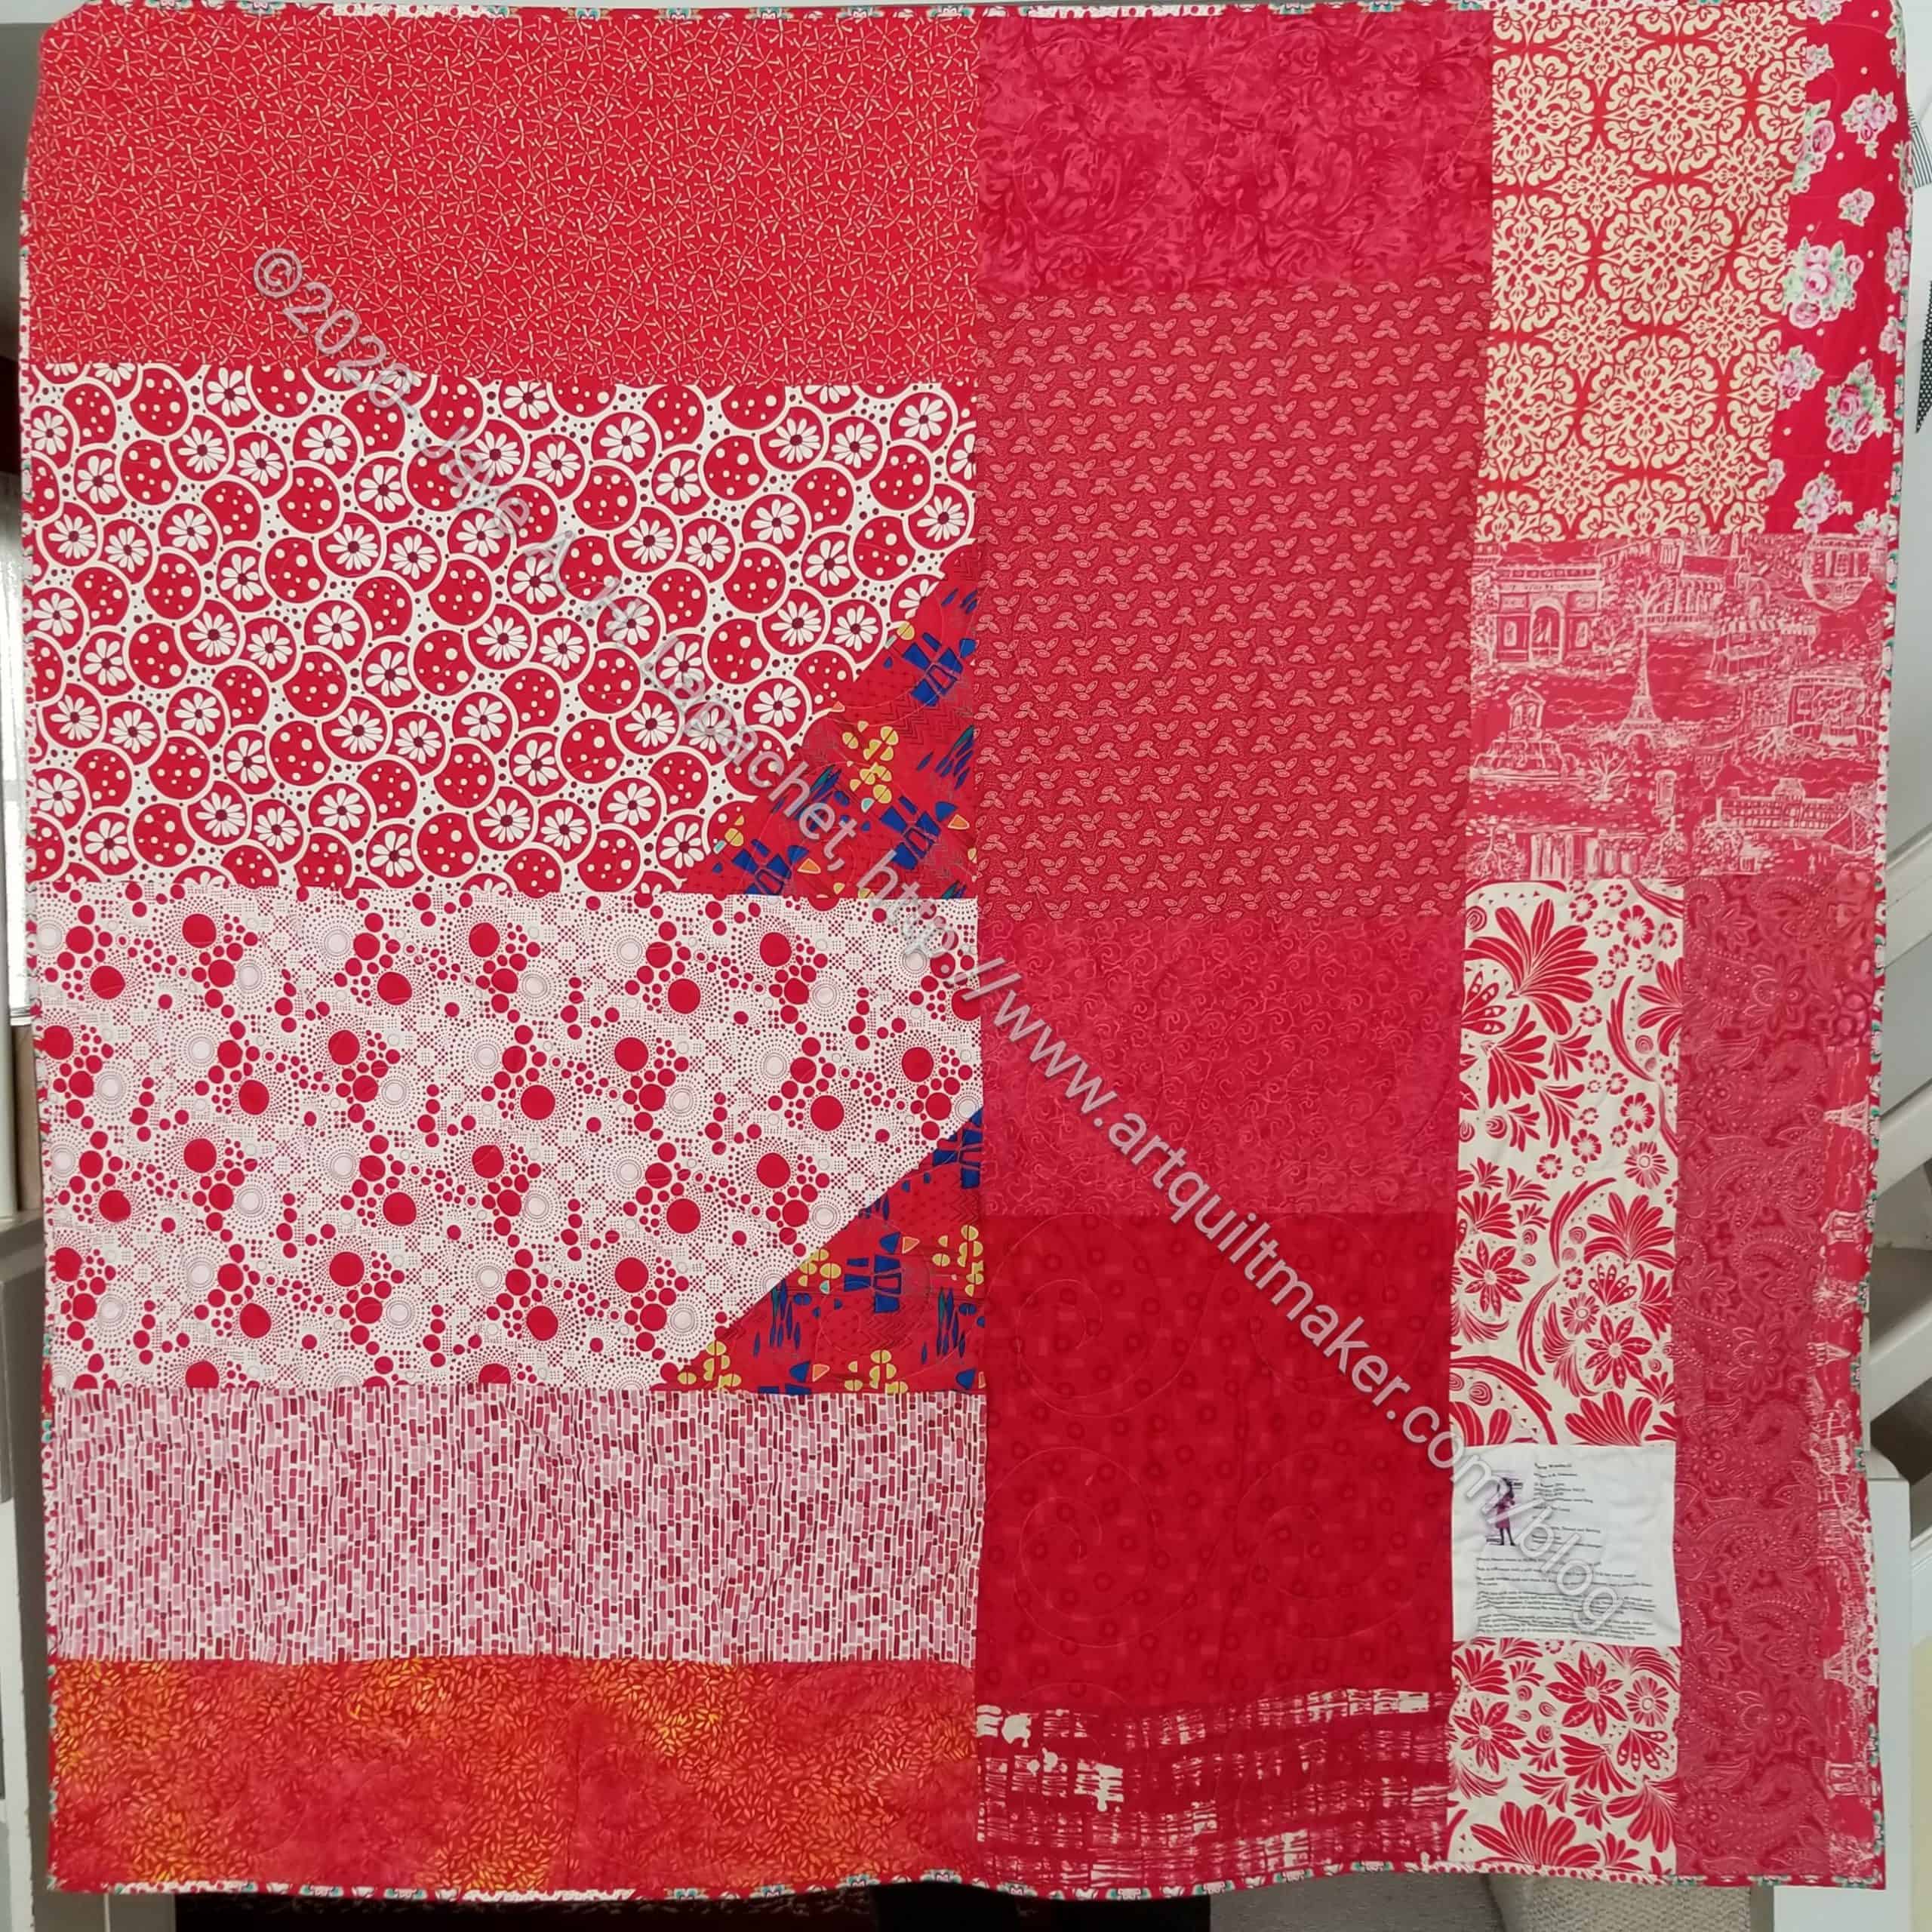
Surprisingly, the back also went together pretty quickly. I made the binding so this piece is ready to go to the quilter.

Warm Windmill Back
Warm Windmill Back

Gift Post #9: Iron Caddy

Julie's Iron Caddy
Julie’s Iron Caddy

 I have had this pattern in my pattern box for a long time. This is one of the things I gave Julie for Christmas last week. Since I gave her a small iron last year, I decided that this travel iron caddy was the perfect accessory.

I used some of the aluminized, quilted fabric I bought at Britex instead of using the aluminized, non-quilted fabric that came with the pattern. I have enough of the quilted version and it saved me from having to quilt anything.

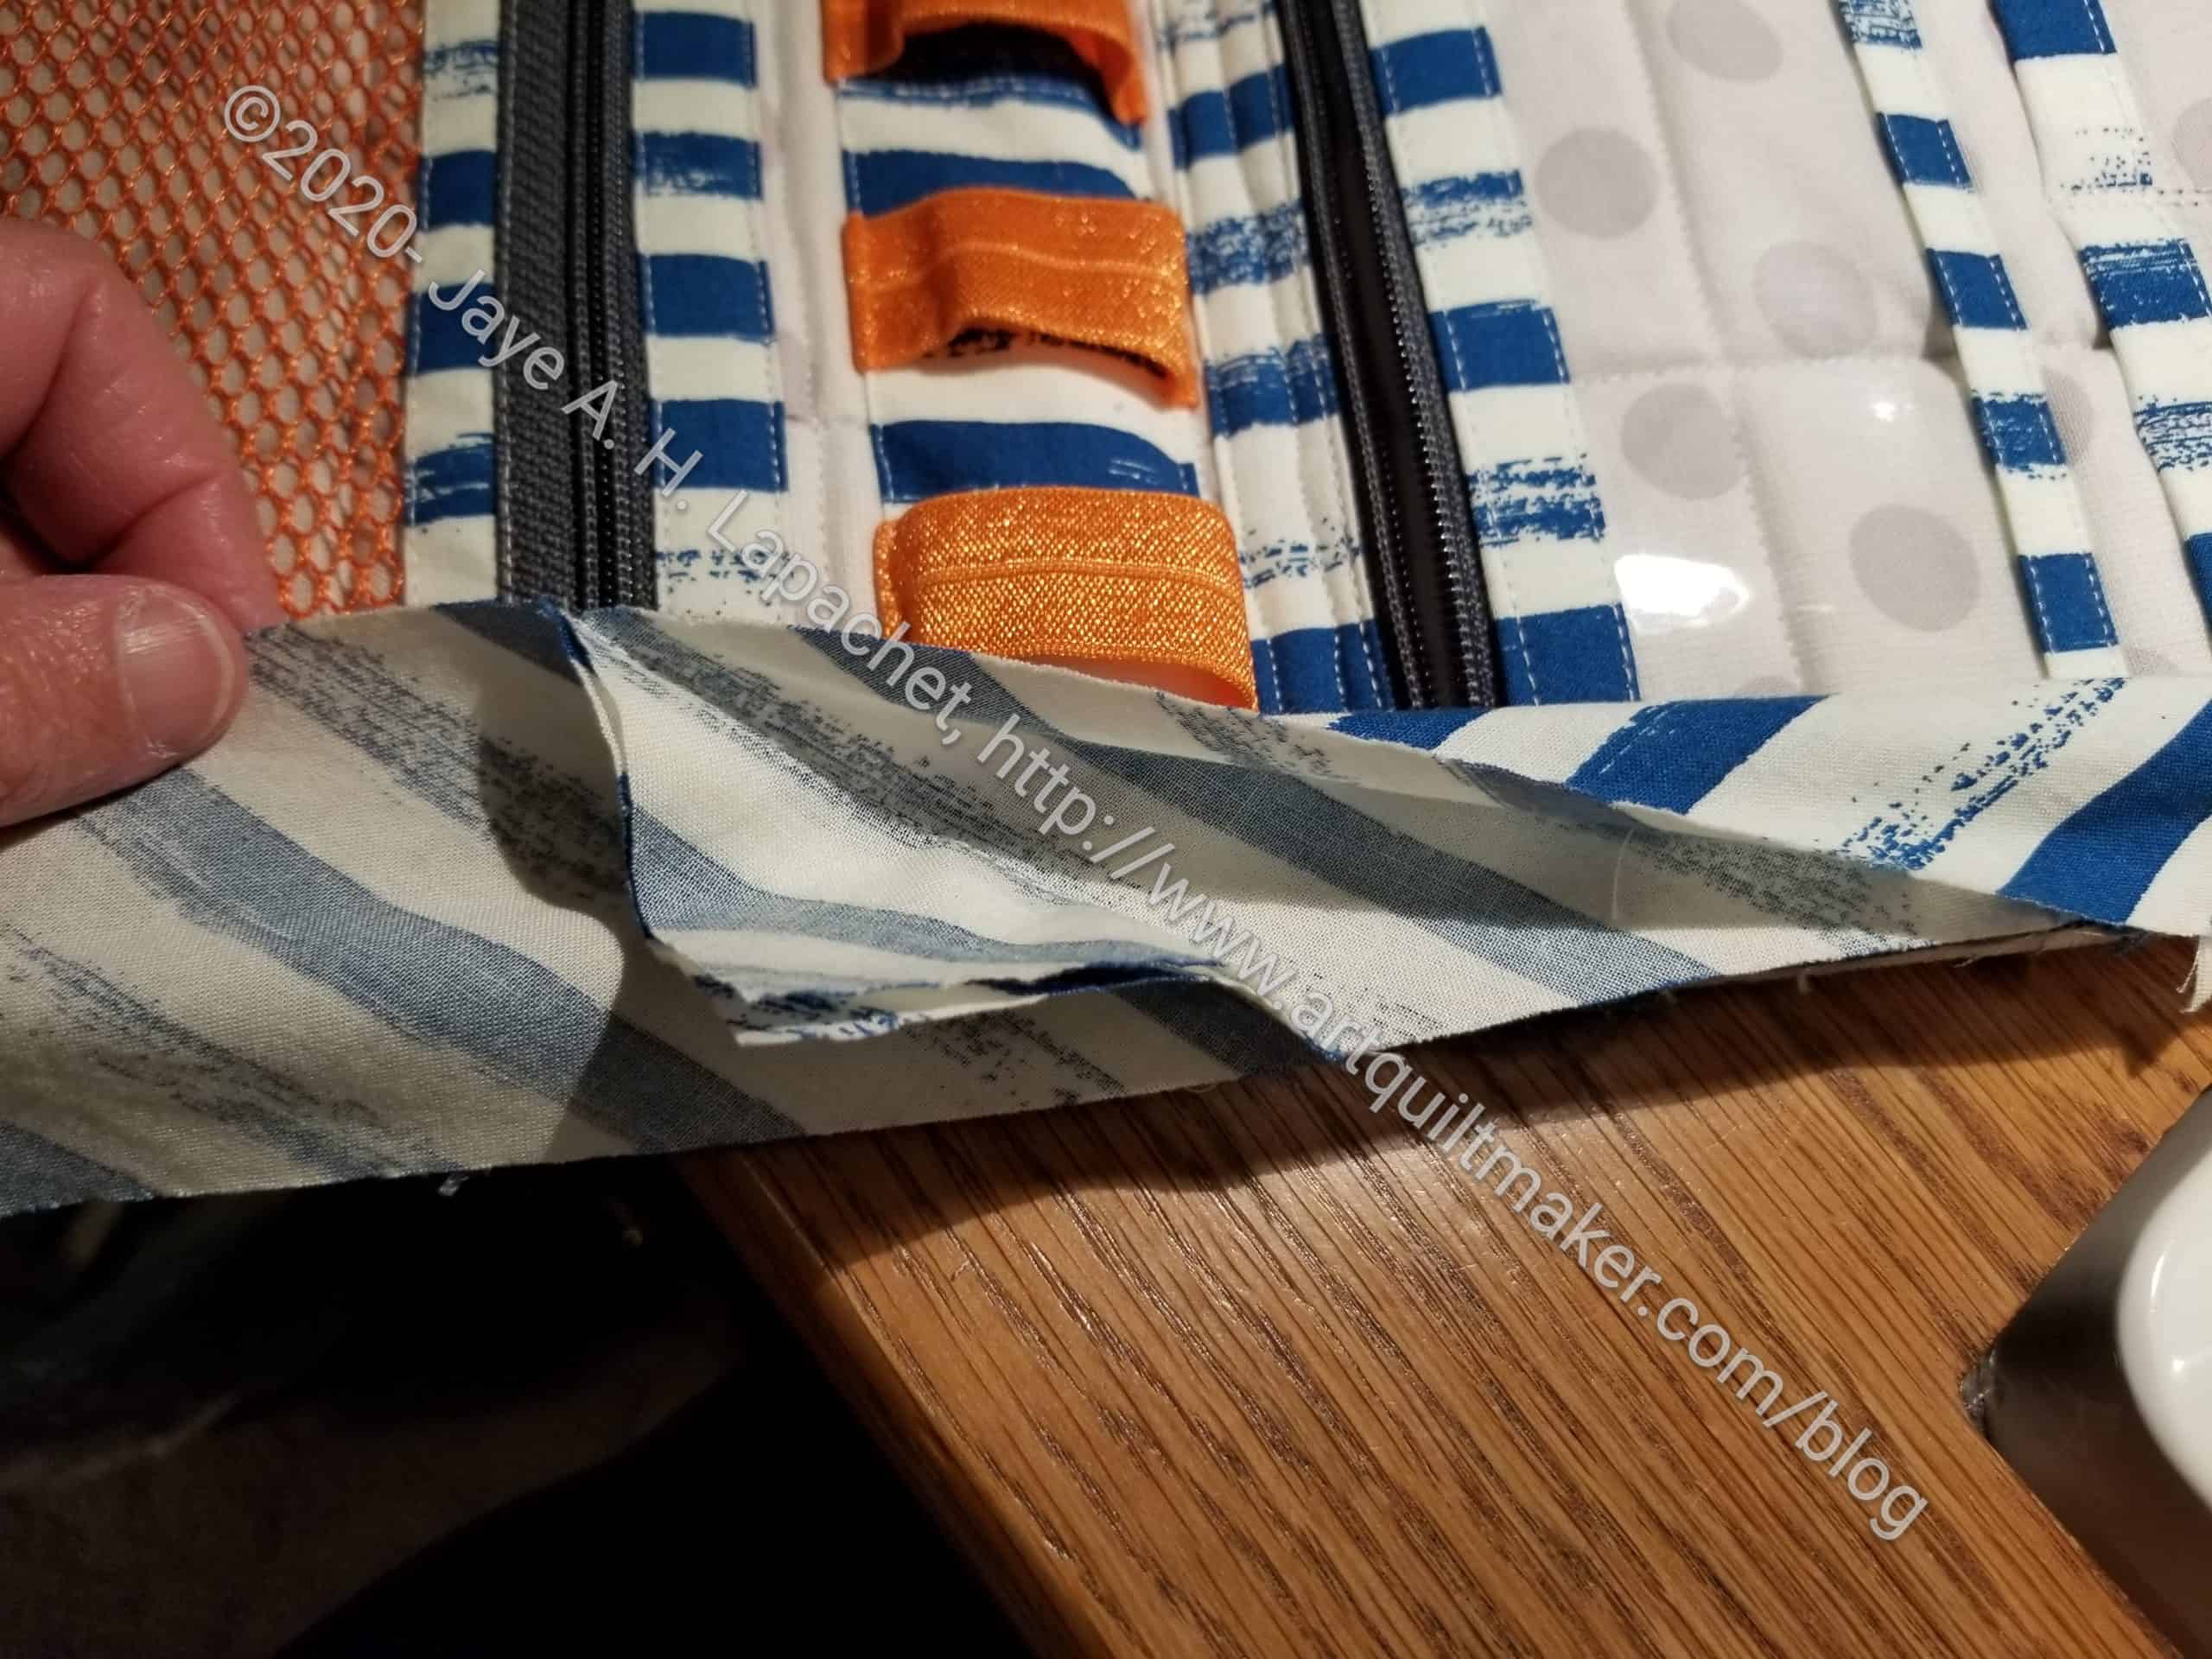
The directions are confusing, because the project is complicated. Once I got the hang of it I sort of blew through the project. I am pleased with the way this project came out. However, I don’t know that I will make one of these again. I suppose making it a second time would be easier.


Warm Windmill Again

Windmill Progress - early January 2020
Windmill Progress – early January 2020

I made a lot of progress over the holiday. I am back at work, so I hope to continue to make progress.

The blocks are mostly sewn together. I am chunking them and it is going quickly, though I have started to pin the intersections so they match.

I added a row to the right and another on the bottom. After I sewed the first group of blocks together, I had space. Since I have a lot of blades, I decided to use them. The piece is now 64 blocks (groups of 4-2 blade blocks). It fits on my design wall, though wouldn’t if it weren’t sewn. I had to cut more backgrounds, which is a little tedious, but I am breaking up the work by sewing.

I hope to have the top finished soon.

Gift Post #10: Julie’s Mega-Pinnie

Mega- Pinnie for Julie

This is the Mega-Pinnie I made for Julie. I am really pleased with the fabrics I used. They were mostly handy, but I did crawl into the ‘attic’ of the fabric closet to make sure I found the most special fabrics to use for her version.

I gave it to her when we went out on New Year’s Eve. I forgot to photocopy tools to put in the pockets, so I had to explain that there were pockets and that always feels awkward to me.

Julie's Mega-Pinnie with lobster clip
Julie’s Mega-Pinnie with lobster clip

It occurred to me when I was explaining that it would be a good caddy if you wanted to carry some stuff to another room and work on a project away from your studio.

I’ll have to make her something to which she can clip the Mega-Pinnie.

I might be done with these Mega-Pinnies for awhile. I have an idea for one more, so we’ll have to see.

Gift Post #8: Julie’s Persimmon Pouch

Persimmon Pouch for Julie

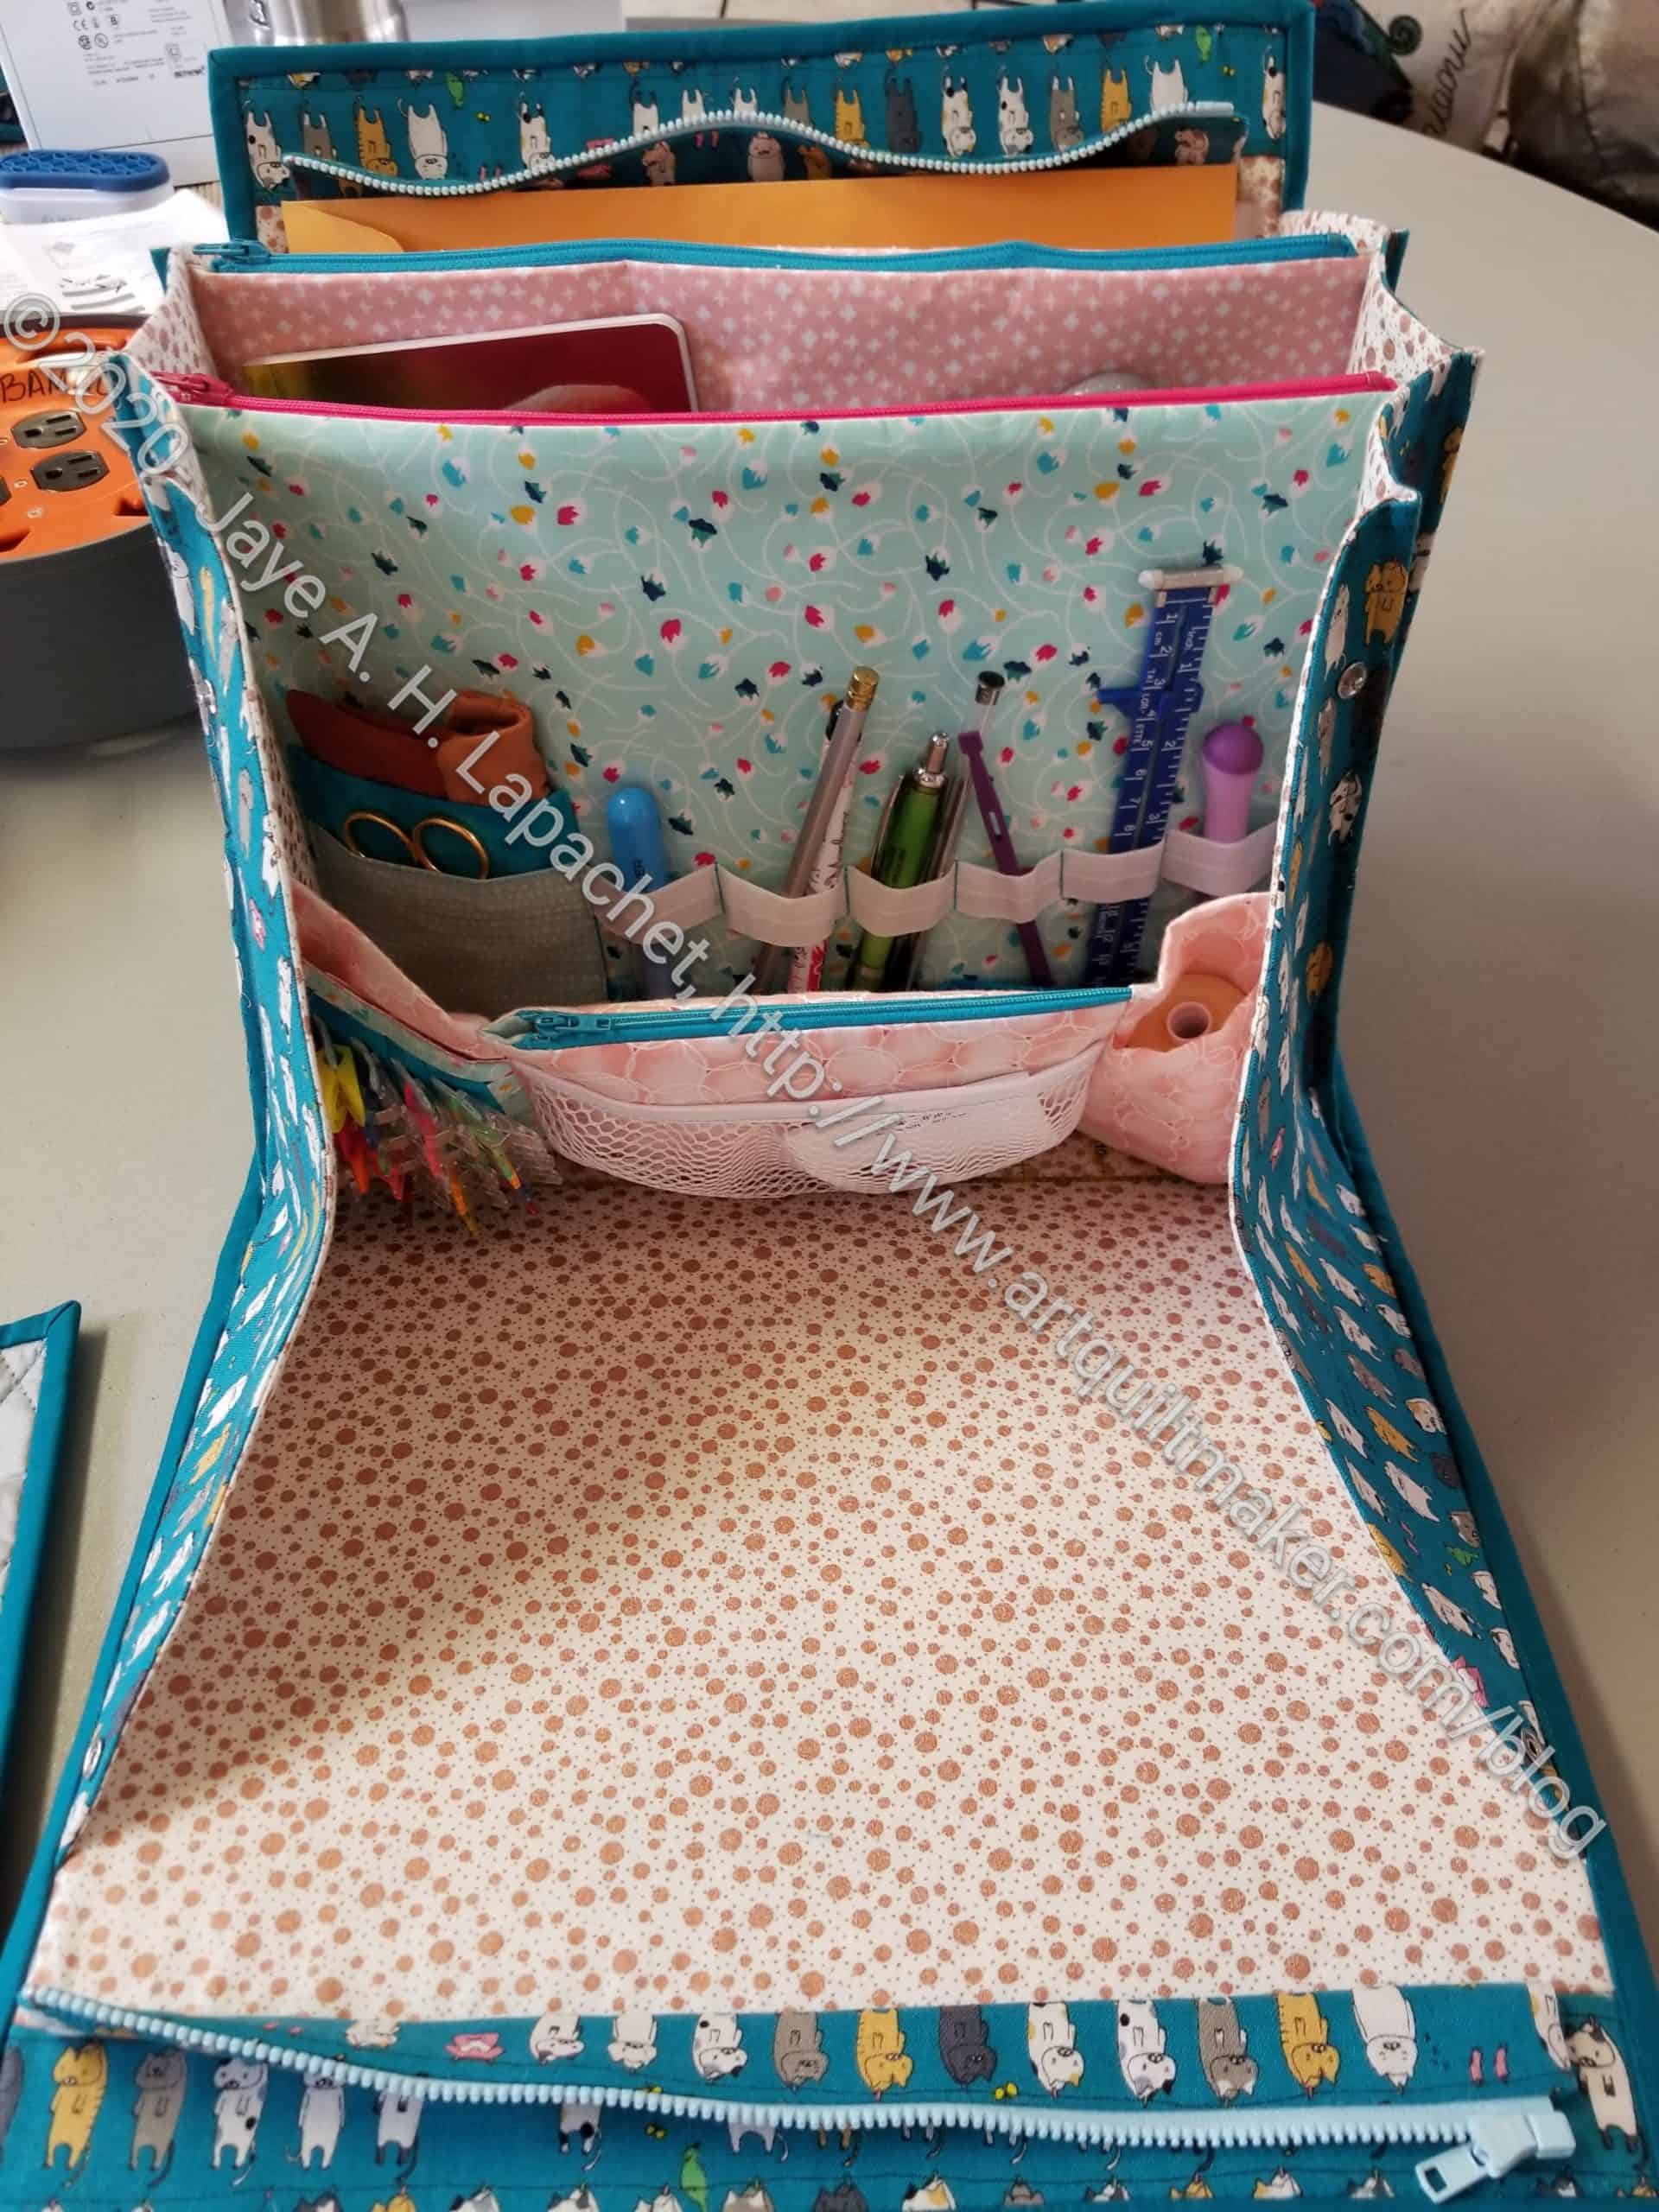
I forgot to take photos of this pouch before I sent it off, but Friend Julie was kind enough to send me some photos. The photos were much better than I would have taken so I was glad I asked her.

This is another version of the Persimmon Dumpling Pouch by Sara Lawson. You can find this free pattern at the Sew Sweetness website. I made a few of these during my fabric gift foray (November 2019) and found it to be a clever design.

Persimmon Pouch for Julie side 2

I made this one, as well as another, with Soft and Stable*. I think the pattern calls for Soft & Stable, so I cut the pieces out, but decided not to use it in the first pouches I made. I just used fabric with SF101/ ShapeFlex* and that worked fine. After making a few of these, I decided I was ready to tackle one with Soft & Stable*. I used the Soft & Stable as a base and piece it using the Quilt as you Go. This prevented me from having to quilt the pieces later. I also got to use up some scraps. I didn’t do anything crazy, though I can see improv possibilities using QAYG.

Persimmon Pouch for Julie bottom

One thing I like about this pattern is the zipper installation. It is very clever and there are no issues with the ends of the zipper. The ends get tucked into the lining out of sight. There is no need for zipper tabs or cutting zippers or anything.

Persimmon Pouch for Julie lining

Turning the pouch was a little tricky because of the Soft & Stable, but not terrible. Normally, I like to make my interfacing a little smaller than the fabric, to reduce layers. When I make this pouch again with Soft & Stable, I will cut the piece larger than the pattern and then trim after I sew fabric pieces to the Soft & Stable. I had a couple of problems with the ends and I think this method would increase accuracy.
I did not hand sew the inside shut. I just wasn’t up for it. Still, I think the piece looks nice and Julie seems to be happy. The only other thing I would change is to get a zipper than matches.


*I use affiliate links and may be paid for your purchase of an item you click on. There is no additional cost to you for clicking or purchasing items I recommend. I appreciate your clicks and purchases as it helps support this blog.

More Frolicking! Around

Frolic! Clue 5 Finished!

I am sort of keeping up. I am still working on Clue 4, but I did finish Clue 5. This was another clue that went pretty quickly and where I used the Triangle Technique for making HSTs.

I find now that I am two clues behind as Bonnie slotted in a clue on New Year’s Eve when I was otherwise occupied. Oh well, one is pretty easy, so I should be able to catch up soon.

Gift Post #7: Mom’s Persimmon Pouch

Mom's Persimmon Pouch
Mom’s Persimmon Pouch

Like the pouch I talked about after Christmas and back in November, this pouch is made using the same Persimmon Pouch pattern, still FREE from Sew Sweetness. I made this one and Julie’s at the same time. I used Soft & Stable* for the lining.

I used the Soft & Stable as a foundation piecing base and sewed scraps to the base. The Soft & Stable* makes for a good base and I liked not having to quilt the sides separately.

I also used some of the artist fabric I had in my scrap pile to keep the idea of the set of items going.


*I use affiliate links and may be paid for your purchase of an item you click on. There is no additional cost to you for clicking or purchasing items I recommend. I appreciate your clicks and purchases as it helps support this blog.

The Things I Need to Do to Get Ready for Quiltmaking in 2020

In no particular order:

  1. New Goodreads shelf
  2. New blog photo folder on my hard drive
  3. Move old blog photo folder to archive folder
  4. Organize projects so I know what to cut in 2020
    1. Once I decide, make a list for my cutting table
    2. Write a post about what I am cutting in 2020
  5. Add a new blog category for 2020
  6. Set up posts I work on all year long.
    1. all donation blocks
    2. Year in Review
    3. All donation quilts
    4. Gift Bags in July
  7. Update my fabric usage spreadsheet
  8. Organize FOTY 2019 units
  9. Decide on a shape for FOTY 2020
  10. Update my fabric/quilting purchases spreadsheet

Warm Windmill

As mentioned, I started working on Windmill blocks. Last time, I talked about this project, I was sewing all the blades together. I realized that I had TONS of blades, so I shifted gears. I have enough blades to make at least two quilts. I decided to make a warm version first. This will consist of red, orange, yellow, pink, brown, beige and any mottle fabric that reads ‘warm’.

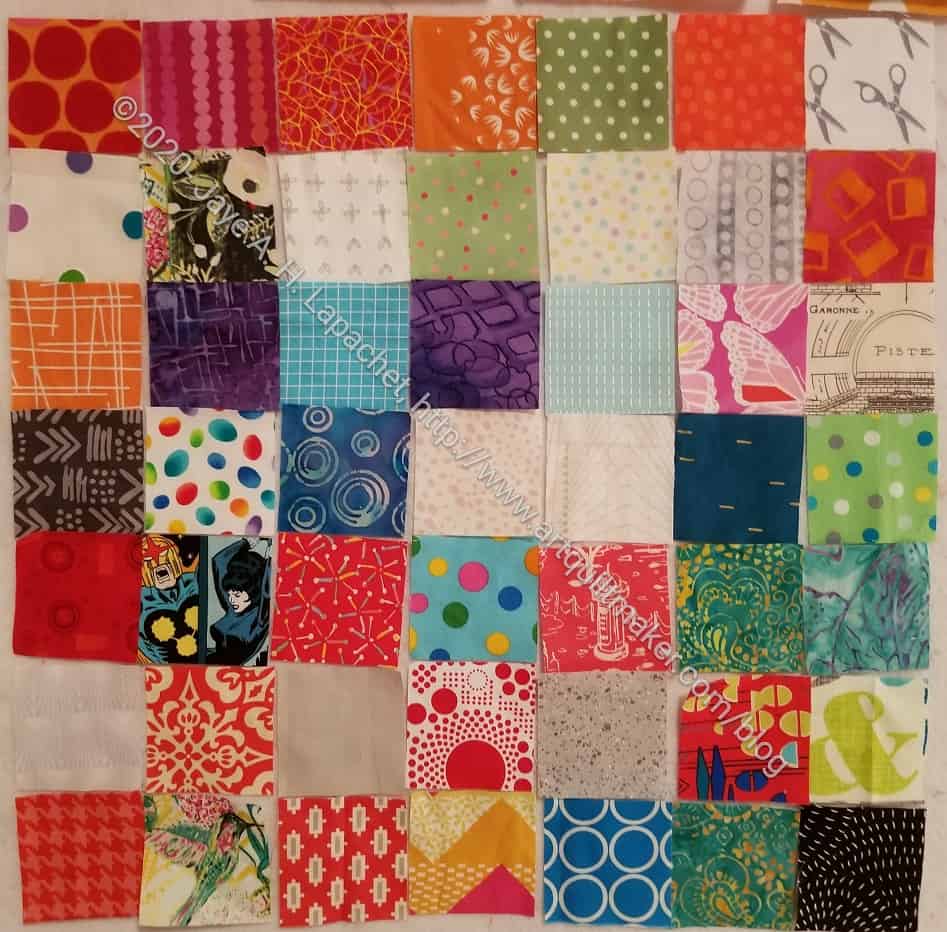
Windmill patches
Windmill patches

I wanted something easy to sew together. Despite the angles, my idea worked. I can eyeball how to put the patches together so they sew up into a square.

Since I started cutting greys, I made the background grey so the foreground fabrics stand out.

I think this will be part of the Niece-phews project.

2019 Year In Review

Number of 2019 Blog Posts:353

Number of yards of fabric used this year:83 net

Quilt Projects

Finished 2019 Non-Quilt Projects

This category covers bags, toys, aprons and knitting as well as other non-quilt projects.


2019 All Donation Quilts

I feel like posting all of my donation quilts really makes me see that I have accomplished something good in the world. When I feel down, I can go and look at them. I made 14 donation tops last year. You have seen them all throughout the year, but it is nice to have them all in one place.

Total: 13 donation quilts

Ends n.7 Donation Quilt

This is Ends n.7. I made it from two half yards of burgundy (with visible pink undertones) fabric and the ends of the Triple Star quilt. Finished January 2019.

Green Strips donation quilt is made from a yard of Kona Cream and 19 blocks that I made from strips found in my scrap bin. This was inspired by Alison. Finished January 2019.

The Green Thing donation top was finished in February. I used leftover pieces from the Green Strips donation top and a lot of scraps from my green scrap drawer.

Purple Strips Quilt

This may be the second in the series of strip quilts. We’ll have to see if I do anymore. I have more scraps, so it is a possibility. Tim suggested the grey as the background and I think it works well.

As I did with the Green scraps, I made an Improv donation quilt with purple scraps to further clear out that bin.

Ends n.8 - Bonnie & Camille
Ends n.8 – Bonnie & Camille

Ends n.8 (Bonnie & Camille). I made this from the edges of the back of the Stepping Stones n.2 quilt.

Spiky 16 Patch n.3

I made these blocks in 2018, but just got around to put them together in March. Frankly, they were in the way on my design wall and I needed the space.

Red Strip Donation Top- Finished

My first Red Strip Donation top was delivered to Tim so he could quilt it and enter it as a triptych with the purple and green versions. He dealt with the backing.

Red Strip (Chunk) Donation Quilt

This started out as a second Red Strip Donation Top, but as I didn’t have enough strips, it became the Red Chunk Donation Top. This is the second quilt I finished from the scraps in my red scrap drawer. You can obviously see that I did use some yardage.

Orange Strip Donation Top: finished

I don’t have as many orange scraps as I have other colors, but I have enough. It is surprising how little fabric it really takes to make a quilt. I wonder what the least amount of fabric one can use to make a quilt – not a mug rug, but real sized quilts that can cover humans? The orange strip quilt came out really well and I am pleased with it. I definitely have an orange that I like. The consistency worked well to pull the whole piece together.

Orange & Green Donation Top
Orange & Green Donation Back

I used up the green plain blocks I cut for the background of another quilt and then didn’t use. They were laying on my sewing table bugging me and I wanted them out of my hair. I was in orange mode, so I cut some plain orange blocks and made a quick donation top.

Orange Improv Donation Top - almost finished
Orange Improv Donation Top – almost finished

I finished the Orange Improv donation top and back for Tim to quilt.

White Strip Donation Top: finished

I finished the white strip donation quilt.