Santa Clara Valley Quilt Association Show, May 4-5, 2019

I was contacted earlier this week about the SCVQA Quilt Show. Sadly, I won’t be able to attend, but I hope you will be able to attend and will share photos on social media.

Message re: the show:

SCVQA Quilt Show
SCVQA Quilt Show

I am writing from the Santa Clara Valley Quilt Association, we are one of the largest quilt organizations in the bay area. We are about to host our biennial quilt show featuring hundreds of quilts made by local quilters and artists, Quilts Celebrating Creativity is May 4-5 at the Santa Clara Convention Center. We wanted to invite you especially to attend, since we know you support the quilting arts with an active blog and online presence.

We will be showing over 300 quilts, our guild is very diverse and there will be many different forms of quilts, from traditional to modern, large to small and everything in between. On display will be two special exhibits showcasing nationally renowned local artists Therese May and Randa Mulford. We have a large vendor mall feature a unique shopping opportunity with local vendors selling fabric, tools, patterns and other one of a kind crafts. There will be raffle baskets, demonstrations, art on display from the San Jose Museum of Quilts and Textiles, and a scavenger hunt for children.

Show hours are Saturday May 4th 10 a.m. to 5 p.m. and Sunday May 5th 10 a.m. to 4 p.m. Admission is $12, children 12 and under are free. More information can be found at www.scvqaquiltshow.org.

Santa Clara Valley Quilt Association is dedicated to the preservation and promotion of the art of quilting.

If you would like to know more or have any questions, feel free to reach out to the Quilt Show Committee at quiltshow@scvqa.org.

Best regards,

Quilt Show Committee


Half Hexie Section

I am never going to get this project finished if I don’t work on it, so I work on it whenever I can. Lately, I have just been making stars. I have a whole Scone container full of the little stars and some pieces in my Sew Together Bag cut to make more. I decided I had better put some stars together to make a section that will increase the size of the main piece before I made more stars. As a result, I have been beavering away at that task.

Half Hexie EPP Section - April 2019
Half Hexie EPP Section – April 2019

It doesn’t look very impressive, I know. That takes a bit of the wind out of my sails, because all of that piecing is handwork and it took quite a while, though not years, to get that much done.

I am still trying to think of this as my slow quilt project, but it is hard. I am kind of ready to be done with this project and move on to something else. At least I finished one hand project this year.

Flying Geese

I was a very good girl on Sunday and spent most of my sewing time making sleeves. I am entering a couple of quilts in the Fair and they need sleeves. Also FOTY 2017, now finished will need a sleeve. Since I was doing finishing tasks anyway, I made a sleeve for it as well.

Flying Geese - Mid May 2015
Flying Geese – Mid May 2015

Partway through the drudgery, I decided to branch away from my UFOs and project lists. I decided to start on a new, fresh quilt project that I designed. I decided I would set the Flying Geese from the exchange I did. the photo, left, is a selection of the FGs I made and received in the exchange.

I did the Flying Geese Exchange with a friend in 2015. We might have started in 2014. I don’t really remember. I have been hoarding these FGs since then waiting for the right time to start.

I thought a lot about designs and looked at many inspirational photos of Flying Geese blocks. I was particularly enamored of a block shown by Moda that has its roots in the Dutchman’s Puzzle block, a block I like very much and is usually in my sampler quilts.  I created the design on my way home from the North Coast while DH drove. I was inspired by the Round and Round quilt by Camille Roskelly and have incorporated her reimagining of the Friendship Star block into my design. I am really excited about it, especially now that some FGs are on the design wall.

Flying Geese Exchange Quilt - starting design work
Flying Geese Exchange Quilt – starting design work

So, as I was working on the sleeves, which, have I mentioned, can be quite tedious, I did little tasks on the FGEQ (not sure what I will name this quilt yet). First, I got out the boxes of FGs. Then I printed the design, then with FOTY 2017 off the design wall, I started following my design to put FGs in place on the design wall. The photo doesn’t make it look like much, but getting all the FGs on the design wall helped me realize that I needed also to put the HSTs on the design wall. I thought I could hold off, but I needed to do it.

Flying Geese with Friendship Star blocks

Using my Triangle Technique, I starting making HSTs. I just thought I would make a few to get the idea, but the more I made, the more I wanted. This quilt is evolving in such an exciting way. The layout of the Flying Geese does work! That is really great. The Friendship Star blocks really fit in. They look great.

I used some Queen Street fabrics I had leftover from my Queen Street mania from a few years ago and the BAMQG IRR. I have started in on a selection of those for the blue area. I am thinking of a color wheel kind of effect, though I don’t know if I will put them in color order.

There will be a lot of fiddly sewing and, perhaps some partial seams to get this baby together. I posted the last picture on IG and got some great responses. I can’t wait to see how it looks with more finished.

Right now I know I have to face the following challenges:

  • Sizing everything. Math isn’t my forte and I think I have selected a size HST that will fit with the FGs, but one can never be sure.
  • Right now it looks like I have more than plenty Flying Geese. What do to with the extras will be something to consider. I’d like to use them all, but that may not be possible. There could be possibilities for a half border or something.
  • Perhaps I should double up the FGs so they stand out more? That is a ‘make visual decisions visually’ problem and I will have to look and see.
  • How big? I want to put more Friendship Star blocks in the corners. Will that make the quilt too big?


Red Strip Top – Ready Set

Red Strip Donation Blocks - ready to set
Red Strip Donation Blocks – ready to set

I worked very hard on the red strip blocks and have as many as I need for a quilt. They are on the wall and ready to set.

I am pleased with how they look and am thinking of setting them with aqua or turquoise.  I have also started in on making some new blocks for the Red Strip n.2. As I said before, there is no appreciable diminishment of red scraps.

The meeting in on Saturday and I may be able to finish the top by then. We’ll see.

FOTY 2017 Top Finished!

FOTY 2017 Top - finished
FOTY 2017 Top – finished

Well, I did it. After what seemed like a lot of trauma, I finished the top last Wednesday in a couple of hours of free time after I finished my chores and work.

I thought I would just sew more chunks together, but it turned out that the quiltmaking goddess smiled on me and all my seams were straight and there was no (or minimal) ripping required.

Now we can really see the gradation and I make no bones about how hard I worked at it this time. It is interesting to see some areas that appear lighter IRL appear darker in the photo (check on the blues next to the bird in the middle of the quilt). I do like the way it looks like the columns are fading in and out. It also has that skyline effect, which is great.

FOTY 2017 Back - ready to quilt
FOTY 2017 Back – ready to quilt

I buckled down and made the back, binding and sleeve on Sunday. Yep! Even the sleeve. I feel quite virtuous.

This is a really hard exercise and I challenge you to do something similar.

Bonnie & Camille Donation Top/Back (Ends n.8)

Sewing on Tim's machine
Sewing on Tim’s machine

I spent the day sewing with Tim yesterday. I went over to his house, so he wouldn’t have to crate his dogs all day.

I didn’t bring my machine, which was really nice! Tim has a couple of machines, one similar to my Janome 6600 and I used that one all day. He worked on an old Kenmore – not THAT old, maybe early 2000s. Despite the sort of tight space, we worked together very well.


Ends n.8 - Bonnie & Camille
Ends n.8 – Bonnie & Camille

I had some Bonnie & Camille ‘ends’ from the Stepping Stones n.2 quilt, I think, that were bugging me, so I took them plus my Bonnie & Camille fabric and made that my project. I brought other projects as well so I would have enough to work on, but only got this piece done.

Ends n.8 (Bonnie & Camille)

Tim said he would quilt it and wanted me to make a back. He prefers plain backs, so looked for some wideback fabric in his collection before we decided I should make the back.

In the course of assembling all the supplies for this quilt, I realized how much Bonnie & Camille fabric I have. I am pretty much done with it, so if you want yardage or charm packs of some of the older collections, let me know and I’ll tell you what I have. Contact information is on the About page.

Various & Sundry 2019 #4

Doing Good
After the tragic events in New Zealand, Angels in Gumboots has created a project to make 100 heart quilts. You can find the information on their Facebook page. Basically, make 6″ finished (6.5 inch unfinished) heart blocks in green on white backgrounds. No novelty prints. You can find the Cluck Cluck Sew pattern (we used it for the Pulse quilts) on her site. My heart is breaking at this latest horror. How often do we have to make these blocks for more quilts which will never take the place of a loved one?

Yes, you have to send the blocks or tops or quilts to NZ. The post office will help you.

Charlotte also writes about white supremacy and white nationalism in her blog post. The post provides some resources on identifying how these ideas/movements (? not sure of the right word) affect societies and the people in them.

Media

Mister Domestic has a YouTube Channel. One of the things he does is unboxes quilt subscription boxes. He laughs a lot during these videos, so if you need a laugh, watch his silliness and get a chance to check out various quilt subscription boxes. I really liked what was in the Modern Quilter’s Box.

I was referred to SuzyQuilts by an article in an older issue of Love of Patchwork & Quilting about Lindsey Neill. This is a really cheerful sounding blog. I also found some really useful posts such as “does batting have a right and wrong side?” If you sign up for her newsletter or mailing list, you get a free pattern. I didn’t so I don’t know what it looks like.

Another article on the healing effects of sewing. This time, it’s from the Guardian. It is written by Clare Hunter who has written a book called Threads of Life: a History of the World Through the Eye of a Needle.

Ronni of Road Home Quiltin’ mentioned a podcast search engine, Listen Notes. I did a search for quilt and came up with a number of the relevant podcasts, such as Quilt Cabana Corner, Off Kilter Quilt, etc. Good job!

Rafael Araujo, a Venezuelen architect, is in the process of publishing an amazing coloring book  about the Golden Mean. This article shows a number of photos of the images. There is a link to the Kickstarter campaign and a pre-order on Amazon from the article.

Barbara Brackman, quilt historian, discusses fabric and pattern in a post on her Material Culture blog.

Fabric, Notions, Supplies & Tools

I found the Ruby Star Society catalog and more information about these former Cotton & Steele designers forthcoming fabric lines.

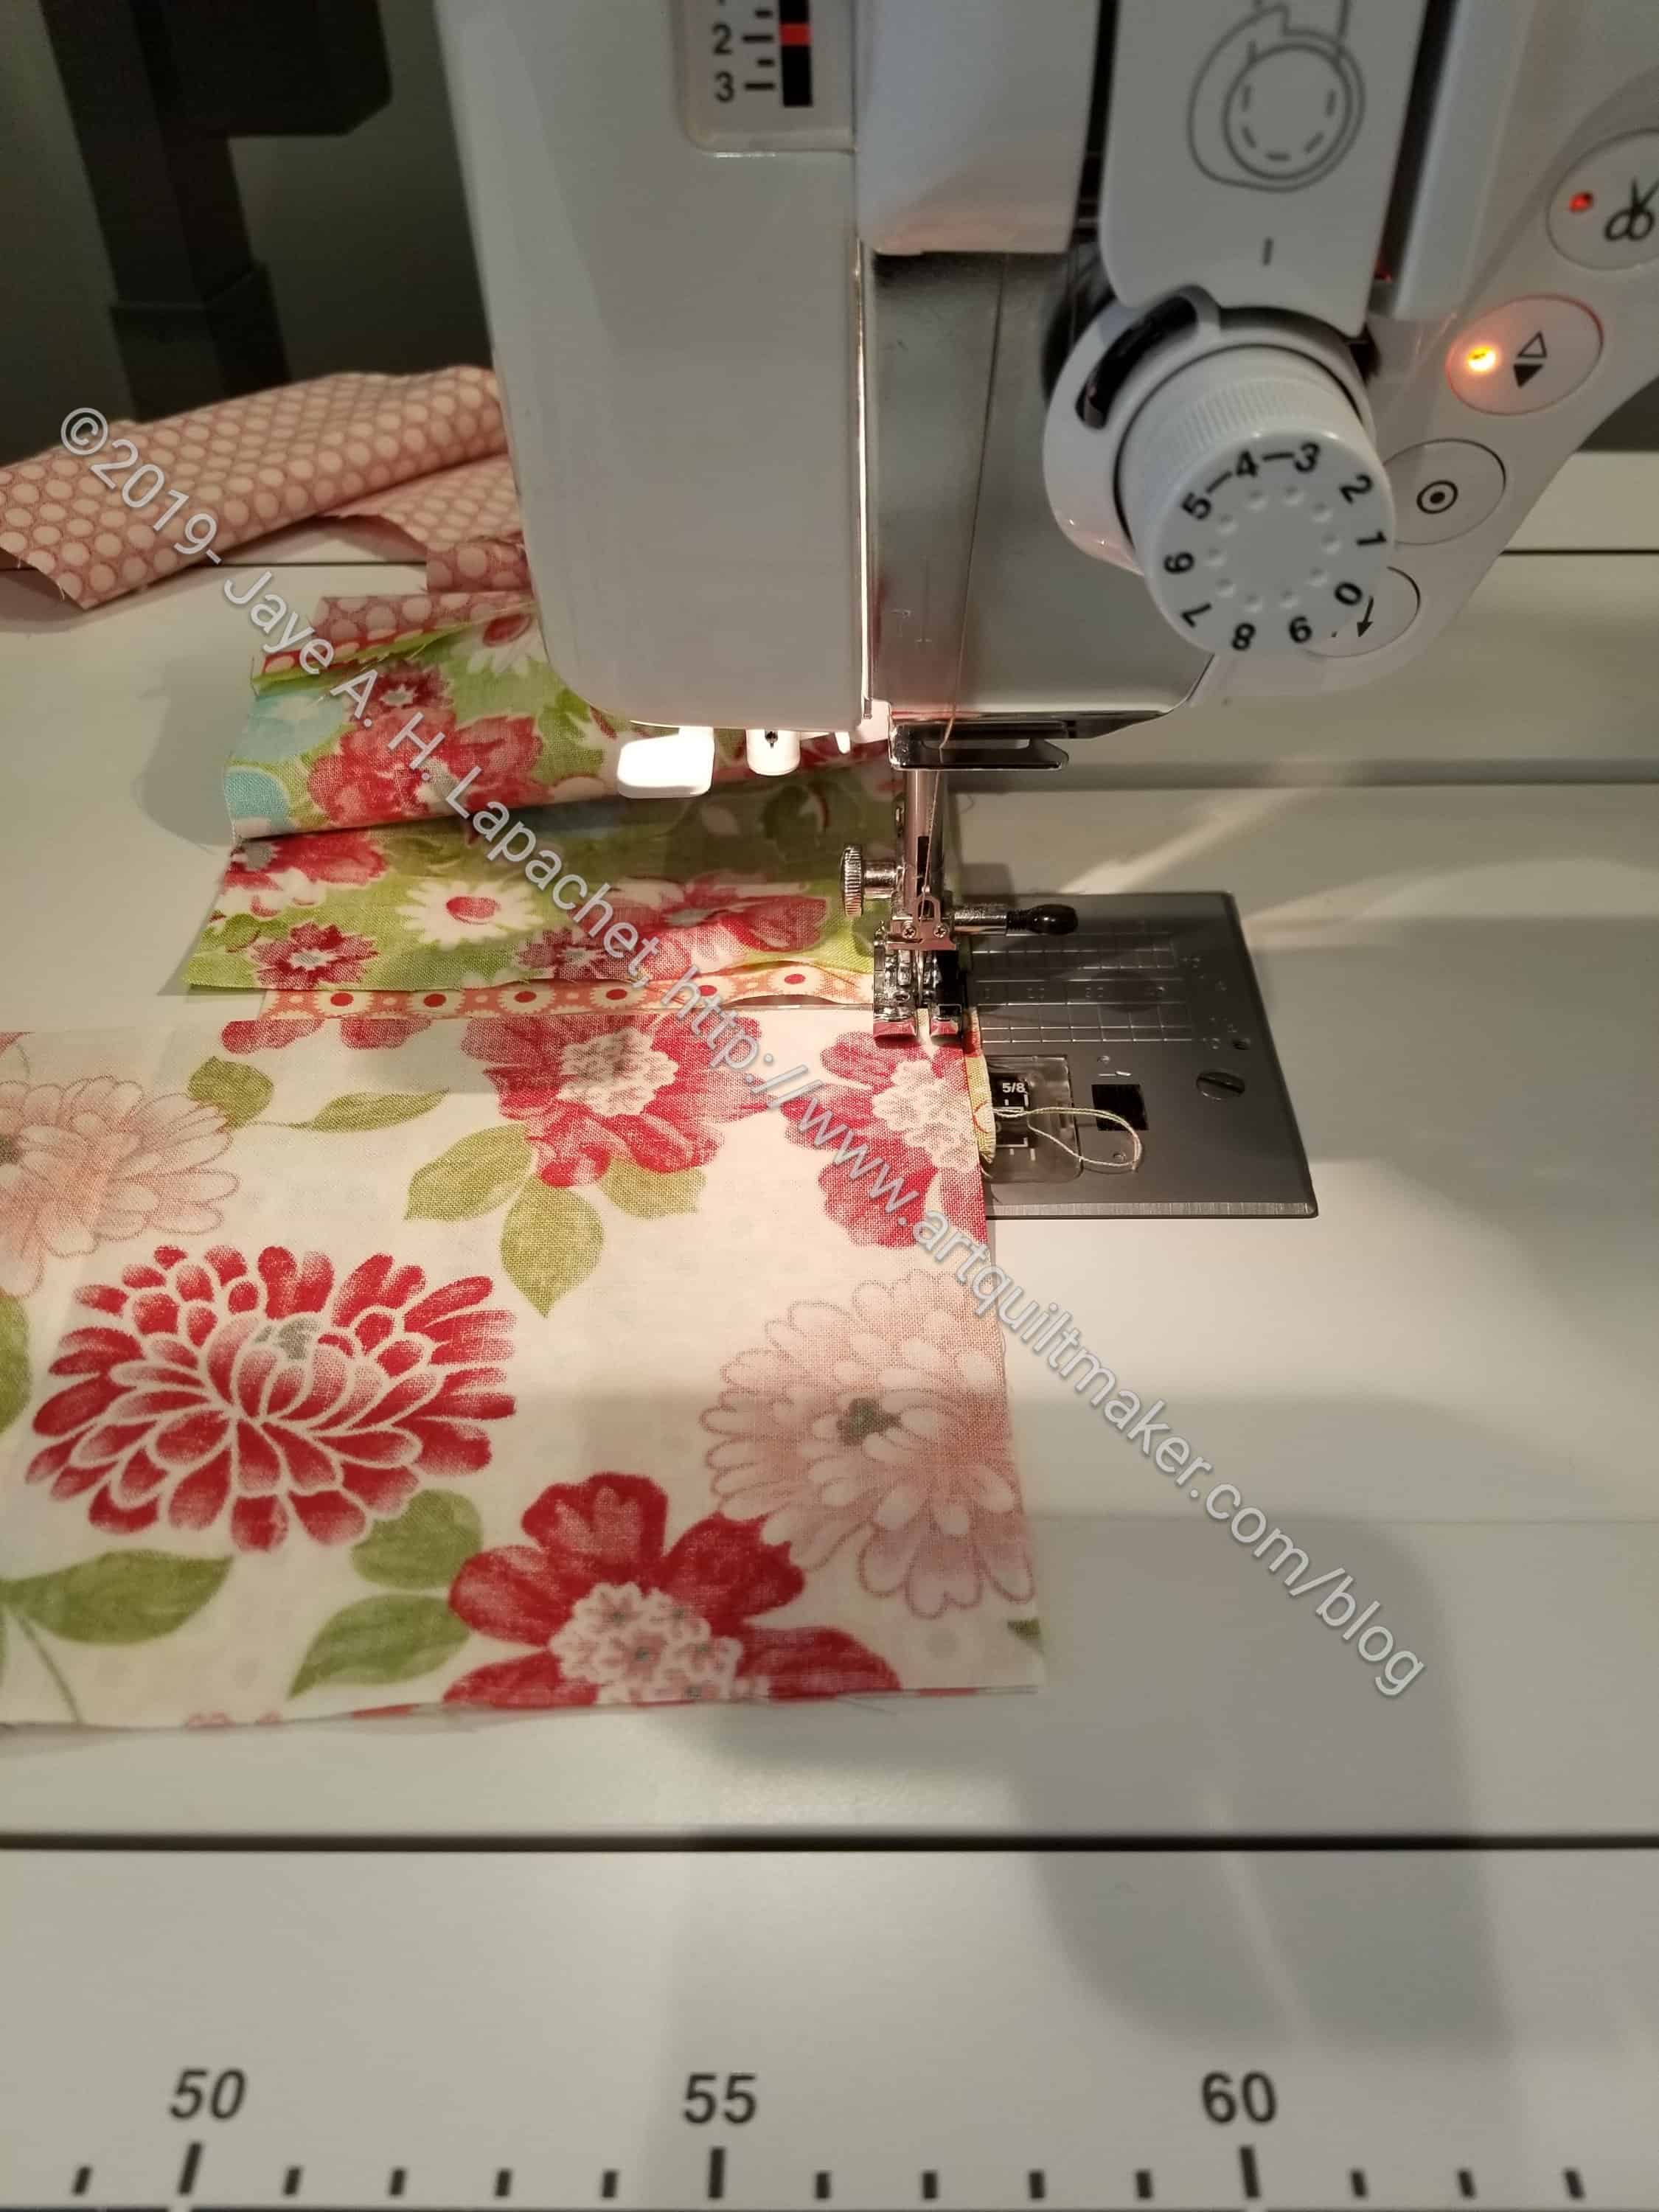
Gretchen was extolling the virtues of the laser that was included with her relatively new sewing machine. Wherever she posted this information someone came up with an aftermarket solution for those of us with regular machines. You can add a laser to your own machine regardless of make or model. Slice of Pi Quilts has a tutorial on the virtues as well as how to install it.

I found an interesting article about thread.

Projects, Patterns & Tutorials

Barbara Brackman has a blog about block patterns, which someone told me was new. I found that it went back to June of 2016, so it is just new to me and there is a lot of inspiration there. It is, basically, an index of quilt blocks, like her Encyclopedia of Pieced Quilt Patterns, but in blog form. This is good since it looks like the Encyclopedia of Pieced Quilt Patterns is out of print, or now difficult to find, and people are charging a lot for it. She only posts once a week and her recent post is about Ohio Stars and Nine Patch Stars. There are examples of the quilts. While the fabrics are faded and not bright or cheerful, you can see some trends that show up in Modern quiltmaking. There is a box to subscribe via email.

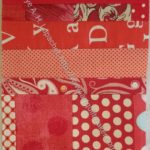
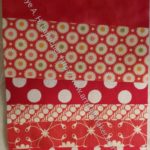
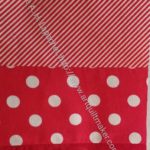
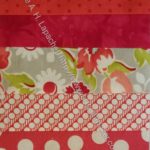
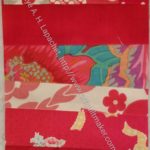
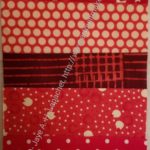
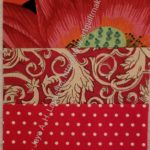
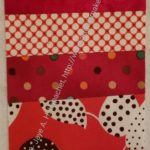
The Spring 2019 Riley Blake fabric challenge is now full. You can still participate by purchasing the fabric yourself somewhere.

Groups & Guilds

The MQG has the QuiltCon awards ceremony online. I don’t know if you have to be a member to watch. I am a member, but I haven’t watched it. Yet.


2019 Cutting Chart

Once again, it has been awhile since I showed my cutting chart. It is something I meant to do in January, but it never seemed to get done. The same thing happened last year, so it has still been a year, which is my actual goal. Once a year.

2019 Cutting Chart
2019 Cutting Chart
  1. Spin Wheel – 3.5×4.5 rectangle – all fabrics except background fabrics
  2. Blue Lemonade – 2×2 square – blue, green and purple
  3. 30 Something – 2.5 x 4.5 rectangle – foreground and background
  4. 30 Something -1.5 x 2.5 rectangle
  5. 30 Something – 2 7/8 x2 7/8 square
  6. 30 Something – 1.5 x 1.5 square. I also cut one of these for a friend and send those off when I have a chance.
  7. 2.5″ squares for different projects. One square is for the 16 patch donation blocks, one is on spec and one is for FOTY 2019
  8. 5″ squares – no particular project, but I thought it might be a good idea to start storing some up for a future project. The impetus was that DH got me a 5″ square keeper for my birthday. That’s as good a reason as any, right?
  9. Half Hexie Stars – 3.5 x 12.5 rectangle
  10. Blue Gradation quilt – 2.5 x 4.5 rectangle – this has been on the Dream Projects list since at least 2014. It might be time to put up or shutup.
  11. Pink Gradation quilt – 2.5 x 4.5 rectangle –
  12. – this has been on the Dream Projects list since at least 2014. It also might be time for me to put up or shutup about this project. I am not sure how many gradation type projects I can do in a row.

As you know, one of the major aspects to my quiltmaking is hunting and gathering. I prefer to make quilts, usually, that use a lot of fabrics. I think many different aquas will be more interesting than just one. This means that many projects, I need to cut a lot of patches from a wide variety of fabrics. It doesn’t work for me to decide to start such a project, open up a fabric bin and start cutting. I don’t want to always stand that long, I get bored and the whole situation results in me hating the project or just stopping about halfway through. Also, if I use that strategy, I get tend to have too many of one color and not enough of others. None of this is good for my stress level and definitely not they way I want my quiltmaking to be.

My system, which I have explained in similar terms before, is that once a project is in my queue, I decide if it requires a ton of cutting. If it does, I can figure out what kind of cutting I need to do (coordinated fabrics or scrappy fabrics as well as size). Either requirement can work with my system. Then I put the shape and color on my list, which I keep the list near my cutting table.  When I have a new piece of washed and ironed fabric I have a good list of exactly what to cut.

Also, I don’t know of another way to really randomize this type of fabric selection. Cutting from fabrics I buy new or pull out to use seems like as good a way as any. Also, as an added bonus, I use fabrics that I like right now -> immediately.

Another problem I had was that I would take fabrics out of bins and find that NOTHING would be cut from them. Not one square. Shameful! This problem was alleviated by the Fabric of the Year project. You can read about the beginnings of that project for me in a post from 2008. Using this method for cutting started the solution to my Hunting and Gathering.

As I got use to cutting one shape, the Fabric of the Year shape, out of new fabrics, it became easier to cut more than one shape. I thought it was a good idea and it became easier to use this new system to make progress on projects I was not yet ready to start sewing. Pretty soon I was up to the number of pieces I am cutting now. And the stacks of those pieces were piling up.

I also found that the fabrics became less precious. I started not to save them for a better project. This meant that fabrics that I loved RIGHT NOW were in a project RIGHT NOW.  I also found out, which I have talked about in terms of the FOTY projects, which fabrics were going to work for other projects. I could go and buy more before it was 3 years later and too late to buy more.

Now, there are many fewer fabrics that not been cut into. When I buy fat quarters, there is not much of them left after all this cutting.

One of the great things about cutting pieces from new fabrics is that it is a great warm-up. Sometimes when I need to get started, pressing fabric and cutting new pieces from new fabrics is a good way to get started. If I have 10 minutes, I can cut, feel like I made progress and got a little stress relief in.

Finished: Scarf

Last year, during or after the Sisters trip, I started knitting a scarf. I had my usual ups and downs with the knitting, ripping out quite a bit, not knitting on it, etc.

Finished Sea Scarf
Finished Sea Scarf

Lately, when DH is out at a meeting on a Wednesday evening, I go to a knitting circle at a local shop in order to see people and have some human contact. I have been 3-4 times. I just sit there, knit and listen. This activity has helped to get this scarf finished. I still have to weave in the ends, but I am calling it done. This project is for me and I will wear it as a summer scarf, for those foggy days in August.

New Red Strip Donation Quilt

Red Strip Donation Blocks

So, this is the third in my strip quilt donation series after the Green Strip and the Purple Strip. Apparently, I am creating a series, though I am really just cleaning out my scrap drawers.

I worked on this Sunday as leaders and enders as I worked on the Fabric of the Year 2017 top. I made good progress on both. I am about 4 blocks away from having enough blocks to finish up this top. The sad part is that there is no appreciable lessening of my red scrap drawer.

I also forgot to take photos of the blocks as I finished them, so now I need to go back and figure out which ones are new.


New Knitting Again

Kira K Designs
Kira K Designs

After my recent scarf finish, I think I need to learn to read a knitting pattern so I can knit more interesting items. I was thinking about some fingerless gloves that one of the ladies at the knitting circle showed me. She was using a much smaller yarn, which is what I have, so I know that it would work. The issue is that I have 3 skeins, about 1300 yards, and I don’t want to make 15 projects with the same yarn.

I started to ask questions about the pattern I chose to accommodate the yarn I bought at PIQF last year. I absolutely do not want stash yarn and loved the shawl, which I will knit to keep at work when the air conditioning gets to be too much. Apparently, the yarn is wrong for the pattern, so I needed to choose a new pattern.

The shop owner asked me to come back the next day as she was rushing to a board meeting. I went back the next day and she showed me how Ravelry works. It has a great feature where one can put in the difficulty of the project you want as well as yarn you have and the system will come back with projects that will work. I found a sweater that I like and will try.

I went back, again, the next day to talk to the sweater queen who didn’t really like the sweater construction,but was very kind and helpful.

It turns out I have been doing the stockinette stitch wrong. It didn’t matter when I was doing my own scarf pattern, but I would have to translate stitches, if I continued on knitting the way I was. Thus, I came home with videos to watch and knitting practice to do.

DIY with Fray Check

New Sheers - March 2019
New Sheers – March 2019

Last weekend we hung new sheers.

We had great sheers from Crate & Barrel that I loved. They were more than 20 years old and starting to rot from sun damage. They were a good investment, I think.

My old curtains had multi-colored dots on them and I really wanted more of the same. Of course, because everything must be new, that style was no longer available. I found some curtains with silver dots and decided those would work.

We had never hung a real curtain rod and had some sort of jerry rigged system using one of those curved rods and a bunch of nails. When we moved in the YM was 6 months old and we were a little busy.

Various finials we did NOT choose

Several months ago, I started looking at curtain rods. We have a corner window, so needed a system with a corner connector. There were a few, but the finials in all of these were TOO MUCH. They screamed “Welcome to my curtains”. That was absolutely what I did not want.

For this sort of shopping, at least for me, online shopping is sub-optimal. I need to see the size and finish of what I am looking at.

Living room finials
Living room finials

DH was home last Friday for Cesar Chavez Day, so we went out and looked at rods. In addition to the crazy finals, we found that the diameter of the rods was too big. We went out the next day, again, which is some sort of miracle because it was Saturday and we don’t shop well together. I tried to think of it as kind of like a date, though. We found a great, subtle rod at Target with a corner connector! We hadn’t even planned to go to Target, but we parked near it and stopped in. Their selection of curtain rods and hardware was pretty decimated, but we found a finial we liked. They had all the pieces and parts we needed, so we bought it and left.

DH doesn’t have much time at home, so I was planning to have our handy man put them up. DH started moving furniture and measuring on Sunday morning and spent a happy, I think, 3/4s day putting them up. I had to help him at various points, which was great, because he was getting it done. I knew there wouldn’t be another half finished home project in our garage.

Fray Check DIY
Fray Check DIY

This style of curtain rod has supports. We did not want to use the rings designed to work with these curtains, so we cut the back of the curtain rod pocket, sealed the edges with Fray Check and hung them up. Nobody will see the cuts.

I hadn’t used Fray Check in a long time. I was pleased that my bottle was still good. I used too much on the first one and it took forever to dry. I used a hair dryer to be sure it was dry. Otherwise, the whole project went relatively smoothly.

I am pleased with how the curtains came out except, because of the online shopping aspect, they are much less sheer than our other sheers. I would have preferred more sheer to let more light in, but done is better than perfect. Now that we have secure curtain rods up, we can change them more easily.


Really Finished: Purple Improv

Purple Improv Donation Back

It took me awhile to get the back for the Purple Improv donation quilt finished. It is now done and I, unexpectedly gave it to Tim at Sew Day yesterday.

Making the back was slightly delayed, because I couldn’t get my purple fabric bins. I don’t use purple that often, so they are slightly buried.

I did it a little differently this time. The top was on the design wall. Instead of pulling it off and using the design floor, I pinned fabrics from my stash to the design wall in the place I wanted to use them. This worked pretty well as I could see where I still needed coverage.

Finished: Improv Donation Top

I didn’t think he would want to quilt the Purple Improv quilt, but he took both the Purple Strip quilt and this one to quilt. He is such a rock star.

Red Strip Donation Blocks

The Purple Improv donation top wasn’t even off the design wall before I started in on red scrap strip blocks, the next color in this unexpected series.

I have 15 more blocks to make, but they go fast and I have 3 in process at the moment.

There is something very satisfying about sitting at my sewing machine, grabbing strips and shards from a drawer right next to the machine and ending up with a quilt top. When I started the Green Thing, it was kind of a lark, an experiment to try the blocks that were inspired by Alison. Now this seems to be a whole project. It’s unexpected, but oddly satisfying.