Merit Hexie Pillow

Merit Hexie Pillow Layout

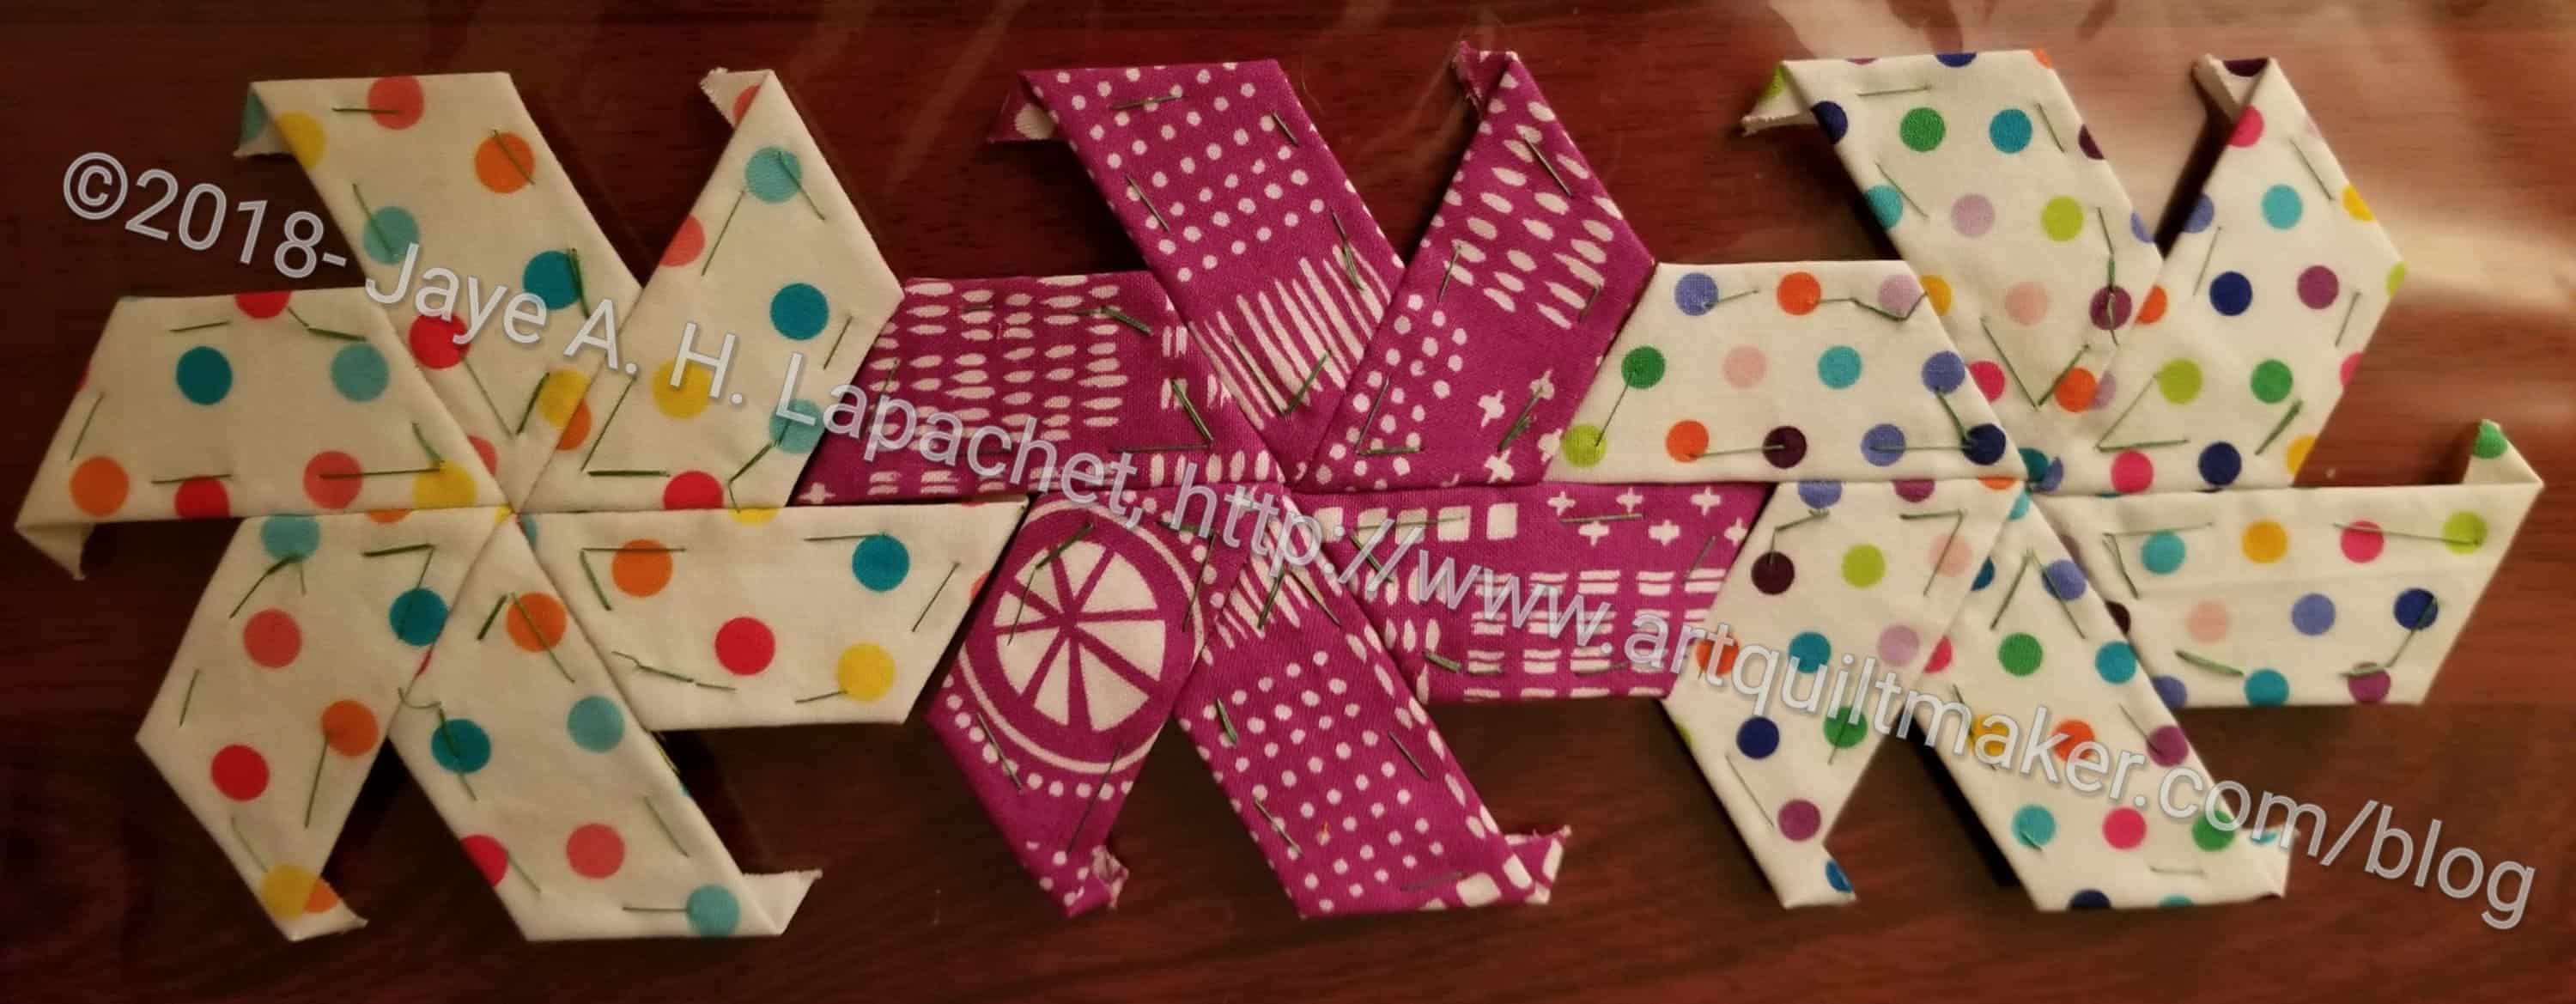
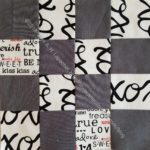
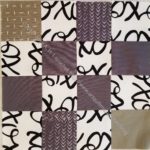
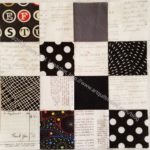
As you know we have been earning merit hexies in the guild. I had a few minutes before I had to get ready to go out, so I designed a layout for my 2017 merit hexies.

I used the leftover basted sandwich from the Walking Foot WOW class. I laid out my hexies in a couple of pleasing ways and finally decided on this layout.

I pinned everything in place and will begin appliqueing the hexies down soon. I might have another chance to install a zipper!

26 Projects: Progress Continues

I feel like I am making good progress. Compared to last time I have added a number of finishes to my list. I have finished projects that have been hanging around and nagging at me and that feels great. I am still on that trajectory, so I hope to add some more finishes to my list during April as well.

Finished 2018 Quilt Projects

Finished 2018 Non-Quilt Projects

Doing Good

In Process
The  ‘In Process’ is used to denote projects on which I am actively working or pretending to stitch. I try not to put away projects, because that will ensure I never work on them

  • English Paper Piecing Project– half hexies – I made a little bit of progress on Friday night. I think I might be back in the saddle on this.
  • Stepping Stones #2 – Now that the BAMaQG IRR is off the design wall, I am planning to put this back on it and work on it. I have a loose goal of completing two quilt tops (+backs, binding) before April 9th and this is one I’d like to complete. If I am going to make my goal, I need to get busy. I need to cut more patches and sew more border blocks.

Still WIPs
I still have WIPs. Who doesn’t, after all? A project in the ‘UFO’ category means I am stalled. A nicer way of saying UFO is a WIP. The list is a lot shorter and the projects are newer, for the most part.

  1. Aqua-Red Sampler – I need to lay the blocks out and put the piece together. No new progress.
  2. BAMaQG Color Round Robin – no progress.
  3. City Sampler – blocks all made. Need to sash the blocks and put the top together. Due to some issues I had with my seam allowance, some of the blocks are smaller than others, so I will have to adjust them in some way – either ripping and resewing, adding a piece or two to the block or with sashing. This is sort of a sticking point and while I consider this quilt ‘in process’ I hadn’t worked on it in awhile until I took the blocks to the BAM Sew Day and started measuring. Once I know what I am facing for each block, I can move forward. No new progress.
  4. FOTY 2017 – pieces cut. Need to layout and start piecing. No new progress.
  5. Handbag Sampler – this is a project about which I had forgotten. I actually don’t know exactly where the blocks are hiding. I have an idea and will crawl up in the far reaches of my fabric closet soon and see if I can find them. I haven’t even found a picture of all the blocks. The blocks were teaching samples when I taught a sampler class the time before I started writing the quilt class sampler tutorials.
  6. Lobster – I still have more stitching to do and then I need to quilt it.
  7. Octagon 9 Patch: I am continuing to sew pairs together as leaders and enders. I have gotten over my concerns, because I want to make progress. Minimal amount of new progress.
  8. Pointillist Palette #4: Fourth is a series of 6 quilts; needs tiny square patches sewn together. No progress.
  9. Pies and Points from Victoria Findlay Wolfe class. I need to focus on this and it is not up high enough on the list yet. No new progress.
  10. Self Portrait: started in 2006 at a class at Quilting Adventures in Richmond, Virginia. I am still stalled on this again. I have to analyze why I want to finish this piece.
  11. Serendipity Lady Quilt: no new progress.
  12. Under the Sea: class project; like the design and am happier with the colors. I have a new idea for it, which is to make a pillow and gift it to a friend.
  13. Black and Red quilt – This came about because of two other projects. I made a whole bunch of bias tape as part of my failed attempt at doing the Mighty Lucky Club a few years ago. Another part of the inspiration came from my class with Tina of Little Blue Cottage fame. This was going to be for a nephew, but I think it will be for one of my SILs and BILs. I have rectangles cut and some bias tape ready. My next step is to sew the bias tape to the rectangles like pickup sticks. I don’t have any photos of this, so you’ll have to trust me.

Small Projects in Process

  • 1 gift Sew Together Bag as a gift – nothing cut
  • Tool Tote – I bought the pattern at QuiltCon and started cutting it out at Sew Day in March

Ready for Quilting

  • nothing right now

In Quilting Process

  • BAMaQG IRR –The sandwich has been basted. I plan a couple of lines of machine quilting and then I will do the rest by hand quilting it using Big Stitch. I hope I remember how to Big Stitch.
  • FOTY 2016– Finished piecing and is at the quilter
  • Thanksgiving tablemat – I have the correct feet and just need to get busy.
  • Theoretically, the Tarts Come to Tea is in the quilting process, though I haven’t worked on it in a while.  See above.
  • Triple Star – Finished piecing and is at the quilter

Binding

  • Nothing now

Hunting and Gathering

  • 30 Something: I am still cutting 1.5 inch squares. I am pretty sure I have the 800 I need, but I am not ready to sew them together yet, so whenever I have a chance I cut more I cut more. It will give me choice when the time comes. I’ll have to think up a new name, too. My next step will be to figure out if I need to cut other sizes of squares and switch from cutting 1.5? squares to cutting the new size.
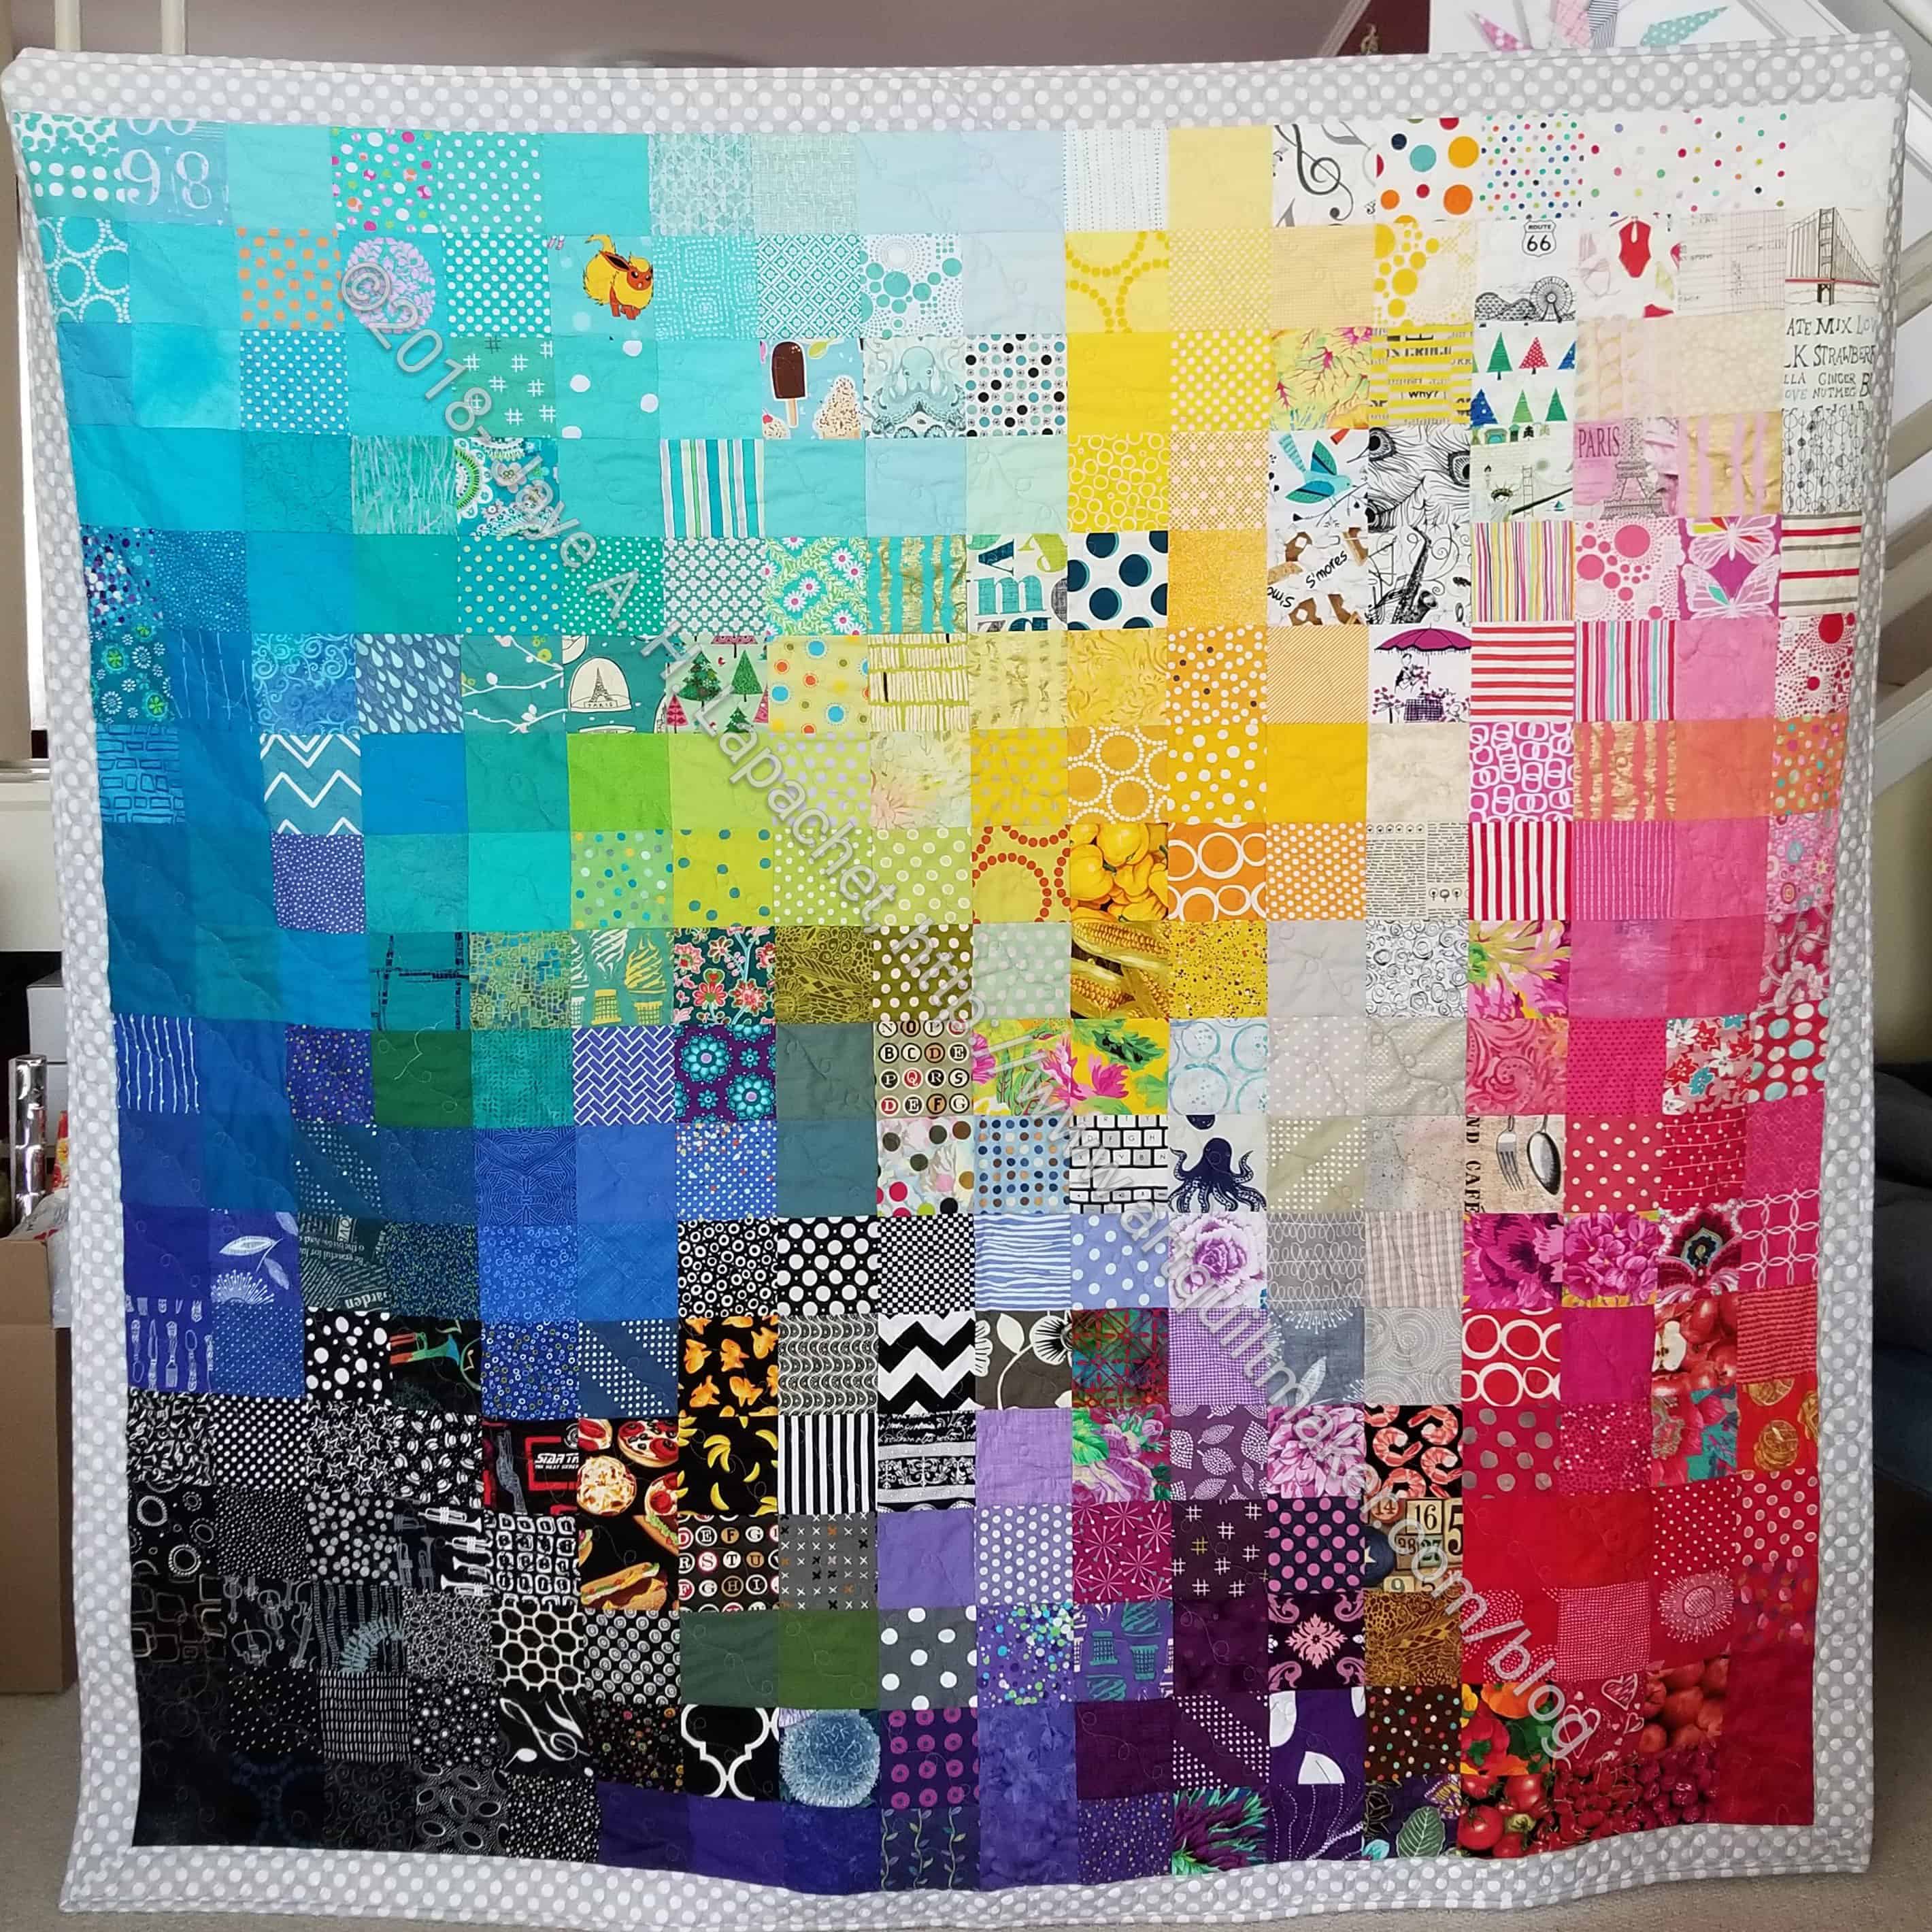
  • Blue Gradation Quilt: cutting 2.5 inch x 4.5 inch blue rectangles. It has to end sometime. I wasn’t sure I was ready to put this together, but I think I am. I might do a couple of gradation quilts in a row just to get the practice.
  • Blue Lemonade: cutting blue, green, purple 2 inch squares. I used a lot of these squares for En Provence, so I am slowly cutting more.
  • FOTY 2018: I have started cutting 2.5″ squares for the 2018 version.
  • Pink Gradation Quilt: cutting 2.5 inch x 4.5 inch pink rectangles
  • Spin Wheel: really not started, but supplies gathered. I might have to cut some more background fabrics. I probably have enough fabrics and just need to decide to start.
  • Windmill quilt: Still hunting and gathering. I am supposed to be cutting a variety of greys for the background, which required the purchase of a new template. I should be able to get going again

Other

  • Stepping Stones #3 using the Macaron pre-cuts from Hoffman. I have all the fabric in pre-cuts and am just waiting for space (and desire) in my schedule.

I bought some fabric, so I am down on net usage. Still gross usage is just over 90 yards (45 net; yes I have bought about 45 yards worth of fabric this year!). I am pleased, but I want to hit 50 yards net as soon as possible. If I could make it to 100 yards NET used by the end of the year, I would be ecstatic.

What’s on your list?

HRT Donation Quilt

HRT Donation Quilt - March 24, 2018
HRT Donation Quilt – March 24, 2018

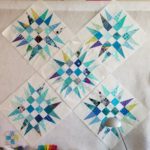
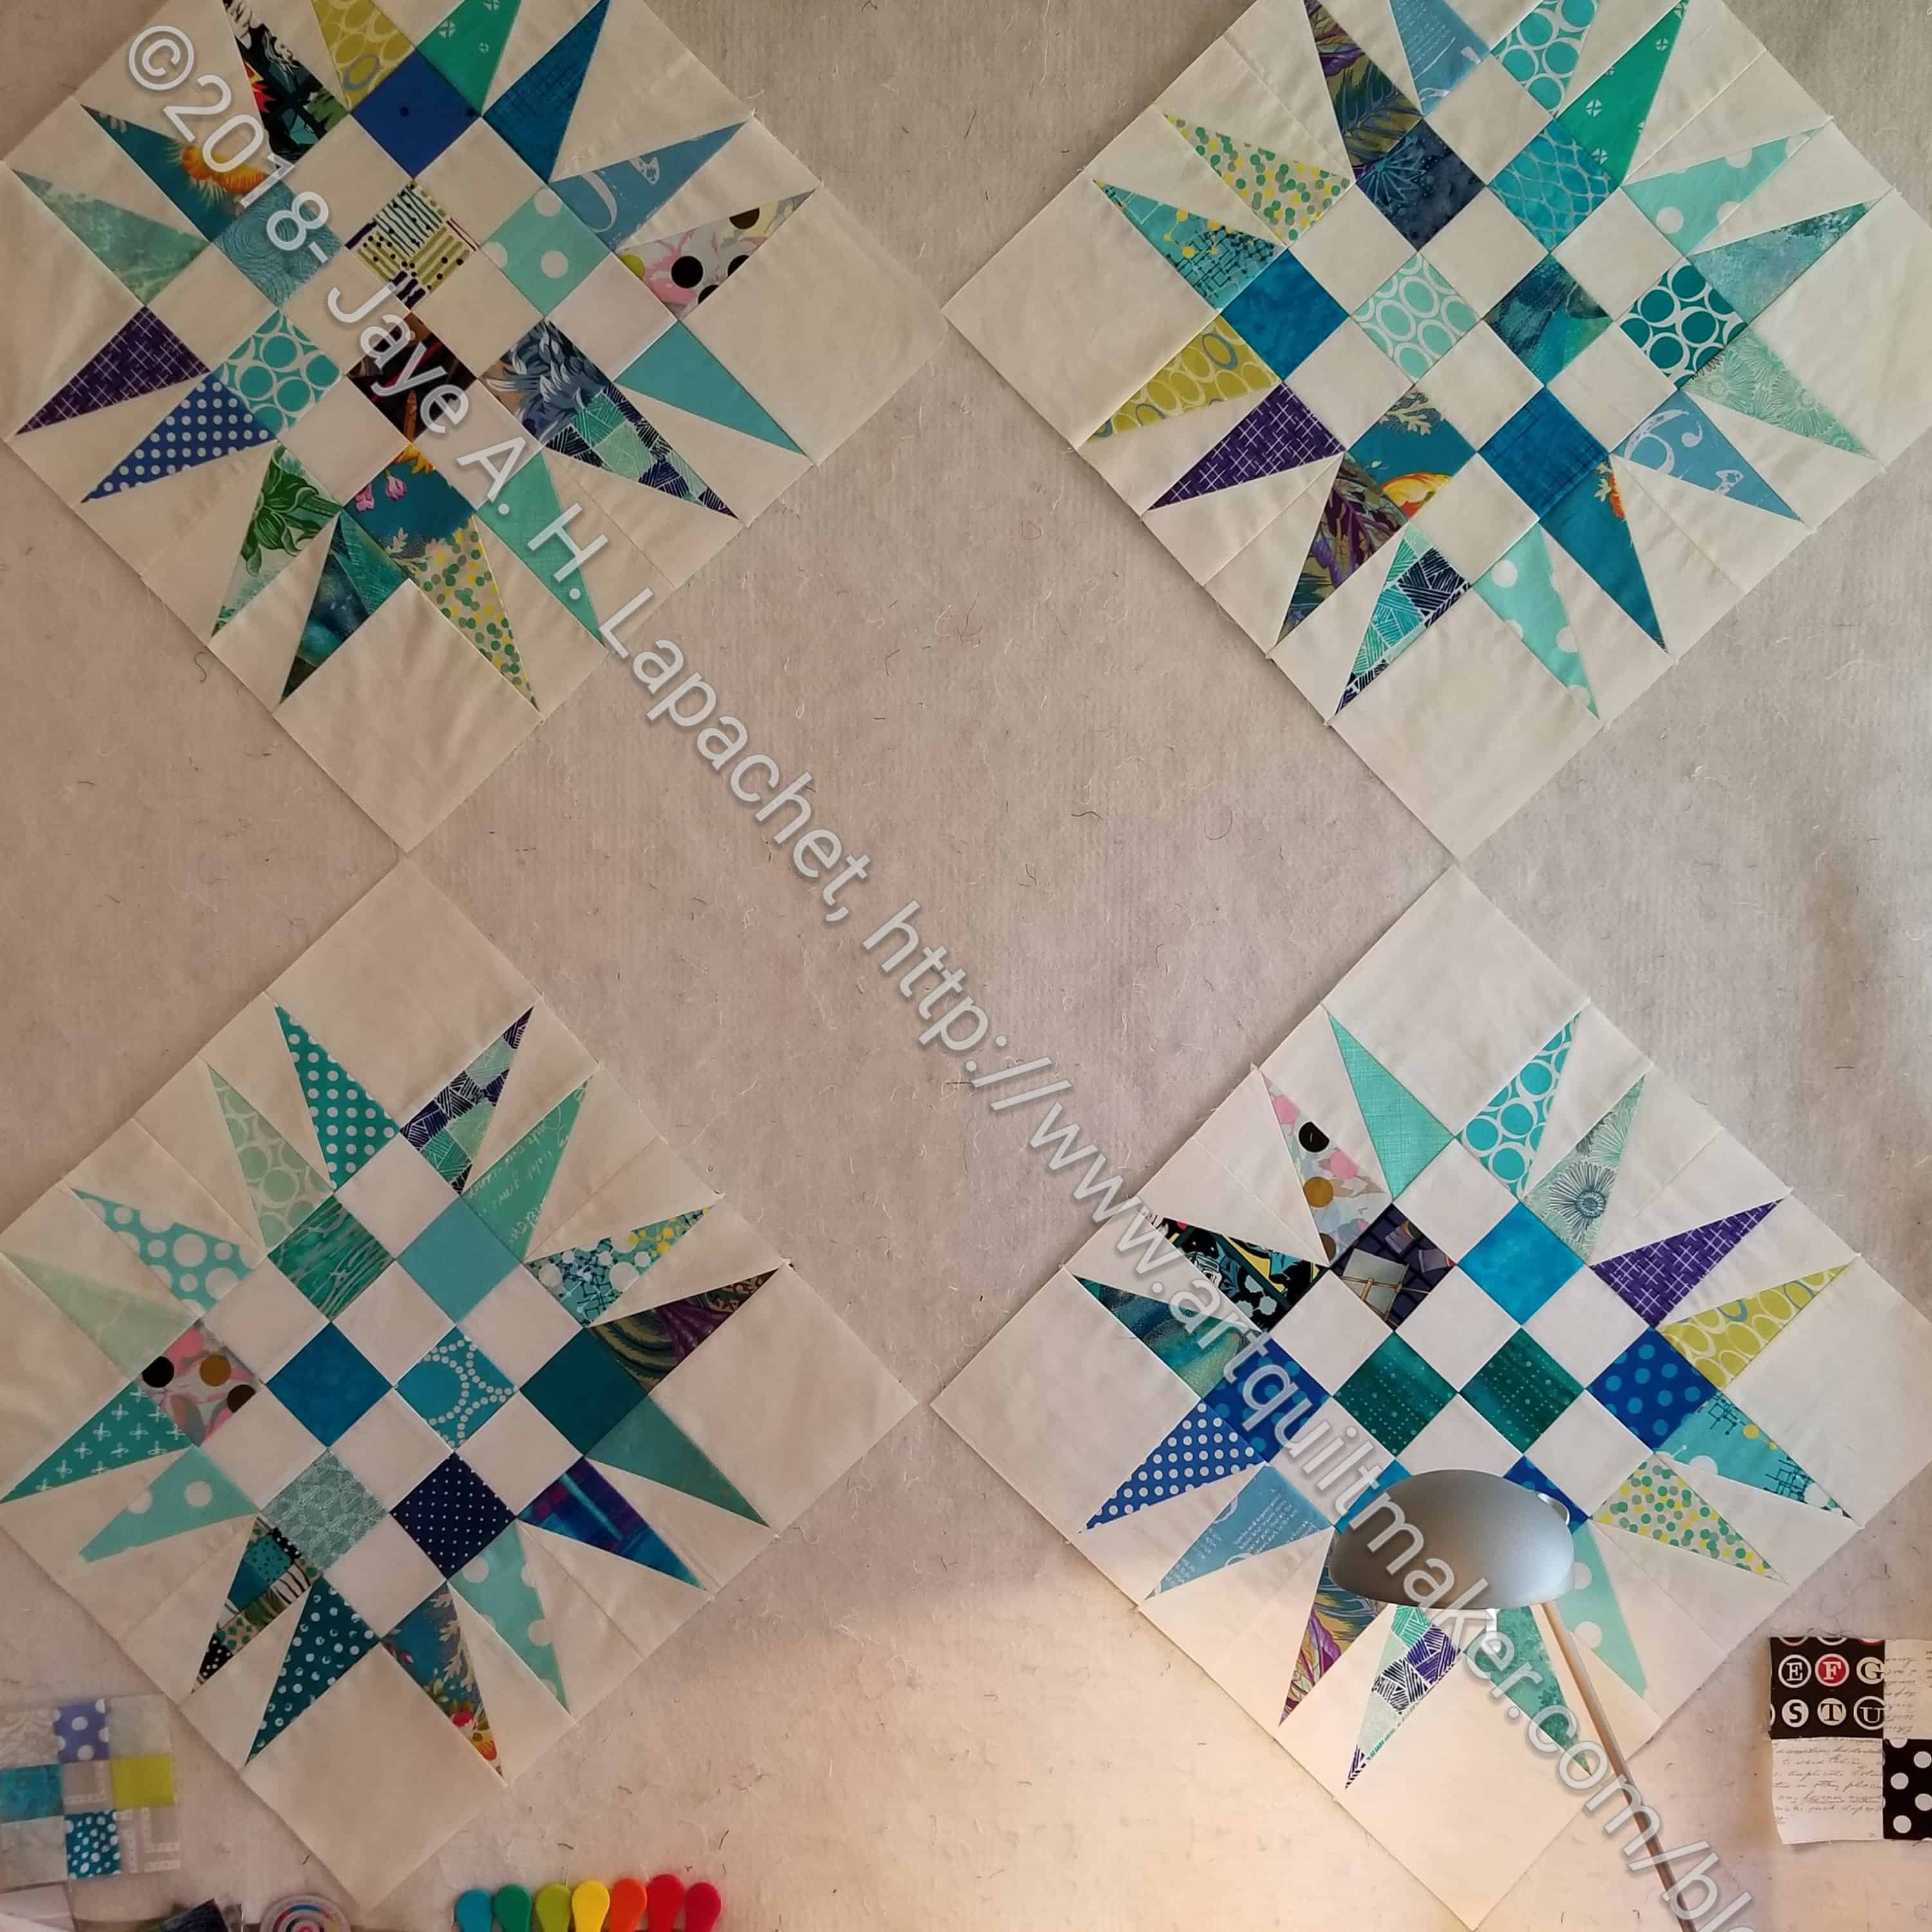
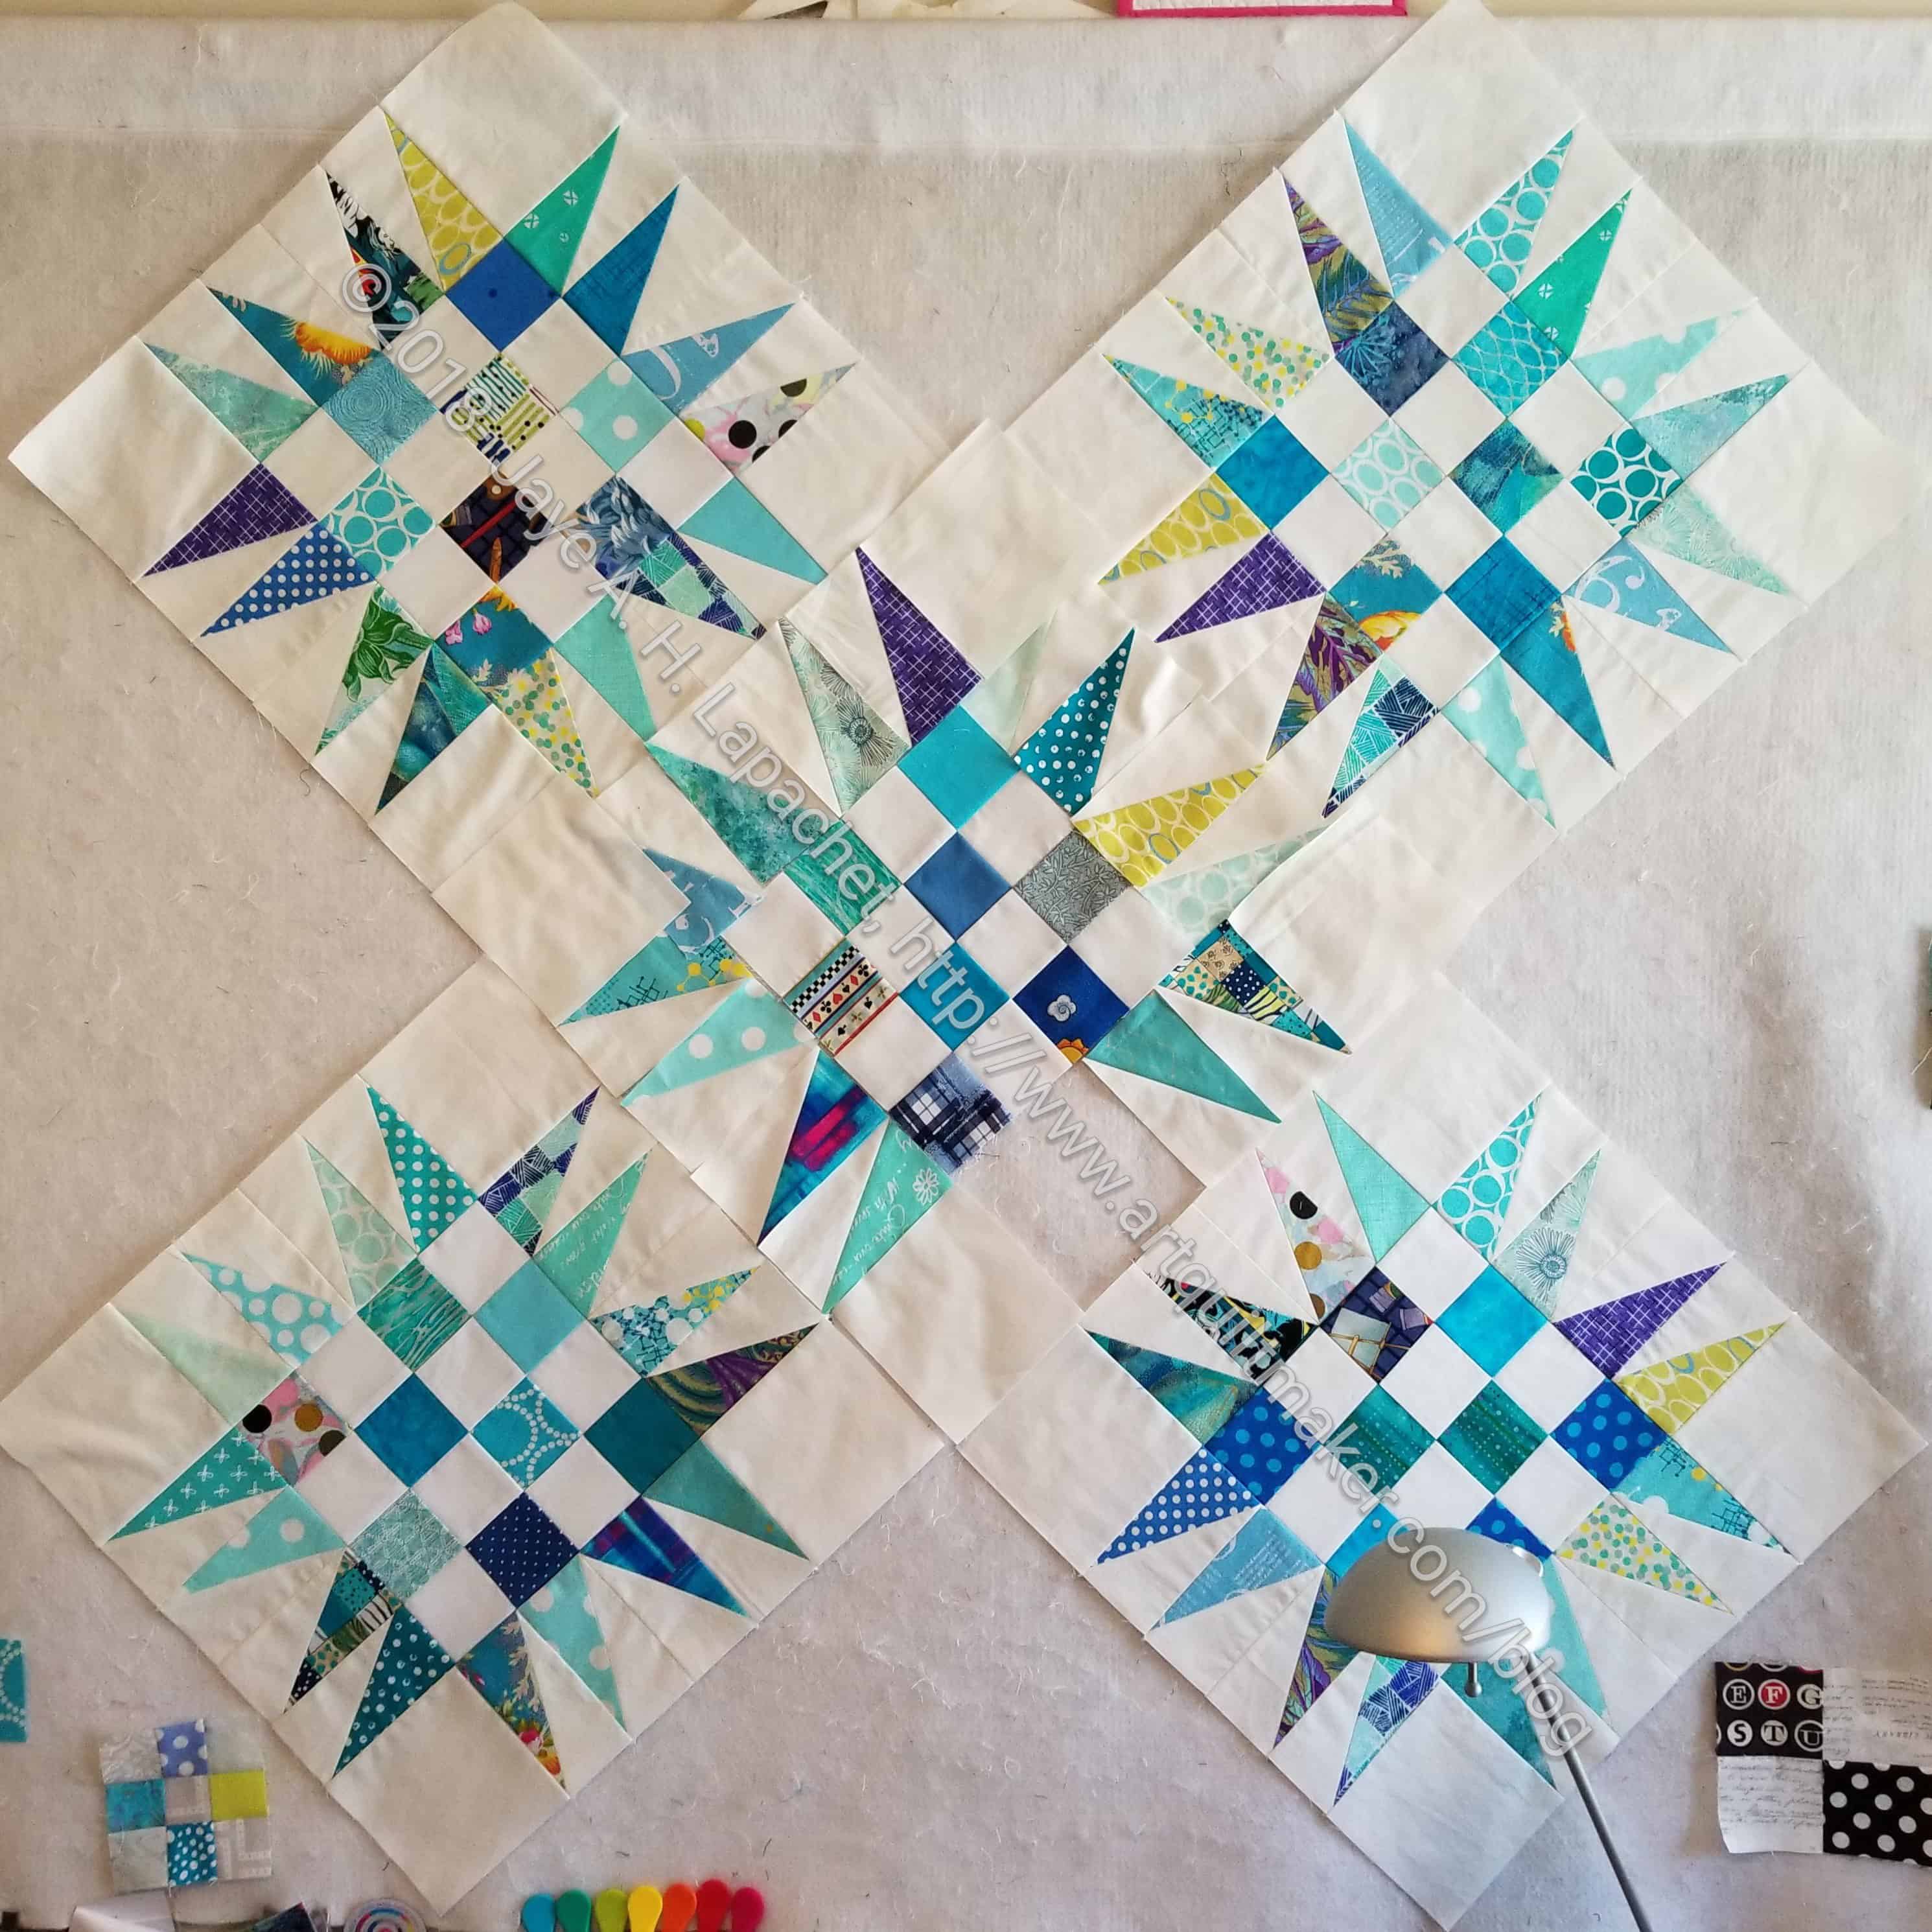
I made the blue and green donation blocks last year with the idea that I would add HRTs to the blocks to make something a little different.

I have been struggling along with the HRTs,despite all the different tutorials and information I found. I was about to put it away and try “later” when I got a new burst of energy for the project. I worked on it much of the day Saturday. The burst of energy came from watching the video on how to use the Split Recs ruler. DUH, I know. I did read the directions, but clearly didn’t understand them, because I was struggling mightily to use the ruler. I really needed to watch* the video, because there are certain steps and tips that come across a lot better via video. The biggest tip: both fabrics need to face the same way. This means wrong side to right side NOT right sides together.  HUGE tip. HUGE.

HRT Donation Quilt - March 31, 2018
HRT Donation Quilt – March 31, 2018

The picture (above left) is from my first struggles with the ruler and different ways of making the HRTs.

The image (right) is from today, after I trimmed the HRTs I had and started making new HRTs to fill in the gaps.

The quilt will be 4 blocks – it will be a small NICU quilt. I have 16 blocks and may make more of these spiky blocks. We will have to see. I am pleased I am finally making progress.


*I don’t know why I am so resistant to watching quilting videos. I suppose I perceive that it takes my time away from the actual sewing. I found the Split Recs video to be invaluable and am sorry I didn’t watch it sooner.

Half Hexie Progress

Half Hexie EPP project - March 2018
Half Hexie EPP project – March 2018

My half hexie EPP project has been languishing while I knit and sew on bindings, and do other handwork. It seems that I last posted about this project in July of 2017. I can’t believe I haven’t worked on it since then. I have been looking for the diamond papers I know I have that I will use to finish off the edges and create a border. I haven’t found them, though I did find the fabric, and that is discouraging. I want to get this done, so I start the La Passacaglia. I think it is silly to start another EPP project with this one in progress.

I found some inspiration on Instagram the other day for my languishing project, which encouraged me to get back in theswing. Pat Bravo posted about a piece made from half hexies that were arranged into triangles. I am not changing horses in the middle of the stream, but it was interesting to see.

I spent the night before last sewing some stars together and then adding them to my larger piece. The top and bottom are pretty straight. Right now my idea is to put diamonds on one of those edges to create the start of a border. The other edge (top or bottom) I will also border with diamonds, but not until it is wide enough for the bed or to be a large cuddle quilt. I am not yet sure what I will do with the right and left edges. I don’t think I can make them straight like the top and bottom, but I will try to get them as straight as possible.

Ends Donation Quilt n.4

Ends Donation Quilt n.4

I finished a second donation top last Saturday. It was nice to be able to sew as much as I did that day.

I made this second top because I was too lazy to put away the rest of the taupe fabric. I knew I wouldn’t use it and I thought there was enough for a second top so I got to it.

I would have liked to add another taupe strip to the left hand side, but I ran out.

I am using a small white dot on aqua for the back. The background and the backing are all Moda so they are fraying all over the place. Once the quilt is quilted, it will keep someone warm and cozy.

Two tops in one day must be a new world’s record [for me! ;-)]

Repurposing Units

I know it is late, but I have been wanting to make some donation blocks for the Ventura Modern Quilt Guild.

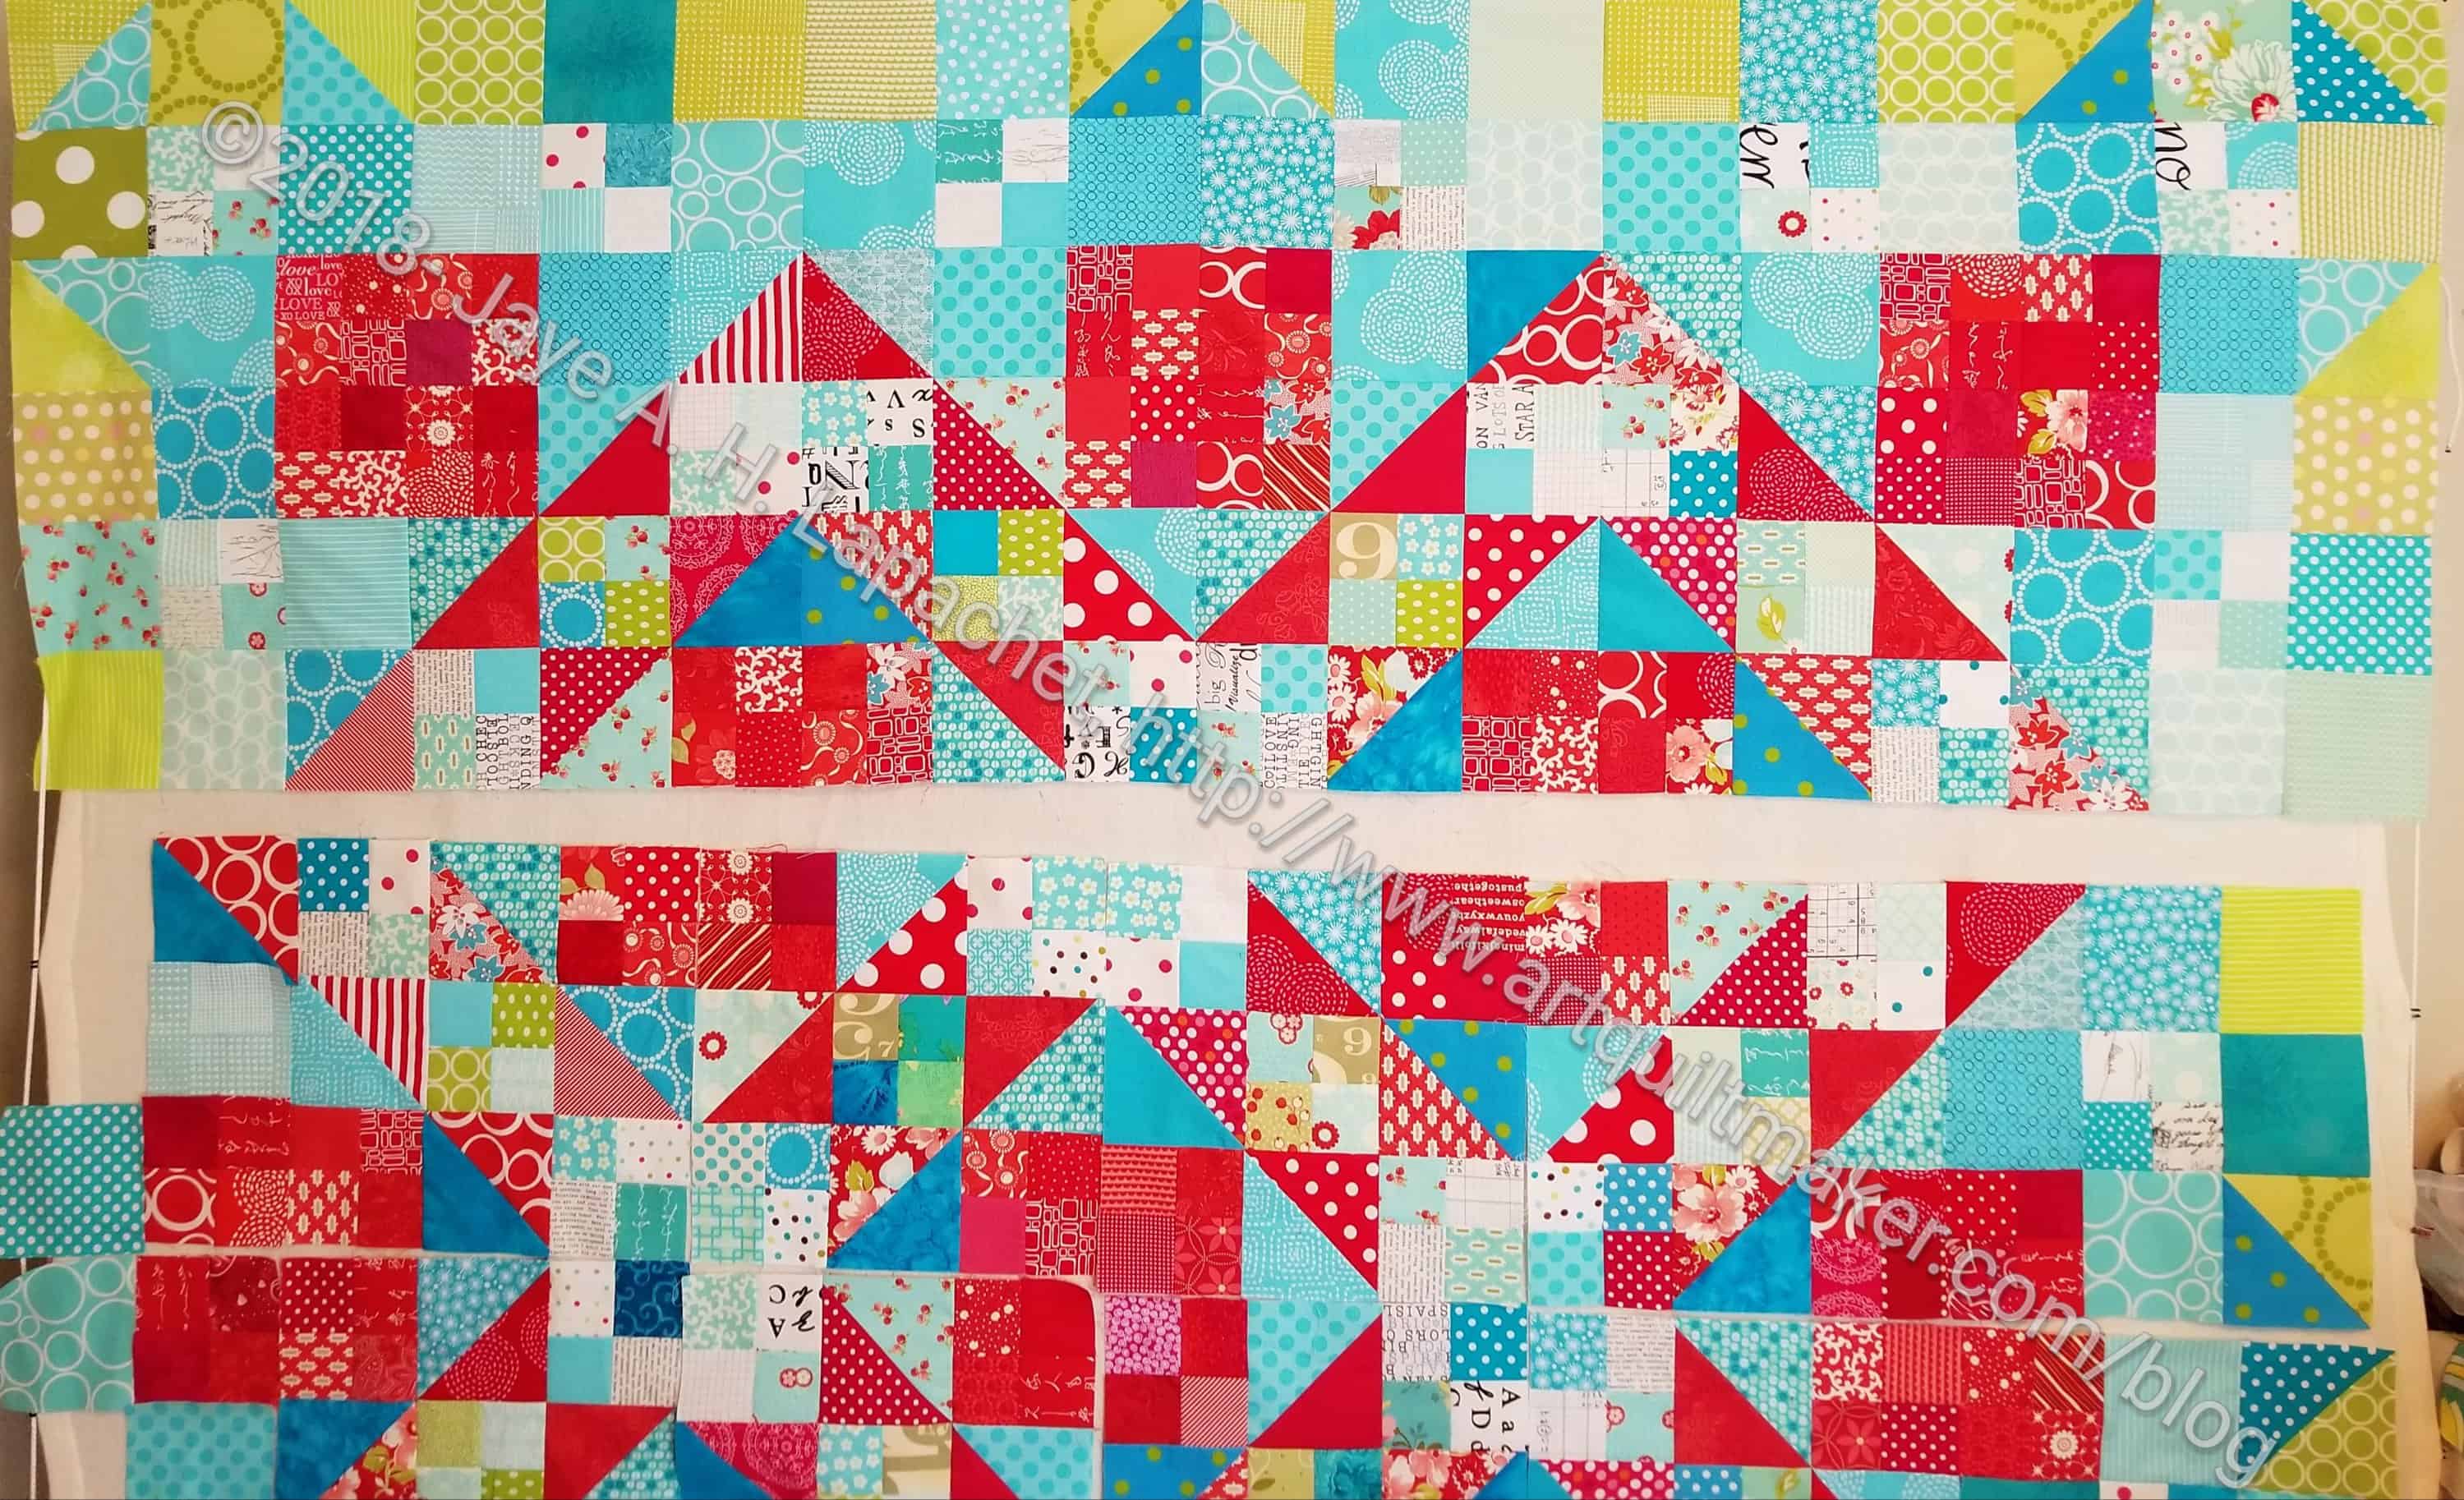
As I was rummaging through an old project bin, I found some HSTs that were the right size and decided to repurpose an old Stepping Stones project. I only had a block or two and knew I wasn’t ready to make another Stepping Stones project right at the moment.

These blocks, once the fabric is cut, are very quick to make – simple 9 patch construction. the deadline is approaching so I will send these off very quickly.

I also played around with some layouts:

Perkiomen Valley Blocks -Layout n.1


Perkiomen Valley Blocks -Layout n.2

Ends Donation Quilt n.3

Ends Donation Quilt n.3

In between making another pillow, I made another Ends donation quilt. I have a number of ‘ends’ from recent quilts. After finding a large piece of Bonnie & Camille taupe, I decided I could make another donation quilt while I was doing other things.

It is about 42×42 and I have enough of that taupe and more strips to make another one. We’ll see. I am not sure what project I am going to work on next.

I kind of feel like I am on a roll lately.

Ends n.1 quilt

Ends n.2 quilt

Walking Foot WOW Pillow Cover

Walking Foot WOW pillowcover

Over a year ago, I took a Walking Foot WOW! workshop with Mel Beach. I finished a walking foot sampler in the class that has been hanging around. After finishing a pillow cover on Friday, I was looking for a way to practice the zipper installation method I discovered on Spoonflower. The first installation took me much longer than the video, so I knew I needed practice.

The sampler was on my list and I decided it was a good day to make it into a pillow. The pillowcovers I made 5 years ago are starting to fray at the edges. I am surprised they have lasted this long.

WFW Pillow zipper Installation

The zipper installation went a lot better. I used the regular zipper foot and not the flat snap-on version I used on Friday. The regular zipper foot is a pain to get on and off, but is a lot easier to line up with the zipper itself and the stitching.

Everything wasn’t all peaches and roses. I still need practice. The zipper isn’t centered between the stitching, but I was able to catch the seam allowance on the first try, which was a problem last time. I like this method. It looks much more professional than the flap method.

Anyway, I am pleased with the way this pillow came out and am planning on working on another pillow with my 2017 Merit Hexies.

Embroidery Sew Together Bag Finished!

Finally! I finished my Sew Together Bag a few days. I can’t wait to fill it with my embroidery items, but I will wait until I show it at the guild meeting. I am really pleased with how it came out despite the problems I had with the stitching.

Again, I used the Quilt Barn Sew Along Tutorials. These posts are critical to my success with these bags.

The stitching isn’t as professional as I would like it to look, but I can live with it.

Superhero(ine) Apron

Superheroine apron
Superheroine apron

The Superheroine apron is done. This, however is a project that has to be shown at guild, then shown at the fair before it can go to its intended recipient.

As mentioned previously, I had all the pieces cut out. I had started to do little bits and bobs, but Friday, I worked on it in earnest and, shockingly, I got it done.

I was sort of surprised to see how much of me was covered when I tried on the apron. My niece is a bigger girl than me, so I think it will fit just fine.

Superheroine apron - laceup front
Superheroine apron – laceup front

The yellow is an addition that I made that is supposed to look like a lace up front. I am not sure it does, but at least I tried.

I had to recut several pieces, because they weren’t right after I decided to add a D ring at the top. I also made the apron lined by cutting out two body pieces and sewing the RST.

I talked to Mary and then looked up how to make D Rings work on the web. I wanted the neck to be adjustable, so the apron is comfortable.

YAY! Another must-do off the list! Now I am tempted to make the Decades of Style Flapper Apron I bought when I was out with Amanda last time. I want to make them for gifts and now would be a good time. I’d also use A LOT of fabric. We’ll see.

Michael Miller Donation Blocks

As I may have mentioned in one of my QuiltCon posts, I got some charm squares that are to be used for donation blocks for Quilts for Cure. Quilts for Cure is led by HollyAnne Knight and it was a pleasure to meet her. I am always pleased to make donation blocks and this seemed like a good opportunity.

Michael Miller donation blocks

I started worrying about it this past week. I woke up in the middle of the night worrying about these blocks, which is not a good thing. Part of it was the charm squares. We had to make blocks from charm squares. I didn’t know what blocks to make! That is a weird feeling as I always have an idea.. I talked to Friend Julie, who was zooming along with her blocks, then I searched for “blocks with charm squares.” I found a tutorial for a block I could make and was willing to make.

Now I am zooming through these. I have made four, have two in progress and have another stack of charm squares to use.

I am looking forward to crossing another thing off my list!

ColorPlay: Window Dressing

ColorPlay: Window Dressing - original
ColorPlay: Window Dressing – original

After a brief hiatus, ColorPlay is back. I was inspired by a window display I saw.

At first, I thought the dots were part of the items for sale, but then I realized that they were temporary dots and added a lot of fun color to an, otherwise, uninspiring display. The table has a nice shape and the black isn’t terrible, but the pops of color really made me look again at the display.

ColorPlay: Window Dressing - default
ColorPlay: Window Dressing – default

The default palette was pretty uninspiring. Again, the tool pulled out all of the neutrals and produced a shockingly depressing palette from an image that comes across as, at least, relatively, cheerful. I can only guess that the tool analyzes the relative sizes of the shapes in the image and pulls color from those. In that case, the Gotham Grey and the Gold would be understandable.

ColorPlay: Window Dressing - n.1
ColorPlay: Window Dressing – n.1

Enough of that nonsense, however! I saw lime and pink and other colors and I delved in to see if I could make a palette that I would like.

The first palette I created is much better – much more cheerful, I should say. I deliberately stayed away from the black, brown and other neutrals. I especially love the Bright Pink, the Pickle and the Citrus. The combination work well together. I think the Kona Haze gives the other bright colors space to shine.

ColorPlay: Window Dressing n.2

The second palette is my favorite, however. I added in more cool colors and it looks like a palette that I would use.

The turquoise, of course, is a favorite, but the two purples, Kona Lupine and Kona Violet, really add to the turquoise. This does not come across as sweet and kidlike as palette n.1.

ColorPlay: Window Dressing n.3

The final palette was an attempt to blend my color preferences with the default palette. I am not as enamoured with it as I am with Palette n.2, though I do see the benefits of the group of colors. That Kona Magenta (which looks more like dark violet to me) is a star. I am on the fence about the Clover (green). I purposefully chose the Wasabi, because there is so much of it in the tableau. I am just not sure this palette works together as well as the others.

Let me know what you make!


Sew Together Bag Progresses

This bag and the gift Sew Together Bags have been on my list for a long time. As usual, the cutting took forever. As I mentioned, last week, after the March Sew Day I decided to get busy and get these done.

PJ Sew Together Bag in process

I remembered, after laboring for what seemed like hours, why it has been awhile since I made any more of these. The layers you have to sew through is daunting. These are very useful bags, but a pain to make.

Last time I made some I had the following advice:


  • Think the strips for the long zipper would lay better if they were on the bias.
  • The bag needs some feature to which Wonder Clips can be clipped.
  • I tried a few different things and cannot get the top stitching to look good where there are many, many layers.
  • WonderClips are a godsend for making this project. I used about 12. They are not listed on the supply list, but I think they are essential for this bag.
  • Make the pincushion (mine is a little too large on this one) and the exterior at the beginning of the bag making process. It is such a hassle to stop and do the fiddly bits when you are so close to finishing.
  • Use a two sided zipper pull

I tried out my bias advice. The binding strips still do not lay completely flat once the bag is sewn together. It could be the difficulty of stitching through so many layers.

I would also add: make sure you don’t get an invisible zipper. I had to rip out the stitching on the main zipper several times before I got it to a point where I could stand to look at it.

I am almost finished with this bag. I am working on two others and am not sure I will ever make this bag again. I’ll probably forget the drama and make more at some point when my rose colored glasses are back on.


FOTY 2018 Starts

Fabric of the Year 2018 Jan-mid March patches

I finally had enough cut pieces to write a post on the Fabric of the Year 2018 piece. This year I chose a 2.5″ square so I could have a realistic chance of doing the Ellsworth Kelly style layout. The size of the pieces from Fabric of the Year 2017 makes this layout realistically impossible. First of all, I don’t have a design wall large enough to accommodate such a large piece. Second, I would have to cut all the pieces down to a square and I want to work with the subway tile shape. Third, I don’t want to wrestle such a large quilt. FOTY 2017 will probably be a monster anyway and I don’t want to add to it. It seemed better to start afresh with an idea in mind.

The 2.5″ shape also means I can get pieces out of small leftovers where needed. I am excited, though FOTY 2017 being undone still drags a bit. I am making progress on my list, so I can’t complain too much.

Ta Dots & Stripes Finished!

Ta Dots & Stripes
Ta Dots & Stripes

I finished the binding on Ta Dots & Stripes last week. I got three quilts back around March 2d and I am steadily working on getting them actually completed. Well, at least completing the binding. I decided to enter this one and the Planned Improv quilt into the fair, which means I have to make sleeves.

This also means the quilts will be hanging around through June rather than being sent off sharpish.