Thistle Dew Quilt Shop

I had a #politicalwifery event over the weekend. While DH was in meetings, I went to 3 quilt shops, Thistle Dew Quilt Shop, runs with Scissors and I made a second visit to the Fabric Garden.

Thistle Dew Quilt Shop - outside
Thistle Dew Quilt Shop – outside

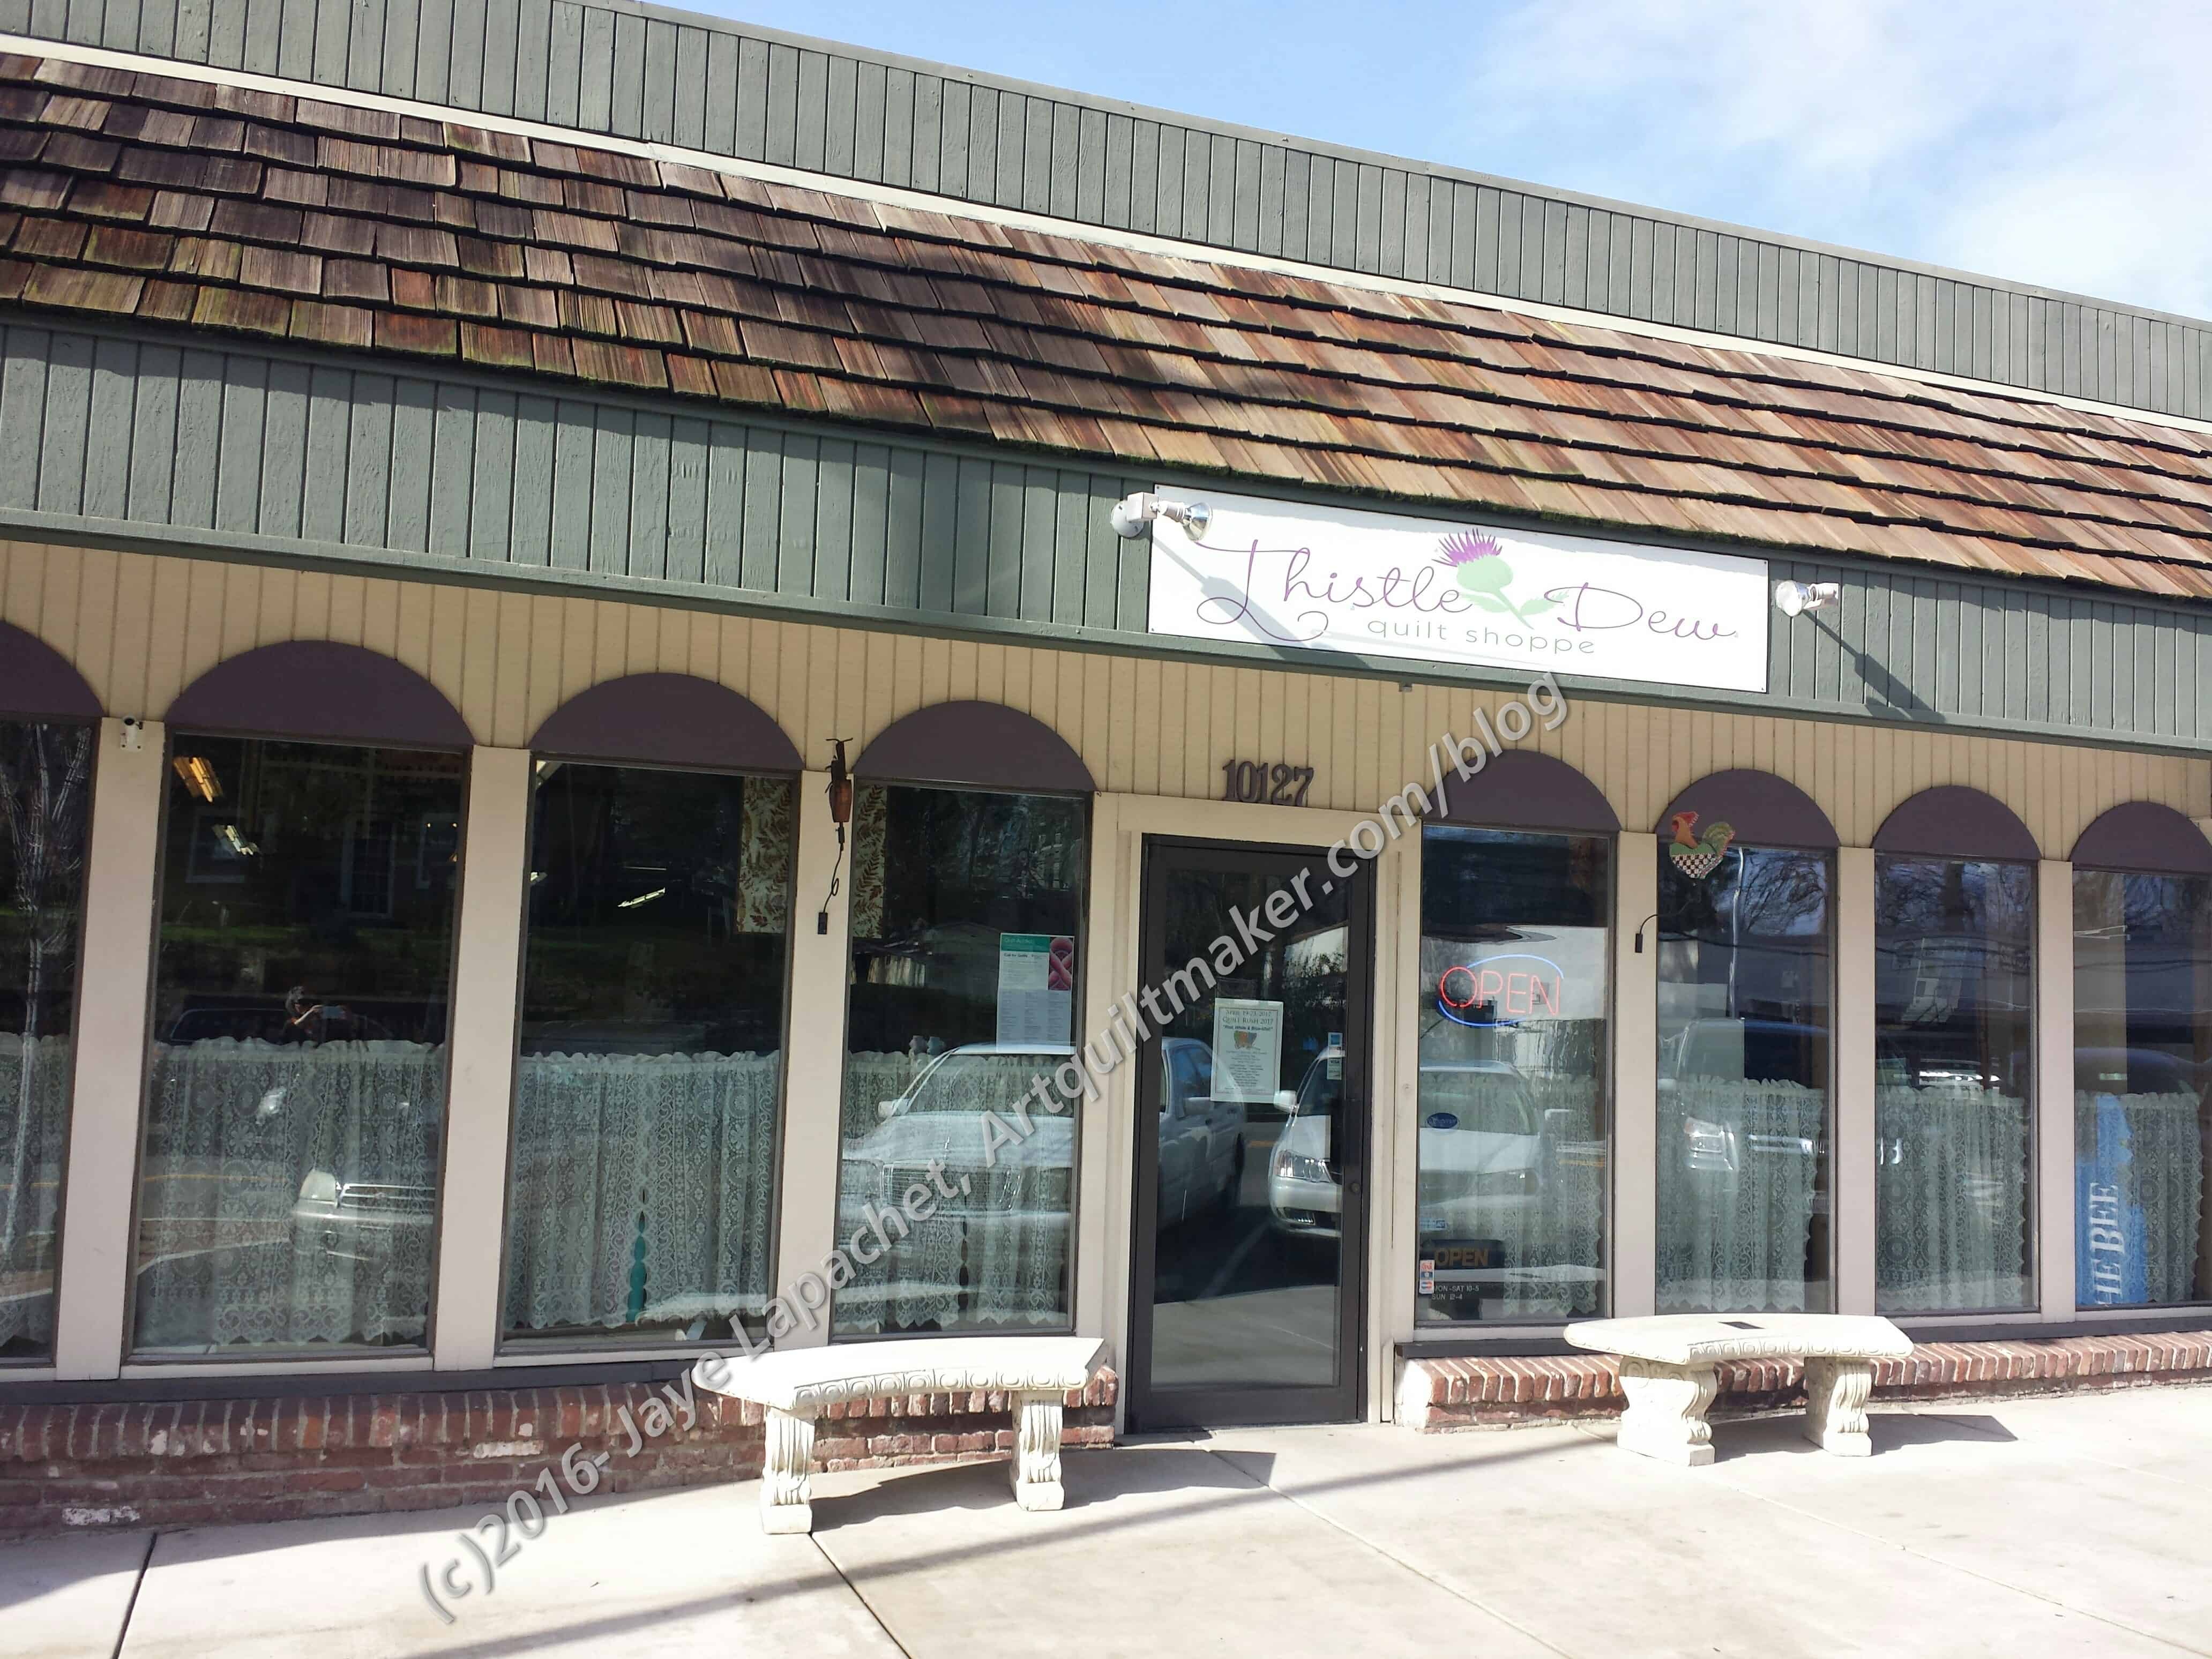
The name “Thistle Dew” made me think of Laura Ashley prints, so I didn’t have high hopes. I was VERY pleasantly surprised to find an awesome quilt shop experience. It was light, bright and cheerful. The people were friendly and helpful, but didn’t hover. It was that hard to find and though information said parking would be difficult, I found a spot right in front.

Sue Spargo Embroidery Thread Display

When I walked in, the first thing I saw was 4 large cases of Sue Spargo embroidery threads. I almost swooned! I love embroidery floss. I love Sue Spargo’s work and have been admiring her book, Stitches to Savor: A Celebration of Designs by Sue Spargo. It is a kind of coffee table book where you can see the stitching. I have been drooling over the designs for awhile. I didn’t even know she had come out with a line of embroidery threads. The threads were different weights. Yes, I bought several. I was pleased to restrain myself, because I wanted ALL THE THREAD.

Cosmo Embroidery Thread Case

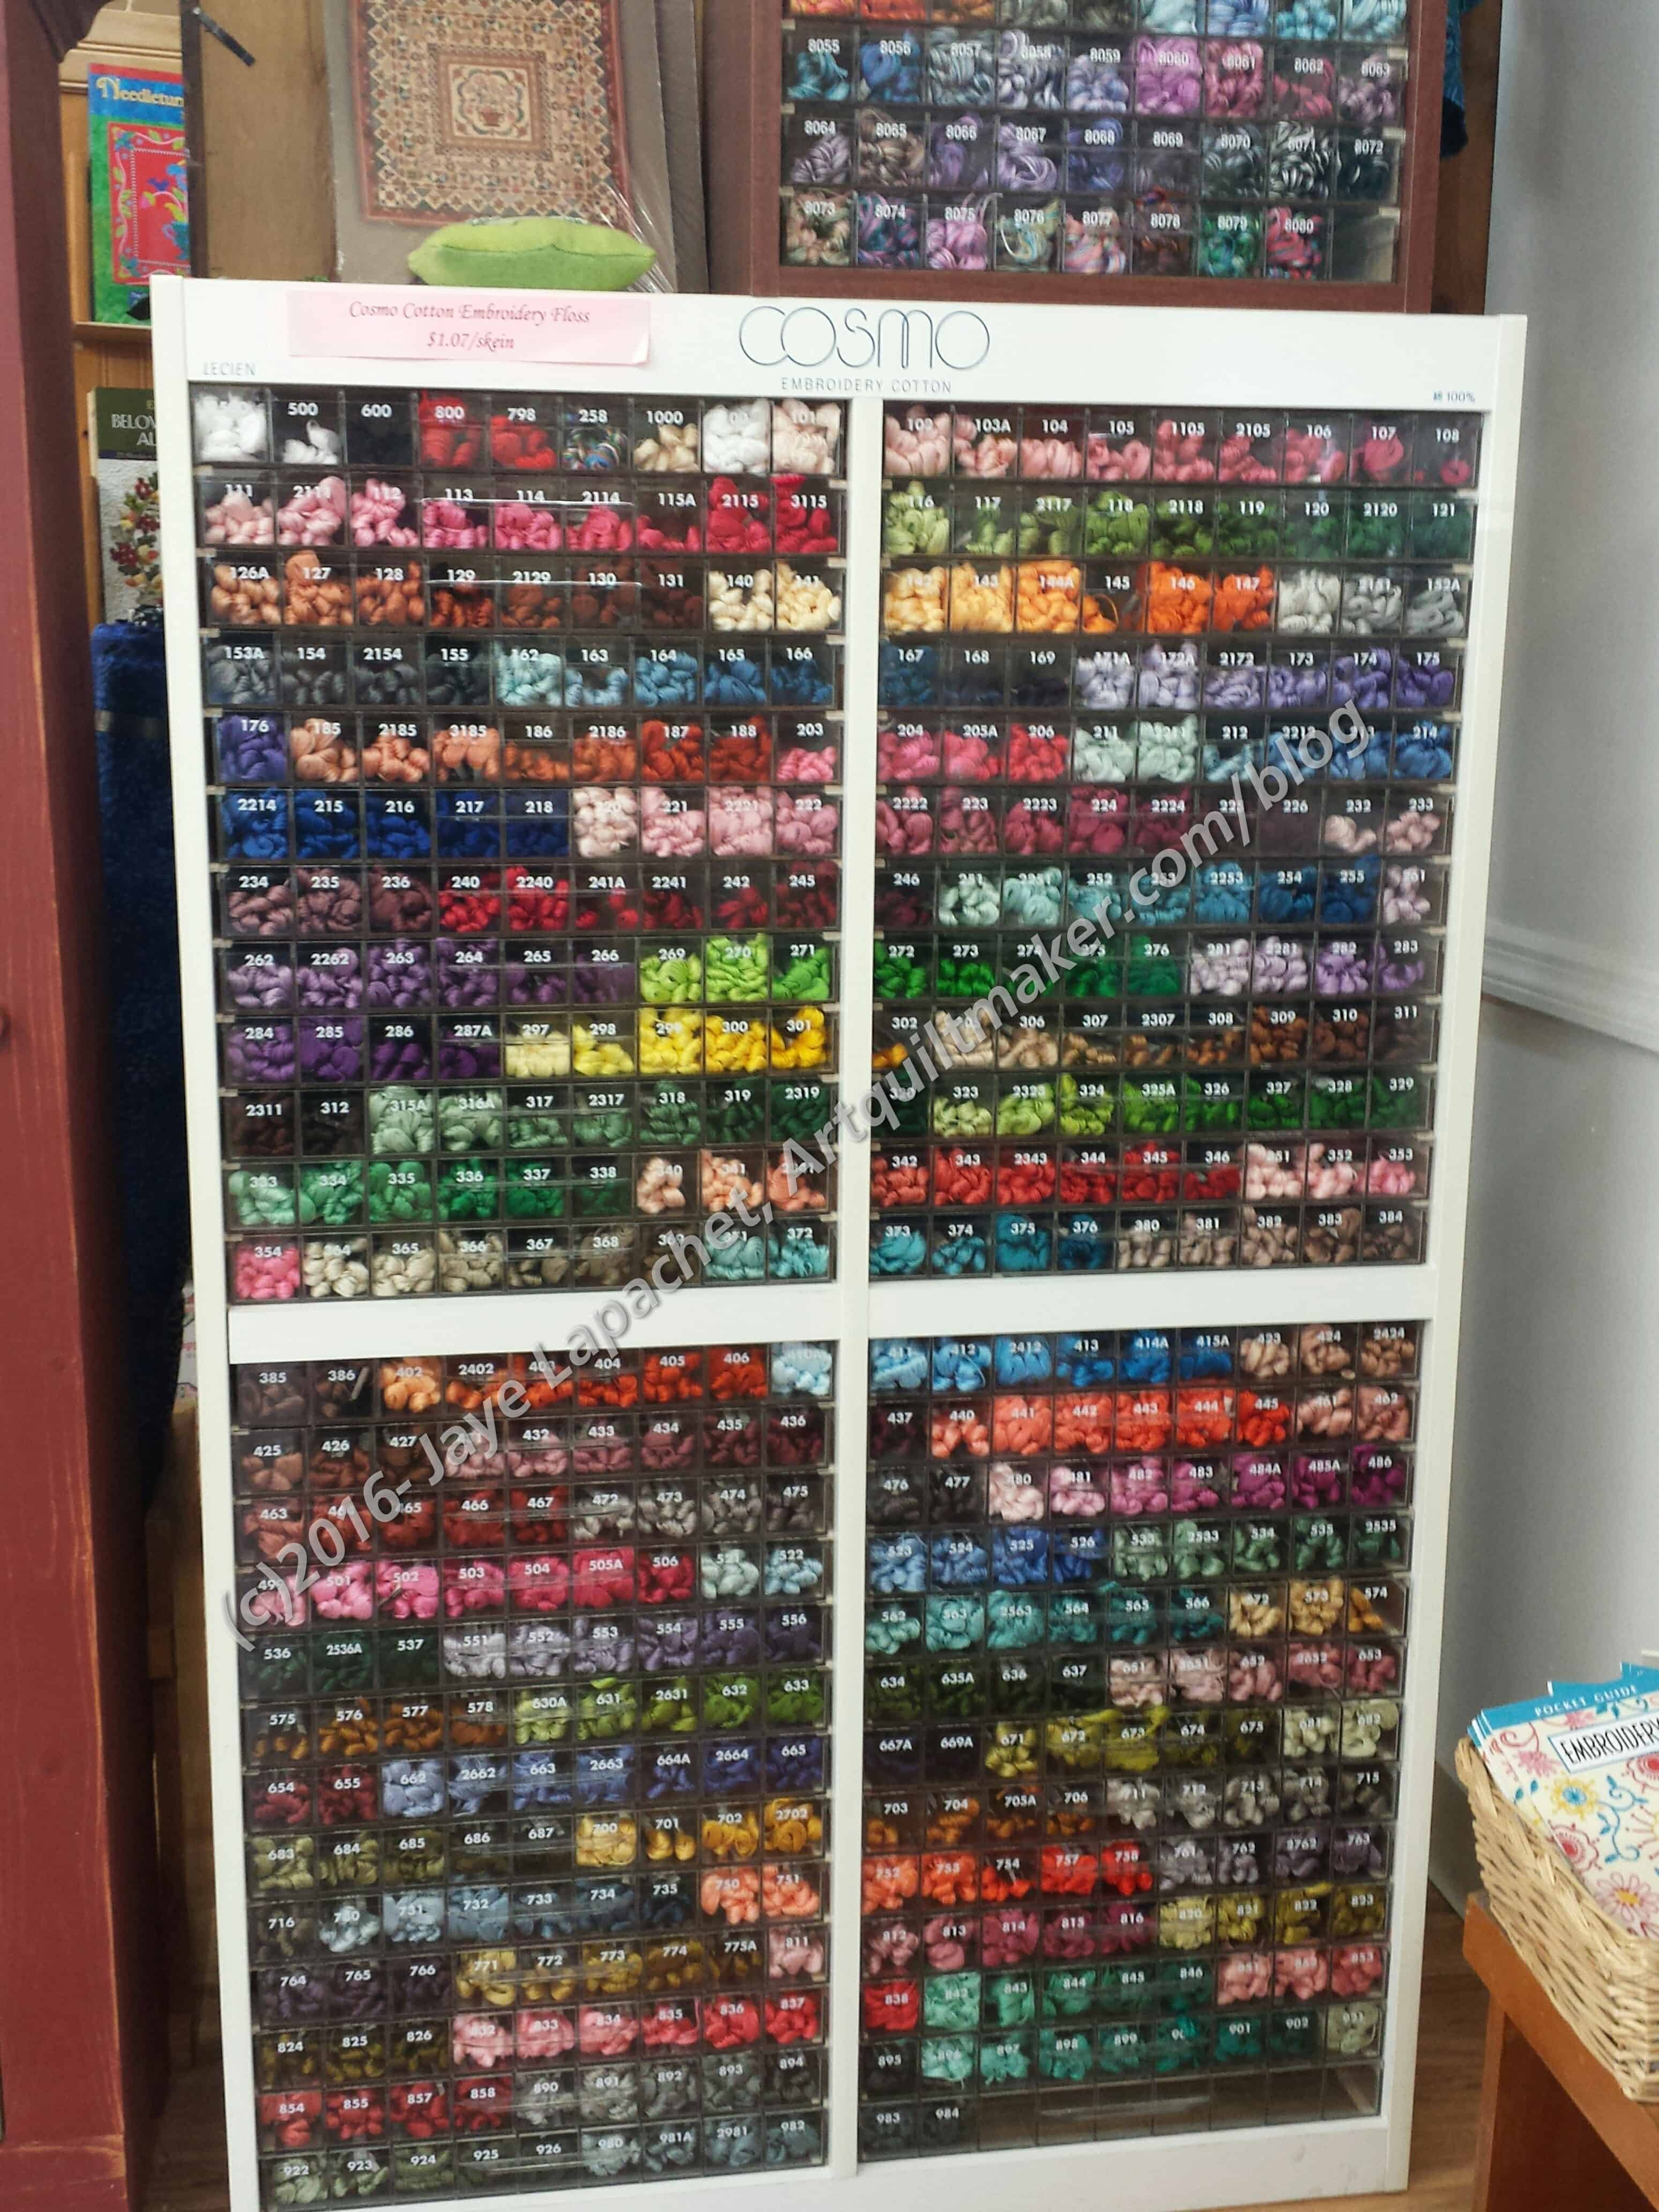
I was already in heaven when I turned and found an entire case of Cosmo embroidery thread. I really couldn’t believe my luck. I remember seeing a big case of this thread at QuiltCon last year. I don’t know for sure, but it looks like they have all the colors. I didn’t buy any then. I love the way they arranged the colors in this case as well. Again, I wanted ALL THE THREAD.

I was also pleased to find that one their instructors filled in for Sue Spargo last year when she was sick. I don’t know if the woman is certified, but with the threads and the high level instructor, I would say that they have classes in Sue’s stitches and techniques and are within driving distance.

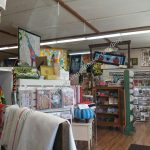
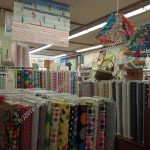
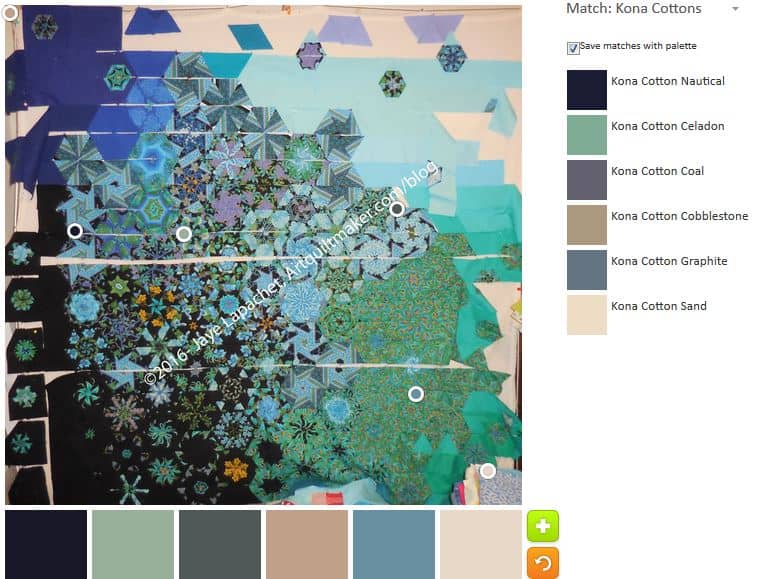
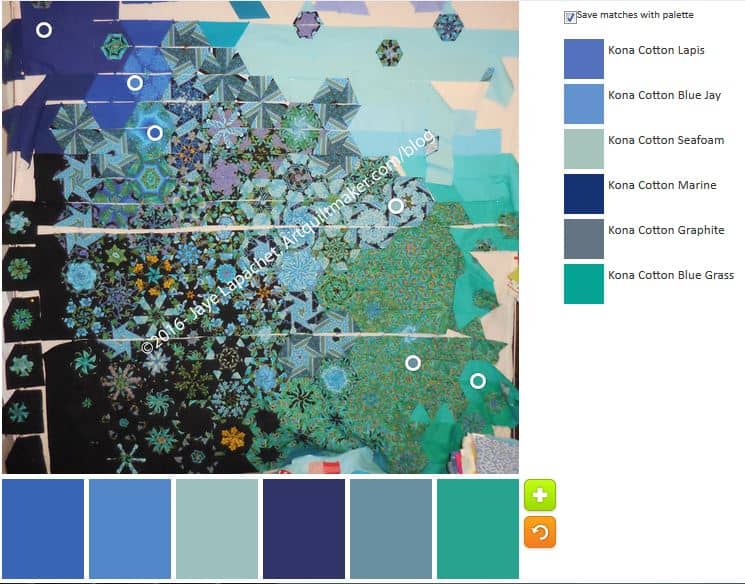
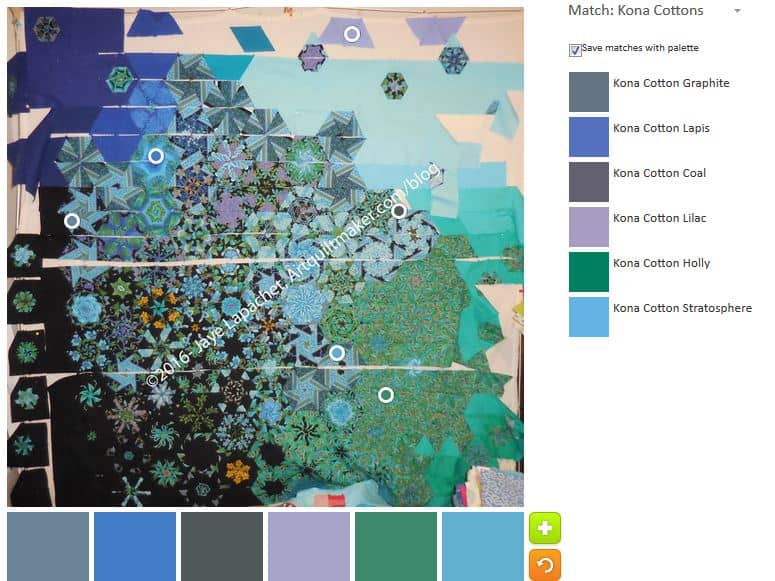
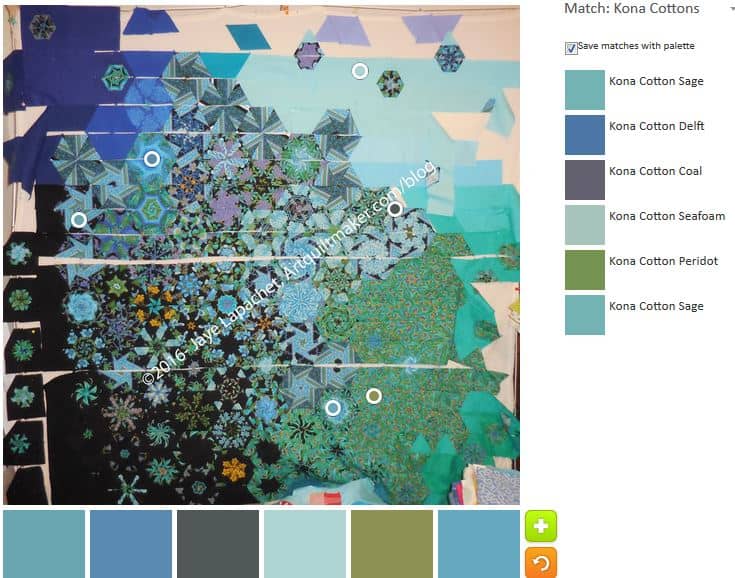
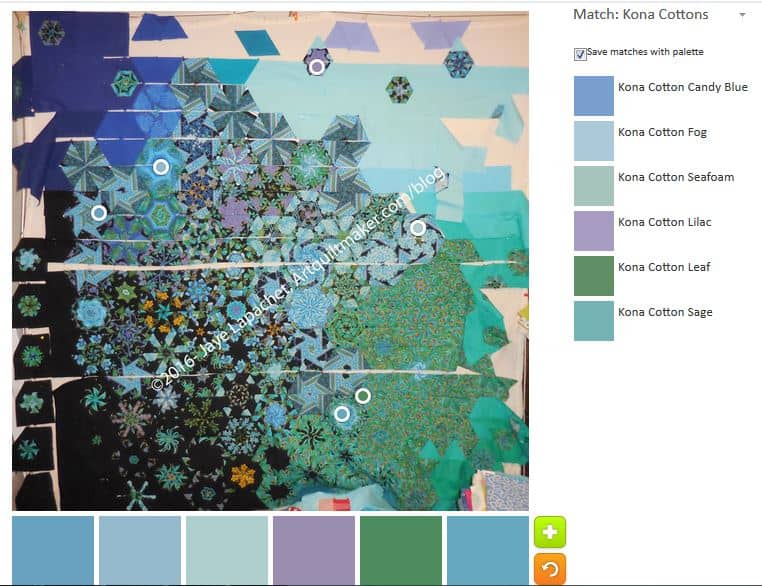
After selecting several spools and hanks, I went to look at fabric, which they did have. Lots of it. Bright cheerful prints, lots of text and low volume fabrics, many dots, plenty of solid. Generally, they had a great selection.

I was also pleased at the selection of notions. Theirs was not the standard selection of Dritz notions that new store often have. This was 10+ feet of very special notions, including so many needles my head was spinning.

As soon as I got hope and saw SIL, I told her we had to make a trip to Sacramento to visit quilt shops. There are several worth visiting. I guess I had better make some finishes. I told my mom about the store and will definitely visit again.

Thistle Dew Quilt Shoppe
10127 Fair Oaks Blvd
Fair Oaks, CA 95628
Tel:+1-916-967-5479

Off the Beaten Path: Roses

Nanny's Crochet Rose
Nanny’s Crochet Rose

I was at Craft Night last night when my SILs showed me a piece by their grandmother (DH’s grandmother also). They had gone through her bag of crochet, which SIL#2 has had since she died. They wanted to make something out of the pieces for our niece who is getting married in April.

We have, or had, a doily that was similar made by my great grandmother (Grama Johnson). I showed my mom and she thinks the cream portion is tatted and the rose and leaves are crocheted. I don’t tat or crochet so I have no idea. I have seen tatting and the outer cream work does look like tatting.

Of course, I did a web search to see what I could find. Lots of Etsy patterns that were not relevant. I did find Picmia, which has lots of flowers. What I would really like to see is an index of patterns by technique.

I thought that Workbasket, an older magazine that I believe is out of print might have been a source of the pattern. I found a pay per view resource. It has a free history of the magazine. This is clearly a labor of love, however I found it a little difficult to navigate. I also found an index of Tatting patterns from Workbasket. I didn’t find the pattern for the piece above.

In my web travels, I found some interesting sites. Needlenthread has online resources that include historic needlework sites, coloring pages and vintage pattern sites. The resources appear mostly to be about embroidery.

This is the sort of reference project into which, as a librarian, I could sink my teeth. Too bad nobody pays me for this.

Let me know if you have seen such a thing. I have a couple of vintage books I can look at and will do that later.

Pincushion Gifts

Pincushion Clip gifts

I wasn’t be at the guild meeting yesterday, which made me sad. Kelly, of the Kelly bag fame, pinch hit for me with the officer gift bags. Thanks, Kelly.

Many guilds give their officers quilts as thank you gifts. I am of the mind that we all have enough quilts, but a tote bag (simple or complicated) full of lovely small gifts is great for everyone. Since I organize it, that is what we do. When someone else takes over they can do something else.

Pincushion Wonderclip Holder

I cut the pieces on that last Sew Day then worked on my gifts the day after. The cutting is always the worst for me. There wasn’t much so I can’t complain. The sewing went remarkably quickly – so quickly in fact that I felt like making half a dozen more.

As I mentioned the fabrics were all scraps except for the back (5″ square). I made fabric by sewing selvedges together. I am tempted to do that again, but will try to resist saving another thing. The other fabrics are heavily from the Kaffe Collective, especially my man Phil (Philip Jacobs) and Martha Negley. I know these fabrics aren’t everyone’s cup of tea, but I hope the officers like them.

Pincushion gift pre-stuffing

The pattern says to line up the clip holders evenly, but I only did that for one. I thought the uneven rows would add interest, but I am not sure now.

I used some of my Beanie Baby beans and some stuffing leftover from Red and Coral. I hope it is good enough for its purpose.

The flaps you see are to hold Wonderclips (see photos above). My Wonderclips are holding the hole closed until I could sew it together. I plan to put a couple of clips and some pins in each one to show their purpose.

Finally, I sent them to Kelly so she could put them into the bags for me. I found the pattern in Love Patchwork and Quilting, issue 39. It is available digitally in the Apple and Google Play stores. It was a quick and satisfying project. I was able to make four of them in about an hour minus sewing the stuffing hole closed.

I think this will be on my list of small gifts to give to people for whom I want to make a quilty gift.

Carpenter’s Wheel Play

Carpenter's Wheel
Carpenter’s Wheel

I have been thinking about the Carpenter’s Wheel blocks lately. As you know, I made two more blocks recently in order to lay the blocks out in a circle effect.

I laid out the blocks on the floor (design wall is full) and the photo left shows the top of a layout. I am not sure about it-imagine adding 7 more blocks. It will make a very large quilt. I also don’t really want to fill the blank spaces with 2.5″ squares. It would make an interesting background, but would also make me crazy sewing. I could use larger squares or even different sized squares to add interest. The small size, however, makes the wording less prominent, however. I don’t want some giant word to end up in the middle of the quilt.

Carpenter's Wheel Layout #8
Carpenter’s Wheel Layout #8

After taking this photo, I went back and looked at my other layouts. I like this one the best. The only thing I have to decide is whether to put the two blocks in those blank spaces or to make the circle bigger.

Getting closer.

ColorPlay Peacock

The Peacock - Jan 2017
The Peacock – Jan 2017

Since we have been obsessing over the Peacock, I decided to use the Peacock piece, as is, for ColorPlay this week. Ok, I have been obsessing

I would have cropped out more of my design wall, but decided just to leave it in and see what happened.

Since the colors are all cool colors, I thought I might finally develop the calm palette I have been seeking.

ColorPlay Jan 20 n.1

Using the Palette builder tool is always interesting. I am fascinated by the tool’s initial selections of locations on the photo. There are always circles on the edge. The choices the tool made tends towards darks and neutrals, in my opinion. If I were given the palette and then shown this quilt and asked if it was the palette for the  quilt I am not sure I would say yes. There are only 1 each of green and blue.

ColorPlay Jan 20 n.2

Fortunately, we can move the circles around. This palette is almost the perfect palette. It might actually be the perfect palette. While not complete, I do think it reflects the colors of the piece. I particularly like the addition of the green – Kona Blue Grass on the bottom of the list. The fabric I used was not that manufacturer, but it is a good match. I might need to use Kona Blue Grass if I run out of the solid that I have been using.

ColorPlay Jan 20 n.3

Of course, it is impossible for me to leave well enough alone. I moved the circles around again.

This is similar to the number 2 above, but tending more to the neutrals again. I wanted to get the lavender in the palette to see what that would add. Despite the Kona Blue Grass, I don’t like this palette as much.

ColorPlay Jan 20 n.4

I had to fix it, try to make it less depressing, so I tried again. The palette is still somewhat tending towards neutrals, but the Lapis, Holly and Stratosphere balance out the Kona Coal and Graphite.

It isn’t the perfect palette, but I am rather partial to Stratosphere and Lapis. They make great additions to almost any palette.

ColorPlay Jan 20 n.5

There is a gold color in some parts of the fabric and I wanted to try and get that into the palette and see what it did sitting alongside the other colors. I worked on trying to get it from the area with the greens. It shows up there in the original panel. The closest I could get with that strategy was Kona Peridot (second from the right on the bottom). Between the Peridot and Coal, the palette is starting to look depressing again.

ColorPlay Jan 20 n.6

Distracted from the gold for a minute, I moved more circles to try and get back to the first palette.

The palette I came up with is different than the first palette, but still quite pleasing. The addition of Kona Leaf (second from the right bottom) and Candy Blue (far left bottom) are wonderful. This looks like a very restful palette.

ColorPlay Jan 20 n.7

I got back to trying to capture that gold. It was a lot easier when I realized there was a gold center in one of the hexies towards the bottom. The fabric chosen by the tool is Kona Gold. It is fairly brown and I am not sure I like it.

It occurred to me, as I assessed these different palettes that each palette is very limited. I always use many more fabrics when making a quilt. The Peacock is actually one of the most limited in terms of fabrics, but I still have 7-10 different fabrics. It looks like more because of the way I cut up the Peacock panels. Combining all the different colors from the various palettes might be the way to go in making a quilt.

Let me know what you do with the Palette Builder.

Incremental Peacock Progress

I sewed a few seams last night and think I made some progress that sent me over the edge into less decision making and more rote sewing. I think.

I need to get past the small hexies to get to the point where I can finish the top background. On the left is the piece from Monday -earlier this week and the right is the most recent incarnation. I have added one strip, but this required lining up the small hexies with their bottom halves on the row below. It doesn’t seem like a lot, but it is easy to get them out of alignment.

The Peacock - top left
The Peacock – top left

Next, I have to finish that row, which means deciding if I will keep the blue half hexie (far left) or replace it with a regular strip. Some of that depends on how much of which dark fabrics I have left. Working with solids in this project reminded me why I don’t like to buy just FQs.

These are my next goals. Stay tuned!

Accuquilt Die v Ruler Smackdown

OK, smackdown might be a bit of an exaggeration, but it sounds impressive, right?

I am working on the Bonnie Hunter En Provence Mystery Quilt, as you know. The second step, which I have partially finished, uses Peaky and Spike* blocks. Peaky and Spike sounds more fun than “weird triangle blocks”, right?

Peaky and Spike
Peaky and Spike

Peaky is the pink part and Spike is the black on white part. For En Provence, I needed to make 100 of these elements. Not rocket science, but not squares either. The bias could be problem. At Sew Day I cut all of the Spikes using the appropriate Tri Recs ruler. This piece has no notches except for the top, which is easy to deal with.

I bought the Peaky and Spike die with a gift card for Christmas, but by the time I was ready to start cutting, it was still on backorder and had not shown up. I began cutting the Peakies from the ruler at Craft Night. SIL told me that she had the Peaky and Spike die and I switched to that. I cut all of the 200 Peakies I needed in about an hour. Much easier than using a rotary cutter.

Die and Ruler
Die and Ruler

The interesting part of this is the sewing. The ruler has a notch at the bottom (photo right bottom) and the die (photo left top) has a notch at the top. In the directions for the quilt, Bonnie admonishes us to be sure and cut the notch at the bottom**. As a result, I placed the ruler on the die cut Peakies and also cut the bottom notch. This got old really fast and I stopped.

Peaky & Spike Annotated

Once I started sewing, it didn’t matter. The bottom notch (from the ruler) was certainly helpful. You need either the top or bottom notch to sew the pieces together easily and in alignment, however either one will work.  I really didn’t need both.

Tri Recs Ruler
Tri Recs Ruler

The ruler has the advantage of enabling the user to cut multiple sizes. The Peaky ruler has the notch on the bottom because of the different sizes.

The die only cuts pieces for one block size, and, thus, can have the notch more prominently on the top.

This was a interesting learning experience.


*Peaky and Spike is the name given to these blocks by Doreen Speckmann. Doreen was a fantastic teacher, funny, fun loving and a master at helping students understand the structure of block elements. If you don’t have her book, Pattern Play, start haunting used book stores. It is a classic.


**The mystery quilt directions focus on the Tri Recs ruler and not on the die, though the die is mentioned as being available.

Christmas Gift Bags

I am trying very hard to be process oriented rather than product oriented. The Morass feeling hasn’t helped. It turns out I am trying, simply, to get something finished.

I did feel a lot better on Monday night after what I completed over the weekend. Monday was a holiday and I actually spent some of it sewing. I hope I am over a hump, but you never know.

Christmas Gift Bags
Christmas Gift Bags

I bought some fabric at Wooden Gate when Mom and I met there earlier this month. One of the leaders and enders I was doing were Christmas gift bags from the fabric I bought there. I finished them on Sunday and was able to put 1.5 yards in the ‘used’ column.

The print is really fun and the fabric was 75% off. I am pleased that they are done.

More Peacock Progress

I spent several hours over the weekend working on the Peacock. I was determined to make progress and I did! I am pleased with the progress that I made. Several hard decisions were made and lots of sewing was completed.

The Peacock - top right
The Peacock – top right

I spent a lot of time on Saturday making the smaller hexagons large enough to fit into the rows of the piece. During this joy I kept asking myself whose bright idea it was to add the smaller hexagons to the piece. They take more time and are a bit fiddly.  Most of those I worked on will be on the darker side of the top of the piece. I will scatter them around and up to the top. A few will go on the lighter side.

The Peacock - full piece, January 2017
The Peacock – full piece, January 2017

Including this, I am marching up to the top of the piece. I am a row away from having full strips to piece into the top and I can’t wait.

I took some time to piece the rows together on the bottom. These are just long and awful seams. I can’t do any chunking on this piece, which is a pain. I want to finish the left side including the small hexagons with black backgrounds in a border type treatment and then move the entire piece over towards the left so I can work on the right.

I’d love to tell you tomorrow I have the top finished, but I think that would be too optimistic. I plan to work more on it today and, hopefully, make some good progress.

The Morass

Lately I have been feeling like I am in a quiltmaking morass. I tell myself that at least I am working and making some progress. The problem is that the progress is slow and doesn’t feel real. Morass is a word with a real negative connotation. I couldn’t think of a more positive word. I don’t feel negative, just a bit…..morassy. Finally, I had to sit down and face reality.

As you know,  I make regular lists of my projects to try and keep the UFO list low. I have gotten pretty good at finishing things I start. After reading Friend Julie’s post about balance, I think the problem is that I am working on too much at once. As a result, I can only make incremental progress on any one project. This is the down side of leaders and enders.

Leaders and enders is not bad. It is a fantastic technique and I get so much done when I use the leaders and enders method. Remember Fresh Fruit? I just reached the point where I expected too much out of it.

Right now I am working on the Peacock, Yellow Donation quilt #2, the En Provence Mystery quilt primarily. Primarily is the key word. I also started making some gift bags. I needed a finish, plain and simple.

The problem is that all of these projects are a different stages. Some need cutting, some need color choices. Others, especially The Peacock, need lots of thinking. The Yellow Donation Quilt #2 is the easiest to deal with. It is true leaders and enders. I can just stick the pieces under my needle without much drama. The thing about leaders and enders is that it works best for me if I have one thinking project and one mindless project. Three projects is too much.

I started working on En Provence, because I really wanted to try and work along as the clues were released. It didn’t work, but it was on my mind and I was trying. Now that the reveal has happened, I still like the design and since I started, I am loathe not to work on it. It might be easier if I paused working on this until I was done with the Peacock and then got back to it. I have blocks of time that are good for cutting, though, and En Provence needs the type of cutting I can do with these blocks of time.

The Peacock is actually coming along well. I have struggled along and am finally turning a corner. More on that soon.

Still, the projects feel like they are going slowly. I feel like I am slogging through ankle deep mud, but without the dirt and negativity. I blame the Peacock. I don’t know if it is just a difficult project. Or if I have lost interest and, thus, motivation or if the problem is something entirely different. I think I will be glad when it is done.

I did make some progress over the weekend and I feel like I am getting through the morass.

Creative Spark #8: Process

Bloomston's The Little Spark
Bloomston’s The Little Spark

“Each moment you spend tending to the Spark, the more your life will go in that direction” (pg.37). I like this line because it is all about process without saying ‘process.’ The whole first part of the chapter is about telling the reader that how we live our lives or spend our days has a direct impact on how our lives turn out. “…if you are frustrated and rushing to the next part of your day, then you are creating a life of hurry and frustration” (pg.37).

When I read that I saw myself in my old job straining to the weekend to get away from the unhappy and sour people around me. It was an eye opener! How could that image be so fresh in my mind after two years? I don’t want to be frustrated and rushing around. I want to be pinning a Peaky to a Spike while I talk with tech clients about why they can’t find their content. I want my life to be infused with creativity whether it has to do with Peaky and Spike or whether I am puzzling out a creative solution to a search algorithm.

I can’t infuse my worklife with creativity if I don’t have work. I have to remember that “…what feels productive doesn’t necessarily move me towards my goal” (pg.38). Part of the process is figuring out what your process is. Filling time to passing time isn’t necessarily productive in a money making sort of way. Filling time is filling time and you should recognize that. Recognize is for what it is and where it fits into part of your process.

My process is well described by Bloomston when she says “work as much as you can. Period. Be as mindful as you can about your process” (pg.39). My process is to have the next step in my mind and some pieces ready to sew. I don’t like wasting time figuring out what to do next if I have 10 minutes. When I have been sewing for a few hours I know what the next step is and can prepare it. Once it is prepared, the sewing is the easy part.

“…Enjoy the process free from choosing expectations. Be gentle as you find your voice and your wings” (pg. 39).

Bloomston has another worksheet in this chapter, which will help you define your process. Your process is YOURS. It is not better or worse than anyone else’s process. Know it. Document it. Honor it.

Nota bene: we are still working through Carrie Bloomston’s book, The Little Spark. Buy it. There is a lot more to it than what I am writing and it will help you. Go buy Carrie Bloomston’s book, so you get the full benefit of the fabulousness!


Yellow Donation Quilt #2

I starting working on another donation quilt, this time in yellow, pink and peachy-orange. It now has a yellow vibe, so I am calling it Yellow #2, as part of the series of yellow donation quilts, which I started in 2012.

That last sentence is totally pretentious and you can call me out on it. I did seriously start another donation quilt in yellow, pink and peachy-orange and am naming it #2 to distinguish from the first one I made in 2012.

Yellow Donation quilt #2

I am not very far along, but making progress. I started to put the blocks together even though I don’t have enough to make a whole top yet. I am not sure why I started to put it together before having all of the blocks, but I did.

The four block section I have put together is covered, on the left, by another block waiting to be integrated. My design wall overfloweth.

Various & Sundry 2017 #1

Shopping

The City Quilter Online Store is now working.

Have you looked at Stash Fabrics? I really like the fabrics they have – motifs and colors.

I finally took a look at The Precut Shop by the fabulous Christa Watson. I am remorseful that it wasn’t sooner, but very glad I did now. First, the shop is Amazon based, so easy payment and, presumably, easy shipping options. The stock, however is amazing. There was page after page of every precut imaginable. I couldn’t even look at all the offerings! Take a look.

Fabric and Tools

Pam has a blank copy of her fabric usage spreadsheet available on a post from a few years back. It is a good time to start tracking your usage. I did it all last year and it helped me to understand what fabrics I was using and how much. I made much better choices about fabric purchases. Cheryl, a BAMer, wrote a great post about her spreadsheet for the BAM blog. She talks about her theories around it, why she does it and how she does it.

Accuquilt is having a die sale through January 31. They have some great dies, even basic options. The site also has an option to register your dies, which creates a list of all of your dies in one place. I have been using my Accuquilt and the dies on and off for various projects as well as for clearing out my scrap bin. It really helps with cutting.

Media

Friend Julie turned me on to Makelight, which has some interesting visual reports. They appear to be in the business of improving followers on Instagram, so they are selling something. I am just in the process of trying out the tools.

Frances of The Off Kilter Quilt podcast fame has a new website called Quilt Fiction. You might be able to read her newsletter on the site, but you can definitely subscribe. If you subscribe to the newsletter, you get a lovely short story. I read the short story and definitely wanted to know more about the characters. If you can’t read the newsletter on the site, there is plenty of other quilty-goodness to read. She has frequent blog posts about books related to quilts. One of my favorite posts is one called Everyday Uses. While it is brief, it makes me think about the everyday use of quilts. I agree with the mother in the story in that you make a quilt and if it gets used up, you make another one. I don’t want to say that quilts aren’t precious to me, but there is always more fabric.

I follow Schmetz Needles on Twitter and was pleased and intrigued to see that they have an online magazine called Inspired to Sew. Check out their site for the current and archived issues.

Copyright

You might have seen the whole unpleasant drama about someone stealing  an image of FOTY 2015. Someone sent me a link to another site that was discussing the same issue. Please note that I am not a lawyer.

Other

If you want a lovely downloadable calendar, check out the Grove website.


En Provence Progress

Four patches for En Provence

I am doing the En Provence Mystery Quilt. I have just finished step 1. I am very pleased with the four patches I have made. I have part of step 2 finished, and have some Spikes to cut. I am dreadfully behind, but I don’t care. I saw the reveal on January 1 and am pleased to say that I like the quilt design. It is always kind of a crapshoot when you don’t know what the quilt will look like. Not that there is any shortage of fabric.  Some people have already finished theirs and have shown their versions, which is great for me, so I can compare different color schemes. I am happy to pick out colors as I start each step. So far, I have sort of stuck to Bonnie’s suggestions, but I am not going with the purple she includes. Just not my thing. I don’t hate purple, but I think this quilt will stay here so I want something that will work in my house.

This project is part of the reason why I feel like I am treading quilt water. Many steps forward and no finishes.

Circles Donation Quilt

Circles Donation Quilt

The other thing I did at Sew Day on Saturday was work on the Circles donation quilt. Gerre finished quilting it, so she brought it and I made the binding while she met with the other Executive Board members.

She has a lot of the plaids so I used one that had enough left to make an entire straight of grain binding out of one motif. It is similar in colors to the large blue and white striped circle in the lower right hand corner of the photo above.

I have a lot going on so she took it to sew the binding on. I won’t be able to add very much fabric to my spreadsheet as most of it was Gerre’s, but I supplied the background, so some.