Finished: Boxcar Tote

Nota bene: Clearly, I have to make sure I have two extra days worth of posts ready to publish before I go on a trip. I returned on Wednesday night from Phoenix, but have been so busy the past two days that I didn’t finish either this post or the ColorPlay postI had planned to post Thursday and Friday. The ColorPlay post will show up eventually and you have something to look forward to reading.

Boxcar Tote Complete

The Boxcar Tote is finished. I bought this pattern from Hawthorne Threads and was pretty excited about the size and shape.

It is a good grocery bag size, though I do think it might be better used as more of a beach bag, carrying swimsuits and towels rather than heavy gallons of milk. It doesn’t have any cell phone pockets or key leashes, so those might be additions to consider later.

Boxcar Tote inside detail

The finished product has two pockets on the outside, one on each side and four pockets on the inside. The pattern pieces were the same, but I divided the inside pockets into two. They might be a little too slim to be useful, but a tablet or clipboard could fit very well.

The white background cactus fabric is a Hawthorne Threads designed fabric. I chose the various cactus motifs because the friends for which it was made now live in Tucson.

Frankly, I am not happy with the outcome. I found the pattern to be well written enough. It is straightforward and clear. I think my inexperience with Decor Bond as well as using a machine with a small throat were both the main parts of my challenges. I almost never give up on  a project, but putting the top trim and handles on almost made me give up the whole enterprise. The only reason I didn’t was because I had bought the cactus fabric especially for my friends.

I really like the shape and size of the Boxcar Tote and thought this was a bag that I might want to make as gifts multiple times. I made a huge effort to follow the directions exactly, so I could really get a feel for the pattern. I did get the feeling that the designer may not have much experience with pattern designing for bags. I am not sure why (except for the construction of the bottom), but that was my impression. I do want to try it again with Soft & Stable.

I had several problems:

  • Construction of main part of bag
  • Decor Bond interfacing
  • Construction of handles
  • application of handles
  • application of binding

First, the construction of the main bag was in 5 pieces. This means that the bottom was separate. This is an awkward way to construct a bag IMO, because I never feel like the corners are very secure. When I turned the lining right side out I saw severe strain on the corners so I reinforced the stitching again.

If I make this bag again, I might try to cut the two sides and the bottom piece out as one. I would have to figure out a way to differentiate the bottom from the sides, but that might help with my construction issues.

Reinforcing the stitching was really hard because I was using my small machine. I really like this machine as it is a workhorse and has a great stitch, but the throat is really small. Since the bag parts were already together, I had no choice but to struggle through trying to cram it through the harp. The Decor Bond isn’t very flexible in the scrunching up kind of way, so it was a huge challenge and my stitching, frankly, sucked.

I didn’t think much about the Decor Bond when I started. I was excited to try a new interfacing and even more excited when I realized how stiff it was. I knew that the bag would stand up quite well using this interfacing.

The first problem I had with Decor Bond was that after fusing it to my fabric, it refused to stay in place. It didn’t come away from the fabric, but kind of wrinkled up the fabric fused to it as I continued to put the bag together. As I said above, the Decor Bond isn’t very flexible in the scrunching up kind of way. This means that as I had the whole bag put together, topstitching the top binding was nearly impossible. I had to keep stopping and starting and moving the bag slightly. There is very little give so I realized that the shape of the Decor Bond is the shape you will end up with.

As I progressed on the bag, I also realized that I would be sewing through multiple layers of the Decor Bond. Fortunately, my machine was ok going through it, but getting the layers under the needle was the problem. A really big problem. Even when I got the pieces under the needle, they would shift and move and really make it hard for me to sew. Part of this was also the inflexibility of the interfacing.

I don’t want to imply that this interfacing is hard like a tabletop. It did bend and flex, but not, as I said, in a scrunching up sort of way. This also caused the machine to stop feeding and stitch in place when the pieces hit the wall and got stuck.

Boxcar Tote Handles
Boxcar Tote Handles

Using the Decor Bond for the handles was a bad idea IMO. Again, I am not an expert Decor Bond user, but they took me about an hour and many tools to turn.

Yes, just to turn!

The Decor Bond was so thick and in such a small space that the turning was more difficult than any other time I have turned handles.

In the photo, left, you can see the wrinklyness of the fabric fused to the Decor Bond that I described above. Yes, I followed the directions.

The good part is that the handles are sturdy.

The worst parts were the application of the handles to the bag and the top stitching of the binding to the edge.

Boxcar Tote handle detail

The pattern showed placement and the standard box/ X-cross configuration of stitching. I could not maneuver the bag enough to get a straight stitch straight across the part of the handle to be sewn to the bag. Part of it was that my machine harp is small and the other part was the that Decor Bond was not very foldable. So, the top stitching on of the handles looks really crappy. 🙁

My final shame is the binding. I am not a huge fan of binding the tops of bags. It is a lot of work and doesn’t always look good if you are trying to stitch it on after the bag is assembled. Part of my problem was that the two sections (Outside bag and lining) were equally stiff and the tops didn’t line up. I had to force them to line up and it was not a good outcome for the bag. I meant to use a larger seam allowance for the lining and forgot. I could have trimmed the top of the lining, but was afraid. I should have done it.

To be fair to the designer, Alexis Abegg of Greenbee Patterns, I looked up some websites that talked about the pattern. The Crafty Planner is also a visual and verbal learner, like me. Her version looks fantastic. I do think she used something else besides Decor Bond, perhaps Soft & Stable.

Nisha Williams made the tote from a kit and wrote about it on the Craftsy blog. I was relieved to see that she had the same sort of challenges with the handles that I had.

I searched the Greenbee blog and did not find any information on this tote. There is no word cloud, so I couldn’t click on totes or bags or anything and try and find it from there. 🙁 The On Holiday Bag they share in their most recent post (2-17-2017) has the same general shape and the same sort of handles.

The recipient loved it, which was great. I really hope it doesn’t fall apart.

More New Projects

Yes, I have lost my mind.

Yes, I have started another project, a small one, but another project for which I have to find time.

EPP Travel Kit - Bright and Cheerful
EPP Travel Kit – Bright and Cheerful

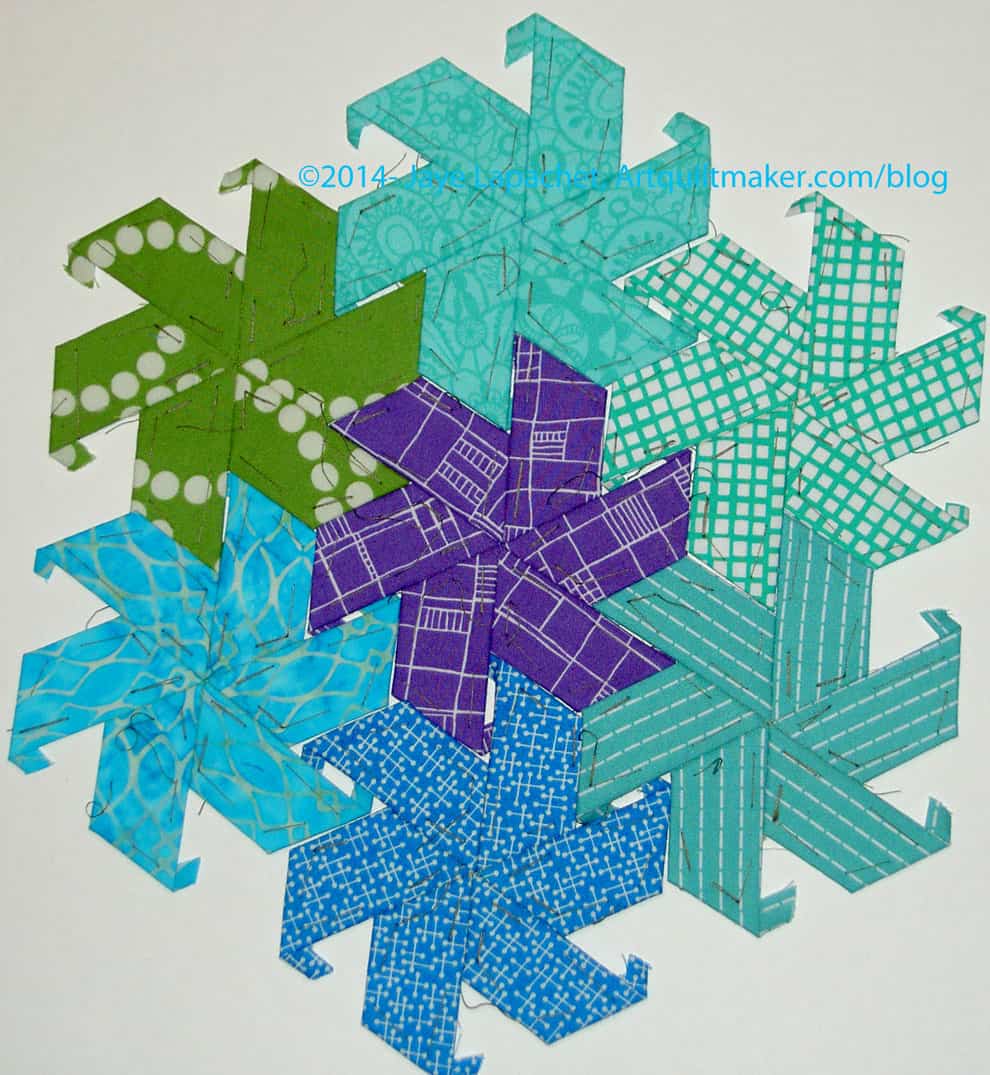
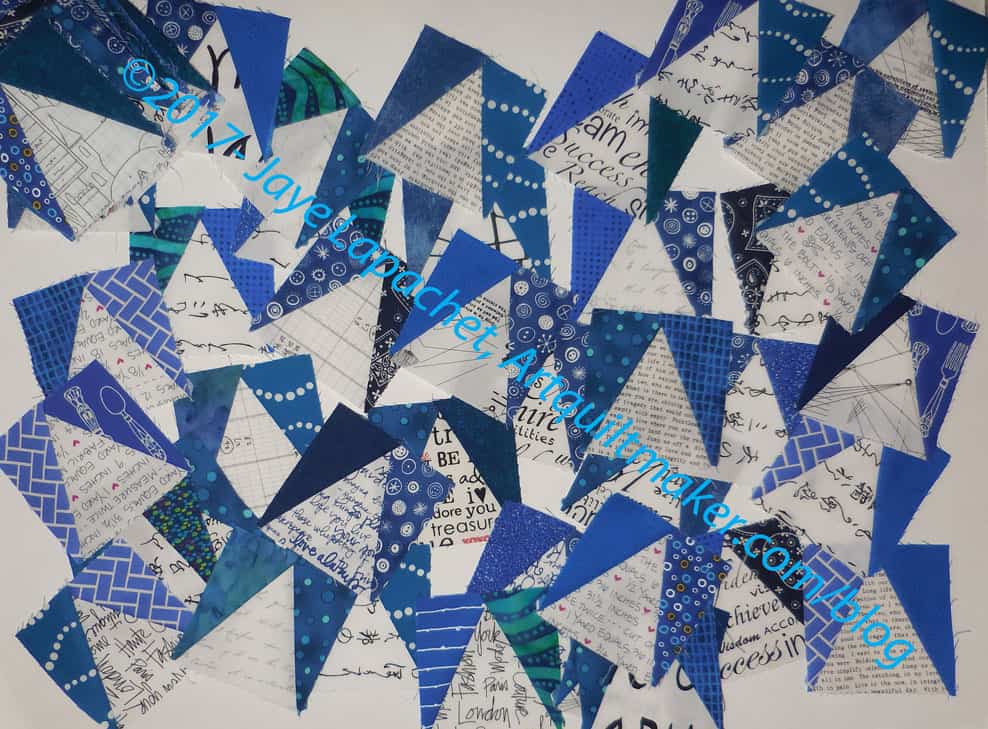
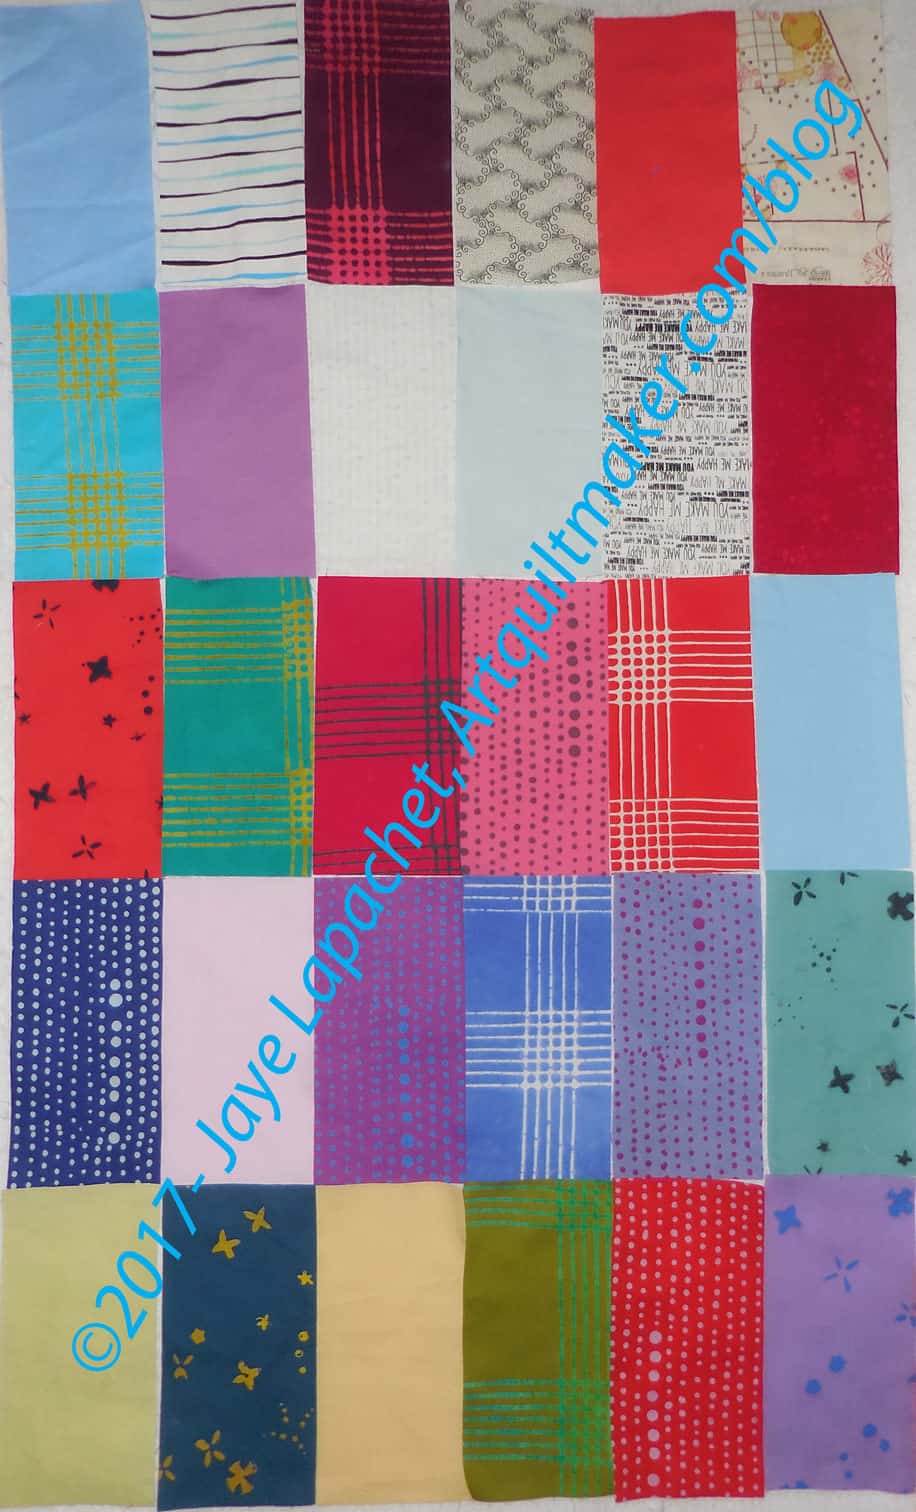
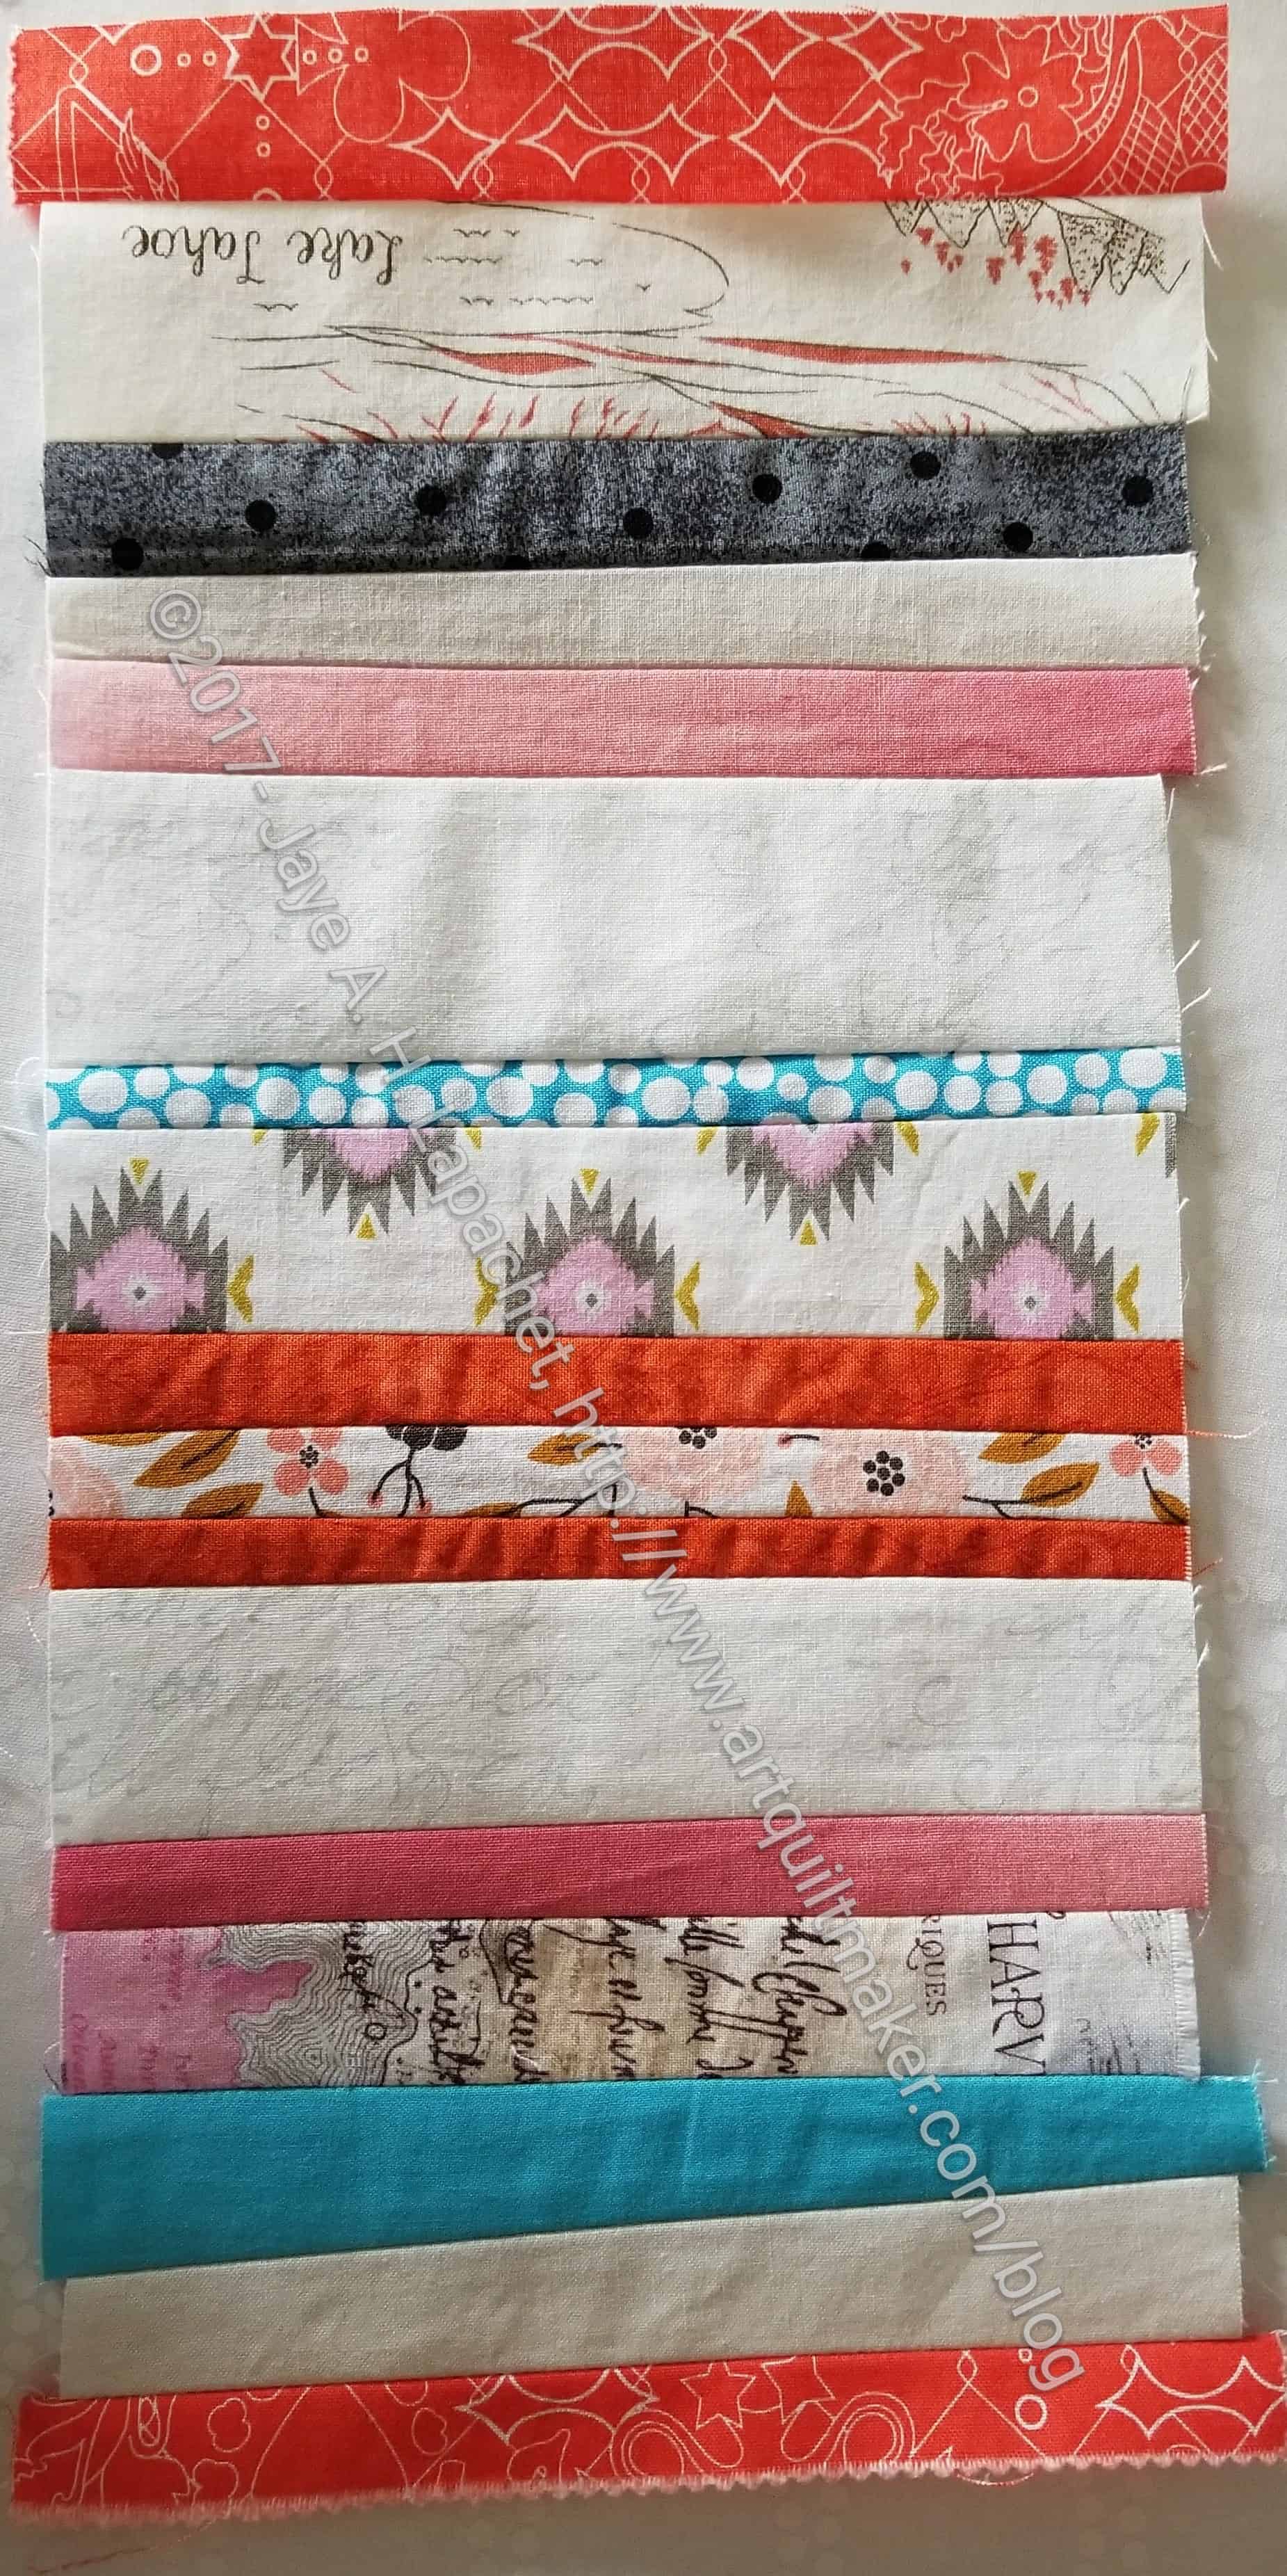
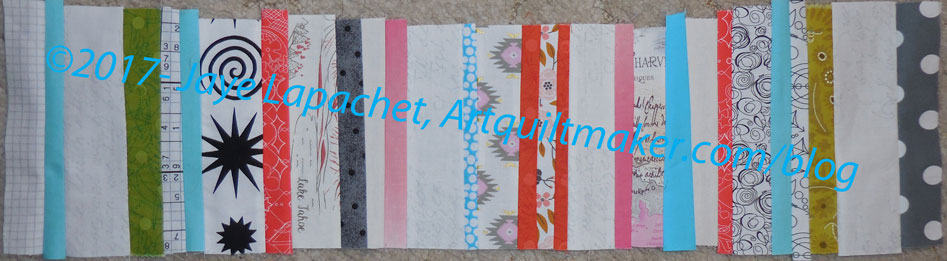
I am making another EPP Pouch like the one I made for Mary. I intend for this one to be much brighter and more cheerful. I also intended for it to be at the point where I could do the hand sewing while I was away, but that didn’t happen.

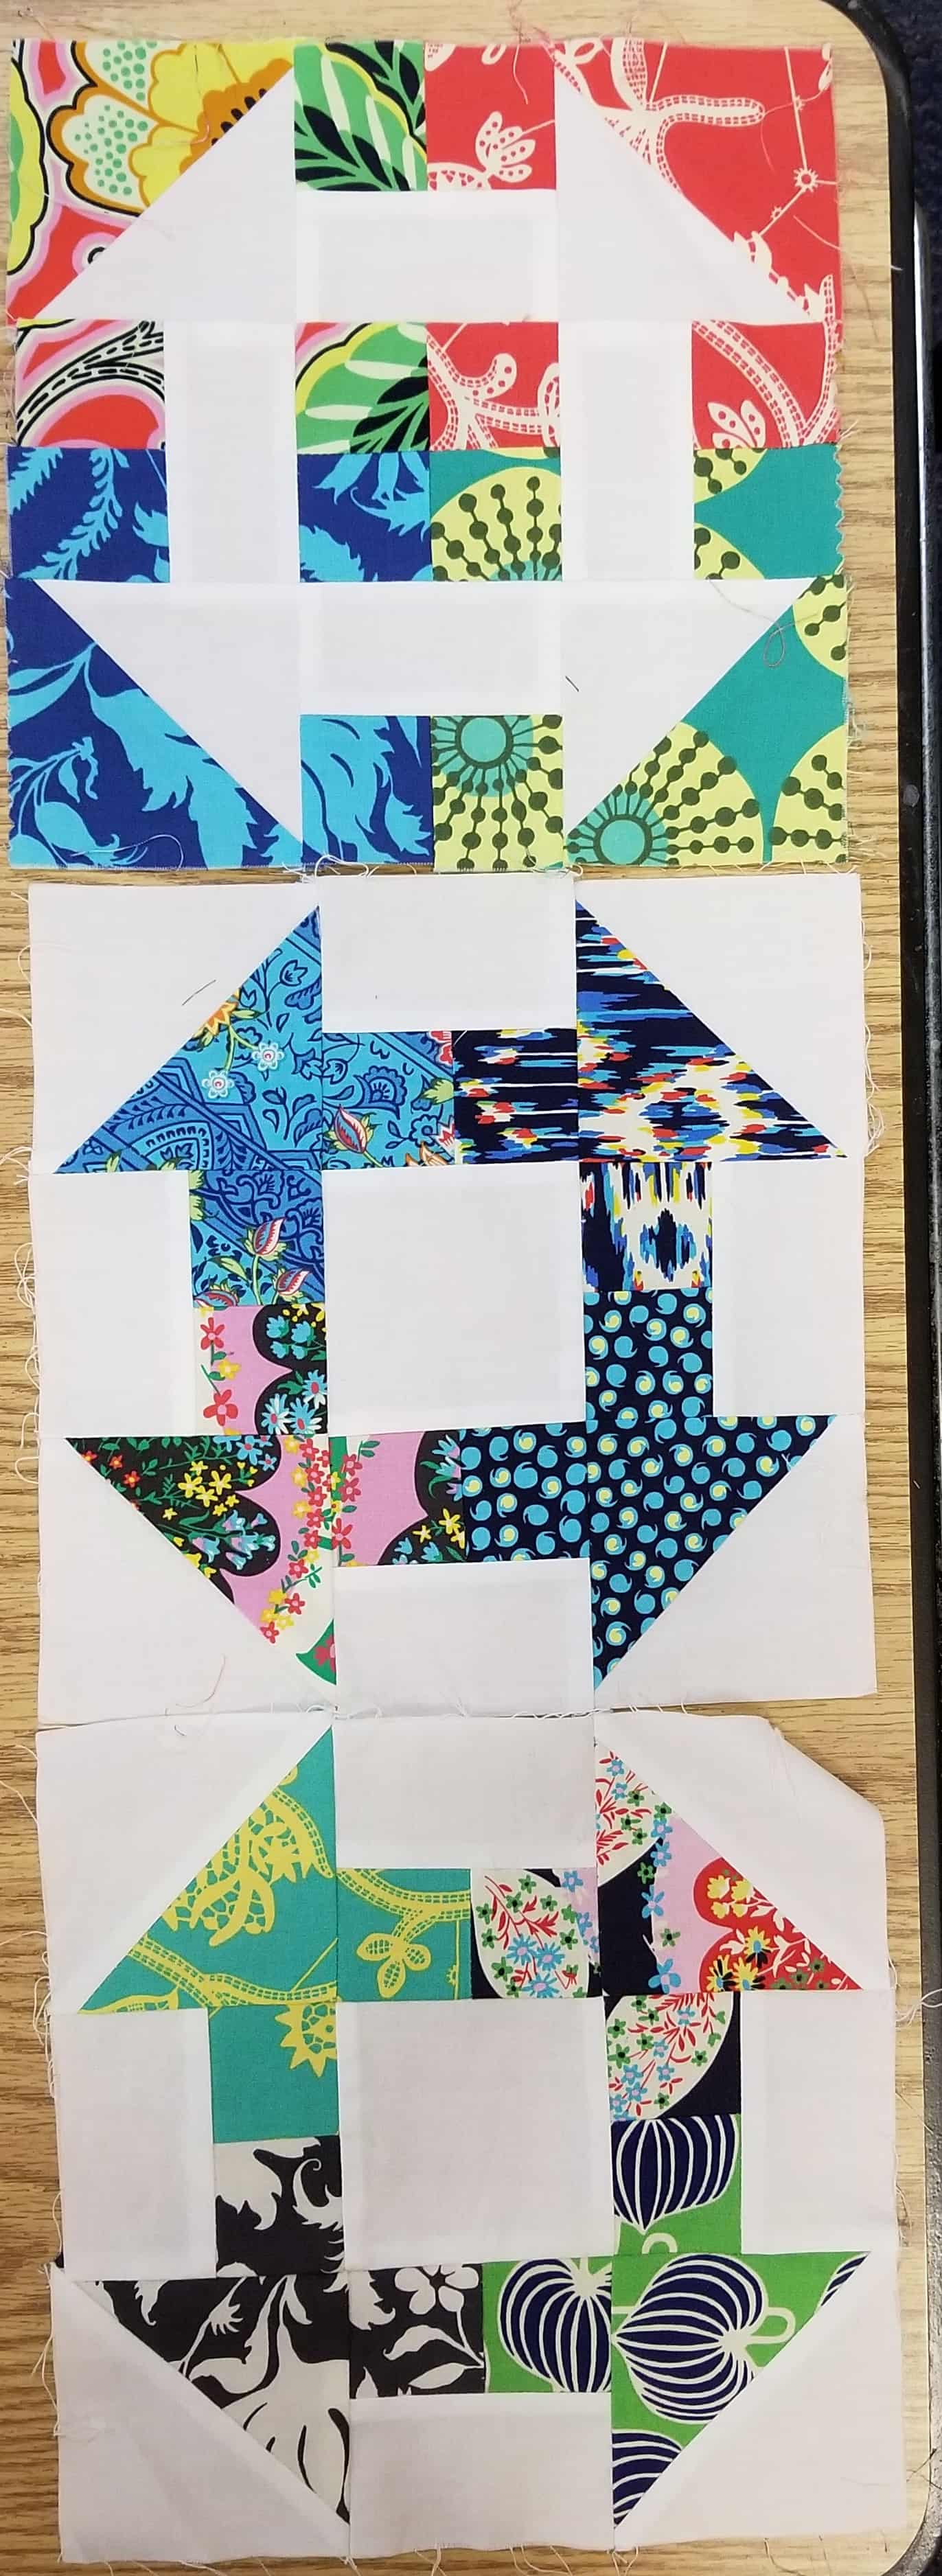
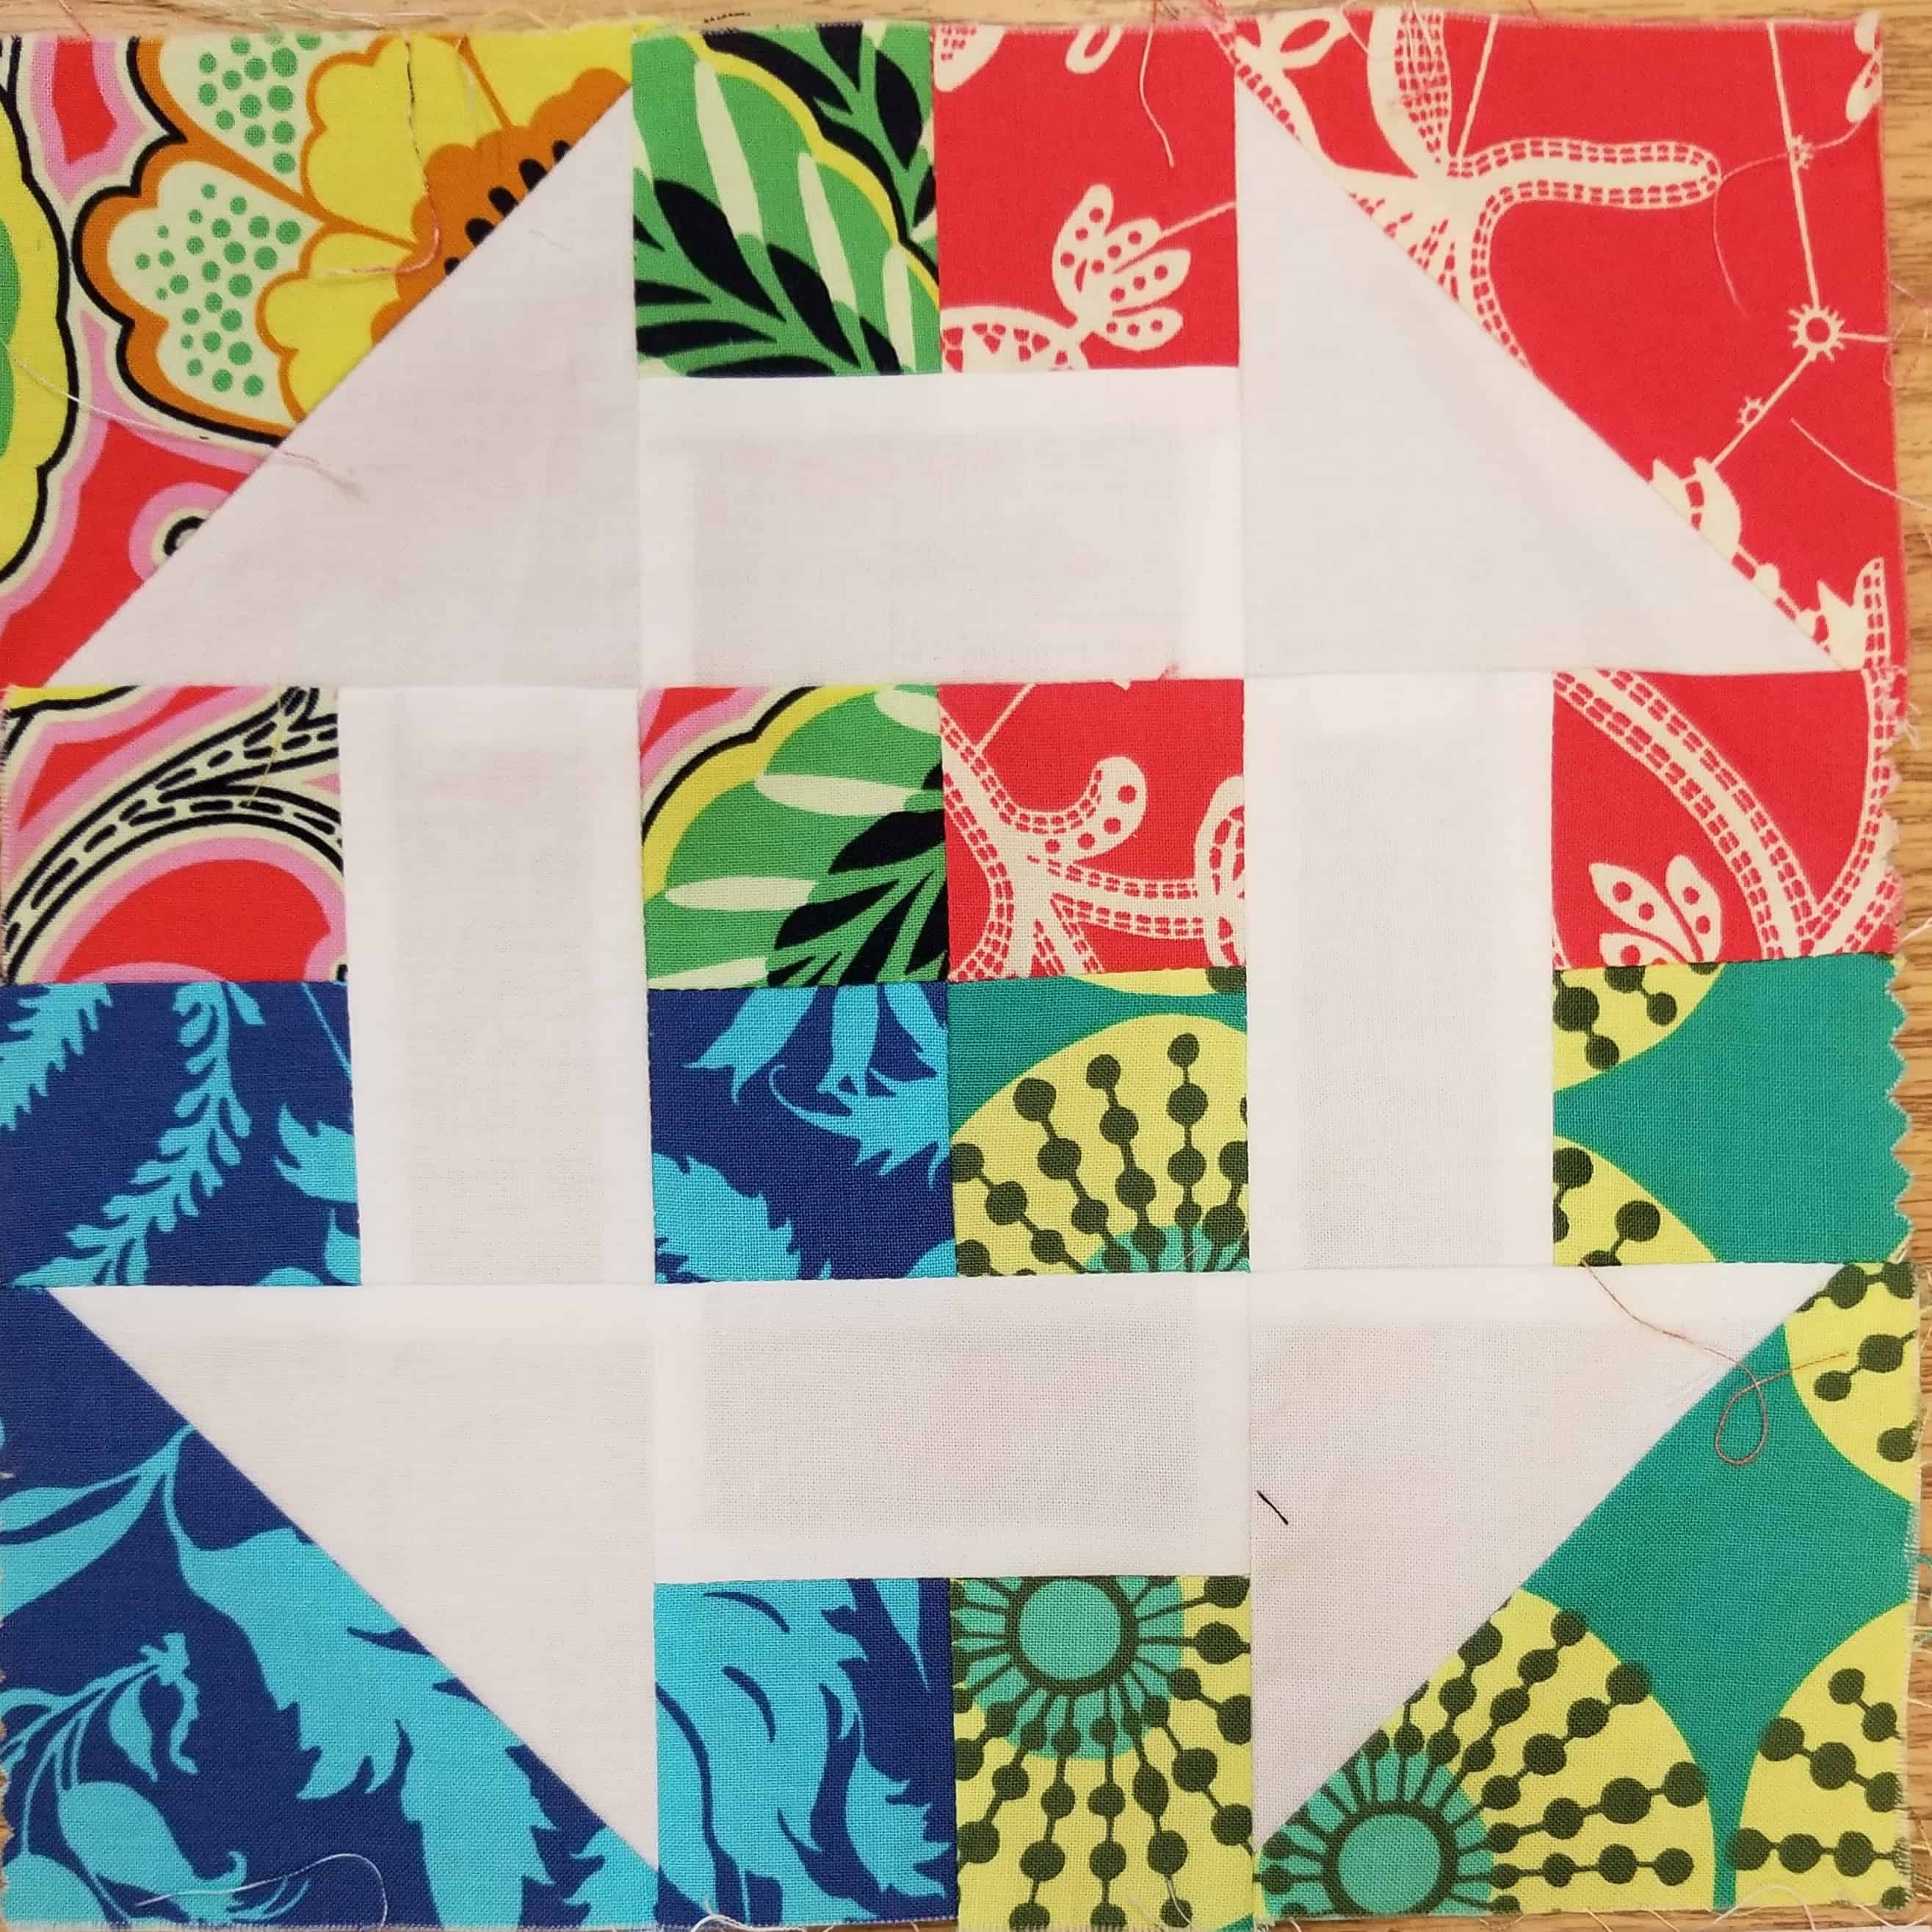
The photos shows my intended layouts.

Triple Star

Triple Star - taken at Back Porch
Triple Star – taken at Back Porch

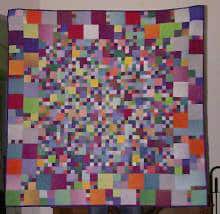
I have liked this quilt for a long time. The photo shows a version that I have admired multiple times at Back Porch Fabrics.

This version uses primarily Kaffe Fassett and Philip Jacobs fabrics with a charcoal (description not actual color name) solid background. I really like it.

As described in a previous post, I decided to make this quilt instead of the Layer Cake Explosion.

I am using the Alison Glass’ Sun Prints layer cake I bought for the Layer Cake Explosion QAL. There aren’t enough bright clear colors so I am throwing in some Kaffe and Philip Jacobs fabrics as well. I also have some Alison Glass Chroma coming soon and may add some of that into the mix.I want it to be as scrappy as possible while using supplies I already purchased. I can always adjust as I begin assembly.

I have the charcoal background I bought for the QAL, but I also have white, so we will see what I end up using. I want this quilt to be appealing and cheerful.

This quilt design is from Kim Brackett’s book, Scrap Basket Beauties. You should buy it. There are a number of quilts I have marked in this book to make. I need to get through this time of “must dos” before I can make any others.

*

I visited the county fair last week and was surprised to see a number of quilts in this pattern on display. I don’t remember ever seeing them in quilt shows or at the fair before and wonder if there was a class somewhere locally.

I love seeing individual variations on a pattern. The fair was a great place to see variations on the same pattern and it was so fortuitous that I am planning the same quilt.


*-images ONLY are copyrighted NOT pattern or versions, ideas by above makers.

Bay Quilts

Bay Quilts entrance
Bay Quilts entrance

I went with my mom on our monthly lunch date to Bay Quilts the other day. It is a new quilt shop in El Cerrito. I have been wanting to go there for awhile and this visit was the first chance I had gotten. I was really pleased that Mom didn’t mind driving all the way over there. We always have fun together. I love this shop! This is a really great shop.

They have a fabric shop, but also a workshop loft and art gallery. This shop is owned by Sally Davey, the woman who used to own New Pieces. There are similarities in the look, but also distinct differences.

Bay Quilts - large, open space
Bay Quilts – large, open space

The space is large and open. The ceiling is high and customers can see into the loft above. The displays are really great – fresh, new and not quilt-like at all. One display was a Wonder Woman dress made from a Simplicity pattern. I wanted to modify it into an apron. It was a great idea.

The thing that made me really laugh was the wagons. They will loan customers wagons to pull around the shop and fill up. I love this. I think it is dangerous to not have to carry 10 bolts around the shop, but I also think it is a great idea.

Bay Quilts - art dolls
Bay Quilts – art dolls

There were two gallery areas set up. One was a wall area with quilts hanging and the other was a rounder with art dolls displayed.  They were whimsical and detailed and gorgeous.

Bay Quilts - mermaid tail
Bay Quilts – mermaid tail

I really liked all of the dolls, but the mermaid was a special favorite. I might just be another girl in on the mermaid craze, but I really like that tail. Look at the curve in that tail!

If you have never made a doll, you will have no idea how hard it is to achieve. When I made Red and Coral for my niece I thought the straight legs and arms were difficult enough. I have a lot of respect for this artist.

Bay Quilts - art quilts
Bay Quilts – art quilts

The quilt gallery show was interesting as well. The quilts reflected some of the political news phenomena happening: Black Lives Matter, 45, terrorism and other things we all dislike seeing on the news right now.

The best part of the whole shop was the fabric. Hands down, no question. I loved the fabric. I saw fabric that I have not seen anywhere else. some of it I had heard about and some not. they had a good selection of super hero, Star Trek and Star Wars. I also saw the new Anna Maria Horner and a huge selection of Japanese fabric. The best of all was the huge, HUGE selection of Philip Jacobs prints. Yes, I bought some for another tunic or two.

Bay Quilts - signage
Bay Quilts – signage

I did like the way they described what was on each aisle as well. For example, there was a section of reproduction prints. The group looked really out of place IMO with all the other fabrics, but I know the owner is marketing to all segments – something for everyone. I thought ‘Vintage & Worldly’ was a great way to describe this aisle.

Bay Quilts - notions wall
Bay Quilts – notions wall

Clearly, the owner has thought about the business a lot. This is not just your stereotypical quilt store. There were a carefully selected group of notions, not just the same old Dritz items that quilt stores can get from distributors.

She has a lot of books, which I know is a hard path to travel with Amazon being so easy. The shop offers discounts on purchases, which is an incentive since you can have the book right then, even if you could get it in 2 days for cheaper from Amazon. Buy local!

Bay Quilts - silks
Bay Quilts – silks

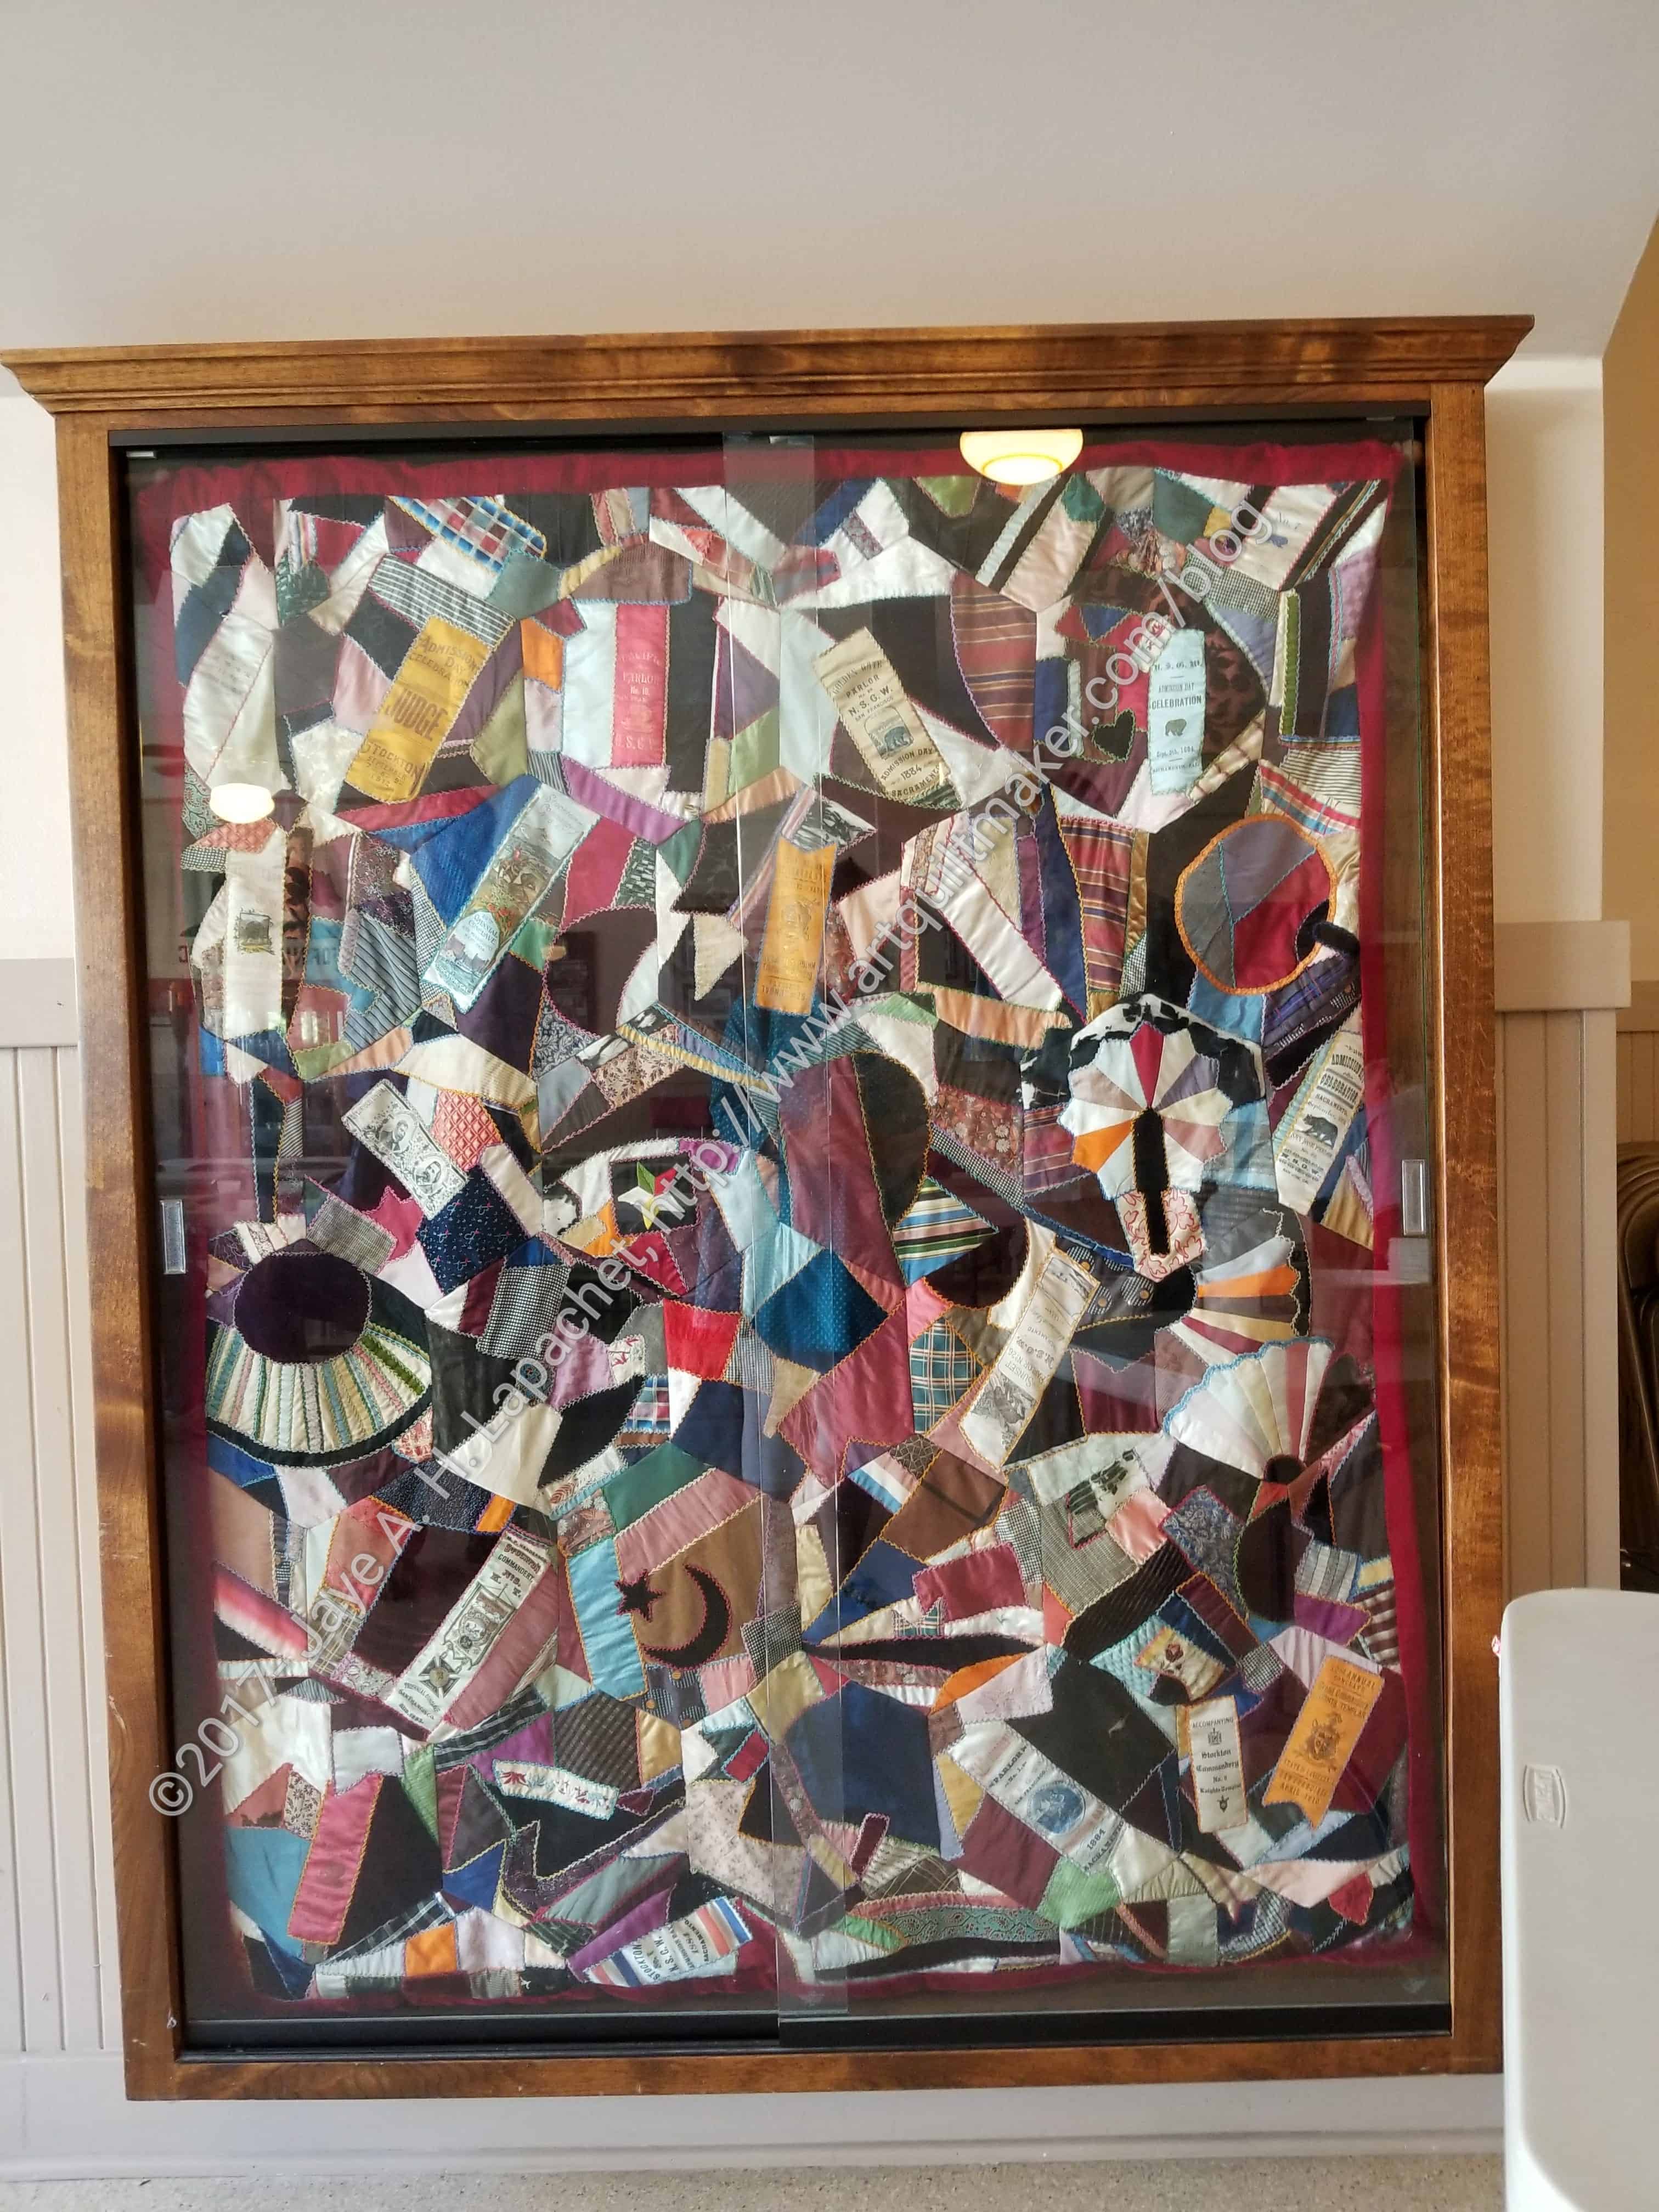
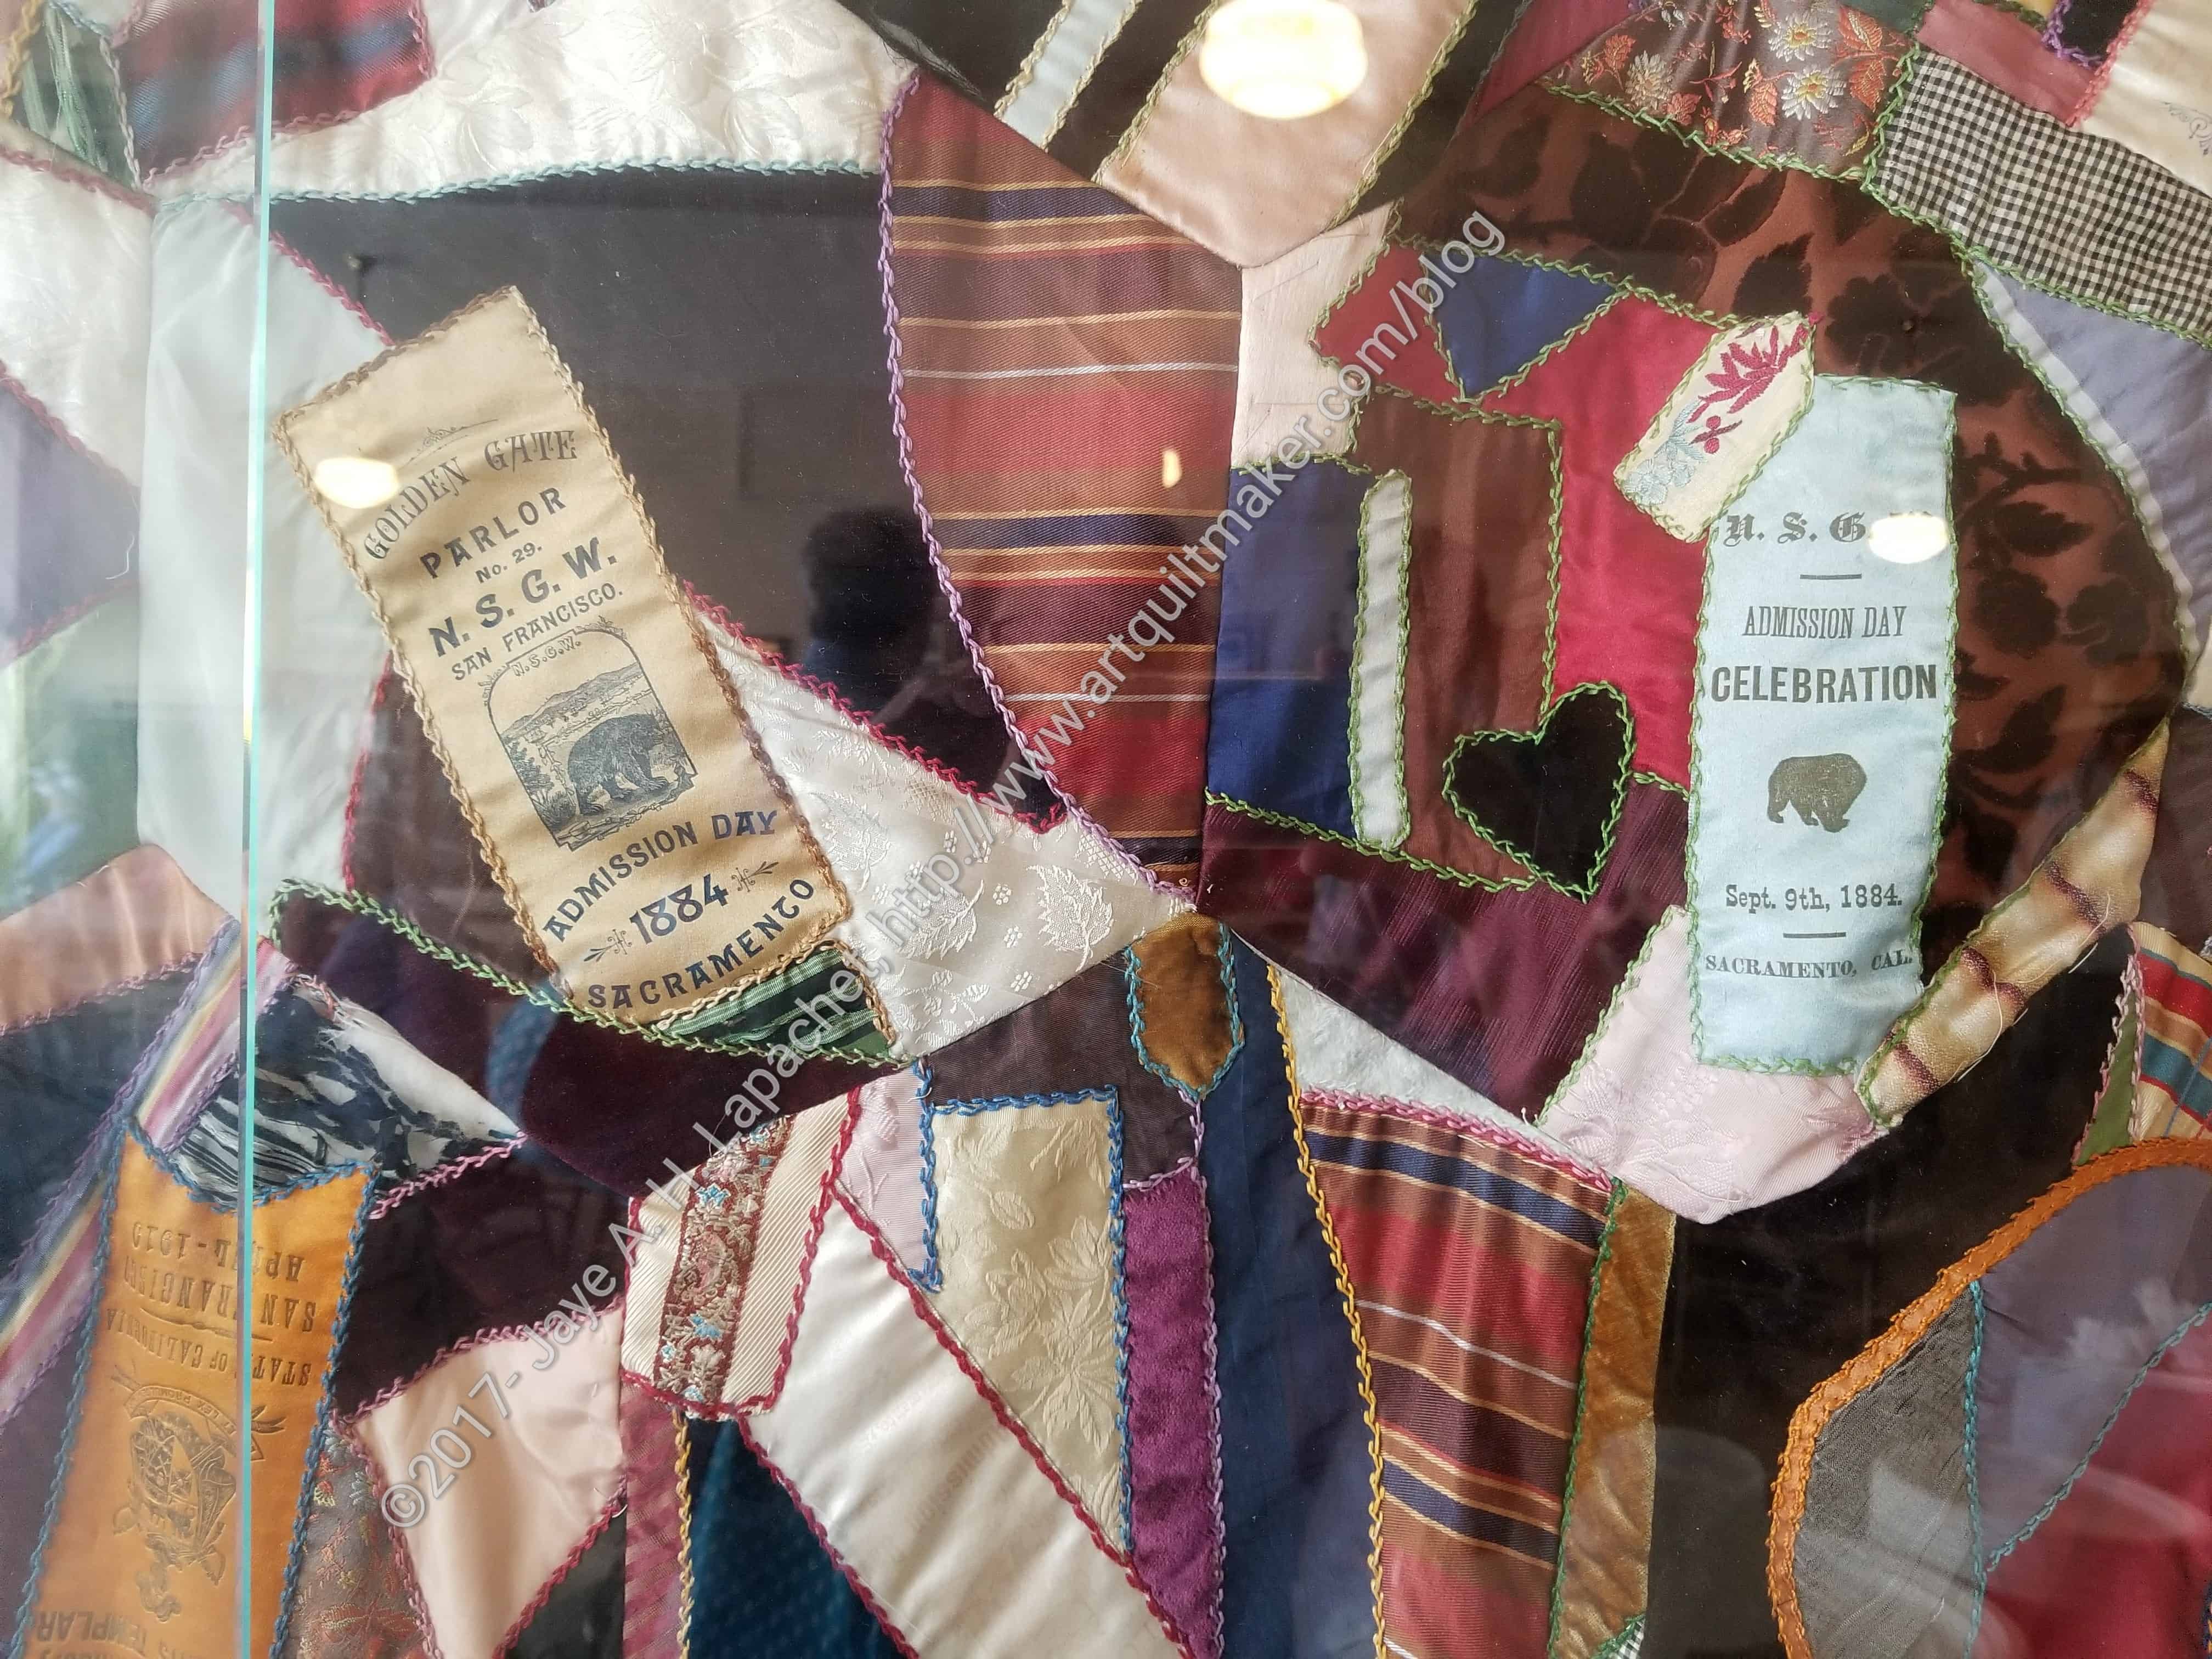
There were a wide range of 108″ backs, different substrates and some absolutely luscious silks. If I had seen these a few months ago, I would have had more than my little black dress to choose from for NSGW events.

I bought a small pack of them just to have some of the colors. If I have ever make that silk quilt I planned, I will use them.

Bay Quilts - quilts for sale
Bay Quilts – quilts for sale

The shop also has quilts for sale! That is something I have never seen in the quantities at Bay Quilts. There was a lot of beautiful work at reasonable prices. If you need a gift, this is your savior.

Go visit!
Bay Quilts
5327 Jacuzzi St, Ste 3-C
Richmond, CA 94804
Tel: (510) 558-0218

Book Review: Quilt As You Go Made Modern

Quilt As-You-Go Made Modern: Fresh Techniques for Busy QuiltersQuilt As-You-Go Made Modern: Fresh Techniques for Busy Quilters by Jera Brandvig

I bought this book at Back Porch Fabrics in Pacific Grove, California back in November when Friend Julie, Mom and I did our mini-shop hop. The publisher should pay Gail at Back Porch Quilts to sell this book, because I would never have bought it without her enthusiastic sales pitch. After watching her do a brief demo, I was convinced that this book would solve all of my quilting problems. I think I probably need to take a class from Gail with regard to this book, because my efforts did not go as well or as easily as advertised.

The book starts out with a Table of Contents that tells the reader the book has 30+ pages of instructions and 13 projects. The cover advertises an additional 25 bonus ideas.

Jera Brandvig uses the Introduction to give the advantages of QAYG (pg.7), but also to bash “traditional quilting.”(pg.6). She talks about what a hassle it is cut precision pieces. It gives some idea on why the author started using this technique. She calls Quilt-As-You-Go (QAYG) a “…fresh, fun and simpler-than-it sounds technique.” (pg.5). There is nothing about where she heard about it. There is a perfect place between the first and second paragraphs where she could tell us, but that information is obviously missing. Even though I know better, I was left with the impression that Brandvig herself thought up the technique.

The book has a list of supplies, (pg.9-11) which includes some tips such as ‘If you do have to stash your mat when it’s not in use, be sure to keep it flat against the wall – or under your bed – so it doesn’t develop wobbles.” (pg.9). Aside from the word ‘wobbles’, this statement is one that makes this a beginner friendly book. It goes a step further by including such useful charts as “Planning Your Quilt Size” (pg.14) and “Not Sure How Much Batting Yardage to Buy”(pg.15).

The chapter called “Quilt As You Go Technique” (pg.17) starts the how-to section. The first block exercise has the reader making a log cabin style block and quilting each fabric after it is added (pg.18-19). There is no mention of backing and it becomes clear later (pg.20) that backing isn’t used at this stage. The author also give guidelines that include a very obvious ‘don’t’ (pg.21).

Jera Brandvig gives some alternatives for quilting the blocks (pg.24-25) if the reader did not quilt each patch as described in the log cabin example (pg.18-21).

We finally get to the assembly of the blocks, which is the part that gave me fits (pg.28-) when I was doing this technique on my own. Brandvig details the two ways in which the blocks can be assembled (pg.28-31). The first method, sewing the blocks together directly, is the one I thought would be easiest. I don’t like the method using joining strips (pg.29), though it does have it uses.

Ms. Brandvig expands the options by including a section on mixing in “traditional” block patterns with QAYG methods (pg.32-35). She explains an additional four different methods. This is one of the expansions that make this an interesting book. She doesn’t just stick to a couple of methods. She thinks beyond the basics.

I wondered, after reading the how-to section, whether it was really possible to provide a quilt pattern. The author says at the beginning of the project sections that it is difficult to have precise patterns, a statement which I applaud. She tries to alleviate any perceived problems this might cause by giving the finished quilt size, the finished block size and the trimmed block size (example pg.38). The author refers frequently to the how-to section in each of the project directions rather than repeating information. She includes page numbers, which makes it easier to flip back and forth. The patterns are on the long side compared with other books with the same sort of designs. They include a lot of photos and some variations! Yay!

Most of the patterns use variations on strip quiltmaking. I like the colors and style of Rainy Days (pg.44-47). Emerald City makes stars (pg.85) and has lozenge variation (pg.84). Some of the layouts such as Cascade Range (pg.91), are clever and relieve the monotony of the strips. Portage Bay (pg.92-95) is built on one huge piece of batting, which could turn into a quick baby quilt. Once you are done piecing, there are no blocks to put together. With some more quilting, you have a quilt top.

Techniques for finishing the quilts come at the end of the book (pg.102-109). This is where I had the most trouble with my project and felt the most resentful about the technique. Regardless of any advertisement, the quilt still needs a backing and the backing needs to be held on with quilting. Jera says “You work with small and manageable pieces, which means you can quilt more intricately without the physical strain and frustration of feeding a large quilt sandwich through a sewing machine”(pg.7). While most of the projects are on the baby-kid quilt size, the author does provide information about making larger quilts (pg.14). There seems to be a disconnect between the beginning and the end of the book.

In the section on finishing (pg.102-109) it is confirmed that we still have to baste the backing to the top (pg.103). The advantage presented is that the reader will need far fewer pins (pg.103). Brandvig writes that the quilt will only need minimal quilting since the blocks are already quilted. My experience, however, was that I had to add more quilting than I expected because of sagging/bagging fabric. The book shows a picture of the minimal quilting suggested (pg.103) and I don’t think it is enough. YMMV.

The book also includes comprehensive instructions on binding (pg.106-109), which can be used for other projects.

Back Porch Fabrics felt the need to add a sheet of notes to the books they sold. The notes seem to reorganize information already in the book into an easier to access manner. For the method where the blocks are sewn together directly, they also suggest sewing the blocks together with a 1/2″ seam allowance. I did this and found it to be a hassle because I couldn’t use my quarter inch foot.

I was kind of annoyed at the book before I wrote this review because of my experience. I felt that it did not live up to the its promise. I also get annoyed when no mention of the historical / previous efforts in the technique are mentioned. After writing the review, I want to try QAYG again, especially for charity quilts. The Charity Girls have a hard time getting quilts quilted and I really don’t want to add to their burden. This is also a good technique for using scraps. I’ll think about using this technique with the Solstice Parade pattern (pg.38-43) as it uses strips and I have a lot of strips in my scrap drawers. I think this technique has promise and I’d really like to make it work.

View all my reviews

Team BAM

I know you probably roll your eyes at the way I go on a bit about donating blocks for someone else to make donation tops. Quilts do actually get made from these blocks, which is great and you do know that I do make tops as well.

I forgot to mention the work of mine that Erin finished last month.

Retreat Donation Top quilted by Erin

You might remember the Retreat Donation top? This is truly a team effort as I took shards Maureen was giving away at the Retreat and made them into a top. Erin did a great job quilting and binding it. Two guilds, three people = truly a team effort.

Donation quilt - Erin's finish
Donation quilt – Erin’s finish

She also finished a top that I don’t think I made, but was made from some of the single blocks I contributed. I am pretty sure I ddin’t make the top as there is no sashing. I usually put sashing between the 16 patch blocks to give them space.

Anyway, I really appreciate Erin’s work as it is a tangible example that we are working as a team to contribute to those in need.

Creative Spark #14: Inner Kid Care

This chapter is about finding the original flame of your creativity. So many people I meet see one of my quilts and say something like ‘I could never do that’ or ‘I am not creative like you.’

Baloney.

What I do isn’t that special. I may get special results from my choices, but anyone can sew a straight line. Really. ANYONE. The key in this chapter is to read the text and think about it. Remember ‘images of your creative life as a child.” (pg.61).

I was fortunate that there was always plenty of opportunities at my house to be creative. We painted plaster 3D objects, we made stained glass and painted canvasses. The theme was not perfection but to make stuff and keep trying. the items I make are not always perfect, but I don’t get discouraged; I keep trying.

People I meet or know use negative self talk as the basis of their life, it seems to me. The phrase: ‘I did that terribly, which makes me a bad person’ is one of I heard in various iterations a million times, many times from women friends. It is VERY important to “replace those negative messages with some others. Take each of the negative messages” you thought “and write the opposite.” (pg.63). Then practice positive self-talk. Anytime something negative starts to escape your lips, spit it out (quietly) and say the opposite. It doesn’t make you cool to degrade yourself.

This chapter is all about exercises. If you only buy the book for this, buy and do these exercises.

Nota bene: we are working through Carrie Bloomston’s book, The Little Spark. Buy it. Support the artist. There is a lot more to each spark than what I am writing and the original chapters will help you. Go buy Carrie Bloomston’s book, so you get the full benefit of her fabulousness! You can see my book review, which is what started this flight of fancy.

You can find the last spark on the blog last week.

One Small Block

June donation block
June donation block

I am using En Provence for leaders and enders so my donation quilt/block progress has slowed somewhat. I did manage to make one block.

I am back to using white and will send this one to the guild rather than use it to make a quilt. I have enough blocks at home to make donation quilts and will focus on those. Someone else can use this one to make a quilt.

Finito…Mostly

I am REALLY, really, Really excited that I finished the Carpenter’s Wheel top on Friday night. DH was preparing for a Native Sons event and I sewed after dinner until 10. As I have said before, after dinner is not my best time, but I have been getting good sleep lately (no coughing), so I was up for the challenge.

Carpenter's Wheel top finished
Carpenter’s Wheel top finished

I had about half a block to finish sewing.  Then I had to sew it together and sew that block to the last row. Once I completed that section, I had to sew that section to the right hand corner section to make one giant bottom row. After that it was just one long seam to join the two halves of the quilt together.

I did it and stay stitched around the whole quilt. As I knew it would be, the quilt is a giantess.

On Saturday, I sent DH off to a Native Sons event and laid out the top in the living room and measured it. Laid out is kind of misnomer, because the thing is too large for my floor.

I also made the label, but had to go and get ink for the printer, so I did that, then came home and started sewing the back. I promised myself I would stick to LARGE pieces and stay away from fiddly sewing. I mostly did that. The back is mostly 3 large pieces of fabrics with a few fill in smaller pieces. Nothing crazy and I didn’t finish it feeling horrible. I felt find and switched to another project right after I finished.

Still on the to do list:

  • Prepare binding

Fabric of the Year 2017 Again

FOTY 2017 - early June 2017
FOTY 2017 – early June 2017

It was the end of April when I last posted an update for FOTY 2017. I am still cutting, but the endless Carpenter’s Wheel and brief detour into designing for FOTY 2016 are just two of the projects that have distracted me.

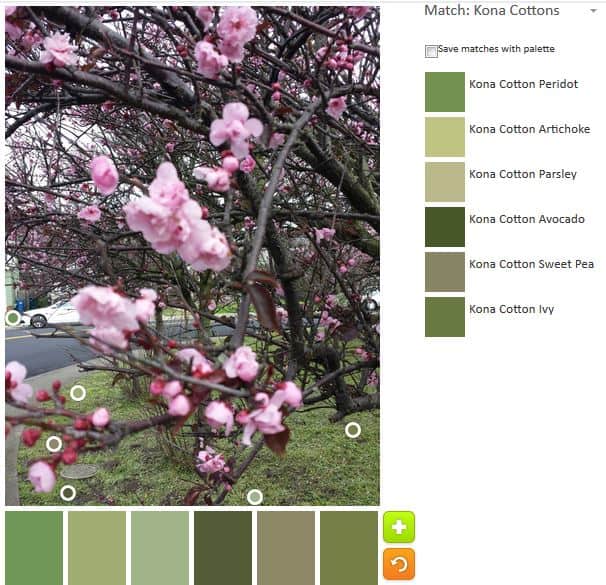
These fabrics reflect a couple of projects. First, the text prints were cut as I was cutting more squares for the Carpenter’s Wheel. The light blues are for the En Provence Mystery Quilt, clue 3.

I also started cutting for a new project. This is the reimagined Daisy QAL. Yes, my podcast pal, Daisy, is leading a Quilt-A-Long. I wanted to do it, so I bought all of the materials. After looking at the pattern carefully, I decided I didn’t like the alternate block. I looked around to see what I could add that would be interesting, then decided that was stupid. At the same time, I saw the quilt I have been wanting to make at Back Porch Fabrics, Triple Star (n.18/19) by Kim Brackett from Scrap Basket Beauties.

I changed direction. I am using the materials from Daisy’s QAL to make the Triple Star. I know I have a zillion other projects, but I bought the fabric and am cutting it up in between the Carpenter’s Wheel and En Provence.

The fabrics on the bottom row in the FOTY picture above are from Alison Glass’ Sun Prints collection. That brown probably has to go. I cut it up, but find that there is a lot of it and I don’t like it enough to put that much in. I won’t have enough fabrics from the layer cake to make the whole quilt, so I am adding in other fabrics as well, including some Philip Jacobs. I need to make it more cheerful.

The Peacock is Quilted

The Peacock detail
The Peacock detail

Colleen emailed me and told me that The Peacock has been quilted and is ready for me to pick up.

I have to admit that I was kind of wondering where it was, so I was glad to get the email. The feathers look great and I can’t wait to see the rest.

I also can’t wait to finish it and get some fabric usage in the win column.

Creative Spark #13: Get in Your Body

The first thing I noticed about this chapter was the sidebar on the chapter’s image. It says “Phoenix, Arizona yoga teacher Anton Mackey encourages students to turn off their minds and look within by closing their eyes as they practice their yoga: ‘You don’t need to see the pose, you just need to feel it.’ Trust your body to take you where you need to go.” (pg.56).

What I thought it said was that the teacher could teach students to turn off their mind. I got a much more adamant message from the sidebar than what is actually there. I need someone to tell the way to turn off my mind, because when I am not listening to something (usually an audiobook), my mind is reeling. This chapter’s main message is that “…sometimes you just need to get out of your head.” (pg.57). I do need to get out of my head, but I also find that if I let my head roam free for awhile, it goes crazy at first and then settles down to some interesting and, possibly, enlightening commentary.

Some of this chapter is about moving your body. I don’t want to use the word exercise, which has a billion nasty connotations, but moving my body helps my mind. “Regular exercise increases the number of tiny blood vessels that bring oxygen-rich blood to the brain and body.”(pg.57). More blood to the brain means more creativity, right?

The whole package, blood, brain and quietening the mind, is about providing “…space between yourself and your thoughts.”… “For creativity, it is important to turn off the incessant chatter of your mind and to bypass the intellect…” (pg.57) I really believe this. I listen to audiobooks when I am sewing, but more and more I am turning off the story to just be with my fabric. Sometimes I get the monkey mind and incessant intercranial chatter. More and more, I get peace. It is practice.

Is it connected that I exercise regularly (and I am not trying to make anyone who doesn’t move as much as I do feel bad-I am not judging!)? “The mind often seeks the comfort of the rational solution, the safety of habits and the status quo. It’s filled with those dudes that limit us: critic, judge, axman of dreams.”(pg.58). These guys are quieter when I exercise. I don’t always push myself, but I do always get my heart rate up and sweat. The more I do those things, the quieter the monkeys tend to be.

“Creativity comes from innocence, openness, curiosity, and playfulness.” (pg.58) and there are other ways to achieve these things than exercise. Exercise, IMO, is kind of a shortcut. “Your rational mind doesn’t always serve you. It can impede your intuition and the strong messages you are receiving. Learn to turn it off so you can get to the business of tending to your soul,” (pg.58) improving your creative self and being creative more frequently and without fear.

Nota bene: we are working through Carrie Bloomston’s book, The Little Spark. Buy it. Support the artist. There is a lot more to each spark than what I am writing and the original chapters will help you. Go buy Carrie Bloomston’s book, so you get the full benefit of her fabulousness! You can see my book review, which is what started this flight of fancy.

You can find the last spark on the blog a few weeks ago.

Boxcar Tote

Boxcar Tote by Green Bee

Yes, I cut out another tote. Are you screaming at me? 😉

Cutting out and prepping the Poolside Tote at the Scruffy Quilts Sewcial went so well that I decided to repeat the happiness with the Boxcar Tote. There were several factors:

  • I knew I would have very little time over the weekend to sew; AND
  • I actually knew when the Sewcial was
  • not to mention I would miss Sew Day

Also, I need to get this tote done in the next week or so as it is a gift I am giving in the next two weeks.

I bought this pattern on a whim from Hawthorne Threads in April. I liked the shape and thought this would be a great bag for a friend. I have a number of bag patterns waiting to be cut out, so I kind of surprised myself by gathering the materials for this one then finding an opportunity to cut it out relatively quickly considering when I bought it.

Boxcar Tote in pieces

Again, the Sewcial provided the right kind of space and also a bit of sociability which enabled me to cut out this pattern and prep the pieces for construction.

I am using some cactus fabric I bought plus some of the winnings from the recent BAMaQG meeting.

It wasn’t all peaches and roses as I ran out of the stiffener. Fortunately, oh so fortunately, Scruffy had something similar and I was able to move on. Still, it took me less than 3 hours to cut out and apply the stiffener to the fabric (one side was fusible).

I was annoyed at the pattern, because the designer expected me to cut out square pattern pieces, pin them to fabric and cut the whole mess out. For non-square pattern pieces, I always make a tracing paper pattern, so the original stays pristine. Since these were squares and rectangles, I measured them and cut them out with a rotary cutter, not using a paper pattern. Not sure why the designer didn’t tell me the size of the rectangles. It wasn’t rocket science and seems like a crucial piece of information. I’d like to make another one so I wrote the sizes on the pattern and cut them out with a ruler.

This is a pattern with all squares and rectangles, which means I will have to insert the bottom (a rectangle) into place by matching up corner dots. Not my favorite method of constructing a bottom, but I am reserving judgment. I am thinking that I may make it a little differently the second time around. We’ll see.

I can’t wait to see how this bag comes out.  I really want to work on some bags. I am also curious to see the final size.

Right Hand Corner

I decided to work on the Carpenter’s Wheel and move towards getting the top done. I have spent the past week making background blocks during every spare moment.

The bad part is that I had no time over the weekend to sew. I spent the weekend with DH on #politicalwifery. We didn’t get home until 7pm Sunday after leaving at 11:30am on Saturday. Very limited sewing time. Also, as an added ‘insult,’ we were so busy I didn’t even get to visit any quilt shops.

Still, after working part of Friday, I spent a few hours Friday afternoon adding to the section I finished last weekend (section 3).

I decided I would make the two blocks (far right) to finish section three. Once I did that I decided it would be easier just to add the three background blocks to the bottom of the section, making a giant 9 patch. What you see above is a giant 9 patch and the entire right hand corner of the Carpenter’s Wheel quilt.

Carpenter's Wheel - left hand bottom
Carpenter’s Wheel – left hand bottom

I am using the same technique to finish the left hand side of the quilt. One background block, which is next to the bottom Carpenter’s Wheel, is finished and I have two more to make. The two sections will end up together like:


I know it isn’t ideal but you can sort of get an idea of what it will look like.

26 Projects List – June 2017 Edition

Finished 2017 Quilt Projects

Still none yet. Still sad, though I am getting the Peacock back soon, which after binding, should put me back in the black in terms of fabric usage. I hope.  My fabric used list is still really suffering from frequent travel, tempting new quilt shops and fabulous fabrics.

Finished 2017 Non-Quilt Projects
While quilts are thin on the ground, I have been sewing and I have finished sewing a lot of small projects. I think that trend has mostly ended, but I expect to make a few more small projects this year.

Shockingly, the above along with donation blocks and tops is about 50 yards of fabric this year and I am not in the black in terms of usage.

Doing Good

In Process
The  ‘In Process’ is used to denote projects on which I am actively working or pretending to stitch. I try not to put away projects, because that will ensure I never work on them.

  • Carpenter’s Wheel blocks – I am almost finished putting the blocks together. I had a goal of Friday, but my quilter is going out of town before I can finish the top, back and binding, so I might be stalled again.
  • City Samplerblocks all made. Need to sash the blocks and finish putting the top together. I have the fabric I will use and I have no washed it, so nothing is stopping me from getting going.
  • English Paper Piecing Project– half hexies – I am still making stars. I am still using the big stack of fabrics I cut over Thanksgiving to make more stars. This piece is a weird shape otherwise I would just finish it and move on.
  • En Provence – I am well into the third clue clue is finished. I have sewn over 120 blue four patches and have about 40 to go. I have been focusing on the Carpenter’s Wheel, so am stalled on this once again. I am, however, cutting more pieces in between the Carpenter’s Wheel.
  • FOTY 2016 – I knew it was time to start arranging it and didn’t realize I was stalled until I saw Ellsworth Kelly’s Spectrum Colors Arranged by Chance, 1951-53. Now I am excited again about it, so it is closer to the top of the list. 6 months into the year and I need to get on it.
  • Lobster – I still have more stitching to do and then I need to quilt it.
  • Octagon 9 Patch: ready to put together. Not sure what I am waiting for. Another leaders/enders project or do I want to lay out the blocks more carefully?
  • Under the Sea: class project; like the design and am happier with the colors. I still haven’t worked on it since February.

Still WIPs
I still have WIPs. Who doesn’t, after all? A project in the ‘UFO’ category means I am stalled. A nicer way of saying UFO is a WIP. The list is a lot shorter and the projects are newer, for the most part.

    1. Aqua-Red Sampler – I need to lay the blocks out and put the piece together.
    2. The Tarts Come to Tea: I still haven’t worked on this since April 2011, though, I did bring it to the 2017 CQFA Retreat as a potential project. It is still in a prominent location so I have easy access.
    3. Pointillist Palette #4: Fourth is a series of 6 quilts; needs tiny square patches sewn together. No progress.
    4. Pies and Points from Victoria Findlay Wolfe class. No further progress. I did wash the background fabric I found when I went to Portland, so I am ready to cut. I need to focus on this and it is not up high enough on the list yet.
    5. Self Portrait: started in 2006 at a class at Quilting Adventures in Richmond, Virginia. My career counselor breathed new life into this project for me. She asked a simple question and the end result was inspiration for this piece, but I kind of lost steam again after printing images on paper to try out different designs. Lately, I have stopped feeling like I need to finish this piece. I am not ready to give up on it yet. I think it really needs major surgery.
    6. Serendipity Lady Quilt: no progress.
    7. Stepping Stones #2 – I am ready to make the border blocks , but haven’t gone beyond designing the blocks yet.
    8. Lozenge quilt – need to trim blocks.

Ready for Quilting

  • Nothing

In Quilting Process

  • Thanksgiving tablemat – I started quilting this piece at the 2017 CQFA Retreat. I made good progress, but it isn’t finished yet.
  • Theoretically, the Tarts Come to Tea is in the quilting process, though I haven’t worked on it in a while. It did come with me to Retreat and almost made it high enough on the list to get some love.

Binding

Peacock Quilt – finished quilting; have to pick up from my quilter, so I can bind.

Hunting and Gathering

  • 30 Something: I am still cutting 1.5 inch squares. I am pretty sure I have the 800 I need, but I am not ready to sew these yet, so whenever I have a chance I cut more. It will give me choice when the time comes. I’ll have to think up a new name, too.
  • Blue Gradation Quilt: cutting 2.5 inch x 4.5 inch blue rectangles
  • Blue Lemonade: cutting blue, green, purple 2 inch squares. I used a lot of these squares for En Provence, so I will need to cut more.
  • Pink Gradation Quilt: cutting 2.5 inch x 4.5 inch pink rectangles
  • Spin Wheel: really not started, but supplies gathered. I probably have enough fabrics and just need to decide to start.
  • Windmill quilt: Still hunting and gathering. I am supposed to be cutting a variety of greys for the background. I bought a new template, so I should be able to get going again

Other

  • Stepping Stones #3 using the Macaron pre-cuts from Hoffman. I have all the fabric in pre-cuts and am just waiting for space (and desire) in my schedule.

What’s on your list?