grow out your hair
Book: Grow
grow exponetially
growing pains
grow a beard
Mighty oaks from little acorns grow – an essay by D. Everett in The Columbian Orator, 1797
Grow a thicker skin
Oxfam’s GROW campaign aims to build a better food system: one that sustainably feeds a growing population (estimated to reach nine billion by 2050) and empowers poor people to earn a living, feed their families, and thrive.
Miracle-GRO
Absence makes the heart grow fonder – The Pocket Magazine of Classic and Polite Literature, 1832, in a piece by a Miss Stickland
grow “a pair”
acquire
Money doesn’t grow on trees
locally grown
“Oh, Grow up!”
accumulate
grow out of an illness, allergy or condition
Grow the economy
growing like a weed
You are growing on me
Go West, young man, go West and grow up with the country
GROW! captures the energy, passion and independence of a fresh crop of young Georgia farmers.
grow legs and walk away
Sloat Garden Center: Plant. Water. Grow.
The latest and best tweets on #grow. Read what people are saying and join the conversation.
Growth spurt
design and development studio
Increase in size; usually getting taller and more mature
a peer support and mutual-aid organization for recovery from, and prevention of, serious mental illness.
Grand Rapids Opportunities for Women (GROW)
Definition: intransitive verb
a : to spring up and develop to maturity
b : to be able to grow in some place or situation <trees that grow in the tropics>
c : to assume some relation through or as if through a process of natural growth <ferns growing from the rocks>
a : to pass into a condition : become <grew pale>
b : to have an increasing influence <habit grows on a person>
c : to become increasingly acceptable or attractive <didn’t like it at first, but it grew on him>
a : to cause to grow <grow wheat>
b : to let grow on the body <grew a beard>
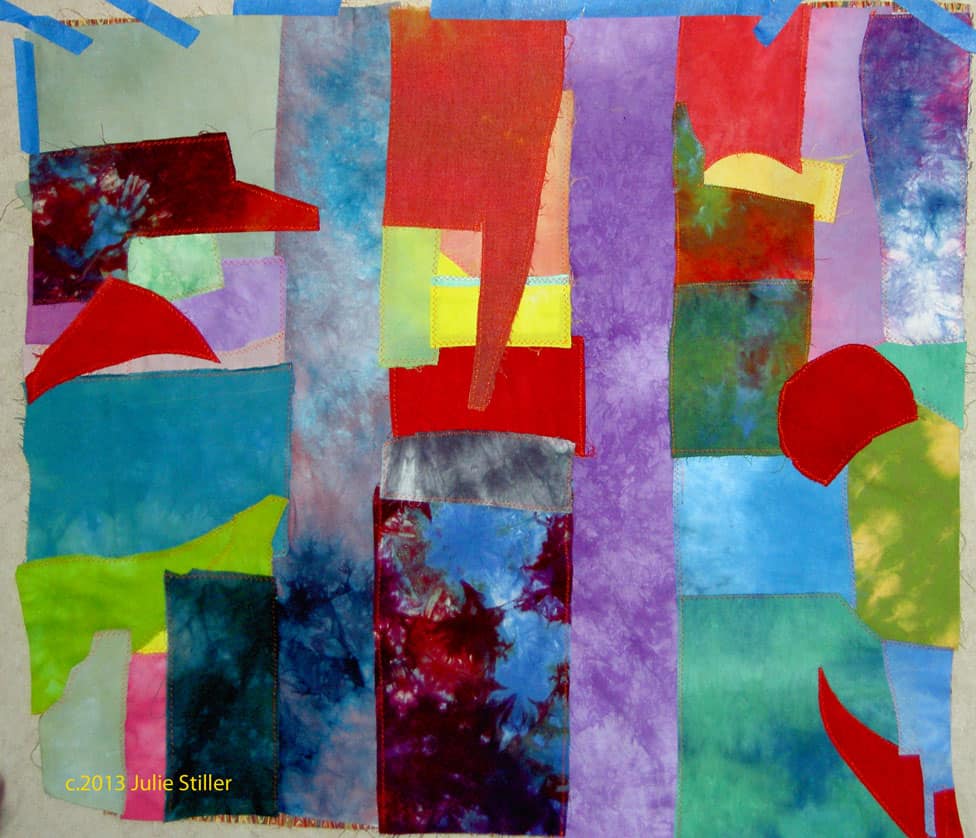
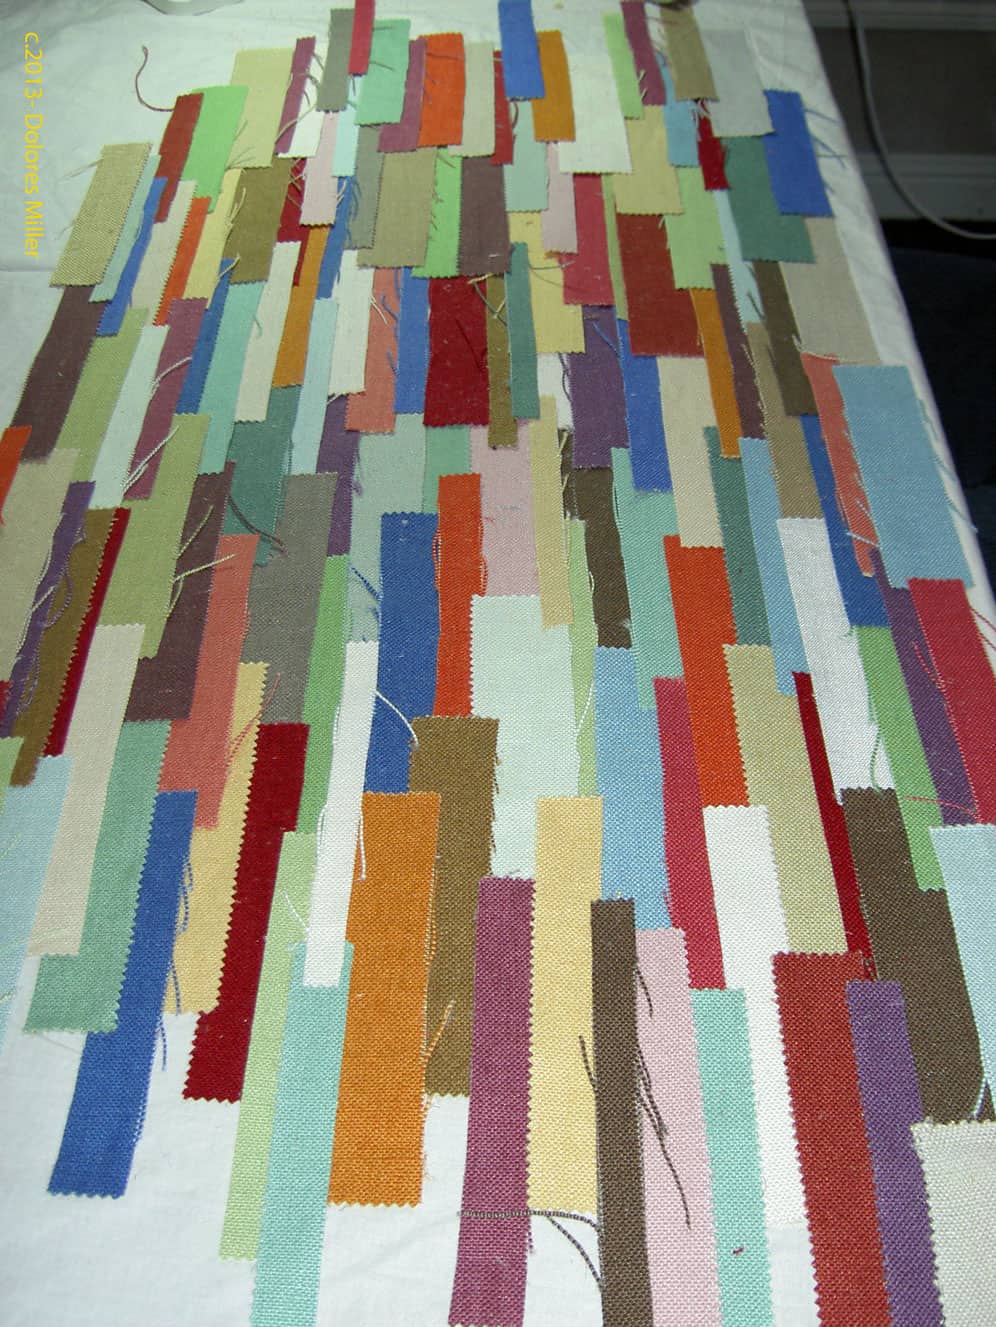
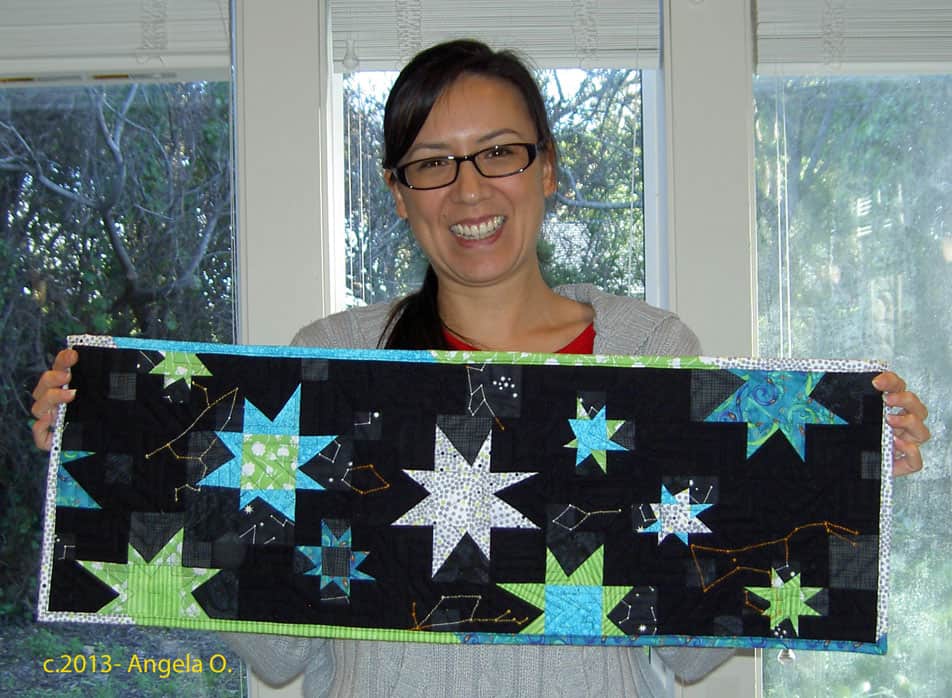
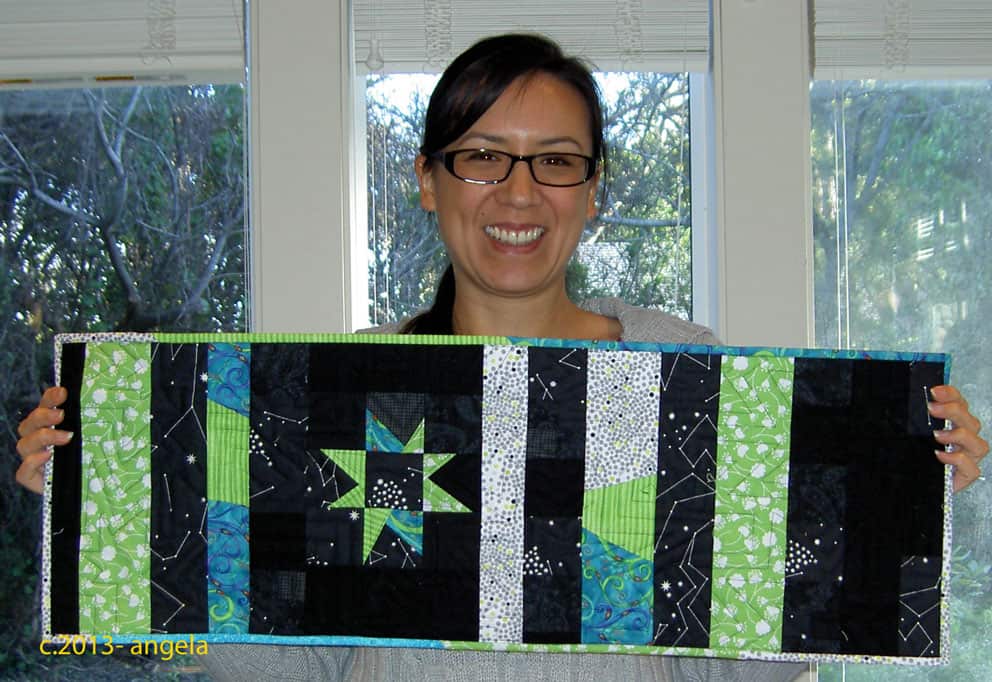
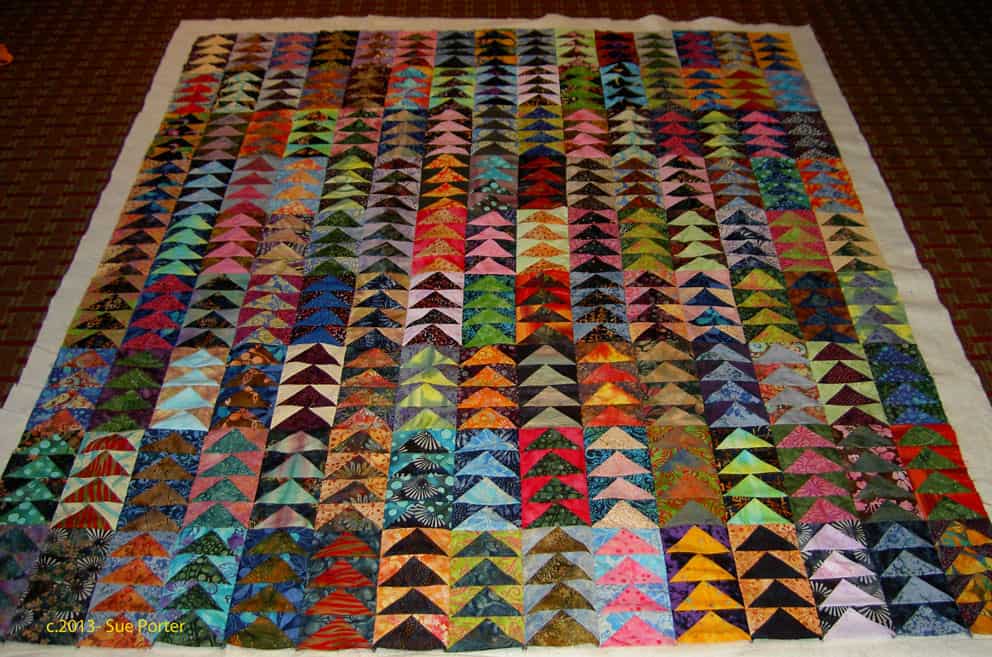
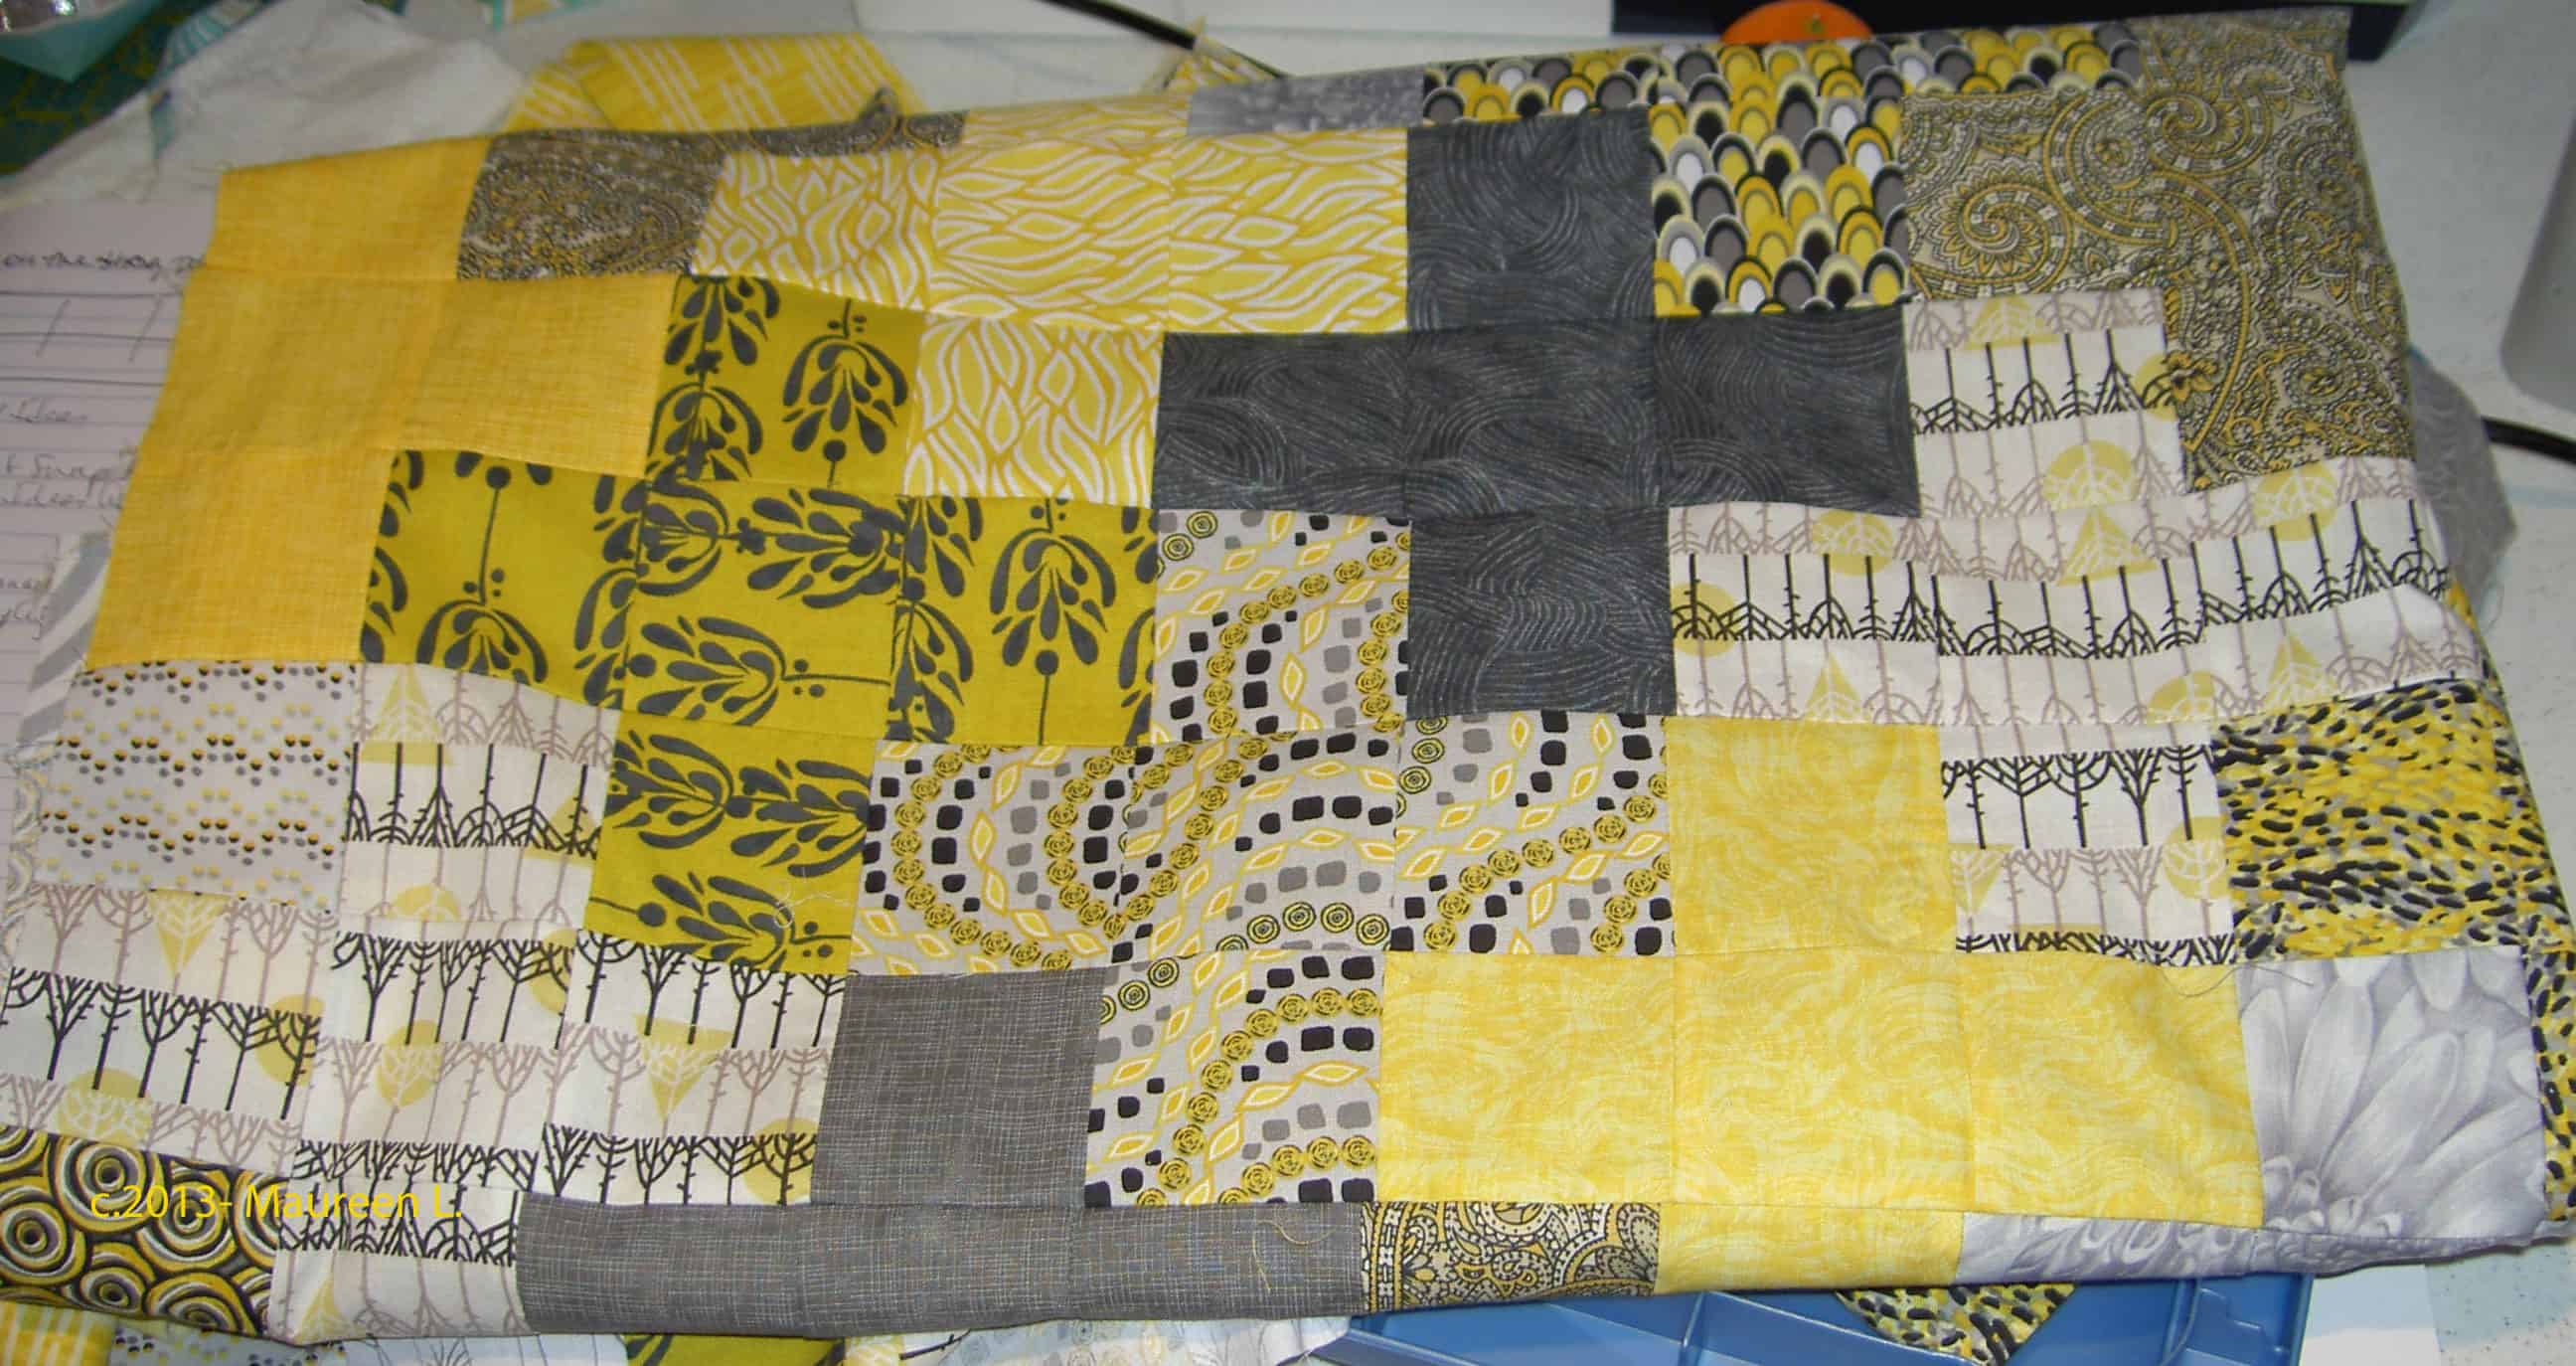
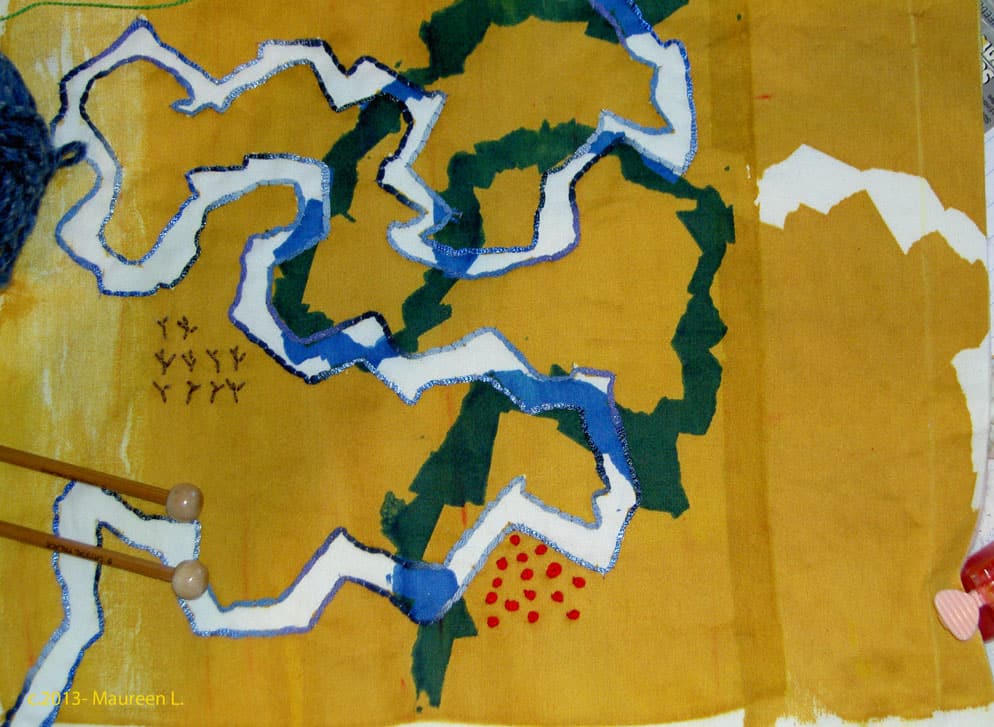
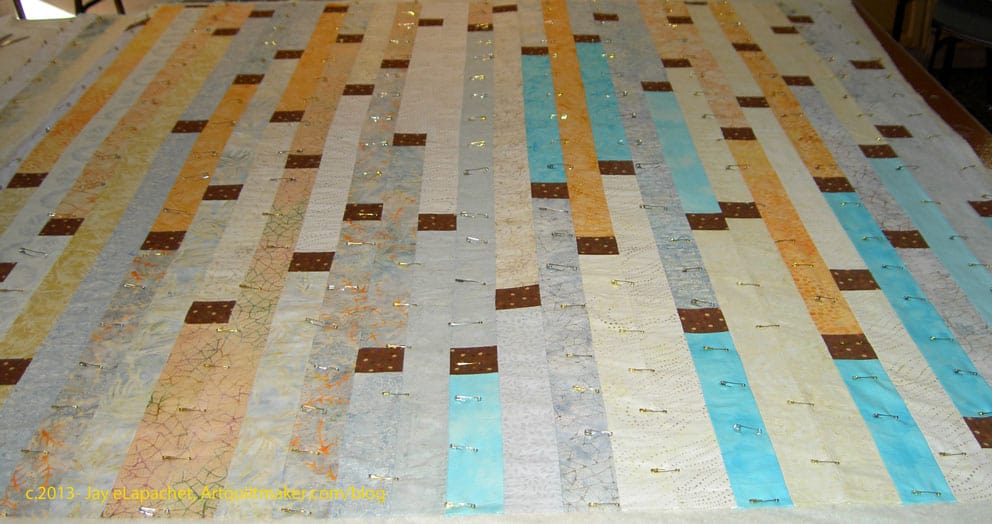
Take 5 minutes to do any kind of artistic response: poem, doodle, quilt, pastel, pencil. ANYTHING counts. Don’t judge yourself or second guess yourself. There are no rules; just do it!
Post the direct URL (link) where your drawing, doodle, artwork is posted (e.g. your blog, Flickr) in the comments area of this post. I would really like to keep all the artwork together and provide a way for others to see your work and/or your blog.
The Creative Prompt Project, also, has a Flickr group, which you can join to post your responses. I created this spot so those of you without blogs and websites would have a place to post your responses.