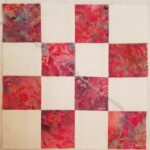
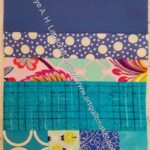
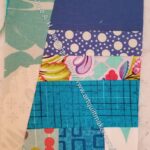
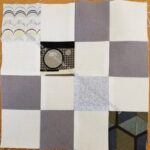
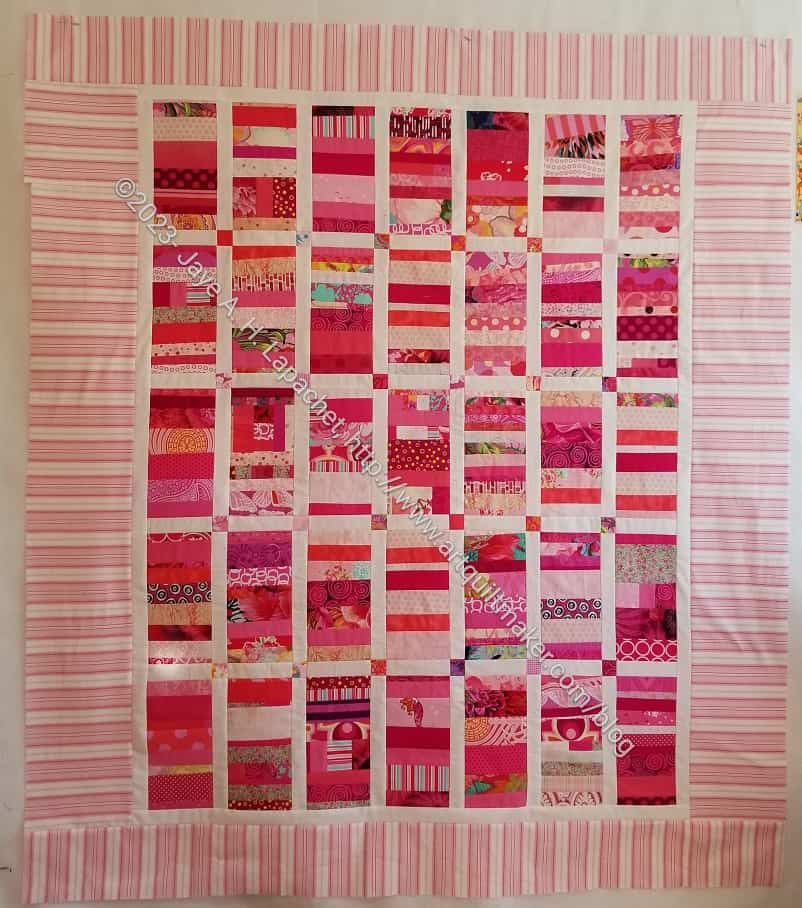
I only have a few blocks this month as I was working, mostly on the newest Spiky 16 Patch. However, I got a little boost by attending the retreat and using the materials available for leaders and enders. I tried to choose fabrics that went together so the Community Quilt people could make a kit, but I was only able to finish 5. Maybe someone will start on a Spiky 16 patch.
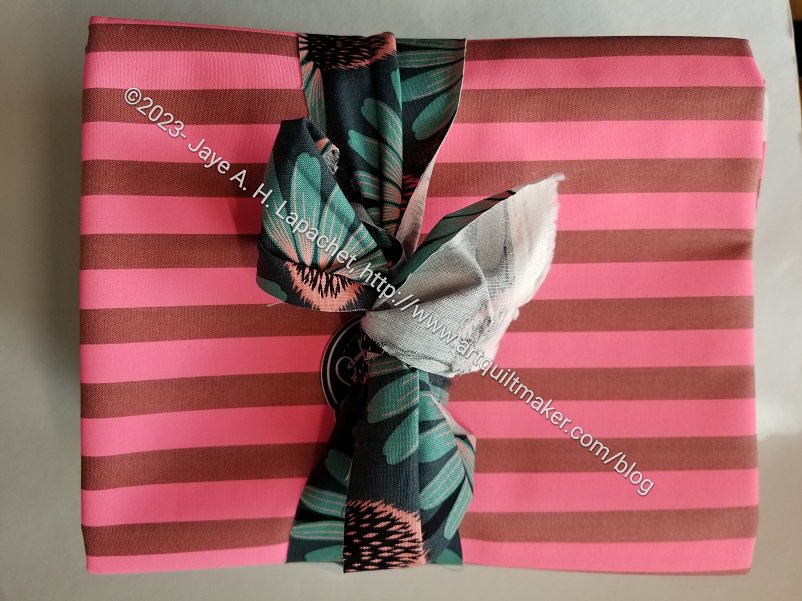
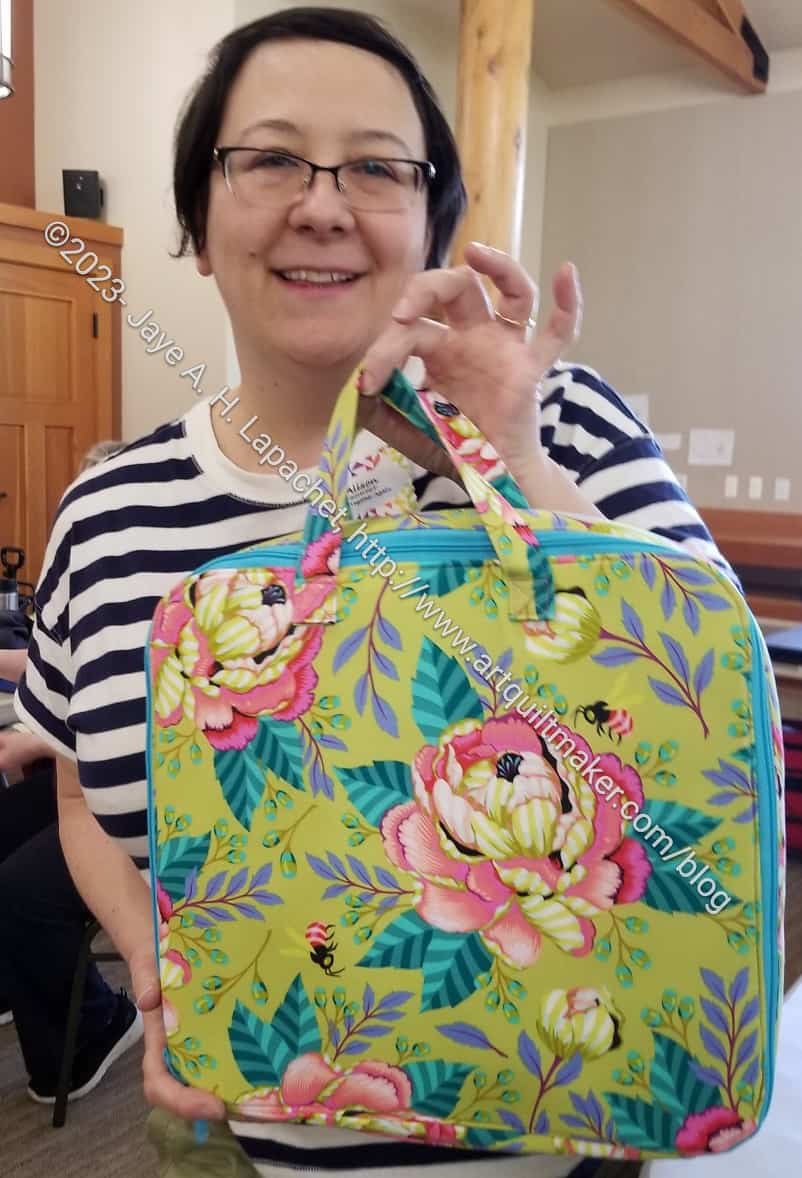
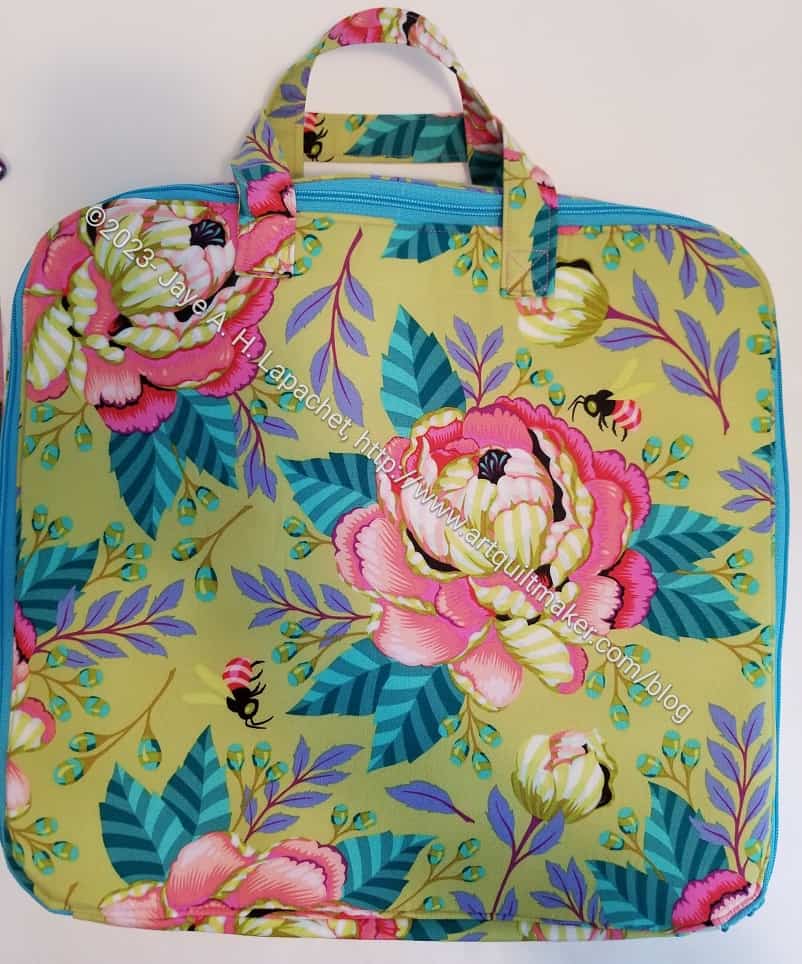
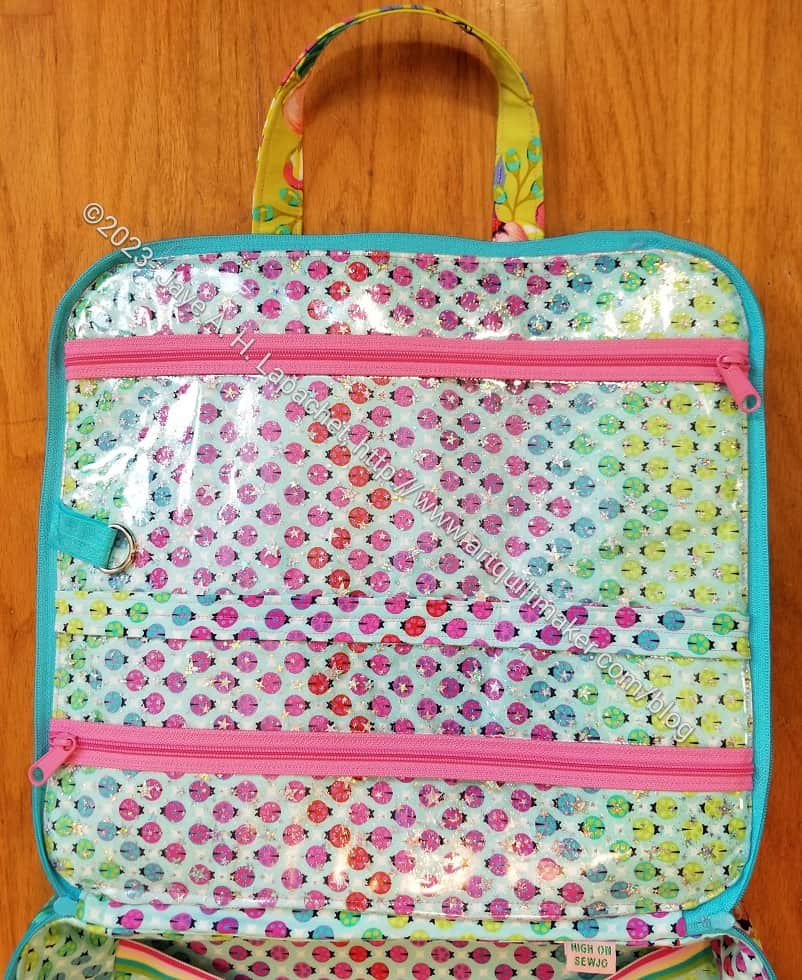
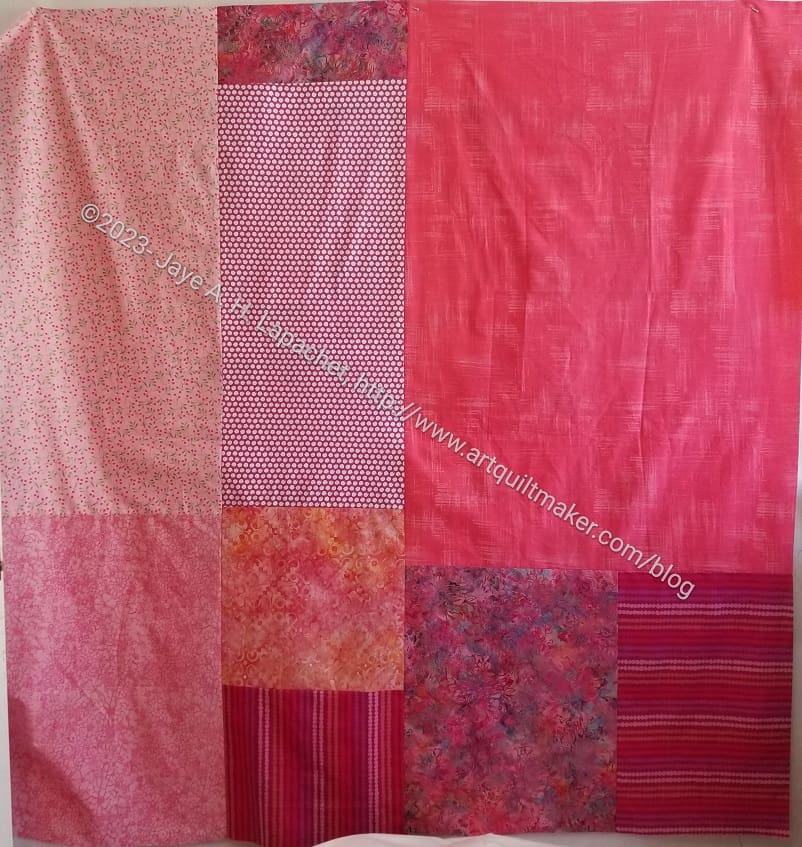
I ordered some Everglow and had to wait for it to be released before it could be sent. I received it the other day from Stash Fabrics. One of the reasons I wanted this fabric was to make an EPPic bag.
The EPPic Bag is an EPP case. You can buy the PDF downloadable pattern from Chasing Tigers. I actually bought the EPPic bundle, mostly because it wasn’t that much more and I thought the smaller bags might be useful. Keep in mind that I have not made this pattern so I can’t comment on the directions. I do know that it is simply a pattern. Unlike the Sew Sweetness patterns it does not come with SVG files, however there is a video referenced in the pattern to help with part of the construction.
Everglow
All of this is to say that I bought some Everglow in order to make one of these. I was planning to buy some anyway. The project and the inspiration spurred me on. I am not going to use the same fabric in the same places in the pattern. I may, actually, use some of my Philip Jacobs flowers for the exterior and Everglow on the inside. We’ll have to see.
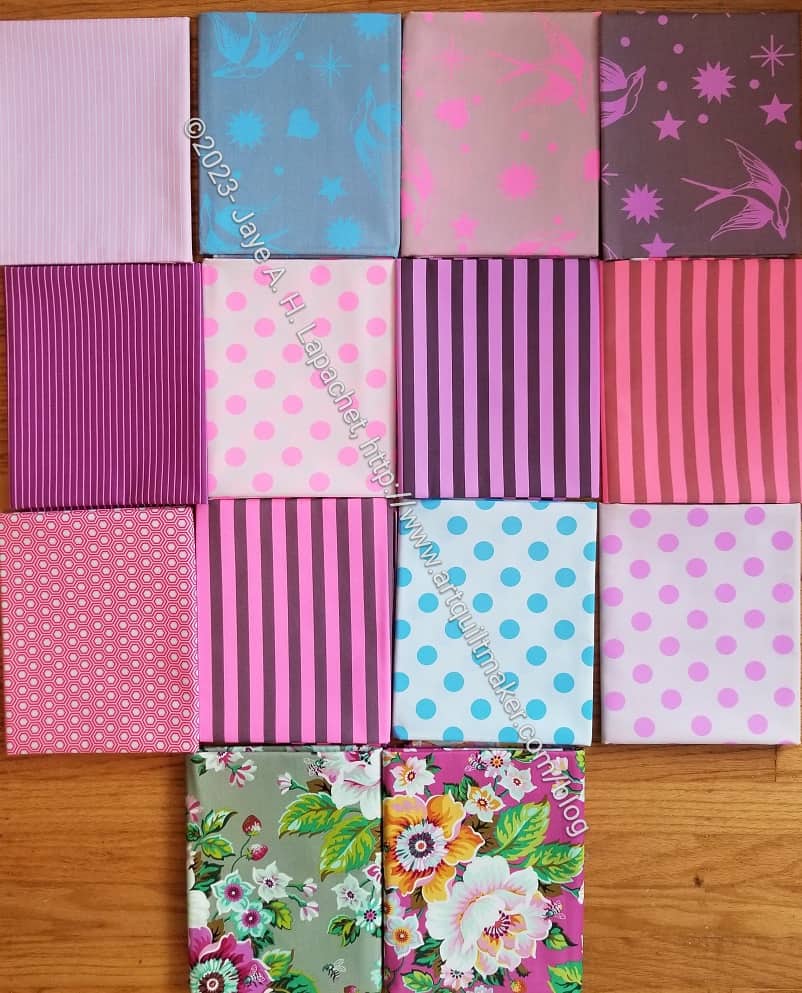
I was also selective about the fabrics I bought. I didn’t buy the whole line. I only bought the prints I thought I would use.
You can see at the bottom two new Heather Bailey fabrics as well. They will probably go on my shelf of backing fabrics.
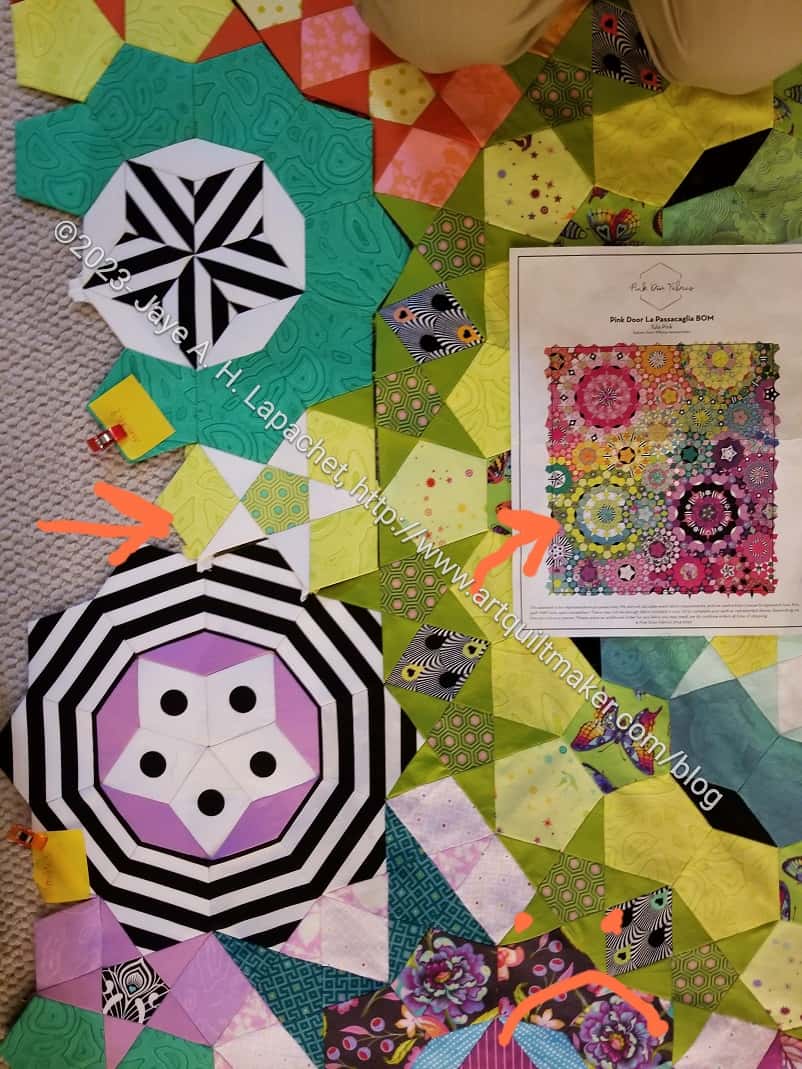
I am well into the assembly stage and came across a problem when I tried to insert an edge piece into one of the sections I have completed.
The problem was that there was another whole section to add where that left hand orange arrow is pointing. DH and I got on the floor – we don’t have a table big enough – and compared piece by piece. We did this in an effort to figure out where the problem was.
We eventually found it on the other other side of the giant green rosette. I had turned the rosette too far to the left. Yes, it all needed to be ripped out.
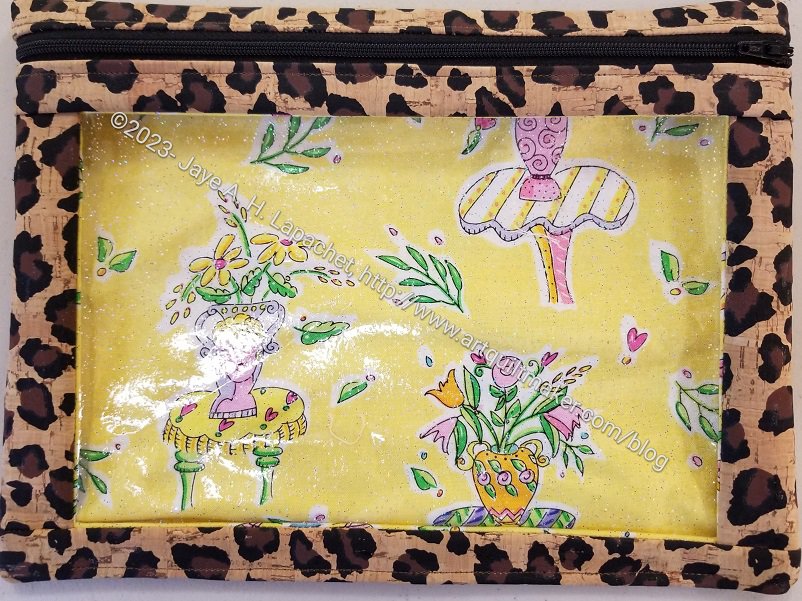
I bought some cork from Sew Hungry Hippie to make the YM a pouch. A lot of cork arrived, though I didn’t think I bought that much.
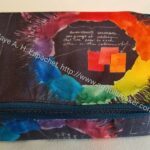
Cork I Spy – large #1
I had to make some gifts so I decided to use the cork. I cut the lining before I left on Retreat, but did everything else at the Retreat. I could have made more complicated pouches, but I needed to get these done. This one has a super cheerful lining.
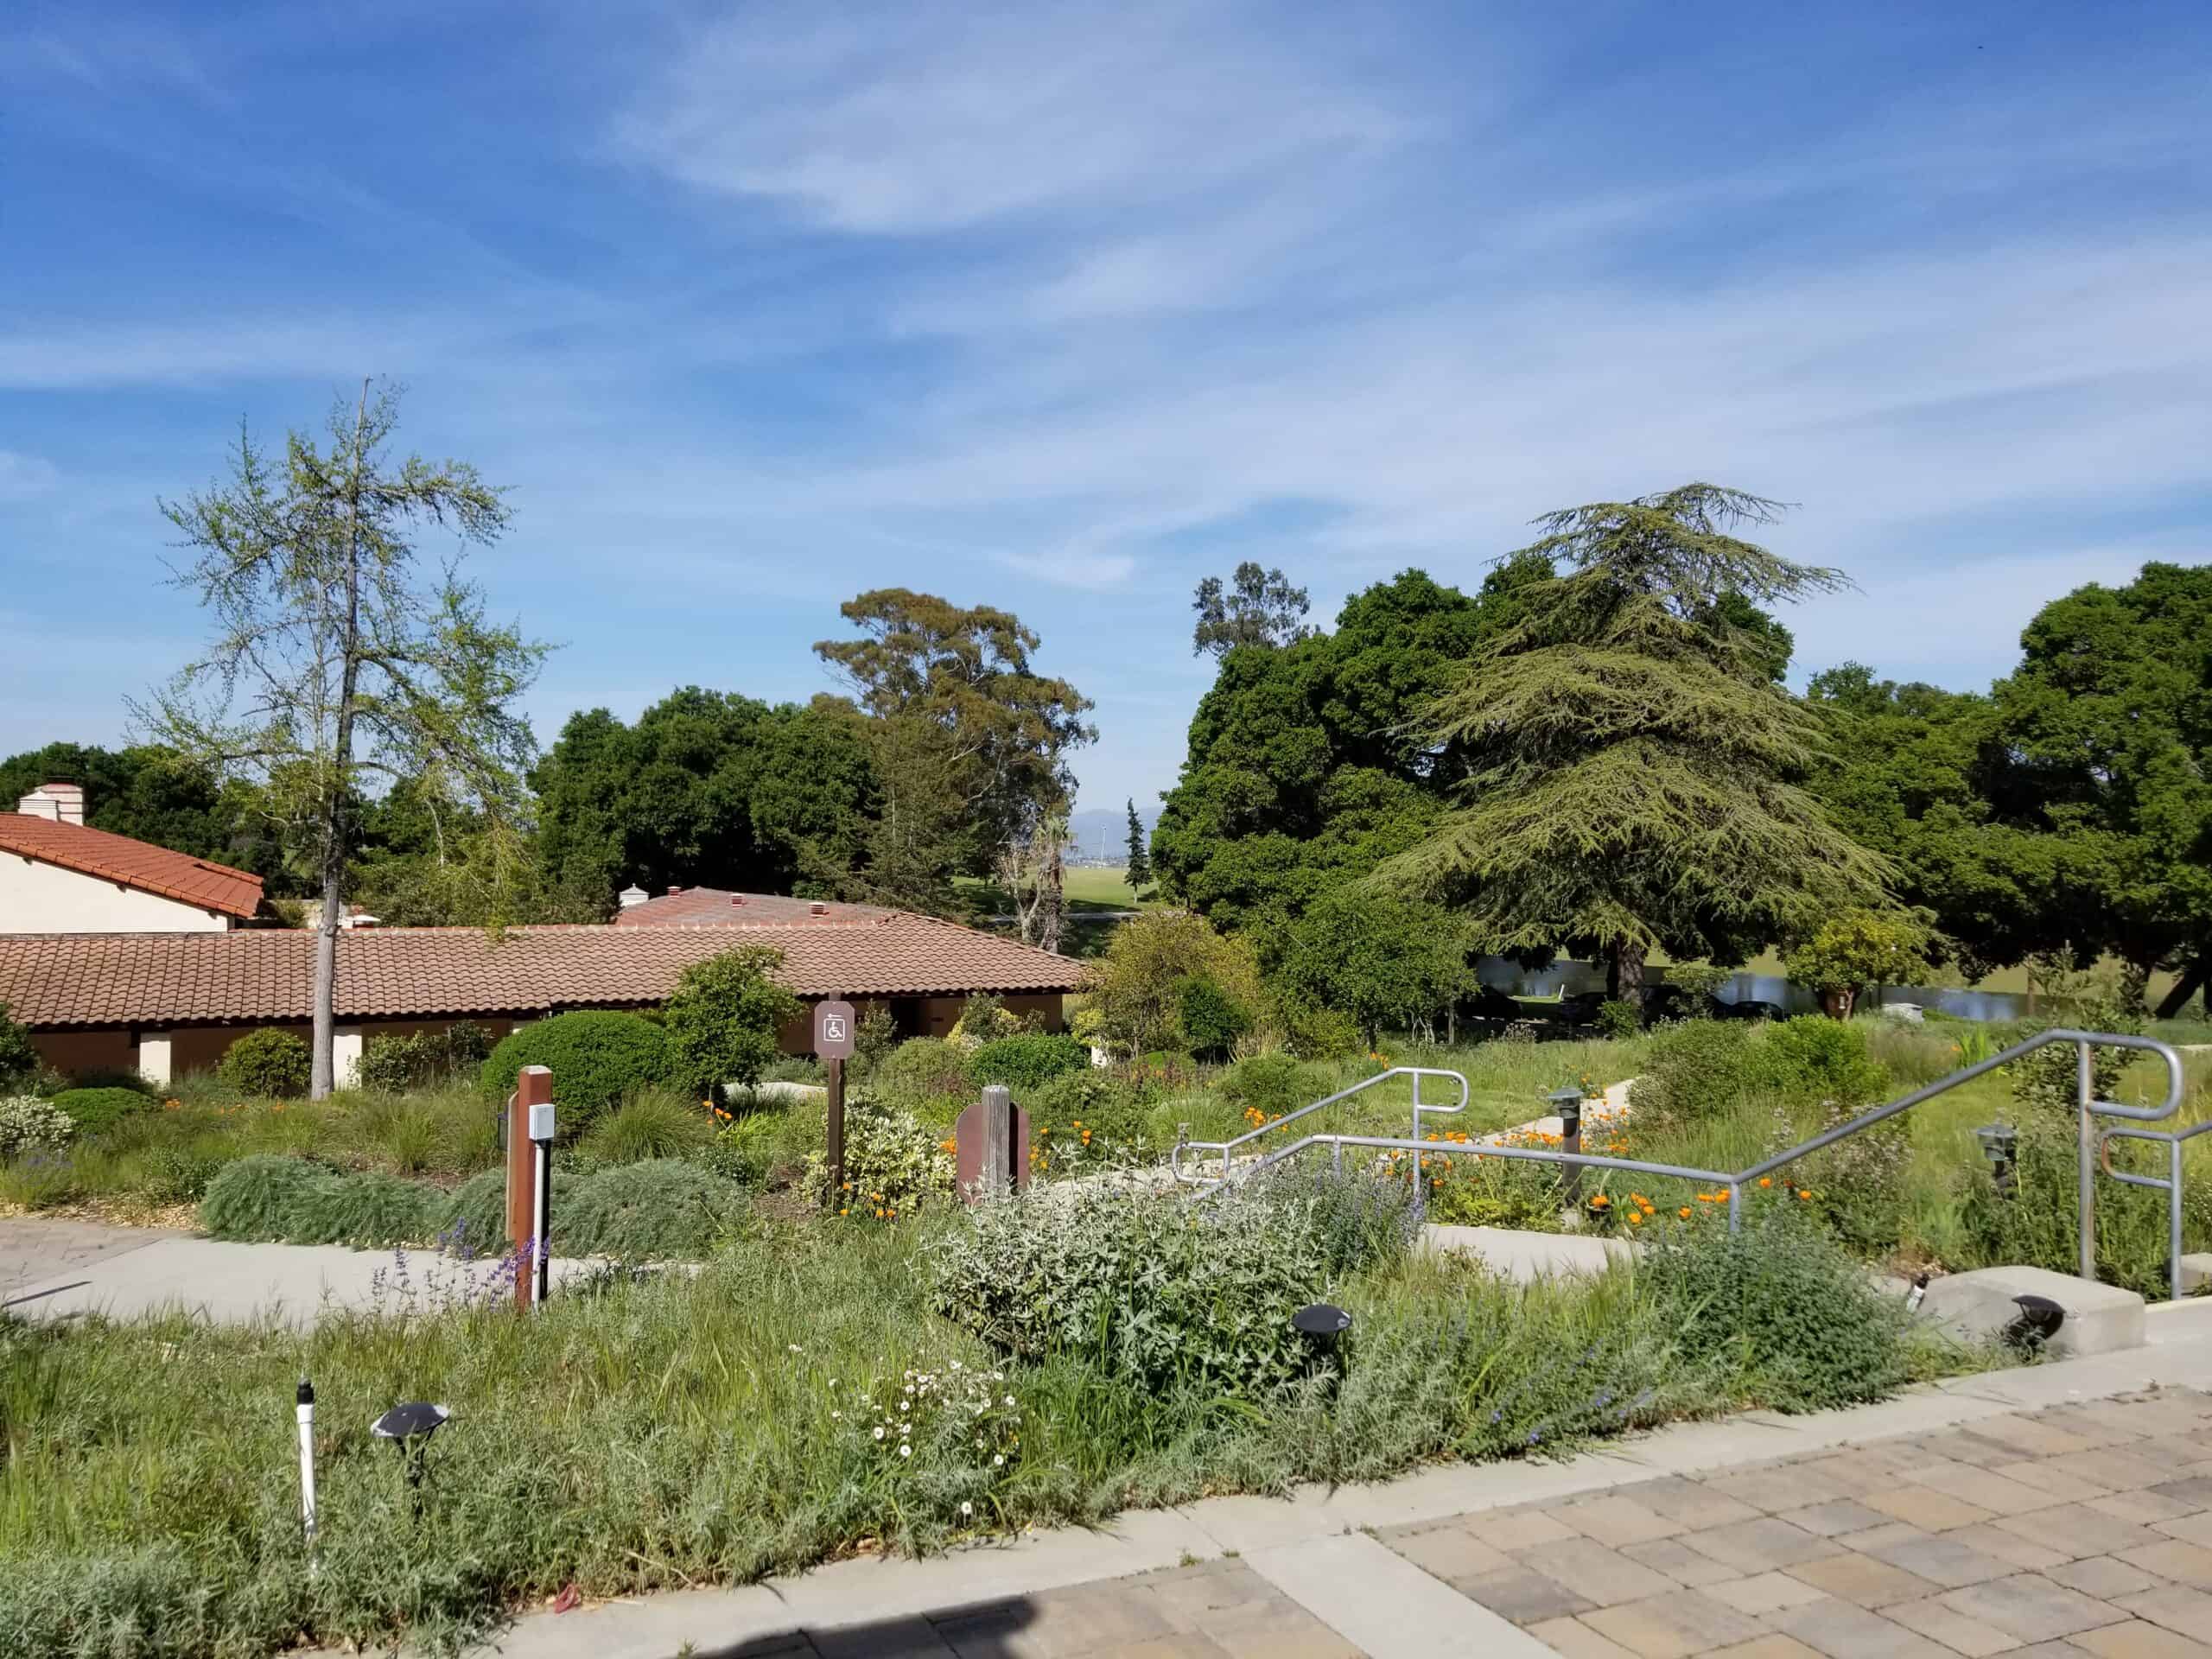
My guild went on retreat over the weekend. It was held at a somewhat revamped Franciscan monastery. I say somewhat because the building with the sewing room was new, modern, spacious and nice. The building with the sleeping rooms was old. The rooms were small, the furniture clean and well maintained, but a mishmash and the bathrooms were super tiny.
View from the workroom
The rain for the past 3-4 months has been difficult for a lot of people, but the result now that it has stopped is amazing.
SIL #2 told me this was a Redbud. I really enjoy these flowering trees. It was great to see this gorgeous tree whenever I walked to the ironing board.
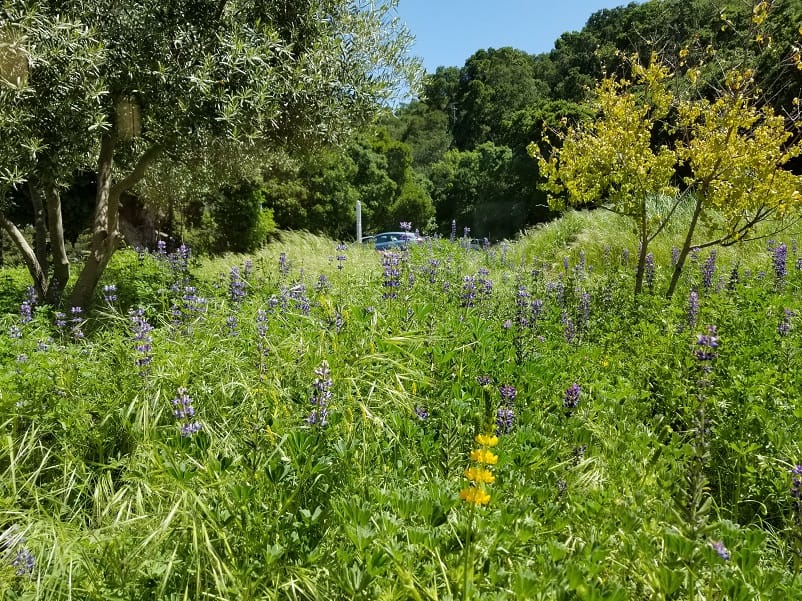
View from Alison’s workstation
Out another window, by Alison‘s workstation, was a field of purple and yellow flowers. I think lupin was one of them. I am sure if you check Friend Julie’s blog she will be able to tell you exactly what all the plants were.
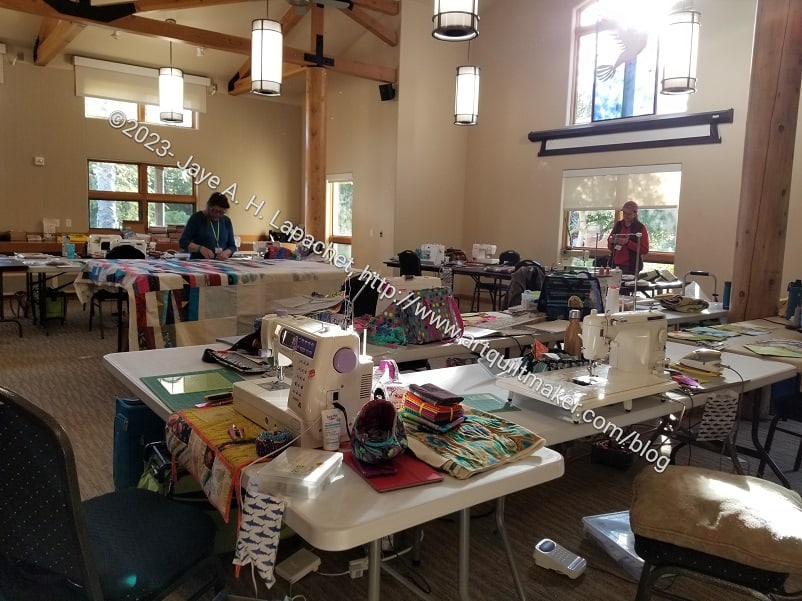
Workroom view
The workroom was really nice. It was very modern and there were plenty of outlets and large tables. In this view, you can see Julie’s workstation in the front and the bulk of the other workstations towards the back.
You can see how many large windows there are. I had no problem seeing even late in the evening.
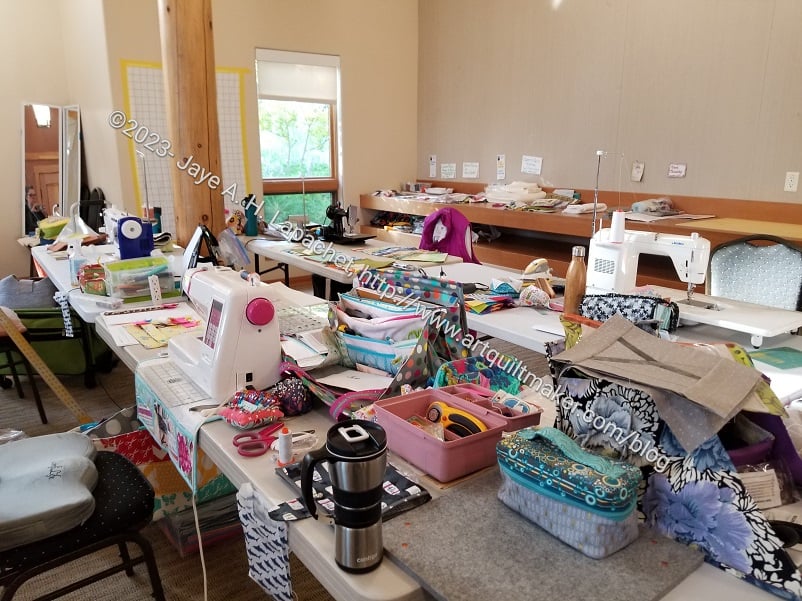
My Retreat workstation
I felt like my workstation was large enough. You can see all the tools and supplies I brought. You also get a peek of the Ultimate Carry All Bag I made and ended up giving to Julie. I like sitting next to her. We kept borrowing supplies and tools from each other so it worked out pretty well.
All in all it was a great retreat. I got enough done – more on projects later – and got some time off from life. The Retreat was really well organized and had the right amount of activities.
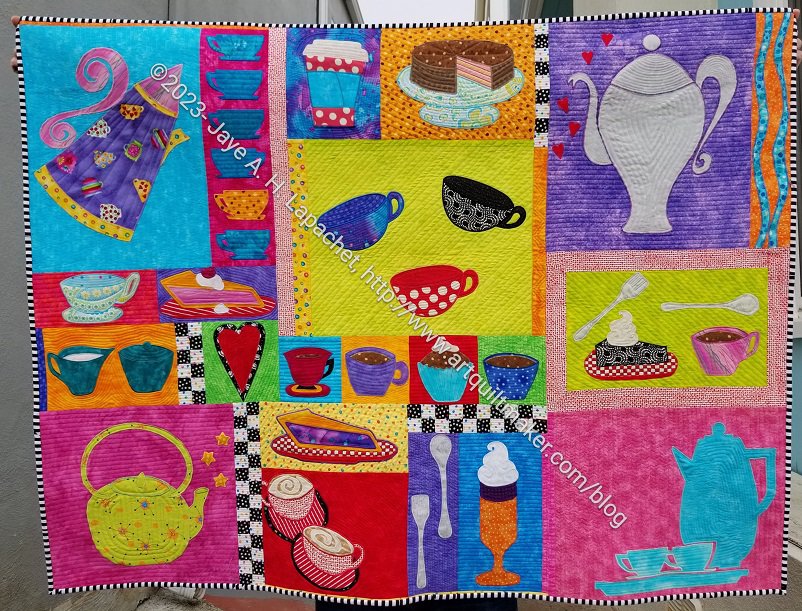
I cannot find that I posted the final photos of this quilt, The Tarts Come to Tea. I went looking for information about the finished piece when I entered the San Mateo County Fair and couldn’t find the final post, so here we are.
The Tarts Come to Tea – back
Yes, the Tarts is finished, including the sleeve. It finishes at 40.5 x 54.25. It is machine pieced, machine appliqued and machine quilted by me (!!!). It took forever.
The other day when I wrote about this project, I was concerned that I wouldn’t have time to finish it before the Retreat. Despite some unsewing, I had no problem finishing it.
I realized while making this bag that one reason I enjoy making bags is that I still have a lot to learn. This bag is pretty good work and I am not ashamed to give it to someone at the Retreat, but the work could be better. It isn’t that my workmanship wasn’t good; it was that I wrestled with the 3D-ness of the bag while top stitching. I just need more practice.
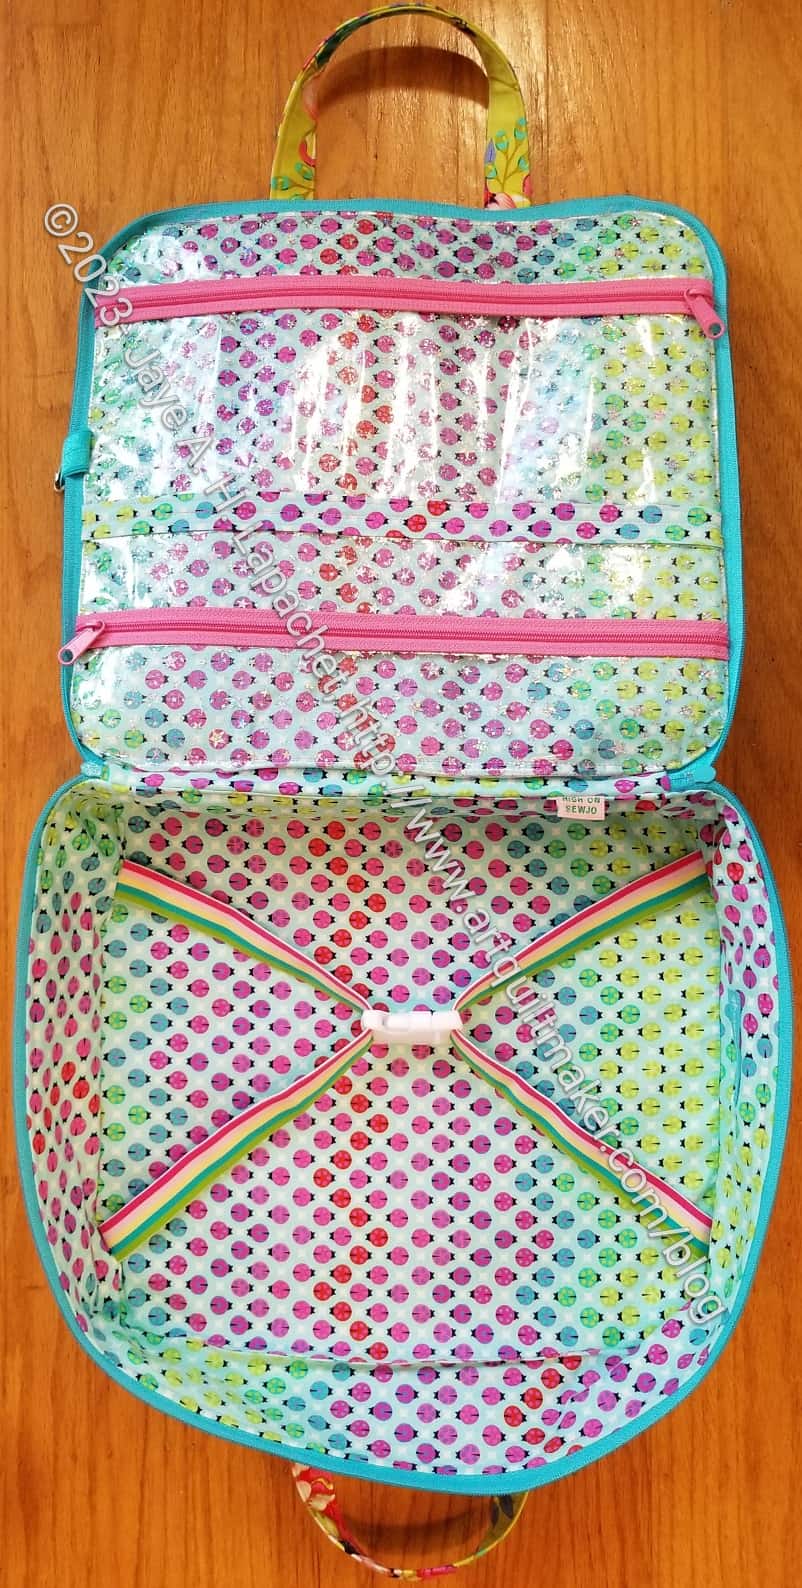
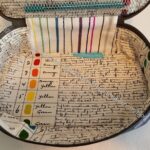
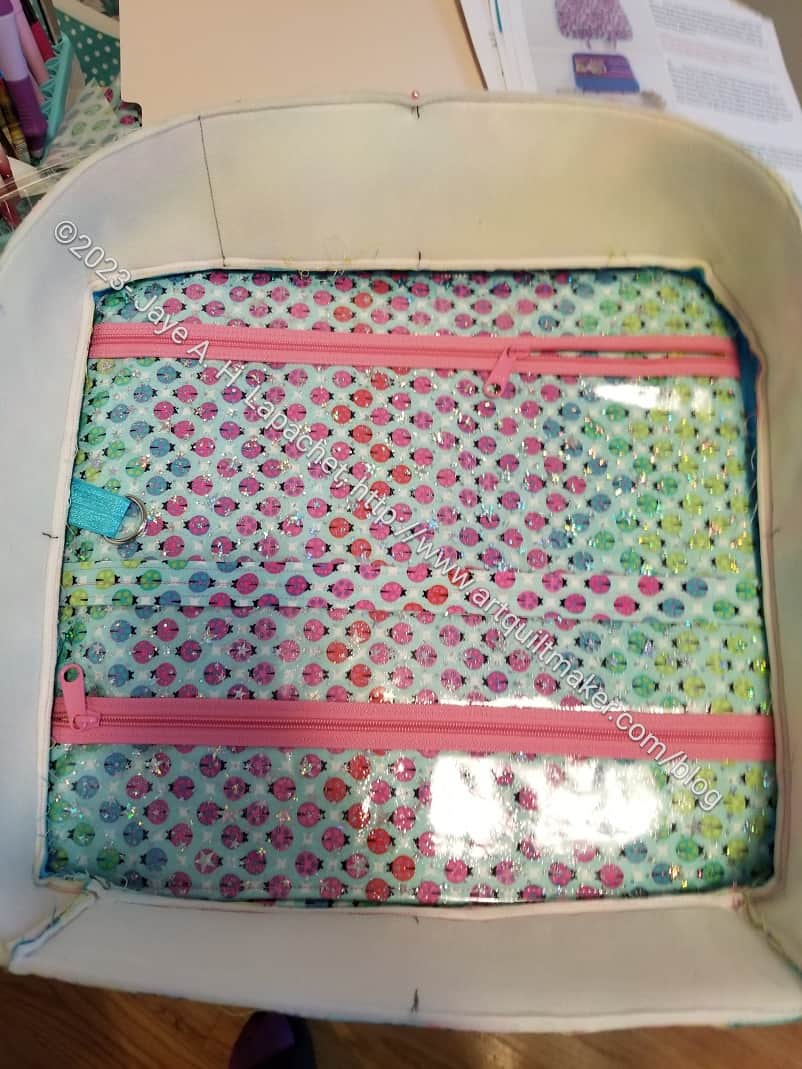
Amethyst Project Bag: inside pockets
I think the bag is more useful with the vinyl inside pockets. I talked about using the directions from the A Place for Everything v.2 bag as guidelines in a recent post.
You can see that I added a D-ring, as usual. I wanted to make an I Spy pouch to clip on to it, but didn’t have time. I also am not sure I have any more of the two fabrics. Maybe later.
Amethyst Project Bag: bottom inside
The bottom section is where I installed the elastic. The dimensions of this bag are 14.5 x 13.5 inches, which is large enough for most quilt blocks. The elastic and parachute clip keep them inside. I think this could be used for rulers as well.
Amethyst Project Bag: inside
In general, and overall, the inside is very useful, I think. The lady bug fabric (from the Tula Pink Tiny Beasts line) looks really fun. There is a bit of movement in the fabric as well.
All of the Tula Pink fabrics are designed to coordinate, so I think the outside (Ka-Bloom) and the ladybugs go together. I suppose ladybugs crawl on flowers sometimes….
Amethyst Project Bag labelled
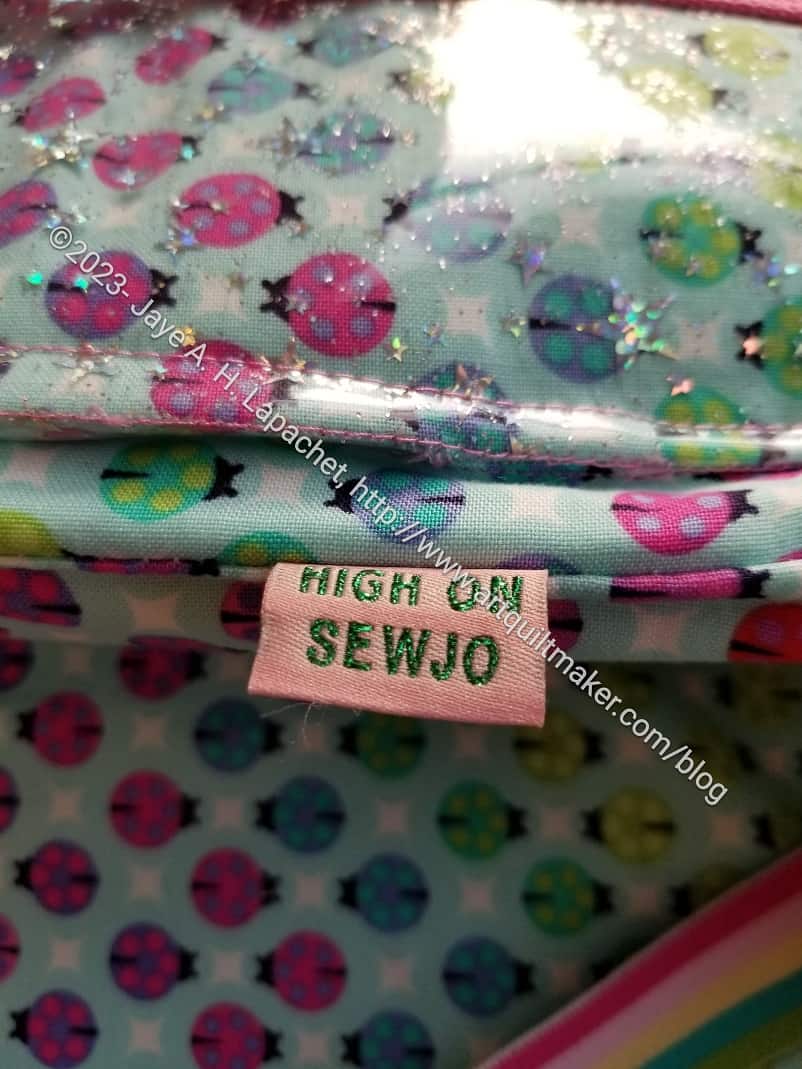
Finally, I used another one of the Advent labels. If I make one of these again, I’ll put it on the side. I am still trying to find the best place to attach labels.
This is not a Sew Sweetness Minikins pattern, but it is one that I have had for awhile. I am glad to finally be trying it out.
I started, sort of, the next Rainbow Strip donation top. I finished the first one in September of last year. Mostly what this means is that when I am delving into a scrap bin and come up with strips, I make a Color Strip block from it.
Blue Strip donation block #1
Blue Strip donation block #2
Blue Strip donation block #3
Blue Strip donation block #4
Blue Strip donation block #5
Blue Strip donation block #6
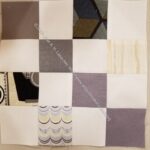
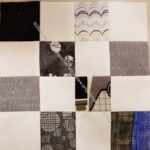
Recently I have been making blue strip blocks and I have a lot of them. I think I will have to make a blue Color Strip donation top.
I don’t know if I will use all of these since 6 is a lot of any one color. We’ll see.
This group adds to the yellow, green, grey and pink blocks I already have.
Restocking supplies is a nice way of saying I bought some fabric and a few other things.
Square in a Square book and ruler
First, was the Square in a Square ruler and book. I thought I talked about this book in a post about a guild meeting, but I can’t find the post now. I thought I had this ruler, but, again, I looked in my ruler storage area and didn’t find it.
The presentation was a monumental sales pitch, but I liked the idea of just using strips and squares to make square in a square blocks. I want to make the YM a quilt with his Boy Scout patches and the square in a square blocks will work really well to contain those patches.
Amethyst Bag elastic
Elastic from PennySupplies
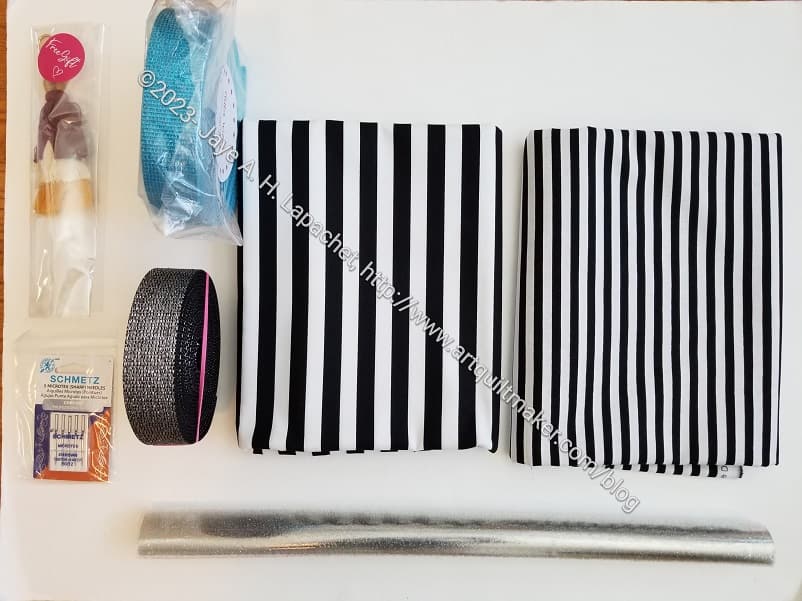
Next, I needed some clips and elastic for the Amethyst Project Bag. I found some sites on Etsy where I got some nice 1″ elastic. White and black elastic seem like they belong in underwear not in bags made from Tula Pink fabric. The elastic in the photo above (left) uses the perfect colors for the Amethyst Project Bag. I couldn’t believe my luck. That is not a color combination I would normally select, but it goes perfectly with the Ka-Bloom fabric from Tula Pink’s Moon Garden line.
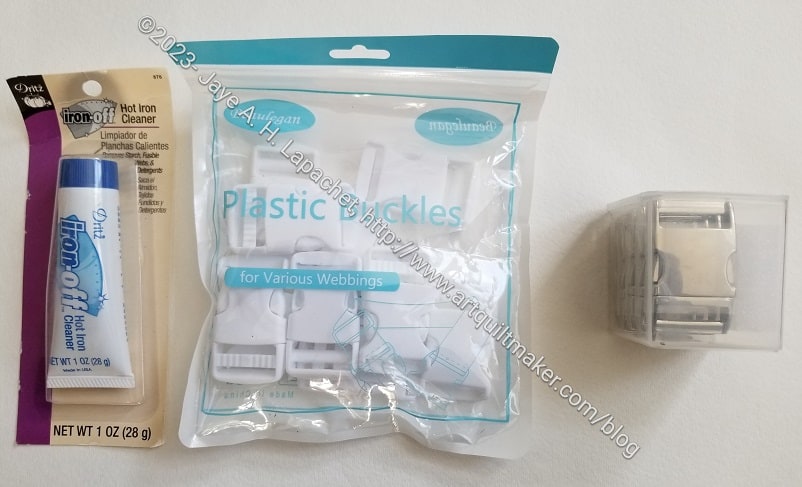
Various buckles
I looked for different colored parachute clips and ended up getting two different kinds from Amazon. One is just white plastic, which is what I used for the Amethyst Project Bag. The other is metal and came nicely packaged. They are however a little hard to open, so I may have to use them as decorative buckles, not buckles I need to use frequently. I would get too annoyed.
The Dritz Iron off** is THE BEST. It works quickly and well for cleaning your iron.
The other elastic came in great colors (photo right), but isn’t quite as stretchy as the elastic referenced above. Still, I am sure I’ll be able to use it.
Sew Hungry Hippie (April 2023)
I needed to replenish my stock of vinyl. I have been going through it at an alarming rate, especially because I have been making so many I Spy pouches.
I decided to get some of the Tula Pink tent stripes to use in Stay Tuned. Whenever I place an order with Sew Hungry Hippie, I also get some of the Riley Blake black and white stripes (photo above). They are great for bindings and I go through a lot of it. Especially lately, I have been using quite a bit of it for bag bindings.
I decided to level up to get free shipping and bought some more glitter webbing. I plan to use the blue for another Essential Tote. I don’t know what I’ll use the black for, but probably another Essential Tote. I am determined to change my machine needles more often, thus the needles.
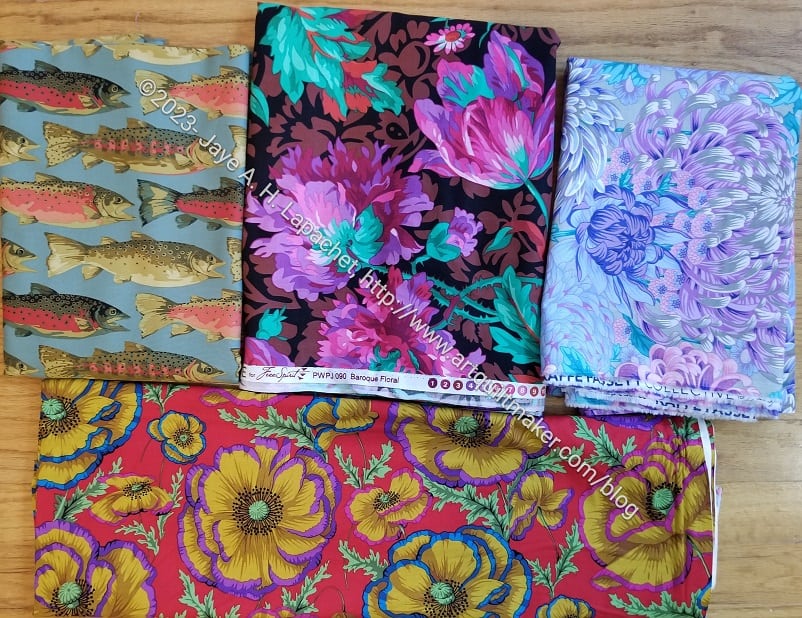
Material Girl fabrics (April 2023)
I want to make some pillowcases for my Dad for Father’s Day, so I went looking for fish fabric. He is a passionate fisherman. I was pleased to find that Martha Negley has put vegetables aside and has a recent collection with a fish print.
I couldn’t stay away from some additional Philip Jacob prints. I don’t have plans for most of them, but I keep thinking about a new version of “He Tried to Make It Up to Her.” The Philip Jacobs fabrics would be perfect for some of the broderie perse on that style of quilt.
**Obviously, you should shop at local quilt shops and small businesses. However, if you are too busy or can’t find what you need there, I use Amazon affiliate links and may be paid for your purchase of an item when you click on an item’s link in my post. There is no additional cost to you for clicking or purchasing items I recommend. I appreciate your clicks and purchases as it helps support this blog.
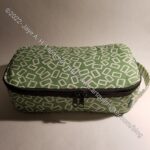
Yes! Another Hackney. I still think I will get sick of this pattern, but I am not sick of it yet and I still want to try to make the finished product better.
This is another version of the large size. I still haven’t tried the small or medium yet, though now that I have cut out a small bag, it is time.
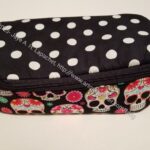
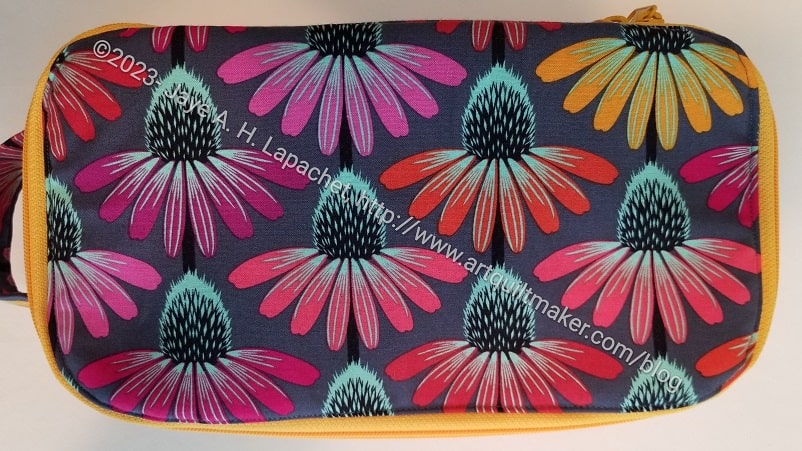
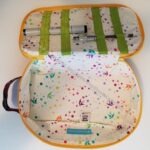
Amanda’s Hackney – top
She loves animals, but I didn’t have any animal fabric that I thought would suit, so I used the coneflowers. I wasn’t sure about the yellow zipper, but it makes the bag look really cheerful. The zipper is more of a sunshine, or orangey-yellow than a neon yellow and that helps a lot.
Amanda’s Hackney -handle
The zipper came out a little better this time. I used the washaway doublestick tape** for putting in the zipper on this one. I think I just have to use that tape each time.
On a note about tape, Sew Sweetness has the new ByAnnie washaway double stick tape. I bought some to try out, so stay tuned for a comment (maybe a review??) about that brand.
I had to add a handle. I think that is de rigeur now. It makes the bag more useful.
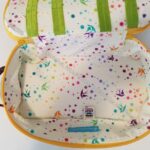
Amanda’s Hackney – lining
Amanda’s Hackney – lining
I made the inside cover a little different this time and I think I will like that option best. I used doublefold elastic to make tool or pen holders. I talked a little about how I sewed the tool holders to maximize the space available for storage in a previous post.
All in all, I am pleased with this one and hope Amanda likes it, too.
**Obviously, you should shop at local quilt shops and small businesses. However, if you are too busy or can’t find what you need there, I use Amazon affiliate links and may be paid for your purchase of an item when you click on an item’s link in my post. There is no additional cost to you for clicking or purchasing items I recommend. I appreciate your clicks and purchases as it helps support this blog.
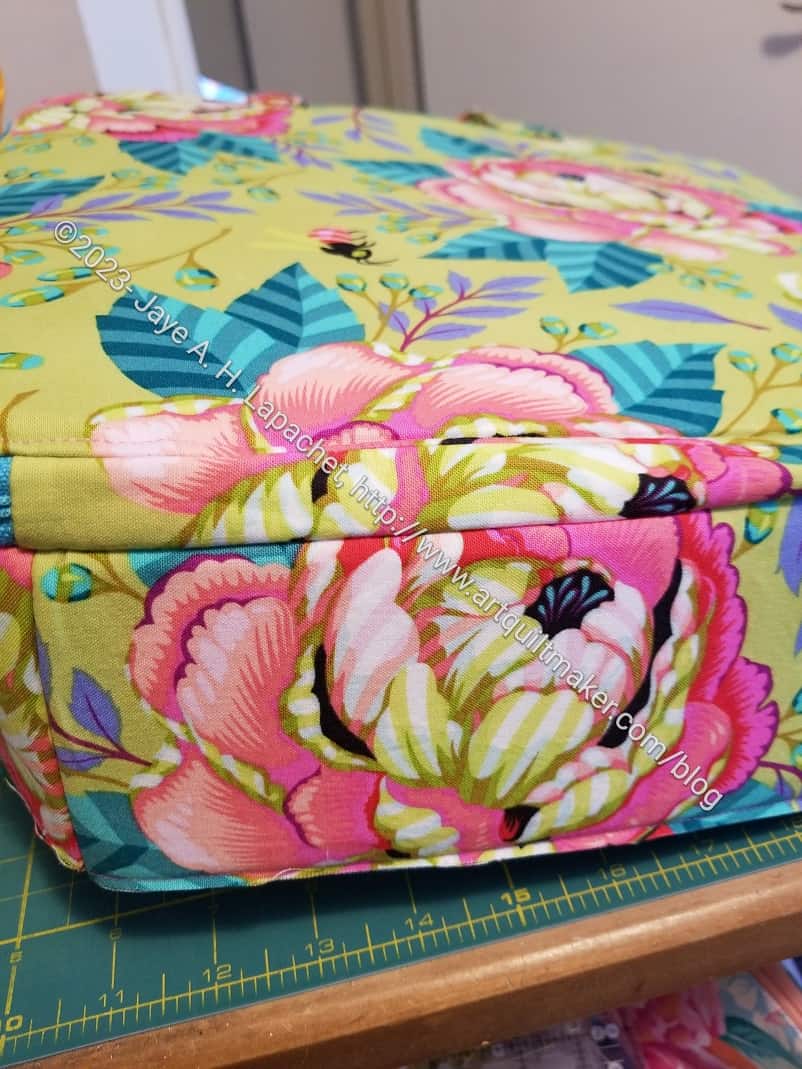
I have made good progress on this bag and am in the last stages of putting it together. I am amazed since I really didn’t think I would have time to work on it when I last talked about it.
Amethyst Bag – happy accident
First, this ‘fussy cutting’ came out pretty well. I didn’t really fussy cut it, I just took the opportunity to put it together in a way that looked like I had fussy cut. It’s a happy accident.
You can also see how this bag is starting to shape up. I have the front cover and inside pocket assembled and the gusset installed.
So far, the bag goes together in a fairly straightforward manner. The prep of all the various parts is making the assembly go relatively quickly.
I know this should come as no surprise, but I am always surprised. Perhaps I have come to terms with making handles and sewing bits and bobs together before the actual bag assembly? Who knows.
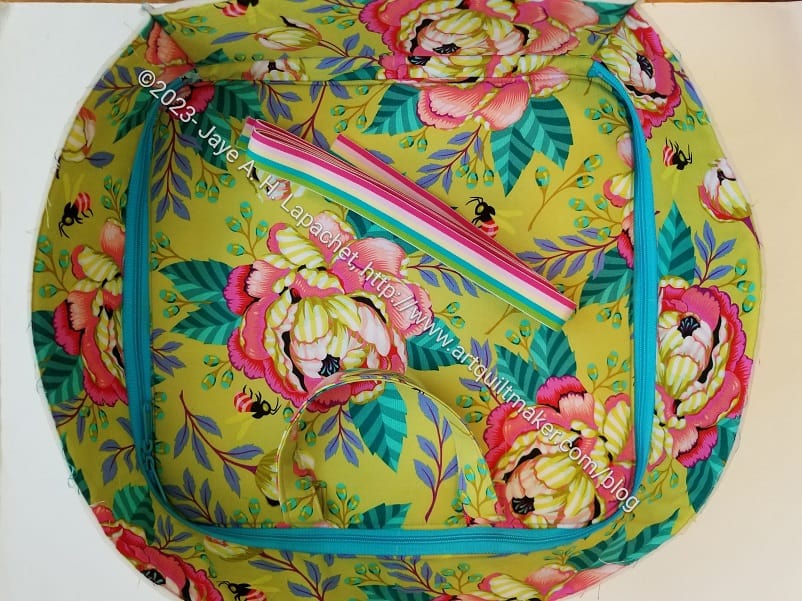
Amethyst in progress -inside out
In this photo, you can really see the dimension of the bag. The picture shows the exterior top and the exterior gusset. The top is pushed down and not the way it will end up when finished. It was like that for top stitching.
The elastic I bought that came the other day looks really good with the Tula fabric.
I used a blue zipper instead of green, because I only had one 40″ zipper and that was it. I think it looks pretty good, though a green would have been better.
Amethyst – inside front cover + gusset
The other side of the piece in the photo (right, above) looks better than I expected. It is the inside front cover. I thought it would be a bit wonky, but it isn’t. Hooray!
The vinyl isn’t difficult to work with, but it does add layers. Thickness can be difficult to work with.
I put in a new needle and held my breath. Everything was fine.
I am waiting on a parachute buckle to finish. I didn’t want to use a black one, so I got one off Etsy and I think it is coming from Siberia or somewhere. That wasn’t my intention, but sometimes I miss the location from where things ship. 🙁
We had a guild meeting yesterday. Before the last guild meeting, SIL #2 and I visited the Makerspace that has recently been installed in the Library. Today, I left for the meeting early to try out the Cricut they have there.
Small Hackney cut out by Cricut
Short story? It worked GREAT! I cut out two bags in 1.75 hours including the learning curve.
I had to prepare in advance by finding fabric and downloading my SVG files to a flash drive. Sidebar: this is one reason I like the patterns from Sew Sweetness. They come with SVG files.
I didn’t have any instructions for preparing the fabric so I went on to the Sew Sweetness site and found a video by Michelle Graham, one of the moderators, on using the Cricut Design Space. It didn’t help me prepare the fabric, but it gave me enough knowledge to work with the software once I got to the library.
I looked at a few different sites trying to find information about fabric preparation and decided I should put SF101** on the back. Later it turned out that for the Cricut Maker** you can just cut out cotton fabric. Cutting the fabric with the SF101 means I don’t have to adhere it later.
Cricut machine with my fabric
Once I got to the Makerspace, I was pretty much ready to go. The photo above shows the small Hackney pouch I cut out. I also cut out a large one. The Cricut only cuts what is on the mat. The mat they have at the library is 12 x 12**, so I couldn’t cut the gussets. Cricut also makes a 12 x 24 mat**, which I think would be useful. Just cutting what I did will save me time.
I had to load the files into the software, which shows where on the mat the pieces will cut. This information helps to position the fabric, especially if your fabric isn’t 12 x 12.
Cricut cut foam
I was really thrilled that the machine cut foam!
All in all, I think this was a good experience. The Makerspace isn’t open very often when I can visit, but I can visit on guild meeting days. I have several bags cut out, so I had better get busy.
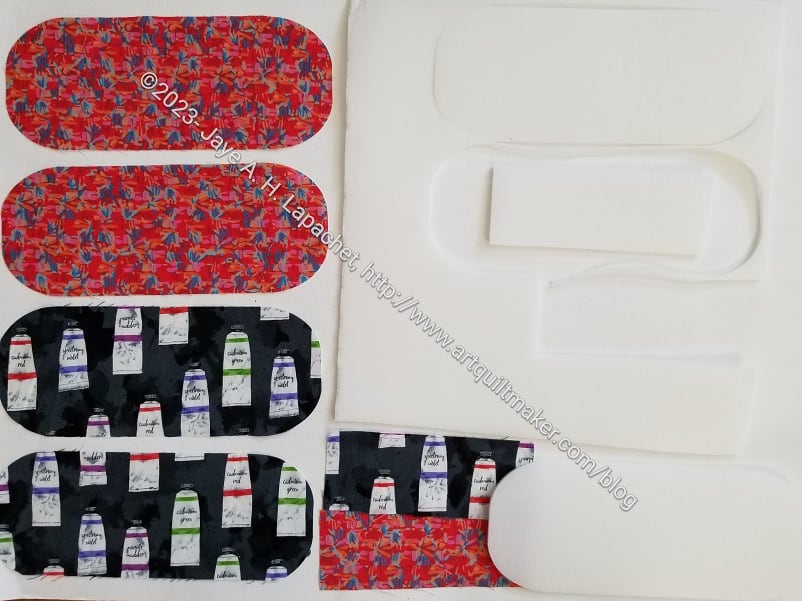
The Hackney pieces shown at the top are for the small Hackney. I haven’t made one of those before, so cross your fingers for me!
**Obviously, you should shop at local quilt shops and small businesses. However, if you are too busy or can’t find what you need there, I use Amazon affiliate links and may be paid for your purchase of an item when you click on an item’s link in my post. There is no additional cost to you for clicking or purchasing items I recommend. I appreciate your clicks and purchases as it helps support this blog.