Finished: Metroscape

Metroscape - finished
Metroscape – finished

I finished Metroscape a few weeks ago. I didn’t post it sooner because I just had the chance to snap a photo before I took it to guild last week.

I am still pleased with it and was encouraged to enter it into the fair, which means adding a rod pocket. I don’t have much else to add so I just might. It will, at least, impress a few people because of the curves. The machine quilted category is a tough one, but with the curves and the bold fabrics, this one might have a chance to win.

Metroscape back - finished
Metroscape back – finished

What this quilt makes me think about now is what to do next with the Quick Curve Rulers.

Purple Improv Donation Top in Process

Purple improv shard n.1

As I said the other day, I still have a lot of purple scraps. I also found some large purple shards in my purple scrap bin. I immediately pulled these out and have decided to use them for another improv donation top like the Green Thing. I can’t say I’ll make a companion quilt to each strip quilt I make, but I have a lot of scraps and this seems like a good way to use them up.

I know these shards probably started out as potential journal covers. I don’t know why I didn’t finish them, but now they can go to a good home.

Purple improv shard n.2

The triangular shard is really strange. I wonder what I was thinking when I made it. Of course, I have to make it into a square or rectangle, so I can use it. I do like it. If I can use lighter purples and lavenders around the triangle, I can preserve the triangle quality of the piece.

I have already added to the smaller piece shown above the triangular shard, using it as a leader as I was getting towards the end of the strip blockmaking.

Purple improv shard n.3

The last shard is good sized as well. The three pieces make a nice start to a donation top. They are all purple and that is good, but I hope the shards go together well enough to make something cohesive.

I do know that I am finding all this purple on my design wall to be oppressive and dark. Perhaps that is my issue with the darker purples? I know I felt like this when I was working on the purple bullseye. I do know that I have a good start to the purple donation improv top and that pleases me.

FOTY 2017 Feeling Better

FOTY 2017-mid March layout

I rearranged all of the patches for FOTY 2017 and am feeling much better about the layout. I still have some design problems, but I feel like I am finally making good progress and am not feeling so much design despair.

The white and light patches will fill in the top of the piece to make it square.

Yes, colors need to be rearranged a bit and I need to slip in a column of turquoise, but otherwise I think this is basically the layout I will use. It is much better than my previous idea.

I know Angela loved the subway tile layout, but as a design concept, it wasn’t working. I may try that layout with smaller patches.

Again, my design wall cannot contain this series of quilts. I can’t tell you how frustrating this is. I have to figure out how to add 3 more columns to this piece without design wall support.

New Donation Blocks

Purple strip blocks
Purple strip blocks

I worked the other night while DH was out on clearing out my purple scrap bin. This resulted in a new set of blocks for BAM’s community quilting project.

There are a couple of duplicates as I had some long strips that resulted in two blocks.

There are also a lot of light scraps – lavender and very light purple. I was surprised at the variation in color. I don’t think I am a strictly dark purple lover.

I also made 6 more blocks than I did for the Green Strip quilt. I was on a roll and had the blocks in process before I realized how far along I was. It will be a slightly larger quilt. I haven’t decided what color to put with it for the plain blocks (I am using the same design as the Green Strip quilt). Chartreuse is across from purple on the color wheel I use.

I don’t feel like I used up enough of the purple scraps. The bin is definitely more empty, but still not empty enough. I even sorted out some super small pieces that would be much better as pet bed filling. Still I need to make more headway on purple scraps. Another similar quilt? Should I make this one larger?

Next FOTY?

First FOTY 2019??
First FOTY 2019??

This might be the beginning of FOTY 2019. The pieces are the same size as FOTY 2018 as I have the Ellsworth Kelly idea and I might want to do one with black squares and one with slate squares. I could also combine the two and do a FOTY 2018/19. I am getting behind now that FOTY 2017 is not jelling. I could probably skip FOTY 2017 and get to FOTY 2018, but that seems wrong to me.

Various & Sundry 2019 #3

Media

A friend sent me another article about the health benefits of quiltmaking. This is, what I would call, a readable scholarly article. I am not familiar with the publication, but I always enjoy reading about the health benefits of my passion.

I didn’t know that Ruby McKim still had a website.

Sara over at Sew Sweetness is hosting a quilt fiction book club with projects. No idea on what the projects are or if there is a cost.

F&W Media, the ‘enthusiast’ company has filed for chapter 11 and will sell their assets. F&W is the owner of such quiltmaking properties as Quilting Arts and Cloth Paper Scissors. they also own book imprints such as Interweave (where they ruined their quilt history magazine), SewandSo, The Quilting Company (includes Fons & Porter), North Light Books, and Krause Publications, all publishers who produce quiltmaking books. You can find more business-type information on the Bloomberg page. Abby Glassenberg wrote a blog post about the sale of recent ceasation of publication of some of their magazines. In my opinion, the changes they made to the successful publications they purchased led to this situation. I hope someone better (Fortunoff??) will buy some of these former gems and restore them to their glory.

Projects, Patterns and Tutorials

Valerie has a portion of the latest scrap quilt by Charlotte Hawke posted on her blog. I really like the Trip Around the World look and putting it on point makes it even better. The post includes a description of mystery quilts and some of those Charlotte has designed.

Ronni of Road Home Quilting posted a Peaky & Spike tutorial. No special rulers required.

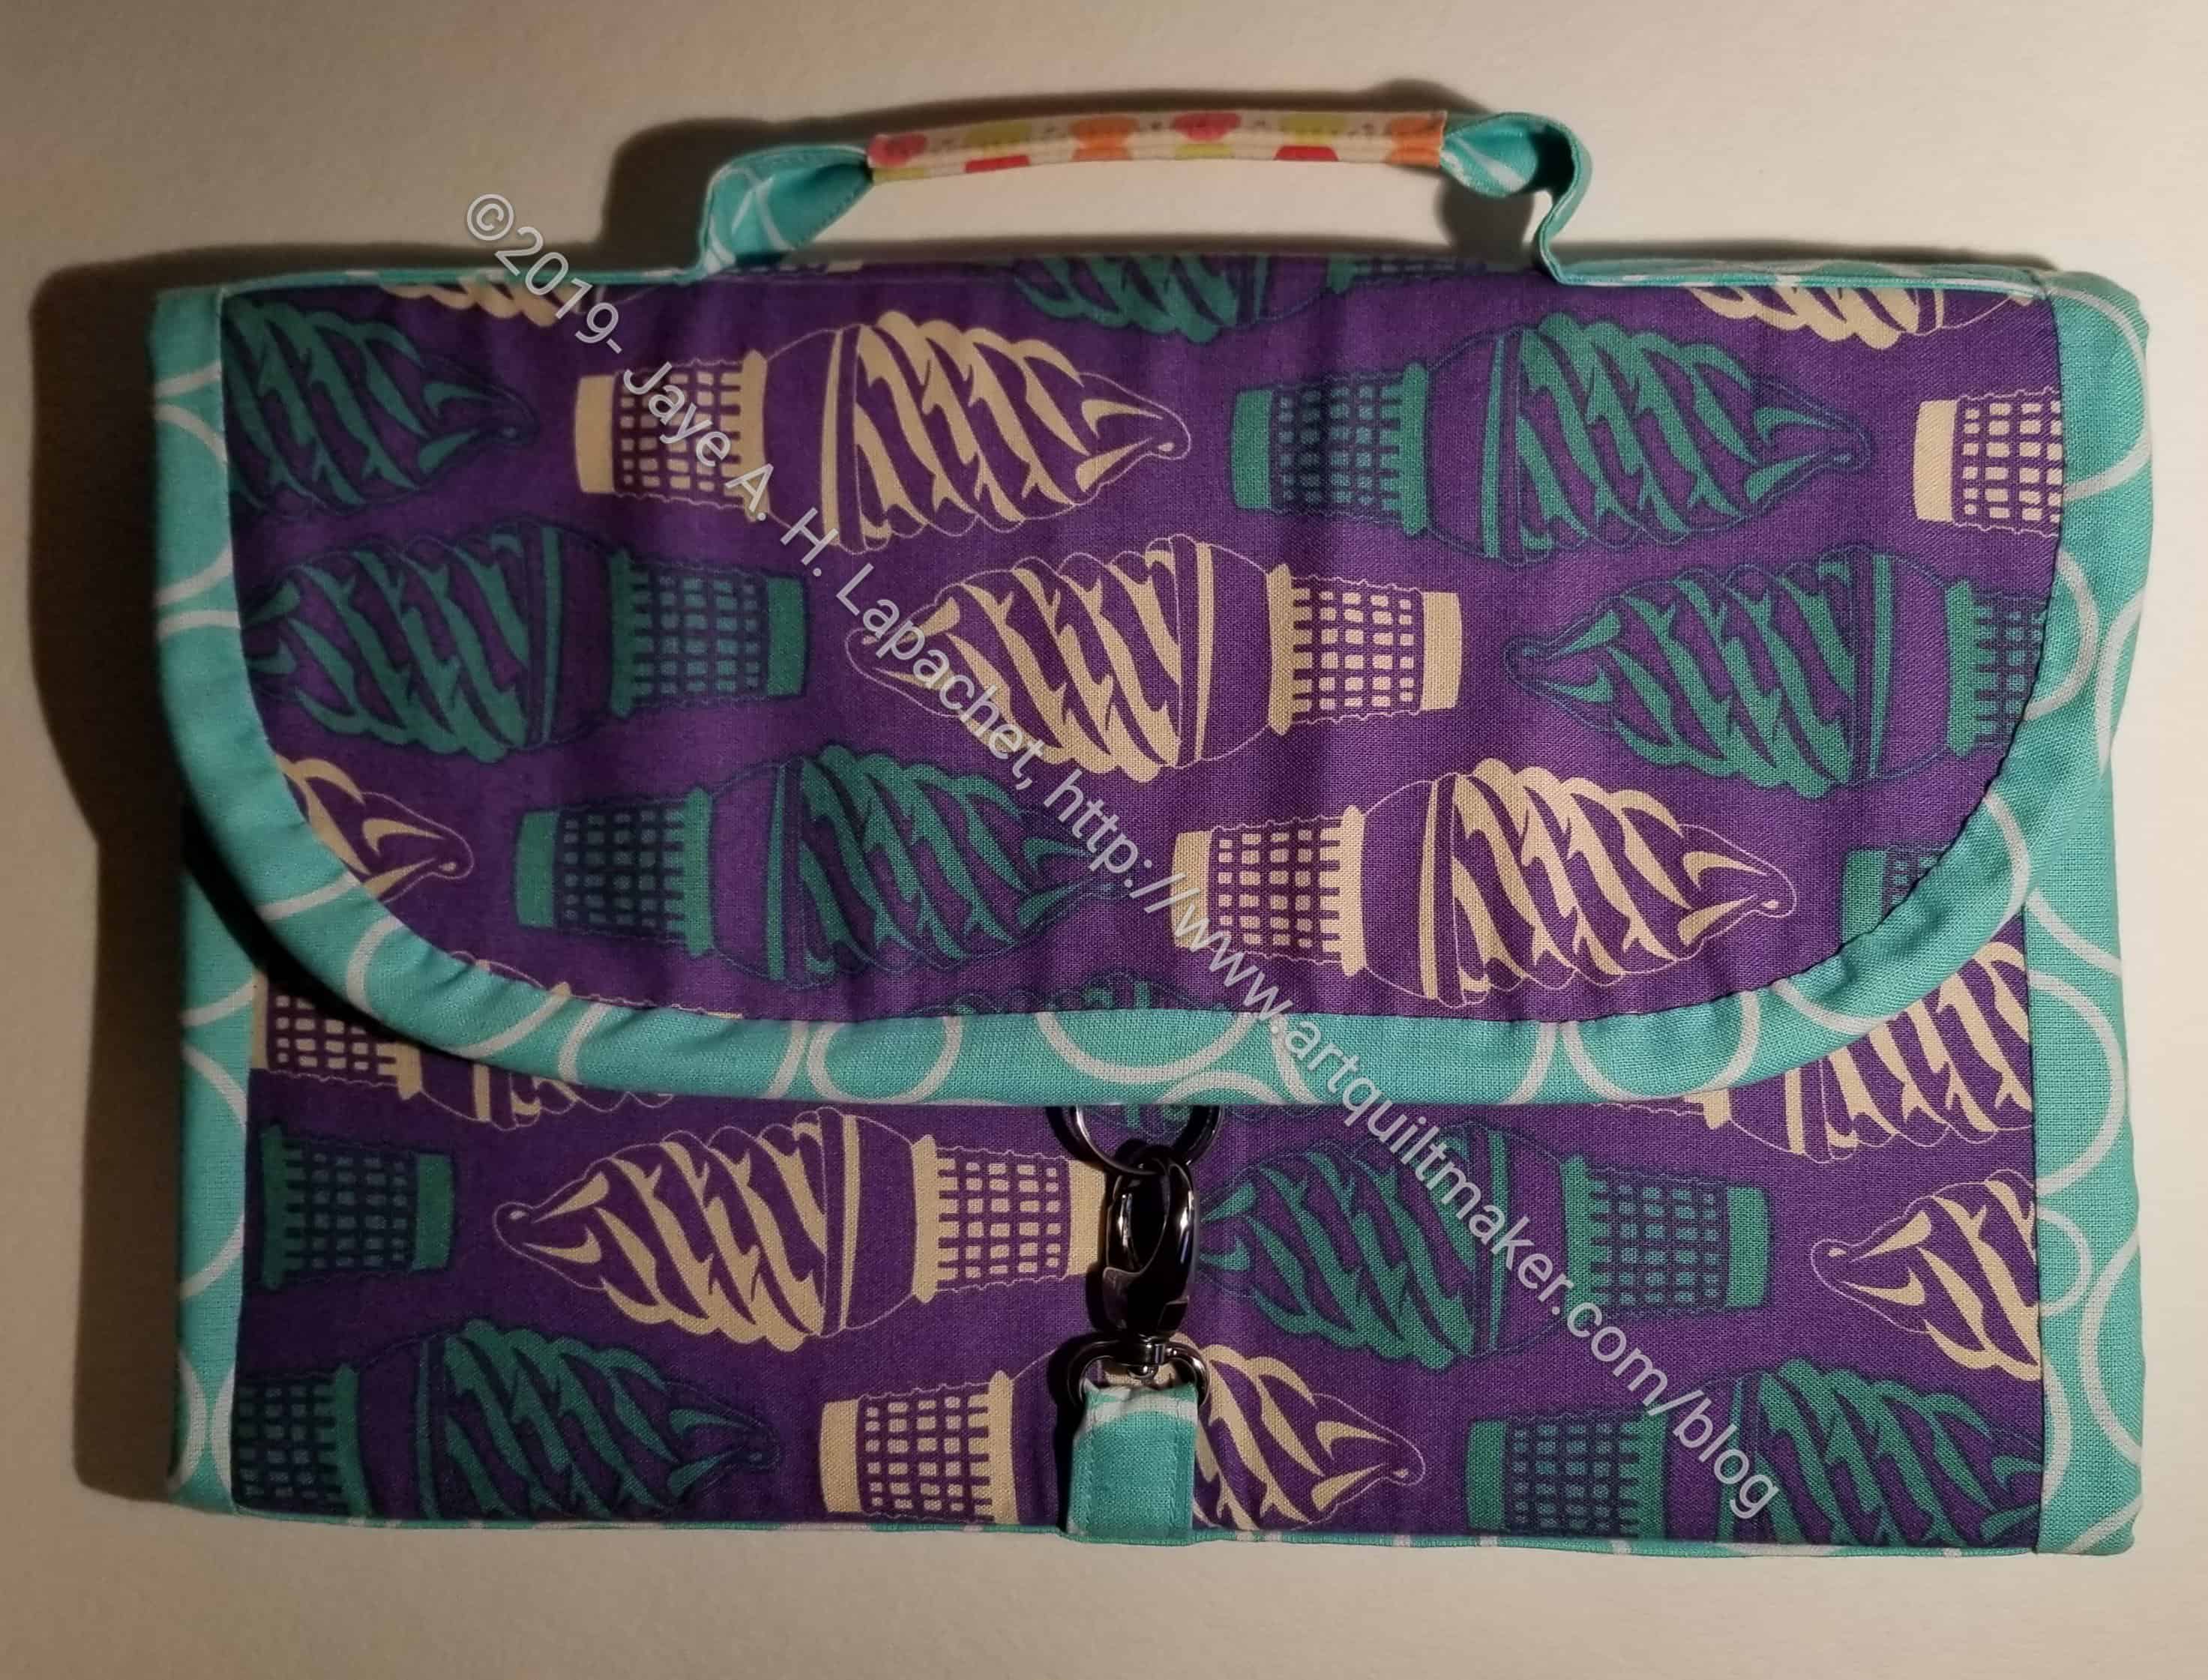
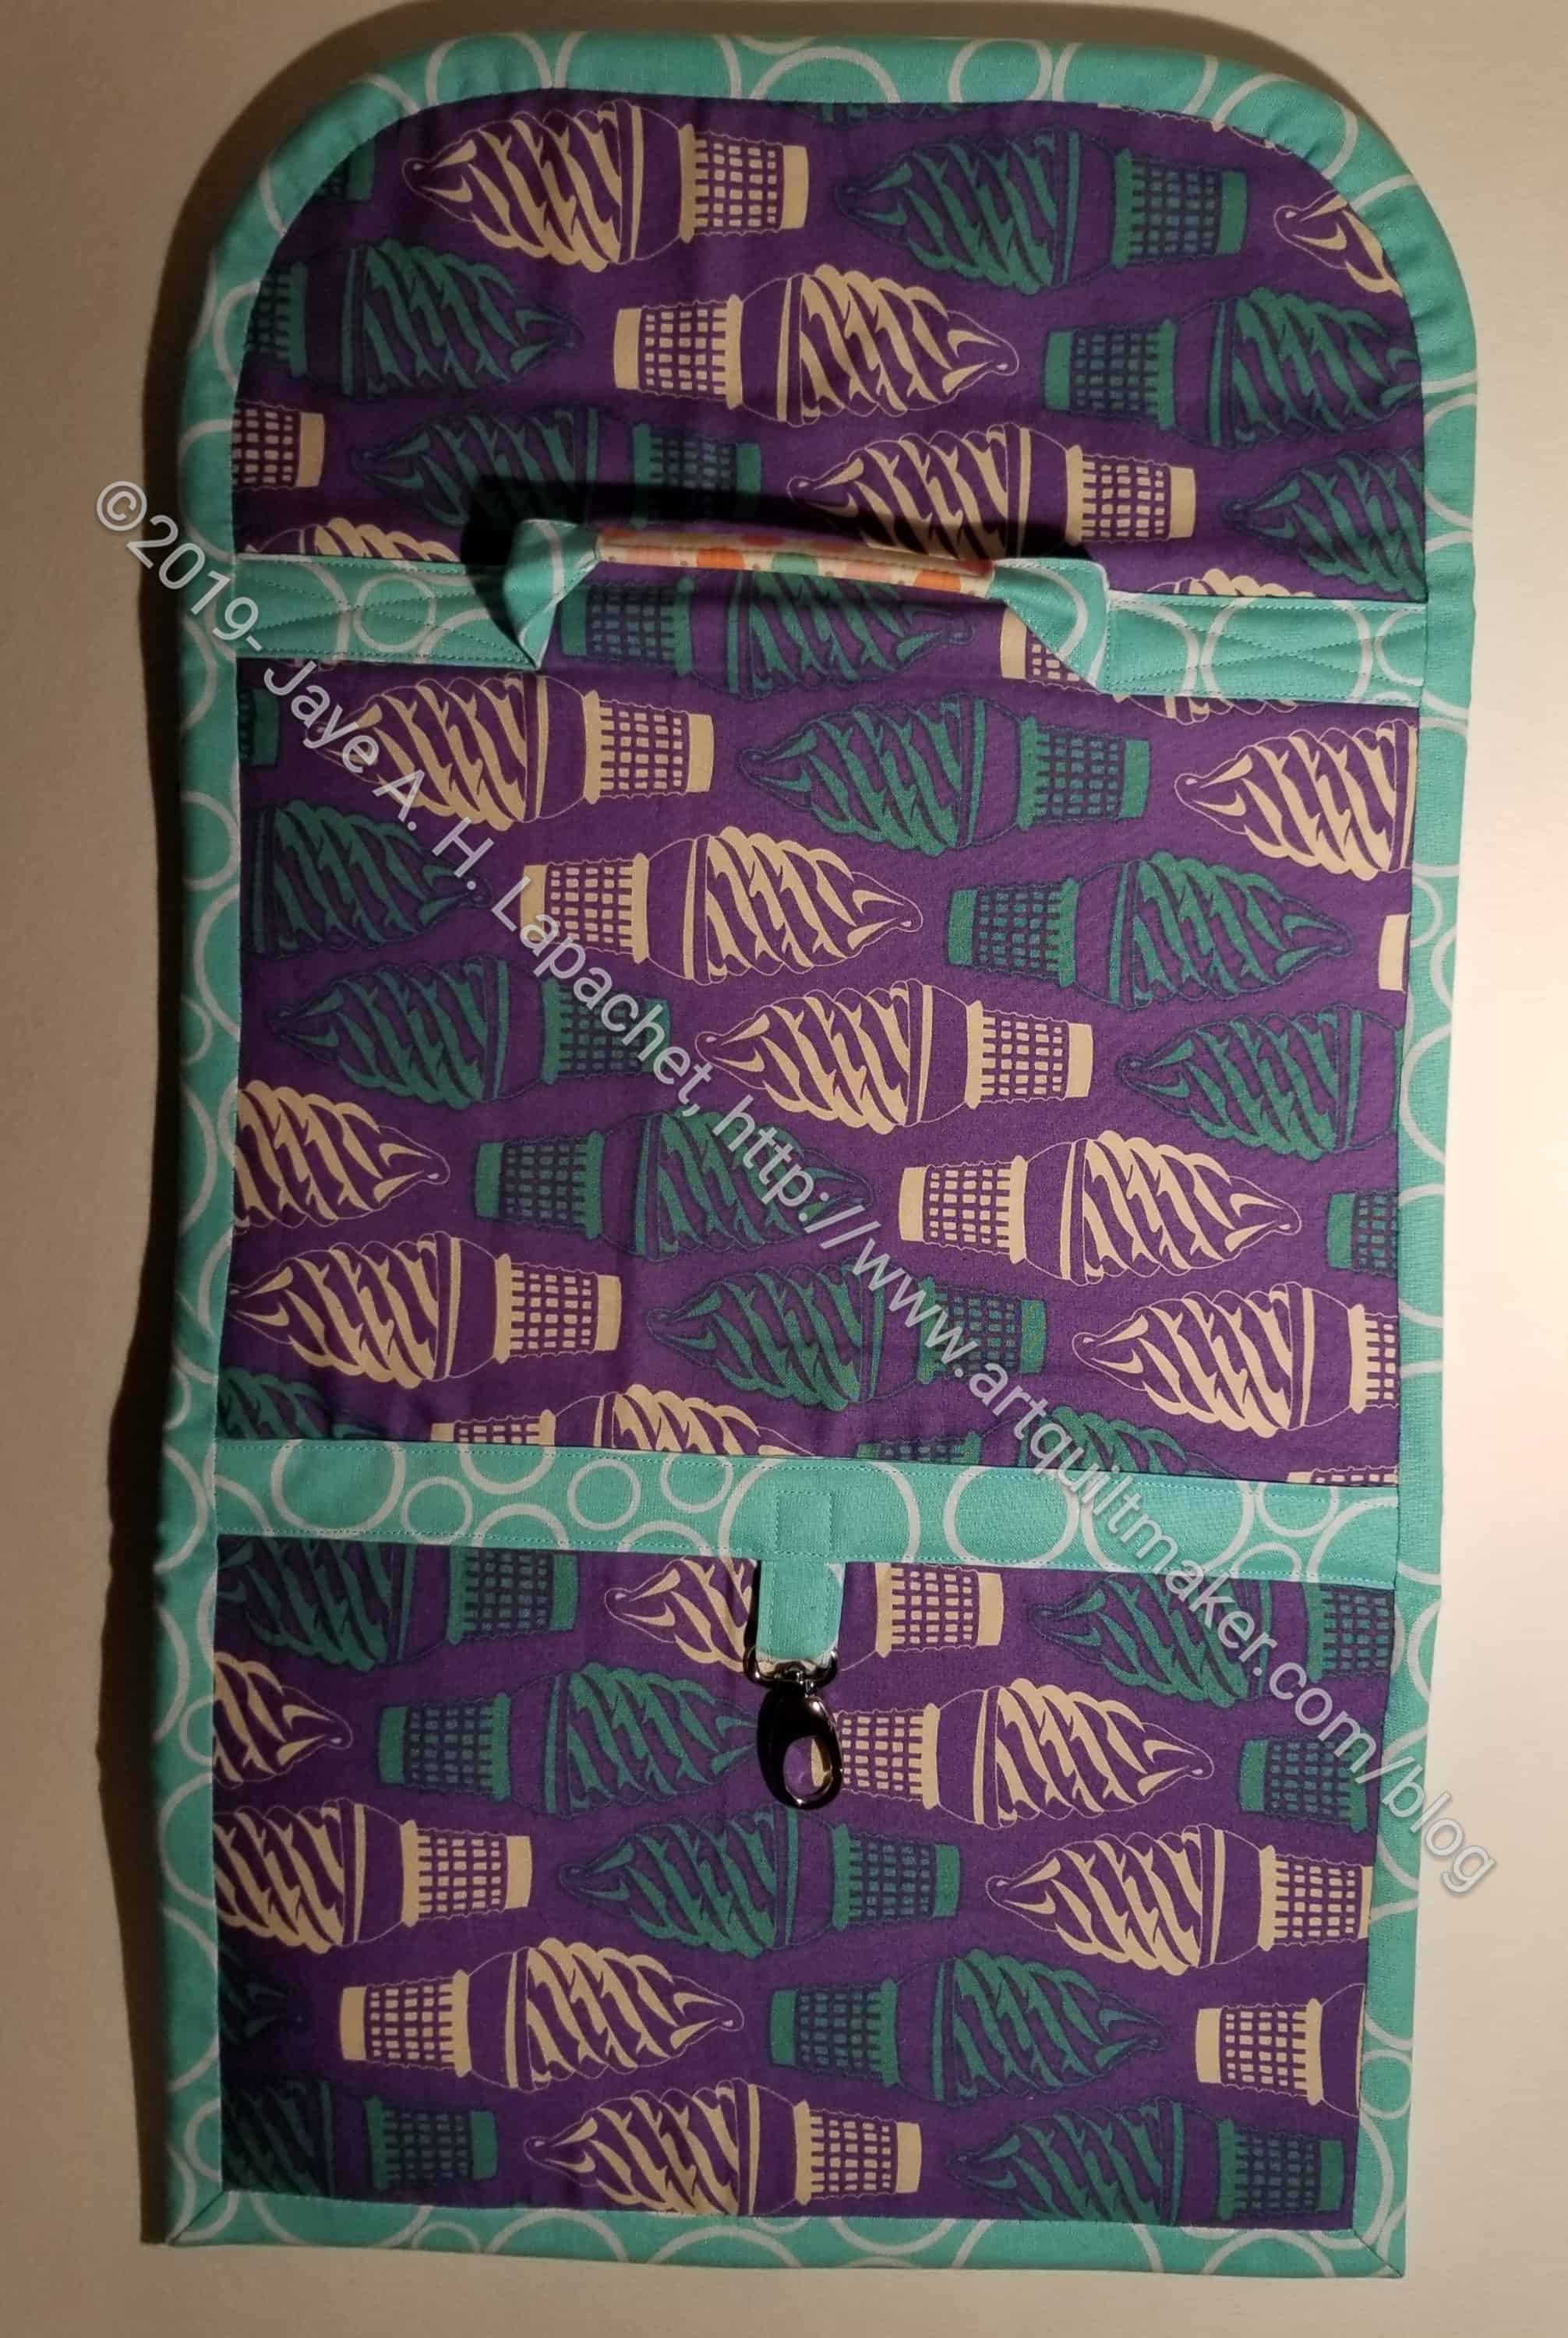
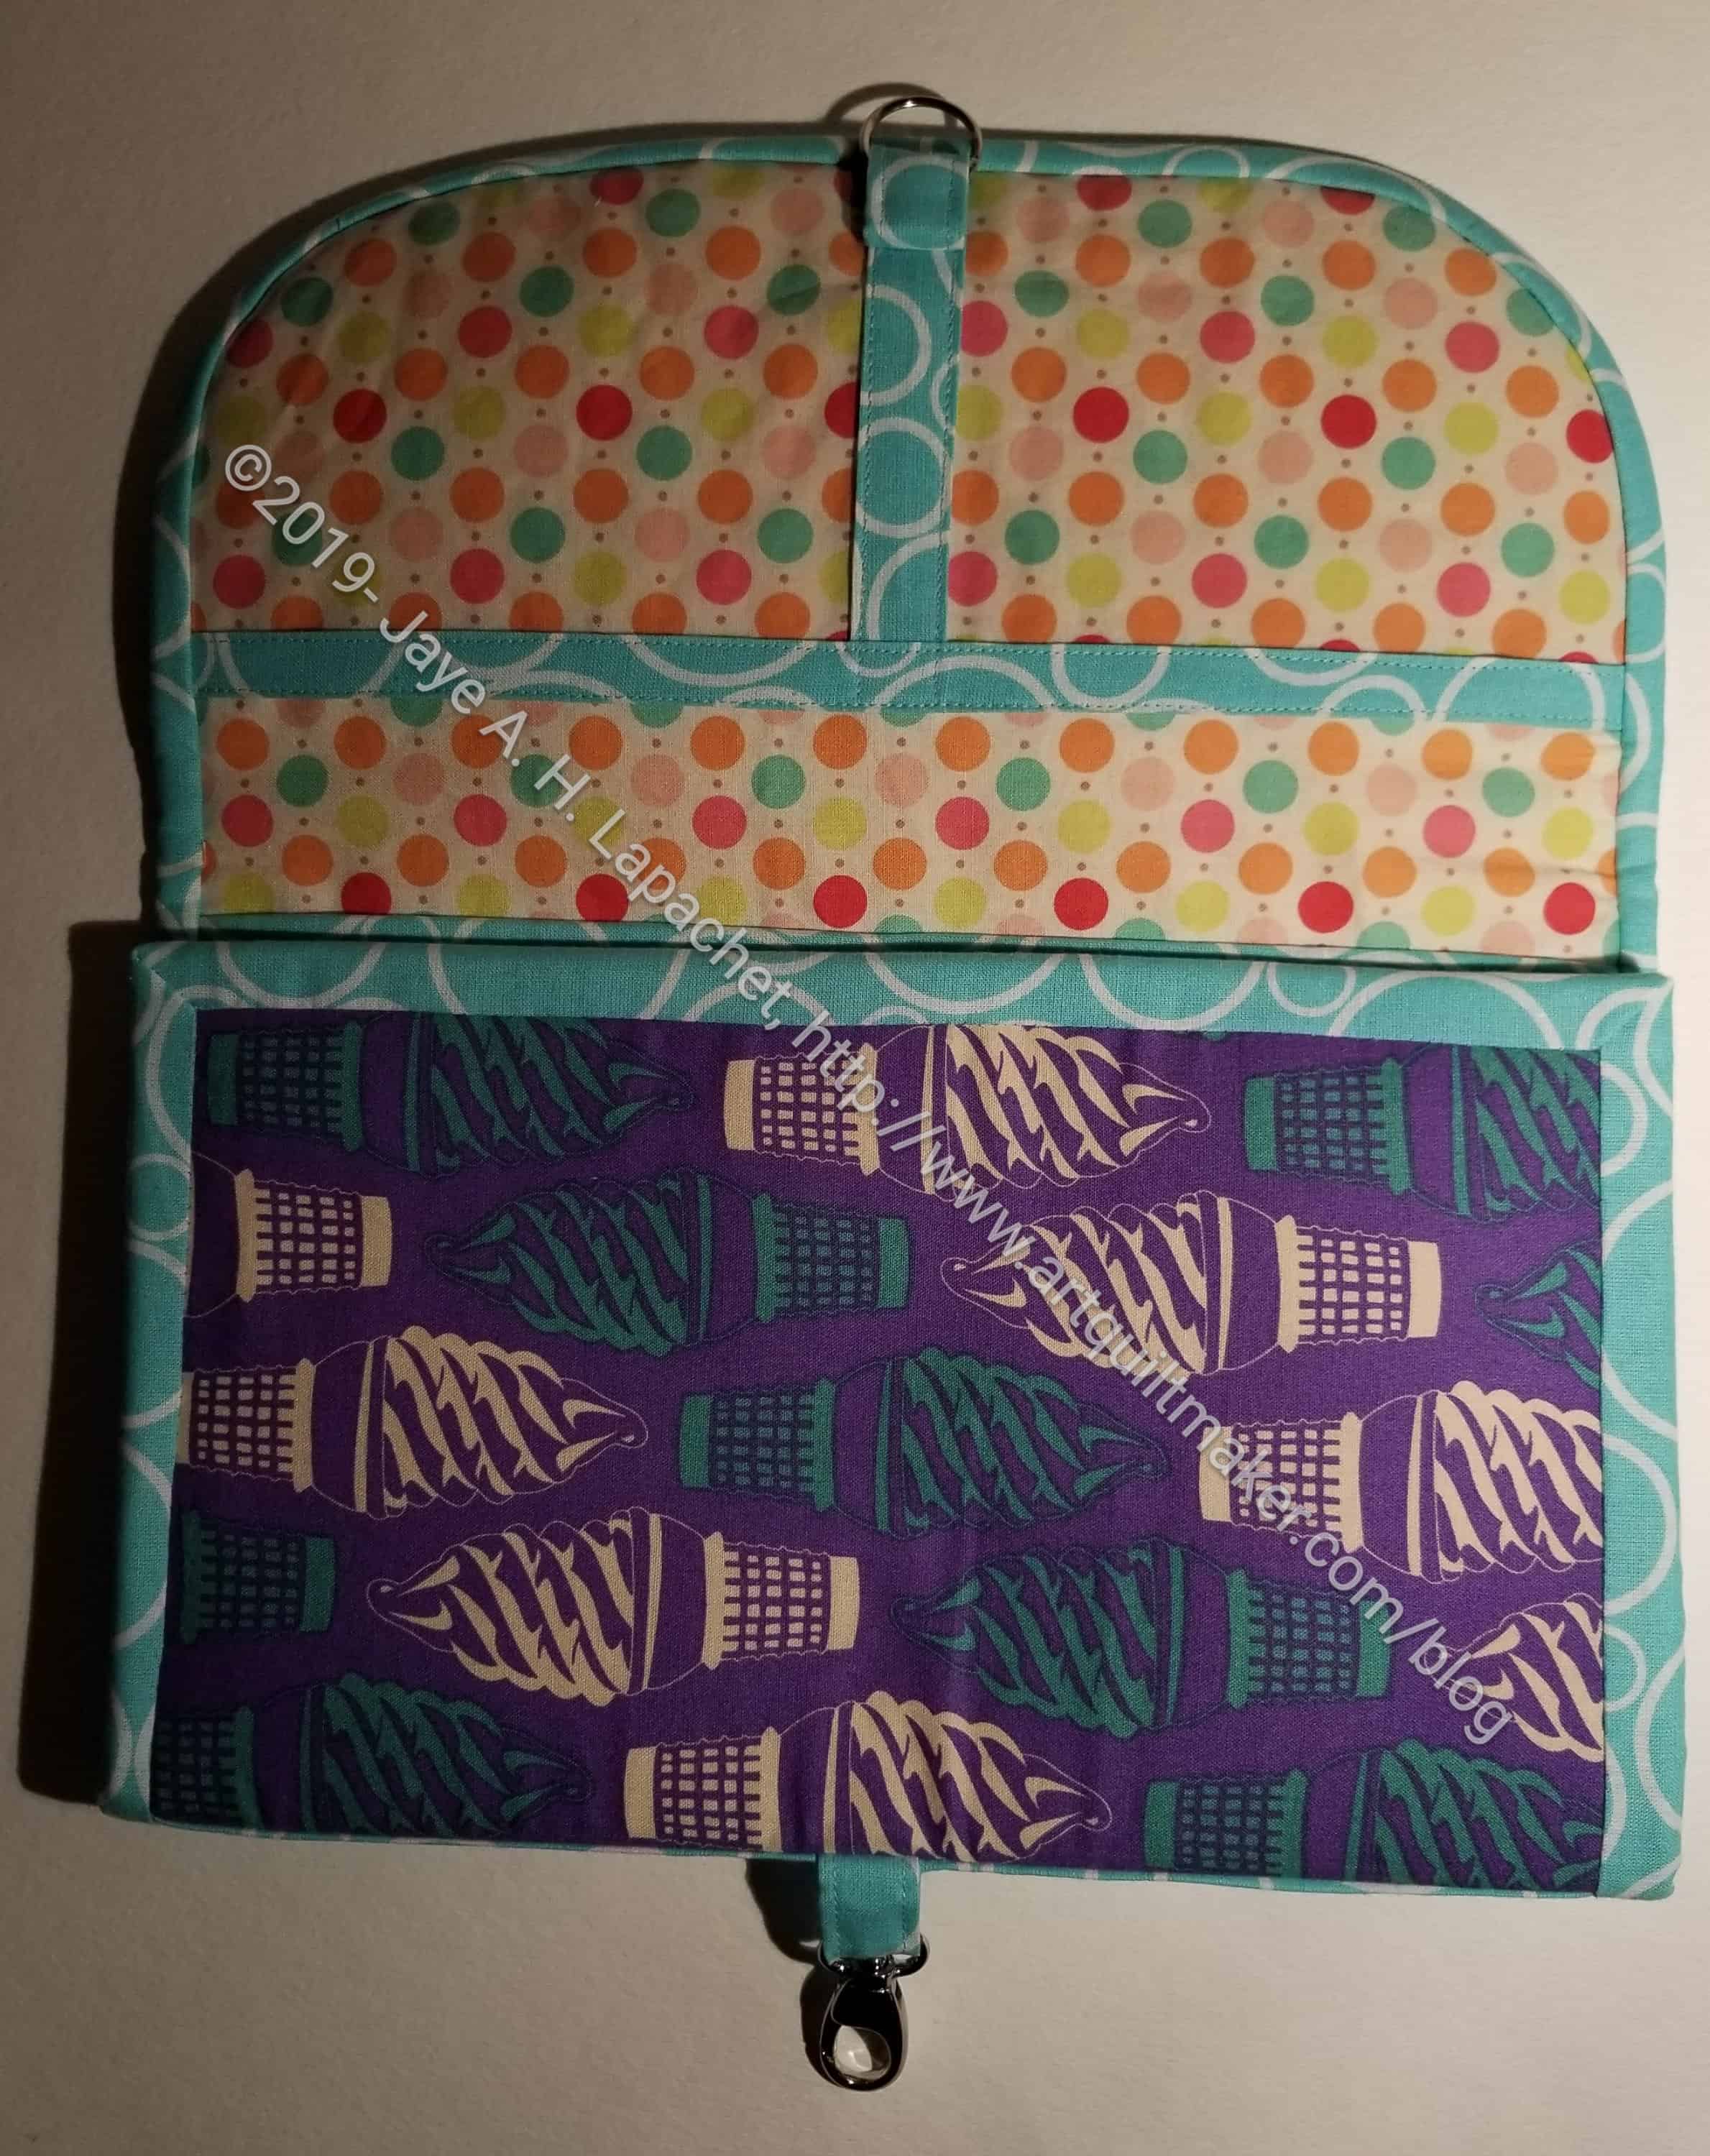
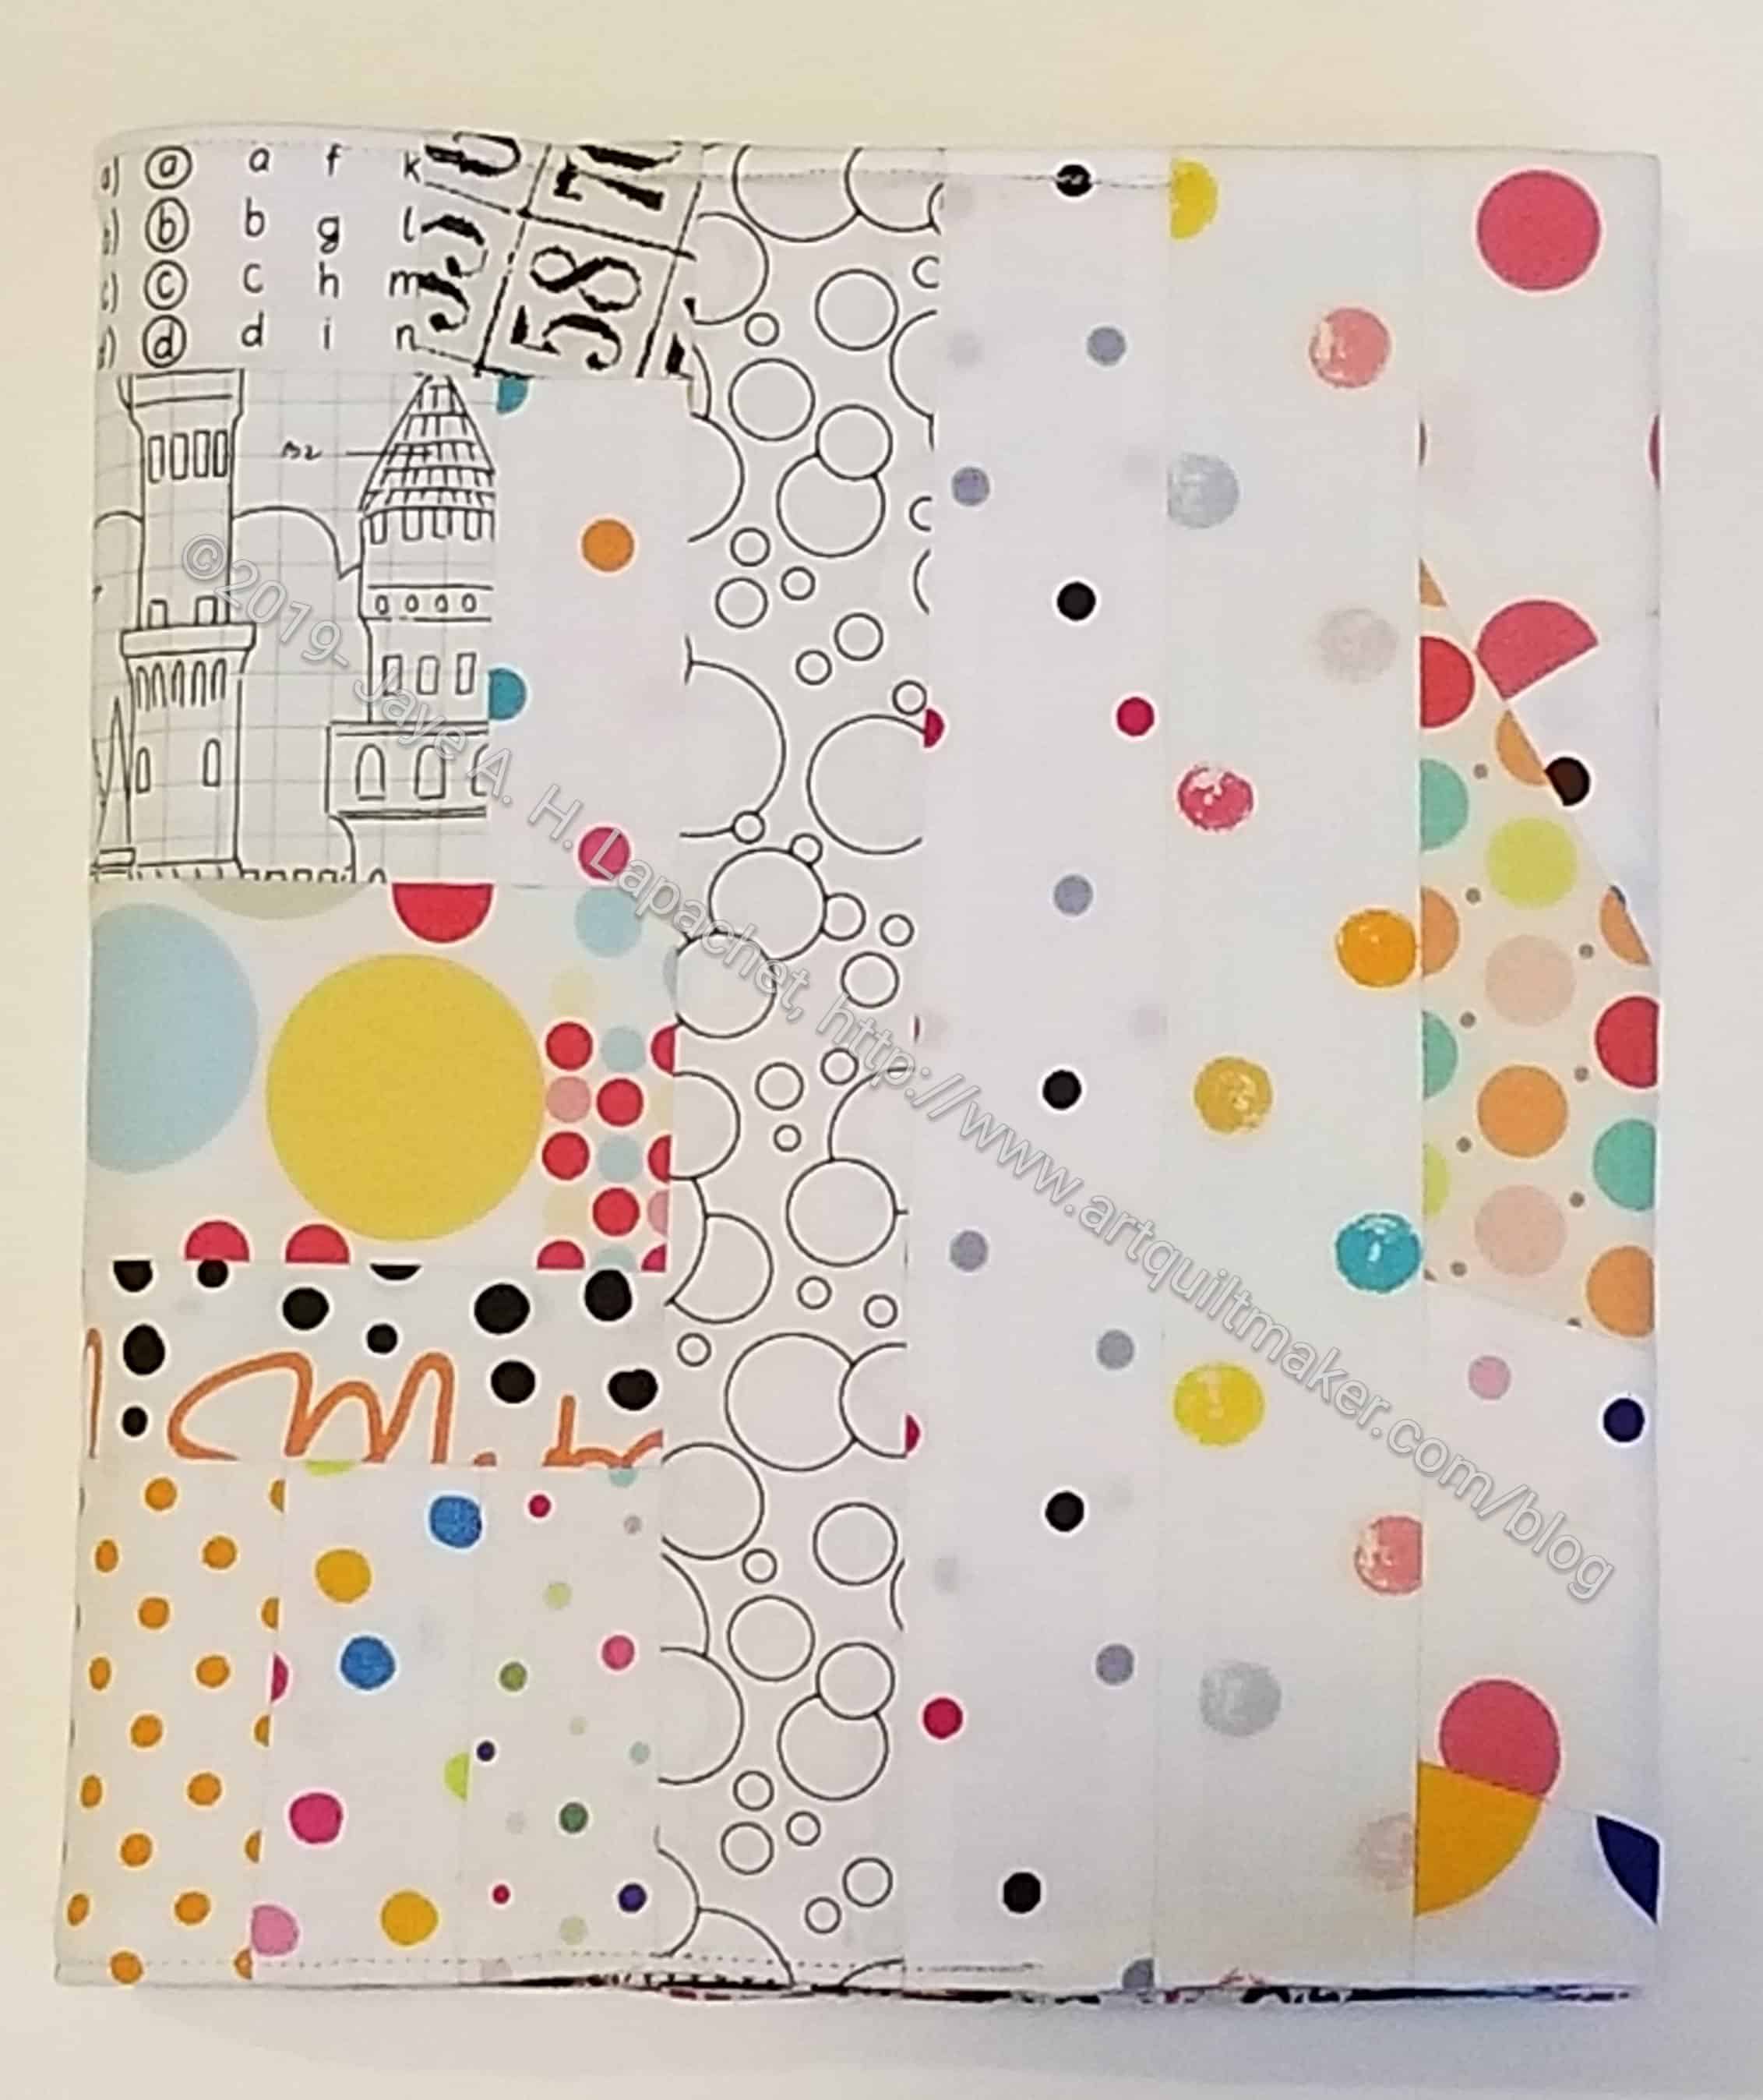
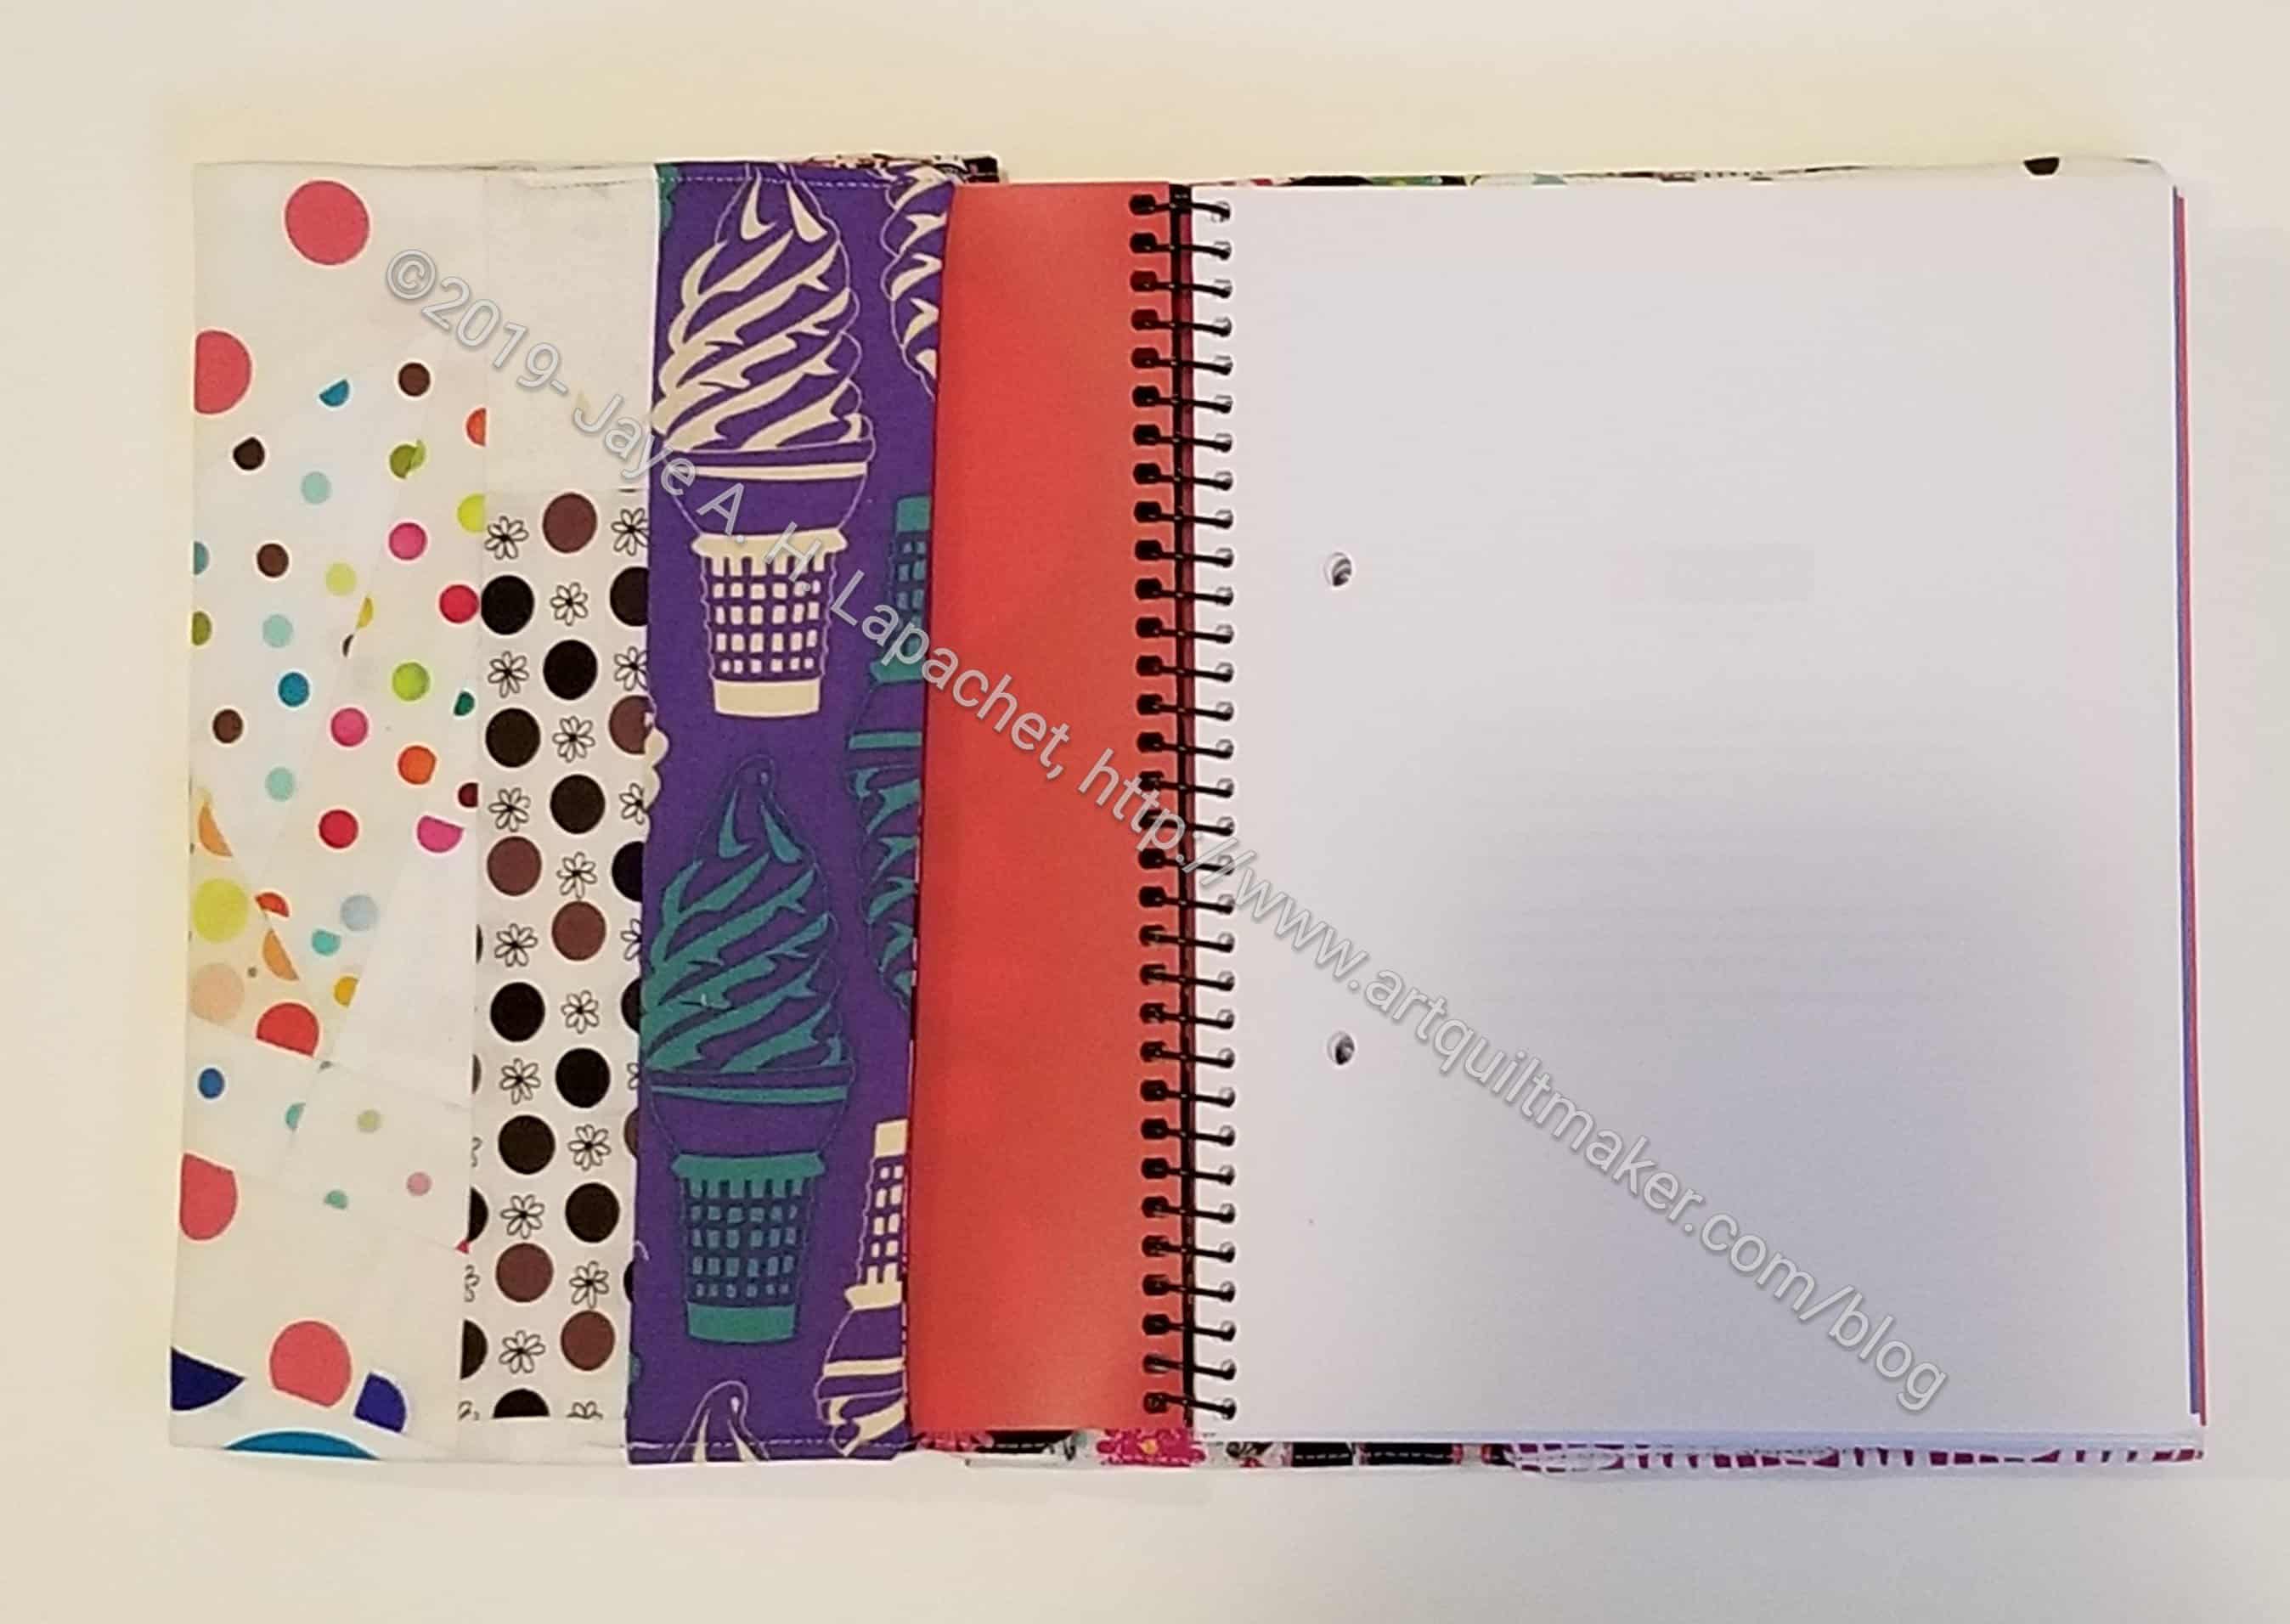
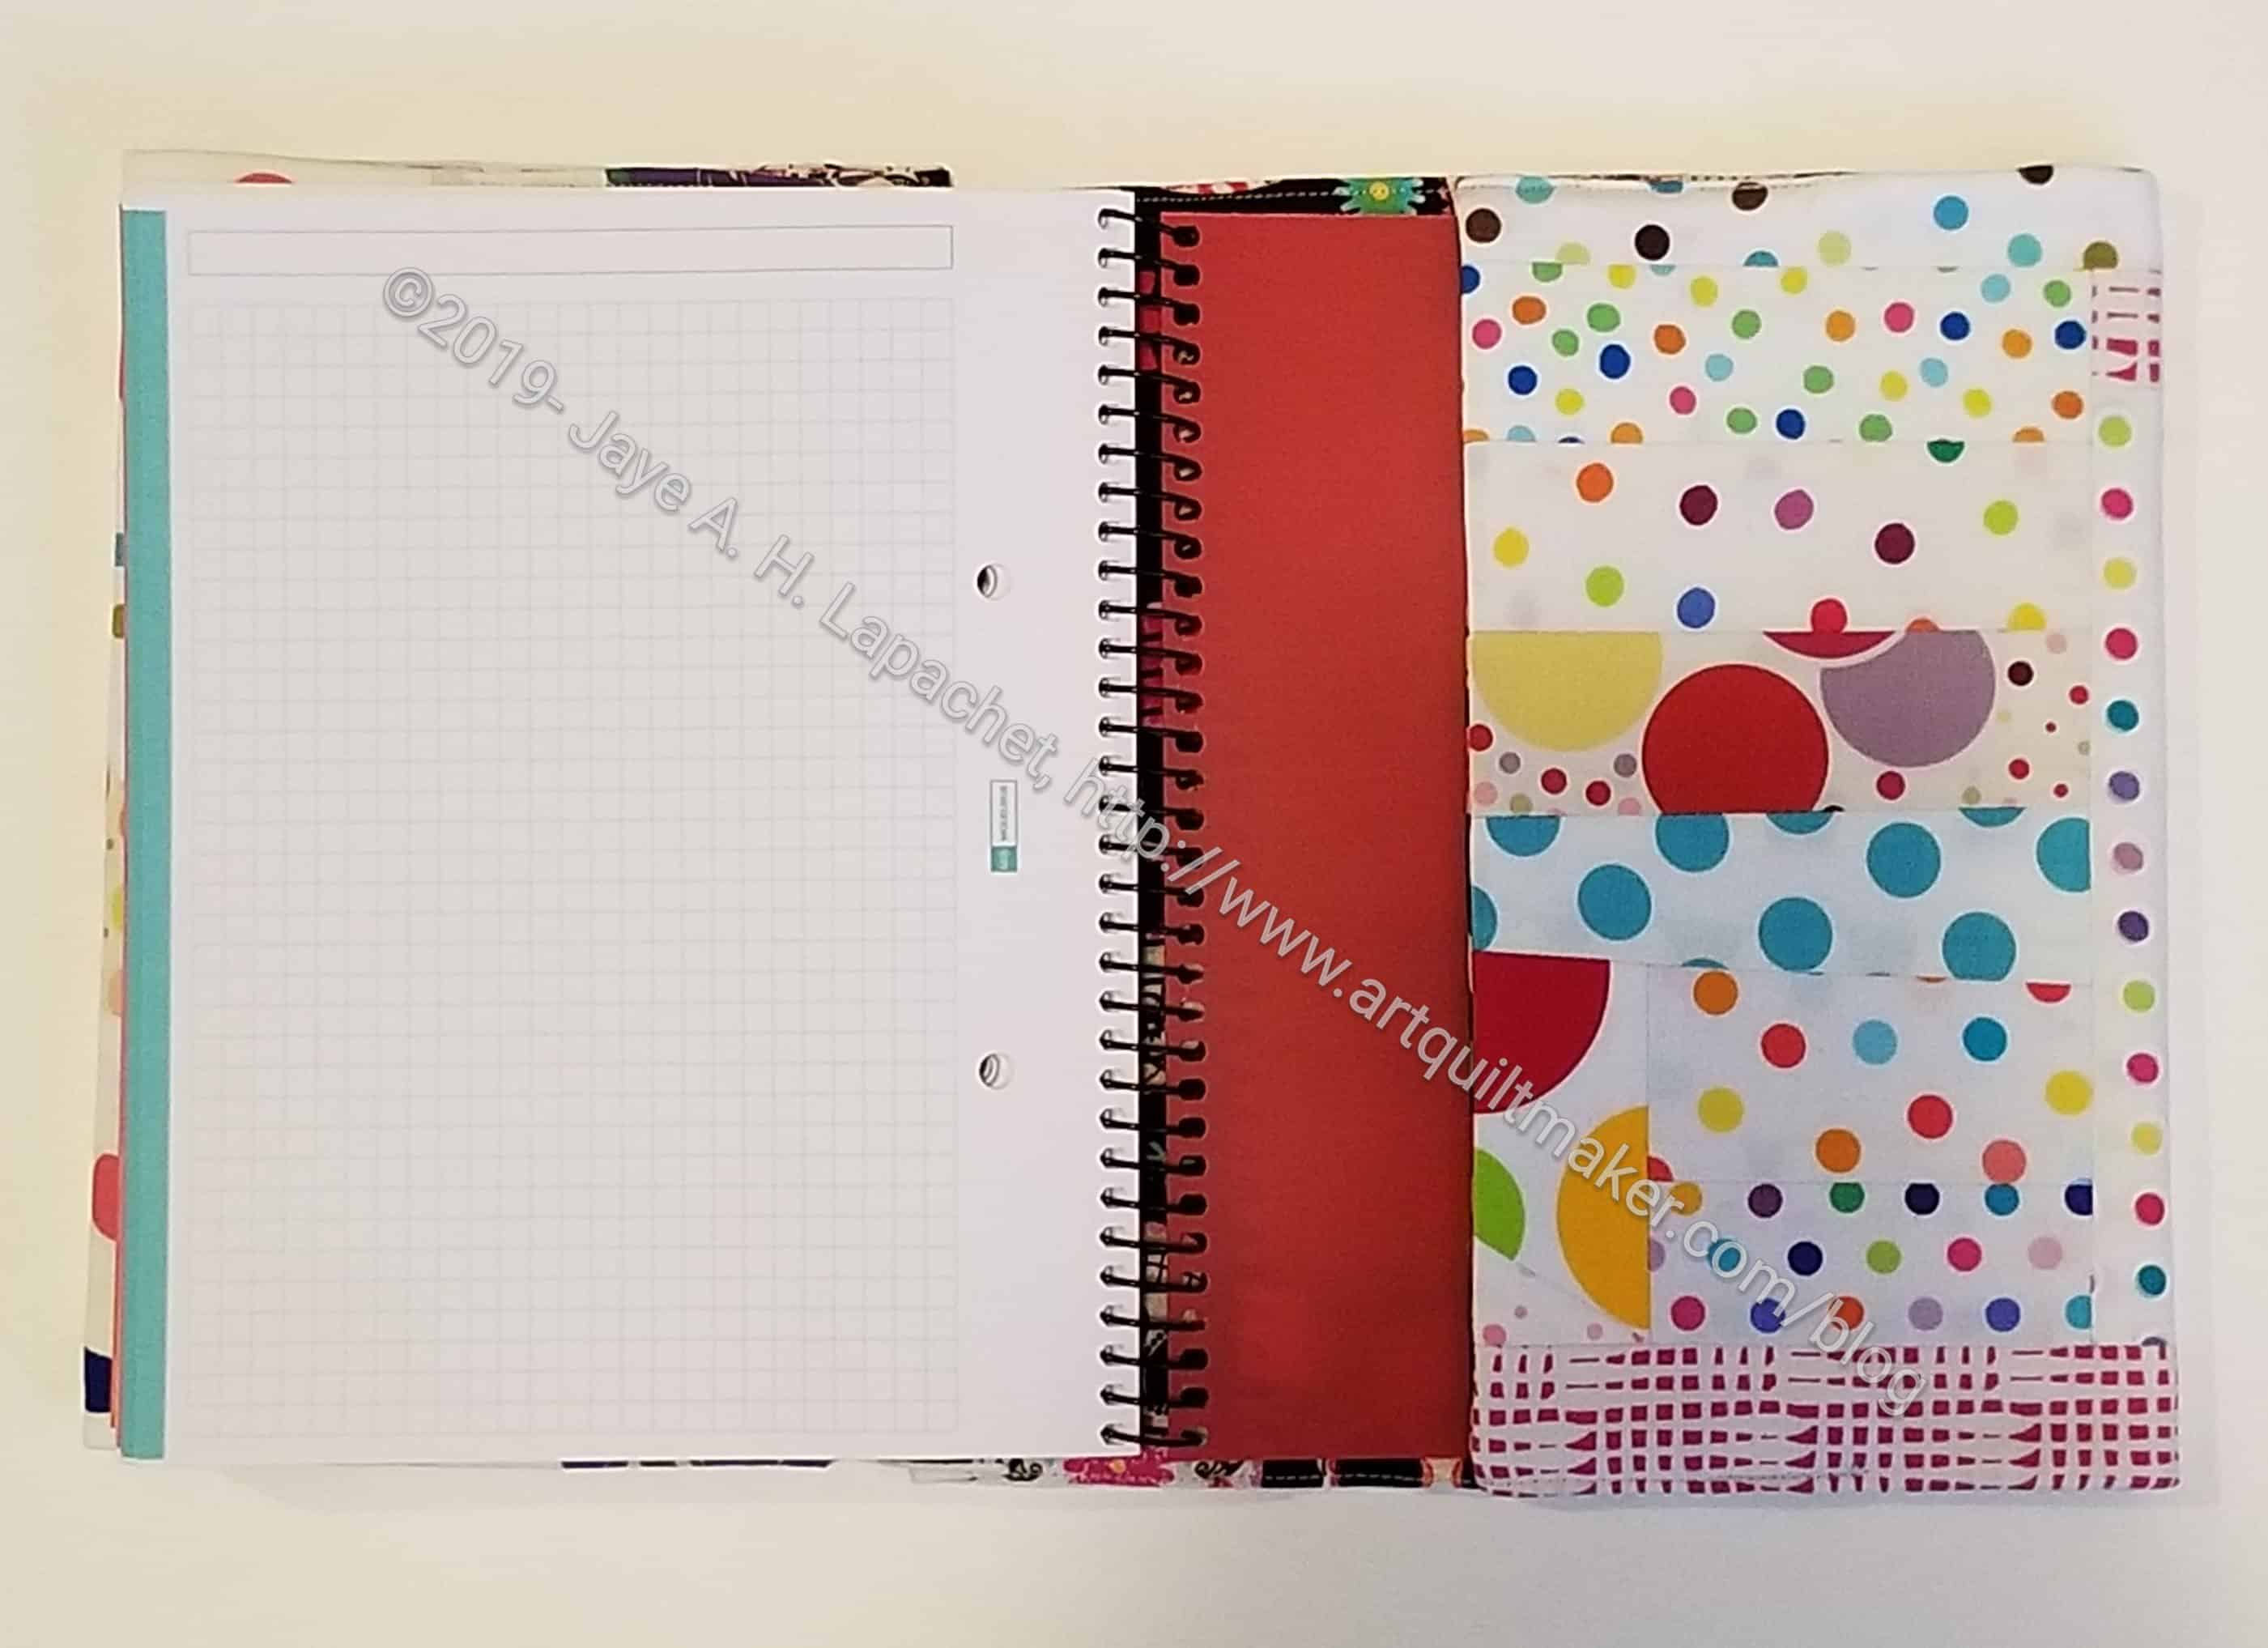
Knot and Design has a pattern for fabric and vinyl pouches that are interesting.

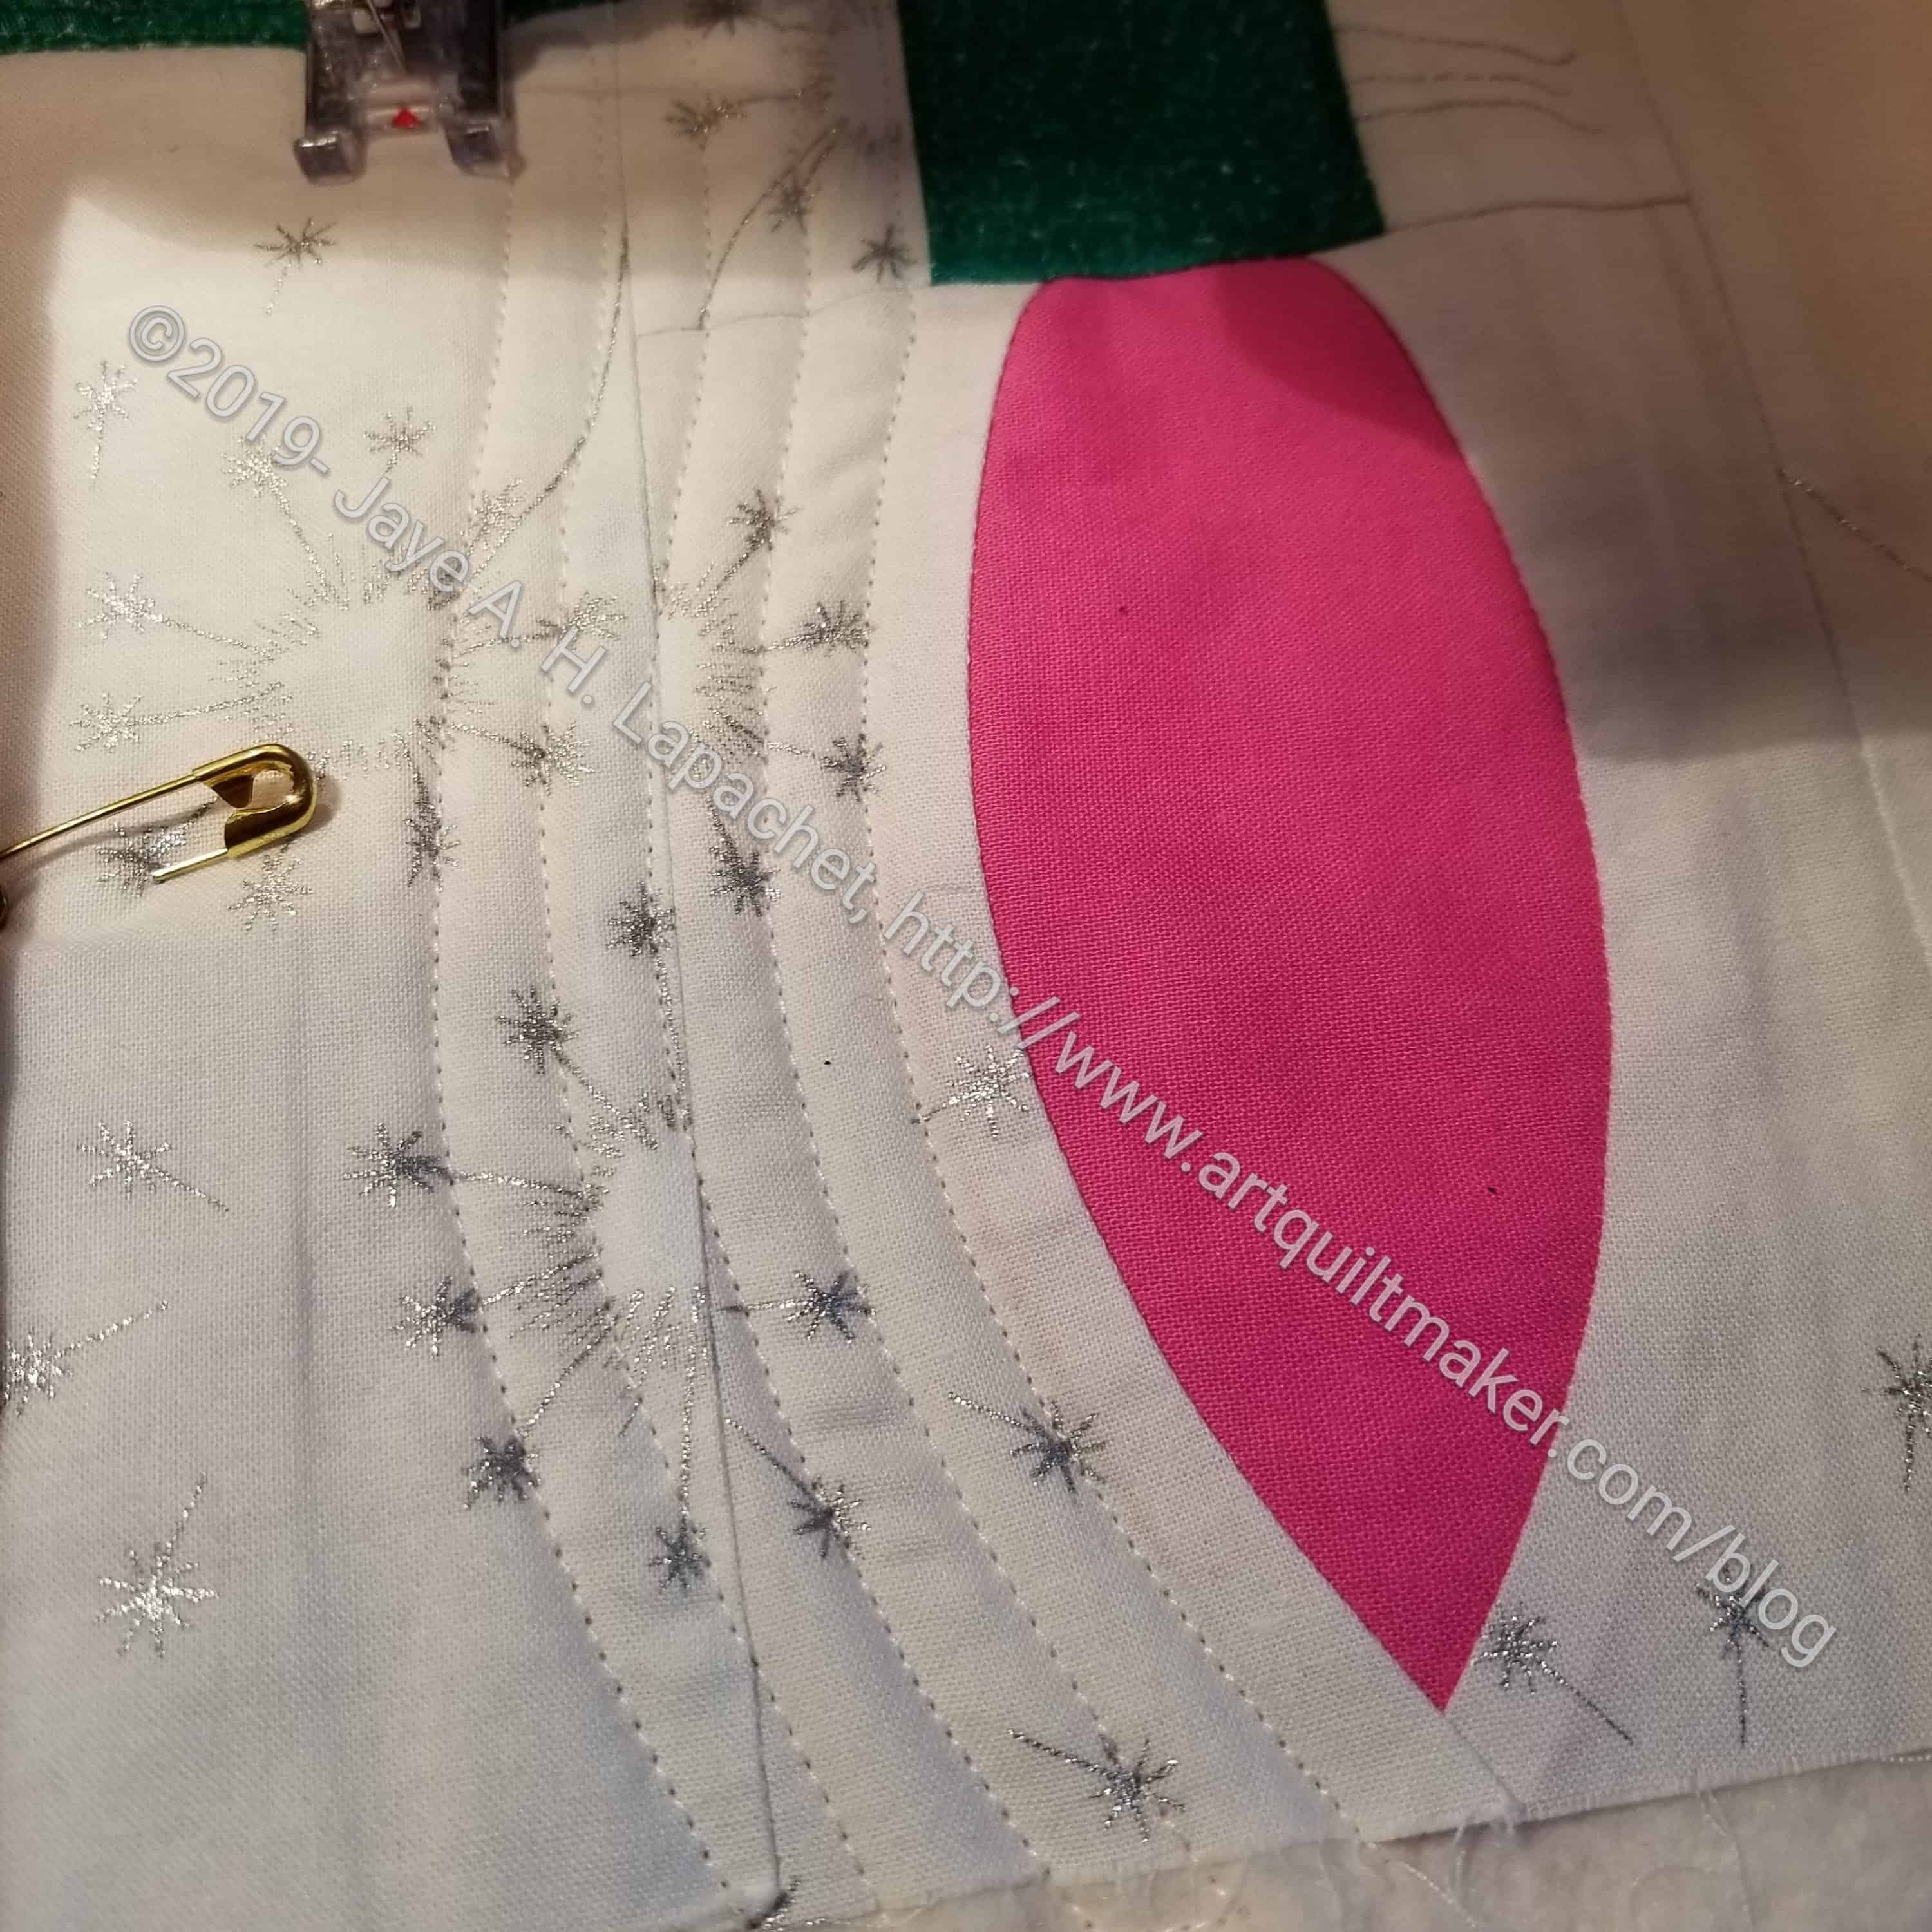
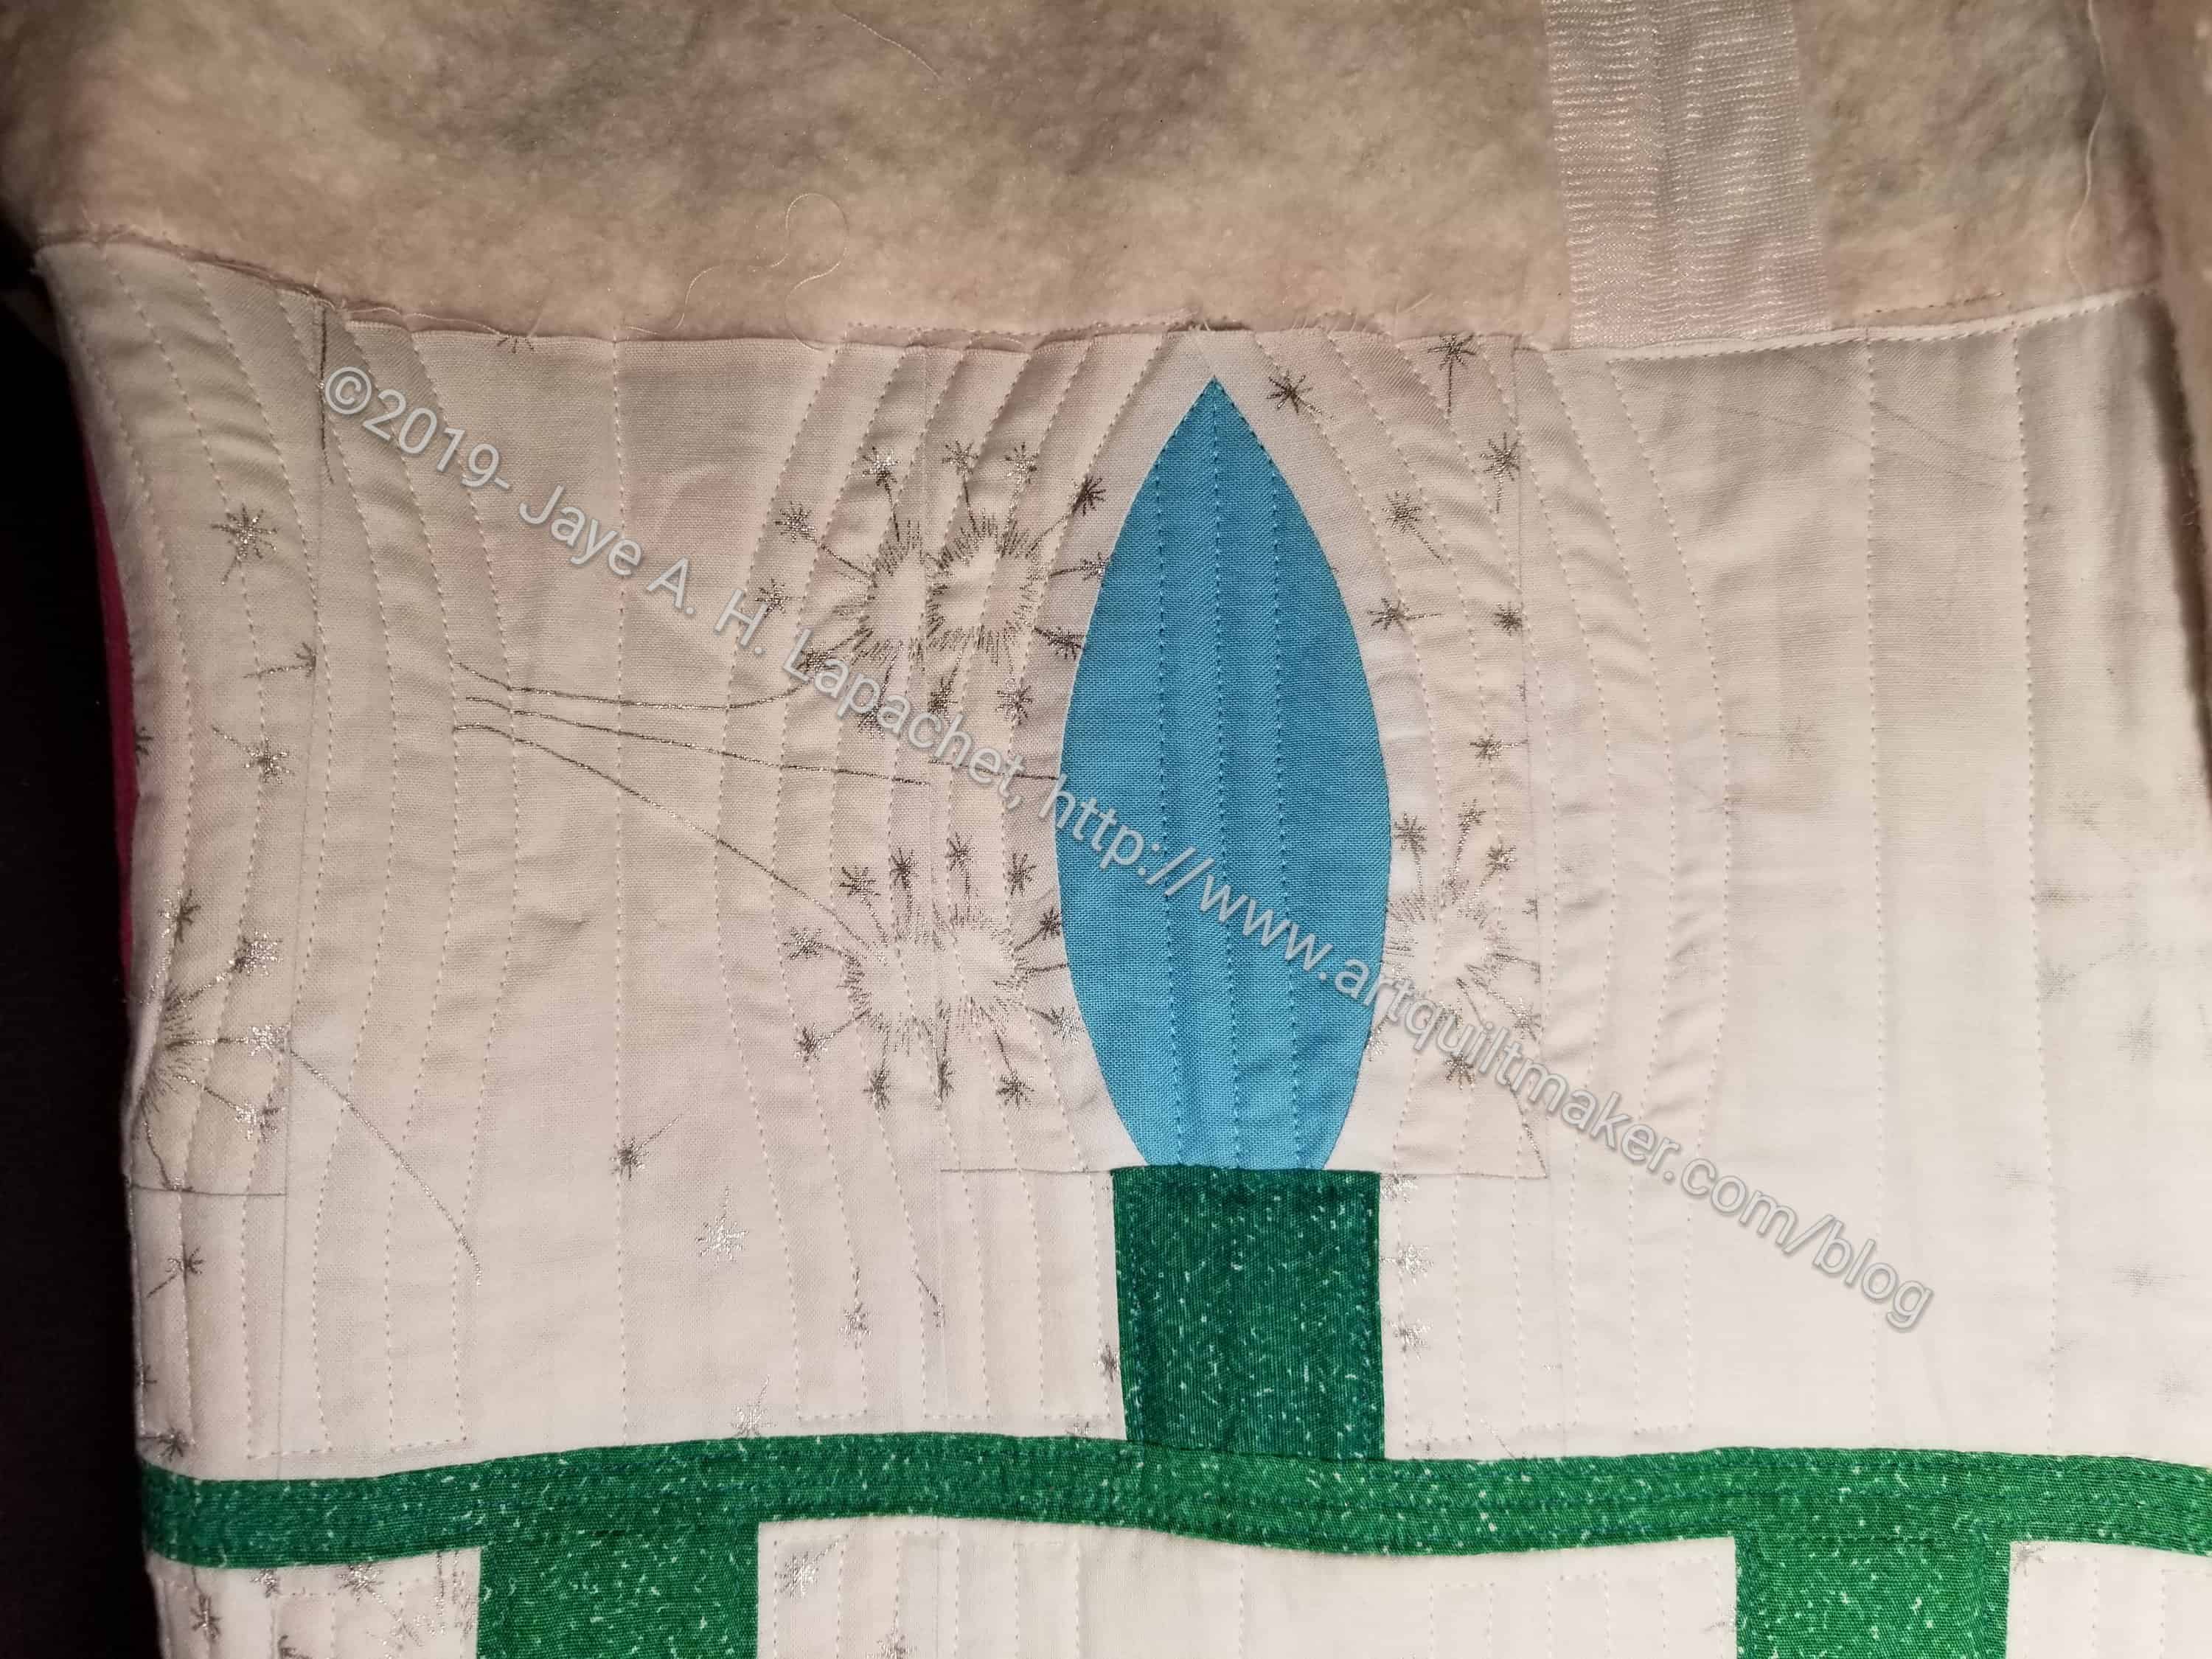
Lieblingsdecke has a really great cushion cover pattern using paper foundation piecing. If you need help foundation piecing, check out my tutorial.

Patti told us about a quilted scissor holder tutorial from Miss Sews-it-all. I went and found the 2015 post and may make some of those for gifts.

Doing Good

The Million Pillowcase challenge is still going strong. Their website has patterns and other information.

Theresa gave Sara of Sew Sweetness permission to share her document that gives information on the kind of yardage you need for Sew Sweetness patterns. This is a google Drive document and I have no control over it.

Shops

Someone pointed out a shop with lots of Kaffe Fassett (and Philip Jacobs!) fabrics: Sew Colorful.

Tips & Tricks

Two methods of seam ripping.

FOTY 2017 Back on the Design Wall

FOTY 2017 - second effort on the design wall
FOTY 2017 – second effort on the design wall

I resorted the patches and have started to arrange FOTY 2017 on the design wall. It isn’t going well.

Why? I don’t know. It just isn’t working.

I did some math and am thinking I need to make the piece 18 rows by 18 columns to make it square, though that does not use all of the patches. I could make it a little off square and make it 19 rows by 18 columns, but that would use more patches, which is my goal.

I have another idea to try.

Serious Progress: Lights Tablerunner

Lights Tablerunner - quilted
Lights Tablerunner – quilted

It isn’t that long ago that I was sewing the blocks for this piece. Now the quilting is done and the binding is machine stitched. I am ready to hand sew the back of the binding and be finished.

Quilting - Lights tablerunner
Quilting – Lights tablerunner

I spent all day Saturday quilting it. It took me all day, too, to carefully straight stitch the areas I wanted quilted.

I really didn’t want to do it, but I also don’t want another UFO hanging around, so I bit the bullet and did the quilting. I am paying for my work as my arm and neck aren’t their usual selves. I tend to attach my left shoulder to my ear as I quilt. I tried really hard to keep it down so the pain is not as bad as it could be. I have Serendipity Lady to quilt, but that piece will have to wait for another day.

Lights tablerunner - quilting detail
Lights tablerunner – quilting detail

The quilting isn’t perfect, but I am pretty pleased with the way it came out. There are a couple of sections I might redo, but I don’t need to worry about that now.

What really helped me was listening to the Pearl Sister as I quilted. After a couple of enjoyable, but not well written books, this was a fantastic quilting book. It is the latest in the Seven Sisters series by Lucinda Riley and was really great. I am going back to read the first in the series, because it was so good and I want to be reminded of the details of the sisters. I just found out there is another installment in the series ready for me to read as well, The Moon Sister! Yay! Perhaps it is time for another quilting project? Definitely read the series in order.

Classmates Tote Gift

Gerre's Classmates Tote
Gerre’s Classmates Tote

I decided to make another Classmates tote for my friend’s birthday. I didn’t mail it until Monday, so I hope she has it by now and the surprise won’t be ruined.

This one went a lot more smoothly than the first one. I learned different things this time, such as color placement. I am thinking I will make one to contain all of my random suitcase flotsam. I meant to see if it all would fit before I sent off the bag, but didn’t do it.

Gerre's Classmates Tote- open
Gerre’s Classmates Tote- open

I went through the pattern and marked the cutting chart up so I would know what I was cutting, which would help me with color/ fabric placement. My plan worked very well.

One thing that sent me over the edge in liking this project is the number of pockets. I knew as I was making it that I would get a lot of pockets, but I found, once I put the whole thing together, that there were even more pockets than I thought. This turned out to be because when I put the pockets I had made separately on the lining, additional pockets were created. The bonus pocket behind the center zippered pocket could hold a 6×6 inch ruler! Or nearly.

Gerre's Classmates Tote- outside cover, open
Gerre’s Classmates Tote- outside cover, open

I am pretty thrilled with how this one came out. I worked really hard and did my best work. The one thing I would change is the binding. It looks great on the inside, but doesn’t go very well with the ice cream fabric. I am not sure what I would use. I might need to change the linking to go better with the outside. I wanted to make sure the piece was cheerful, which is why I chose the lining fabric. I also wanted to use the ice cream fabric so this bag would go with the sewing machine mat and other items I have made for her. I thought it would be segregated enough to not matter, but I didn’t thinking about the binding and how that would united the outside with the lining.

Gerre's Classmates Tote- partially open
Gerre’s Classmates Tote- partially open

I think I would also change the handle a bit. I think it would be good to add a little padding to it. I am not sure my machine could make it through an additional layer of padding.

I am pleased with how the lobster clip and ring line up. That was a concern on the first one and this effort came out perfectly.

Journal Cover Gift

Gerre's Journal Cover
Gerre’s Journal Cover

My friend had a birthday yesterday. I have been telling her – well strongly suggesting that writing in a journal would help her work out some issues. Thus, this is my “put your money where your mouth is” gift to her.

I rummaged through my white scrap bin to make this journal cover. I was going for cheerful and light to counteract the grey weather we have been having. I really tried hard to get that castle fabric (upper left) on the front, but didn’t quite make it.

Gerre's Journal Cover with front cover open
Gerre’s Journal Cover with front cover open

Since I have been making Gerre a few things recently with the ice cream fabric, I wanted to include some in this journal cover as well. I put it on the inside as it didn’t go very well with my light and cheerful look.

Gerre's Journal Cover with back cover open
Gerre’s Journal Cover with back cover open

I haven’t made a journal cover in a while. The last one was dark blue and made in 2017. I have been sing a different kind of journal that doesn’t work with these covers, thus I haven’t needed a new one. I still like these Miquelrius journals. They have great paper and ink dries on it quickly. I am just more enamored with the Leuchtturm journals at the moment. I like hte rounded edges and the colors. The Leuchtturm journals also fit in my handbag, which is an added bonus.

Gerre's Journal Cover back cover
Gerre’s Journal Cover back cover

I had fun putting this cover together. I used a number of scraps from the EPP half hexie project and even some scraps from the City Sampler.

I had a hard time sewing it as there were so many seams along the edge, so I ripped the last seams out a couple of times. It isn’t perfect, but I hope she won’t notice. That edge is tricky.

I did get a nice compliment from Angela who has used the journal cover tutorial to make covers for other types of journals.  She said it was her favorite journal cover tutorial. 🙂

Gerre's Journal Cover -whole cover, open and face down
Gerre’s Journal Cover -whole cover, open and face down

My Flapper Apron – Finished

Every time I type ‘apron’ it comes out as aprong. I am not sure why, but it may mean that I need to stop making aprons.

I finally finished my Flapper apron. I have been using the Church Ladies apron I made awhile ago, though it is not perfect.  I don’t like the interfacing in the handles, because it makes them hard to tie. I also don’t like the construction.

I made a Flapper apron for myself awhile ago. The neckline was too long and gaped, so I didn’t like it for myself. It was the one I put in the Fair last year and was well sewn. It couldn’t compete against the tailored blazer in the same category (ERGH!!!), but I still did my best. I never wore it so I sent it off to a friend who admired it. Why not? She loves it.

I adjusted the pattern a little bit on this newest version and the neckline is much better. Not as long, so it doesn’t gape.

Flapper apron - pocket detail
Flapper apron – pocket detail

When I put the pockets on, I was pleased to see that I had matched up one of the Chrysanthemums! I didn’t do it on purpose, but am so pleased. I know the pocket blends into the fabric, so enlarge the photo to see my triumph. 🙂

I haven’t tried it out, but will soon.

Mod Lights Buffet Runner

I spent most of Saturday’s Sew Day working on the Mod Lights pattern from Sew Kind of Wonderful. When I say ‘working’, you have to take that with a slight grain of salt, because I can’t help but change up the pattern.

In this case, I am not changing a lot. The fabrics are different and the size is slightly different. I want it to fit my buffet and that piece of furniture is a certain size.  Otherwise, the layout and the way I put it together was the same.

Holiday Lights Buffet runner

I finished the top on Sunday, so now I have to make a back and find some batting.

I bought the pattern on a whim at Stitch in Ferndale.  I stopped there, as mentioned, on my way back from Portland right before Christmas. I love that store. I would drive up there for a class, if they had one I would enjoy.

Trimming the lights
Trimming the lights

This pattern required the small/mini Quick Curve Ruler, which I also bought at Stitch. I was slightly annoyed because I thought I could use the larger version, but I ended up happy after seeing the lights develop and how great the motif is.

As mentioned when I was making MetroScape, all the curved portion of the blocks require trimming. You might sincerely dislike trimming, but I like it as it sets me up for success. Some of the curved pieces I sewed together came out super weird looking. If I had tried to sew them together as is, I would have had a disaster on my hands. As it was, I was able to help fill a pet bed and be successful.

The pattern has a couple of different projects included so you are getting some bang for your buck. All of the projects include the light. I got some ideas on other projects in which I could use the light motif, so I might get even more bang.

Green Strips Donation Quilt Quilted

Tim texted me the other day and sent photos of the Green Strips Donation Quilt, which he had finished quilting.

Green Strips Donation Quilt quilted

I gave it to him as a top and back and he sent photos of the top quilted.

I really like what he did and am planning another one in purples as soon as I finish a couple of the regular postage stamp donation blocks I have started.

Tim was nice enough to send me some details of the quilting, which looks great! He was excited about quilting this piece because I didn’t use white. I’ll think about grey or yellow when I make the purple one.

Green Strips Donation Quilt -scrappy binding detail

He changed the back, because he didn’t like it, to an ombre fabric (see that blue at the bottom?). It’s fine with me as long as he doesn’t give me the back back. I already counted it in my fabric used tally and it is hard enough to get those yards used as it is. He is also thinking of a scrappy binding. Photo is of his thoughts on binding.

Drawstring Gift Bags

Finished Jeni Baker Drawstring Gift Bags - Snack sized
Finished Jeni Baker Drawstring Gift Bags – Snack sized

I finally finished all of the gift bags I started at Gerre’s house a few weeks ago. I know I showed one of them previously. Sometimes I just have to show progress in order to make it seem real. The gifts are in them and ready for Christmas.

Crazy, I know, but those gifts arrived late for Christmas 2018, so I’ll just save them.

I am not sure I will make more of these bags for gift bags as they take quite a bit of time. Still, I bought some twill tape so I wouldn’t have to suffer through making drawstrings and I want to use that up. We’ll have to see.

As mentioned previously, Jeni Baker sells the pattern, which includes multiple sizes including a laundry bag size which is good for those of you sending kids off to college.