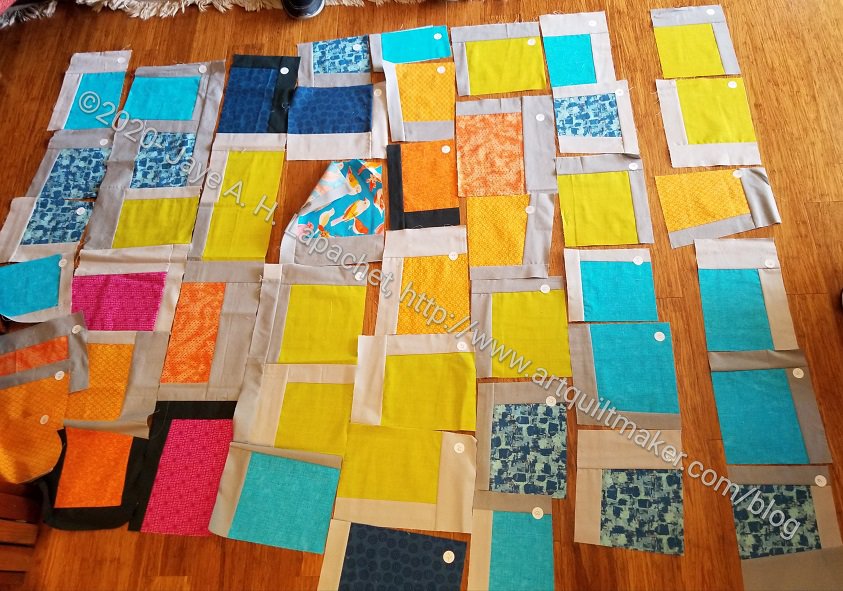
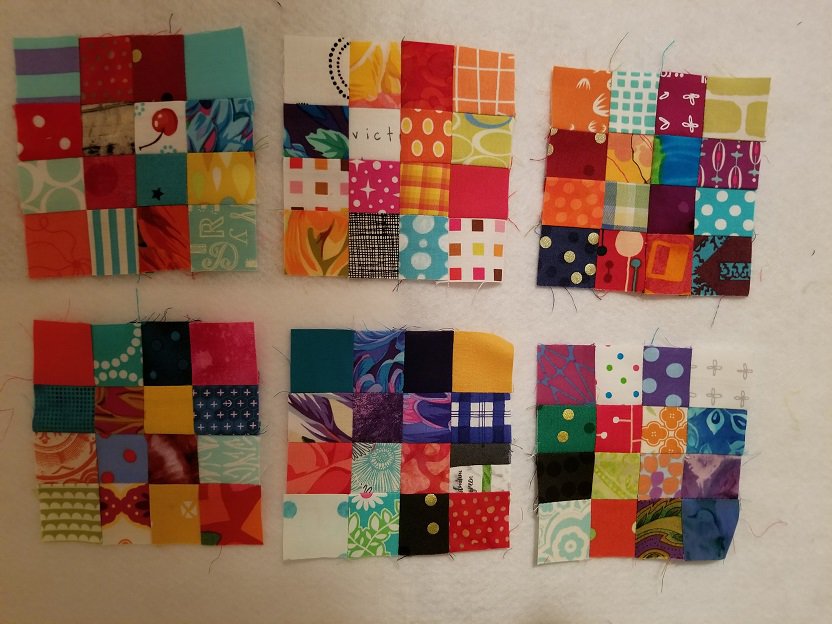
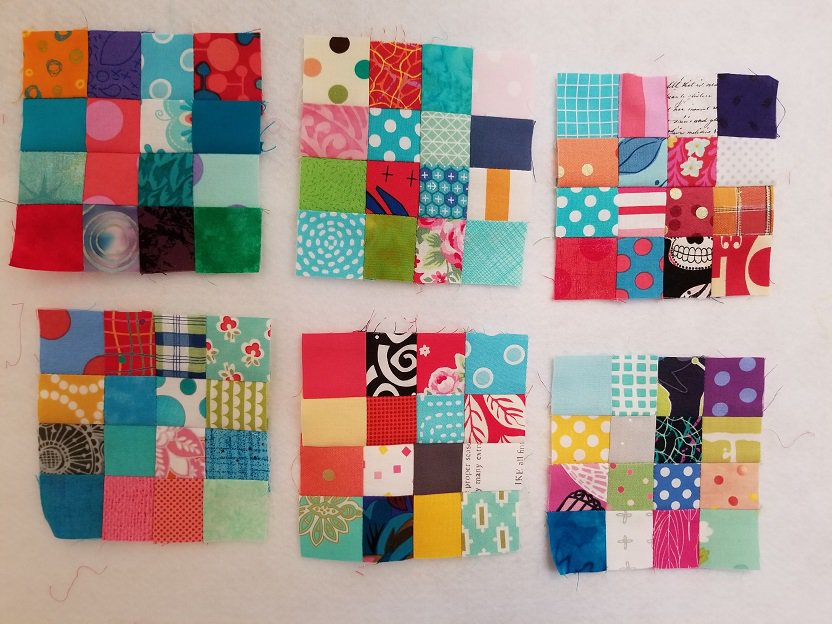
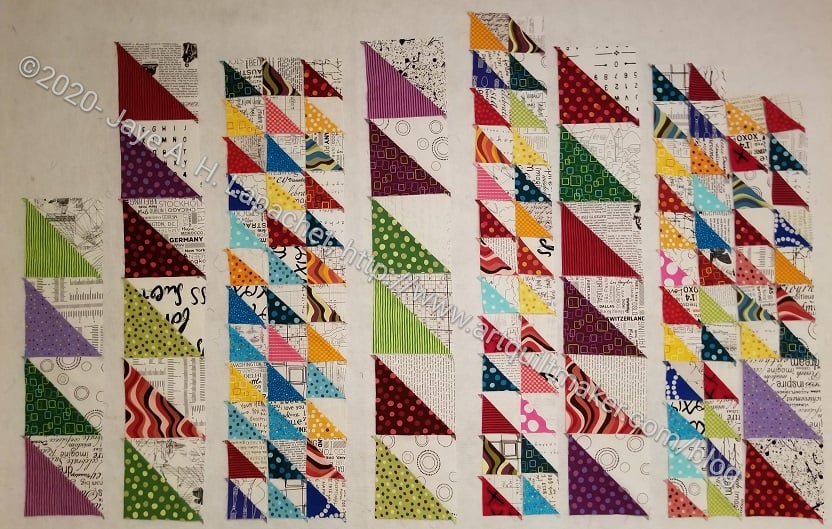
After writing the Spiky 16 Patch Tutorial I decided to try adding another round of HRTs to my regular block to see what would happen.
I am still using the Split Rects ruler** (By Deb Tucker) from Studio180 Designs for this project, so you will still need to review the how to use video.
Double Spiky 16 Patch in process
The photo looks like a bit of a mess because the pieces are all overlapping and I need two more HRTs for each block.
I have a lot going on and this has been my leaders and enders project, so I haven’t worked on it in a week or so.
Double Spiky 16 Patch in process detail
I like the look of the double row of HRTs. The outer HRTs are pretty large!
I am not sure if I will make more of these blocks for this project, whatever it is. If it is a donation quilt, I have to make it larger
**I use affiliate links and may be paid for your purchase of an item when you click on an item link in my post. There is no additional cost to you for clicking or purchasing items I recommend. I appreciate your clicks and purchases as it helps support this blog.
I tend to toss scraps to one side of my cutting table to cut up later. My cutting table is only about 18×24, so this practice cuts into my cutting space. In the last couple of months the pile has become huge. About 2 weeks ago, the pile toppled off the cutting table and I realized I had to do something.
I toss all the scraps into a brown paper grocery bag and decided to cut them all up into 2.5inch squares with my Accuquilt. Whatever didn’t fit into that size would become Pet Bed filling.
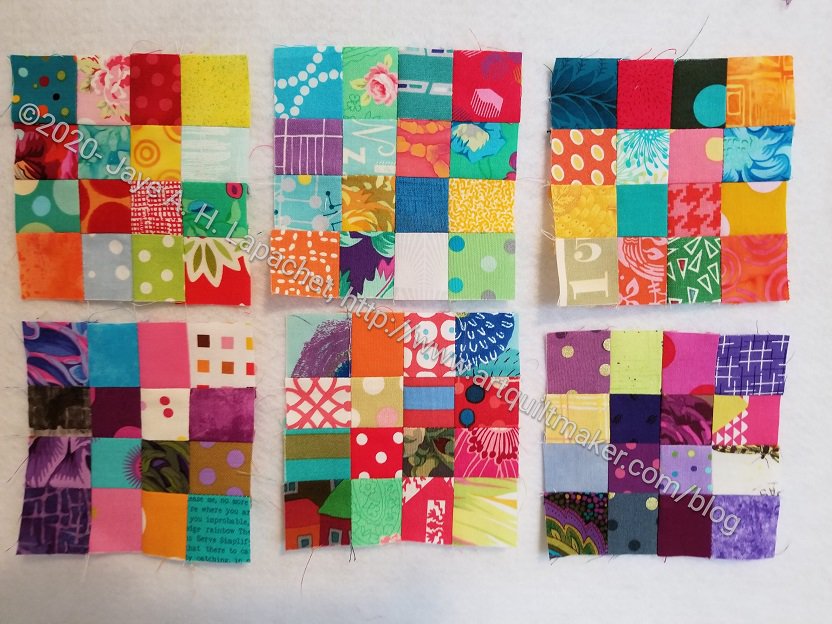
January 2.5″ squares
I spent a couple of Craft Nights plus one Friday while I was making phone calls cutting up scraps with my Accuquilt. Now I have A LOT of 2.5 inch squares!
In the photo, you can see that I am sorting. I have a couple of bins of stashed 2.5 inch squares. They are handy for a lot of different projects. It was from this bin that I made Scrapitude.I have also used patches from this bin for Bonnie Hunter Mystery quilts like En Provence.
Some of these need to go into the FOTY 2020 bin, but most will be used for donation blocks. I might give some to the BAM Community Giving Team for their kits.
My pet bed is full, so I need to get that to the Pet Bed team.
I recently received a gift subscription to QuiltFolk. My first issue was issue 16 and the theme was family.
One of the essays was called The Time it Takes by Ora Clay and a couple of the things the author said stuck out to me. First, s/he said “As a quiltmaker myself, I am often asked how long it takes to make a quilt. I answer, ‘It depends on how you count’ “.
This is so true! Ora is a wise woman.
Do you count carefully all the number of hours you sit at the sewing machine or stand at the design wall and ironing board? That is definitely one way to count.
Next, she said ” I’ve made many quilts of my own, but I still don’t know how to count the time it takes to make one. I like what the writer John McPhee said about writing: ‘It takes how long it takes.’ I don’t have to plant the cotton for my quilts, but should I include the time I spend researching, designing, and planning before I take a stitch?”
The above is the crux of the matter. As I move about the world doing chores, I think about things including my quilt designs and my quilts in progress. I don’t even know how long I spend thinking about what I am going to make next or how I am going to finish a WIP. Sometimes it feels like an idea or a solution to a problem appears in my head while I am doing something else. I am sure there are hours where the problem is percolating in my subconscious. How do I count those hours?
What about the years I have spent honing my skills? If I didn’t know how to piece very well, then the basic construction process would take much longer. So, do I tack on years to each quilt?
I don’t think this hours problem is unique to quiltmaking. I think woodworkers and card makers and auto restorers have the same question.
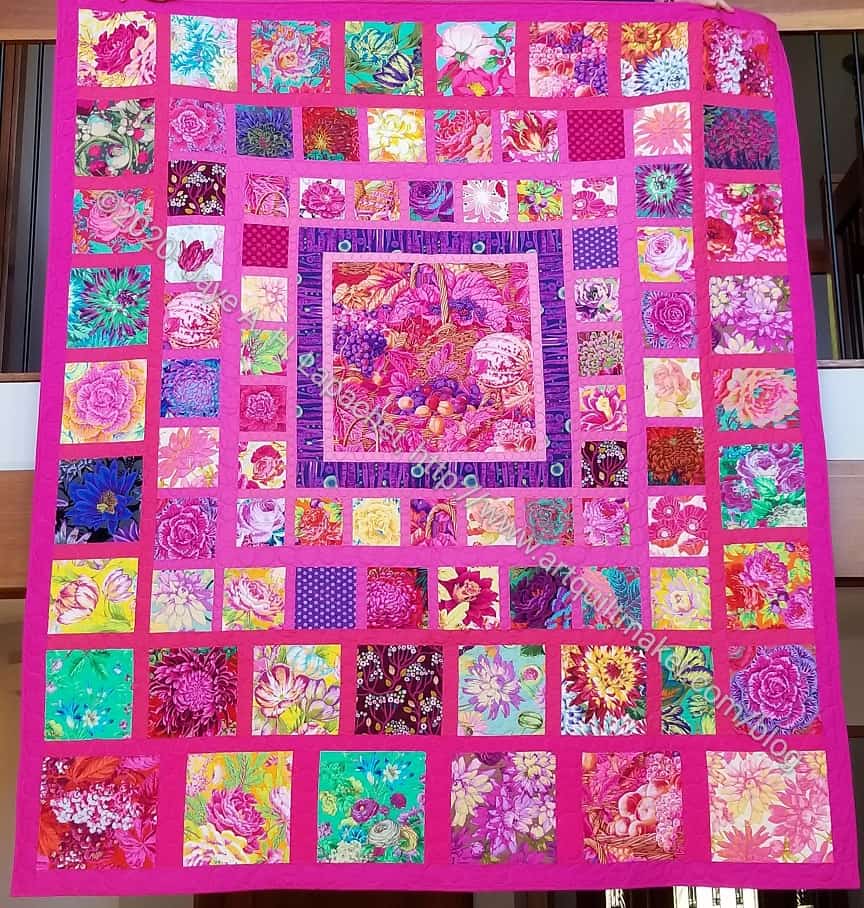
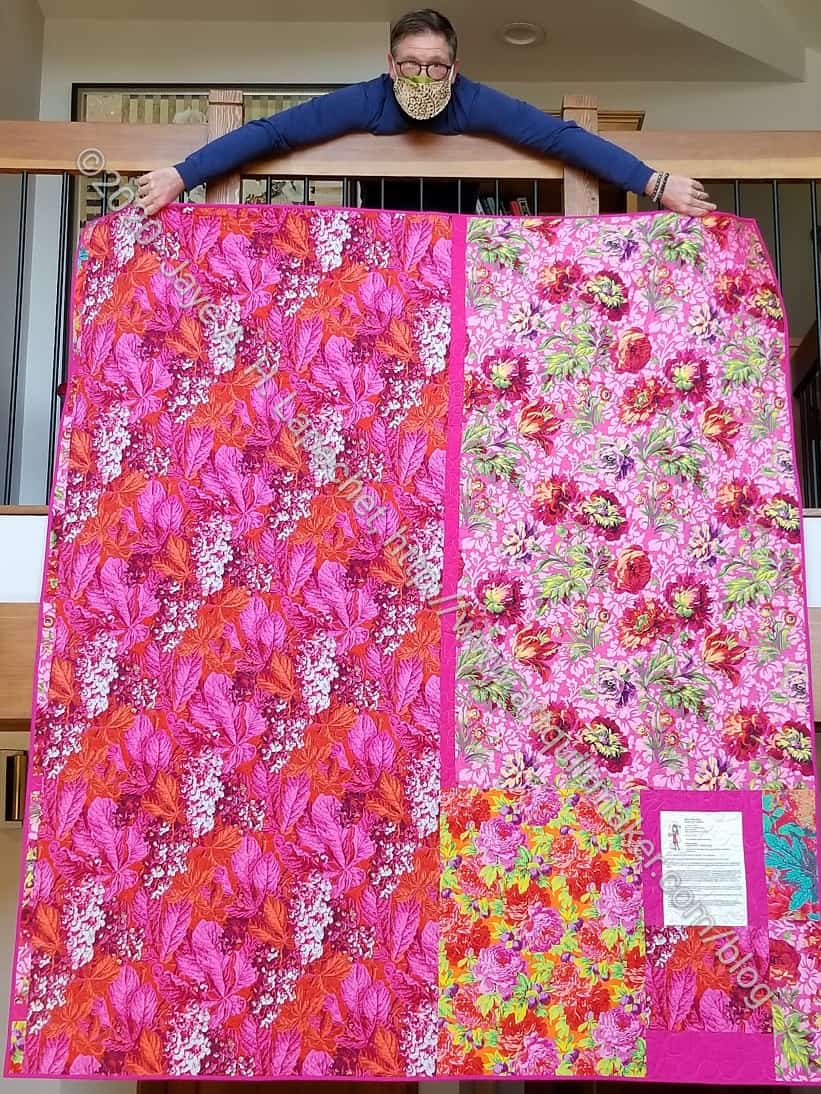
I really want to call this quilt something like “My Childhood Bedroom”, but the “Pink Kaffe Quilt” seems to be sticking as the name.
Pink Kaffe Quilt through border 8
I made more progress over the weekend, but wasn’t able to finish the top. I tried, but had some measuring issues. While I worked them out, it took longer than just sewing some long seams.
Still, the top is looking nice and, as an added bonus, it sticks really well to my design wall.
Julie made me a Mini Maker Case! I know I mentioned it the other day, but I am pretty excited about that. I am excited to be ready to take my mini Oliso to Sew Day [sometime in the safe future]. I am also excited to go on some quiltmaking adventure with Friend Julie and my new iron.
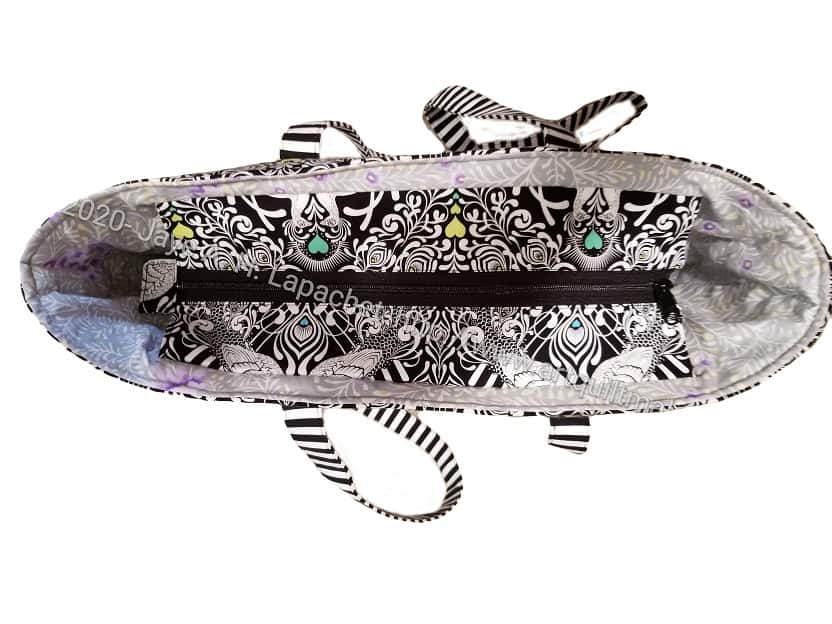
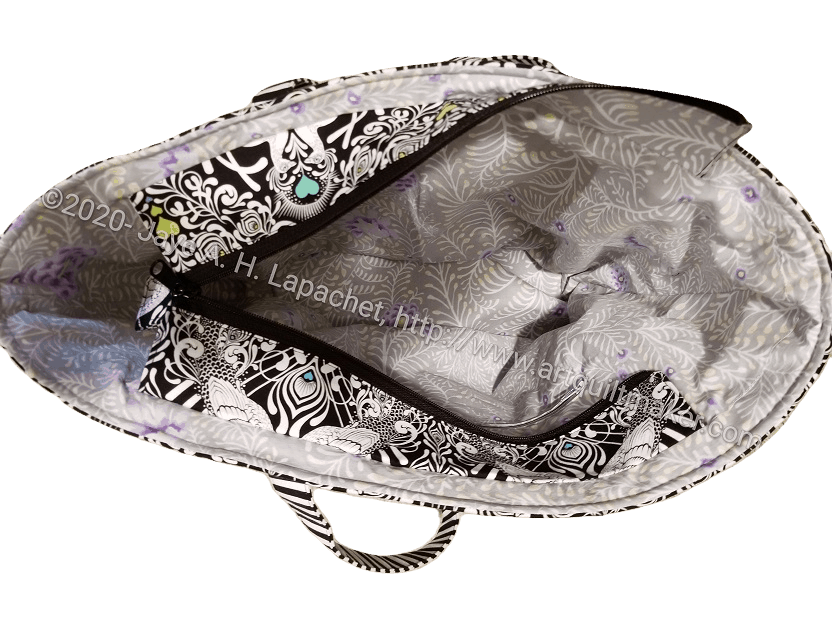
Mini Maker Case – open
I am also excited that I don’t have to make one for myself, though I may make another one fun anyway.
I like the way the iron fits in the case, though the cord, when viewed from the top seems to screw up the symmetry of the case. However, once the zipper is closed, the case looks fine.
Julie picked out some great fabrics for me and did a fantastic job sewing it.
The inside binding is not for the faint of heart. I am impressed by anyone who does it. I like the pop of red she added on my case.
Mini Maker Case – corner with charm
I have had an ArtGirlz charm for a long time. I finally decided that this was the case to which I would attach it. I don’t remember when I bought it, but it has been sitting and waiting for a home for a long time. Time to use things! Life is short.
Julie was worried about not putting in zipper tabs, but the charm will act as a pull so the zipper will work fine.
Mini Maker Case – top
The top also looks great. I think the handle will hold very well.
I added this bias tape to my syllabus. My current students are very gung ho and want to learn more. I had gotten it to the point where I had all the bias tape pinned down, but hadn’t finished the sewing until the weekend.
I had a couple of small half finished projects laying around and they were annoying, so I just took the time to finish them.
I am pleased with how it came out and will probably use this block again when teaching.
I also used Saral Transfer Paper, because it is a great way to trace and transfer at the same time without using something like a Frixon pen or the blue pen that may come back to haunt me later. Saral paper is super old school, but works amazingly well. I couldn’t find the pack I had so I bought a variety pack, which means that I can use it on different colors of fabric.
I recently bought a tracing stylus to use with the Saral. This made Saral paper even more awesome. The stylus has a ball on the end and won’t rip through the relatively thin Saral paper. I can’t believe how smoothly it worked.
Using bias tape with Red Scribbles and now this block have made me rethink its usefulness and how I can use it in other pieces.
**I use affiliate links and may be paid for your purchase of an item when you click on an item link in my post. There is no additional cost to you for clicking or purchasing items I recommend. I appreciate your clicks and purchases as it helps support this blog.
Some time ago, I though about making some eye masks as gifts.This came up when my eye doctor said to put a hot compress on my eyes every night to prevent something I can’t remember now. I was suffering from whatever it was (stys?) at the time and the doc was concerned. I had never had them before, but when I told my mom, she said she gets them all the time. Then another friend said the same thing and here I am.
I know the side I closed after filling the eye mask is oddly shaped. The others came out better.
I used the Chloe Mullaney pattern with some changes. I guess I basically only used the pattern piece. This isn’t a difficult project: cut out the pattern piece from fabric, sew right sides together, fill with rice and close up. Yes, I used rice, because I wasn’t sure how other fillings would act in the microwave.
I bought a hand towel at Tuesday Morning to use as the back, which was not part of the pattern. I thought a towel would be more comfortable and more absorbent than quilting cotton. I wanted something pretty for the front, but purely functional for the back. I was able to get 3 pieces out of the fluffy part of one hand towel. The Tuesday Morning towel was very good quality, but not expensive.
I finally finished Red Scribbles about two weeks ago. It is has been go-go-go here, so I didn’t post until now.
I only had to finish the binding, which shouldn’t have taken very long except that I am not getting a lot of handwork done since we are working on the giant puzzle. I also had some other handwork projects with firm deadlines.
This quilt took a long time to come together, but I am really pleased with how it came out. As a result, I am now teaching the bias tape technique as part of my basic quiltmaking class. I haven’t written up a tutorial, so you’ll just have to pay me to teach you!
Red Scribbles Completed – back
I think this might constitute the start of a series. I gave another quilt to my SIL when DH’s brother died and now I have given this quilt to my husband’s sister and her husband. Of course, my sister has received at least two quilts.
SIL and BIL came over to get it close to their anniversary. Too bad I was teaching when they eventually showed up, because I didn’t get to hear their comments. DH handled everything and got photos as well, so it was fine.
Red Scribbles recipients -1
Red Scribbles recipients -2
This quilt has encouraged me to get back to Who Am I? Instead of doing a lot of satin stitching for the words, I plan to use bias tape. I have to experiment with widths of bias tape.
My birthday was last week and I received A LOT of gifts. It was so nice of everyone to think of me again.
Modern Handmade Purchases – January 2021
I also got to go and use a gift card I received in December at Modern Handmade. I haven’t been to a quilt shop in ages and that one is definitely a favorite.
2021 Gifts from Julie
Friend Julie met me there. While we were waiting for the shop to open, Julie gave me a large bag of gifts, which included a Mini Oliso iron and Mini Maker Case!!
She always knows what to get for me. I love the Mini Maker Case, but I am also really excited about the The Elements of Color** book. Johannes Itten is a master of color. I use his color wheel, called the Color Star**, all the time
In the evening, my mom came over and brought a cake (made from the wonderful Alternative Baker** cookbook) along with some of my favorite Jamoca Almond Fudge ice cream. It was great to see her and my stepdad. I don’t get to see them enough with this COVID thing going on. It was great to be able to have a little visit.
UPDATED 2/8/2021:
10″ Clammy
I got two other gifts after I wrote this post. I want all the gifts to be in one post. I received the 10 inch Clammy**, which means I have a full set. I still have to try them out. After reading the directions, I am pretty excited about trying it. I have long wanted to piece circles into a background. I took a class a long time ago, but I think the Clammy method might be less fiddly. What I also need for my birthday is a quilt patron: someone who will pay me a salary and I can just sew to my heart’s content. A girl can dream, right?
Martelli rotating mat
I have a rotating cutting mat, but I don’t really like it because it is square. I frequently get hit in the stomach by one of the corners. It’s not like I get injured or anything, but it is annoying. This new rotating mat**, from my darling YM, is round. I don’t get hit in the stomach, which I like, and I have been trying it out with some of the shapes I am teaching my students lately.
**I use affiliate links and may be paid for your purchase of an item when you click on an item link in my post. There is no additional cost to you for clicking or purchasing items I recommend. I appreciate your clicks and purchases as it helps support this blog.
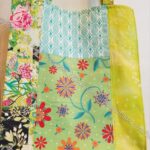
Last Saturday was the first guild meeting of the year. Traditionally, we have given the officers appreciation gifts at this meeting. COVID-19 or no COVID-19, 2021 was no exception.
Maria’s Officer Appreciation Bag 2021
Mary C was kind enough to be the drop-off point. Her house is more centrally located in the county than mine and she has a good porch. With county rules on sheltering-in-place and ‘travel’ because of COVID-19, this year was a little harder to organize. People had to mail their gifts, or drop them off, as allowed. Also, I tried to be sensitive about costs and encouraged people to write notes instead of buying a gift. I also offered up notepaper, etc for people who were really struggling.
Last week I went over to Mary C’s house and we assembled the bags, physically distancing and wearing masks. Mary C has a wonderful backyard and I am always happy to spend time there.
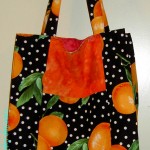
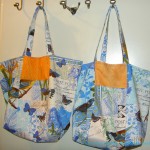
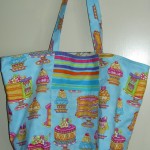
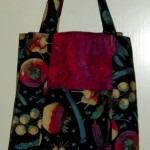
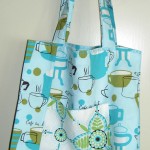
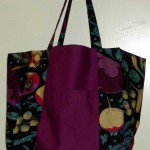
Members of the guild came through magnificently! A few members made bags so we could contain the other gifts. I couldn’t believe the effort that people took with the small gifts. If last year was good, this year was better. We got an amazing array of gifts. I don’t know how we will match it next year.
Maria’s Officer Appreciation Bag 2021 items-detail 1
Mary C went out at the last moment and got the gift bags (large pink bag in the above photo) so we could ‘wrap’ them. We had to drop the bags off at officer’s houses and we wanted it to be less easy for them to peek before the meeting.
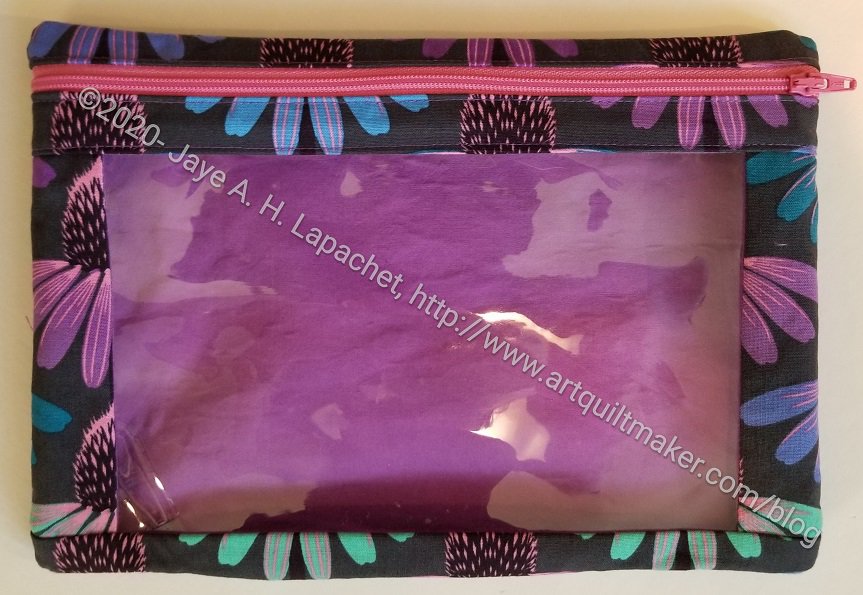
Lots of zipper bags, but also supplies like needles, Iron Off, and Quilt Soap. Embellishments, gift cards and fabric were also in evidence.
Maria’s Officer Appreciation Bag 2021 items-detail 2
Maria’s Officer Appreciation Bag 2021- detail 3
Maria’s Officer Appreciation Bag 2021 items-detail 4
Maria’s Officer Appreciation Bag 2021 items-detail 5
Maria’s Officer Appreciation Bag 2021 items-detail 6
Maria’s Officer Appreciation Bag 2021 items-detail 7
Altoids tin Sewing Kit by Jaye
I was so pleased and the officers were very happy. It wasn’t as good as doing the whole thing in person. however, it meant we got to spend more time organizing the bags so they looked pretty.
This is more of a guideline than a tutorial. It will teach you how to make the Spiky 16 Patch block in a general way. You will need to review the Studio180 video and know how to do basic piecing.
This block is my own design and uses Half Rectangle Triangles (HRTs) and 2.5 inch squares to make a 16 inch (finished) block. I have used these blocks to make a number of donation quilts.
Supplies:
Fabric:
16-2.5 inch squares
8 -2.5 inch squares for foreground
8-2.5 inch squares for background
5 inch strip of foreground – you’ll have to work through what width you need. I use scraps, so I don’t know the exact length
Computer or other device capable of viewing YouTube
Internet connection
Fabric Units Needed
This is a repeat of above, but with, perhaps, some additional information
8 – 2.5 inch squares (unfinished) from background fabrics
8 – 2.5 inch squares (unfinished) from foreground fabrics
8 – 2 inch x 4 inch (finished) left facing half rectangle triangles (half foreground and half background)
8 – 2 inch x 4 inch (finished) right facing half rectangle triangles (half foreground and half background)
4 – 4.5 inch (unfinished) squares from background fabrics
Center of block:
Take your 2.5 inch squares and sew them into 4- 4 patches
Blue Square Donation Block
Sew your 4 patches together into a 16 patch as shown above.
I start with 5″ strips for the 2 in x 4 in (finished) HRTs. Remember: I am using the Split Recs ruler and it uses that size strip for the HRTs. You can make your HRTs using whatever method is convenient. Make sure they end up 2 inch x 4 inch finished.
It is really important to take the time to look at the Studio180 Split Recs video. It will make your life a lot easier.
Cut and trim HRTs using Split Recs ruler
Following the directions in the video, cut, sew and trim your HRT pieces:
8 right facing triangles
8 left facing triangles
Spiky Star in progress
Once you have sewn and trimmed your HRTs place them with your 16 patch, like the photo above. Note: until you sew the HRTs together, the laid out block will look uneven as my example above shows. The bottom left hand HRTs are already sewn together and you can see how they fit nicely next to the squares in the 16 patch.
Spiky Star laid out
Cut 4 corner squares from background fabric 4.5 inches by 4.5 inches. Sometimes I use a variety of background fabrics when I am cutting from scraps. It adds interest to the block. Just make sure you have enough contrast.
Group of 4 HRTs
Start sewing your HRTs together into groups of 4.
Sew HRT units to center 16 Patch
Once I have the four HRT units, I sew one to each side, starting with the sides. Above shows the center block with two HRT groups of 4 sewn to the sides.
Group of 4 HRTs with background squares
Once part of the block is made, I start making the last two sections, the top and the bottom.
Take one HRT section and sew it to a 4.5 x 4.5 background square. Sew the second background square to the other side of the HRT section. Do this step again for the top.
Spiky Star – 3 sections
You will end up with 3 sections.
Complete Spiky Star block
Sew one HRT/background square section to the top and then sew the second section to the bottom of the center section. Once you have done this, press and your block is complete.
There are other ways to make the HRTs for this block. This is the method I use. Take a look at the Spiky 16 Patch blocks and quilts I have made using this technique.
**I use affiliate links and may be paid for your purchase of an item when you click on an item link in my post. There is no additional cost to you for clicking or purchasing items I recommend. I appreciate your clicks and purchases as it helps support this blog.
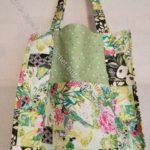
I am really enjoying this quilt. When I talked about it after I started cutting, I was happy. This quilt is just a joy to work on. I don’t know why for sure. The only thing I can think of is that I love all the fabric.
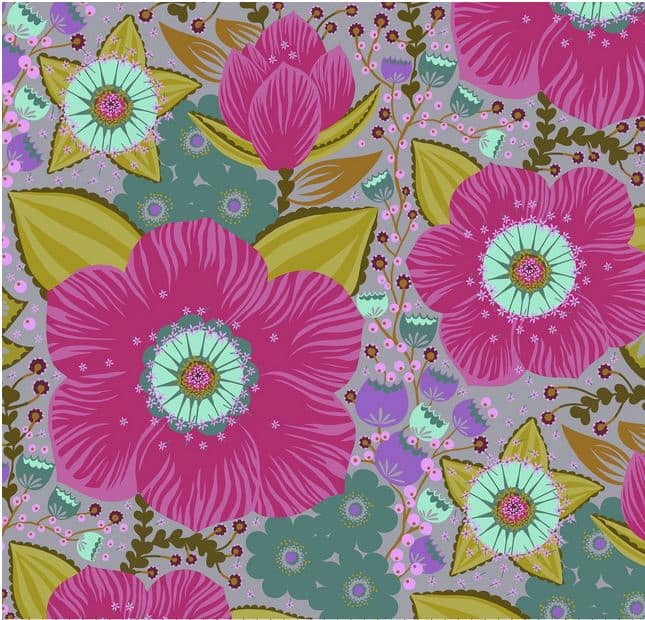
Pink is not a great color for my decor or for an adult woman, but I love pink anyway. I am thinking of this quilt as a complete indulgence in my love for pink and Philip Jacobs flowers. I am not worrying about how it doesn’t fit in with my home decor. I am really loving selecting and fussy cutting the flowers, getting reacquainted with some of my Philip Jacobs fabric and using fabulous solids.
DH, apparently, has an Altoids habit. I had no idea until he came home and started to work remotely. I asked him to save me a couple of tins and suddenly I had 8 to work with. I wanted to make small sewing kits for the guild officers. I looked for tutorials. The one I liked was DIY Felt Magnet. It turned out, however, that I mostly fumbled along on my own during Craft Nights.
One key was letting everything dry thoroughly after I glued it.
Finished Altoids Sewing Kits
Supply List:
Altoids tins – you can use different tins by adjusting the size of the various pieces.
I wanted to cover all of the tin’s the advertising and nutritional information with fabric. I used felt so I wouldn’t have to worry about the raw edges.
First, I made a cardboard template. To make the template, I traced around the bottom of the Altoids tin. Then I cut out the template and made sure it fit in the following places:
bottom
inside bottom
inside top
I wanted full coverage in all of those places.
Next, I cut out pieces of felt for the inside top, the inside bottom and the bottom. Set aside the pieces for the inside top and
Put down some waxed paper to protect your work surface. On the waxed paper, I glued the other two pieces to the the inside bottom and the bottom. You can use a hot glue gun for this, but proceed with caution. Hot glue and a tin can produce burns!
Set the tin aside and let the pieces dry thoroughly.
Trim
Cut a strip of fabric 1-1/2 inches wide x 12 inches long. Use your bias tape maker to make some trim. This piece does not have to be on the bias.
Set aside.
WonderClip Band and Needle Holder
Check to be sure your other pieces are glued securely to the tin and the glue is dry.
Inside of Altoids Sewing Kit
You will need the piece you cut from the template and set aside.
Third, I cut two pieces of contrasting colored felt (if you want these pieces to show). I cut a small band 3/8 inch by 2 1/4 inches (or the width of your tin) as a clip** holder. You can also use Foldover/Double fold elastic scraps for this piece. Having some elasticity is helpful. I also cut a rectangle 2 inches x 2 inches for a needle and pin holder.
Fourth, sew the band 1/2 inch up from the bottom of your set aside piece.
Fifth, center your 2×2 rectangle 3/8 inch down from the top and sew the rectangle to your set aside piece. Sew very close to the top edge of the felt rectangle. You may have to adjust it, so you don’t cover the WonderClip band.
Next, put down some waxed paper to protect your work surface. Glue your section with the WonderClip band and needle holder to the inside top of your tin. You can also use a hot glue gun for this part.
Set the tin aside and let it dry thoroughly.
Pincushion
Seventh, take your 5.5″ x 8″ fabric rectangle and baste by hand with large stitches a shape that approximates the shape of the Altoids tin top (rectangle with round corners).
Next, tighten the basting to the approximate shape of the top of the tin.
Side view of Altoids tin Sewing Kit
Ninth, stuff the fabric with wool roving or Fiber Fill, keeping it in the shape of the top of the tin, but puffy.
Tenth, fold the excess fabric on the bottom so the wool roving stays inside. You may need to trim the fabric if it overlaps too much. Make sure the shape fits the top of the Altoids tin.
Next, put down some waxed paper to protect your work surface. Apply glue to the top of the tin and apply the pincushion. Adjust the shape to fit as needed. Press and hold for a few moments so it stays in place. Again, you can use a hot glue gun for this part.
Set the tin aside and let it dry thoroughly.
Applying Trim
Check to be sure your pincushion is glued securely to the top of the tin and the glue is dry.
Put down some waxed paper to protect your work surface.
Dot glue on one short end of the tin along the bottom of the lid only. Press the bottom of the trim piece on the glue. Secure to the pincushion with a pin.
Set the tin aside and let it dry thoroughly.
After the end is dry, dot glue around the rest of the bottom of the tin and press the trim to the glue. Pull tight as you press.
End of Altoids tin
Overlap the end and cut the end of the trim strip so you have piece of the top of the trim that you can fold under to cover the raw edge of the beginning of the strip. Pin in place to allow the glue to dry.
Set the tin aside and let the glue dry thoroughly.
Finishing
Side view of Altoids tin Sewing Kit
Take your Perl Cotton and stitch along the edge of your trim. Use a basic running stitch or some kind of fancy stitch, if you want. Start away from the hem of the trim. Stitch all the way around, catching the pincushion fabric in the stitch as you sew. You may need to tuck bits of the pincushion under the trim. Finish near the hemmed section and bury the thread as you would in a quilt.
If this is a gift, put a pin and a WonderClip into the tin to show your recipient how the features work.
Enjoy!
**I use affiliate links and may be paid for your purchase of an item when you click on an item link in my post. There is no additional cost to you for clicking or purchasing items I recommend. I appreciate your clicks and purchases as it helps support this blog.
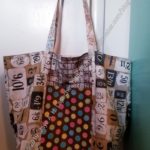
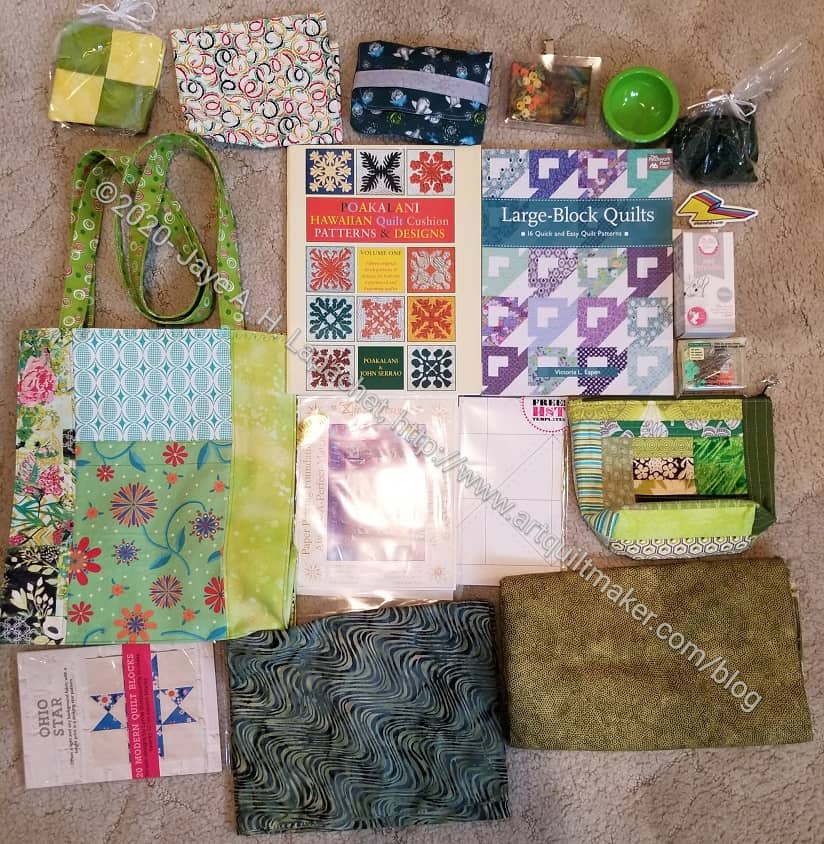
Yesterday was the first time we gave a door prize in 2021. The bag isn’t as full as some were last year, but we are trying to tone them down a bit.
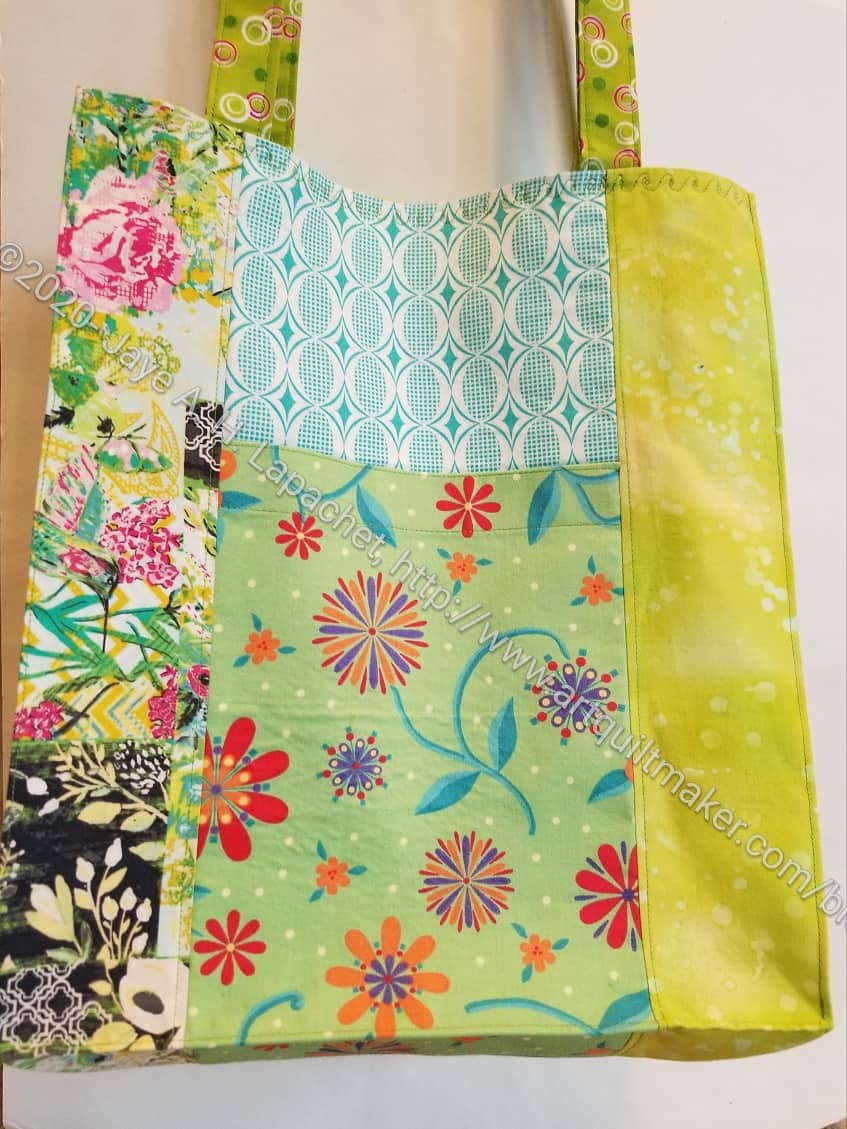
Tim made the bag. SueG made the zipper pouch. Carrie made the coasters, pattern weights and the thread catcher (not shown). The other items were all donations one way or another. I enjoy the team effort.
Earlier this week, I received a big box of items from Carrie. She made coasters, pattern weights and thread catchers for all of the months of this year. She did the work in record time without any fuss! It was fabulous.
Carrie’s coasters
Carrie’s thread catchers
Carrie’s pattern weights
Once I got all of Carrie’s contributions, I decided to organize the offerings. I got everything out of the bag and laid it all out. I put as much as I could into SueG’s zipper pouch. Not everything would fit, so I put each month’s gifts temporarily into a plastic zipper bag until I get more containers for the months.