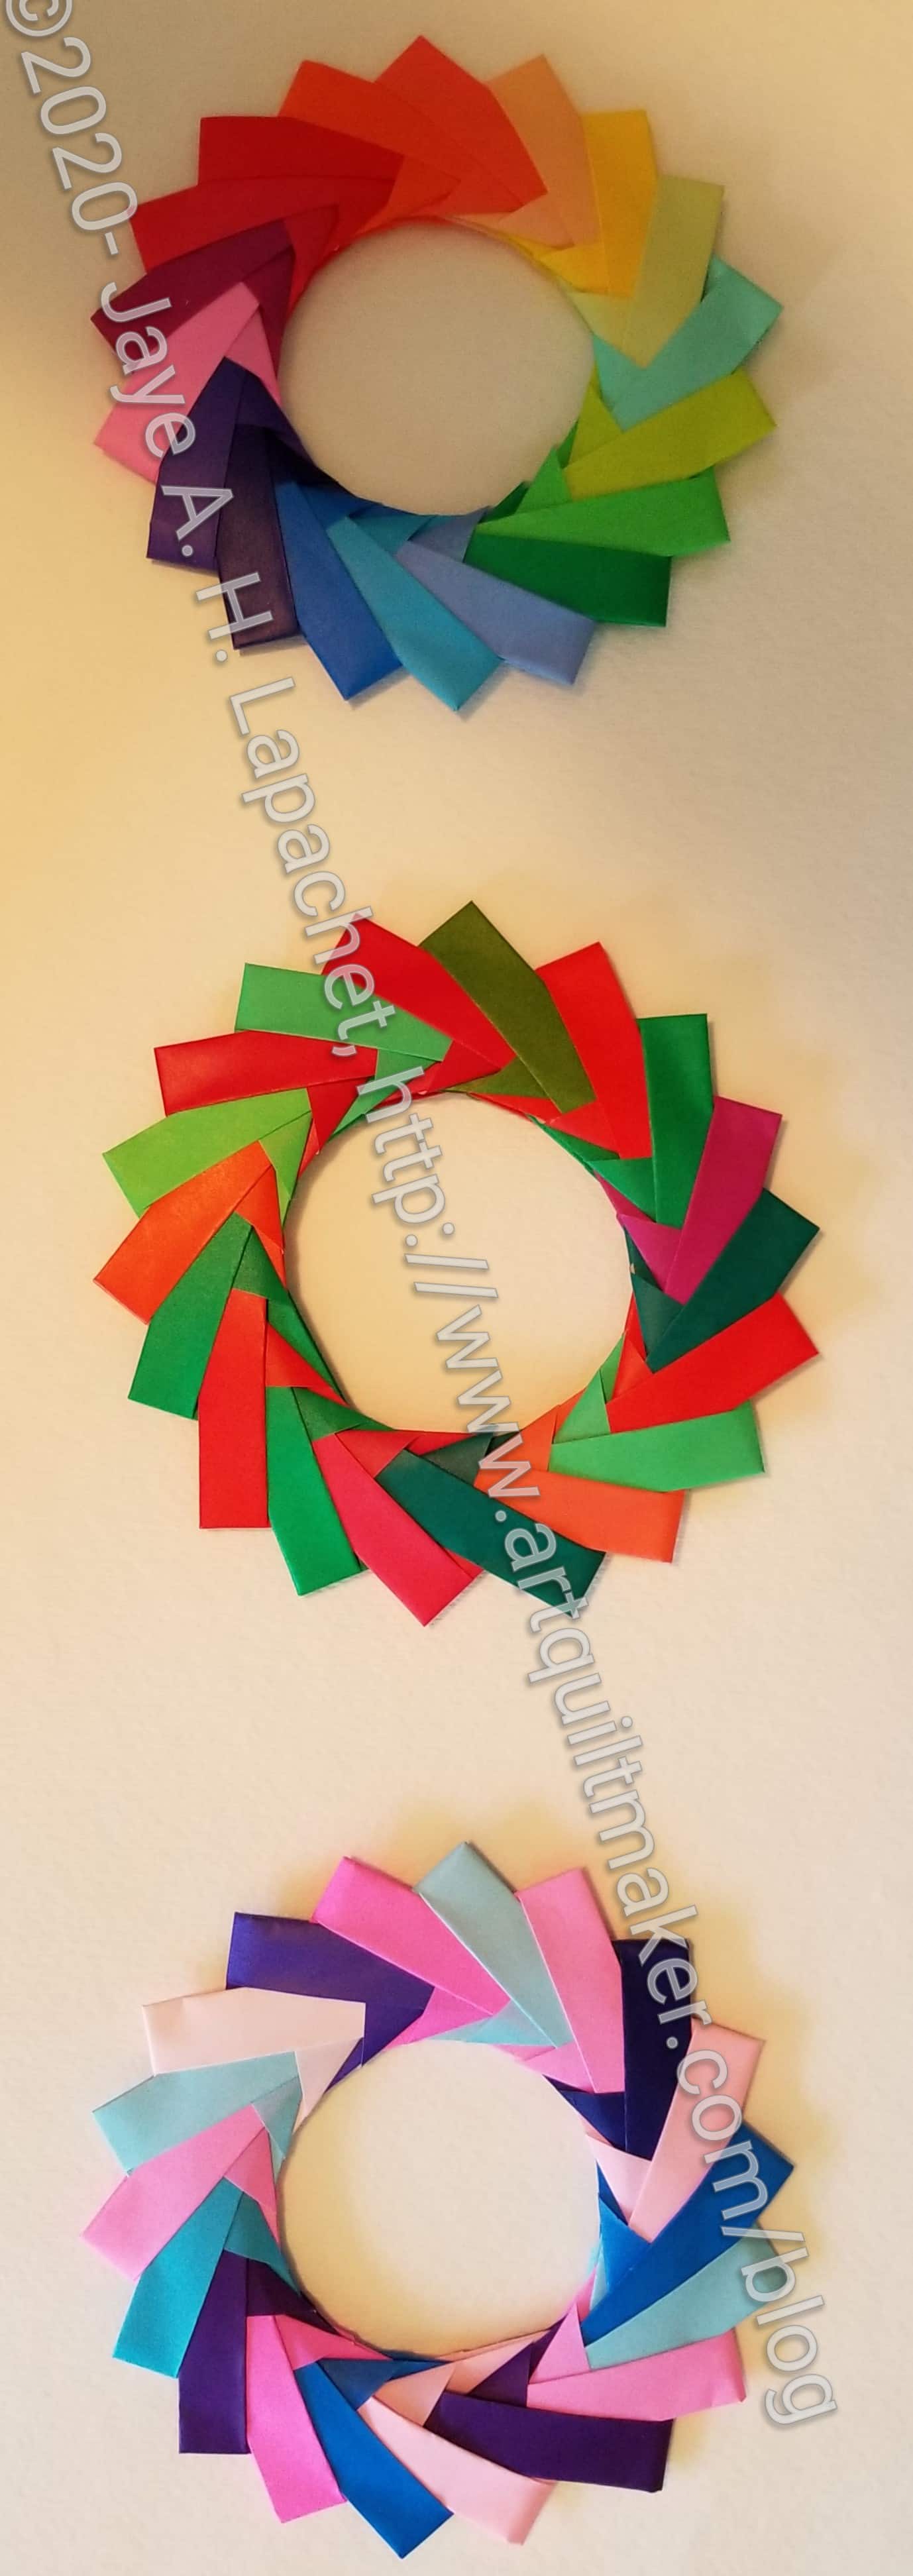
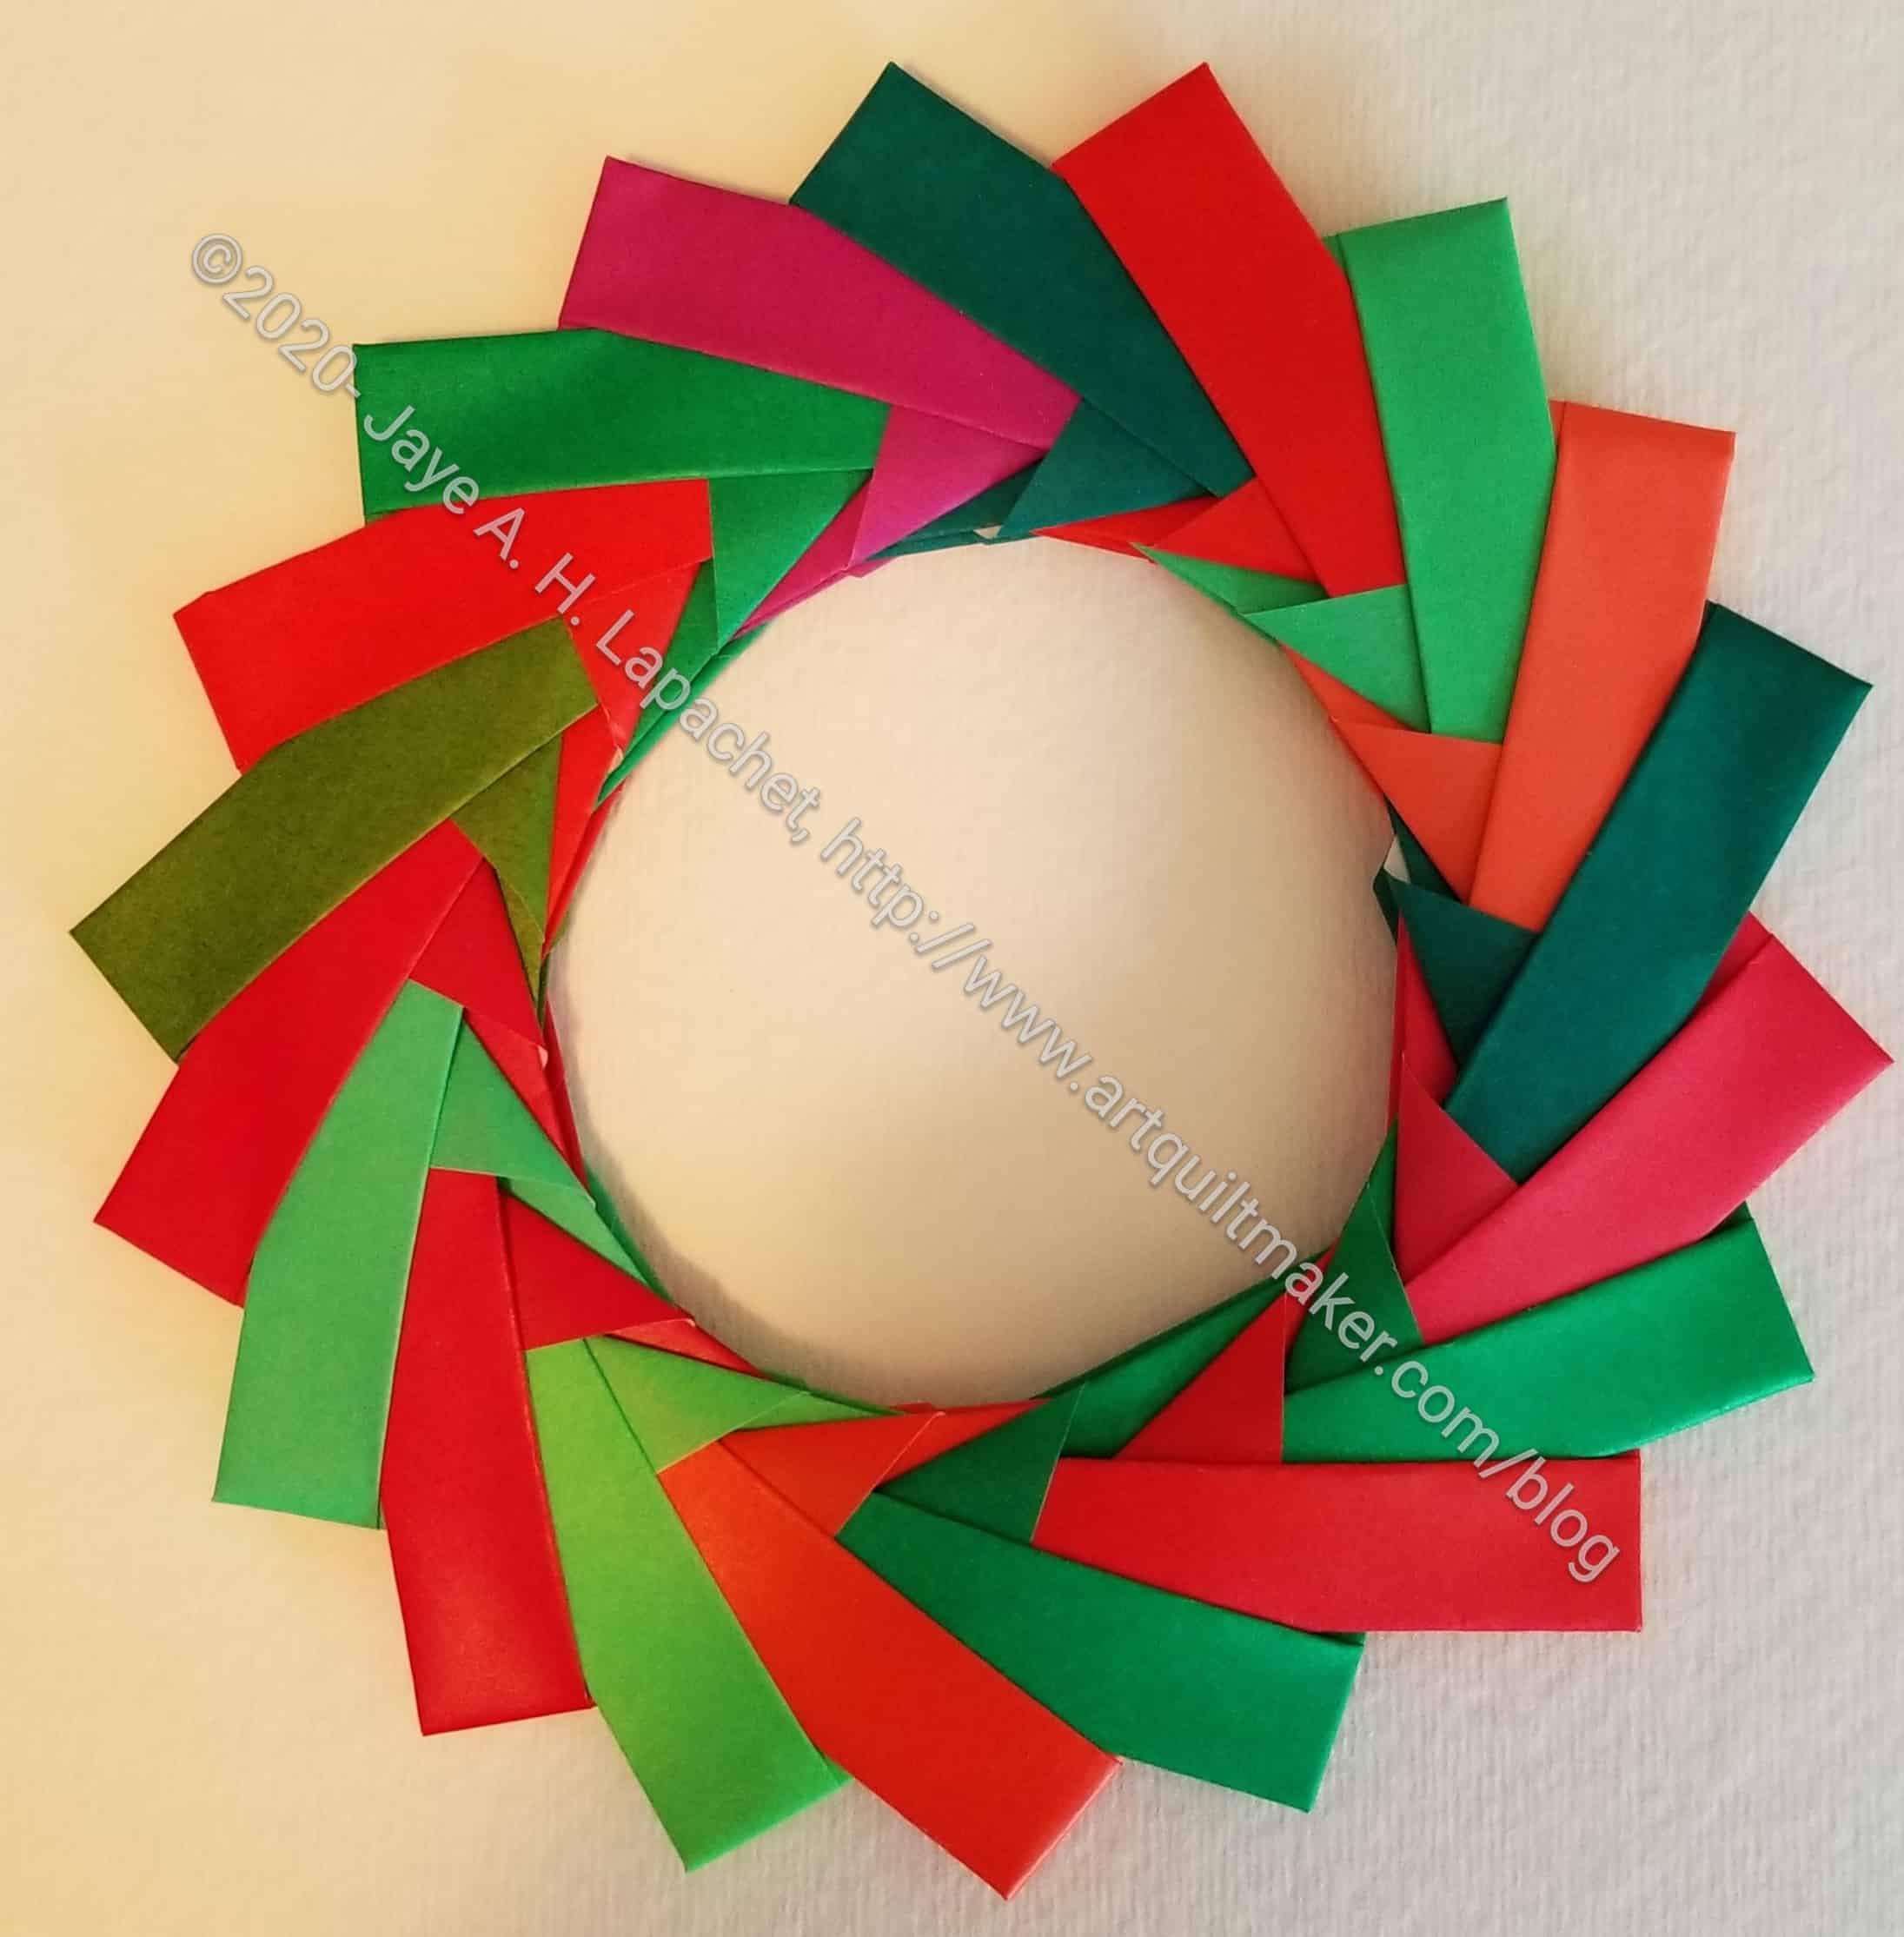
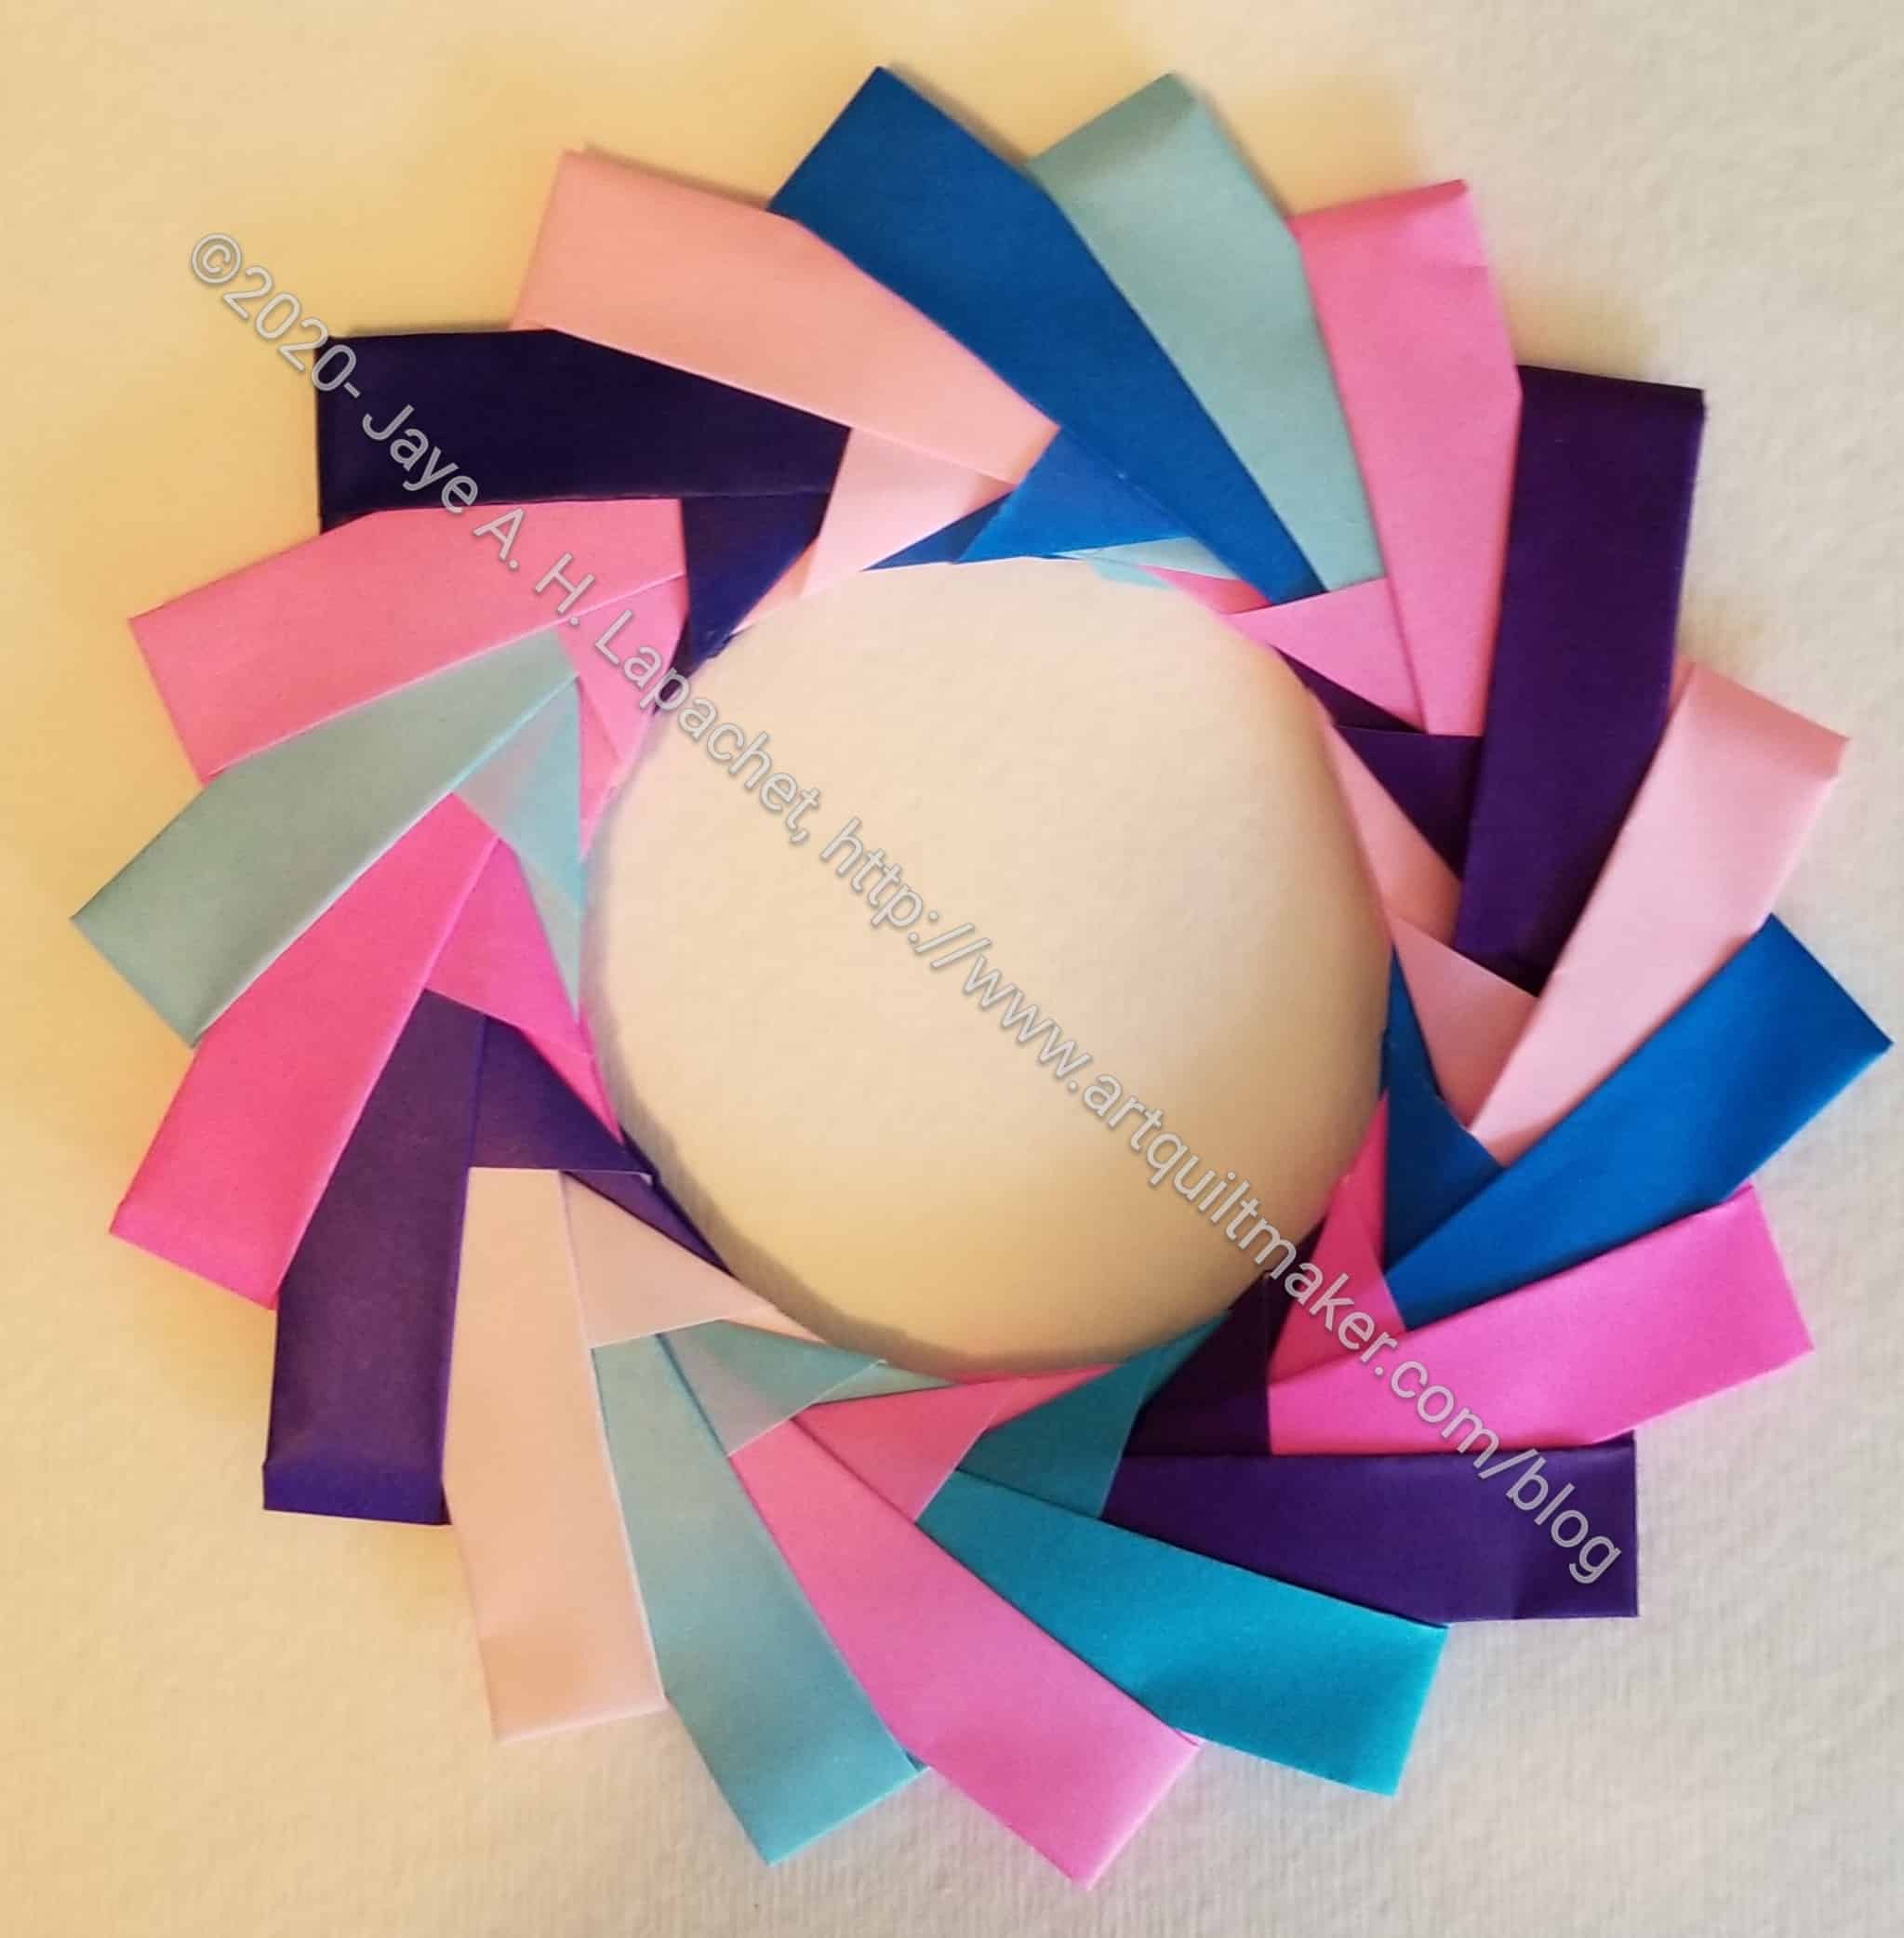
I don’t know whether I like this wreath better than the other Paper Wreath style I have made. They are different. The spiky paper wreath is kind of like high heels while the Mette Ring feels solid to me.
The photo (left) shows the ones I have made. The one I used for the tutorial isn’t finished and I am not sure what happened to the legs I did finish.
I haven’t tried this pattern with large (12×12) pieces of paper yet. I did start one using the leftover 8.5 inch x 8.5 inch pieces from the last paper wreath. I only have 14 sheets left so I have to figure something out for the last four sheets I need. I am sure I have some coordinating paper, but finding and cutting it to the right size are the barrier.
You can see more of these rings in different configurations on IG. People do amazing things with multiples.
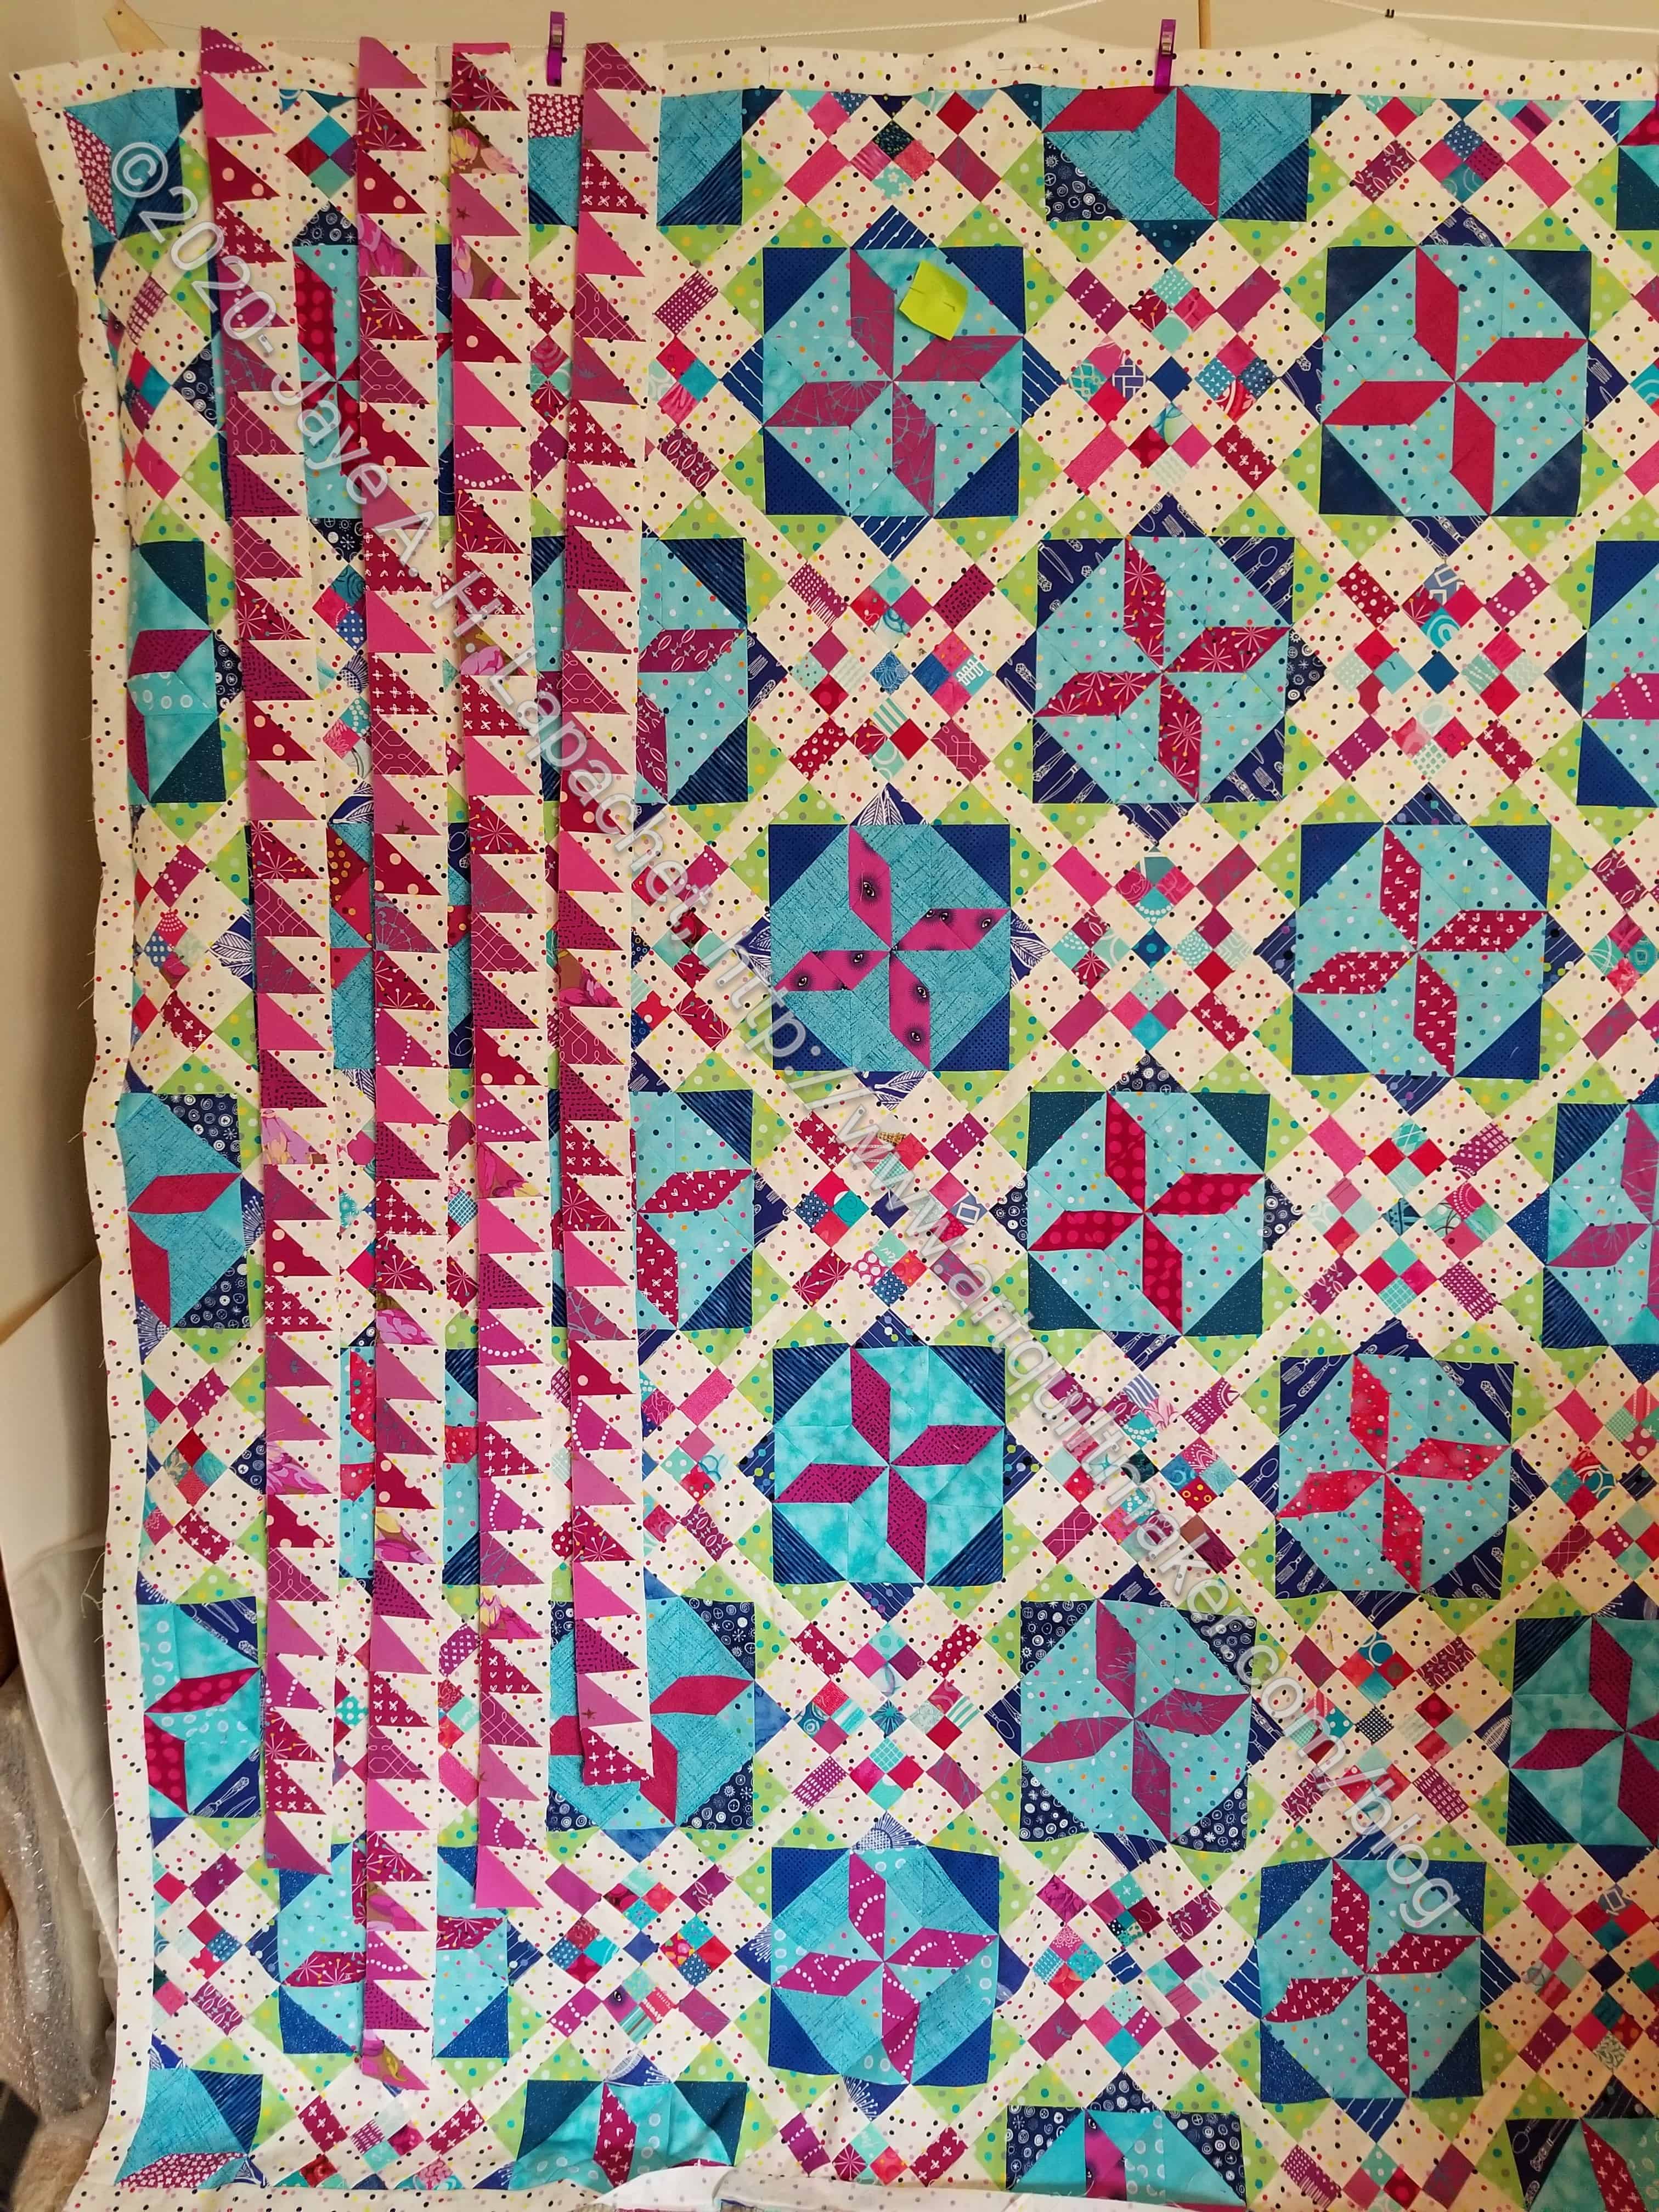
The first set of borders is finished. The HSTs are sewed together, but the strips are not sewn to the quilt.
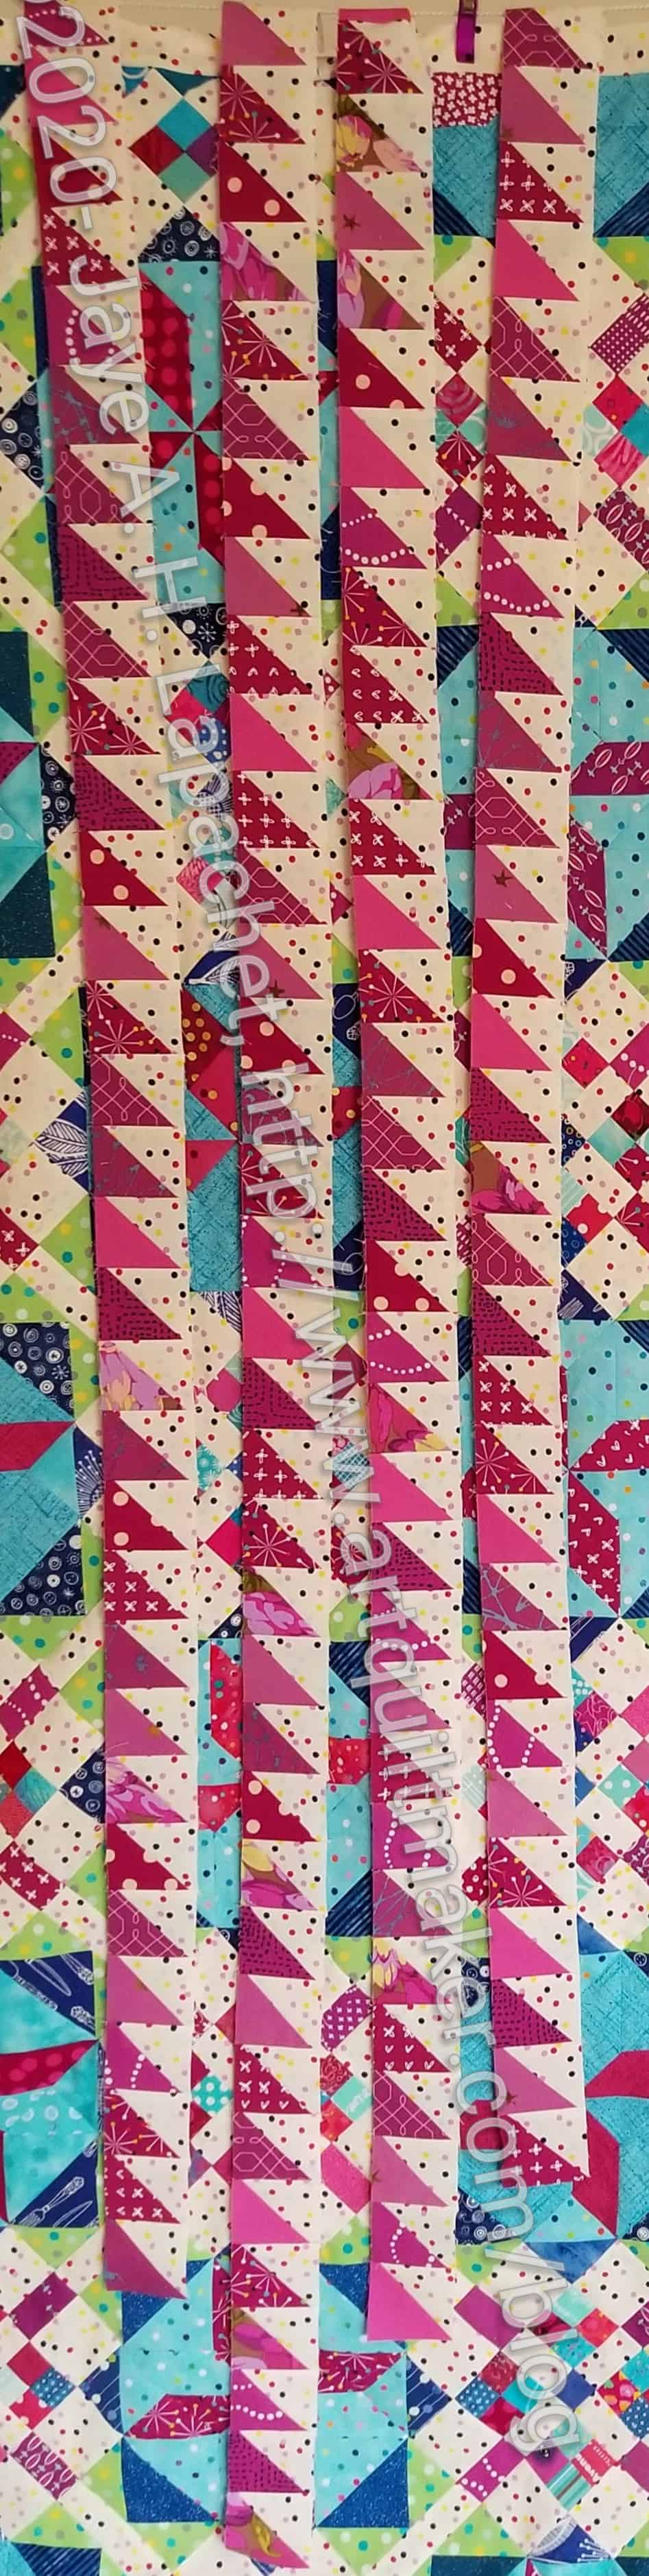
The photo shows the border strips hanging over the top of my design wall. I worked hard at not putting the same print next to each other. They are controlled scrappy and I am pleased with the way they came out.
I didn’t have as many red-violets as I have other colors, but I do like that color. Not quite pink, not quite purple.
I know it is hard to see the borders, but, trust me, they are fabulous. 🙂 Click on the photos to see them larger.
Frolic! center with first border (detail)
I will start working on the blue HSTs soon.
I don’t know if I will keep this quilt or give it away.
After I worked on the pink and purple Mette Ring, I realized that I had some others I hadn’t showed you.
This shows a Mette Ring I made several weeks ago. I was thinking of DH’s cousin who doesn’t want us to make her fudge as a gift anymore. Who doesn’t like fudge? She is concerned about her weight and her SO’s diabetes, so I suppose I can understand. Still, why not just give it away rather than go on and on about it.
This pack of paper I have has a weird assortment of colors and the Mette Ring takes 18 sheets, so there is a wide variety of ‘reds’ and greens.I think it looks nice, though that fuchsia does stick out a bit.
If I remember, I will give this to the cousin instead of fudge. If I am very diligent, I will make 10 of these then I won’t have to make fudge. 😉
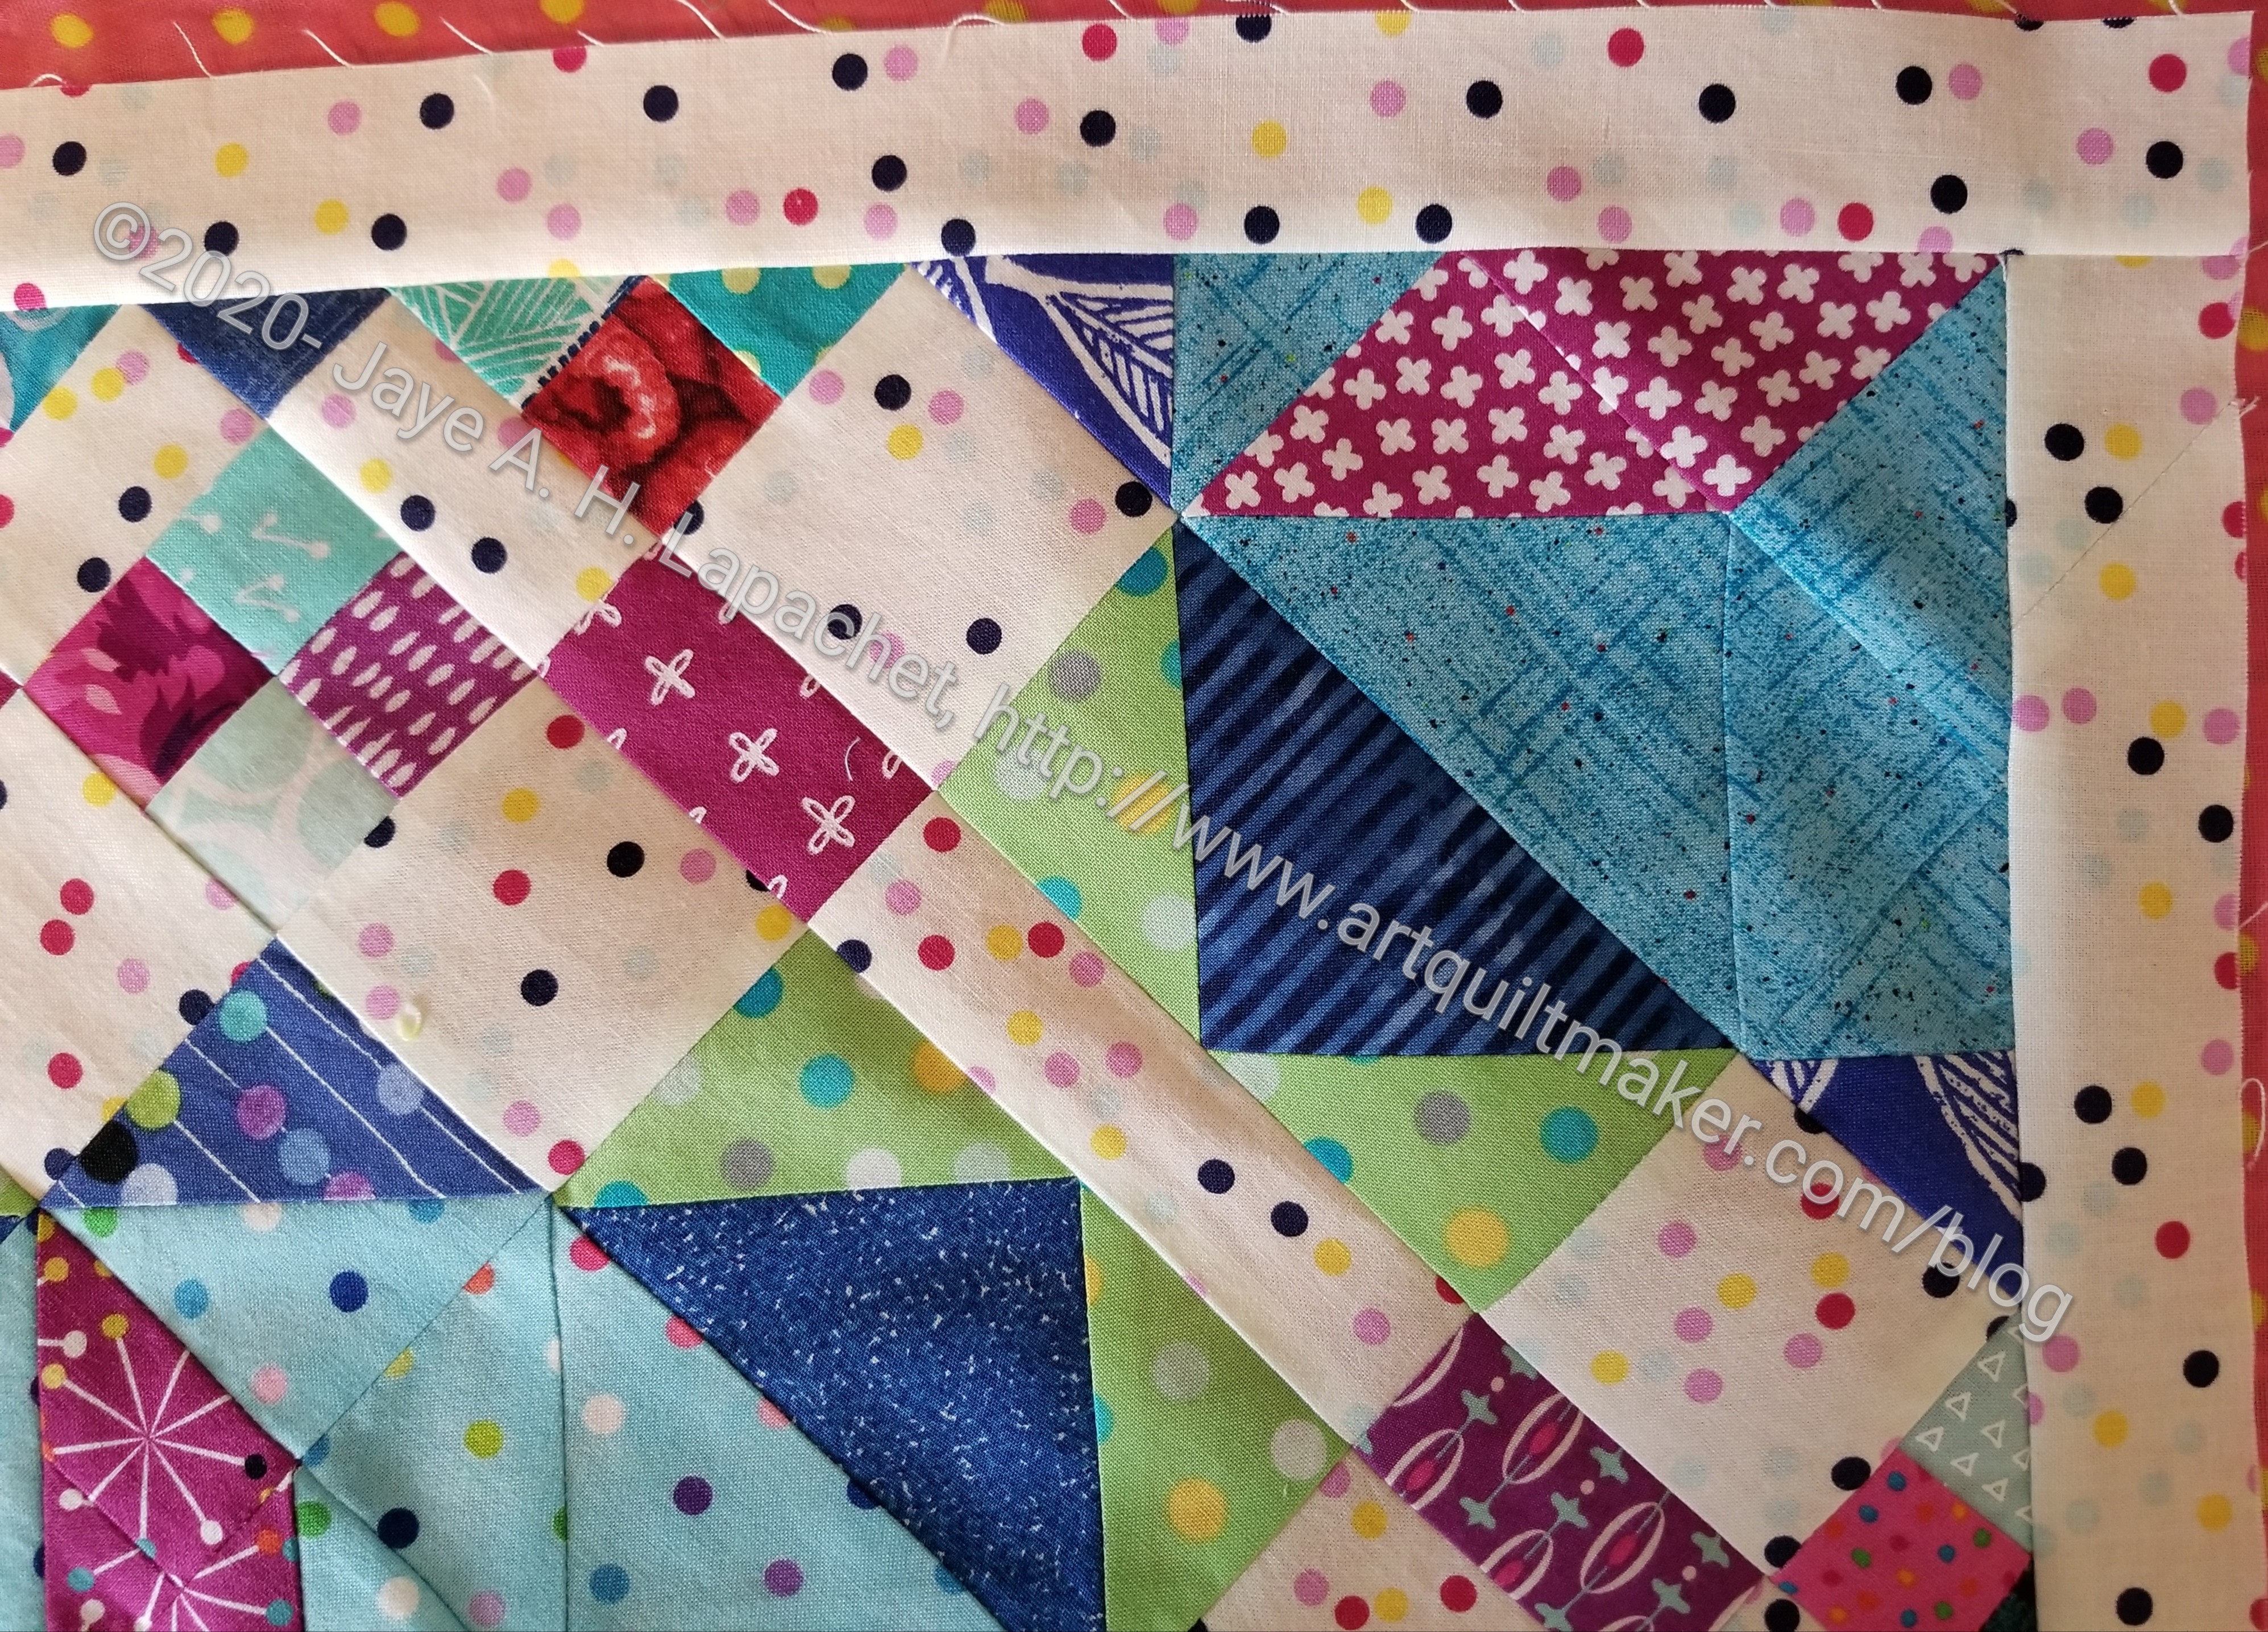
I talked about trimming Frolic! the other day. I spent the weekend working on the pouch, but was able to sew the first border on to Frolic! as well. This corner detail shows the border up close and personal.
It was a BIG hassle, because the entire edge of Frolic! is on the bias. If I have any advice for you it is: DON’T MAKE YOUR EDGES ON THE BIAS. It is doable, as you can see, but a lot of easing went into adding the border. You can’t just sew and extra 10 inches on to the edge and trim it off. Bias stretches. By adding a longer border and trimming it, you will get waves and I didn’t want a wavy border.
N.B. I wouldn’t dare question Bonnie Hunter’s reasons for telling me to make the quilt this way. She had good reason (math craziness) for make the quilt this way. I just suggest that YOU not design a quilt this way.
Also, if I had been thinking, I would have sewed a mitered corner. I wasn’t thinking and I don’t think it will matter in the long run.
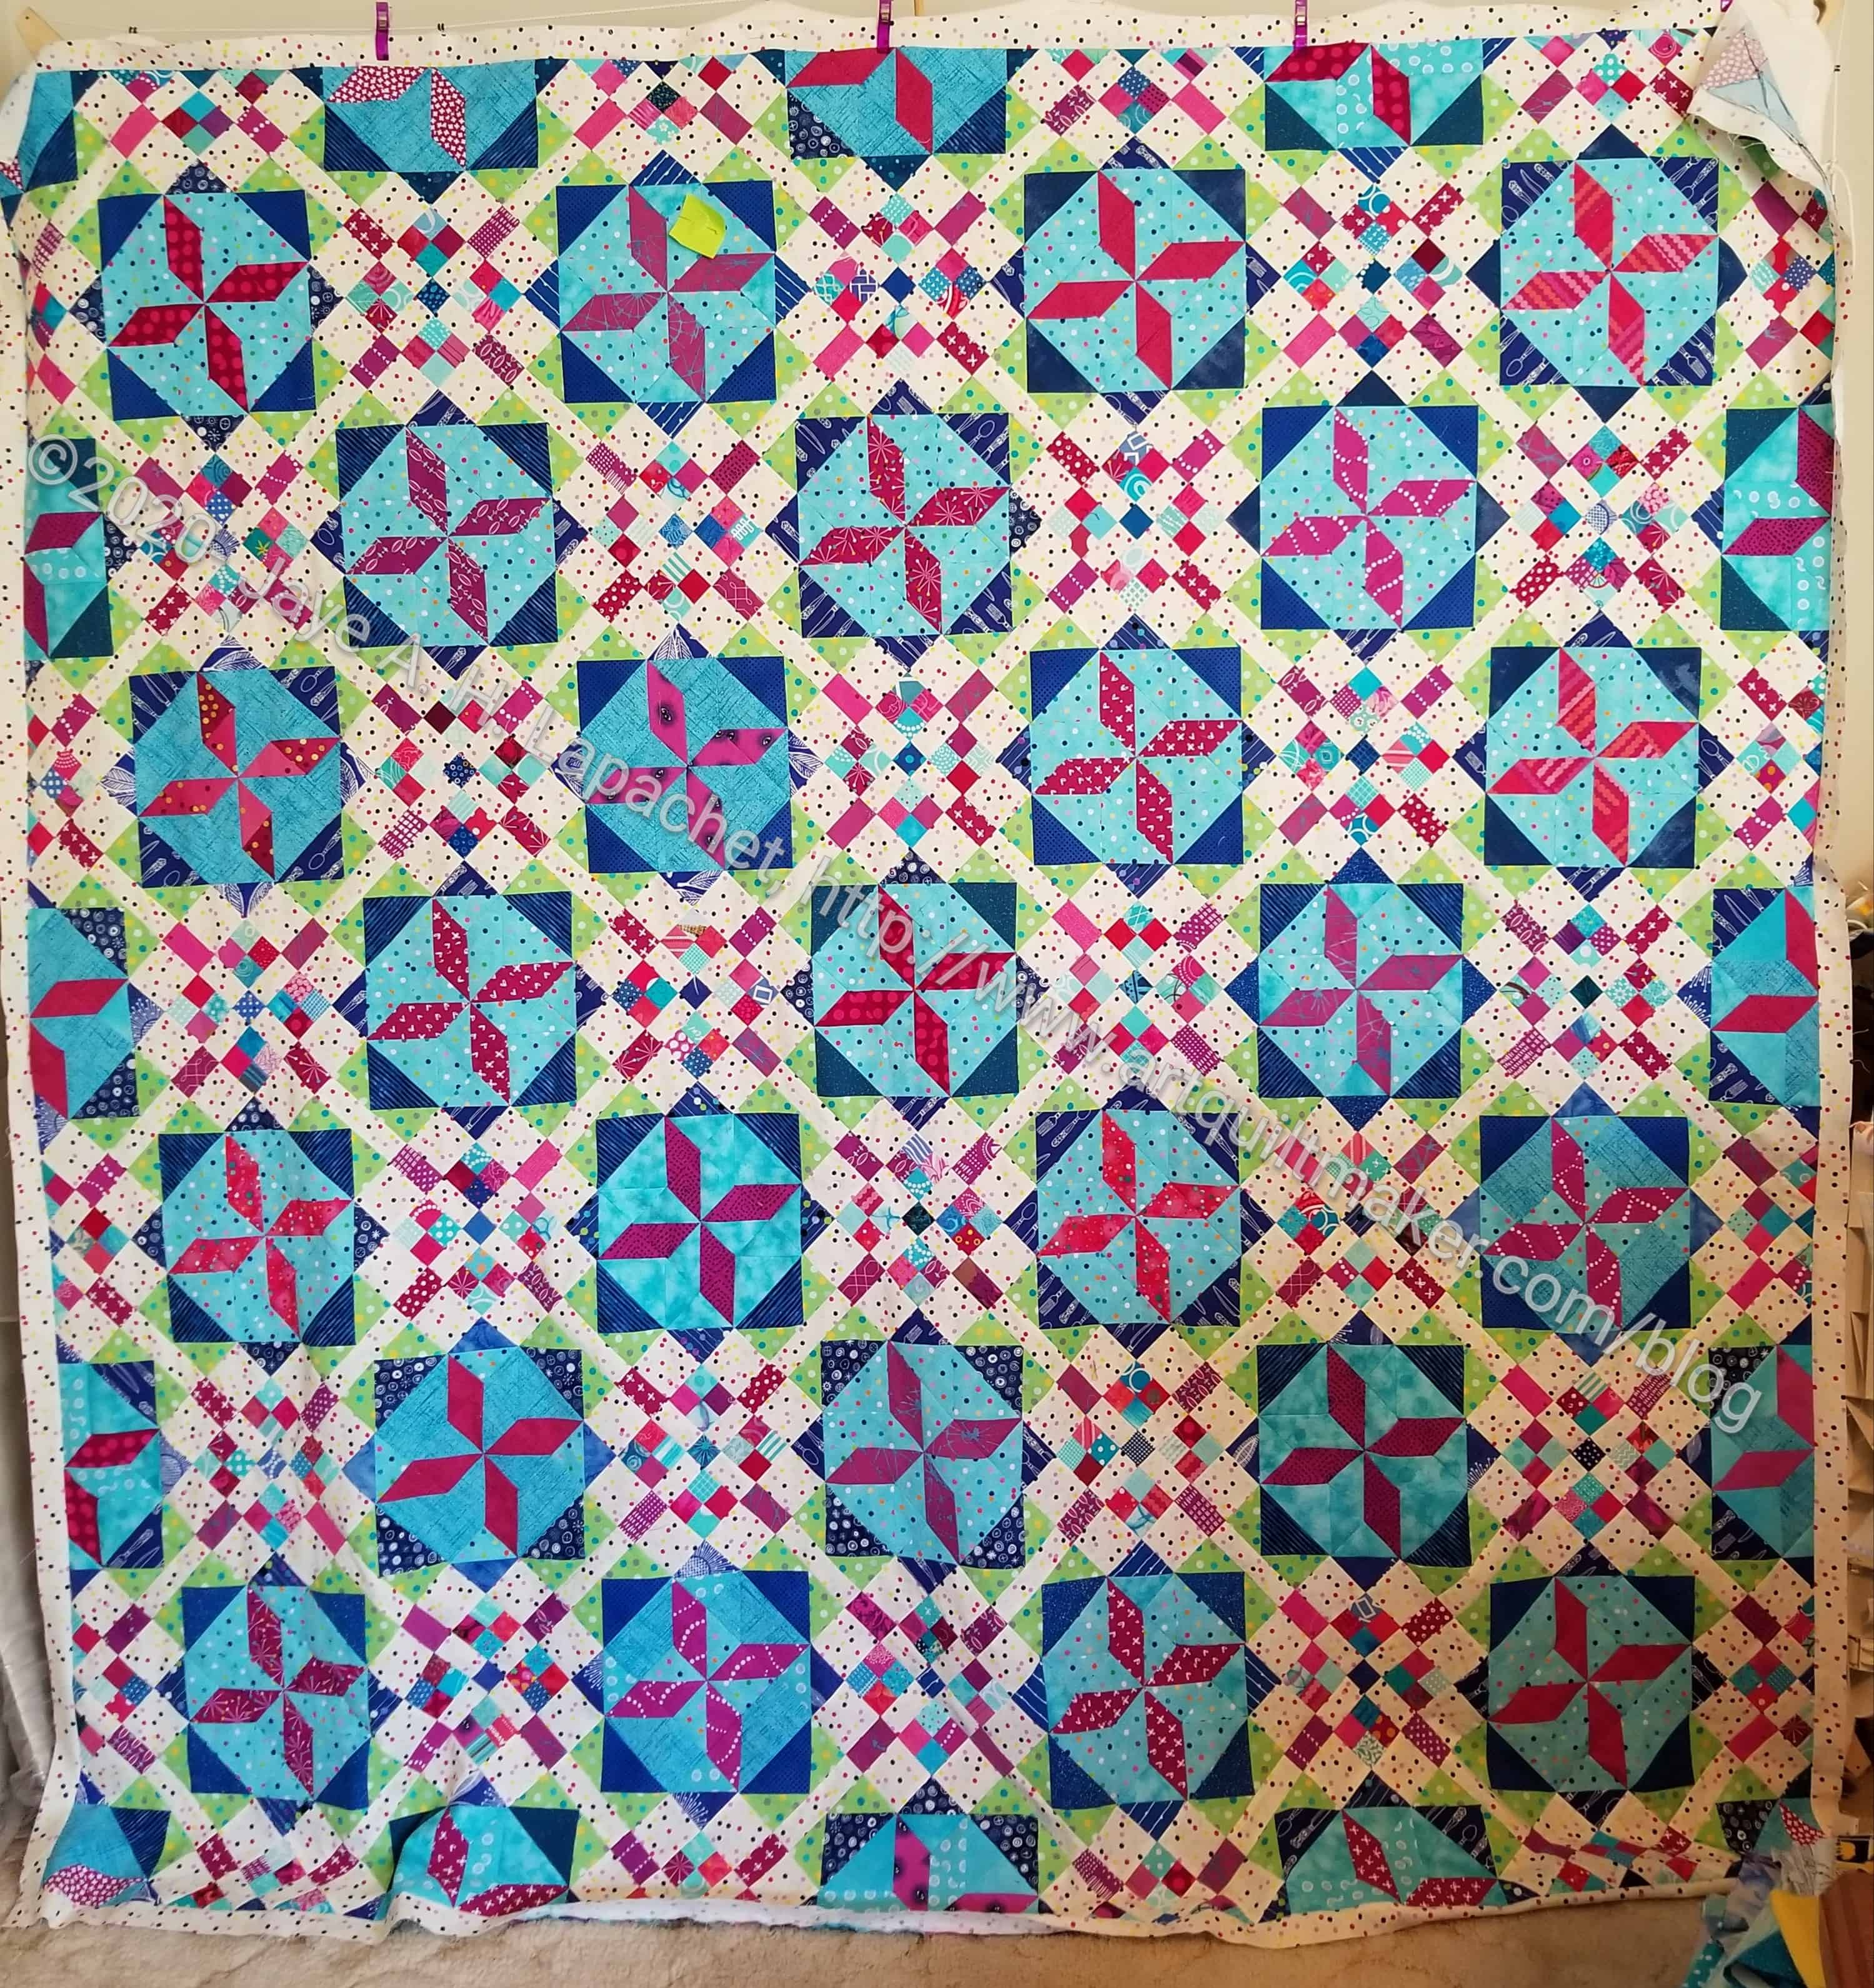
Frolic! center with first border
As usual, though I didn’t design this quilt, as you know, this quilt is larger than my design wall. Thus, it is hanging off the design wall a bit and might be hard for you to see in the second photo (right).
I have the HSTs for the next two borders, so I need to get sewing.
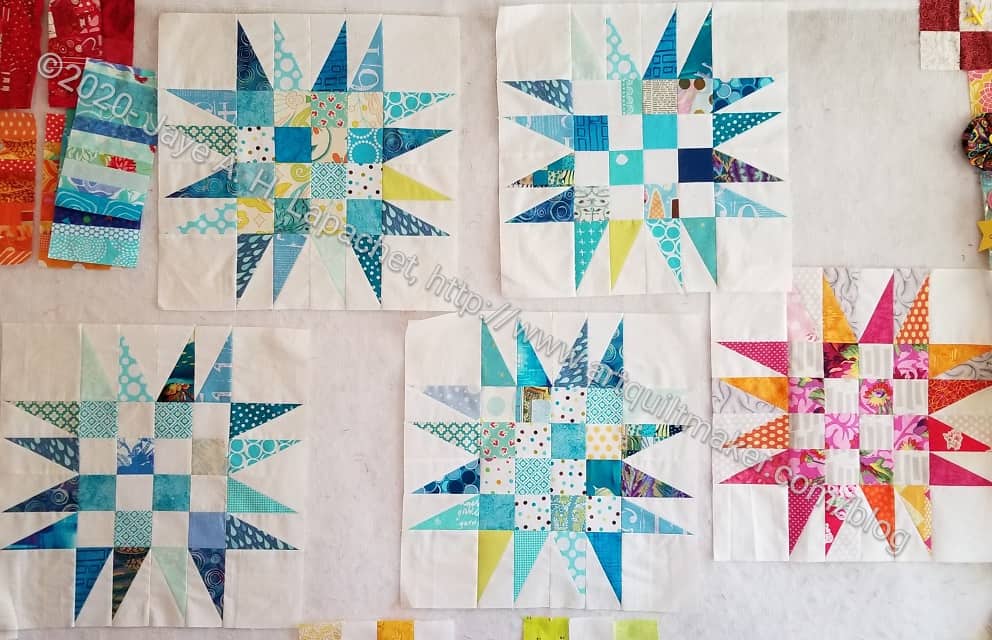
I finished the 4 blocks I need to make another Spiky 16 Patch donation top.
In the image you can see the extra pink/red/orange one I didn’t use in Flame. It is a lone, sad orphan right now. I don’t know what to do with it. I could combine it with the blues and make another 5 block quilt, like Spiky 16 Patch n.3. I can’t seem to generate much enthusiasm for veering away from my monochromatic road. I should lash out, but so far I haven’t.
Another idea is to send the pink/red/orange Spiky 16 patch to another guild member to build upon. That is very appealing. I don’t sincerely dislike the idea of including it with the New Blue blocks.
Since I haven’t done anything with the blues yet, I can still decide.
Monday was a really long day. Mondays have turned out to be kind of crazy days at work. I try not to schedule meetings or anything extra so I can just plow through what comes in. Do you think people think about work all weekend? I never think about work – at least not in a concrete way unless something is really bothering me.
Anyway, I wasn’t up for finding some great project for Virtual Craft Night or even working on one of the handwork projects I have going. I pulled out paper, found the tutorial for the Mette Ring and folded some paper. I was thinking about my childhood bedroom, which was pink and lavender, when I chose the paper. I didn’t have enough pink and purple, so I threw in some blue. This is the fourth Mette Ring/Mette Wreath I have made.
I finally bought the Minikins Seasons 1 & 2 (no affiliation) a few weeks ago when I received a bonus from a vendor with whom I work on occasion. I talked about being obsessed with these patterns back in January since they came out. They are on sale when they first come out and then they went up in price. I plan to buy Season 3, if there ever is one, when it is on sale.
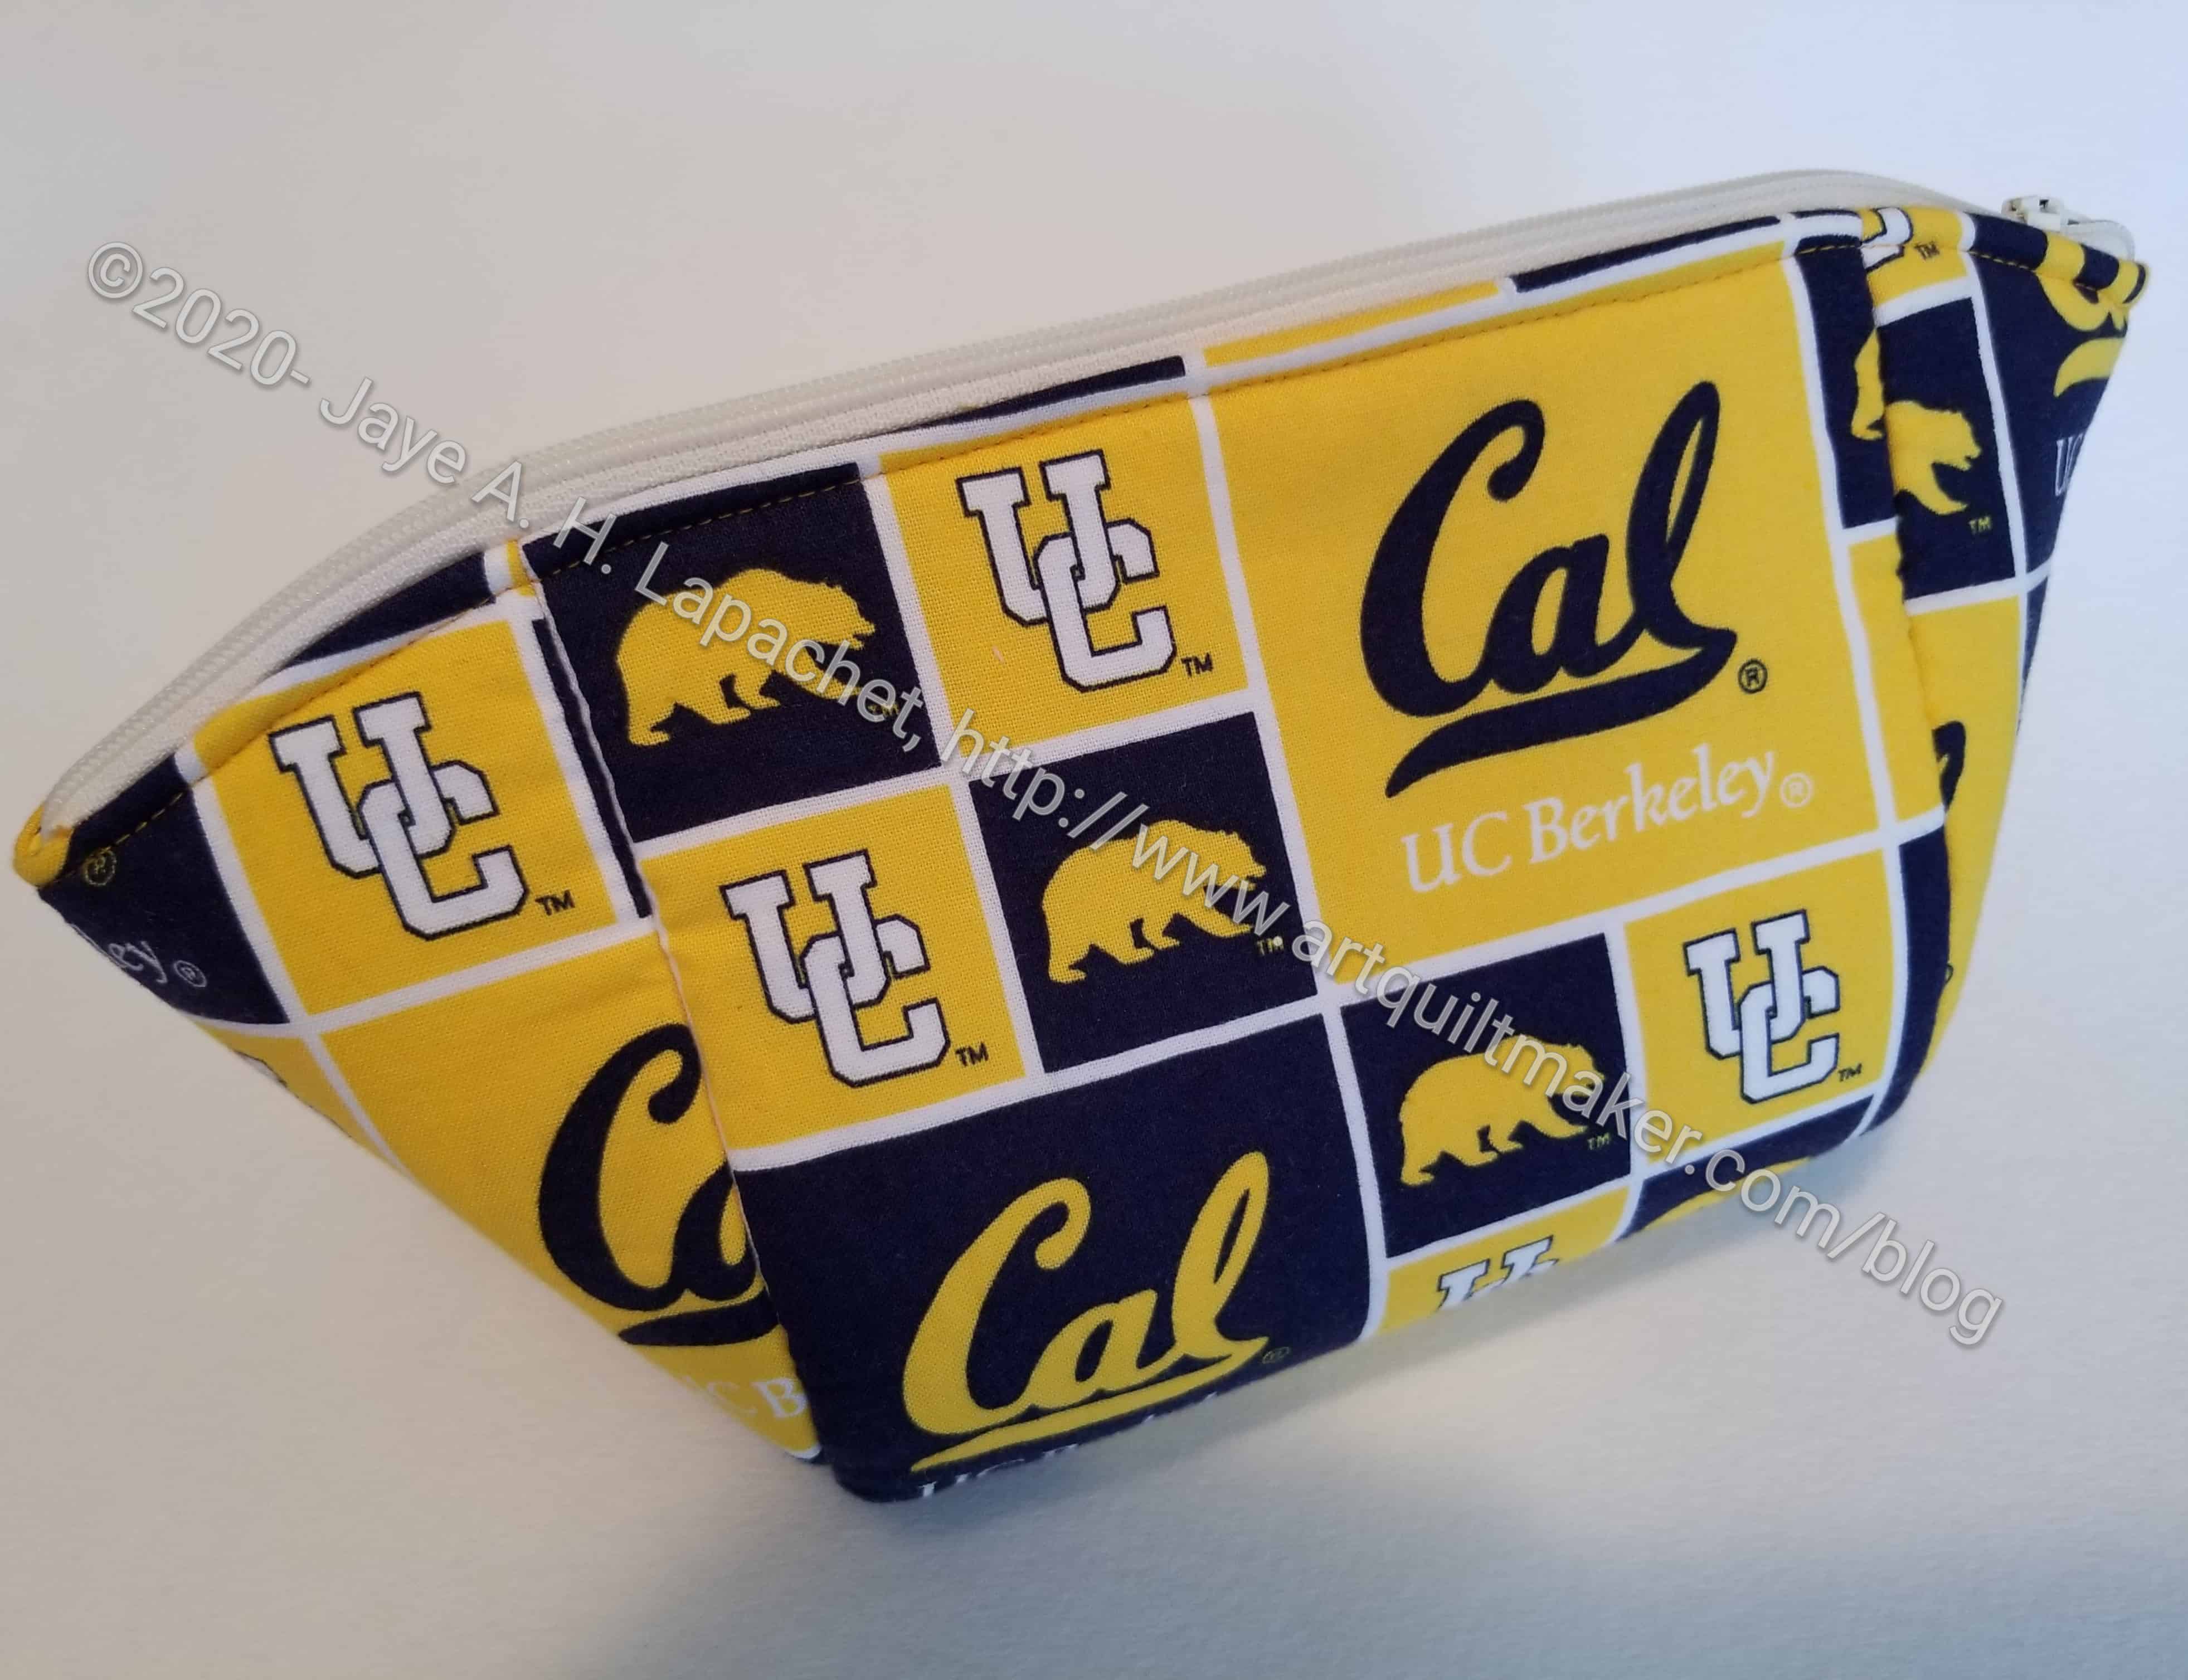
Cal themed Cotton Candy Pouch
Anyway, I made my first project from the patterns, the Cotton Candy Pouch. I made this for my SIL for her birthday. Fortunately, she lives around the corner, so I just put the bag on her doorstep during my morning walk and then texted her to take a look. Not as good a party with cake, but something during this shelter-in-place situation.
There are a few things I had trouble with. I am pretty pleased with the evenness of the zipper, but the ends were a bit of a problem. Next time, I think I will use a coordinating or solid fabric for the side pieces. I think it will highlight the themed fabric better. I find that making a project the first time is always an adventure and a learning experience.
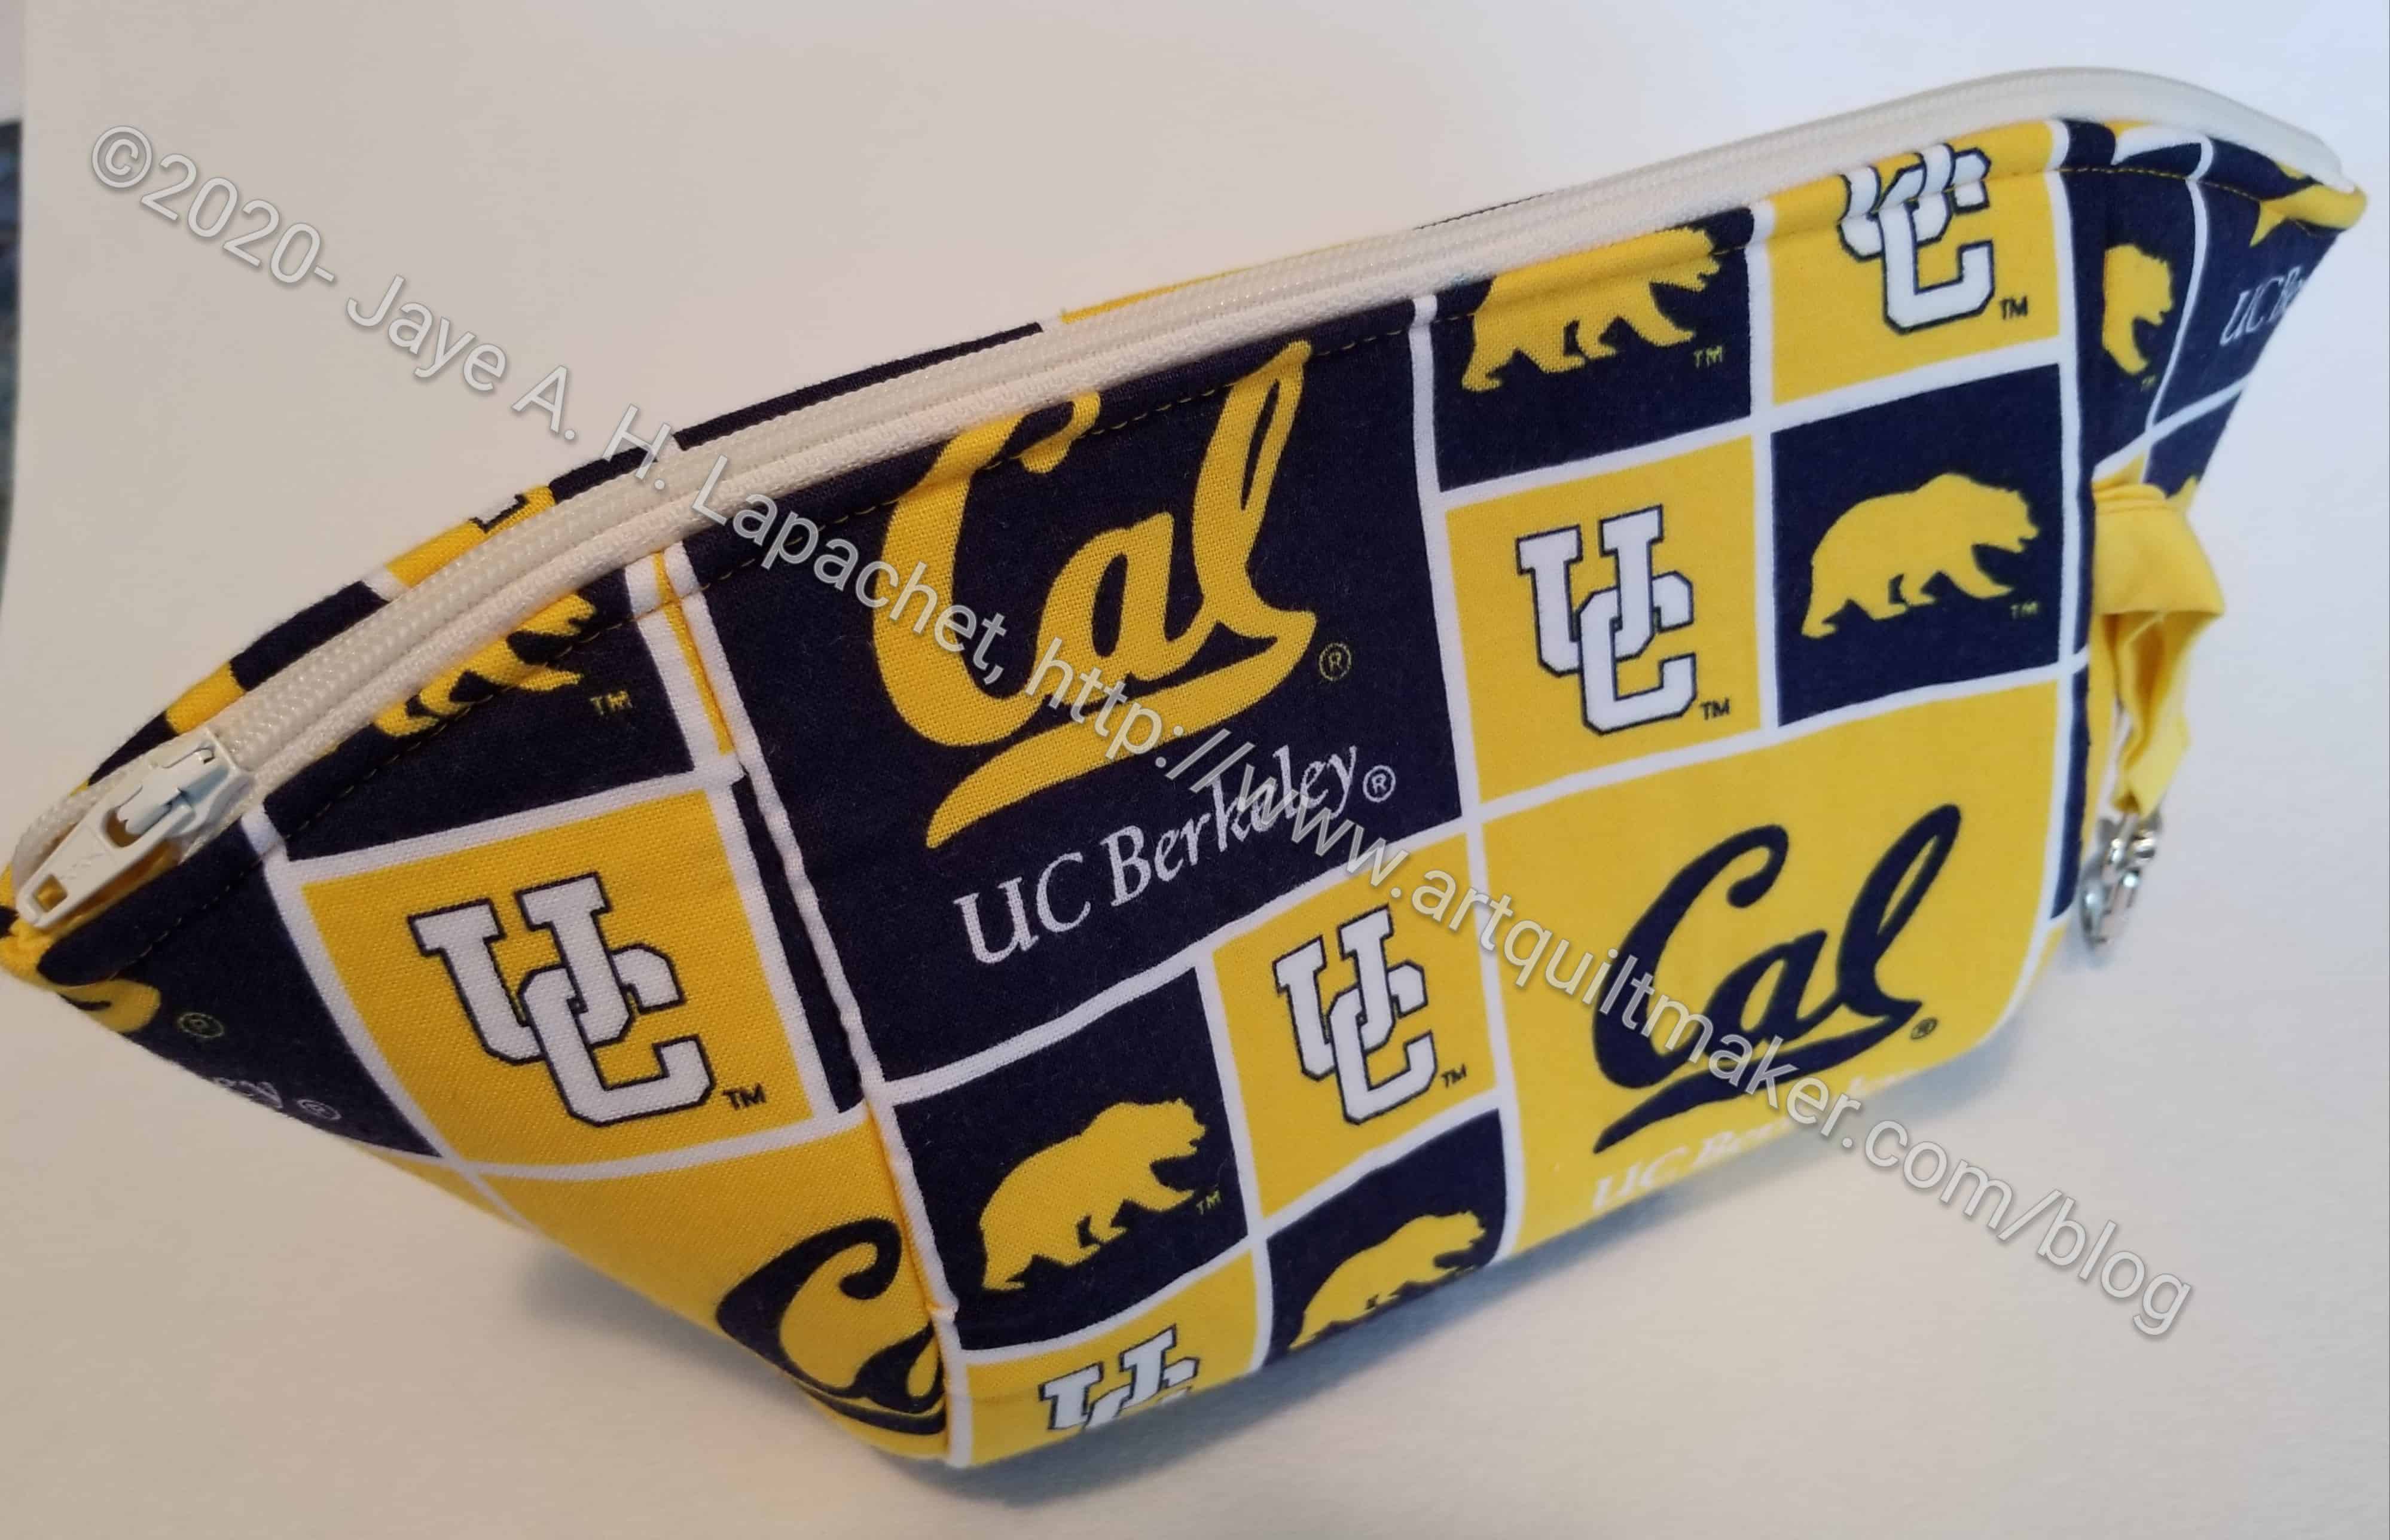
Cal themed Cotton Candy Pouch
I also added a leash. I don’t know if she has a bag with a D-ring, but when she does, she will be able to attach it.
This pouch takes an 18″ zipper, which I thought was long. I don’t have many that size, so I’ll have to think about getting some.
As you know from other pet beds, I have made, they take awhile to fill. Since I can’t bring a partially filled piece to the meeting to have someone use their scraps to fill the rest, I had to wait until I had enough scraps. I filled it up at Virtual Craft Night the other night and also sewed it closed. Now i is piled up with the other things i need to take to guild the next time we have a meeting.
I am concerned I filled it too full, but it will be nice and plump for some small pet.
Yes, you have to experience every little detail of the process.
Can you tell I trimmed it?
The edges of the quilt were not squared during piecing, so the top center had to be trimmed. I did in two stages, mostly because I had to go back to work.
I am really pleased with this quilt. Piecing it all together made a huge difference!
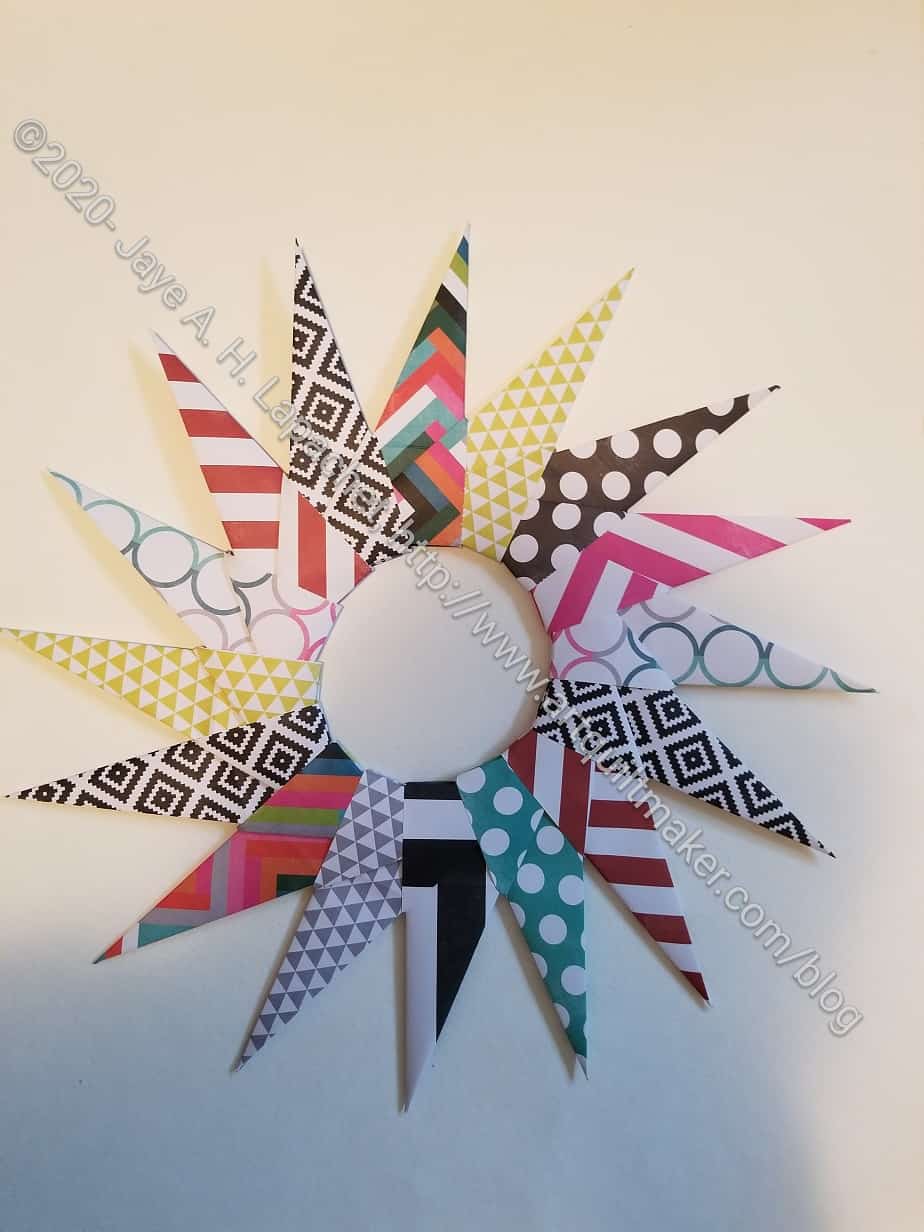
While I was waiting for pages to load ‘at work’ (e.g. one part of my workroom) I folded the legs for a new paper wreath. I find that keeping my hands busy keeps me from fretting.
This wreath has not been glued together yet, nor does it have a home. I may give it to my friend who will be NSGW First Lady starting….soon (it should be May, but Grand Parlor is postponed). She’ll need some prizes for various events and the paper wreaths are popular.
The combination of paper designs are kind of crazy! I don’t know if people will like them.
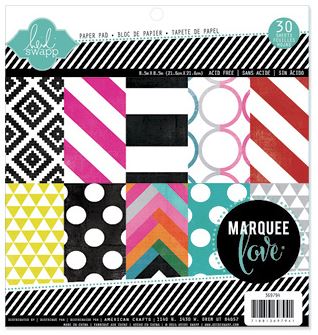
Marquee Love Paper
Since the S-i-P started, I have been getting rid of one thing per day. Often this means I clear out a drawer and get rid of several things. I have also been finding things, such as the paper I used for this wreath.
The sheets are 8.5 in by 8.5 in, which means the wreath is smaller than the other wreaths I have made.
This paper is also slightly thinner than the cardstock I have used. I have used copier paper and it works fine. I have never tried tissue paper, but every other paper I have used works. Fabric also works, but you need to augment it. Try making your own using the tutorial.
I came across the Stitching Scientist site in my hunt for a variety of face mask patterns. She has a wide variety of free patterns including an interesting array of bag patterns, quilts, home dec and more for free.
Face Mask Patterns and Tutorials
This is a special subsection of Patterns, Projects & Tutorials for this special time. N.B: Artquiltmaker makes no claims regarding the effectiveness or function of these ideas/techniques or mask designs. The CDC has a page that talks about fabric mask effectiveness.
Mask Tutorials – here is a list of mask patterns and tutorials that have come my way. This is not a comprehensive list. There are many ways to make them and the way that works for you is the best.
Tina posted a pattern for face masks that is elastic free. As she says there are many ways to do things and this is her way.
Someone has put together a 7 page PDF with a list of mask patterns, ear savers and various other tricks and tips.
I have not tried all of the above mask patterns. If your favorite is not included, it is only because I ran out of time to include more patterns. Feel free to post your favorite in the comments for the consideration of other readers.
Media
Tsundoku: The practice of buying more [quilt] books than you can read from TreeHugger.
Barbara Brackman has a great post on triangular blocks called the Three or More Sisters.
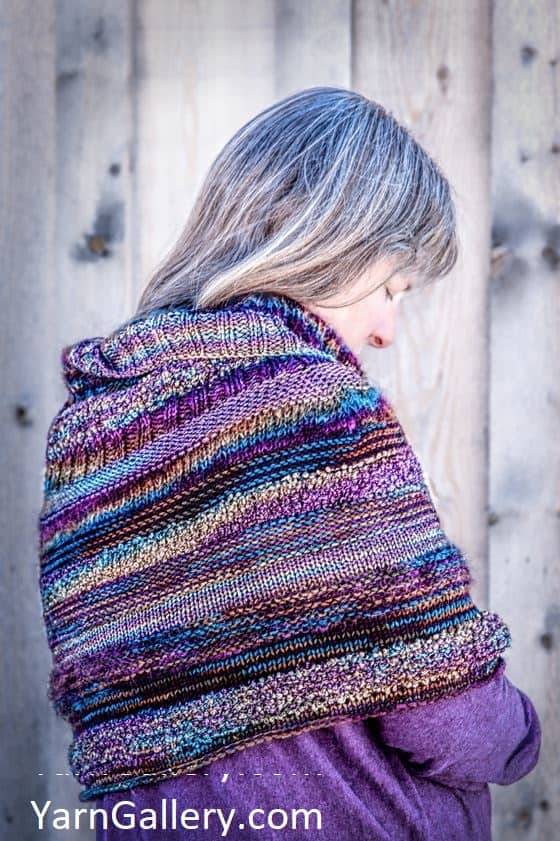
Some time ago I talked about a sweater I planned to knit. I was knitting that sweater because I had bought the yarn and I wanted to use it.
I failed at the sweater. I have knit a sweater before, but the joins on this one defeated me. I started in on another scarf and the yarn is just not good for the scarf. I think I have learned my lesson. Buying yarn on ‘spec is not the same as buying fabric on ‘spec. 🙁
Woodland Capelet by YarnGallery.com
Still, I like knitting. I saw a tight poncho that a friend was wearing and I decided to knit it. I sought out the pattern, the yarn and am about to get started. I haven’t checked to see if I have the needles I need and I haven’t wound all the yarn into balls.
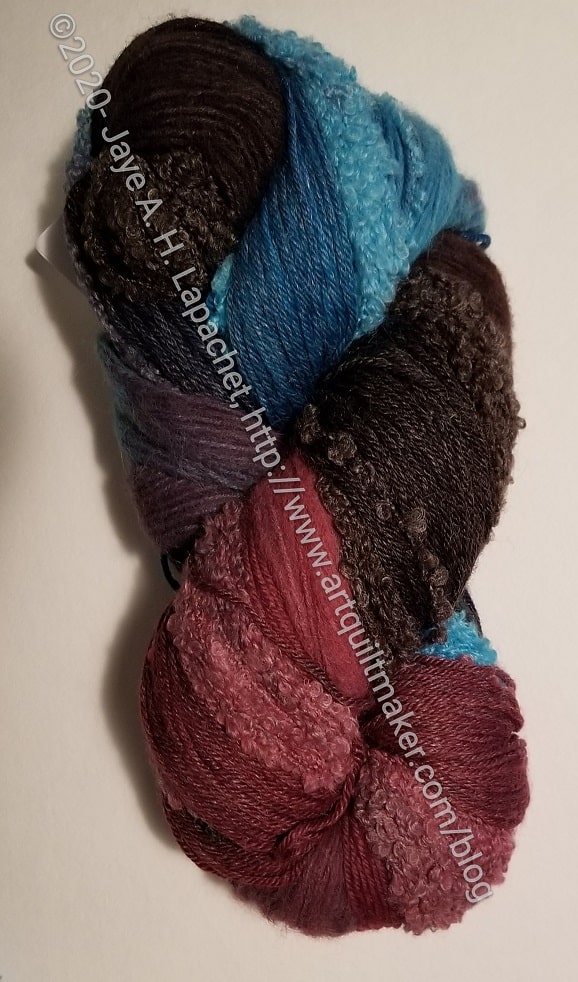
YarnGallery.com yarn
I probably should have bought the black yarn, but I wear black a lot so I think the one with turquoise would go well over a black outfit. Besides, I love turquoise. I don’t love that mauve, but I don’t sincerely dislike it either.
I really hope this one goes better than the sweater. I still have to figure something to do with the yarn from the sweater. Ravelry was only marginally helpful. Perhaps I’ll have some time to look on Ravelry again. It’s fingering weight, so if you want to knit me socks or you want it for something, get in touch. Perhaps, I’ll convince someone to make me socks…about 12 pair! I have a lot of that yarn. 🙂
Contact:
The Yarn Gallery
7038 Frelinghuysen Street North,
Fort Garland, CO
81133
719-480-3850
Today would be Tax Day, but it isn’t and I am pretty sure I don’t need to go into why.
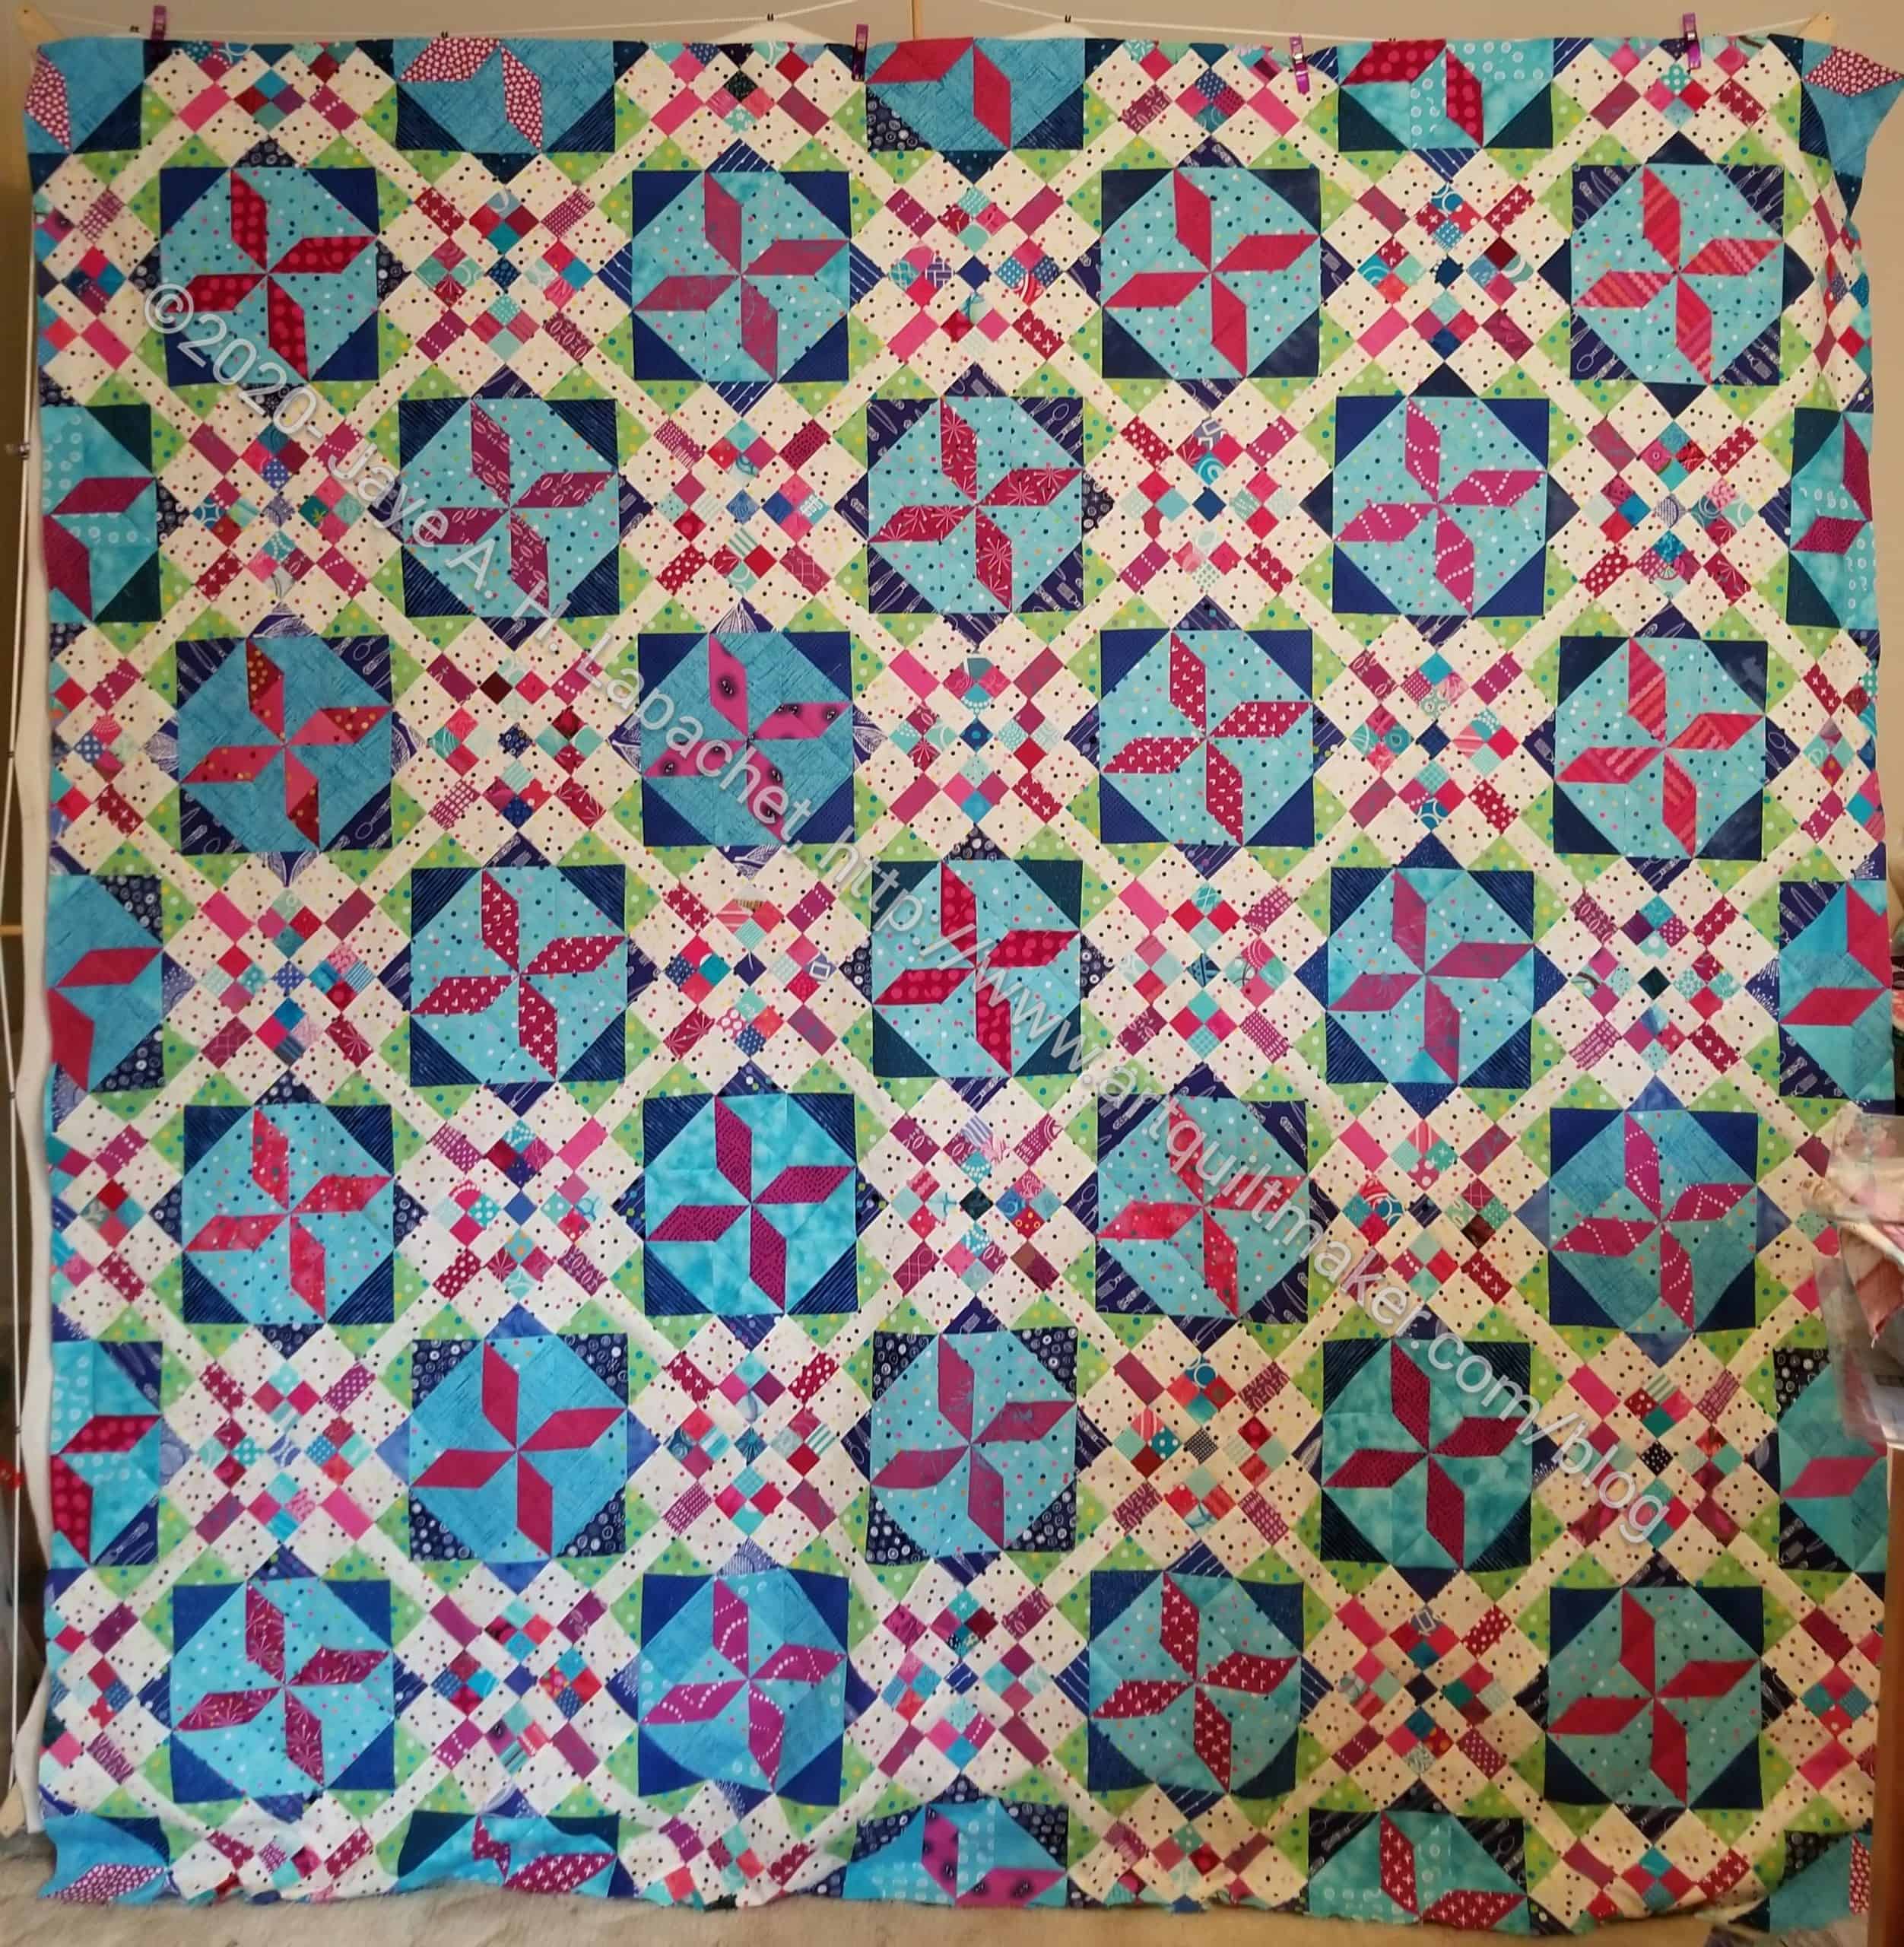
This is the last seam. I had to take a photo, because I feel like this top has been such an effort.
Frolic! Center Together
Yes, the top is together.
Finally! Seriously, I feel like this center took for-freaking-ever!
As I said last week, I have a long way to go before I can get it to Colleen, but this is major progress. I feel like I have accomplished something.
My friend Cyndi retired (even though she is about 35!) just before the shelter-in-place order and she is going to town on her UFOs. She is the rockstar who finished her UCAB already.
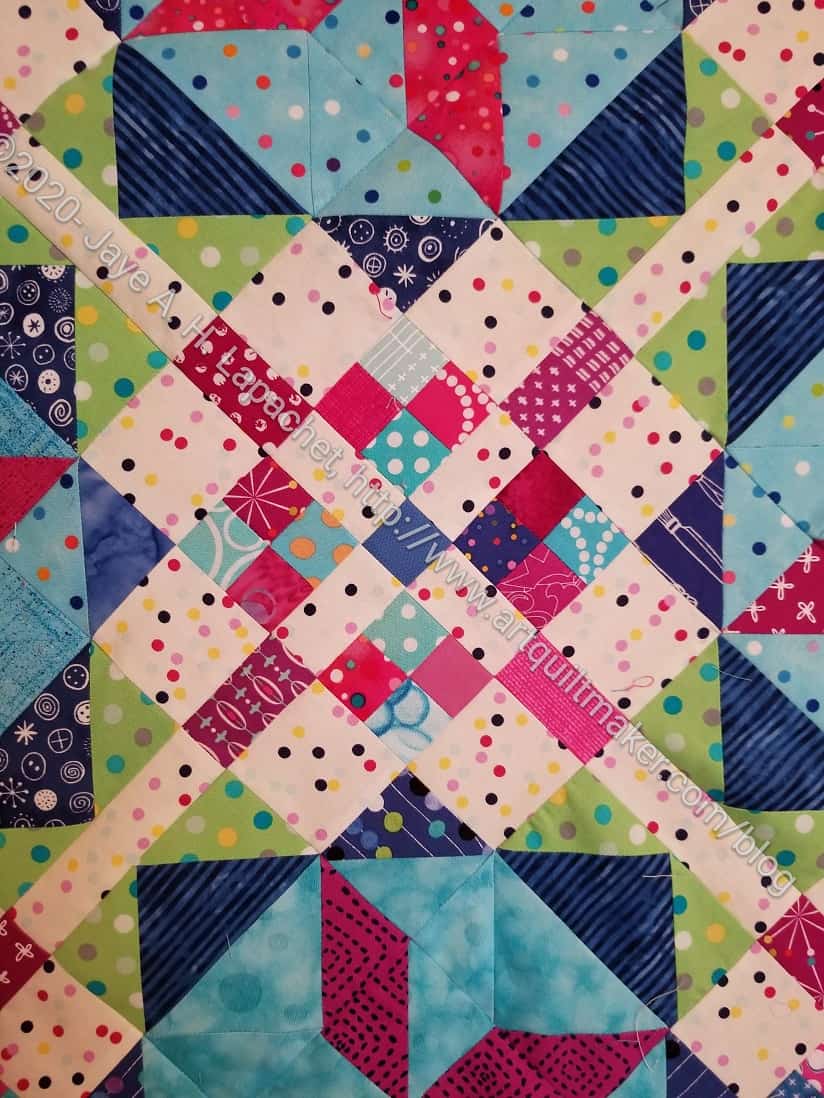
Frolic! Secondary Block
I think I might need to do something with the secondary blocks/setting blocks. They really look good sewn together. The bad part is that the block is made up of the edges of the main blocks. I could include the pieces on the edges of another block. I just have to figure out how to do it.
I liked this top before I started sewing it together, but I like it so much more now. Despite my whining, I think it looks great. I am constantly amazed how sewing the blocks together can change the look.
Someone asked me why I just don’t put it away and work on something else. Yes, I have been *almost* miserable working on this at times, but I want to keep my habit of not putting a quilt away. I don’t want to build up my UFO pile again after working so hard to get it down to a manageable size. It would be easy to put it away, but I don’t think it would feel good and I am sooooo looking forward to add the yardage to my “Fabric Used” spreadsheet!