Admin
I updated the quilt gallery with this year’s one completed quilt. I am optimistic there will be more!
Projects, Classes, Patterns, Techniques & Tutorials
I was able to watch the Sew Sweetness Live Show this month again. At about 10:50 in the Live Show, Sara showed a sweater that she crocheted. OMG! It looks amazing. I never would have known that crochet could look so great!
I was reading Today’s Quilter the other night. A recent issue had a bag and a project portfolio pattern in it. I looked at the designer and then went down a rabbit hole looking at her Etsy shop and blog. She has some interesting bag patterns, including several free patterns that would be a good test on whether her pattern writing style fits my pattern reading style. 🙂 I also like the name of her shop: The Folk Art Factory.
Christa Watson posted a new walking foot quilting tutorial.
Thanks to SueG, I found Scissor Tail Quilting has a library of blocks to use if you need some inspiration.
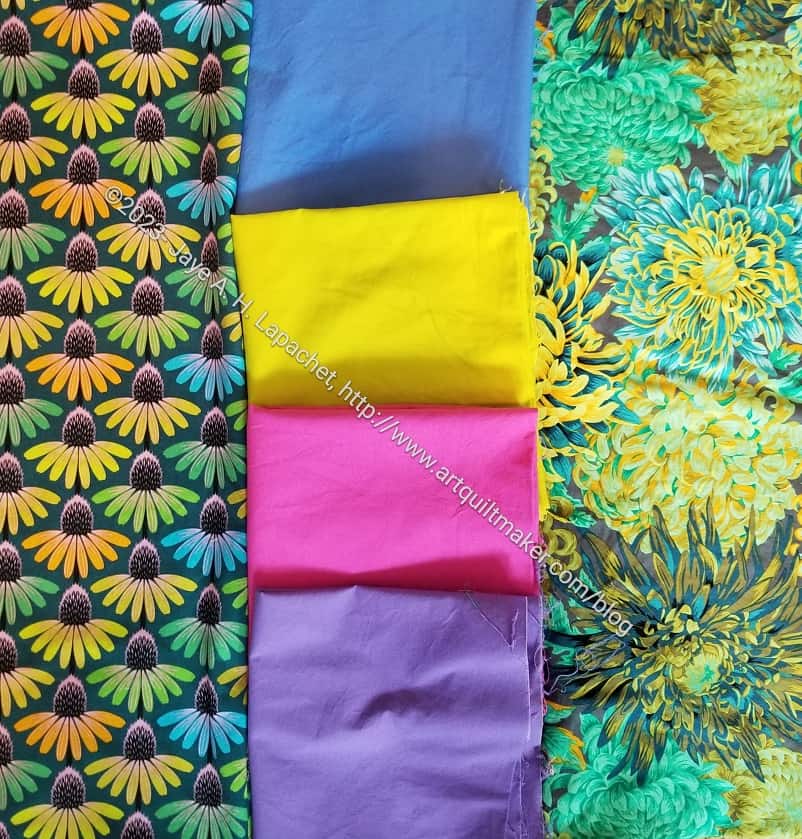
Tools, Books, Fabric, Notions, Services & Supplies
In the Sew Sweetness Live Show, Sara talked about Lazy Girl Slicker**, which is a type of iron on vinyl. In the past I used Pellon VinylFuse on my Half Moon Modern Chubby Charmer**. Almost 10 years have passed since I made that bag and it is holding up well except for the VinylFuse. It isn’t terrible, but the seams didn’t hold up well. I wonder how this Slicker product would compare?

This is what a non-Clover Wonder Clip looks like when you try and open it. I don’t know where the rest of it went, because parts of it flew all over my workroom. Buy Clover Wonder Clips!** I don’t own stock in Clover, but maybe I will look into buying some.
Despite Quiltmania going out of business, Willyne Hammerstein has published the next EPP book in her series. The word on the EPP street is that it will not be sold in the US. Start making plans to go to Holland!
Exhibits and Organizations
Media & Articles
You know how men post pictures with measuring tapes of their giant fish? Here is a take-off of that kind of photo/video in a quilt shop from Calliope Quilts.
NQR
If you are interested in a article about what is happening at the Library of Congress and how the LoC works, read this article from Scholarly Kitchen. Write your Congresspeople even if you think they already agree with you. Check out Lorraine Woodruff-Long’s Mailstorm IG post for some good ideas about how and what to write.
**N. B. : Obviously, you should shop at local quilt shops and small businesses. However, if you are too busy or can’t find what you need there, I use Amazon affiliate links and may be paid for your purchase of an item when you click on an item’s link in my post. There is no additional cost to you for clicking or purchasing items I recommend. I appreciate your clicks and purchases as it helps support this website.