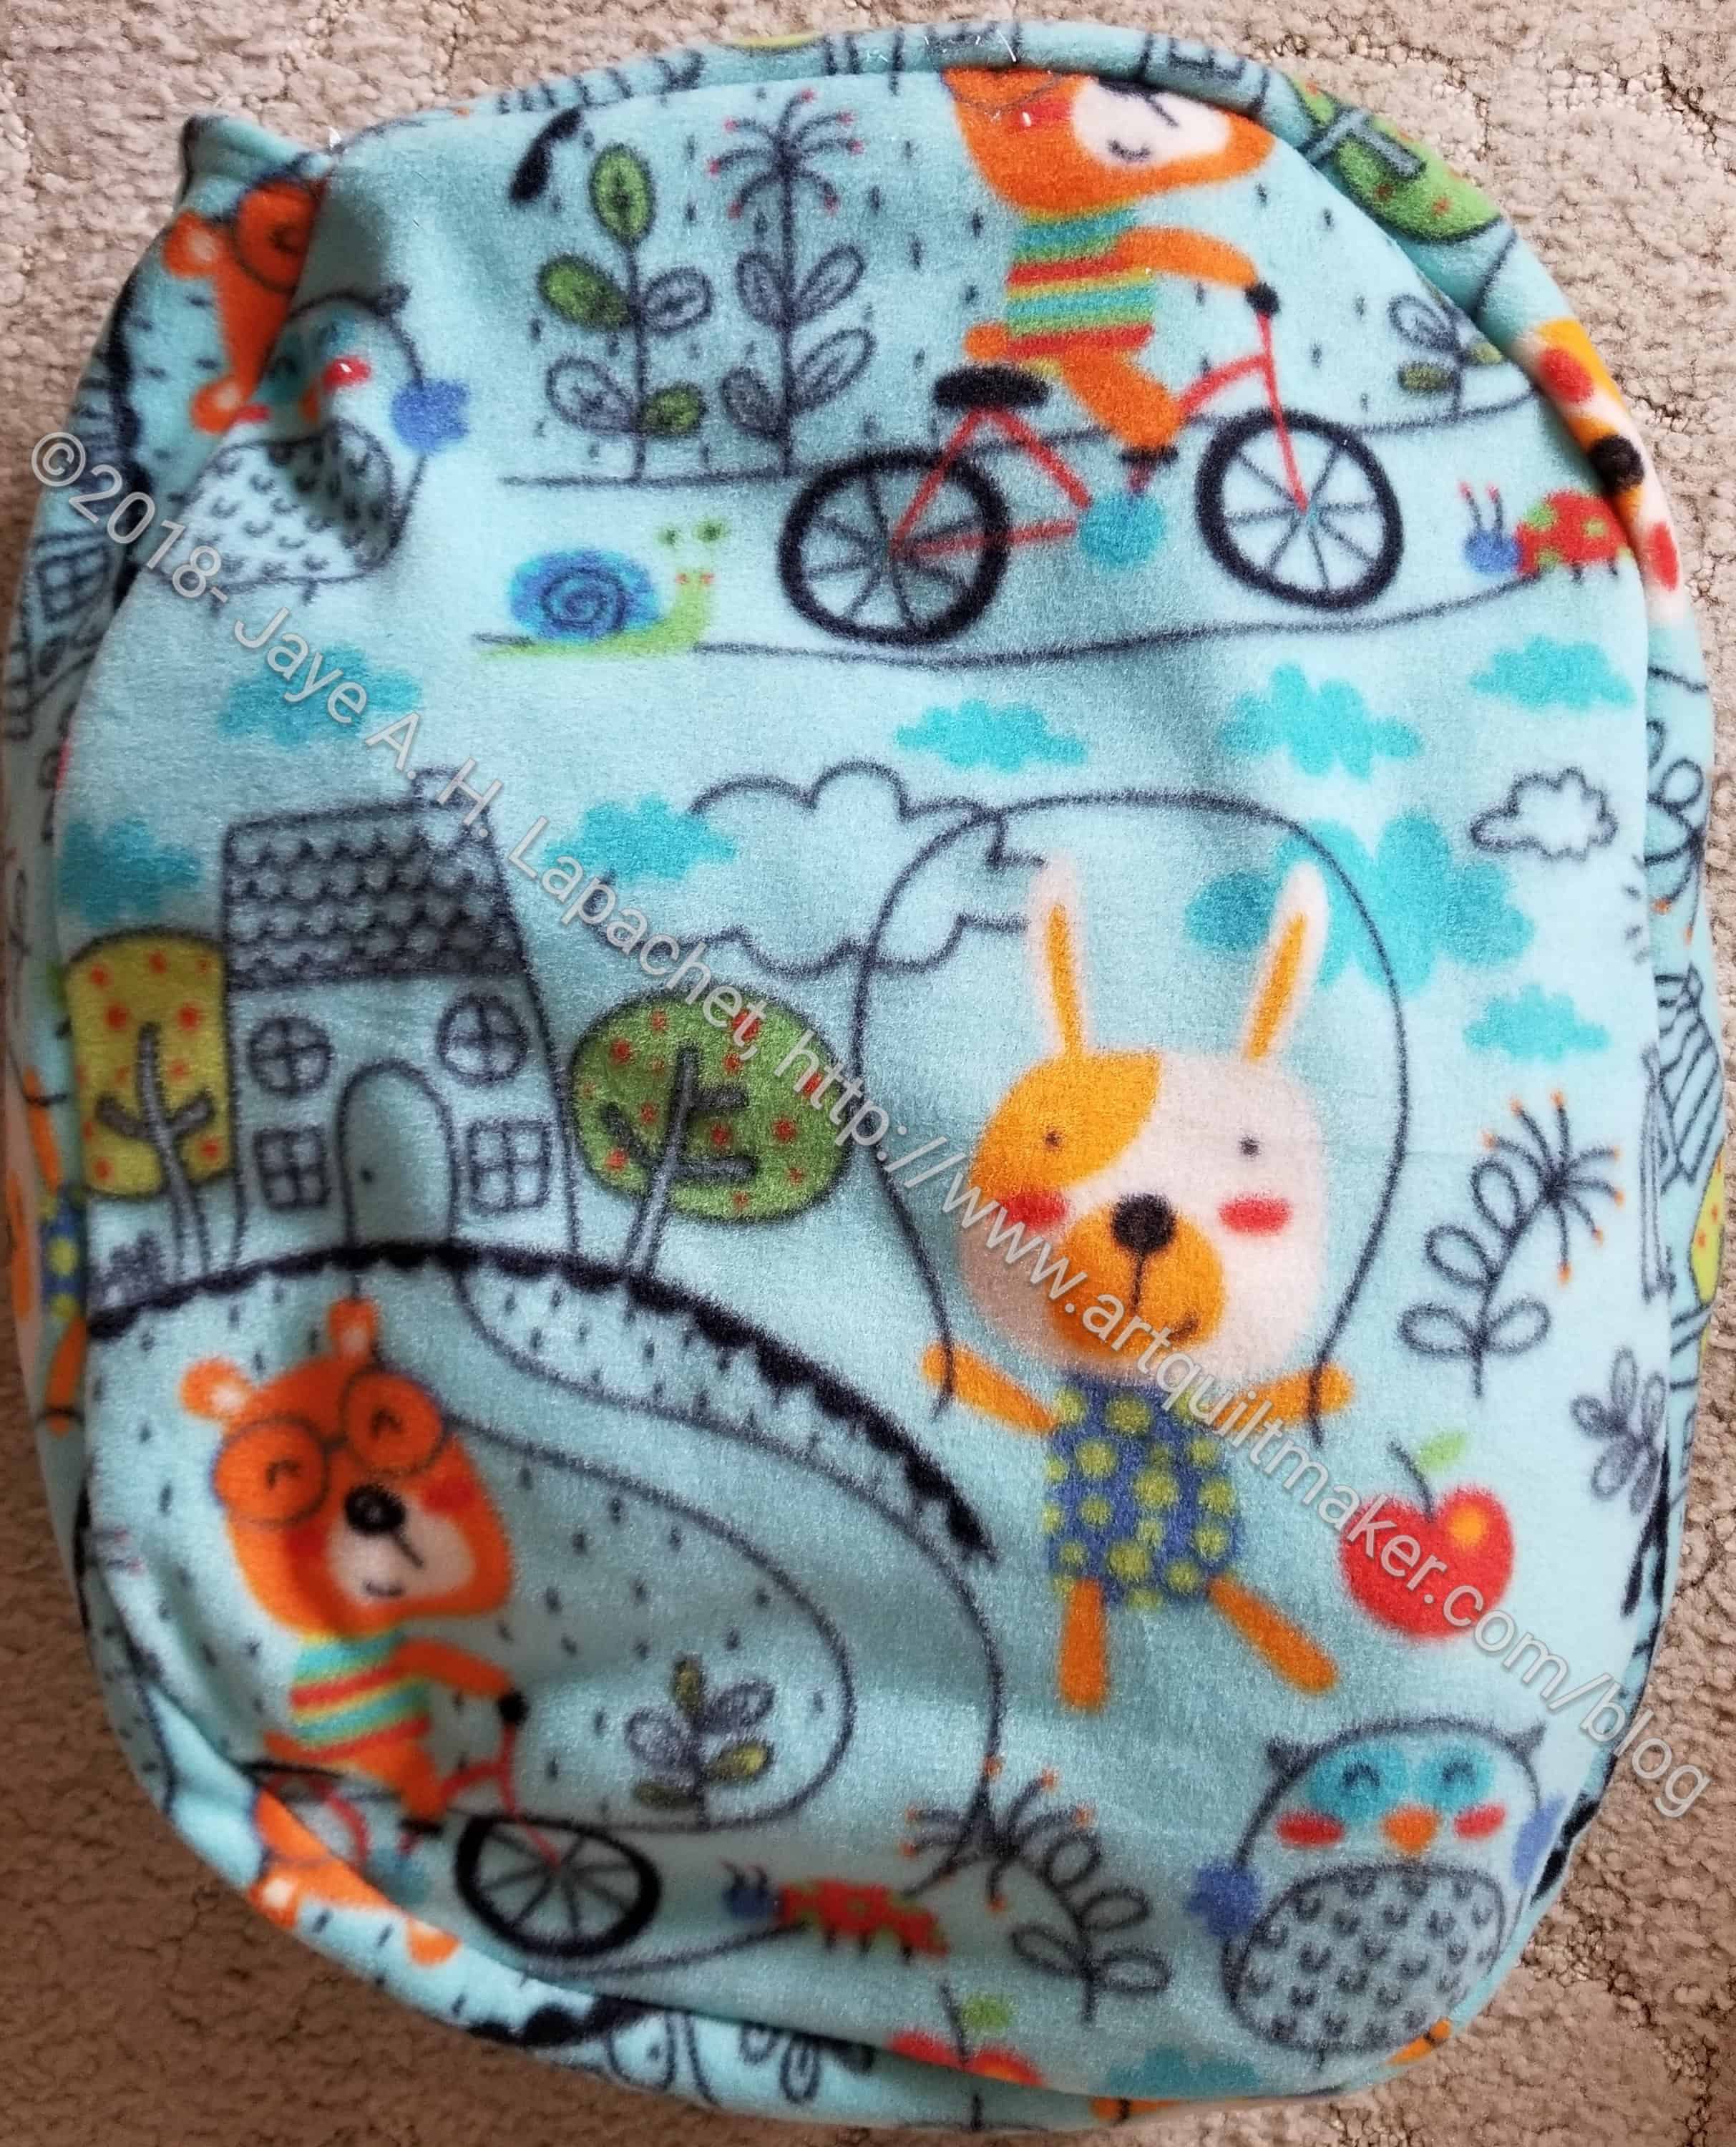
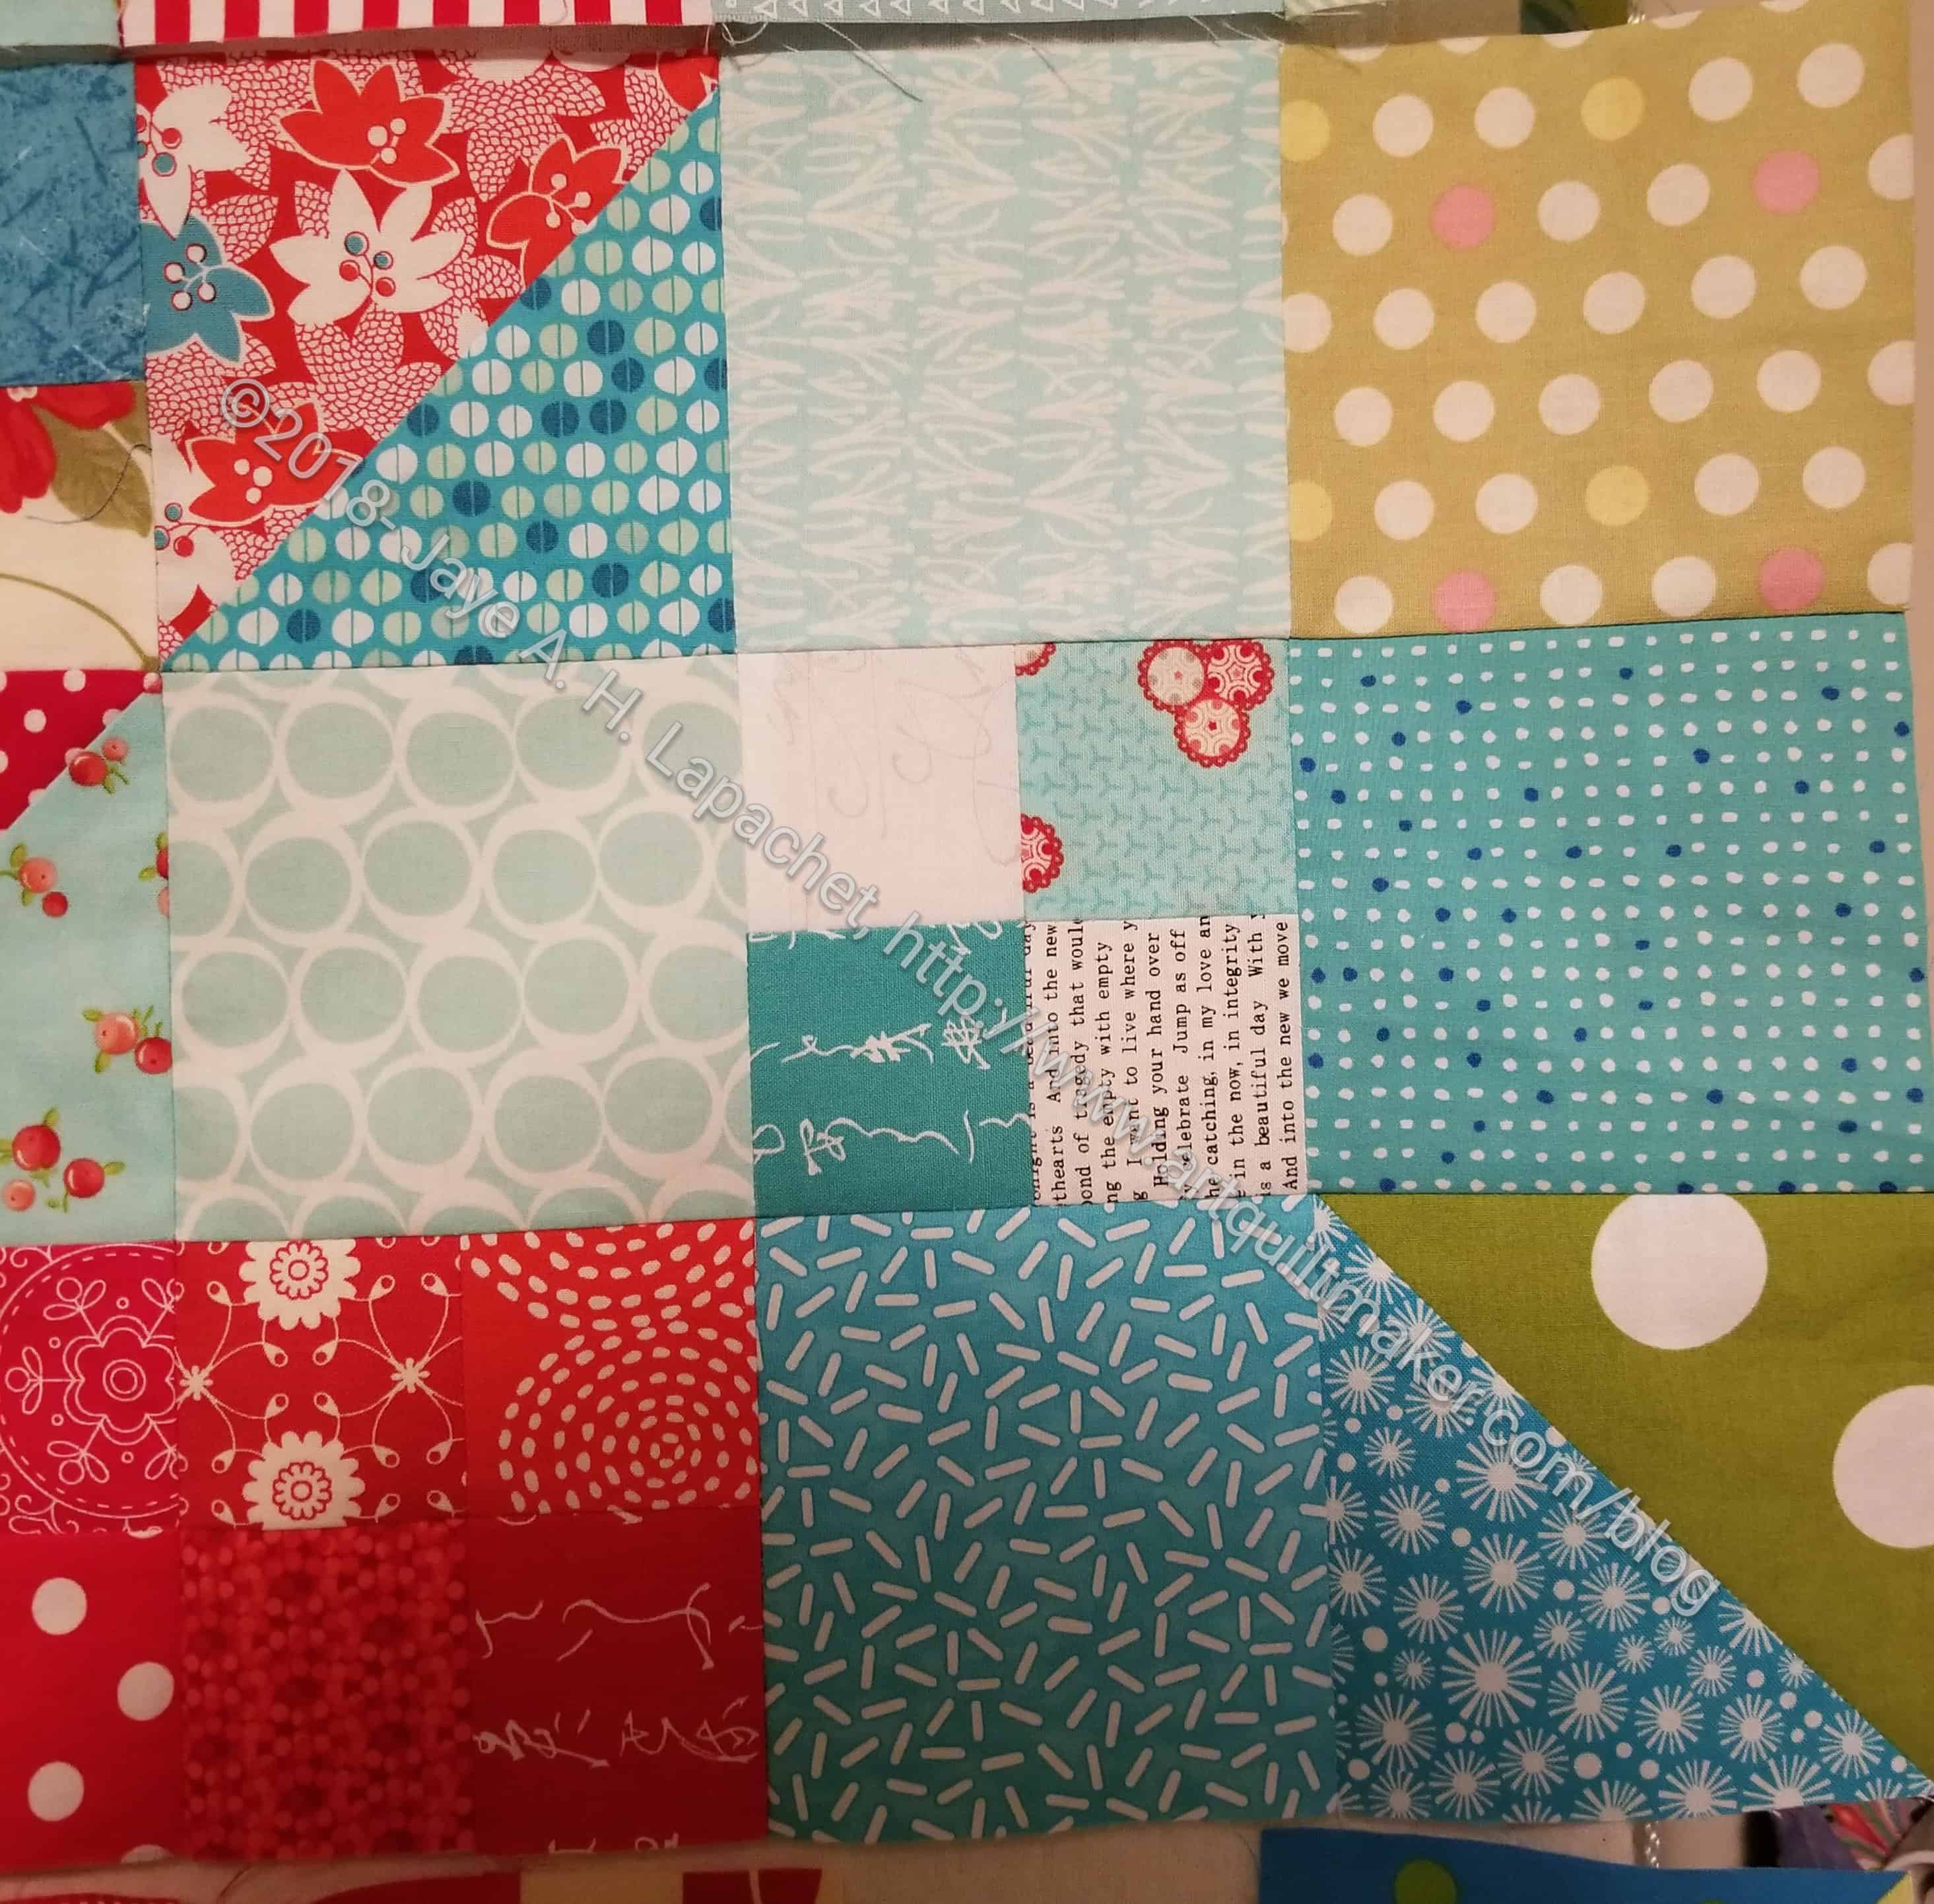
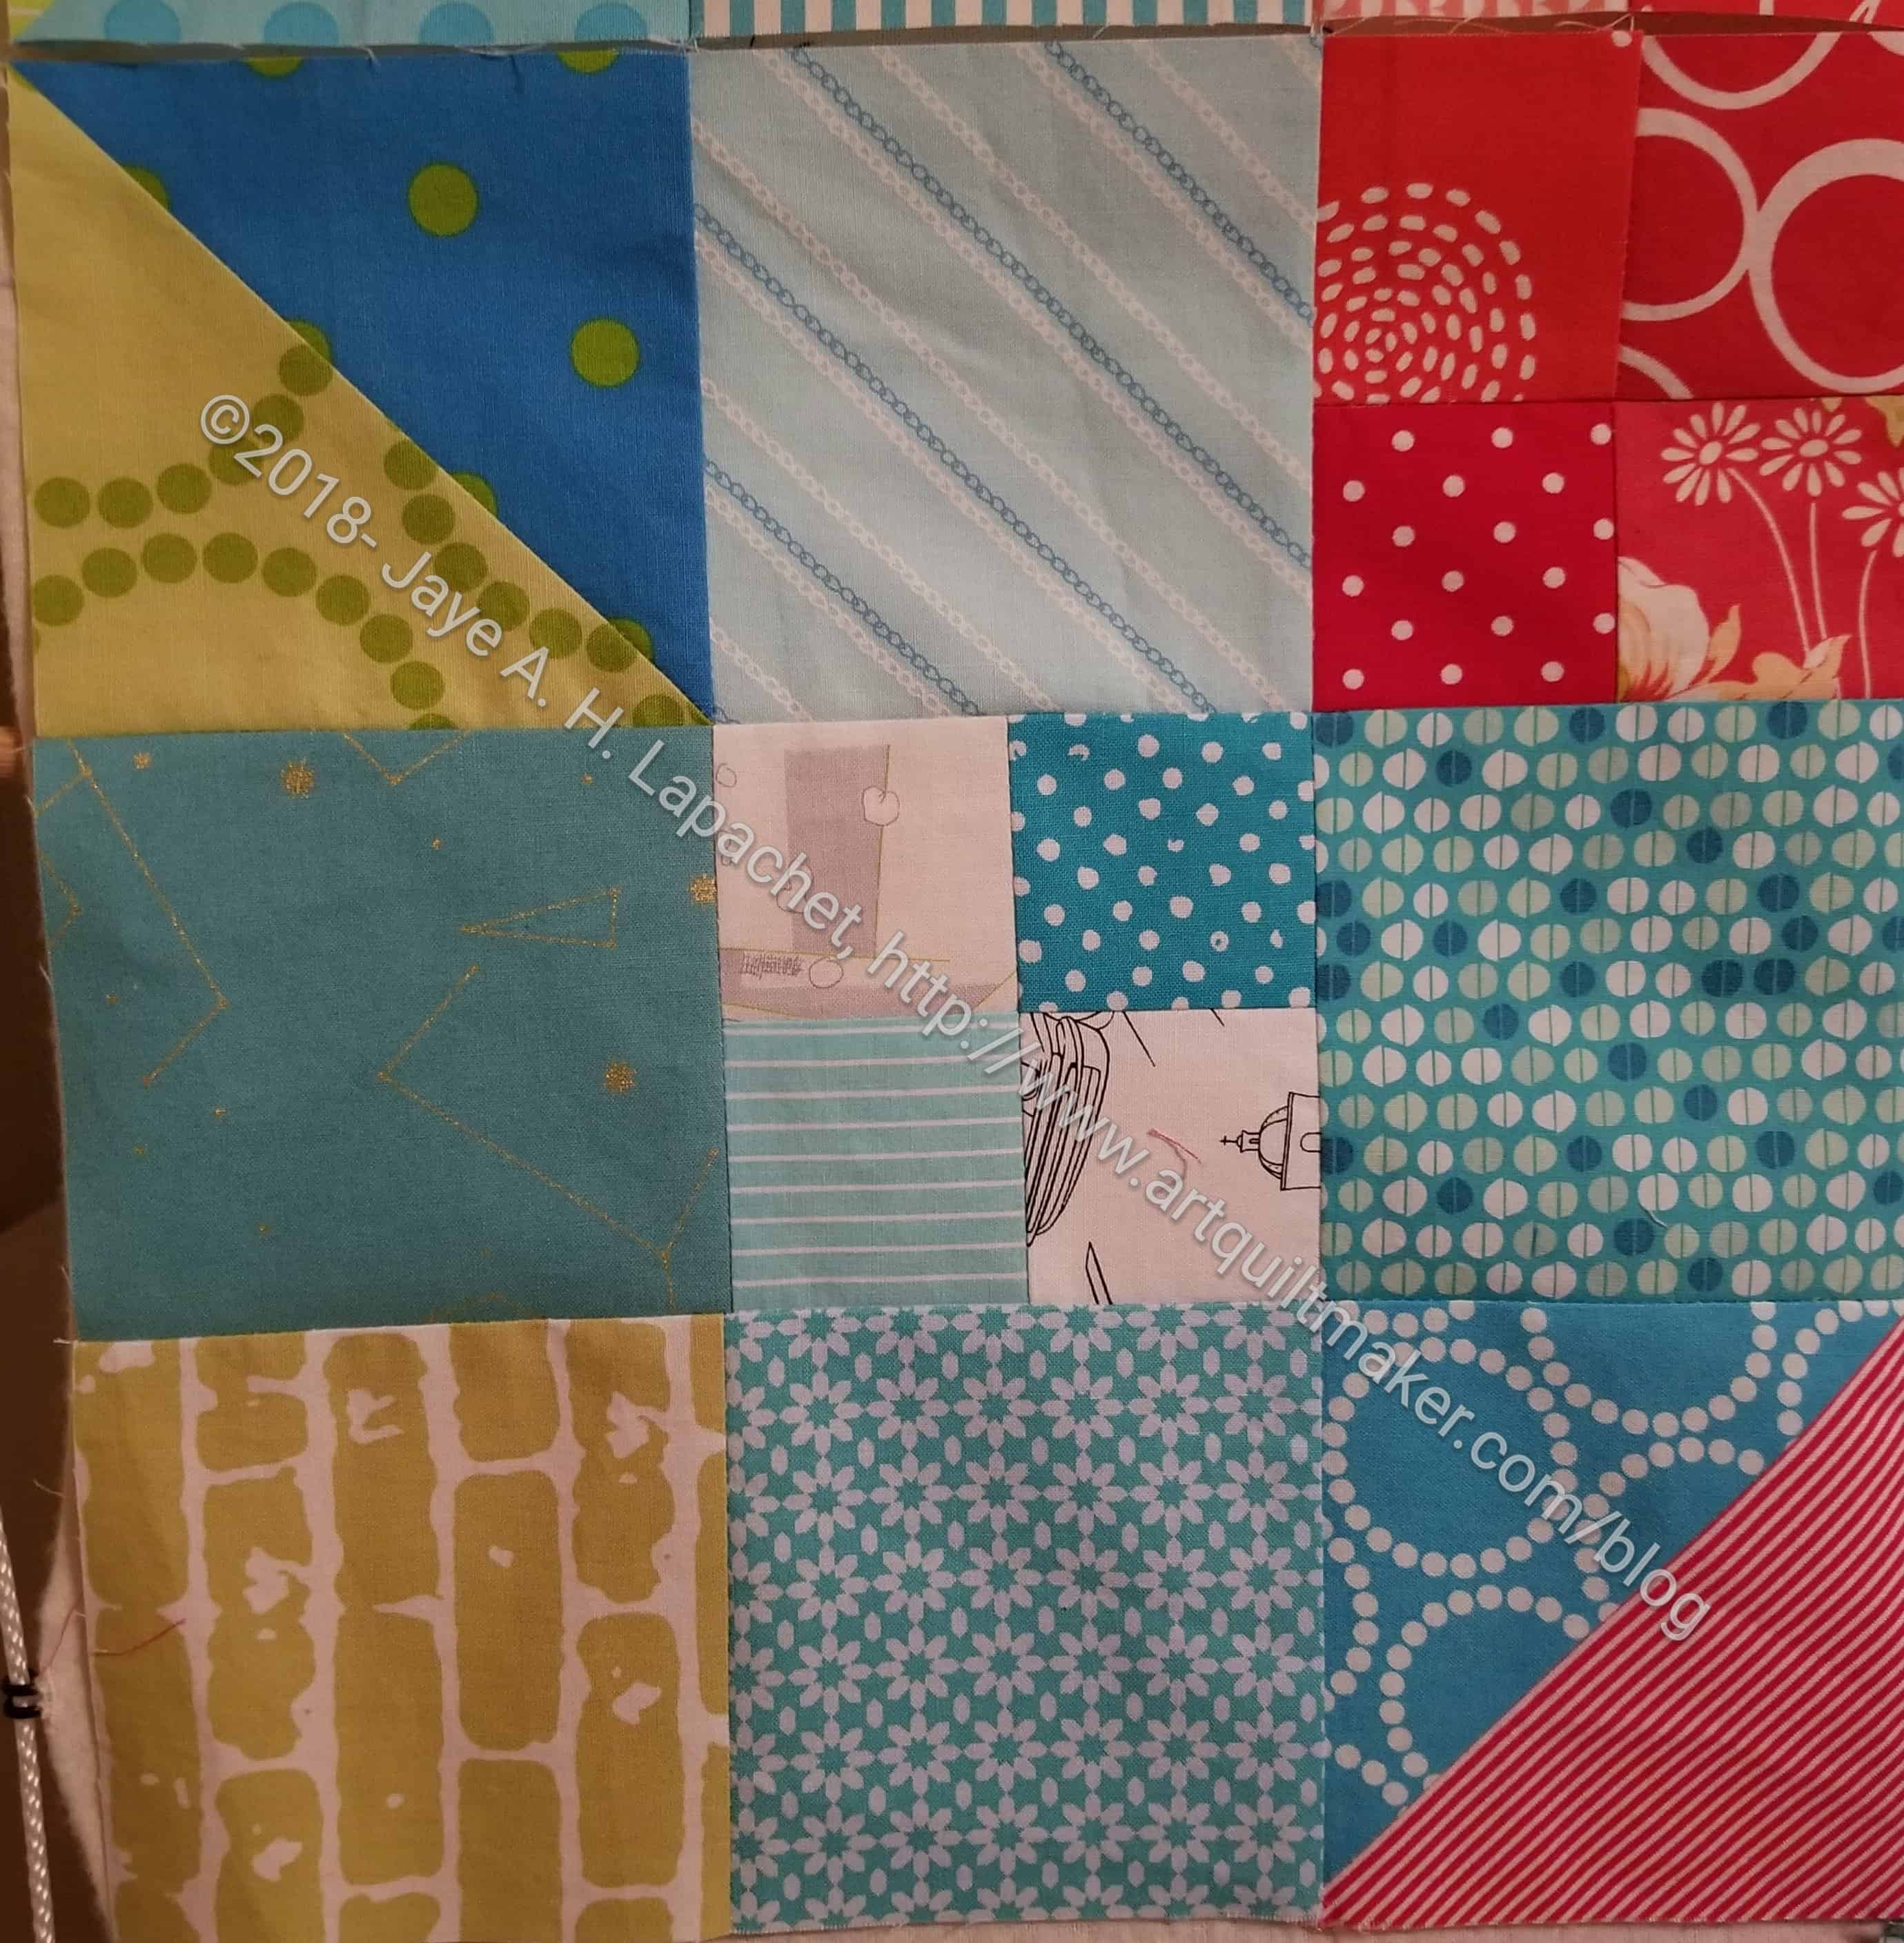
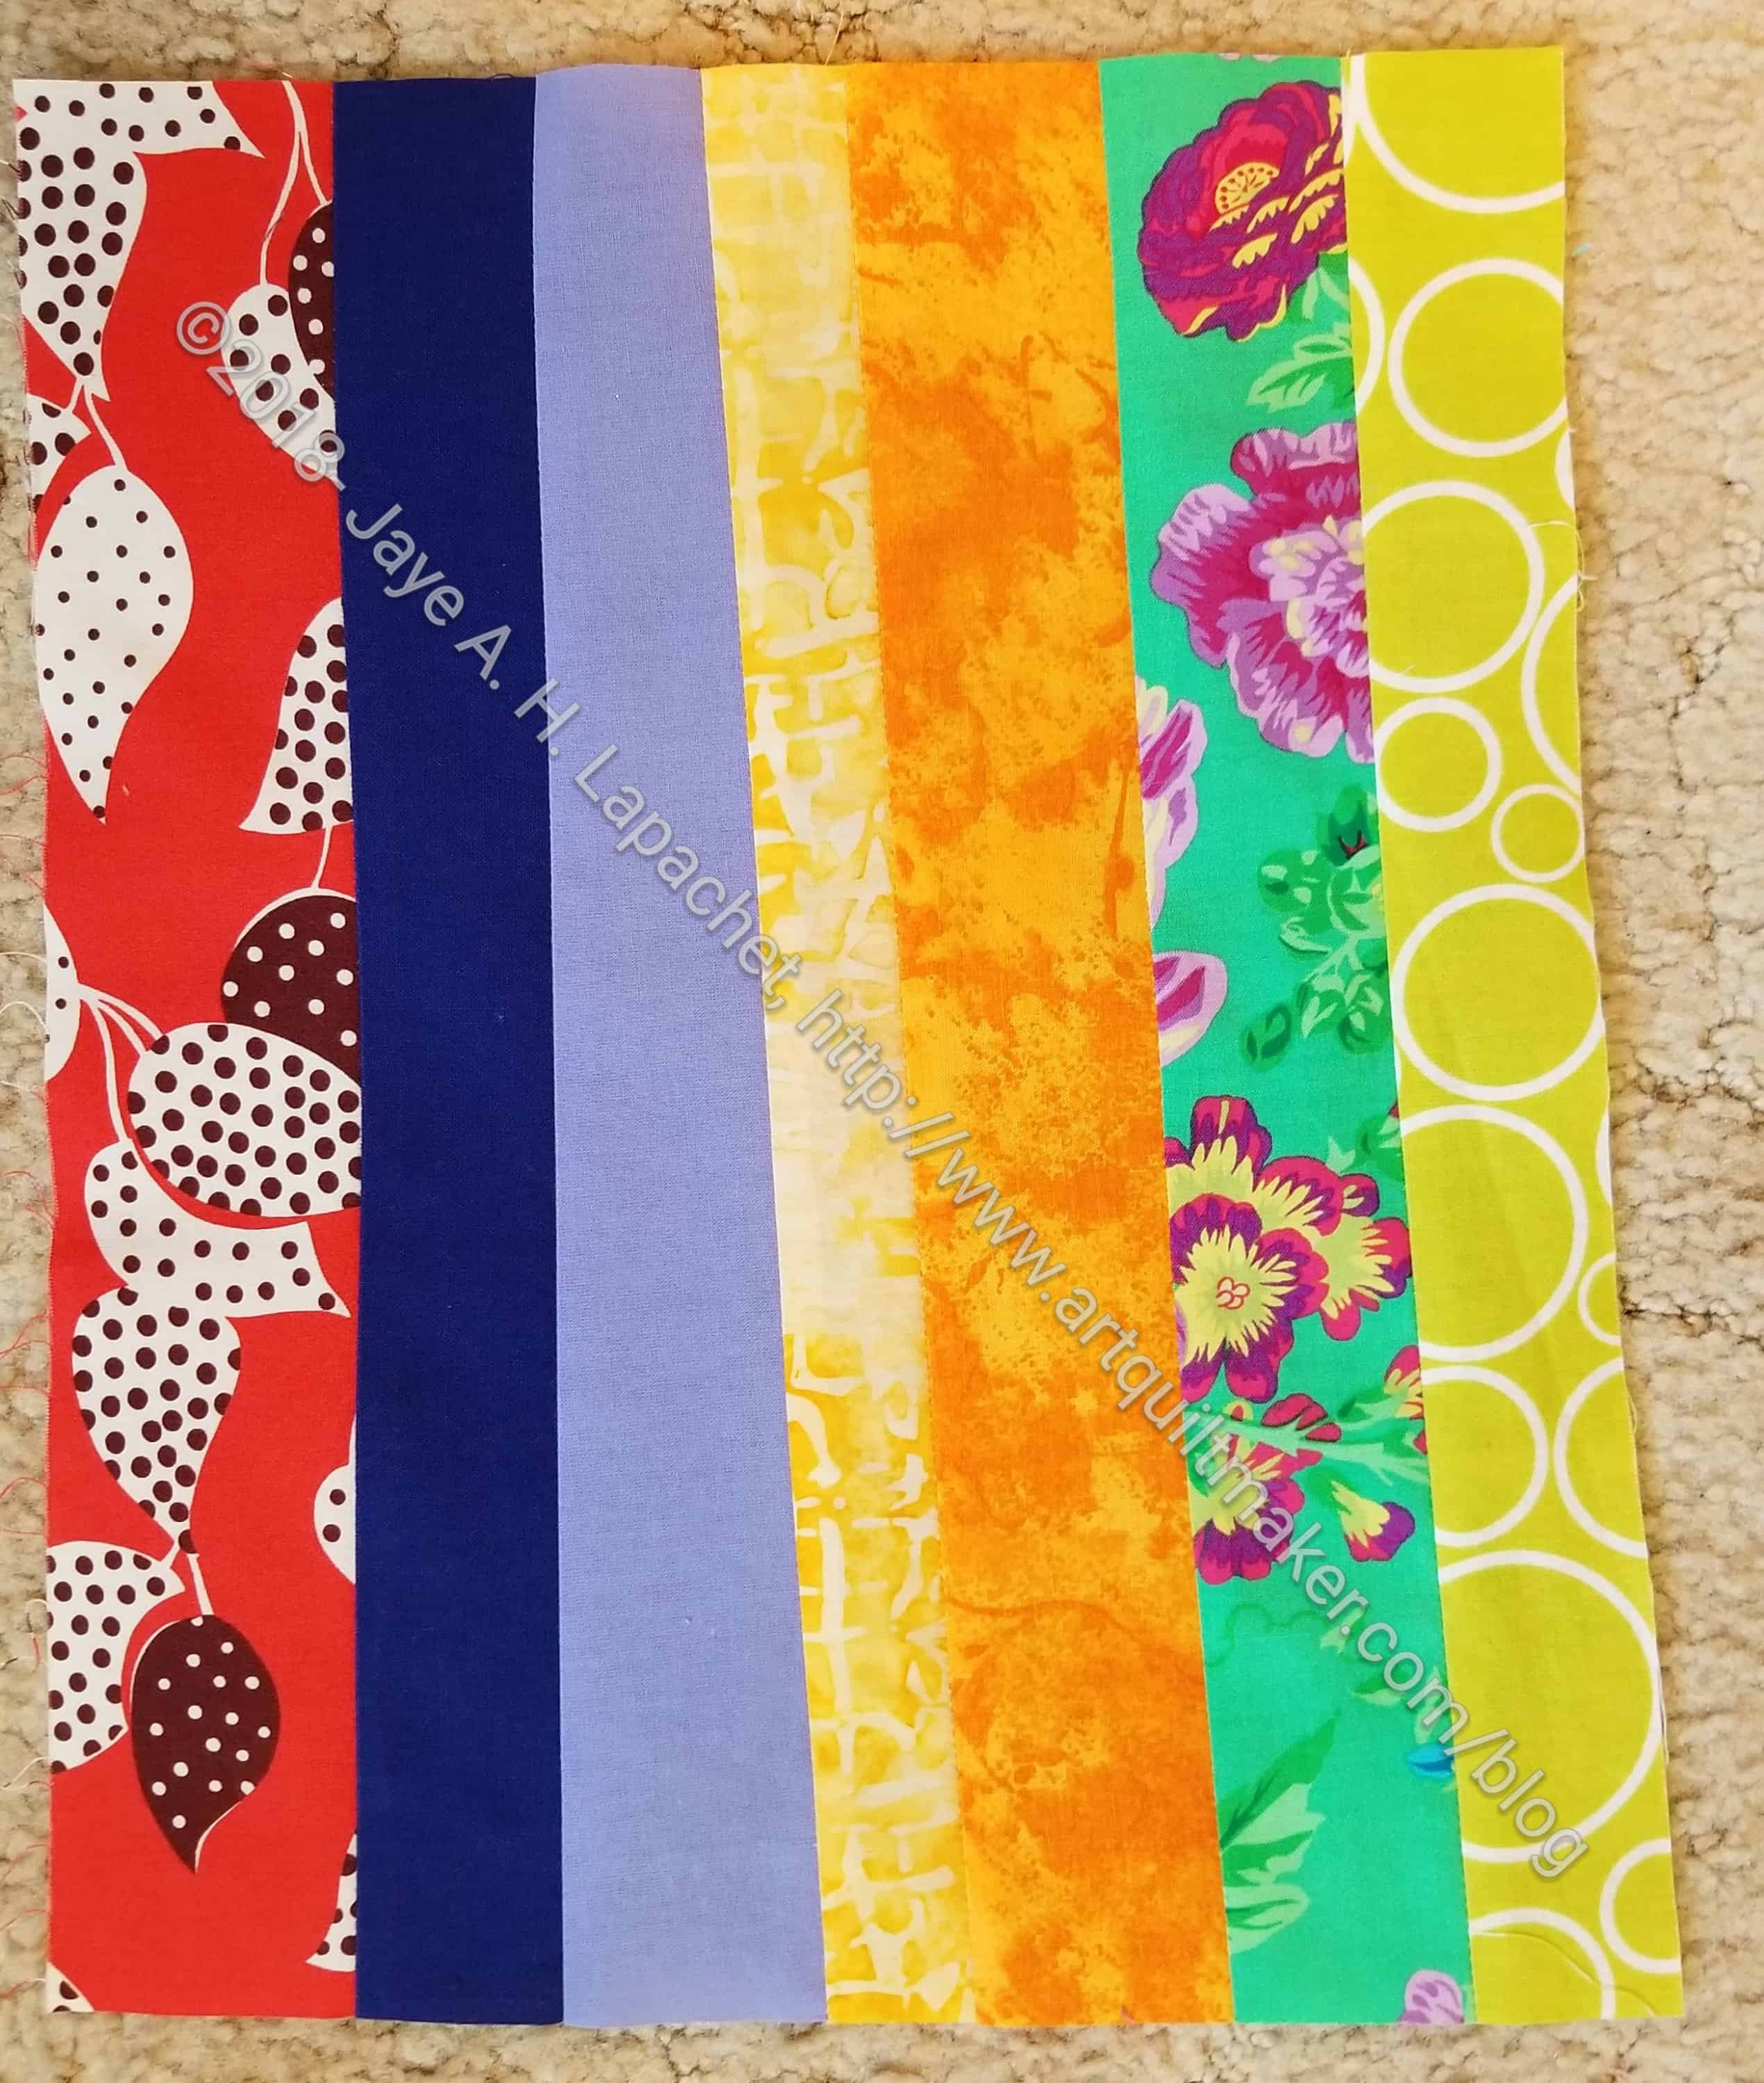
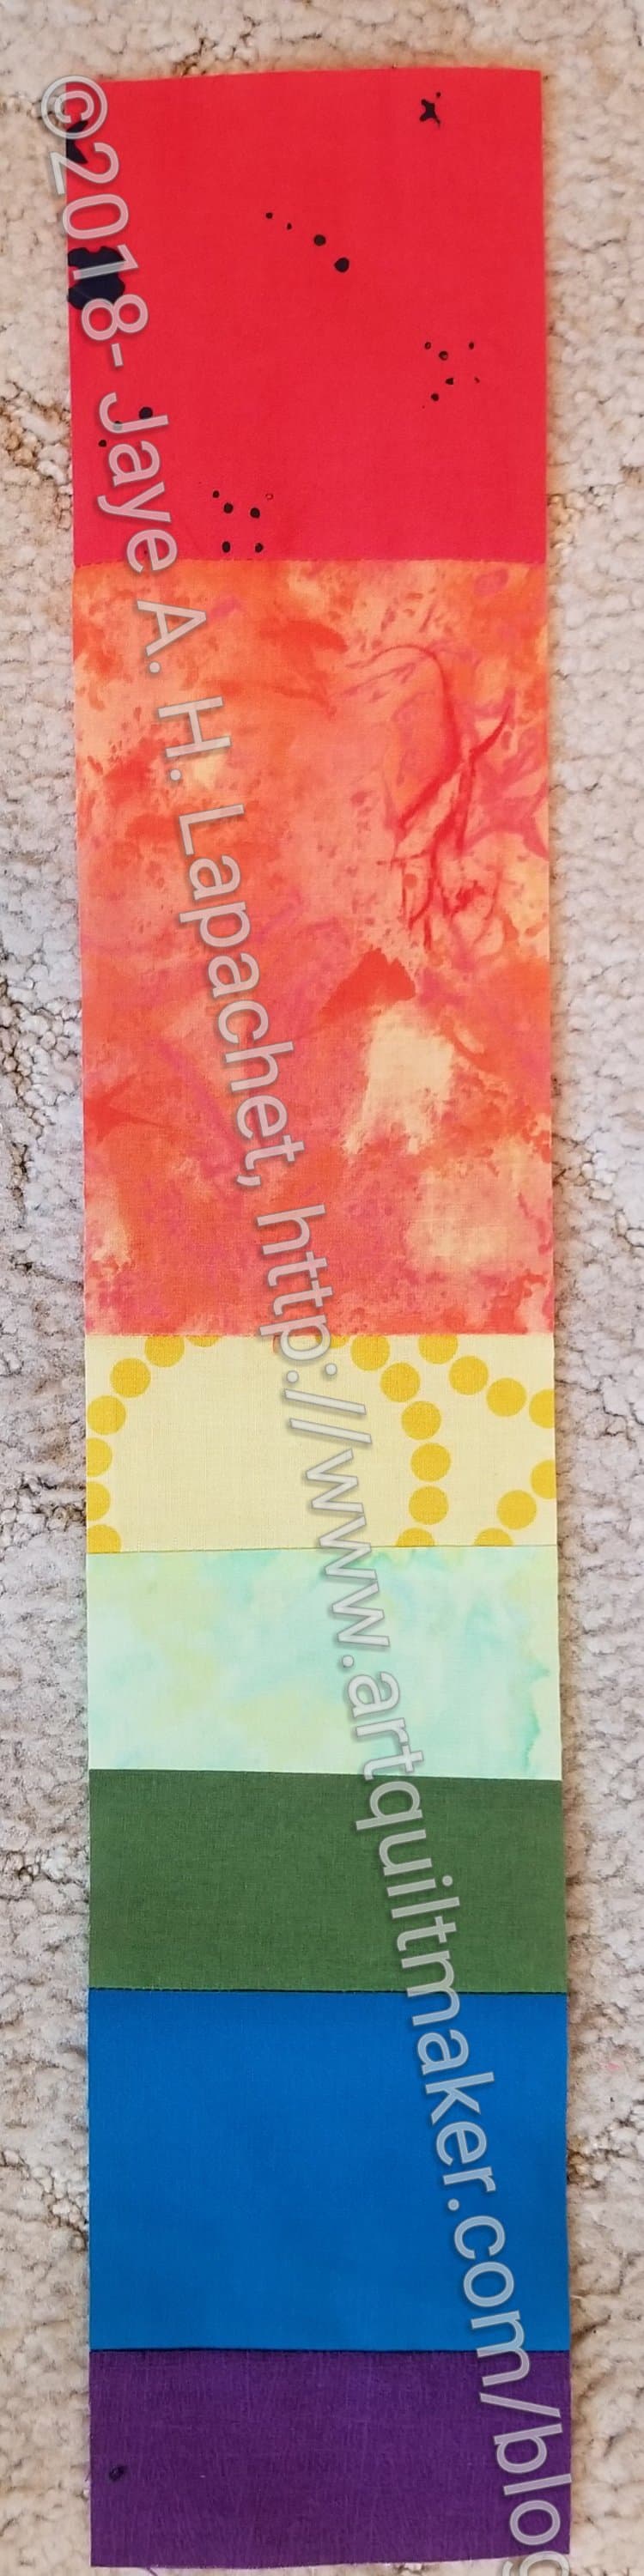
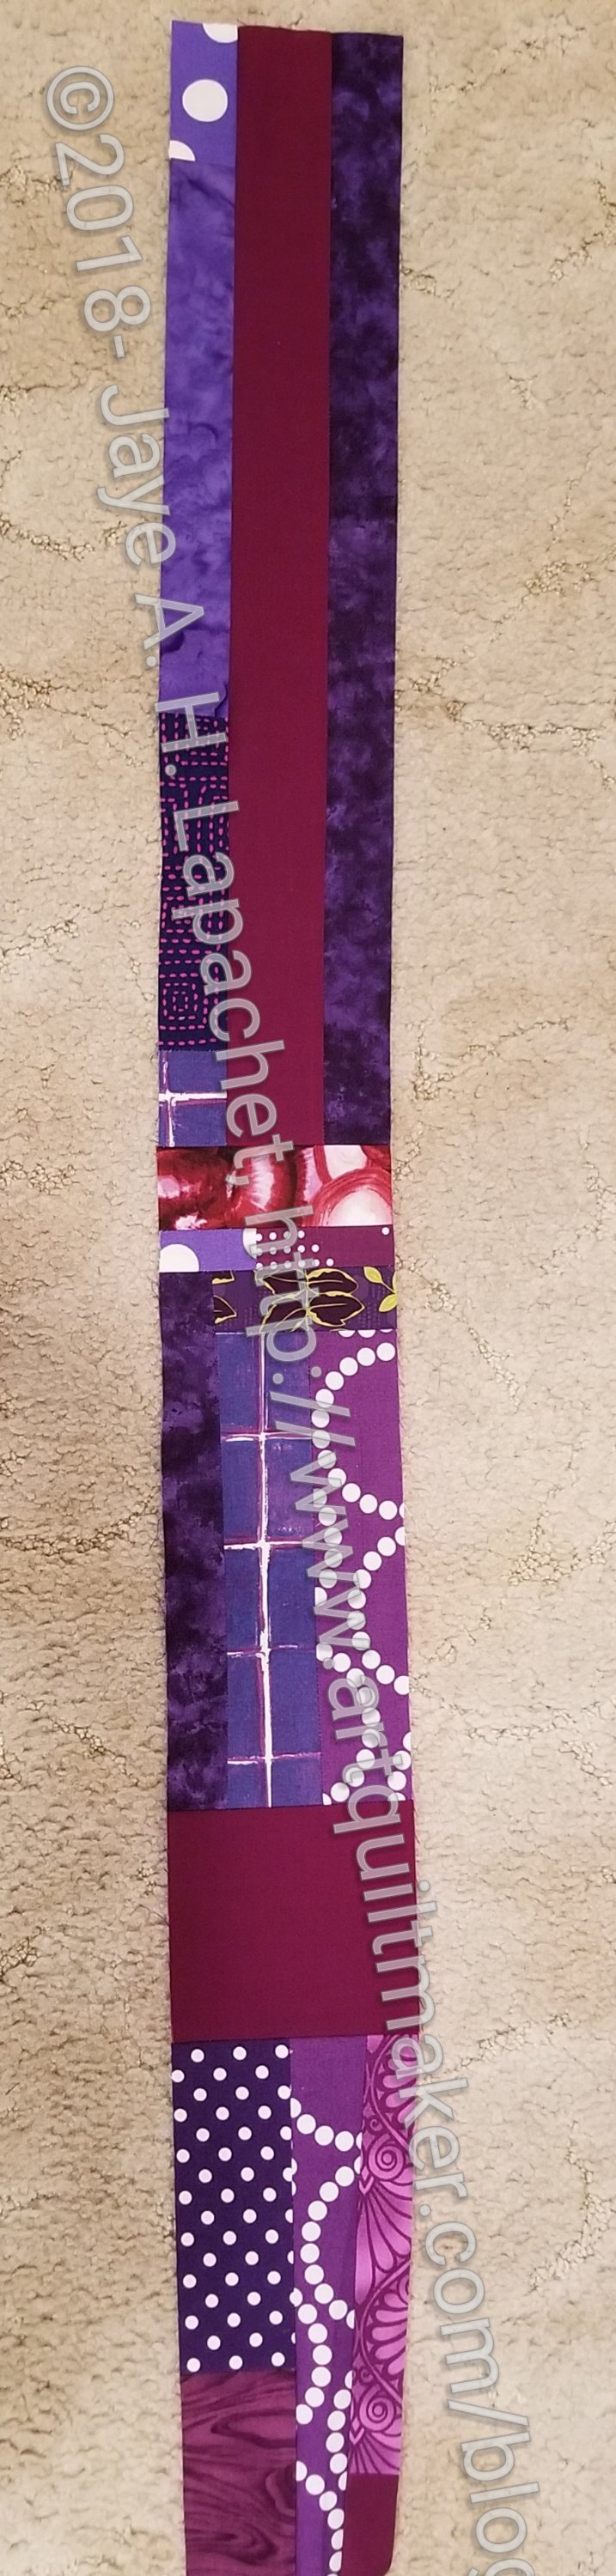
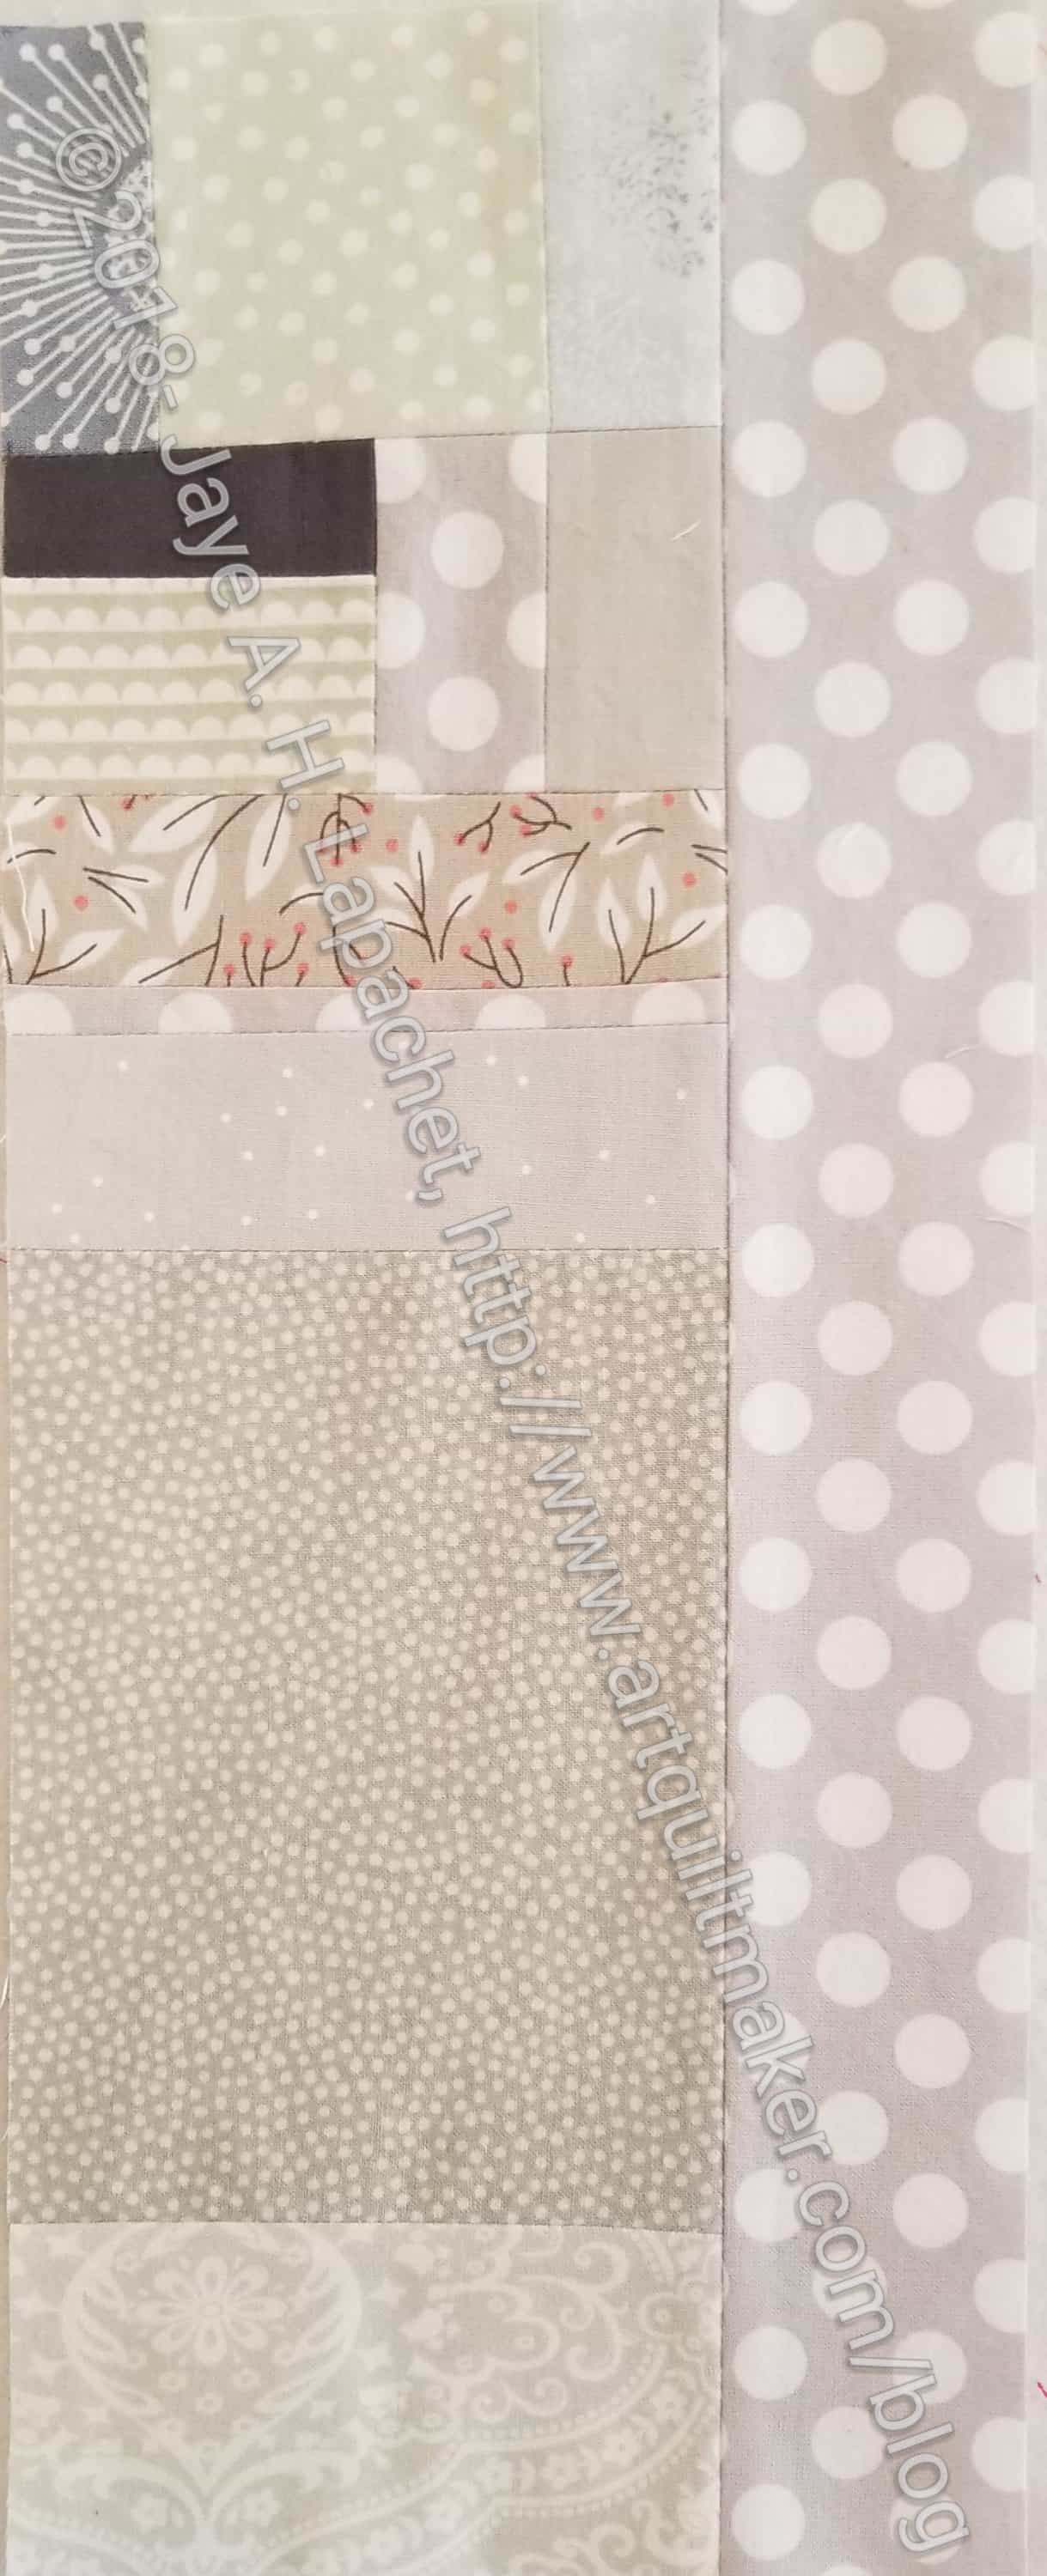
One of the things about cutting 2.5″ squares is that I can cut and cut and cut and still only have covered a space approximately 12 inches by 15 inches. When I go to put this quilt together, this will come in handy as I can add all of the dark squares I want and realize my dream (finally).
Most of the pieces cut are from new fabrics that have pressed and were waiting on my ironing board for me to cut them up. I was looking for blues so I could make more HRTs. I found I needed more of the right facing rectangles to make the last Spiky 16 Patch block I need for a donation quilt.
A few weeks ago, I mentioned that I had bought some project boxes. I have few boxes and baskets that I used for various things, mostly gathering fabrics together for various reasons that I often quickly forget. I hadn’t really used project boxes before. After I brought the boxes home, I actually did put projects in them almost immediately.
While this is a teetering stack, it actually works a lot better than the stack of fabrics I was using before. First, all the stuff for a project is all together. I can even put smaller trays of cut pieces inside the larger boxes. Second, they are much easier to move. I pick up one or two, put them aside and then the step stool is usable again. Finally, I don’t have to hunt around for materials. All the materials are in one place (3 might be the same as 1, but they are different in my mind).
After I got the larger boxes organized, I cleaned out the smaller boxes and re-purposed them to organizing projects as well. The small box with the handle has all of my Crafty Gemini Organizer Club supplies in it except for that fusible foam stuff, which doesn’t fit. It would fit in one of the larger bins, but all I had was the smaller one. Needs must.
Two bins have fabrics and such for the Stepping Stones n.2. That is a lot of organizer bin real estate devoted to one project, but scrappy projects will do that to you. I hope to finish that project soon (though I haven’t worked on it recently, so not sure how it will happen.
All in all, I am pretty pleased with this solution. I need to sew more to get through projects, but that is a completely different issue.
This week’s photo was a bad choice. It is a gorgeous group of flowers and I really like the image, but there isn’t enough diversity in the colors to make interesting palettes.
As a result, after the default palette, I stuck to monochromatic palettes.
Green: the green looks really brown – or yellowish brown- in the palette.
Orange: I thought the orange would be great, but, again, the colors look very brown. This groups would make a great Thanksgiving quilt.
Pink: these colors aren’t bad. They do have a pink tinge to them, but I wouldn’t call them pink.
The tool was acting strange as well. The colors with names were not displaying on the side. It might be time to think up a new creativity/inspiration project.
Let me know if you use a palette to make something.
I really wanted to get this finished on Sunday, but I talked with my Mom for an hour for Mother’s Day.
This pattern has committed a sin I am pretty firm on: make small bits first. This pattern does not have the maker sew the thread catcher and the pincushion first. I have the whole mat made and need to go back and sew some fiddly bits.
I am changing the way the mat looks. I am using sew-in magnets to hold the thread catcher instead of a strap from which the thread catcher can hang.
The directions are clever in the way it makes the thread catcher. Crafty Gemini uses a larger seam allowance for the lining to make the lining fit inside the thread catcher.
I don’t know how the pincushion is attached and will have to figure that out.
I have been thinking about dream projects a lot lately. The last time I wrote on this subject was in September 2017. It is always interesting for me to look at this list and see if I still want to work on the projects
Art Institute of Chicago Fusible Applique’ (Ticker Tape Style) Quilt
Status: Dream state
Pattern: Original, I do have a version of the pattern I used for the Whole Cloth quilt and I will use it as starting point.
Fabric: Turquoise and red, mainly, but other colors for the leaves and flowers, perhaps
Steps: need to fuse a bunch of turquoise to some piece of fabric in the ‘ticker tape’ style so i can cut it up into small pieces. I am thinking of making it similar to the Whole Cloth Quilt and using red, again, for the background.
Thoughts: I might make another one with turquoise on top of red with just two pieces of fabric.
Art Institute of Chicago Fusible Applique’ Quilt
Status: Dream state
Pattern: Original, I do have a version of the pattern I used for the Whole Cloth quilt and I will use it as starting point.
Fabric: Turquoise and red, mainly
Steps: need to fuse a big piece of turquoise to SoftFuse or similar, then cut out the image and fuse it to the background. I would satin stitch all around the image. I don’t know that I can make one continuous piece, but will try. The image would be similar to the Whole Cloth Quilt and using red, again, for the background.
Thoughts: I might make it with turquoise on top of red with just two pieces of fabric.
Thoughts: I can’t decide if this is still a dream or if it is already started and I just need to arrange it and start piecing. I have done a lot of cutting, so I think I have started it, thus it may not be a dream anymore. The original idea stemmed from the FOTY quilts. I just decided to do a monochromatic version – using just blues, in this case. I probably have enough patches now and just need to slot the time to work on it into my schedule.
Thoughts: I probably had enough squares to make this quilt, but then I used a bunch of them to make En Provence. Now I am working on cutting more. I hope to slot the time into my schedule int he not too distant future.
Easy Street
Status: have pattern/ dream state
Fabric: pinks
Pattern: Easy Street by Bonnie Hunter
Thoughts: I really liked Daisy‘s version of Easy Street, which she calls Cherry Bomb (she thinks of the best names for her quilts) in terms of color and feel. I don’t want to copy her, but if I do this quilt, I’d like to have the same pinky-red feel to it. One challenge about a mostly monochromatic quilt is getting enough contrast. I look forward to that challenge. Not sure this will become a reality.
Feathered Star Block
Status: Dream state.
Pattern: I haven’t decided on a particular feathered star
Fabric: I decided not to use a layer cake and will use the scrap 2.5 inch squares I have been cutting. I love the cheerfulness of Scrapitude Carnivale as I say over and over and am not done with that combination yet.
Thoughts: I thought about using dots on a white background, as I did with the Scrapitude Carnivale quilt as the background. It makes the Scrapitude quilt look so cheerful. I probably wouldn’t call it Good Night Irene.
Interlocking Triangles Quilt(s)
Status: dream state
Pattern: This is an idea that I designed myself. I made two quilts and have variations on the pattern to make more.
Fabric: I have a few different collections of fabric I want to use. Most are rainbow colored; I also have a lot of stripes to use
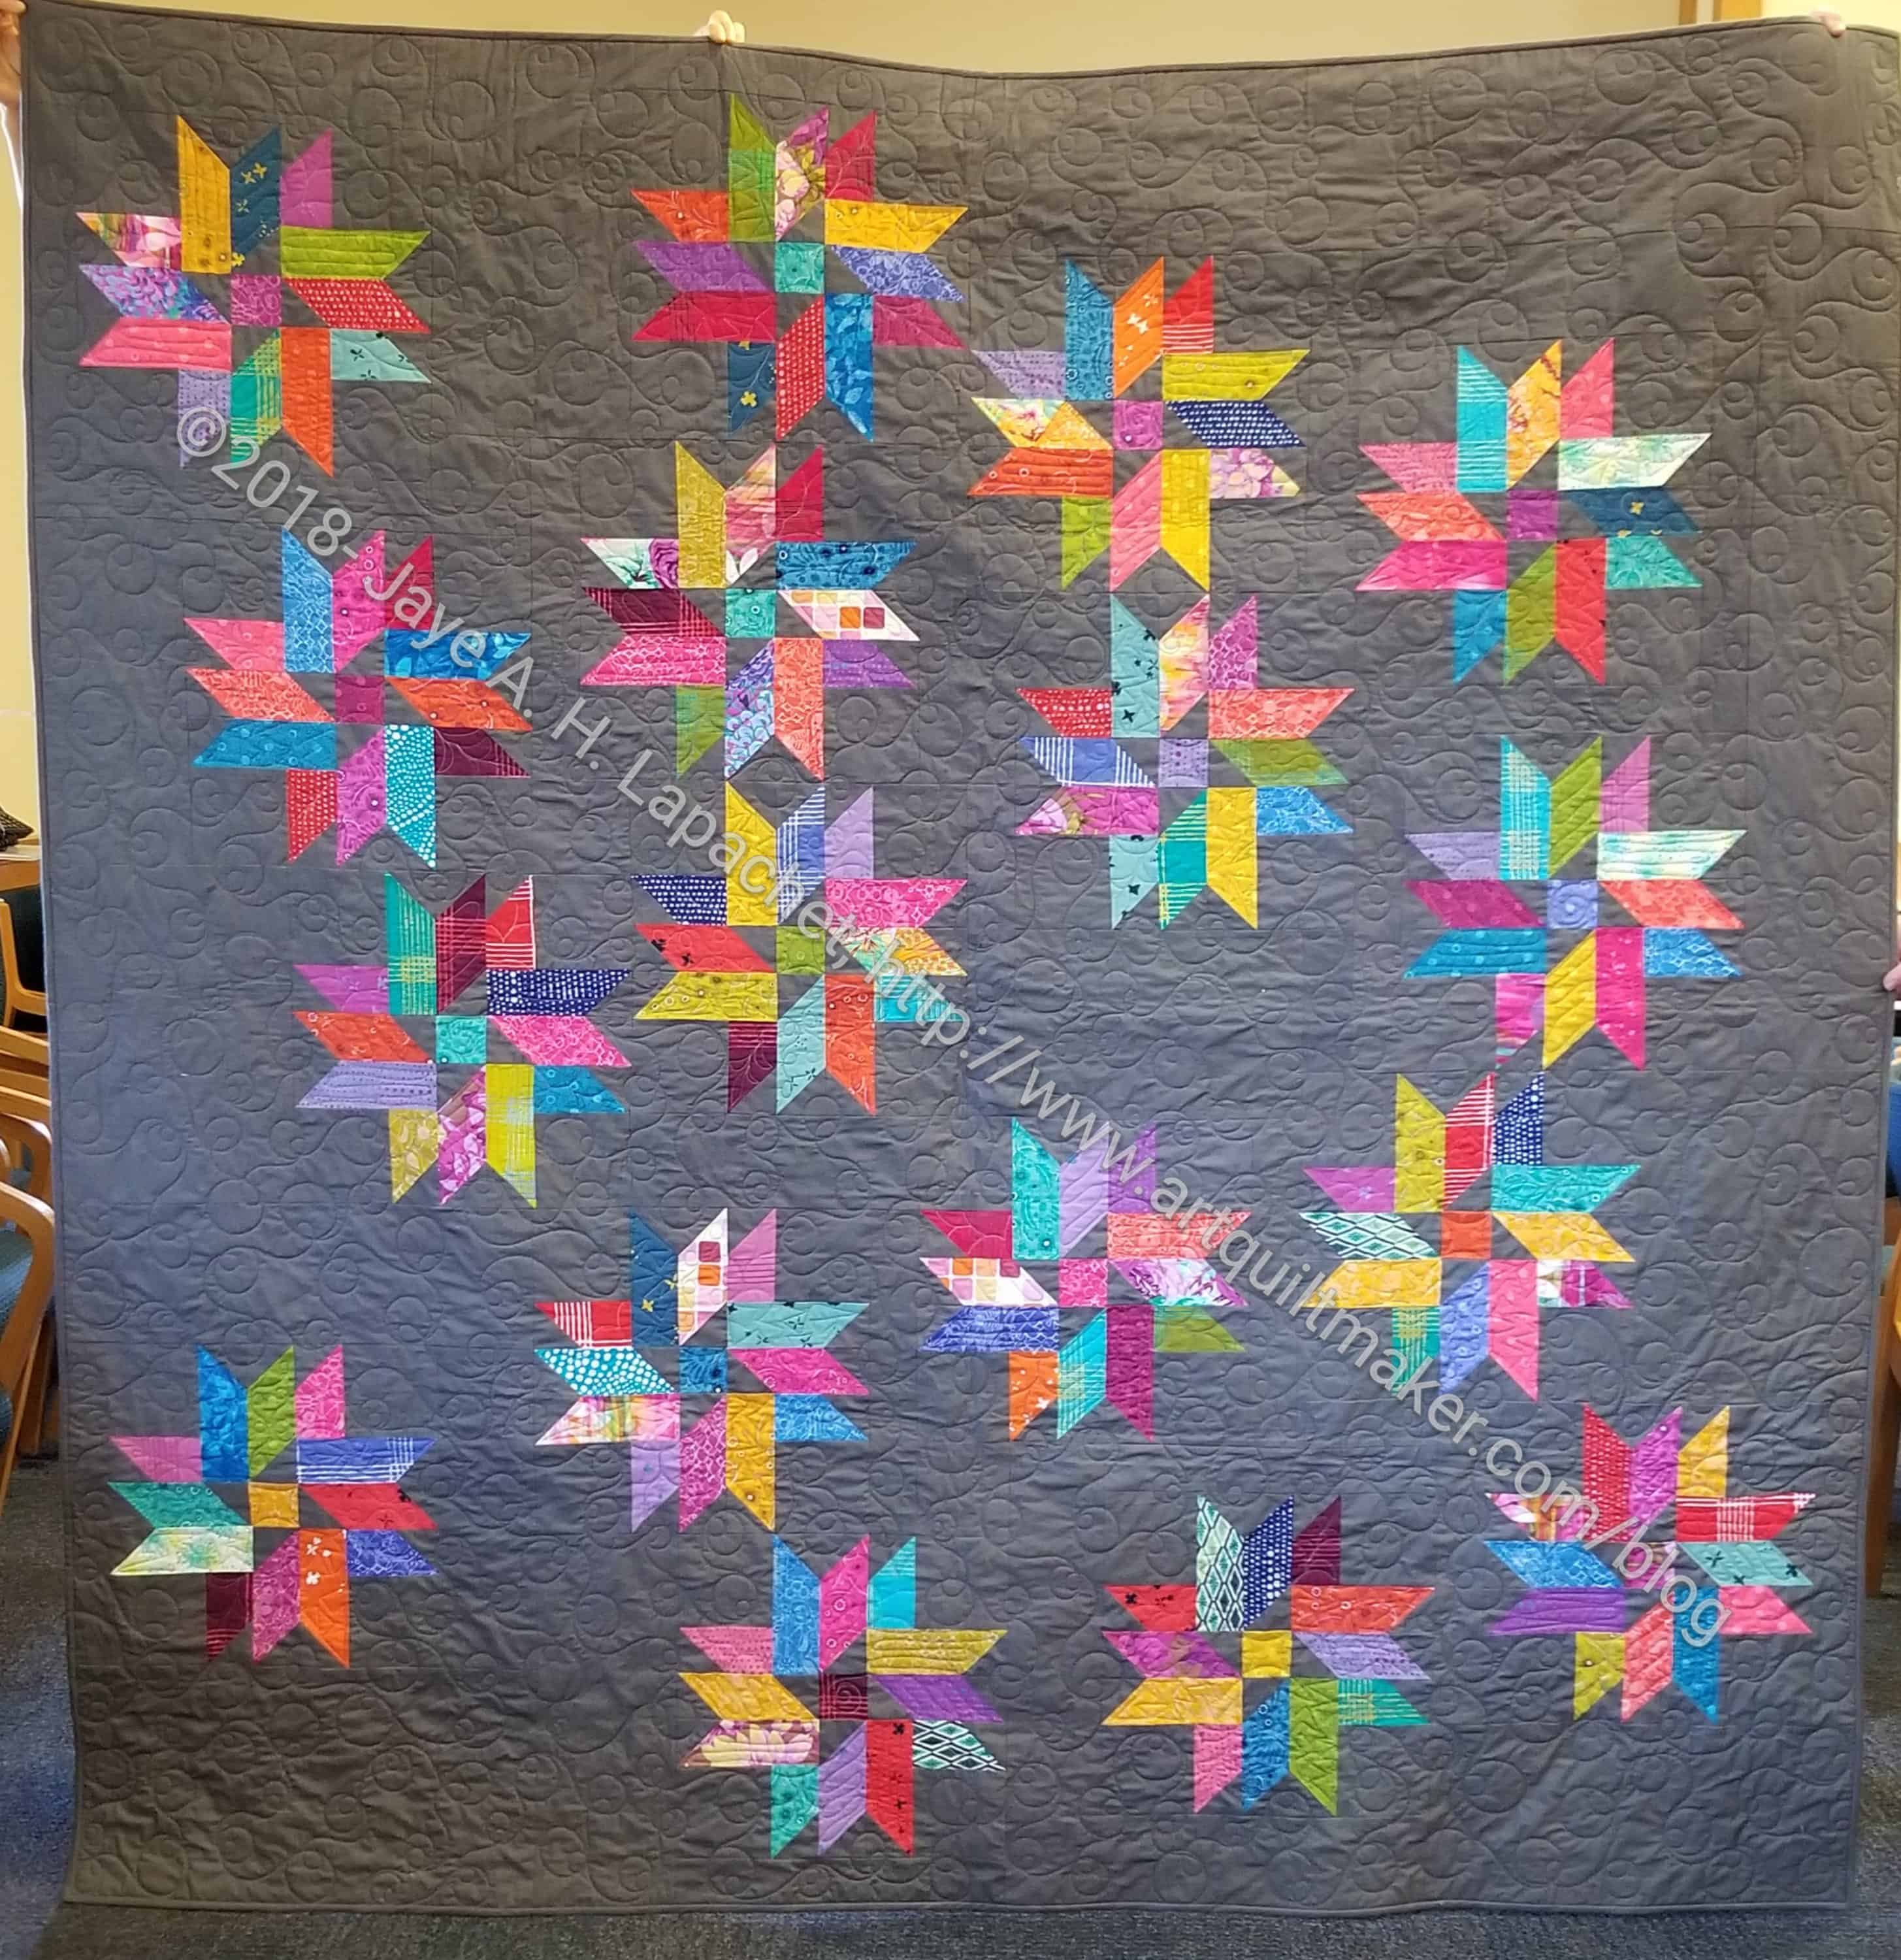
Thoughts: This is a quilt from which I get a lot of bang for my buck. The visual impact is tremendous. The easiest way to do the spiky triangles is with paper piecing. I am not that big of a fan of paper piecing (read my laments about the Spiderweb‘s paper piecing). I made Spiky Stars using templates and that was meditative and won a prize, so it is doable.
Jack’s Chain Quilt
Status: dream state
Pattern: Jack’s Chain, a continuous pattern
Fabric: bright scrappy, consistent centers
Thoughts: This is one of the first quilts I saw hanging in a quilt store and thought of making, after I learned to quilt. I have seen a number of variations lately using different hexagons in the center. Making the nine patches would be a good leaders and enders endeavor. As if I don’t have about a zillion leaders and enders opportunities.
Music Quilt
Status: dream state, but not very inspired
Pattern: Top will have a piece of music the Young Man can actually play. That will probably be applique’
Fabric/Colors: music prints and tone-on-tones with a little red
Thoughts: The Young Man has requested this quilt as his high school graduation quilt. I missed that deadline. He has sent me a piece of music, which I printed out. Now I need to make into an applique’
Pineapple (Hunting and Gathering)
Status: I have strips cut.
Fabric: dots. Have most of the strips cut. Will be much more selective about which strips I use.
Pattern: Pineapple log cabin
Thoughts: I haven’t given up on a Pineapple quilt despite my frustration with the previous attempt. I bought a different ruler: a Creative Grids Pineapple ruler in hopes that it will work better for me.
Quick Curve Ruler Quilt
No exact plans yet
Silk Colorblock quilt
Status: I have the fabrics and the plan
Fabrics: silk dupioni and cotton in brights (of course)
Thoughts: I have made a couple of, what I call, Colorblock quilts over the years. One was the Kona Challenge in 2011, another was my 1990 Colorblocks 2 and the first one, Colorblocks, also made in about 1990. I bought the silk fabrics at the Marin Needlearts show about a zillion years ago and they have languished waiting for me to learn to back them so I can use them. I think I have that covered now and there is nothing stopping me except time and will.
Status: half cut; need more greys for the background
Fabric: Scrappy. I will use a grey for the background, because if I use more of the cut fabric patches, the pattern will be lost. The pieces are too oddly shaped and I don’t want to lose the pattern in a mass of scraps.
Pattern: Come Quilt with Me Rotary templates
Thoughts: I think I will buy the Sizzix template and cut grey windmill pieces with that instead of by hand
Out of the Dream State: Below is a list of projects that were on this list at some point that I actually made or am working on:
Half Moon Modern Quilt I made a Chubby Charmer instead of a quilt and am happy with that choice.
Medium Mondo Bag – I actually made the Midi bag. I think I might have another pattern to make another one, so I will have to try it out without the class.
I made some progress on the BAMaQG IRR at Craft Night the other night. The image shows the whole piece. Obviously, you can’t see the hand stitching, but you can get an overall view of the piece.
I am not using a pattern or marking much when I Big Stitch. I am following the stitching lines and eyeballing where my stitches go. They are mostly straight lines, a quarter inch from seams.
I plan to use different threads, especially the Sue Spargo threads I have been buying, but at the moment I am using an Aurifil embroidery thread.
BAMaQG IRR May 2018 detail
The Flying Geese made some arrow type designs.
You can see, especially if you click on the image to make it larger, that I am doing multiple rows of outline stitching. I don’t want the piece to be stiff, so I probably won’t fill in the whole arrow, but I might do a few more lines. I’ll have to see.
BAMaQG IRR May 2018 back detail
I am pretty pleased with the way the back looks as well. Unlike 10 stitches to the inch hand quilting, the stitches on the back of a Big Stitched quilt are supposed to be smaller, according to Sarah Fielke. Mine are smaller and even, which is what I have been working to improve.
BAMaQG IRR May 2018 detail
If I were to put stitches in all the solid areas so there was no open space, the look would be somewhat like one section I already did. The section between the green dots and blue flowers has about 4 lines of stitching that covers the whole area.
As mentioned back in April, I am a member of the Crafty Gemini Organizer Club. I made a couple of the projects, but haven’t been able to keep up the pace since the beginning of April. After getting the Octagon Nine Patch ready for the quilter, I decided to work on a club project.
Crafty Gemini Sewing Machine Mat
For reasons you will find out later, this project not going to be part of the set. I chose the ice cream cone fabric, because it is super fun.
As you can see, I am part way through the project. I cut the mat slightly larger than the pattern called for to accommodate larger machines.I have bound the vinyl pocket and basted it to the main fabric, but have gotten no further.
Crafty Gemini Sewing Machine Mat detail (in process)
Crafty Gemini projects are known for zippers and vinyl. This project only has vinyl and I have an idea in my mind to make several of them for gifts. I saw another similar project in Issue 35 of Love of Patchwork & Quilting magazine. It looks very similar with a few differences. I am thinking of making that one to compare the two projects. Stay tuned to see if I do it. I have a lot of plans for gifts.
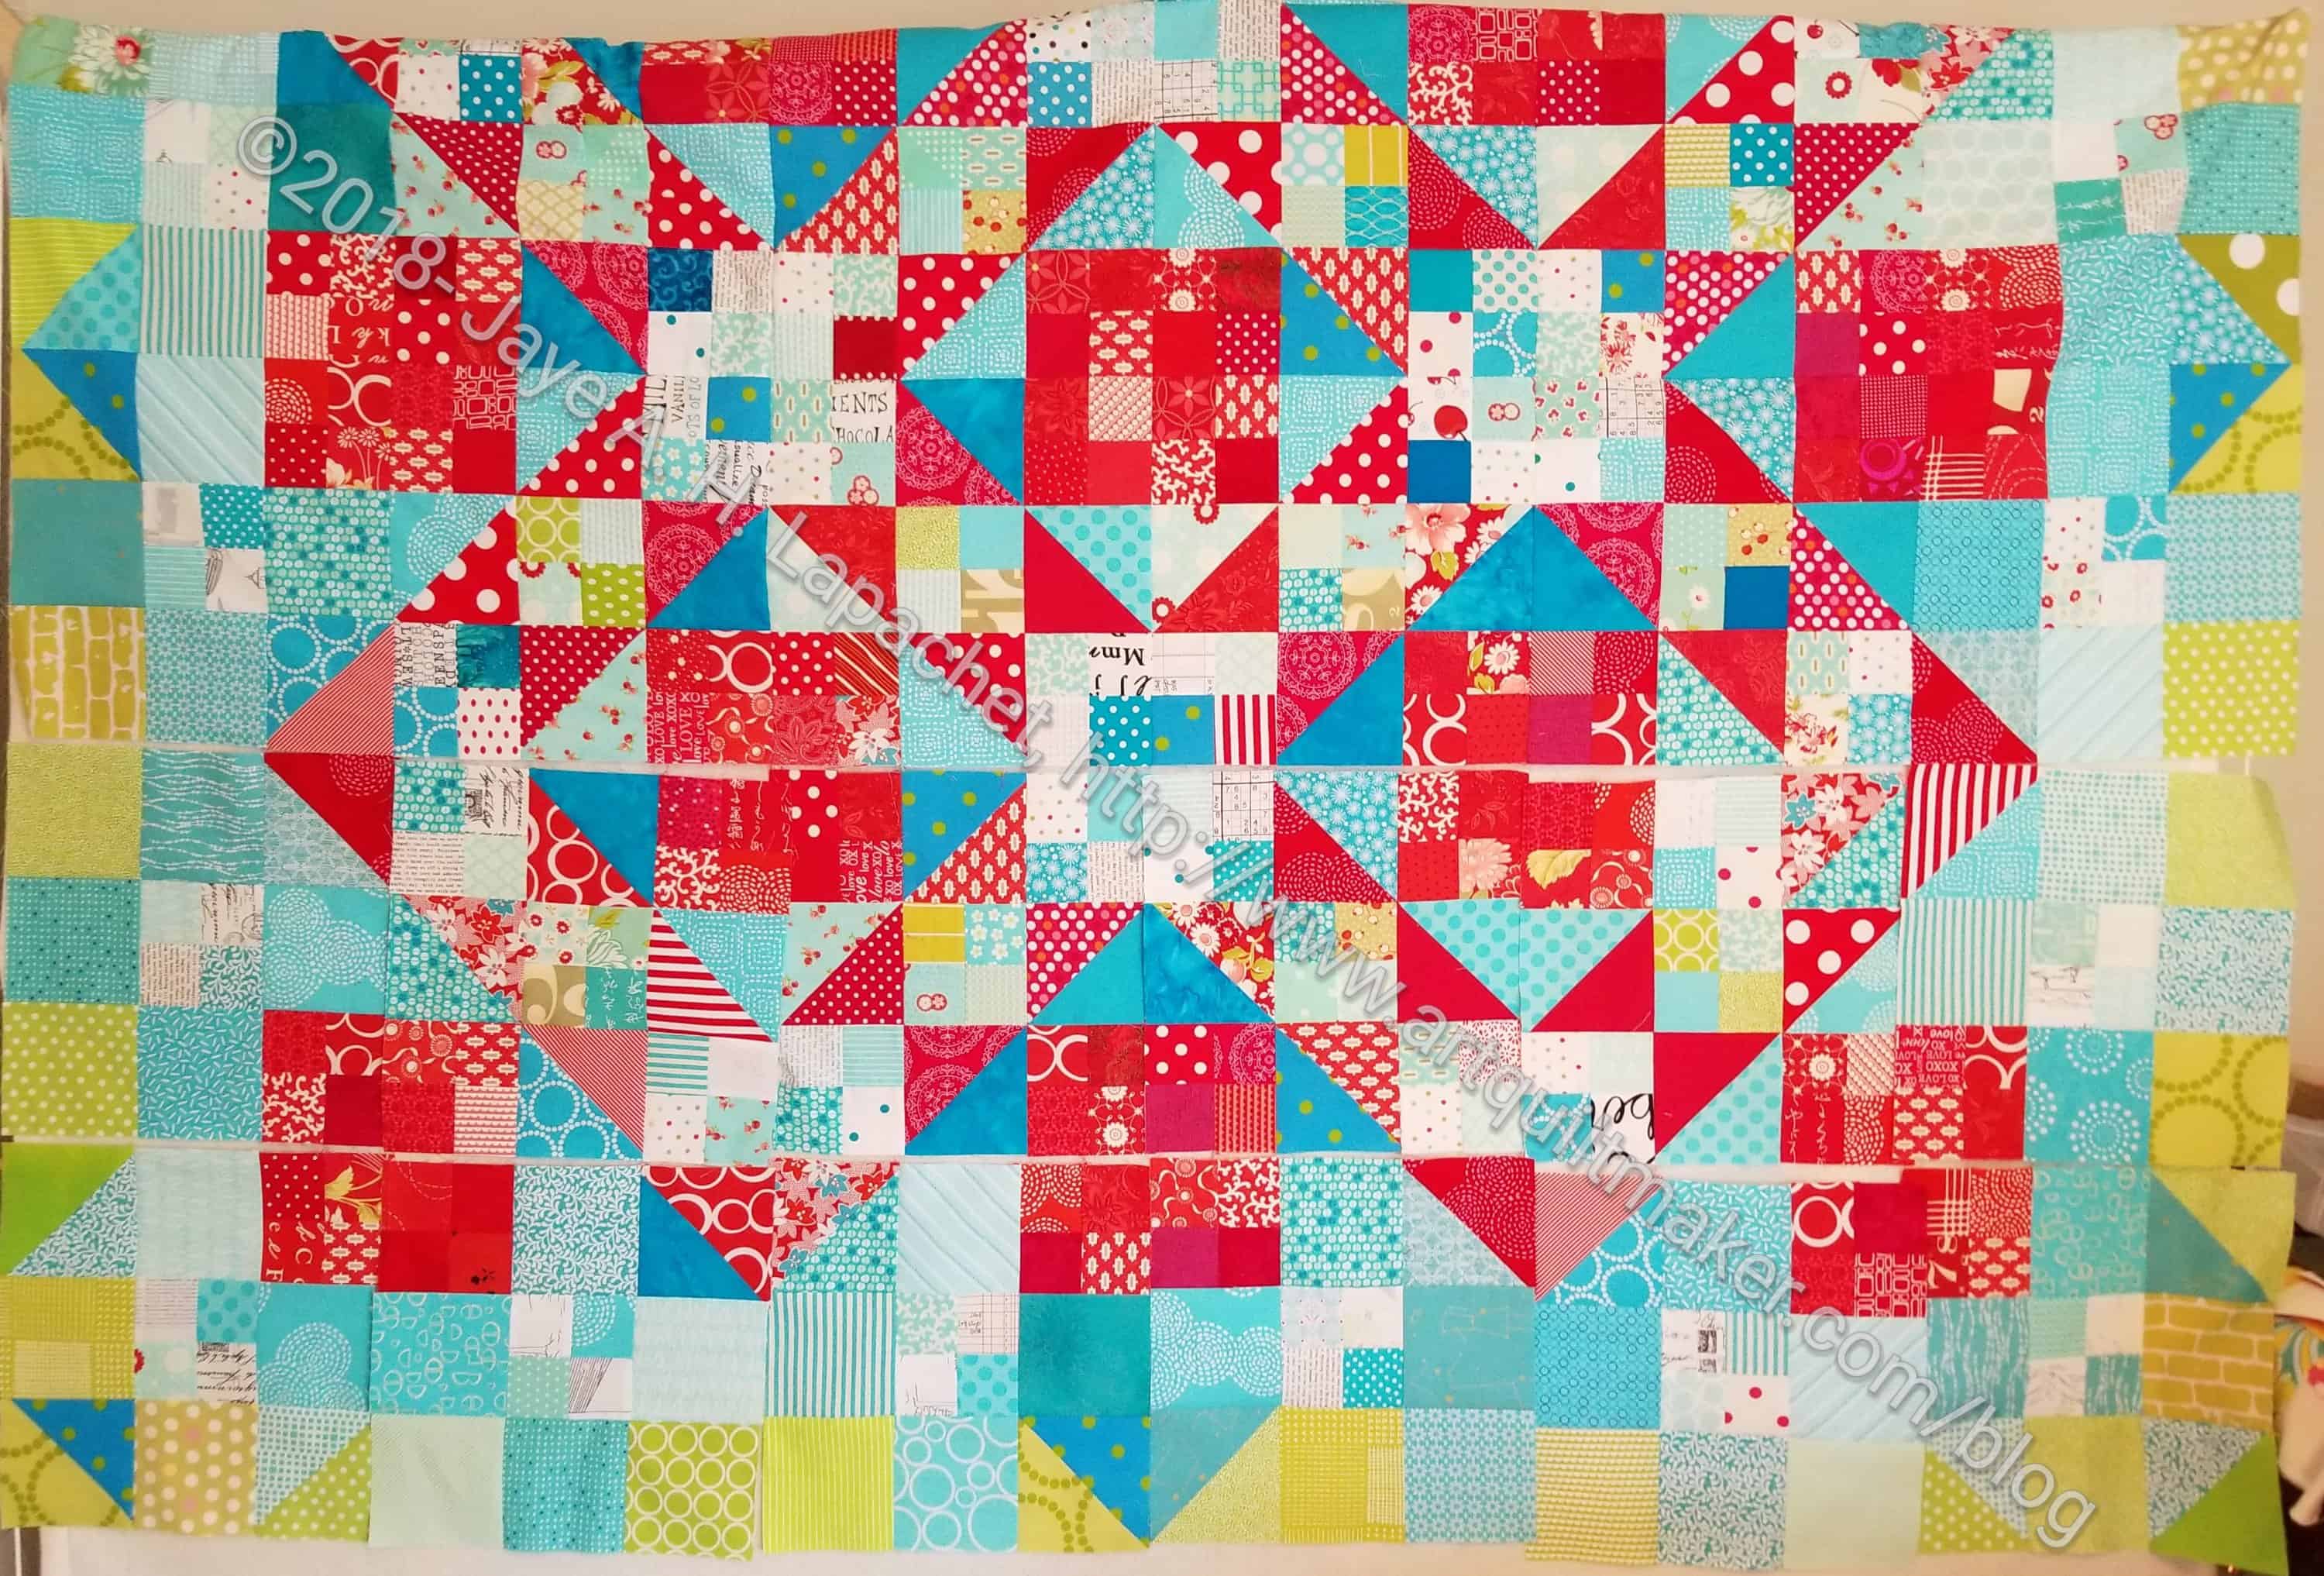
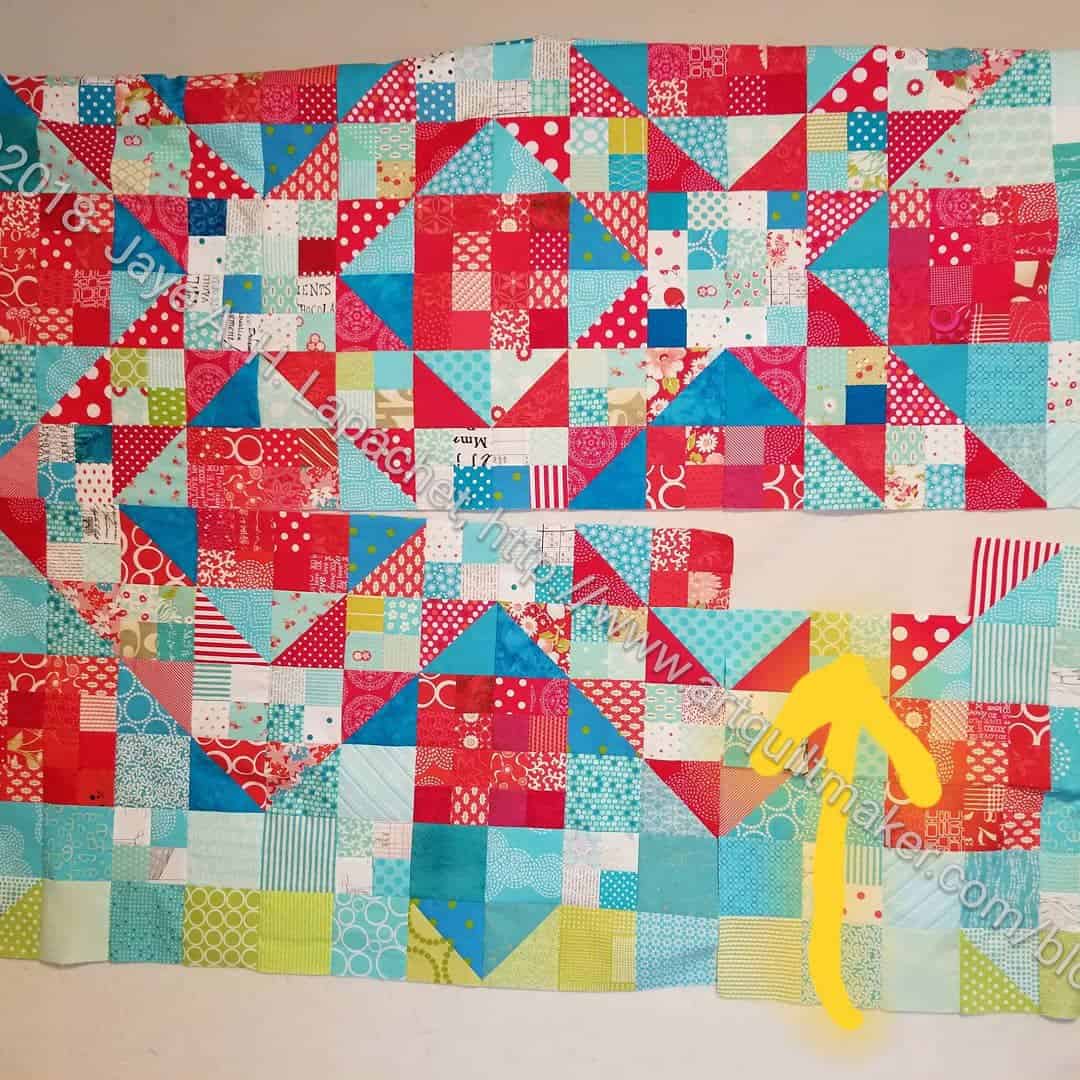
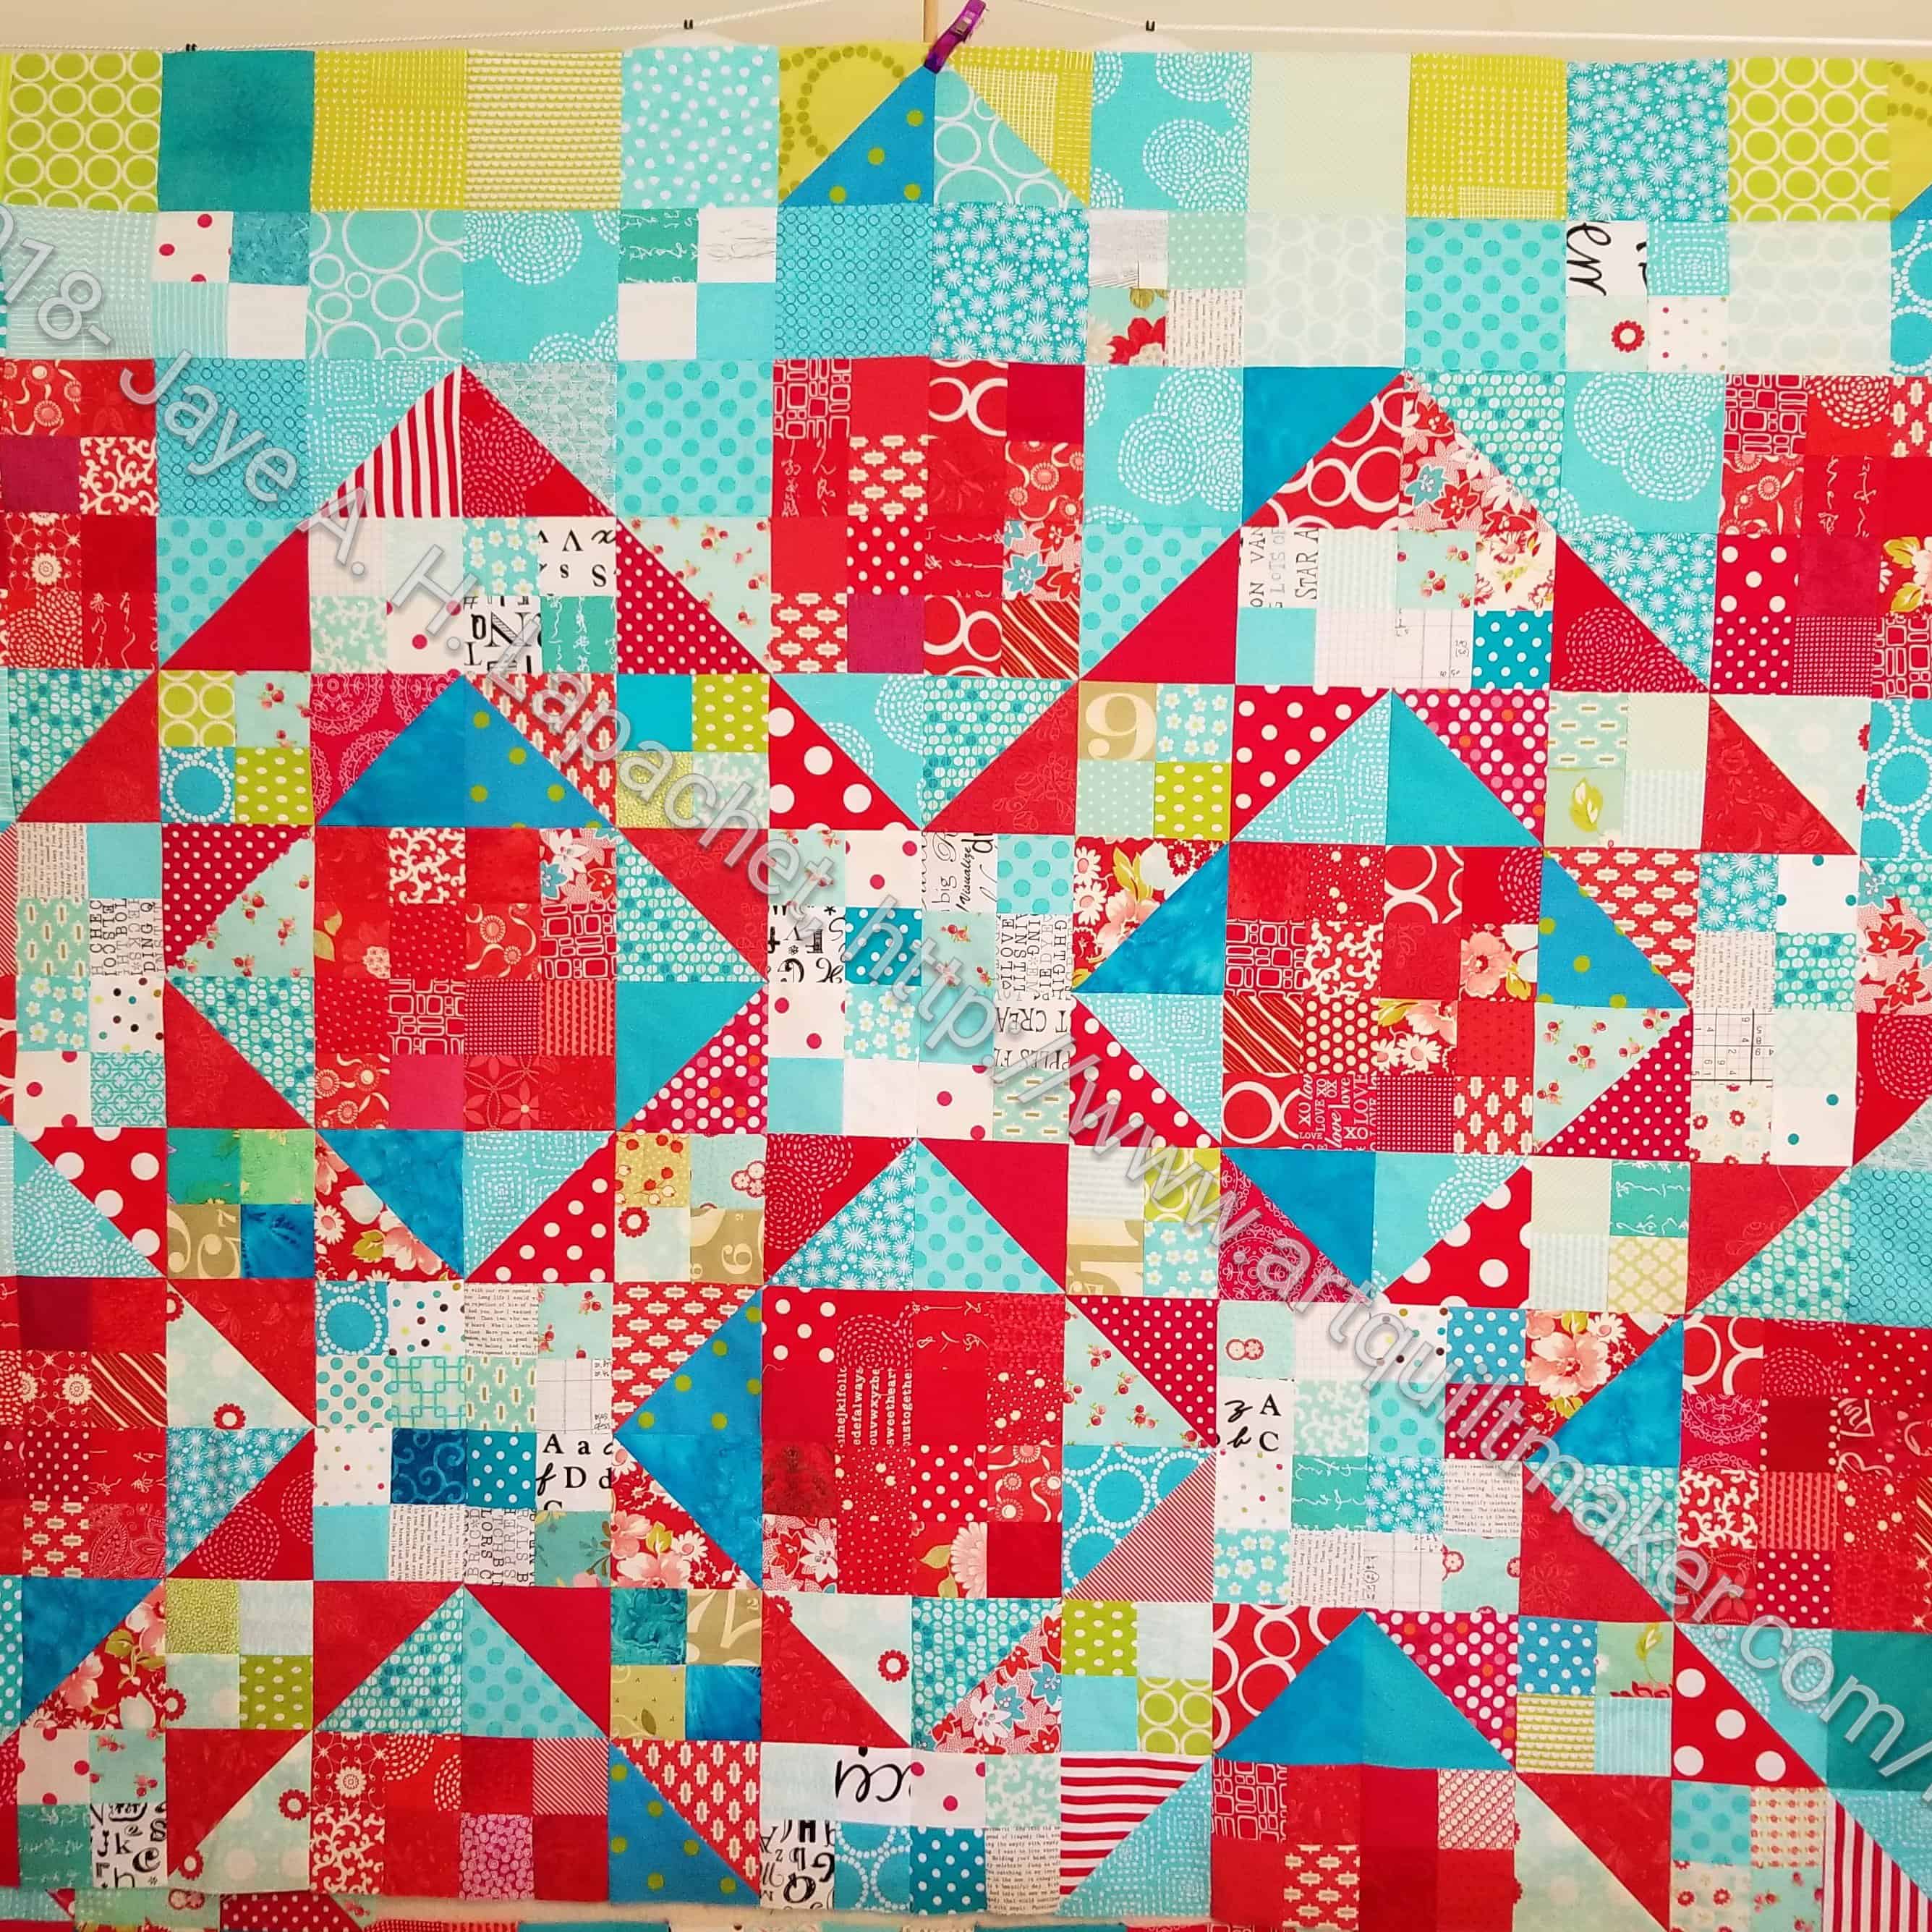
The Octagon Nine Patch is ready to go to Colleen and I put the Stepping Stones blocks back on the design wall. The last time I talked about this was only in March, so not an eternity ago. There is a lot of work to do on this piece: more cutting for the border. I am tempted to sew the upper patches into blocks and then sew the upper blocks together. I can’t really fit the whole piece on my design wall and that seems like a good solution. I am afraid I will end up with some blocks with all the same fabrics next to each other, however. I know it will look a lot better sewn together. It looks a lot more defined in the photo than it does in person.
I can’t decide if I am determined to get this done this time or not. I started this in about December of 2014, so it has been hanging around awhile. I should get it pieced and off to the quilter. I am not quite feeling the love. What a shame.
I saw this wind sculpture when I went to get my hair cut on Saturday. I have walked by it numerous times and finally stopped to take a photo.
ColorPlay Wind Sculpture-default
The default was great! NO neutrals this time. I found it to be a very appealing palette, if a little too monochromatic.
ColorPlay: Wind Sculpture n.1
I took the opportunity of a great default to try a monochromatic palette. I tried to go for sea tones and I think I got a blustery day sort of look.
ColorPlay: Wind Sculpture n.2
With the second palette, I tried to pull out the colors in the image. There are quite a few colors and I wanted a variety. The only one I don’t like is the Kona Parsley. It doesn’t look like parsley at all to me. It looks like one of those life-sucking beige relatives.
ColorPlay: Wind Sculpture n.3
In the third palette, I went back to blues, but expanded to darks. I like the colors together. In a quilt, however, I don’t think there would be enough contrast.
ColorPlay: Wind Sculpture n.4
I really got a lot of mileage out of the default blue-centric palette. I continued with the monochromatic theme in the fourth palette, but went with brighter and happier blues. There are some darks and it was hard to find places in the images where the tool registered the location as a different color/fabric.
ColorPlay Wind Sculpture-n.5
With n.5 I tried to find every spec of warm colors in the whole image. The pickle is the only cool color, but it has a tinge of warmth to it, I think.
ColorPlay: Wind Sculpture n.6
With the last palette, I decided to stick with blue, but go light, even venturing into grey. The Avocado was kind of a desperation choice, but the others stuck with my idea.
I finished the top and back over the weekend. I started this project in 2015 and am really glad to be done with it.
It is a nice quilt and I will send it off to friends after showing it around.
Octagon Nine Patch top detail
I made an effort to use cool colors on the border to pick up some of the cool colors in the Nine Patches. I think some of the darks in the border are too dark, but live and learn. This is not a pattern I will be repeating.
I tried to make the piece look like it was woven and I think, if you get close, you will see that impression. At least I hope you will. I couldn’t completely keep like colors away from each other, but I did my best. I am pleased with the way the whole thing came out.
Octagon Nine Patch back
I was fortunate to find a piece of Kaffe in my backing pile that fit the quilt widthwise. I only had to make a strip to cover the rest of the vertical. I was thrilled. Not only was the Kaffe the perfect size, but the colors make it look like it was made for this quilt. Yay!
I was thinking about Marrimeko fabric the other day and this quilt came to mind.
This quilt is pieced, but the smaller sections are not pieced. They are panels. They were already cut when I bought them at the Crate & Barrel outlet, so I sewed them together to make a quilt for the baby I was expecting. Machine quilt was something I was building as a skill with the new machine I had bought the year before so I decided to machine quilt it. Basting has always been a trial, so I thought I was being clever when I used Wonder Under to baste the quilt. It stayed together while I quilted it, but the quilt is stiff as a board, practically. We never really used it for a baby quilt. We did use it as a playmat. I still like it and could put a sleeve on it and hang it up.
This quilt was probably one of the last quilts I made until the YM was about 6 months, maybe a year old.
The last time I wrote about this project was March. I have actually made a lot of progress on this quilt, though it might not seem like it. The shape and size are small for this year, so I will really need to step up my cutting game.
Time has been short recently due to a lot of family events, but I have had time to press and cut shapes from my new fabrics. This means lots of new squares for FOTY 2018. In this group you will also see lots of familiar fabrics. Fabrics show up from the projects on which I have been working recently.
There is also something a little different this time: the butterfly. After I washed the fabric, I wrote myself a note to fussy cut one of the butterflies. I did, but I am not sure it will end up as is in the final project. I don’t want one fabric to dominate. If I buy (or use some already in the fabric closet) some other fabrics with fussy cuttable designs, then I might keep it. For now, the opportunity is there.