Creative Prompt #33: Spiral

You should all have fun with this one!

Definition from Wikipedia: In mathematics, a spiral is a curve which emanates from a central point, getting progressively farther away as it revolves around the point.

Fibonacci Spiral.

2007 movie directed by Adam Green and Joel Moore.

Spiral anime.

Nautilus shells.

Spiral notebook.

Spiraling out of control.

Fermat’s spiral.

Miquelrius notebook.

Periodic Spiral is a unique redesign of the Mendeleyevian periodic table

Spiral of Archimedes.

Death spiral.

Spirograph Box
Spirograph Box

Spirograph (see www.samstoybox.com/toys/Spirograph.html)

See the Creative Prompt page if you have questions about this project.

Post the direct URL where your drawing, doodle, artwork is posted (e.g. your blog, Flickr) in the comments area of this post. It will keep all the artwork together.

The Creative Prompt Project, also, now, has a Flickr group, which you can join and where you can post your responses.

There is more information on the recently updated Creative Prompt Page.

Sketching #32

CPP Response #32
CPP Response #32

After looking at a few of my recent drawings and I realized that I hadn’t been adding as much detail as I had in the past. I had some bits of time this week, so I decided to try and add a few more details to this one. This is the second attempt, but I am pretty pleased with how it came out.

Yes, I am moving furniture around. 😉

Various and Sundry Thursday

I am on a trip to the Midwest so I wrote this post in advance so you would have something to read, and, hopefully, enjoy,  while I am away. I’ll be back tomorrow and the Creative Prompt will be posted tomorrow like normal. Sadly, as it is a quick trip for a board meeting, I doubt I will have time to check out any quilt stores while I am there.

1. I am a fan of the Electric Quilt on Facebook (and in general, of course!) and was directed to a blog called Piecemeal Quilts via the EQ Blog. The linking sounds complicated if you are not on FB! Sandi, from Wisconsin writes the blog. She has a number of free pattern downloads, paper piecing patterns and examples of EQ work. She is also ‘man enough’ to keep a quilting resources list! It is a lot of work to keep such a list up to date and, from what I saw, it is pretty complete.

The thing that really drew me in to her blog was her writing tone. I seem to be noticing writing tone lately, for some odd reason. She has a nice, friendly and intelligent, but not goofy or insipid tone to her writing. I enjoyed her post on books. I like the books that she likes and thinks that she and I may have the same tastes.

2. When I mentioned Quiltposium on my blog last week, MavMargi pointed  me about another online magazine called Sewn. I took a quick look and it looks interesting. Sewn is out of Australia. The styling is very Heather Bailey/Anna Maria Horner. They have patterns and a gallery as well as a fabric search function. I immediately put the Botanical Pop fabrics I still need in and got an email back pretty quickly. Worth a look.

I am not that enamored with online/digital magazines, because I can’t read them in bed (I don’t want to hear from you people who take your laptops to bed!!!) or on the train. However, I do recognize that I will have to get with the program at some point, because more and more stores are ceasing to carry magazines. 🙁

One of the sites that was a link in Sewn was called Modern Textiles. The Modern Textiles site has lots of navigation choices. I looked at  ‘Sewing Patterns’, specifically the Melly and Me Bags. These are really unique bags. The combination of fabrics are quite bright and cheerful, but the styling is also very different from other bags I have seen. I really want to see the Bon-Bon bag, because I have never seen anything like it. I would like to see the inside of it in order to determine how useful it would be.

I did find that the pattern list did not have many alternate photos of the bags, but that information may be on the main Melly & Me website.

3. It looks like our financial situation will stay the same through the end of the year, so I am gearing up to make some of my Christmas gifts this year. I don’t know if I will have time to make it before Christmas, but I bought the Pencil Roll pattern from Pink Chalk Studio. Julie made me one for my birthday last year and I have started to carry it around in my clear tote. There are a few free patterns for pencil rolls out there on the web, but this one looks like the best in terms of functionality and styling. We’ll see how difficult the pattern is when I get it.

Perhaps I’ll get good enough to modify the design like in Kathy Perino’s version, which she showed on her blog a few weeks ago, and which I wrote about on August 30.

4. Pam Rubert of the PamDora quilts fame has redone her blog. She writes a really great post about the process, and her thoughts, about the changes in the blog world. She talks about circular writing and I think her thoughts are right on point. It seems that the web is leading us around in circles. (ever notice how I link back to previous posts? I am trying to give you the whole picture, but it ends up being circular, in a way) I haven’t played around with some of the things she discusses, but hope to do so in the future.

5. Want free Moo cards? Check out this link for a free pack with your own images. They have advertising, but free (you do have to pay shipping) is still cool. Thanks to Deirdre for the link.

6. I saw a video on the Craft Zine blog for a new book called Bent Objects. it is about the art of a guy who bends wire. There is a hilarious video on the Craft site that is well worth a look. It does explore a bit of the darker side of crafts, which we all know can be the hilarious side of crafts. Take a look.

Its a Major Award
Its a Major Award

7. On 7/29/2009 Quilt Rat left a comment saying that she had given me an award and I should go look on her blog. Jill’s comment about the inspiration in my creative prompts was really sweet and made me feel great. Despite the fact that almost 2 months have passed, I am still really thrilled to have received the “It’s a Major Award.” Thanks!

Citrus Holiday and Decorating

I get a Janome email periodically and when I have a chance to look at it, I am usually impressed with something. One thing I like about the photos below is the different colors – not the usual red and green – they use for Christmas. The ideas are still holiday-ish, but very fresh. Even if you are not a Janome owner (or don’t do Christmas), check it out. There are some fun ideas.
clipped from sew4home.com


Citrus Holiday: A Lighthearted Living Room

Click to Enlarge
blog it

Totes with Oval Bottoms

I had no idea I would ever need a book called the Illustrated Dictionary of Math. I now find that I actually might. I have mentioned Craft Nectar before and Weeks Ringle does not disappoint. She talks about the usefulness of this book in constructing oval tote bags. I might actually want to do that someday. You never know.
clipped from craftnectar.com

usborne-math-dictionary
For example, did you know that the Illustrated Book of Math will give you the formula for the circumference of an oval if you’ve designing a totebag with an oval bottom?
  blog it

Process

Deirdre sent me the link to this entry in Susan Shie’s blog. The post is all about the process of making one of her pieces. I was riveted reading the detail which she includes in her post. Read the post!

Susan Shie's Savannah
Susan Shie’s Savannah

Process is something that has been on my mind as I have worked on the Tarts. I used to be only focused on the end product. I found it to be very unsatisfying, because the end product had a short-lived shelf life. What do you do with a finished product? Put in the bed, hang it on the wall and …. There is nothing after that. I would be finished with the piece. There isn’t much more interaction with a finished piece.

It occurred to me at some point that the process was what was important. I have, since then, tried to focus on the process. I wrote about it in blog post on March 14, 2009 and also mentioned process on January 1, 2009 in the 2008 UFO Report.

In focusing on the process, I try to work on what I am working on right at that moment fully and completely. I try not to think ahead to the next step or the next project. This was brought home to me in a big way as I worked on the Tarts. That project required my absolute full and undivided attention. Any time I thought “oh this will be fine” meant trouble and I would end up ripping something out. The lesson was, however, that Lorraine Torrence’s advice about making visual decisions visually was correct. I knew it was, but the Tarts hammered the mantra into my mind.

One of the other things I realized about process is that while I work on something, I am completely engaged with it. I feel the fabric in my hand. I feed the thread into the machine or hand sewing needle, feeling it with my fingers. I am close to the fabric and the project supplies.

Susan Shie’s post goes through her process in minute detail. It would bore me if I had heard it before, but I haven’t. I find everyone’s process to be different and, often, fascinating.

The other thing about process is that a process does not necessarily stay within the bounds of a specific project. A process can continue to another project once I have finished with a piece. Susan talks about making her Kitchen Tarot deck, which is a multi piece project. She is making a quilt for each of the many Tarot cards in a deck. I really admire someone who can commit to such a large project. Her pieces aren’t small either. She has committed to the process.

The Word of the Day for Labor Day, September 7, 2009 was Reverence. My immediate reaction was a sinking heart and steeling myself for a lecture. The reverence that the author talked about was multi-faceted and had nothing to do with a harangue about organized religion. The passage talked about reverence for a process and reverence for materials.

“Everything that we do should be imbued with reverence and so one would think that we should begin with this concept. But no. Reverence only comes with experience and care.”

and

“In our own small way, we must create and bring order to our lives each day. We must be responsible, and at the same time express the wonder of all we know as human.”

and

“The stately determination to make something worthy of the materials and the moment is reverence.”

I think that by engaging in a process, we gain experience. The more time I spend working on pieces the more experience I gain. I also think that being appreciative of the materials and what they are contributing to the process helps me work better.

It seems to me that reverence is part of a process.

In the process of writing this post, I became much more interested in Susan’s work, classes, blog etc. Perhaps there is a class with her in my future?

Julie Tote

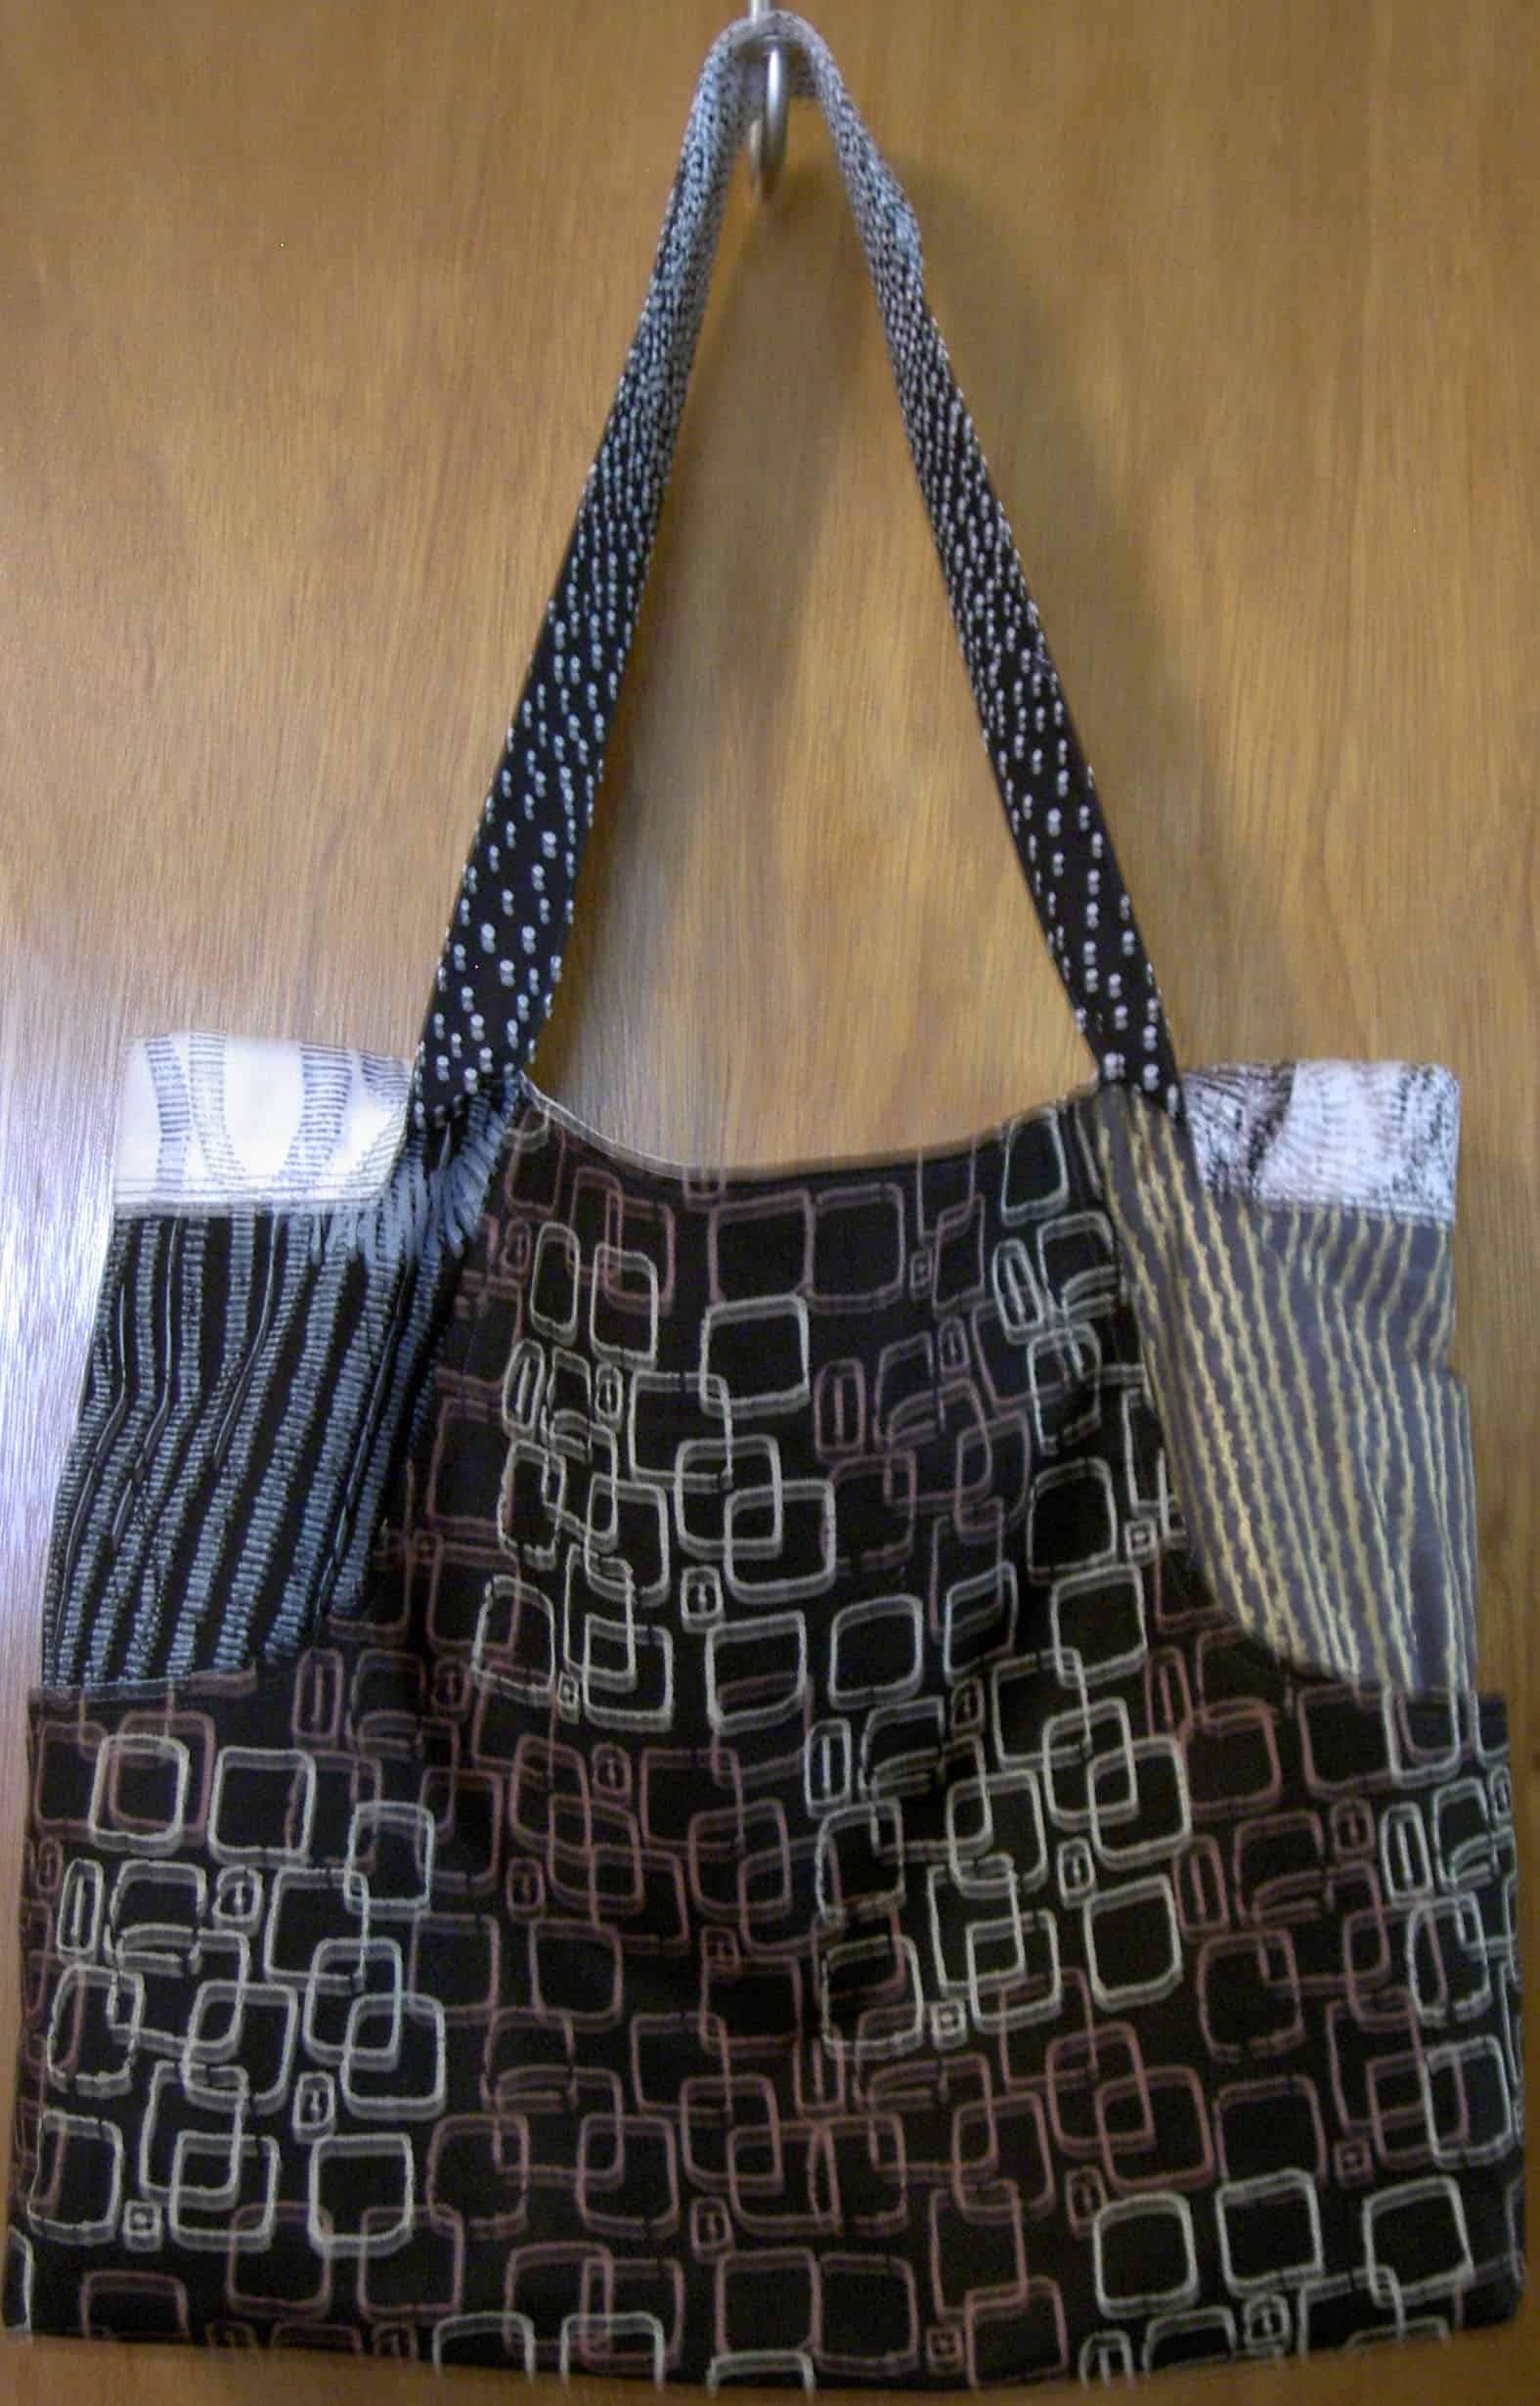
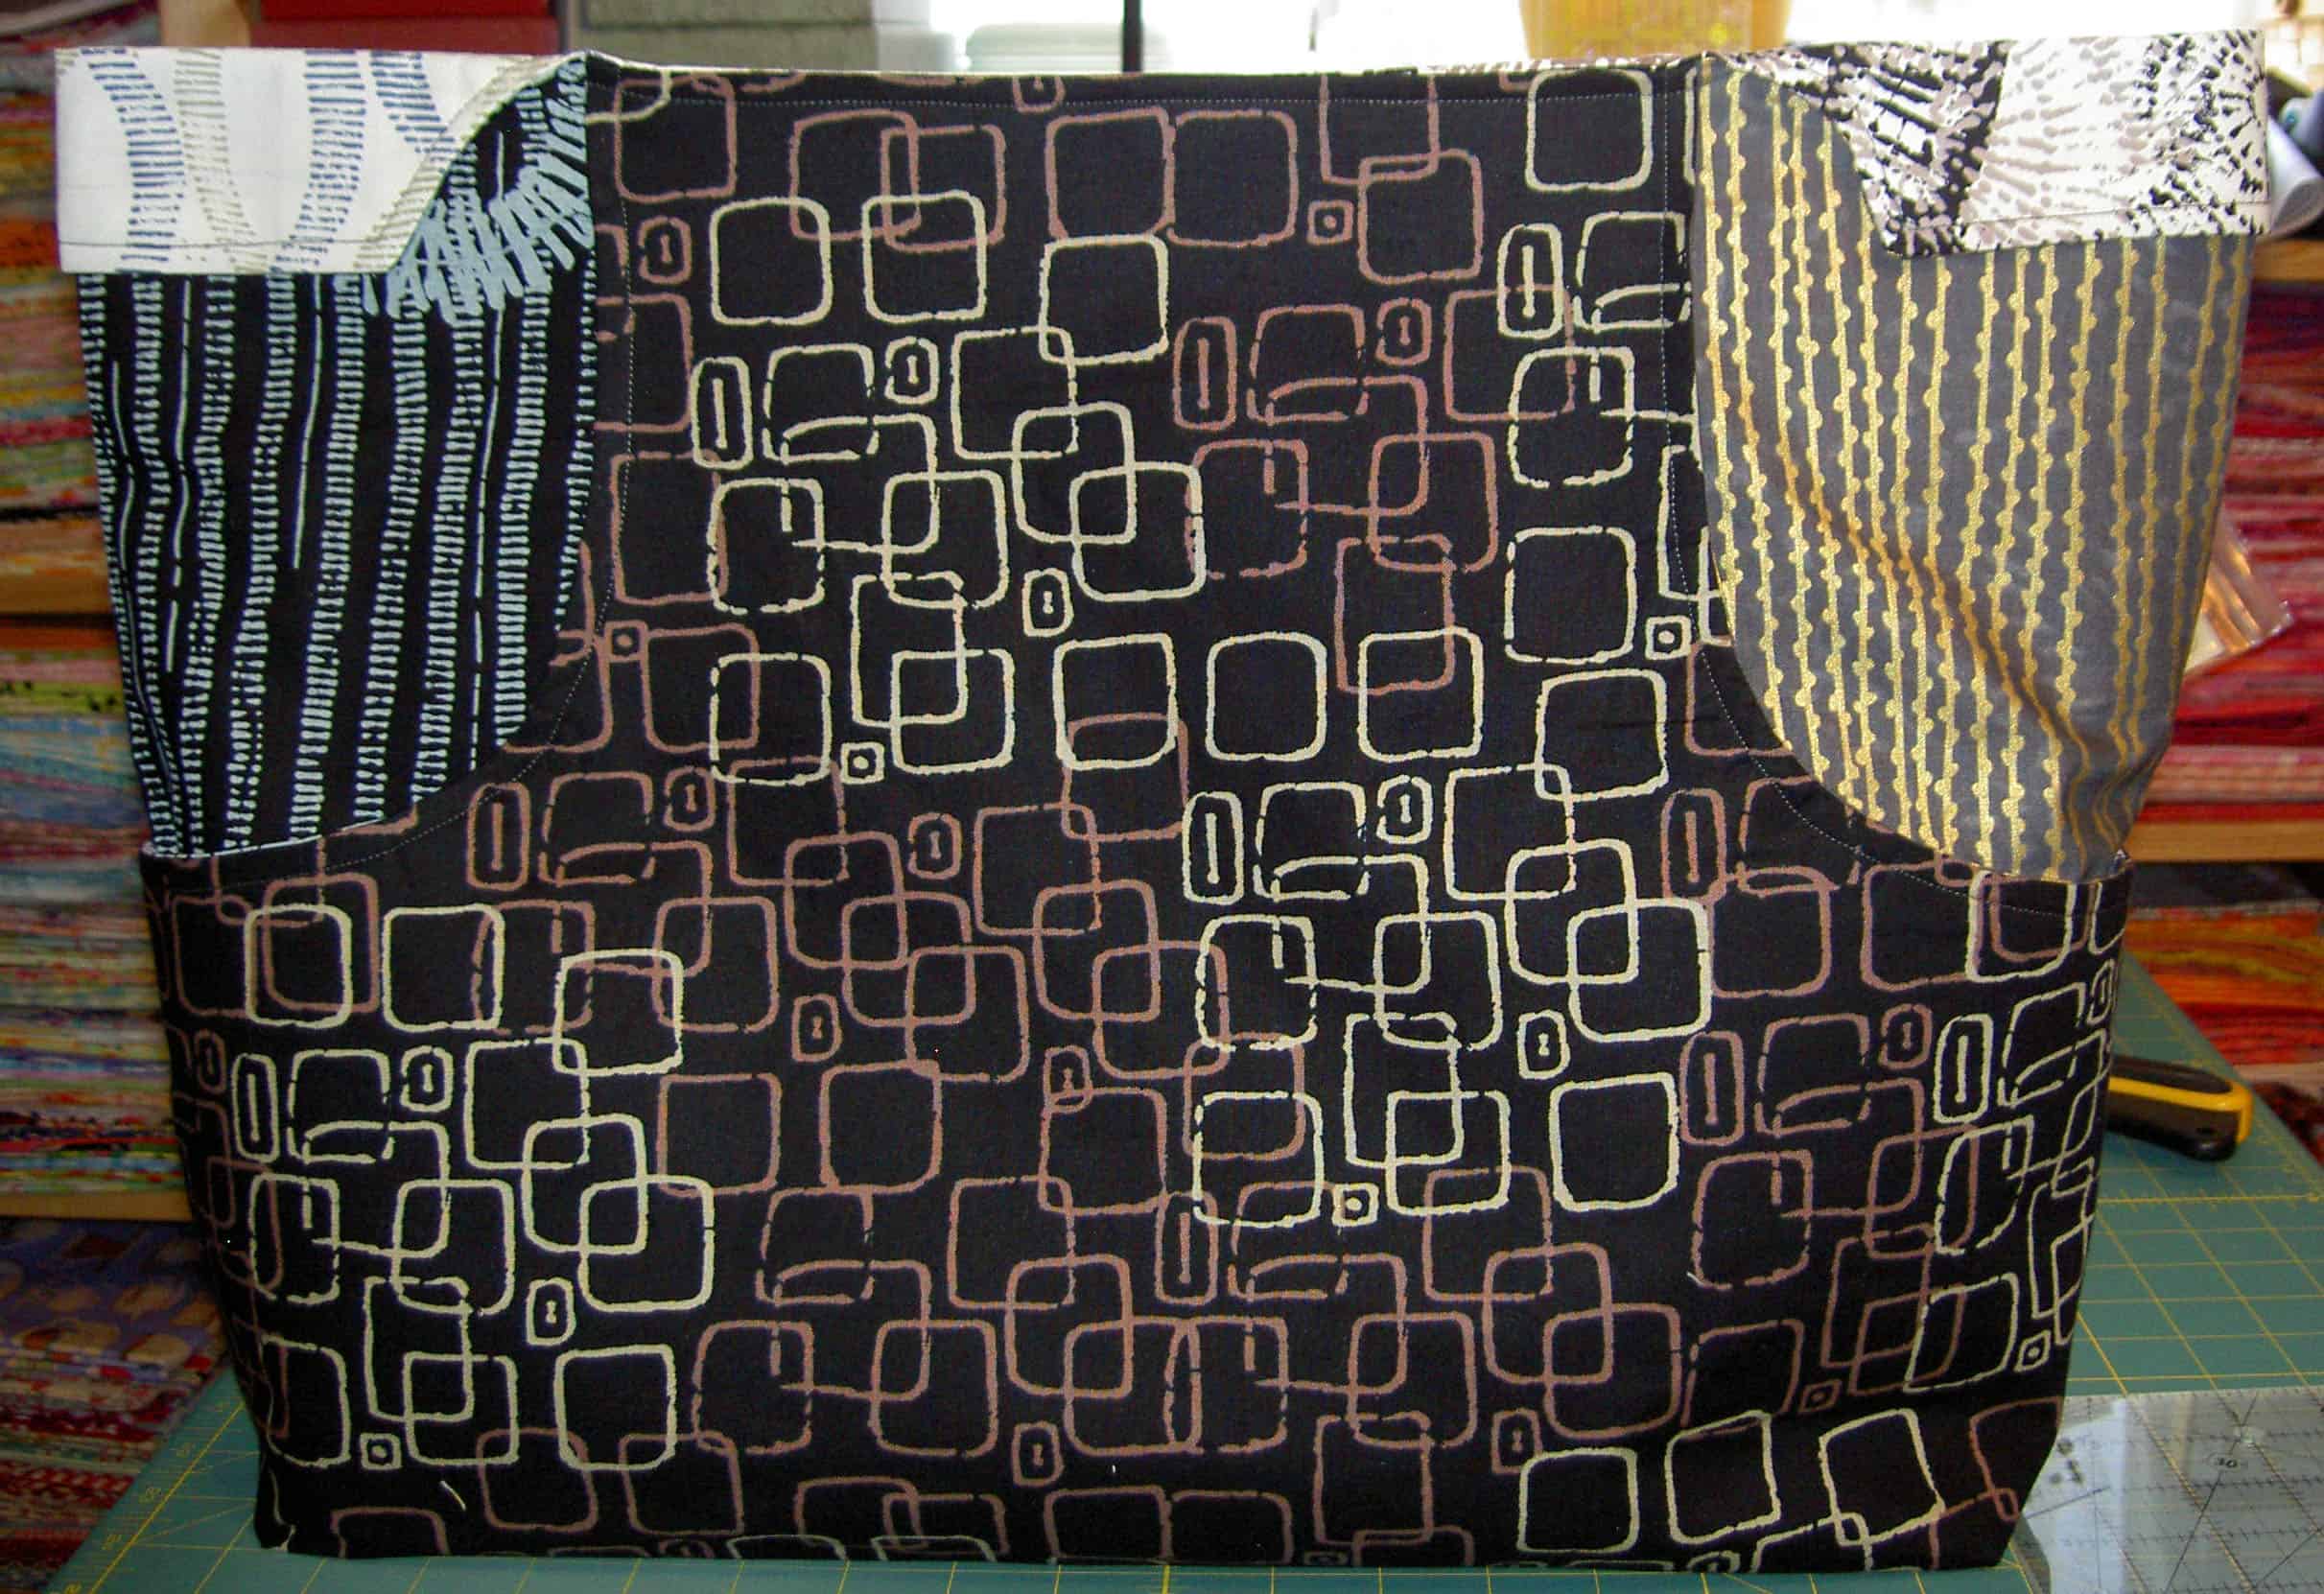
I spent some time sewing yesterday in between soccer and a movie. As a result, I finished the Anna Maria Horner Multi-tasker Tote. I keep thinking of it as the Julie tote, since Julie looked high and low and found the blue Denyse Schmidt fabric for me. She may get a gift. 😉

AMH MTT, finished!
AMH MTT, finished!

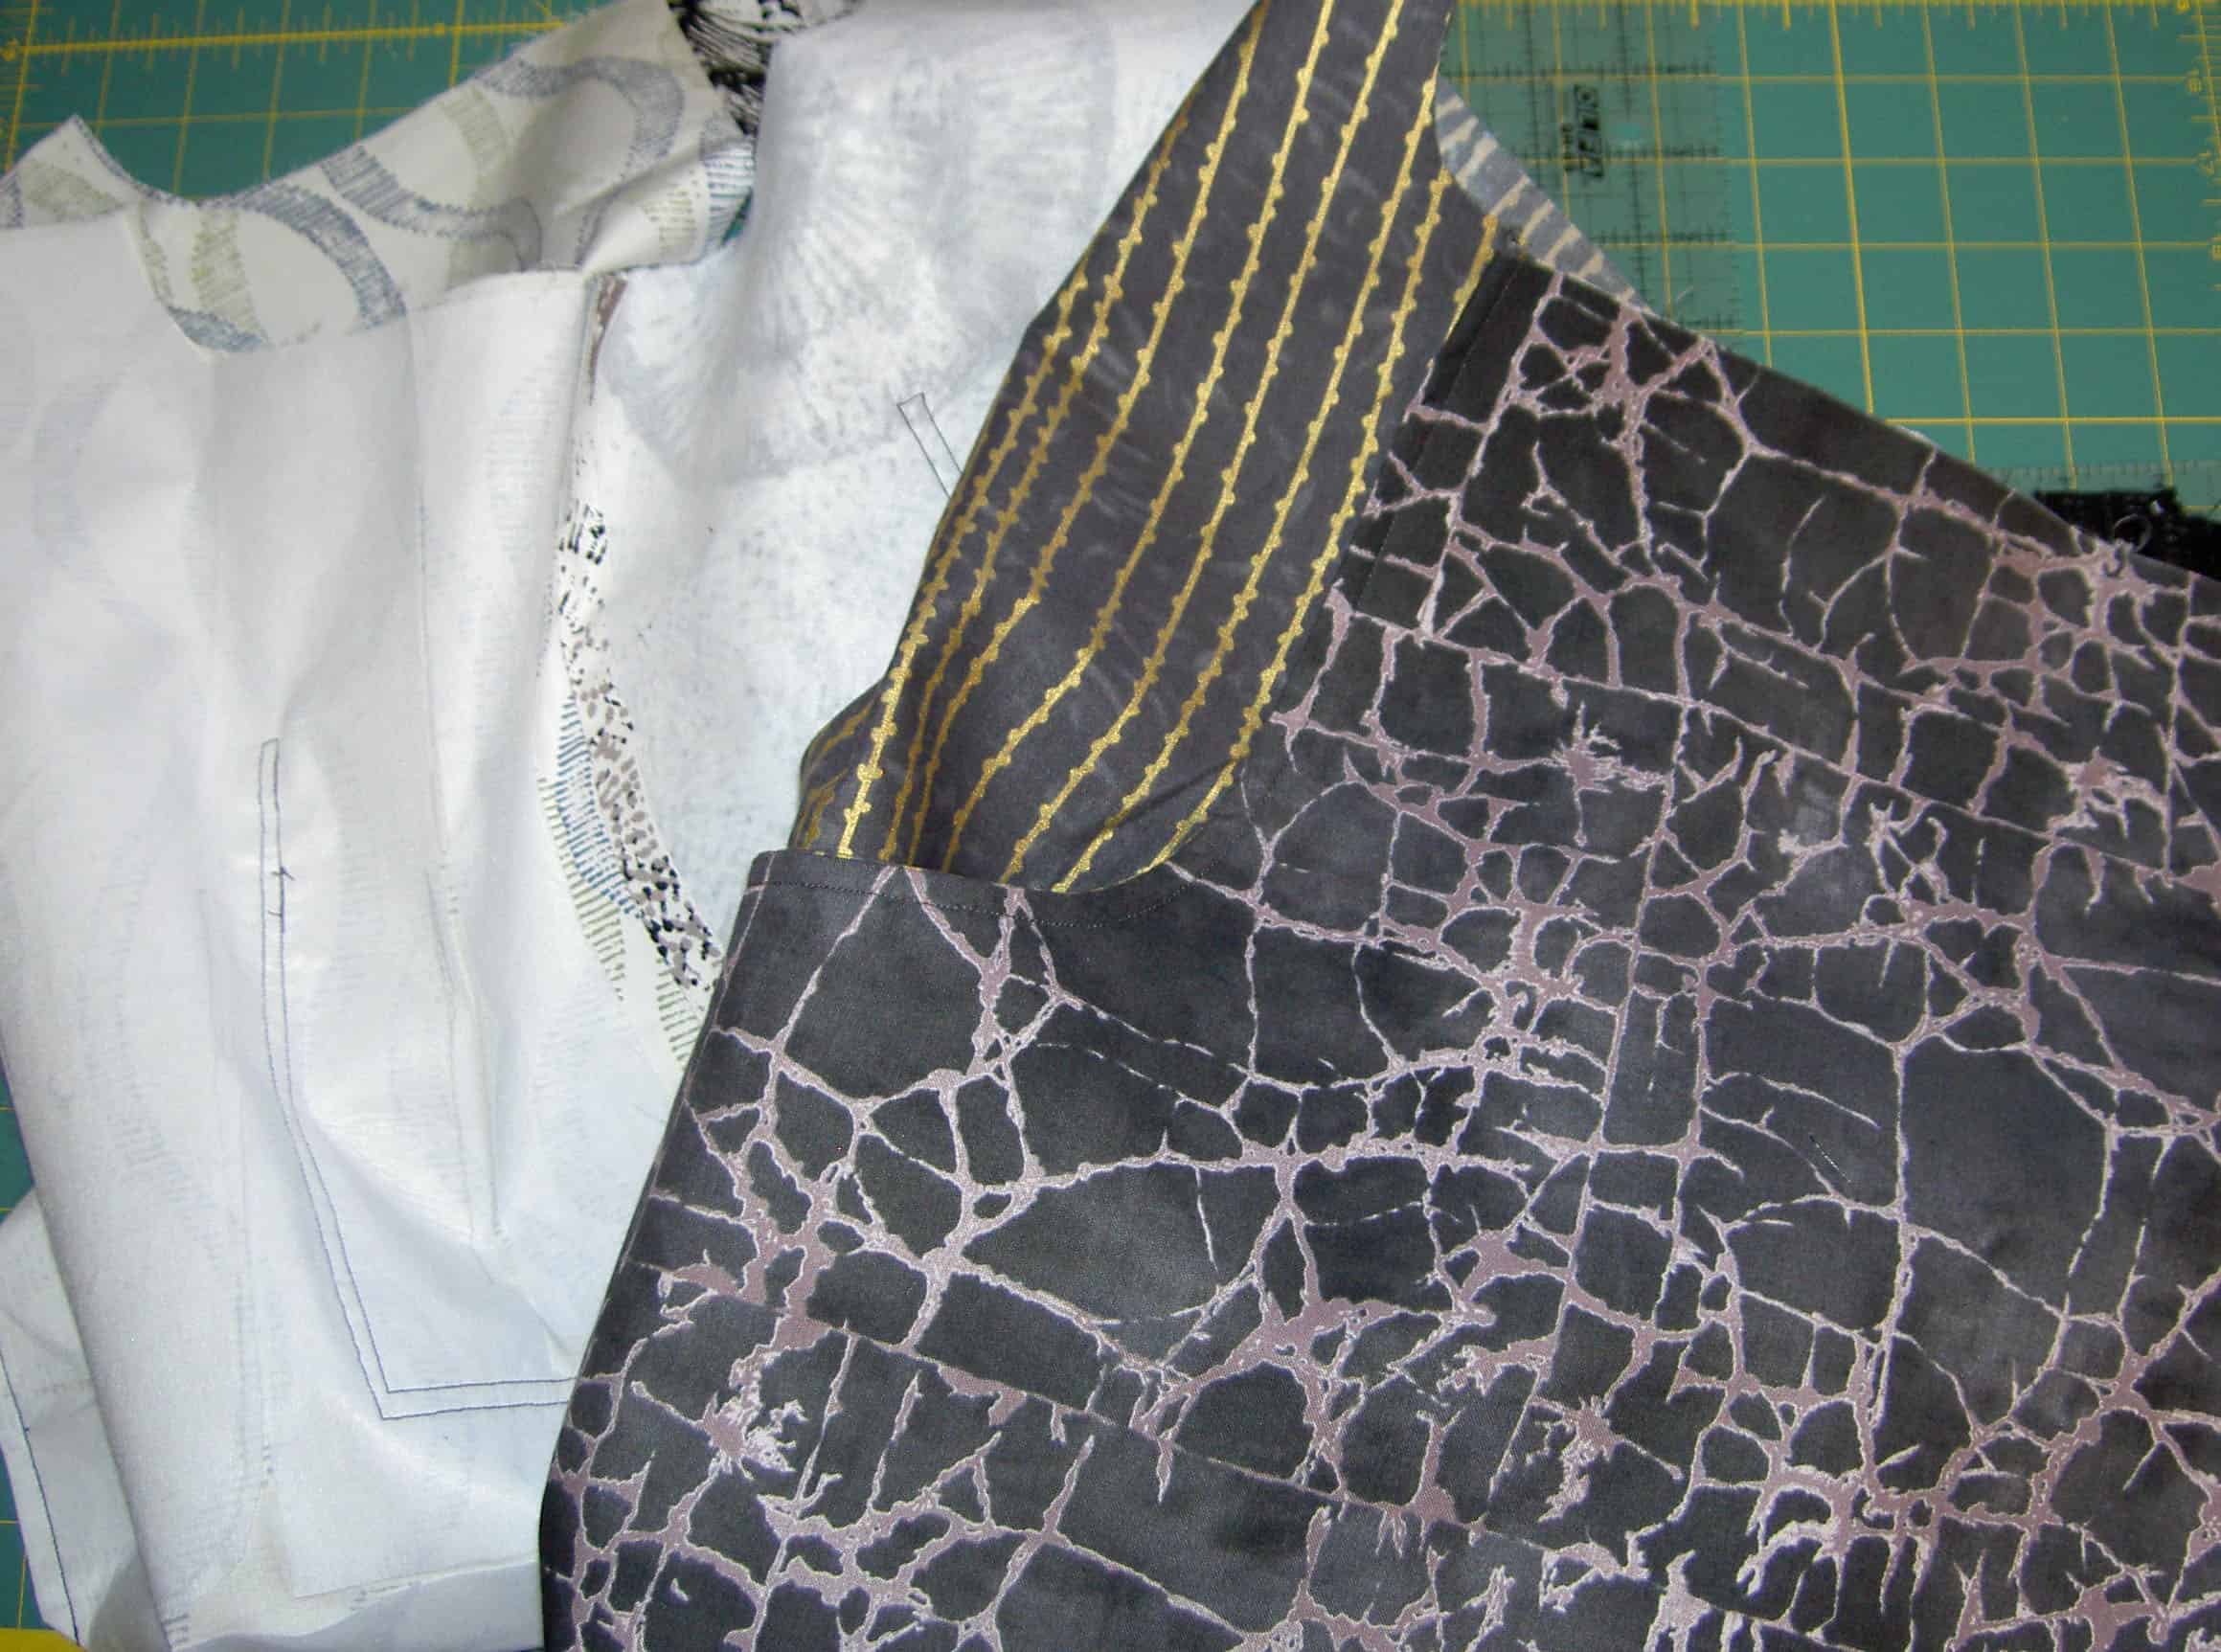
As I mentioned in my review, the construction of this tote is amazingly elegant. Putting the straps on was no exception. There is a part where you fold over the top and that becomes the channel for the straps. I am still completely in awe of AMH and her ability to imagine the construction of this bag.

In the photo below, I tried to show you the channel. Aside from having to turn the straps inside out, which is a big pain in the patootie, I got the straps on and the bag ready to carry stuff in a couple of hours.

AMH MTT, detail
AMH MTT, detail

My only concern is that the way the straps are held on means that I won’t be able to carry heavy stuff in it. I don’t plan to use this for groceries, but I routinely carry:

  1. a journal
  2. my Clairefontaine
  3. a book (can be hardback or paperback)
  4. the Word of the Day book (paperback)
  5. a pencil roll
  6. a water bottle

I don’t think the above list is outrageous…. I do have to have my stuff with me.

I plan to make another one now that I know the drill. I have ideas for different ways of combining fabric. I ended up buying some of the Peltex 2 from SewThankful (I think), so I need to do something with it. This Multi-tasker tote bag is a nice change from the Eco Market tote.

Whipped Cream Drama

I know you thought I forgot about the Tarts. Or, perhaps, you thought I abandoned the piece for another 3 years?

Oh ye of little faith!

Non quilt parts of my life have been busier than usual. I have still taken the time to diligently test your ideas for the whipped cream on the second piece of pie after I posted some thoughts in a previous blog post. I thought it would be easy and fast. HA! When will I ever learn?

Another issue is that the 9K is back in the shop. It is fixed now, but I won’t be able to pick it up (80+ mile round trip) until Friday since I am going out of town on Tuesday and the shop is closed on Monday. I tested an approximation of a satin stitch on the Jem. The Jem is a great machine, but the satin stitch it makes doesn’t compare to the 9K’s satin stitch. I need to wait until the 9K returns from his/her vacation. I’ll get everything ready, however.

Below are the candidates:

Whipped Cream #3
Whipped Cream #3

I liked this one, but didn’t think it was enough. I thought it needed more of something. Someone mentioned a drip in a comment, so I started working on that.

Whipped Cream #4
Whipped Cream #4

The drip above is too small. I want it to stand out a bit more against the plate.

Whipped Cream Test #5

The one above is pretty good in terms of having more than just an element on the top. However, the indentation in the top of the dripped whipped cream on the plate looks strange. It may be realistic, but it doesn’t look fun or interesting.

Whipped Cream #6
Whipped Cream #6

The one above is the option I have decided to use. I like the more engaged shape of the drip. I don’t think that is how drips really look, but this quilt isn’t reality.

As you can see, I take Lorraine Torrence’s admonishment to “make visual decisions visually” to heart.

Sketching #31

Response to Awakenings

I looked at Jill’s response (Quilt Rat) as soon as she posted it and I was lost. Her response was so perfect that I couldn’t think of anything. I tried different ideas and nothing seemed as perfect as her response. Finally, the next Friday’s response appeared and I knew I just had to do something and not be a slacker. That slippery slope is so easy to get on….

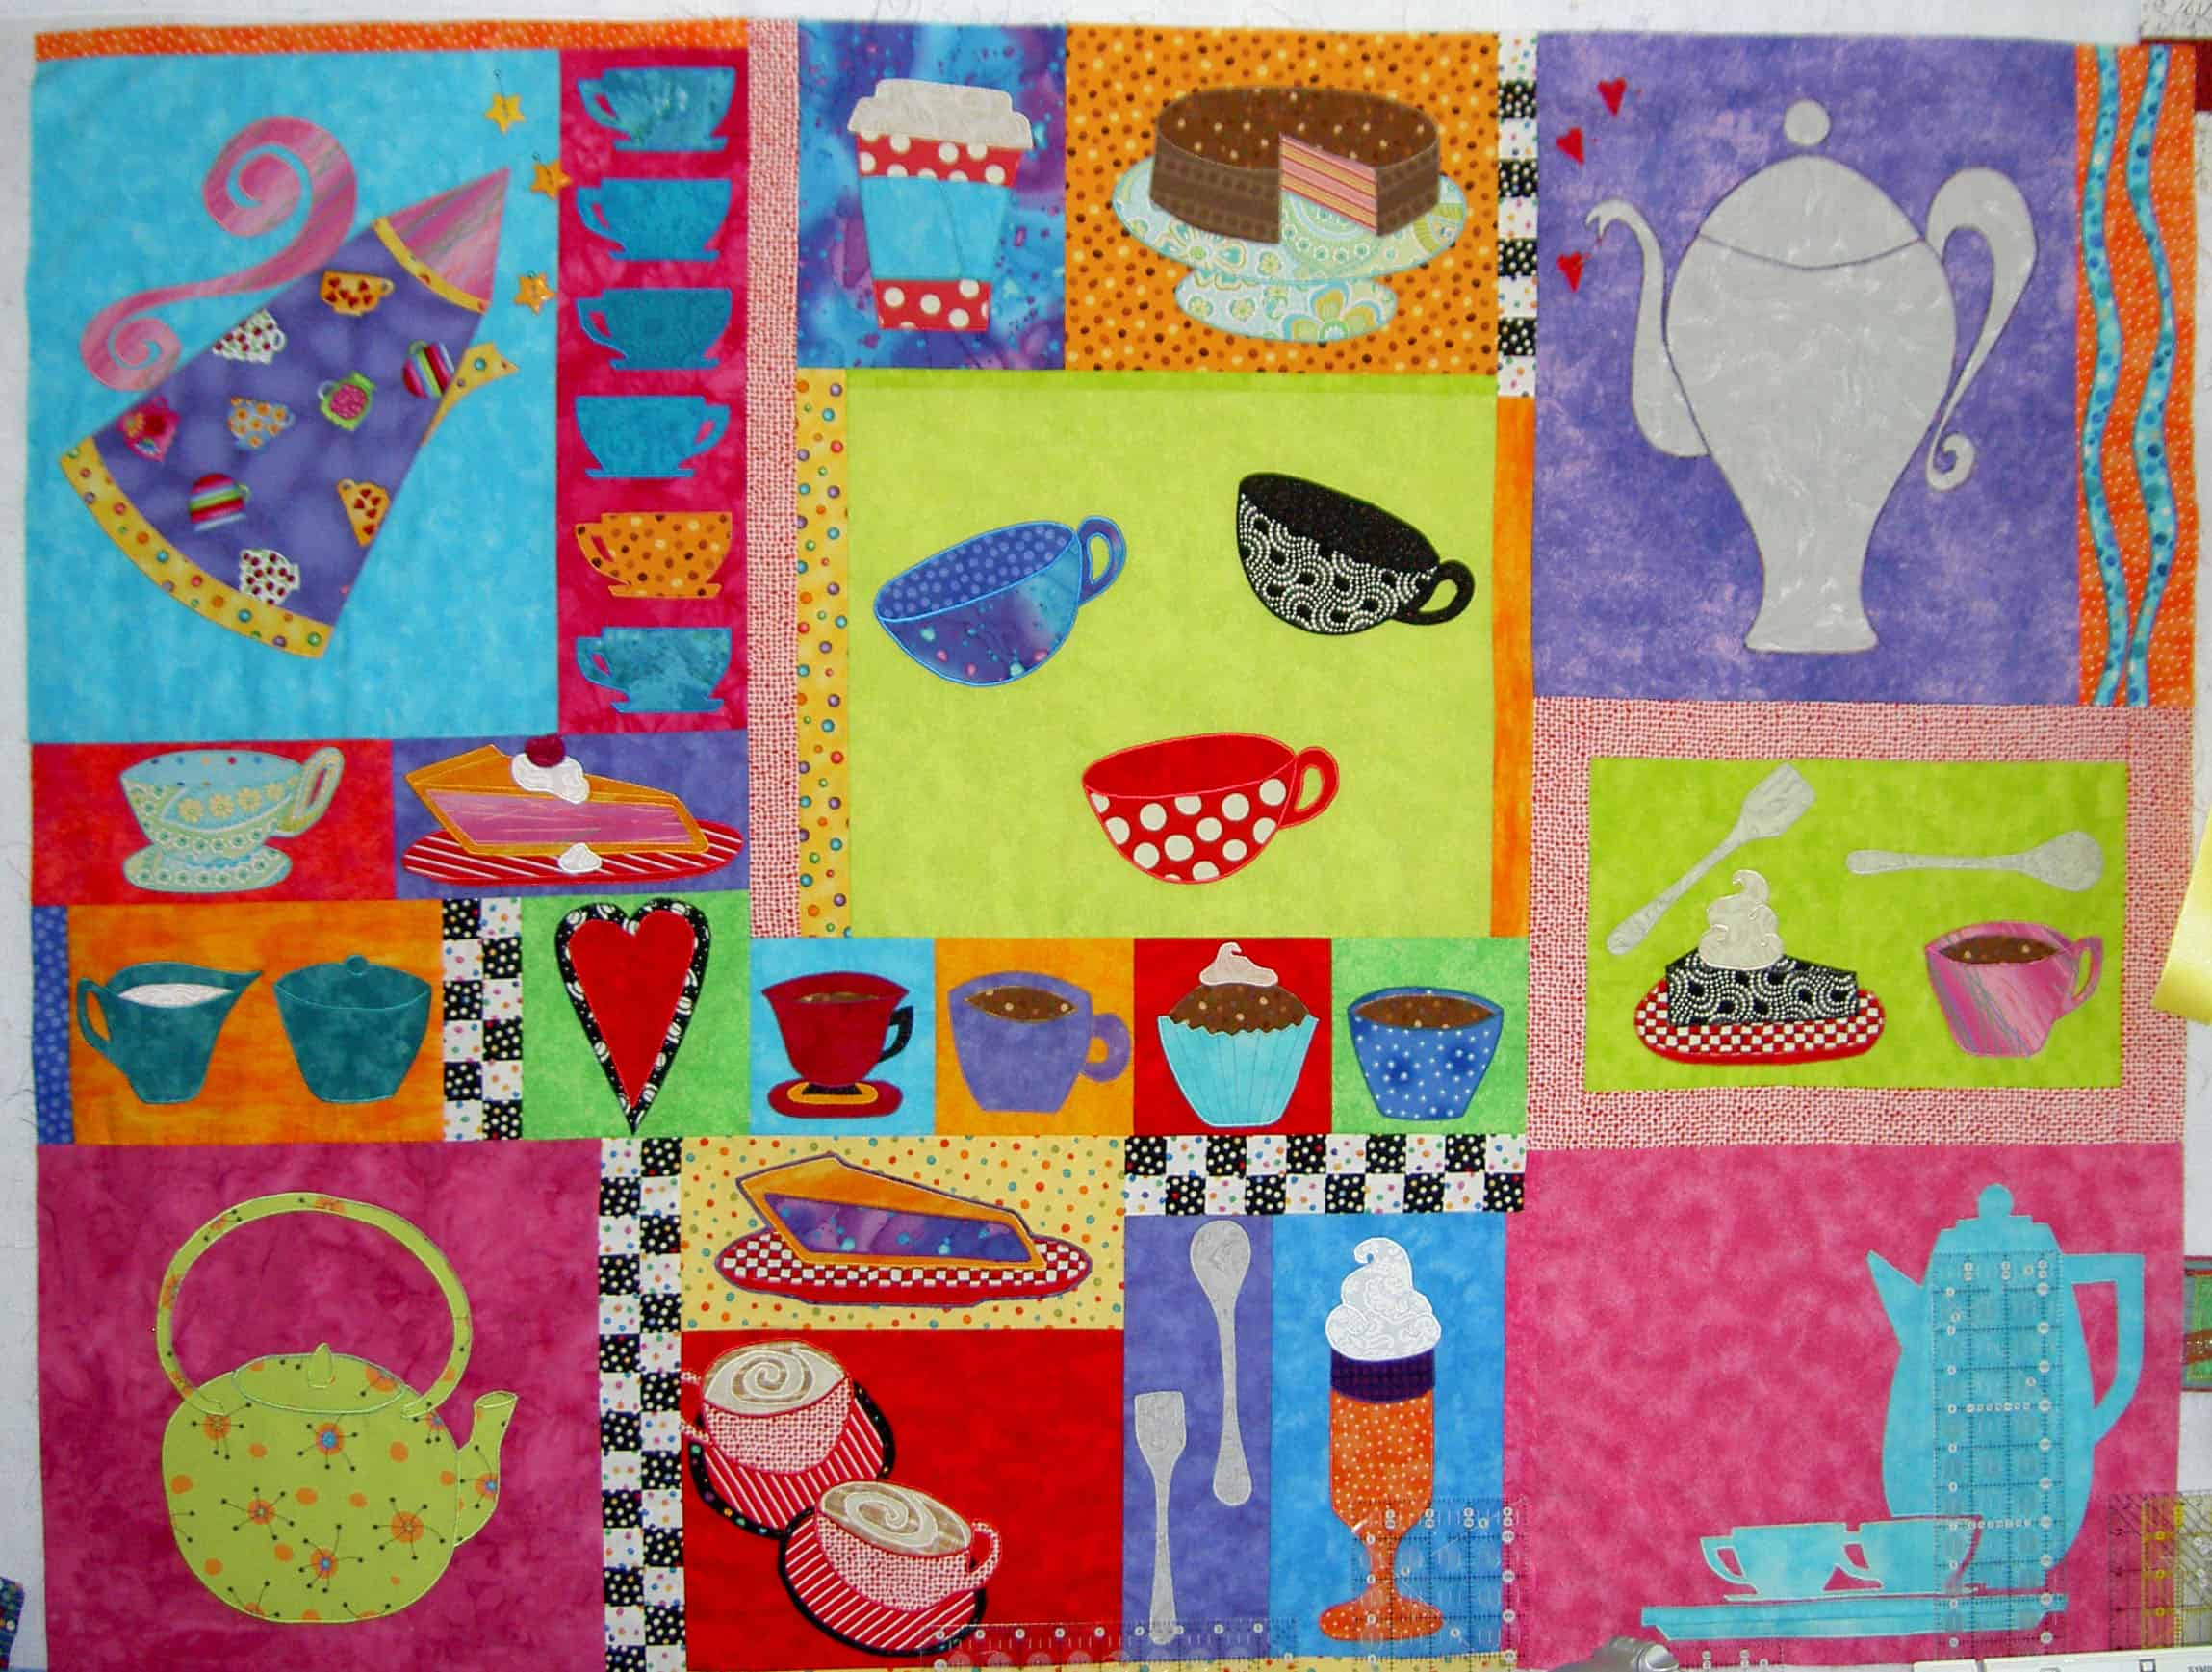
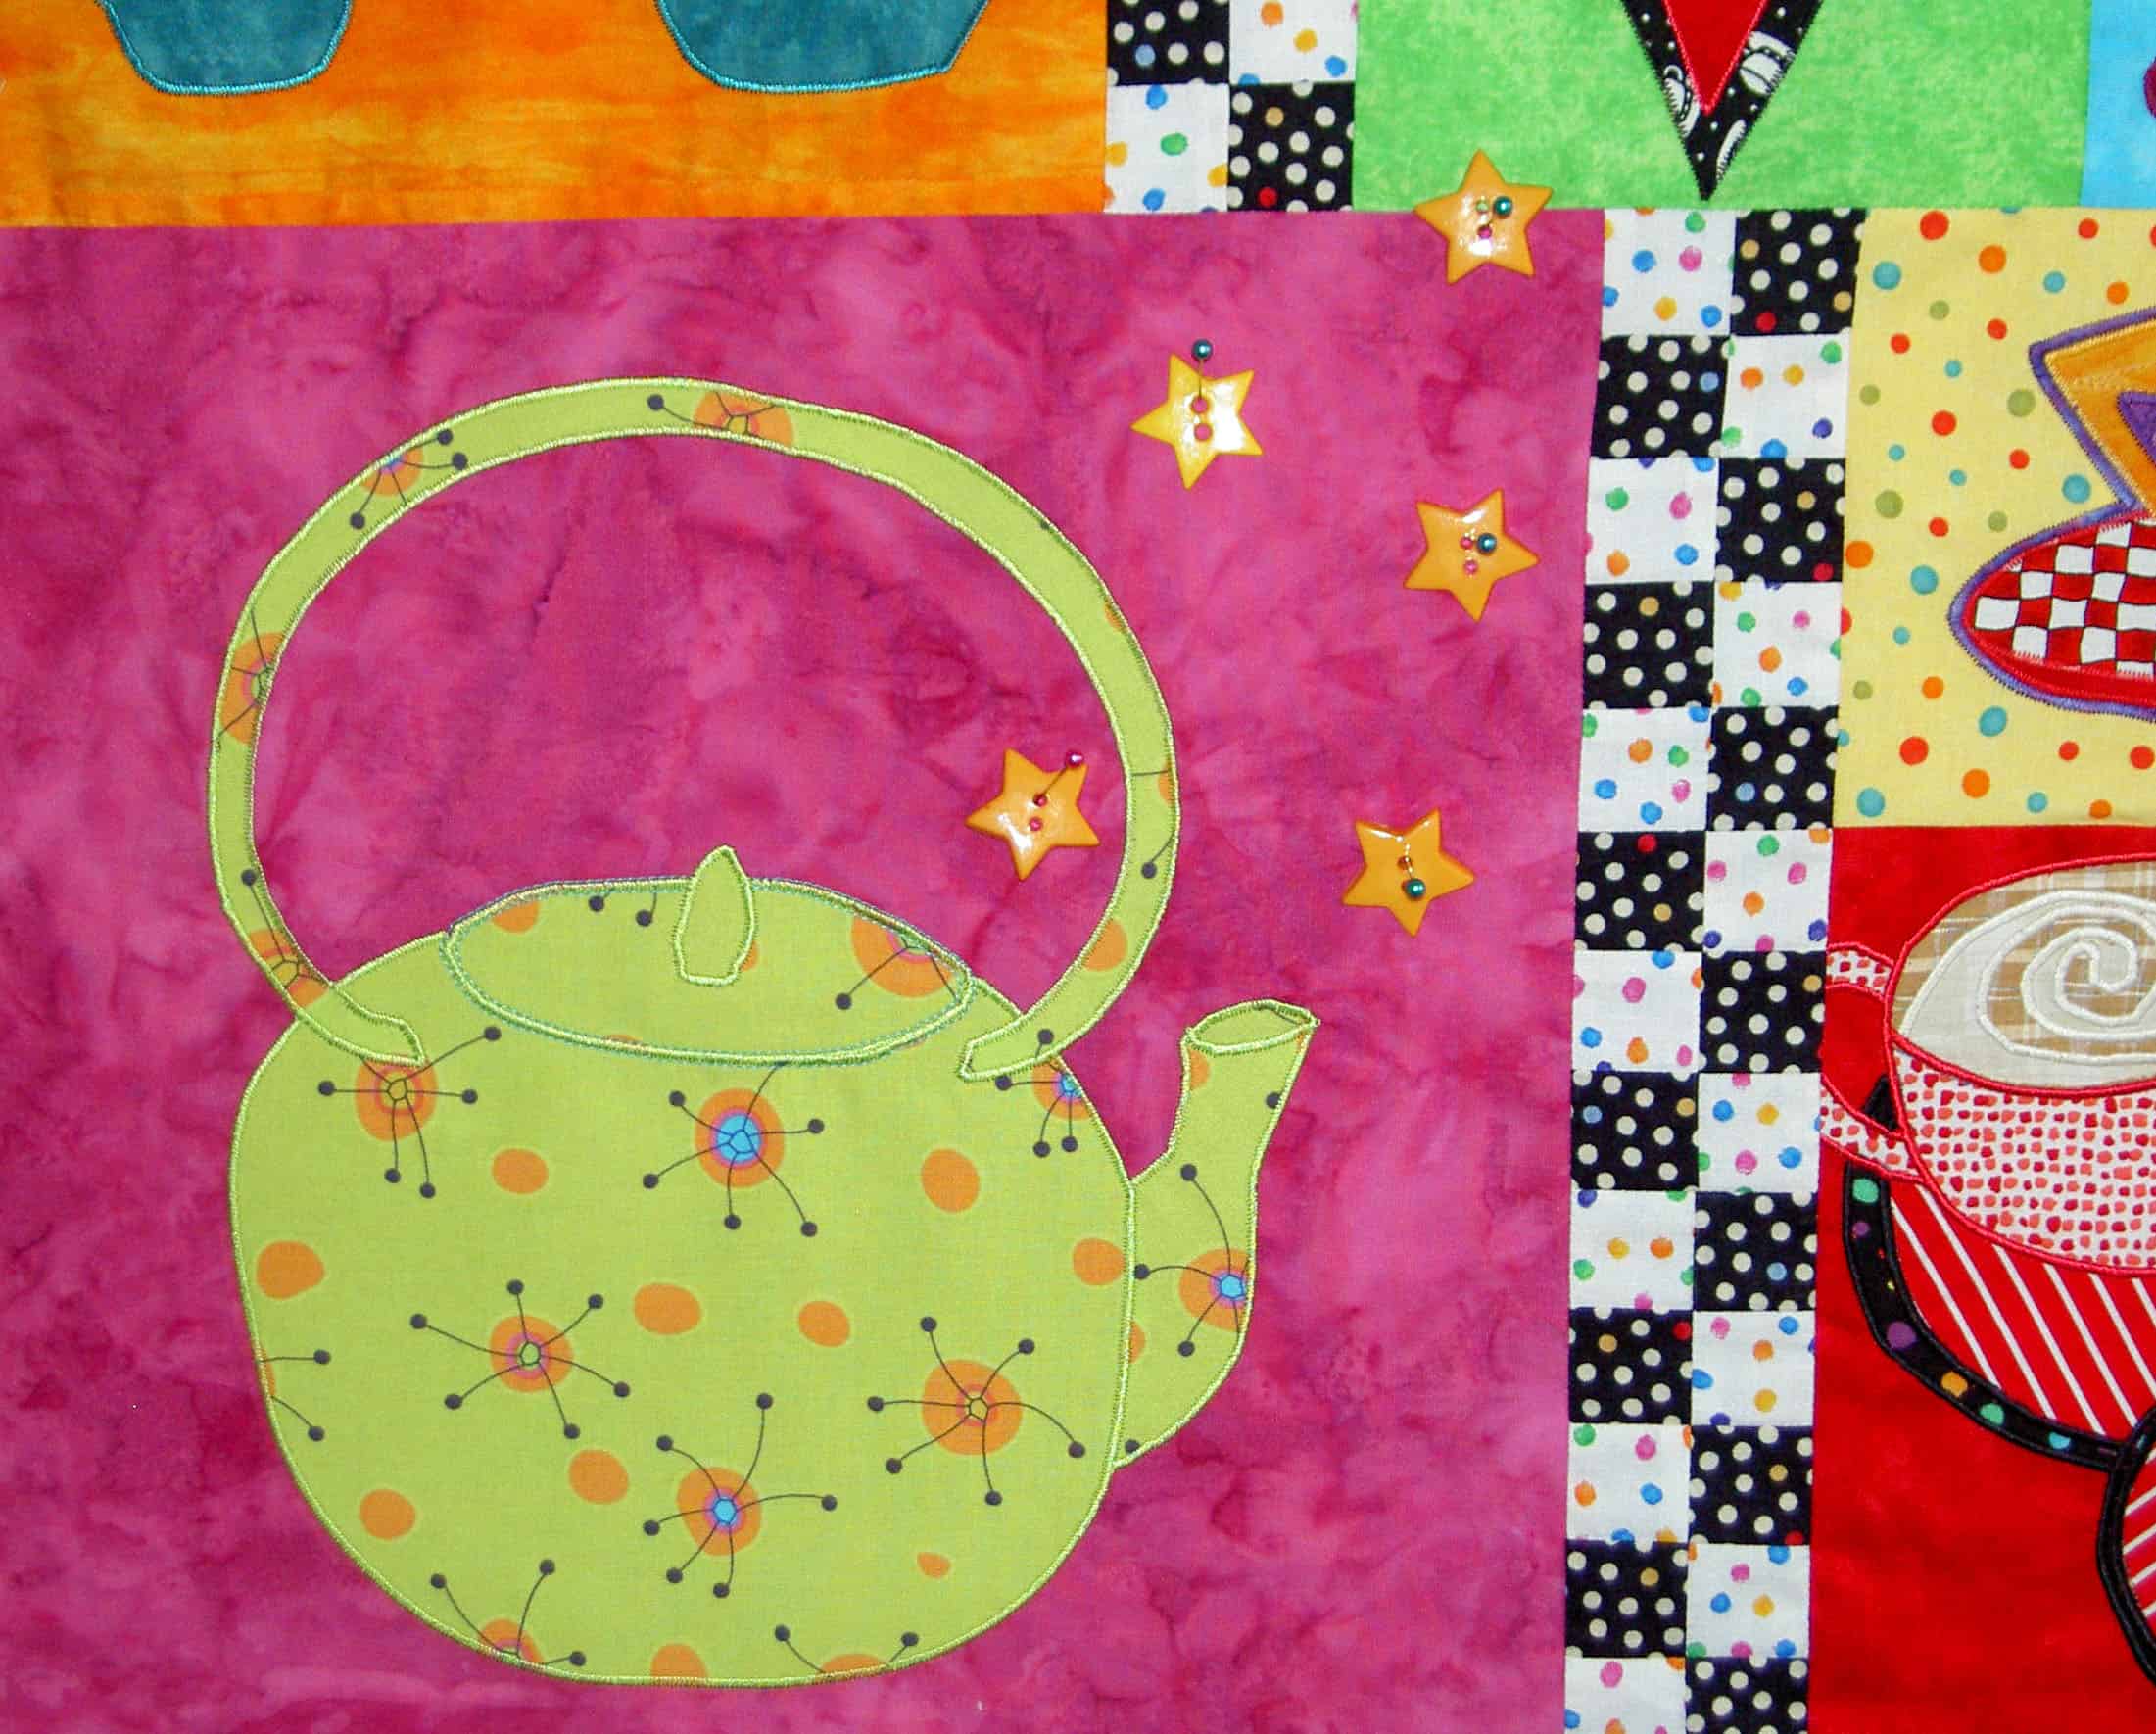
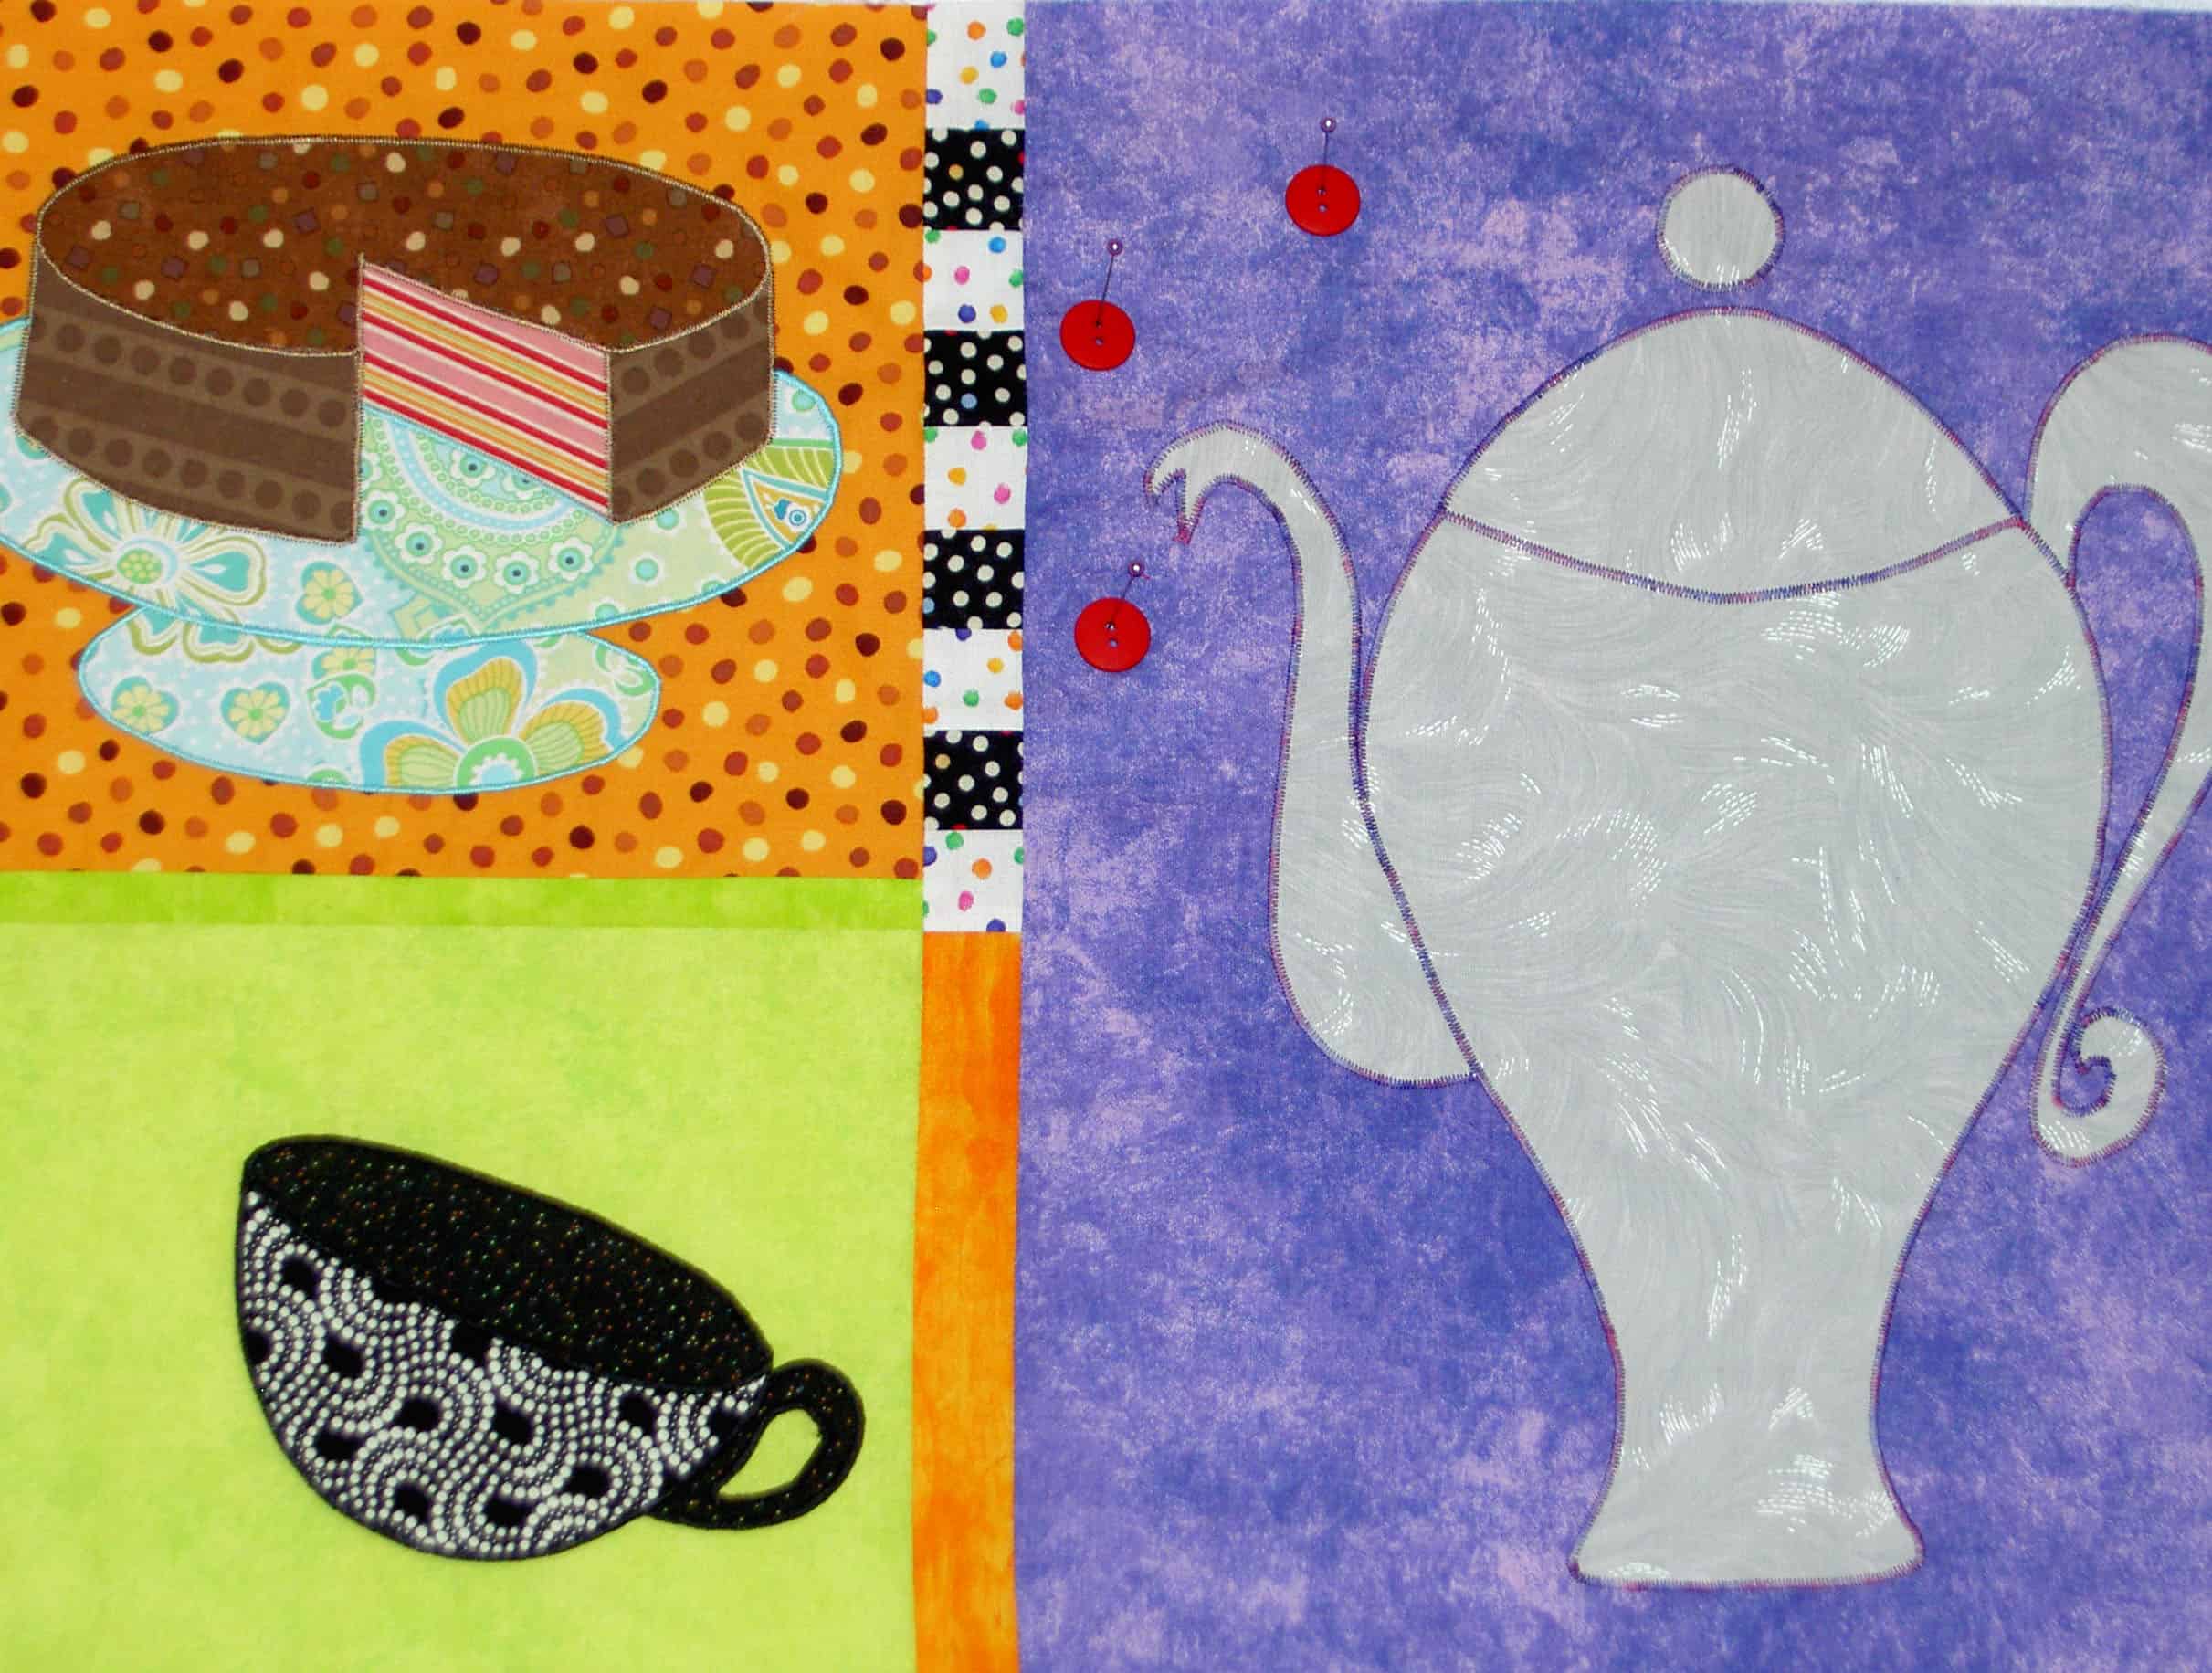
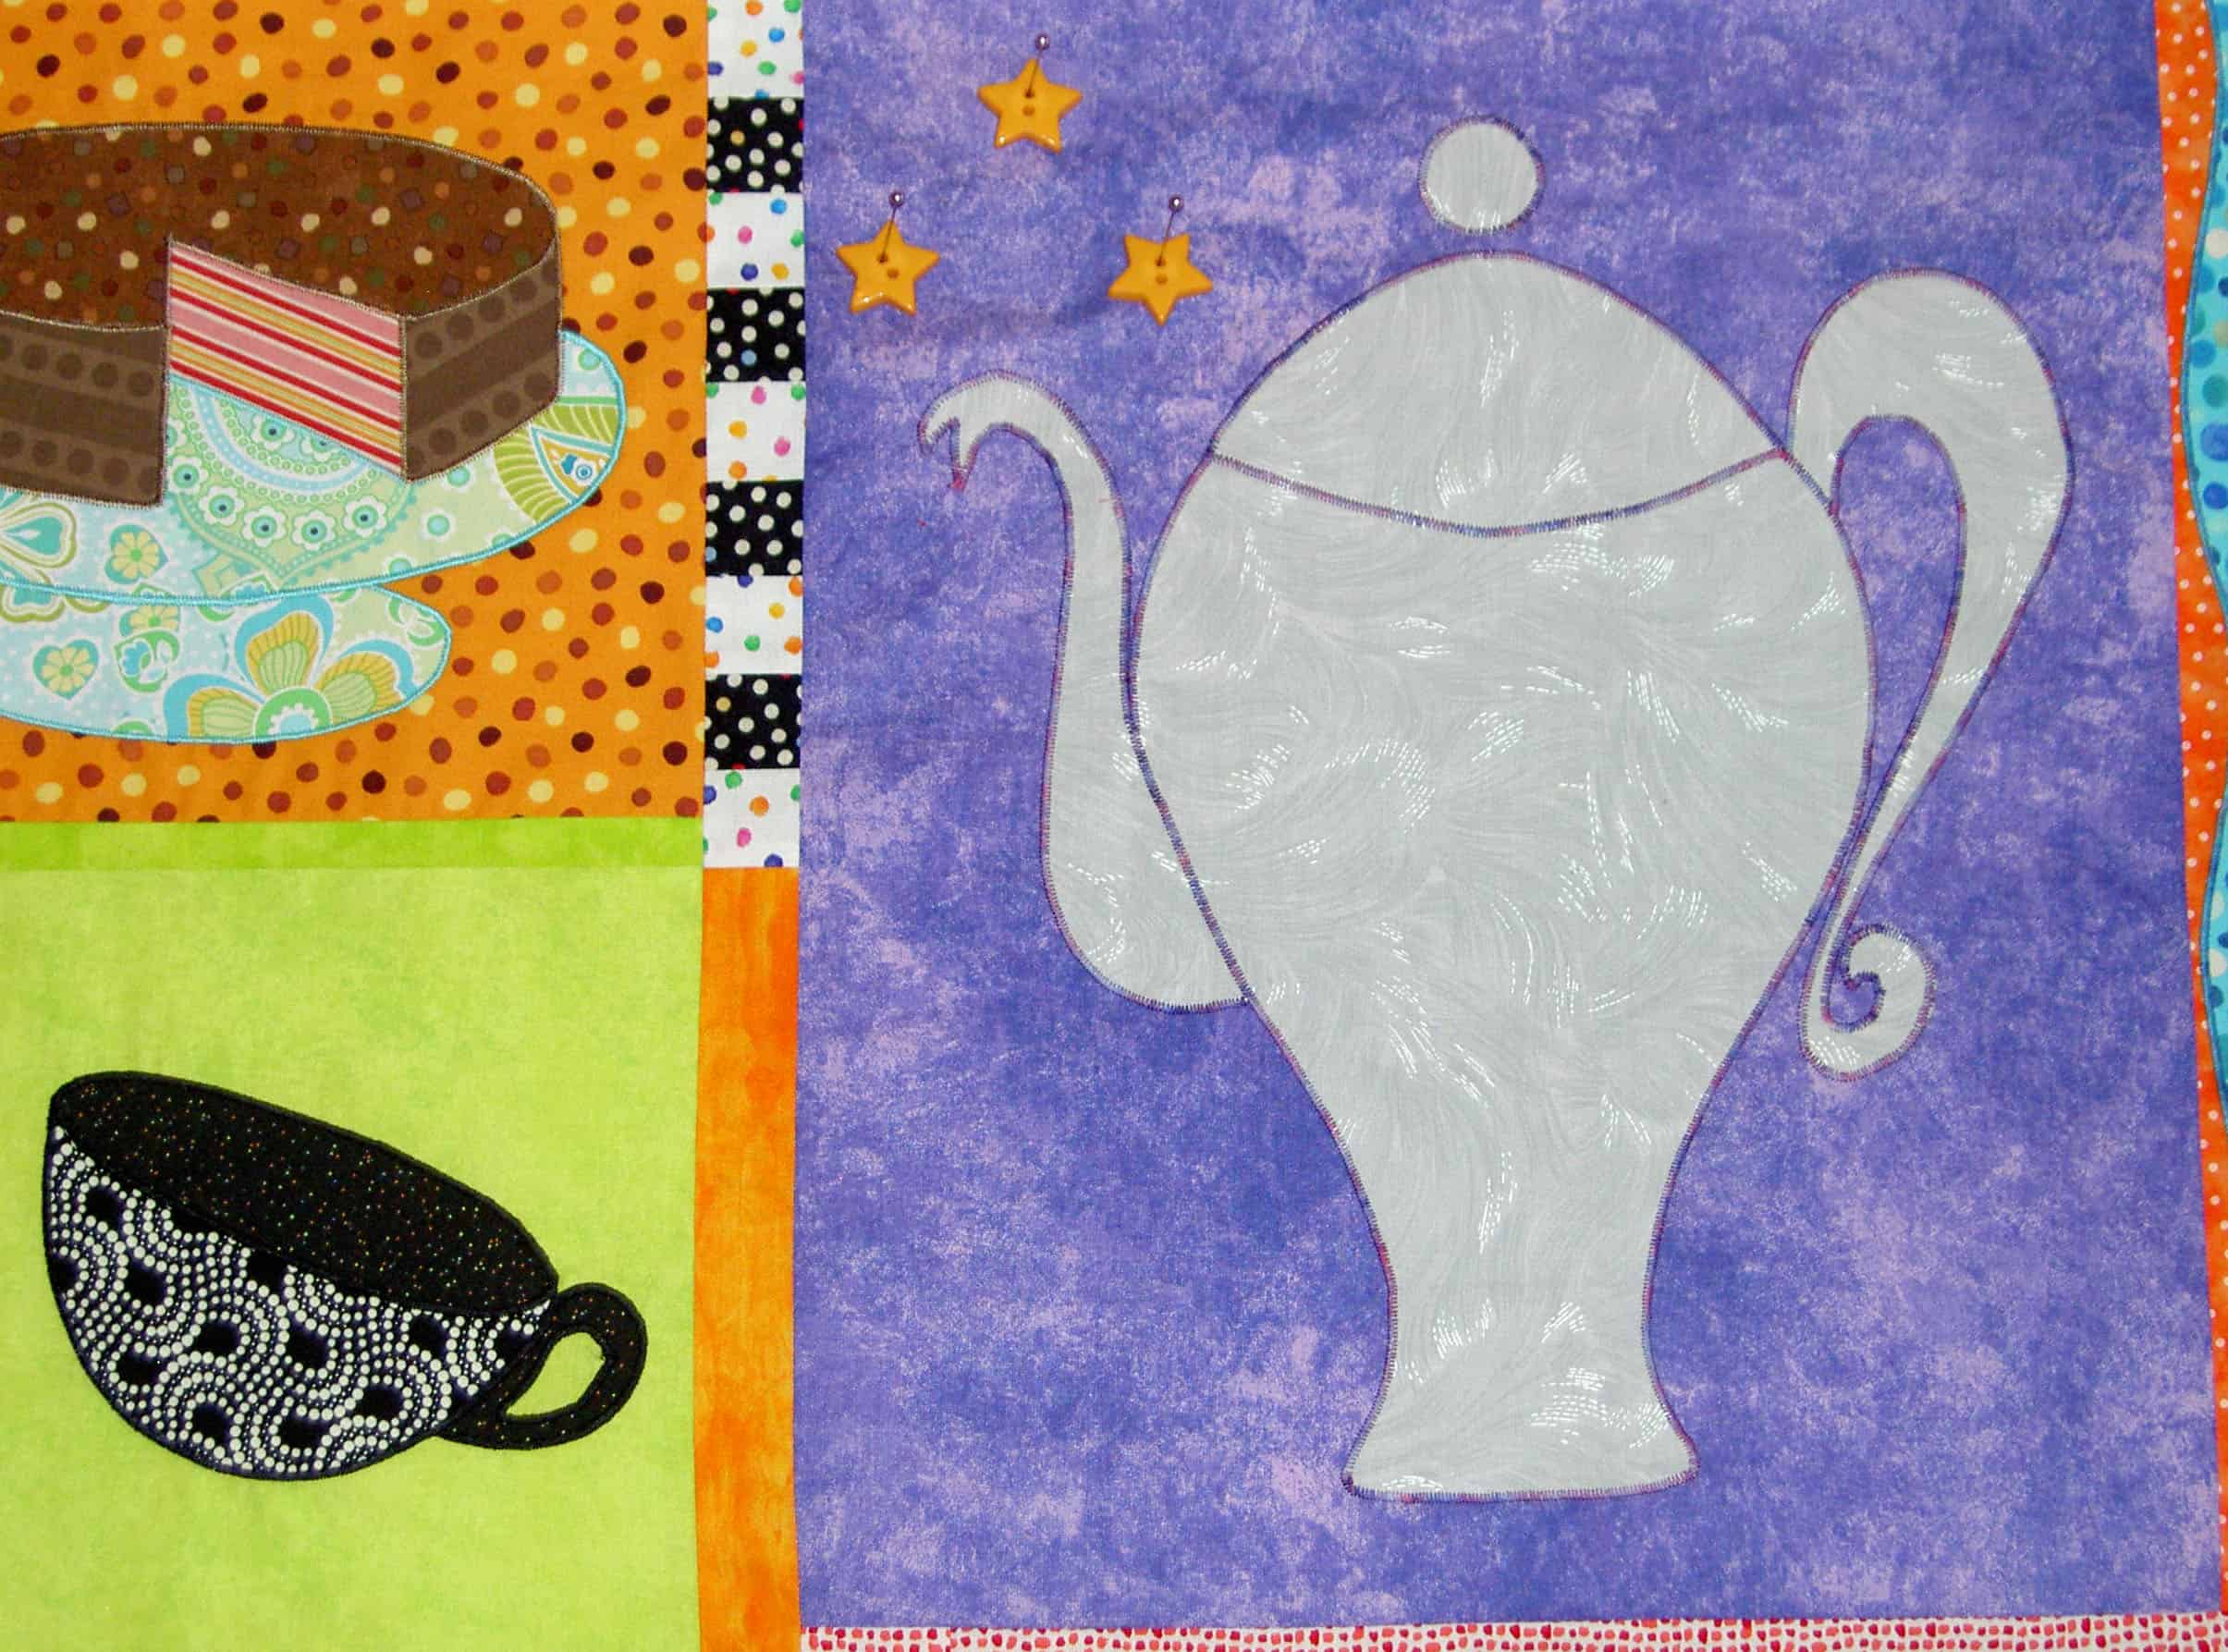
So, for better for for worse, here is my response. It is inspired by a magazine picture I cut out years ago. The inspiring picture is a close-up of a tea tray. I tried to incorporate some of the elements from other responses into this one to keep up some of the continuity.

Janome Clear View Quilting Foot and Guide Set

I saw this in an email from Janome yesterday and was already drooling about he possibilities. I decided to quilt the Tarts Come to Tea myself, so I think this would come in handy. I am going to put it on my Christmas list!

One of the things I like about it is that it gives the sewist cornering markings. That might make me better at getting even lines when I have to turn.

I’d love to know your thoughts if you have used this!

Janome Clear View Quilting Foot

Clipped from www.janome.com
Attach and remove the guides as needed to suit your task at hand- gives you three feet in one- 1/4 Inch Foot, Ditch Quilting and Clear foot.  Markings indicate 1/8 inch and 1/4 inch from center needle drop position with handy cornering markings for both 1/8 and 1/4 inch seams.  Oval-shaped needle hole allows needle adjustment for scant 1/4 inch piecing (computer models only).  Fits virtually all Janome top-loading models.  Please see your authorized Janome dealer for more information.

Creative Prompt #32: Even

Are your bangs even?

Level; flat; without surface irregularities (from Dictionary.com)

Even or odd?

Even steven!

On an even keel.

Even weave.

Pearl Jam’s Even Flow.

Even numbers.

David Trevellyan thriller.

Get even.

Even more.

Break even.

With an even hand.

Even handed.

Even worse

Even better.

Even color.

Sharona Even-Ram

Air Supply’s Even the Nights are Better.

See the Creative Prompt page if you have questions about this project.

Post the direct URL where your drawing, doodle, artwork is posted (e.g. your blog, Flickr) in the comments area of this post. It will keep all the artwork together.

The Creative Prompt Project, also, now, has a Flickr group, which you can join and where you can post your responses.

There is more information on the recently updated Creative Prompt Page.

Fusible and Paintable Glass

Fused & Painted Pieces

One of the things about creation is that you never know how your pieces will come out.

At the beginning of August, I went with a couple of other CQFAers to Create It! Studio in Palo Alto for a glass fusing creation session. I wrote about the whole session at that time. I also showed pictures of all of the pieces pre-firing/fusing.

Diane, one of the CQFAers, was kind enough to pick up my pieces since I live far enough away to make it a pain. I thought I might get down to her house, but, alas, it wasn’t to be. As you know I was chained to my sewing machine for weekends on end. 😉

I finally got my pieces back on Saturday and I am really pleased with how they turned out. I am especially pleased with the divided dish, which will be part of the series I started my first time at a painting place. The red of the dish really came out well (4 coats!). There is only one little spot on which I should have put more paint.

Fused and Painted, full

It is fun to do something different; it is as though it doesn’t matter and I can play, because it isn’t my primary work.

Enjoy!

Review: Multi-tasker Tote

AMH MTT in progress
AMH MTT in progress

If I didn’t think Anna Maria Horner was a goddess already,  I do now.  I spent the day on Sunday, minus a short chauffeuring task, with the Multi-tasker Tote (AMH MTT), a recent pattern from Ms. Horner. As I suspected, I did have trouble understanding the directions. It is the way I learn and not completely about the directions. I do think there were a few tiny parts that could have been clarified just a little bit more. I know they have a certain number of pages they can use to create a pattern and have to worry about font, enough photos, etc, so I really am not going to complain too much.

In all fairness, I think making 20 or 30 of the Eco Market Totes gave me a feel for what should be going on in the tote making process. Doing a multitude of those totes and making little changes in the pattern made me understand the bones of tote-making. The AMH MTT is much different than the EMT, but in the end they are totes and their goal is to carry things.

Multi Tasker Tote Pattern

In general, however, this is an amazing pattern. The way it goes together looks completely mysterious one minute and the next minute it is gorgeous and elegant. I was completely blown away, because it made me think about tote bags in a new way. I don’t think it is a beginner pattern, however I would say that any intermediate sewist who has a few tote bags under her belt could use this pattern to make a bag.

AMH MTT in progress, detail

In the above photo, you can see the bit that is folded over to accommodate the straps, including my lovely top stitching. 😉 I haven’t finished the straps yet, so there is another photo of this project to which you can look forward!

AMH MTT, Step #8
AMH MTT, Step #8

One of the steps I had trouble with was step #8. I really couldn’t figure out what the directions were trying to accomplish. Finally, I realized that she wanted me to sew the bottom of the pocket together! To accomplish that I had to pop the pocket (pattern piece is called pocket panel) out a certain way. When you do orient the section correctly, the whole thing looks like the section above.

Box corners
Box corners

Remember I mentioned the gusset tutorial in the Bag Bazaar book? I didn’t have a chance to try it out. I found AMH’s directions to be stellar. You press a crease into the side of your bag, then you line up the bottom seam with that crease and you have a perfect triangle. I drew a line (not part of the directions), because of my A type personality. Perfect box bottom. I did it before I realized what was happening and was amazed at the results.

I love the fabrics that I chose for the current tote, individually.  I am not happy with the two of them in combination in this project. Too many flowers, I think, which means that none of them stand out. Yes, I will be making another! As I mentioned in a previous post and as you can see from the photos, I used the Denyse Schmidt fabrics as a trial run.

MTT #2 Bag Fabric
MTT #2 Bag Fabric

My biggest challenge with this project is the requirement of Pellon Peltex Double-Sided Fusible Ultra Firm Stabilizer #72. I didn’t have any in my fabric closet, which didn’t worry me. I sewed and fused two pieces of Timtex together and the put Steam-a-Seam 2 on the outside and fused it to the bag. Having a stiff bottom is GREAT! It makes the thing stand up and much less floopy. Using my jerry-rigged method, I could easily see where something already stiff and fusible would be a lot easier. I searched the web and found it by the yard for $10+.  I also found a bolt of it for $99+. Huh! I can’t make another of these using my jerry-rigged method, because I am out of SAS2. I have to decide whether to get a bolt (seems like overkill) or pay, what seems like, and exorbitant price for a yard. Anyone of you have any perspective on the price of Pellon Peltex Double-Sided Fusible Ultra Firm Stabilizer #72?

Kristin LaFlamme  reviewed this pattern  on her blog as well. It is a very complete review. She mentions a couple of the inconsequential typos I also saw and does some interesting things using recycled materials. Her rendition of the pattern makes me think about adding additional pockets to the outside. Adding a pocket to the outside would be especially successful when I don’t have a focus fabric (as shown on the pattern above) or fabric suitable for broderie perse.

Julie Bag
Julie Bag

Update: this was given to Dolores as a gift.

Free Quilt Magazine

The name of this magazine, which I heard about on FB, reminds me of a magazine I saw at the store yesterday. Sadly, the only one I can think of is Quilt Mania and I am pretty sure that wasn’t the one. Perhaps it was and they are wrongly connected in my head somehow. In any case, this is a new (?) and free mag to which you can subscribe online.
clipped from www.doyoueq.com

FREE Online Quiltposium Magazine

Our very own Andrea Bishop was invited to write an article for the new online magazine Quiltposium.

It’s a quarterly, online magazine that is free. Just sign up and create a password at www.quiltposium.com to view the online magazine and receive the link to the next issue in December.

  blog it

Journal Covers from Exuberant Color Blog

I found my way to the Exuberant Color blog and found this wonderful tutorial for making journal covers. Since I seem to be making small things now, this project appealed to me for a variety of reasons.
  • I carry a journal with me and a cover would make it more private.
  • I have friends that use journals, so this would make a great gift.
  • Finally, it is small and looks like it would be a quick project, which I could use to try new fabric combinations or techniques.
clipped from exuberantcolor.blogspot.com

clipped from exuberantcolor.blogspot.com

Patchwork journal cover tutorial

Start with a piece large enough to cover the notebook plus flaps at each end to fold in. This is approximately 3/4″ -1″ taller than the notebook one way and the measurement around the notebook plus flaps that cover at least 3/4 of the cover on the inside in the other direction.

Iron on a piece of fusible fleece or batting the height of the notebook by the measurement around the outside of the closed notebook plus.

blog it

We spoke about a Recycled Round Robin at CQFA, where we bring materials from our stashes and put them together using a piece from other quiltmakers as a starting point. I thought this would make a good result for such a project.