Winter Stillness

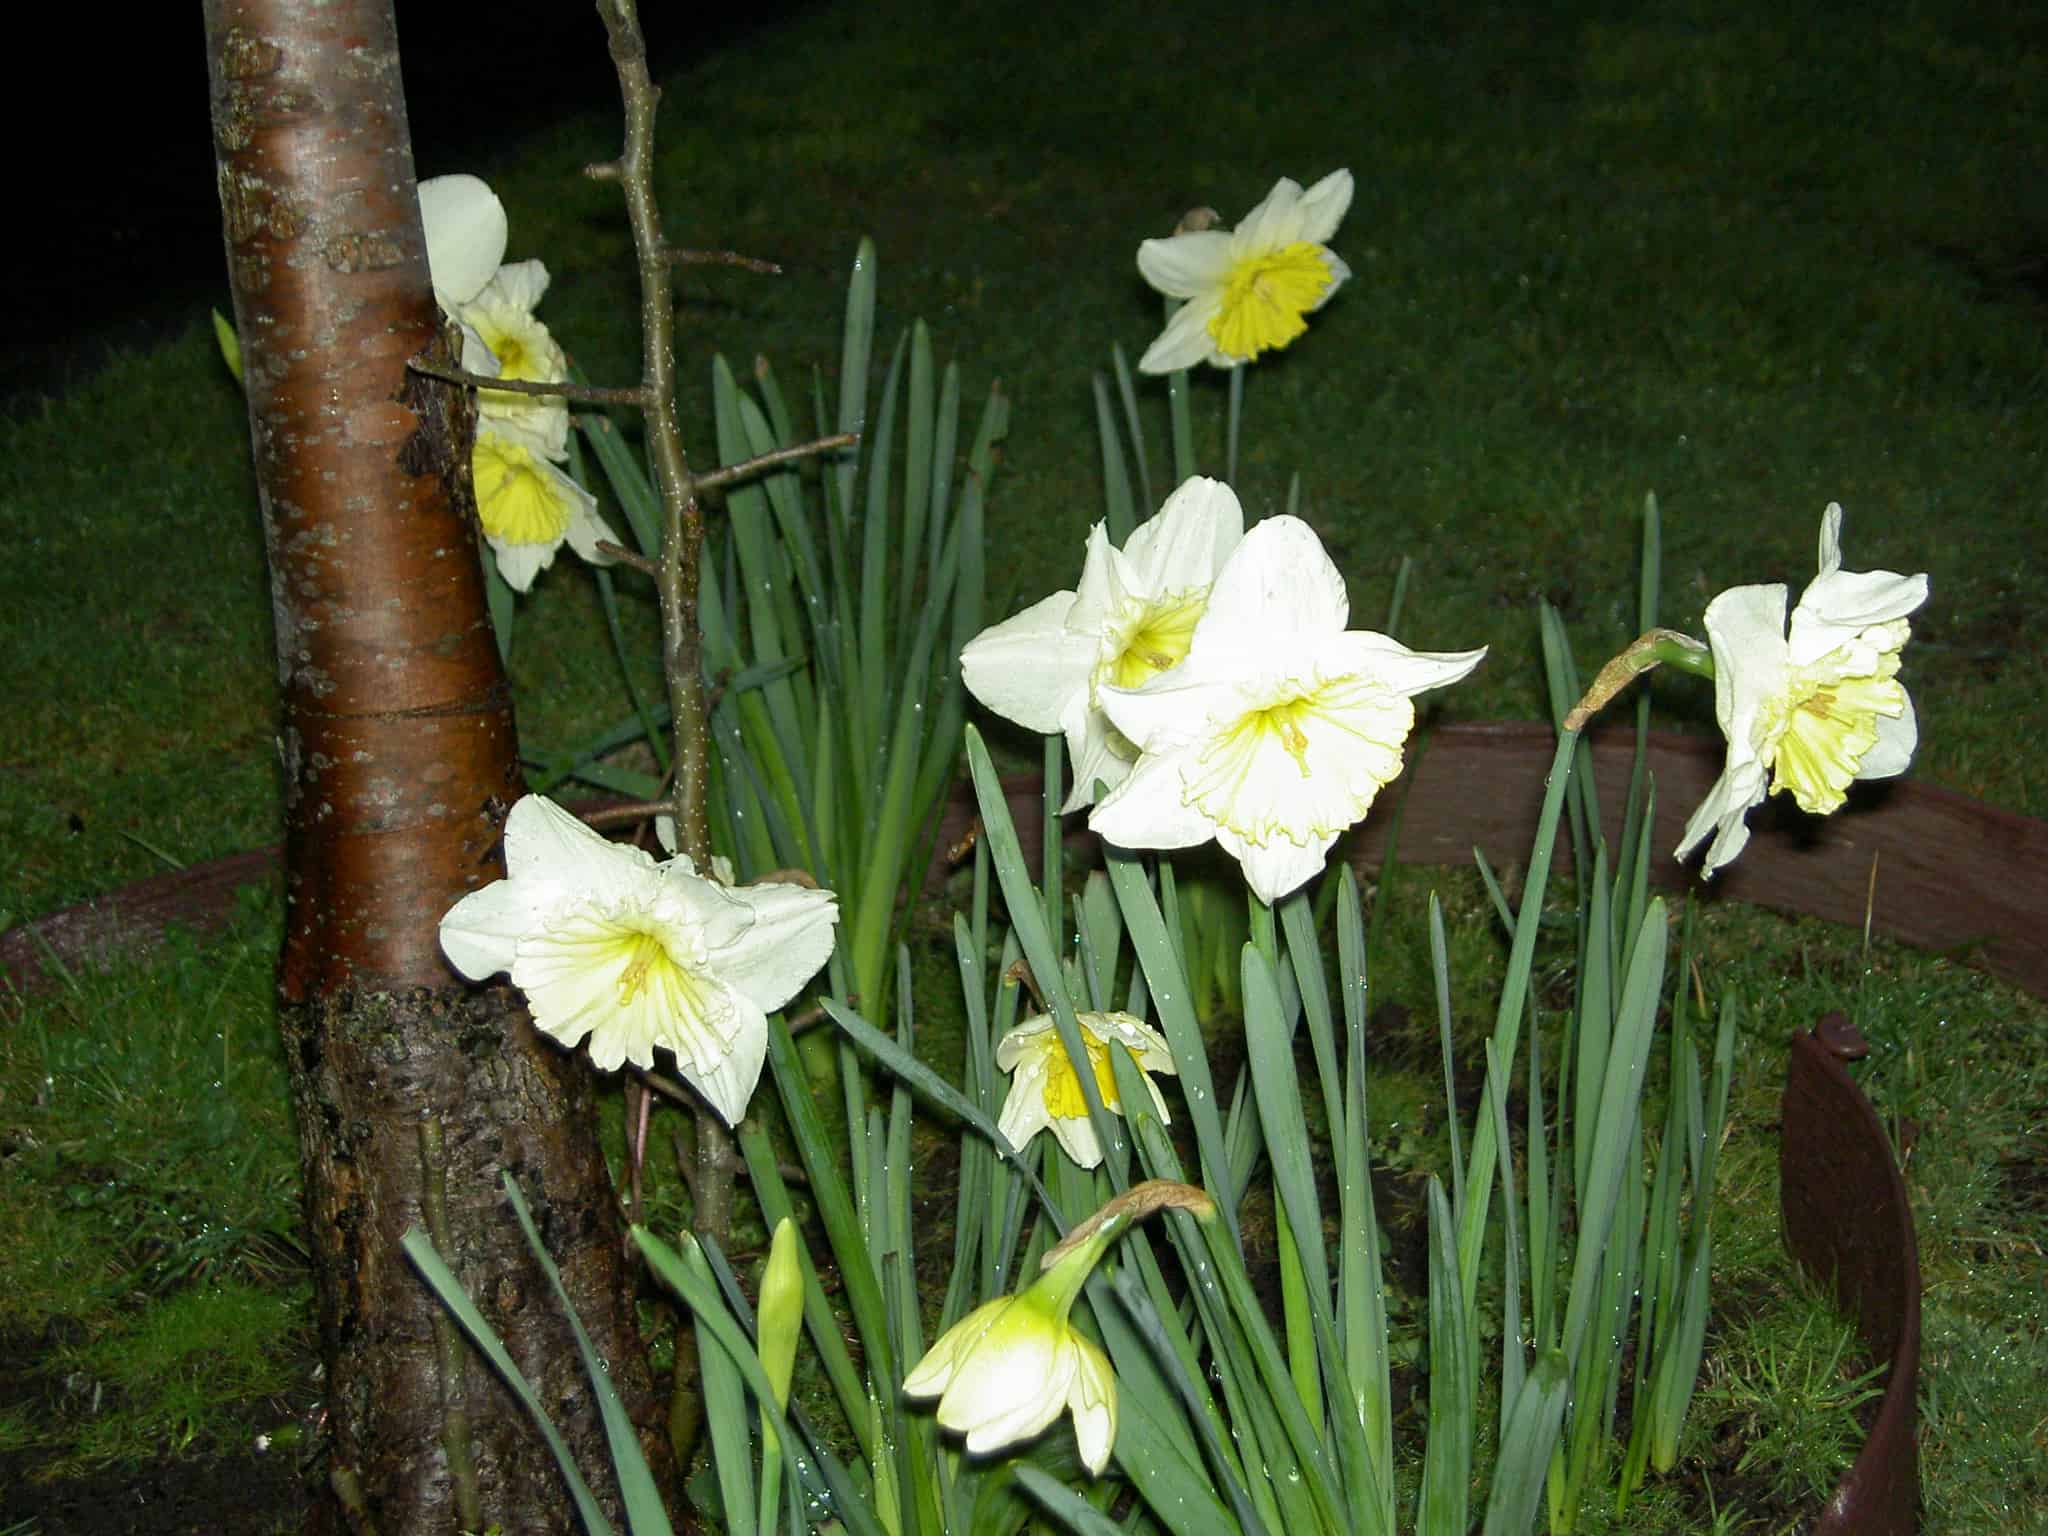
Lisa Call had a lovely post on her blog yesterday. It was all about stillness and things that winter is good for (resting, regrouping, being quiet). Nice to remember.

As an aside, Lisa and I have Internet-known each other since about 1992 or 1993. We were on the original quilt listserv, QuiltNet and I was in a block swap that Lisa organized.

clipped from blog.lisacall.com

Winter

Stillness

Today was gray and cloudy and bitter cold. It was the first day it really felt like winter this year. Driving to work in the snow, not seeing the sun all day. Too cold to be outside.

It was fabulous! I loved it. Winter is a time to take stock in where we are and rest. To sit for a while and just let things be with needing to go muck with them. It’s such a great time to get quiet and enjoy a bit of stillness. Nothing ever seems as silent as watching the snow fall.

The short days, the cold cold nights, the sunless colorless sky – to me these are all signs of really amazing things to come. Without this quietness the brightness of spring wouldn’t feel so wonderful.

I found great joy in being in the stillness today and am reminded of the growth that will come as a result of this rest.

Happy Winter everyone!

blog it

Getting to Know Lizzie B Cre8ive

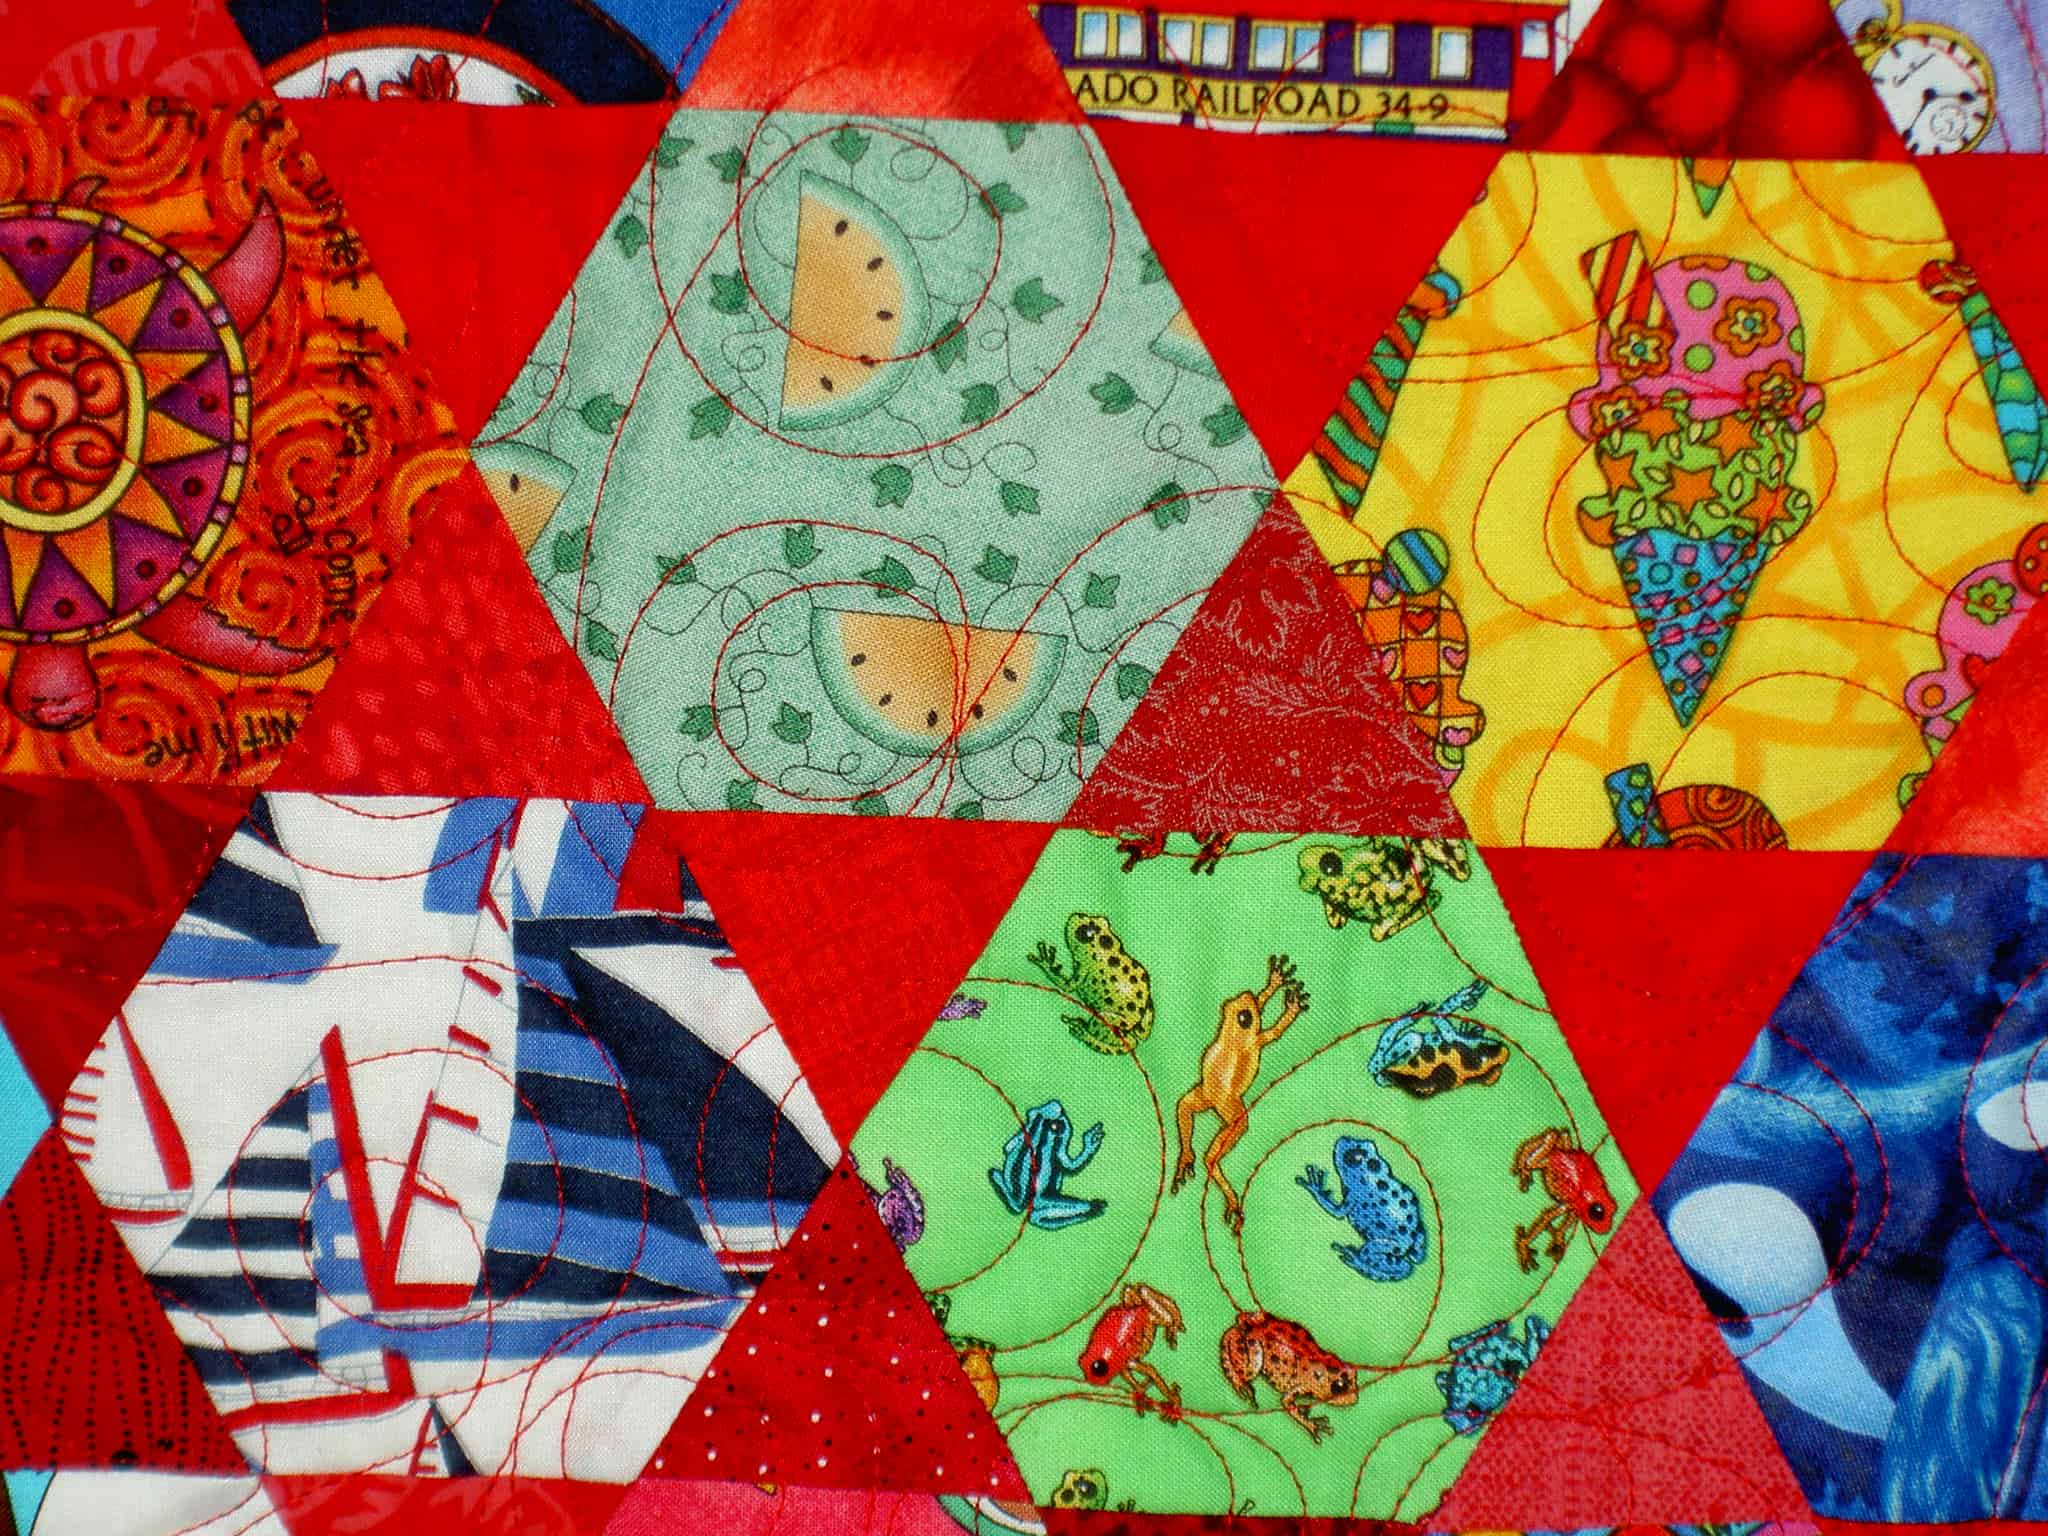
I was listening to the Quilting Stash podcast today and Annie was interviewing Elizabeth Hawkins x2. Yes, that’s right, the owners of Lizzie B Cre8ive are both named Elizabeth Anne Hawkins. I am generally interested in hearing interviews with designers and these ladies seem to have their act together in the business end of things. Later I went and looked at their website, blog and subscribed to their podcast. I wasn’t able to find their Facebook group, so that will have to wait. Perhaps I am going overboard a bit, but I am feeling a lack of creative stimulation lately. It doesn’t seem to be bothering my production as the Eye Spy is coming along nicely.

Lizzie B is essentially a pattern company. I usually don’t do patterns, so I probably won’t buy anything from them, but they do have some nice bag patterns. If I can figure out how to make them useful, perhaps I will make one. In the meantime, I will just admire. I did find that the photos and text on their website and blog were rather small and hard for me to see. Perhaps it is time for a trip to the eye doctor!

  blog it

Denyse Schmidt Pattern / Black & White Quilt


Black & White Quilt
Originally uploaded by Andy 1167

I thought this quilt was a great use of Black and white fabrics (white on black and black on white), AND a great and different use of the Denyse Schmidt pattern from her book Denyse Schmidt Quilts. I like the very graphic nature of the fabric choices.

Clever Holiday Gifts

CraftSanity Napkin
CraftSanity Napkin

I am mulling over hostess and cousin gifts as the holiday season officially arrives with little to no inspiration. I really just want to sit around and work on what I want to work on. Fortunately, Jennifer Haywood- Ackerman, creator of the CraftSanity podcast, also has a great blog. Today she is talking about these fun napkins. The folding is the key to making these look great and she includes the directions for this and another project.

Various and Sundry Late November 2008

It is entirely possible, though kind of unbelievable to me, that I haven’t breathed a word of the Cross Blocks (Flowering Snowball) since September.


This is the block that I finished this week. it is the first one where I took the Child’s advice and used some calmer fabrics.

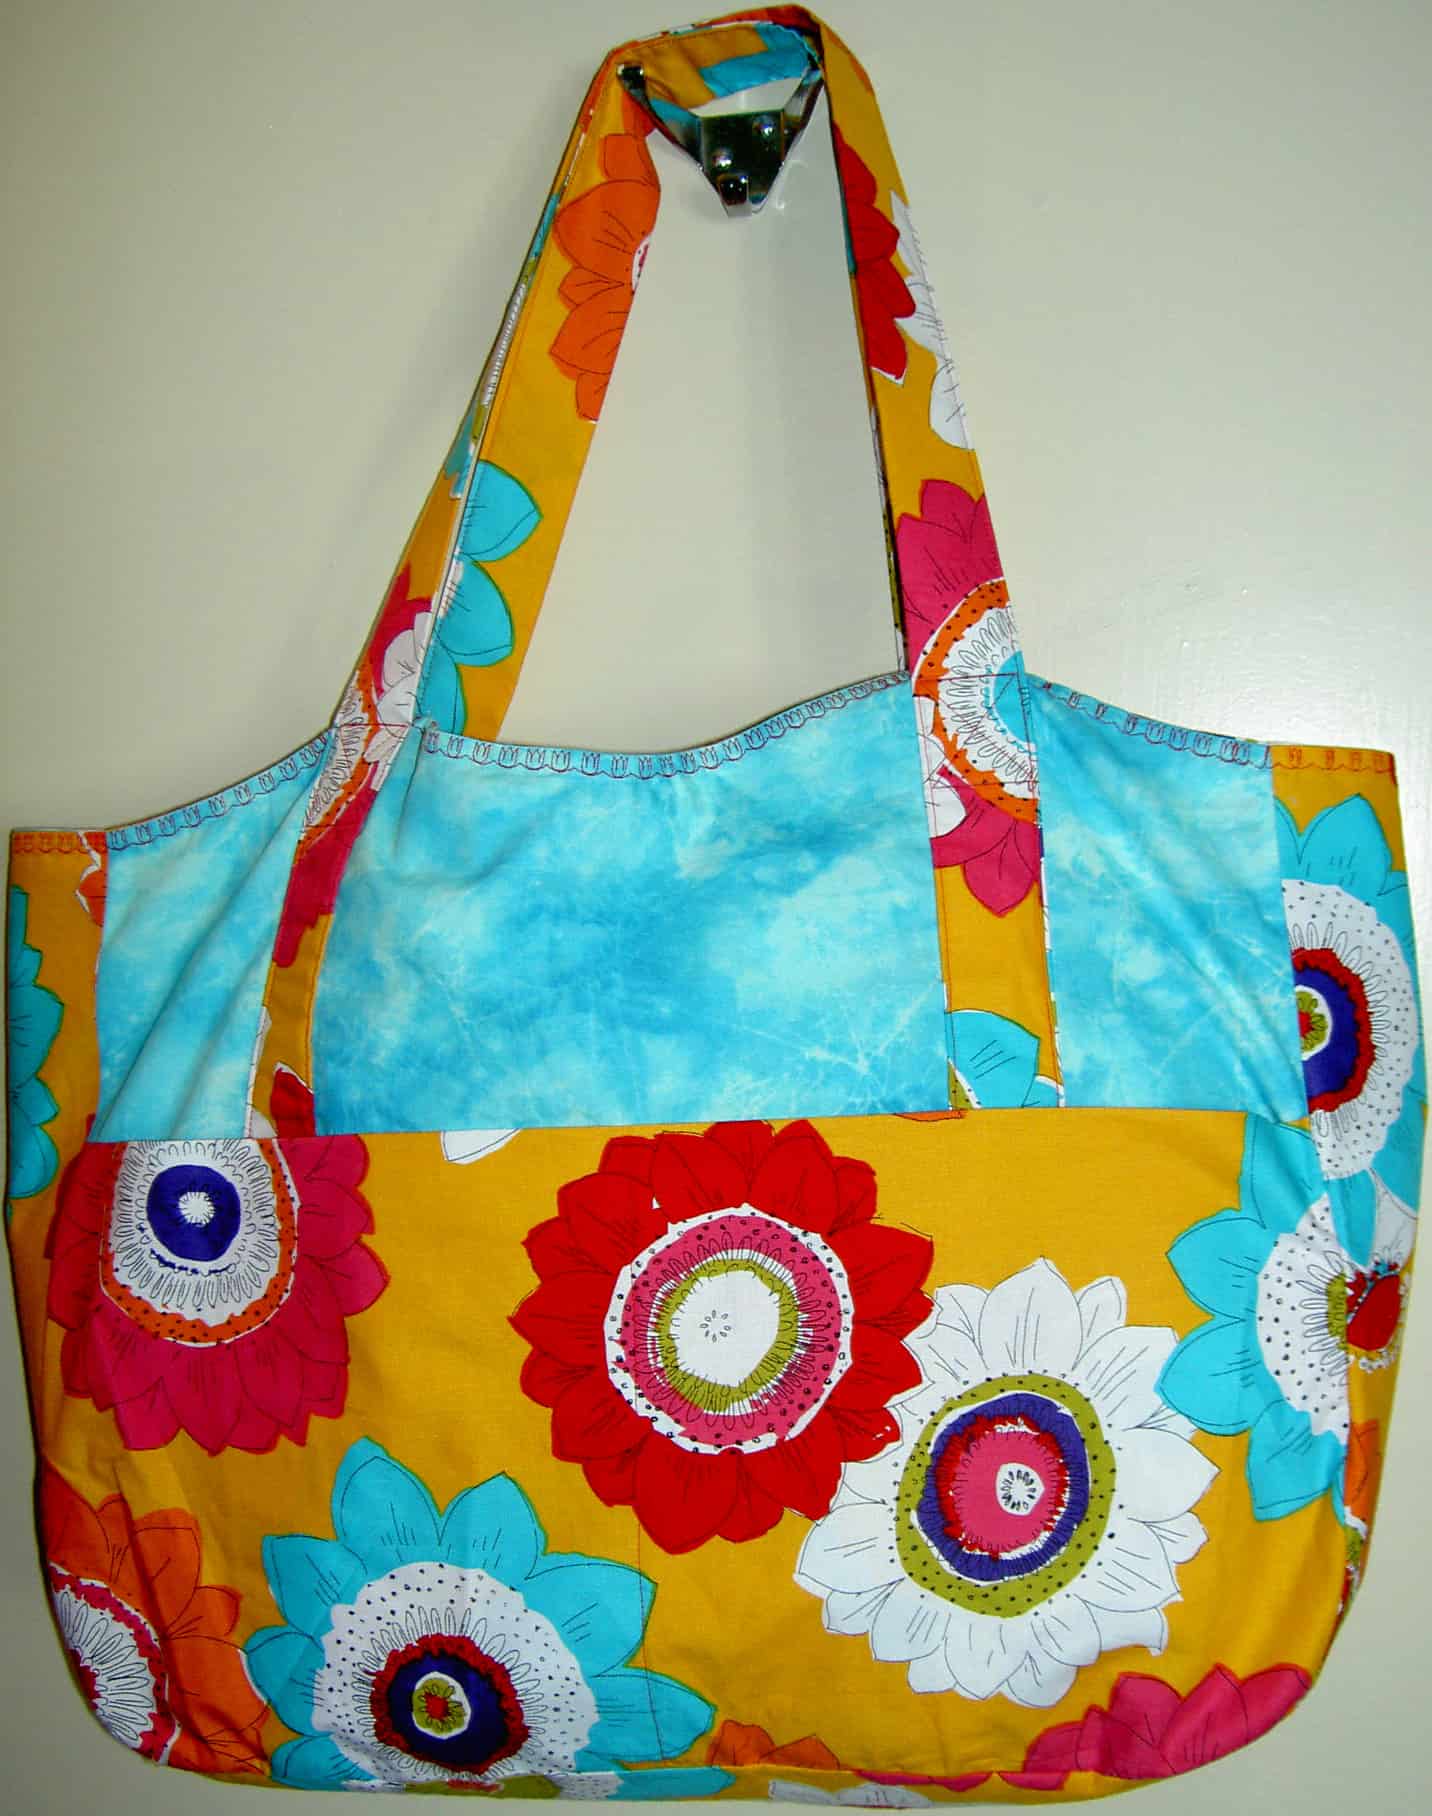
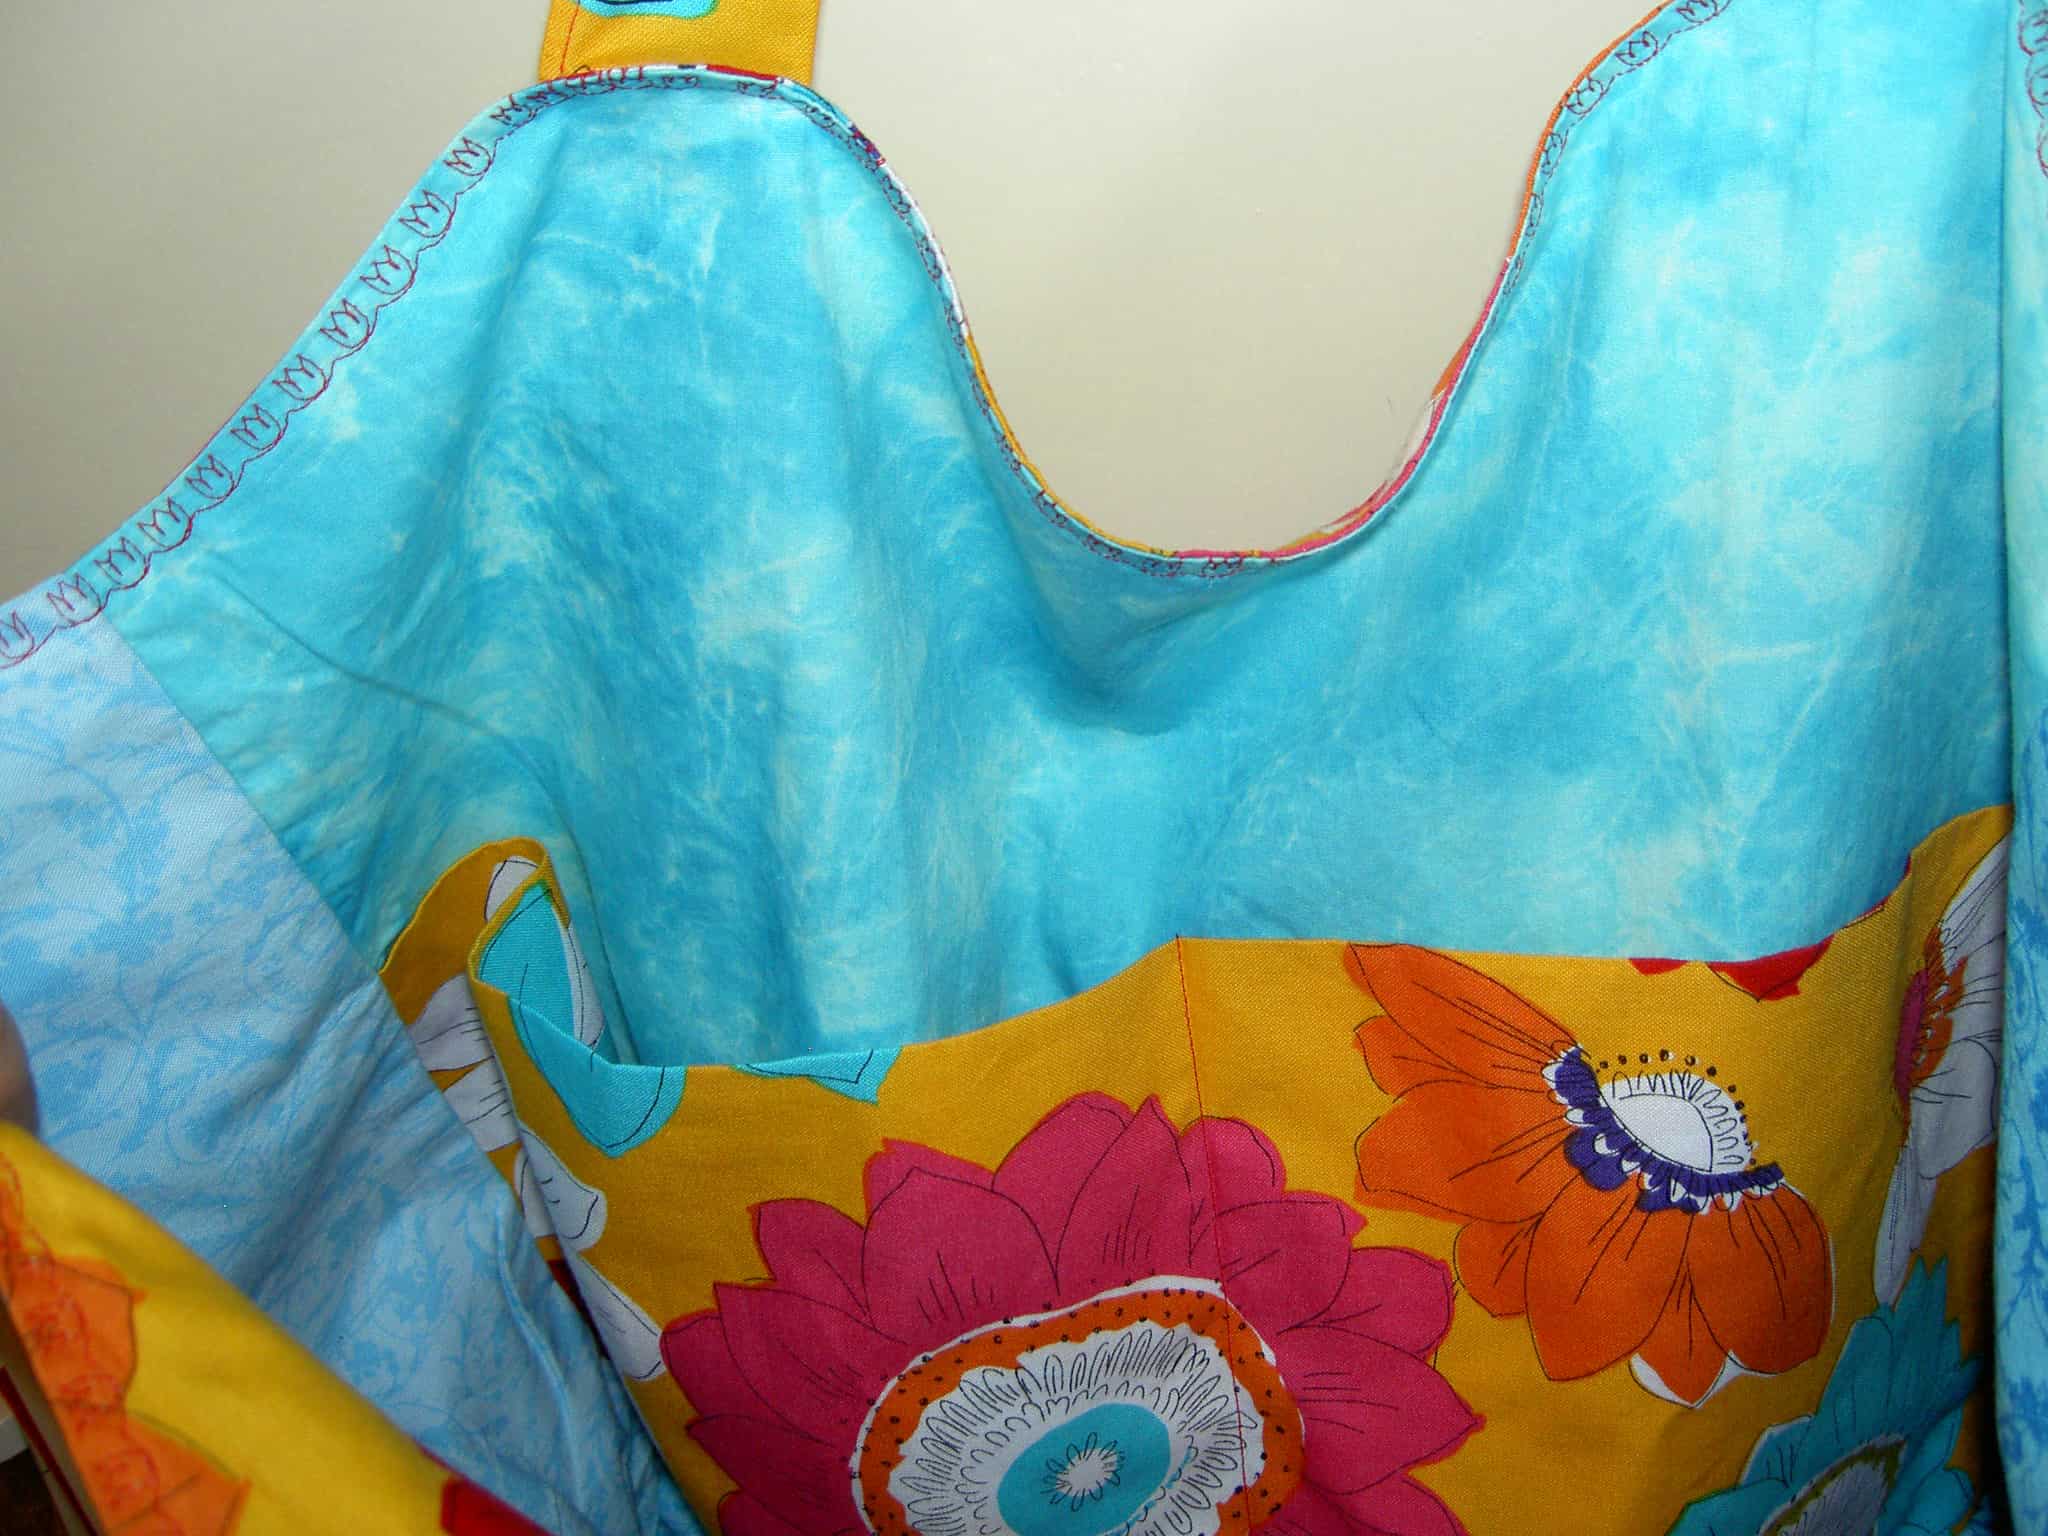
The two above were taken on 9/29, but I didn’t see them posted. There are some calmer fabrics in them and I like the layout of the block on the right better than the the layout of the block above. It looks more balanced to me. How do you like that handbag black and white fabric I found?

And on another topic….

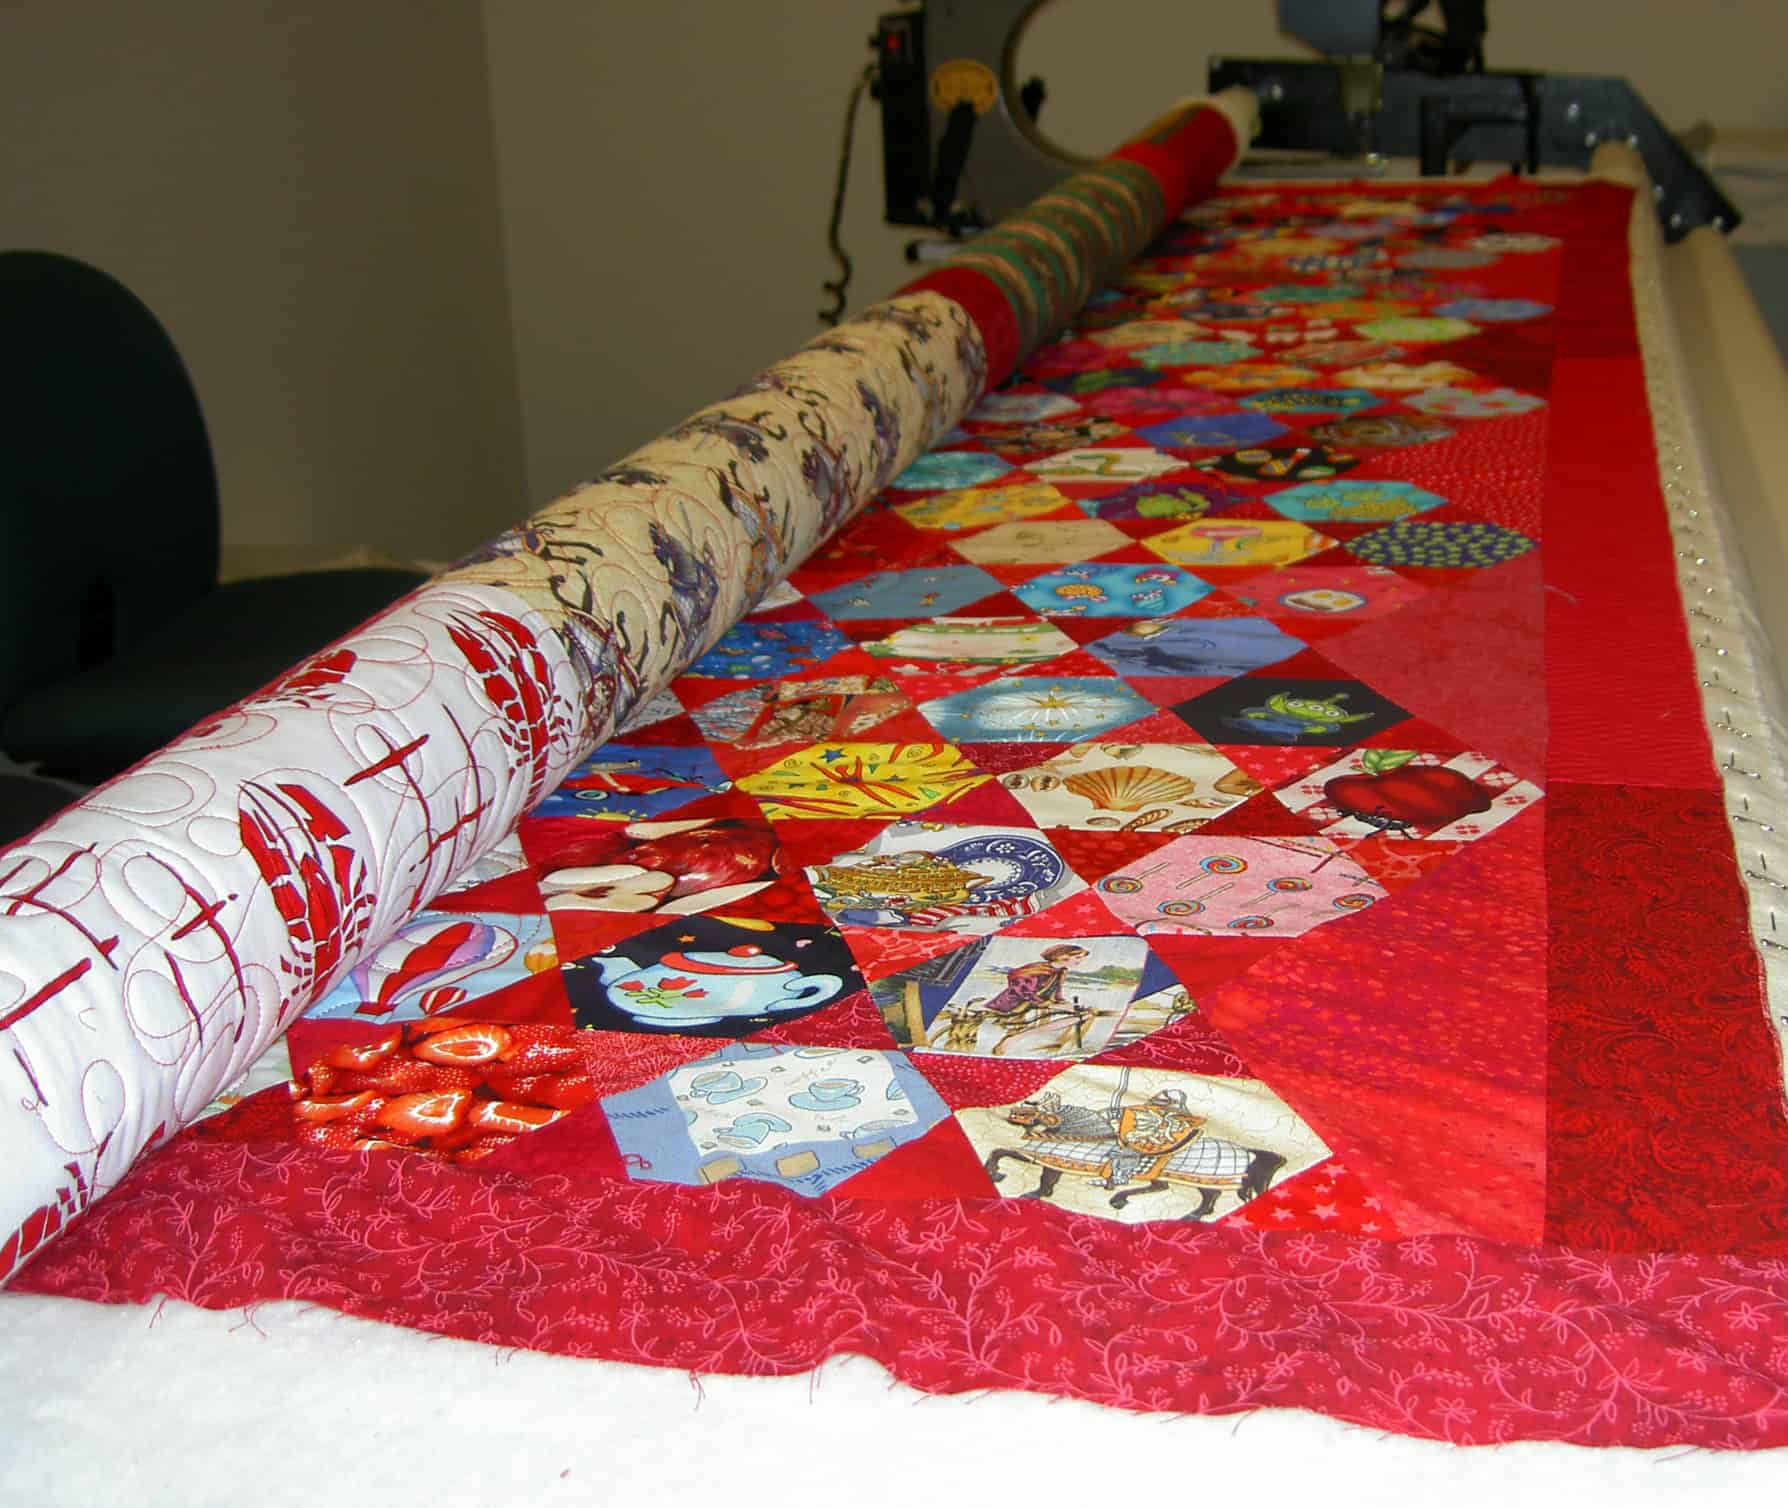
Following up on the longarm demo CQFA had earlier this month, my mom came over and showed me what she had done. She went to a friend’s house. The friend has a Handiquilter and they worked on the HandiQuilter.

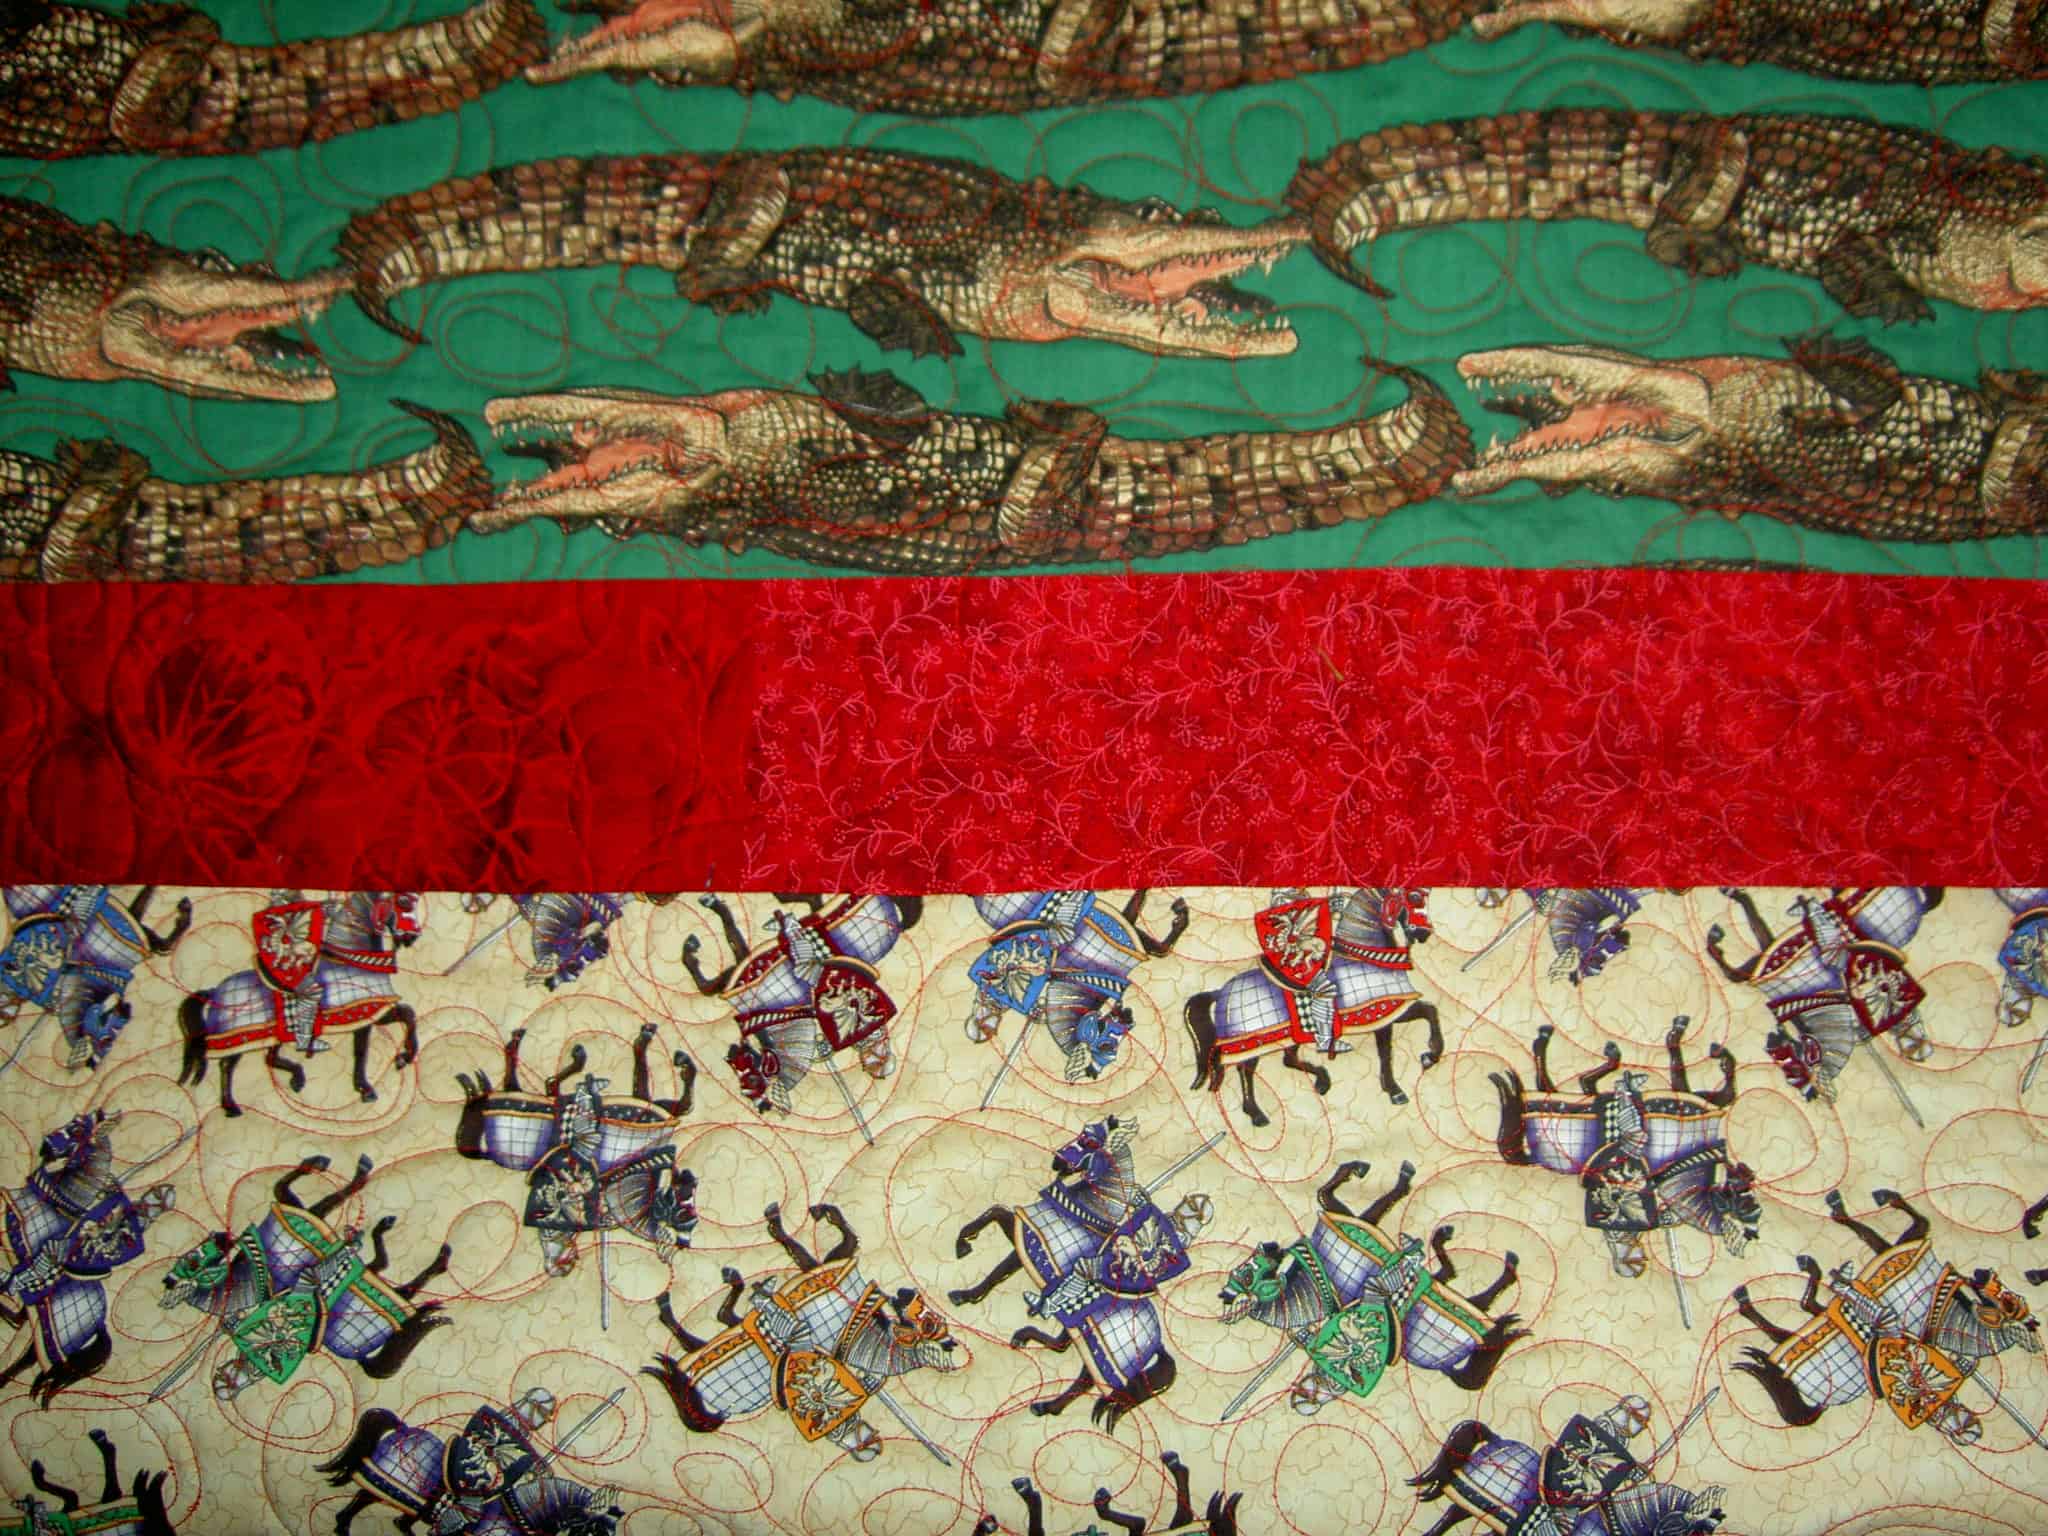
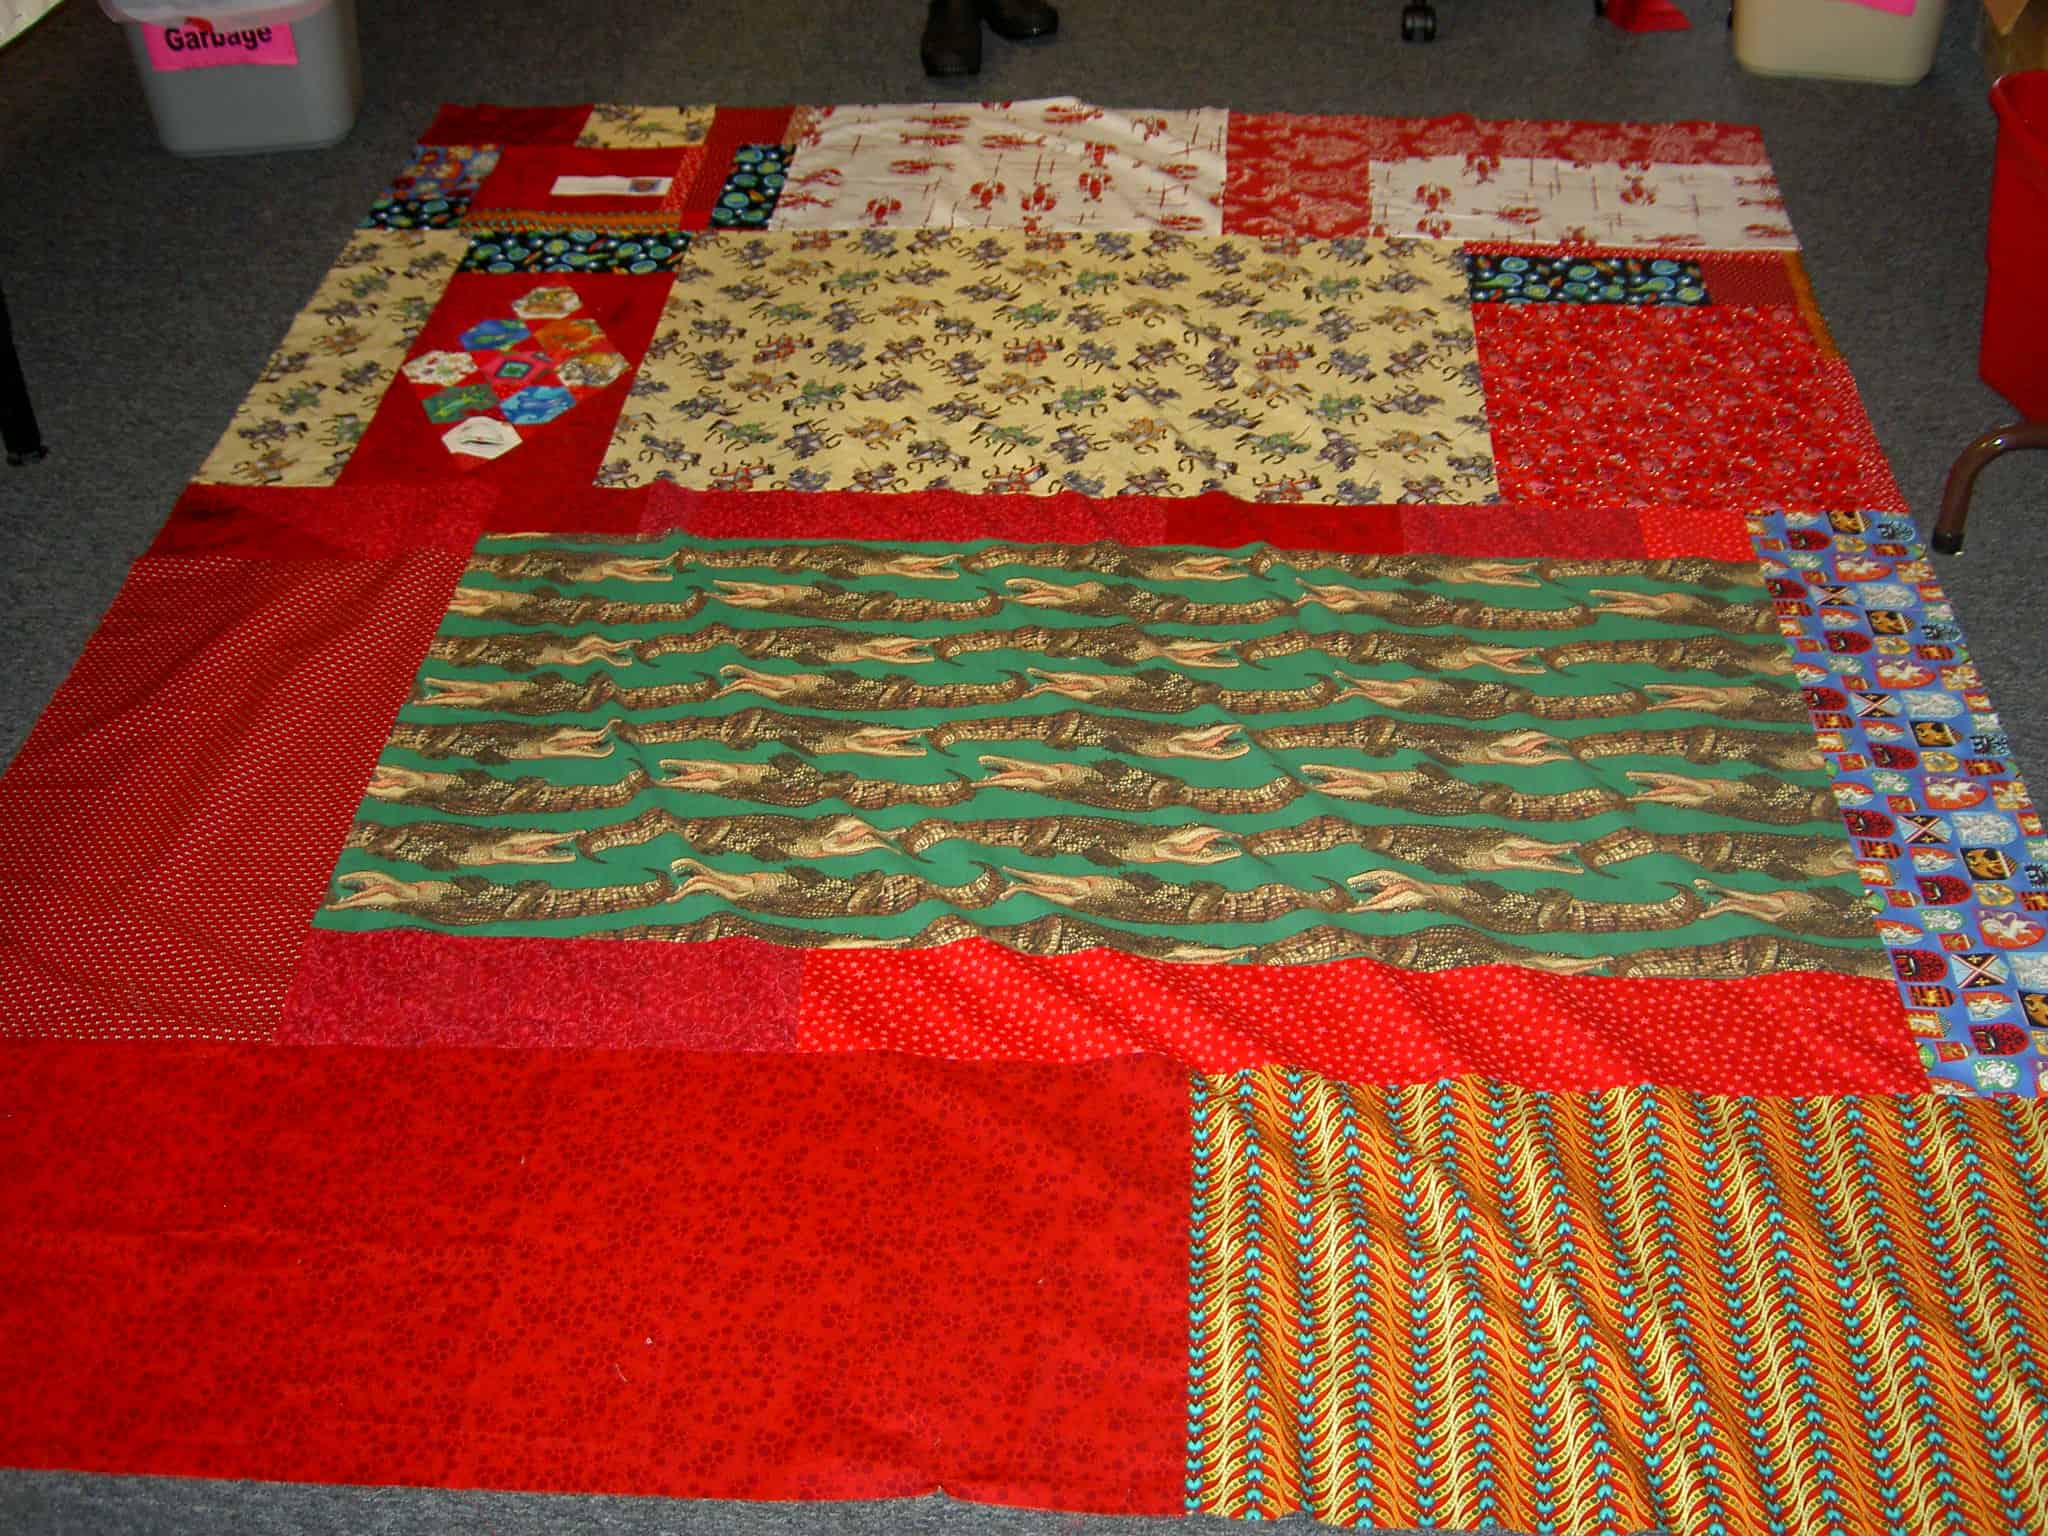
This is the quilt top Mom quilted. She has no idea where she got it, but it has a wide variety of fabrics. Some of them are not 100% cotton. There is a lot of interesting texture. I ended up sewing part of hte binding on for her on Pie Day.

Here is some of the quilting she did. Mom said that she spent all week, while on public transportation, doodling and that really helped her feel comfortable with the motions of the machine.

Flower motif.
Little house. She had some issues with the tension here, but was able to figure out what the problem was. Mom said that she is not going to take the longarm class at Always Quilting; that she is just going to use her friend’s machine. I am still taking the class on Jan 9.

Puzzling Through the Eye Spy; Progress

The first order of business this week (after all the cooking and tidying, of course) was to, once and for all, decide how I was going to put the quilt together. Below, you can see I have arranged the ‘blocks’ (two equilateral triangles and a hexagon) two different ways.

On the right the blocks were oriented with the triangles on the top and the bottom of the hexagons (Option A). On the left, the blocks are arranged with one triangle in the upper right hand corner and one triangle in the lower left hand corner (Option B).

I discussed previously that I thought the edge would be a problem. I finally decided that I would go with Option A. Mostly, I decided that I could better figure out how to make the edges straight using the diamonds. With Option B, the side edges seemed like they would really be a problem and I would end up hacking them off, which I didn’t really want to do. You can see the edge that seemed to be a problem on the photo above left.


I stood staring at the above piece for a long time trying to figure out what do next and how to deal with the edges. I decided that I would only hack parts off as a last resort and I was looking at pieces for the edges to see which motifs wouldn’t be compromised if I cut them in half. That still left me with the problem of how to finish the edges so that they could be bound in some normal manner. As the picture above shows, those points on the top and bottom don’t qualify as easy to bind. As an aside, I have no problem with doing difficult bindings, but there has to be a design purpose as in Pink Spider Looking at the Stars from my early days of quiltmaking.

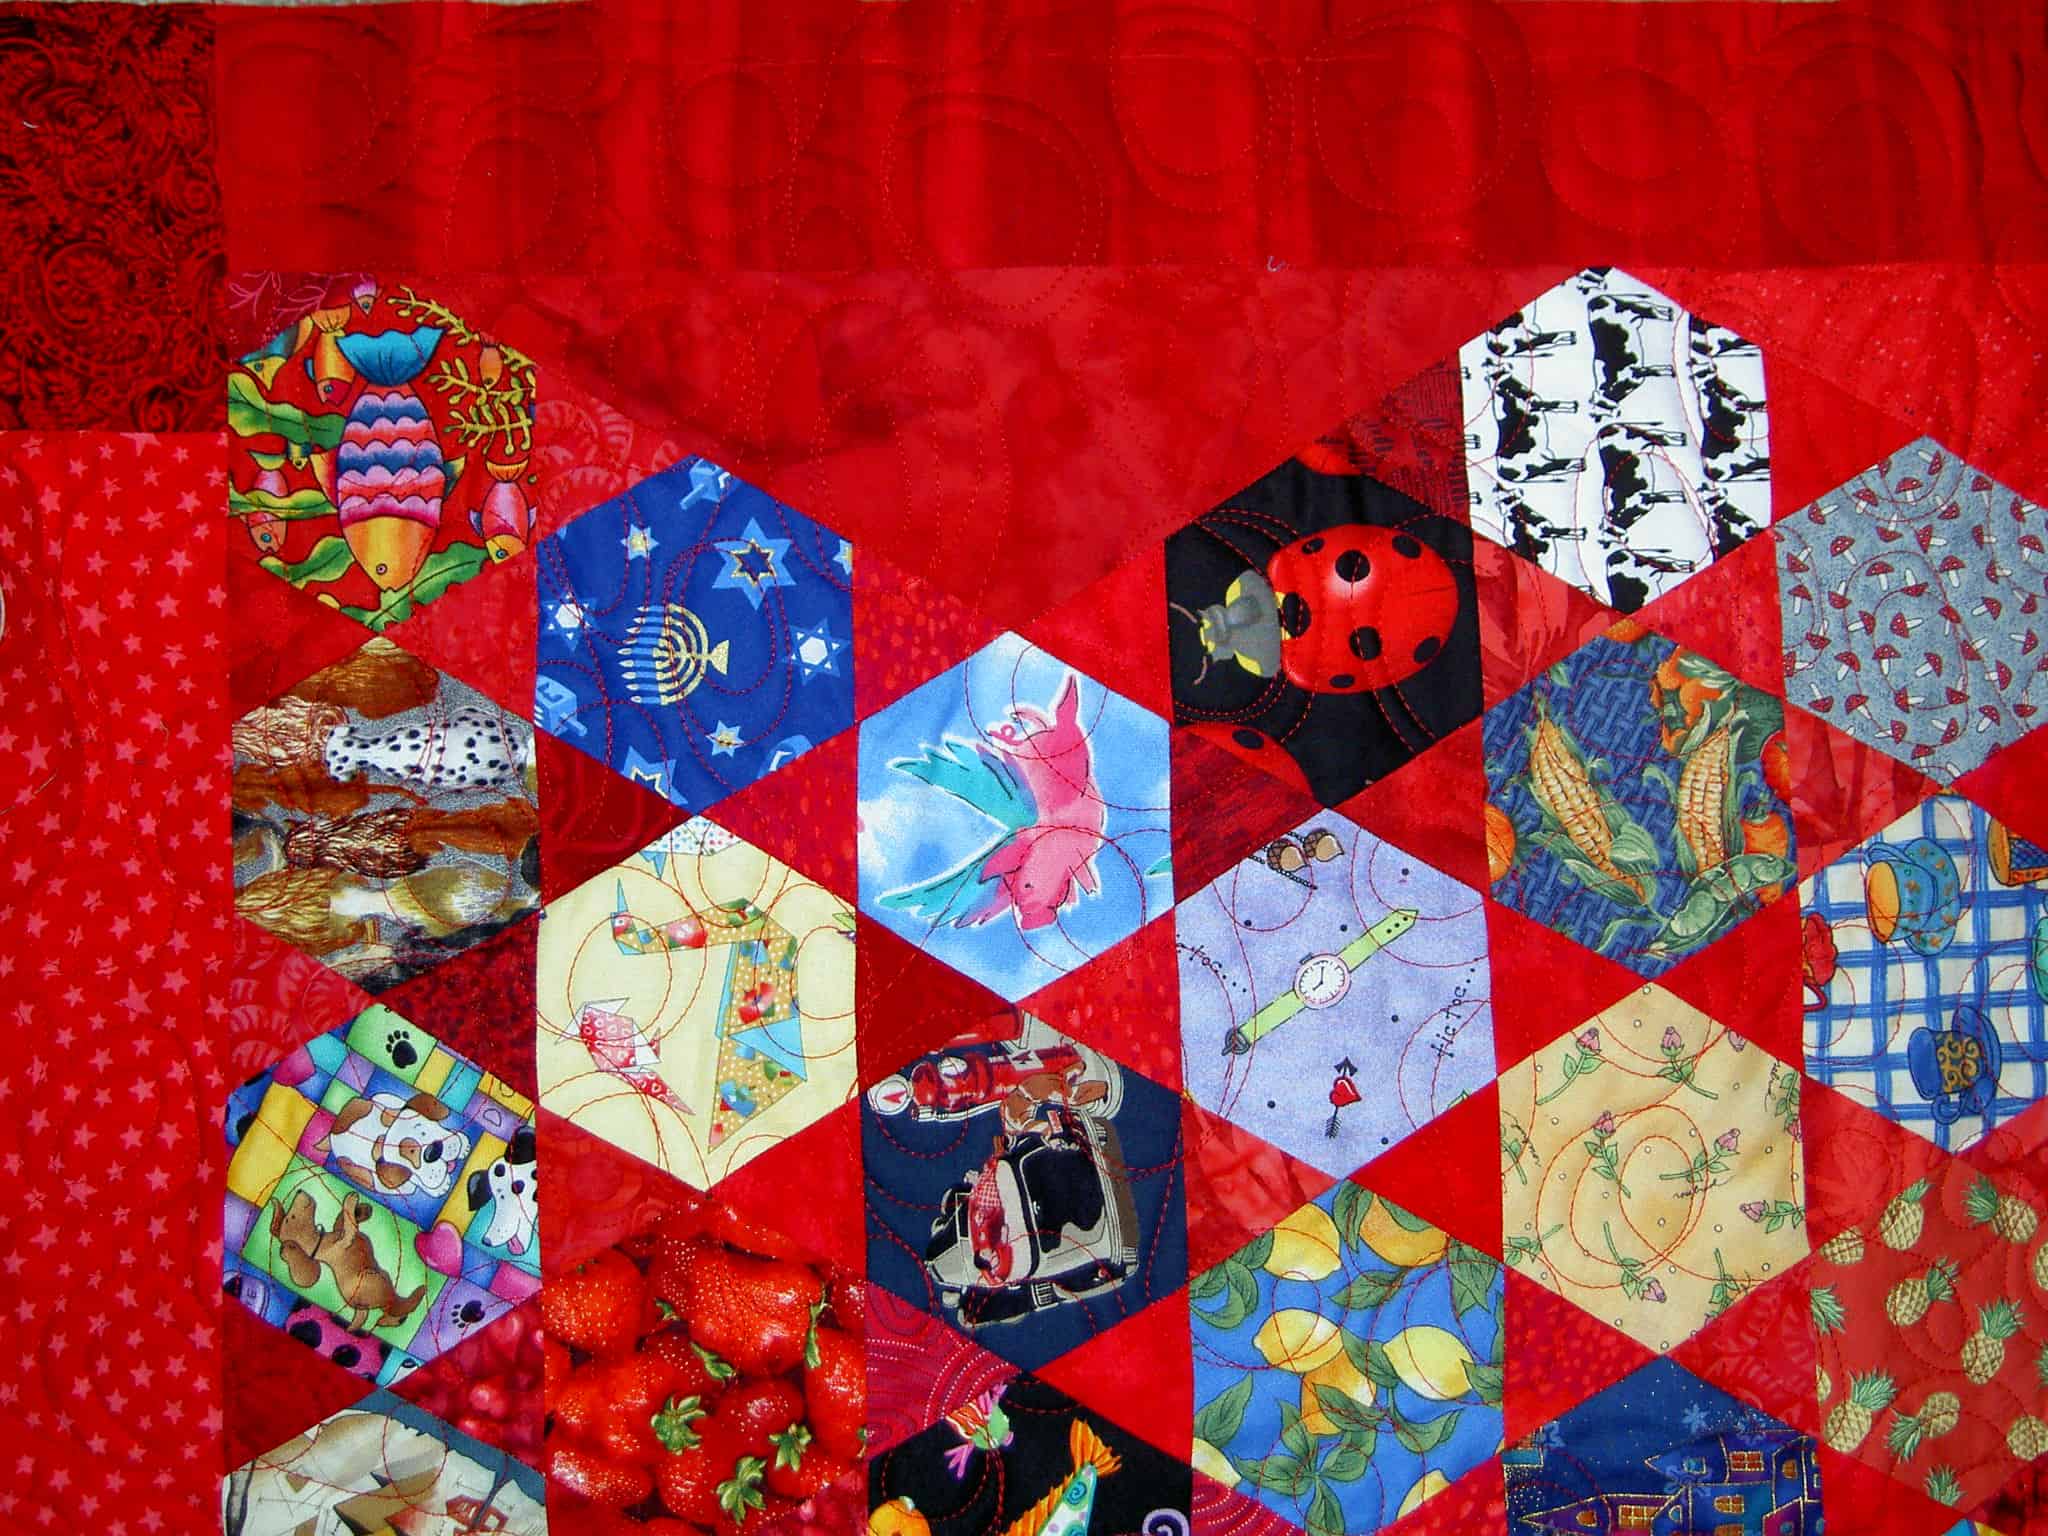
This is a close up of one section so you can better see the connections between the pieces.


This is one unit. After finally deciding on a plan to put the blocks together, I began to look at a unit and see what it needed to create a flat top edge. One thing I did with a hexagon was to sew one triangle to the bottom only. That creates one unit with a flat edge.


Having successfully created one flat top piece, I sewed a triangle on to the bottom of another. It wouldn’t butt up to the unit I already created, so I sewed a triangle to the side. Doing this made me realize that I needed to decide on which angle I would be sewing the units together. Once I made that decision I would have to strive to sew triangles to the top pieces to make straight lines to match that angle.

By sewing the black and beige unit to the larger diamond unit, I was able to to make the flat top longer and keep the straight line angle for sewing additional units together in place.

My challenges didn’t end there, though. I had to work out the next section. The way I started (above) obviously wouldn’t work if I wanted to avoid set in seams.

In the overall scheme, the above depiction might work, depending on the way I sewed the piece together and how the rows lined up.

I sewed another red triangle on to the opposite side. This gave me a straight line. With this succeeding, I started to realize that I only needed to sew a triangle on to the bottom and the left side of each top piece. You can see how the black and beige piece fits with the tropical drinks patch.

Above you can see the macro view of how I will sew the lines of the units together. I will sew from left to right.

I still have to make the rest of the top and that is what I am working on now. Stay tuned!

Thinking about Jump Rope


I never really liked the Katie Jump Rope fabrics by Denyse Schmidt. However, since looking at the Denyse Schmidt pool on Flickr, I have a new appreciate for the group. These ribbon prints have, especially been growing on me.

One of the things I realized is that I like seeing the entire of line of something, but that I have to be careful and remember that I don’t need to buy or use the entire line. I should, also, take designs/pieces from an entire line and look at them together without all the others.

The people in the Denyse Schmidt pool are really creative and I am enjoying looking through what they are making.

Book Review: Inspiration Odyssey

Inspiration Odyssey: A Journey of Self-Expression in Quilts Inspiration Odyssey: A Journey of Self-Expression in Quilts by Diana Swim Wessel

My review


rating: 5 of 5 stars
This is one of best books about creativity I have ever read. This book was written when quilt book publishers still thought that quiltmakers had brains and didn’t insist on spoon feeding us repetitive patterns with no challenge or thought required. Diana Swim Wessel takes the reader through a variety of exercises to get those creative juices flowing. Useful for more than just quiltmakers as the exercises and ideas apply to a variety of different artistic endeavors. I am very sorry that this was her only book and she seems to have disappeared.

View all of my quilt and non-quilt reviews.

Puzzling Through the Eye Spy

This week was kind of crazy week work-wise for us. As I result, last night was the first time I got back to the Eye Spy. I spent the time with a bit of sewing, a bit of cutting and lot of puzzling. I am puzzling through the best way to put it together. As you may know, I like to jump right in and start sewing. This gets me into trouble sometimes, but I do enjoy just sewing. Puzzling through problems isn’t so bad as I can’t always visualize the whole process. Of course, if the problems become too problematic then the quilt pieces usually go back into the closet.

I started working on the sewing on that Sunday where I introduced the piece but I didn’t take the edges into account. I am very much into my self bordering technique and would like to use it here. I used it on the Interlocking Triangles quilts and some others. Essentially it means that I don’t like to hack off bits of a border block to end the quilt.


I attempted to work on this yesterday while I was sewing triangles to hexagons. My dilemma, defined, is that I really don’t want to just randomly hack off the edges to make a straight side. Nor do I want to apply a binding to an edge that needs a miter every two inches.

First, I broke the hexagons I have sewed into two groups. Left, the pieces are arranged in a way where the triangles are pointing up. In this orientation, there are no straight edges. The side edges could be okay with a slightly irregular edge made by putting the piece together in chunks using diamonds (see far left).

The top and bottom edges would be a piecing nightmare, however, because I would have to inset triangles somehow. I can imagine that this would be a top that ended up becoming a permanent member of the UFO/ WIP list.

Right, the hexagons are arranged in a way where the triangles are pointed to the left. This is the way that Simply Quilts suggested putting this top together and what the directions on the package of templates suggest. Still, hacking off the edges to make this work makes me cringe. I was considering putting fabrics that were allover prints on the edges so the mutilation wouldn’t be as brutal. I don’t know.

Options:

  1. Hack off the top & bottom or the sides, depending on layout.
  2. Choose to piece the quilt in chunks using diamonds and do inset piecing to make a straight edge along the top and bottom.
  3. Deal with very uneven edge in the binding process.
  4. Add some other shaped pieces to the edge in a uniform color (more red?) to make the edge square.

Left is a detail of the corner of the piece with the section I have sewn together and arranged with the triangles placed pointing left.

I’ll have to troll the web and look at what others have done.

More From the Bag Lady

A long time ago there was a discussion on a Yahoogroup about being a bag lady. Not the kind you see on the street begging for money, but someone who loves all kinds of bags.
Tote bags
Handbags
Purses
Laptop bags
Briefcases
Backpacks

You name it. I love them. I am also a bag lady, as you might have noticed. Not that I am not particular about the bags that I buy or make, but havingg the right bag at the right time makes all the difference.

This site has a list of of many free (and some NOT free) patterns for a variety of bags that you can make. Some of them might make great Christmas or holiday gifts.

clipped from tipnut.com

35 Reusable Grocery Bags You Can Make – Free Patterns

clipped from tipnut.com

Sewing Grocery Bags & Totes

  • Fabric Grocery Sacks: Replicas of plastic grocery sacks made from vintage sheets and pillowcases (any fabric will do!). These also make cute lunch bags. Features a tie closure for a neat fit in your purse when not in use.
  • MorsBags.com: Offers a downloadable pattern in pdf or word doc format (also an animated web tutorial). Simple tote style, easy to make.
  • SewUseful San Fransisco Shopper: Roomy fabric tote with shoulder straps, folds down nicely to fit into a pocket or purse.
  • blog it