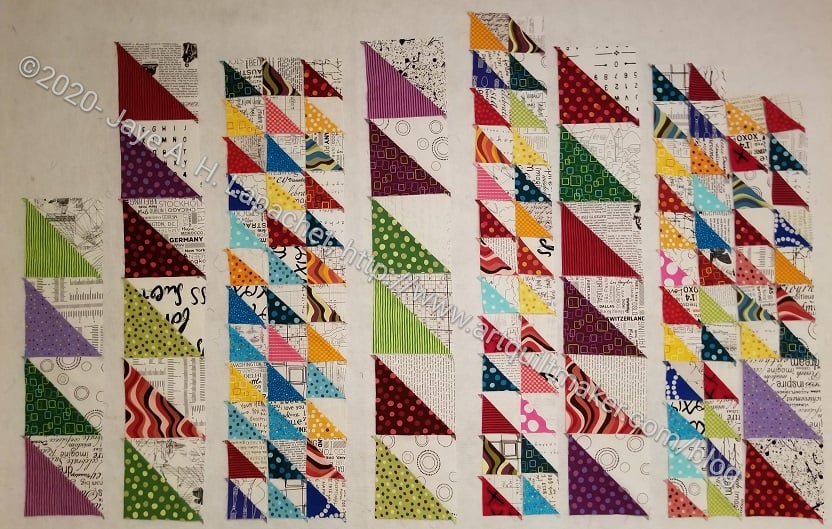
I moved the HST top in progress to my large design wall so I could try out different layouts. One thing I definitely wanted to see was how it would look with space between the columns.
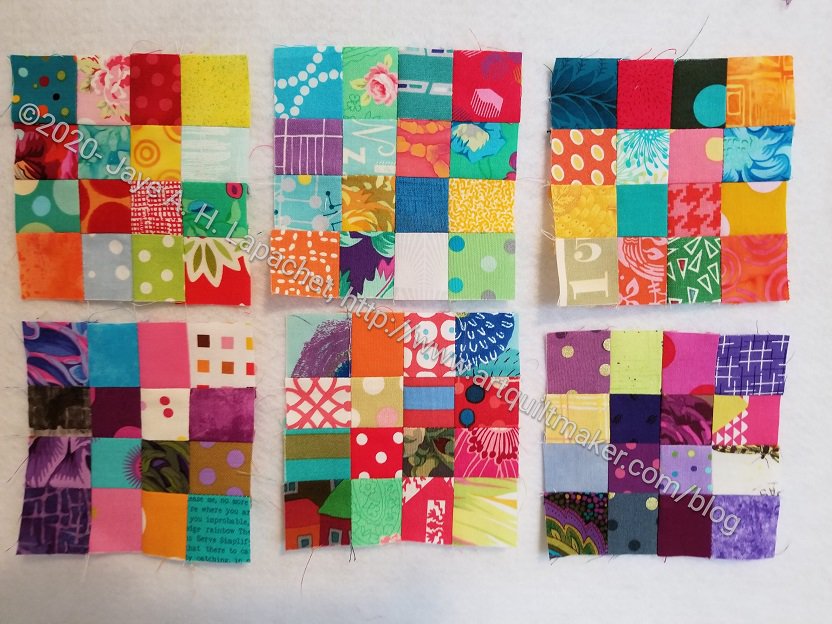
Years ago, I saw a pattern in a magazine called 30 Something. It is called 30 Something, stupidly IMO, because the maker used 30s prints. I saw beyond the 30s fabrics and began cutting out various pieces I would need for the blocks.
30 Something 16 Patches
Recently, I began sewing some of the pieces together as leaders and enders.This means I get quite a bit done, but not on donation quilts.
The first step is to make 16 Patches out of the 1.5 inch (yes, THAT small) squares I had been cutting. I need 42 of these and have 24 so far.
I am happy with the progress I have made. As you can see, there are no 30s prints in my 16 patches. I need to think of another name for this quilt, but nothing comes to mind so far.
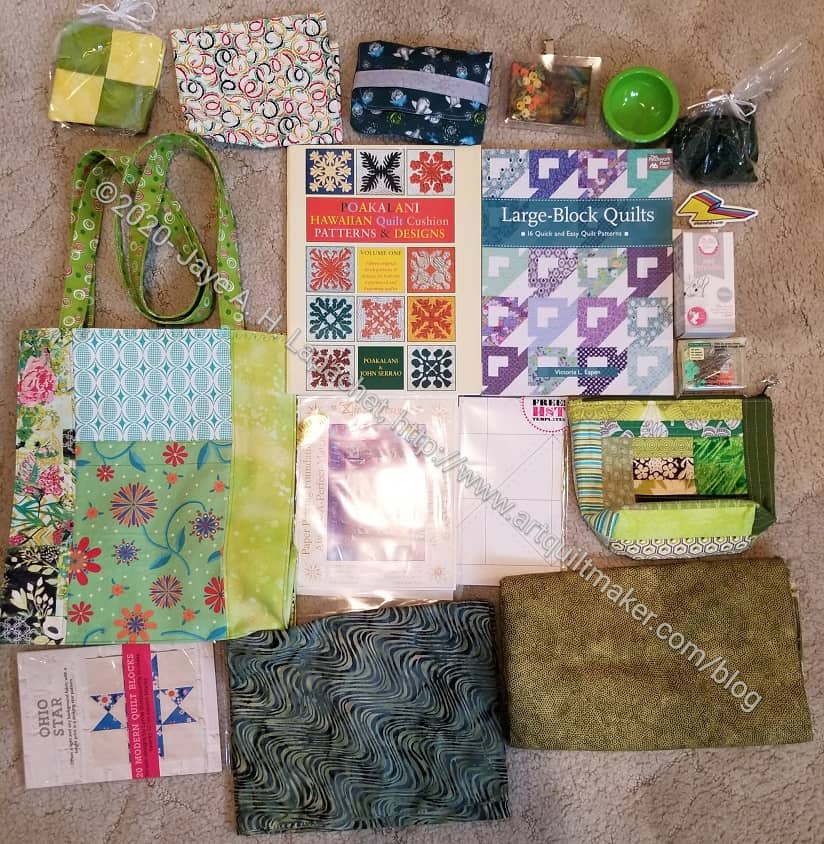
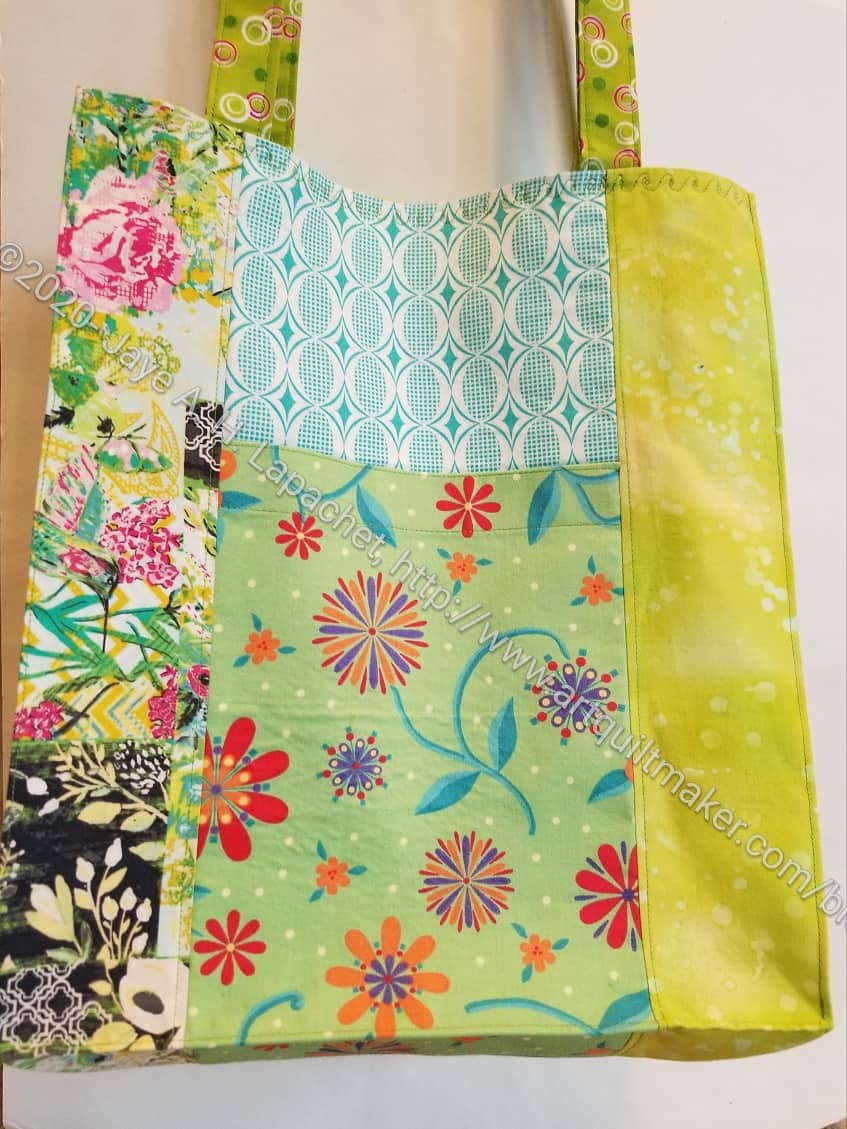
Last weekend I made a bag for the door prize at today’s meeting. I used the Jane Market Tote for the pattern again. This is a practical pattern that isn’t too big and goes together relatively quickly. I spent about 3 hours from finding the pattern to clipping the last thread.
It is scrappy green. I chose green for St. Patrick’s Day. I thought it would be fun to have green/St. Patrick’s Day as a theme.
I chose to make it scrappy so I could use up some smaller pieces of green.
I need another EPP Project (or any project???) like I need another hole in my head, but I am still very tempted. My friend, Lindsay, is working on Smitten and I love to see the progress she is making. Of course, she takes it with her places and works out in by bits while she is out. I never really go anywhere where that would work. I have the half-hexie project I haven’t worked on in months. Also, I have La Passacaglia papers and templates waiting for me to make into something.
It would be stupid to spend money on this new temptation, but I am still tempted.
My first attempt at putting the exterior of the Superbloom Tote together was unsuccessful. I was disappointed and distraught. I left the bag for much too long and considered not finishing it.
Briefly, I thought about quitting.
This was a terrible idea, because I have other fabric that I want to use to make another one. AND the fussy cutting I did with the Linework fabric is fantastic. The fussy cutting on those side pockets was fantastic. Finally, after mulling a lot, I realized that I had been working on the bag without the benefit of the video. Many of Sara Lawson’s pattern packs come with the pattern and a video. The video is very helpful. She has improved the videos by tagging them to steps in the pattern. I was able to navigate right to putting the exterior together easily.
Superbloom Exterior
Watching the video really helped and I was able to get over the hump of adding the side pockets and the straps to the exterior. There was one step I did a little wrong, so I had some ripping to do, but it came out really well.
As soon as I move the X Quilt off the design wall, I moved all the HSTs leftover from the X Quilt on to my large design wall. I wanted to play around with layout a little bit.
I had to squeeze it on to my small design wall to show it to you before. I wanted to see how it would look with a little space between the columns, which is what you see above. I am not sure I like it. I kind of like the way the pieces look right next to each other.
It is also a little bit of an odd shape in this configuration. I need to think about whether it matters or not.
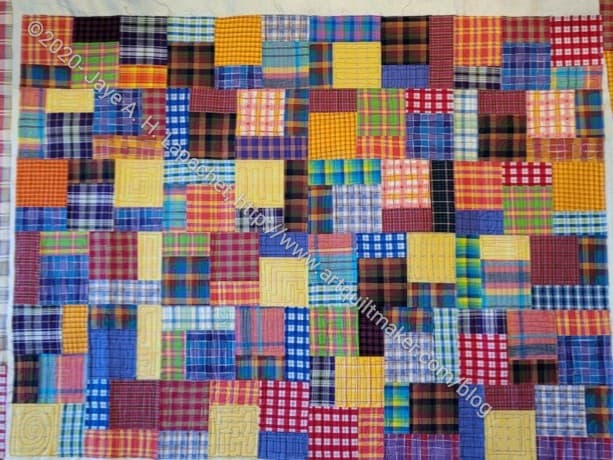
As I mentioned, Tim was working on the plaid donation quilt when I left him the other day. He sent me a picture of the finished top and a detail (left).
I like what he did with the designs in the piecing. He has a good eye for quilting designs.
Plaid Donation Quilt- quilted
I also like this design quite a bit and plan to make another donation quilt using the Block Party pattern.
The guild has started another Sew Happy Hour on Fridays. This one will be devoted to WIPs or group projects though, knowing the guild, people can work on whatever they want. Maria has designated the next date as a time to make Japanese aprons.
A Japanese apron is, apparently, an apron with no ties that crosses in the back. Maria sent a great article on different Japanese Apron patterns, which I mentioned in the most recent V&S post. I chose the Tessuti pattern, which is free, mostly because it was the first one I saw.
Japanese Apron Giant pattern page
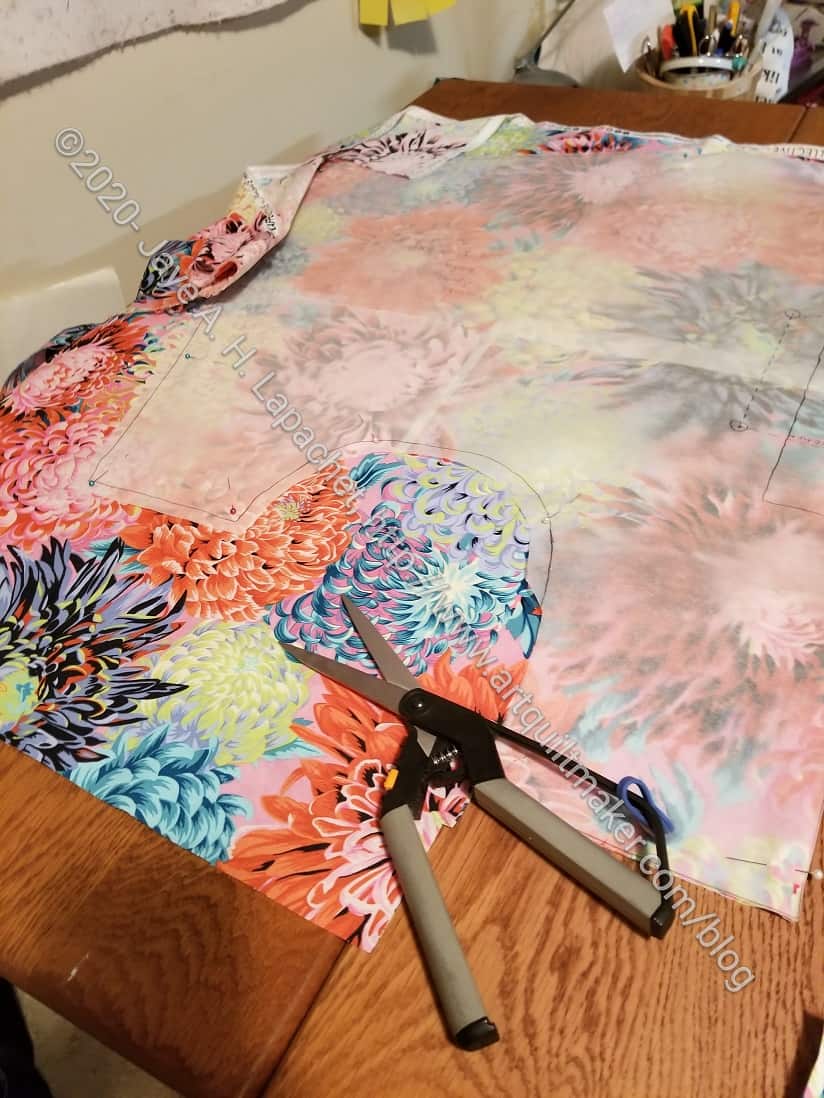
The first thing I had to do was print about 1,000 pages of pattern. Then I had to glue and tape it all together. Usually, I will buy the pattern to avoid this step, but the the shipping was from Australia, making the free pattern $40 or so. I couldn’t justify the cost even with the ink, tape, glue and my time. I have to say that the designer did a good job labeling the pieces so it was easy to put together.
After I had the pattern together, I traced it onto tracing paper. This required me pulling out my sewing cabinet, so I could flip up the back. I had one of those cardboard cutting mats people used to use for cutting out garment patterns, but it wandered off somewhere and I couldn’t find it. I just the opportunity of having the back up to also trace my Westchester Dolman Top pattern. I’m glad I thought of that since tracing the pattern to the right size was what was holding me up with that project.
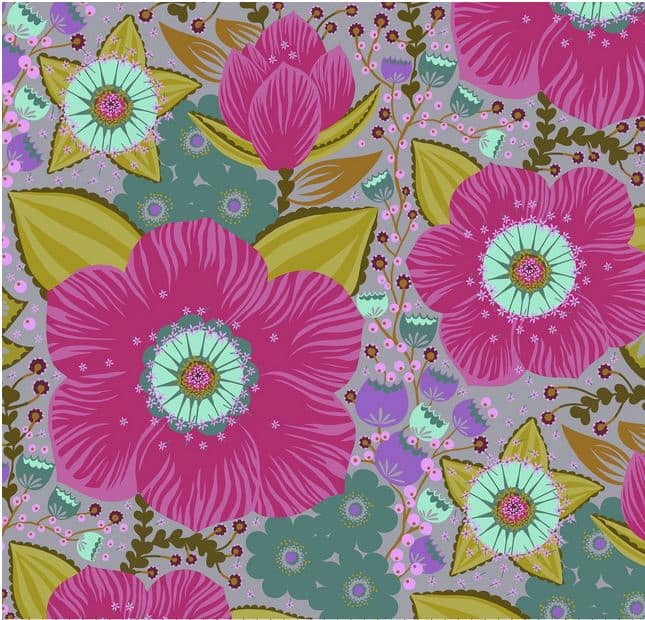
Philip Jacobs Japanese Chrysanthemum
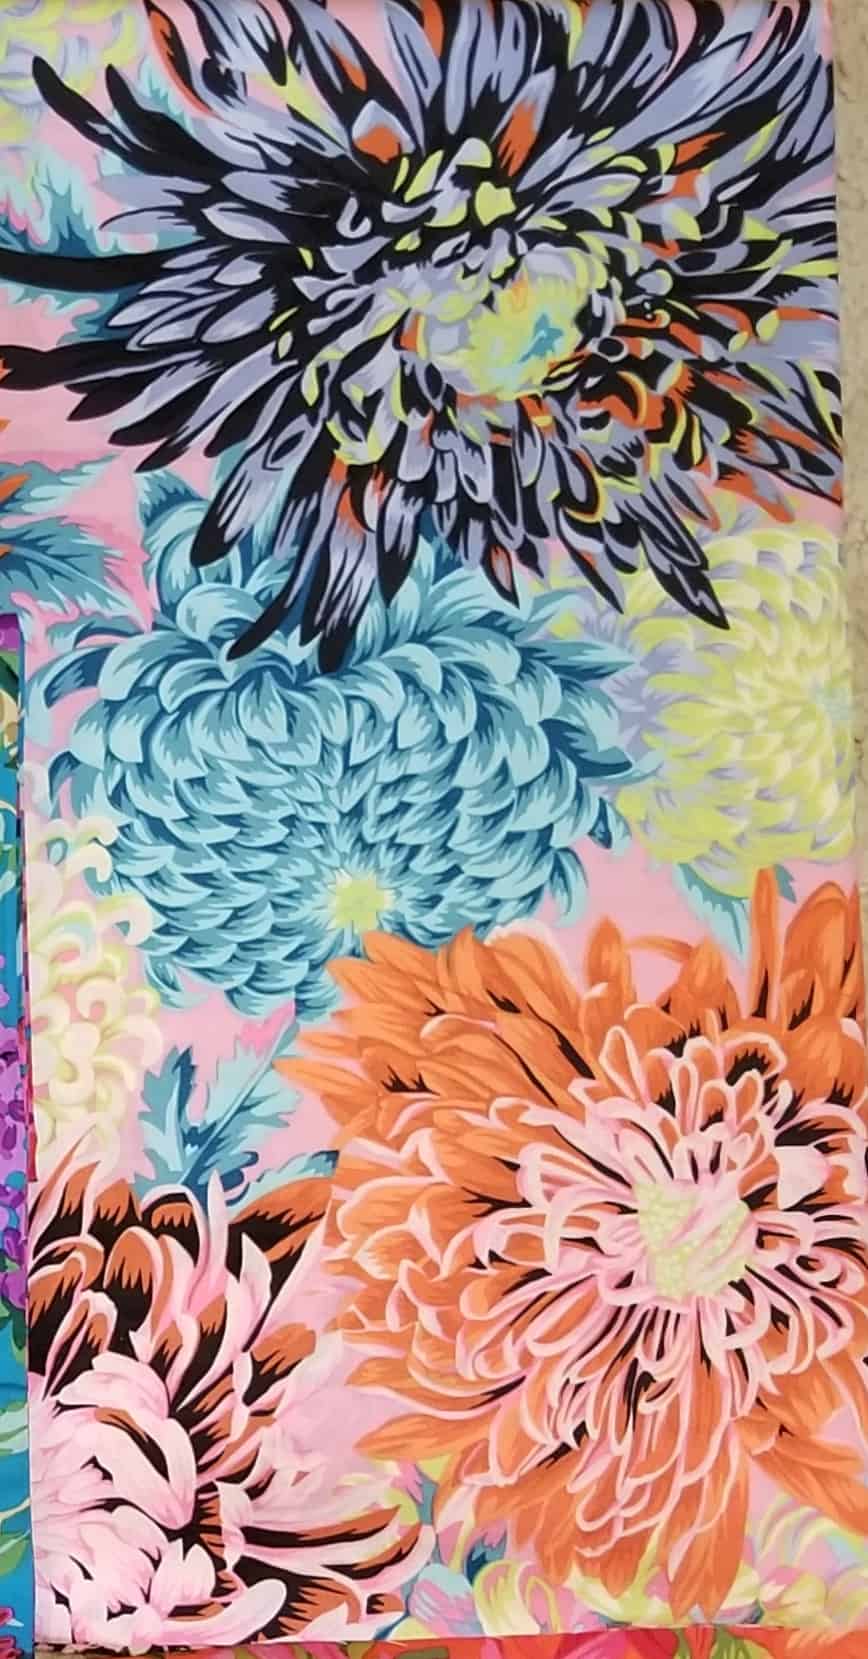
Once those tasks were done, I could start cutting out the fabric. I am using one of the new Philip Jacobs Chrysanthemum prints I bought a few weeks ago. I think this is the same print I used for my sewing machine cover. I think they color the same designs in different ways for new collections.
I chose a white with black dots for the other side. Probably not the most practical choice, but I’ll use the flower print for the front.
I plan to make this reversible. Alison and I talked about how that would work at the last Sew Happy hour so I have an idea in my head on how to do it now.
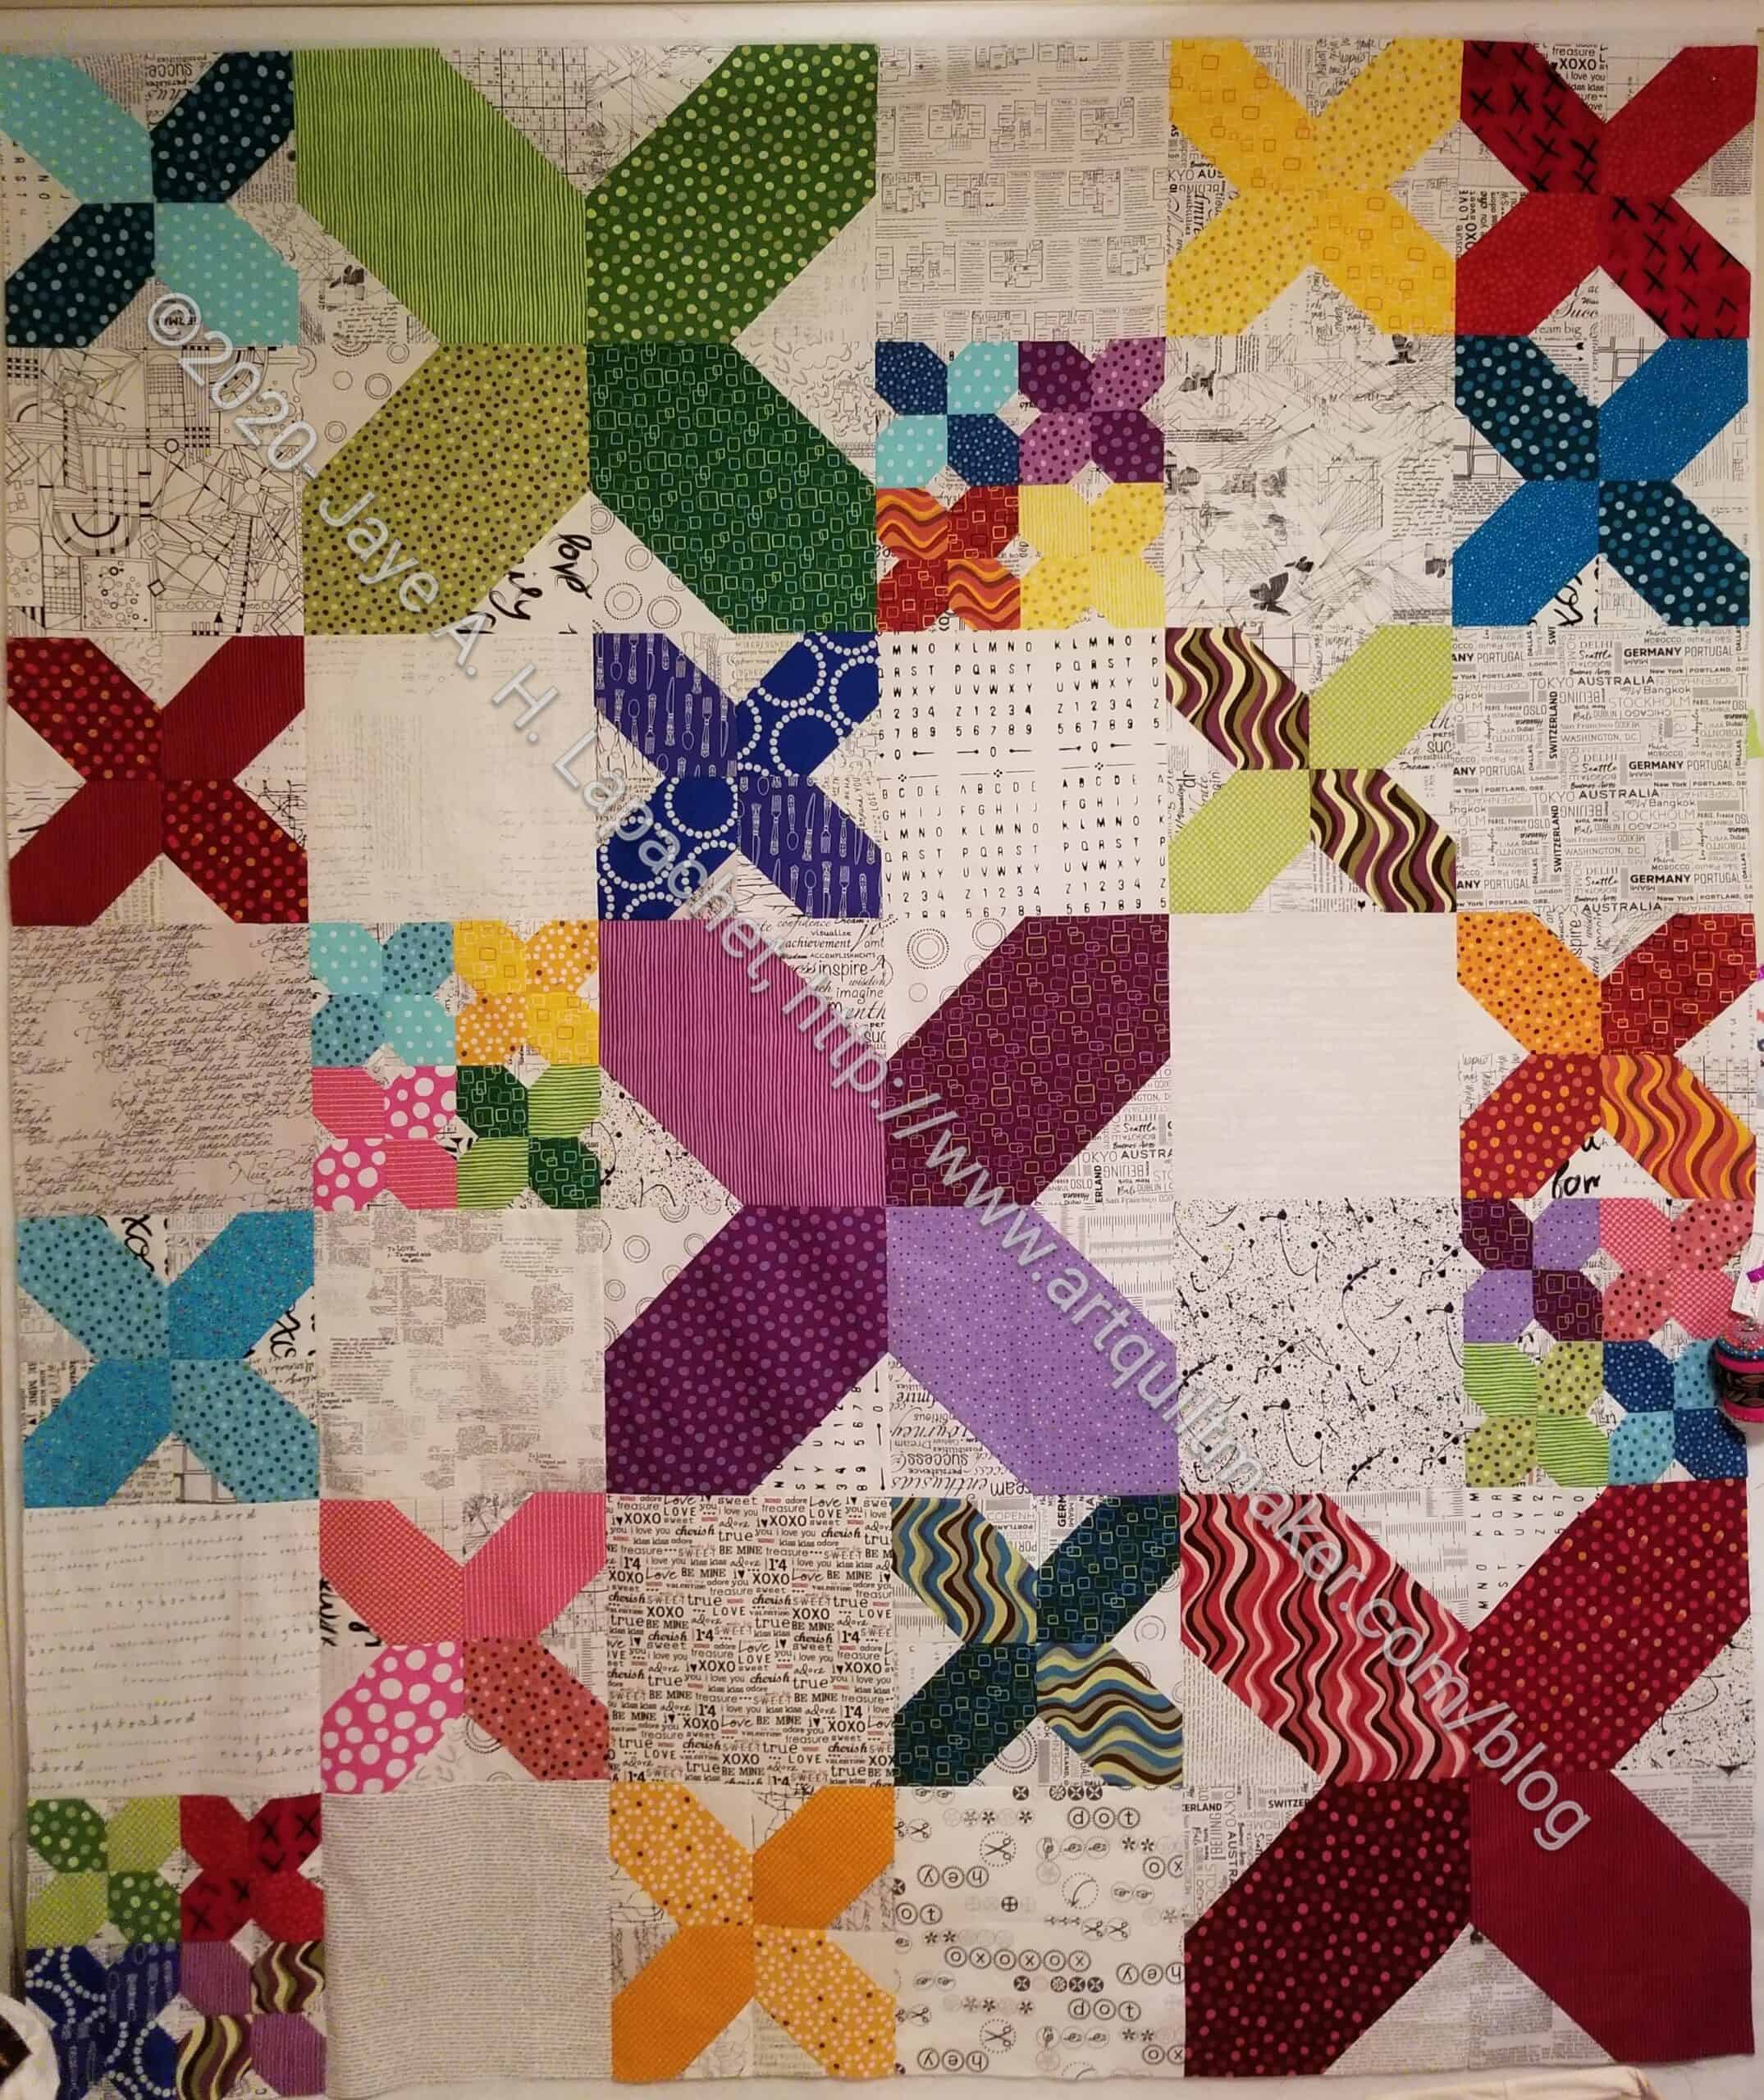
I finished the X Quilt top and back and took it to Colleen last week.
I am pretty pleased with the way this came out, though I think I would like to try the pattern with different fabrics. The Pop Parade fabrics are not clear enough. Also, I think I needed to choose fabrics with larger designs. While the viewer gets a surprise when coming close too the quilt, I think the large size of some of the pieces would have more impact if the motifs were large or had more contrast.
X Quilt Back
I do like the different sizes of the Xes. I think that is really good design.
The size of the Xes really used a lot of fabric, too. The quilt and back took 10 yards. If I need to make progress on fabric usage, this is the quilt I will make.
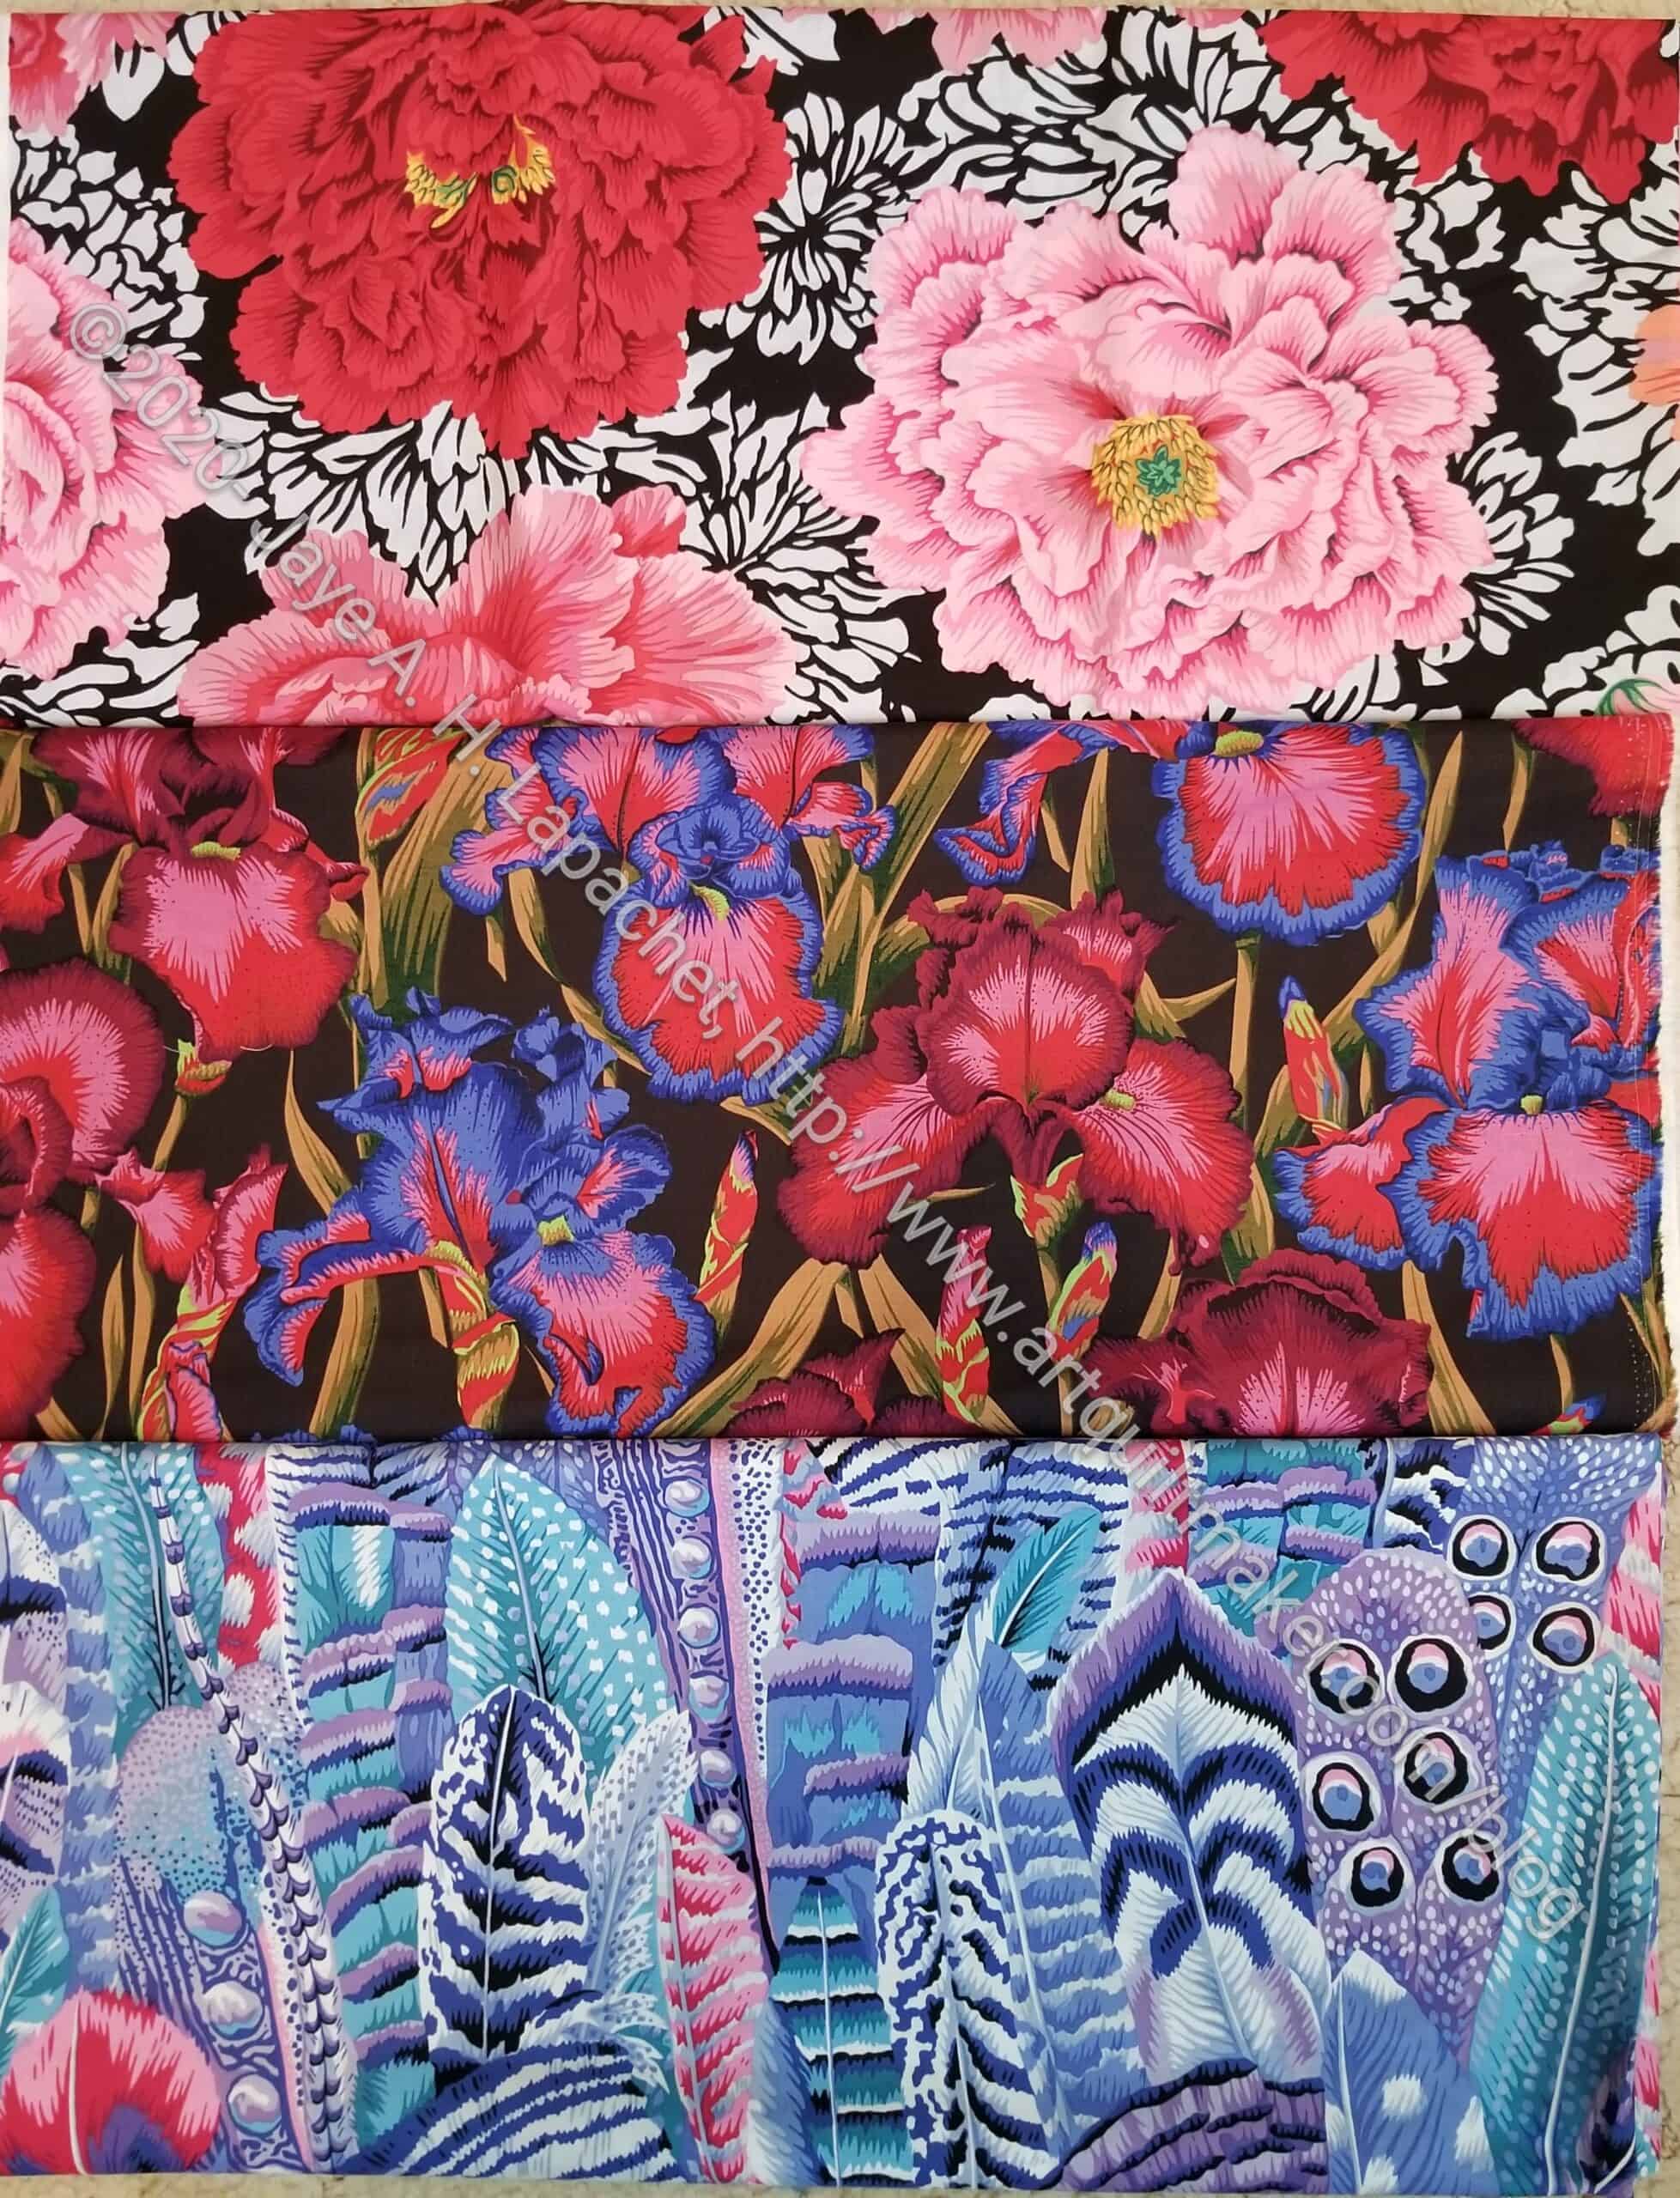
I kind of lost my mind after watching the Free Spirit Facebook Live with Kaffe Fassett and Brandon Mably.
The top fabric is Brocade Peony. This is a different color way from a similar fabric I bought a couple of years ago. I used it in the 4 Zip Organizer and also in the All Rolled Up Tote as the lining and love the design. I like the Crimson colorway (left) even more. I can’t wait to figure out something fabulous to use it for.
I bought the irises thinking I might make a bag for my aunt. Her birthday is on the 21st and she adores irises. I wasn’t really thinking about time in a logical way and I just don’t think I will have the time to make something before then.
I bought the Feathers on a whim. I only have a yard and will have to think of something that suits the design to make.
I finished piecing the top and back of the X Quilt.
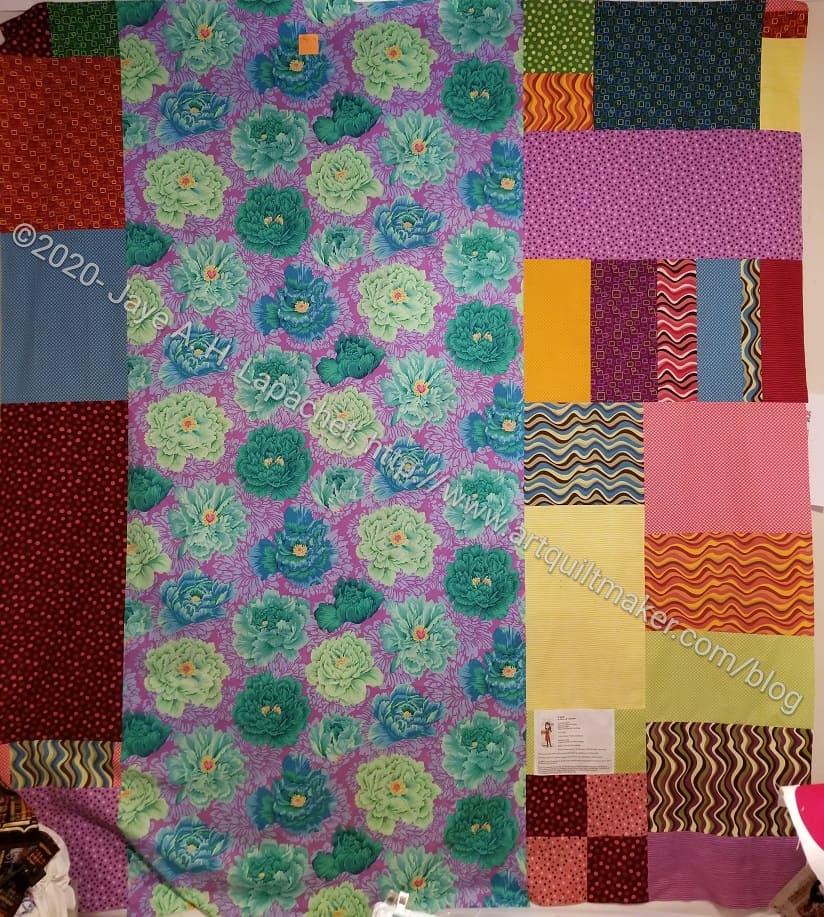
I started the backing on Saturday night (after finishing the Retreat Pouch) by pulling some of my Philip Jacobs prints. Then I realized that I wanted to use up the Pop Parade prints, which would take a lot longer since I didn’t have very large pieces. I compromised and used one large PJ piece and the rest are Pop Parade. I worked on the backing all day on Sunday, finishing just before it was time to make dinner.
I still have a lot of Pop Parade fabric left, so I will make an improv donation quilt in addition to the HST donation quilt. I could use the improv piece for the backing. We’ll see.
I have been looking at these HSTs as I sew other projects.
I think this piece looks a lot better in these fabrics than the X Quilt. Don’t get me wrong, I like the X quilt. I just think it would have looked better if I used larger prints.
I think I will probably sew it in this configuration. Perhaps I am just used to it, but I do like how the eye moves around the piece.
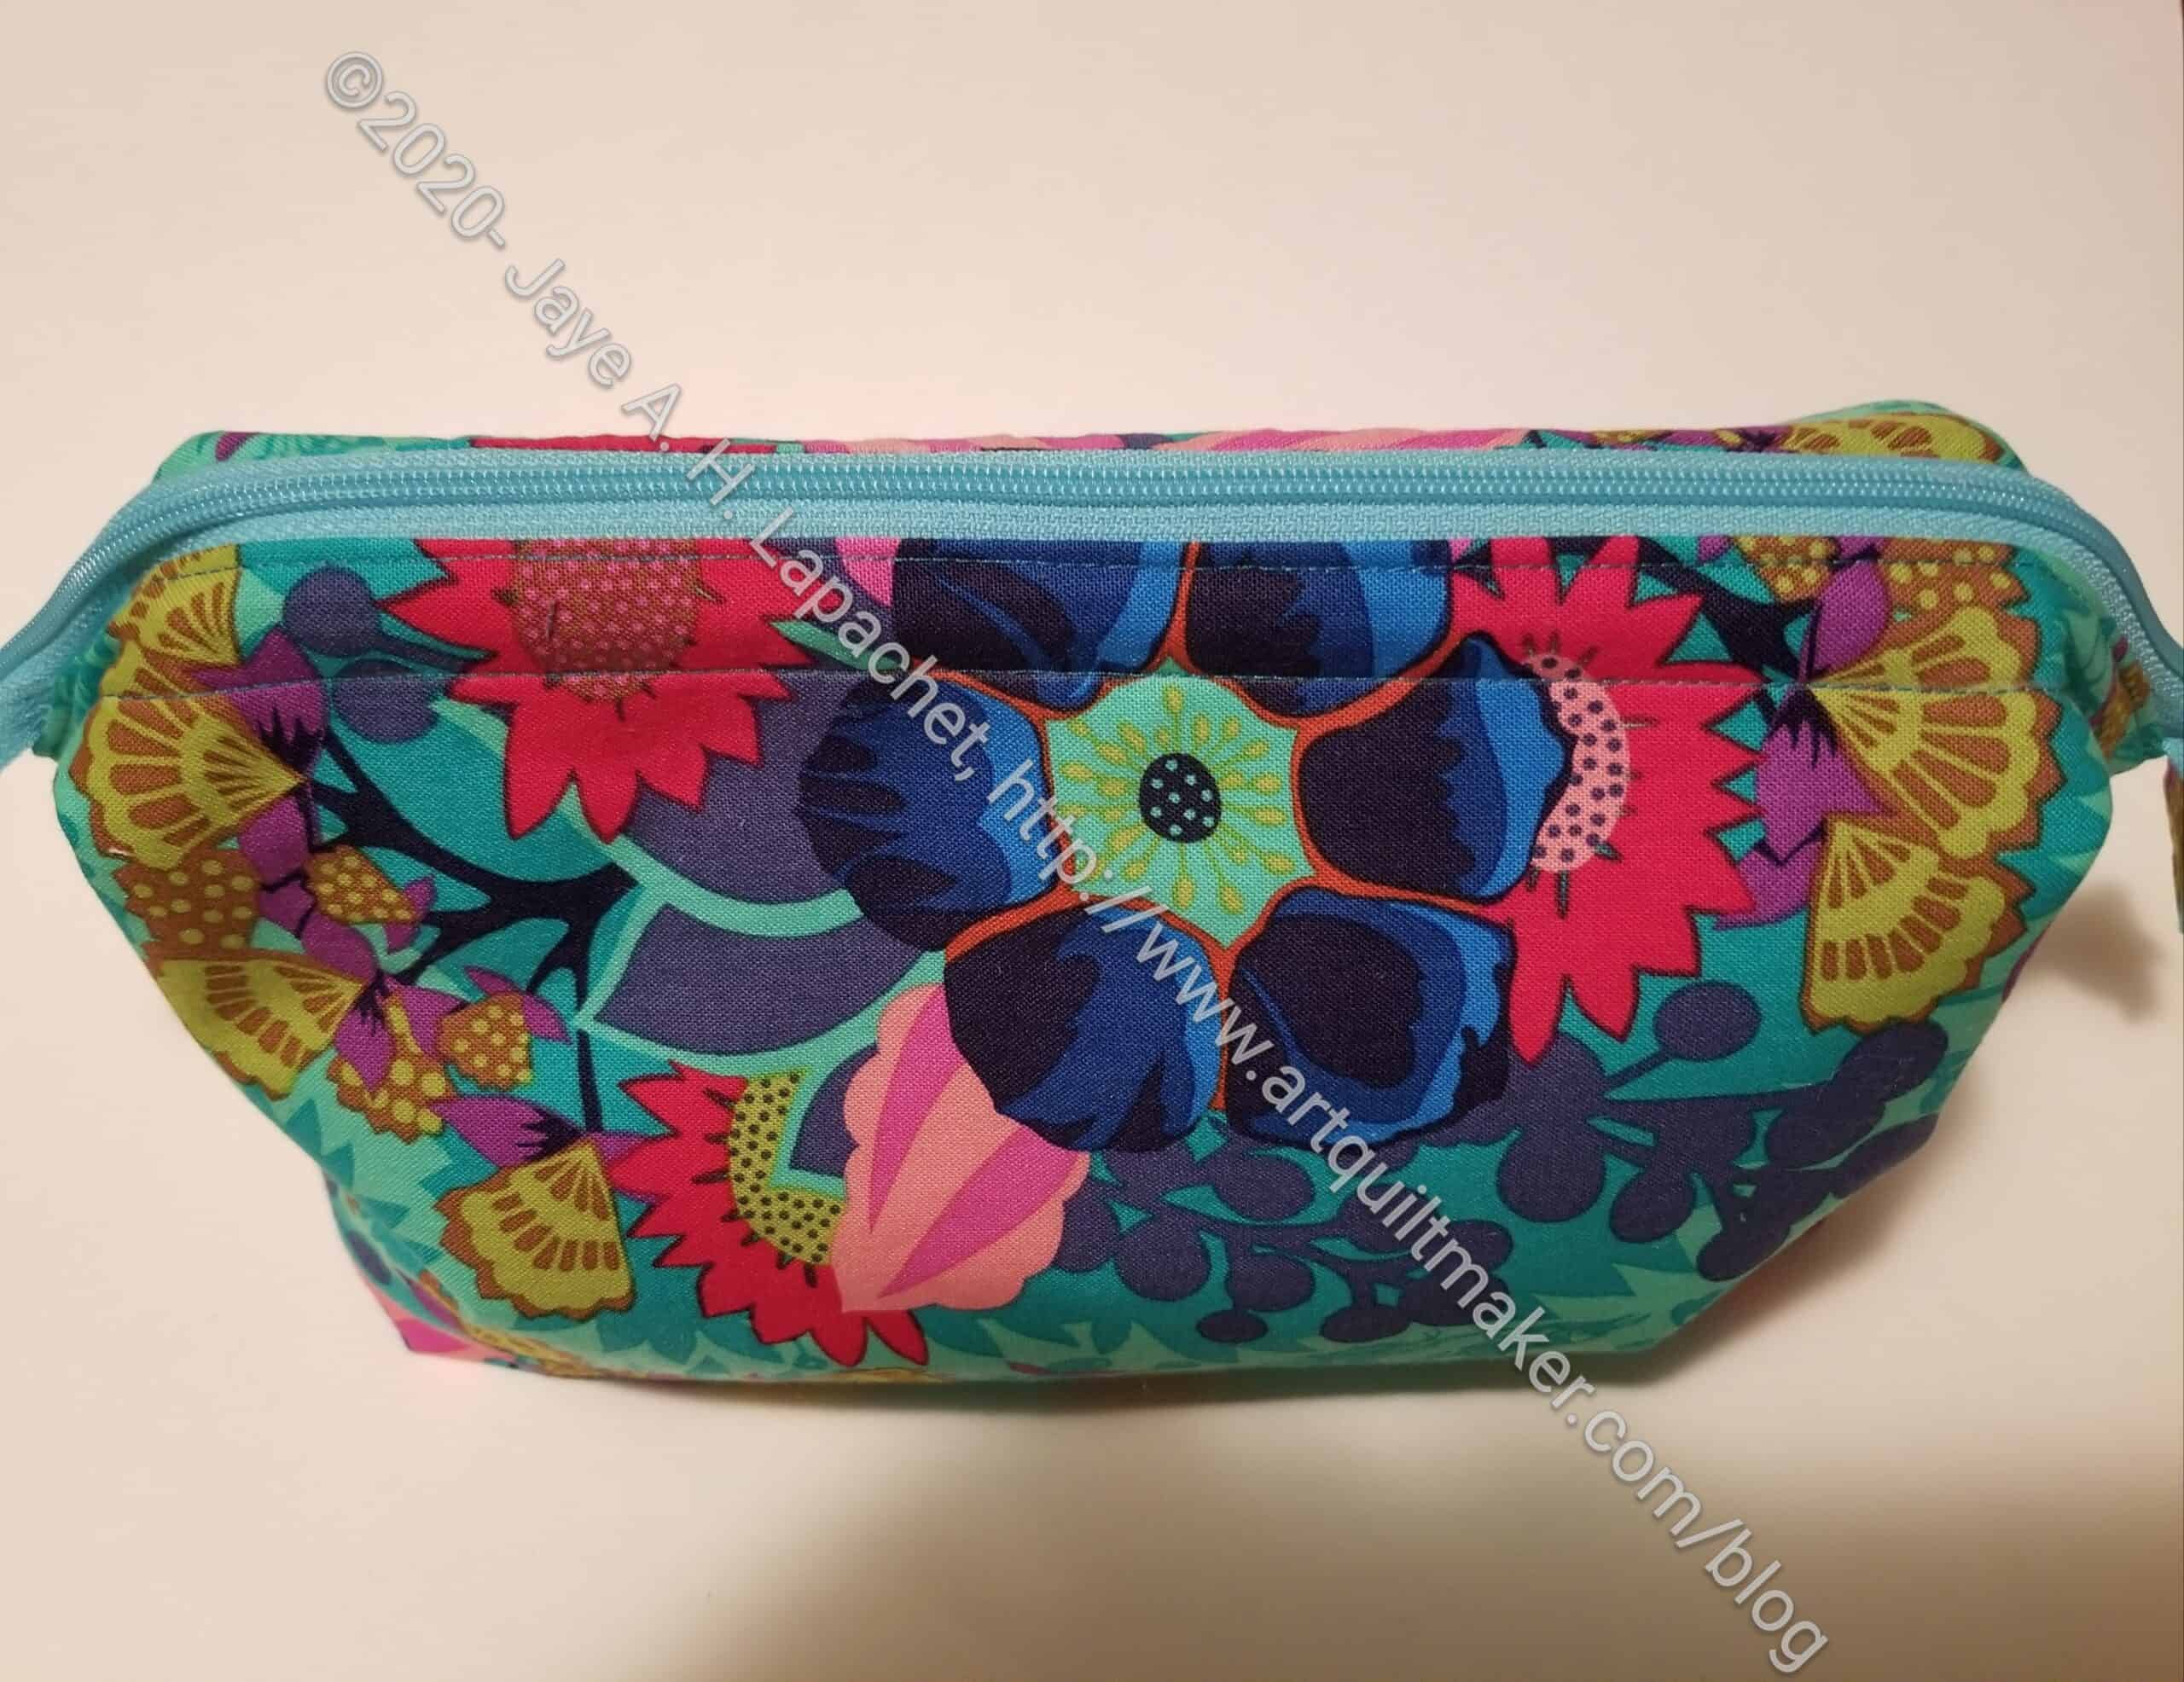
I made another Retreat Pouch the other day. I cut up the fabric when I went to visit Tim, then decided to sew the pouch on Saturday.
I am ridiculously pleased at how this Retreat Pouch came together. I think it looks great!
It is also a great project. Once the pieces are cut the bag goes together in a couple of hours. I think I talked about this before.
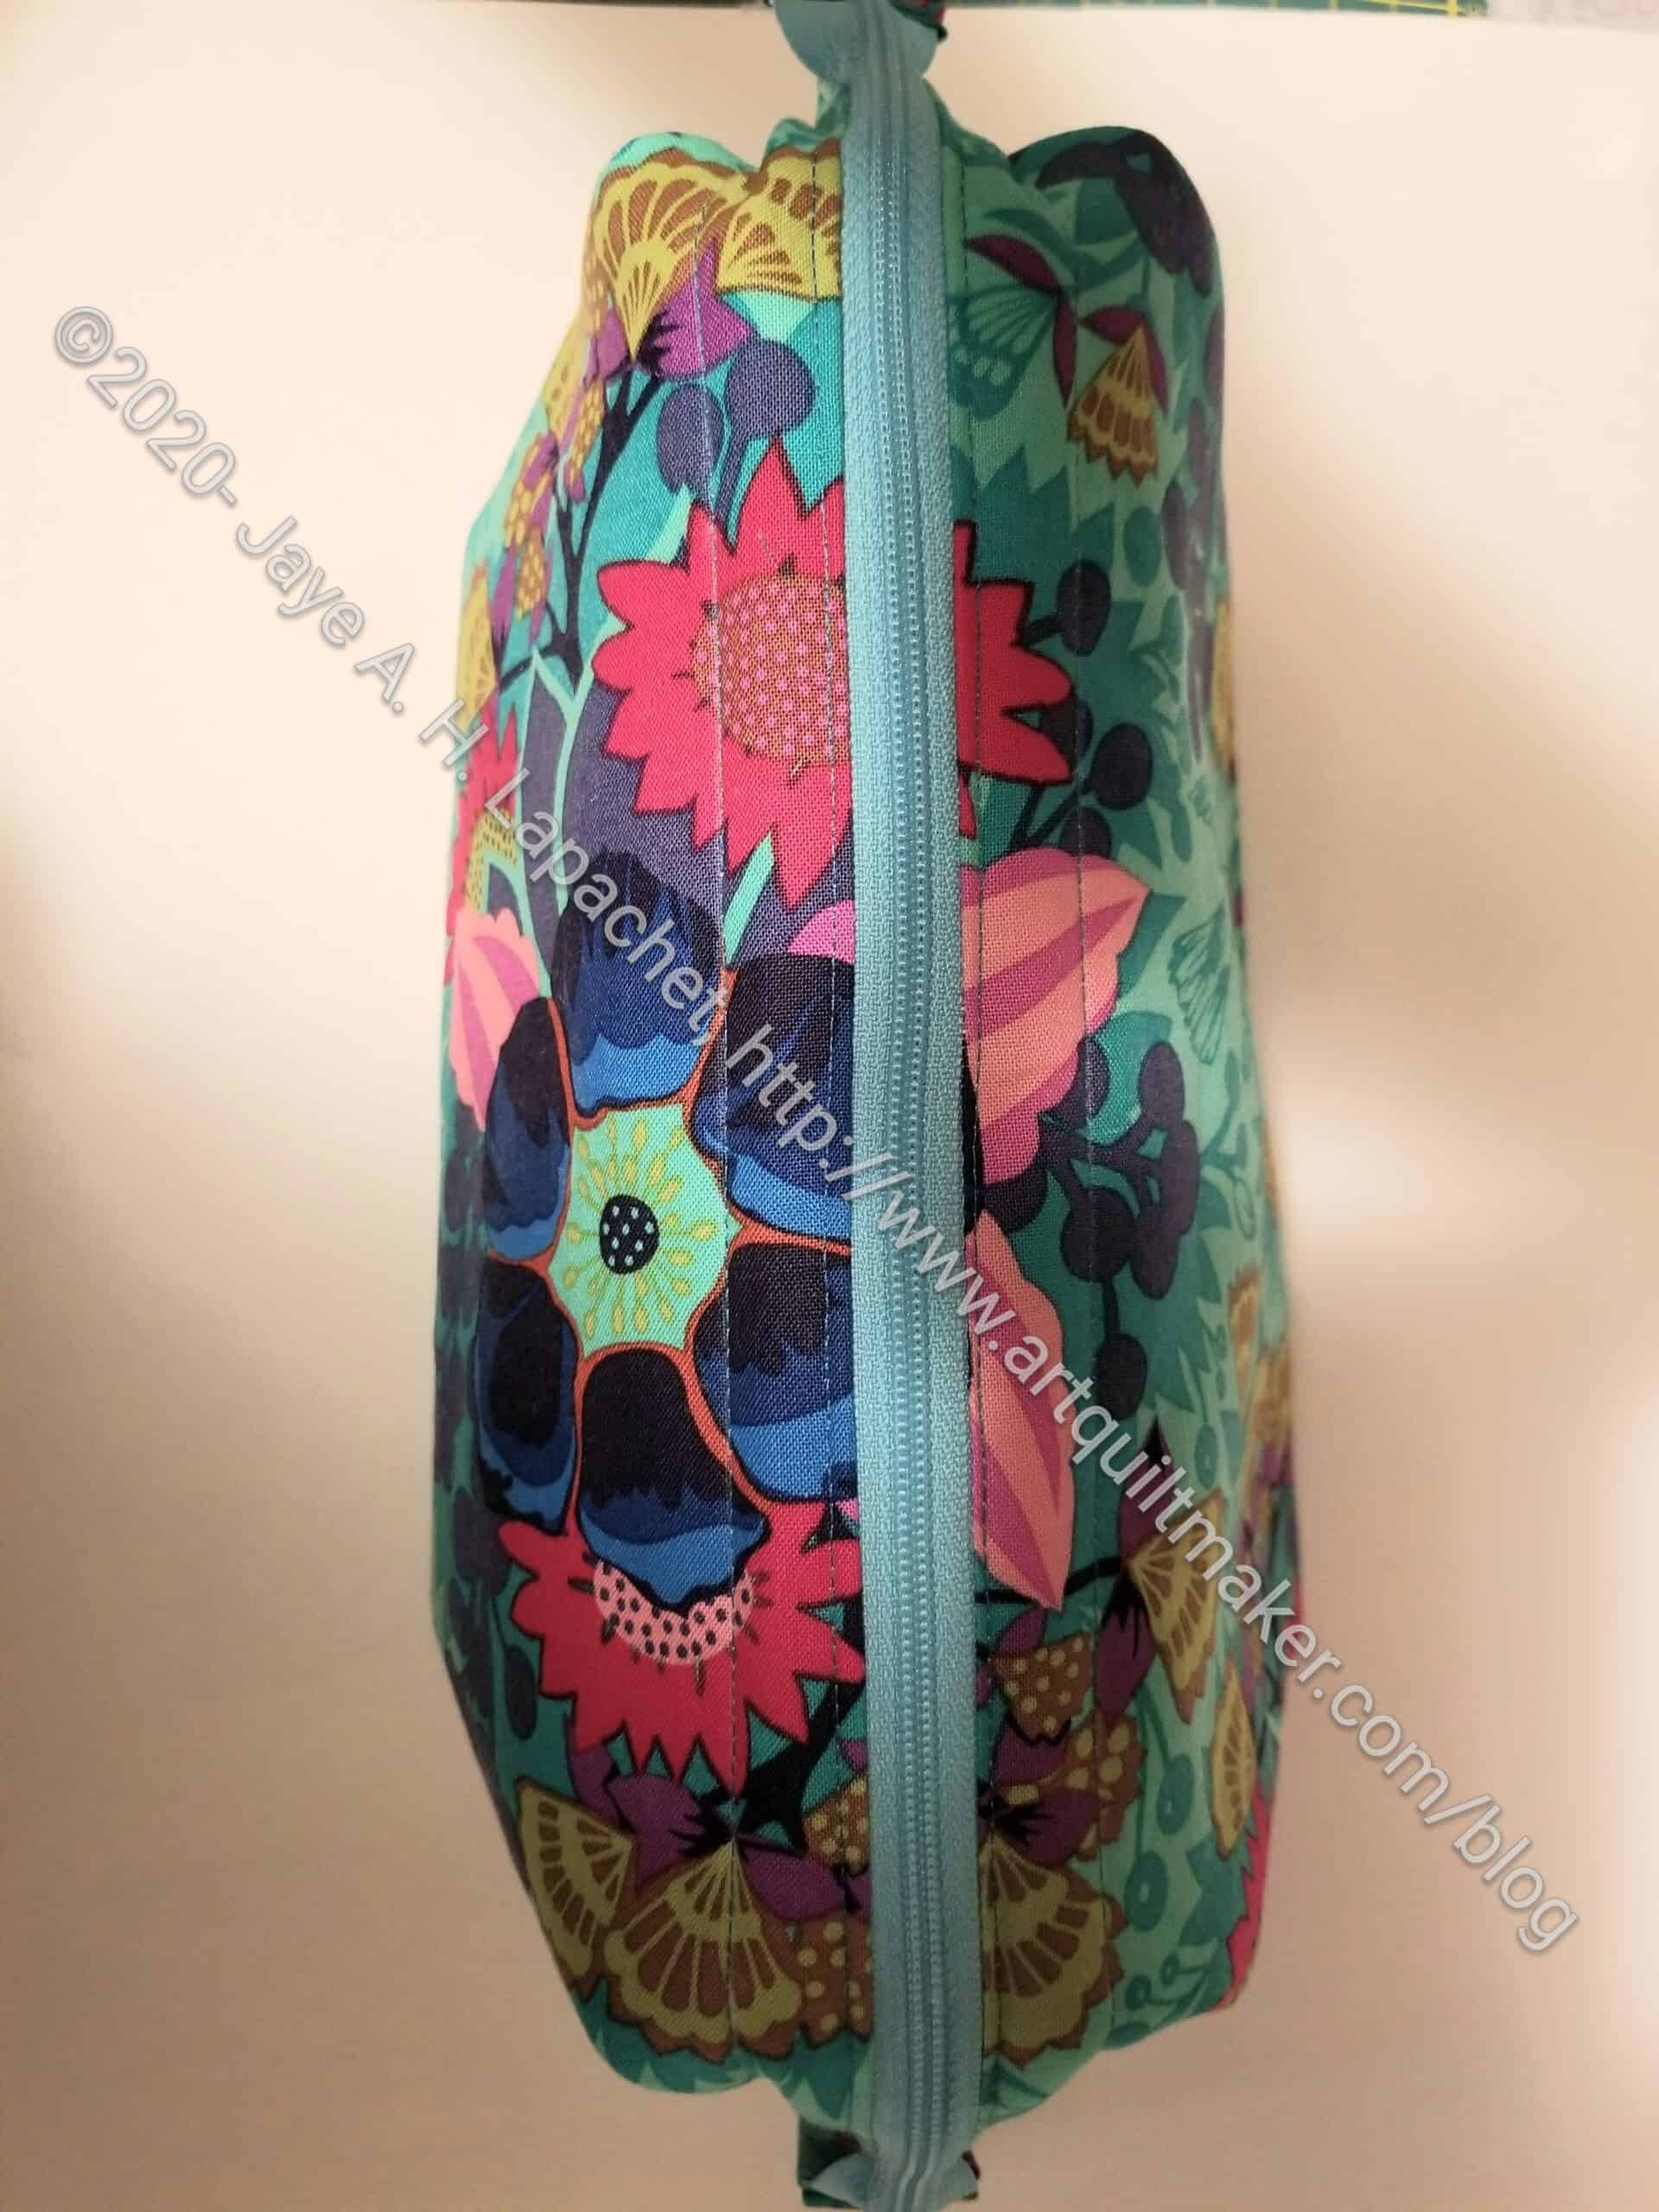
Retreat Pouch Fussy Cutting
First, I love the fabric. This fabric is one of Anna Maria’s Hindsight prints. I received it in one of the Modern Handmade subscription boxes I received last year. Can you believe how lucky I got on the cutting? It looks like I intended to match the flower on either side of the zipper.
I really wanted to make the larger size, but one fat quarter is not enough to make one pouch, so I resorted to this size again. I bought two frames in each size, so I can choose some different fabrics that I have in larger quantities to make the larger version.
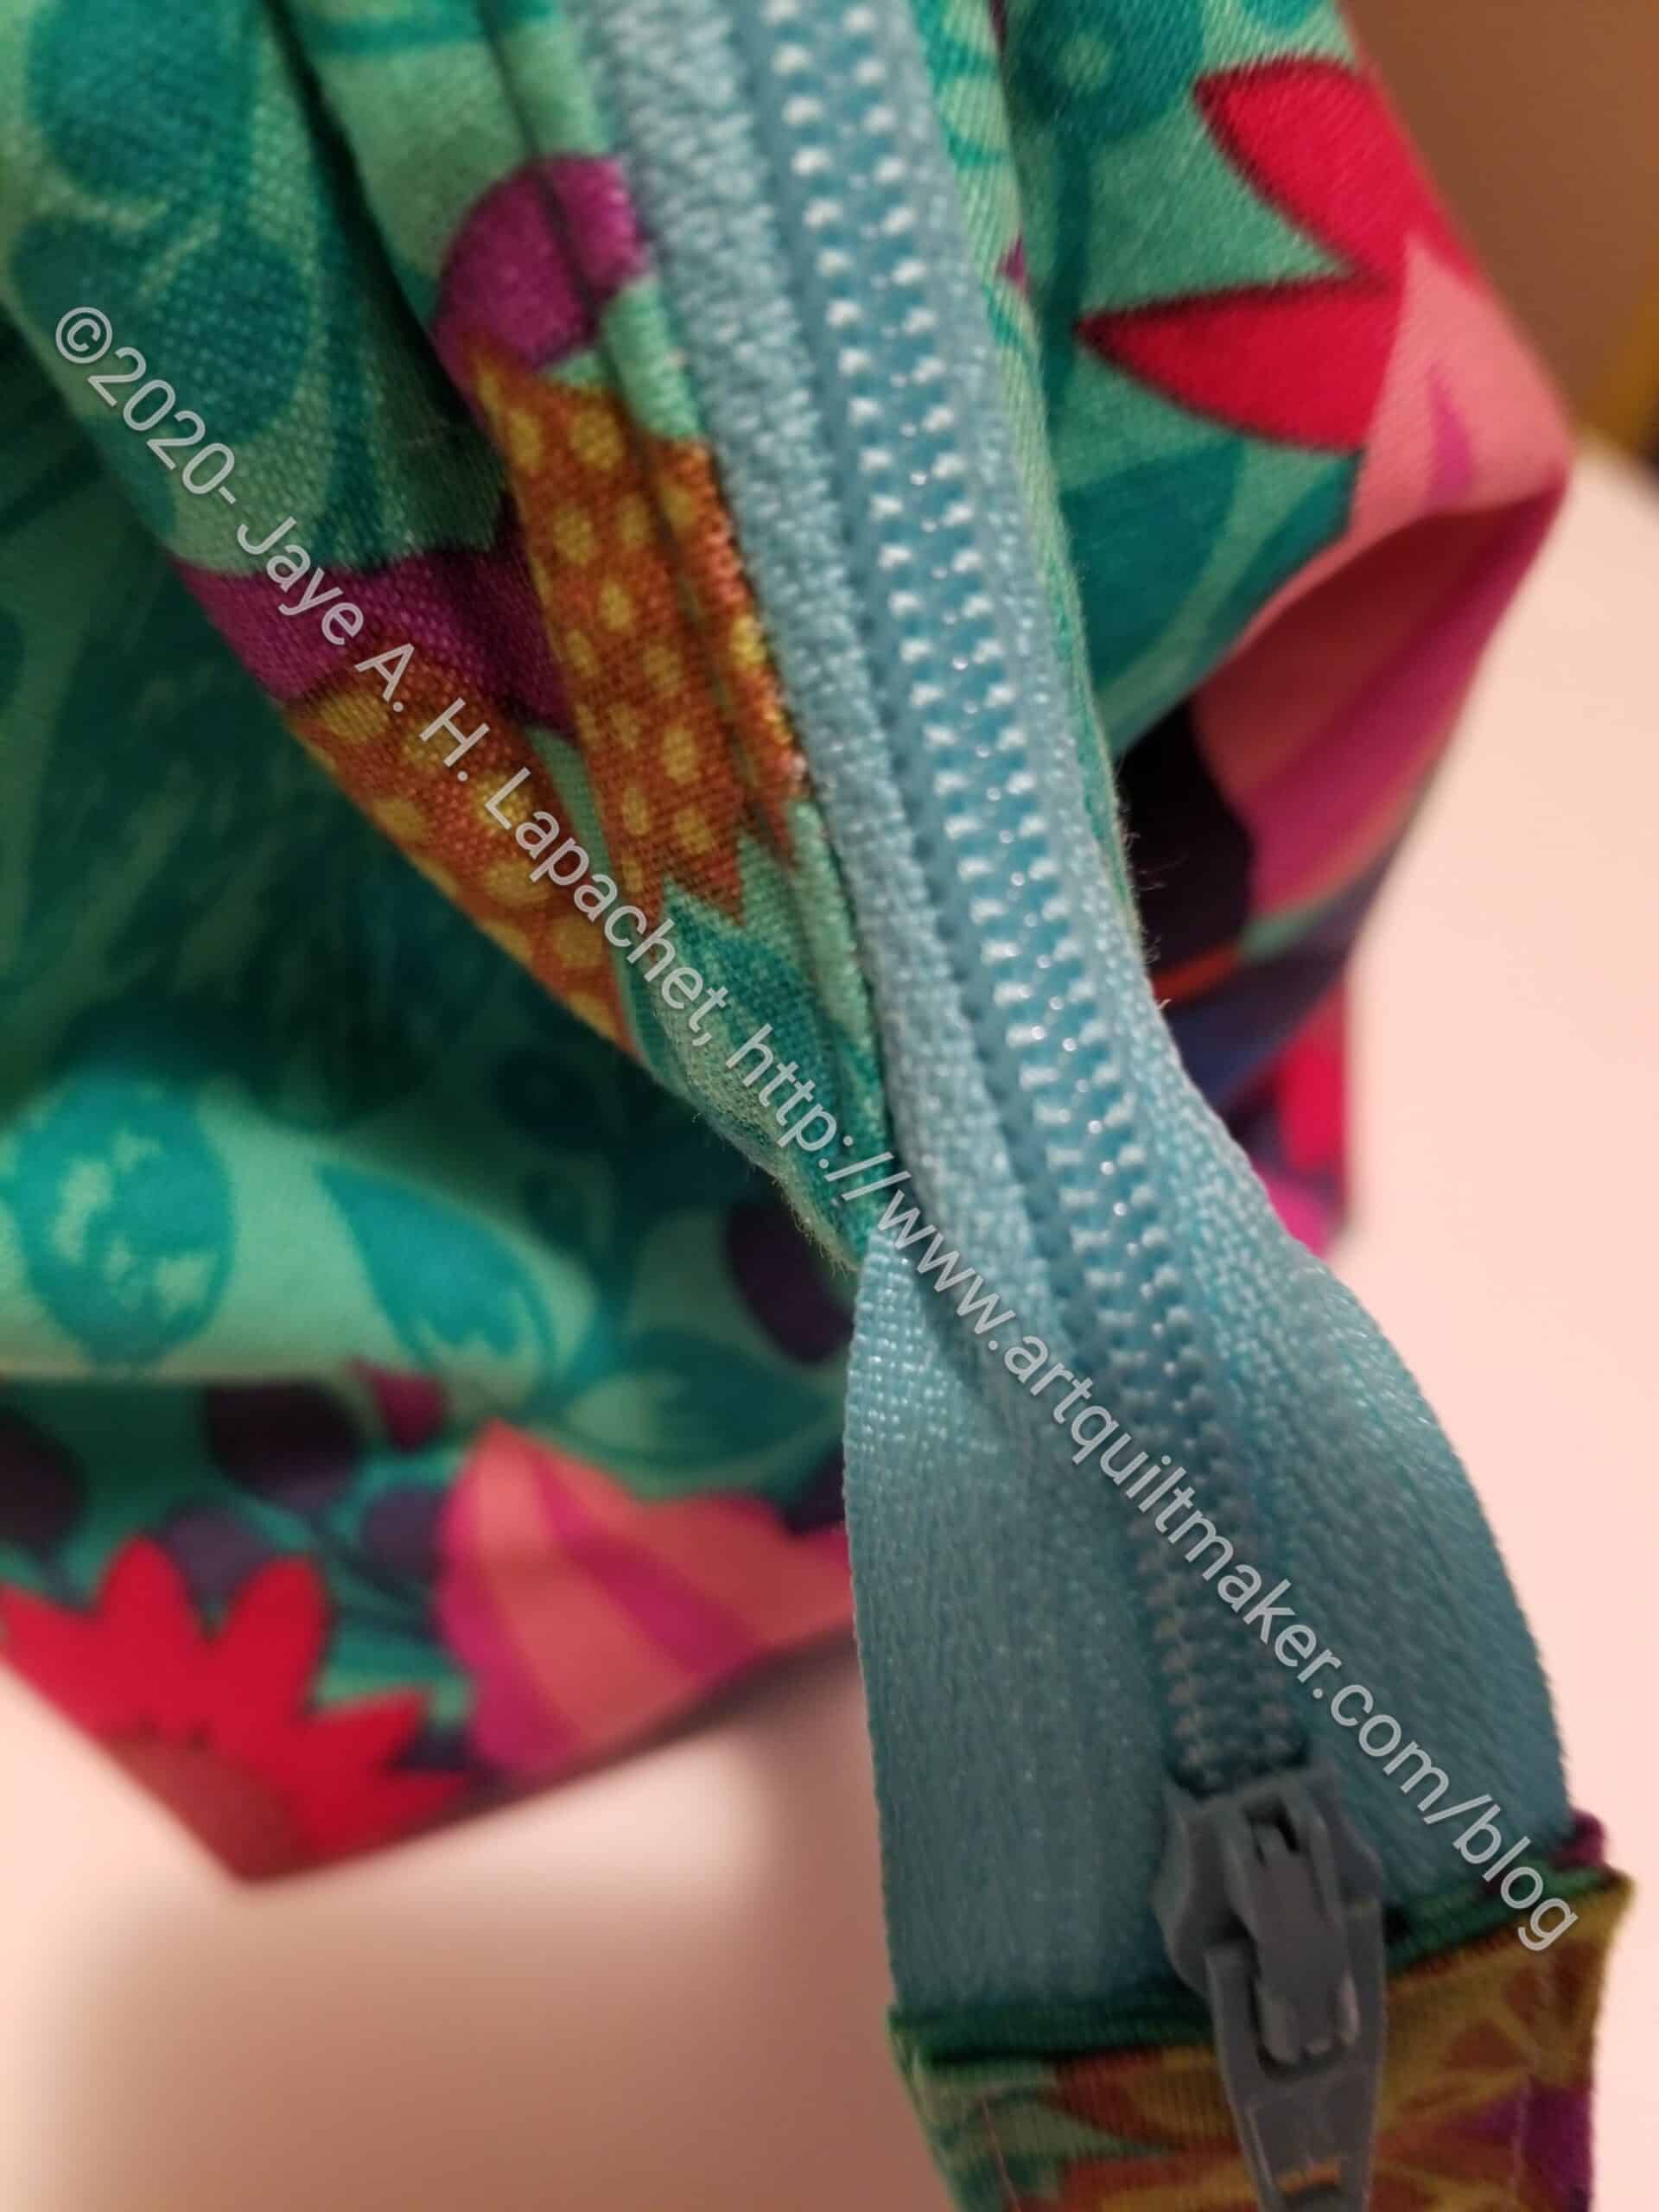
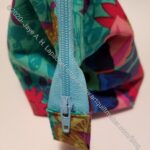
Retreat Pouch Beautiful Zipper
Second, the sewing went very well and the pouch looks professionally sewn. I am pleased with how the zipper ended up looking based on the instructions. I went an extra step by pinning the zipper down rather than holding it while I sewed and I think that helped. I knew where to pin it because I measured. I think this is another version of ‘veering’ the zipper that I have talked about with the Cotton Candy Pouches and the UCAB 45 degree angle technique.
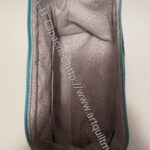
Retreat Pouch Interior Pocket
Third, turning the pouch using the interior zipper pocket was a smooth process. Sara Lawson of Sew Sweetness has a tutorial. I don’t know why I don’t add these pockets for turning all the time.
This is not part of the pattern, but it is easy to add to any pouch or bag. I had to think carefully about the size because of the boxed corner. Despite my care, I still think the bottom of the pocket goes below the curve on the bottom of the pouch. I don’t think it really matters. For the moment I don’t know what I will put in that interior pocket.
I say this is an easy pocket to put in, but I always need to refer to general directions. I also have Sara Lawson’s Acrylic Zipper Pocket Template (no affiliation) and that makes the marking super speedy. I also saw one by Piera (no affiliation), which includes purse feet measurements as well.
I did watch the video before I sewed the first Retreat Pouch. I vowed to watch it again before making this one, but I didn’t. I don’t know why because it is a good resource.
I put my new Snap Setter and all of my Snap Setter Supplies in this pouch.
I wrote about the eye mask I made for myself in January. At the same time I made two others and this is the second one, which I delivered to Gerre for International Women’s Day. It went with the Purse Organizer.
These eye masks are simple and quick to make assuming you have some rice on hand. I want to try adding some lavender, but don’t have any so I haven’t done that yet.