More Cotton Candy Pouches

I am making 3 more Cotton Candy pouches as gifts for people at work. I am also trying to perfect my efforts at sewing this pattern.

Making 3 requires a lot of cutting time. It took me about two hours to cut out all the pieces, which didn’t include forgetting to cut out the lining side panels! Duh! I guess I have decided that cutting out all the pieces at once is the best way to work.

Cotton Candy Pouch side panels

One of the things I found was that basting the side panels to a square and cutting the shape out later was really handy. Cutting out the side panel, which is tulip shaped, with the rotary template on the Soft & Stable is difficult. It is difficult, because the Soft & Stable is so thick. Cutting the shape out after basting it worked really well.

I also found that basting the pieces to the Soft & Stable in advance was really helpful. I know the pattern says to do it, but I hadn’t done it before.

I am still struggling with veering the zipper. Apparently, I need to make more of these to get that right. I made some annotations to the pattern so I remember what to do next time and where salient points are in the videos.


Swap Gift

Minikins 2: Sewing Room Stand

Yesterday we all opened our  swap gifts. Thus I know my swap giftee received the gift I made back in May. I mentioned that I had made it for someone, but didn’t say who.

The parameters of the swap were to make a pattern you have been wanting to try.

I did end up following those parameters by making a Boxy Clear pouch for Angela.

Minikins 2: Sewing Room Stand tool side

For the swap gift, I used colors I thought Sue S. would like and use. Angela helped me out by asking Sue about her decor and preferences. Originally, I thought I would make a cushion cover, but then I changed my mind. I have seen Sue S. at Sew Days using her tablet to follow a pattern. Thus I thought the Minikins Sewing Stand would be great. It isn’t a pattern I have been wanting to try specifically, but I have been wanting to try all of the Minikins.

Minikins 2: Sewing Room Stand tablet side

I confused the lining and exterior, so the light is on the outside and the tools have to be against dark fabric, but at least Sue gets to look at pretty fabric.

I really hope she likes it and it is useful to her.

Blue Strips #2 Sashing

Work has been busy and I am tired at the end of the day, so sewing has not been going as quickly as I would like. To add to the drama, the SD card in my phone failed, so I lost a ton of photos. It’s my own fault for not backing them up, but it still means a few posts I had in mind can’t happen. There is some hope that one of my nephews will be able to resurrect it, but we will have to see. Thus, my blog is being slightly neglected. I don’t want to post junk, so there may be some skips.

Blue Strips #2 sashing continues

I am working hard on this next donation top. It is not as satisfying to finish these tops since I can’t really show them at meetings. Still, I am motivated enough to clear out scraps to continue making them, so I continue.

As I said before my blue scrap drawer is still pretty packed so I wonder how many blue scrap quilts I will make. This is the second with this type of block. The first had a yellow border and yellow sashing, so it has a very different look. After I finish this one, you will be able to compare the two on the page where I am posting them all.

I have some quilts to send to one of the members to be quilted and I plan to send this one along with that group. I’d like to send everything on Tuesday, so we will see if I can finish this piece by then.

Workroom Inspiration

My workroom is also now my office, yoga and Pilates studio. When I am down on the floor doing back exercises I get a different view of the room. Recently, I have been looking at a stack of books waiting to be shelved.

Quilter's Album of Patchwork Patterns
Quilter’s Album of Patchwork Patterns

I have talked numerous times about the Quilter’s Album of Patchwork Patterns**. I don’t like Jinny Beyer’s color sensibility, but I do like all of the blocks. The cover of her book is what I see when I do the back exercises and I have been thinking lately that perhaps Ii will make a quilt with all of those blocks. It is already laid out and I am sure I can find most of the patterns in EQ. It’s not like I need another project, but it is fun to think about. I wonder if this was every made as a quilt?


**I use affiliate links and may be paid for your purchase of an item when you click on an item link in my post. There is no additional cost to you for clicking or purchasing items I recommend. I appreciate your clicks and purchases as it helps support this blog.

Blue Strips #2 Continues Slowly

Blue Strips #2 is progressing, though slowly as I have reached critical mass of projects/steps in projects.

The blocks are done. I sewed the blocks into rows with small pieces of sashing making up the columns.I chose the size of the horizontal sashing based on the amount of fabric I had. Now, it is hard to tell where the blocks are and where the divider/sashing is. It is an interesting look. Different. I don’t dislike it.

Blue Strips #2 - adding sashing
Blue Strips #2 – adding sashing

Now, I am adding sashing. I was thrilled when the first piece of sashing fit perfectly!!!

The vertical sashing is larger, because I cut it first and I liked the width. I didn’t think about ratios to the size of the blocks this time. I wanted something light and green. I think I am still go for that calm feeling.

Ripping Column 2- Blue Strips #2

 There is a big space in my photo, because the second piece of sashing did not fit perfectly and I have to rip.

I am using red thread because I am also working on sewing down the bias strips and I want to work on both projects at the same time.

Bias Tape Applique’

Bias Applique'
Bias Applique’

I said yesterday that I was enjoying the bias tape applique’.  You can see from the photo that the curve is smooth and flat.

I am trying out how tight I can make the curves and still keep them smooth. While machine applique’ is generally a hassle, it is much better with the bias tape, because the edges are not raw. I don’t like to leave my edges raw. I usually cover them with satin stitching and that takes time. I don’t like it, though I like the look because I have to reset my machine. With the bias tape, I can use a straight stitch and follow the applique’ with my regular leaders and enders.

Black & White Quilt Progresses

I spent some time on Sunday working on the Black & White with Red quilt. I wasn’t sure what I would do, but I just started sewing rectangles together first.

Testing Bias Tape
Testing Bias Tape

Per my rule, Make Visual Decisions Visually, I pinned up some of the bias tape to see what the piece would look like with the bias tape applied.

I am not happy with the look of the bias as applied in the photo, but I do think putting a larger piece over the whole top is a good idea. I don’t want it to look like a giant *enis so I have to make sure about that.

When I pinned that long piece of bias tape on the top, I hadn’t done any sewing. Now I have sewed shorter pieces of bias tape to smaller sections and now I am much more confident and have a better idea of how the bias tape works.

Black & White quilt with some red

I am really liking the bias tape. It is amazing how the curves work! I am getting much better at sewing them down flat and I am testing how tight I can make the curves. I think I have to do something else with curves. First I have to find my bias tape makers

Gift Face Masks

I had some large-ish ‘scraps’ recently, so made a couple of masks for the YM. Since I was mailing him a package I also made one for his girlfriend. She is S-i-Ping 4 hours away from the YM, but I know that that they are trying to see each other as often as possible.

Black Circle Mask
Black Circle Mask

By ‘large-ish scraps’ I mean pieces too large for my scrap bin, but too small for filing in the bins I use for my larger pieces of yardage. For me, it is better to cut them up either for future projects or into usable sized patches. Some of the pieces were large enough that I had enough for masks. I want the YM to have enough for at least two weeks, so he can have a fresh one every day, so cutting mask pieces has been on my mind.

Green Vine Mask front

Of course, I didn’t have any dark green scraps, so I had to delve into yardage to find the YMG’s favorite color. I have very little dark green, but I found this Jinny Beyer print that I bought pre-blogging and decided it would work. I hope the horizontal vines don’t come across as having a passive-aggressive meaning…or something.

Black Circle Mask Elastic

This is the same video pattern I have been using. I described some issues I was having in the last Face Mask post. I worked on redoing the way I insert elastic on these. I sewed similar rectangles on the ends, but inserted the elastic so that the ends are covered by folding the ends in. I might have made the elastic a little small, but we will see. I don’t try on masks I am sending to other people, so I don’t know if the edges will flap out like my previous batch. I know it is a small thing easily covered by hair, but the detail bugs me.

Blue Strips #2 Donation Top Sashing

Blue Strips #2 top with some Sashing

I cut up the fabric I found the other day into sashing strips and had been waiting for some miracle to sew them together. I found another piece of a similar colored batik and was able to move forward yesterday. I sewed sashing pieces to the tops of all of the blocks and am now sewing the blocks together into rows. I am not adding corner stones so I am not chunking.

Various & Sundry 2020 #9

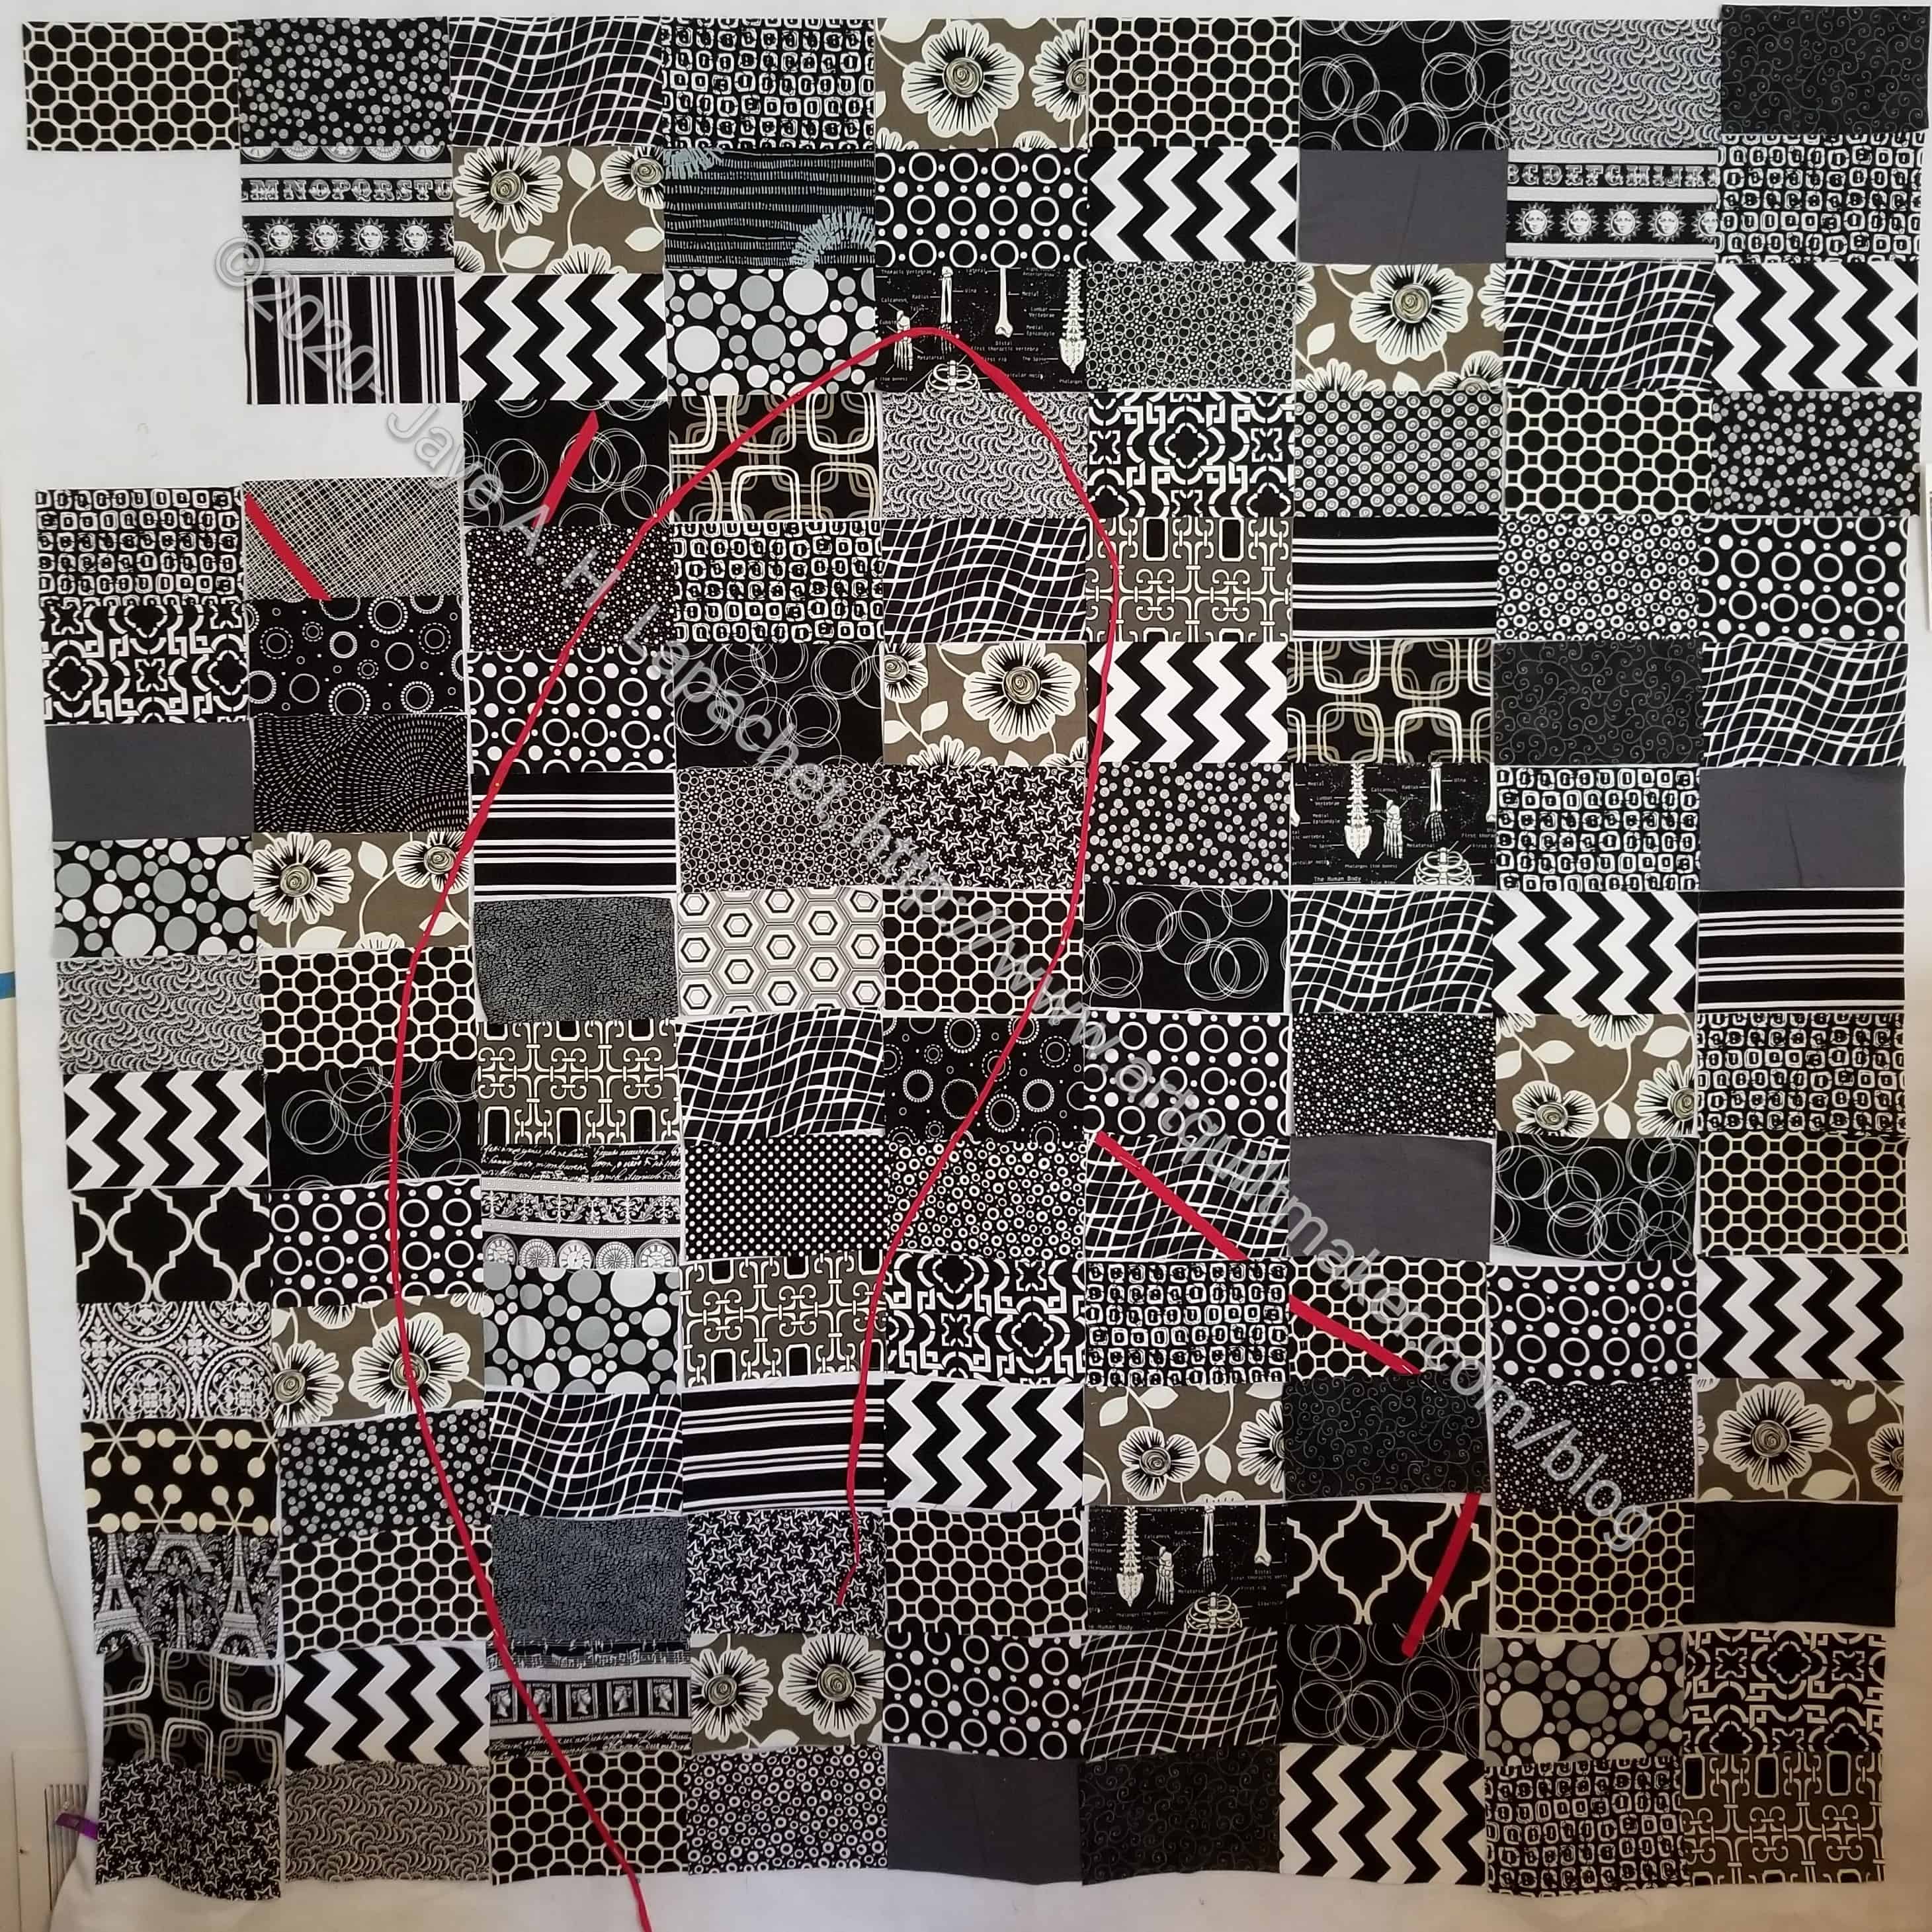
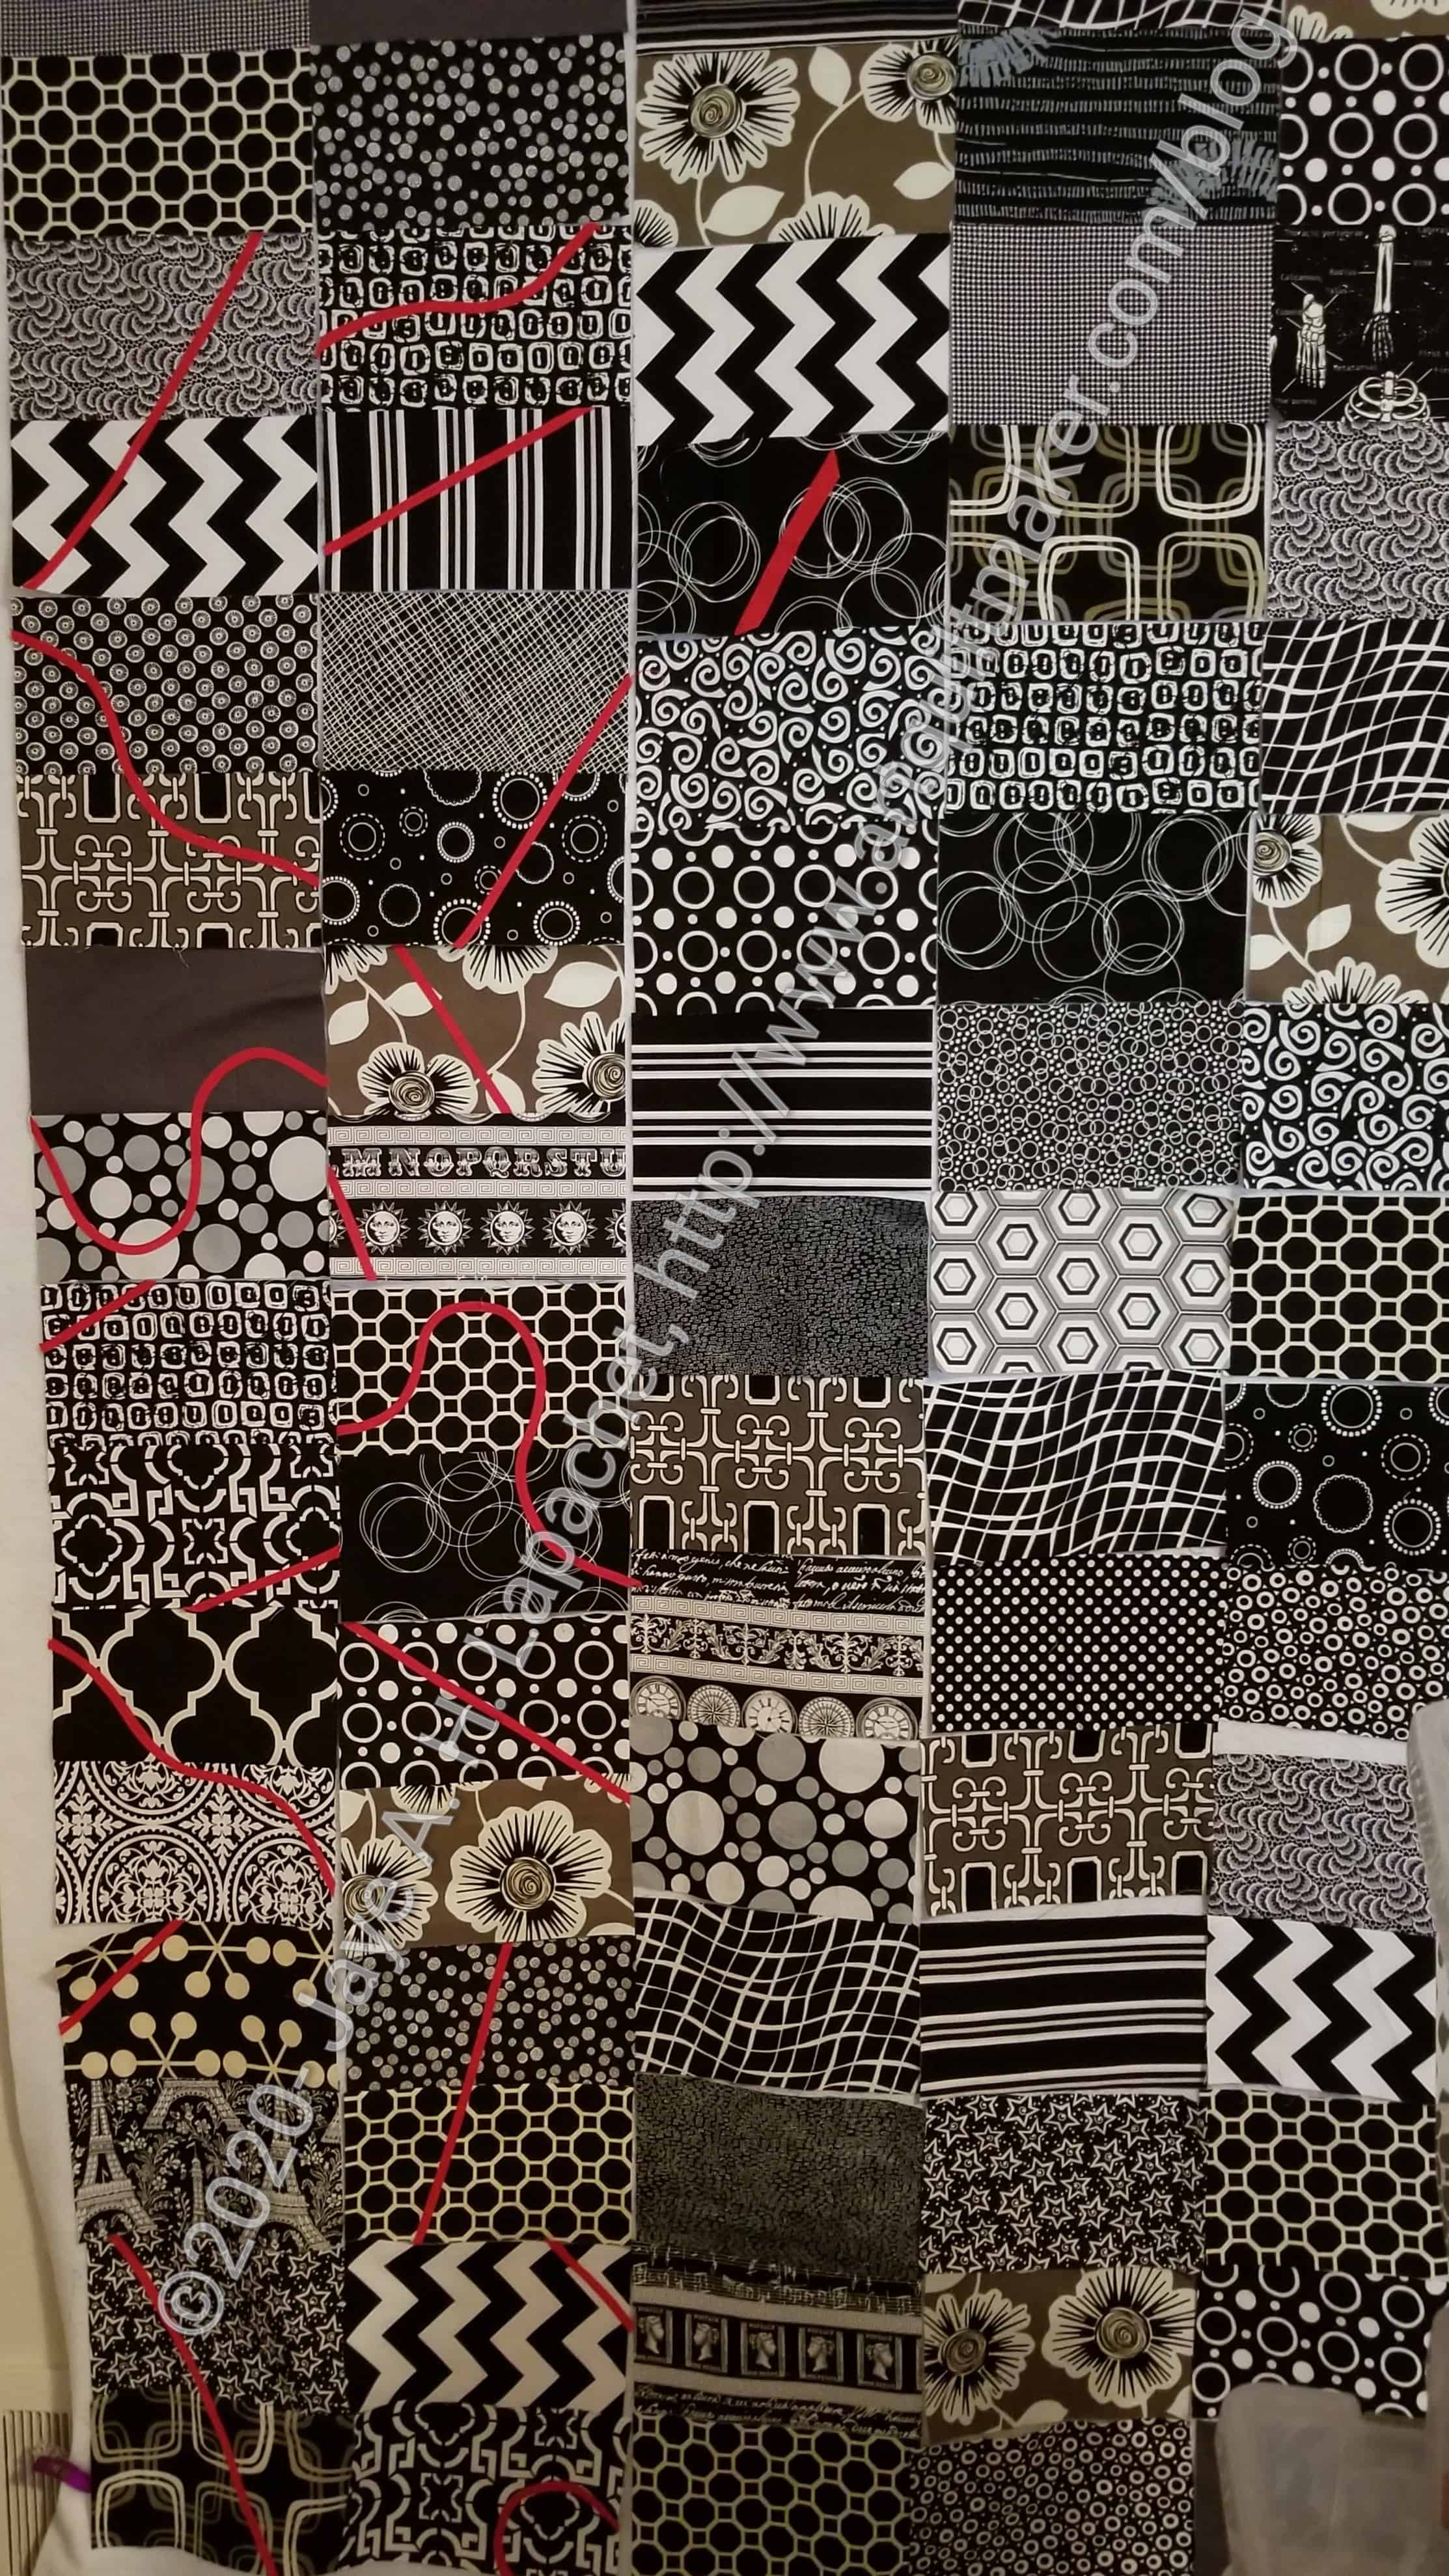
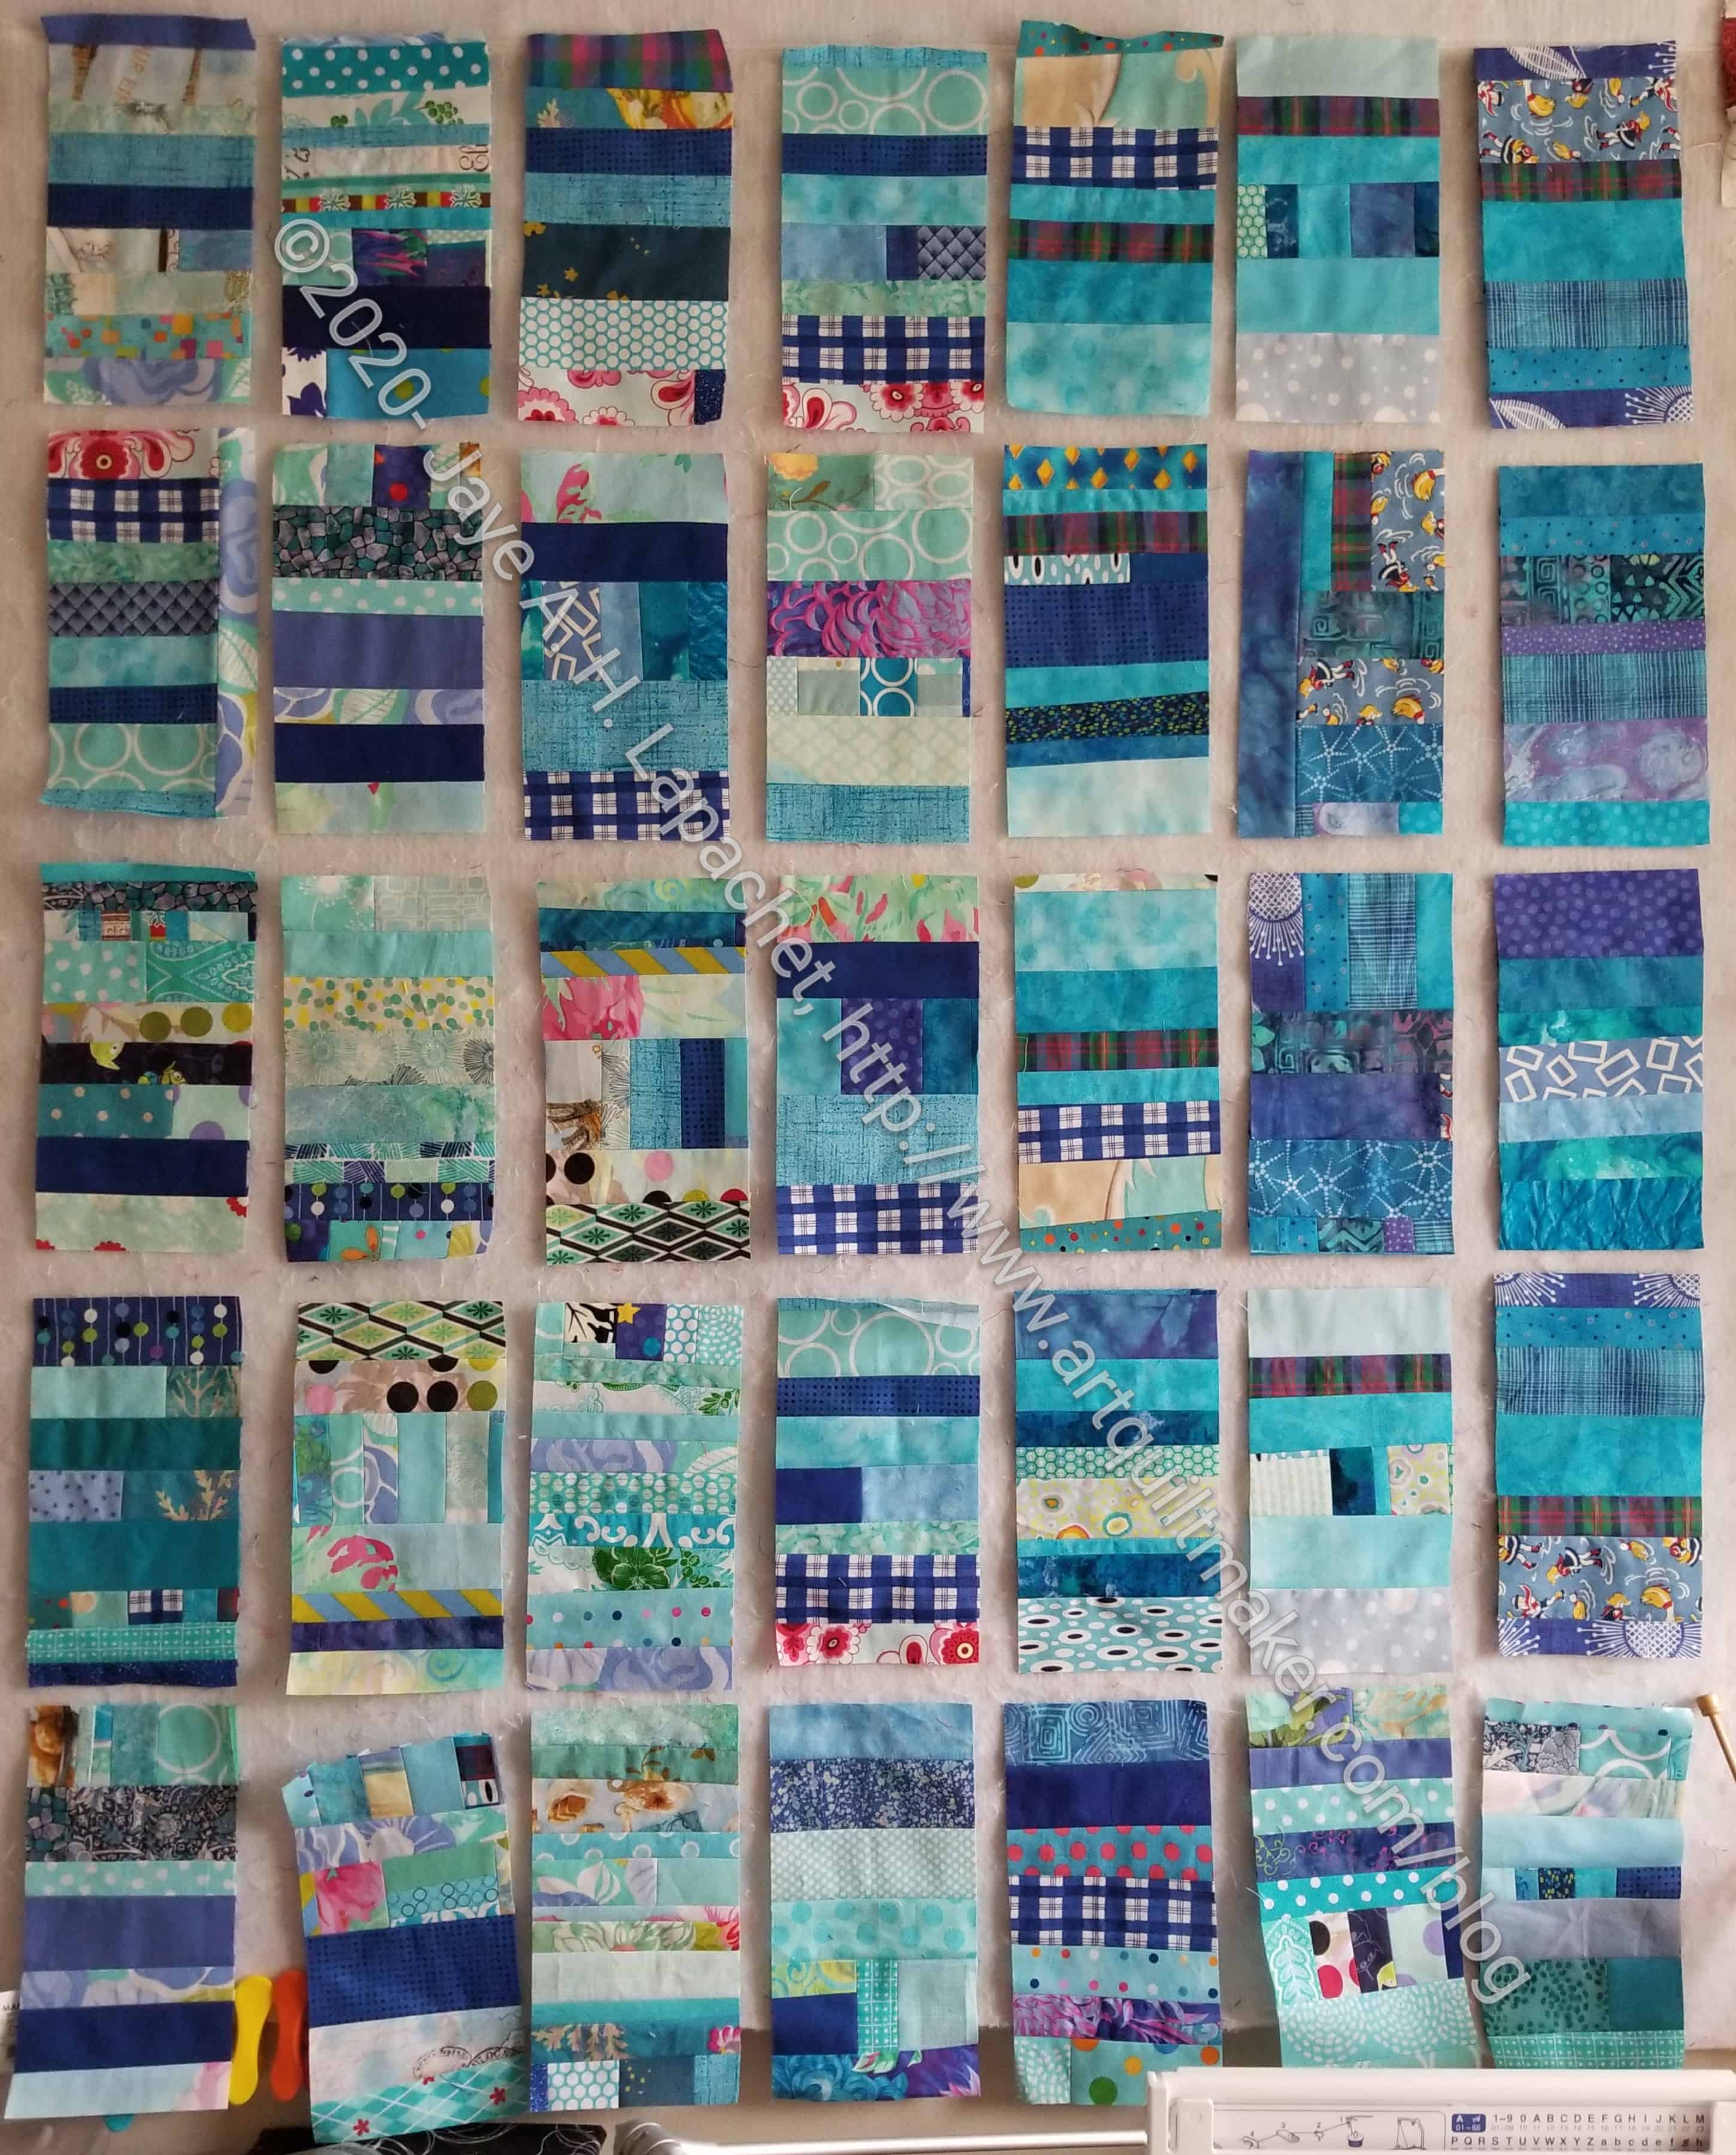
I updated the Color Strip Donation Quilts page.

Fabric, Supplies, Notions & Tools

Carrie Bloomston has a new fabric line for Windham. The prints have similar themes to previous lines, so the fabrics will go together. I like the woven design in Midnight. I also like the triangular collage motifs.

Modern Handmade has remade their subscription box program to go with their new virtual sewing studio. this means that after two boxes, I am out of luck. Well, I tried to subscribe. A friend, Jeff Rutherford, asked me if I knew of any other modern subscription boxes, so I went looking. You can actually find quilt subscription boxes by searching Google. Below is a list of a few I found plus approximate prices.  Hello Subscriptions seems to have a list. Please note that I have not tried these out, so check out the links yourself. YMMV:

I think the Modern Handmade box that I talked about, and to which I briefly subscribed, was unique. In looking at the boxes above, I didn’t see anything like it.

I never heard of Bloomerie Fabrics, but I like their website.

Road Home Quilting has a nice selection of products at her Society6 store. She also has fabrics at Spoonflower.

I forgot about QuiltHome. I think this shop is run by a librarian. They have a great selection of fabric.

Exhibitions, Lectures & Collections

At the Smithsonian, “the National Quilt Collection, part of the Division of Home and Community Life’s Textile Collection at the National Museum of American History, had its beginnings in the 1890s.” This article discusses the collection’s beginnings, the nature of the collection and, by extension, quilts in general. There are a few embedded videos. “The Division of Home and Community Life continues its long term mission to maintain and develop research-based collections that document and preserve American stories through family, community, biographical/individual oral histories and other materials. ”

Have you seen Amy Butler’s Blossom? It is available online for free and the photos are gorgeous.

“The Frick Collection, in New York, has distinguished itself with “Cocktails With a Curator” and “Travels With a Curator,” online programs so engaging and informative that many of us hope they will continue after the galleries reopen. (All episodes of both series are available on the Frick’s website and YouTube channel. Episodes of “Cocktails” have their premieres at 5 p.m. on Fridays; new episodes of “Travels” become available to museum members at 5 p.m. on Wednesdays, and to the general public after the initial showing.)” (from a Wall Street Journal article*)

The Sisters Quilt Show will be online this year.

Quilt artist Chawne Kimber will be giving a Zoom lecture entitled, ‘When the Cotton is High: Social Justice and Textiles’ on Saturday July 25, 11-12:30 Pacific Time. Suggested fee is $25. Net proceeds will be divided between Black Lives Matter, the Social Justice Sewing Academy and Third Street Alliance (a shelter in Easton PA). For more details go to tatter.org (Thanks to Patti!)

Join the Mancusos for Online Quilt Festival (#OLQF) August 12-15, 2020 on Quiltfest.com.

Visit the Louvre from your living room.

I originally saw the notice for the Rosie Lee Tompkins exhibit at the Berkeley Art Museum in the Wall Street Journal. I read the very extensive article and think I understand her work a little better. By the end of the article, I wanted to be inside her mind. “Rosie Lee Tompkins (1936–2006) is widely considered one of the most brilliant and inventive quiltmakers of the late twentieth and early twenty-first centuries. Her reputation has grown to the point where her work is no longer considered solely within the context of quilting, but celebrated among the great American artistic achievements of our time.” The catalog for the exhibit is not (no longer??) available, but I signed up for a notification when it is available again.

Projects, Patterns & Tutorials

I have tried a number of different ways to keep my sewing machine foot pedal in its place. I saw a project that might do the trick.

Modern Handmade has a new program, which replaces their subscription box program, called Modern Quilter’s Studio. You can join at one of three levels. The 3rd level includes a subscription box. This program also includes video instructions (perhaps, classes), a private Facebook group and blocks of the month.

The Social Justice Sewing Academy has a free block of the month program.

Kitty Pearl of Road Home Quilting talks about the Quilting Hub, a listing of online classes that launched on July 1. They have lists of shops and publish the Quilter’s Travel Companion**.

Need to install a magnetic snap. Find a tutorial on So Sew Easy. See all of her tutorials (very interesting selection) on one tutorials page.

Color Girl Quilts has a series of sampler block tutorials. Sharon also has videos to go along with the tutorials.

Need a Summer QAL? In French? Just for you: Quilting Patchwork Applique’ Summer QAL. It’s also in English. 😉
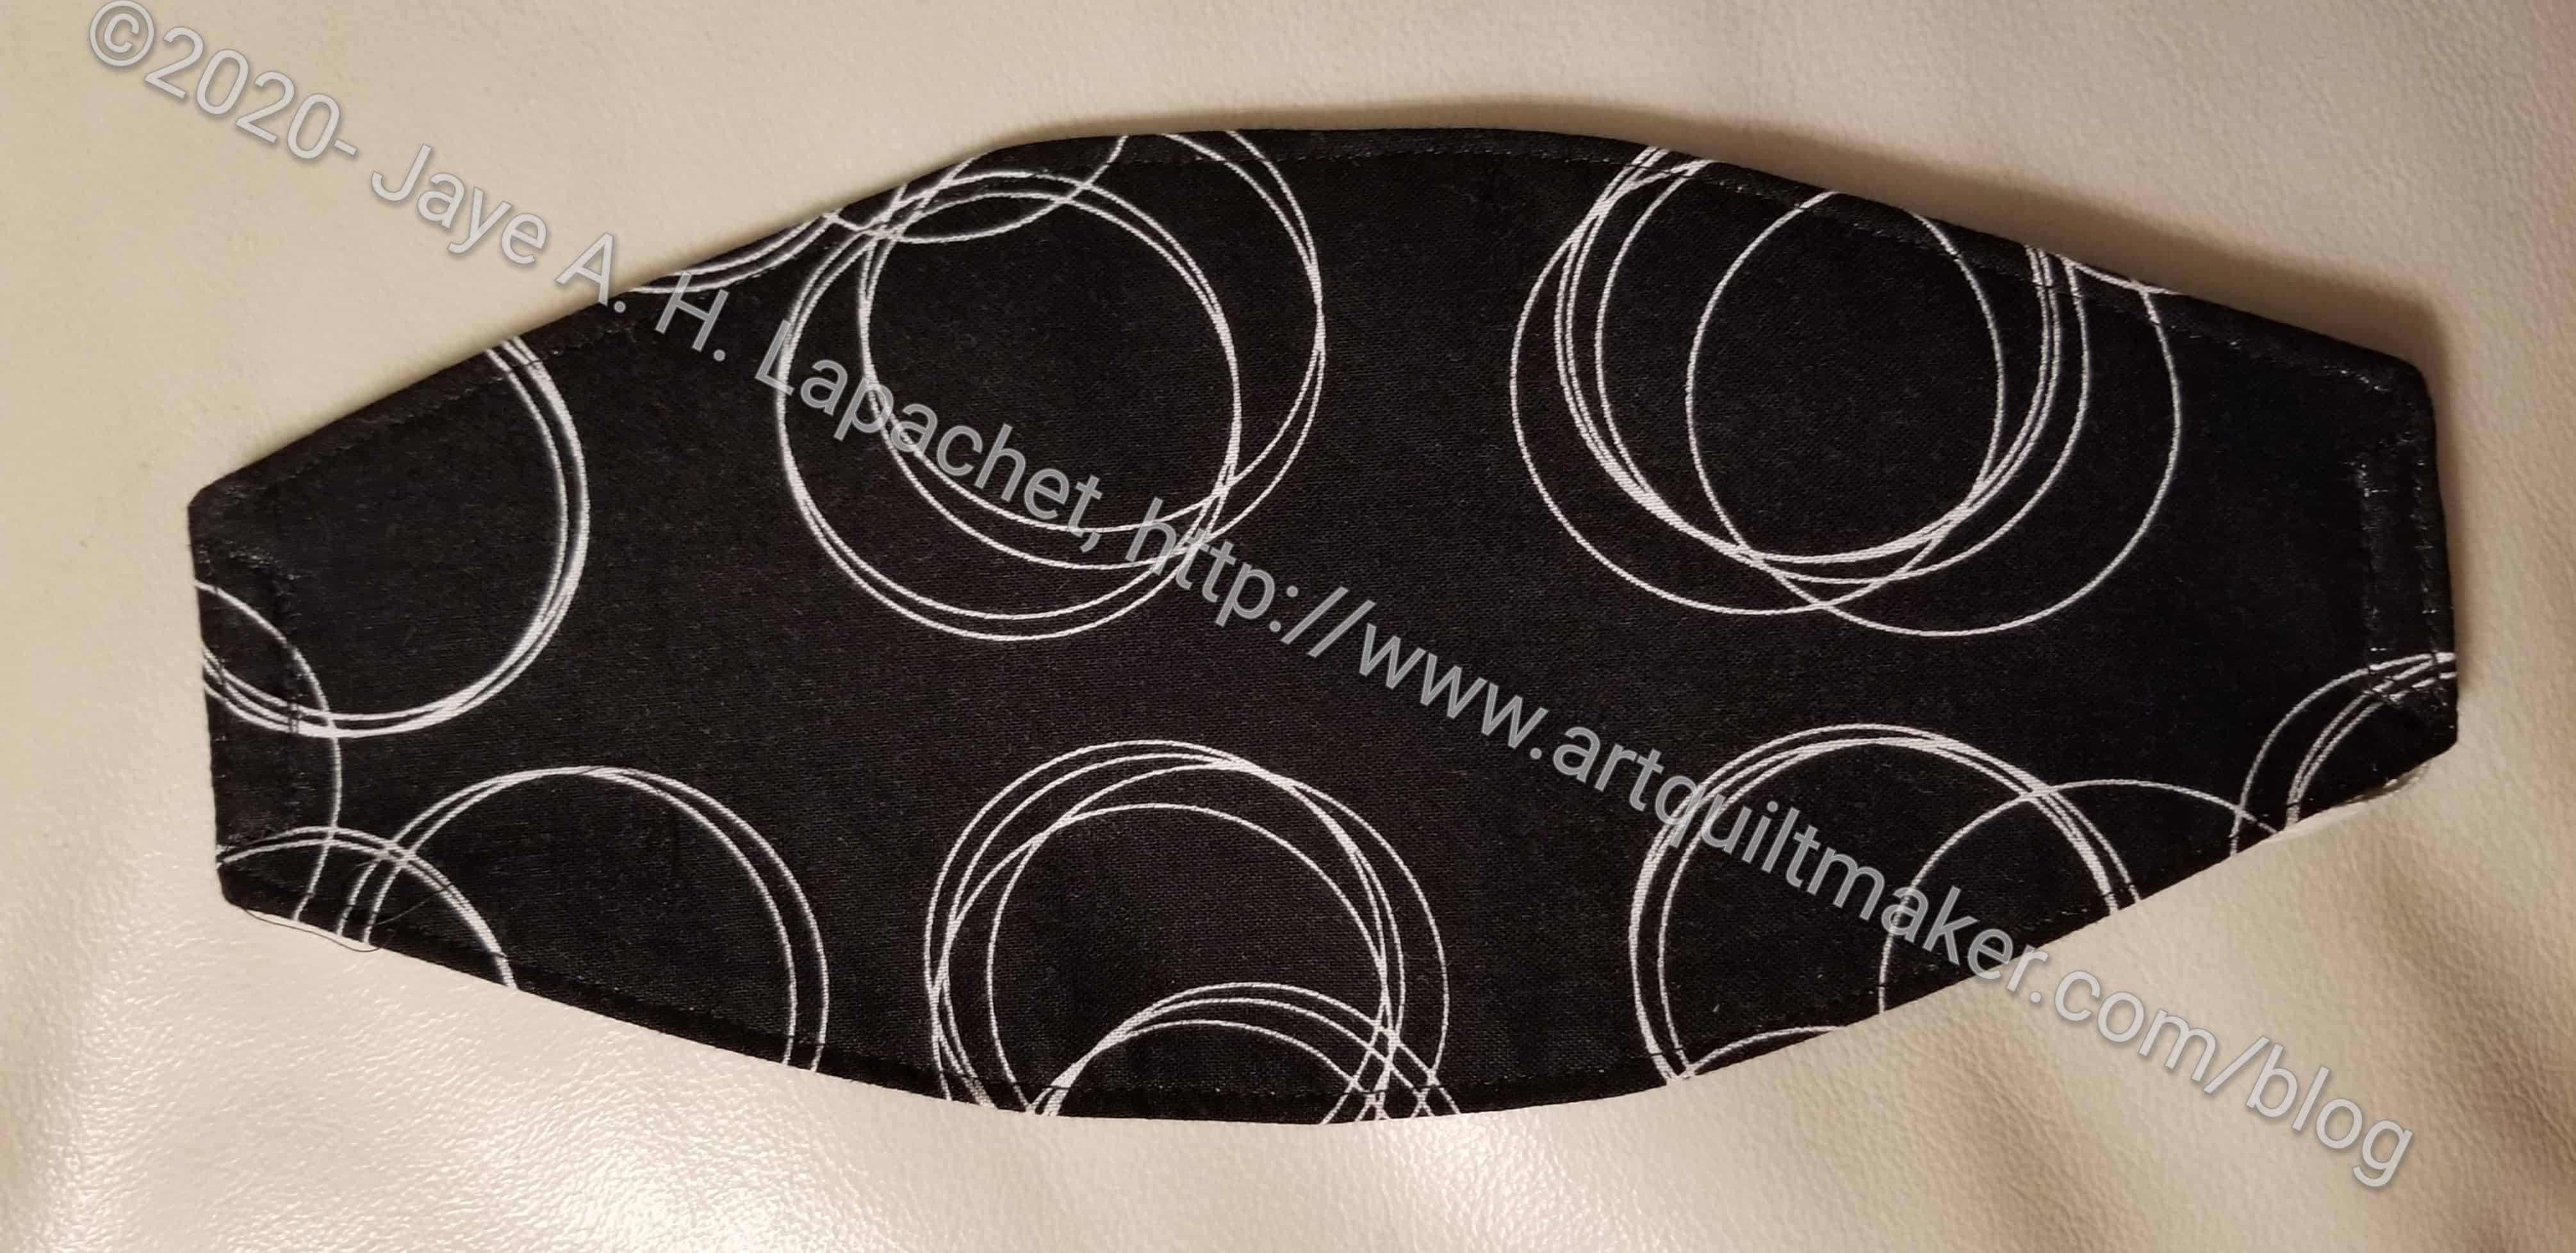
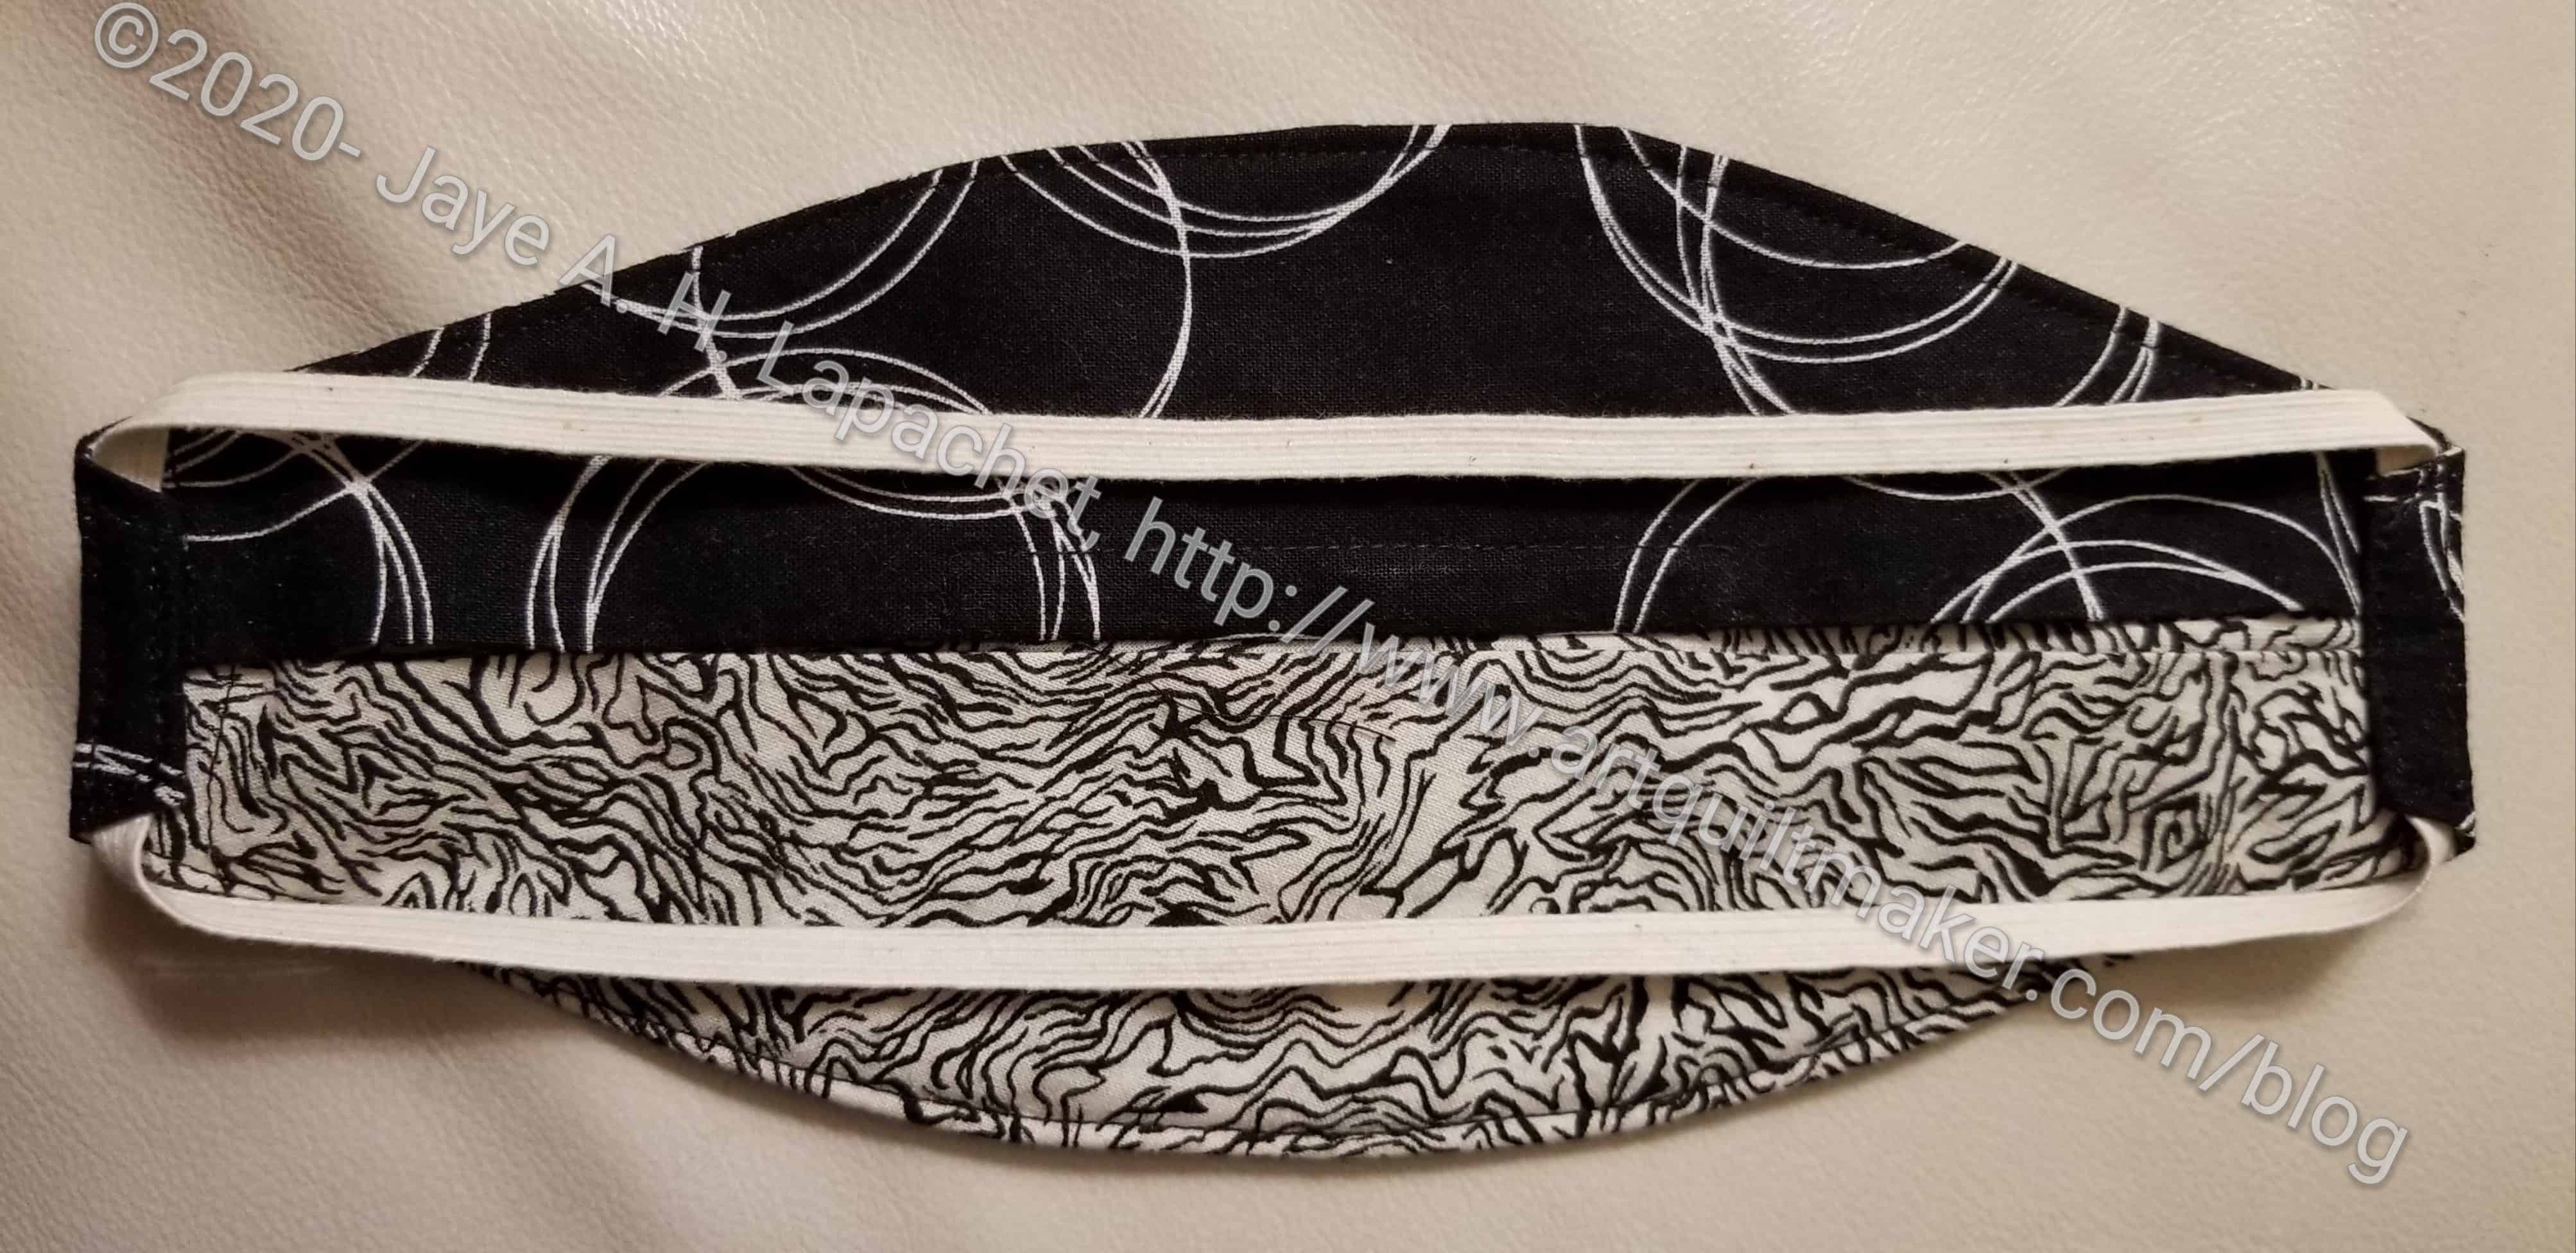
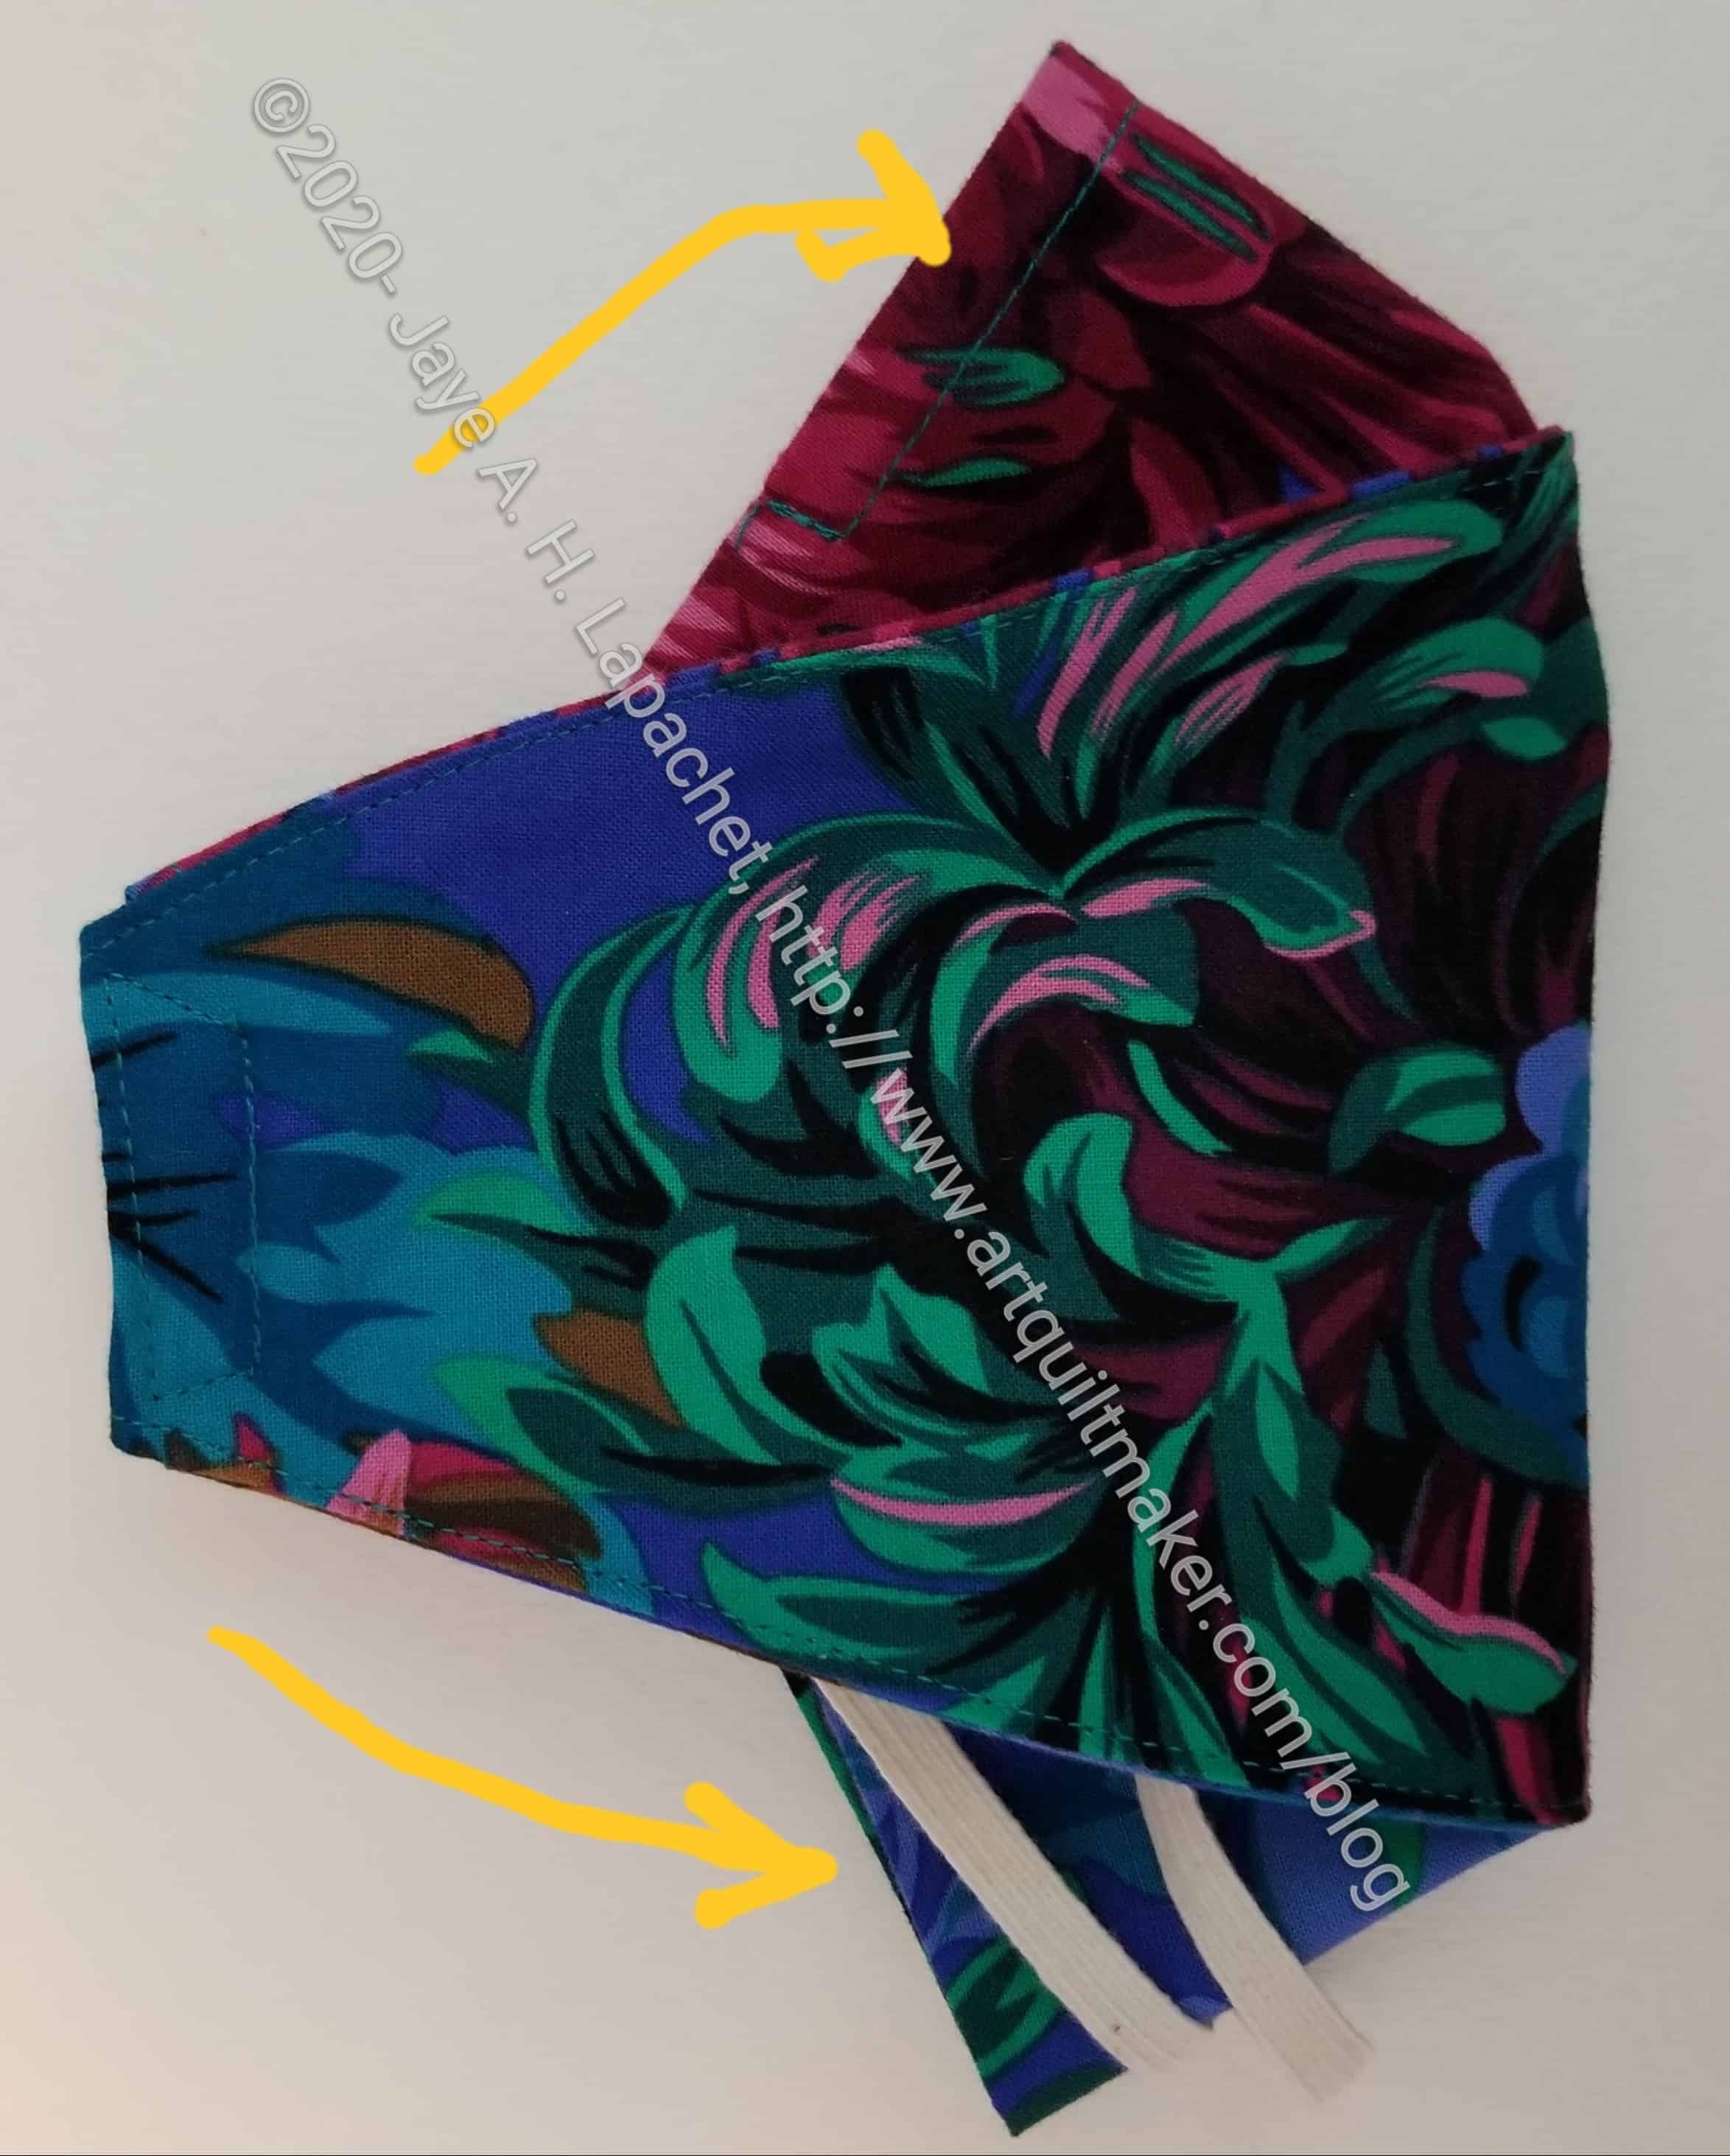
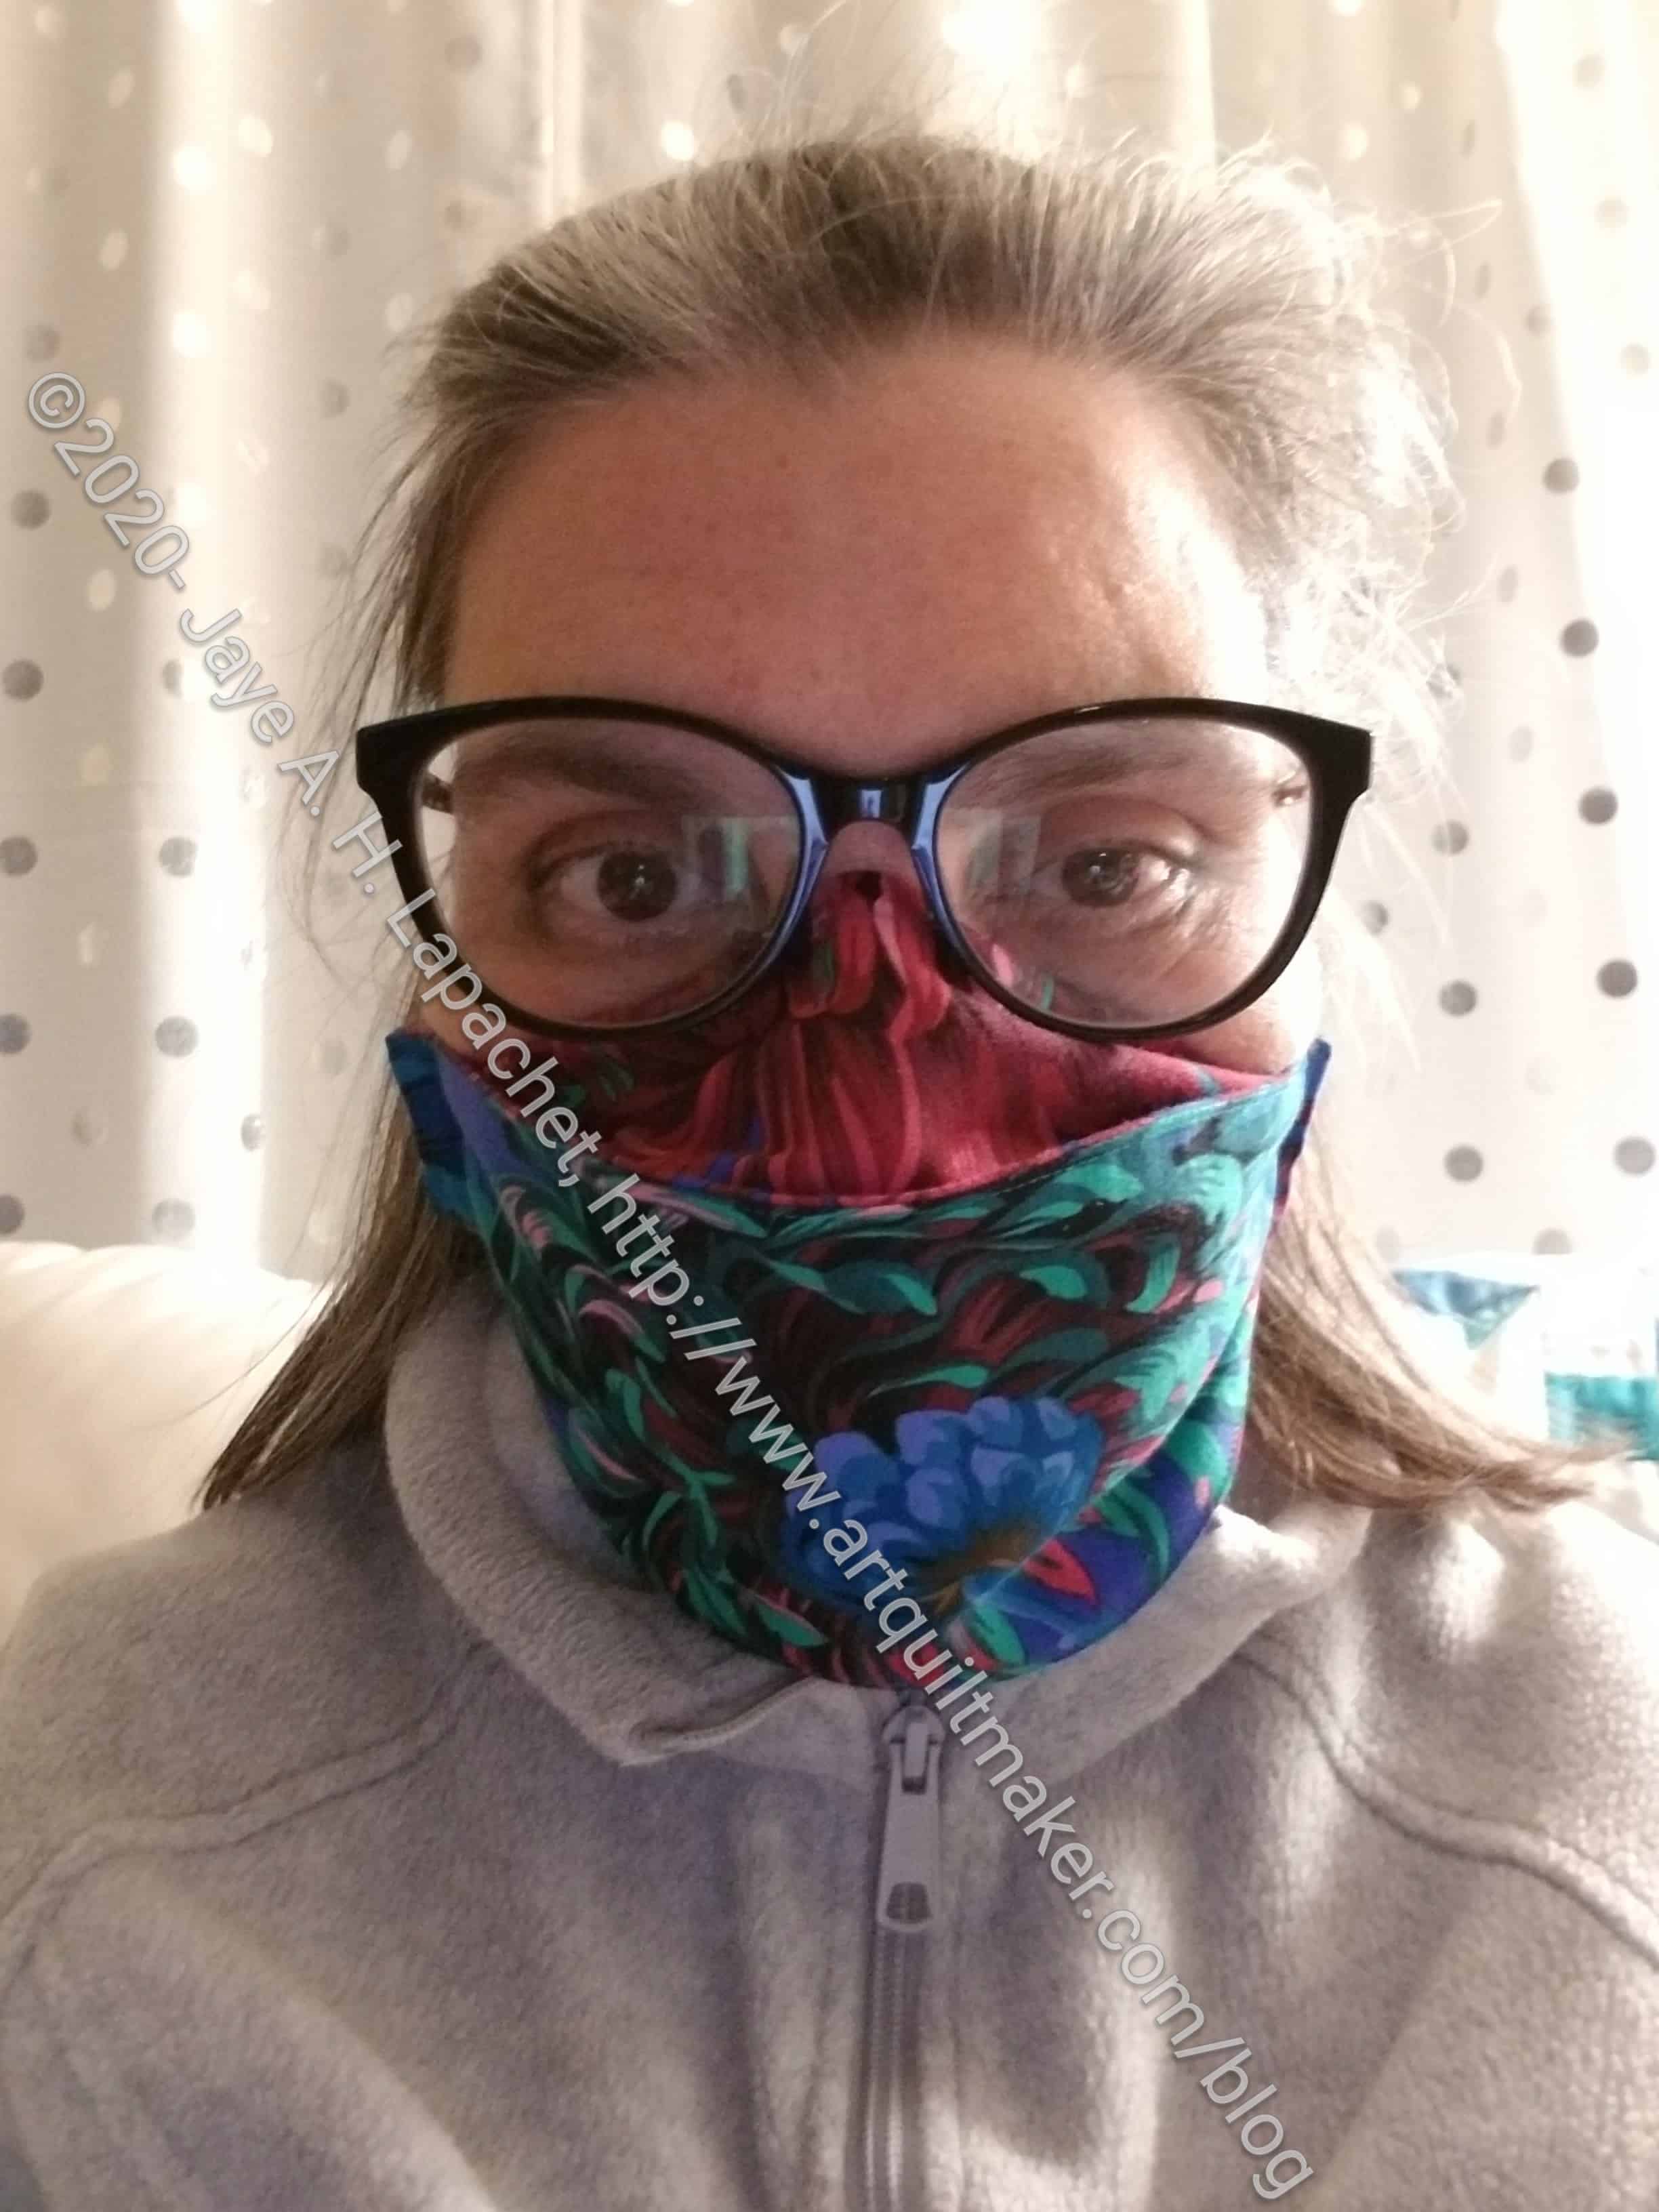
Face Masks

  • Breathable mask video
  • Face Mask with a visor tutorial (2-fer!)
  • No Sew Face Mask using an upcycled t-shirt tutorial

Companies are also starting to sell masks as part of their fashion lines:

  • James Perse masks and bandana type face coverings
  • Karla Colletto masks ($26-30)
  • Mask article* including Mask Club
  • MaskClub has licensing deals with Hello Kitty and NASA and Batman, among others


Other Artists

Carol Lyles Shaw now has online classes.

My mom updated her blog!!! I am so excited. Go take a look and leave a comment. You can follow by email, too!

Inspiration

Bode has a lot of great ideas for freshening up your wardrobe. The prices are ridiculous, though, so I thought makers could get inspiration and do the work themselves.

Other

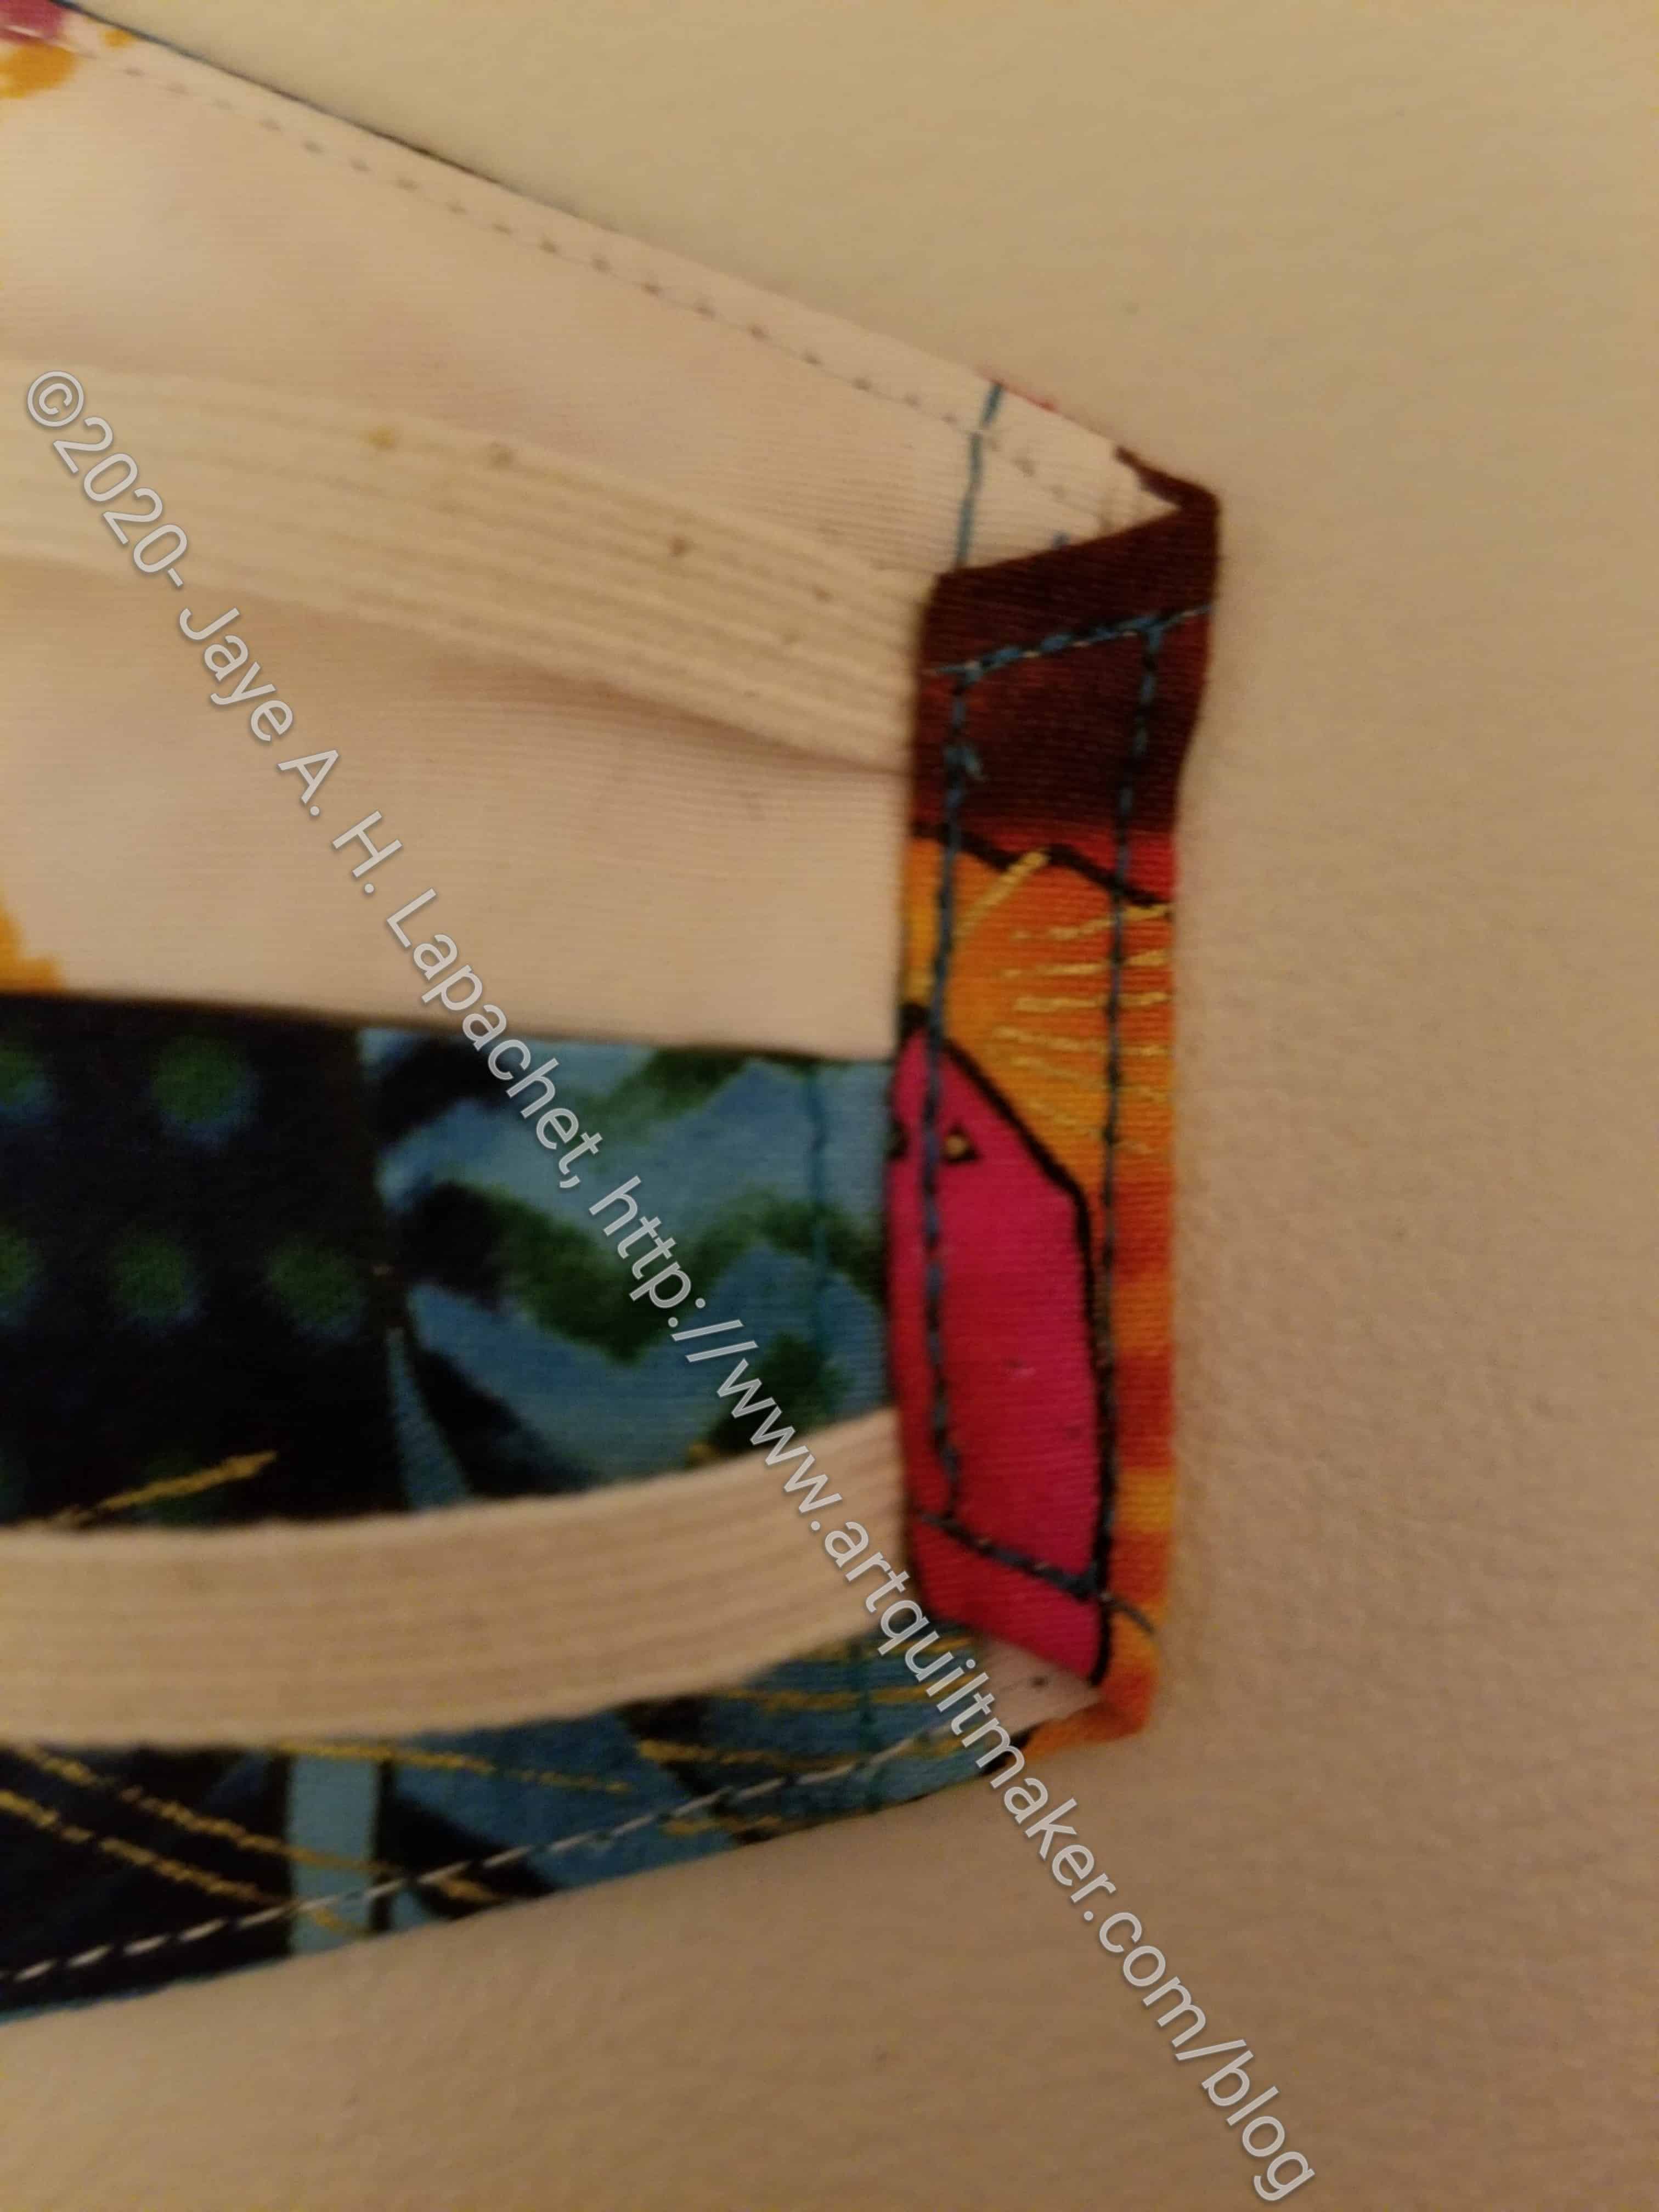
For some work related issue, i went on to the James Perse site. I noted the face masks for sale above, but I also looked at their tote bag selection. The cost for a basic canvas tote bag with NO pockets, key clip or anything is $250! Granted the Loma slouchy canvas tote has great shape, but $250 ($350 for the large!)! Celine has a grocery tote for $1250! It is a nice tote, but $1250! You are all undervaluing your bags! I suppose people are paying for the name. Still, I need bags with pockets, even a basic bag needs at least one pocket.

In reading the NYT, I read about Tissuni. Tissuni is a collective of seamstresses from the various fashion houses. They got together during the quarantine in Paris and made masks for free for essential workers. Now they are working their amazing sewing skills for more simple designs.


*Check your local public library for access if you don’t have a subscription

**I use affiliate links and may be paid for your purchase of an item when you click on an item link in my post. There is no additional cost to you for clicking or purchasing items I recommend. I appreciate your clicks and purchases as it helps support this blog.

Black & Red Quilt

Black Rectangles on design wall

This quilt does not yet have a name. Black & Red Quilt doesn’t seem useful or interesting, somehow.

This photo also does not seem interesting. Trust me, the piece looks a lot better on my design wall. Clearly, I need better lighting for photographing monochromatic quilts.

The shifts in fabric/tones & shades are subtle. This is more like a pushed neutral background than anything. There won’t be much of a foreground, however, as my idea is to use the 3,000 yards of bias tape I made in the January Challenge for the Mighty Lucky Quilting Club. My original idea was to applique a small strip to each rectangle at a different angle, then sew the rectangles together. The other night as I was going to sleep, I thought about sewing the bias tape to the quilt as one long piece in large arcs or swirls. I am eager to sew the rectangles together, but the new idea would mean maneuvering the large top around my sewing table rather than the smaller rectangles. I’ll get the red bias tape out and see what I think.

Face Mask Details

I said in a previous face mask post that I needed to fix some details in the DIY Cloth Face Mask pattern.

Chrysanthemum Face Mask -closed gusset raw edges

First, the gussets needed to have, for certain, the raw edges covered. After adding the nose pieces, I did one fold and sewed the raw edge closed.

This adds an extra layer of fabric, which is a challenge later, but with the covering of the longer main mask panel (you can see it sticking out past the 12 on my mat), I think it will keep the raw edges from unraveling.

I could have sewed the raw edges closed before adding the nose piece, but I didn’t. Feel free to do it that way.

Chrysanthemum Face Mask Elastic

In my post the other day, I mentioned using elastic. My elastic goes all the way around the back of my head as opposed to just over the ears as the video shows. With glasses and headphones, I have too much stuff on my ears already to add a mask to the poor overburdened body part.

I am not sure this is the best way to add elastic across the back. The folded over edges stick out a little so the look isn’t sleek.

Once the raw edges of the gussets were secured, I fold over  the edges of the main mask panel and tucked the elastic inside. Then I sewed in a rectangle, going over the stitching closest to the middle of the mask twice.

Chrysanthemum Face Mask -changes

I add the nose piece to the pattern by aligning the middle of the nose piece with the mark on the fabric, then surrounding the nose piece with pins, so I know where it is. I sew around it, removing the pins as I go and being careful not to sew over them or the nose piece.

The top arrow shows where the  nose piece is.

The bottom arrow shows the two strands of elastic. I measured them at 10 inches for my head. Of course, you can adjust them to your needs.

I don’t know when I will have the opportunity to wear this mask out. When I do, I will report back.


Face Mask Saga Continues

The guild had Virtual Sew  Day on Saturday. There were 9-10 people at any one time, which seemed  like a good number. After I put some rectangles on the design wall (empty after taking FOTY 2018 to the longarmer), I worked on masks.

I am still using the DIY Cloth Face Mask video pattern and I am getting more familiar and more confident with it. After wearing the mask I made with this pattern and a cord lock for several hours on Friday, I decided to make another mask using this pattern with elastic instead of a cord lock.

This pattern works very well with my glasses. I added a nose piece, thanks to Friend Julie and her husband for keeping me supplied! With the nose piece well adjusted, I get very little, if any fogging. Allergies are torturing me, though, so I sneezed a few times while wearing the mask which reminded me why I need multiple masks.

Also, the cord lock and cording works well if I am wearing a ponytail. I can hook the top cord over my ponytail and then tighten the cord lock behind my neck. Getting the mask tight helps with preventing fogging. The problem is that I was wearing my hair down and by the time I got home I think large chucks of hair were embedded in the cord lock. 🙁

Chrysanthemum Face Mask

My new mask, which is the exact same pattern as the red dot mask, has elastic instead of a cord lock. It fits well and the nose piece fits tightly around my nose. The real test will be when I wear it out.

The elastic is slightly better for this test on the couch, but I can tell any kind of mask wearing is better with my hair up. I think a hairdresser/stylist who designs a hair cut for mask wearing will be a genius.

DH has his collection and didn’t want anymore for the moment. I will make him one to wear with his tuxedo, assuming we ever get to dress up again, but I am going to wait until I get the pattern exactly right.

Four Masks - early July
Four Masks – early July

I made four masks. I experimented with fussy cutting and was pretty successful on the mask main panel. I wasn’t as successful with  the gussets, but I can do better next time.

One is for the YM, because it makes me feel better to make him masks. The other two are gifts as well.

Blue Strip #2 Donation Blocks

Blue Color Strip #2 Donation Blocks

By piecing FOTY 2018 together I was able to get the blocks for my next blue color strip donation quilt finished.

I know I have used a large portion of blue scraps, but I still have a full blue scrap drawer.  A lot of them are small or not strips, so I will be making a blue improv version next, though I still have to sash this one. I used yellow for the last one, which was unique. I am thinking about white, but that might be too conventional or too boring. I haven’t started cutting sashing, because I don’t know what to use.