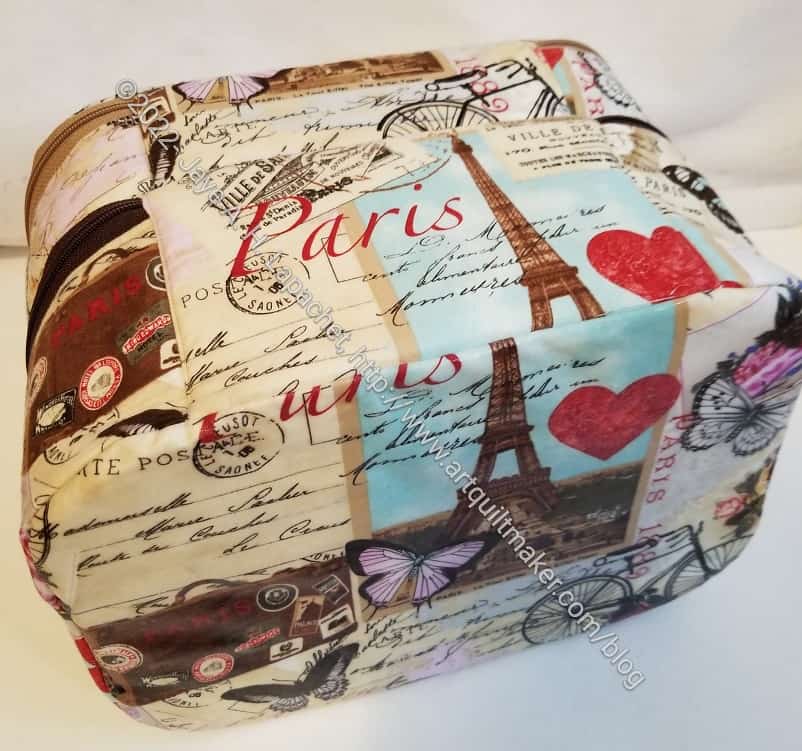
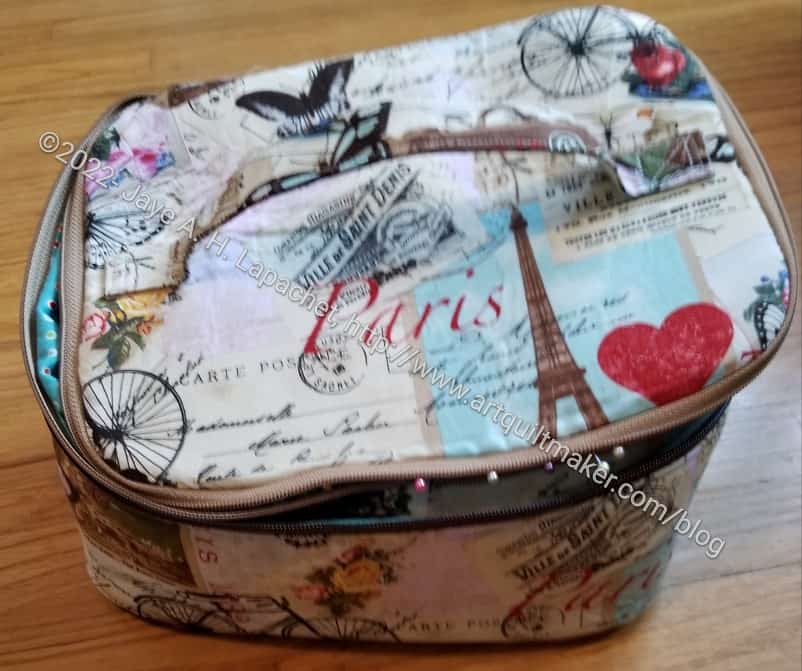
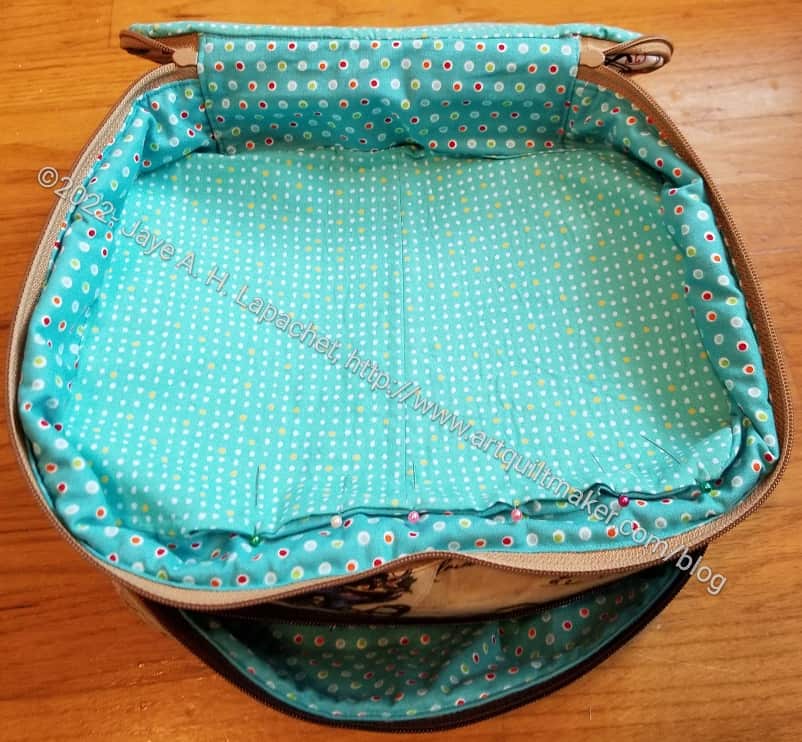
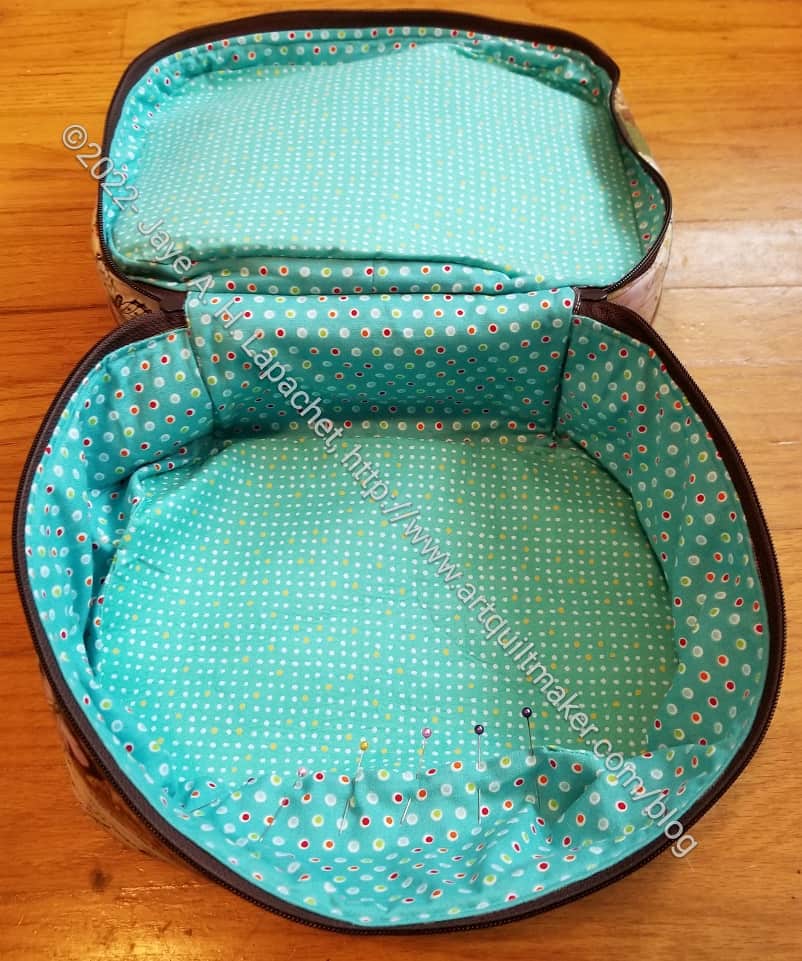
A few weeks ago, I coated some fabric using OdiCoat. The OdiCoat dried pretty well in 24 hours and then again in 24 hours after the second coat. I was able to use it to put a bag together, but the bottom, where I had used the OdiCoat was still sticky. Not wet-sticky, but sticky in such a way that it would stick to the table. It felt like sewing thicker vinyl. I had a hard time sewing it and needed to use my vinyl techniques to complete assembly.
The bag sat for awhile, which was great, because the OdiCoat cured (I guess, or dried further) and is no longer sticky! Yay!
I am pleased with the protection the medium provides. This is the perfect pattern for it as it has a contained piece for the bottom. I’ll definitely try this substance again.
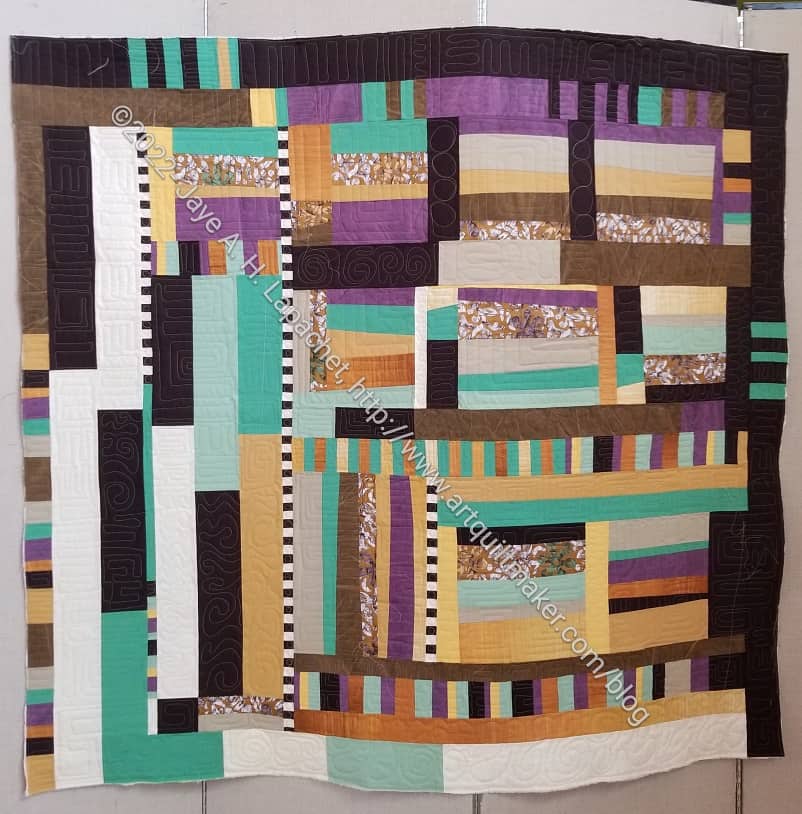
Tim brought his newest quilt to Sew Day. I really like his work. Even though I wouldn’t use these colors, I think the whole piece is really appealing and attractive. I especially like the checkerboards.
I thought he was making this quilt for himself, but he is giving it to one of his nieces.
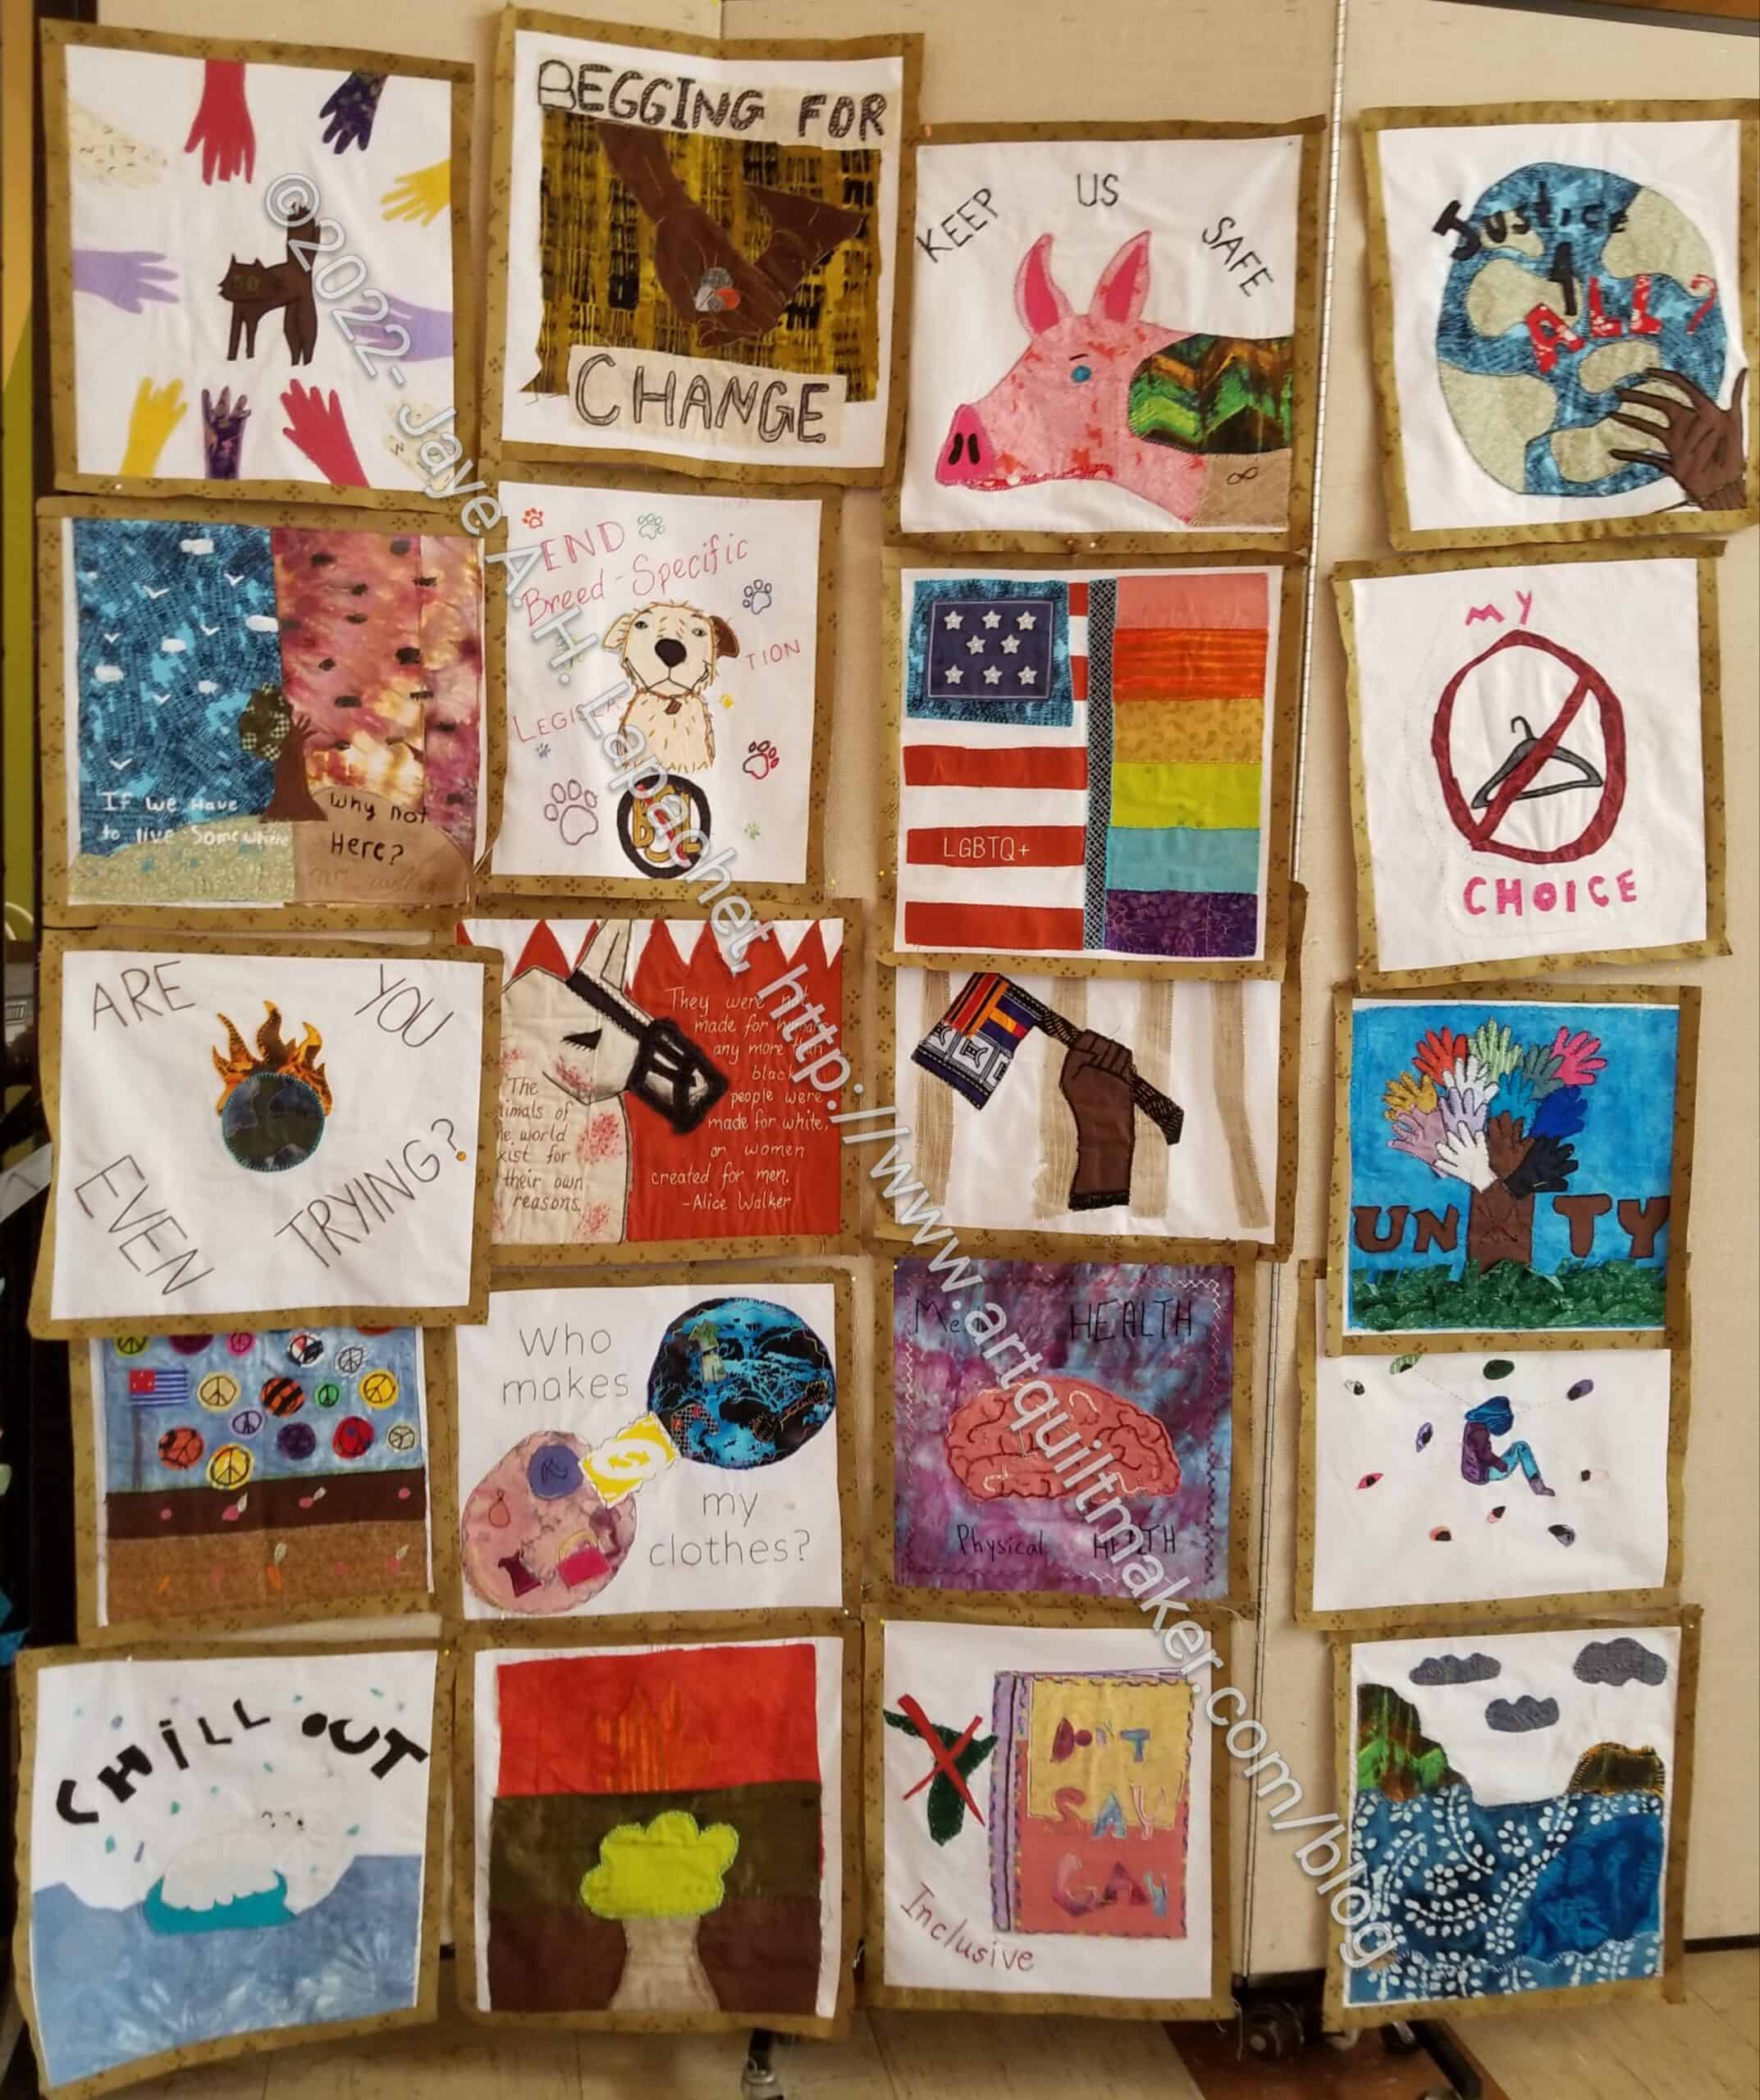
Cyndi invited a group from the Social Justice Sewing Academy to our Sew Day. Some of our group had finished blocks, so those were turned in. Sara, the organizer, brought a different group of blocks that were to be made into a quilt.
People worked together to put sashing on the blocks and sew them together.
I was tired and stayed in my corner working on the Half Hexies. I wasn’t up for a group project that day.
SJSA Sew Day blocks with sashing
The group achieved a lot. They put thin sashing around each block and then worked on larger pieced sashing (no photo). They decided to put the larger pieced sashing on backwards so the raw edges show. I am not sure the point, especially after quilting, but it was definitely a design choice.
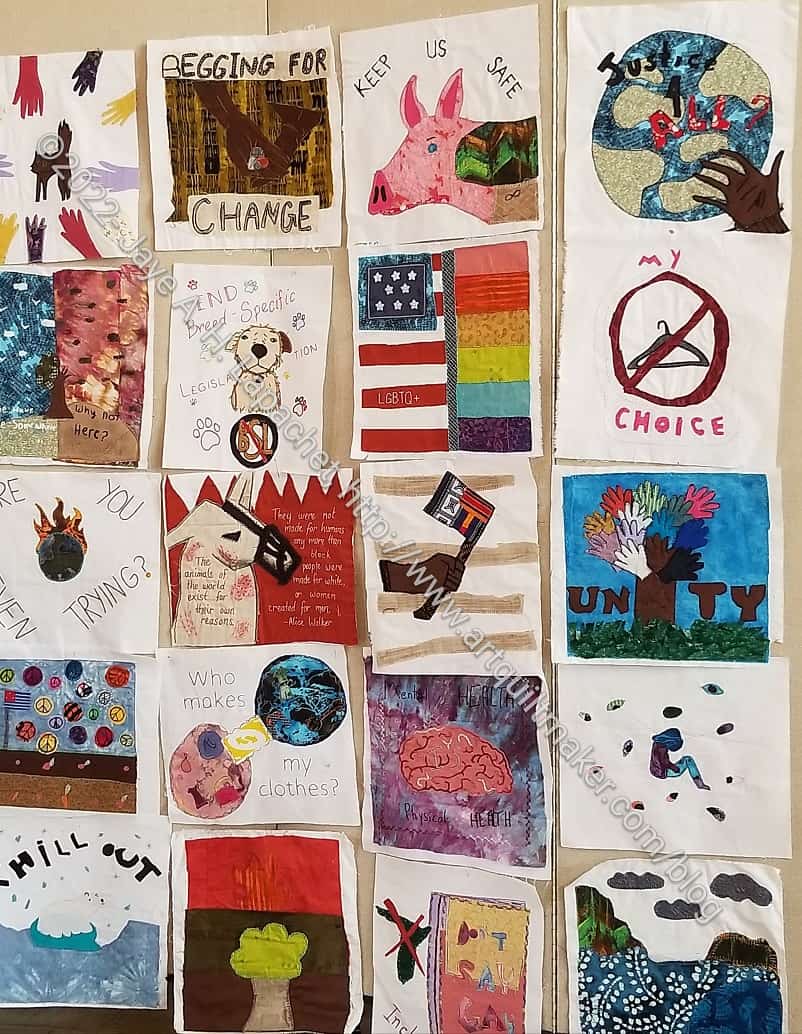
The themes of the blocks varied. I might have put all environmental blocks together in one quilt and all animal blocks together in another quilt. I can see the appeal of varying the themes as it makes people really look at them to see what else is there.
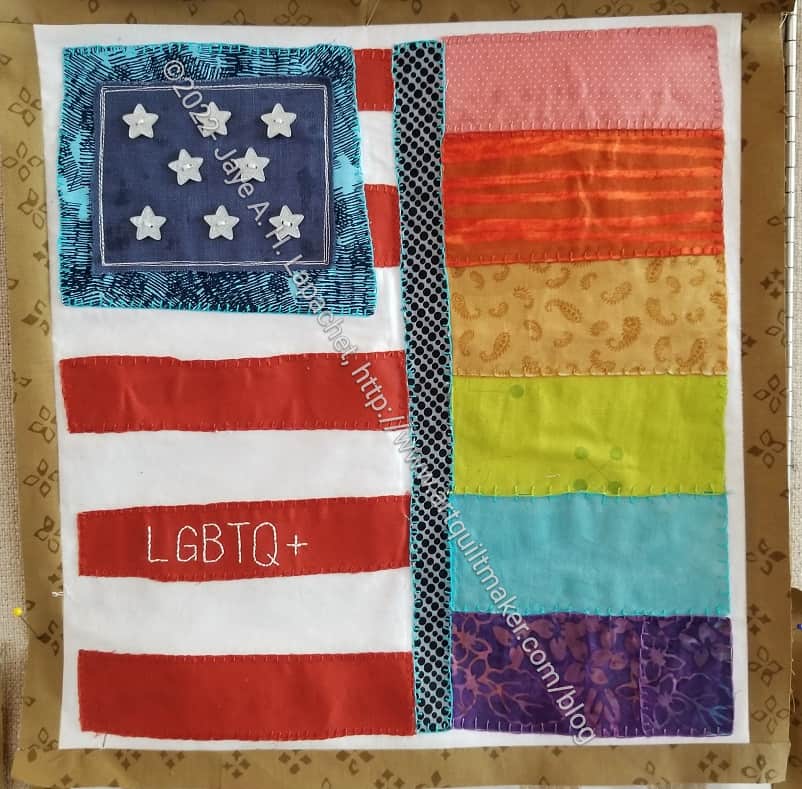
SJSA block
My favorite block has a fantastic design. The design is very simple and clear IMO. It also has a graphic quality and provides a lot of scope for discussion. Whoever designed this block should get an award. Great job.
It was fun to see the blocks up close and contemplate the messages. If you want to participate, check the SJSA website for more details
I was still recovering from my oral surgery last Friday as I prepared for Sew Day after work. With a full week of work and the aftereffects of the surgery under my belt, I was tired. I thought hard about staying home, but decided to go. I wanted to see my friends and participate in the Destash party.
In order not to completely exhaust myself, I decided to bring as little as possible with me. I needed a small project without a lot of pieces and parts. For example, I did not want to bring a sewing machine. The La Pass BOM would have been the perfect project, but it is delayed again.
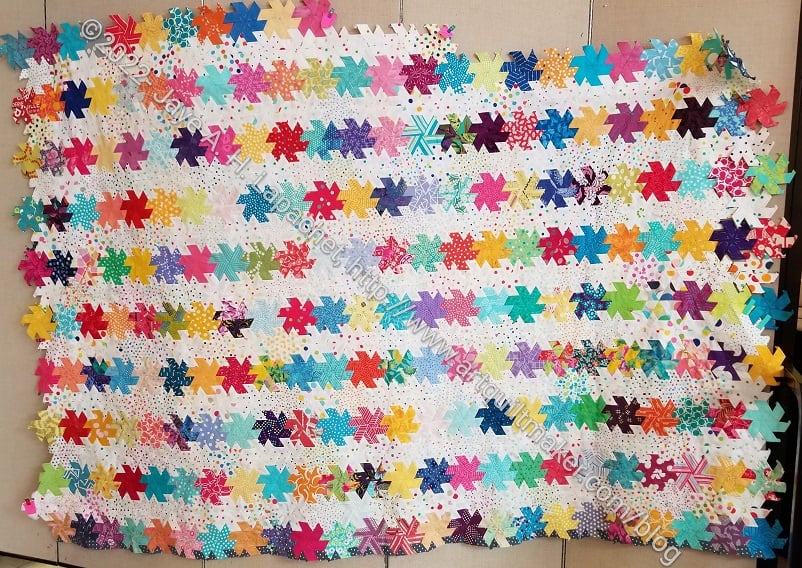
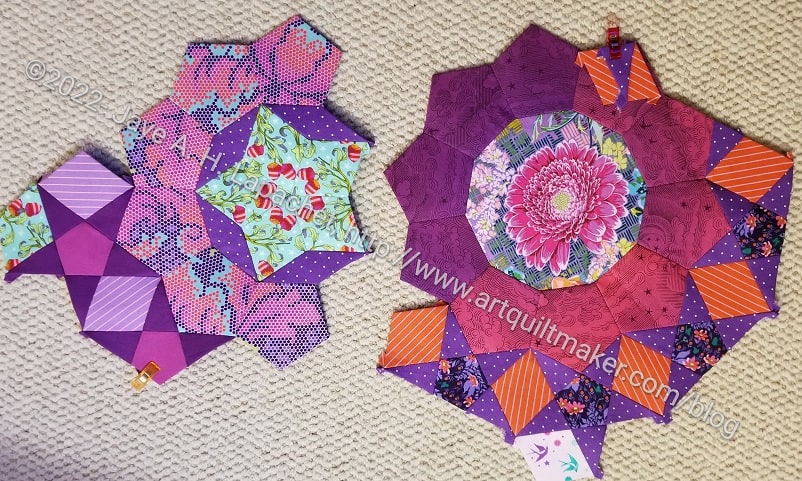
It occurred to me that I could bring the Half Hexie Star quilt, put it up on the design wall and make a plan to get it finished. Looking at it and making a plan had been on my list for a long time and Sew Day provided the perfect opportunity.
I did it! And it worked!
I now have a plan to finish this quilt. I can see the light at the end of the Half Hexie tunnel, which is a finished quilt. This is very exciting. I thought this would be one of those quilts I would finish in 10 years.
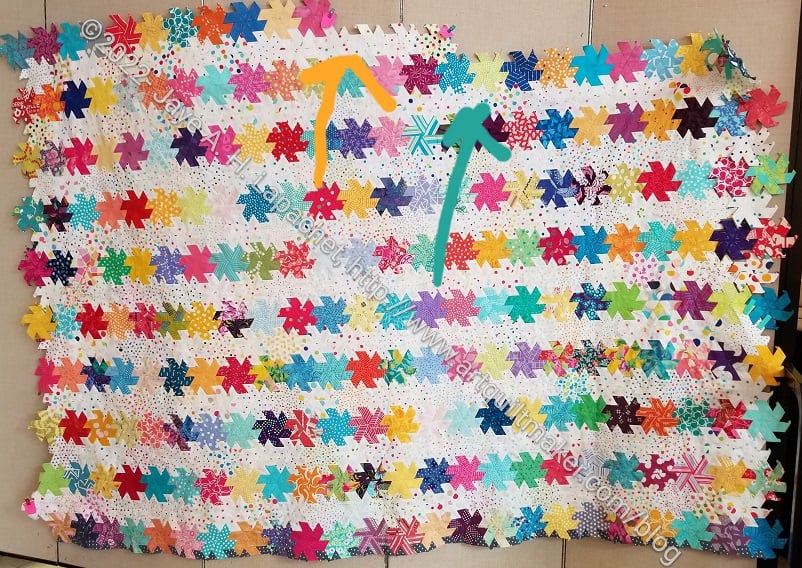
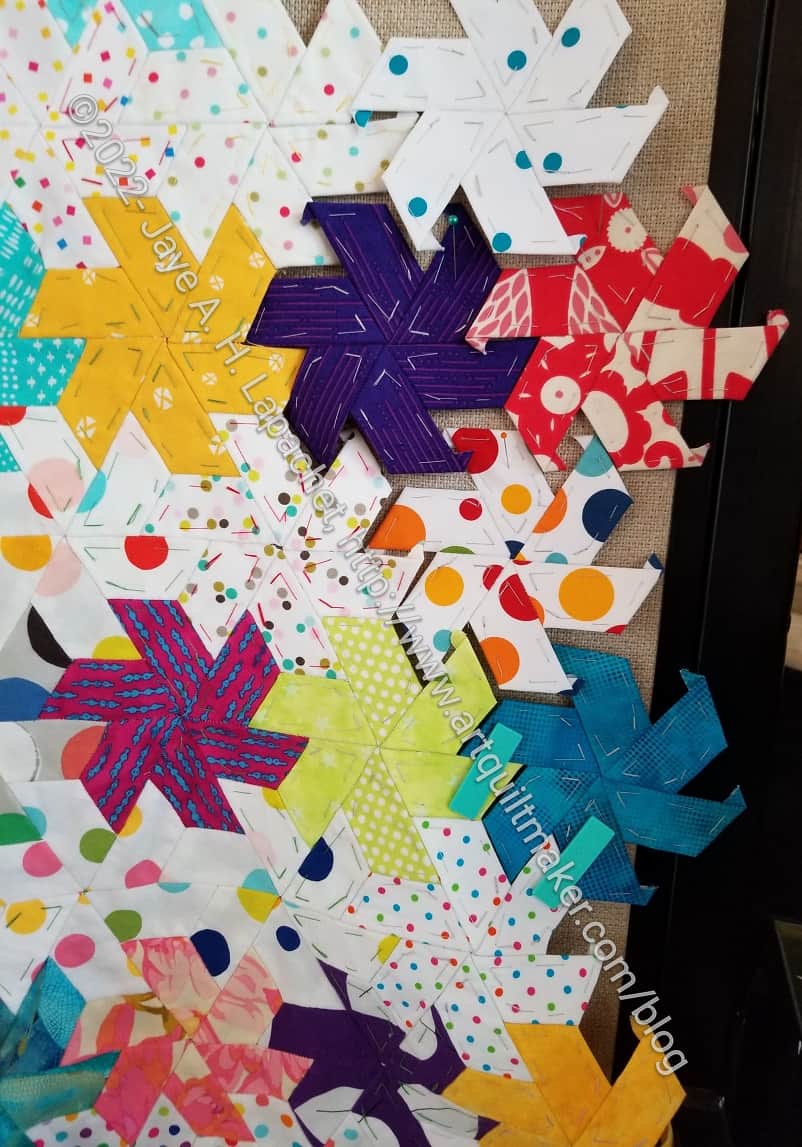
Half Hexie Star: top two rows
First, this may be the first time I have ever put this quilt up on the design wall and looked at it vertically. I have laid it out on the floor, but seeing it on the design wall is better.
Second, I figured out what I needed to do to even up the sides. I plan to finish the two rows I have started on the top (see arrows) and call it done. I am not going to add more rows to make it bigger.
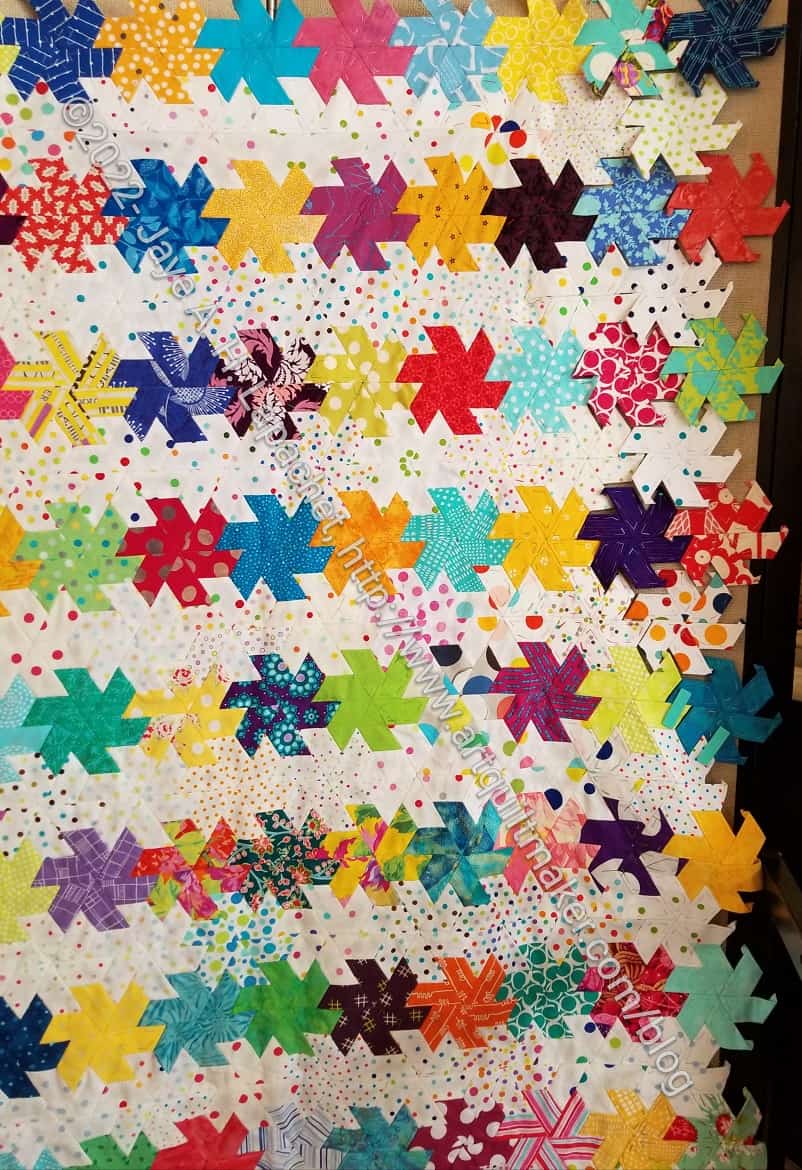
Half Hexie Star: side
A lot of people came and talked to me about the quilt. One of my guild mates asked what the final size would be. I looked at her, confused. She clarified that she wanted to know whether the pattern said it would be a twin or another size. She also wanted to know if I made enough stars to complete the pattern. Clearly she doesn’t know me that well. I laughed and said I wasn’t using a pattern. I said it would be as big as I felt like making it. This was a foreign concept to my guild mate.
At that point, I decided that it would be pretty much as big as we could see on the design wall right then.
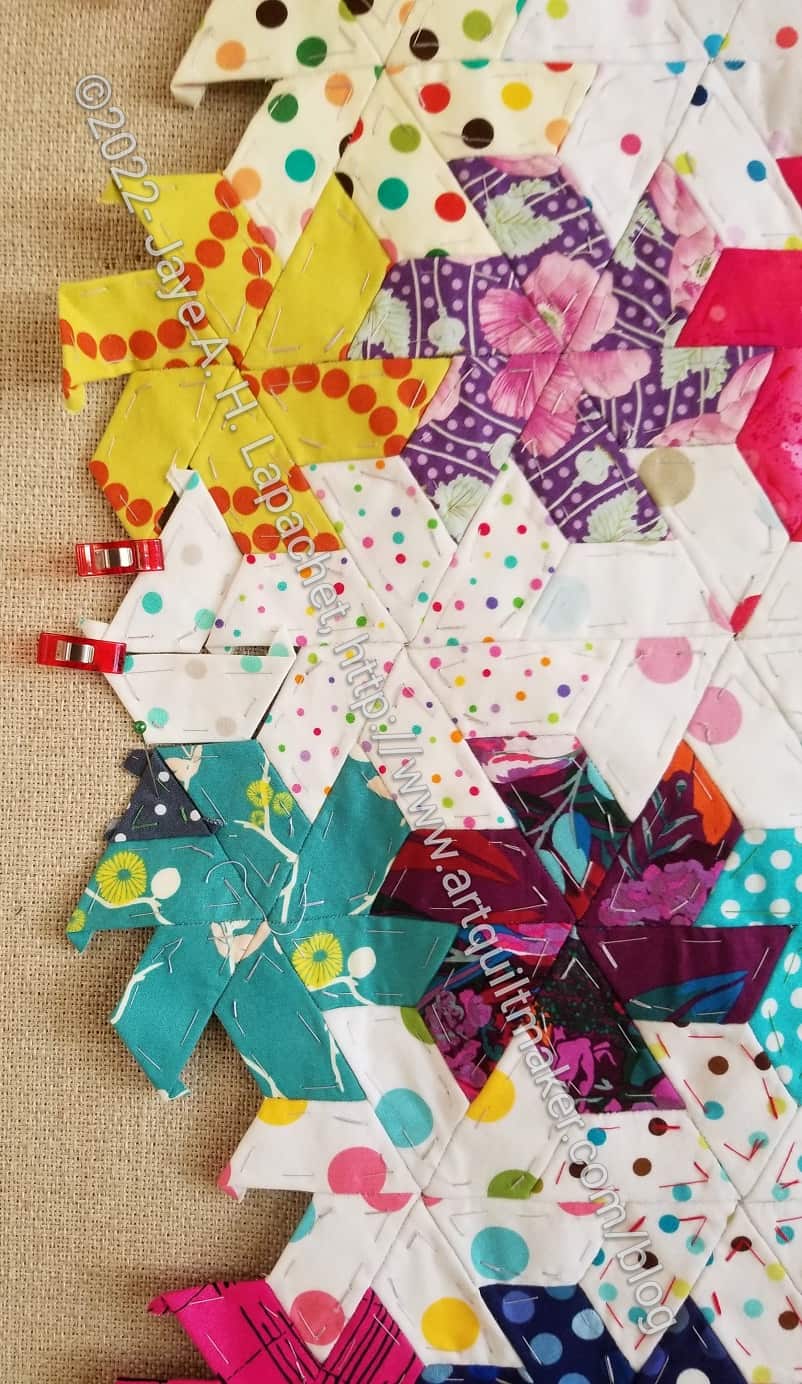
Half Hexie Stars: right side detail (to do)
I haven’t measured it, though it would have been a good time to do it.
Next, I tried to think of ways to square up the sides. I pinned stars to the sides to make each side as even as possible, so I could see what I had.
The top and bottom just need some diamonds and triangles fitted into the open spaces in the stars. The top and bottom will be easy.
Half Hexie Stars: Trying to add background
For the sides, I thought about putting a couple of the half hexie pieces using background fabric in to the sides as a way of getting the sides to be more square. I even sewed some as a test. I was going to go with that solution, which would have made a gentle zig zag edge. I didn’t feel it was an ideal solution.
Half Hexie Star: Lindsay’s idea
Then Lindsay arrived and we discussed it further. She thought I could add in the triangles and diamonds without the background pieces. It wouldn’t make the edge square, but there would still be a gentle zigzag. The triangles and diamond pieces would match the look of the bottom better. I like this idea much better and will work on it.
Finally Mary C said that I could use the edge as is – already folded under – and fold the backing under, then whip stitch the top and bottom together rather than applying a standard binding. I think this is a really good idea. If I can work with Colleen to make it happen, I will.
I am pleased with the various solutions. I am also glad that I will be done with this top soon.
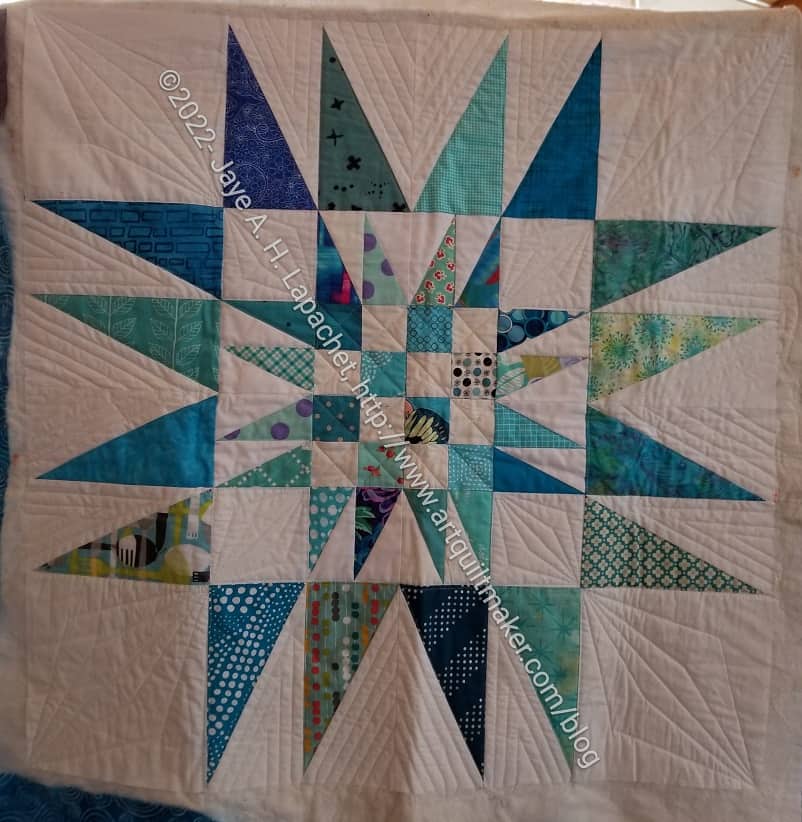
A long time ago, I made the Double Spiky 16 Patch #1. At Sew Day the other day, Lindsay brought it back quilted. I was pretty excited to see it done an in reality it was only February of 2021 that I finished it.
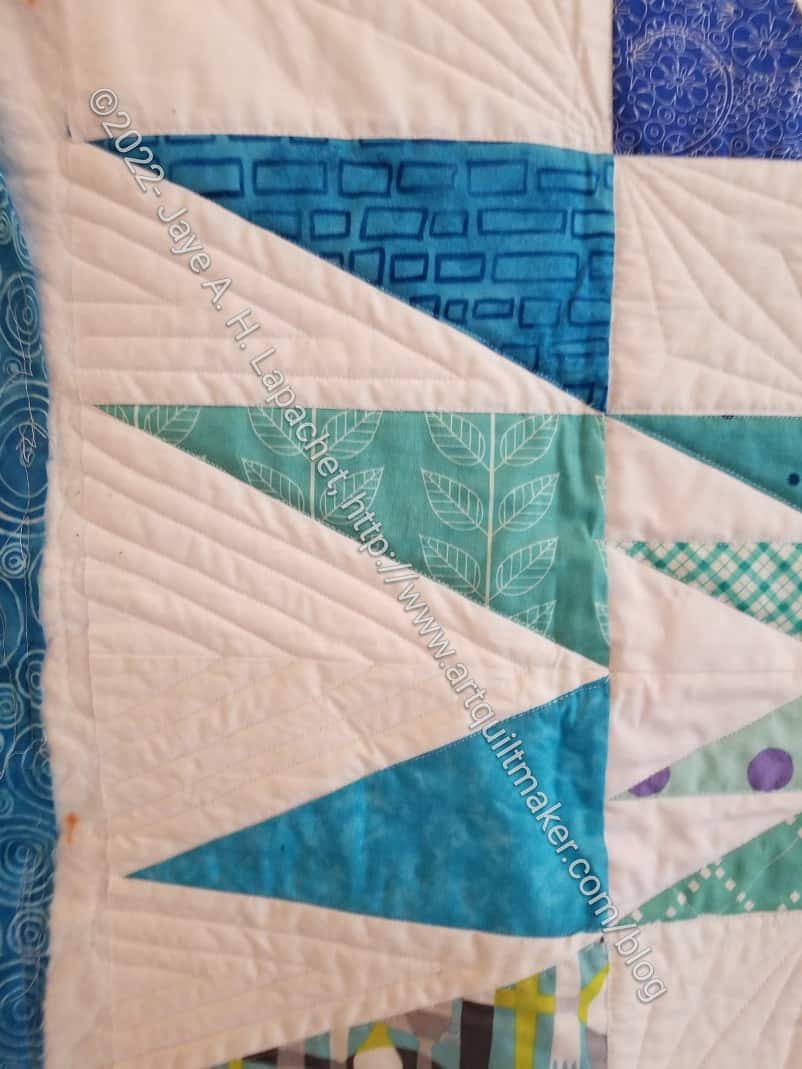
Double Spiky Star #1 quilted detail
She quilted it really well. I love the designs she chose. I am so pleased this was a group effort.
The Percheron (part of Minikins Season 3) by Sew Sweetness is classified as a pouch, but it is definitely larger than what I would consider to be a pouch. Remember I made one of these before? I wanted to make it again since I struggled with Mom’s. As mentioned, it was going very well and I think I mastered the hinge, which was one of the steps that caused me a headache.
Percheron assembling
It isn’t going as well as it was before. I am not quite sure what went sideways, but I have been really, really struggling with putting the whole thing together.
I know the picture of the whole thing makes it look very sad. I think I was in a rush. I don’t have to throw it out, don’t worry.
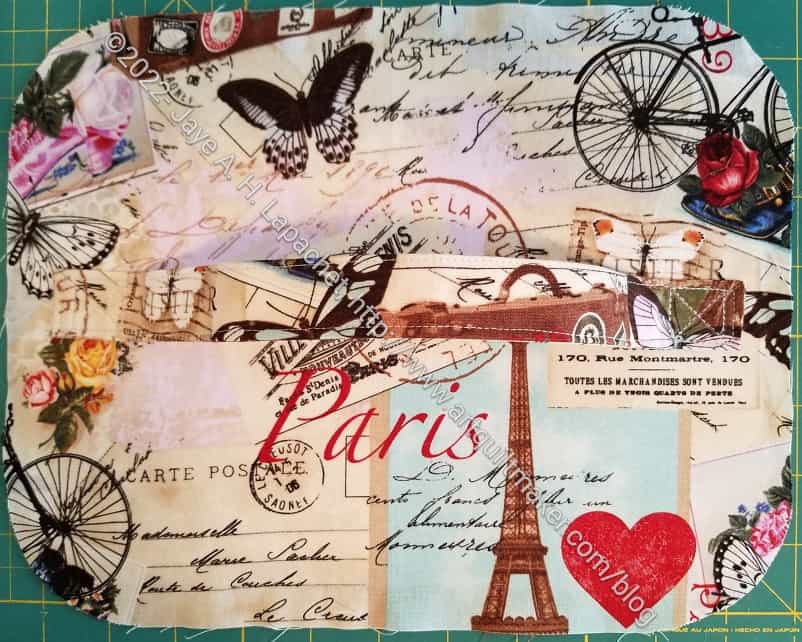
Percheron #2 lining
I just really fought and fought with the lining and the assembly. It looks really ugly in this picture. The saving grace is that I haven’t finished the last seam by hand, so there is hope that I can save it. I really don’t want to unpick it.
I can also give the thing a good press (this is where my small Oliso comes in very handy) and I am sure that will help, too.
Percheron #2 lining (bottom)
Is there always a point in my bag making where I despair completely?
Now I need to remember to sew a Wunderlabel in it.
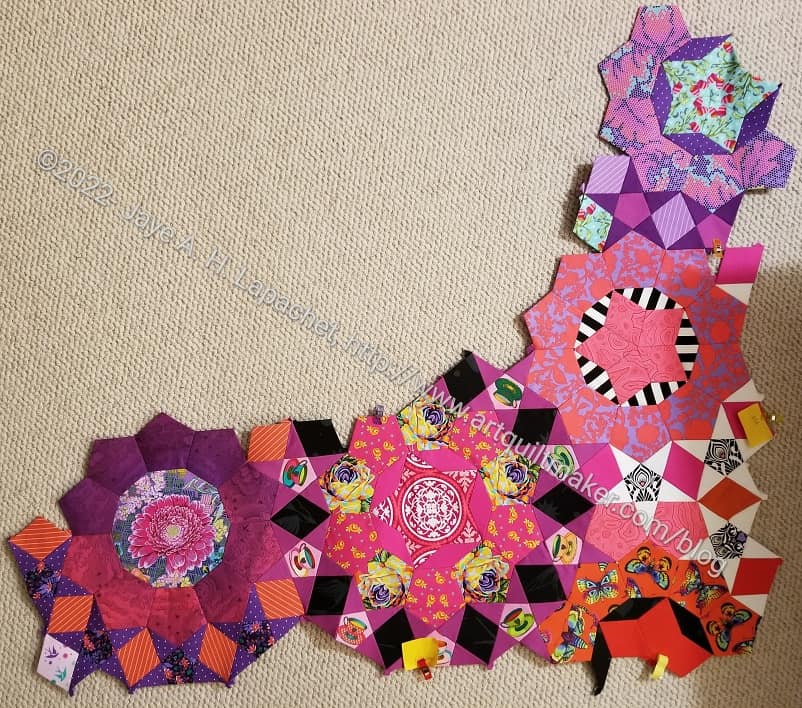
The other day I talked about sewing rosettes together. I finally finished what I was doing and I think the section looks nice.
Sewing this corner together really makes me think about how to finish the edge.
I really don’t want to cut off any of the piecing I have done, though I know that will be part of the directions. In the photo above, I can see how finishing that red butterfly rosette would look a lot better. Then what do I do with the part right above it with the white star points?
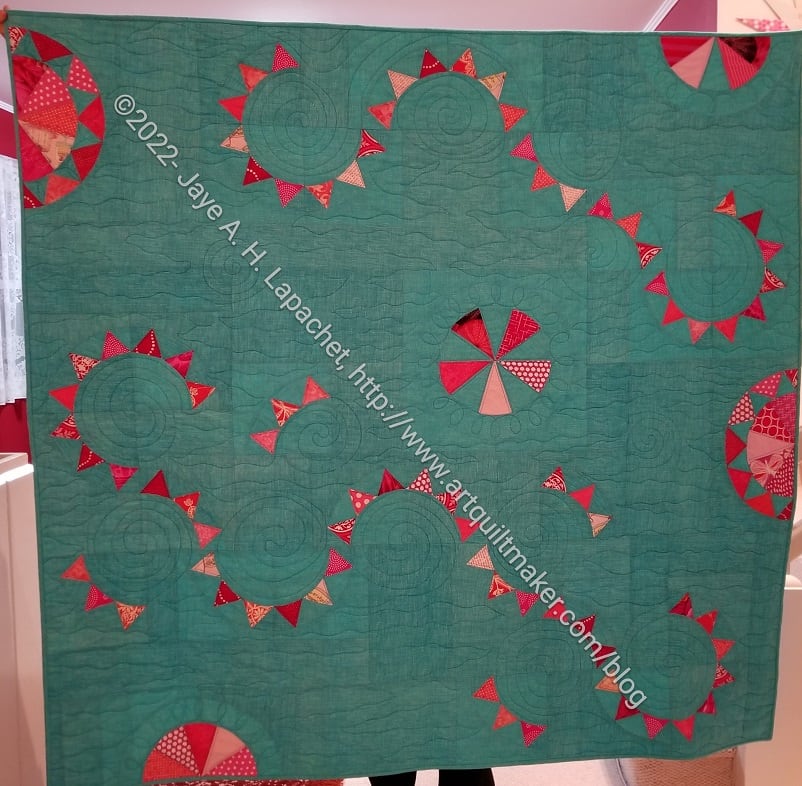
I am pretty pleased to say that the binding didn’t take very long. I am finished with Pies and Points.
I am not sure I ever made a quilt with so much background before and I keep looking at it and wondering. I am not sure why. I definitely like the quilt. It really has a fluttery type of feeling, which was part of my point.
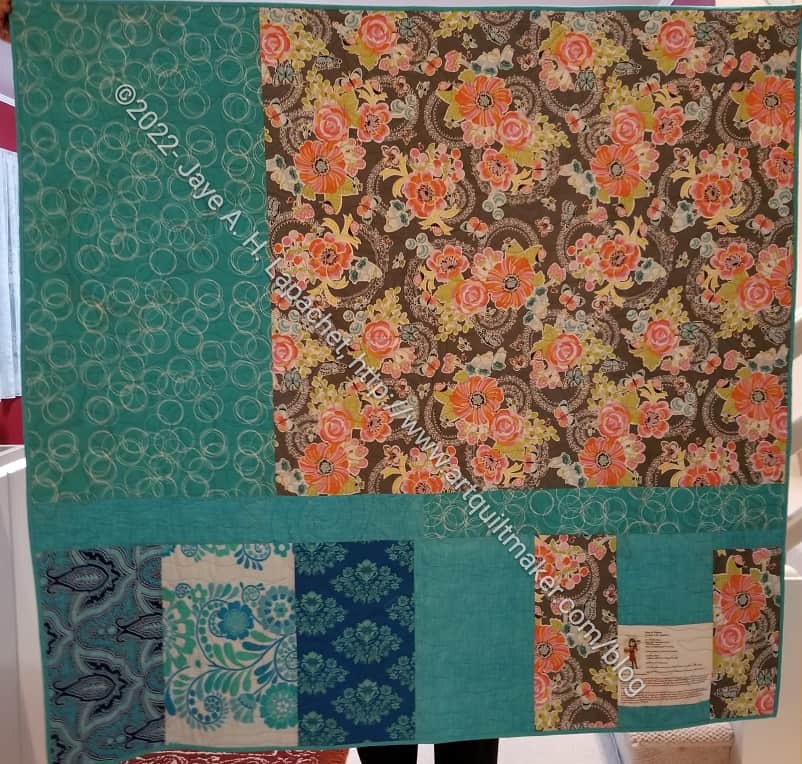
Pies & Points back
I didn’t do anything special for the backing – just sewed a bunch of fabrics from the ‘backs’ bin together.
I am still working on assembling smaller sections of La Passacaglia. I sewed some Month 13/14 together with some Month 11 rosettes that will end up in the upper left hand corner. In May and June I sewed Month 7 to M6 and 10, so this isn’t a new phenomenon. I tend to sew various rosettes together when I am waiting for the next BOM packet to arrive. I am trying to keep the sections small, so they fit in my giant box, but it isn’t working.
Matching up rosettes
When I sew the rosettes together, I have make sure I am matching up the rosettes properly. This picture shows that some of the star points (see the purple with the small dots?) don’t work. At a point like this, I have to decide if I am going to change out a piece or live with it.
I followed the directions, and checked back to make sure. The purple dotted star point does not properly complete the teacup star. I changed it out.
In a way, this is part of the fun even though picking out stitches isn’t that fun.
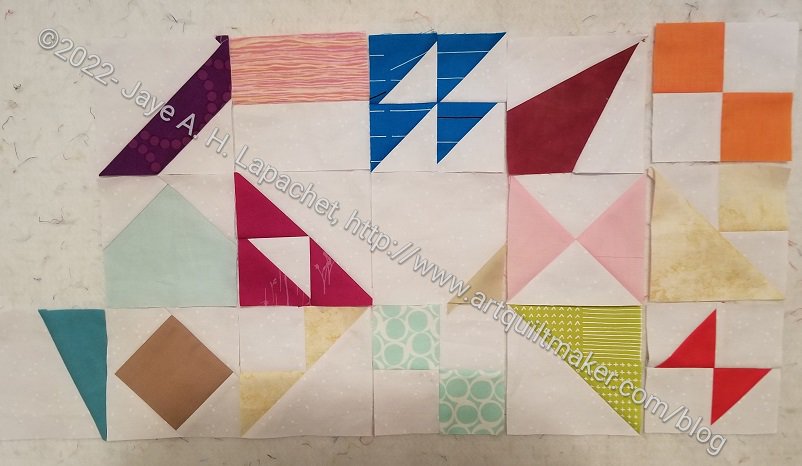
I made more Pantone Project blocks. I am not caught up, but am getting there. Julie had a great post about her blocks and playing with our combined blocks on the design wall.
Making these blocks is providing me with little snippets of sewing now that I am finished with Pies & Points. I still want to get in a groove like I did with the Flying Geese project a million years ago (2015), but I am not there yet.
This is really the first time I have looked carefully at Pantone colors. I am not sure what they are trying to do. They have a LOT of beiges and other neutrals. They don’t have many bright, clear colors – or as many as I would like. I guess I should go read their website.
I was able to finish the rosettes for Month 15 before the fabric for Month 16 arrived. These were not difficult and they didn’t take a long time. I am looking forward to receiving Month 16.
I am starting to think about putting the whole piece together and am considering the edges. I don’t want to cut off any of the piecing, but the rosettes on the edges are not complete. I am going to see whether I have enough fabric to complete the rosettes on the edges.
Friend Julie suggested I put solids on the edges. I could complete the rosettes using solids
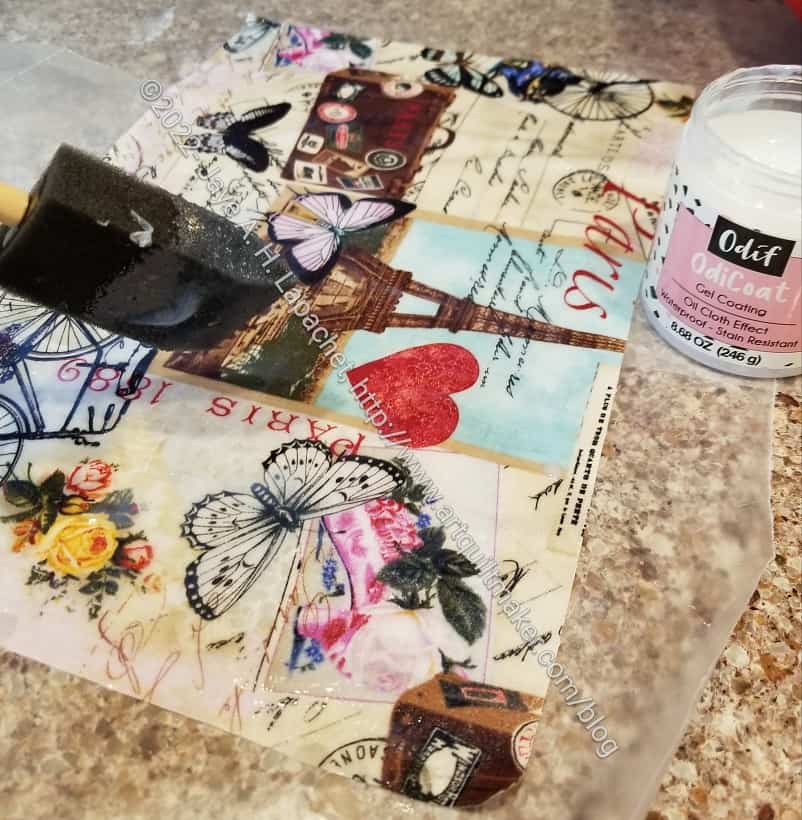
I am making a Percheron Pouch and was finally organized enough to coat the bottom with OdiCoat**.
Preparing to apply Odicoat
Using Odicoat means rough cutting a pattern piece, then applying two layers to fabric. The first layer has to dry before the second layer can be applied.
As you know, I try to avoid messy projects, but I do like protecting the bottoms of my bags if I can. The iron-on vinyl isn’t ideal. It is wearing through and pulling away from the bottom of one of the bags on which I used it.
I had time to use the OdiCoat, so I did it. I applied on the kitchen counter, using wax paper to keep the counter clean. I allowed it to dry for 24 hours, which the directions say. I found that it was mostly dry much earlier, but I could tell the difference after 24 hours.
Two layers later I found that the piece, which was rough cut, had a plastic feeling layer on top.
Now I’ll have to see how it sews!
**Obviously, you should shop at local quilt shops. However, if you are too busy or can’t find what you need at quilt shops, I use affiliate links and may be paid for your purchase of an item when you click on an item’s link in my post. There is no additional cost to you for clicking or purchasing items I recommend. I appreciate your clicks and purchases as it helps support this blog.
I am ridiculously pleased with how this Percheron Pouch (part of Minikins Season 3) is turning out.
The photo, left doesn’t show much to you, but the top has nicely fussy cut fabric and is pleasingly stiff. Granted, there is a lot of interfacing in the top. Still, I am super happy when it all works out.
I started working on this just to get a break from the Tarts. I didn’t expect much progress. When I made this pattern before, I just remember struggling. Still, I couldn’t get the pattern out of my mind and decided to make another one as a gift. Since I needed to rest my body from quilting, I thought it would be a good time to make a start. I had cut out all the pieces previously, so was ready to go.
Percheron Pouch: top is 3D
I worked along slowly, listening to my book and alternately ironing fabric for Stay Tuned. Suddenly, the top was made!
I am so pleased with how it came out. It is really 3D! The fussy cutting looks great and even the (IMO) ugly zipper fits really well with the fabric.
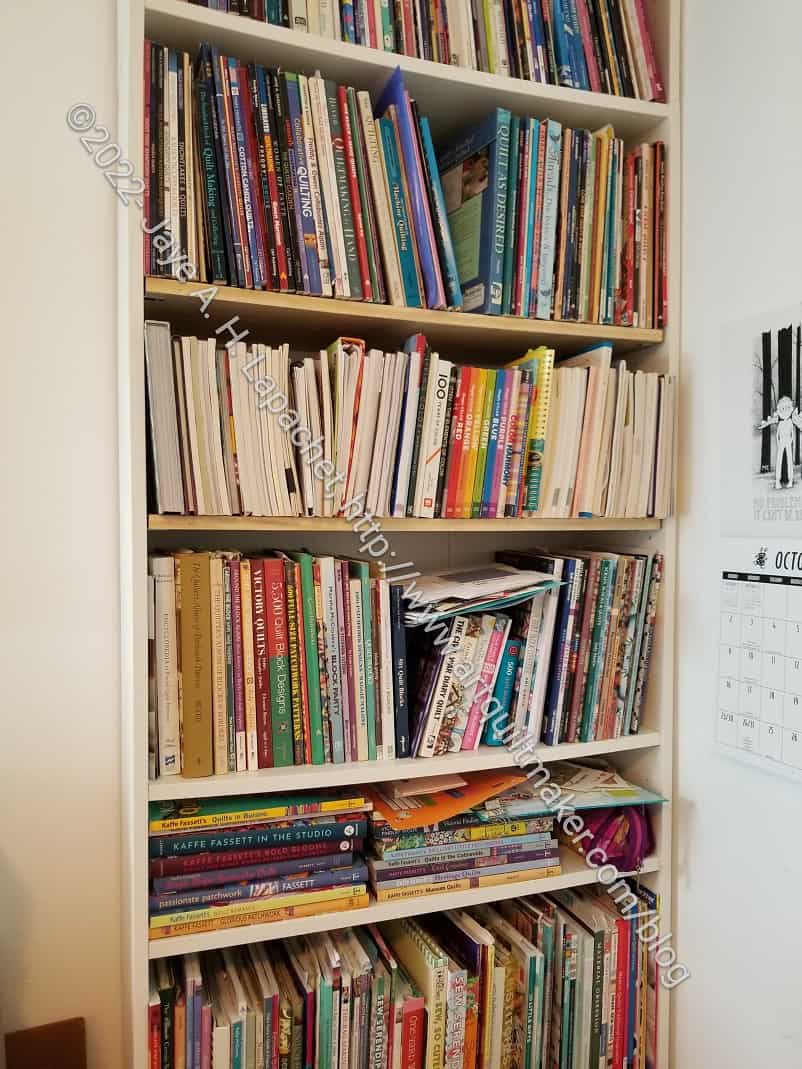
I am disappointed in the IKEA bookcases I bought. The Billy bookcases are very popular with a lot of people. I liked the options, look and feel.
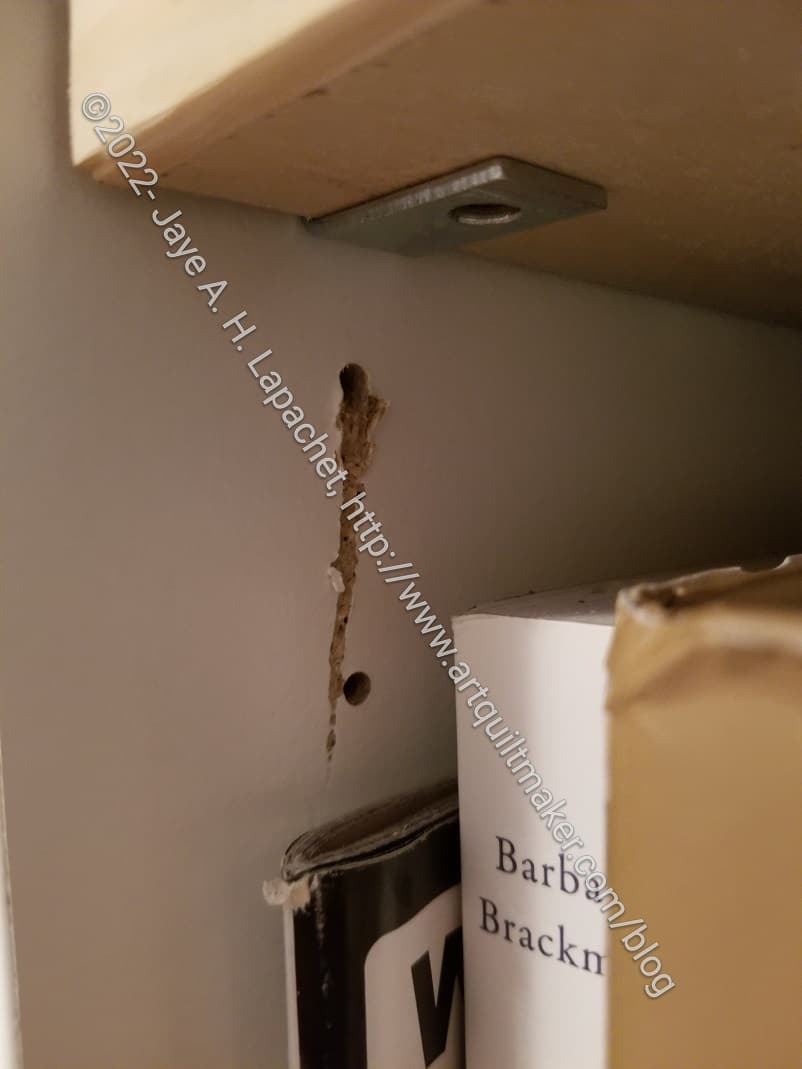
Billy bookcase damage
What I found, however, is that the 66 lbs each shelf is supposed to hold isn’t true. The shelf holders are very substandard and have damaged the inside of my bookcase sides.
The shelves involved are the ones I can easily access. Those are the shelves I use for my block dictionaries, class related references and color books. I use these particular volumes all the time.
New fir shelves
My DH looked at it and had a plan to fix it. He is really busy, though, so I called my handyman. After taking a look, he brought some new L brackets and some new Fir shelves to try. I installed them. They look ok. Not bright white like I wanted, though we will paint them if we decide they are the ones.
Shelves refilled
They work ok and the bowing of the outside pieces has stopped, but I lose and inch or two that I need, so I can’t fit the books on one whole shelf. I put the books sideways, but that doesn’t help me much since I can’t see the spines.
DH checked Home Despot for other shelf holders and we have a few options. I am really annoyed that these shelves have only lasted for one year. Yes, I have filled them full, but each shelf is right around the max weight, so they should work fine.
One option I have is to get bookshelves built out of wood rather than particle board. My handyman told me about a place in the City that will make custom shelves. Stay tuned.