All Rolled Up Tote Yet Again

Some projects never die.

I told you that I finished this project back in January. According to the pattern, I did finish it. However, ever since then, I have been contemplating handles. Mostly, I have been thinking of adding handles because of the way Vanessa (Crafty Gemini) stuff the thing full of tools, notions and everything sewing imaginable in the video introducing the Organizer Club**. I just couldn’t imagine how I could carry this thing around.

I thought about handles a lot and finally, months later, had an idea. I bought some pleather and tried making handles out of that, but it just didn’t look good on the bag. I saved the strap for possible use with another project.

So, the bag sat until last weekend. Post Flying Around, I am finishing up bag projects. I talked about the 4 Zip Organizer and the Running with Scissors tote. On Sunday, I turned to this bag and decided that Sunday was the day this bag was getting handles.

All Rolled Up tote with handles

I thought I would make really good progress on the Poolside tote I am making, but I spent most of the day slowly working on the handles for this bag.

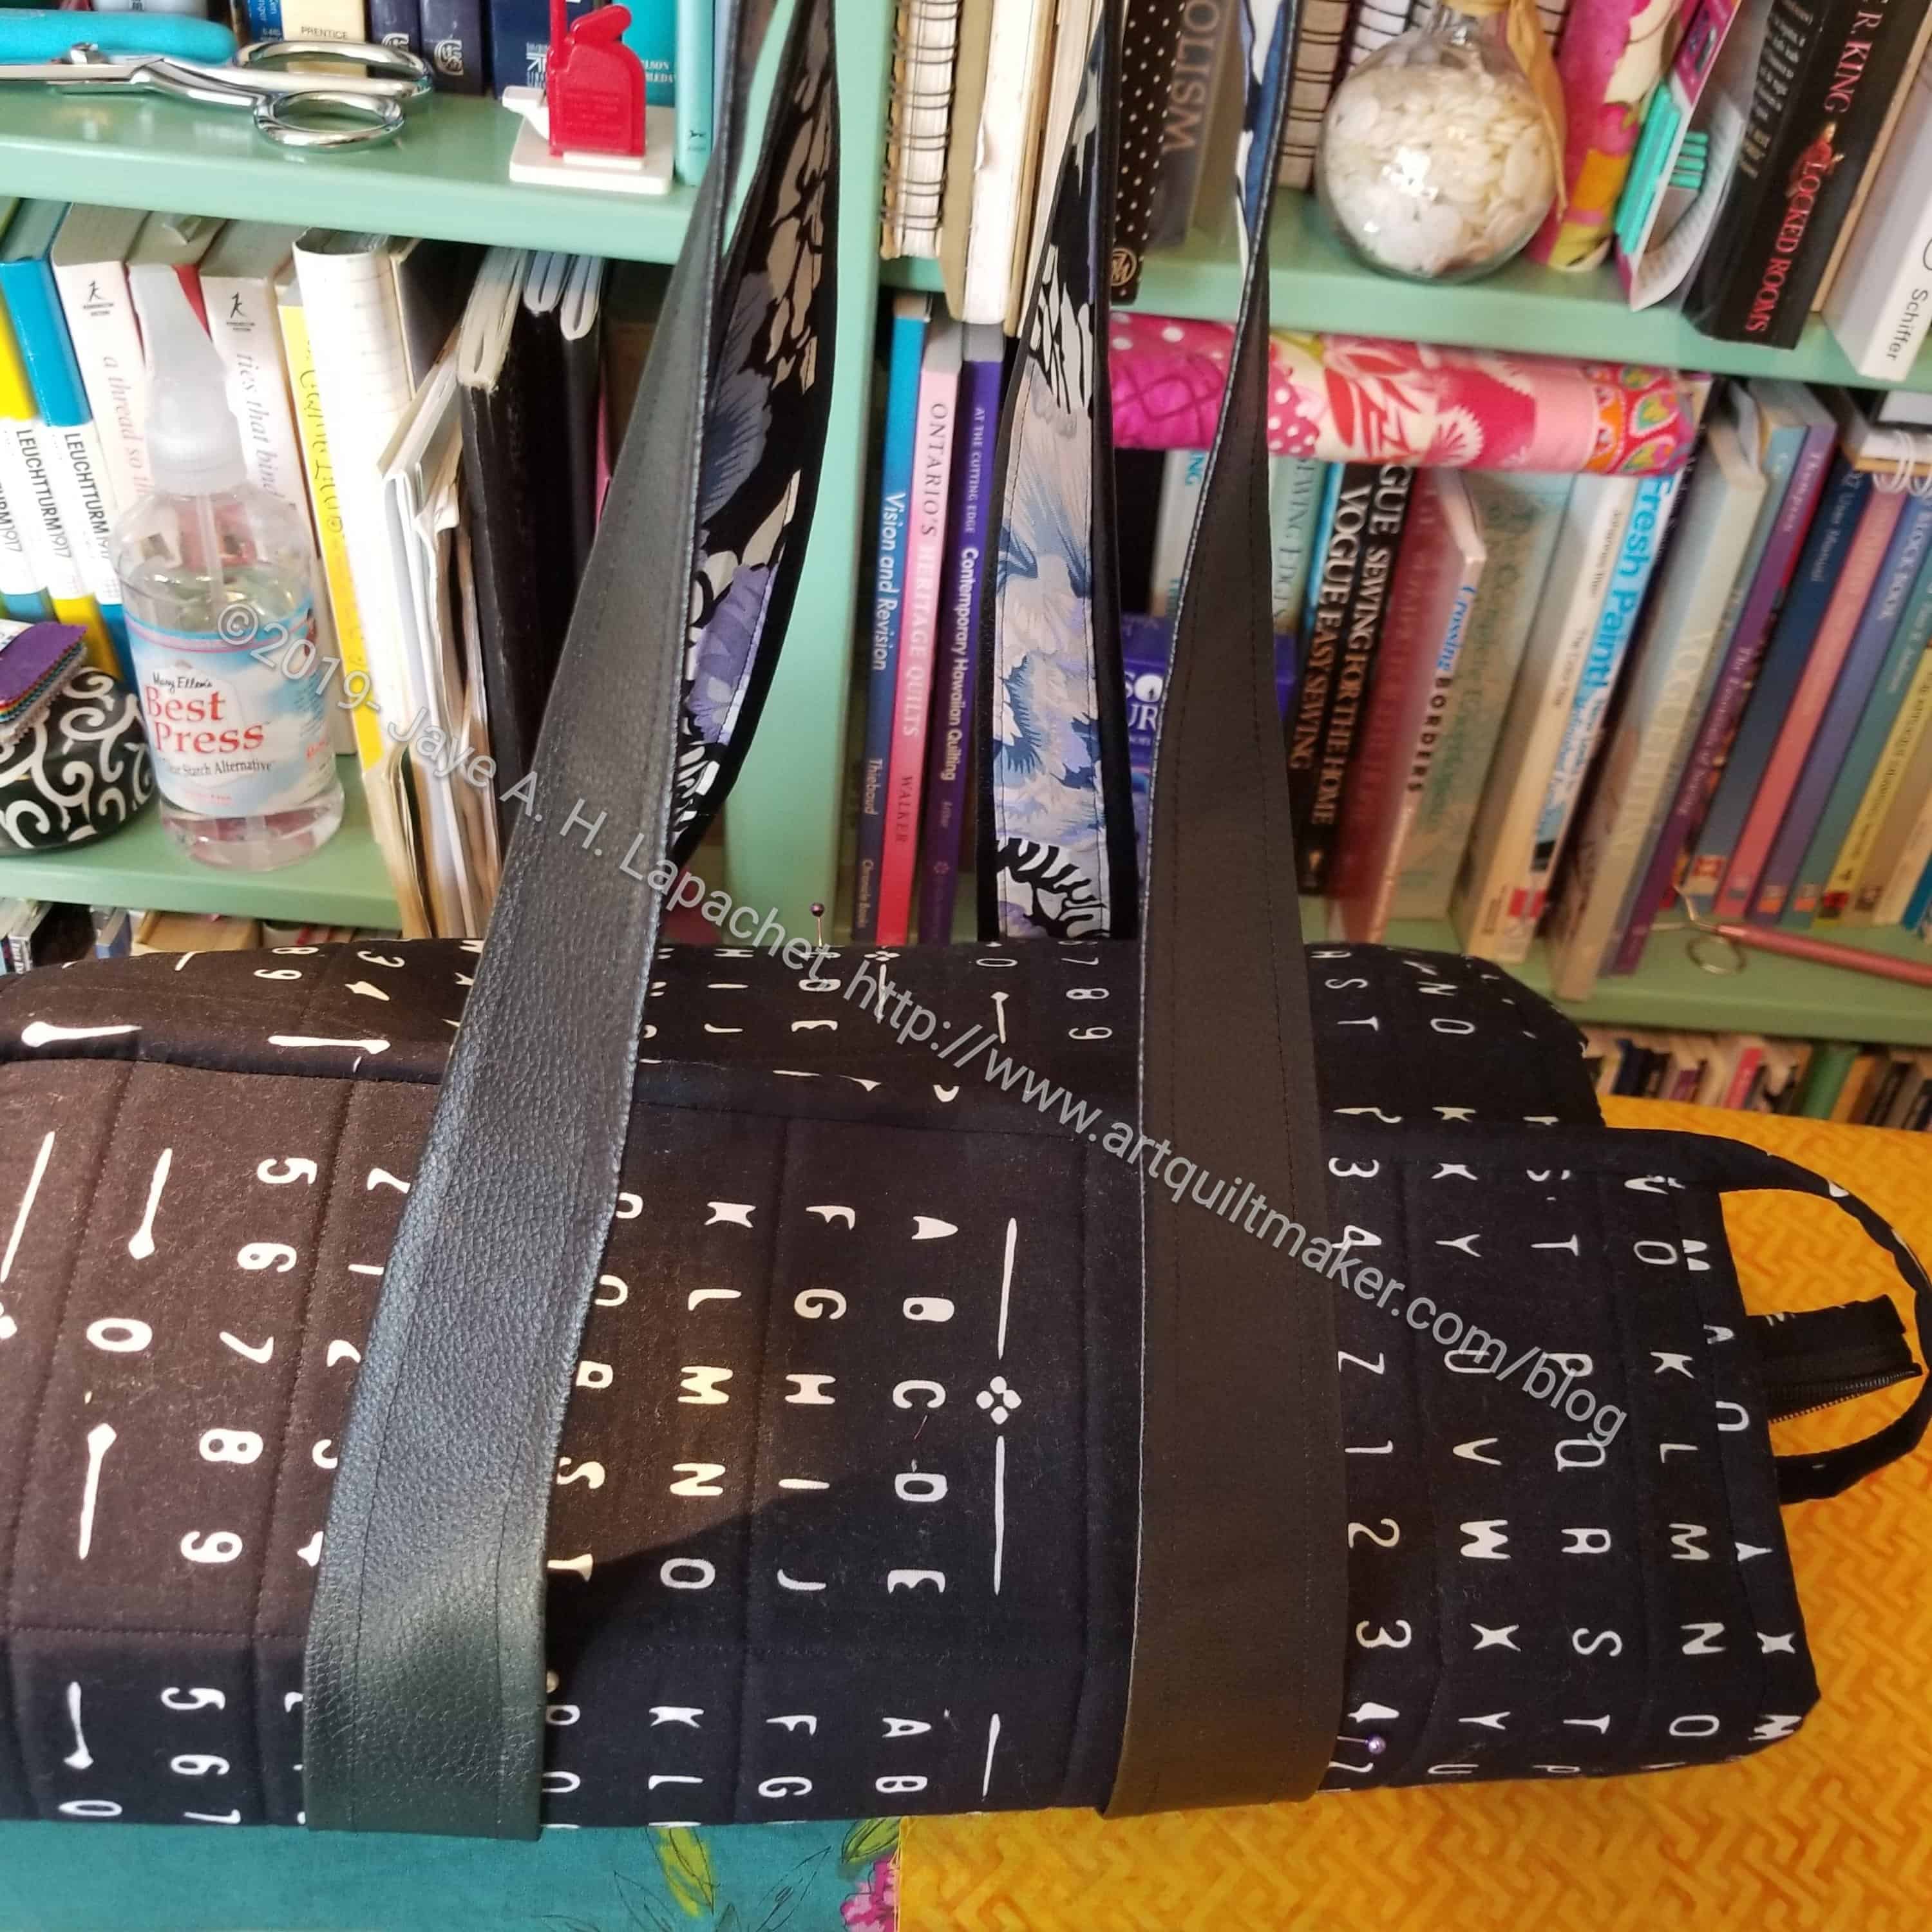
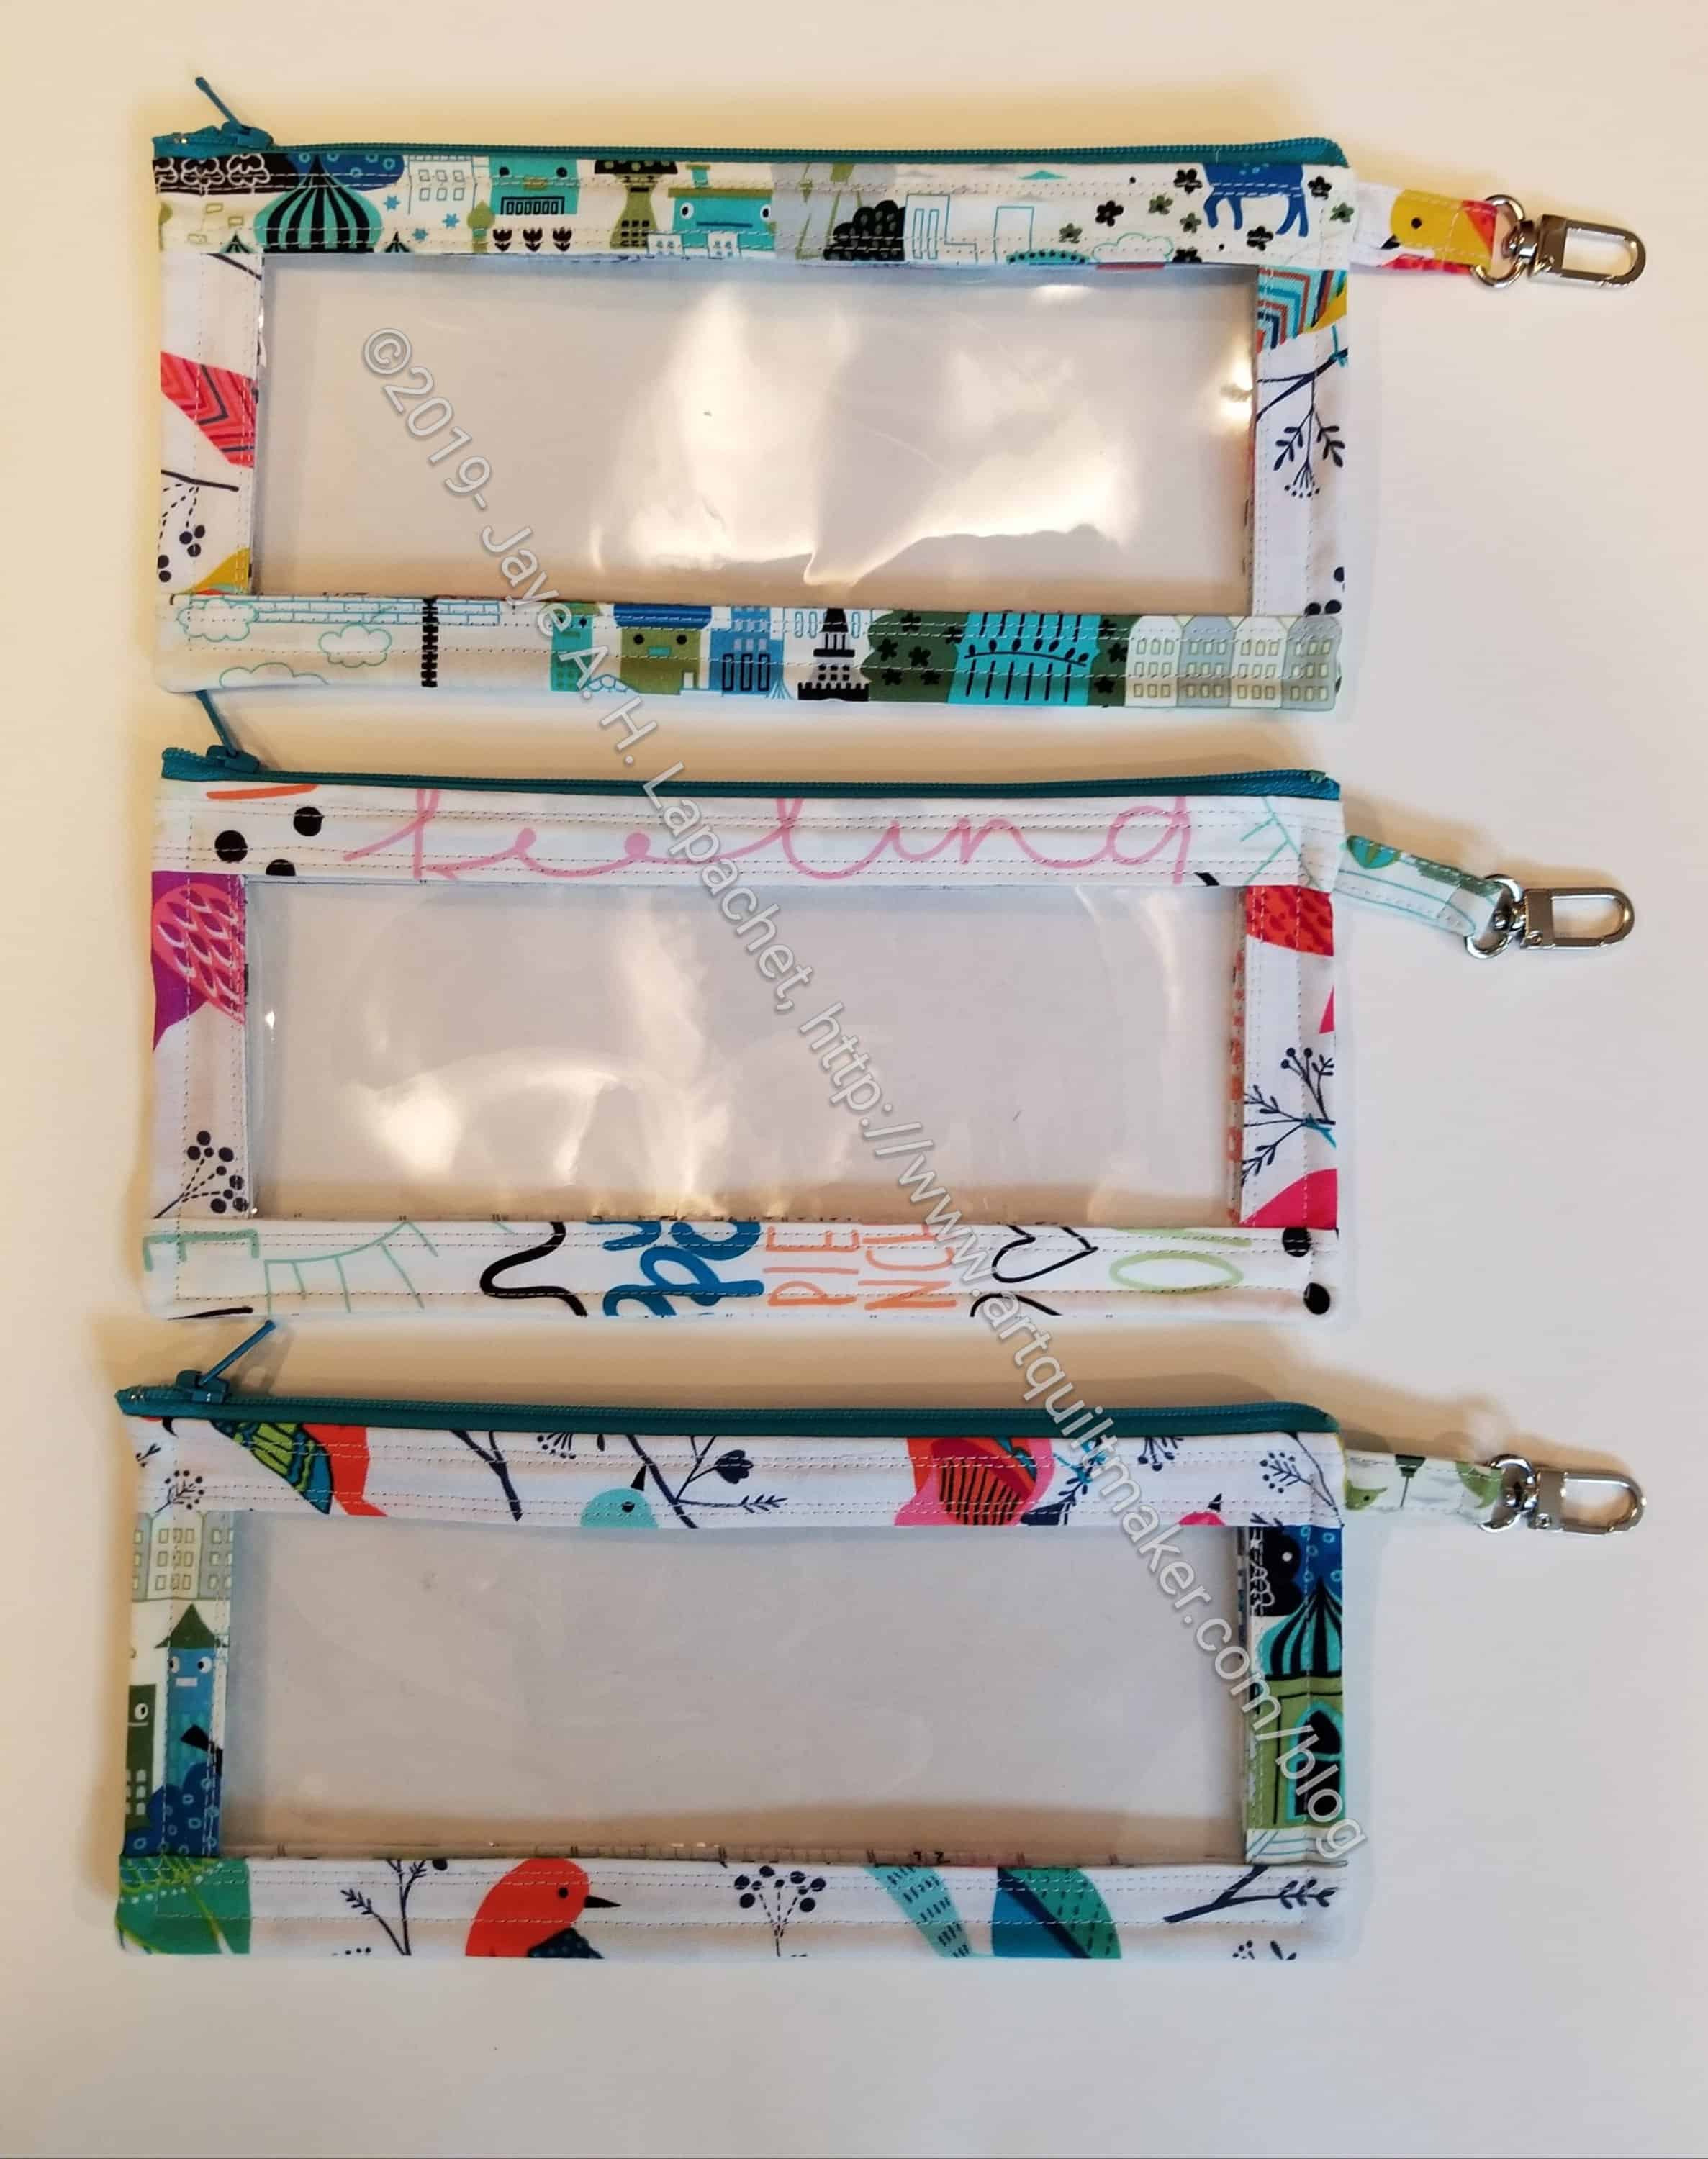
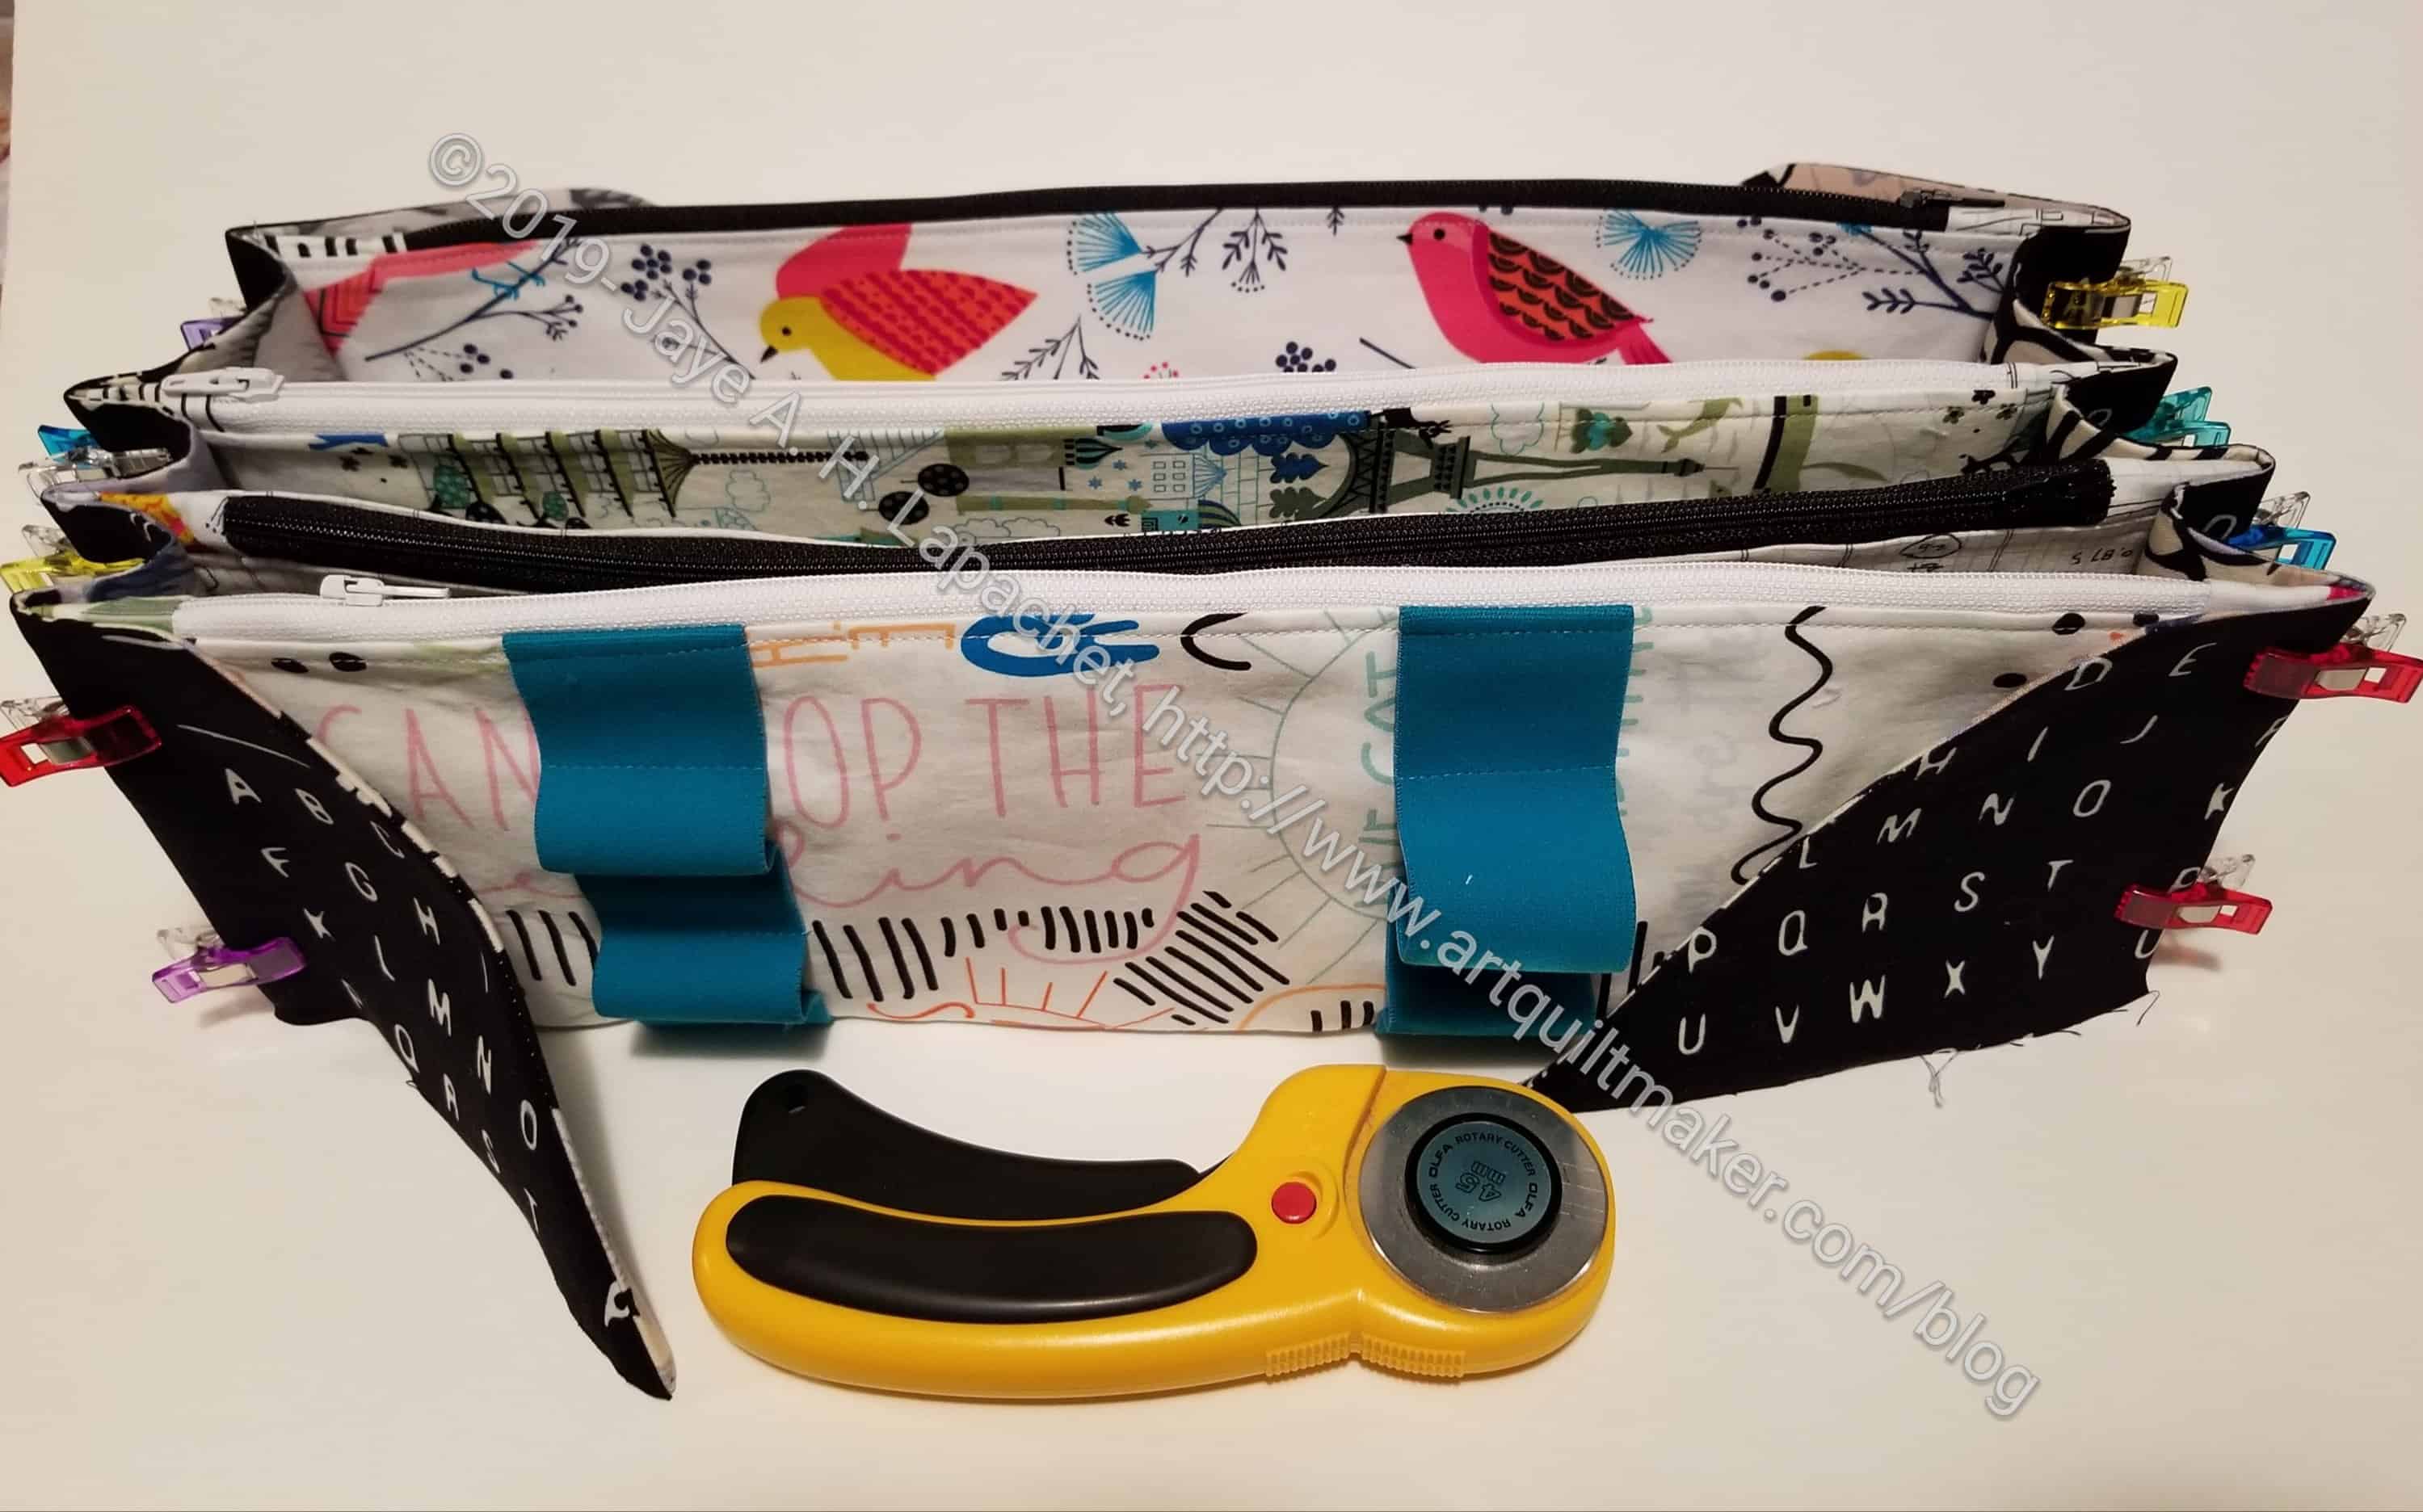
For some reason, I am convinced that these bags need to be supported. Part of it, again, is the videos showing how much stuff can be stuffed into these bags. The other part is that I don’t want to be trying to repair bags whose handles have ripped off. Thus, you may see some similarities between the handles on this bag and the handles on the 4 Zip Organizer.

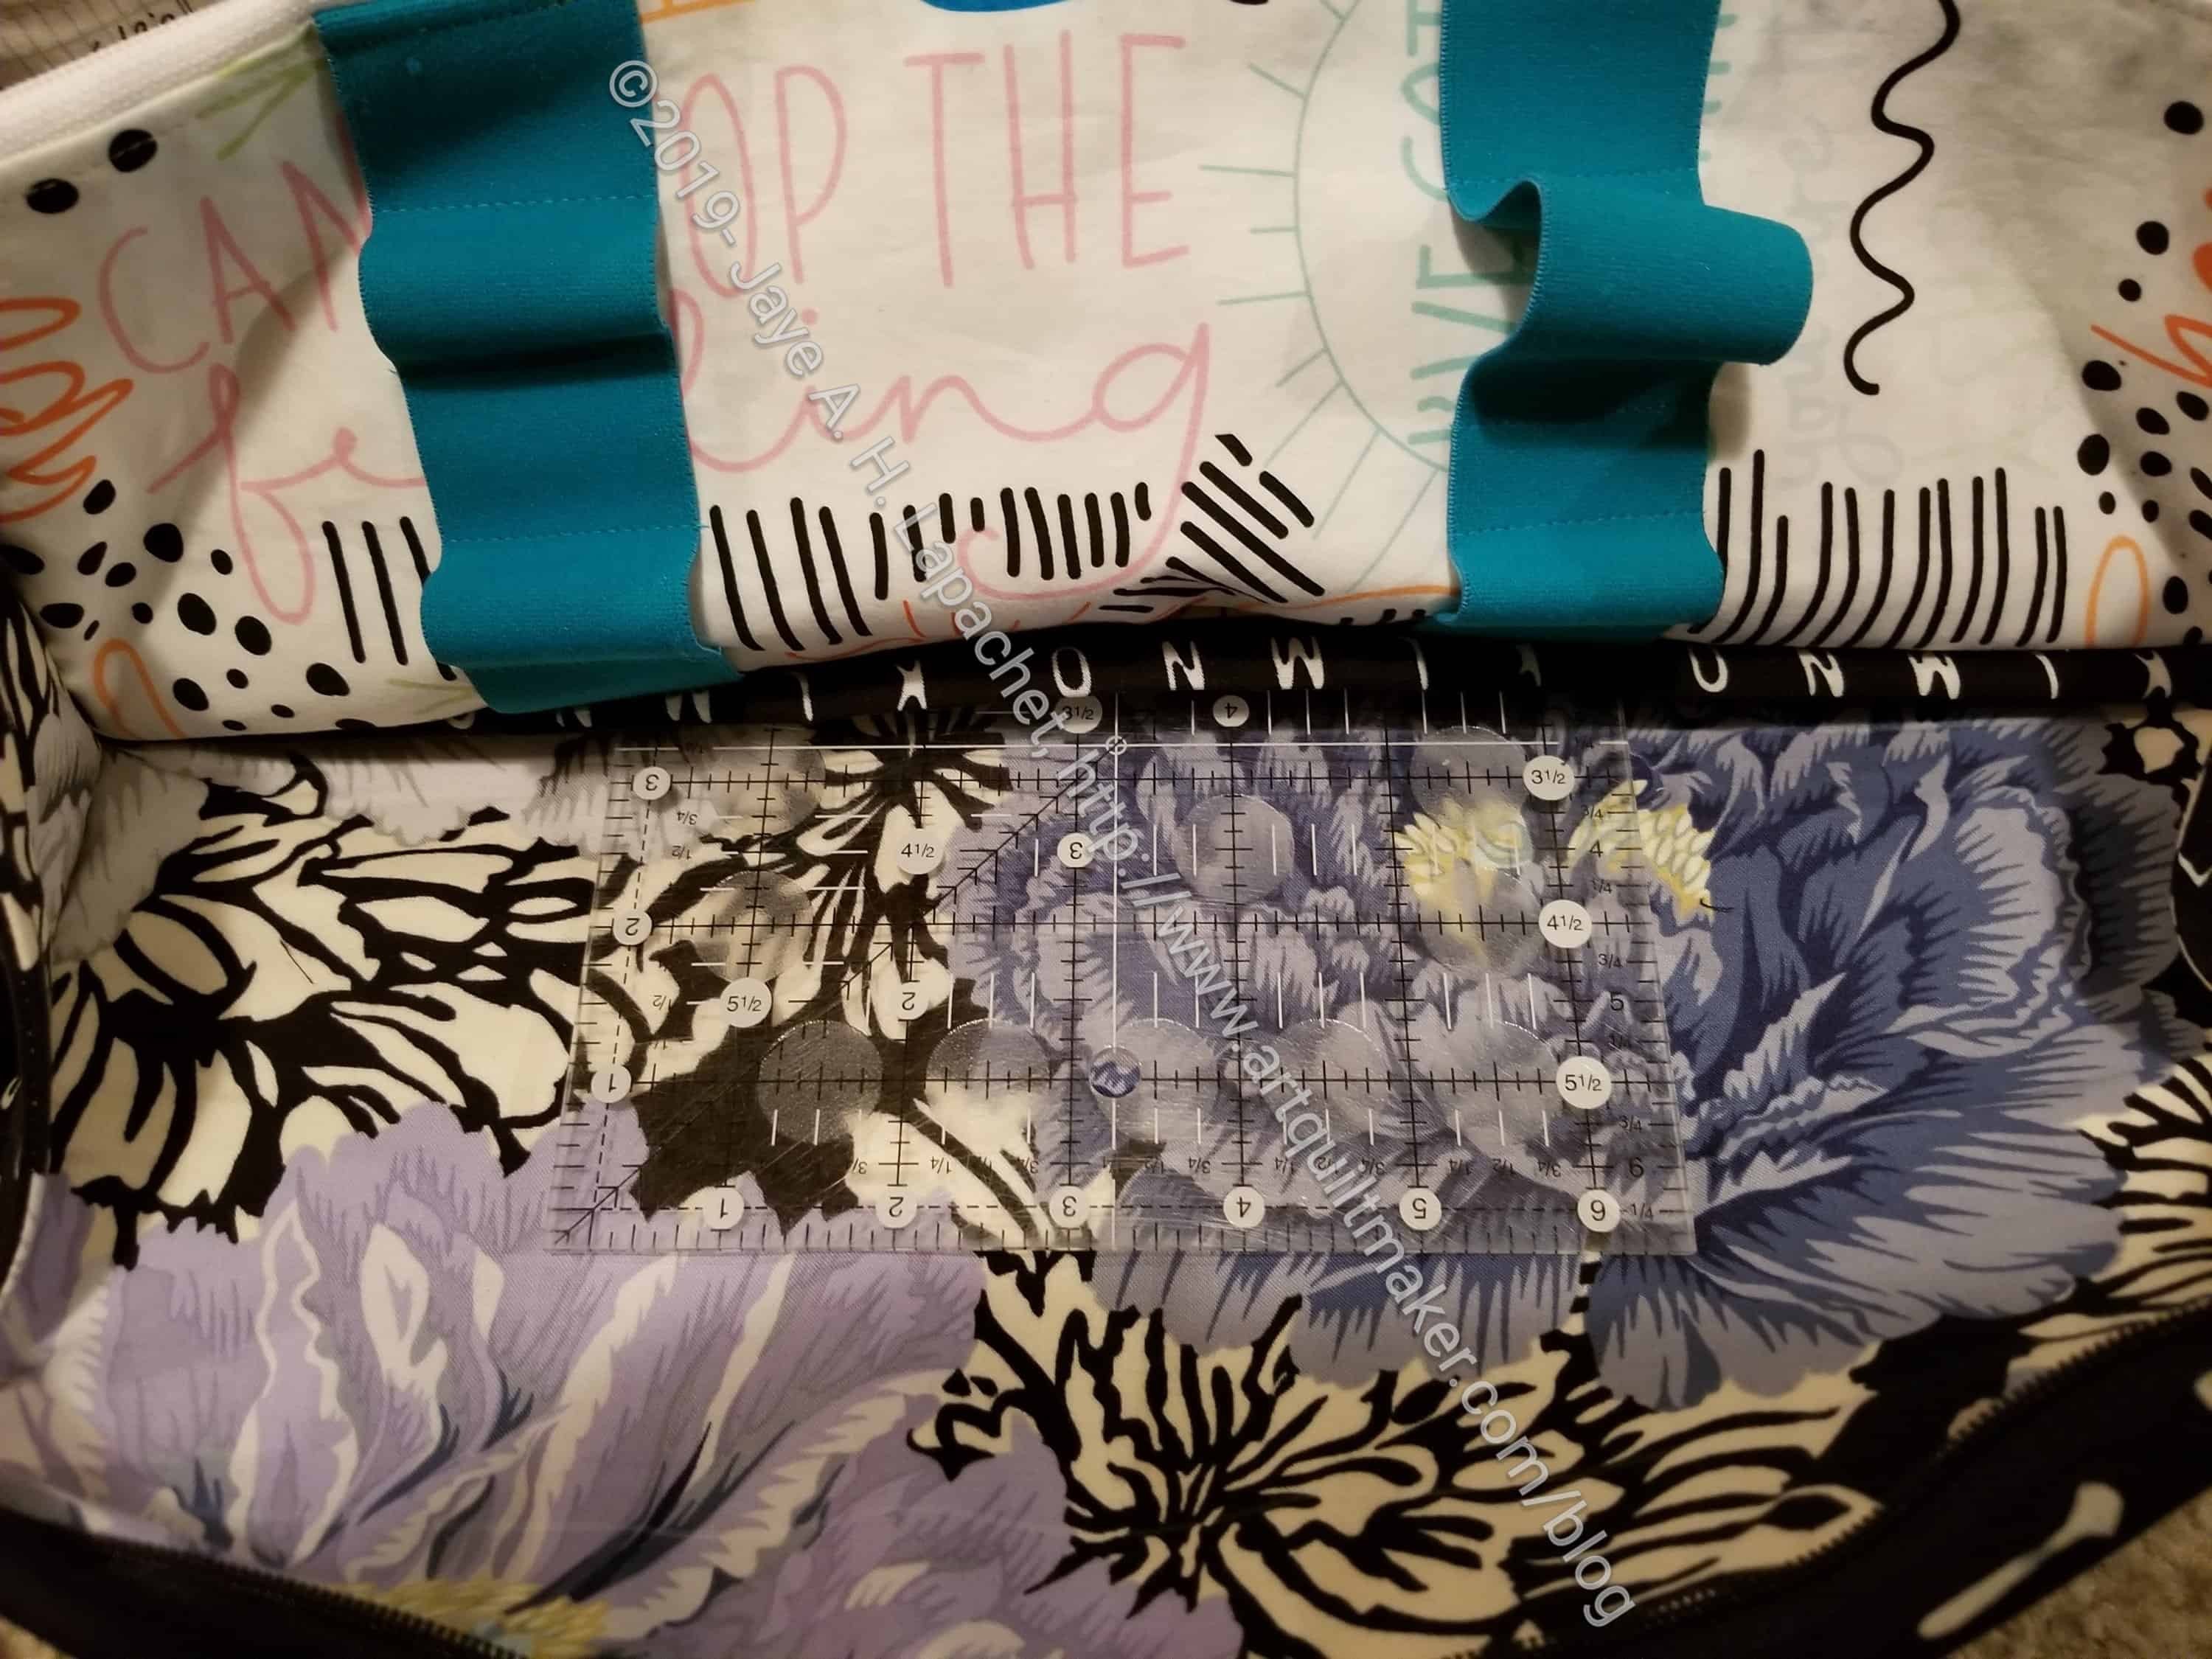
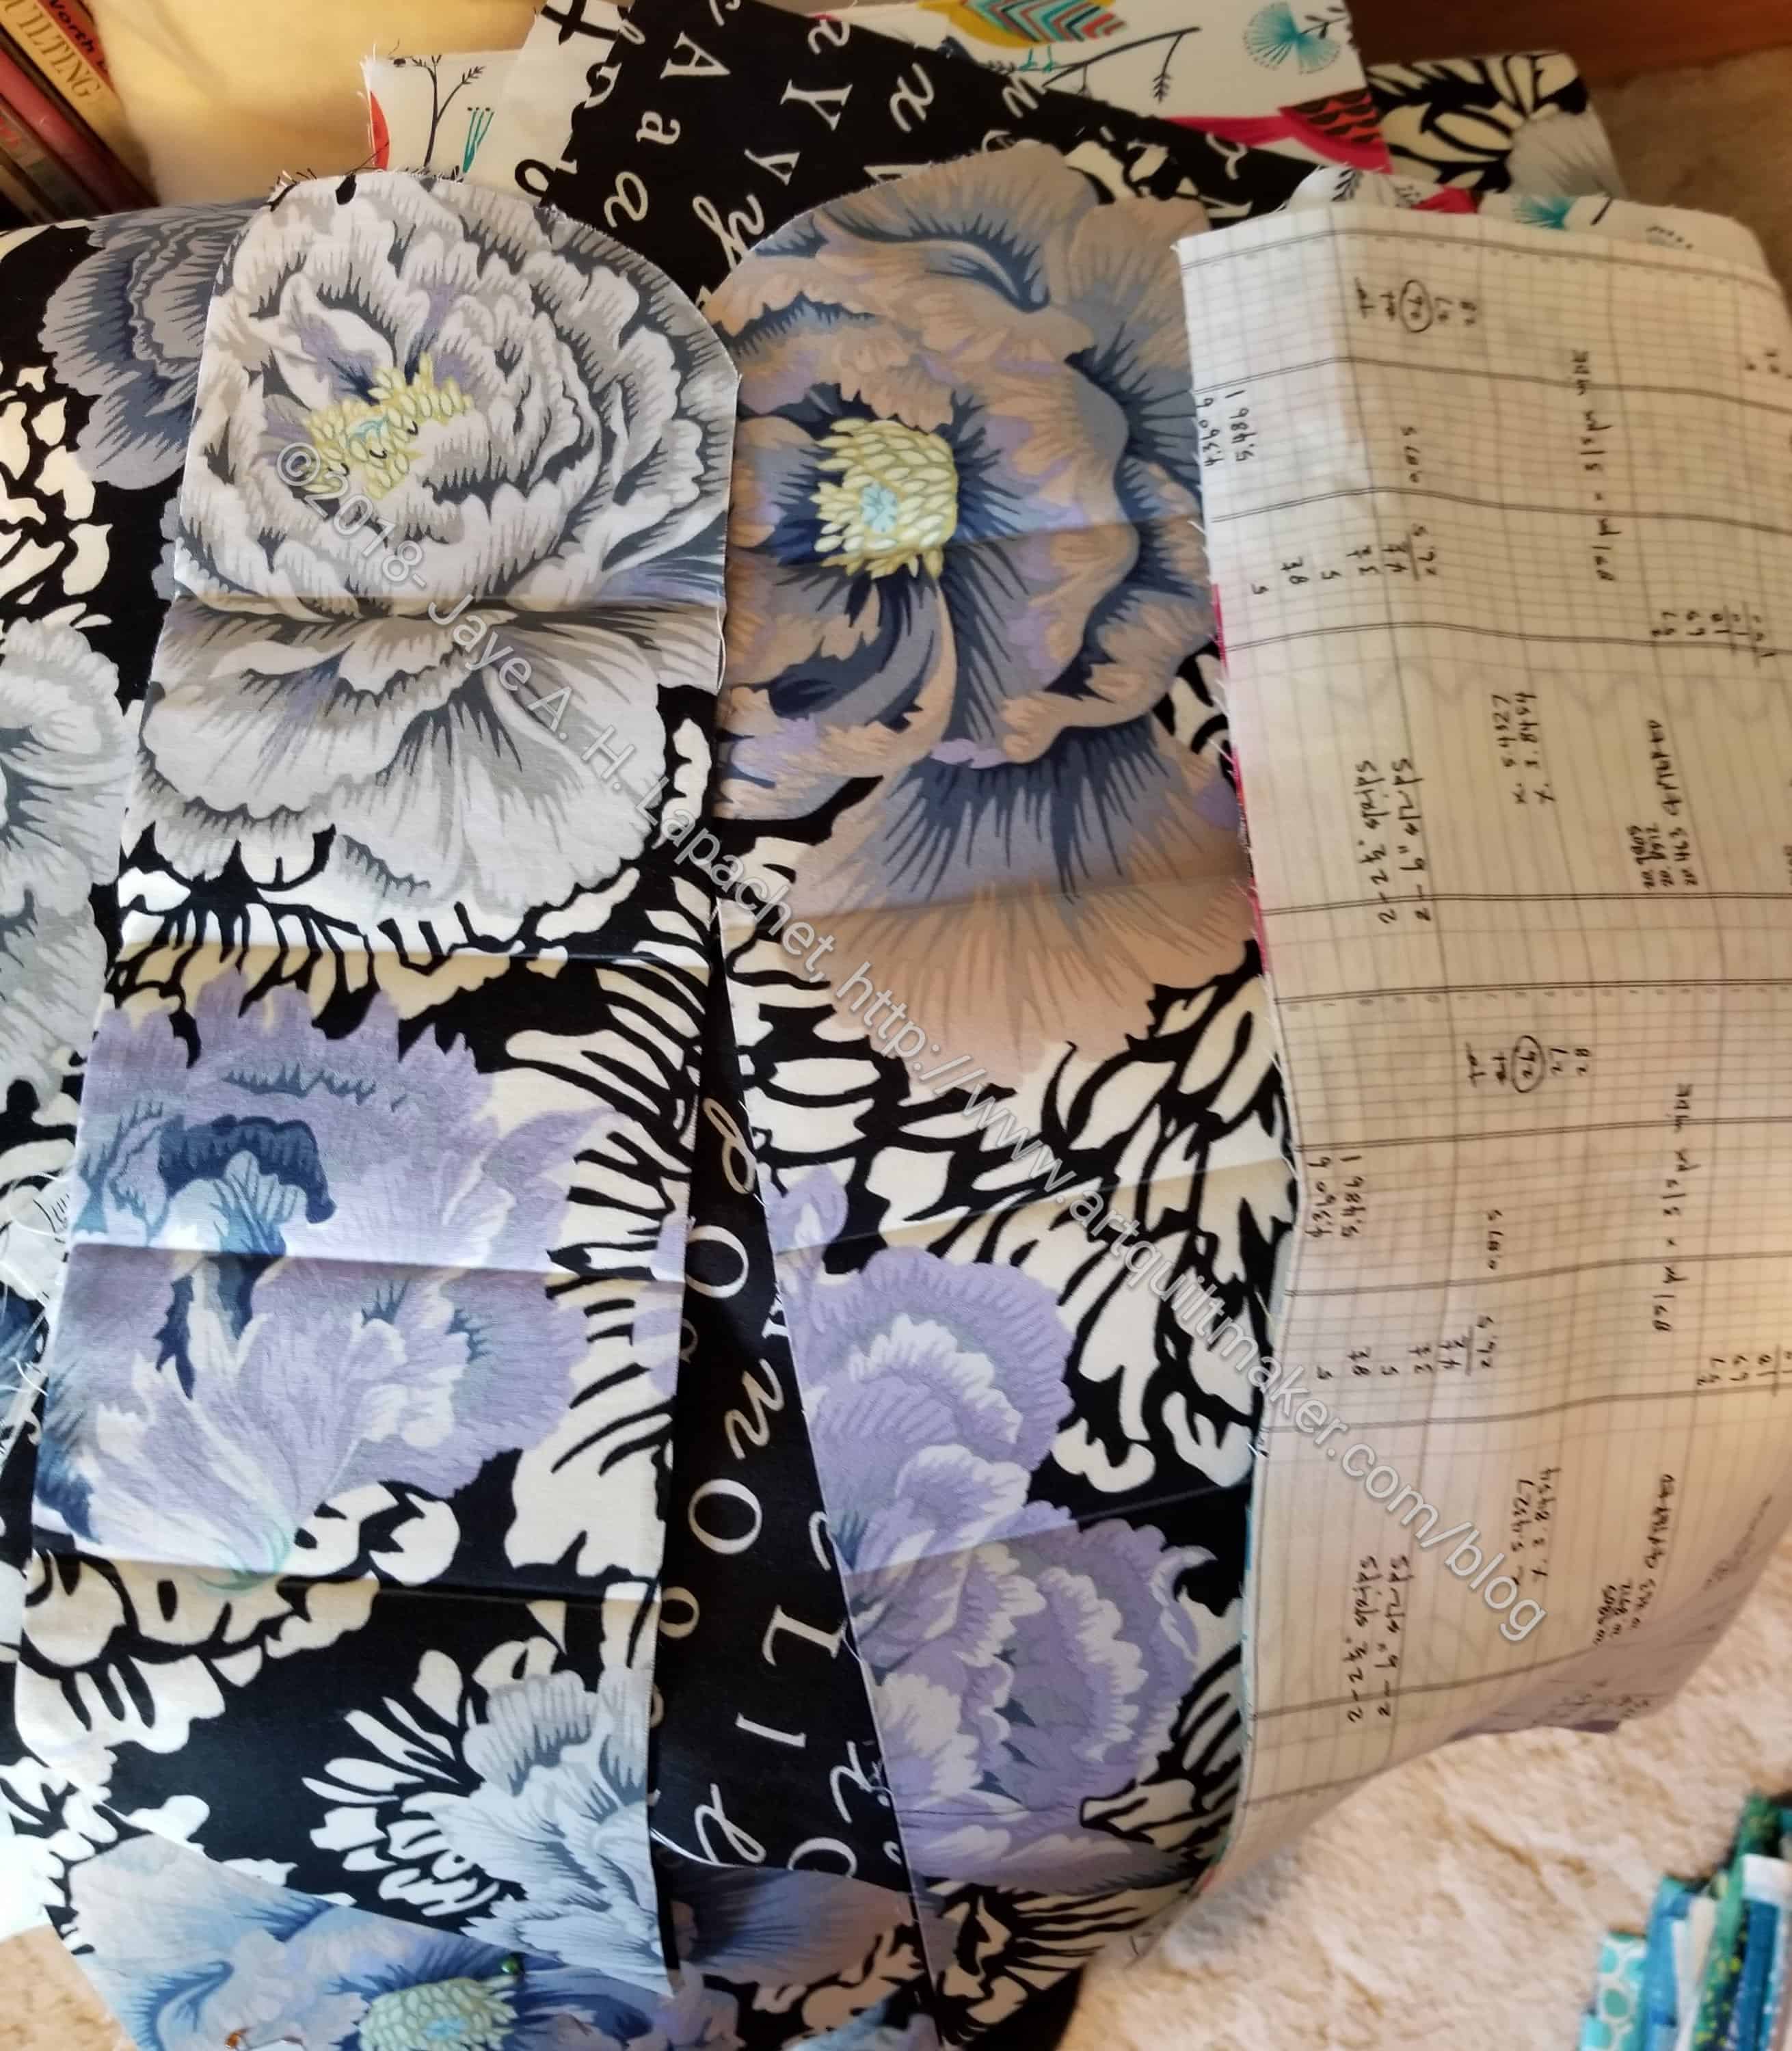
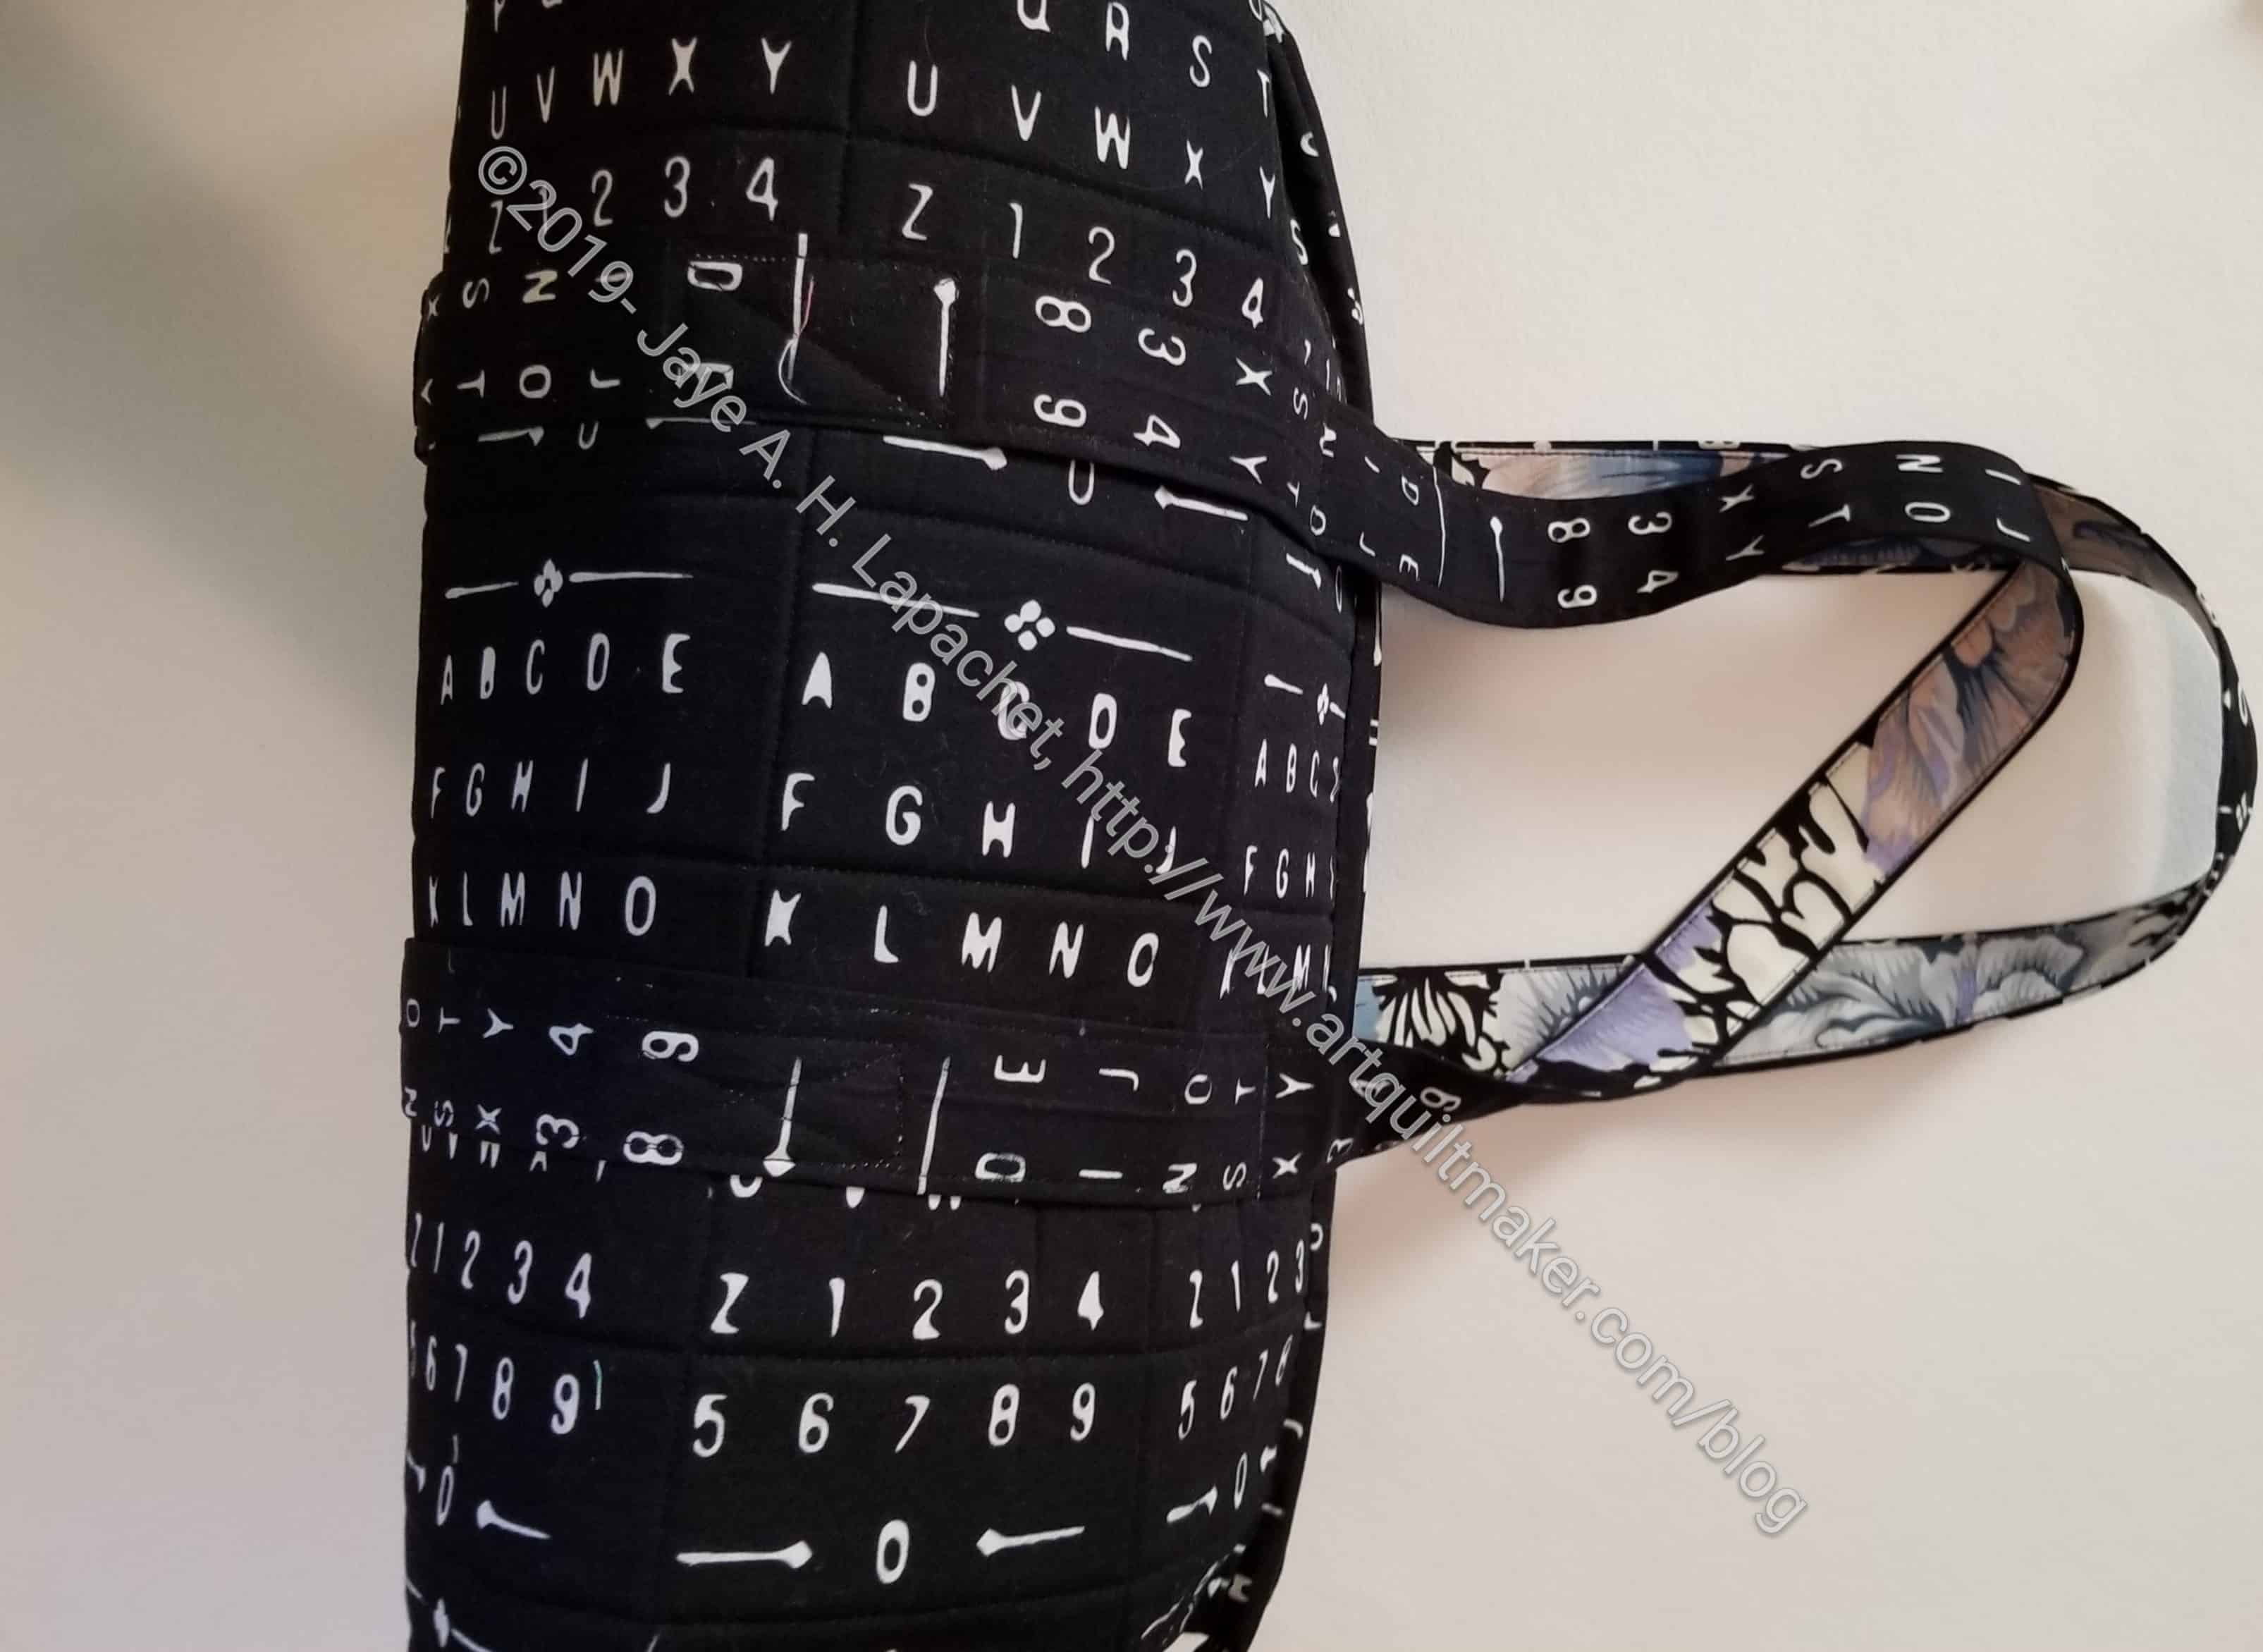
Taking good photos of these handles was a challenge. In the above photo, you can see how far they extend off the top. I made the initial strip about 80 inches long. The black & white Peony Brocade fabric acts as an enhancement, but the outside of the strap is meant to blend into the outside of the bag itself.

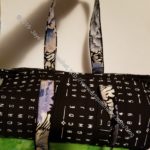
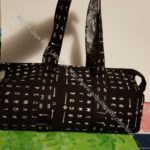
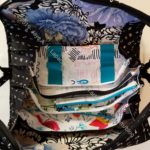
Adding the handles also made the bag have more of a defined round shape. I tried to install the handles so they wouldn’t interfere with the wide opening of the bag. I think I achieved that. I think, though, that the bag takes on a different shape once holding the bag by the handles.

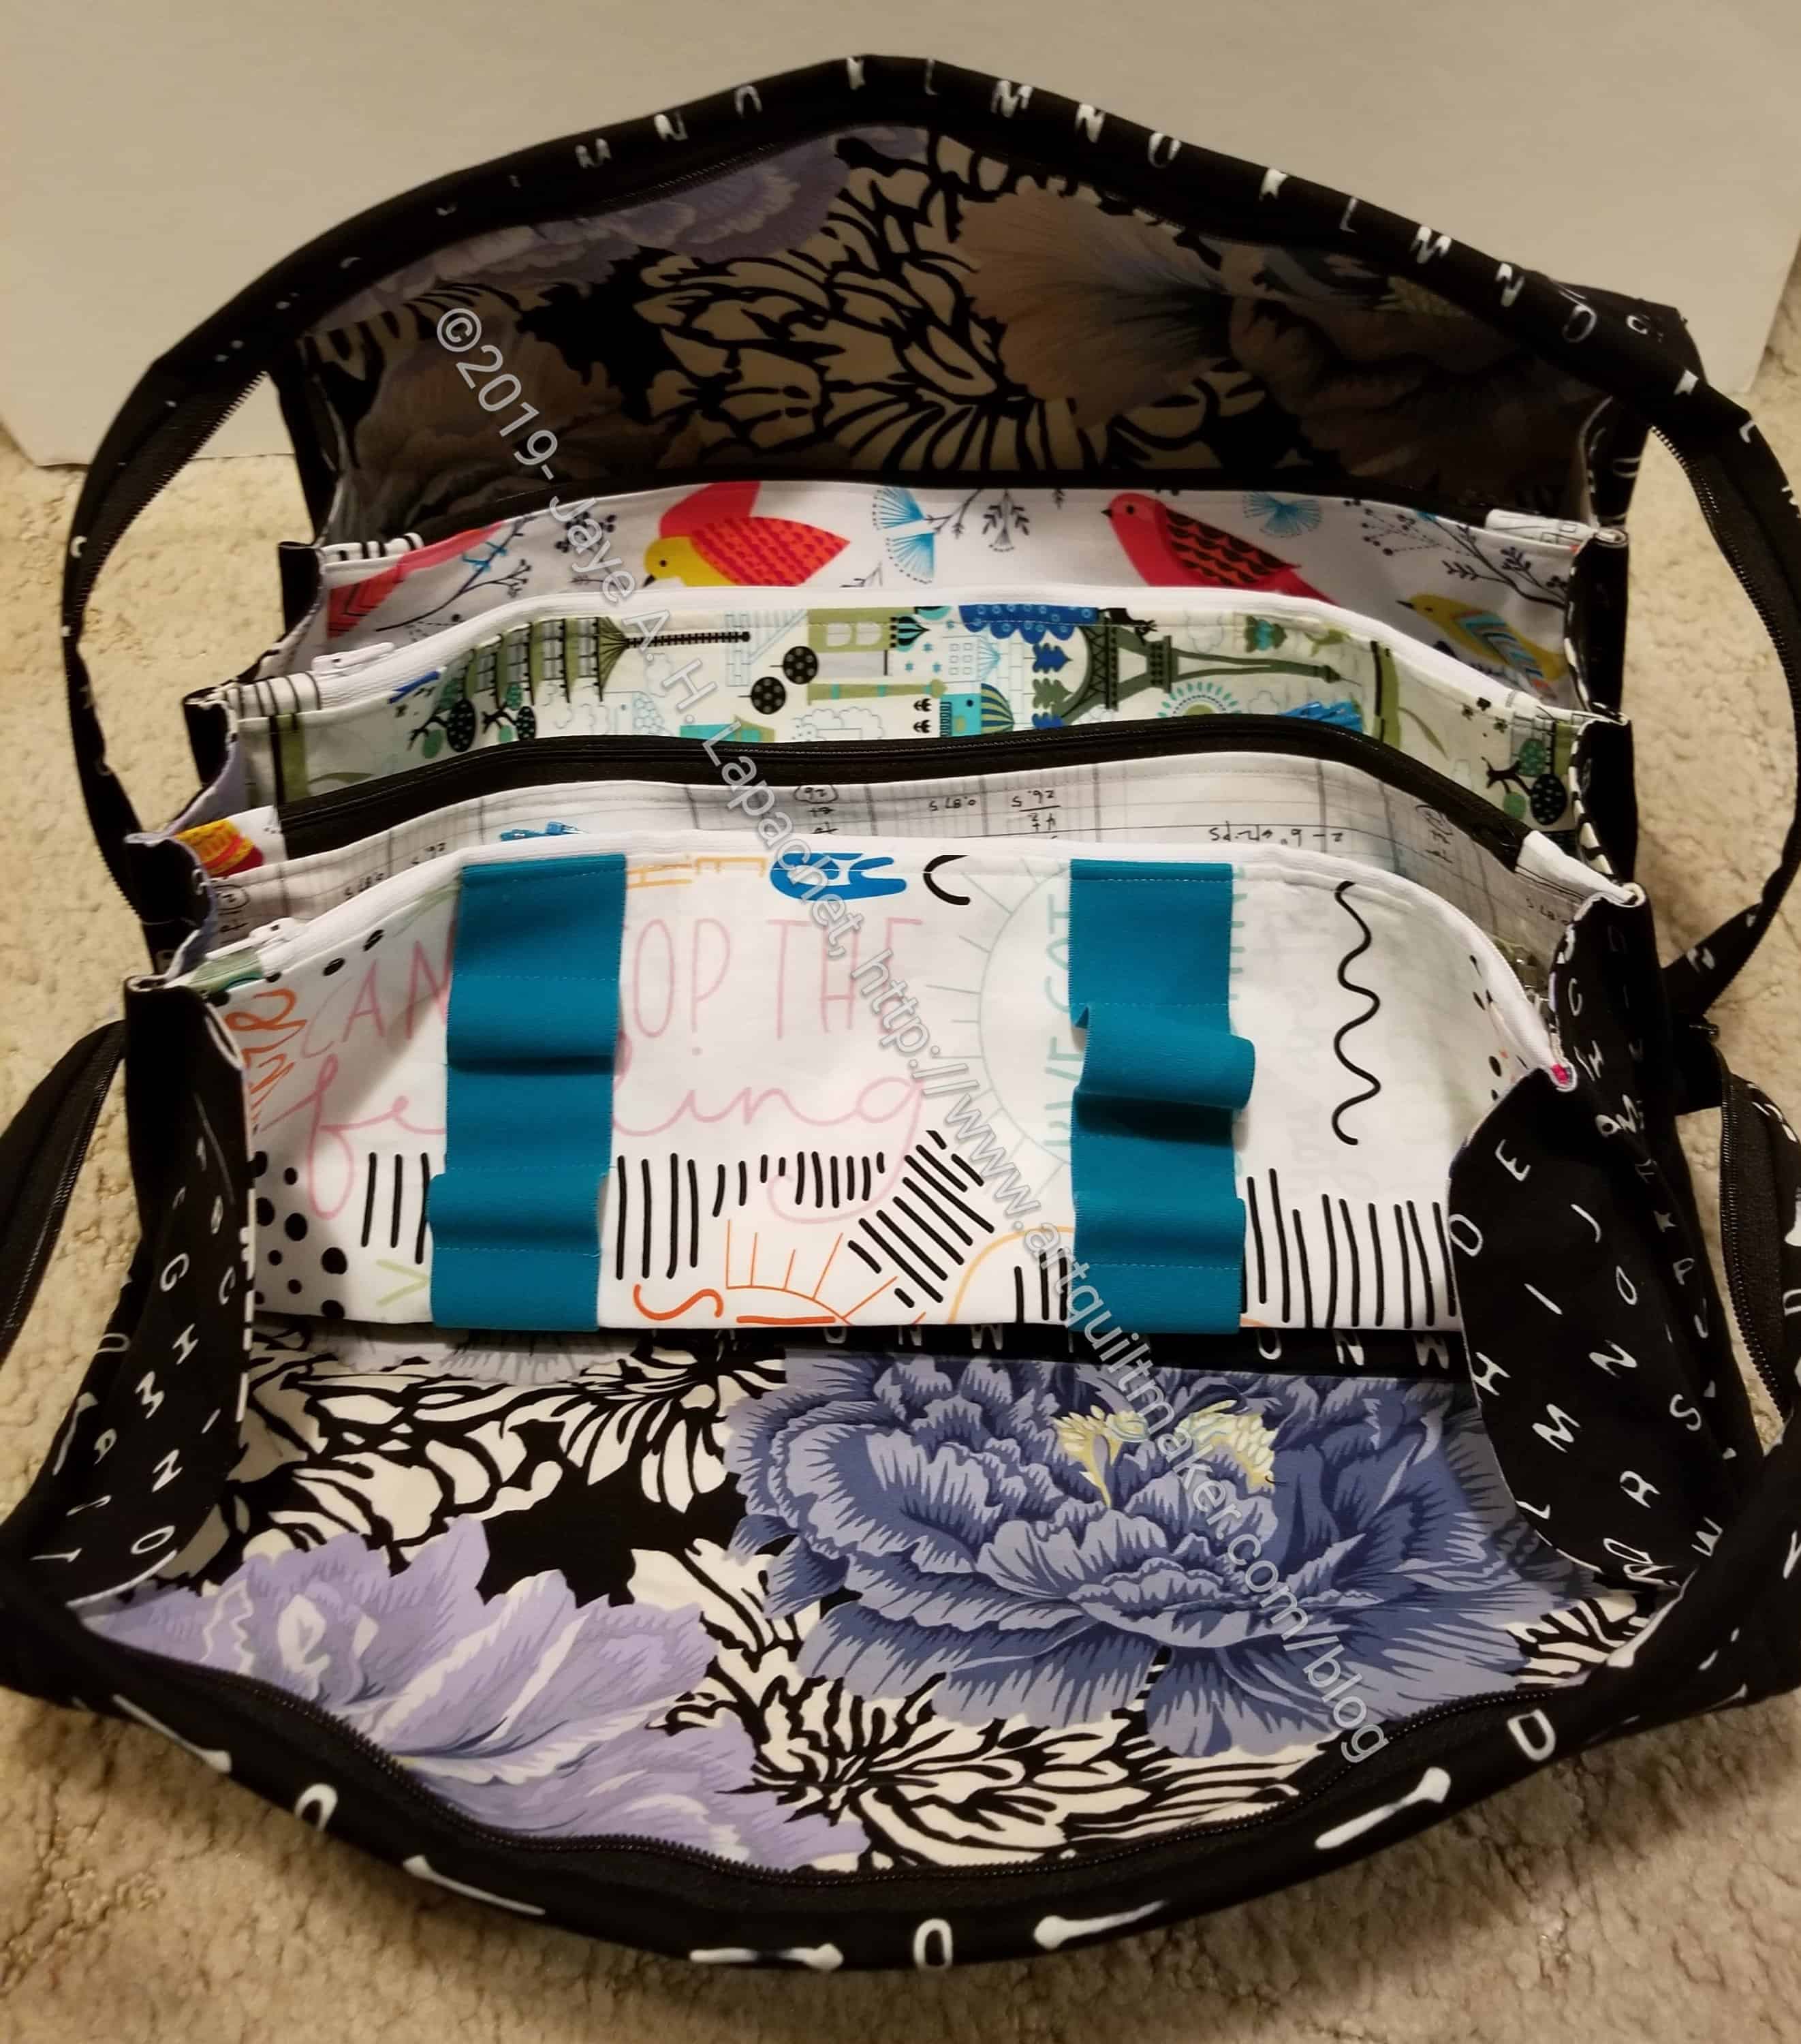
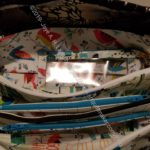
I am still not sure how I am going to use this bag. I wrote a dissertation about that before so I won’t got into it again. I do think that I will put Wonder Clips in one of the pouches.


**N.B. The Organizer Club is still available for purchase, but this is the club that was new in 2018, so any announcement of early bird specials is no longer valid.

All Rolled Up Tote Again

All Rolled Up Tote - open
All Rolled Up Tote – open

I did finish the All Rolled Up tote, but it has been sitting unused while I contemplated handles. Many makers in the Crafty Gemini group have just added handles to the top using a box stitch. I am afraid such handles would be ripped away after awhile so I have been contemplating handles that went all the way around the bag. Because of the way the bag opened up, I had to be careful not to impede the opening and the zipper.

Finally, I came up with the idea, in consultation with other bagmakers, of making a loop and just sewing it to the areas where there were only three layers. See the giant flower in the front? That would be one place to which the straps were sewn.

All Rolled Up tote with sample handles

I didn’t have much time to sew over the weekend, so I snuck in time where where I could and came up with a loop made out of pleather.

On the side with the seam I sewed some of the Philip Jacobs fabric I used for the inside. I love that fabric!

I think the idea has merit, but I am not happy with the execution. I don’t love the handles – the width and the material. I will probably make another set of sample handles from fabric.

Thoughts?

All Rolled Up Tote – Finished!!!

All Rolled Up Tote - finished (closed)
All Rolled Up Tote – finished (closed)

I am thrilled to tell you that I finally finished the All Rolled Up Tote!

Yep. Finished. Done. Complete.

It was a big project. Not difficult, but with a lot of steps. The steps made it somewhat daunting. I say daunting only because the project was unfamiliar and the sheer number of steps seemed impossible to complete. I had done most of the techniques before, if in different patterns, so that wasn’t the problem. I have a new appreciation for video tutorials.

All Rolled Up Tote - size comparison
All Rolled Up Tote – size comparison

The Tote is HUGE. I didn’t really understand how huge until I had sewed the main parts of the project together. It is really hard to understand the size without seeing the thing in person. I have included a photo with my most recent Sew Together Bag side by side with the the All Rolled Up Tote for comparison. I know many of you are familiar with the Sew Together Bag.

All Rolled Up Tote - open
All Rolled Up Tote – open

I am thrilled that I made such a complicated and different project. It is similar to the Sew Together Bag, but the construction was different in some places.

The other thing I did differently was the front panel (see blue/turquoise vertical strips). This panel calls for a 1/4″ piece of elastic to be installed horizontally. I didn’t want any pens I might want to carry around to be accidentally opened and bleed on to my fabulous Philip Jacobs fabric. I also thought the 1/4″ inch elastic was not sturdy enough and looked a bit cheap. I decided to install wider elastic, which I happened to have, having bought it somewhere along the line. I measured out a few items that I might want to have with me, if I carry this around as a project bag, and sewed the elastic down. I think it looks nice.

All Rolled Up Tote - sleeve view
All Rolled Up Tote – sleeve view

One thing that was hard to understand without the video was the sleeve. I tried to understand it before watching the videos and it was a mystery. Finally, I watched the videos and could see what it was for. There is an extra area below the pockets (thus the changes in construction in comparison to the Sew Together Bag) where one can store flat items. I put a ruler halfway into the sleeve (see right), so you can see the sleeve. I haven’t tried filling this bag yet as I haven’t quite decided how I will use it, so use of the sleeve may change once I decide.

My pouches fit nicely in the Tote. Of course they are the correct size, but my lobster clip plan worked well. It was pretty easy to clip and unclip them from the D-rings on the tote. Crafty Gemini shows putting WonderClips into one of the pouches, which might be a good idea, since I could take the pouch out and put it somewhere if I knew I had to refill it because I had used my ‘on the go’ supplies (like clips) for a project. I also think that these little pouches might make good small gifts. They do require a lot of steps, but are unique as well.

One issue I had with the pouches was zippers. I happened to have zippers that were the exact right size. Crafty Gemini doesn’t say anything about having zippers the right size. In terms of whether we needed to secure ends or add a zipper tab. I might do that next time just to make sure everything was sewn together tightly. I am concerned that the zipper ends will come out.

Some of the problems I had with a recent Sew Together Bag were alleviated by the pattern’s suggestion that makers hand sew on the second side of the binding. I did hand sew the second side of the binding. It took me somewhere between 4-6 hours, I think. I am pleased with the way the binding turned out. No sloppy looking stitching because of multiple layers and a cranky sewing machine.

I am I still contemplating handles. Some of the other people in the Organizer Club who made this project added handles, but I wasn’t completely happy with their design. If I were to add handles I think that I would like to add them all the way around the bottom of the project in a loop design. I imagine that these would not go over the top of the bag, so access would not be impeded.

Off hand I can’t think of other changes I would make to another version of this bag, but I have the feeling I want to make another one. *I*, of course, don’t need another one, but I am sure I know someone who needs it as a gift.

All Rolled Up Tote – Pouches

All Rolled Up Tote - pouches (front)
All Rolled Up Tote – pouches (front)

Part of the All Rolled Up Tote pattern includes some pouches that can be clipped on to the D-rings I inserted when installing the pockets.  I worked on those over the weekend and was able to finish them up. I am not 100% happy with the zipper ends, but done is better than perfect.

They turned out larger than I thought they would. Yes, the finished dimensions were readily available, but somehow I had it in my mind that they were about 3/4s the size.

All Rolled Up Tote - pouches (back)
All Rolled Up Tote – pouches (back)

I am pleased with how they turned out. The fabrics are cheerful and they fit well into the Tote itself. I also think the pattern would be useful for gifts to others. Even without the Tote, they could be clipped to other bags.

The clips are the one thing I did differently than the pattern suggests. I put the lobster clips on the pouches rather than in the All Rolled Up Tote. I wanted to minimize interference with items I put in the Tote and thought the D-ring in the Tote would be less obtrusive. I also thought that I might want to fill these with something that I would want to transfer to other bags, so the lobster clip would allow me to clip the pouch on to other bags without needing that other bag to have a lobster clip. I’ll have to start adding D-Rings to my other bags!

I just have a bit more to complete before the All Rolled Up Tote itself is complete.

All Rolled Up Tote – Serious Progress

The All Rolled Up Tote is finally starting to look like something. It is amazing to me how I can sew and sew on a bag project and it looks like a bunch of disparate parts, then all of a sudden it looks like something. It’s like magic.

All Rolled Up Tote - pockets assembled
All Rolled Up Tote – pockets assembled

Just as I needed the sides, the fabric arrived from HipStitch and I had time to wash it. For once I cut the outside properly and was able to move forward.

As I said, it is similar in shape and use to the Sew Together Bag, but much larger. The finished size is 15in./L x 9in./W x 6in./H. I placed my rotary cutter in the photo above so you could get some idea of scale. This bag is much larger than the Sew Together Bag.

I am also finding the construction to be a little different. For example, the pockets are assembled separately unlike the Sew Together Bag. I am sure I will find some other differences when I get farther along.

All Rolled Up Tote – Pockets

All Rolled Up Tote pockets

I finished the pockets for the All Rolled Up tote. As mentioned, this is part of the Crafty Gemini 2018 Organizer Club. You can buy the stand-alone pattern on her site. Above three of the pockets are shown. I have decided to alternate where the zippers start to lessen bulk.

The first pocket, which will go in the front of the bag has elastic on it for writing implements, glue sticks, etc. the pattern calls for a 1/4″ piece of elastic placed horizontally all the way across. I thought a thicker elastic placed vertically would work better for me. I didn’t want tips of pens to be too close to the fabric in case they should open and stain. I am also not a fan of that 1/4in. elastic. I think it looks a little cheap. My fat turquoise elastic (I wish I could remember where I bought it in case I want to make another) looks super fun as well.

Progress!

Zipper Tab Techniques

Zipper Tabs in process

Does anyone have any good tips on keeping the zipper tabs in place before sewing them? I pull the zipper pull down to get it out of the way of the sewing machine foot, which makes the zipper fabric at the top flop around. As you can see, I have used WonderClips to keep the zipper fabric and new zipper tabs in place so I can sew them. I have tried pins, but the clips are better. It is not ideal but I can’t think of anything better.

I posted to the Crafty Gemini Facebook page and some people had some good ideas: tape, staples and sewing the ends together until they won’t come apart. I am thrilled to have some new ideas. I am not sure why I didn’t think of these things.

What do you do?

All Rolled Up Tote Progress

All Rolled Up Tote pieces cut

I am working very slowly on this All Rolled Up Tote bag, but I am making some progress.

I started cutting back in September and haven’t really put it on the front burner until now. It is part of the Crafty Gemini Organizer Club that I bought last year. I bought the course and am determined to finish all the bags in it. I have made several and plan to alternate them with quilts in the beginning of the year.

It isn’t difficult, but the bag has a lot of steps. It is similar in shape and use to the Sew Together Bag, but much larger. The finished size is 15″L x 9″W x 6″H. I am also finding the construction to be a little different. I should have watched the videos before I started cutting, but didn’t think I needed to. I know how to cut, but there are some tips and tricks. It would have helped.

The videos are a great way to make a bag. No fumbling with written directions and trying to figure out what they mean. I don’t even really like watching sewing videos, because I can’t listen to an audiobook while I am watching a video. I am, however, getting more into the swing of video courses.

I had to get some more fabric for one outside piece as it was challenging to cut and I cut it wrong.  Twice. Bleah. I can continue on and go back to that piece when the fabric arrives.

All Rolled Up Tote Begins

All Rolled Up Tote cut

I started cutting for the All Rolled Up Tote Saturday at Sew Day in between the Boxy Bag class. This one of the projects will not necessarily match my other Crafty Gemini projects even though that was the original intention. I wanted to use some text fabrics, so I veered away from my original idea.

This is sort of the like the Sew Together Bags. I haven’t, however, seen one in person, so I can’t really tell the differences. I do know that it is much bigger than the Sew Together Bag. One website says that the finished size is 15″L x 9″W x 6″T. 6 inches, which is as tall as my square ruler. This will be a large bag. Between this and the Tool Tote, I am not sure how my Go/travel bag is going to change.

There are about 2,000 pieces in this pattern and I only got about 653 cut out. I am happy that I got most of the fabric pieces cut out. What I have left to cut is batting, fusible interfacing and vinyl. Vanessa at Crafty Gemini loves her clear vinyl!

I didn’t print out all of the directions – just the cutting instructions, because I didn’t want to waste ink. I don’t know when I will sew on it, but since I have more cutting to do, it might be some time.