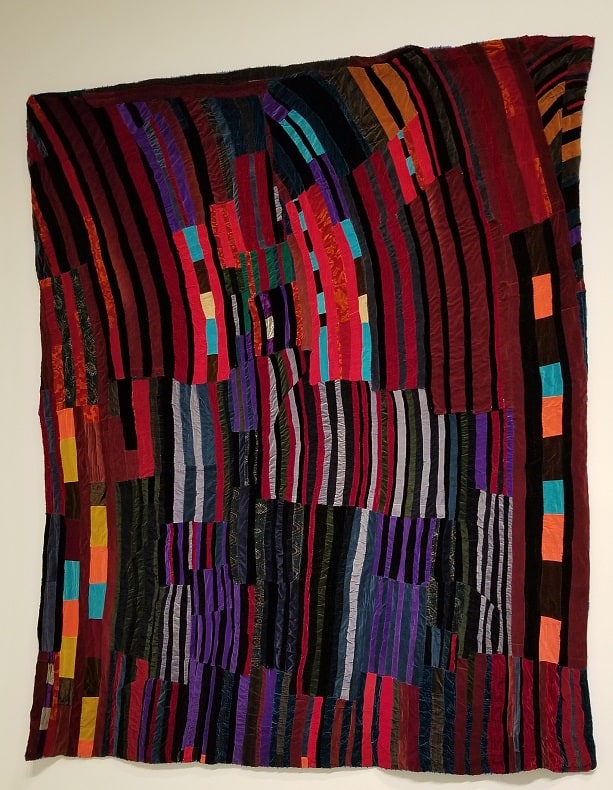
A month or so ago Gerre asked me to help her think through the construction of a velvet quilt similar to one in the Rosie Lee Tompkins exhibit. We talked about foundation paper piecing the long strips that would make a quilt to look like the Rosie Lee Tompkins exhibit entry way quilt.
I don’t remember how this quilt was constructed, but I am pretty sure Ms. Tompkins didn’t use FPP. I could tell Gerre wasn’t 100% on board with the idea. At the time, I couldn’t think of anything else.
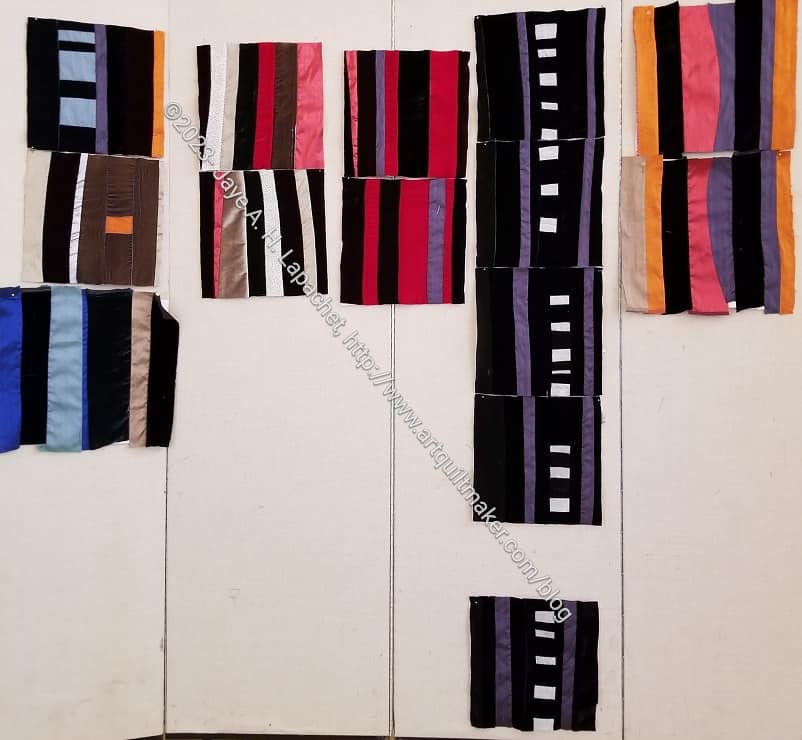
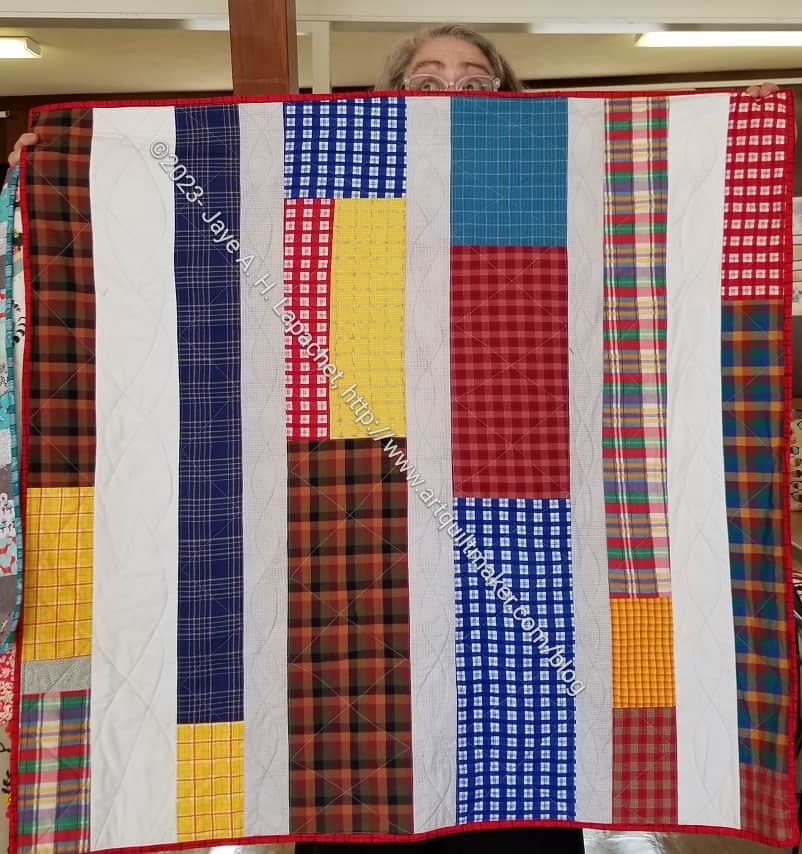
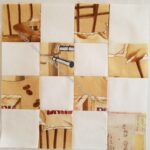
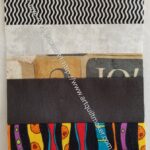
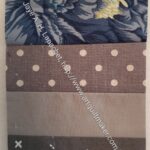
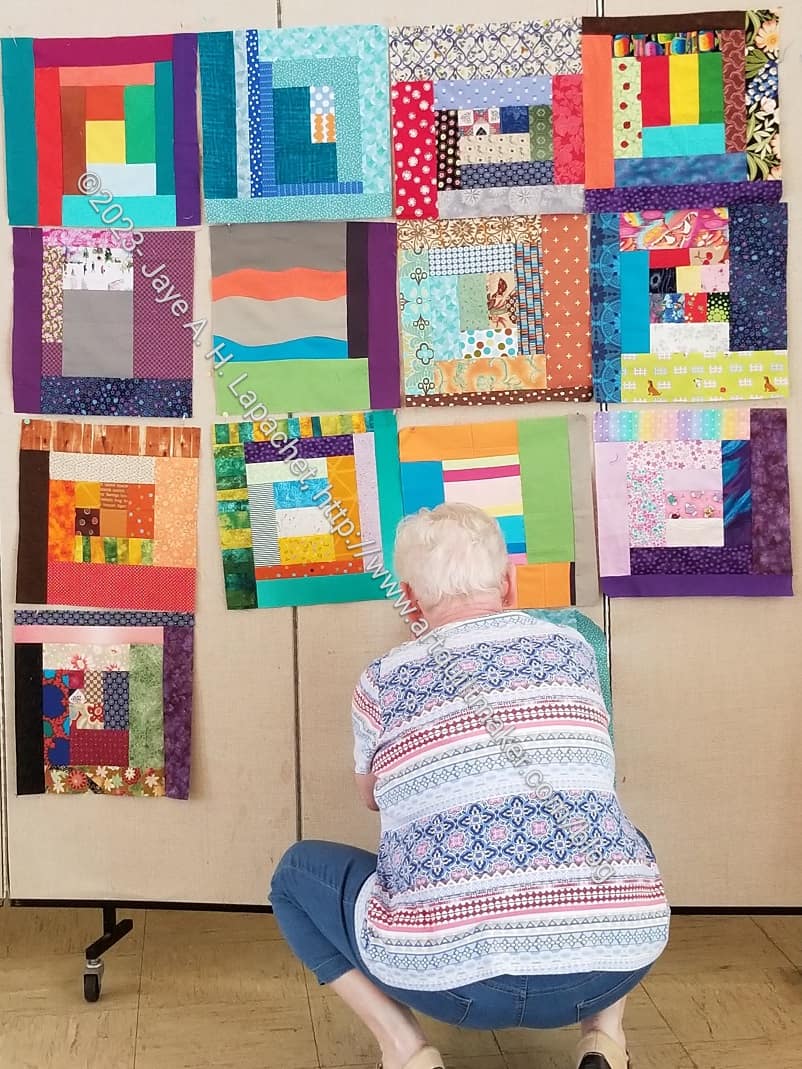
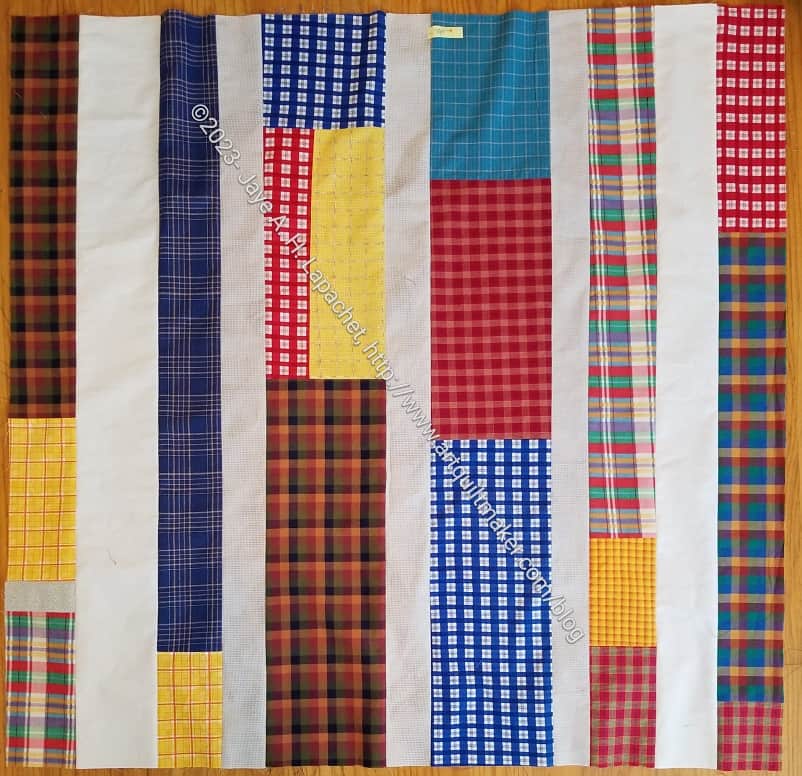
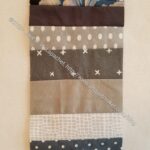
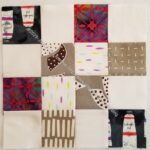
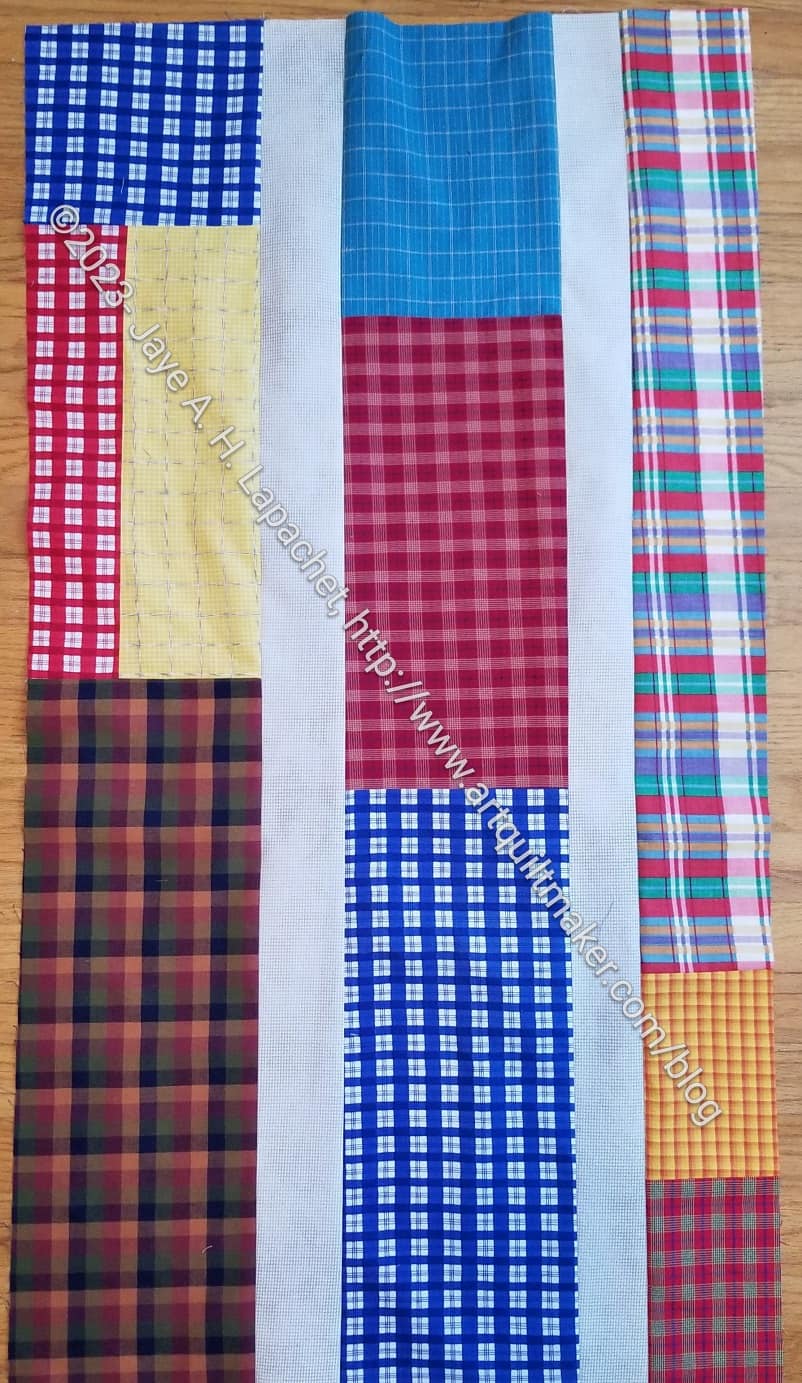
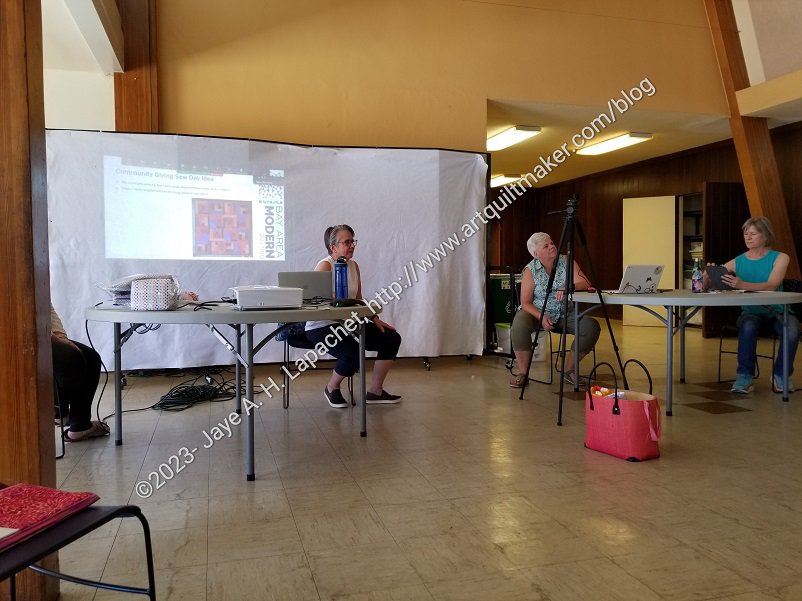
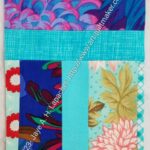
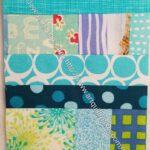
Therefore I was pleased to see that she and Mary had come up with a plan to make the quilt in blocks using the quilt-as-you-go (QAYG) method. What a great idea! They are sewing strips of velvet on to batting, then will sew them together. This technique really helps keep the velvet under control as it is sewn.
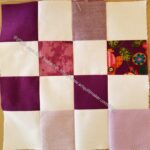
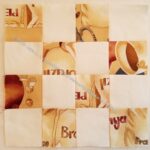
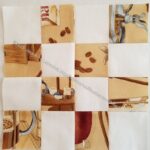
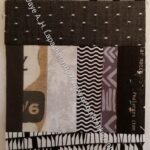
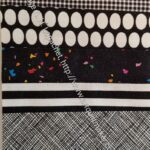
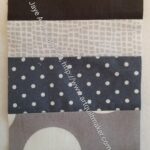
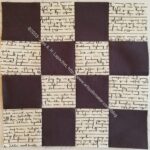
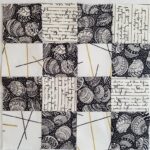
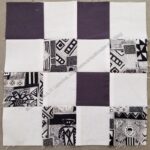
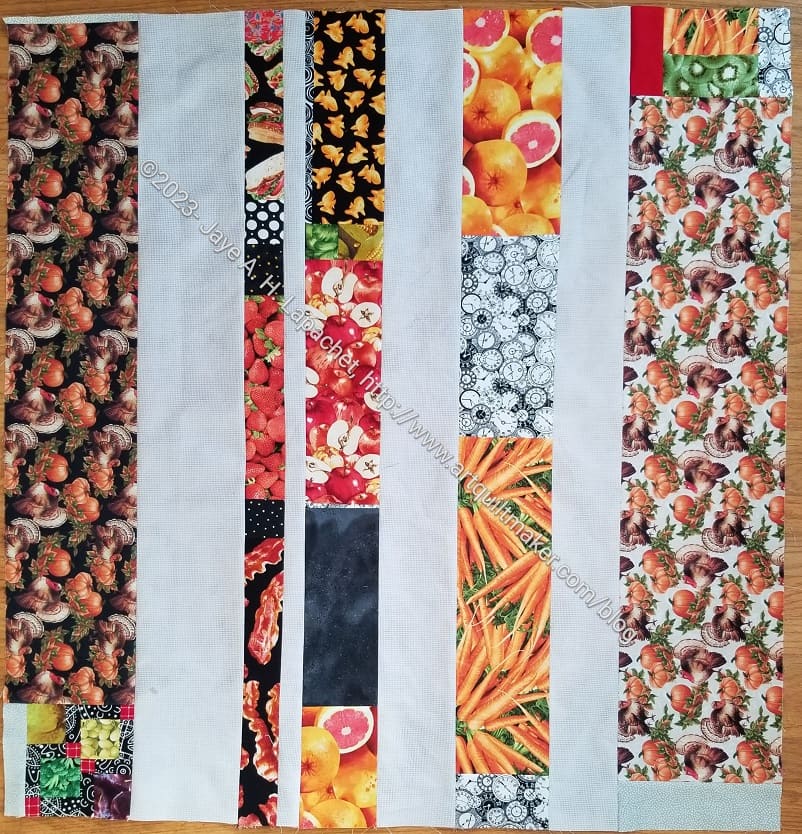
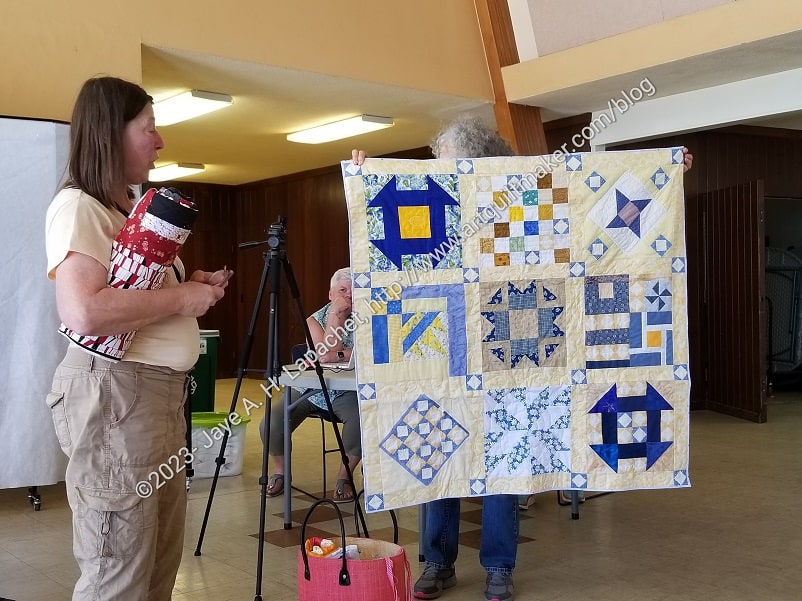
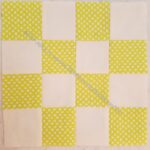
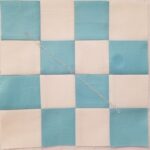
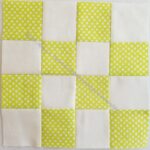
At the beginning of the day they had a few blocks already done. I really like the blocks 2d from the right with the white squares. I also like that Gerre is not copying the Rosie Lee Tompkins quilt. I think it is great that she is making it her own.
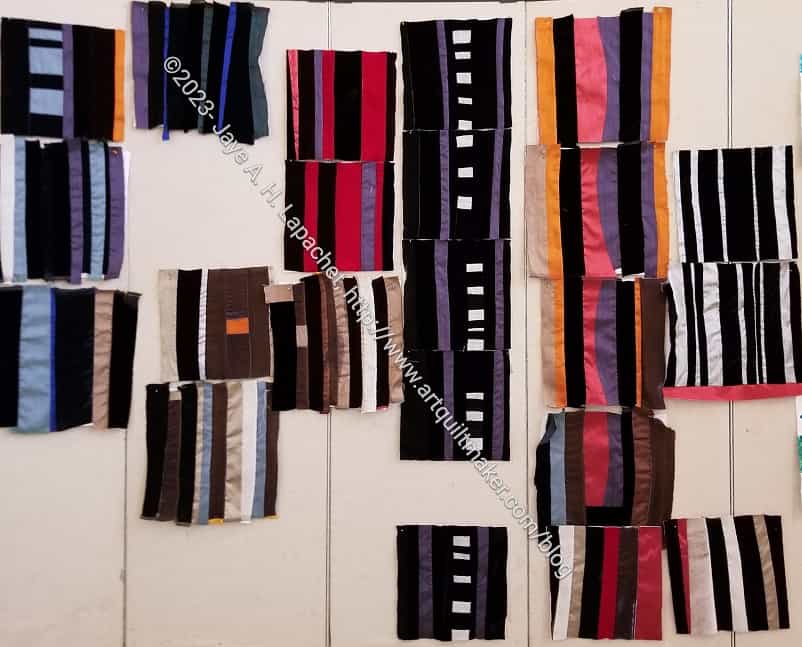
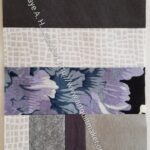
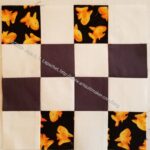
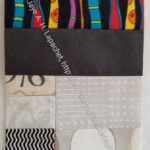
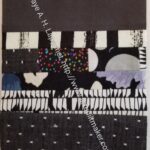
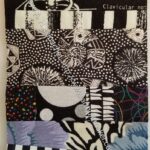
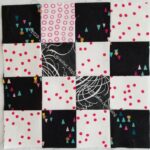
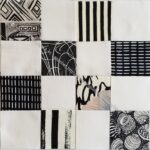
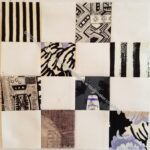
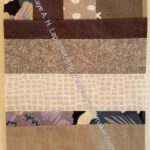
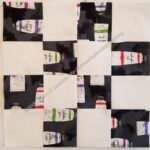
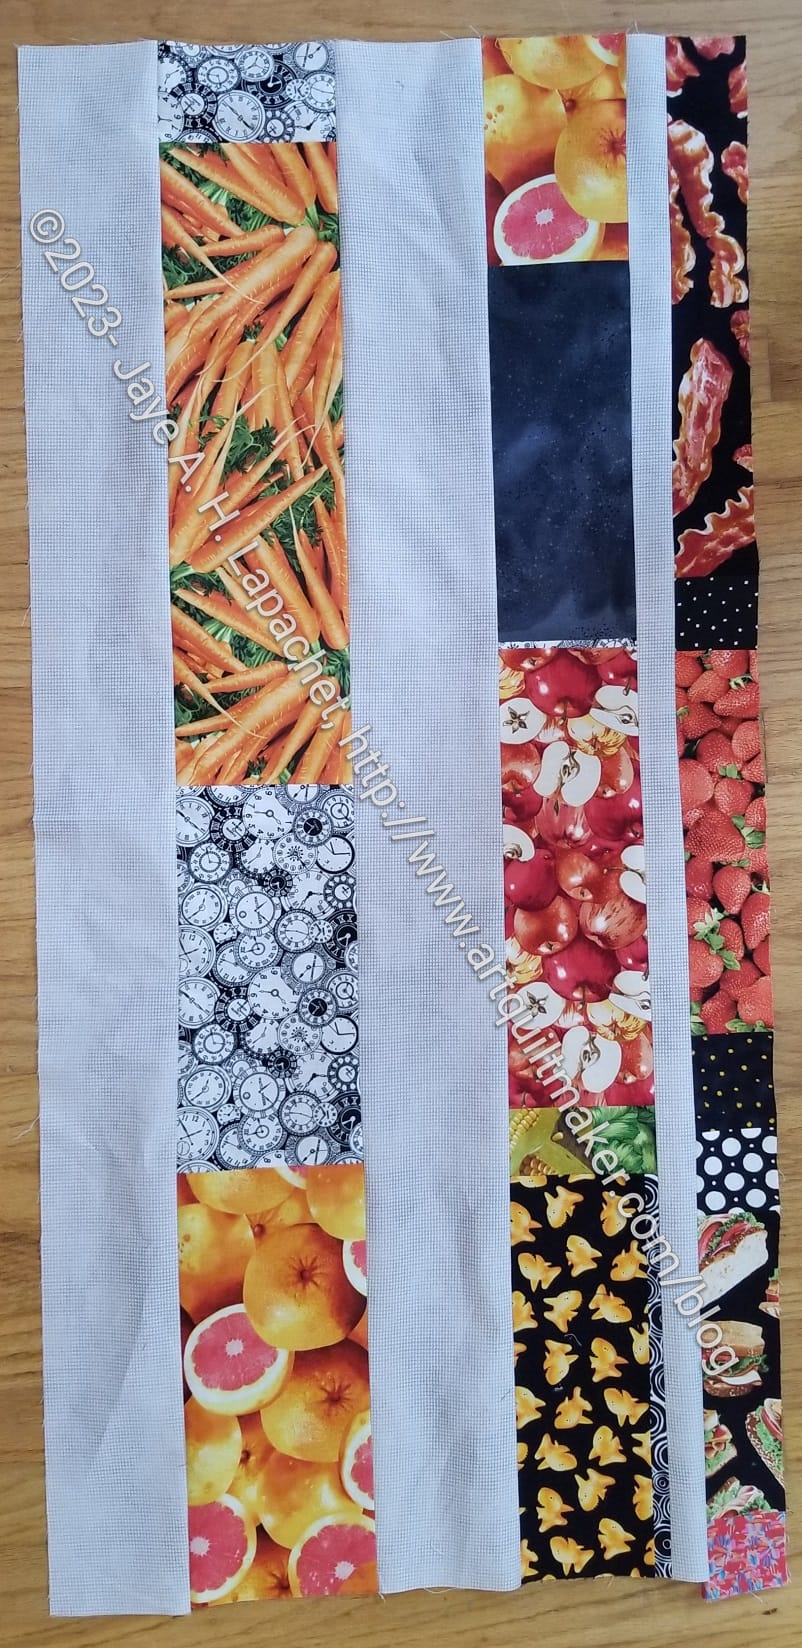
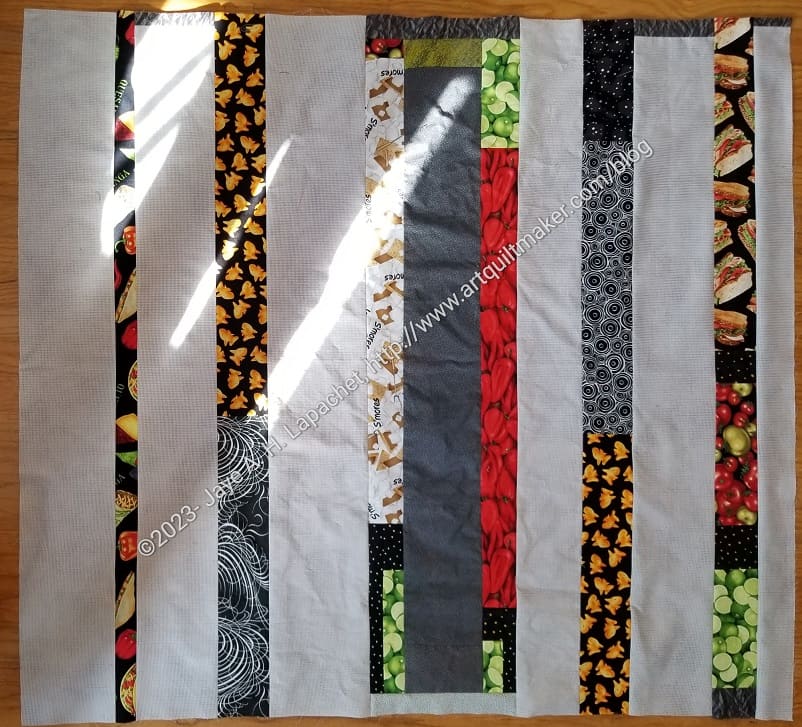
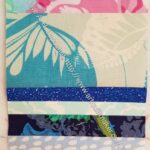
By the end of the day, they had most of the blocks made. The photo (left) may not show all of them. In this case I really like the black with the silver. I prefer the blocks that use the color as an accent. They are all really beautiful. The sheen of the velvet gives them an amazing lustre.