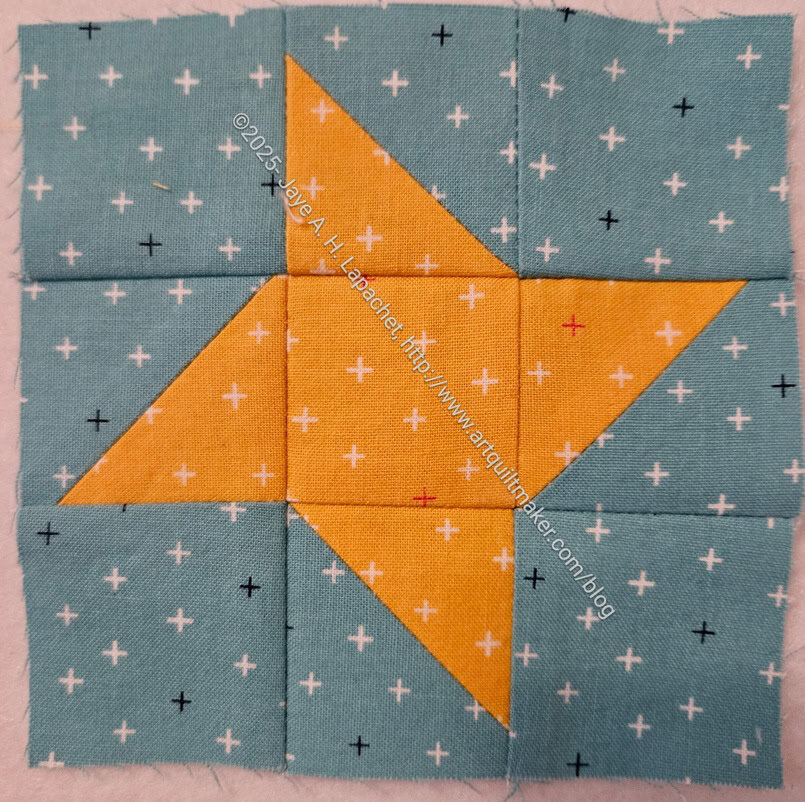
As I said, I am trying to stay ahead of the crowd, so after the BAM Holiday Party, I quickly made a Friendship Star.
In general, I have a tough time with this block. I think it looks much better small. The 12 inch size just looks like it has too much fabric, though a 12 inch block with the star made from a blowsy, large flower fabric might work better.
I do think that using the Friendship Stars as cornerstones, like a donation quilt I made, works well.
The best use of Friendship Stars I have found is making a wreath out of them. I got inspired by Camille Roskelly and then made Flying Around using the Friendship Star wreaths. I’d like to make one for this project. We’ll see if I get to it.
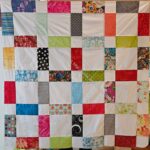
Because of the holidays people have two months to make the next two blocks. Month 2 and 3 blocks are due at the January Meeting. I made a set of Checkerboards very quickly right after the meeting. Since I am one of the leaders, I really want to keep ahead of the others as much as possible.
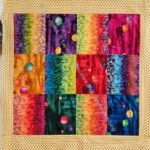
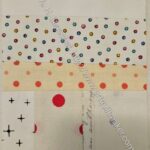
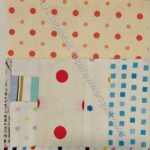
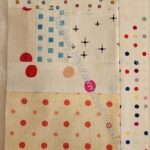
Once things had settled down a little for me, I made another checkerboard block from the book Cyndi lent to me, Use Scraps, Sew Blocks, Make 100 Quilts** by Stuart Hilliard.
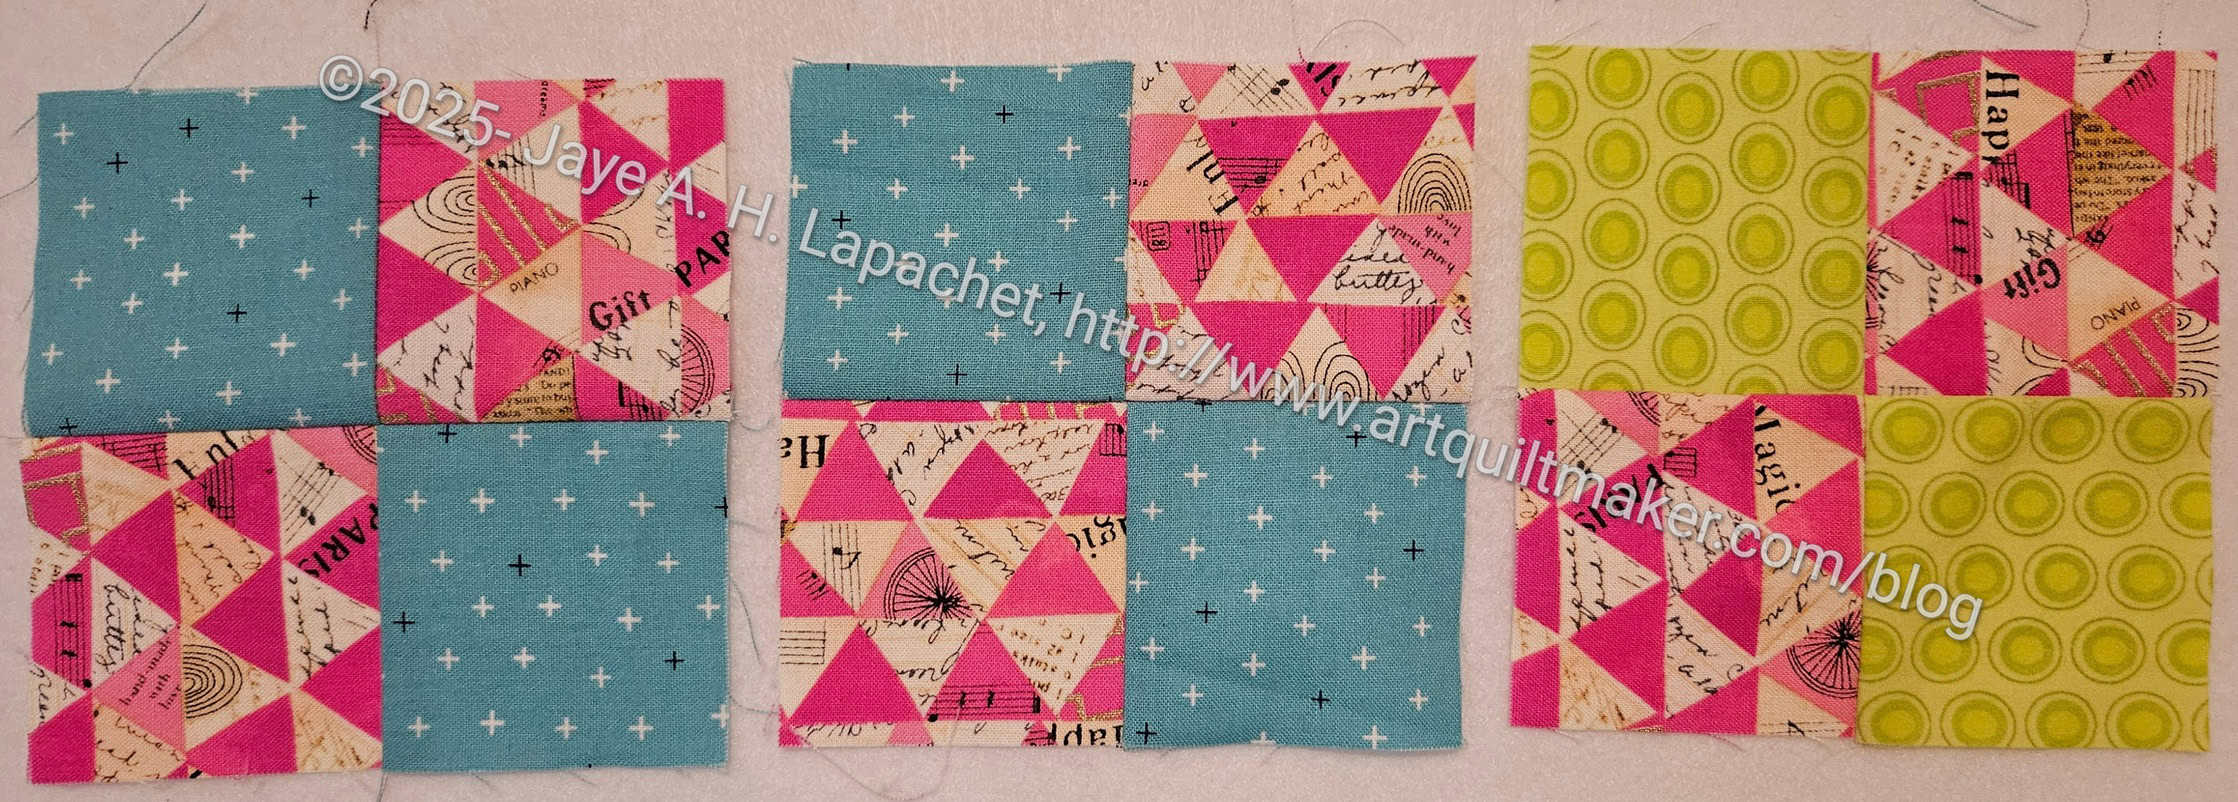
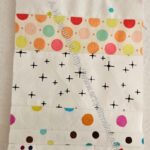
BAM BOM Checkerboard, month 2
I don’t have the wide variety of fabrics that would make this block look like the one in the book, but I am pleased with the way it came out.
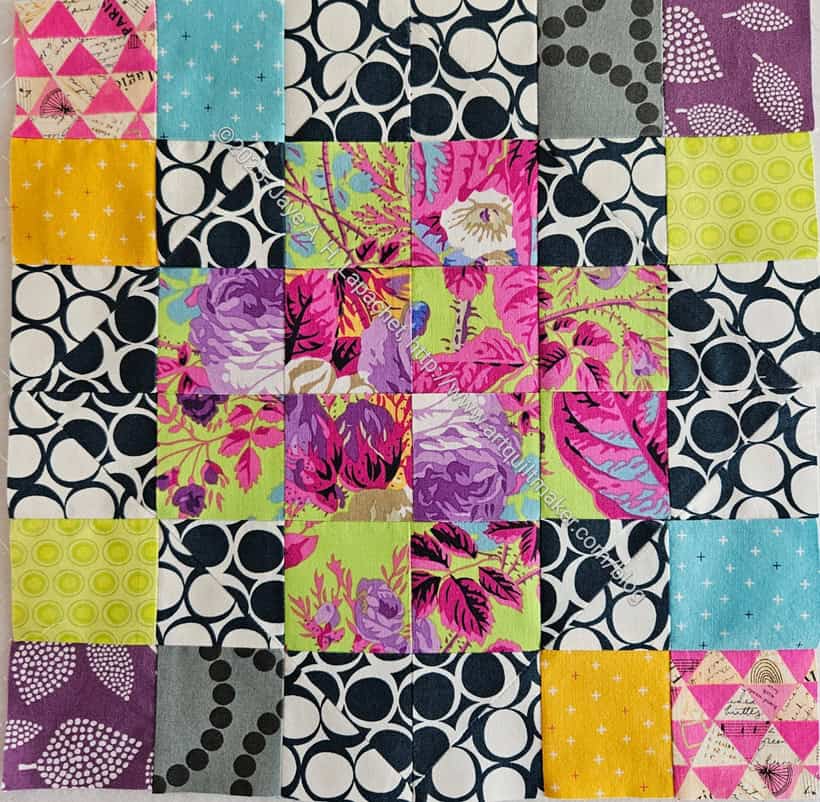
I cut up the Philip Jacobs print to make the middle then used the others (added some additions since the start) around the outside. I want to work with this block again at some point. Still, I like the way it came out. I keep looking at it.
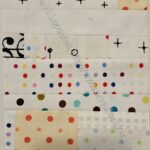
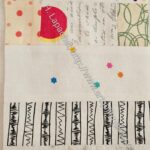
BAM BOM December 2025
Although blocks were not due at this meeting, people brought some, so we put them up to illustrate when we introduced the new block.
It is so fun to see the different designs that appeal to the participants.
**Obviously, you should shop at local quilt shops and small businesses. However, if you are too busy or can’t find what you need there, I use Amazon affiliate links and may be paid for your purchase of an item when you click on an item’s link in my post. There is no additional cost to you for clicking or purchasing items I recommend. I appreciate your clicks and purchases as it helps support this blog.
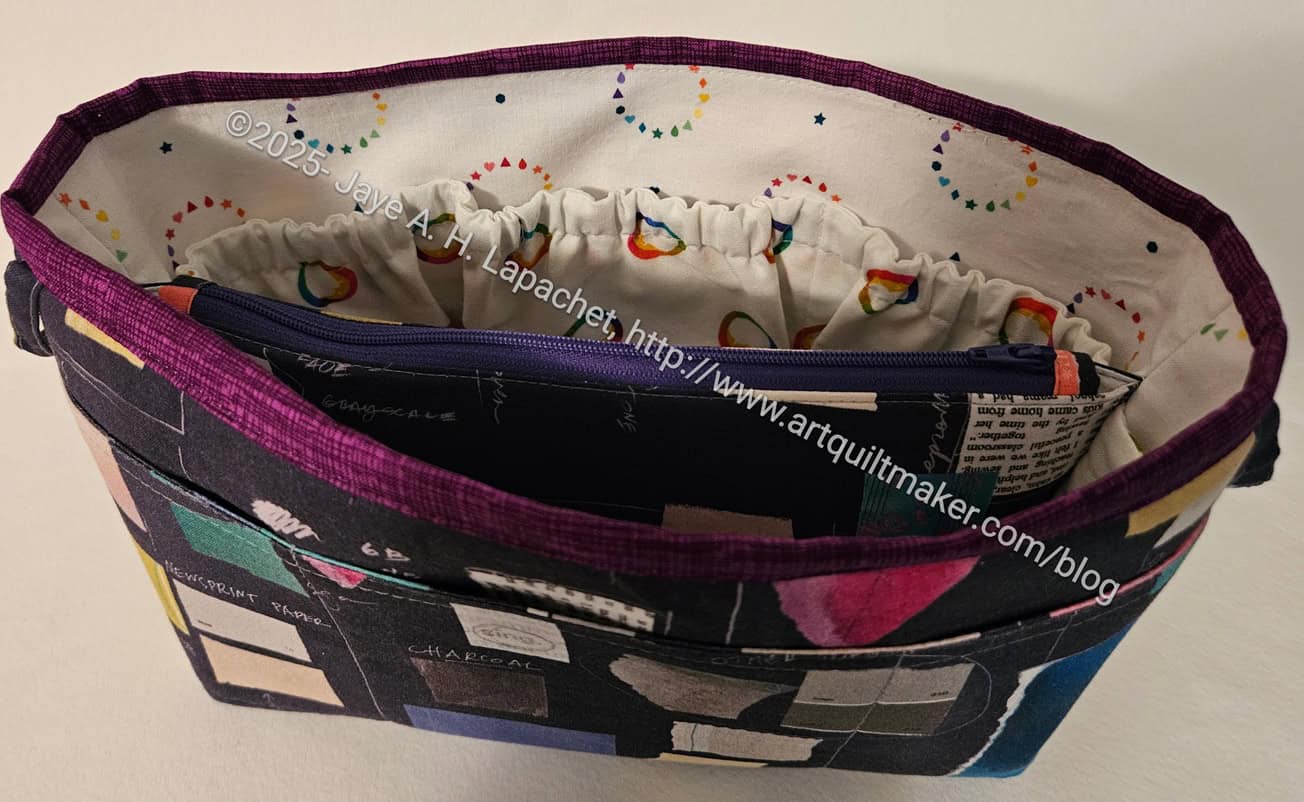
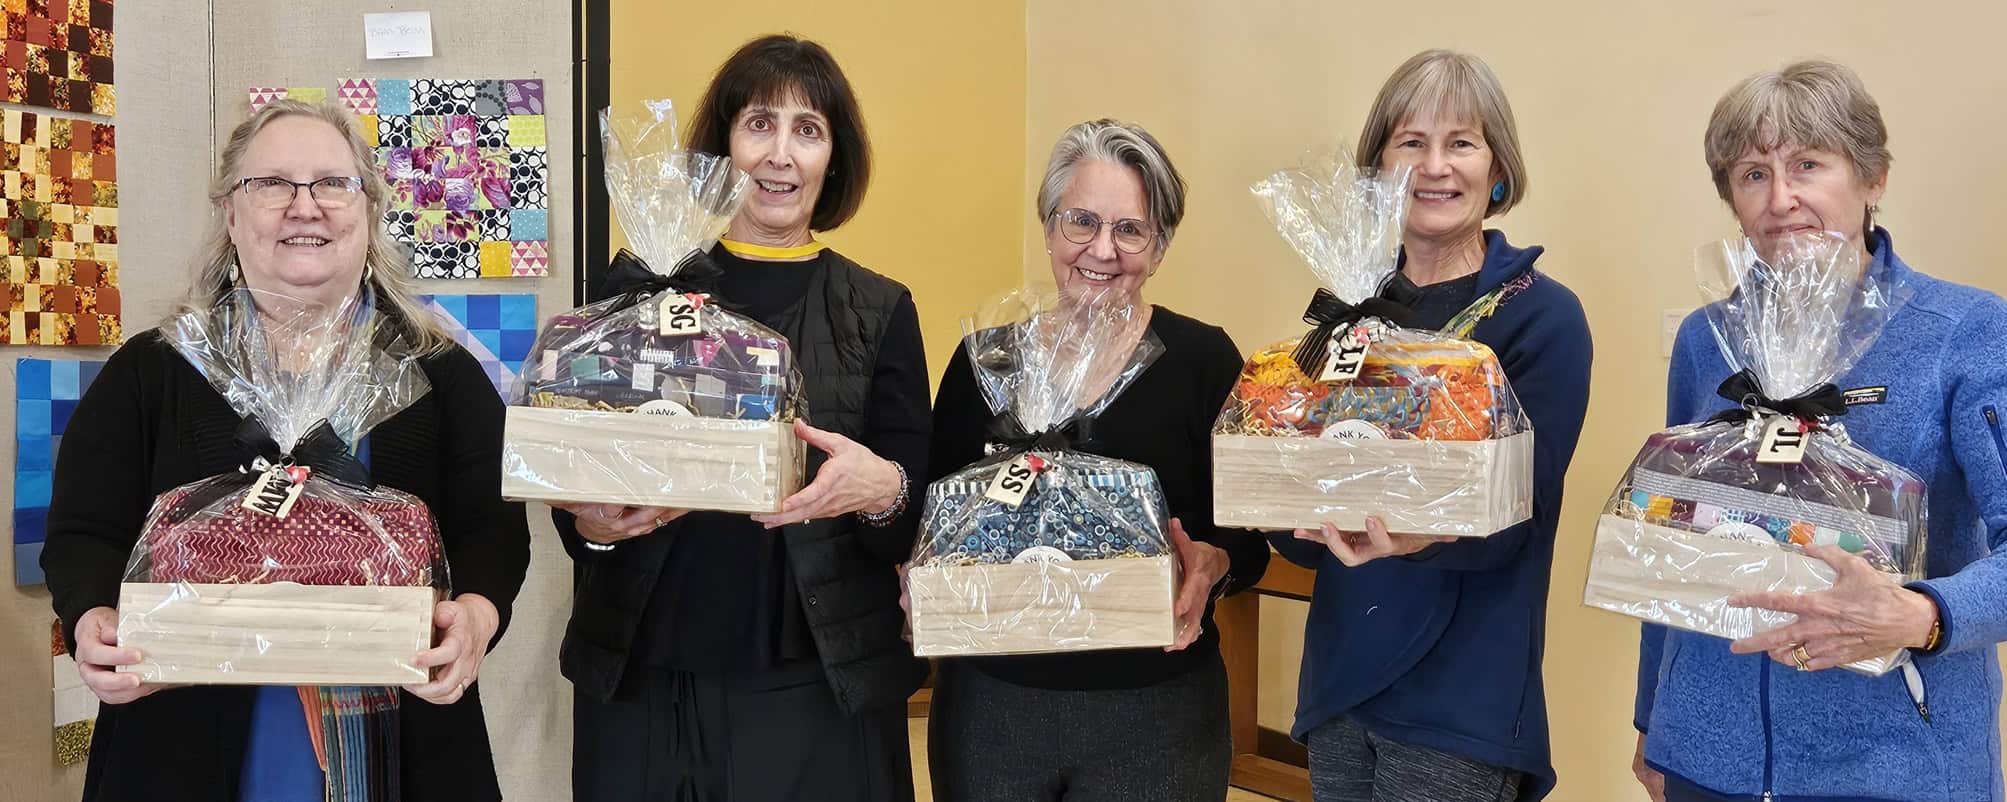
I spent the last few months planning and creating the officer gifts for the guild. I couldn’t have done it on my own. Many guild members contributed to the fund, Carrie wrapped everything and MaryC helped me sew the Multi-Pocket Organizers.
SueS’s Multi-Pocket Organizer
I am pleased with how they all came out. I think the fabrics I chose worked well together and coordinate or match with last year’s gifts.
I really like the binding and lining of SueS’ Multi-Pocket Organizer.
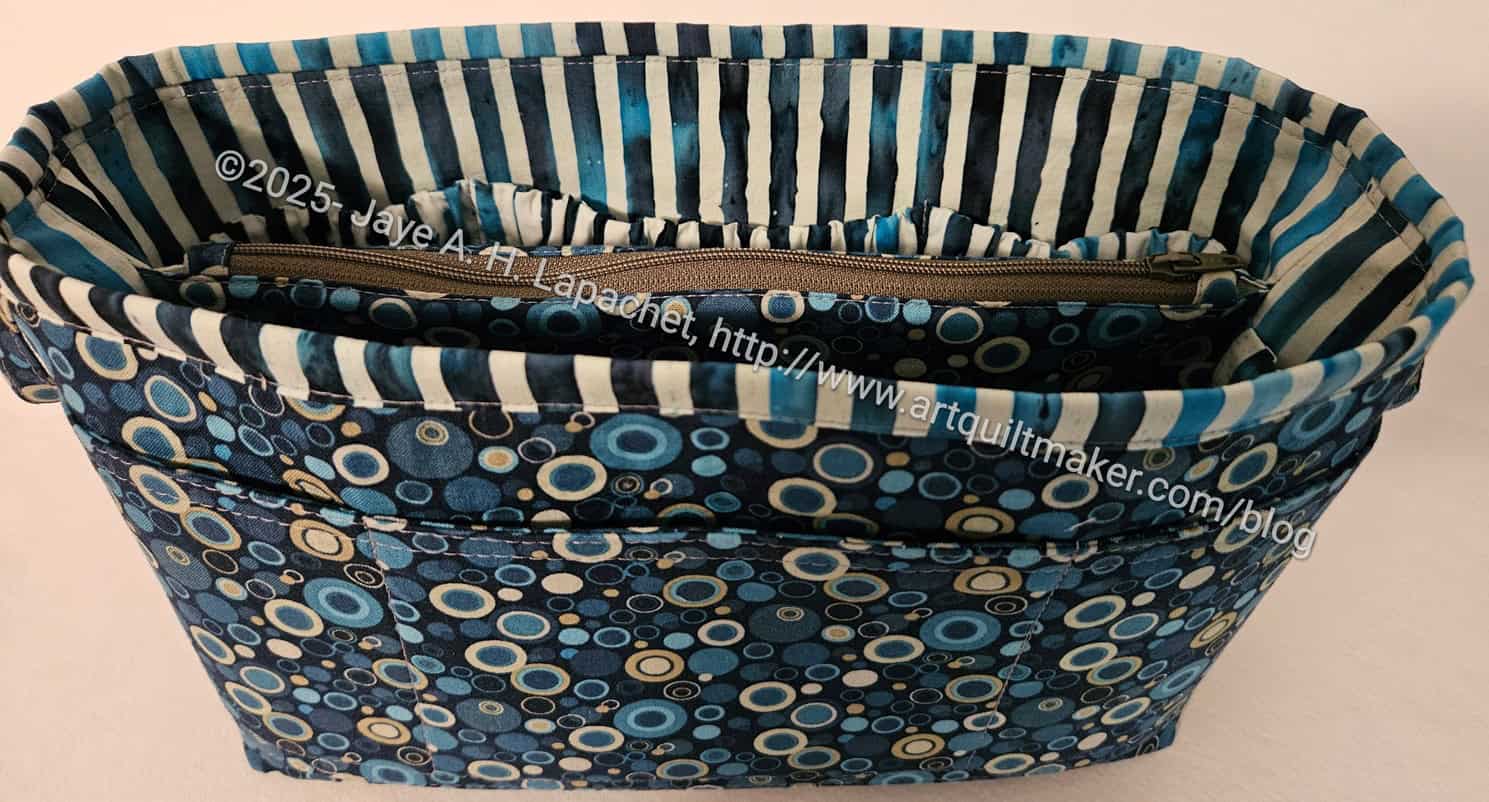
Melinda’s Multi-Pocket Organizer
Lee Ann’s Multi-Pocket Organizer
For Lee Ann’s I chose a similar fabric to the fabric I used last year. This one has a little more color in it – some purples, especially, which look really nice.
Melinda’s uses a couple of coordinating, but older fabrics from my fabric closet. I am told she likes purple, so this on the purple side. It’s maybe more of a red-violet, but something she will like.
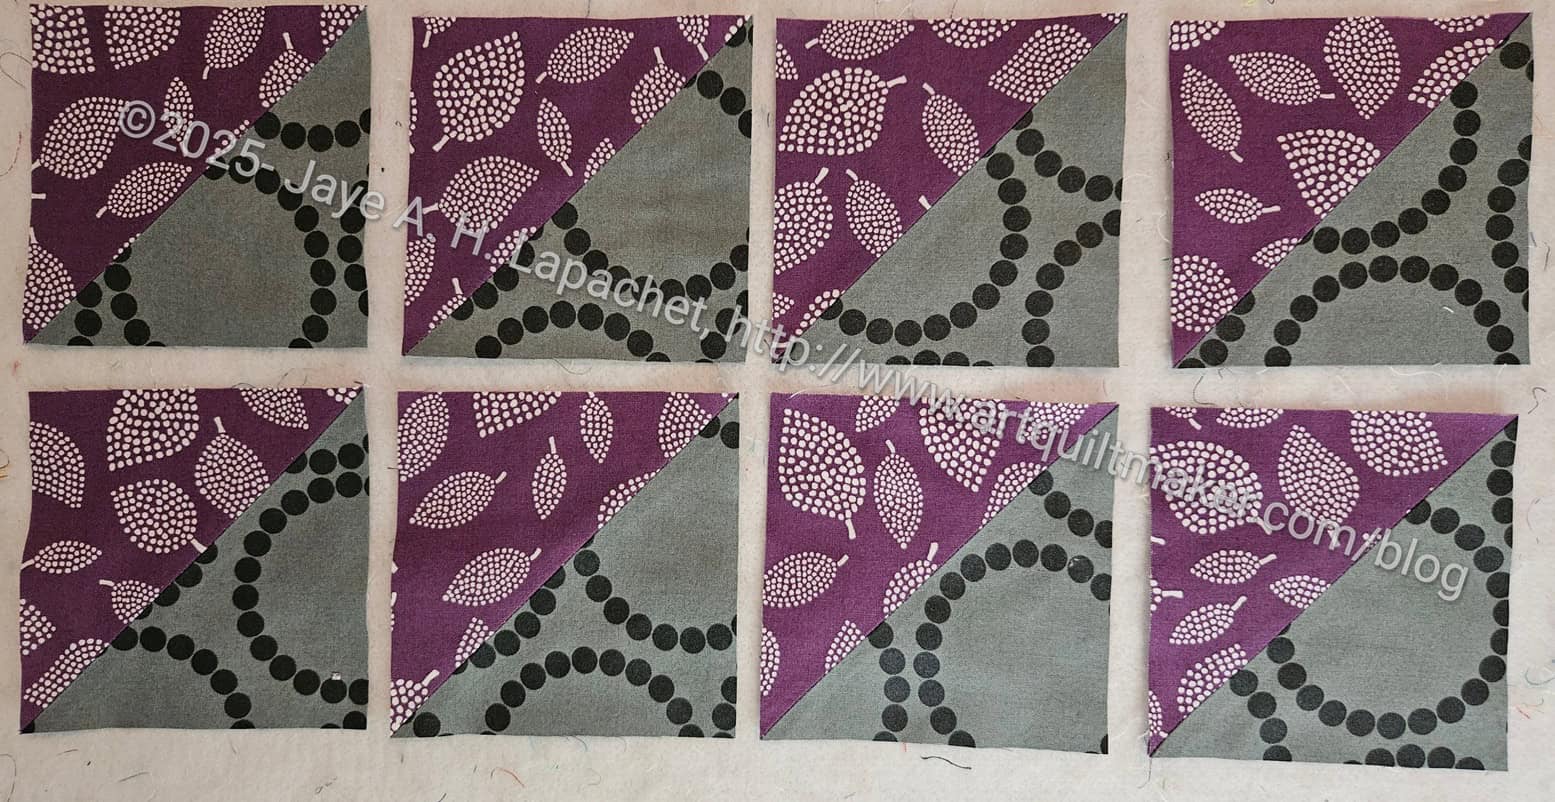
My donation block making has stalled a bit. I am working feverishly on other projects, some in preparation for the holidays and some just because. Still, I have a few to show.
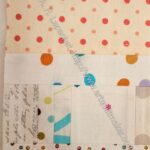
I started another Sidewalk quilt with 4.5″ x 8.5″ panels I cut when I processing scraps a month or so ago. I haven’t made a ton of progress, but I like what I have done so far.
While the ‘panels’ are the same size as the pieced units, this top feels like it is going together much more quickly.
I finally found that someone else had created a pattern for, what I call, the Sidewalk Quilt. Jennifer Jones of Penelope Handmade has a pattern for the Dorothy Quilt, which is, essentially, the same as the Sidewalk quilt. She has a long blog post from 2023, which includes links to her YouTube Channel. She uses all solids in her examples – at least the ones I saw – and they look quite good against a white background.
Almost immediately after finishing her quilt, my Mom took a donation quilt from the BAM selection to finish.
I didn’t really look at it until we got home and she took it out to start the binding.
The first thing I noticed is that it smelled bad. I took it outside and hung it on a bush to air it out. That didn’t work well, so I ended up washing it (yes, in the machine on delicate and in the dryer on low). It smelled better after that. Before I washed it, I sewed around the edge so the edges wouldn’t ravel more than they already were.
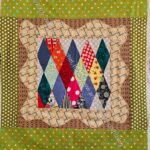
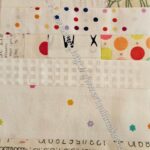
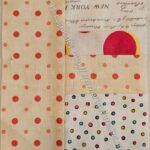
Amazing 1940s quilt-detail
As I worked on the quilt, I noticed how amazing it is. It is hand pieced and hand quilted and the work is beautiful. It is also in great condition. The maker knew what she was doing.
I think I might want to make this quilt design using EPP.
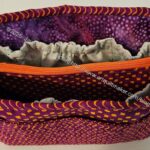
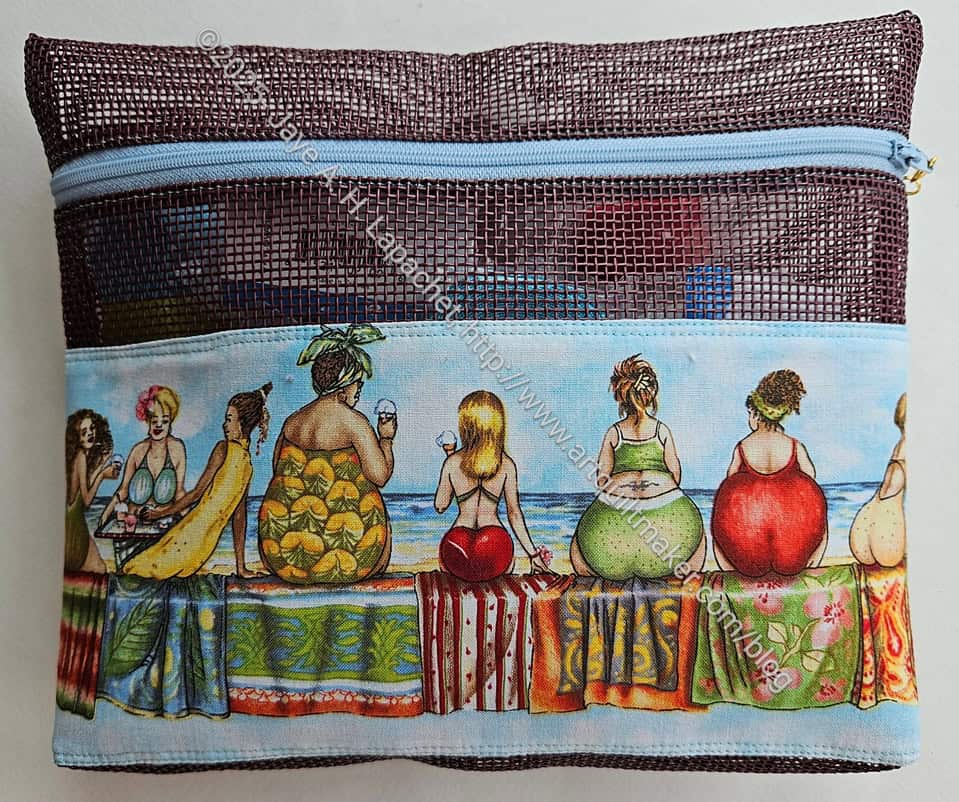
This pouch was made by Cyndi. it made from the mesh that is more stiff than the mesh I use for bags. It is kind of like screen, but not sharp. I remember buying some of this (or Friend Julie buying me some?) for a jewelry storage project we were going to make together. I never made mine and don’t think she made hers. Perhaps we need to revisit that project?
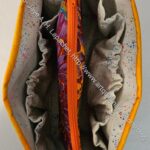
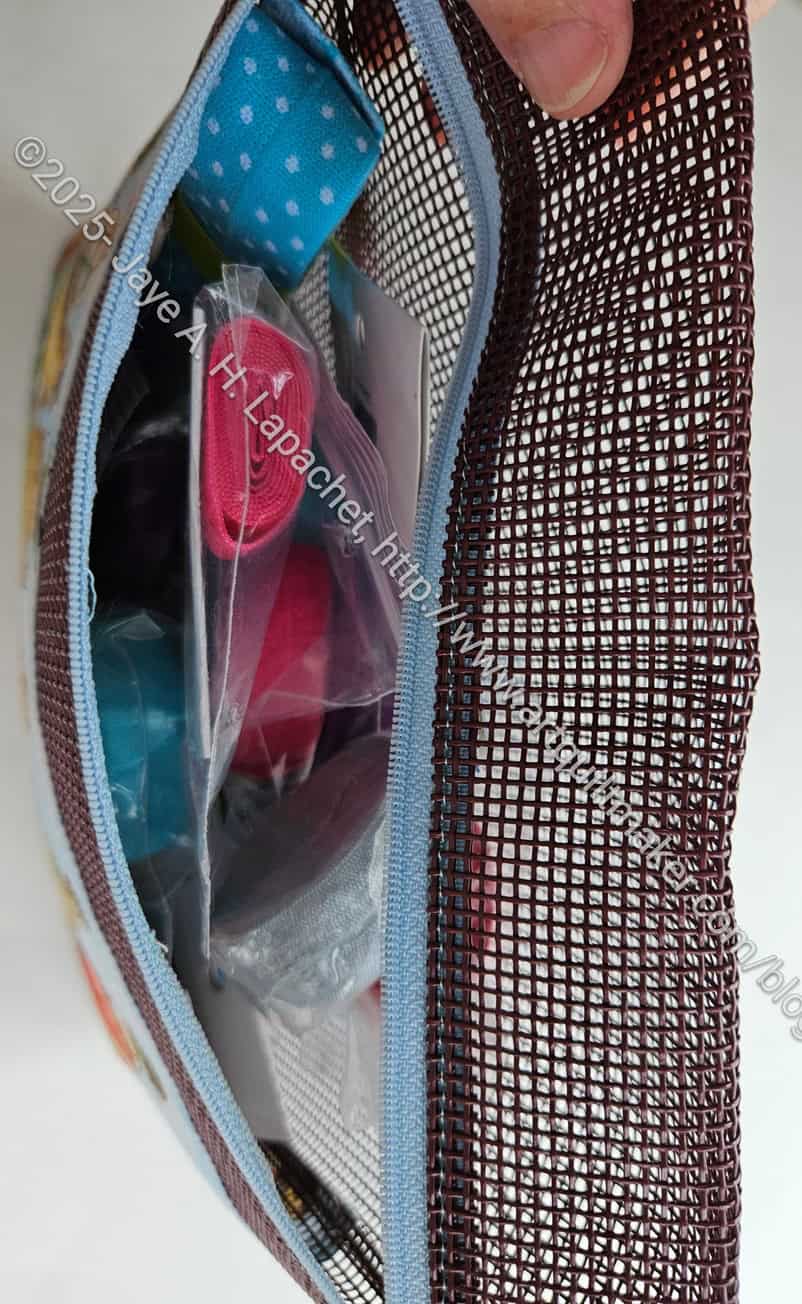
2025 Organizer Swap gift – interior
I wasn’t sure what I would do with, but got a brainwave when all of my doublefold elastic exploded on the floor of the fabric closet. I put it into this pouch and now it is nicely corralled in one place. The excellent thing about having it in a pouch is that I can grab the pouch and go and then decide on a color later.
I started off the month continuing to make white strip blocks. The bin really was not organized well and I found a whole new selection of strips I could use to make blocks partway through. I was up to a total (not just the ones made in October) of 40 white strip blocks early in the month, but continued to make them. I like my scrap bins to be as empty as possible. The white bin is proving to be a challenge to empty.
SueG and I have been working for a few months on organizing a block-of-the-month (BOM) program for the guild. It starts in a few days. If you want to join, buy a membership in the guild. We will make the BOM program available in the group’s forum as well as at the meetings.
We wanted this to be a different kind of BOM. The participants won’t be getting one block that they have to make in a certain size each month. We are going with a “Choose Your Own Adventure” style. People will get a pattern, but there will be choices of sizes. They can use any technique to make it and change the size if they want.
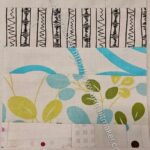
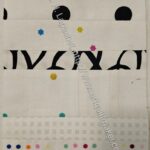
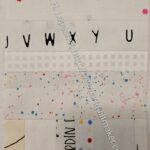
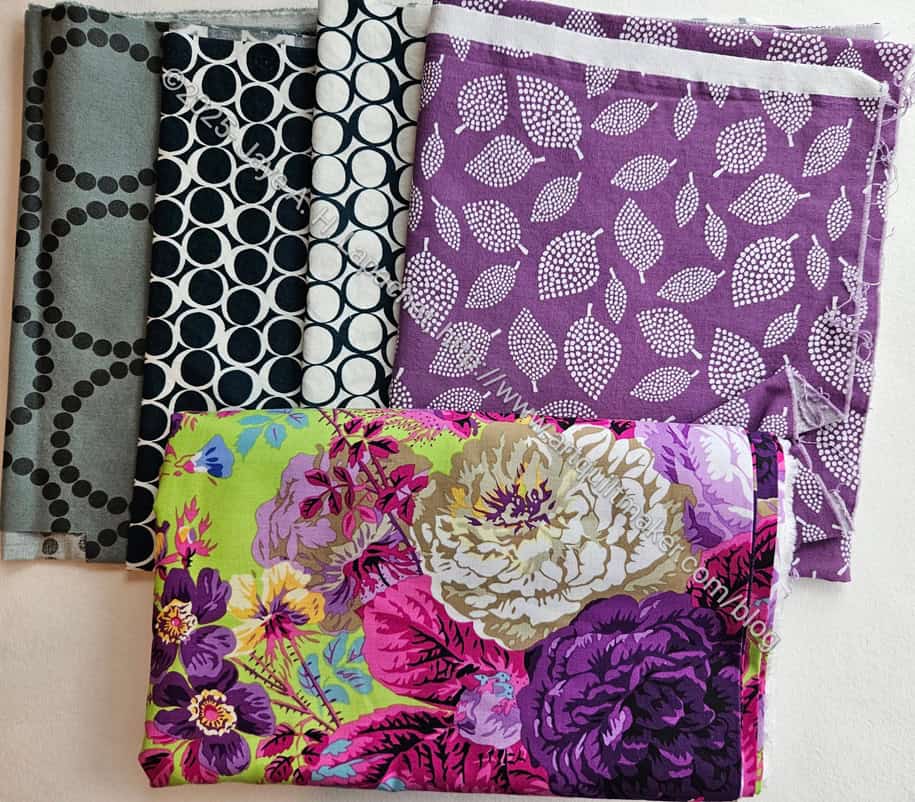
BAM BOM fabrics
I have started to choose my fabrics. These aren’t all of them. I think I need some kind of citrus or sunshine type warm color and a turquoise as well. Stay tuned for the additions as I evolve the fabrics in my own mind.
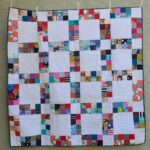
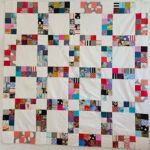
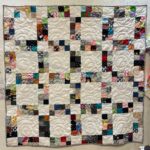
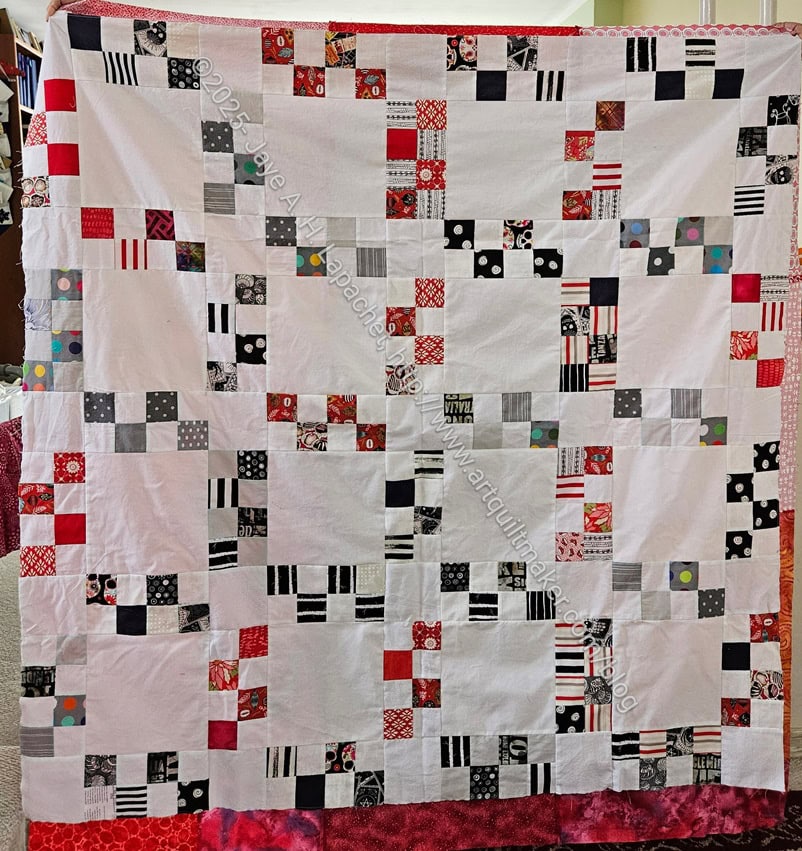
I definitely need to think about less white in the Half 16 Patch blocks. This quilt is VERY white and you don’t really get the sidewalk effect with so much white.
I have been working on some green and blue Sidewalk blocks with white and I may use a different color for the background.
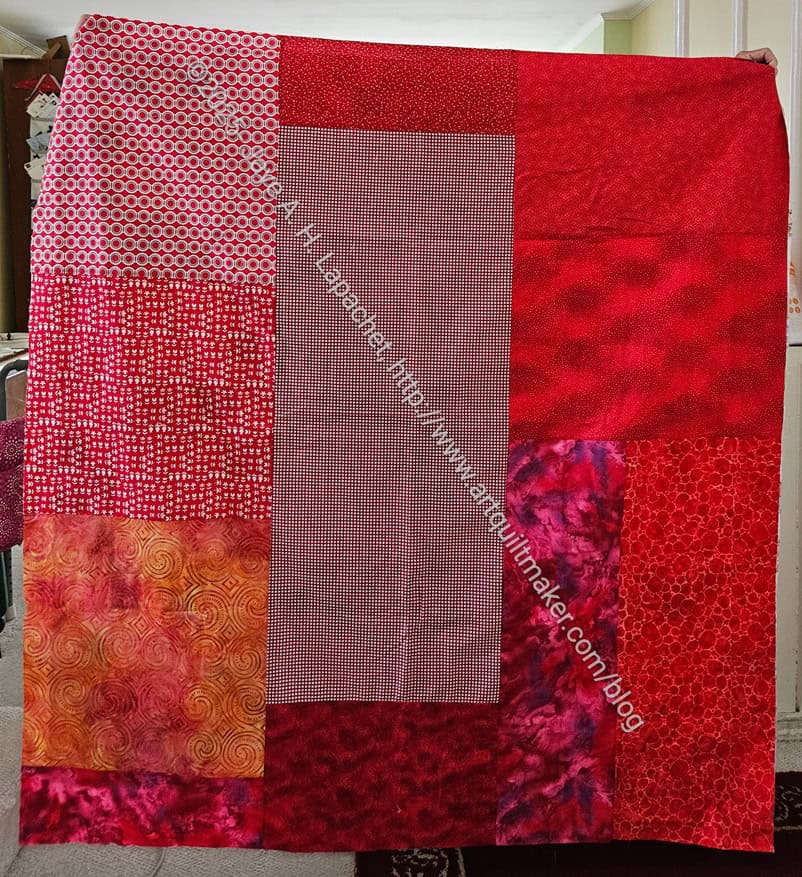
Sidewalk #4 back
I was very surprised at how well this back went together. I didn’t worry about eeking every little inch out of the fabric. I got enough pieces out and cut there where I needed to. It means I have more scraps to cut up as well as a finished back.
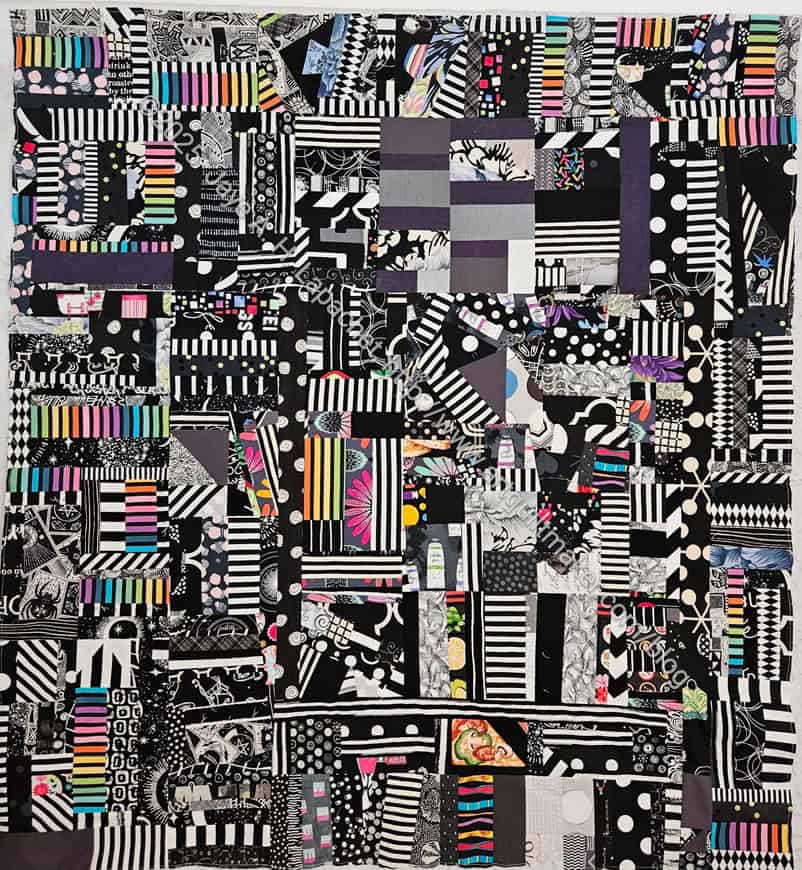
The stripes in this piece are really striking. The rainbow stripes from Chain Link make this piece less depressing than it might be if I had excluded them.
I am pleased that I finally finished this piece. It has been on the design wall for more than a year and it is a relief to get it to the Community Quilt team.
I am pleased with the way it came out. Most of these improv quilts are hard to pass along.
We had another fun Sew Day on Saturday! It was super lively. We had a new member join and another new member join her first Sew Day.
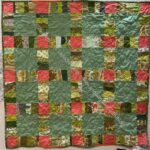
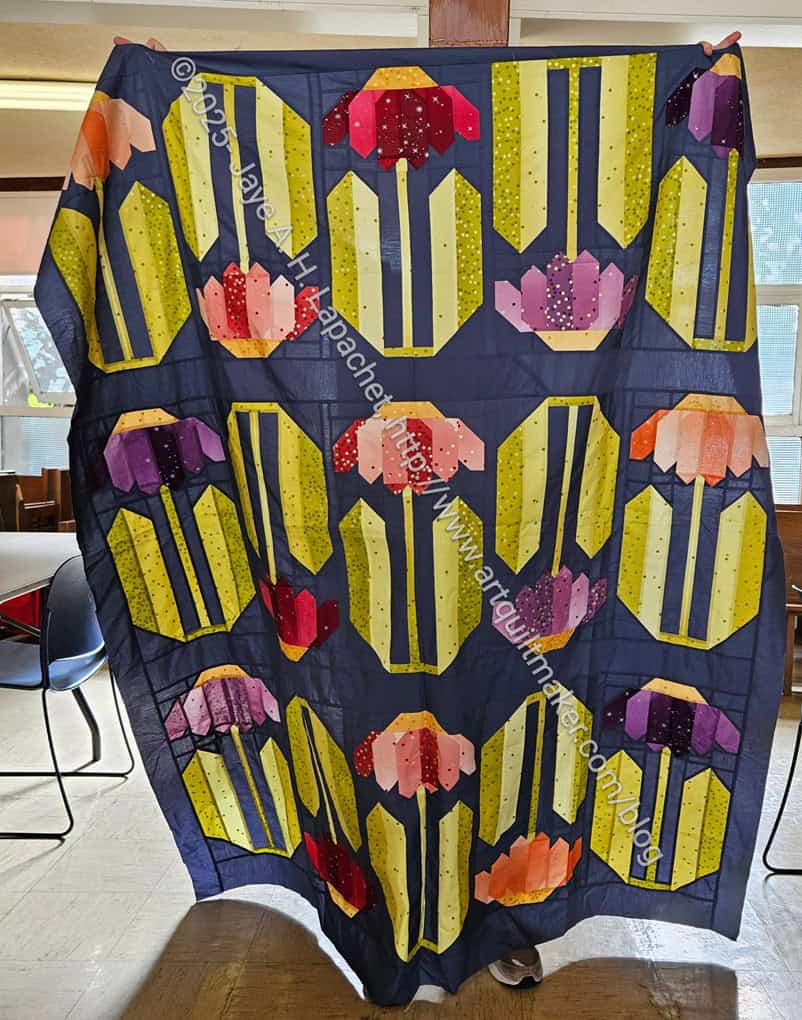
Amy’s Flower quilt
Amy showed two quilts she has recently finished. The flower quilt has a great block. I really like the rectangular block format.
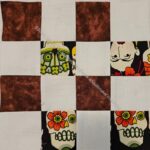
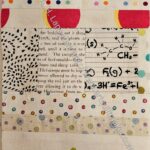
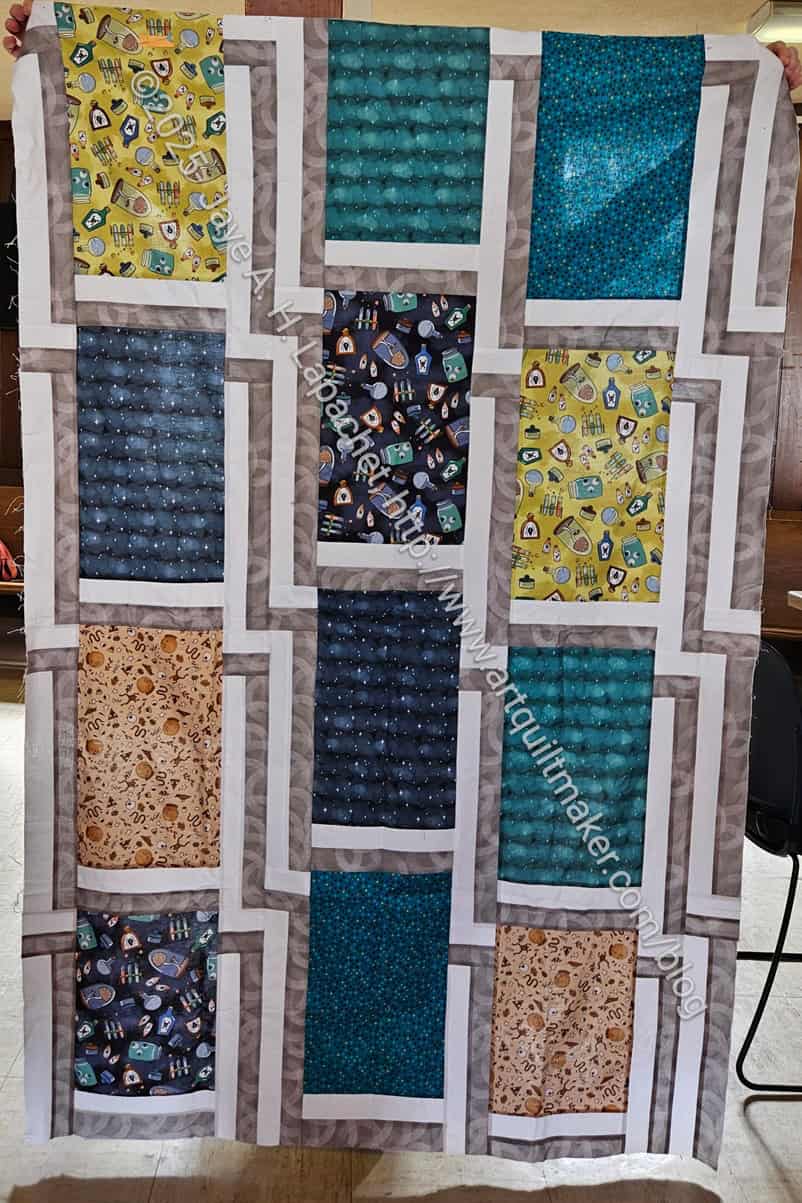
Amy’s Halloween quilt
Amy also showed the lime and teal quilt. She called it her Halloween quilt. I couldn’t really understand that and didn’t hear the explanation, but I like the fabric. I think maybe the fabric, with its bell jars, test tubes and poison jars and flasks of eyeballs might be the reason.
Mom finished the binding on the White Strips #2. Tim held it up for me and then it got turned in.
I cut up most of the leftover Half Hexie strips for the Four Patch Fun blocks. I am pleased about that, except that I have a boatload of pieces and need to cut some backgrounds for them. I keep reminding myself I don’t have to do it all at once.
I also cut out an apron I have been planning for the AirBnB house I rent when I go to Portland.