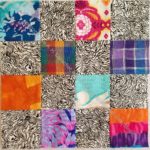
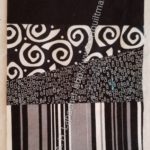
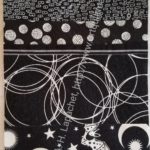
Swap Pouch

A few months ago, Angela organized a swap for the guild. The rules were that we were to use a pattern that we had been wanting to try. As mentioned in the post about what I made, I used one of the Minikins patterns.

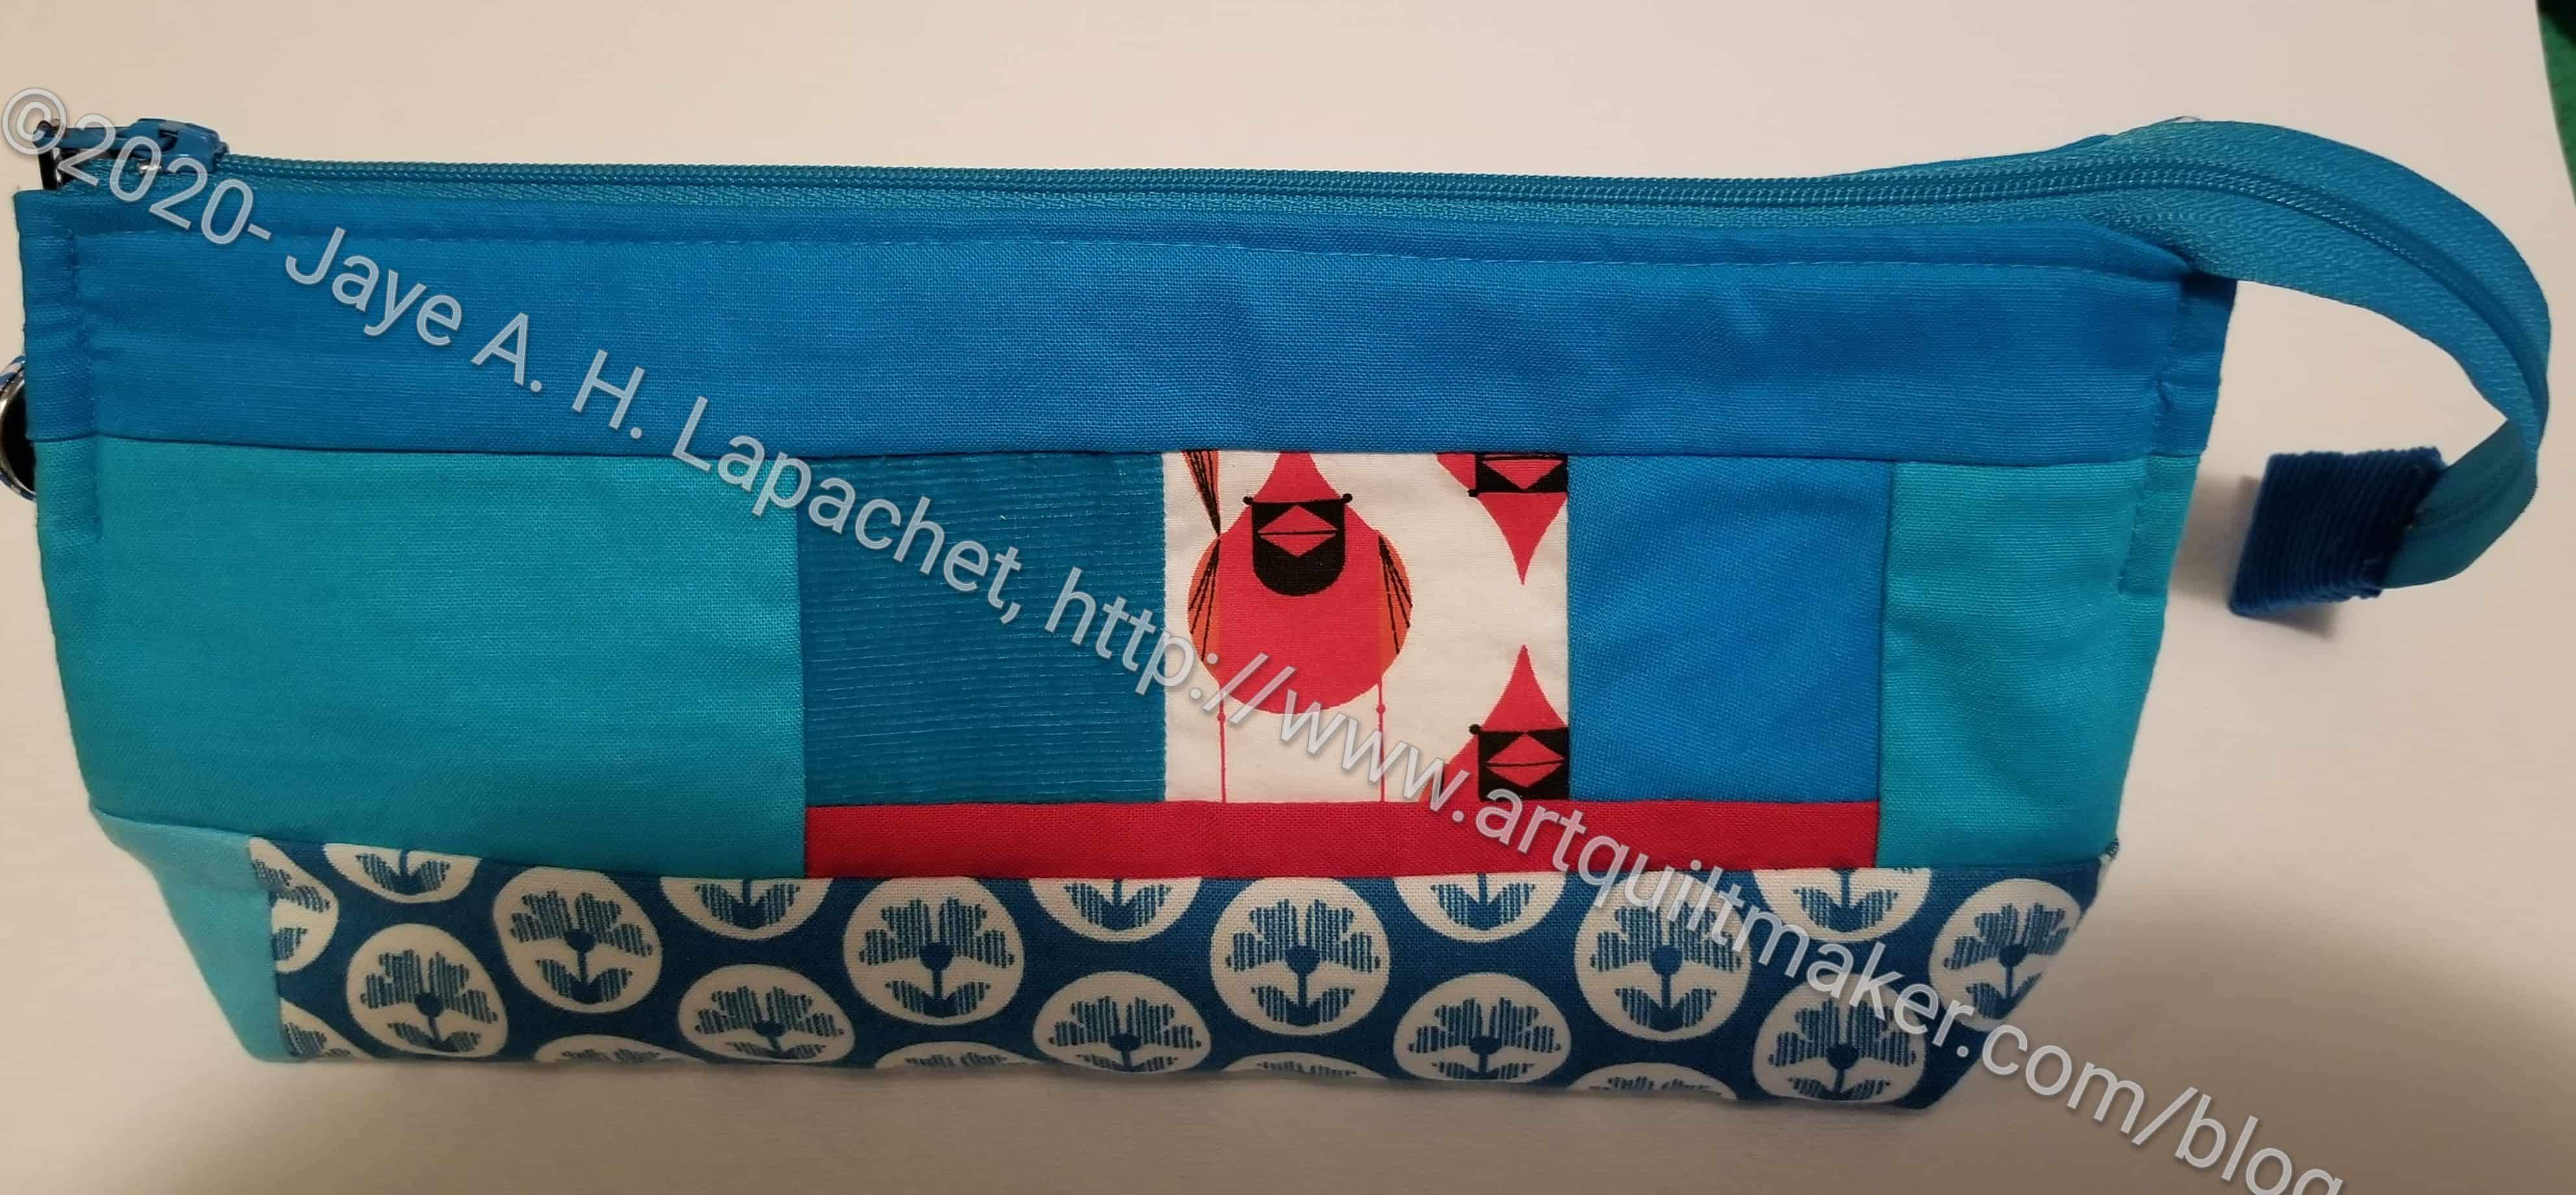
Cheryl's Swap Pouch - front
Cheryl’s Swap Pouch – front

Since our guild meetings are on Zoom now, we all took turns opening them on ‘camera’ one at a time. Cheryl was selected to make me something and she made me a POUCH! I told you it was pouch week here at AQ!

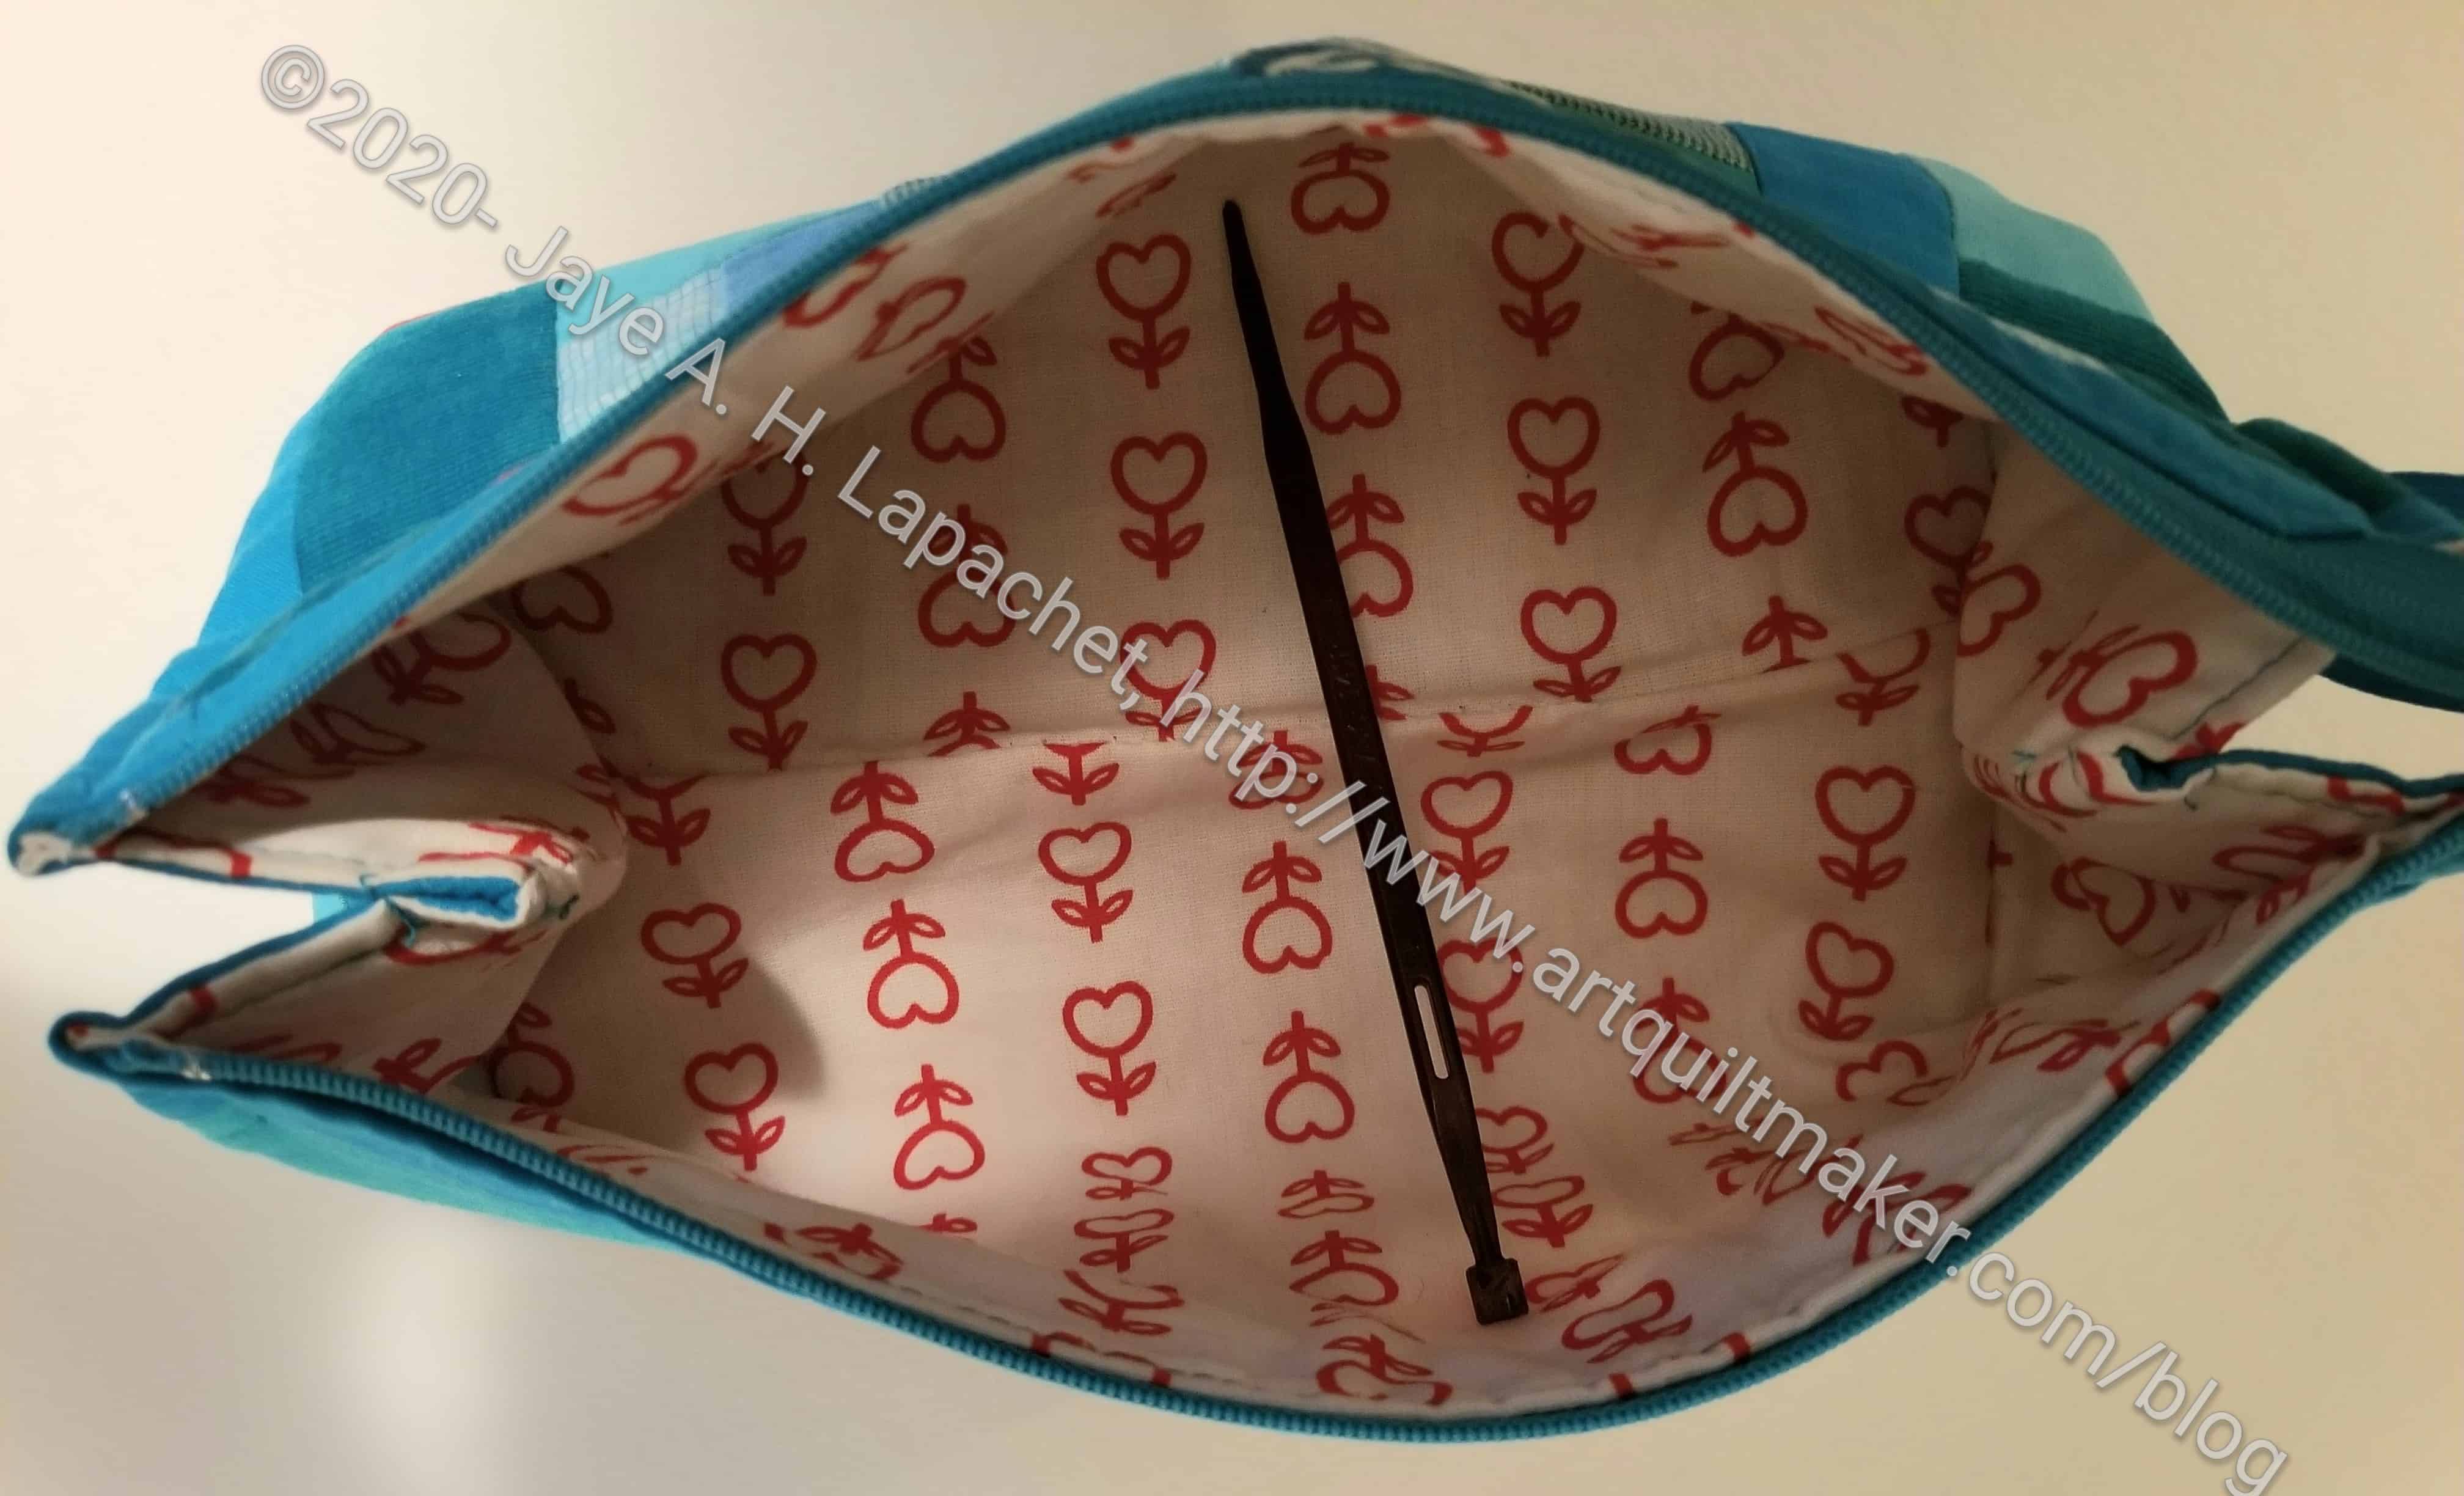
Cheryl's Swap Pouch - open
Cheryl’s Swap Pouch – open

Yes, a pouch and it matches the pouch that Angela made for me several months ago, which I use for work.

How do you like that bird (cardinal??) on the front? I love it! He looks sassy. I don’t know why I think of it as a ‘he’.

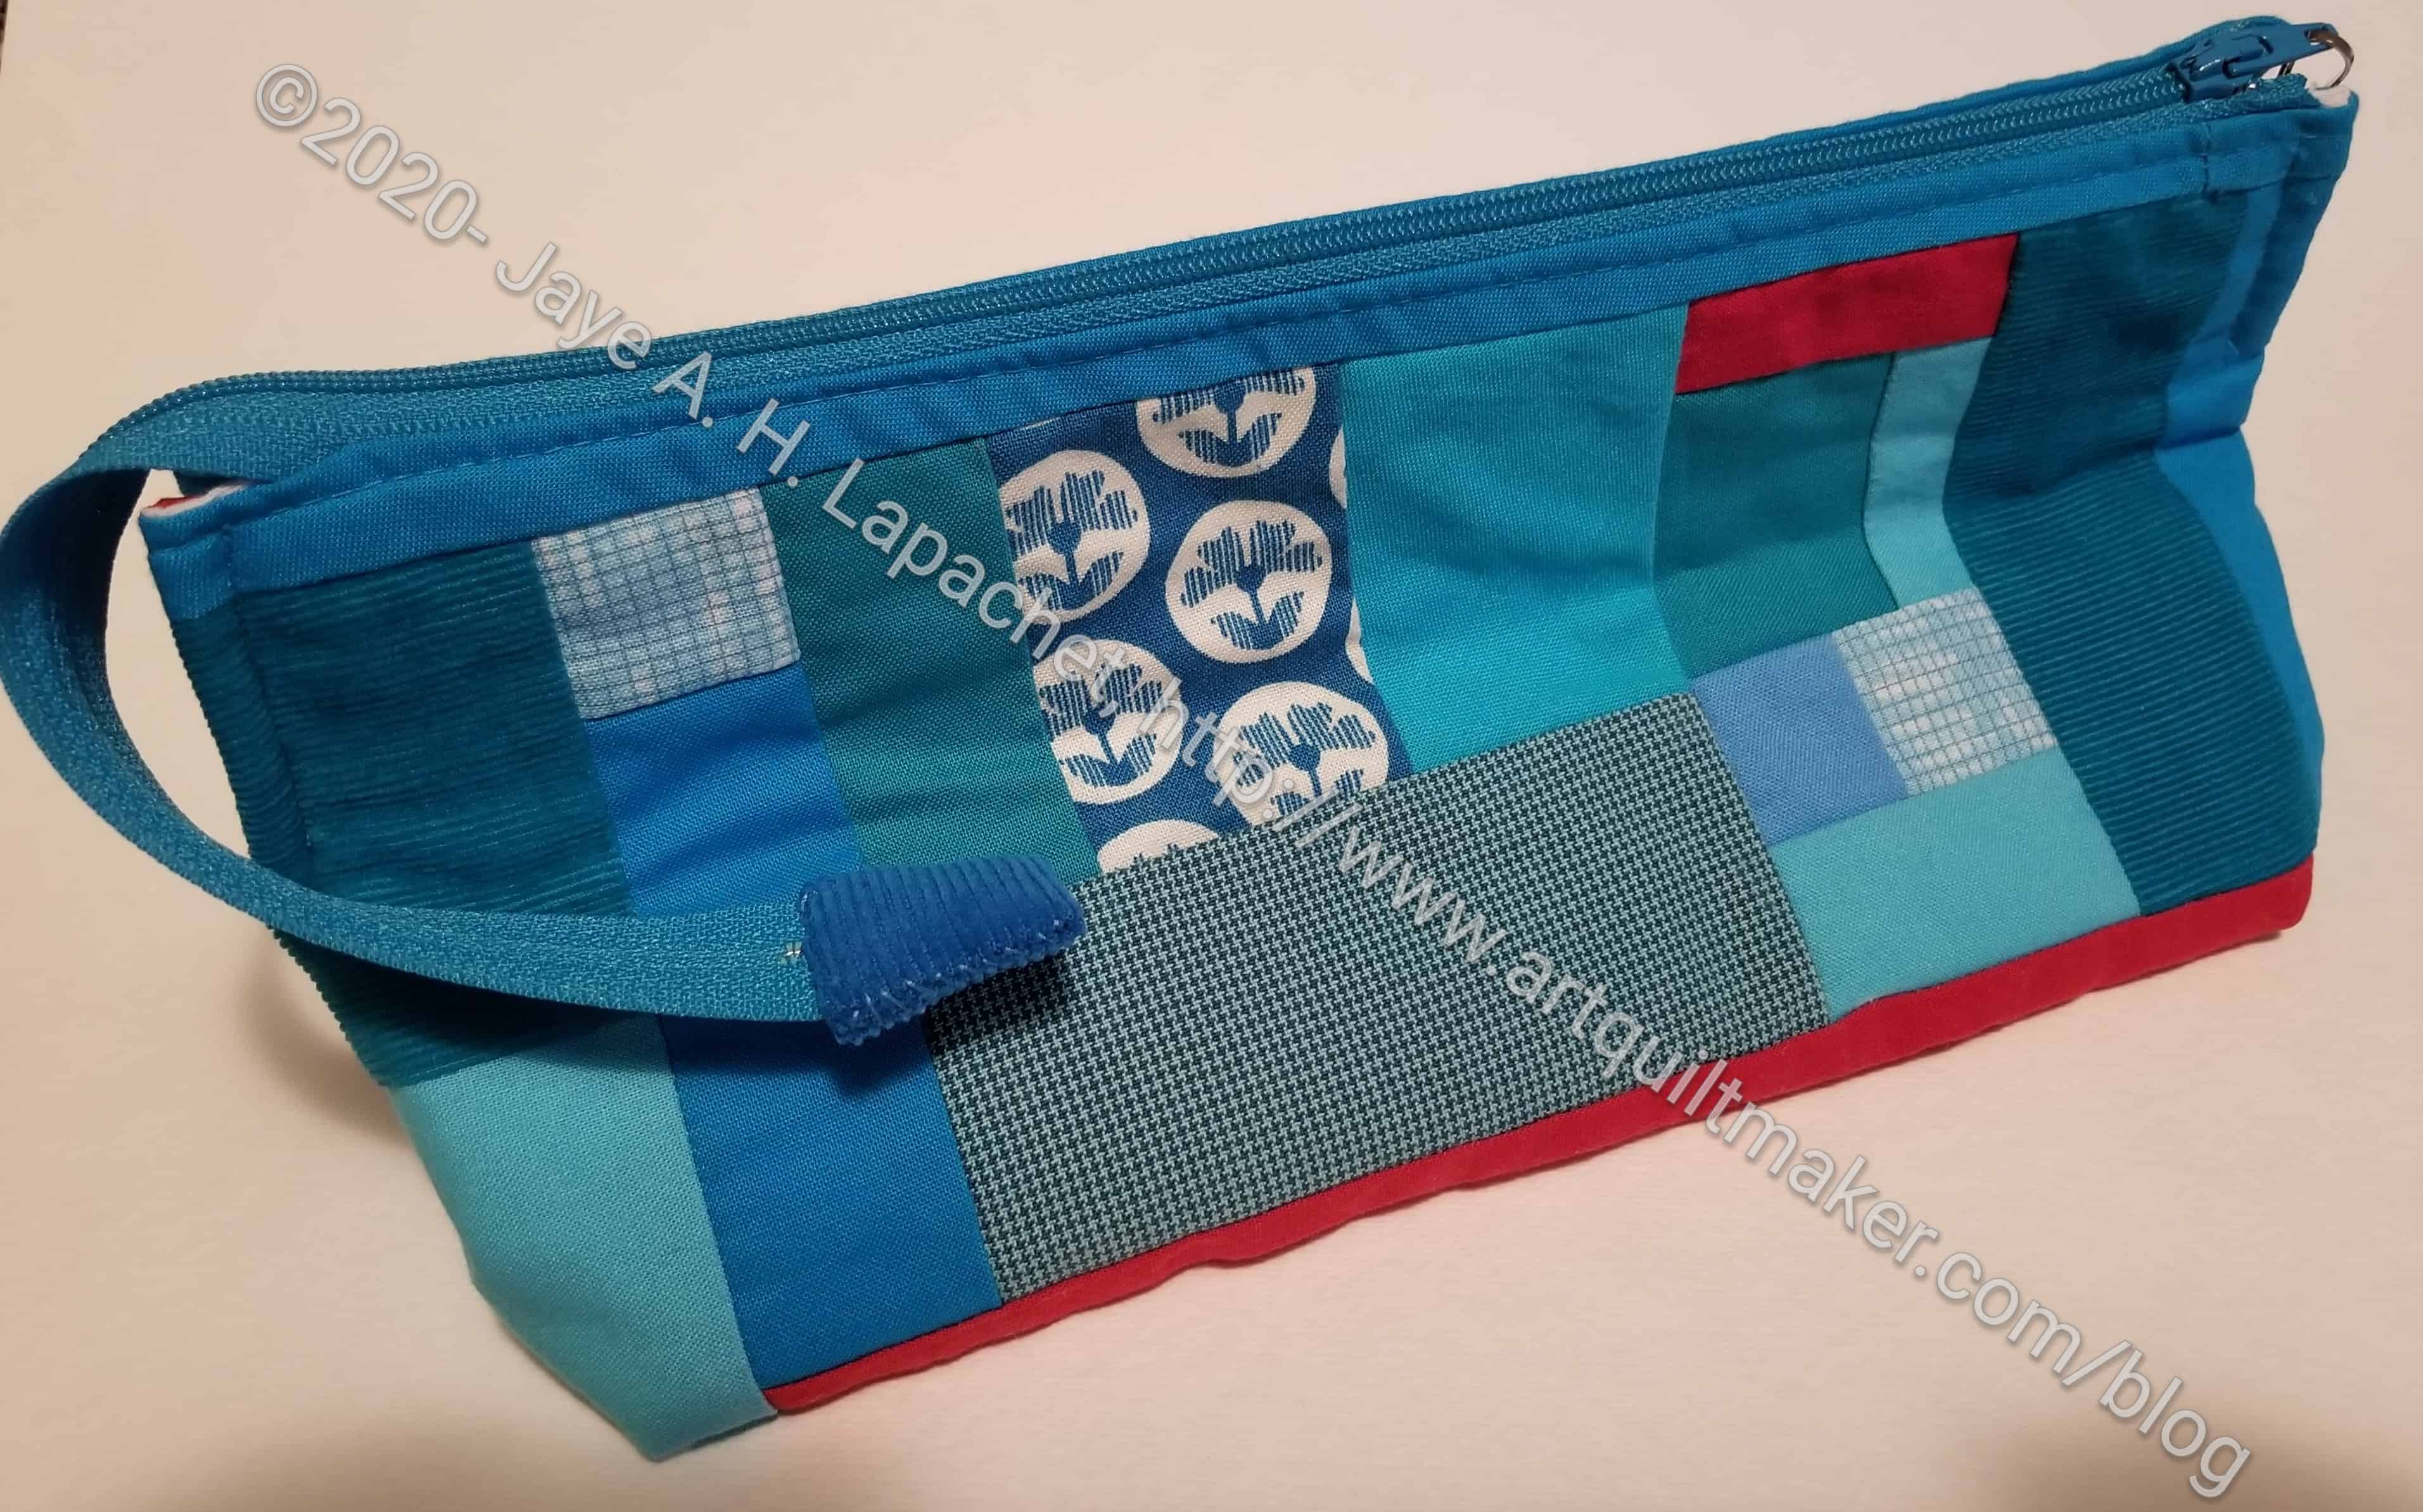
Cheryl's Swap Pouch - back
Cheryl’s Swap Pouch – back

This is a really nice wide mouth pouch. It will be really good for a small knitting project or some EPP  or something that needs some space, but not a lot of tools. There aren’t any internal pockets, but I think that is ok.

One really nice thing is that there is some corduroy fabric included in the piecing. It is so soft! I want to stroke the corduroy parts of the pouch.

Perhaps I will use it for my bias tape makers? It’s a little big, but I have it available.

Quilting the Blue Strip Donation Quilt

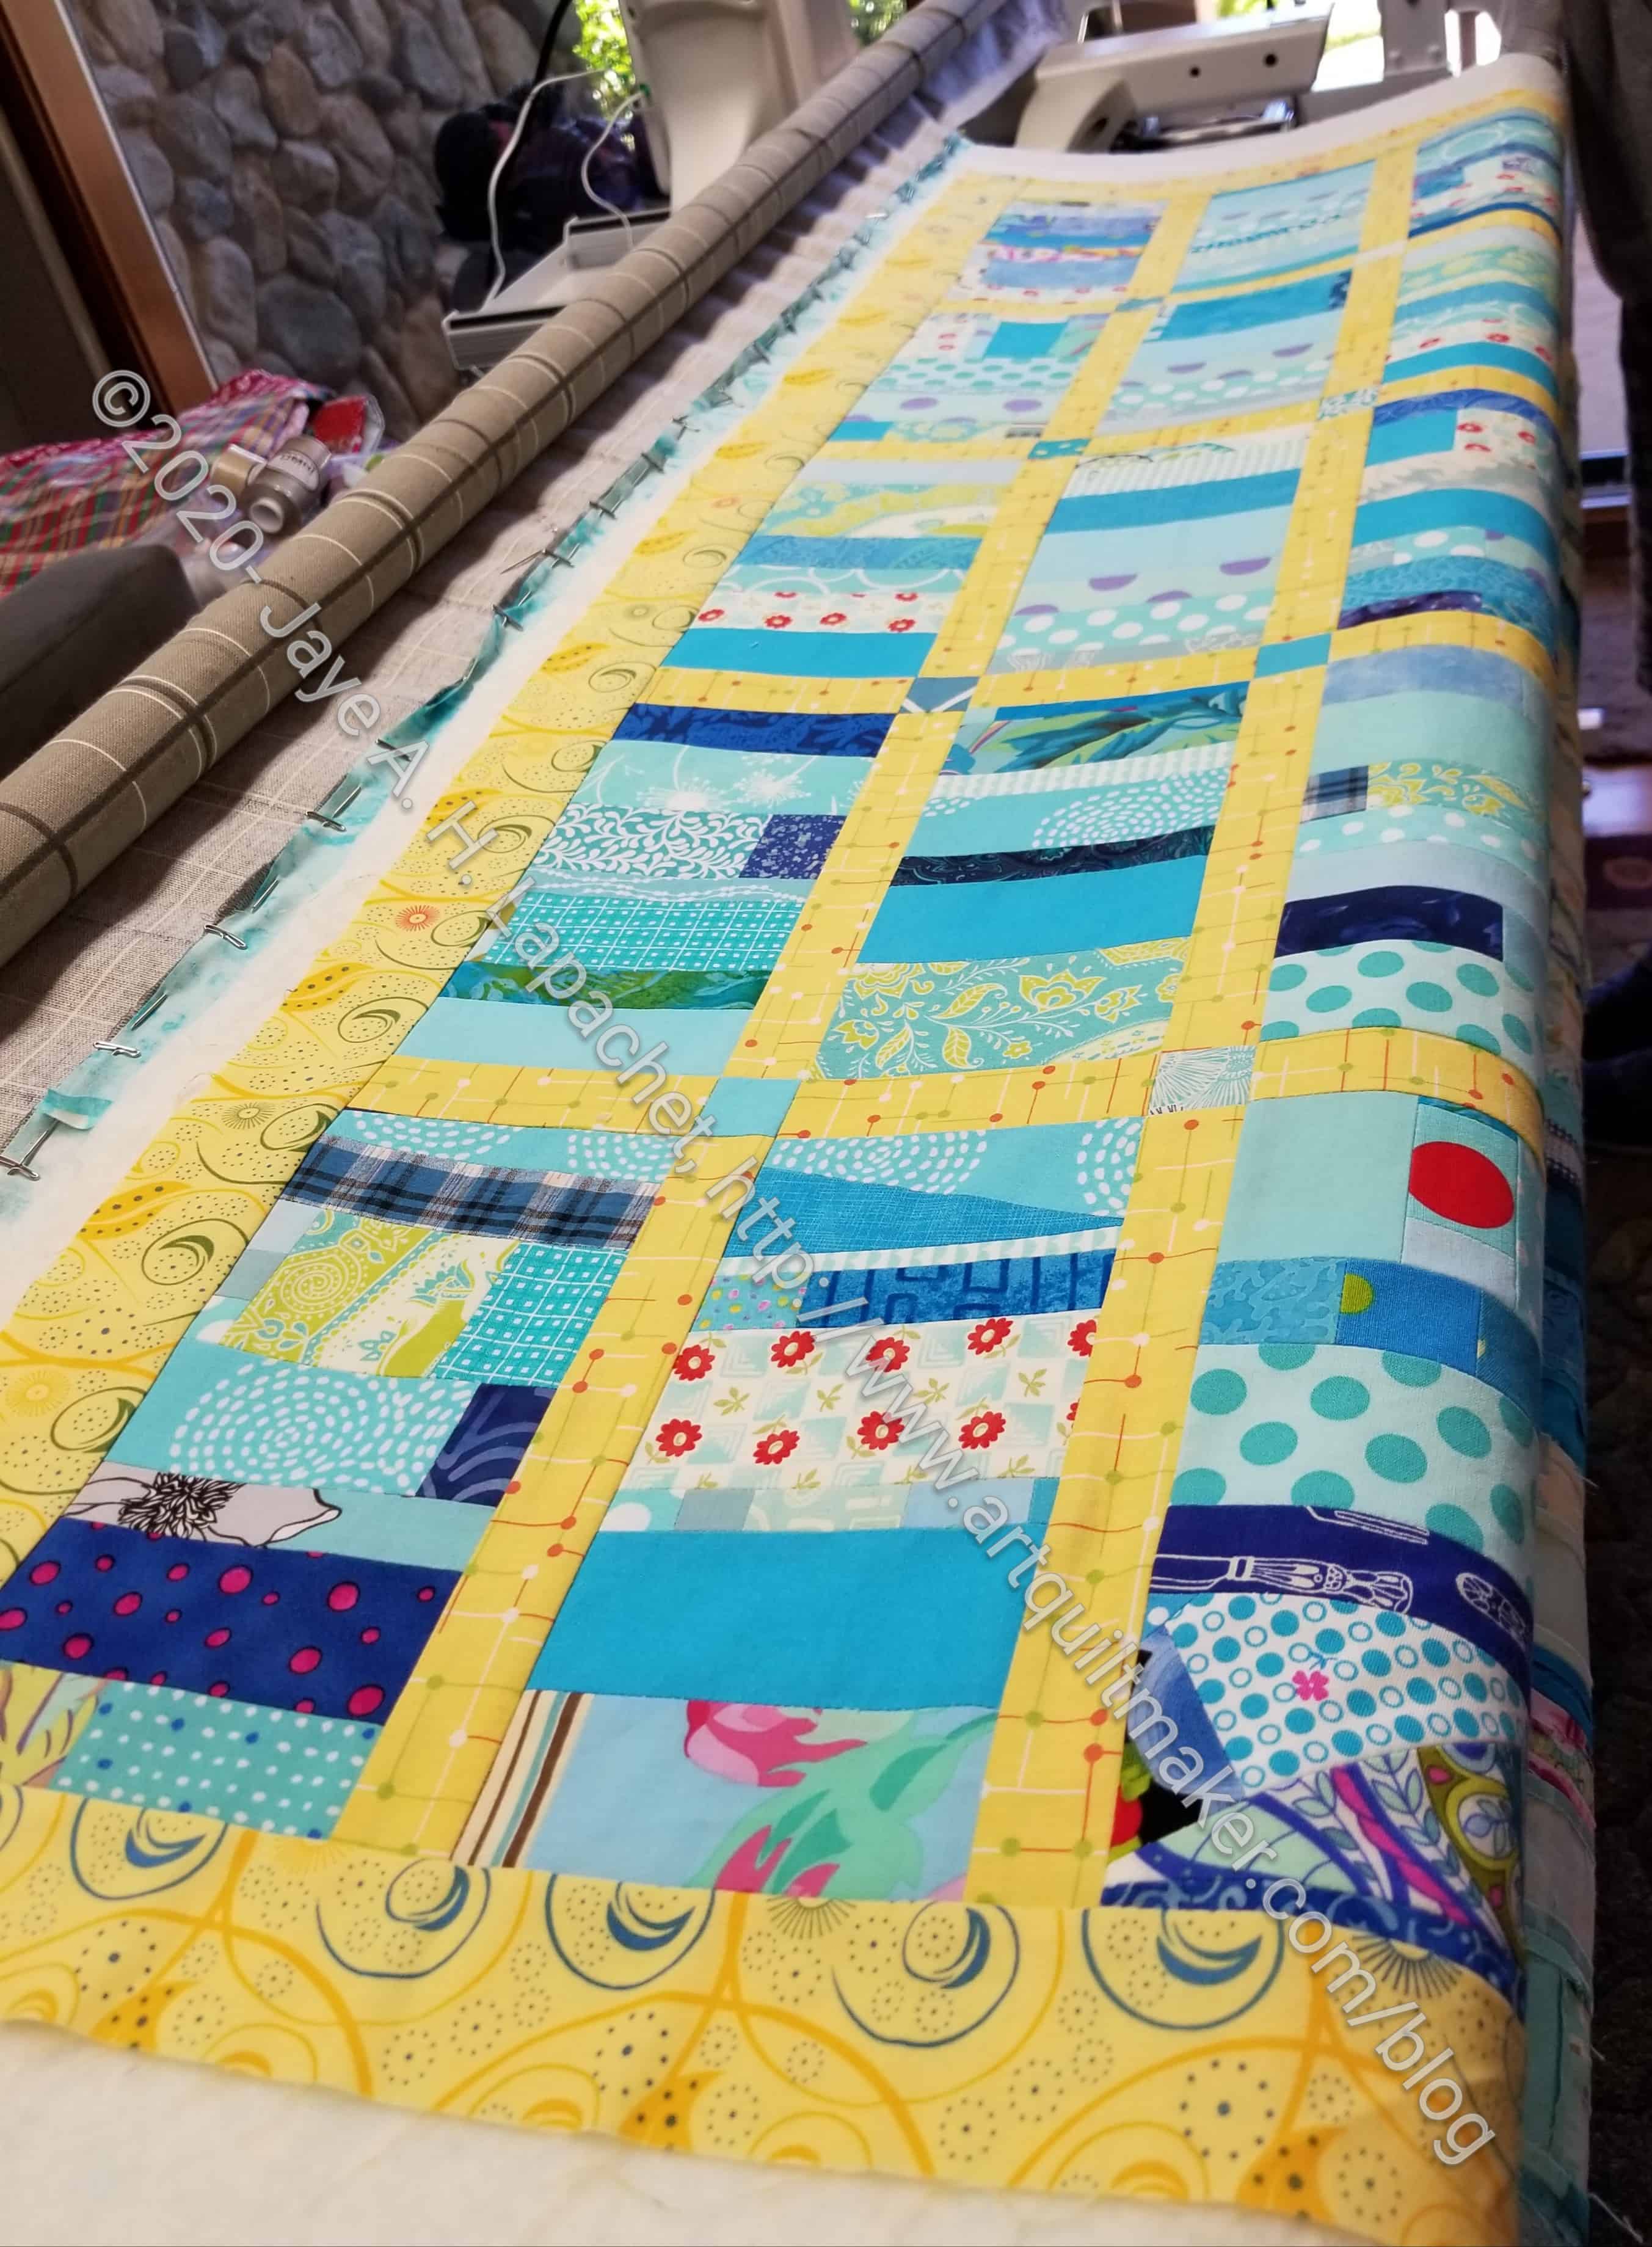
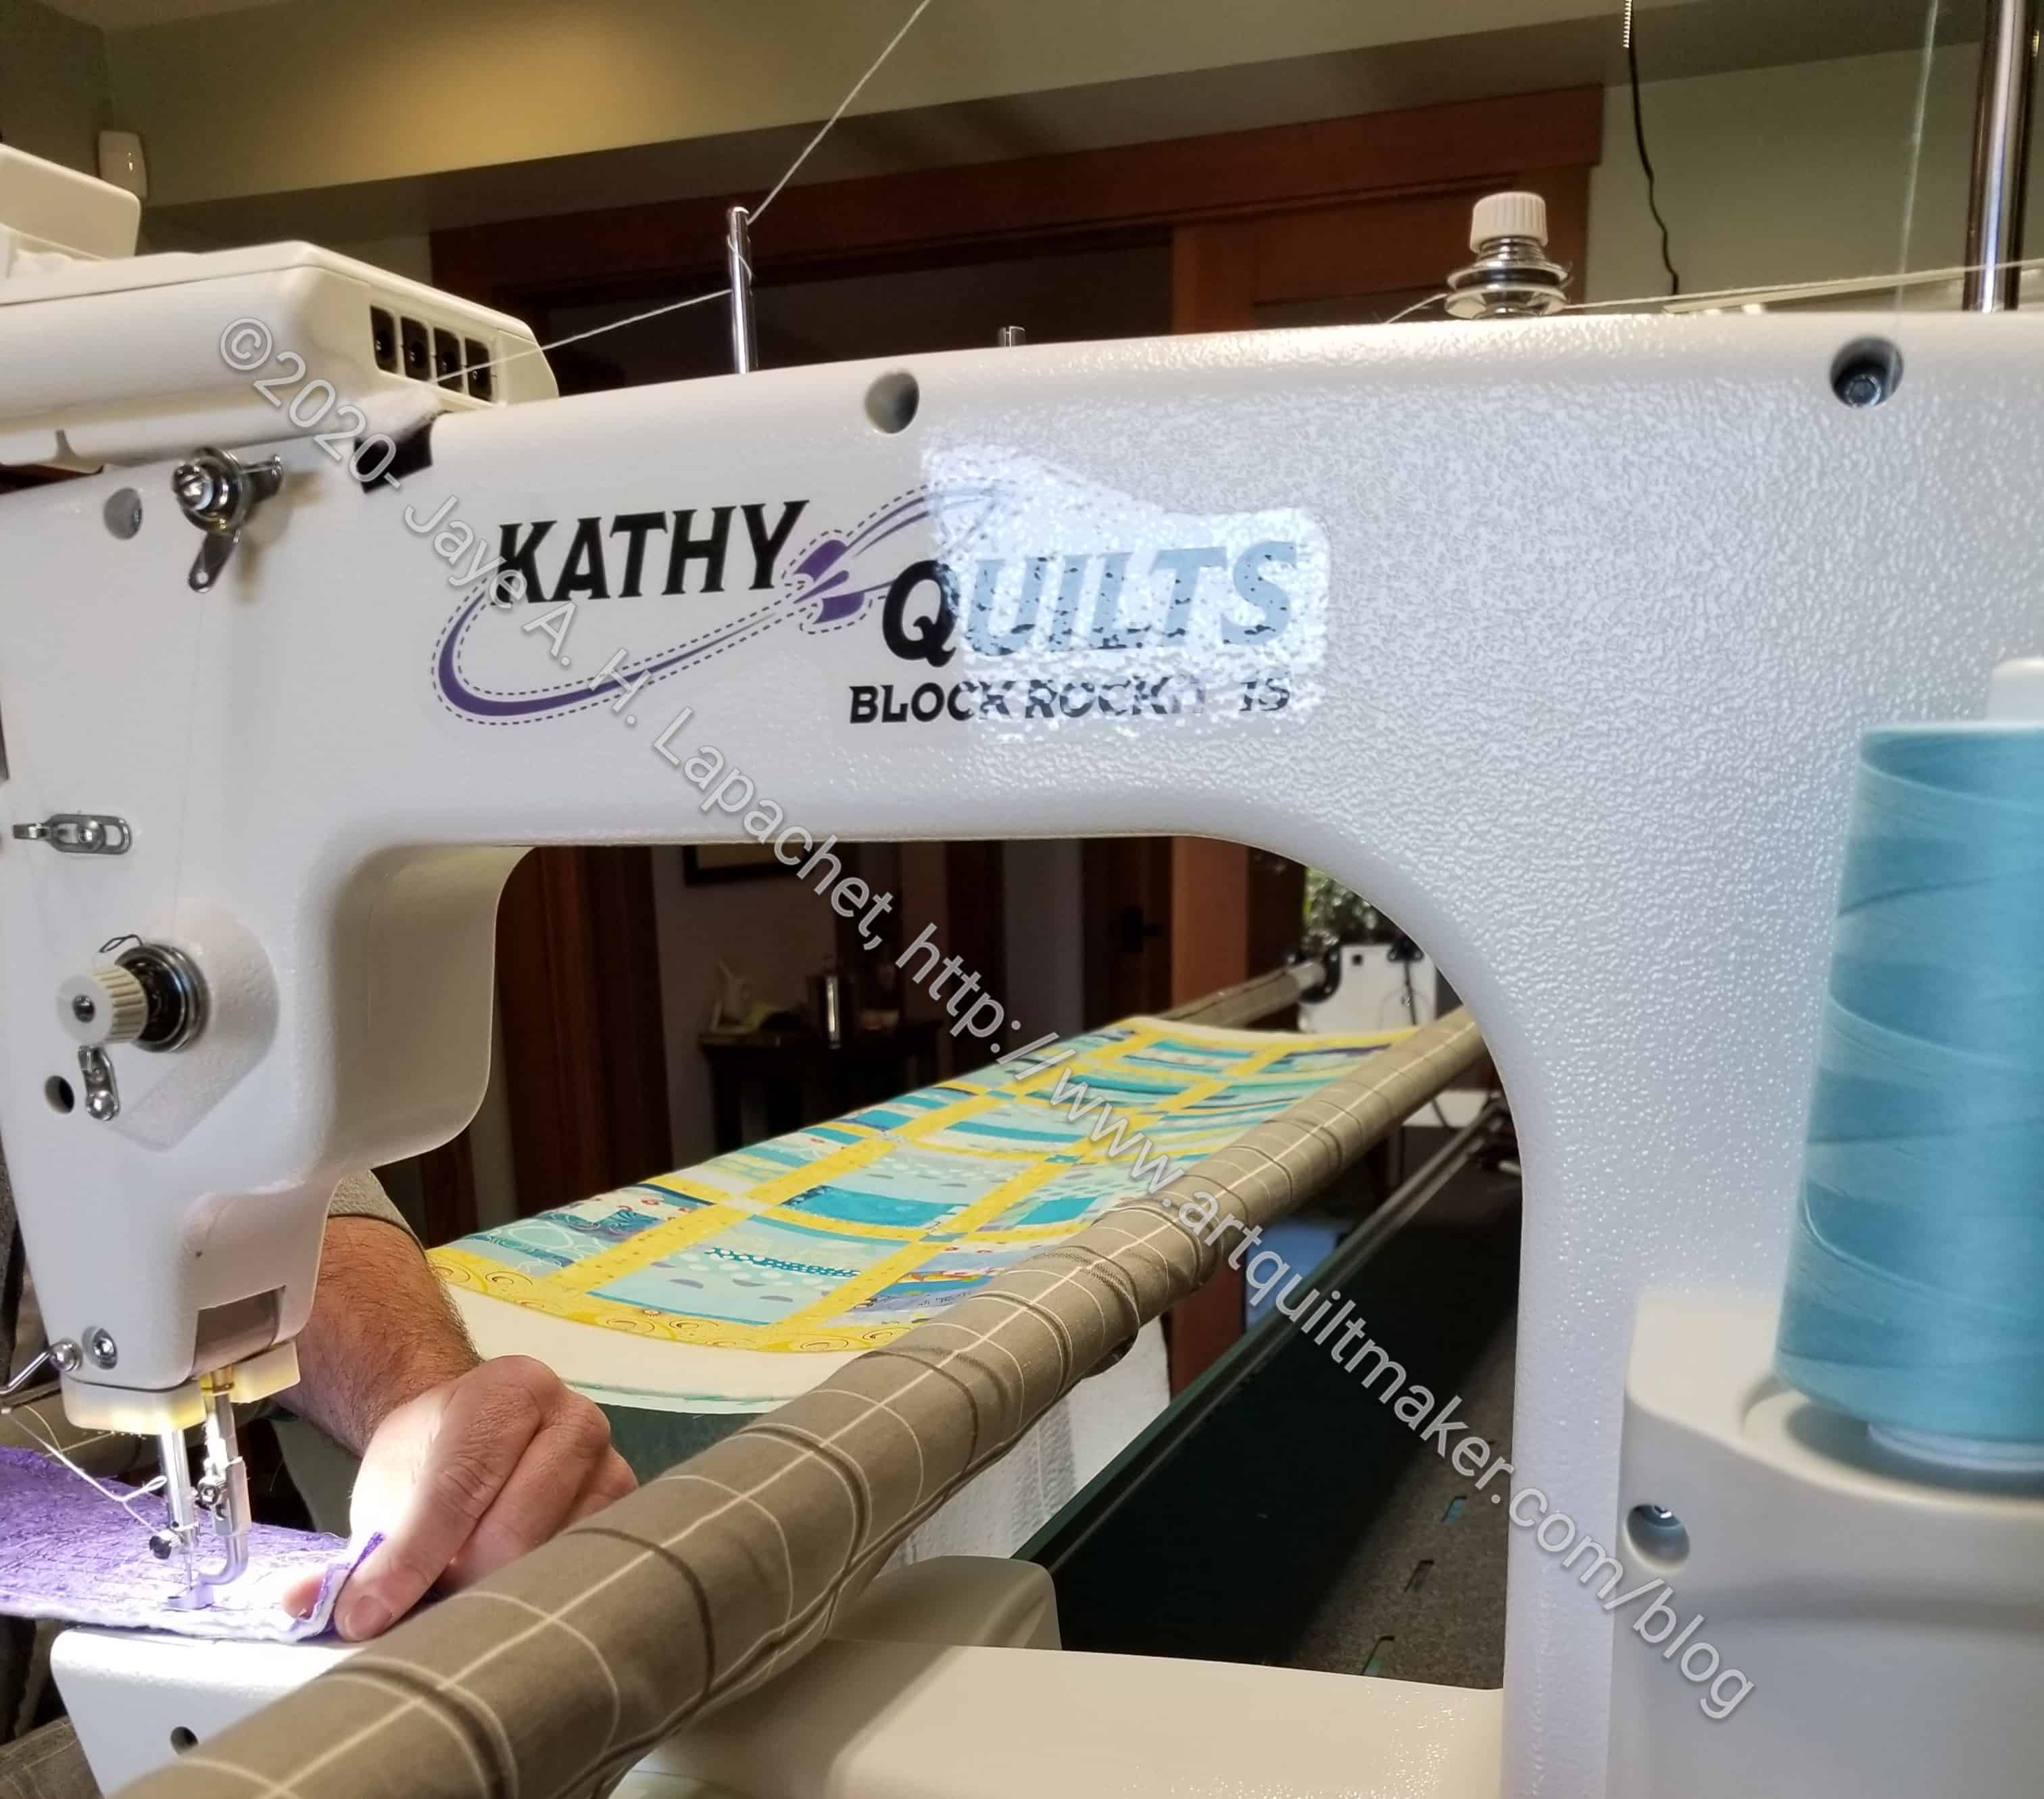
Blue Strip on the longarm

I went to retrieve a piece of fabric that  Tim quilted for me. I will be making bags for our dining room table leaves. Because making quilts and never showing them in person is not fun, I brought some of the donation tops I have made since March. Tim has a number of my donation quilts to quilt. I told him I just wanted to show him the quilts, but he insisted on keeping a couple of them to quilt. Tim kept the Traffic Jam quilt, the Plaid donation quilt and this one.


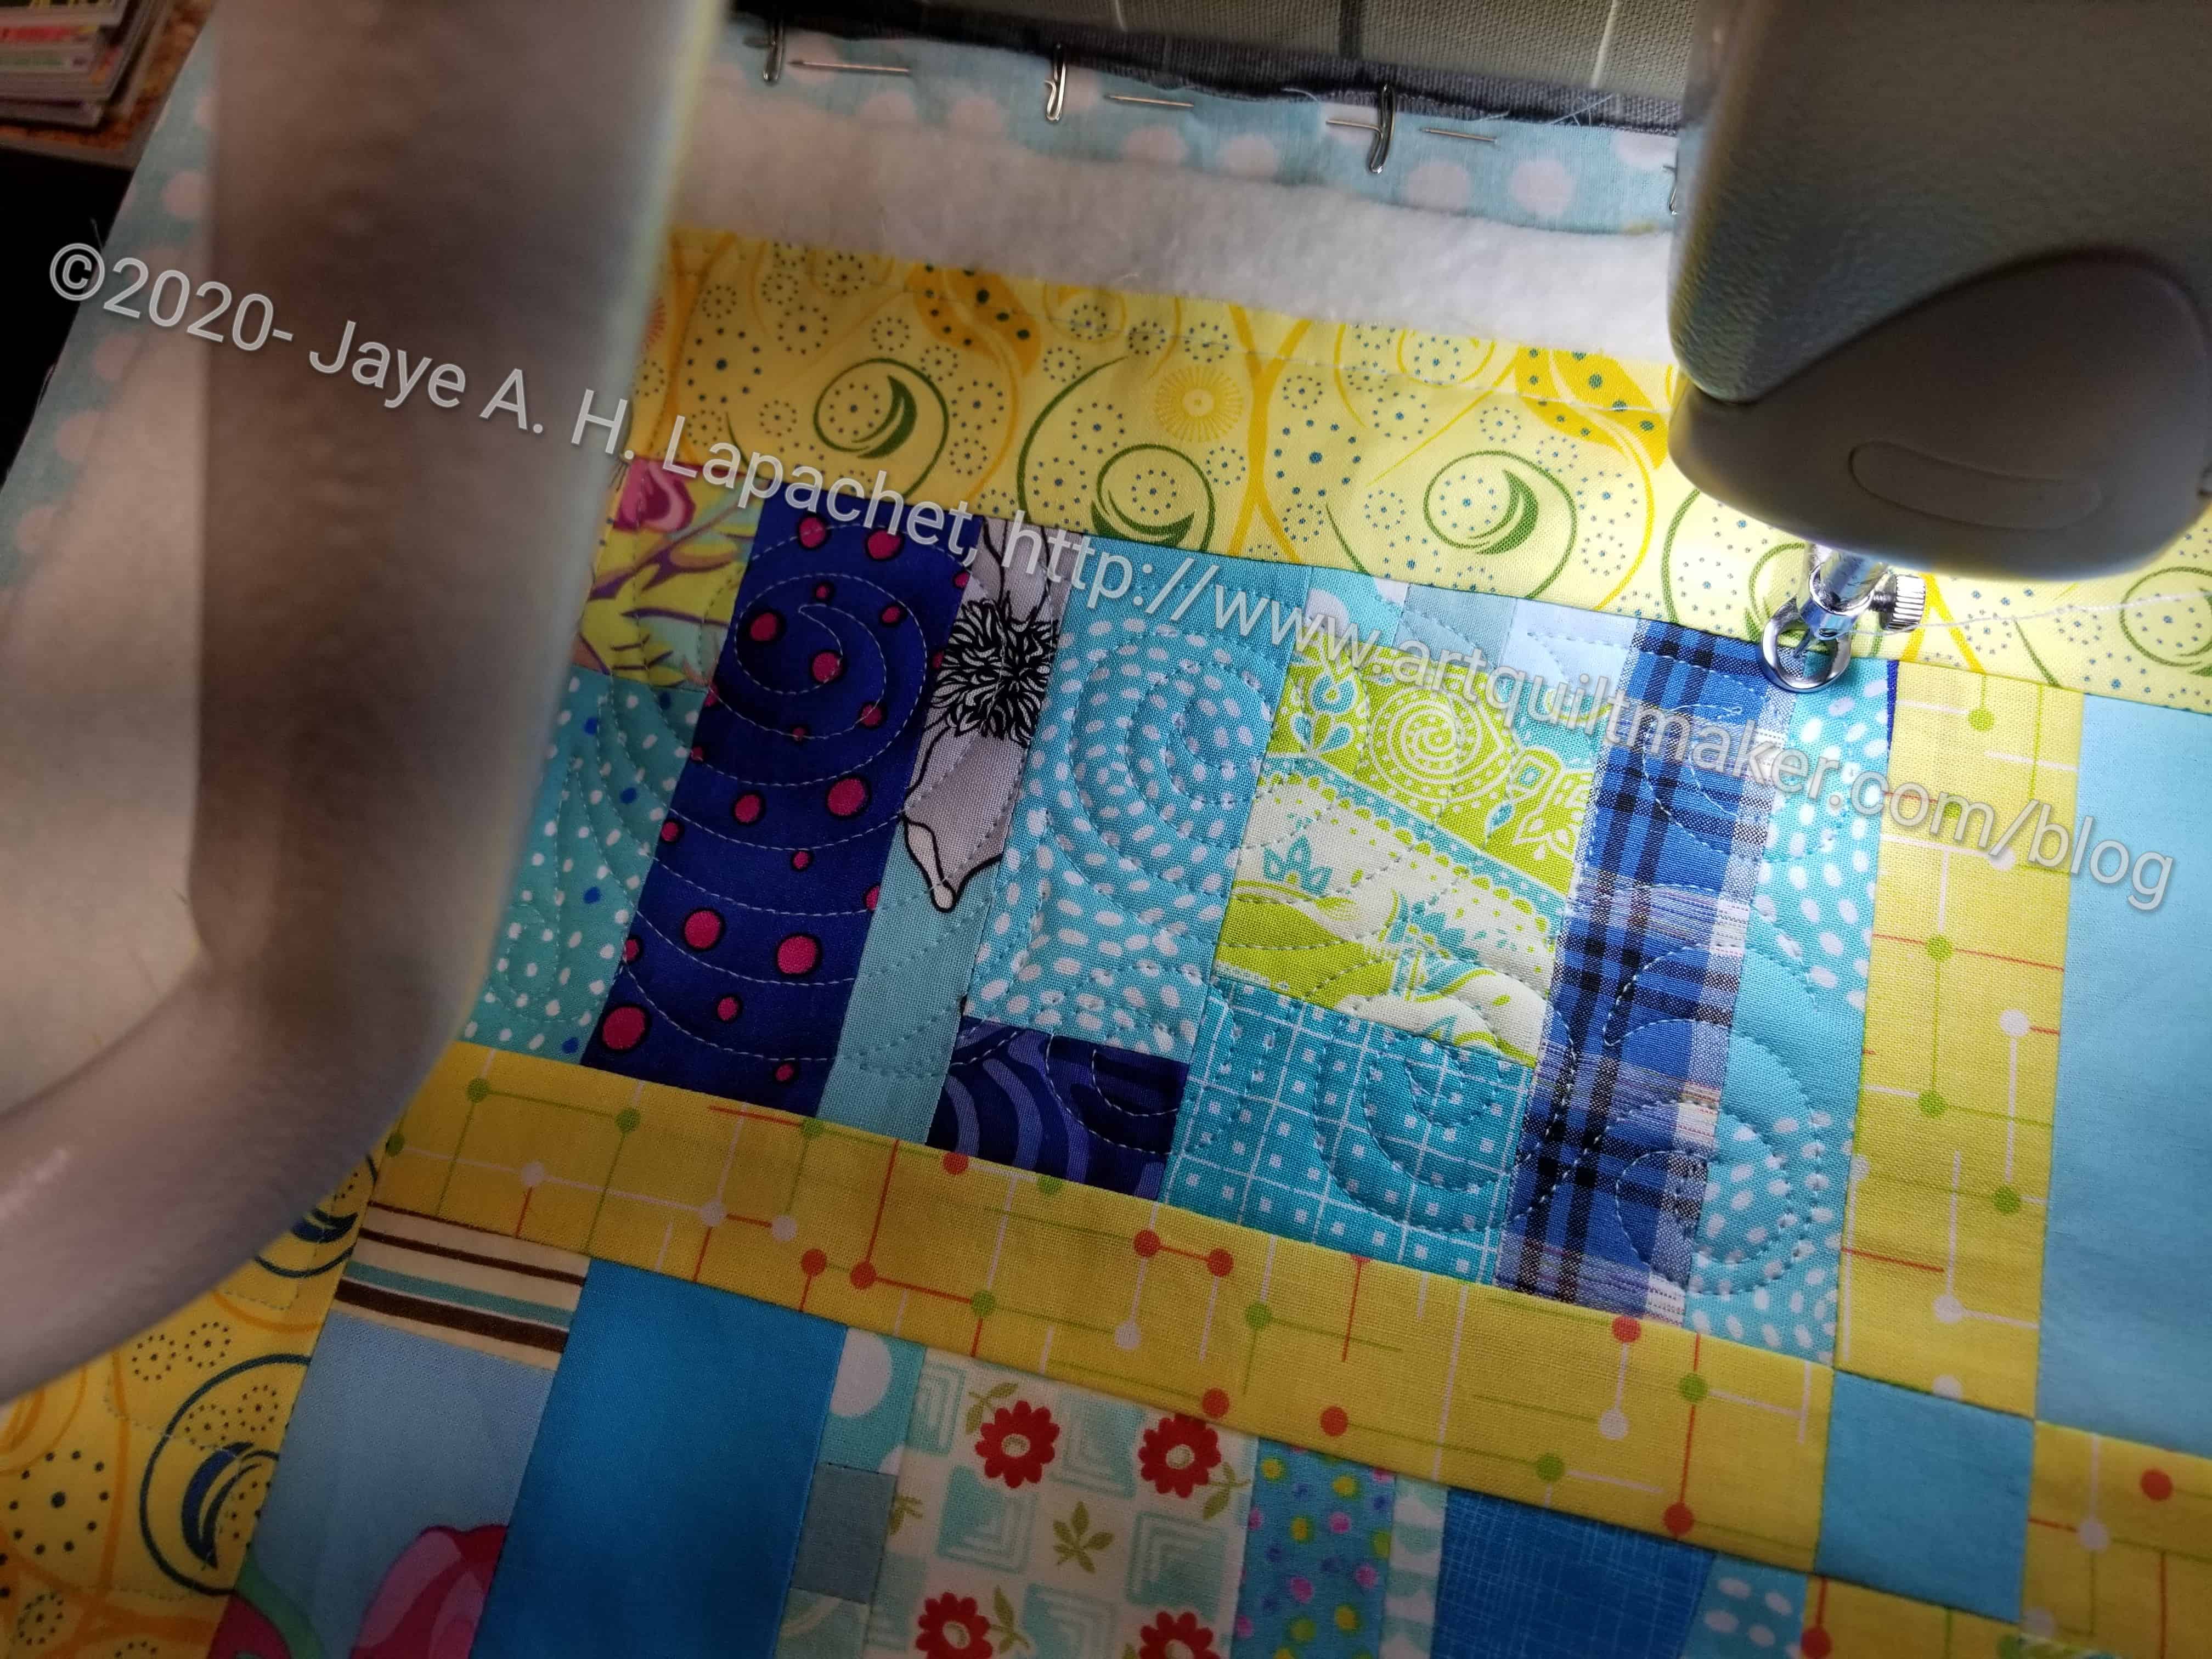
Blue Strip  quilting detail
Blue Strip quilting detail

I didn’t argue with him, but I insisted on helping him load one of the quilts, the first Blue Strip donation quilt on the longarm. I made this back in March. Since then it has been languishing in my ‘going to guild’ bag. I was just about to ask if anyone wanted to quilt some quilts. I will still do that for the 2 Spiky 16 patches I have, but I have many fewer to try to pawn off.

Blue Strip on the longarm

If I help him get a quilt on the machine, he quilts it relatively quickly. It is also good practice for me, so we pinned this piece to his leaders, he tested the stitch length and did a bit of the quilting to test out the machine and the pattern. I am pretty excited that these quilts are out of my bag. I told Tim I would be back to help him get another quilt on the machine.


Swap Gift

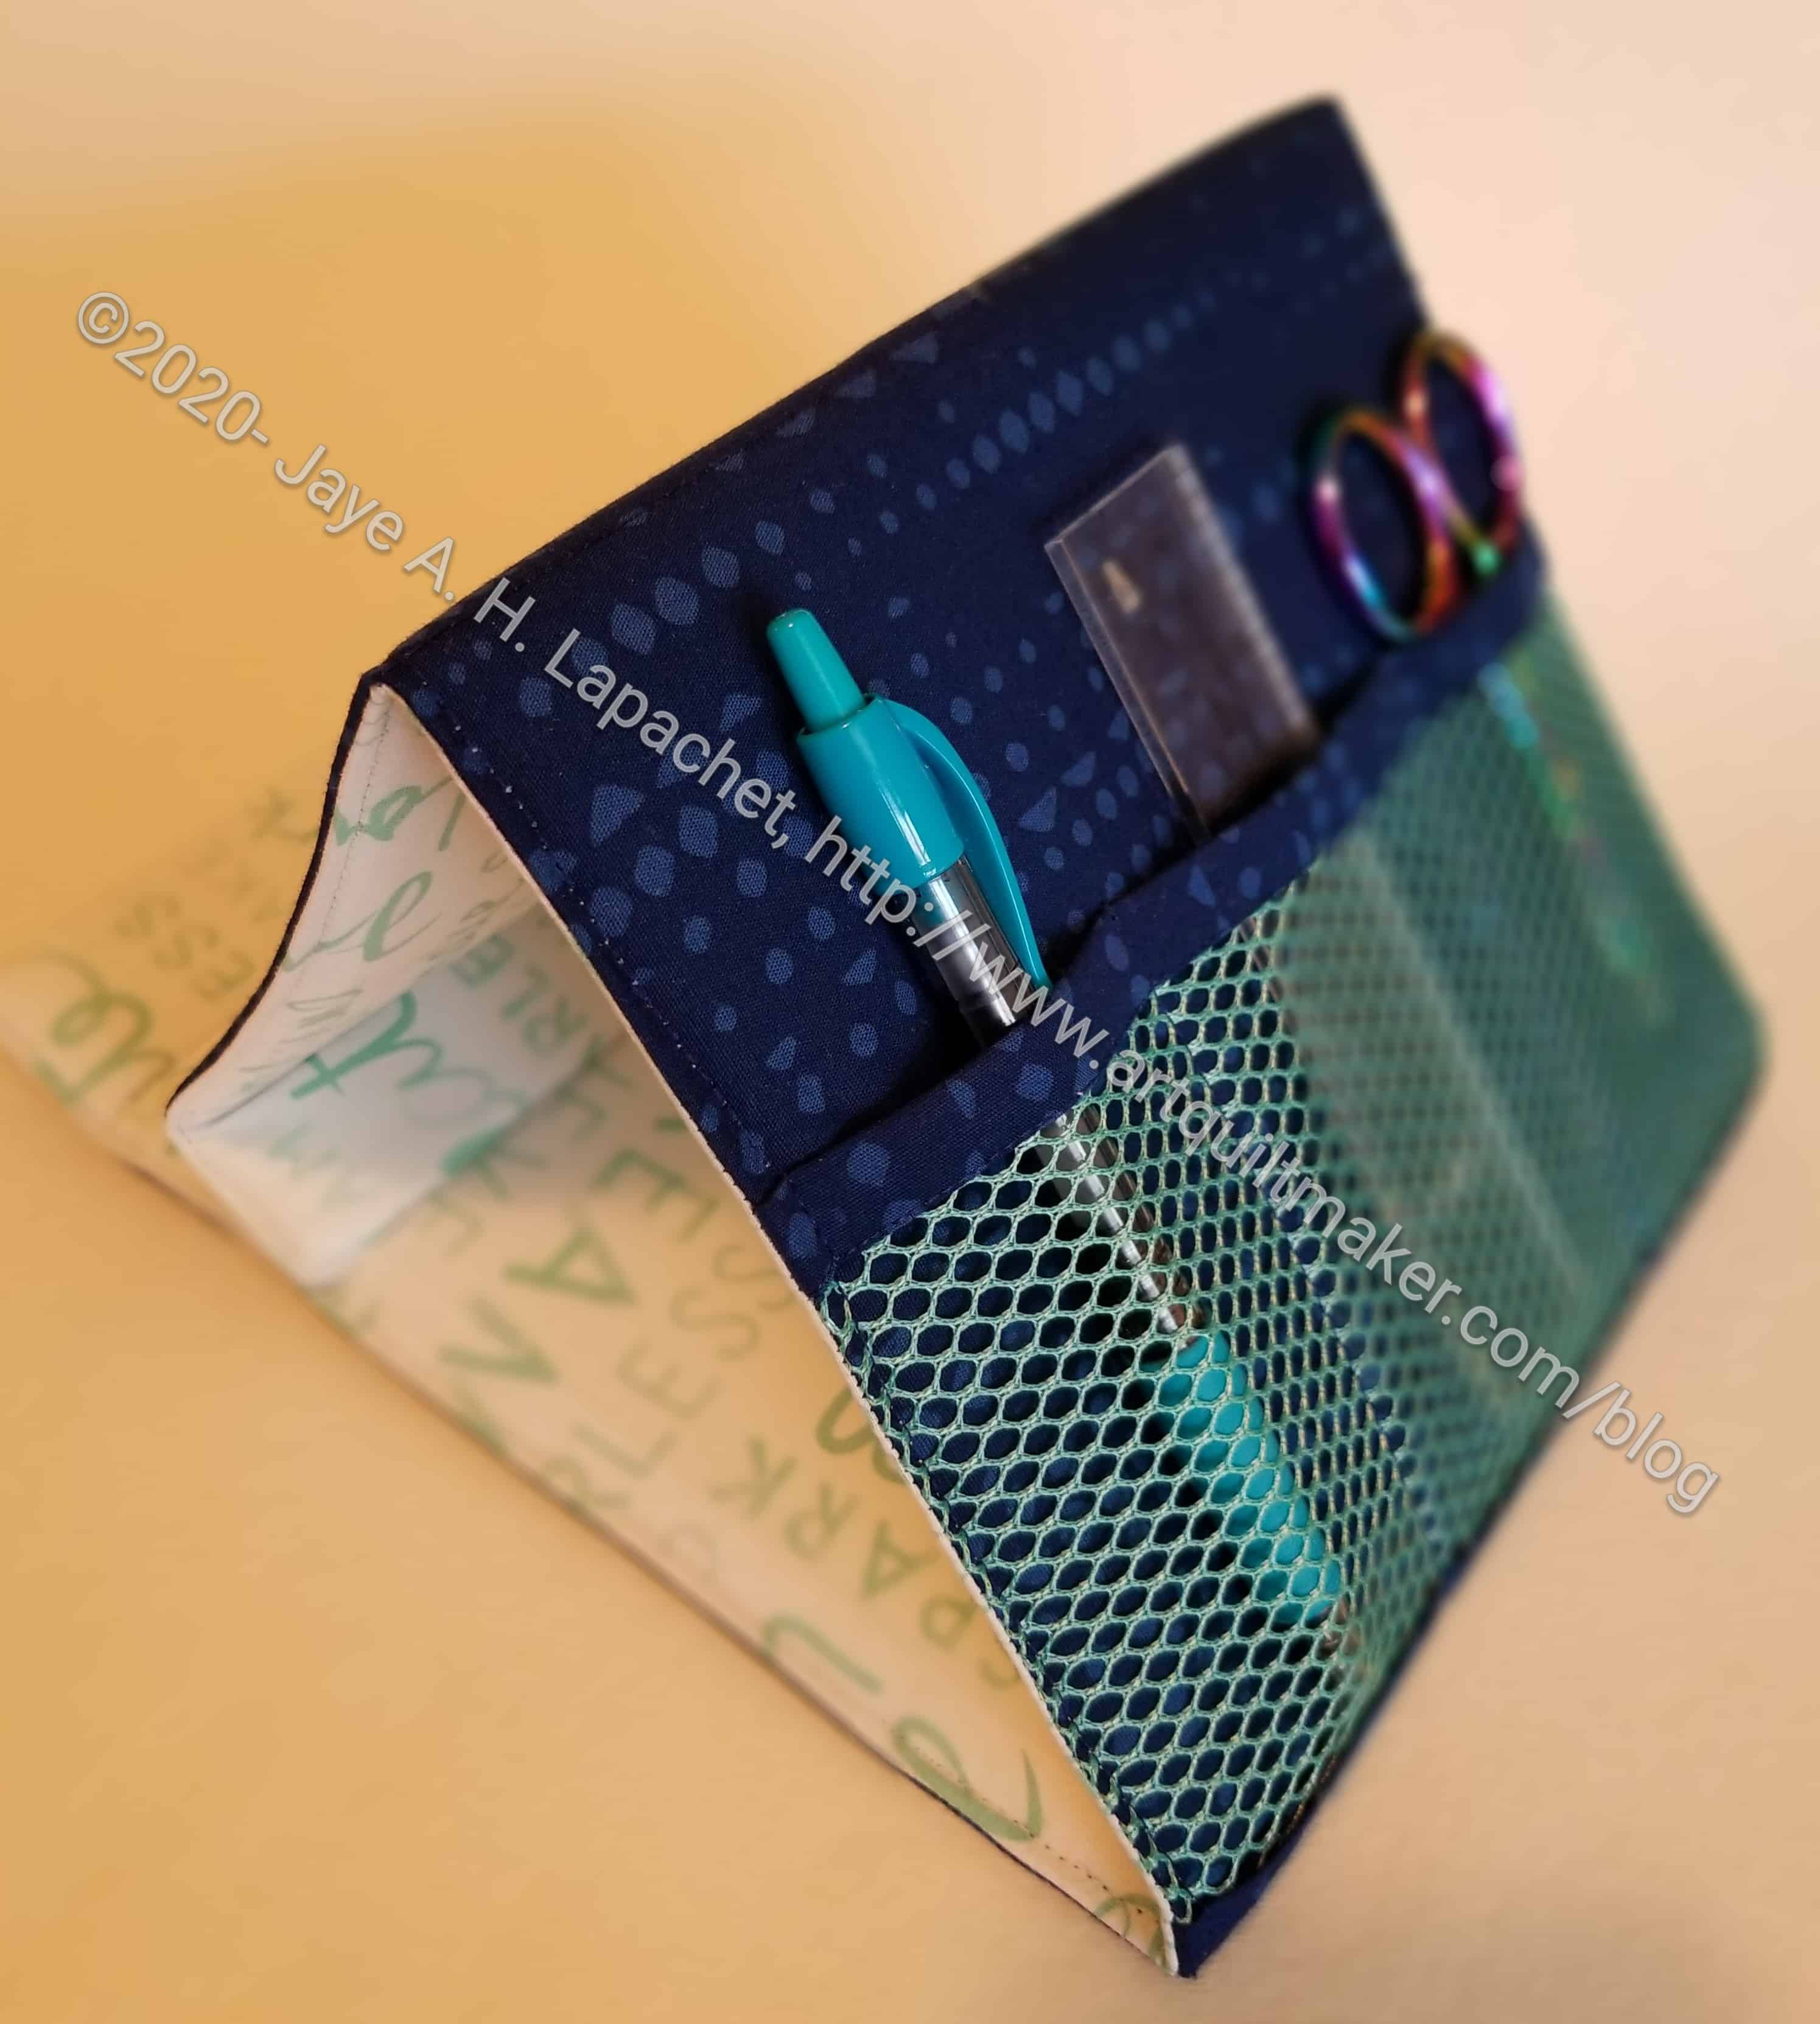
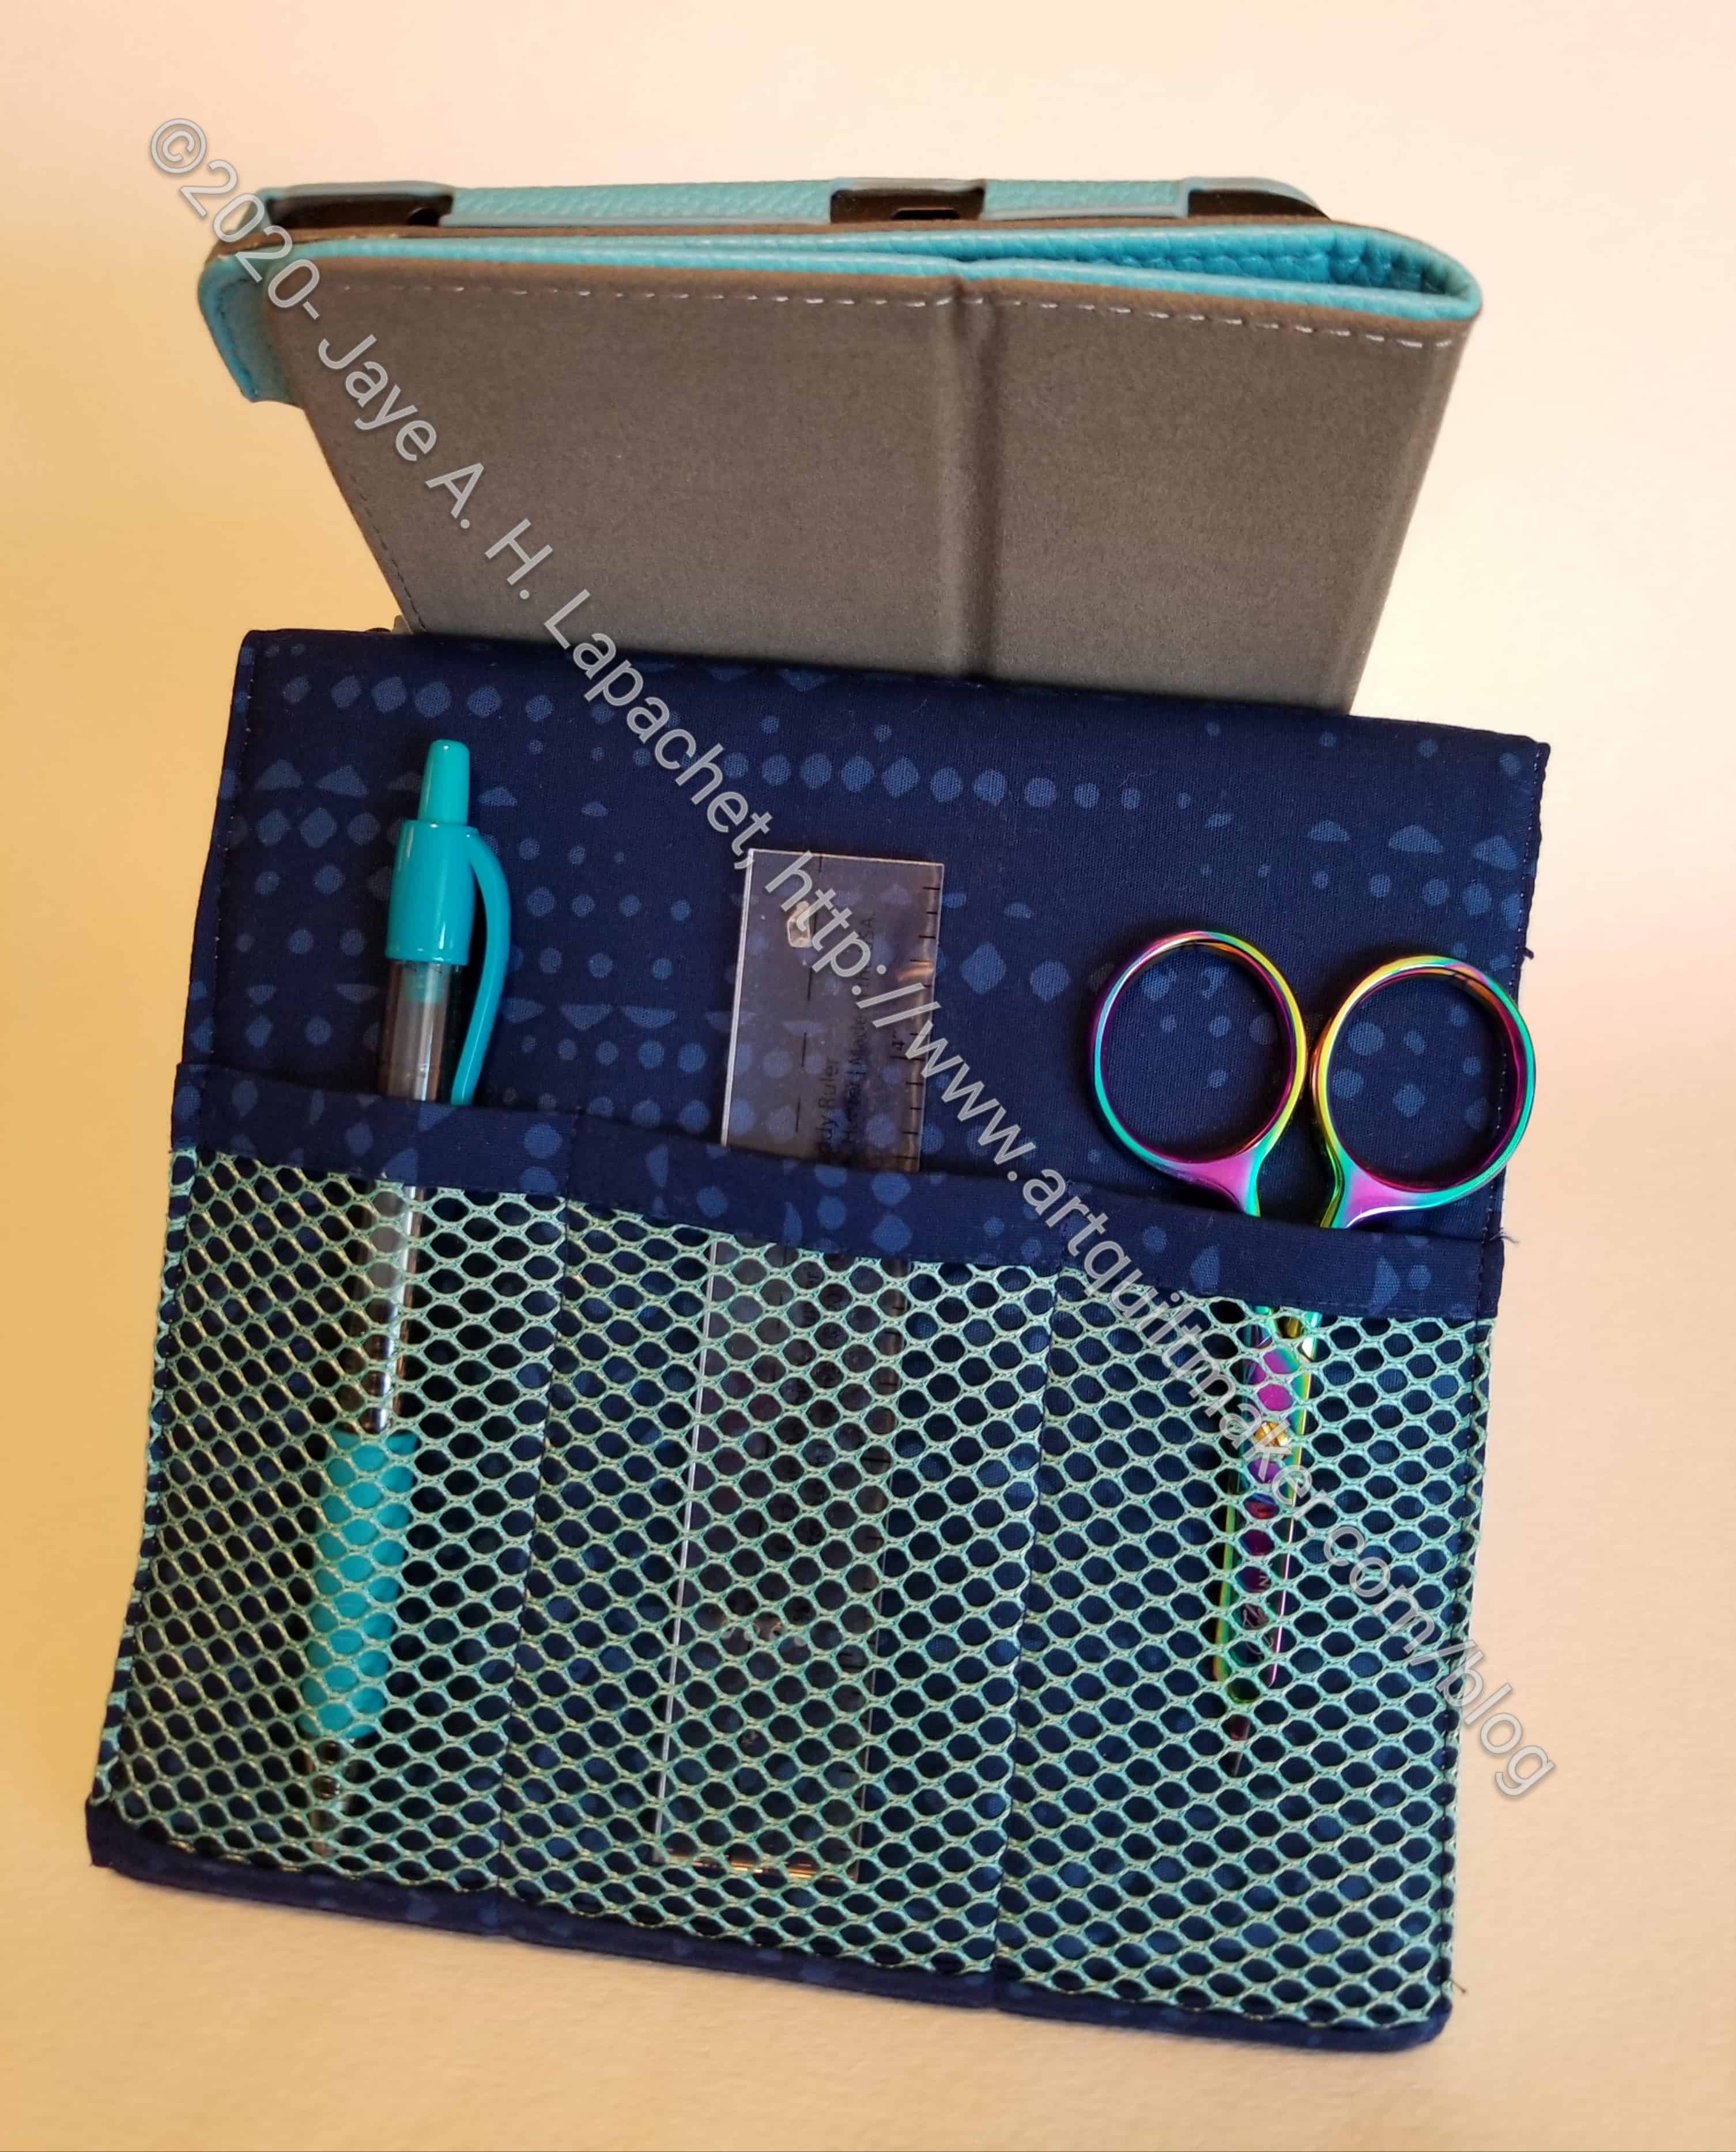
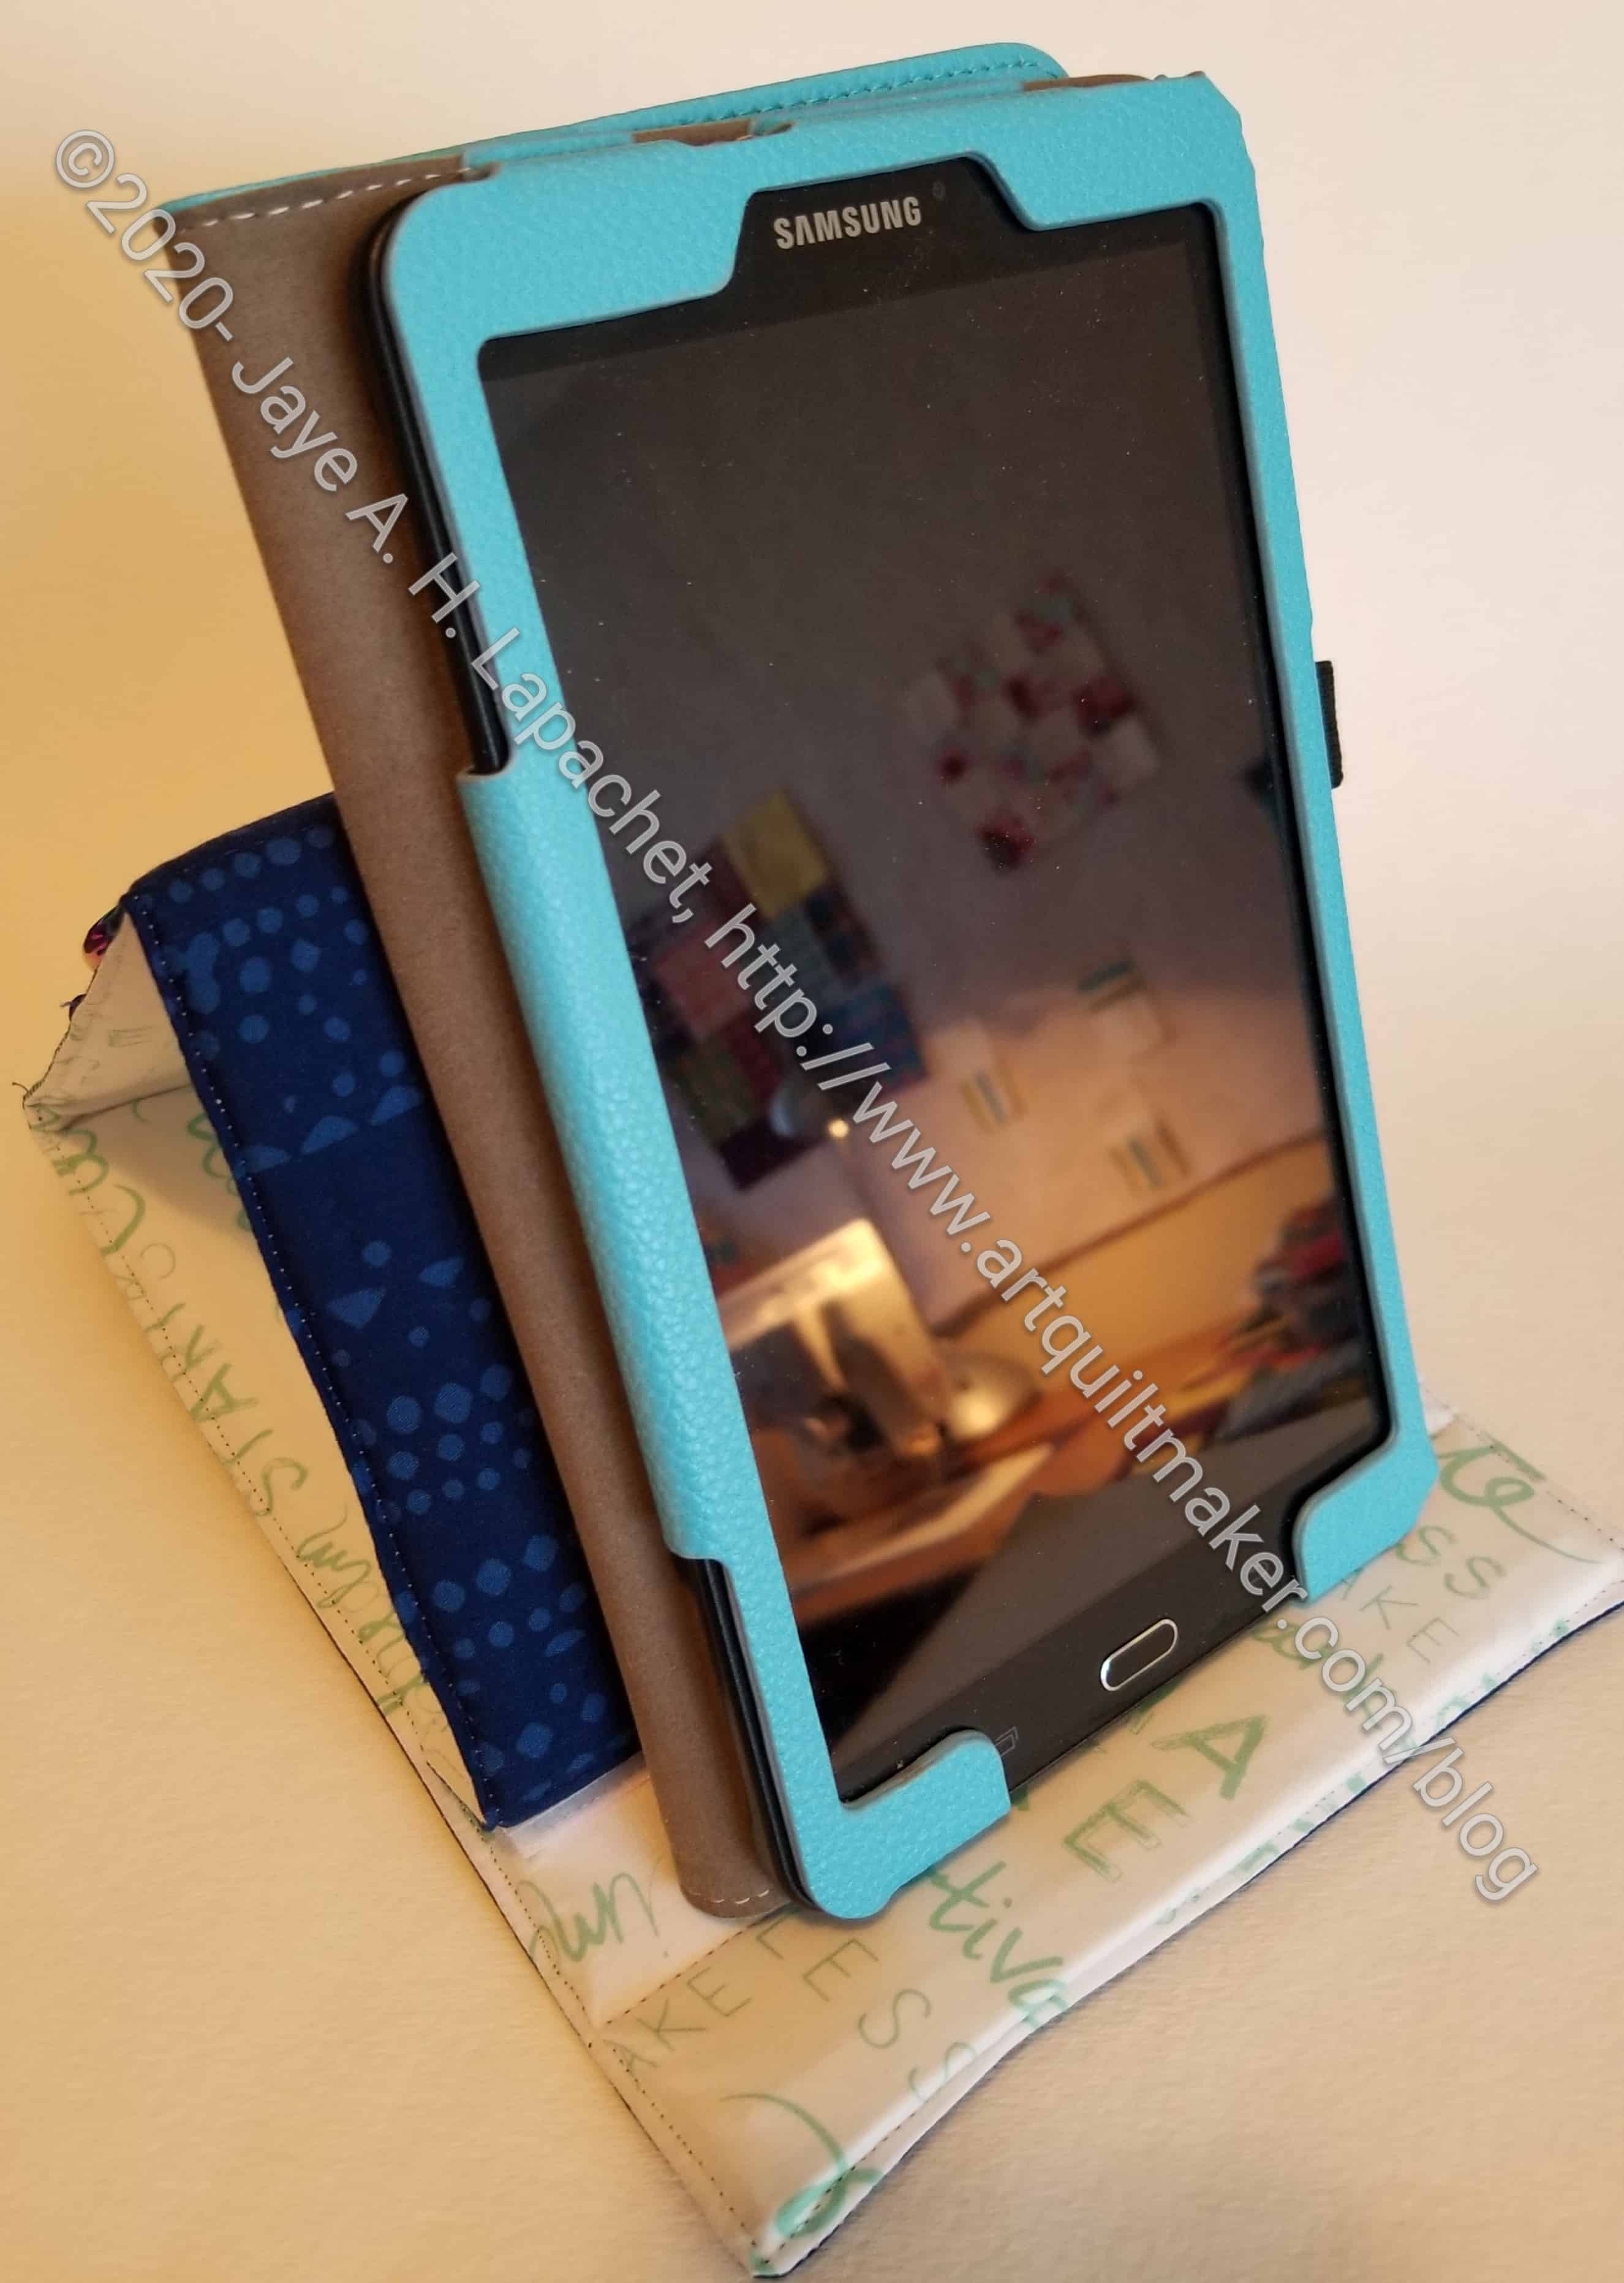
Minikins 2: Sewing Room Stand

Yesterday we all opened our  swap gifts. Thus I know my swap giftee received the gift I made back in May. I mentioned that I had made it for someone, but didn’t say who.

The parameters of the swap were to make a pattern you have been wanting to try.

I did end up following those parameters by making a Boxy Clear pouch for Angela.

Minikins 2: Sewing Room Stand tool side

For the swap gift, I used colors I thought Sue S. would like and use. Angela helped me out by asking Sue about her decor and preferences. Originally, I thought I would make a cushion cover, but then I changed my mind. I have seen Sue S. at Sew Days using her tablet to follow a pattern. Thus I thought the Minikins Sewing Stand would be great. It isn’t a pattern I have been wanting to try specifically, but I have been wanting to try all of the Minikins.

Minikins 2: Sewing Room Stand tablet side

I confused the lining and exterior, so the light is on the outside and the tools have to be against dark fabric, but at least Sue gets to look at pretty fabric.

I really hope she likes it and it is useful to her.

Blue Strips #2 Sashing

Work has been busy and I am tired at the end of the day, so sewing has not been going as quickly as I would like. To add to the drama, the SD card in my phone failed, so I lost a ton of photos. It’s my own fault for not backing them up, but it still means a few posts I had in mind can’t happen. There is some hope that one of my nephews will be able to resurrect it, but we will have to see. Thus, my blog is being slightly neglected. I don’t want to post junk, so there may be some skips.

Blue Strips #2 sashing continues

I am working hard on this next donation top. It is not as satisfying to finish these tops since I can’t really show them at meetings. Still, I am motivated enough to clear out scraps to continue making them, so I continue.

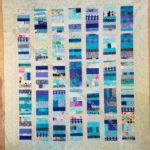
As I said before my blue scrap drawer is still pretty packed so I wonder how many blue scrap quilts I will make. This is the second with this type of block. The first had a yellow border and yellow sashing, so it has a very different look. After I finish this one, you will be able to compare the two on the page where I am posting them all.

I have some quilts to send to one of the members to be quilted and I plan to send this one along with that group. I’d like to send everything on Tuesday, so we will see if I can finish this piece by then.

Blue Strips #2 Continues Slowly

Blue Strips #2 is progressing, though slowly as I have reached critical mass of projects/steps in projects.

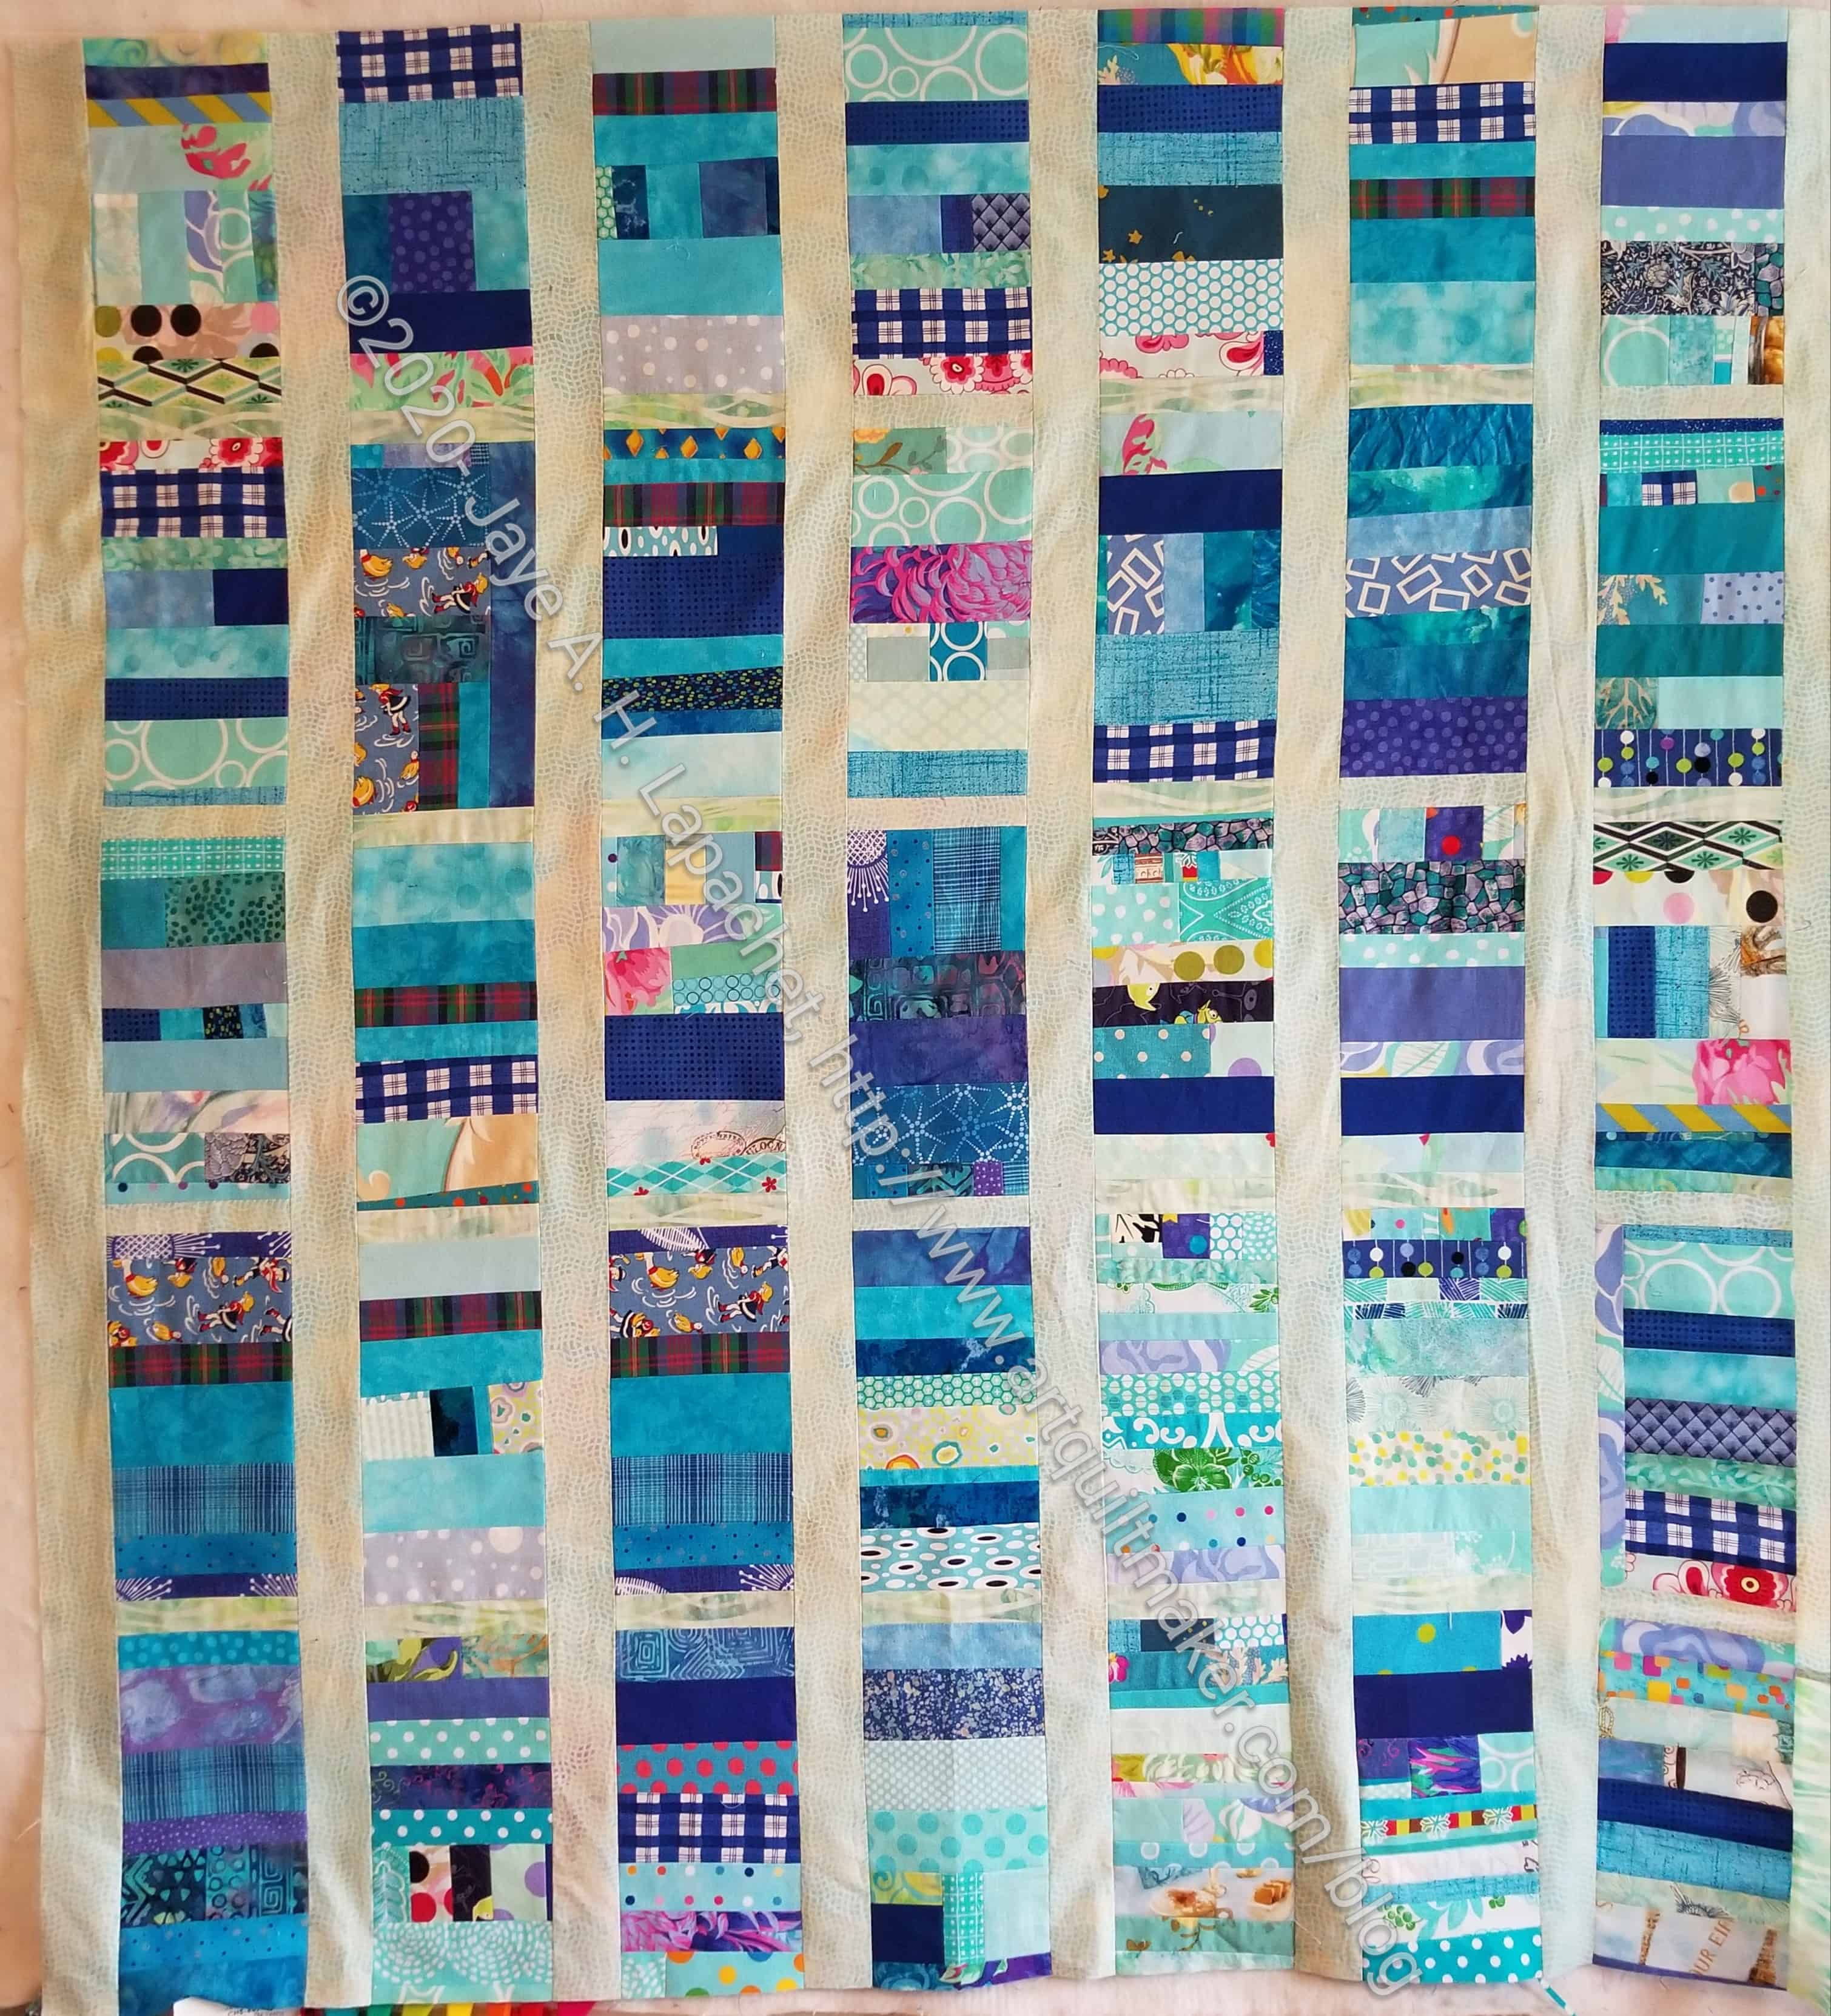
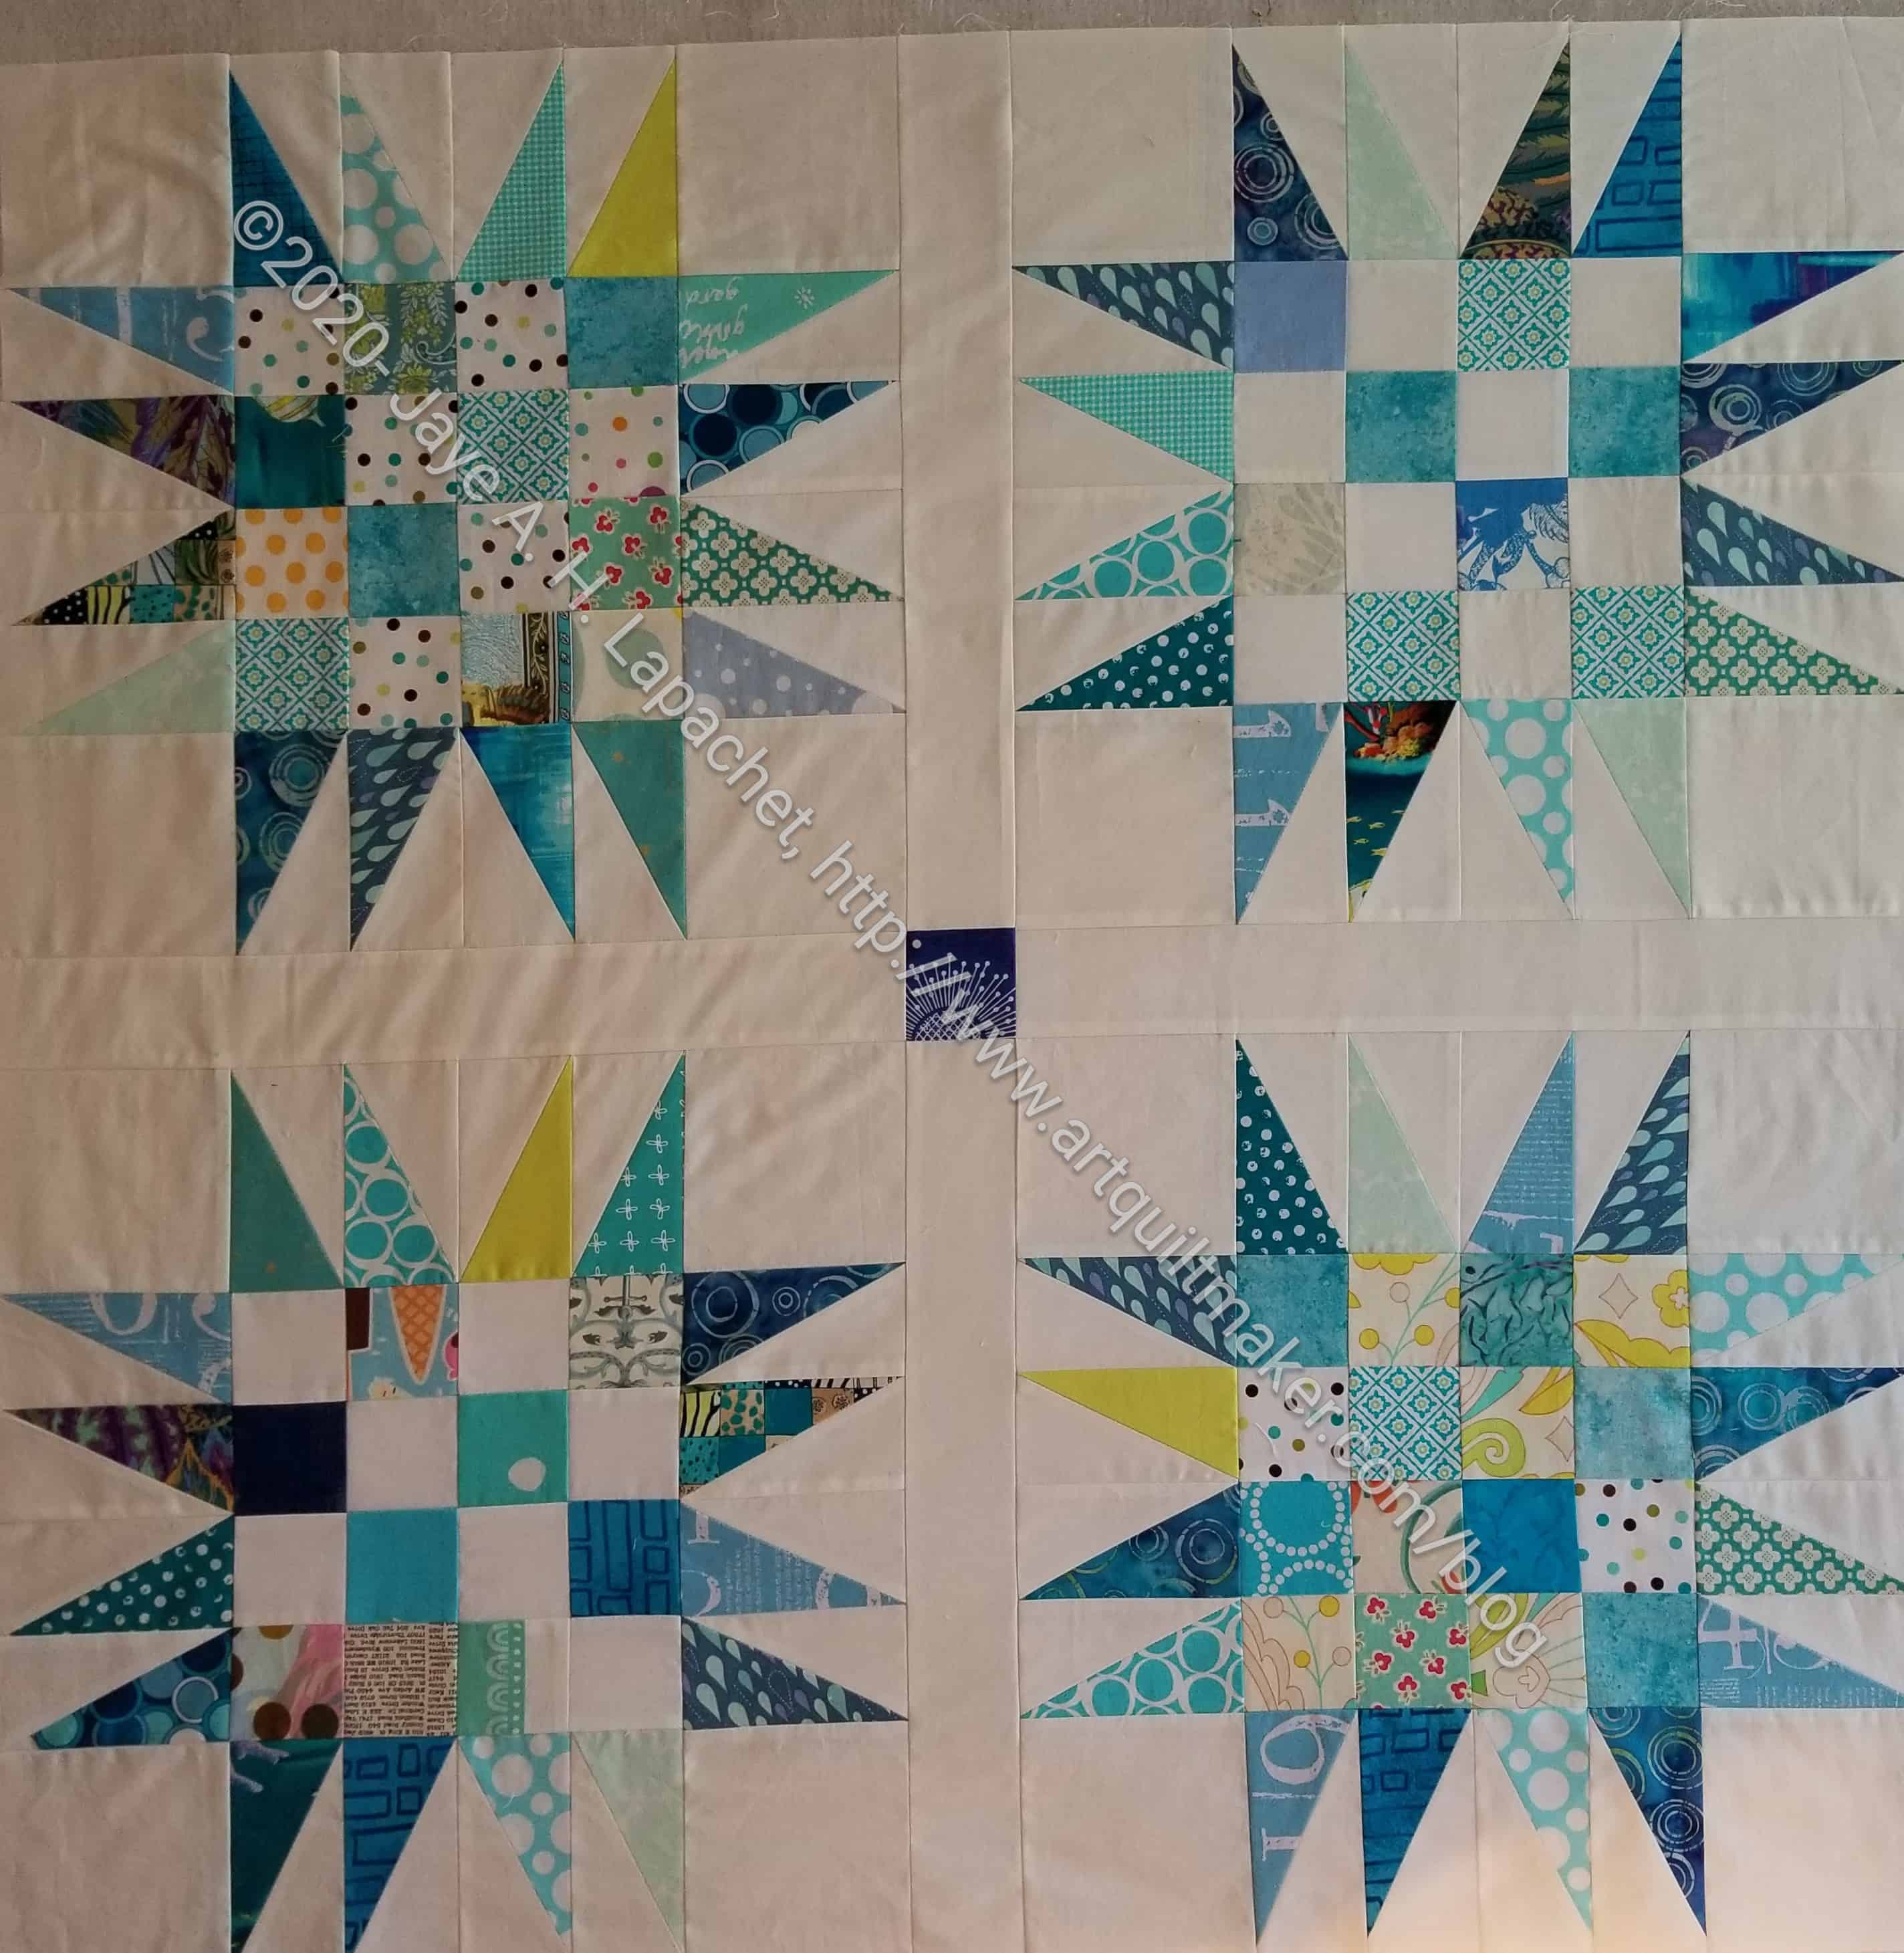
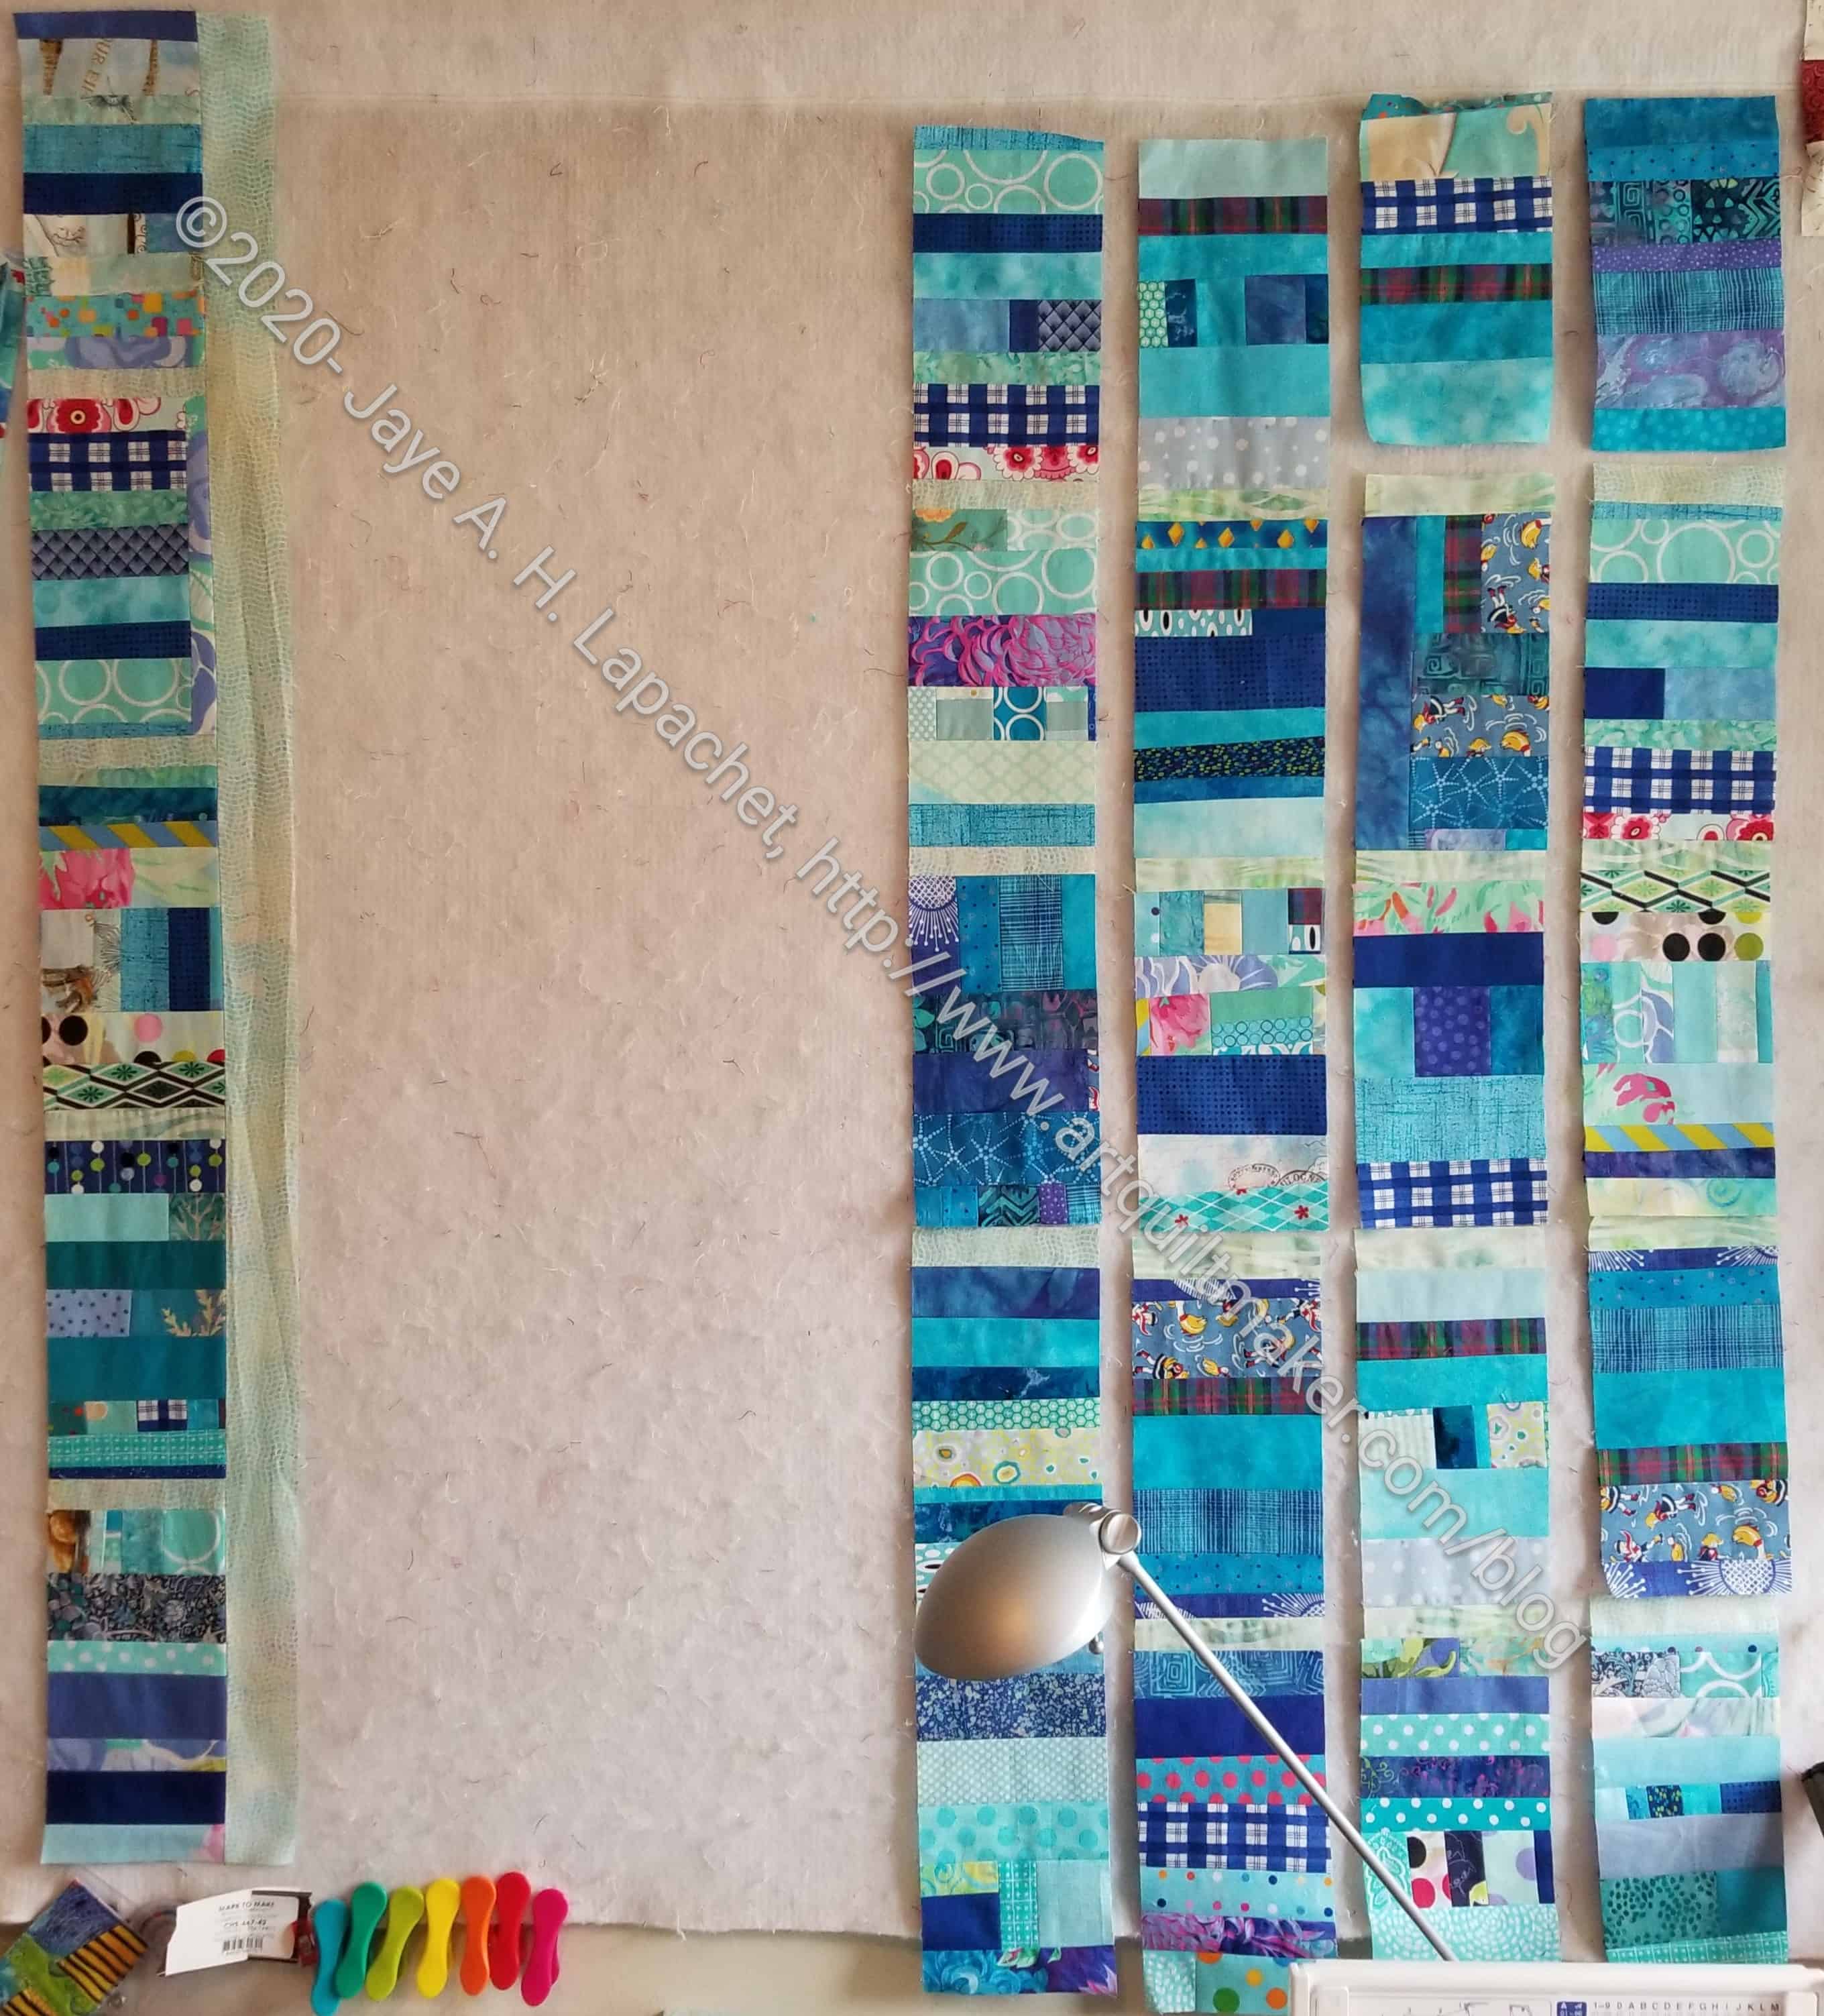
The blocks are done. I sewed the blocks into rows with small pieces of sashing making up the columns.I chose the size of the horizontal sashing based on the amount of fabric I had. Now, it is hard to tell where the blocks are and where the divider/sashing is. It is an interesting look. Different. I don’t dislike it.

Blue Strips #2 - adding sashing
Blue Strips #2 – adding sashing

Now, I am adding sashing. I was thrilled when the first piece of sashing fit perfectly!!!

The vertical sashing is larger, because I cut it first and I liked the width. I didn’t think about ratios to the size of the blocks this time. I wanted something light and green. I think I am still go for that calm feeling.

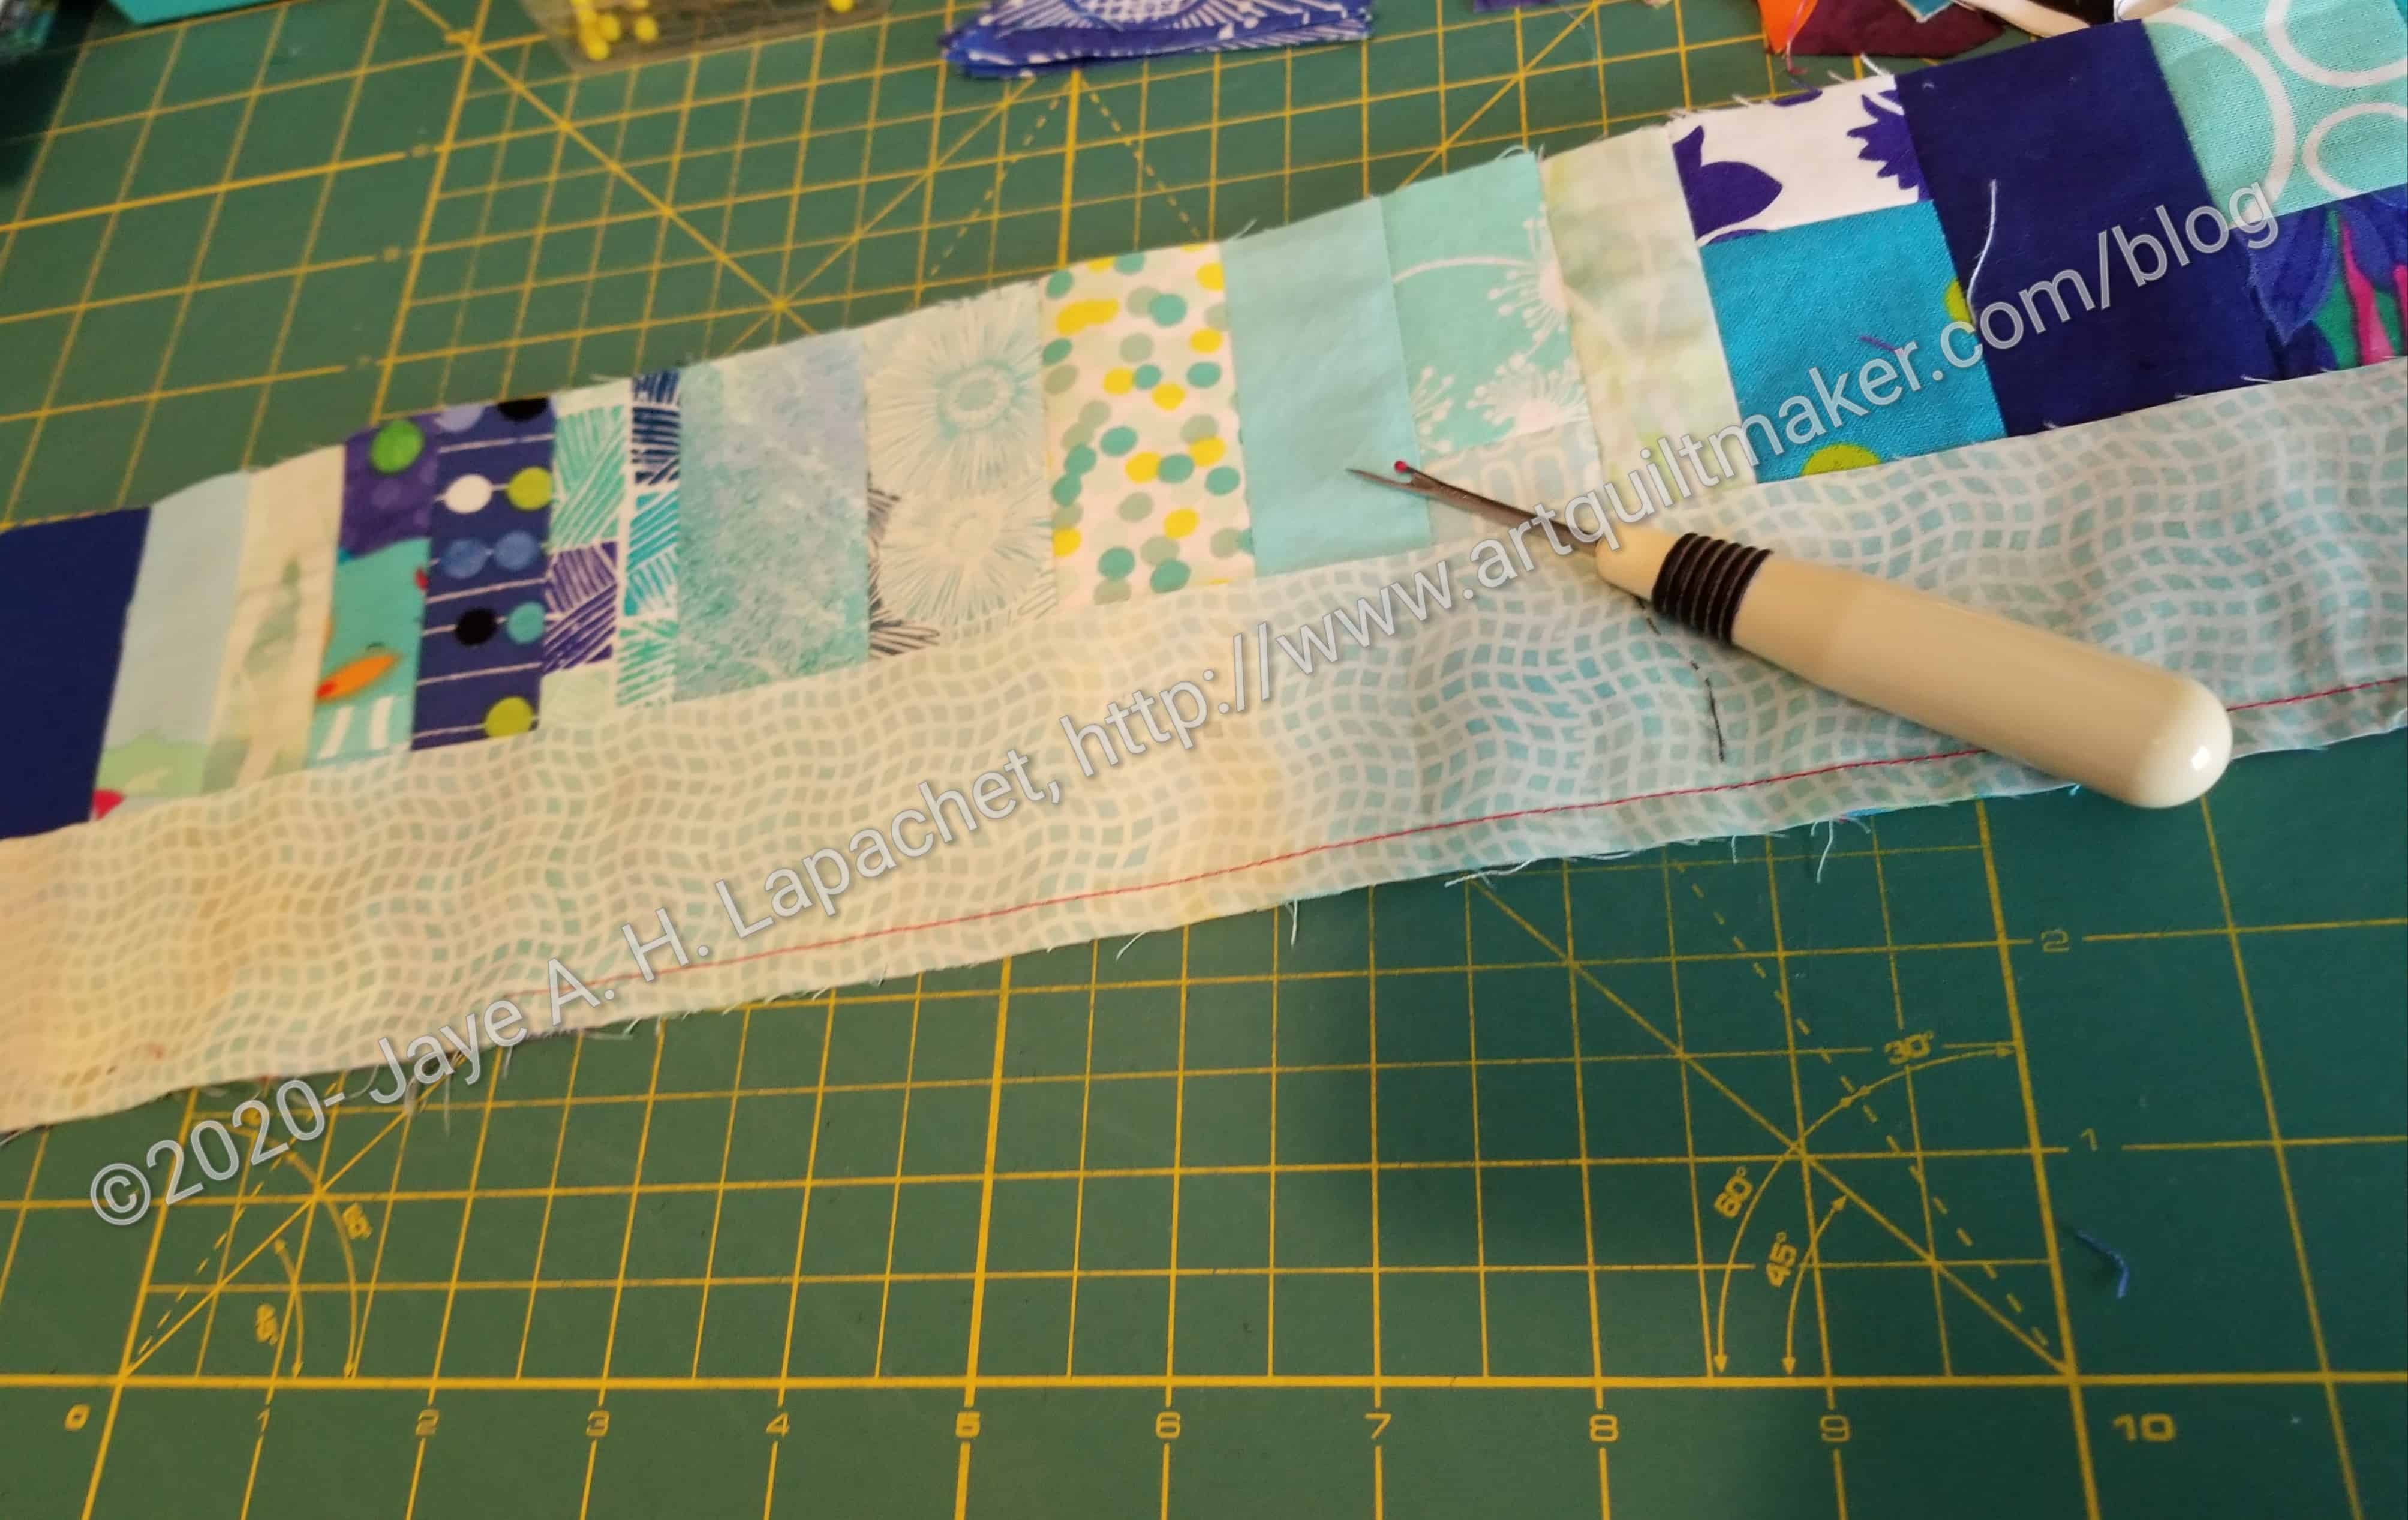
Ripping Column 2- Blue Strips #2

 There is a big space in my photo, because the second piece of sashing did not fit perfectly and I have to rip.

I am using red thread because I am also working on sewing down the bias strips and I want to work on both projects at the same time.

Blue Strips #2 Donation Top Sashing

Blue Strips #2 top with some Sashing

I cut up the fabric I found the other day into sashing strips and had been waiting for some miracle to sew them together. I found another piece of a similar colored batik and was able to move forward yesterday. I sewed sashing pieces to the tops of all of the blocks and am now sewing the blocks together into rows. I am not adding corner stones so I am not chunking.

Blue Strips 2 Donation Top – Sashing

Blue Strip #2 Blocks with sashing option

I decided I wanted a green for the sashing. I pulled down my green bin and looked for what I had in mind.

Again, the photo doesn’t do the choice justice. It is a very, very light green. I cut it up, but am concerned I won’t have enough and need to find some other pieces that I can add in.

Blue Strip #2 Donation Blocks

Blue Color Strip #2 Donation Blocks

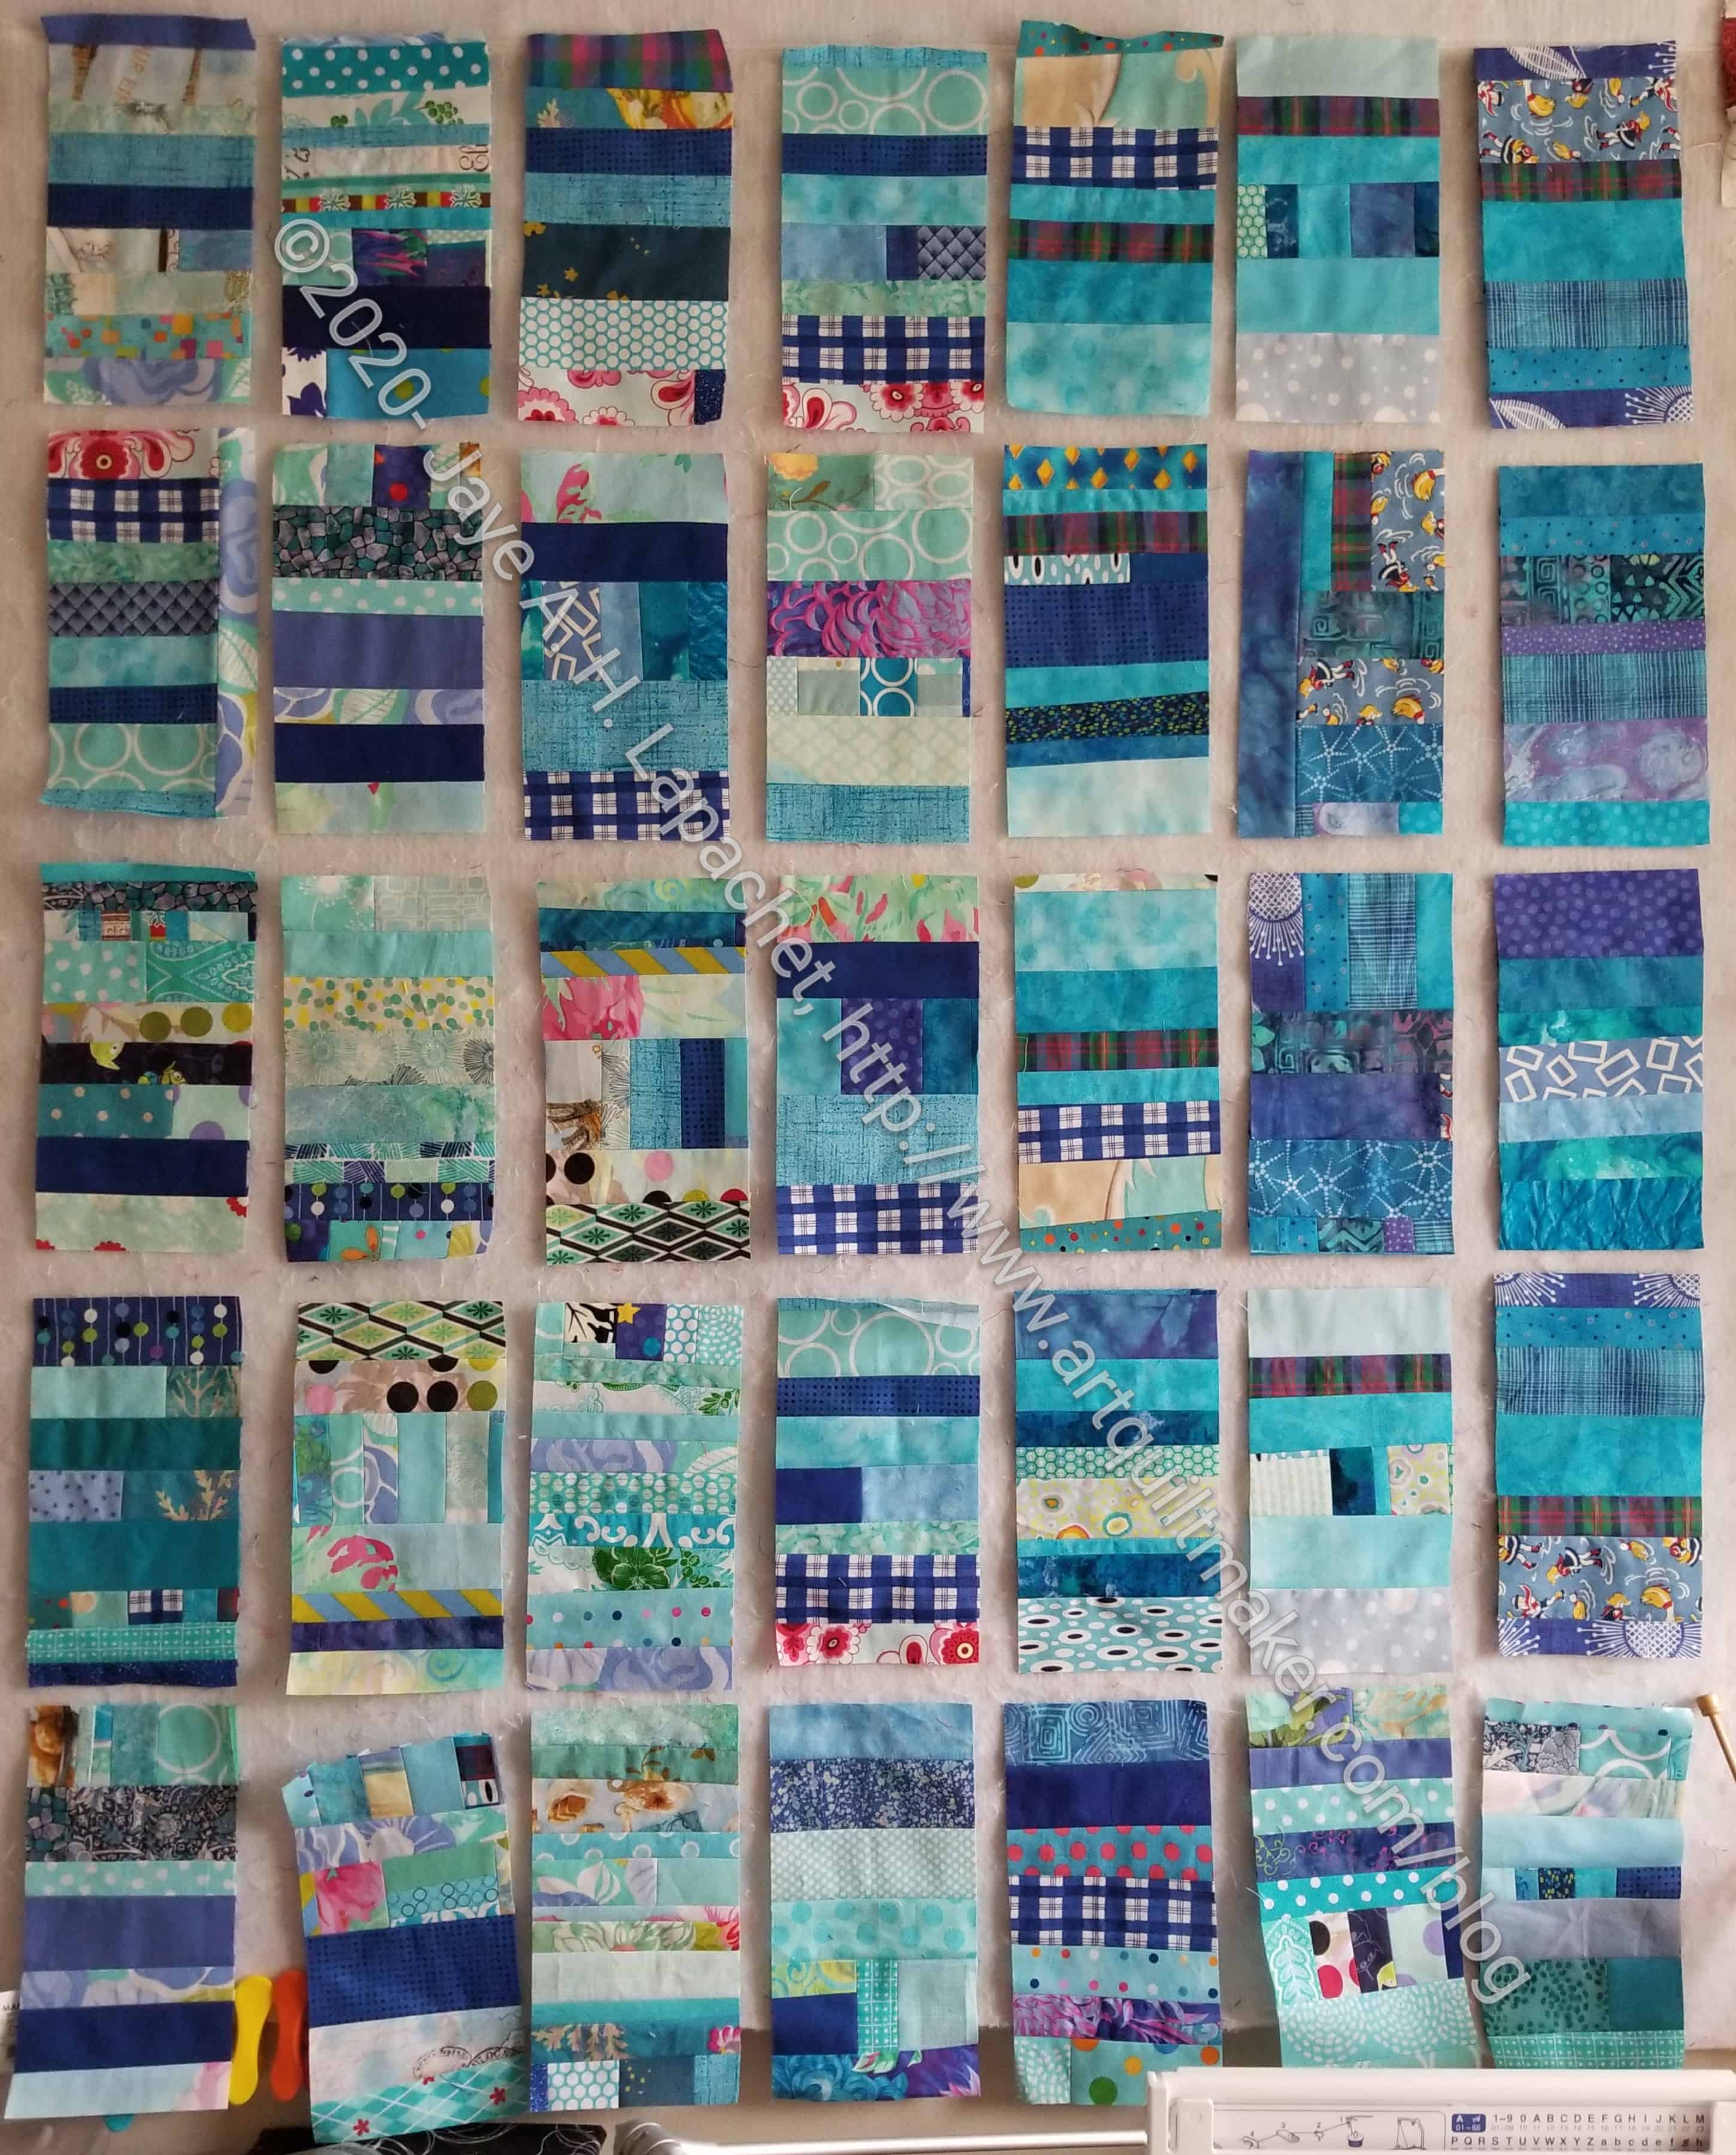
By piecing FOTY 2018 together I was able to get the blocks for my next blue color strip donation quilt finished.

I know I have used a large portion of blue scraps, but I still have a full blue scrap drawer.  A lot of them are small or not strips, so I will be making a blue improv version next, though I still have to sash this one. I used yellow for the last one, which was unique. I am thinking about white, but that might be too conventional or too boring. I haven’t started cutting sashing, because I don’t know what to use.

June Donation Blocks

More blocks for June! I really scraped the bottom of the donation patch bin at the beginning of the month, so some blocks look a little strange. It was good to clear out that bin and start afresh.

Blue Strip #2 Donation Blocks

I started piecing FOTY 2018 and that means a lot of leaders and enders. You saw the start of this quilt the other day. I made a lot of progress on making the blocks on Saturday.

I am pleased with the progress, but really need to make progress on FOTY 2018.

UCAB Front Pocket

UCAB Front Pocket
UCAB Front Pocket

I worked on the UCAB again the other weekend. Last weekend? I don’t remember. It started off so well, then I got lost. I couldn’t figure out how to finish the front pocket.

I really tried hard to understand the pattern, but just didn’t get it, so I contacted the designer. I still couldn’t understand the explanation, so I asked Lynette.

Lynette sent me some info she had sent to another bag maker. It didn’t answer my question, but I woke up the next morning with an idea of how to make the pocket. It may not be the way the designer intended, but it will get the job done – as long as I do it!

New Donation Blocks

New Blue Strip Donation Blocks

I started sewing some strips together and now I have started another donation quilt in the Color Strips & Chunks series.

It started sort of accidentally. I had a few strips left from a box that was stashed behind my old design wall. They were on my sewing table, so I sewed them together when I needed a leader or ender. Then, I opened my blue scrap drawer, which is not noticeably less full despite the last blue strip quilt I made, and used strips to make more blocks. I am pretty sure I have at least two more quilts in that drawer.

I am out of background fabrics for 16 patches, so this is a good way to use up scraps and have something for leaders and enders.

Plaid Donation Top & Back Finished

Despite nothing happening and not going anywhere, it is already June 20! I can’t believe how time is flying by. It would seem a bit unfair except that I am getting a bit of sewing done.

Plaid Donation Top - finished
Plaid Donation Top – finished

The Plaid donation top and back are finished. I don’t know when they will be quilted. I may make an attempt to send them off to someone in the guild to quilt. That is a project for another day.

As a bonus all of the plaid yardage is used up. I have some scraps left and I am in the process of cutting them up into usable pieces. Some will get filed for for the strip and chunk donation quilts. I am being more generous towards the Pet Beds than I normally would in leaving some larger pieces for the stuffing this time.

Plaid Donation Quilt Back

Of course, I used a lot of the leftover yardage for the back of the Plaid Block Party back. I did find a large piece of plaid that I used for the back of this piece, which was handy so I could keep the whole thing plaid and didn’t have to introduce other fabrics into the piece. I thought a solid would work, but am glad I didn’t have to worry about it.

Plaid Blocks

Plaid Donation Blocks

I finished all the blocks for the plaid donation top. I rummaged through some older fabric and found a large-ish piece of plaid I will use for most of the back. The leftovers, of which there are still a few, will make up the rest of the back. I think this will make a great boy quilt.

In the course of my rummaging, I found some baseball fabric remnants and will use them for another donation quilt. Stay tuned for that one.

Plaid Determination

I am determined to use up the plaid. I used a good deal of it for the Plaid Block Party quilt for my cousin, but I still have some. Thus, I am making another donation top with the rest.

Plaid Remnants
Plaid Remnants

I am using the same Block Party pattern. I am using that pattern because it is easy and I had a number of leftover pieces that I wanted to use. I haven’t had much time to sew during the week, so I only have parts made. I am using these blocks as leaders and enders while I work on the Inside Outside Pouch.