Color My Quilt – Ruth

Ruth's Color My Quilt
Ruth’s Color My Quilt

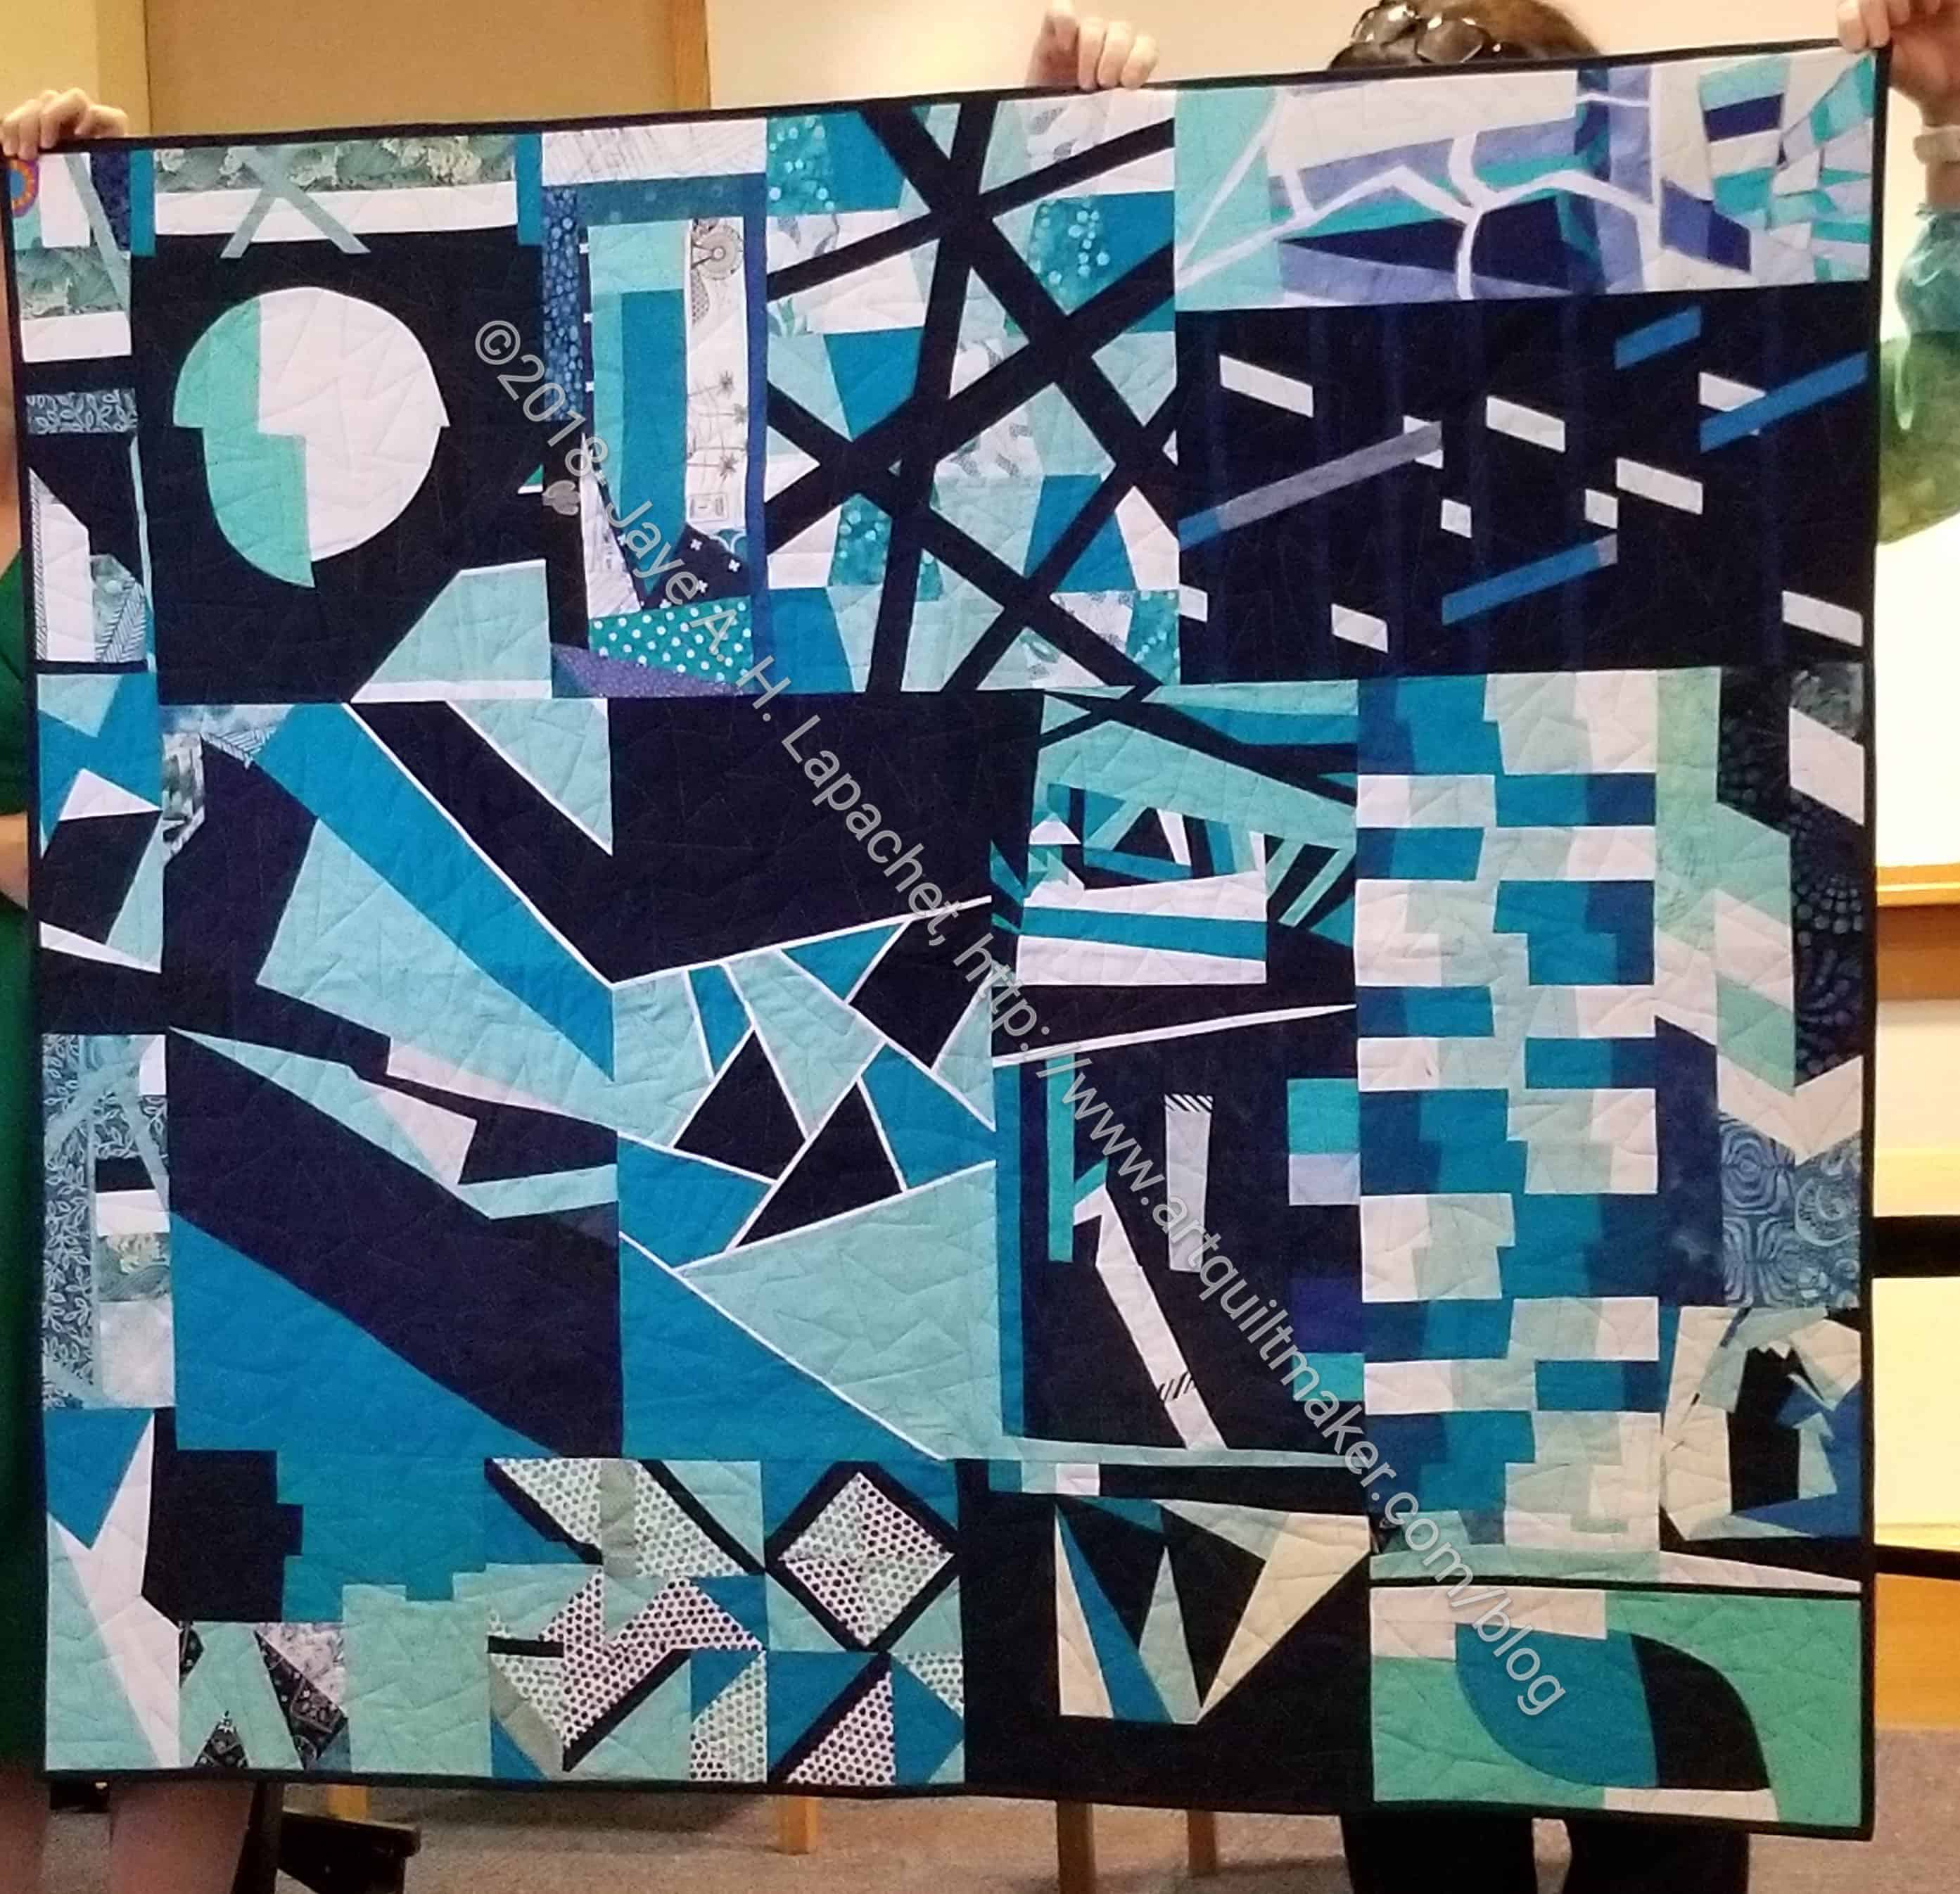
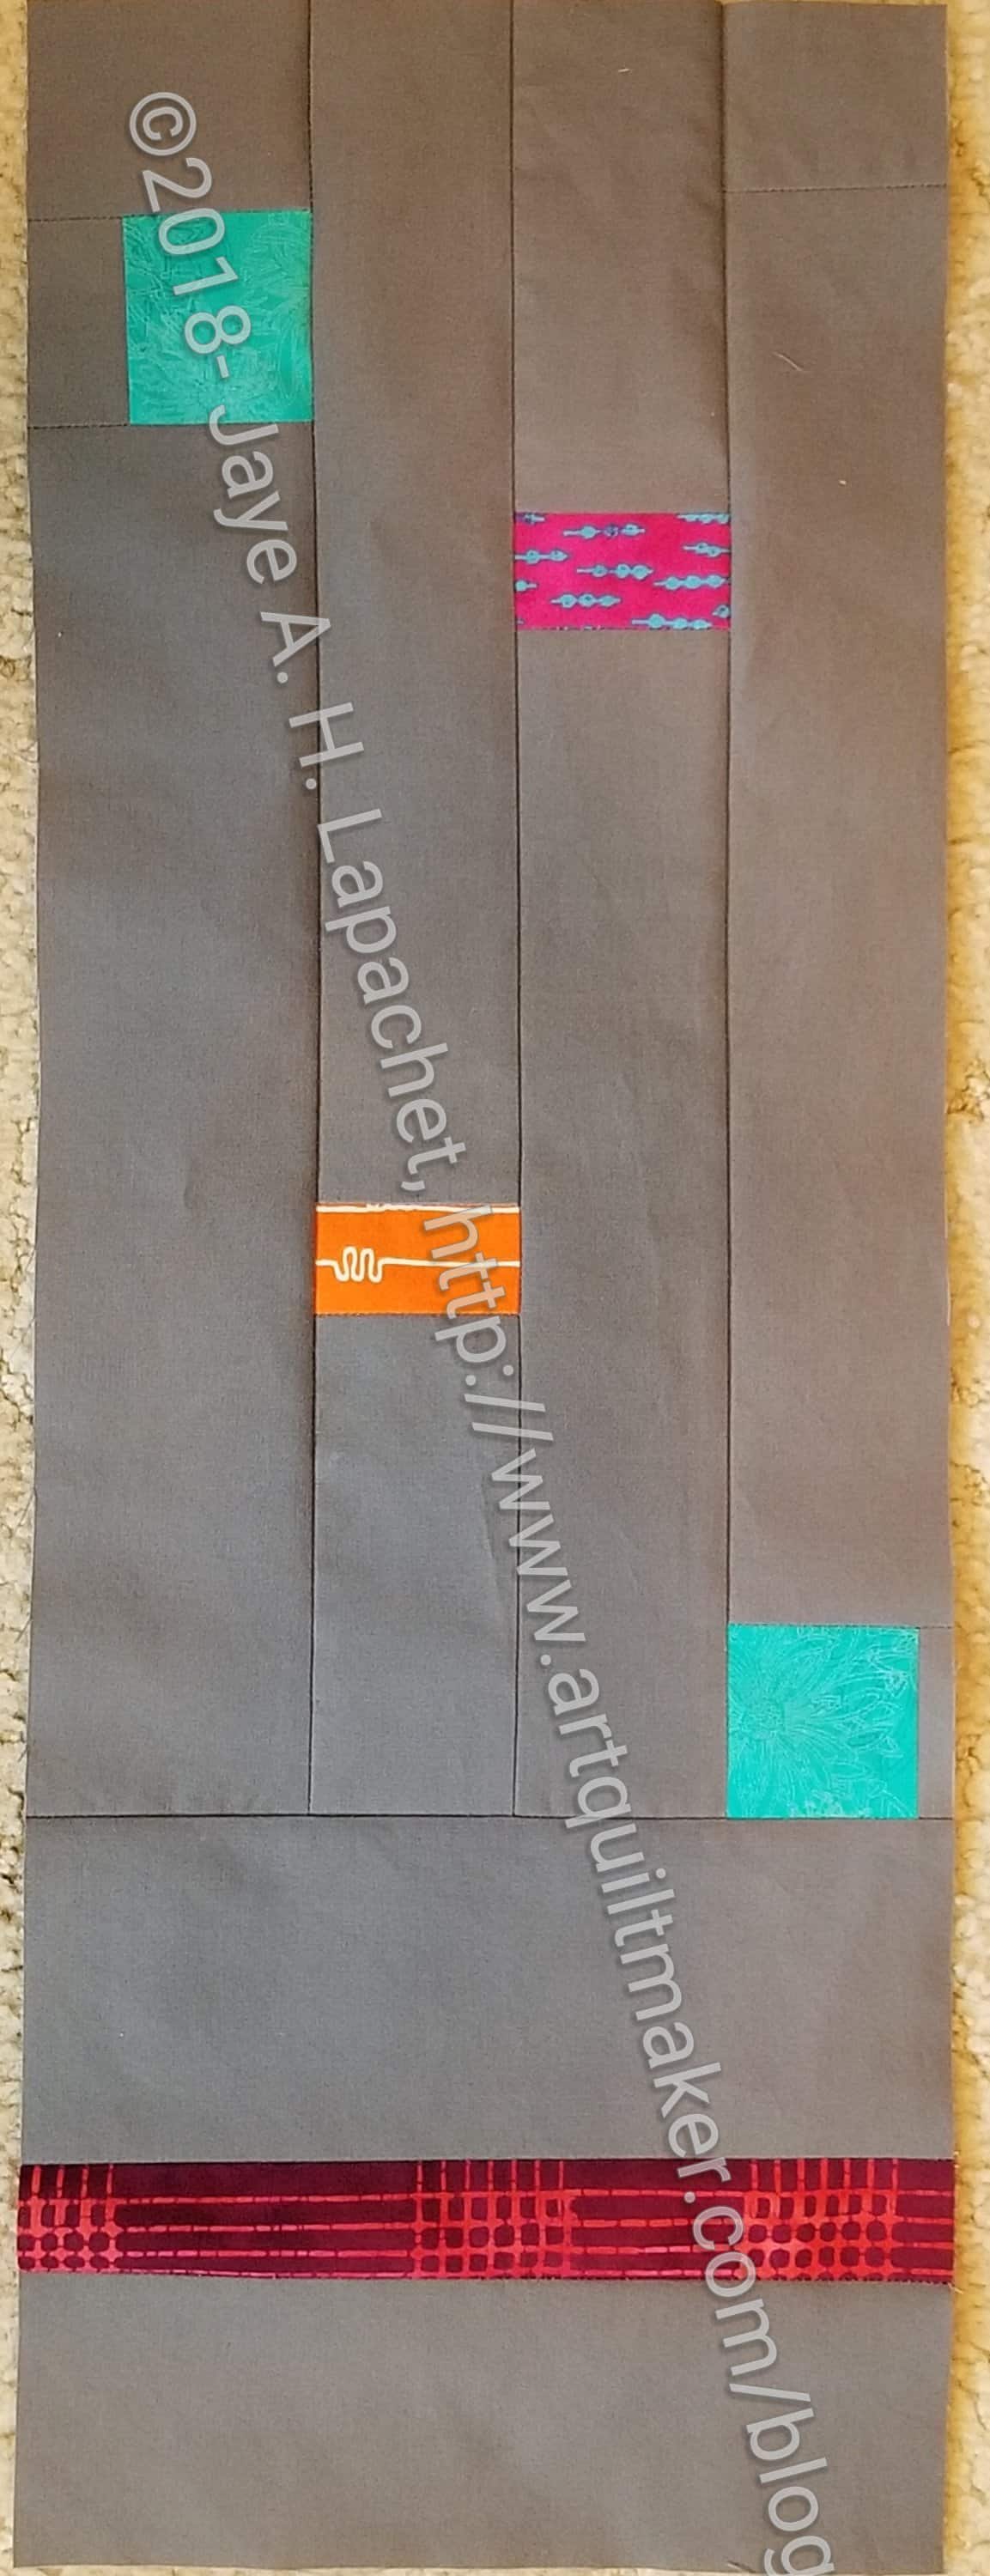
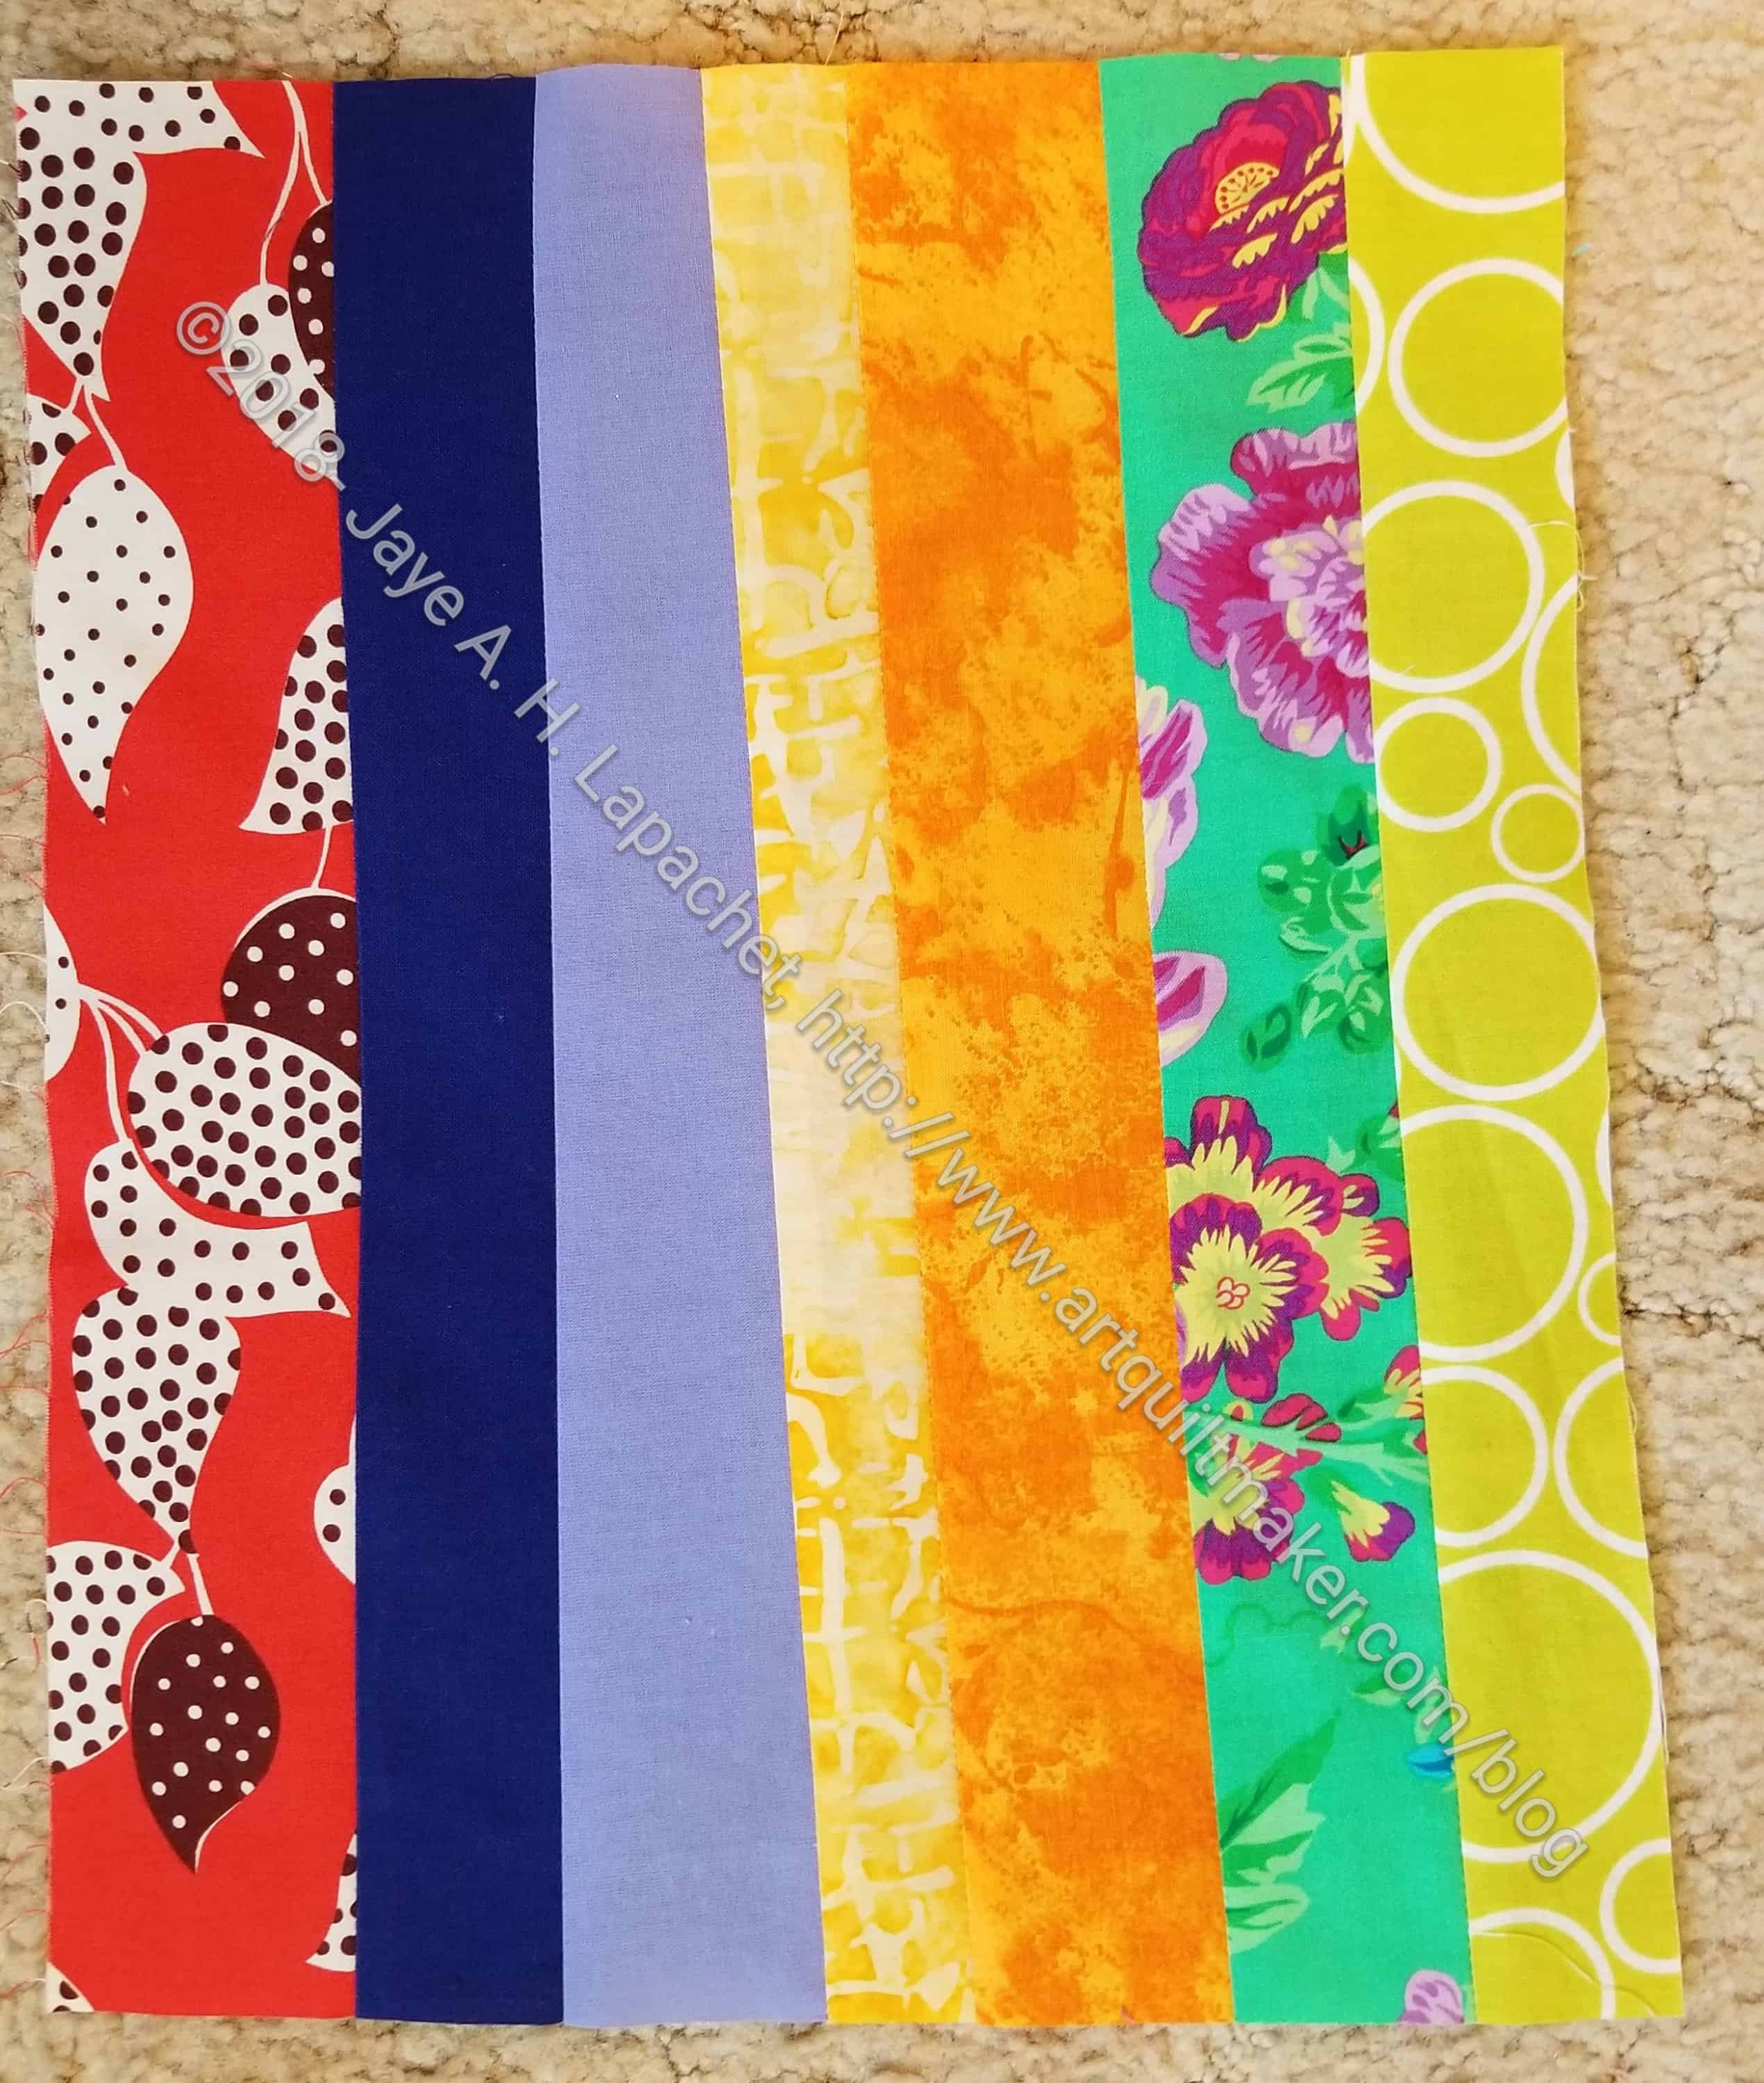
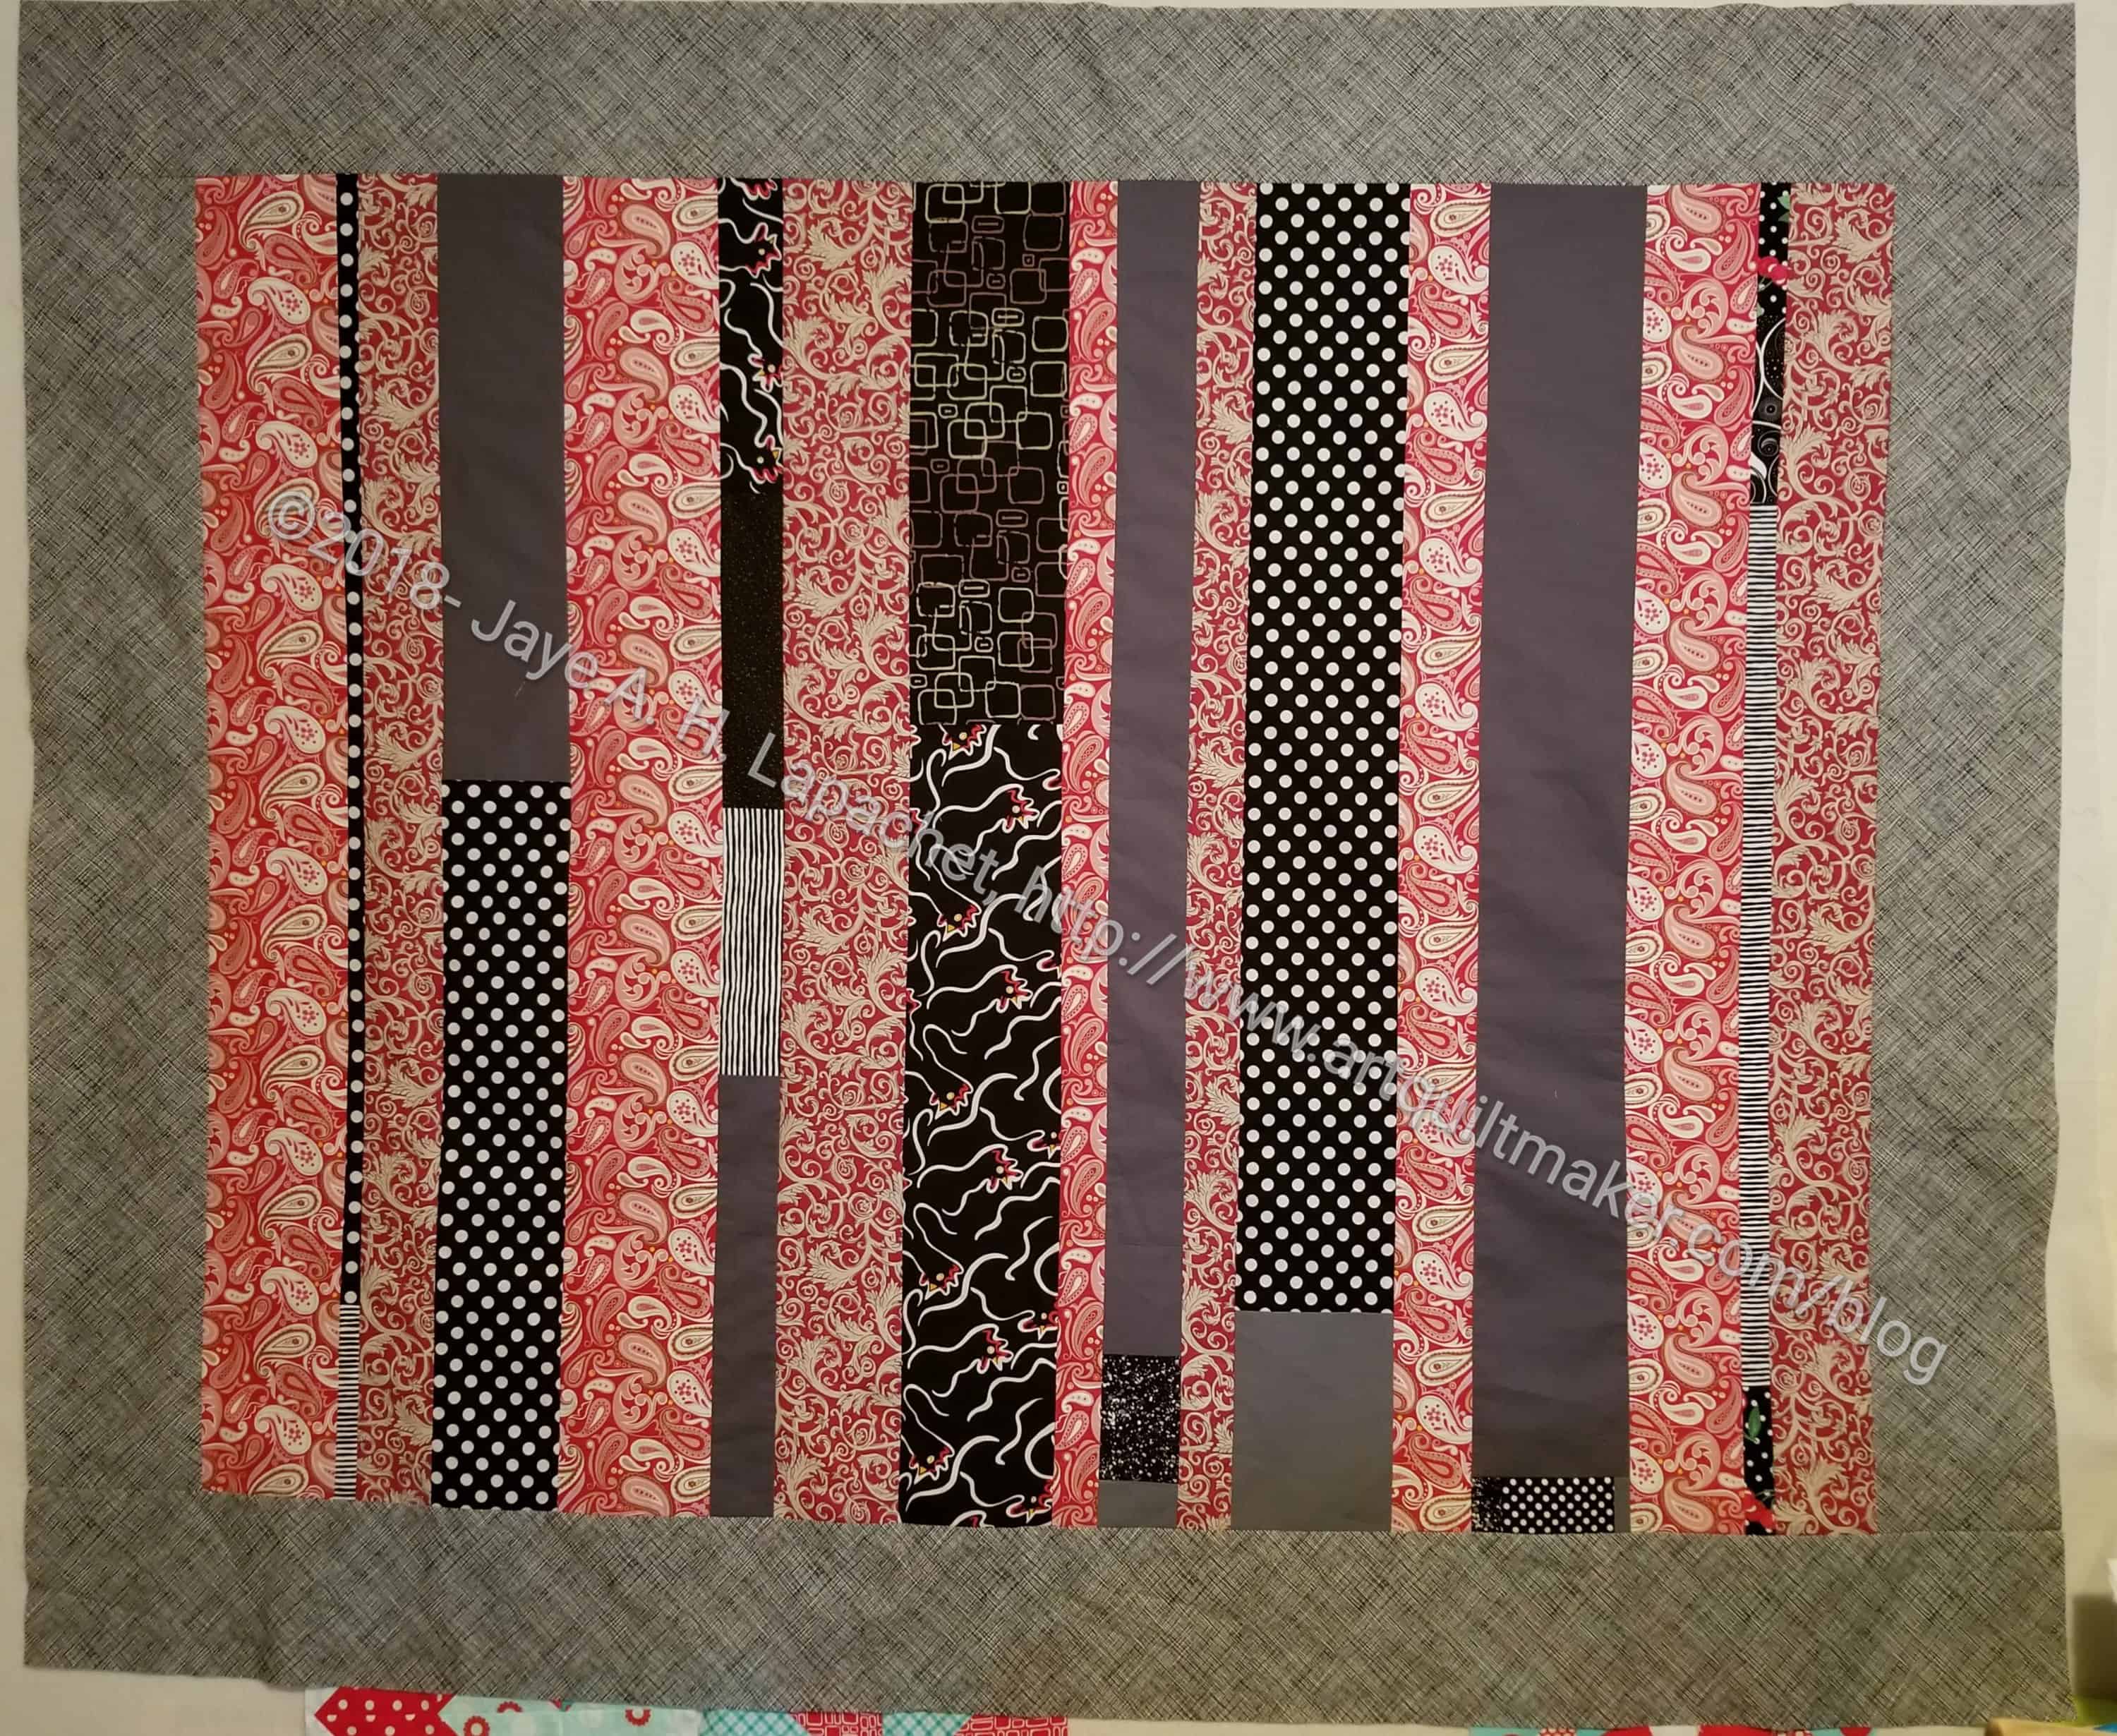
Ruth gave out her sheet of instructions for her Color My Quilt at the last meeting and I got right down to business. I was going for sparks of color on a dark-ish background.

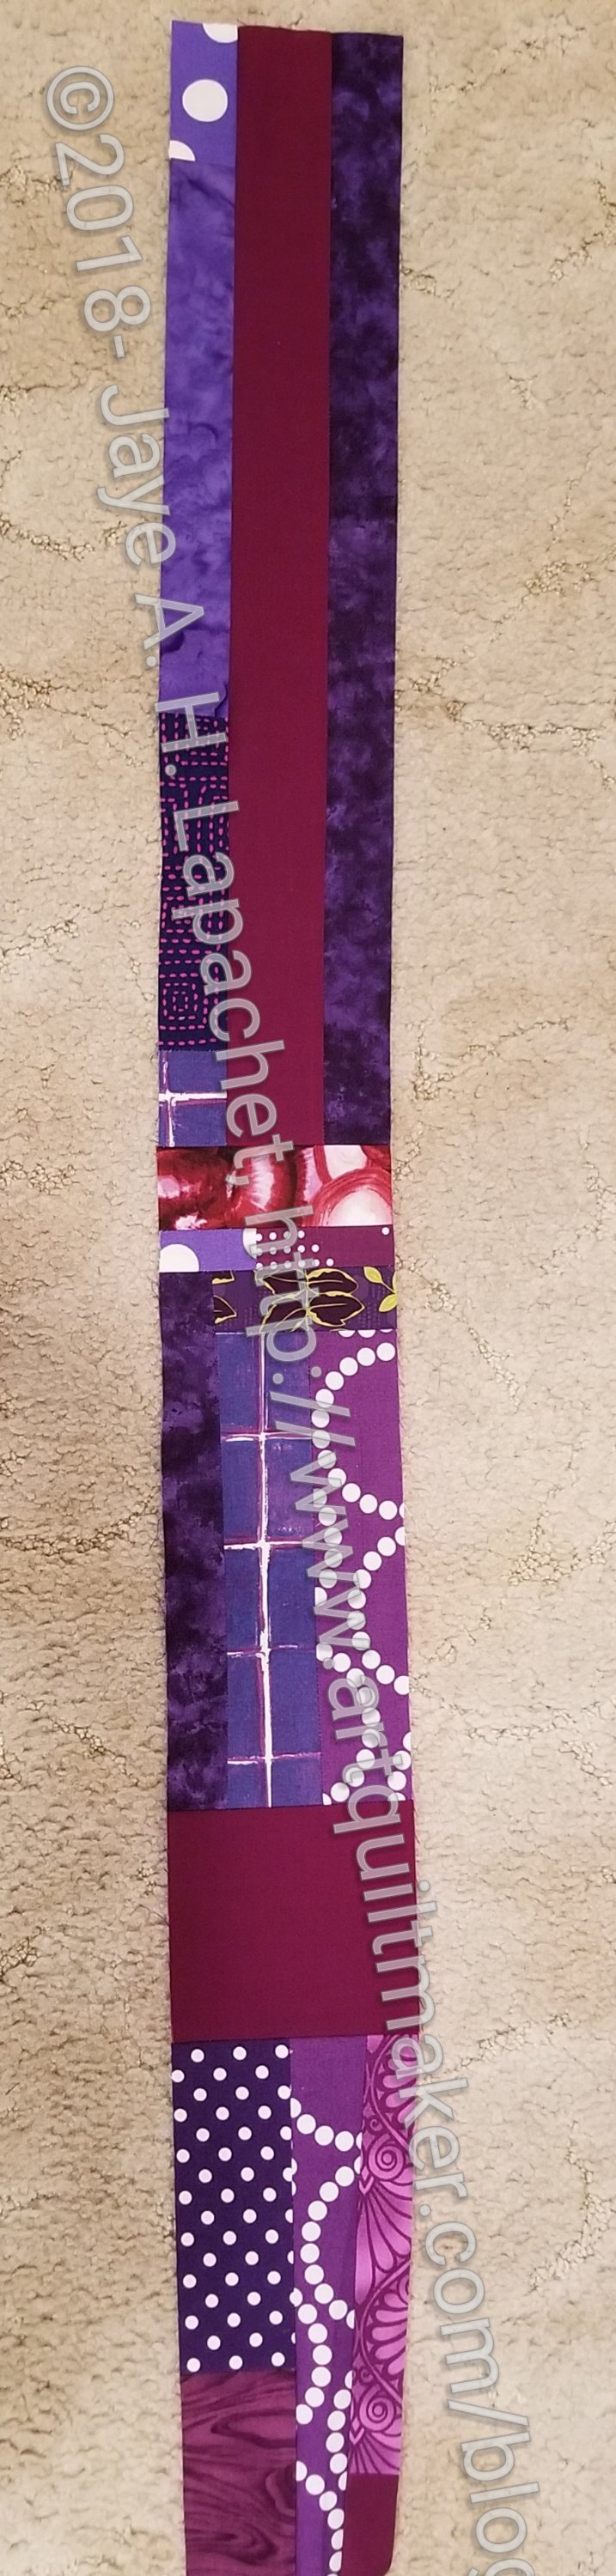
I may not be quite done with the piece. I wanted all the color contained so I am contemplating that plum/burgundy strip. I have a few weeks to decide.

Again, all of these were from my scrap pile or bins.

Blue Cat Pet Bed

Blue Cat Pet Bed
Blue Cat Pet Bed

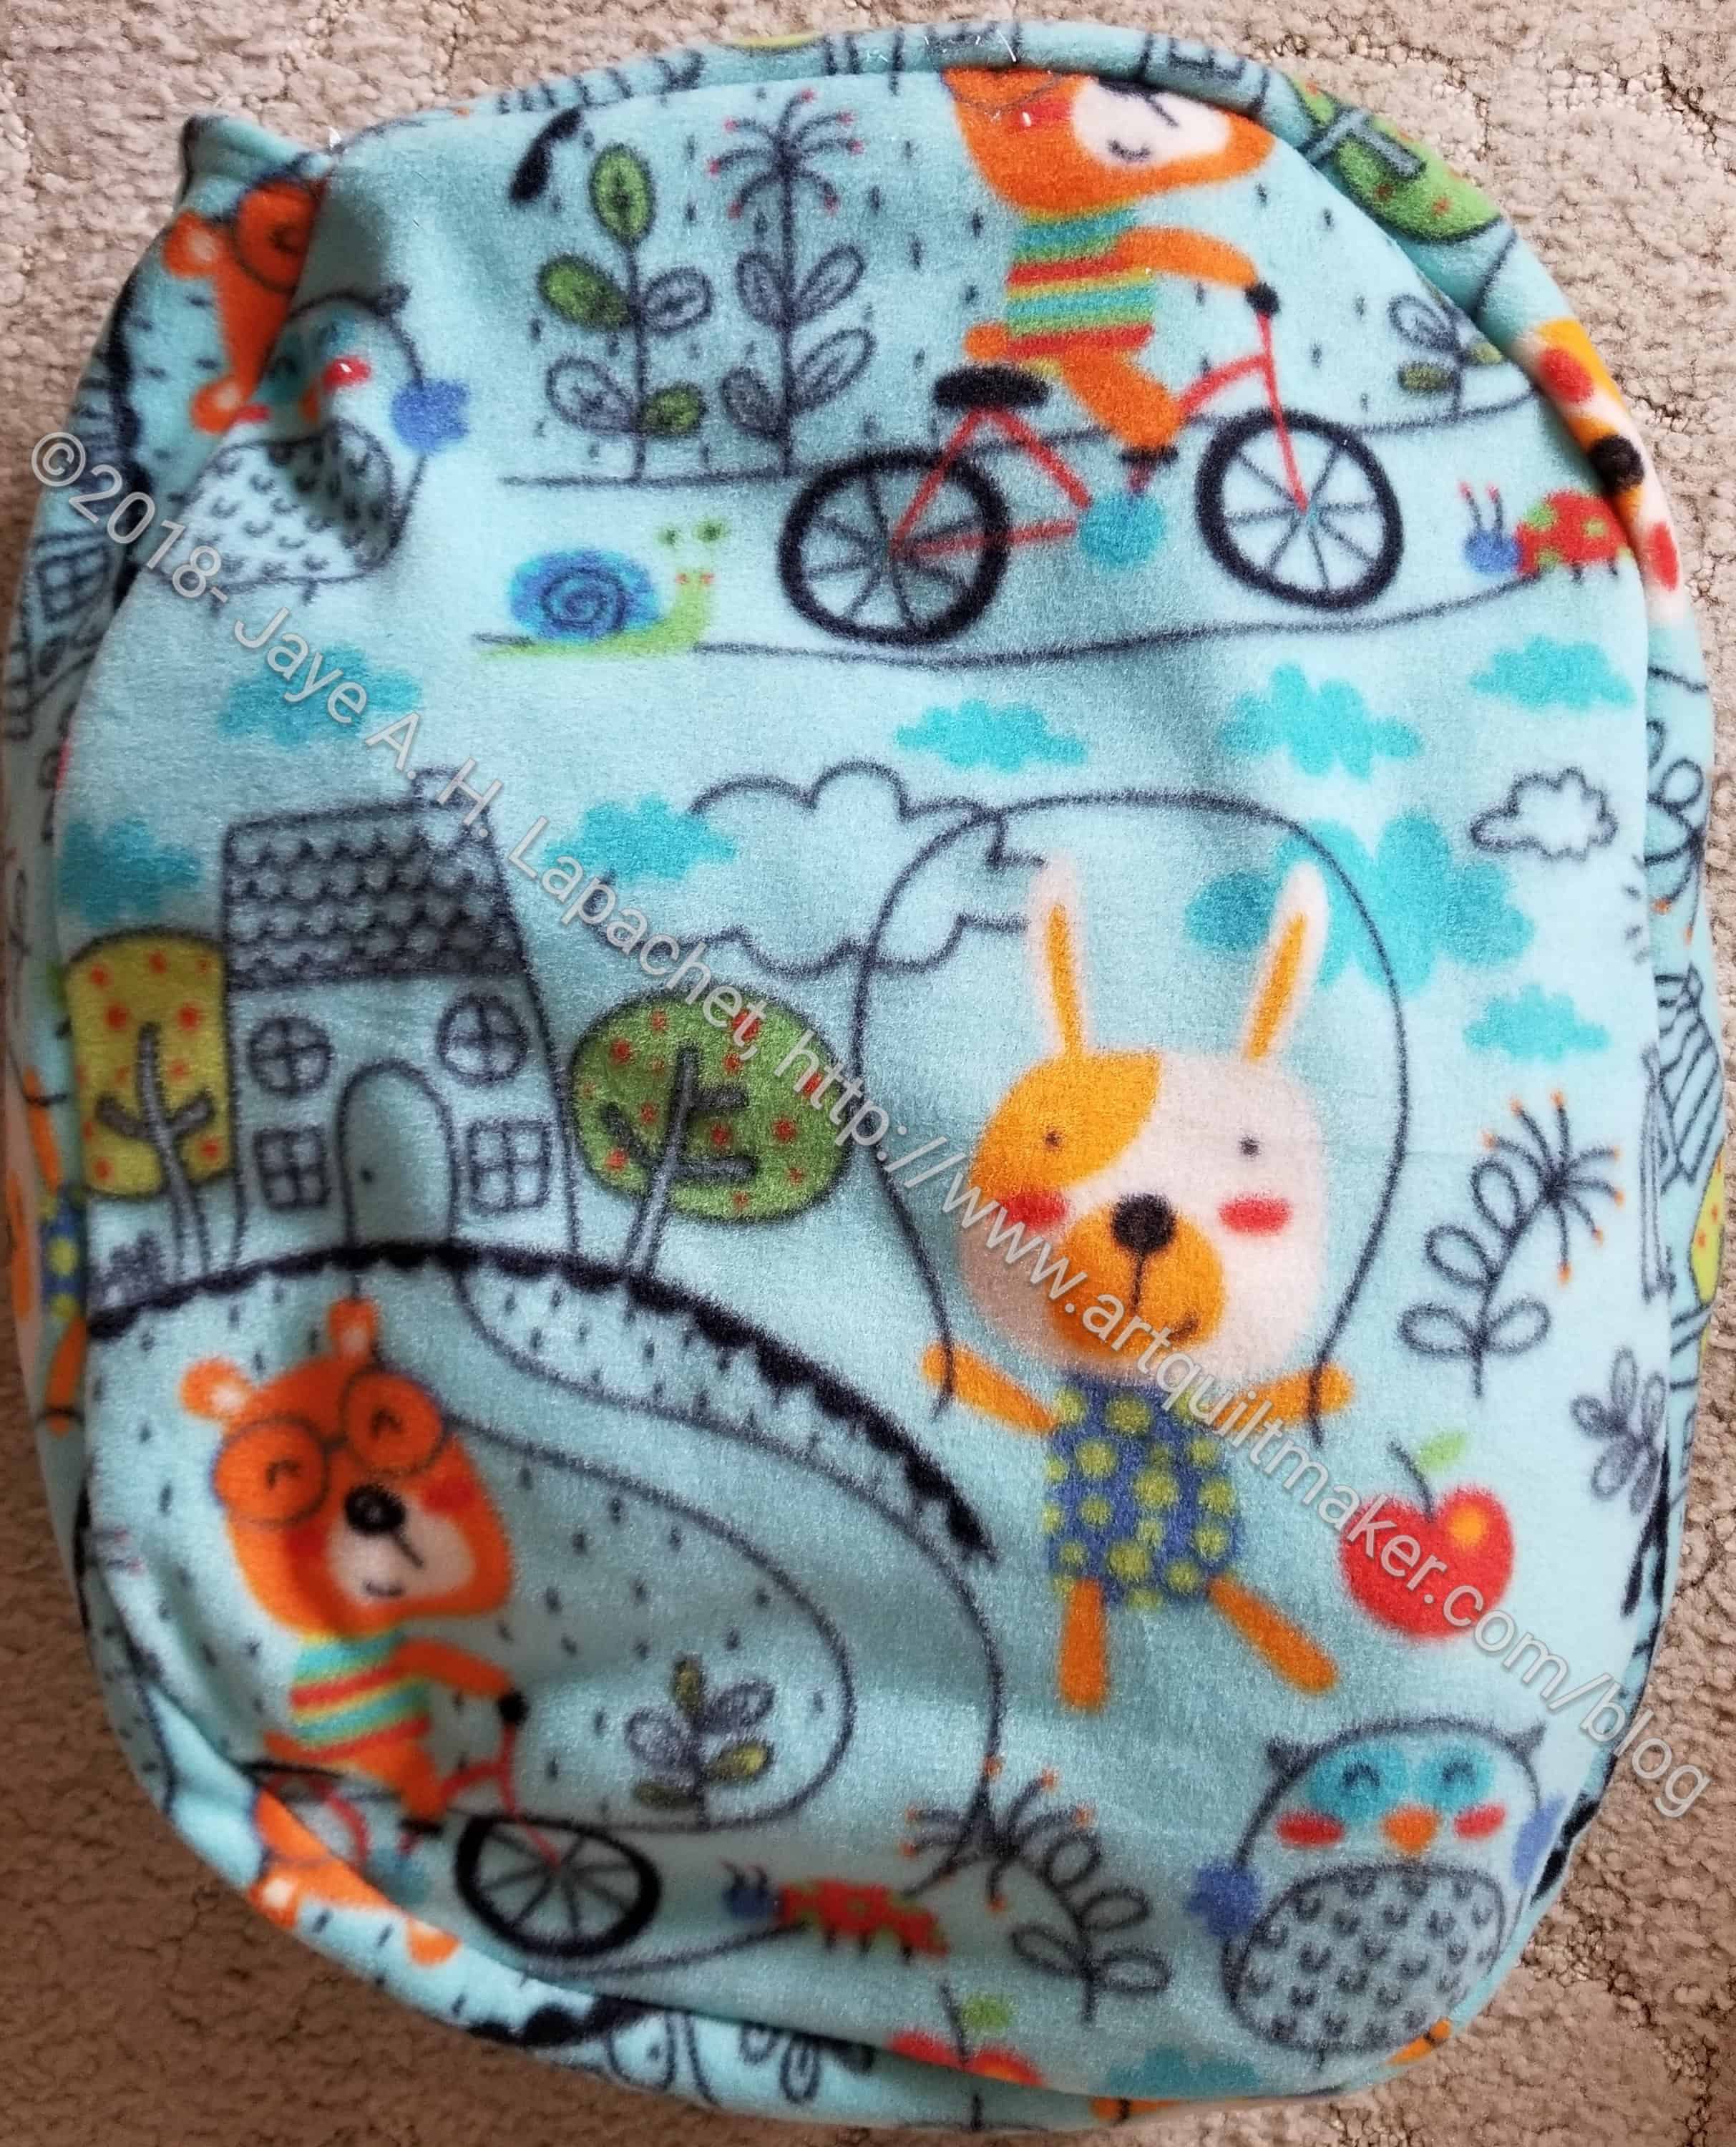
It has been awhile since I made a pet bed, but the schnibble bag was getting too full.

The fabric is one of the last I got from Amanda, *I think*. I had to trim the gusset a little as I thought it was too long and made a long tunnel in the opening, which makes getting the schnibbles into the pet bed, without much on the floor, difficult.

I thought I had a lot of schnibbles, but the bed isn’t even half full. Refer to my post on having less time to sew. 😉

Color My Quilt – Leeann

As I have probably mentioned 300 times, I was super behind on the Color My Quilt project. I worked through the 5 I had to do methodically.  I didn’t do anything crazy and was able to make some progress.

Leann's Color My Quilt Shard - June 2018
Leann’s Color My Quilt Shard – June 2018

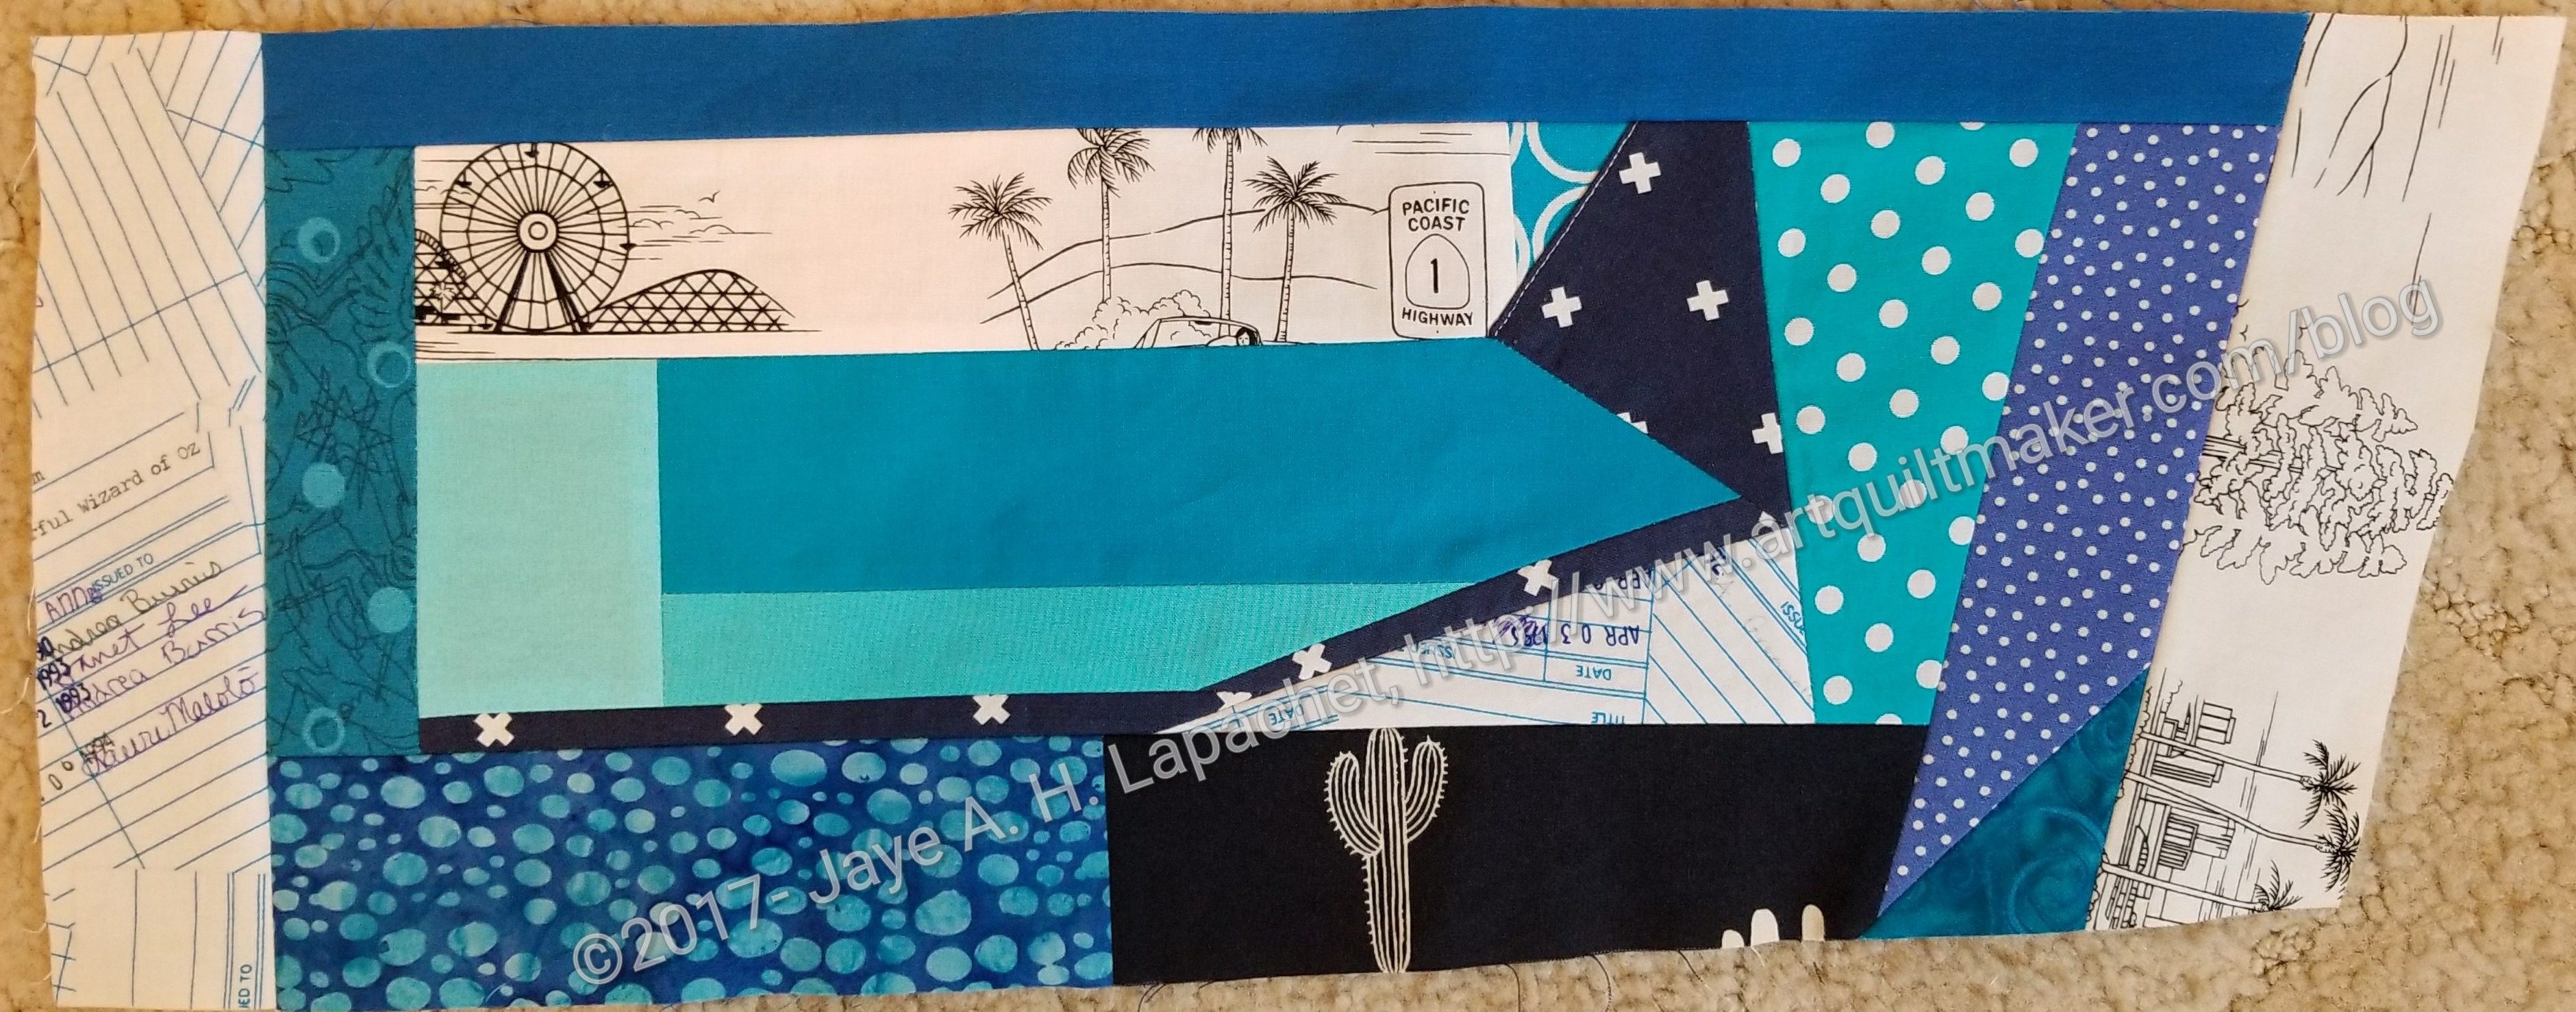
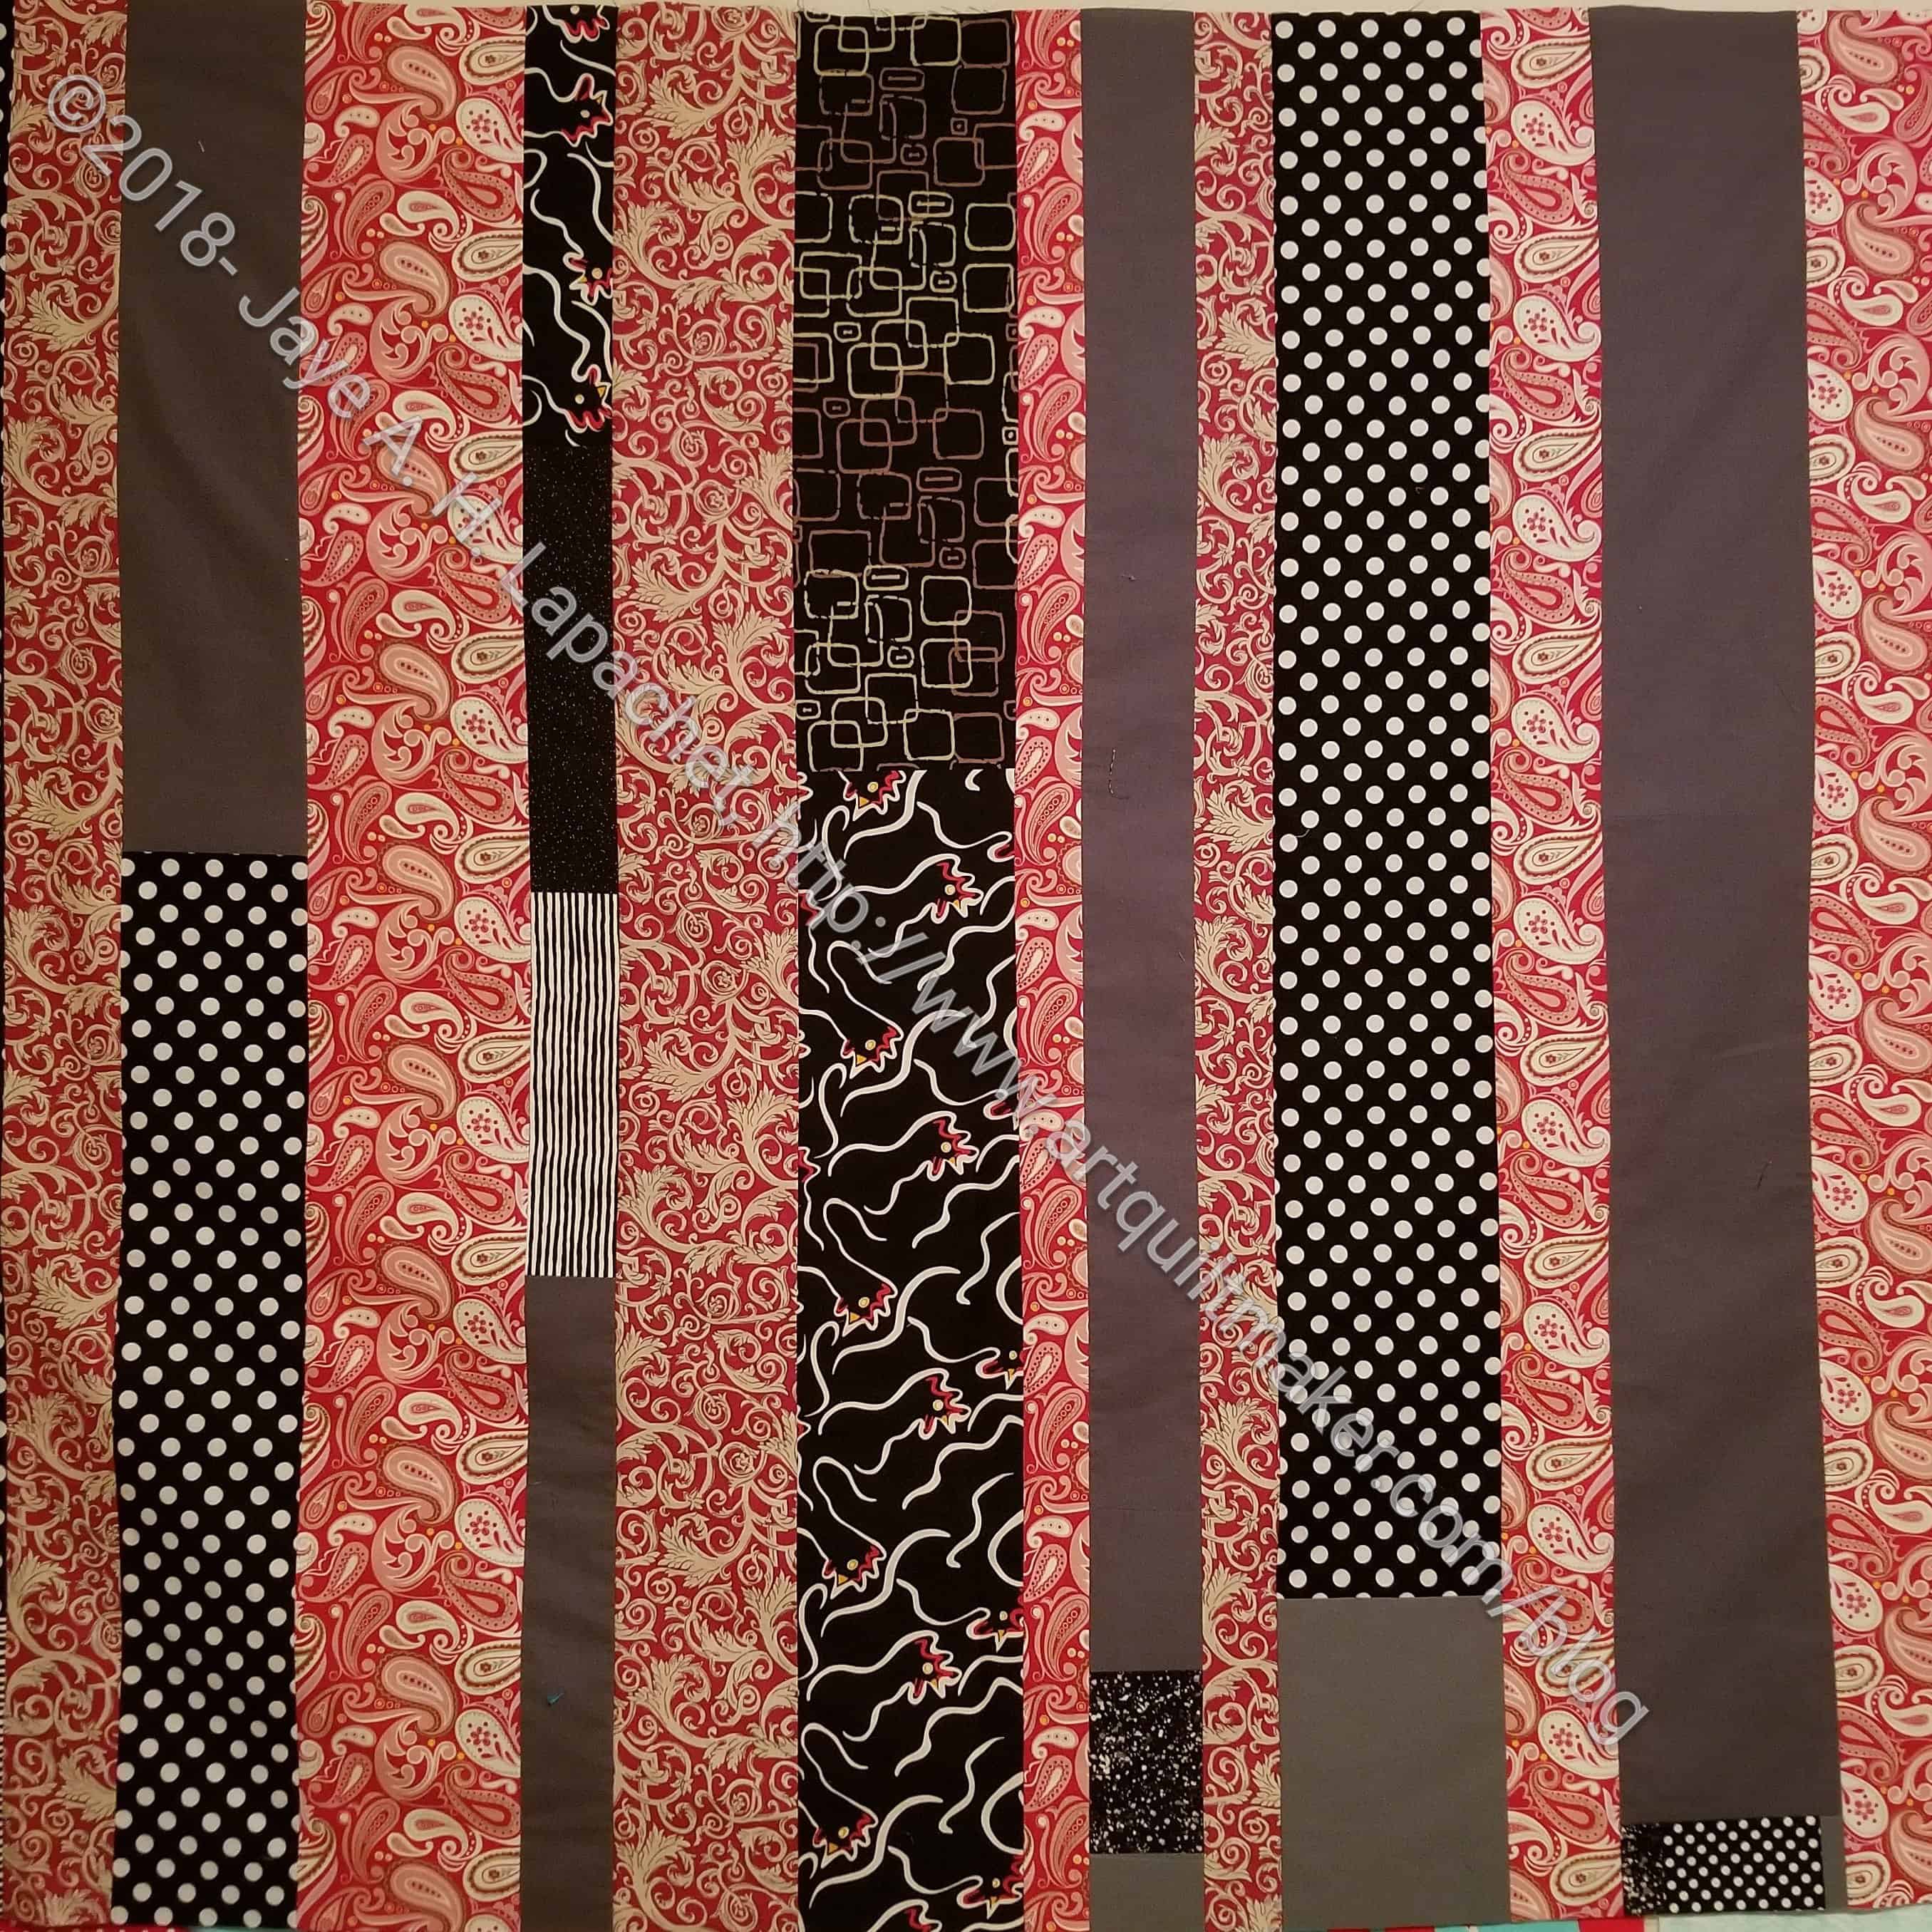
Leeann had a landscape theme and I just copied the colors into a big chunk.

I am not sure if this is what she wanted, but it will work in some capacity. She can cut it up to fill in spaces, though I wonder if people actually feel ok about cutting up the shards?

I should have mentioned earlier in the week a reminder about the parameters of Color My Quilt. This project started last year with Karen’s idea. It is a guild challenge where one person per month volunteers to receive shards. The selected person provides a sheet with an idea, colors, poetry, a quote – basically some kind of inspiration to willing participants. The participants make a shard. It can be a block or a chunk of scraps in the right colors or almost anything. I think it is interesting to see what the chunks look like together. So far only one quilt has been made. I am curious to see if others get made.

Color My Quilt – Helen’s Rainbow

Helen's Rainbow
Helen’s Rainbow

Yes, this is Color My Quilt week.

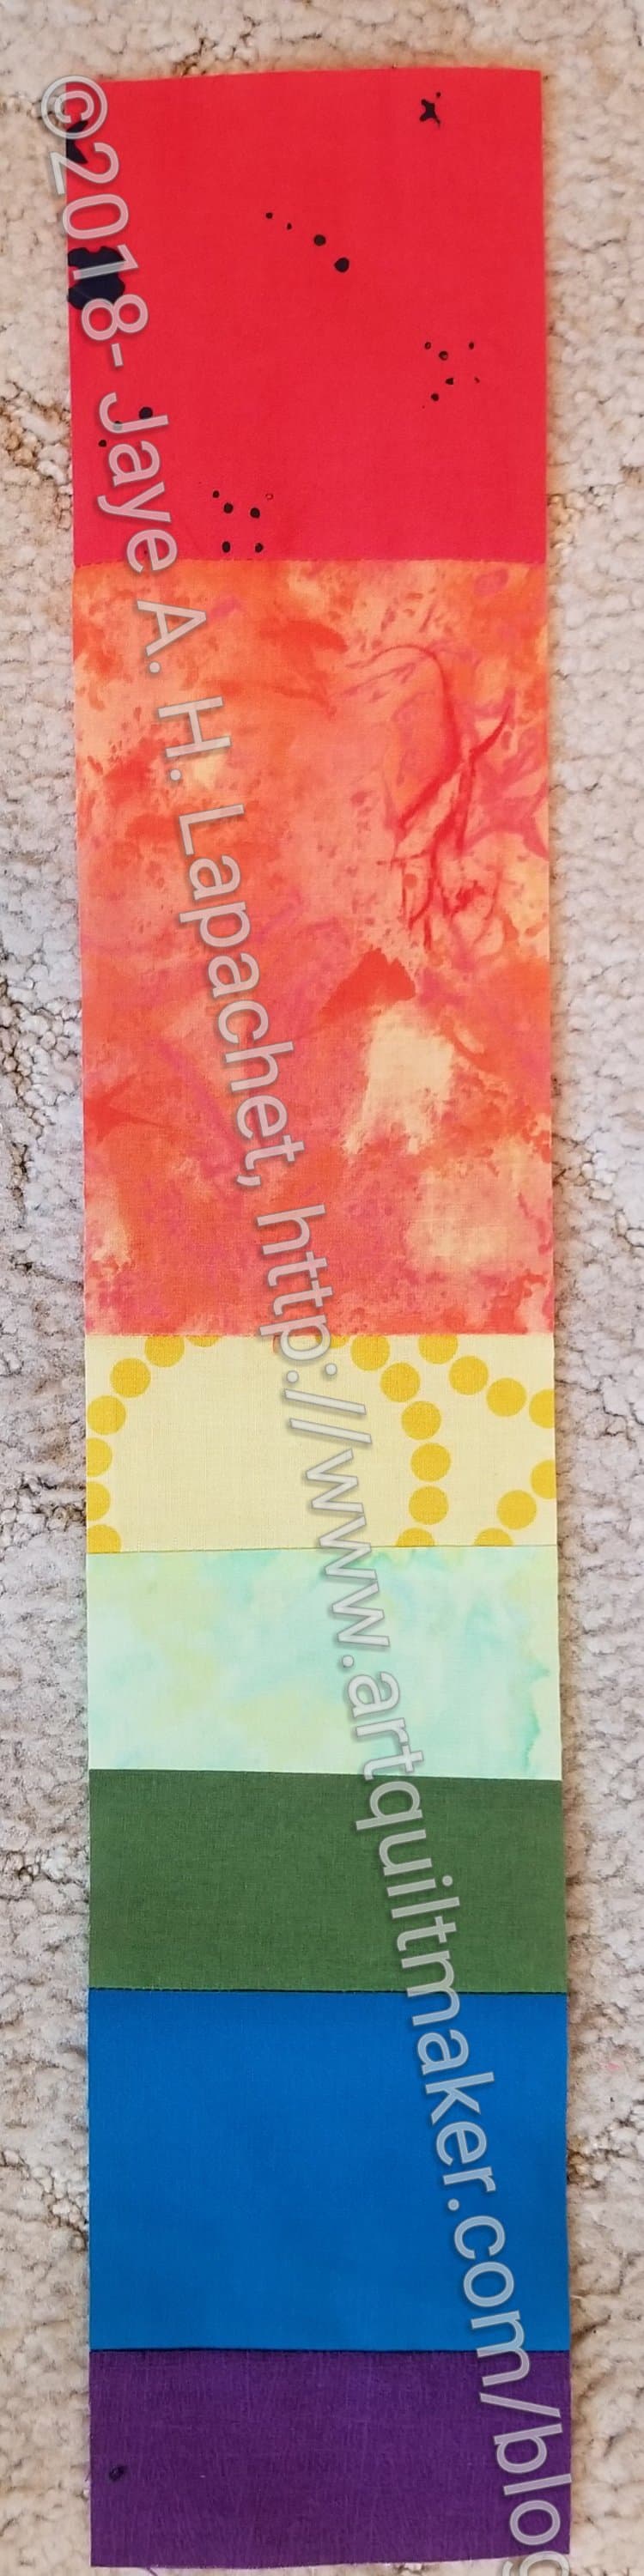
I wasn’t sure what to do with Helen’s prompt. I thought about it and considered different options for a long time. Finally, I gave up and decided not to do it.

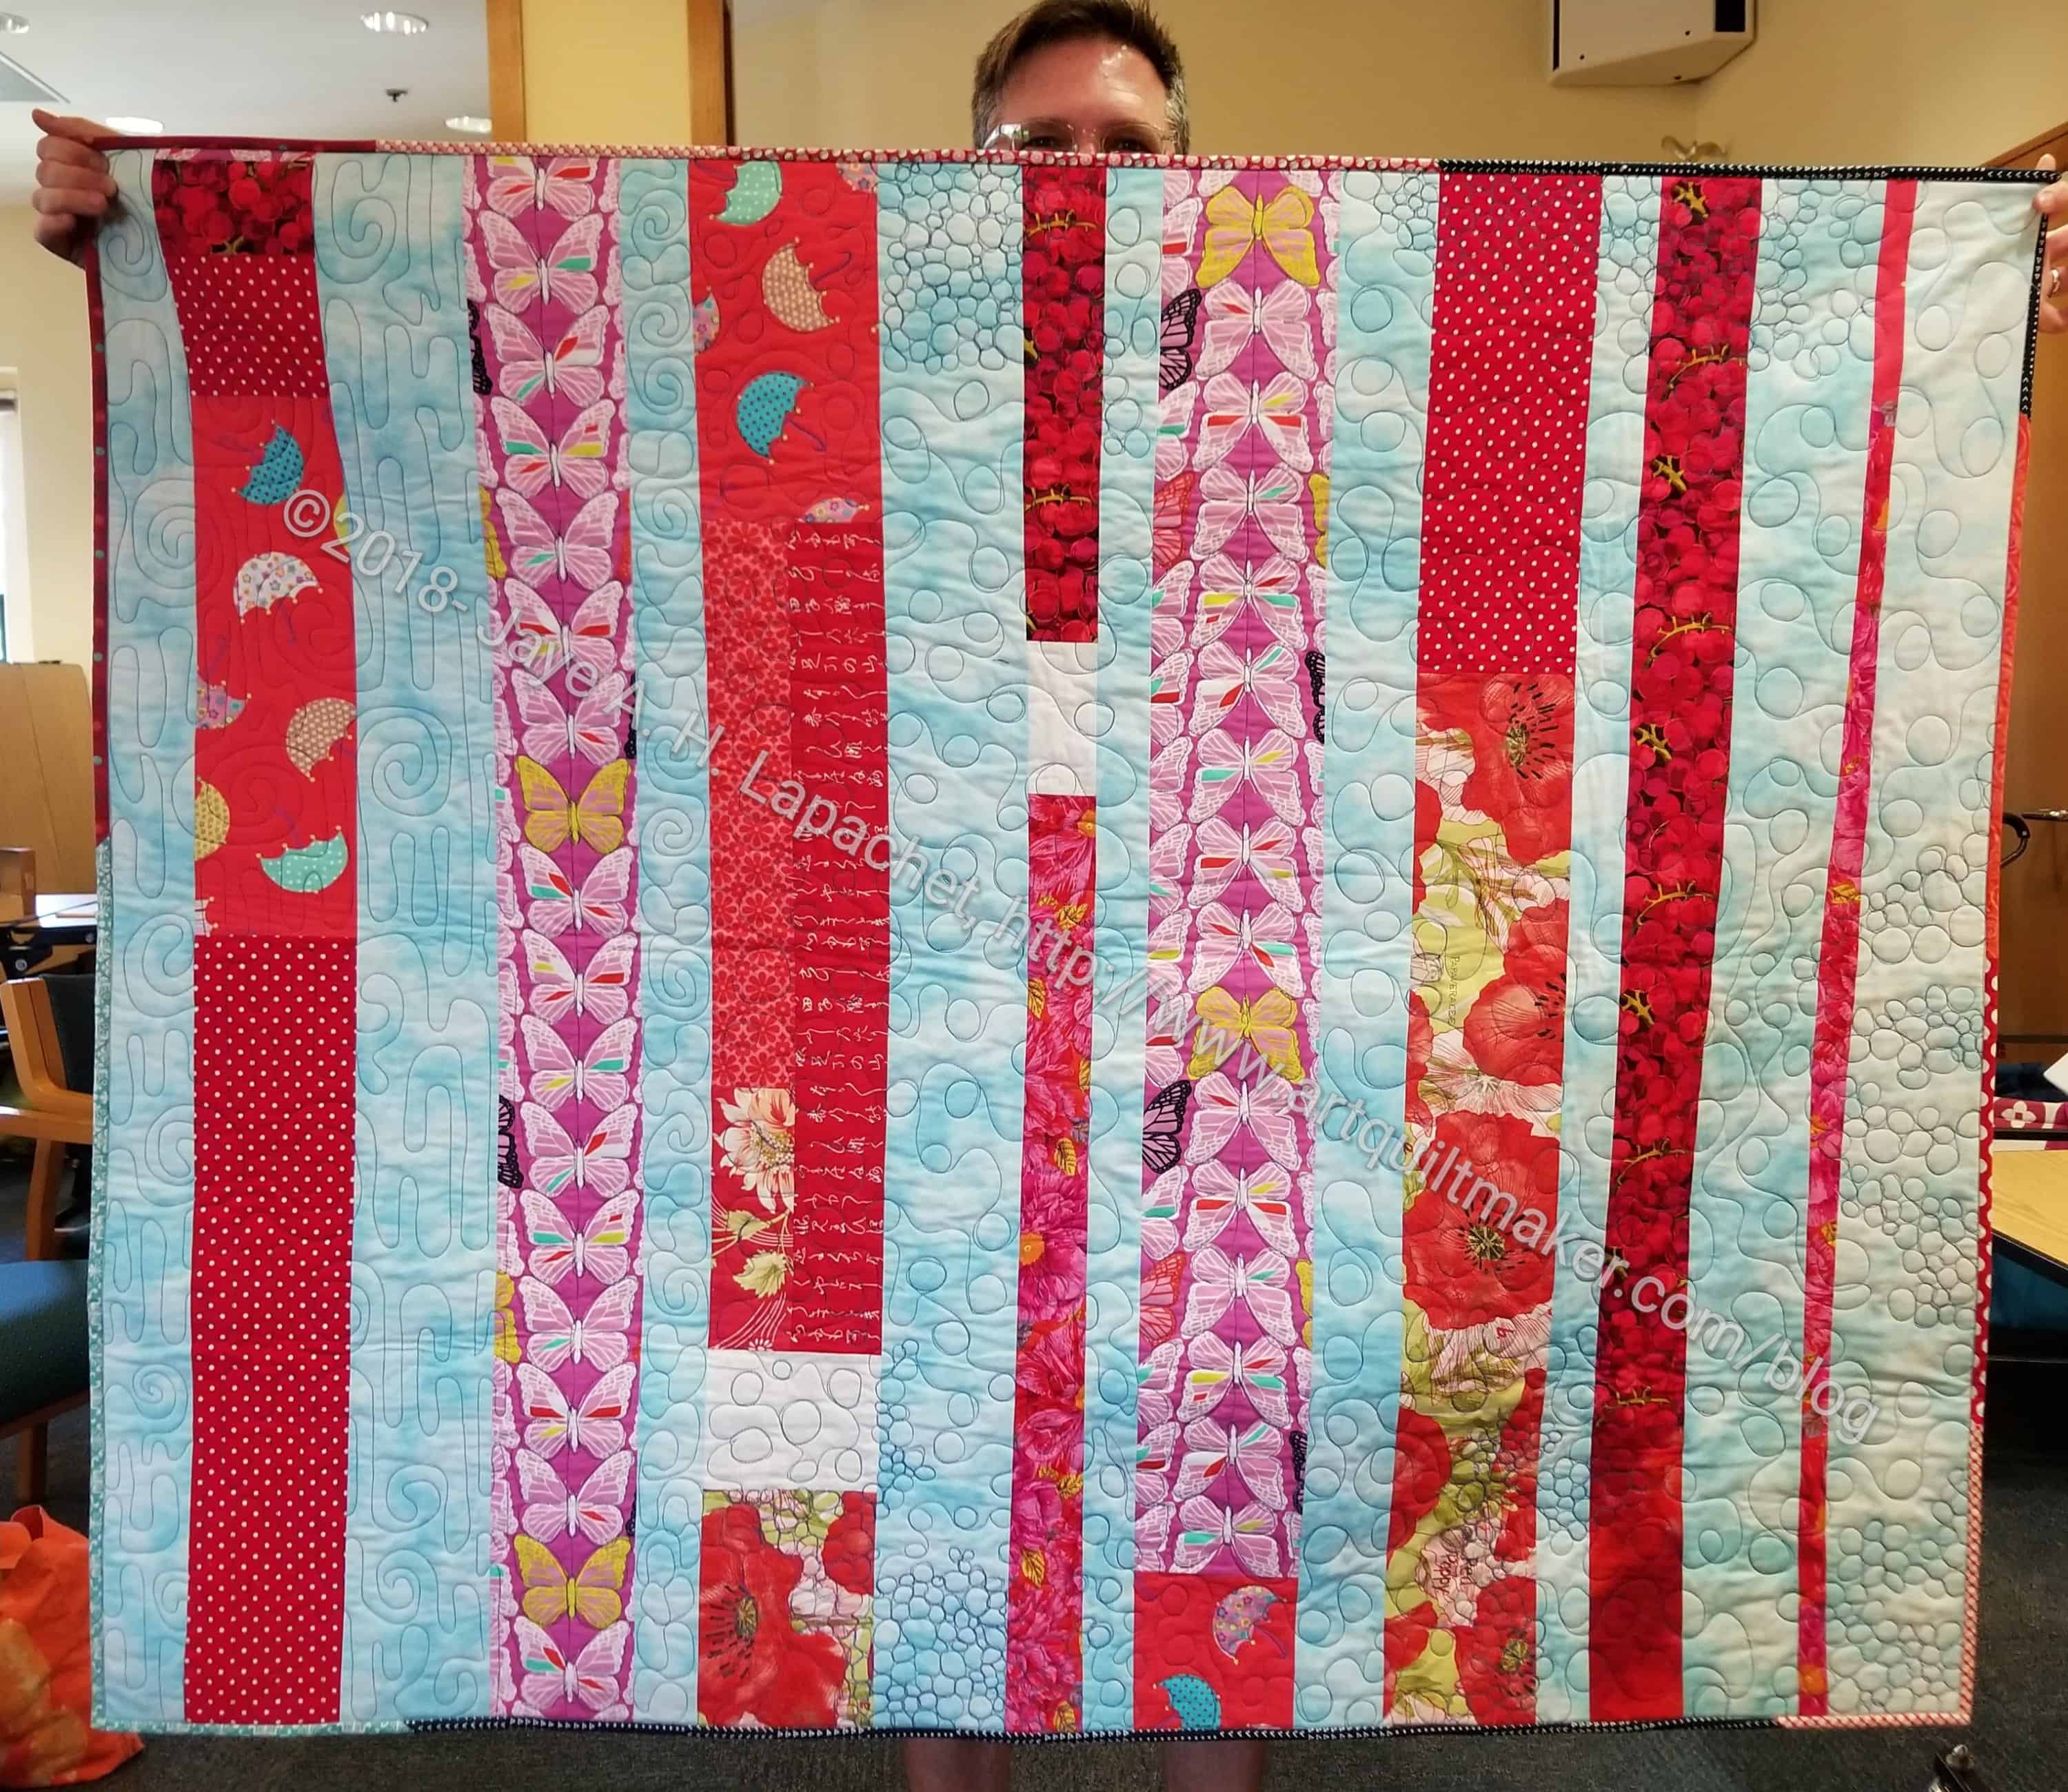
I think that was what I needed to do, because, shortly thereafter, I thought about ROYGBIV. I decided that making a long strip in color order would be the thing to do. It would fulfill Helen’s wish and it would be consistent with my effort to provide a different shape for people to work with.

I just pulled pieces out of my scrap bin and that seemed to work well.

Color My Quilt: Michelle

Color My Quilt: Michelle- Fog

I am still behind on the BAMaQG Color My Quilt project. I decided while I was sewing the Stepping Stones n.2 over Memorial Day that I would slide in the Color My Quilt pieces. I sewed on them in between the Spiky 16 Patches and the Stepping Stones n.2.

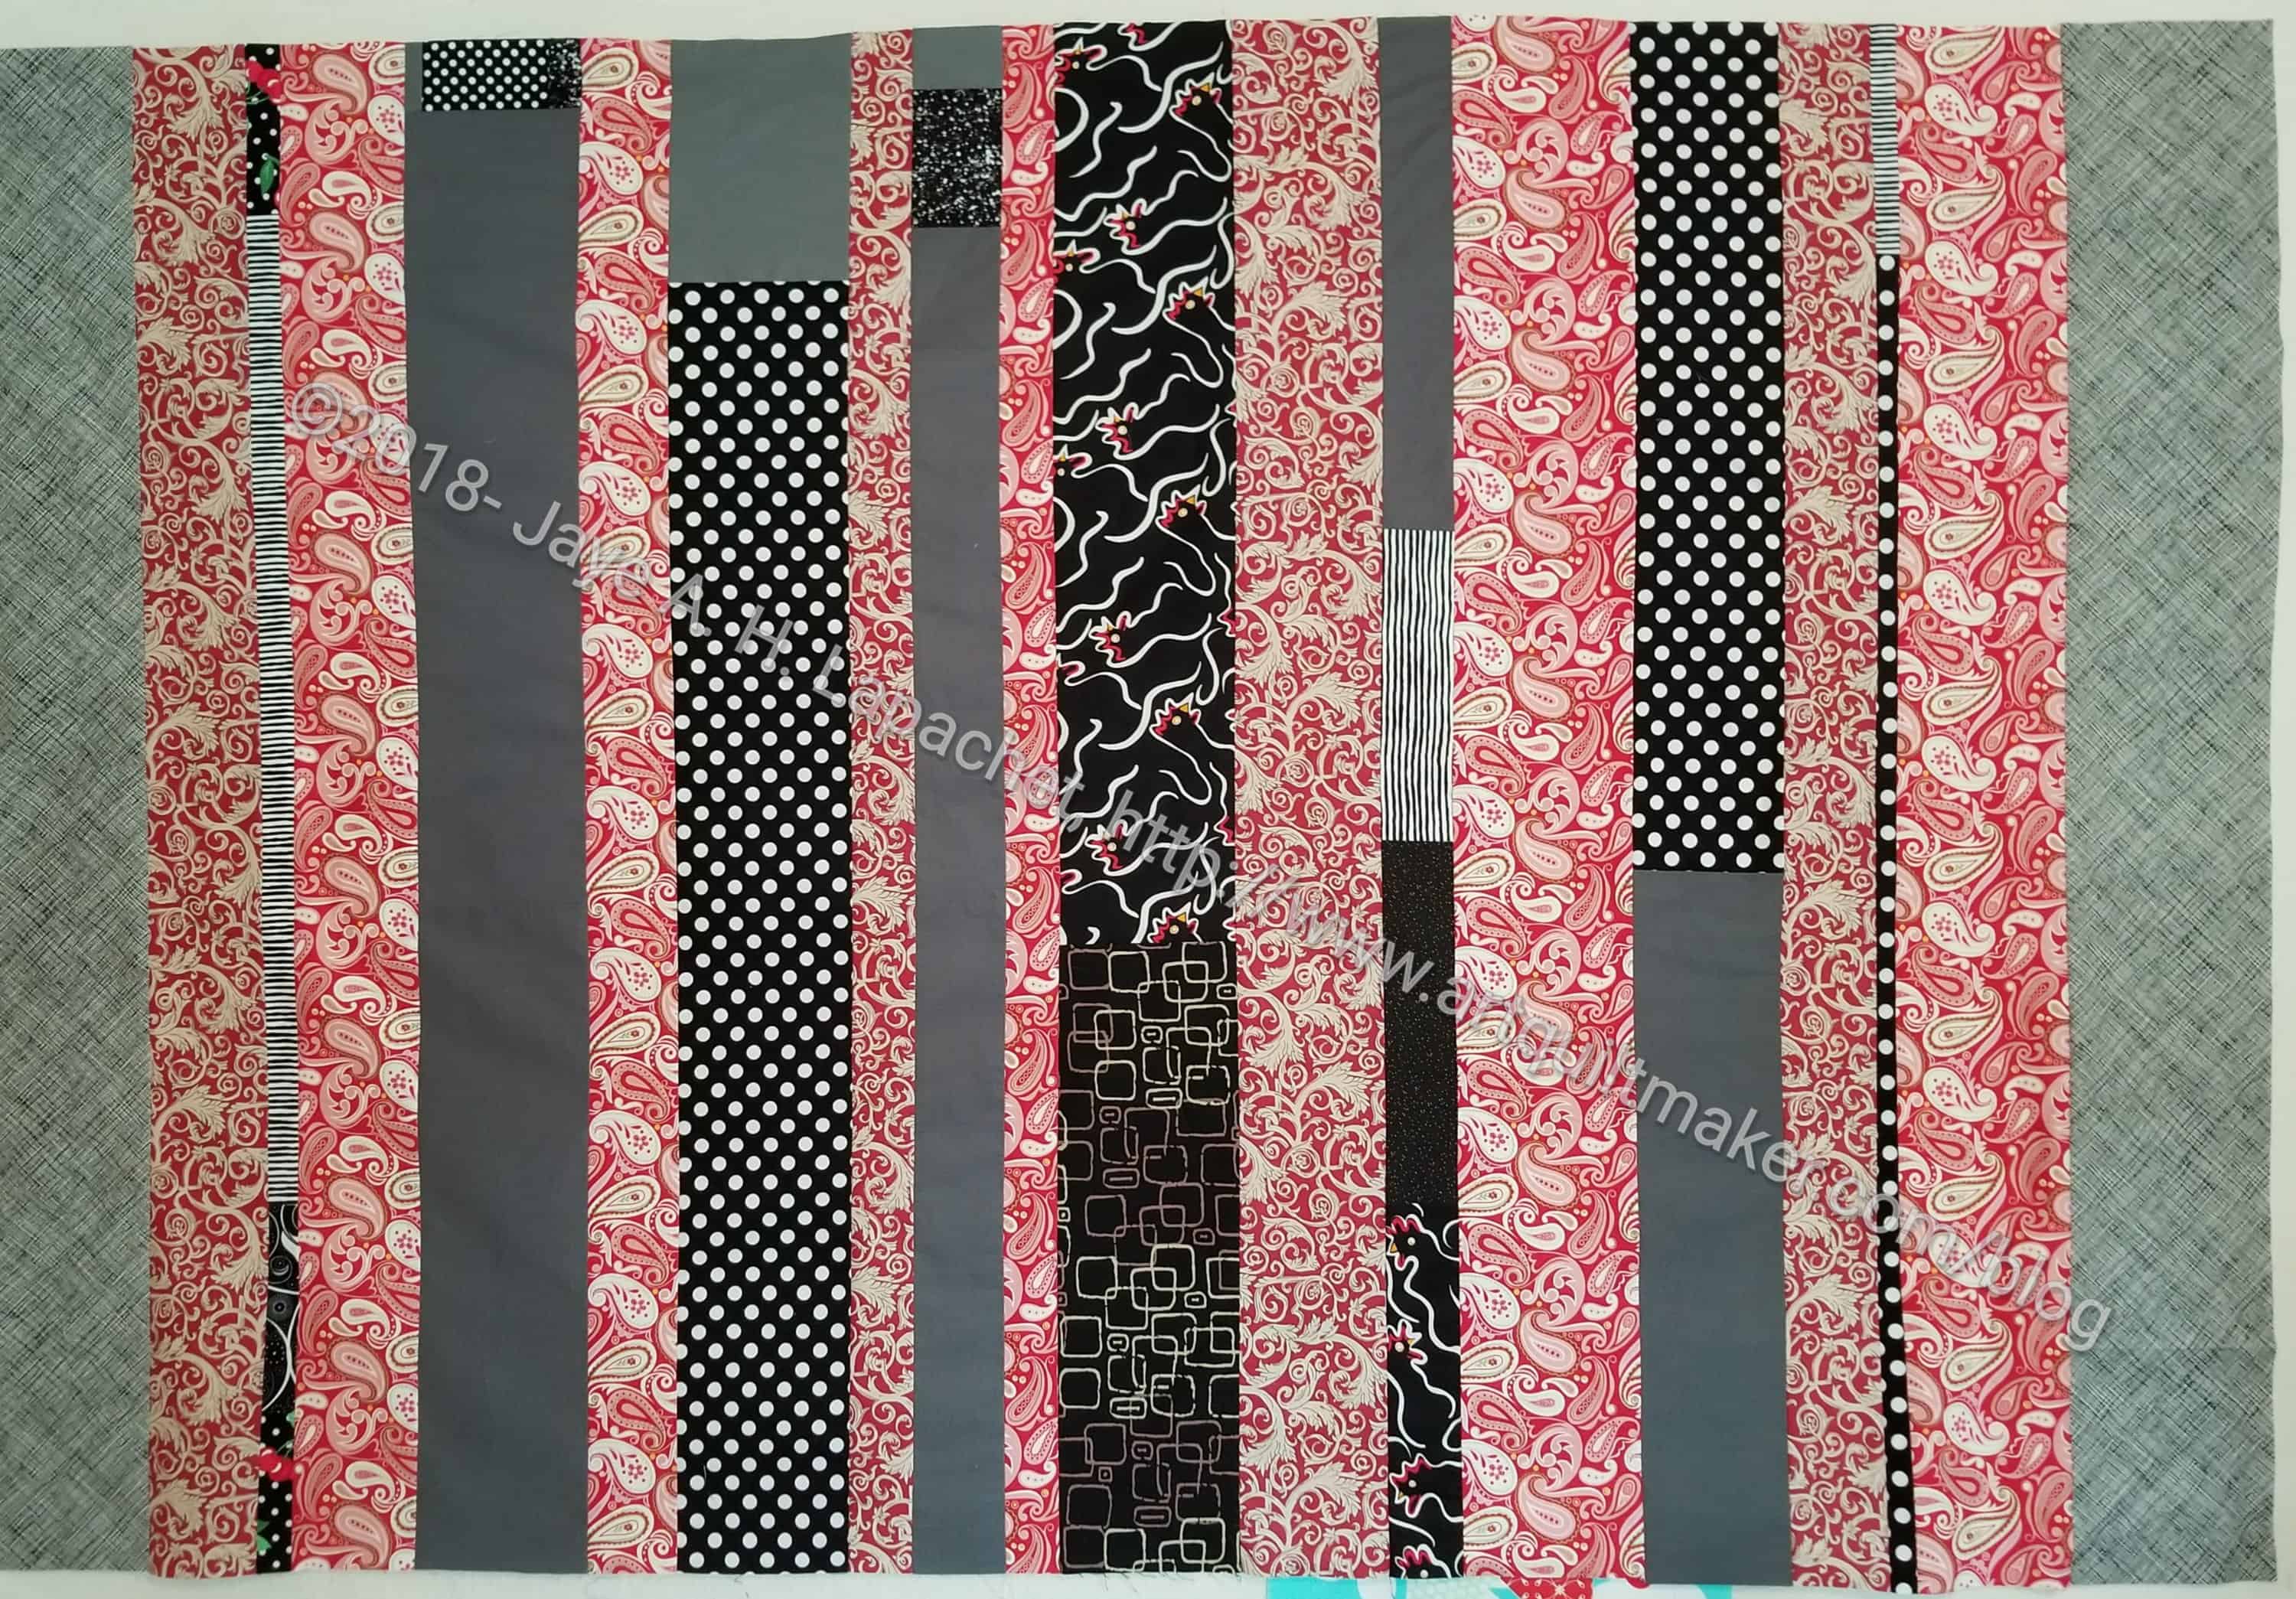
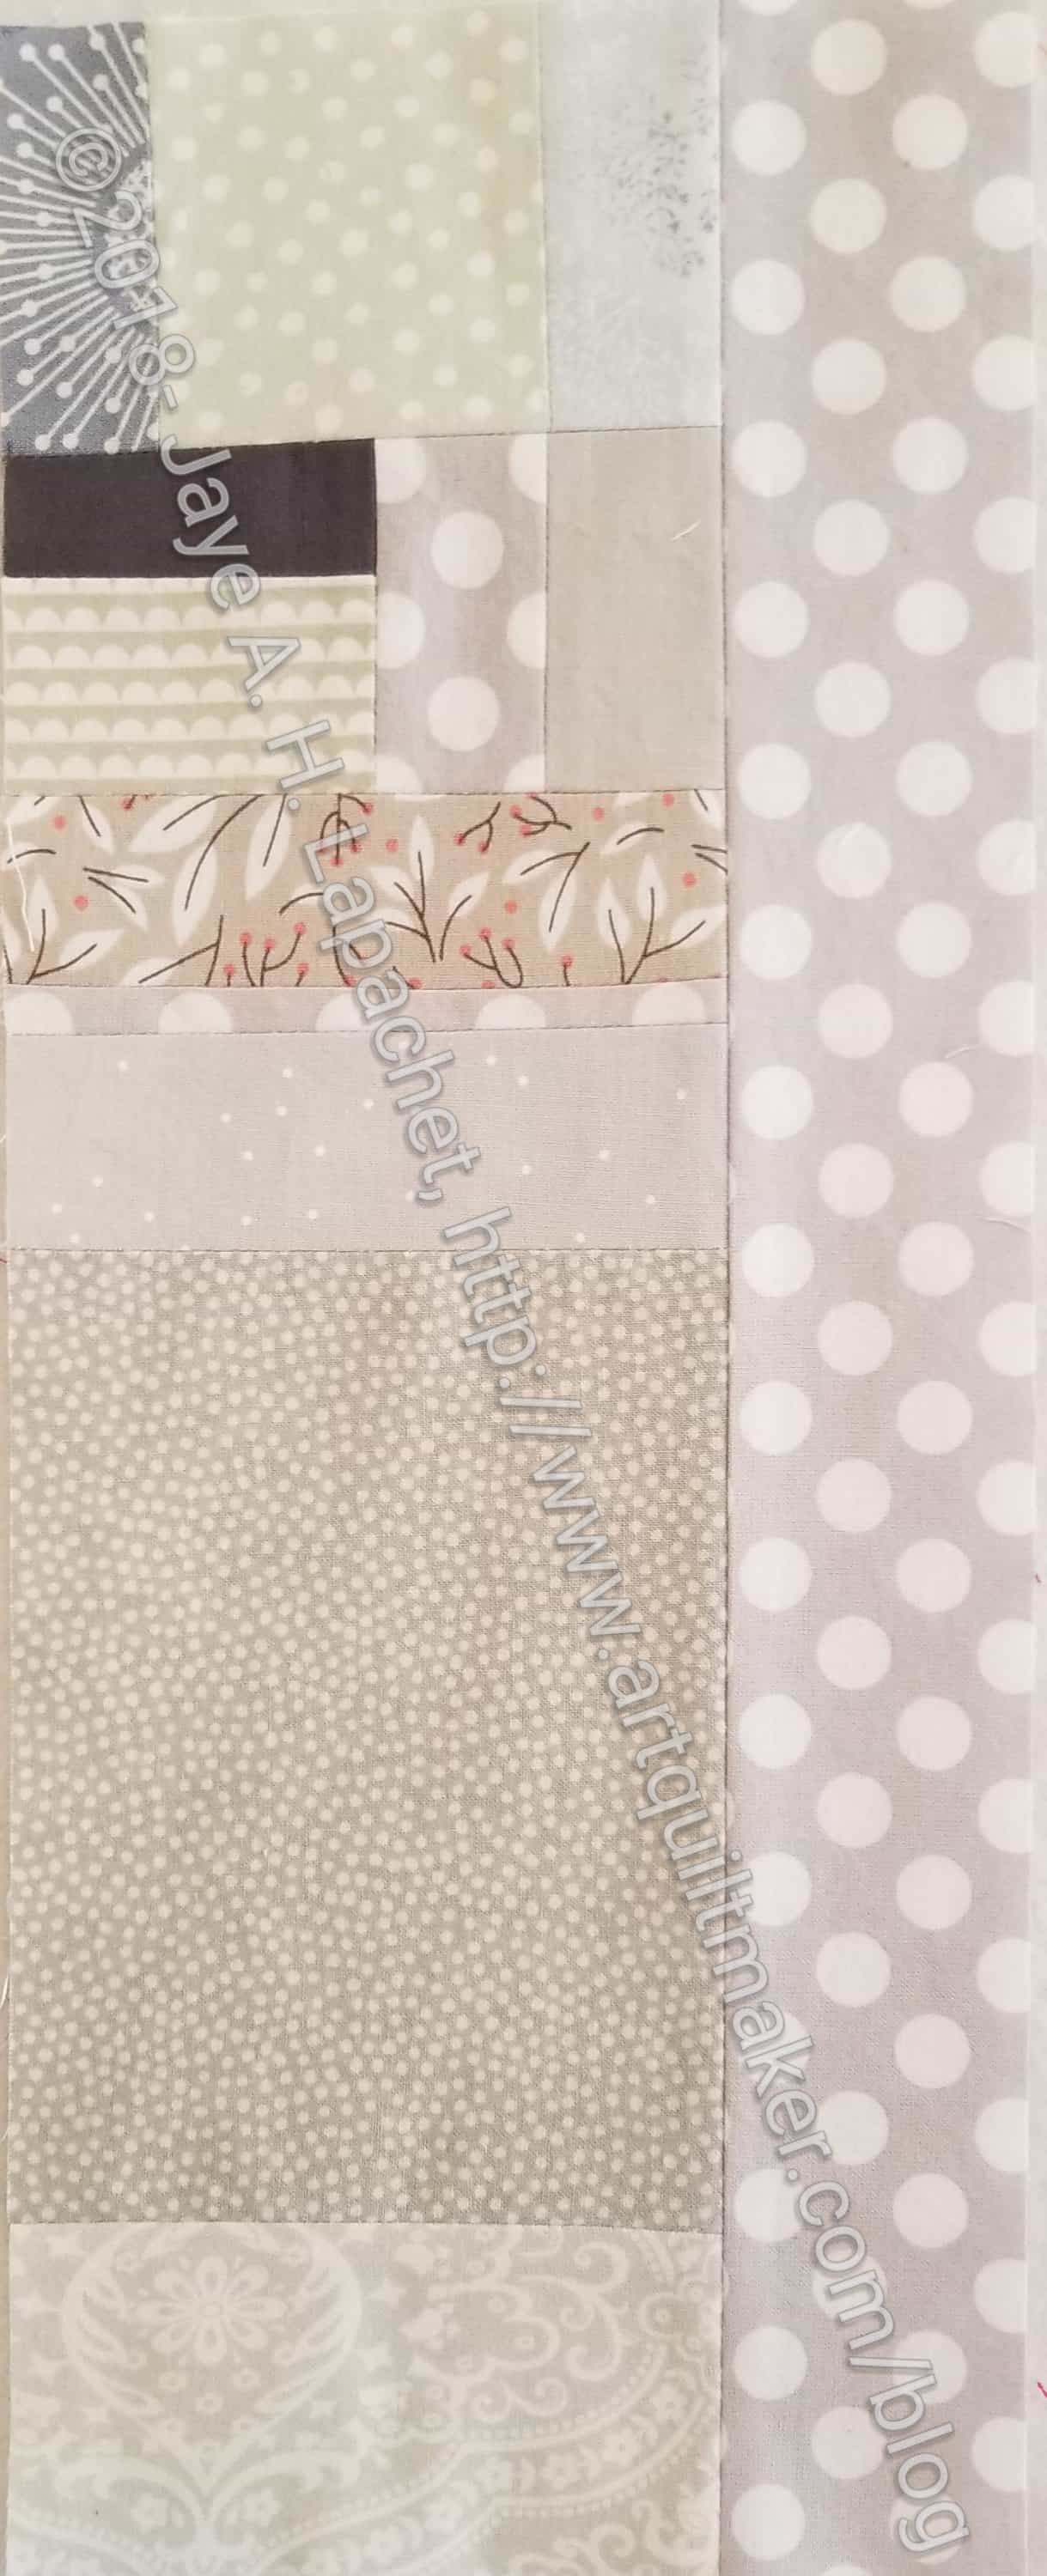
Michelle’s theme was fog. I am quite familiar with it, so I pulled greys out of my scrap drawer and put another long thin piece together.

It is simple and straightforward. I hope it works with the other pieces she got.

5 Spiky Blocks

5 Spiky Stars
5 Spiky Stars

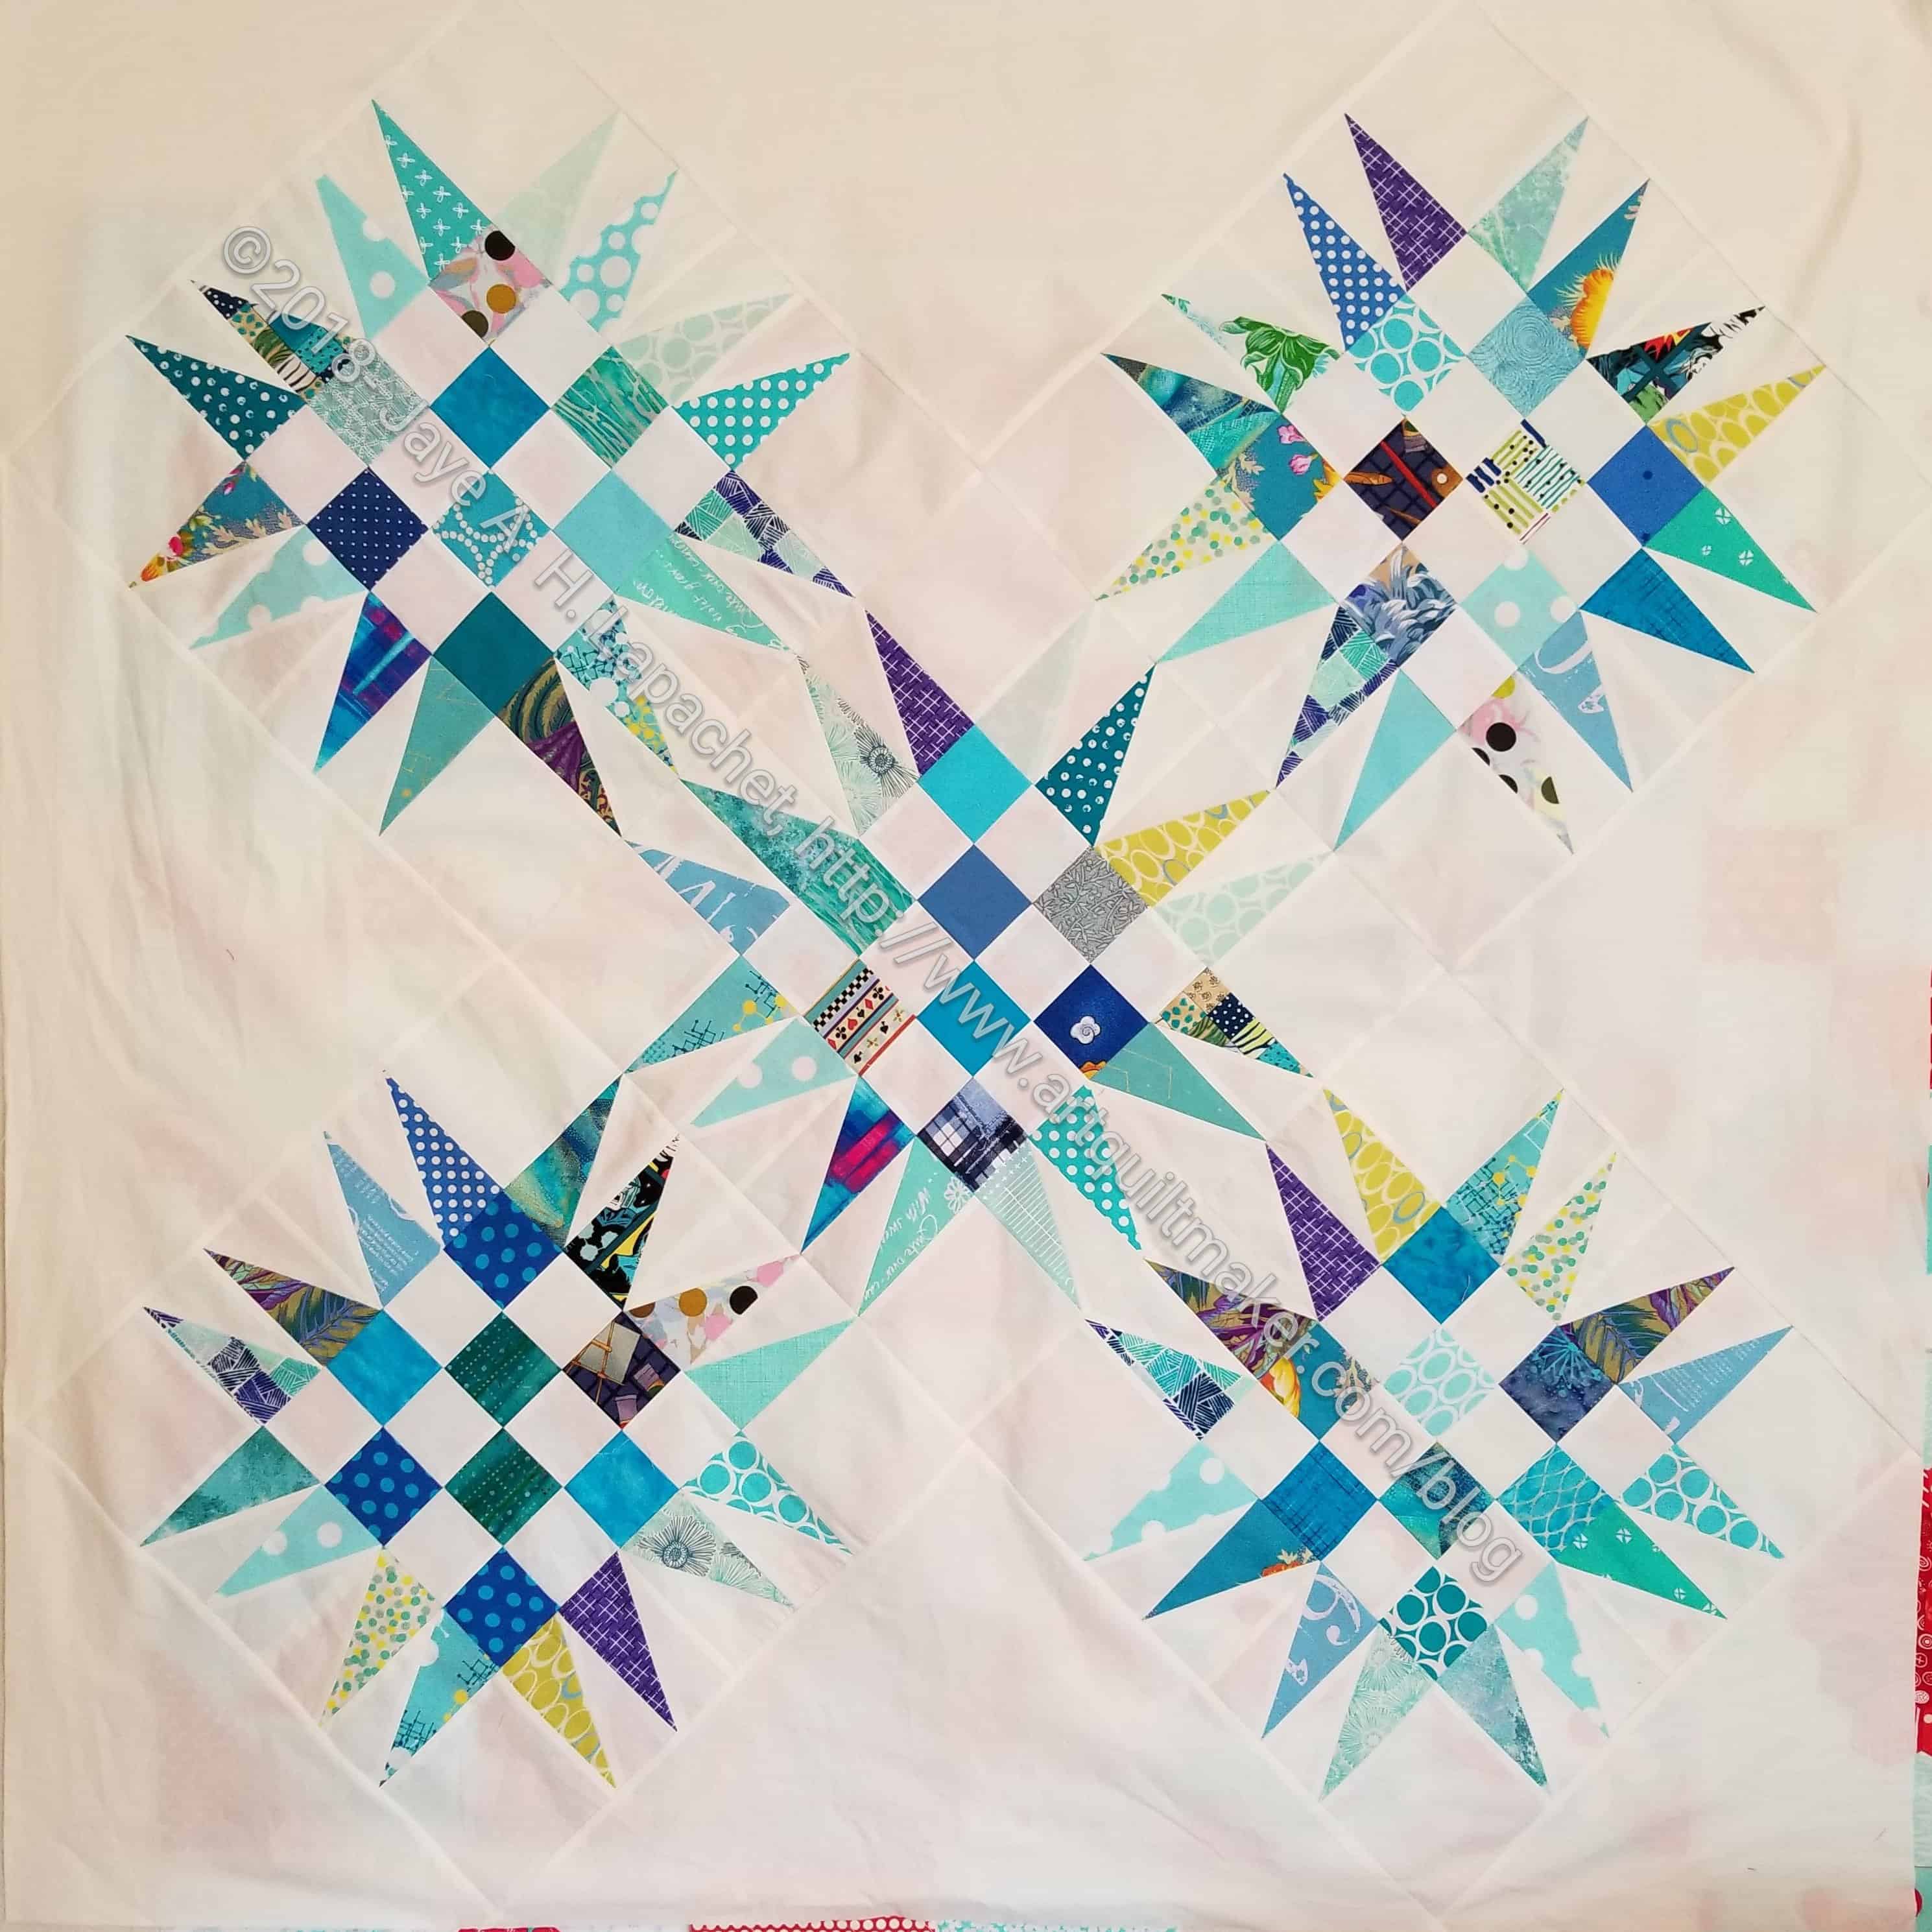
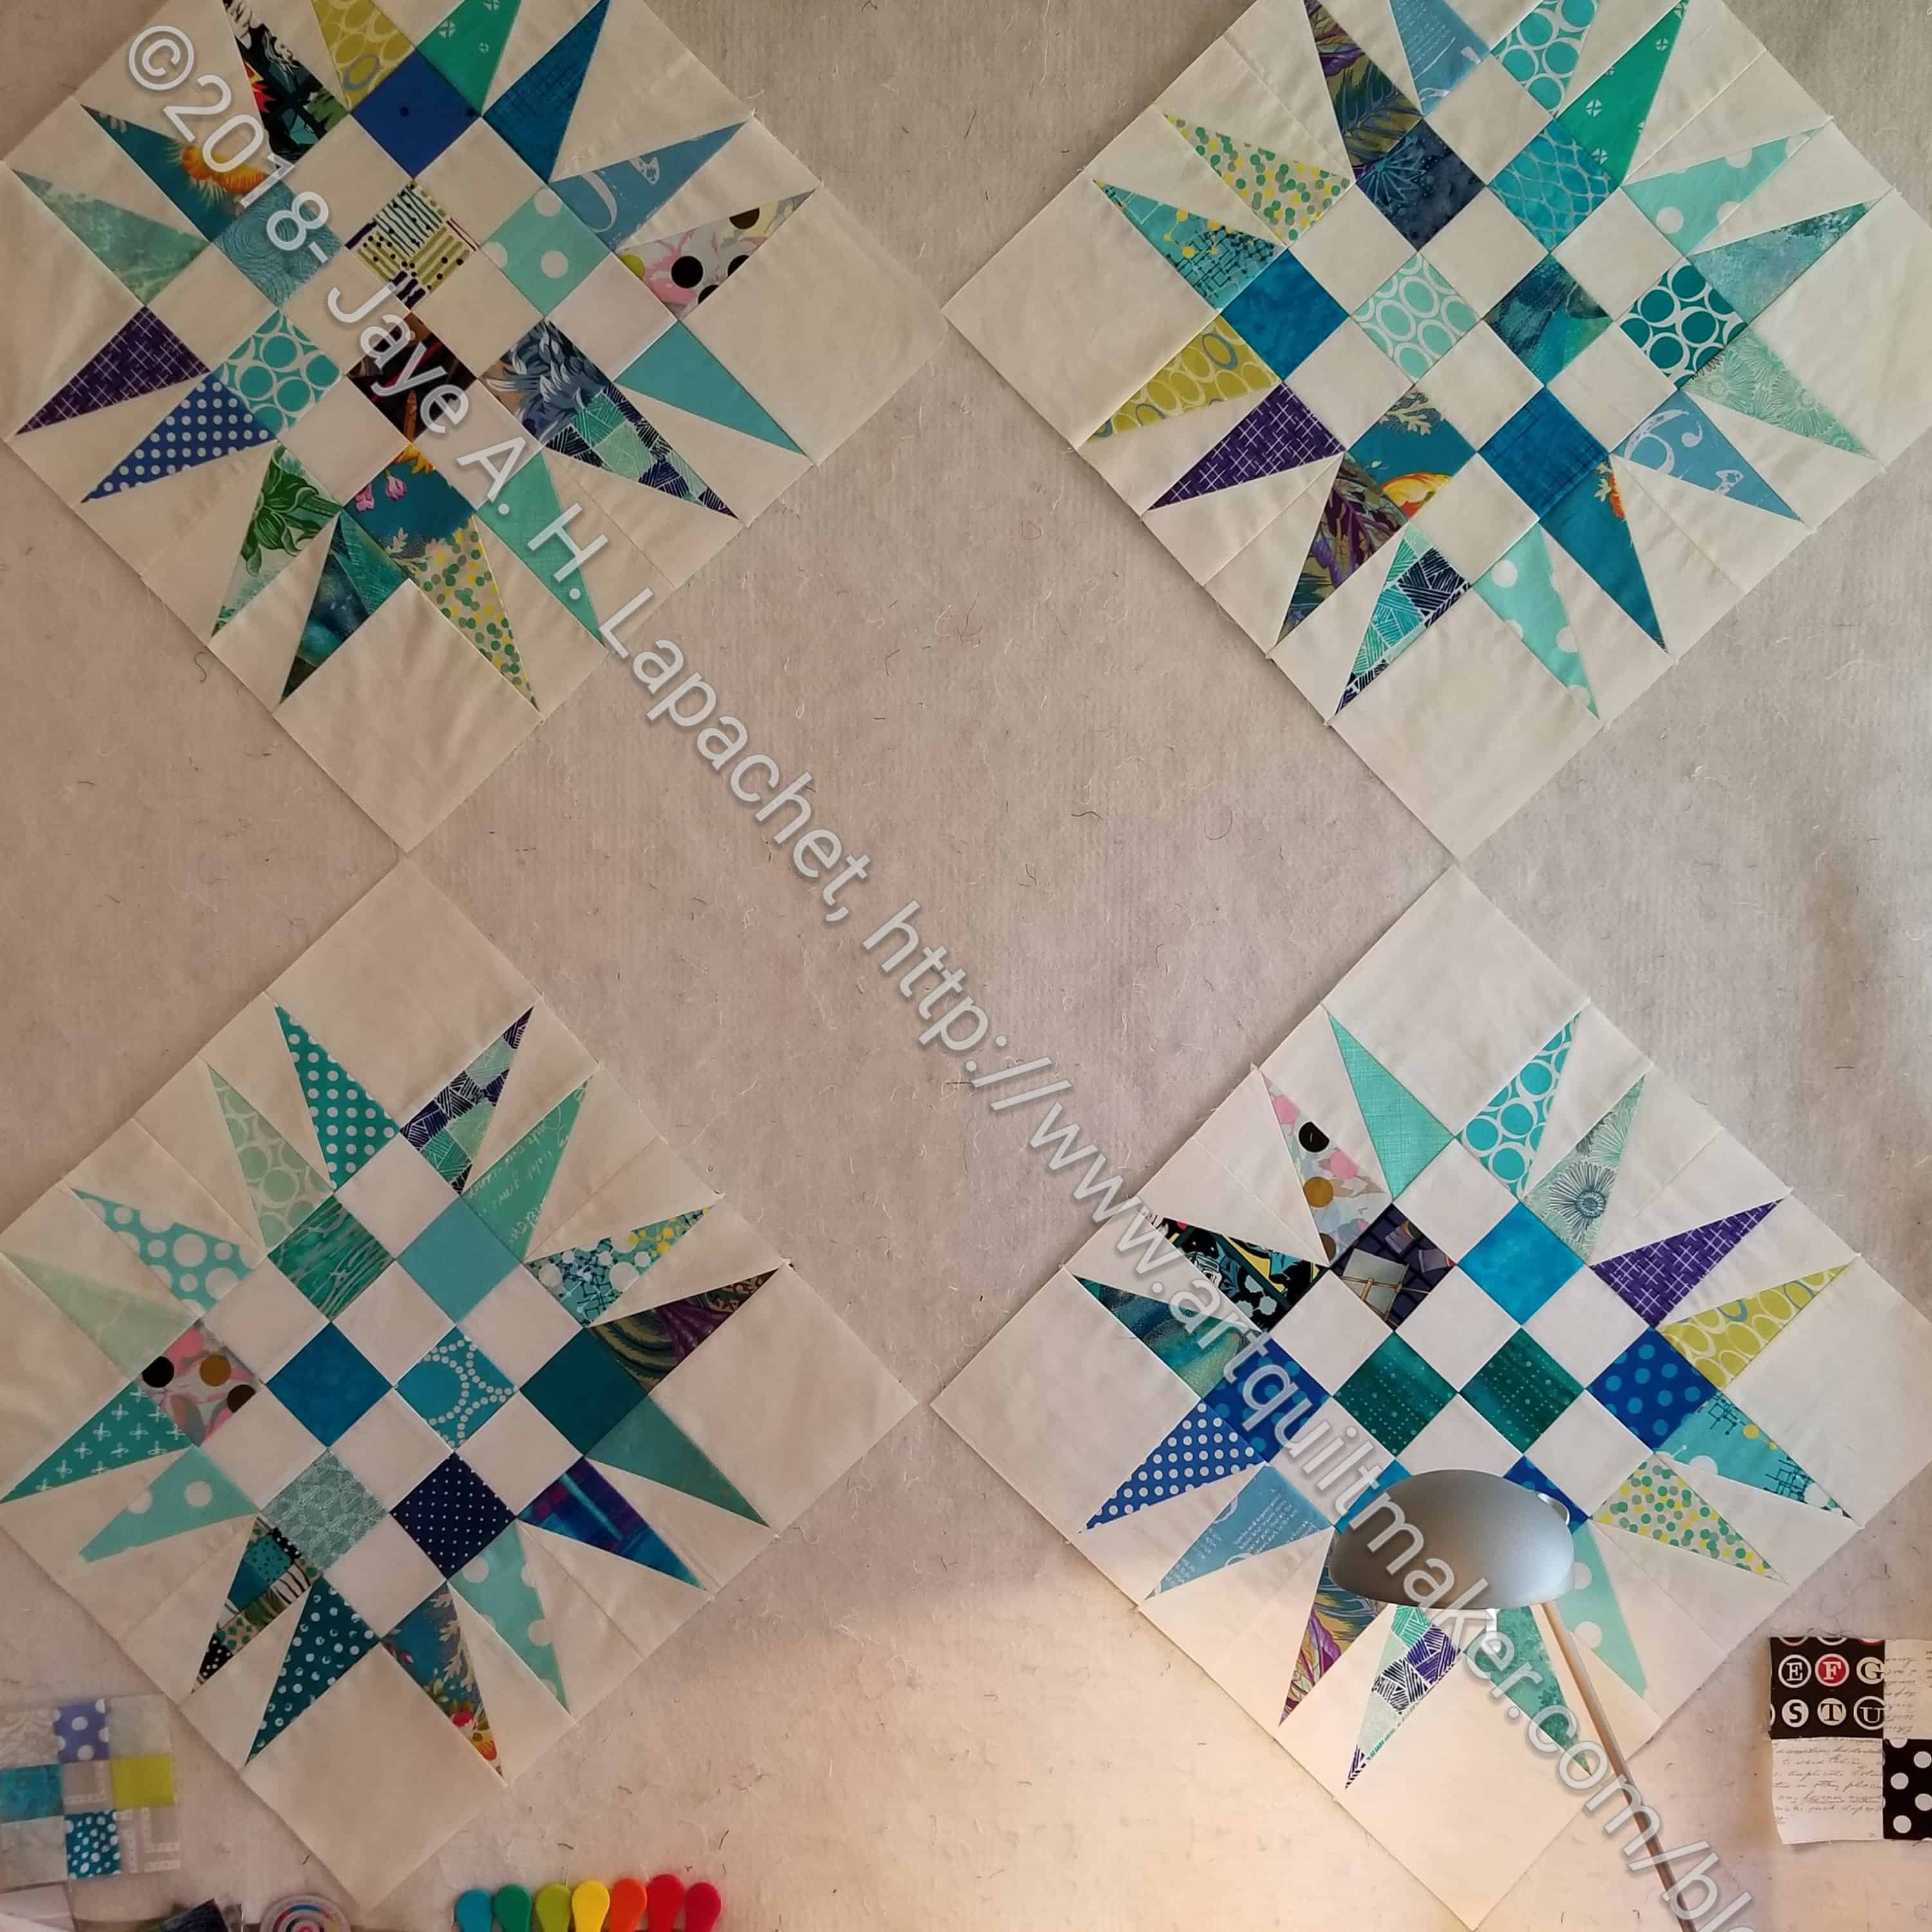
I made the last Spiky 16 patch block and I am pleased with the way it looks.

I am liking the look of the the colors together. There are some purples and light, icky greens, but I think they add interest rather than disrupting the sea/calm look. What do you think?

Next step: on point triangles. I think I mentioned I found a new technique for creating these. I know I printed it out and now need to remember when I put it.

Spiky 16 Patch n.2 Layout and Thoughts

As mentioned, I finished the fourth Spiky 16 Patch Block I worked on over Memorial Day weekend. I found some interesting directions for cutting side triangles for an on point setting and wanted to try them. Yes, I have rulers galore that are supposed to deal with this problem, but I can’t seem to get them to work.

Spiky 16 Patch n.2 laid out

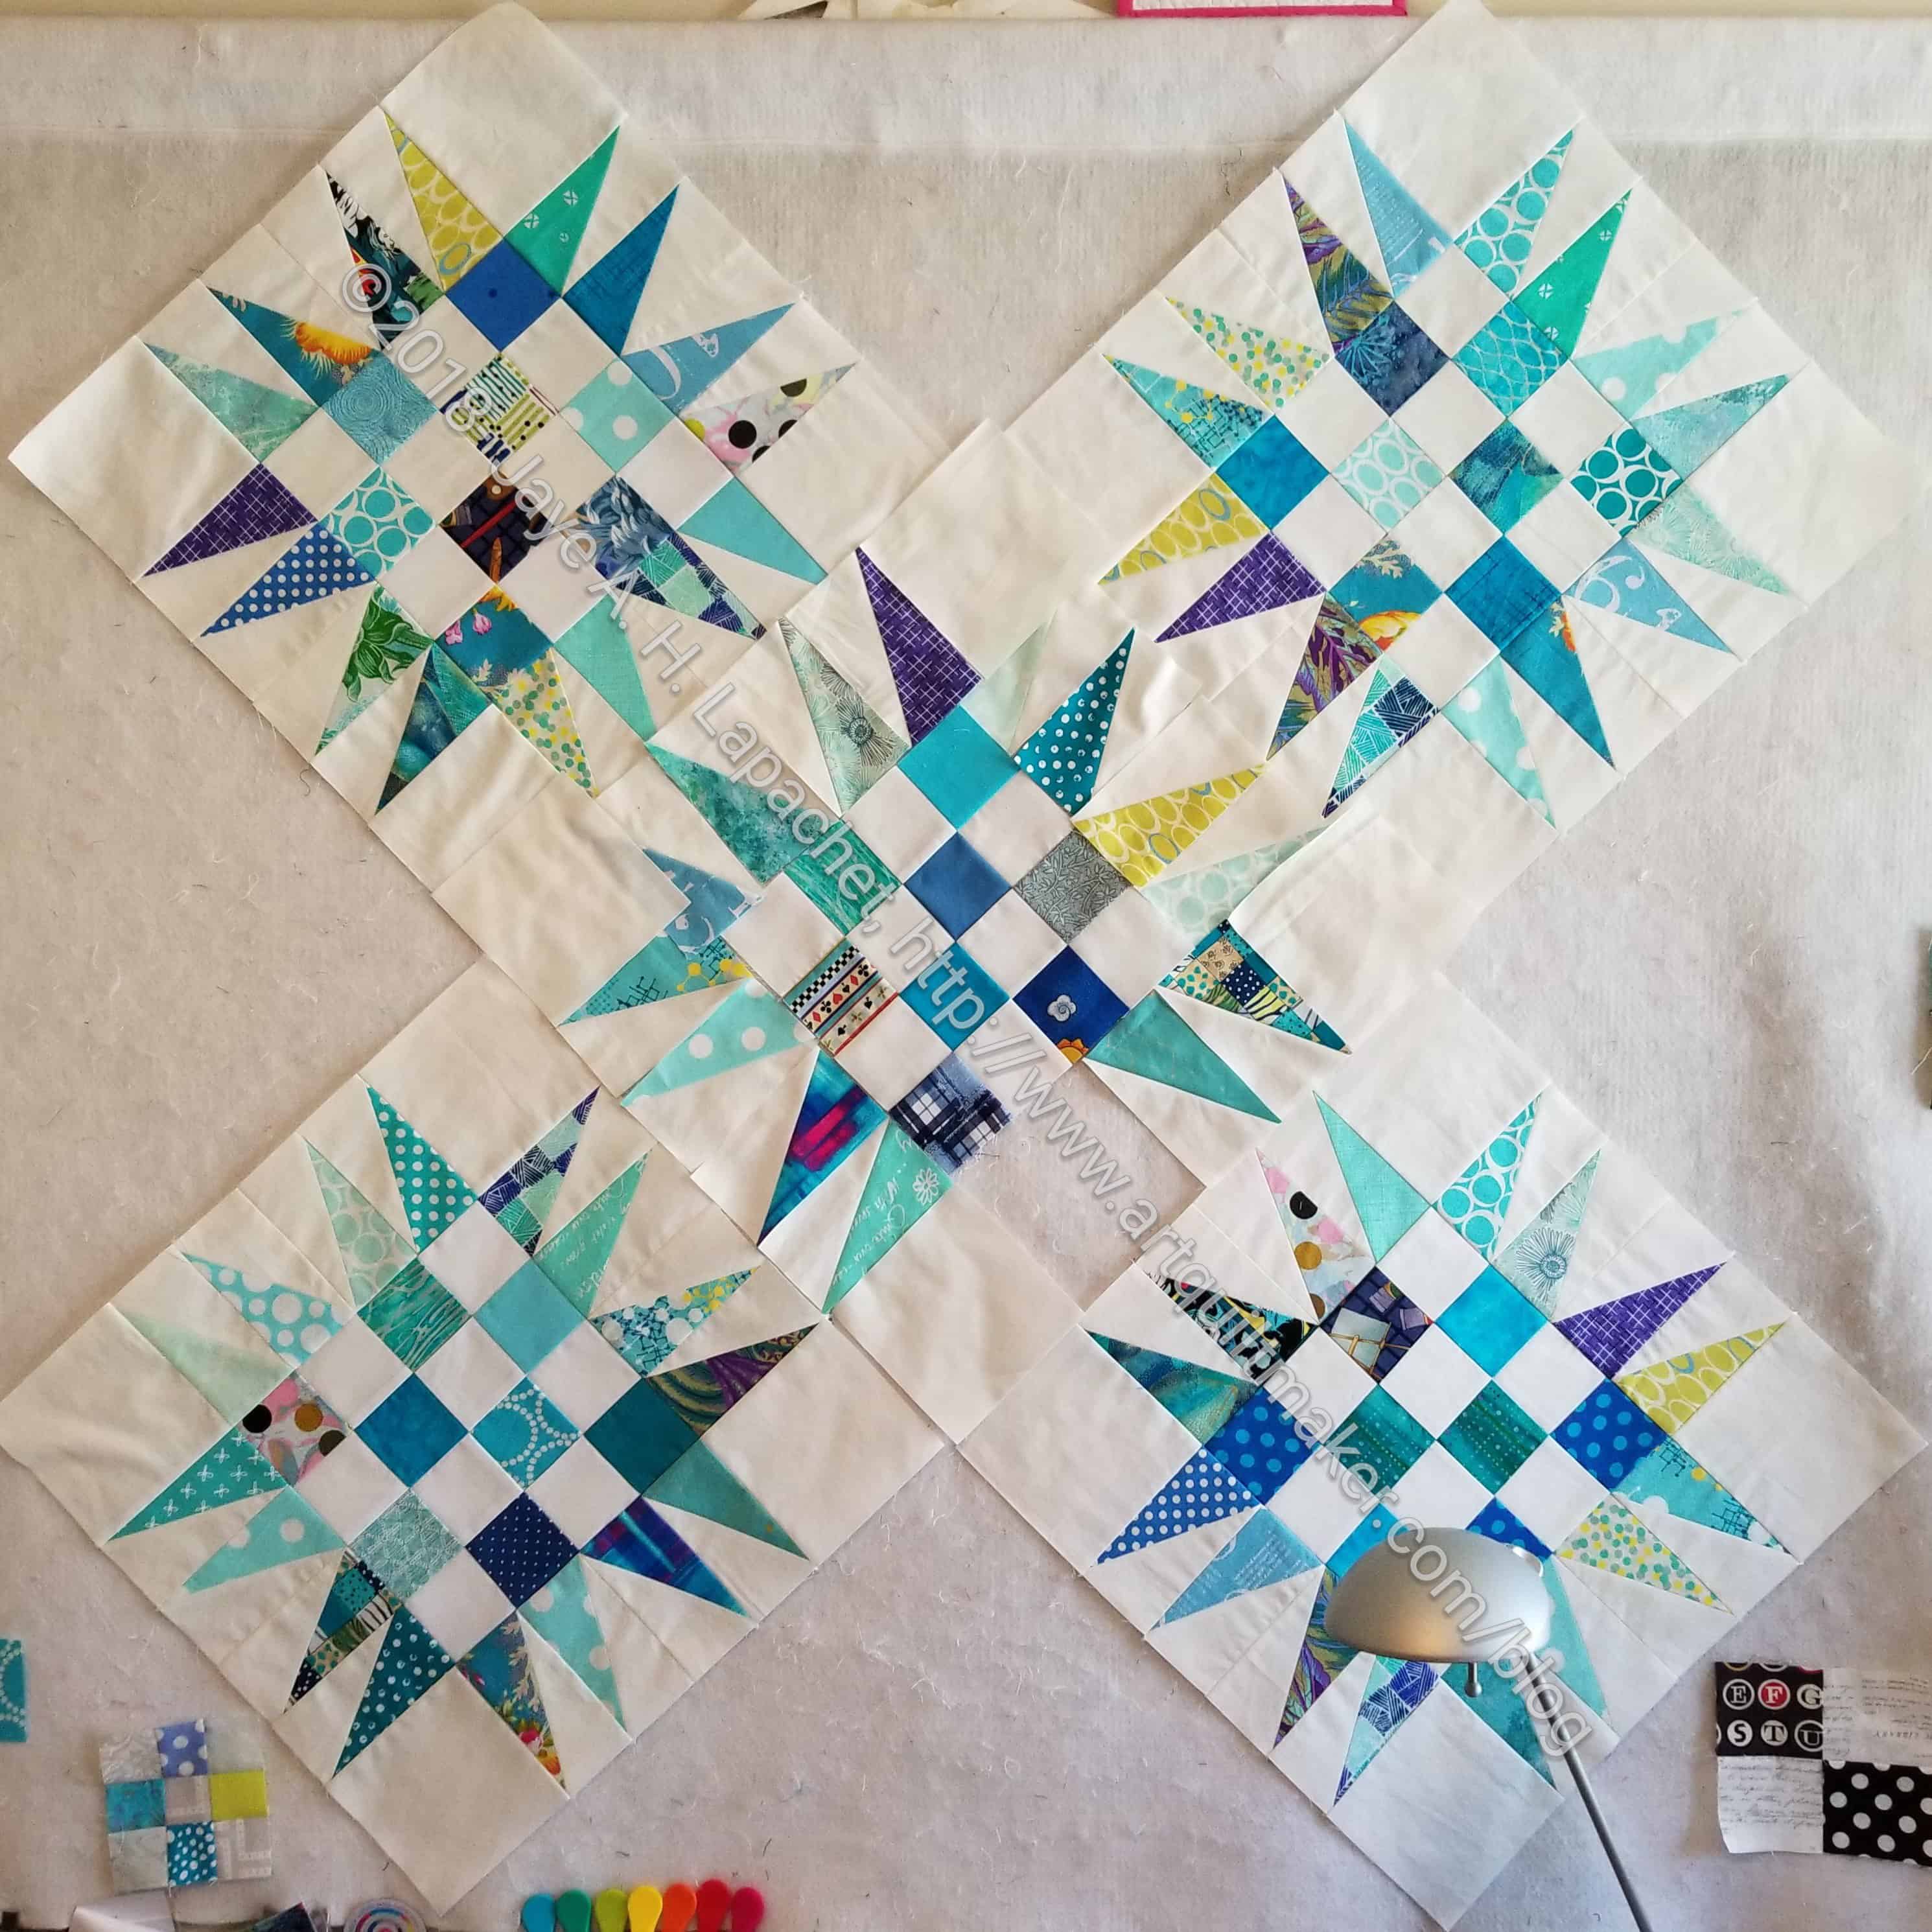
First, however, I needed to look at the piece laid out. I laid it out on my design wall and decided that that giant plain square in the middle would be a nuisance. If I were a master quilter, that would be a great square for a feathered wreath. Since this is a donation, I thought it would be a pain for whomever decided to quilt it and I should make another block to fit in that spot.

Spiky 16 Patch n.2 - new layout
Spiky 16 Patch n.2 – new layout

Even if I ultimately decide not to put the block in the center, it won’t be wasted. I can’t use it for another quilt. Pam suggested another block in the center, which is a good idea and would make a great variation. Not sure what it would be though. I’ll keep it in mind if the center block ends up not working out.

My goal is to have this done to turn in at the meeting. We’ll see.

More May Donation Blocks

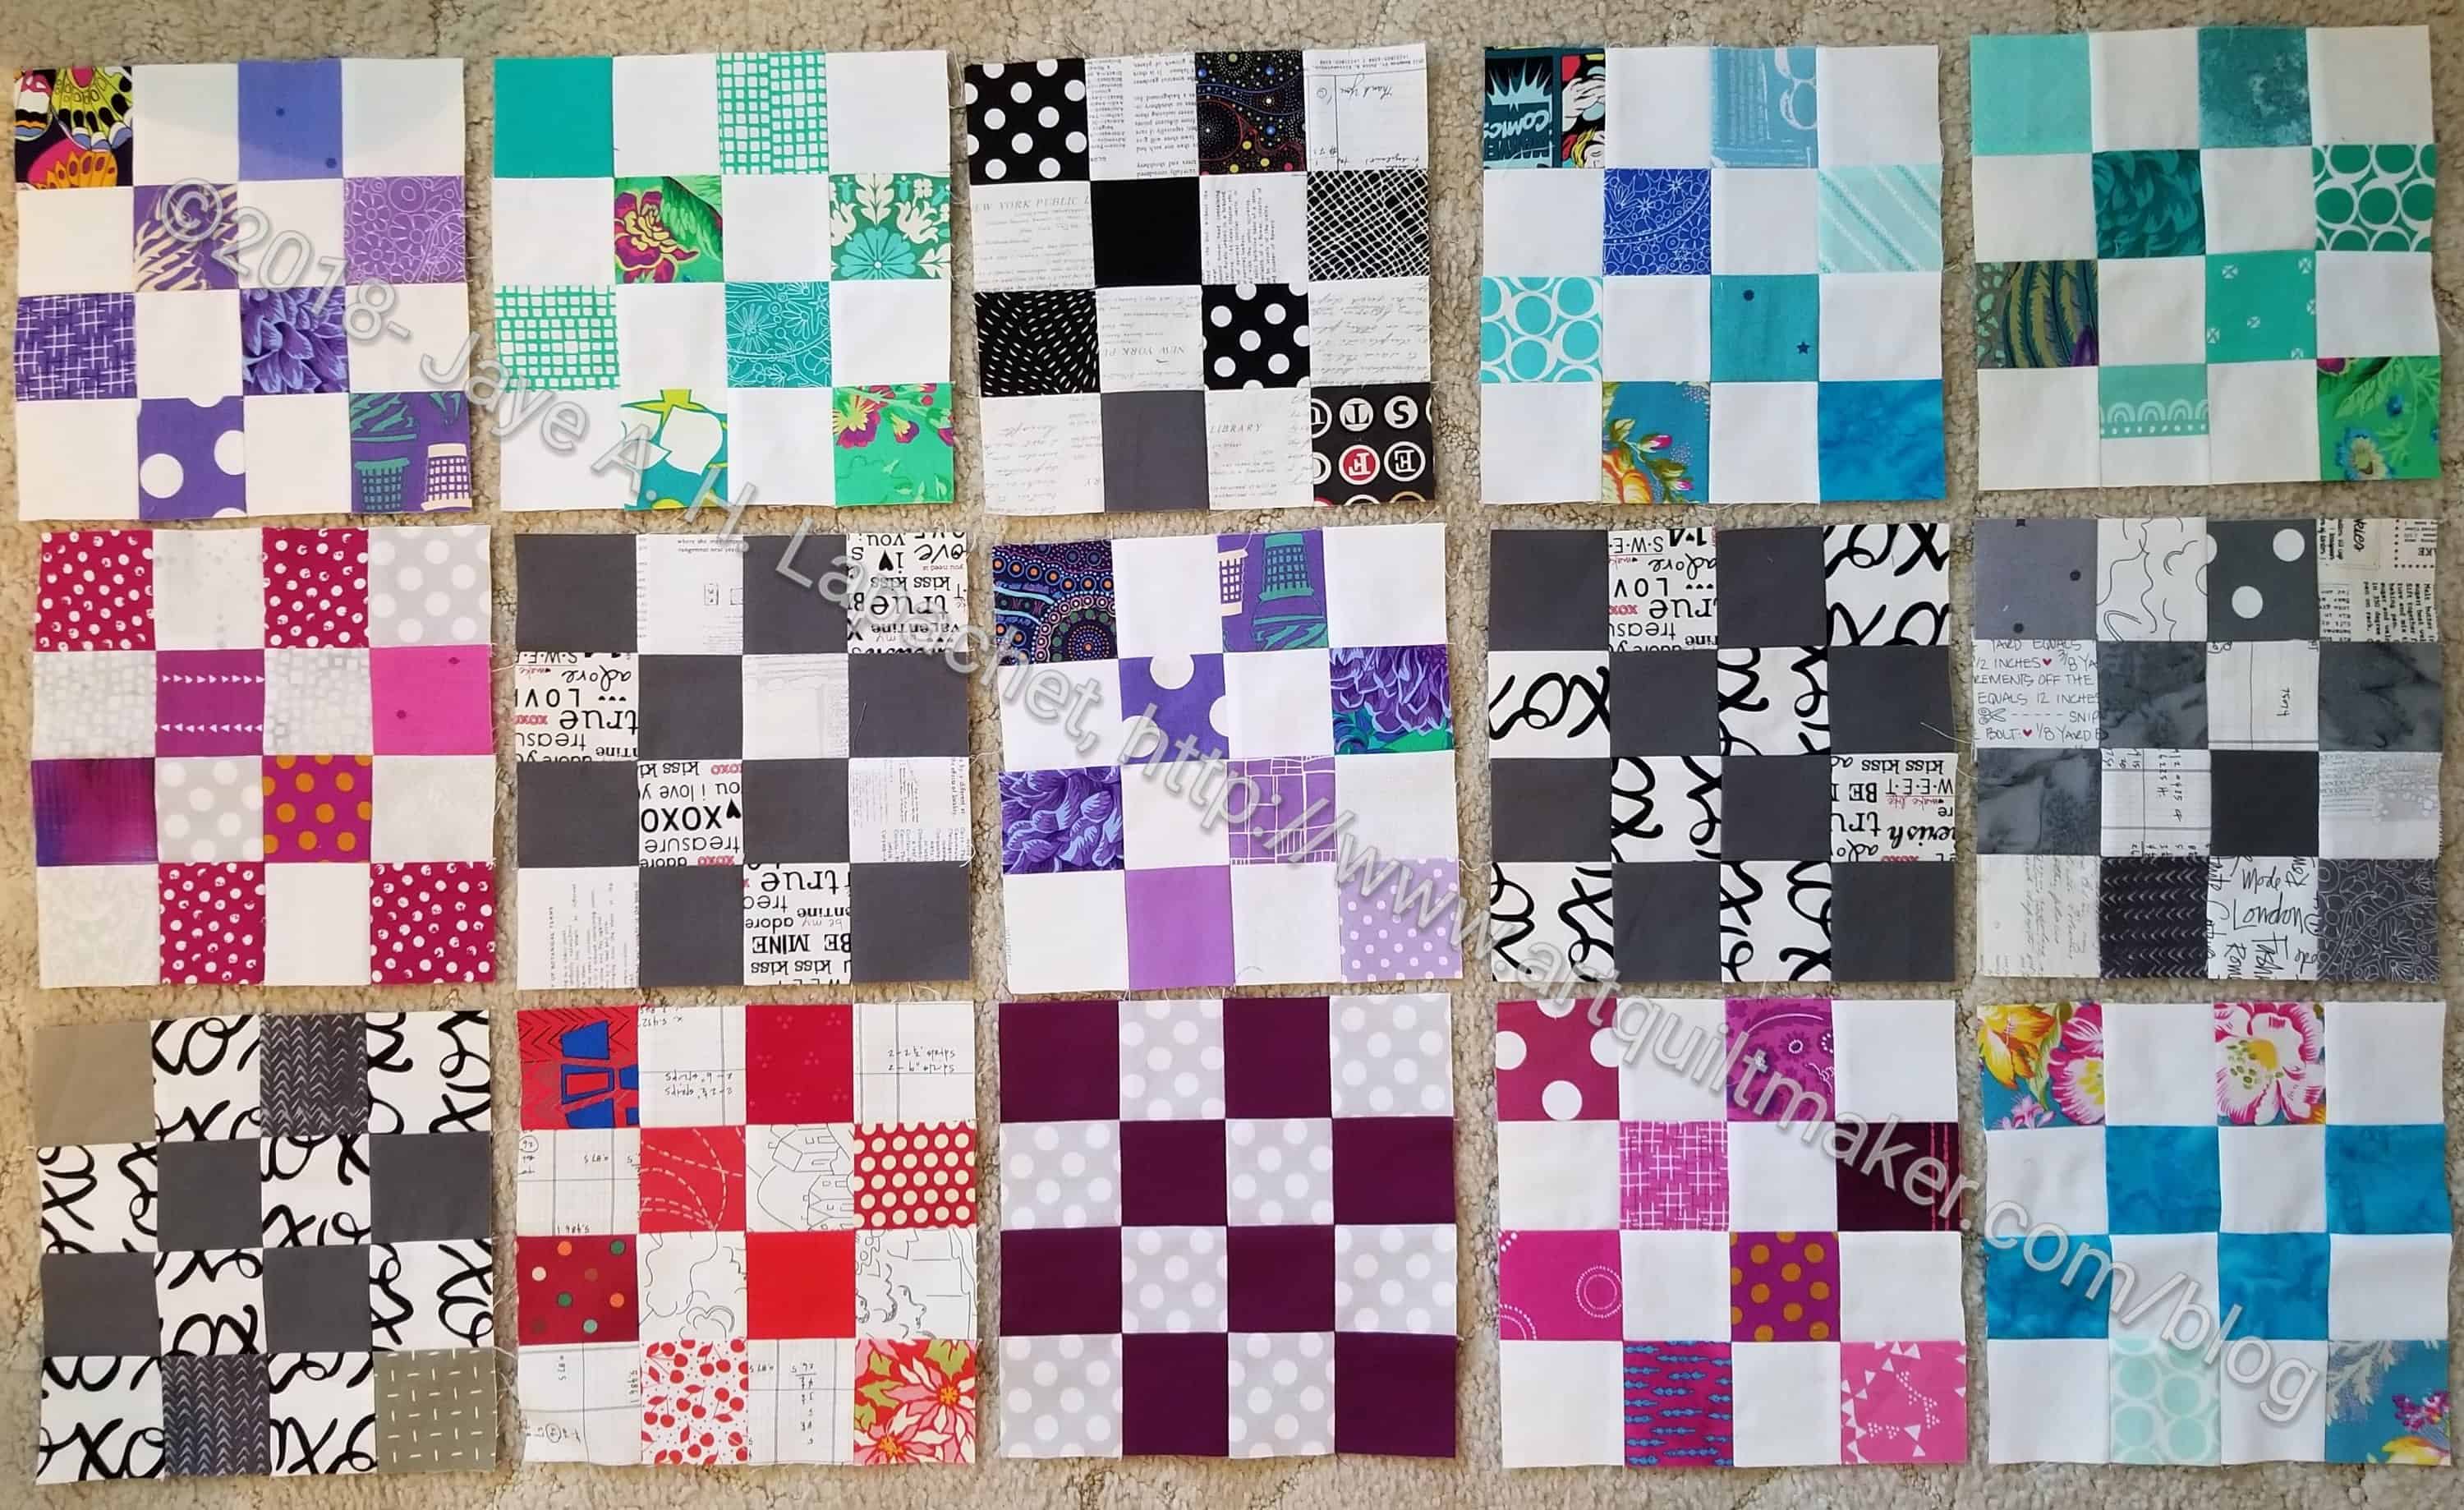
As I mentioned the other day, I have been in a sewing drought and that affects all aspects of sewing, including my donation sewing. I took some time over the long weekend to sew as much as I could. Part of that included sewing some 16 patches.

I am trying to use similar fabrics so there are sets of blocks that people can use. My colors, especially the backgrounds can differ from what others use. I felt like making some blocks that would work for boys. It was fortunate I had some greys left over from the Triple Star. Not many, but some to add to my pile to donate when I go to the meeting in June. And this group does not include my work on the Spiky 16 patches.

Spiky 16 Patch n.4

Spiky 16 Patch n.2, block 4

I am back to working on the second Spiky 16 Patch donation quilt.

Over the long weekend, I got a chance to sew together some of the bias rectangles I had prepared. It turns out I made a lot of the ones I already had and very few of the ones I needed. Sigh.

I sewed the ones I had prepped together anyway and cut the 5 inch strips required for the rectangles. I was cutting for the Stepping Stones, as mentioned, and just used some of the same blues and greens I was using for the Stepping Stones to prep more.

There is something comforting and satisfying about making these Bias Rectangles. I really like the Split Recs ruler. I think it works really well. Yes, I trim, but I get really nice HRTs out of the process and they are a joy to sew. I am trying to think of different blocks to make from HRTs. I have units to make several more of these Spiky 16 patch blocks, except for the HRTs of which I am chronically short. 😉

Spiky 16 Patch n.4, quilt 2

I did finish this block and I am pleased with it. These are really nice blocks. I will lay out the piece on point when I get a chance.

Spiky 16 Patch n.2 Again

I have been looking at my three Spiky 16 patch blocks and trying to decide if I can get away with a quilt made from 3 blocks. As I mentioned, I need to make some HRTs and I haven’t had a chance to finish them up.

Spiky 16 Patch - offset test n.1
Spiky 16 Patch – offset test n.1

I had an idea to make sort of a square with the on point blocks offset. the effect wasn’t quite what I was expecting.

Spiky 16 Patch - offset test n.2
Spiky 16 Patch – offset test n.2

I tried to offset the blocks again leaving space for a fourth block. It still didn’t work the way I expected. It isn’t what I want.

Spiky 16 Patch Long Layout Test

Finally, I thought about the Donation quilt that Kathleen and I put together from color blocks. This gave me my last idea of the day for laying out three blocks.

I don’t think three blocks will work, but I wish they would. I’ll get busy making more blocks

HRTs in Process

HRTs in May
HRTs in May

A lot of what I am doing at the moment is prep. Cutting fabric that I can’t sew together now, but will do so later. Pressing fabric that will be cut whose small pieces will eventually be sewn back into a large piece of something. This is the sad nature of Hunting & Gathering.

As I mentioned the other day, I have been cutting clues for more Spiky 16 patch blocks. I have quite a number of 16 patches waiting to be spiked, so there is a never ending need. For some reason that I can’t remember right now, I couldn’t actually get fabric under the machine, but I could cut and I cut a lot.

I have to say and I am really liking the Split Recs ruler by Studio 180 Designs. I can cut gazillions of these pieces without thinking twice. Watch the video!

Big Stitch Update

BAMaQG IRR May 2018
BAMaQG IRR May 2018

I made some progress on the BAMaQG IRR at Craft Night the other night. The image shows the whole piece. Obviously, you can’t see the hand stitching, but you can get an overall view of the piece.

I am not using a pattern or marking much when I Big Stitch. I am following the stitching lines and eyeballing where my stitches go. They are mostly straight lines, a quarter inch from seams.

I plan to use different threads, especially the Sue Spargo threads I have been buying, but at the moment I am using an Aurifil embroidery thread.

BAMaQG IRR May 2018 detail

The Flying Geese made some arrow type designs.

You can see, especially if you click on the image to make it larger, that I am doing multiple rows of outline stitching. I don’t want the piece to be stiff, so I probably won’t fill in the whole arrow, but I might do a few more lines. I’ll have to see.

BAMaQG IRR May 2018 back detail

I am pretty pleased with the way the back looks as well. Unlike 10 stitches to the inch hand quilting, the stitches on the back of a Big Stitched quilt are supposed to be smaller, according to Sarah Fielke. Mine are smaller and even, which is what I have been working to improve.

BAMaQG IRR May 2018 detail

If I were to put stitches in all the solid areas so there was no open space, the look would be somewhat like one section I already did. The section between the green dots and blue flowers has about 4 lines of stitching that covers the whole area.