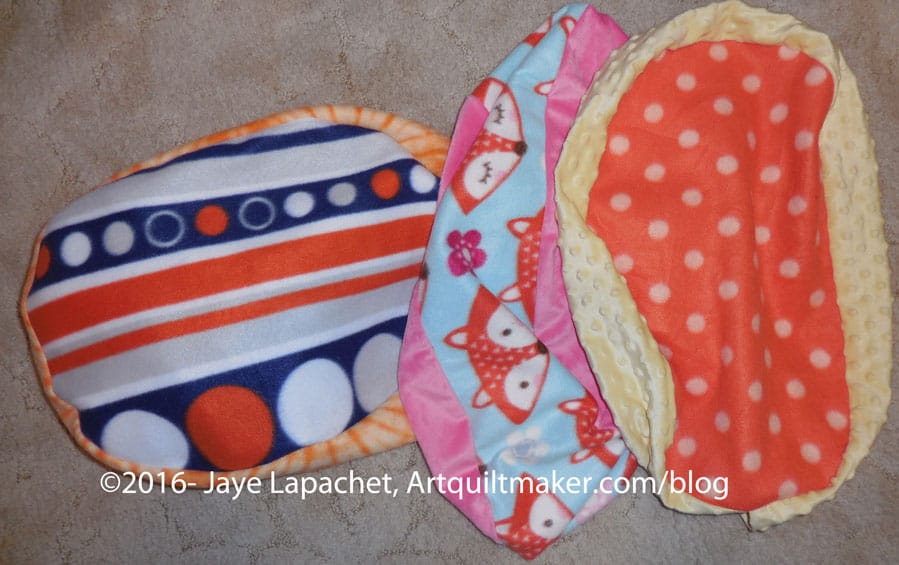
Trust me, I know it is August, but I didn’t have a chance to post these until now.
I got three kits at the July meeting and was only able to fill one cat bed 2/3s full. I hope Amanda still has some schnibbles.
Commentary about works in progress, design & creativity
Trust me, I know it is August, but I didn’t have a chance to post these until now.
I got three kits at the July meeting and was only able to fill one cat bed 2/3s full. I hope Amanda still has some schnibbles.
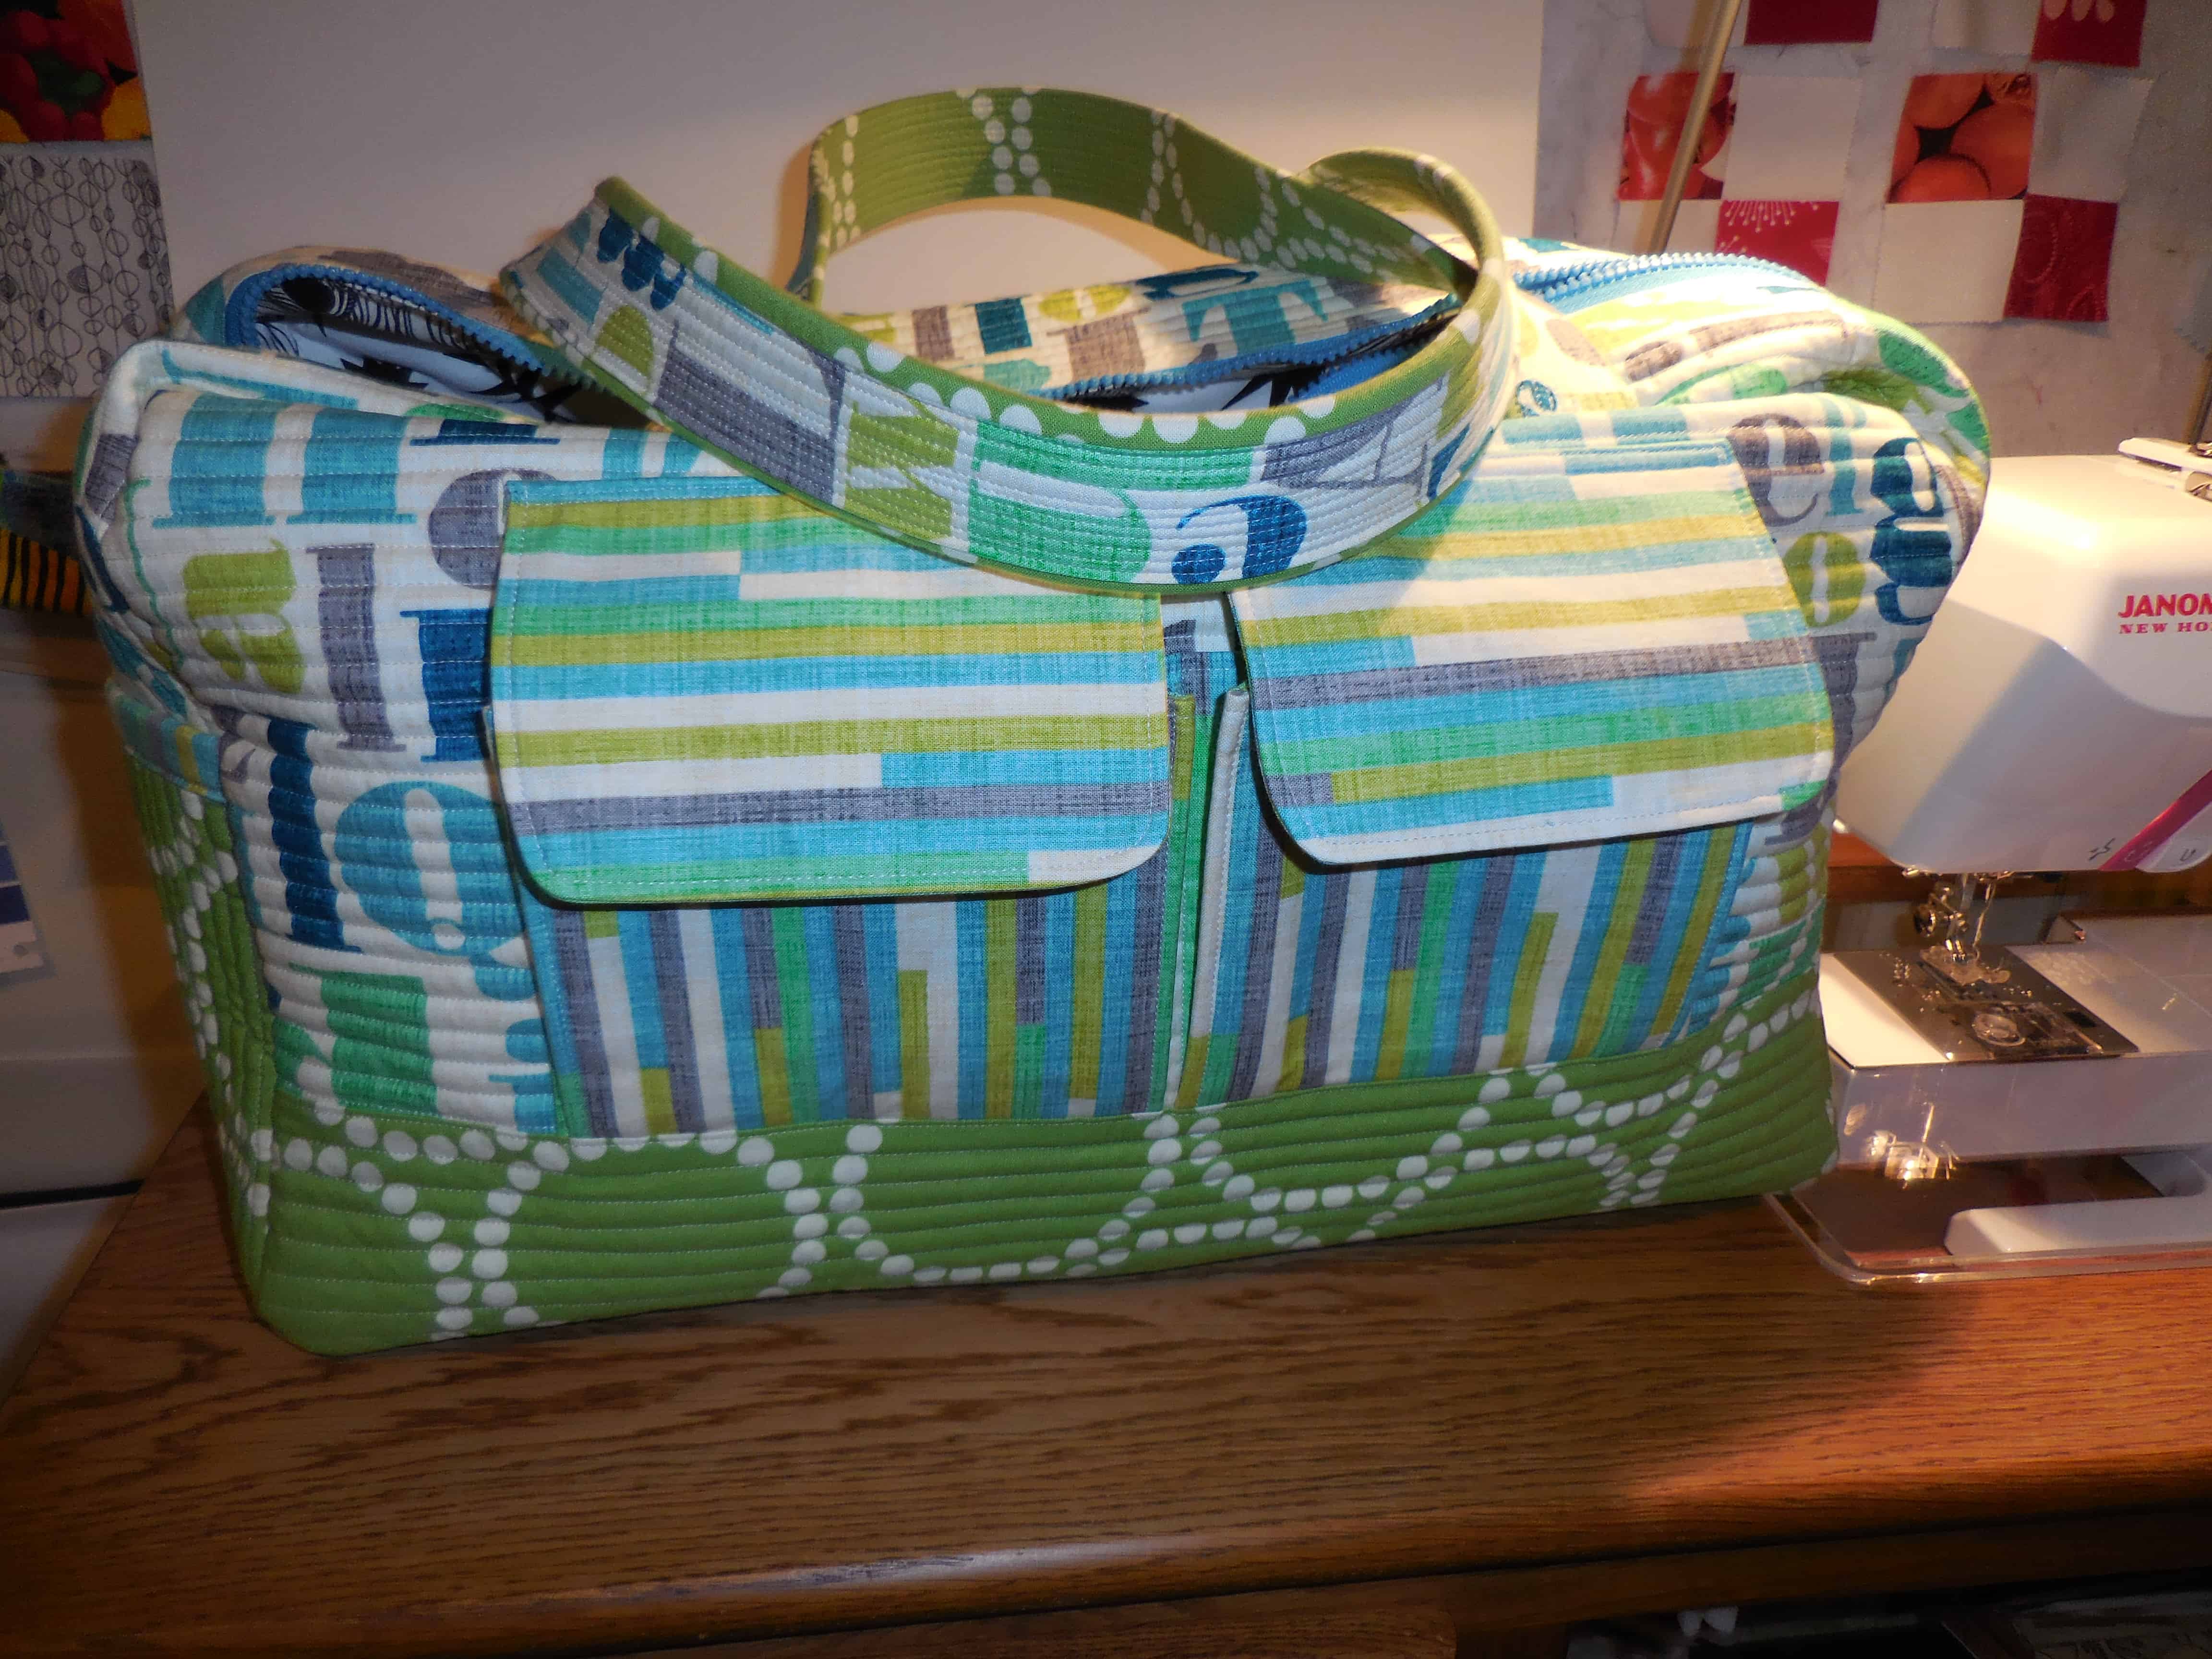
FINISHED!
I spent the Sunday after the workshop finishing the Cargo Duffle.
I really, sincerely disliked all the prep work, but was thrilled to see how this bag turned out. it has substance. I was going to give it away, but I am keeping it. I really like the fabrics I chose, even though I chose the green because I thought I would give it away. I love that text fabric.
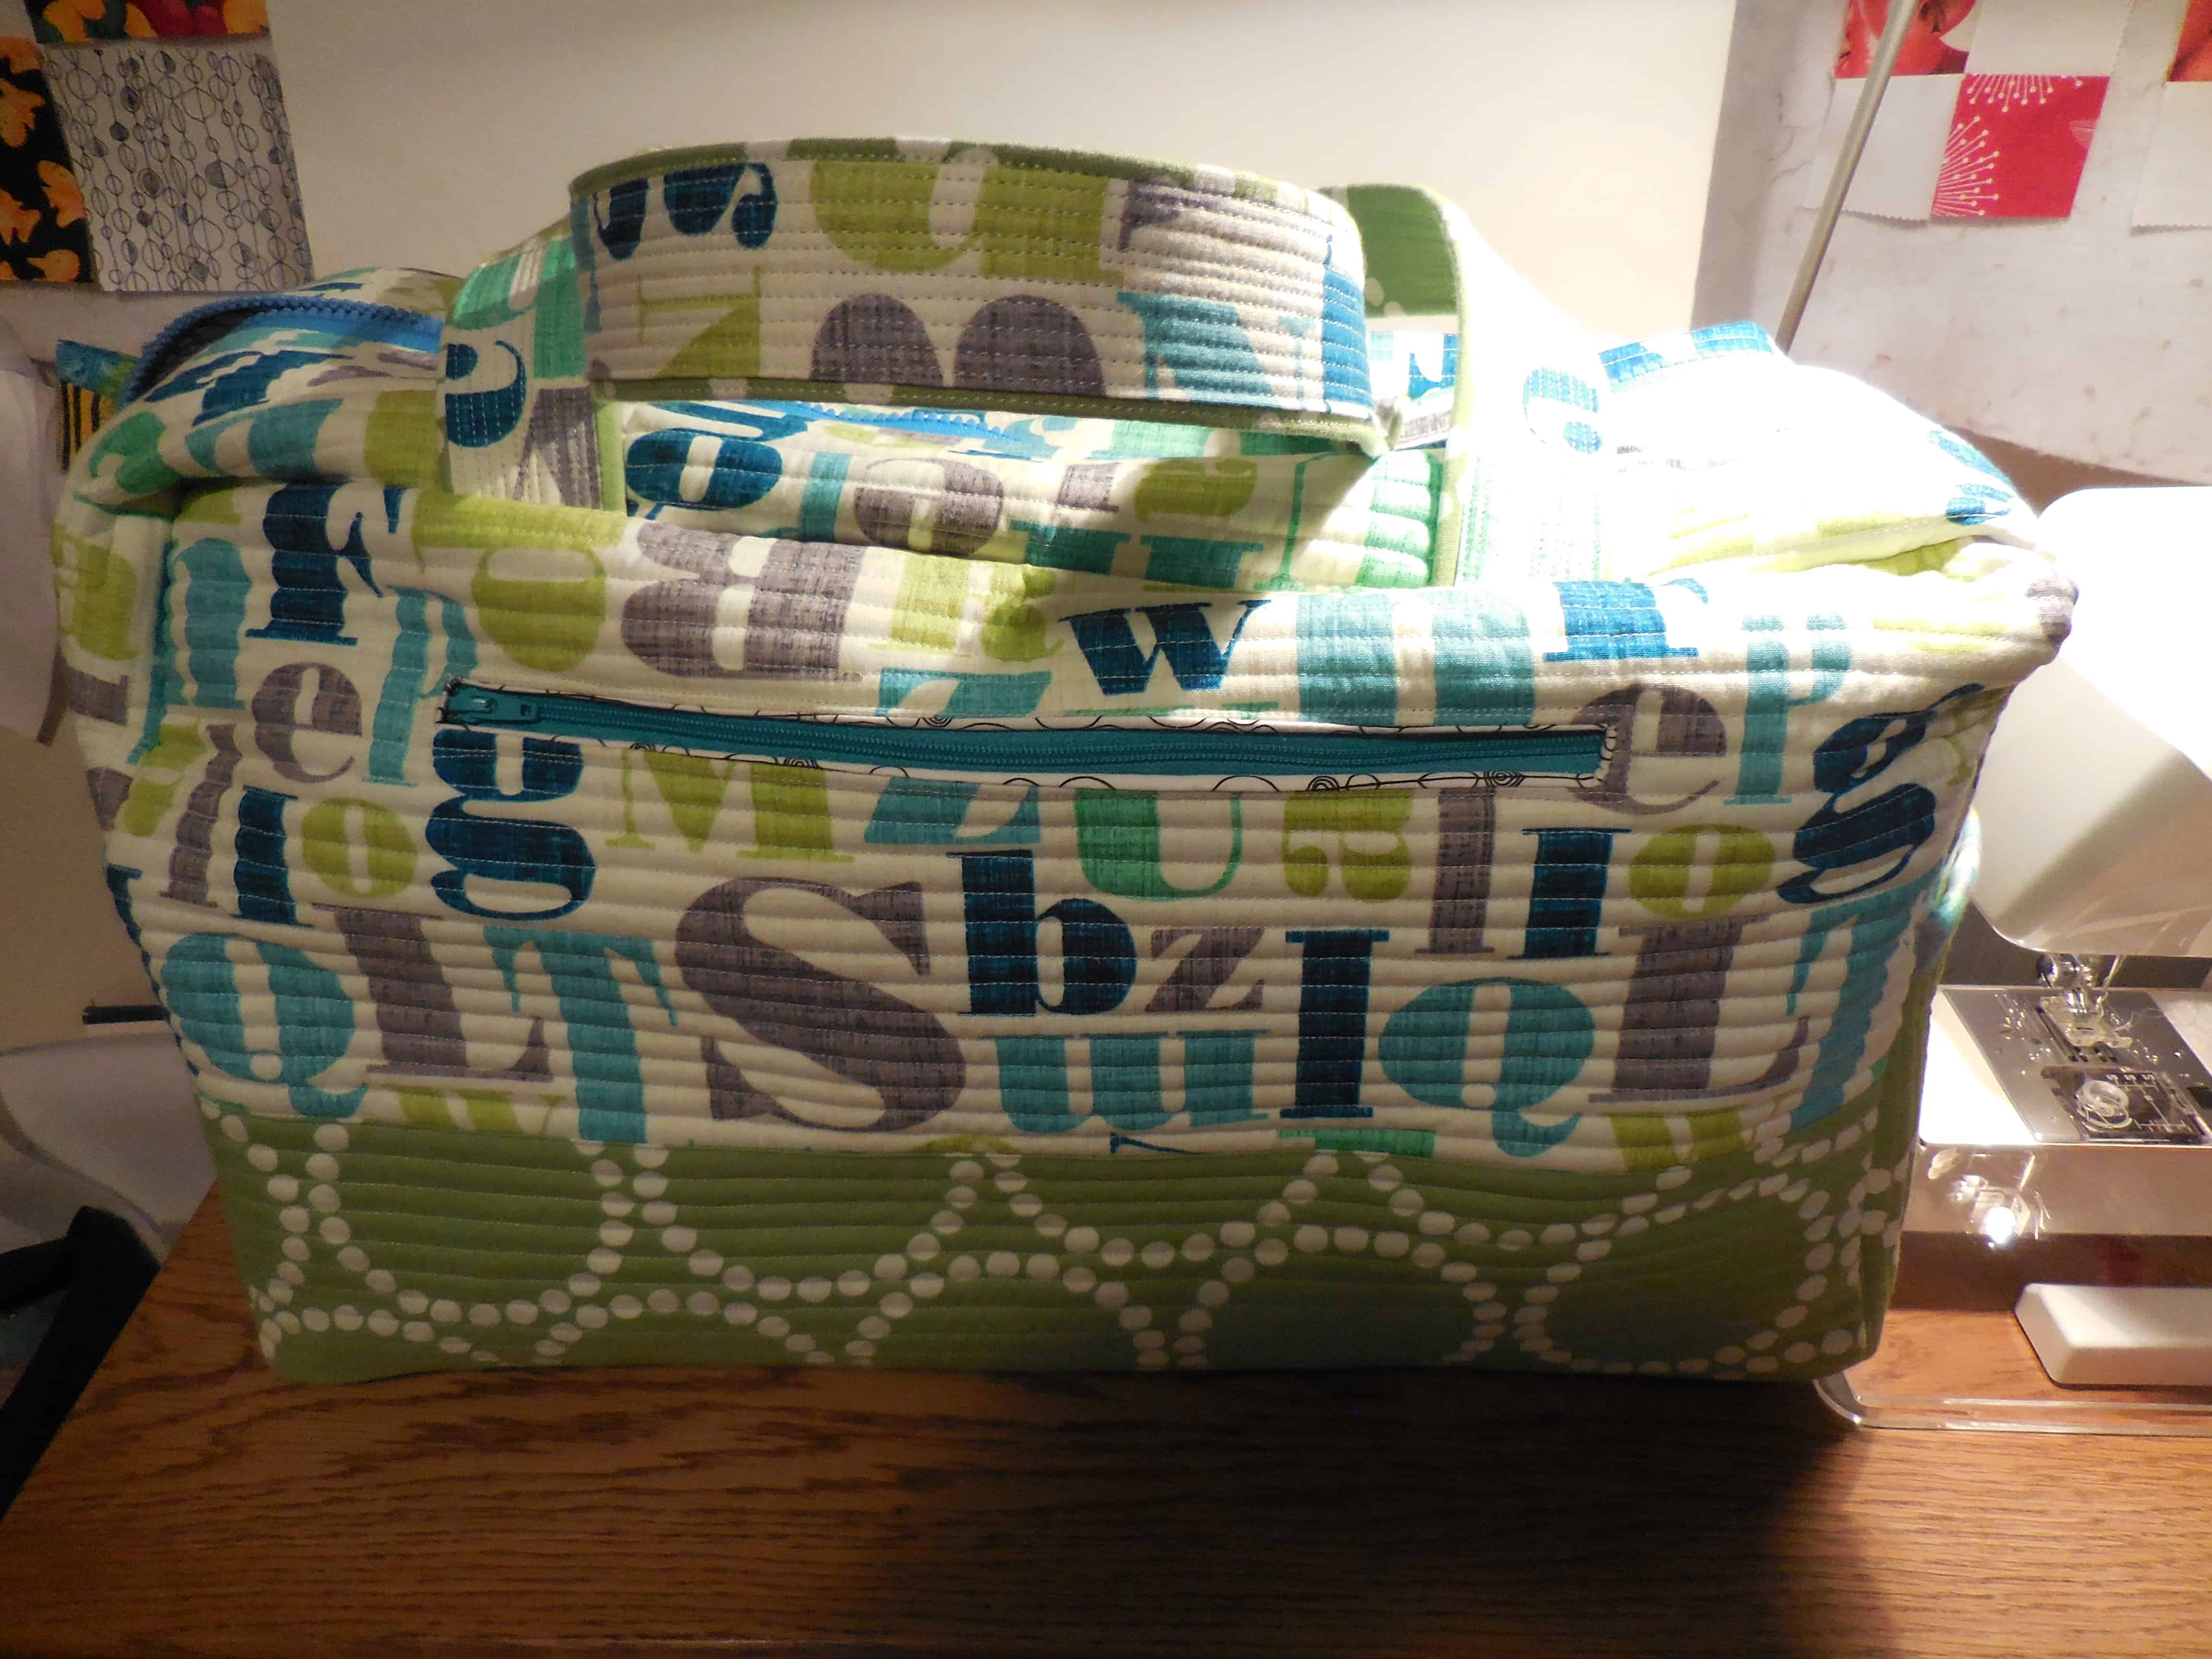
I am also thinking of making another one. I know. I know. I am crazy, but I keep thinking about how I would make a second one differently. I want to see if I can do it again better. ALSO, I do have to make a bag for one of the guild officers.
For example, after cutting out the straps, I would just sew them. After cutting out the pockets, I would sew them to the lining. I think it would be less confusing. Yes, I would still have to quilt a bunch of pieces and panels,, but I think it would be easier. It might not have worked when I didn’t know how to make the bag, but now that I have an idea, I think it would work better for me.
Helpful Tutorials
I am behind in posting, but I also don’t want to bore you by posting on one project or topic day after day.
You know that I have been prepping for the Cargo Duffle. It seemed interminable, but paid off. On the first Saturday in August I went to the BAMQG workshop and worked on assembling the Cargo Duffle. I arrived in good time after only getting a little lost*. 😉
Gerre arrived right after I did and we quickly decided to sit together in the back of the room. That way we could have a whole table to ourselves. There was a bit of table shortage because their day camp program was using the long rectangular tables we like. We ended up with two tables, mostly because I decided we needed a separate table on which to layout all the pieces we had prepped. It is always great to work with Gerre. On the day of the workshop, I was on edge (not sure why – a lot going on, maybe) and she kept talking me down off the ledge. I reciprocated the favor by keeping her calm when parts of the bags weren’t going as planned.
It was also good to see that some people had done less of their homework than I did, not to be mean to them; it just reduced my stress a bit.
We started out with the slip pockets and my first problem was with what pieces needed to be used. Jaime helped and once I got that problem sorted, the “which piece was which” problem sorted itself out. Even though I had all the pieces labeled, with this bit of help, I had a frame of reference.
Seeing what other people were doing and having access to a teacher also made me calm down quite a bit.
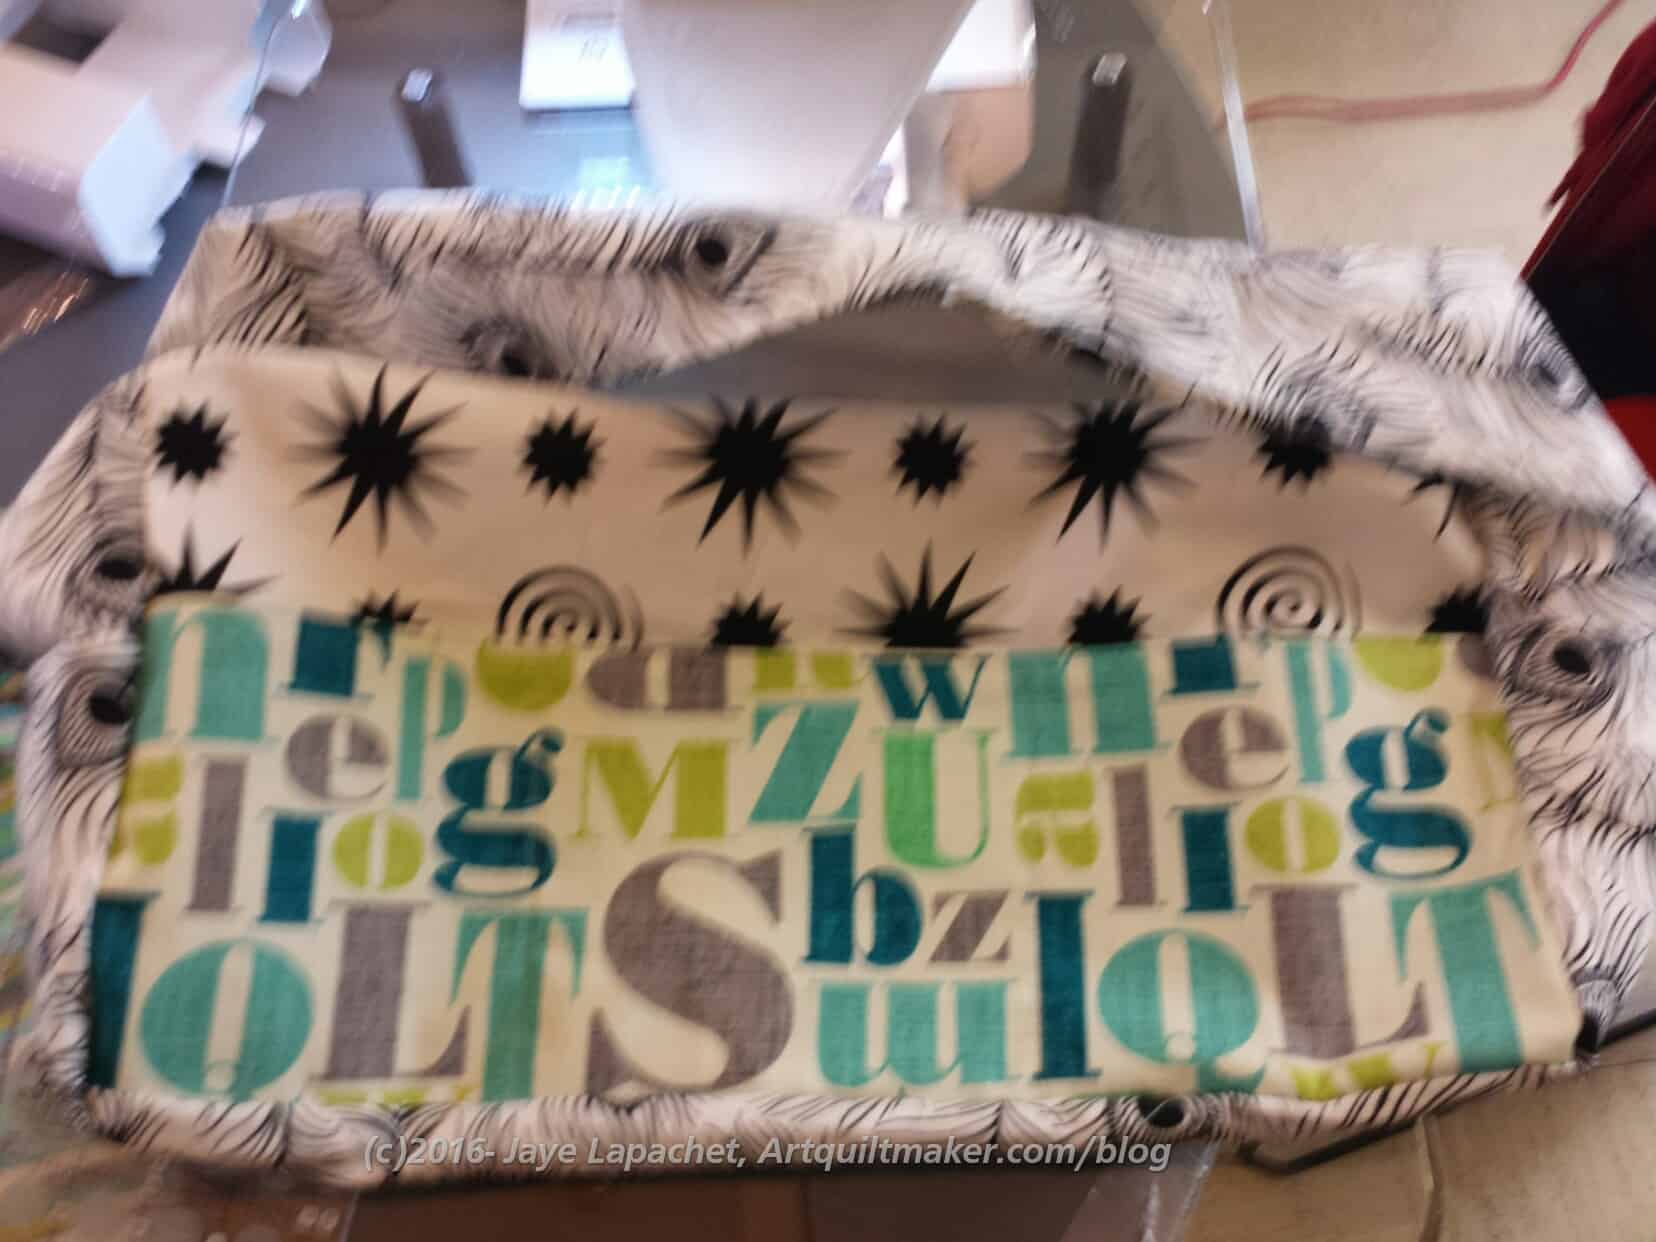
My first huge accomplishment was finishing the lining. Yes, I finished the interior slip pocket and the interior zipper pocket, which help to make up the lining, but seeing a real 3D item made from all that prep work me very happy.
I made mistakes and had to rip, which I am sure others were doing as well, even though I didn’t see them. I also had to change the way the main zipper worked, which Gerre talked me through. I may post the steps for you later. Not sure, but stay tuned.
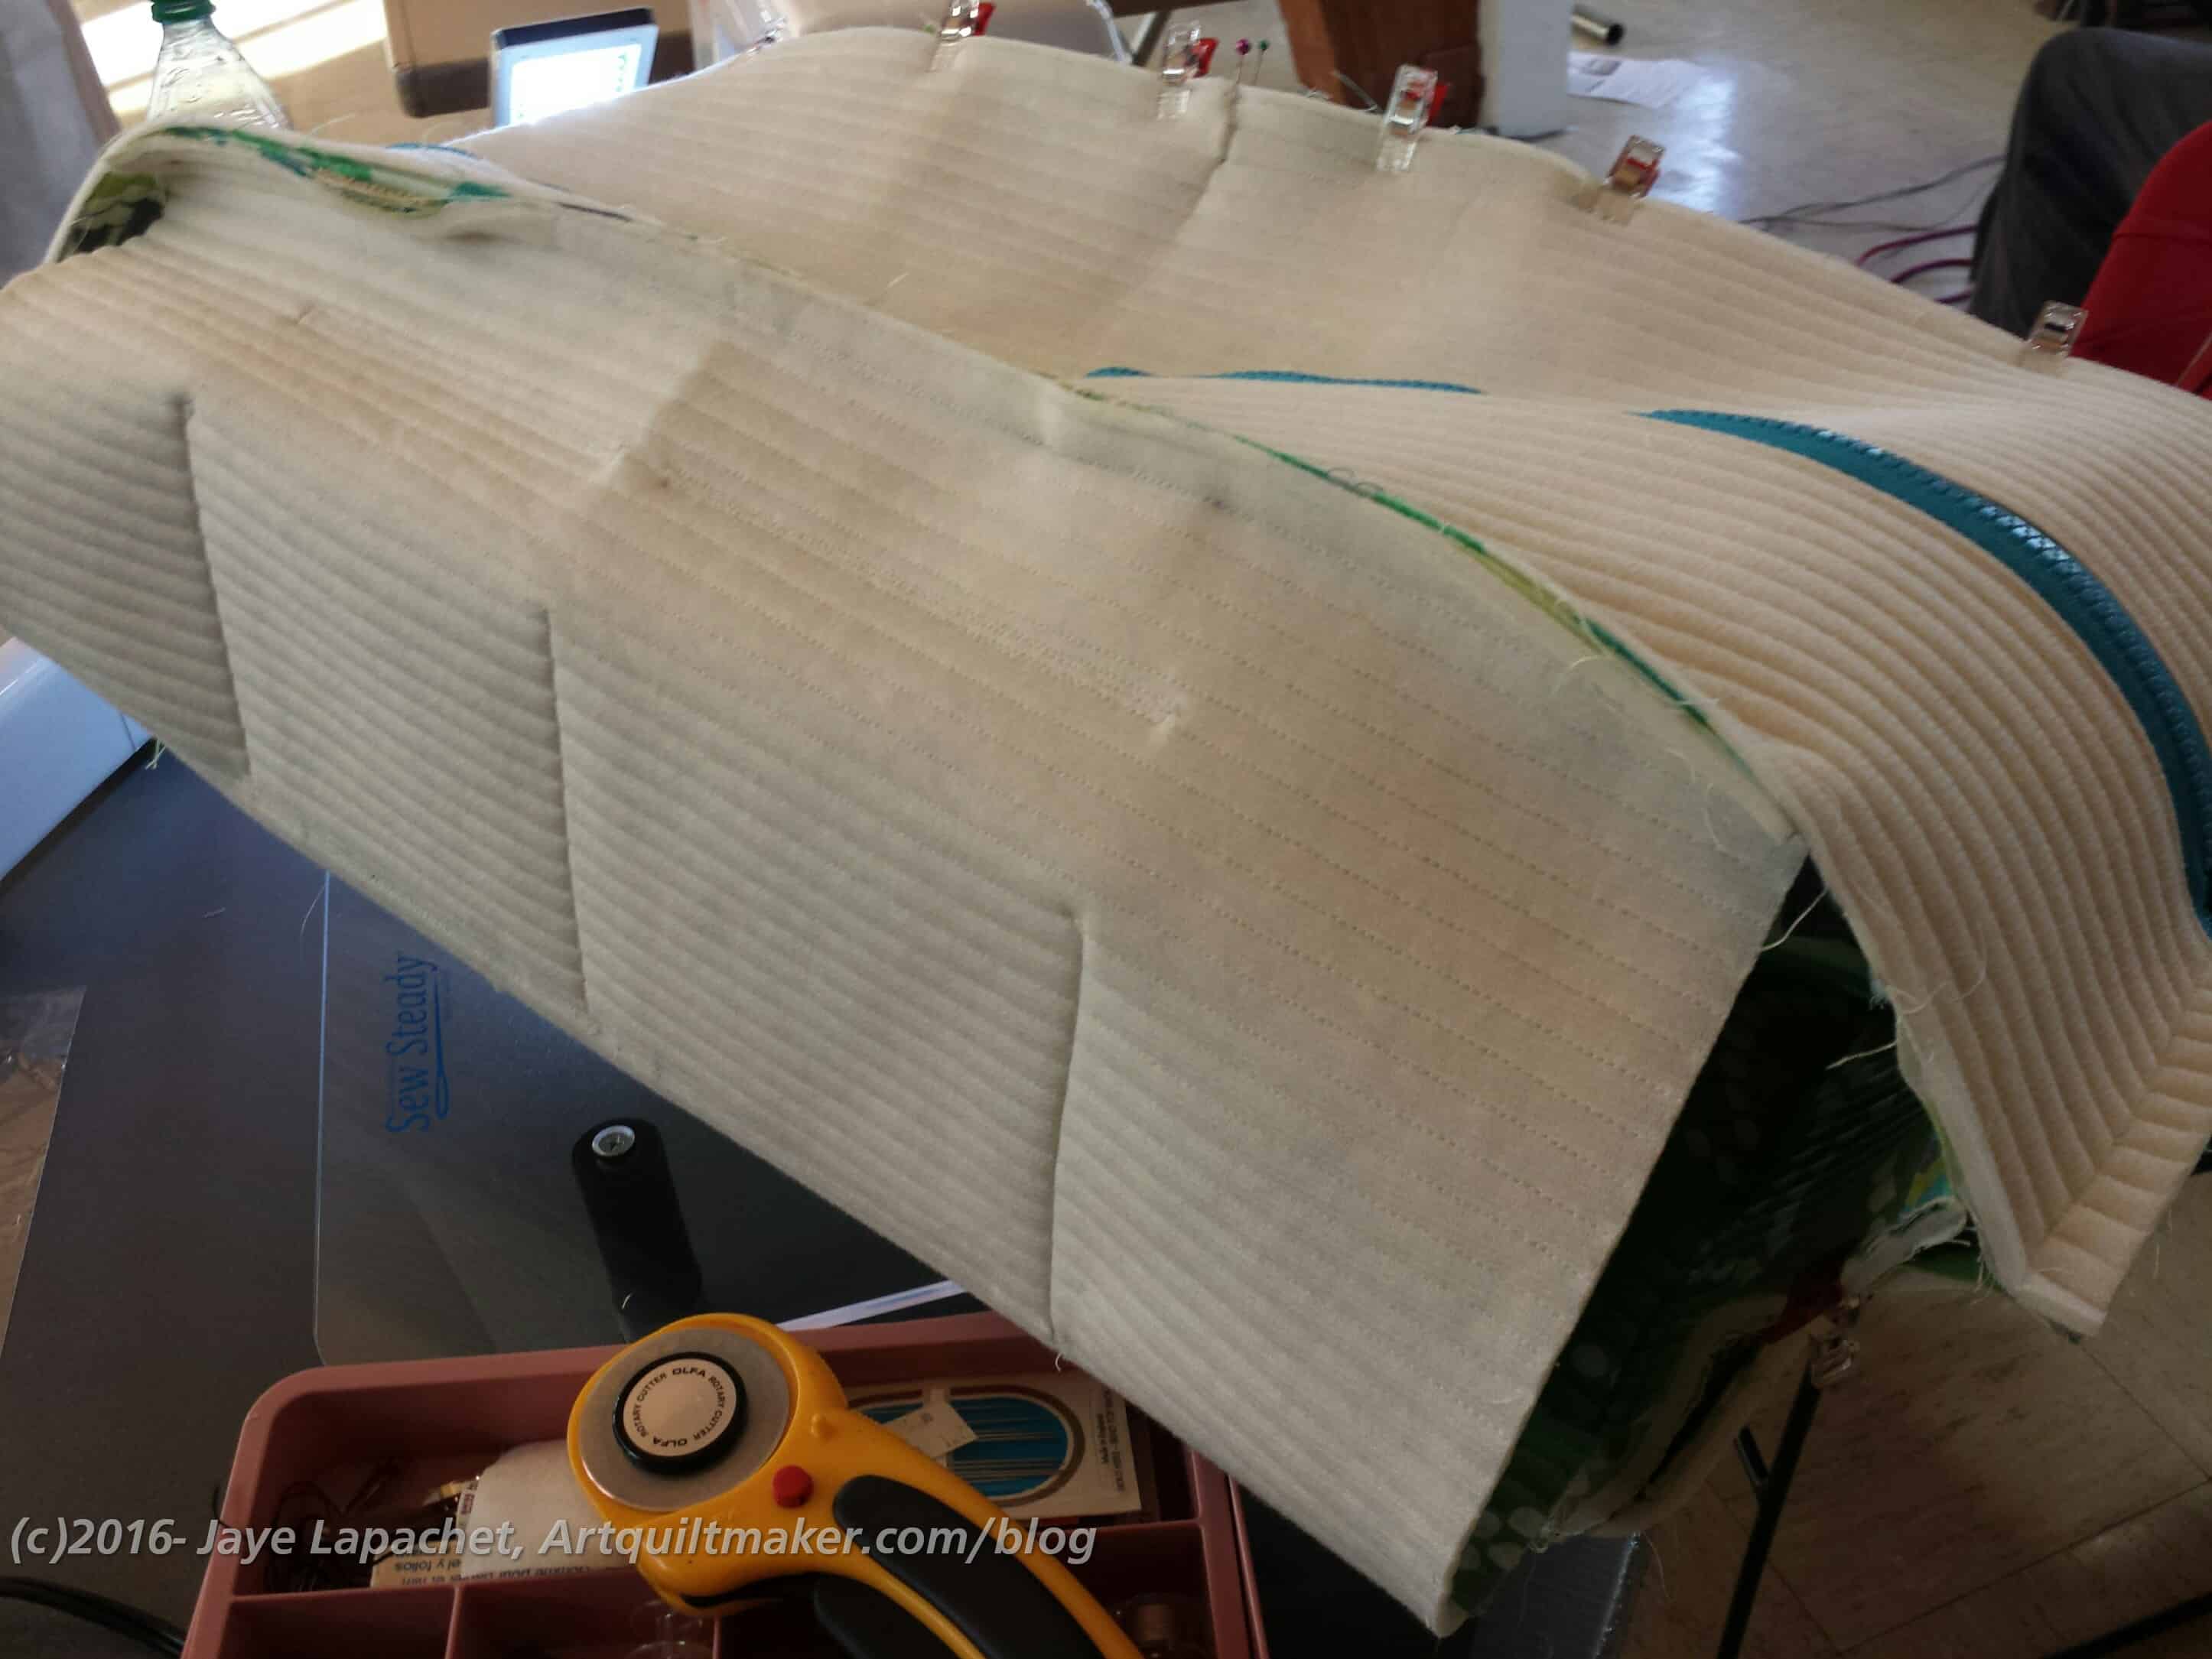
Still, it was a super long day and I didn’t finish completely, but made really good progress. By the end of the day I only had to sew the rest of the exterior together and then insert the lining. I really don’t have a lot to complete and feel like I accomplished quite a bit by the time the day was over. Do I wish I had finished? Yes, of course, but I have to be happy with what I was able to do.

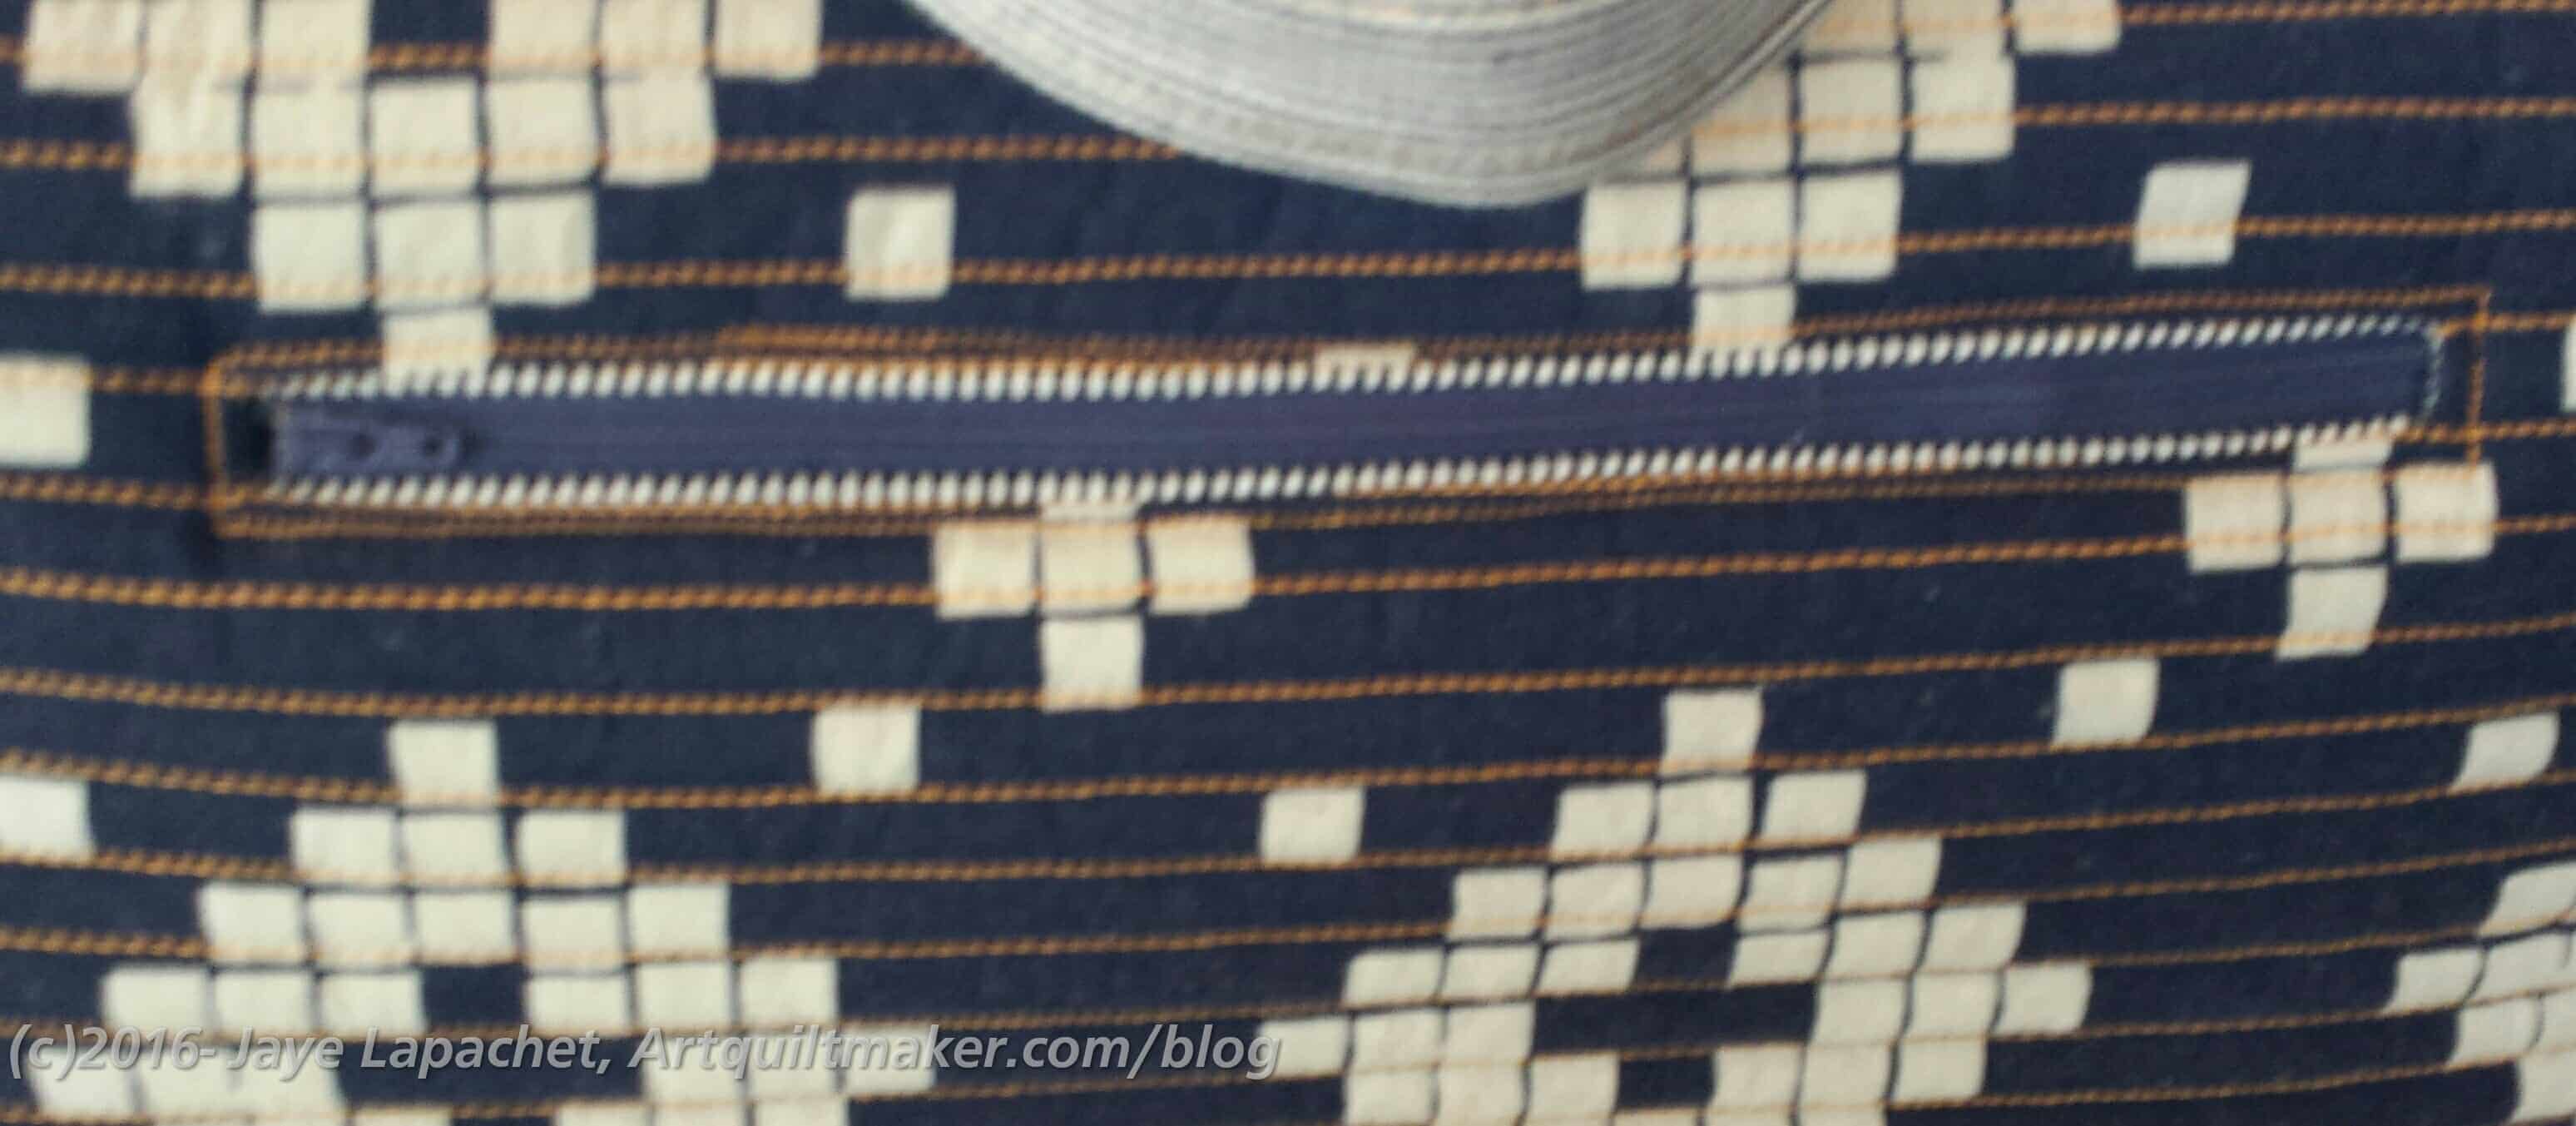

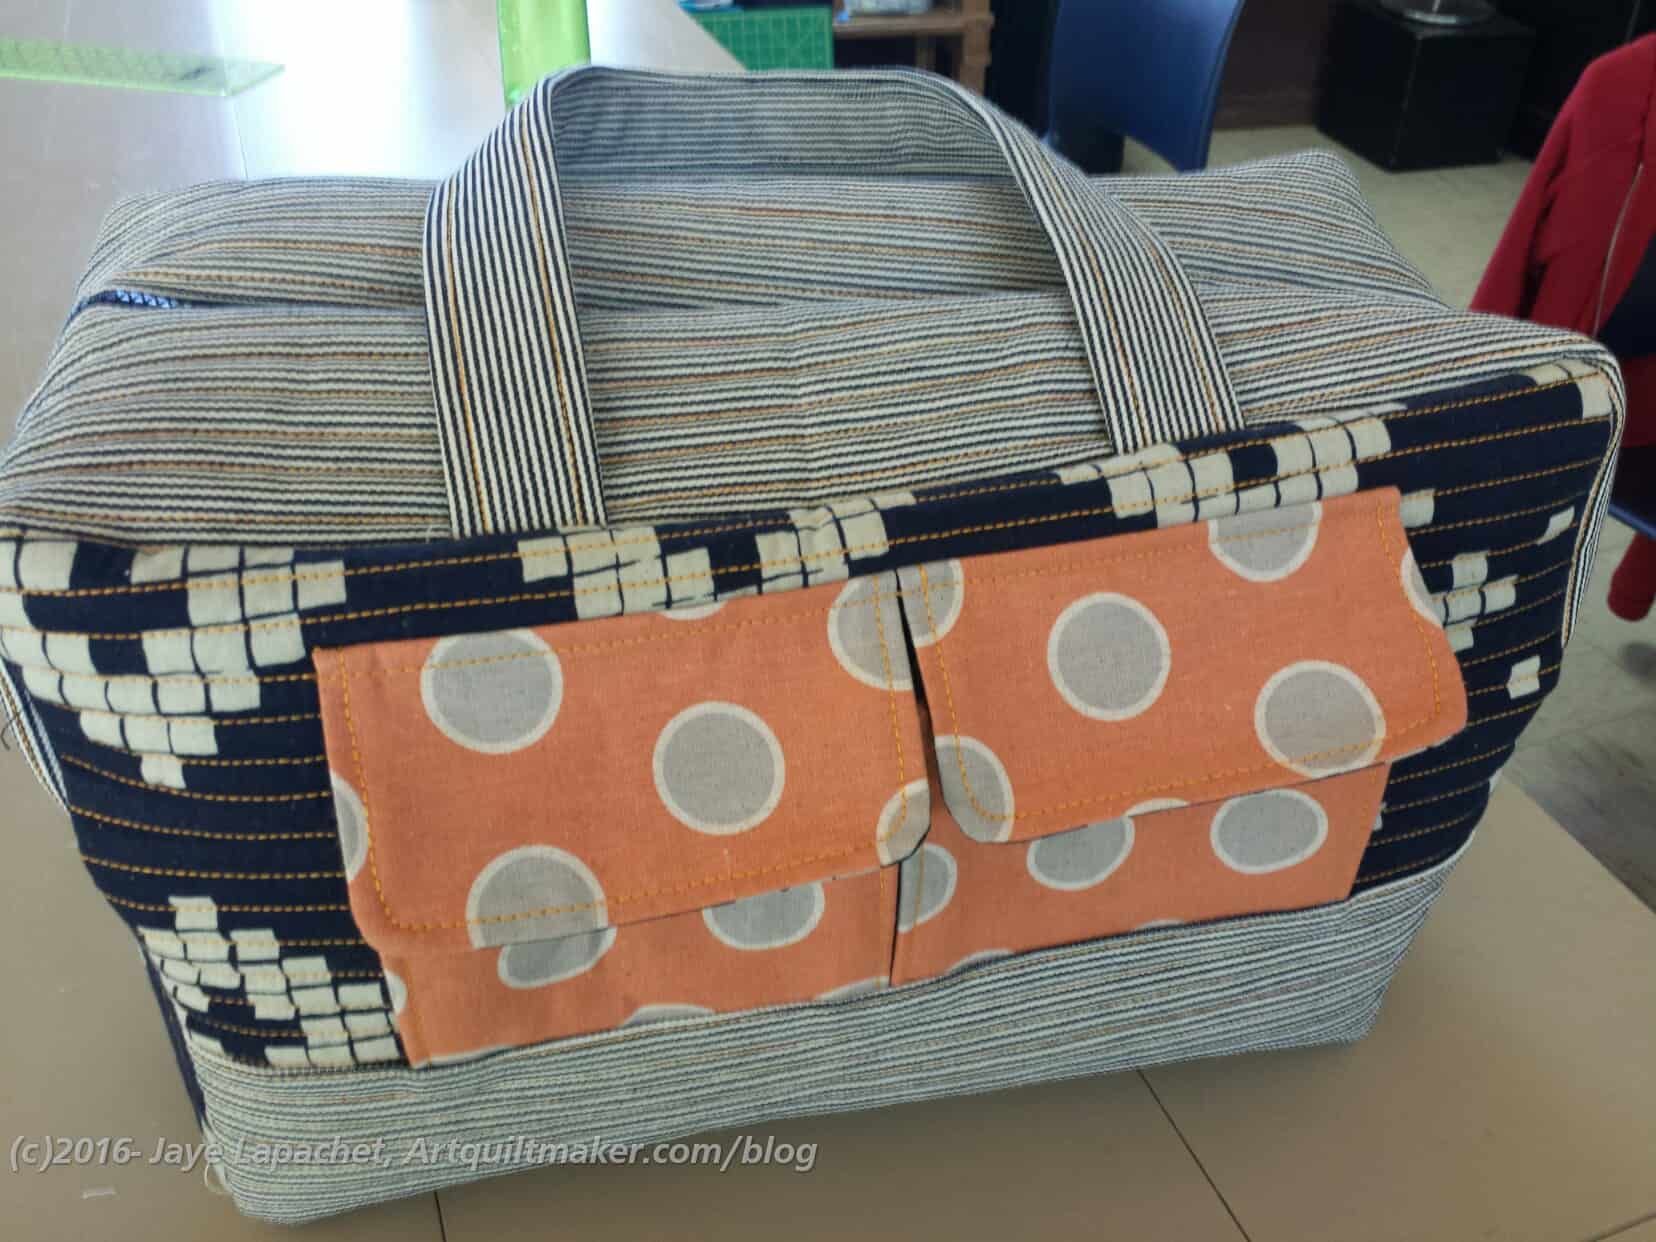
Gerre finished her bag and it looks great! Cheryl, Amanda and Karen all finished their bags as well.
A photo posted by Karen Maple (@karenmaple) on
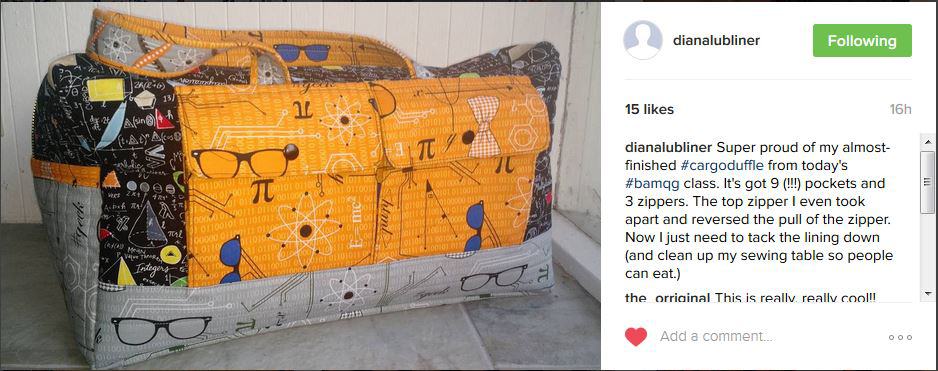
Diana is so close to finishing hers. I love her fabrics.
*I don’t normally get lost a lot, but I seem to always get lost on the mid-Peninsula and in the South Bay. I go there quite a lot and still don’t have a visual map in my mind. Someday, maybe.
I had a great time at the Sew Day yesterday and really got a lot done!
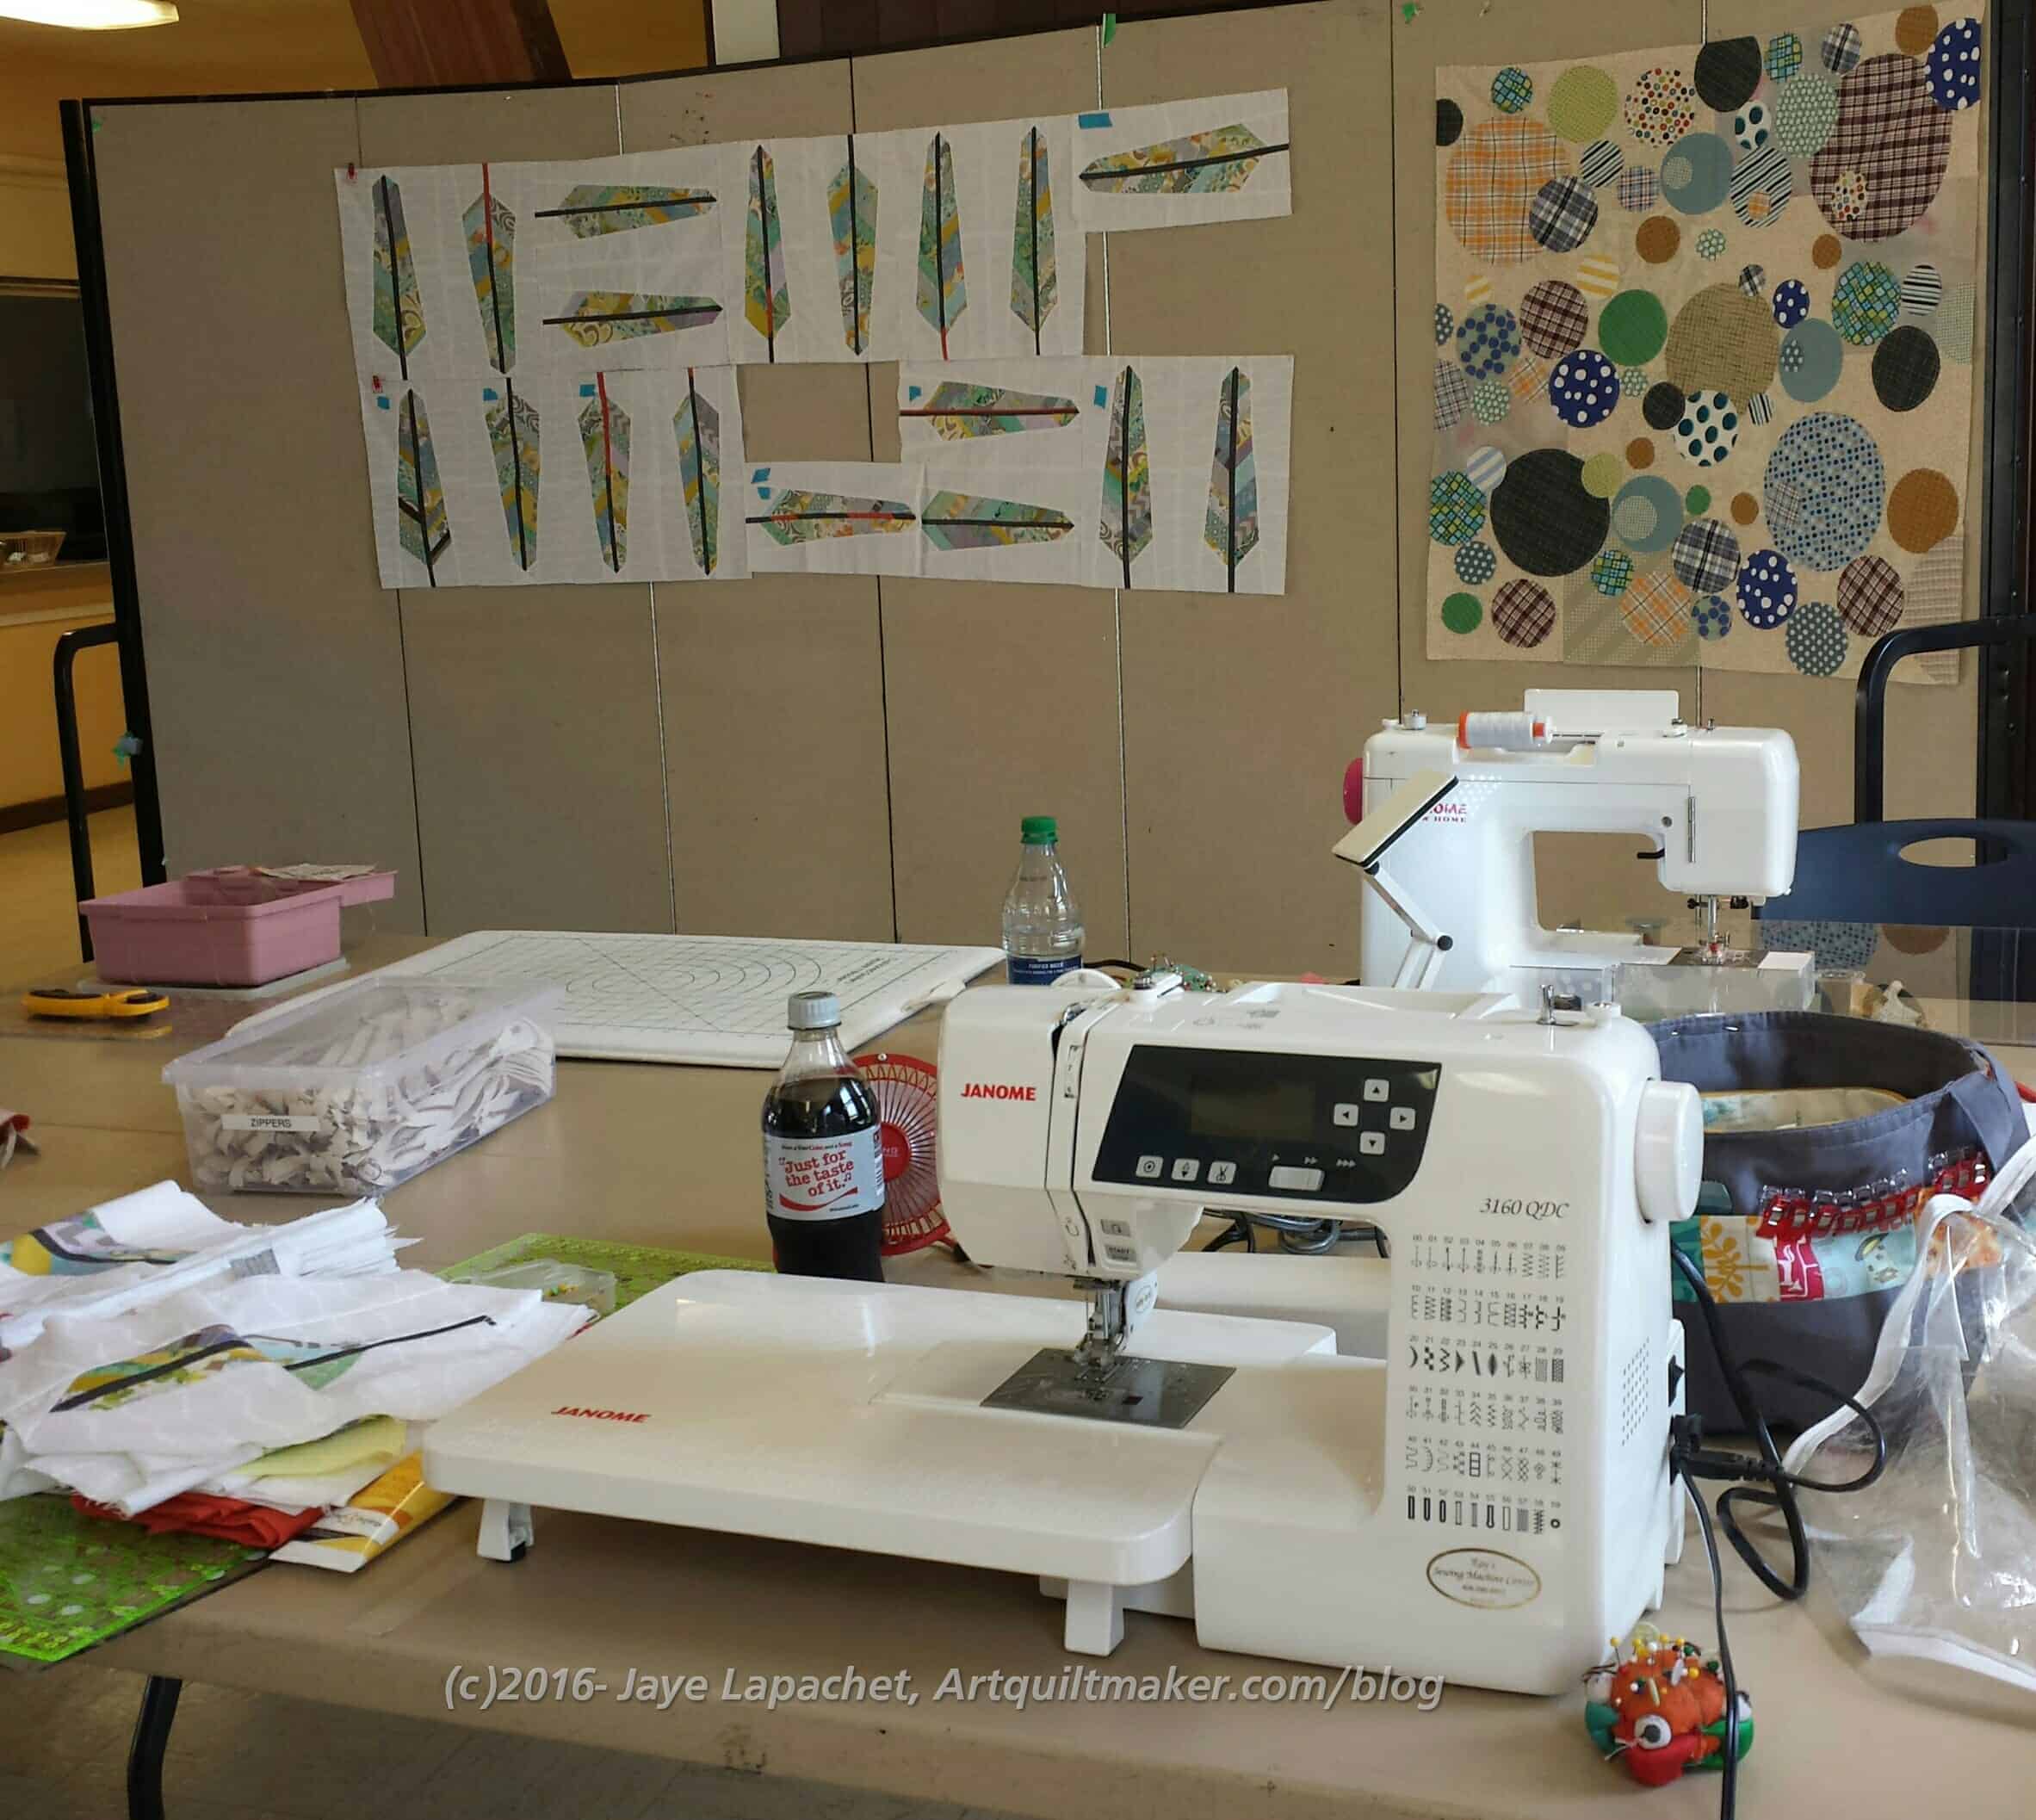
It was a small crowd and I was the second person there! That was shocking since I have to go far to get there, but it was a great opportunity to chat with Mary a little and get to know her better. The tables were all there since camp is over, but they were sticky and dirty, so we spent some time cleaning them. We also set up a few tables and the cutting table. By the time we were satisfied we were still the only people there. We both started to sew and continued to chat. Bang on 11am, others rolled in and the party really got started. 😉
I decided that I would work on projects that were hanging around. First up was the Circles Charity Quilt. Gerre and I started working on it at the May Sew Day. MAY!!! I can’t believe it has been 4 months.
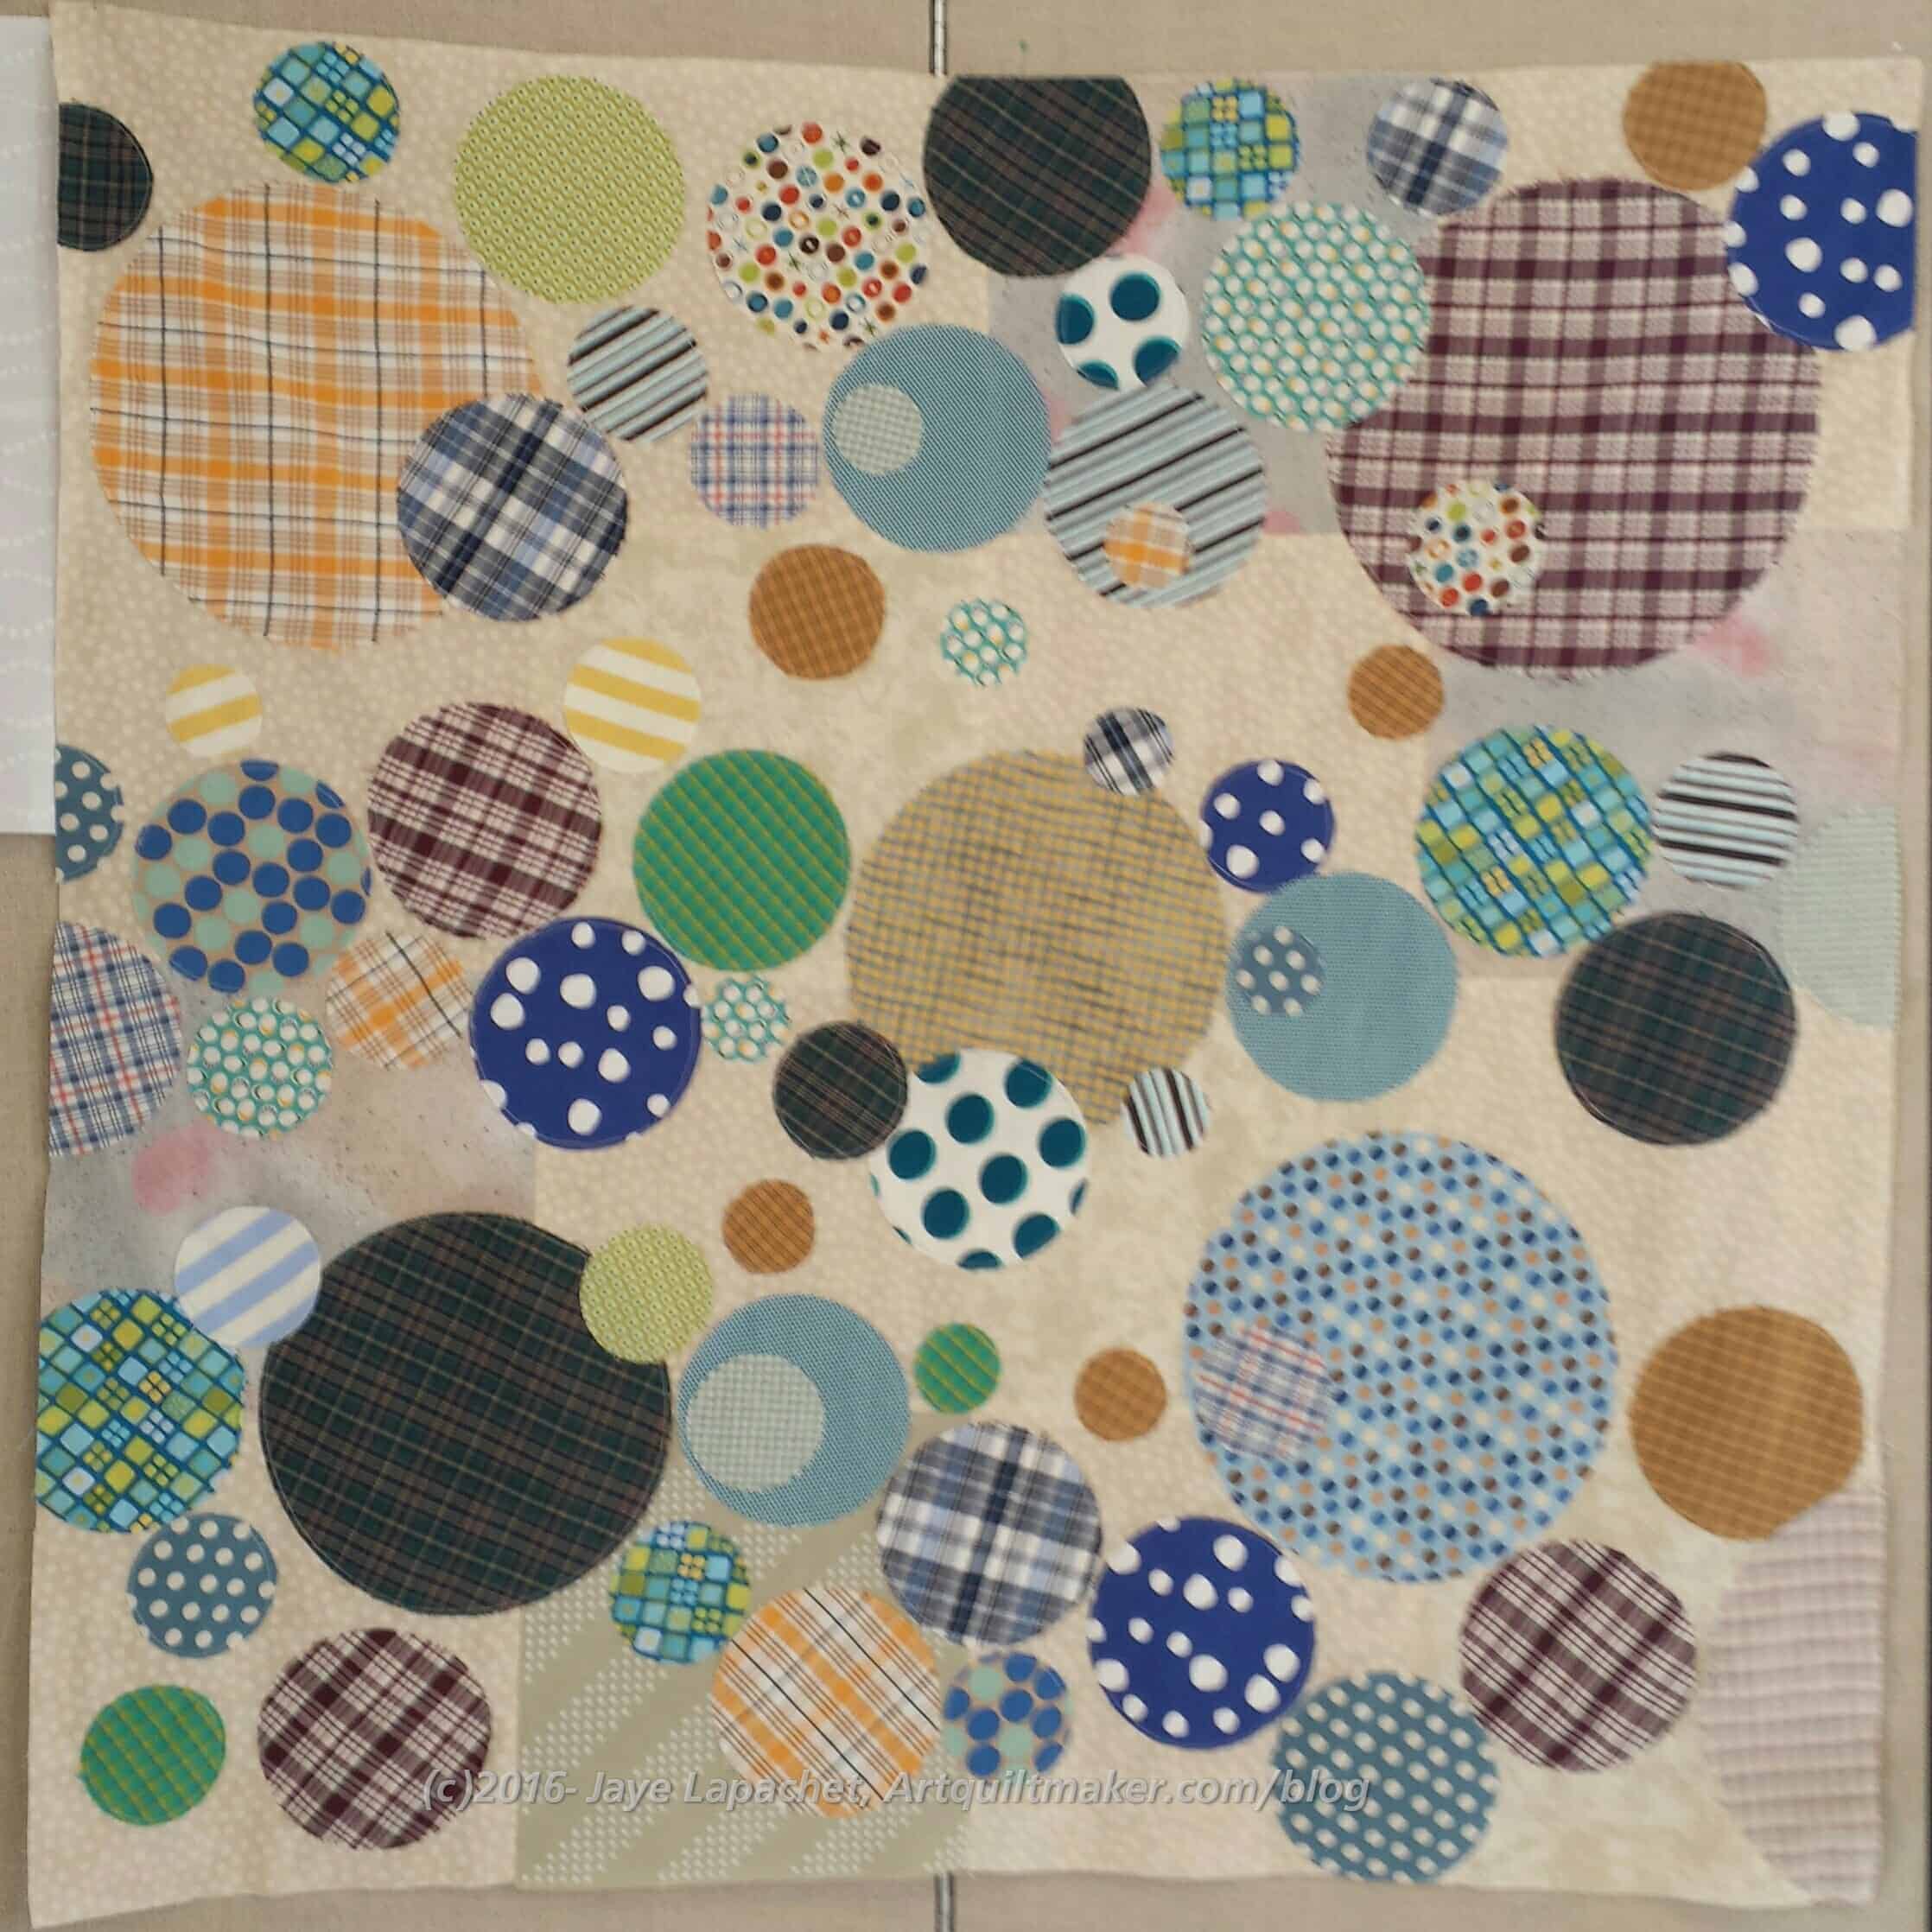
I had worked on it a few times after Gerre gave it to me, but it was hanging around not getting done, so I decided I would work on that even if it took me all day. It turned out that I only had a little more to do. I had about 6 circles to applique’, tying off threads and trimming. It didn’t take me very long at all. I pressed it and gave it back to Gerre who will quilt it or give it to the guild to quilt. I am really pleased with how it turned out.
My “reward” was to work on the Petrillo bag that I cut about 15 years ago. Not really, I cut it out, maybe, a year and half ago. It has been on my to do list forever and it was time to sew it, so I started. I don’t know why I waited because the bag started to look like a bag before I left. I was short some supplies, so I skipped a couple of steps, but did as much as I could in the time I had and really made some progress. I am really kicking myself or not getting to this bag sooner and having it take up space in one of my Chubby Charmers.

Angela basted one of the Pulse quilts the guild made. She is getting ready to quilt it. She was a rock star. She just got on with it and pretty soon the whole quilt was basted. I knew she would be working on it so I checked the Orlando Modern Quilt Guild website to see how they were progressing. They are really making progress. The creativity used in creating the layouts is wonderful. They have a lot of quilts completed and more in progress. I am so glad I was able to contribute.
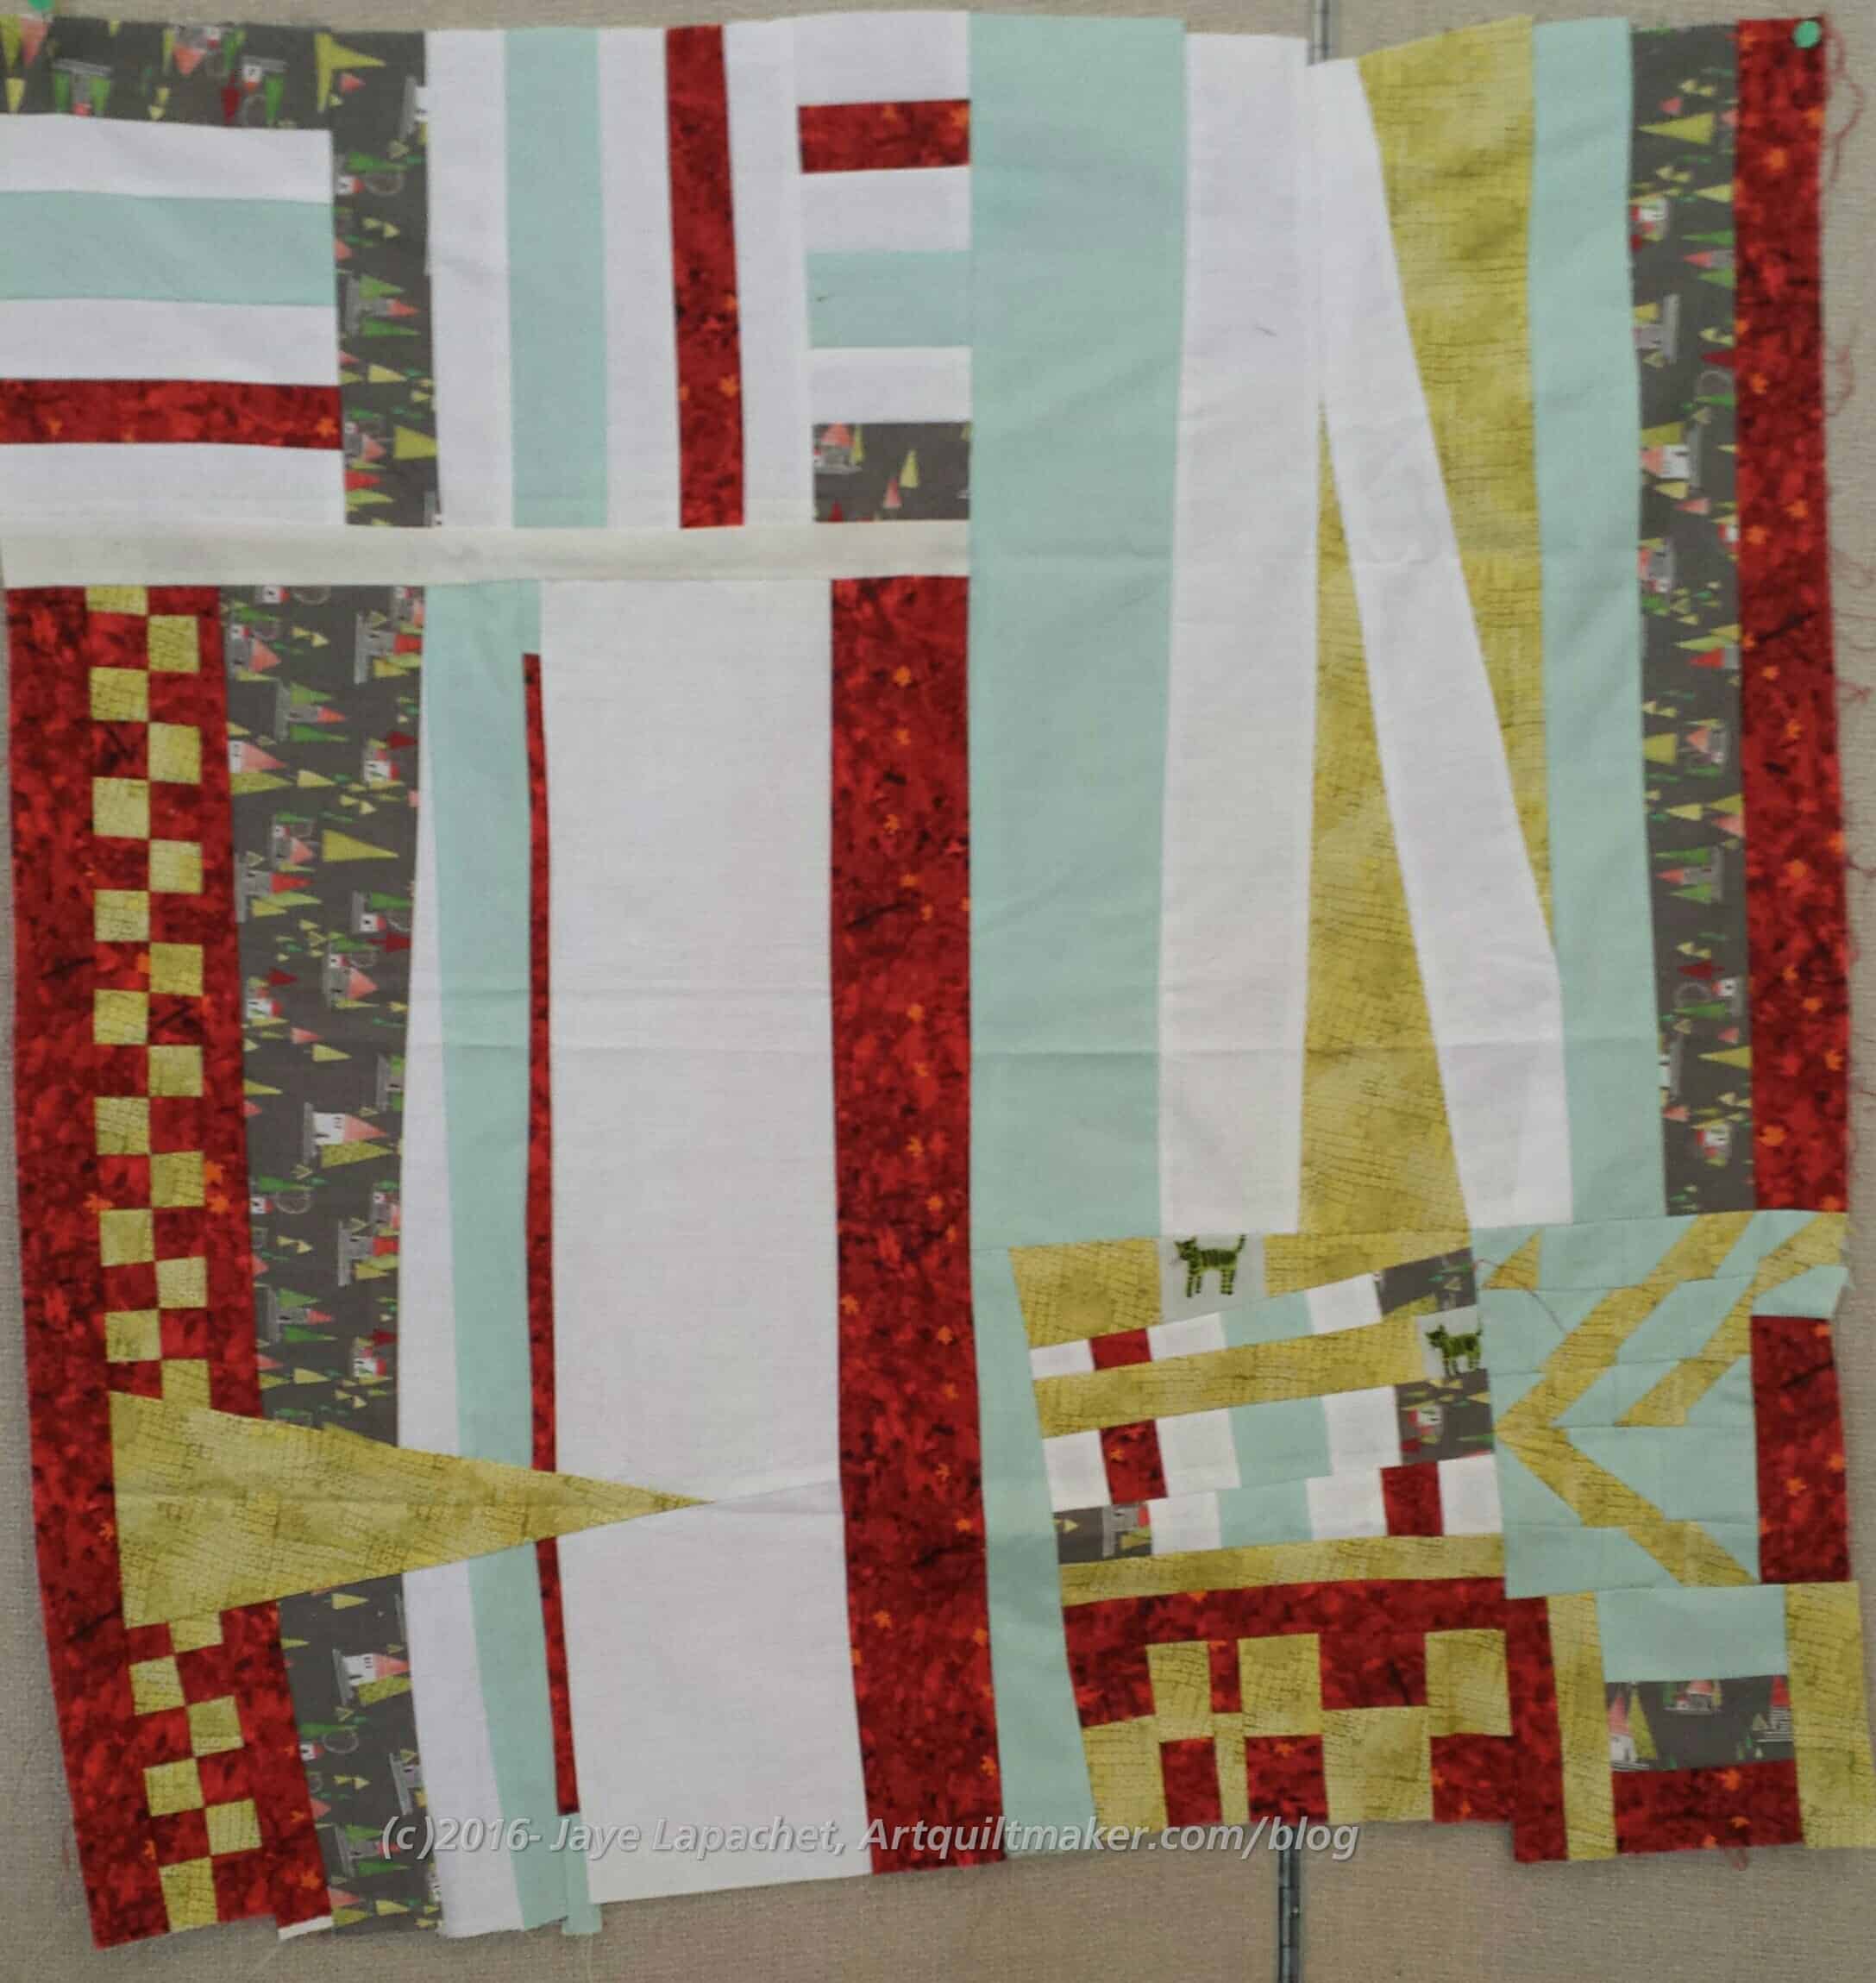
Mary worked on the Improv Round Robin project. She had Lizzie’s piece.
Susan worked on her Cargo Duffle and was able to finish that. Patti was sewing doll clothes for her granddaughters.
Karen was working on another quilt in her series of art quilts related to Black Lives Matter.
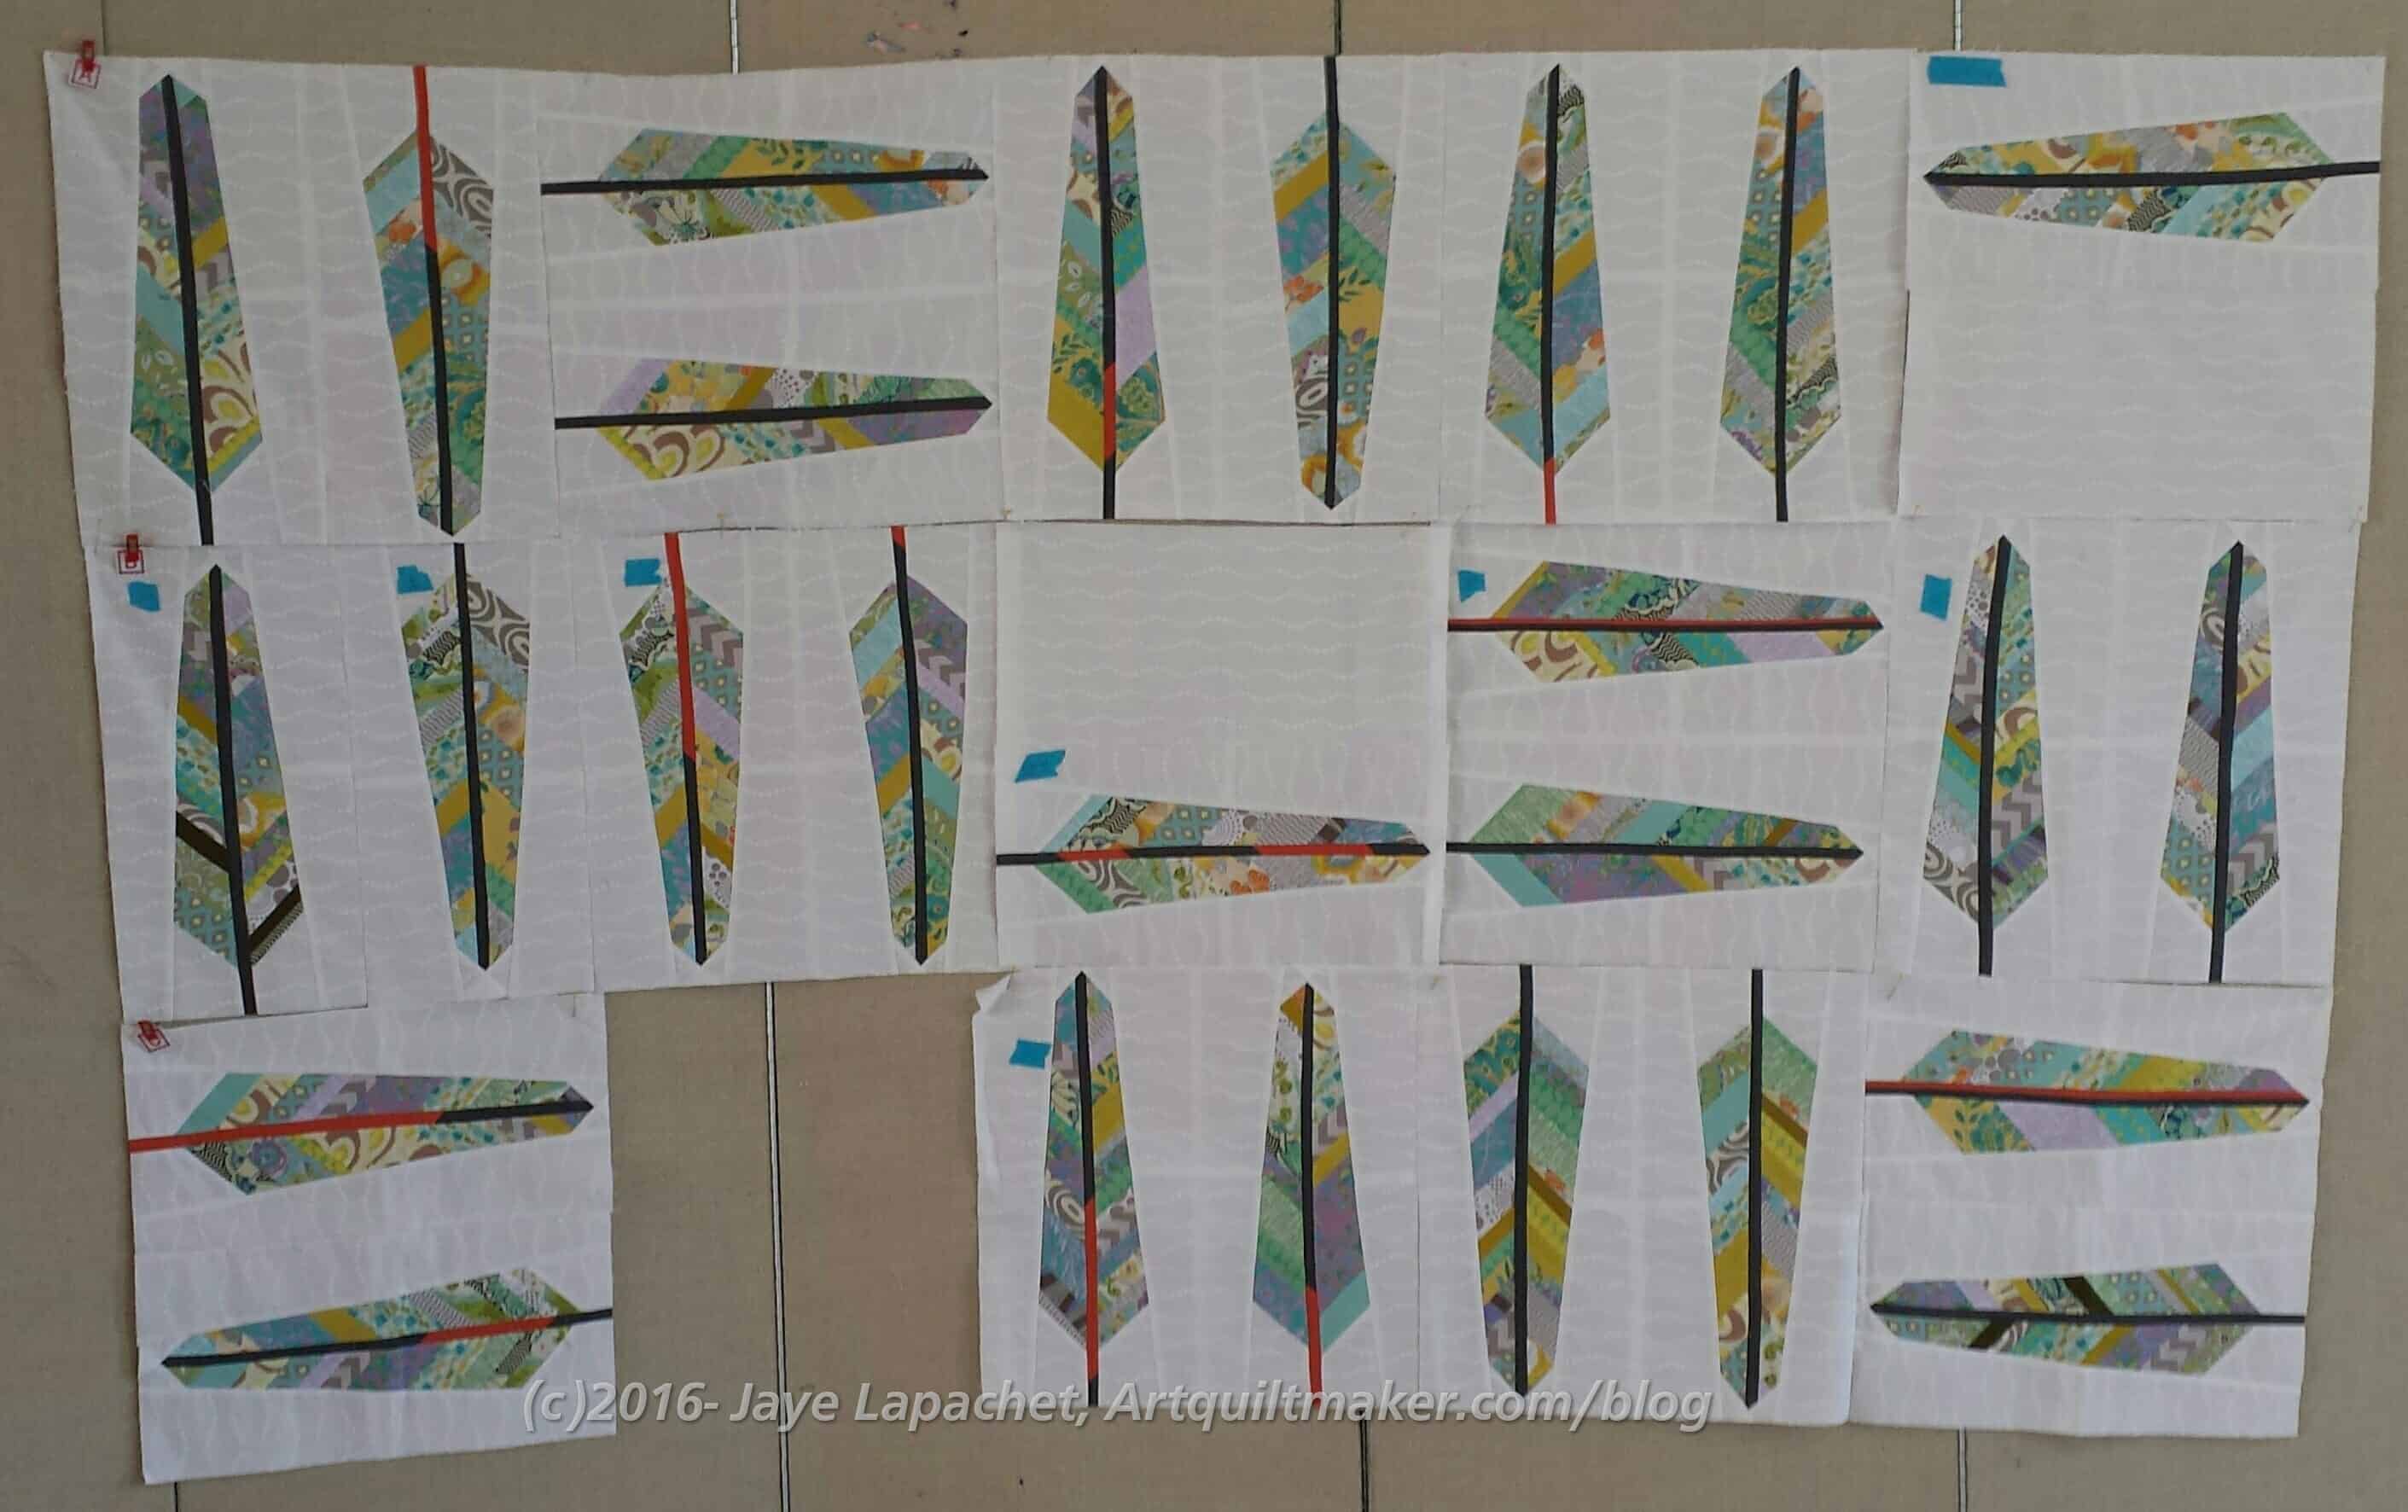
Gerre pulled out some AMH feather blocks and was putting them together. She is pretty close as all the blocks are done and just has to finish sewing the rows. This is one of her earlier quilts and I love it.
One fun thing is that we talked about sewing – tips, tricks, techniques, hacks. Someone is thinking of making Sew Together Bags, so we discussed making them just as functional, but a bit easier. All in all, it was a great day and I really enjoyed myself.
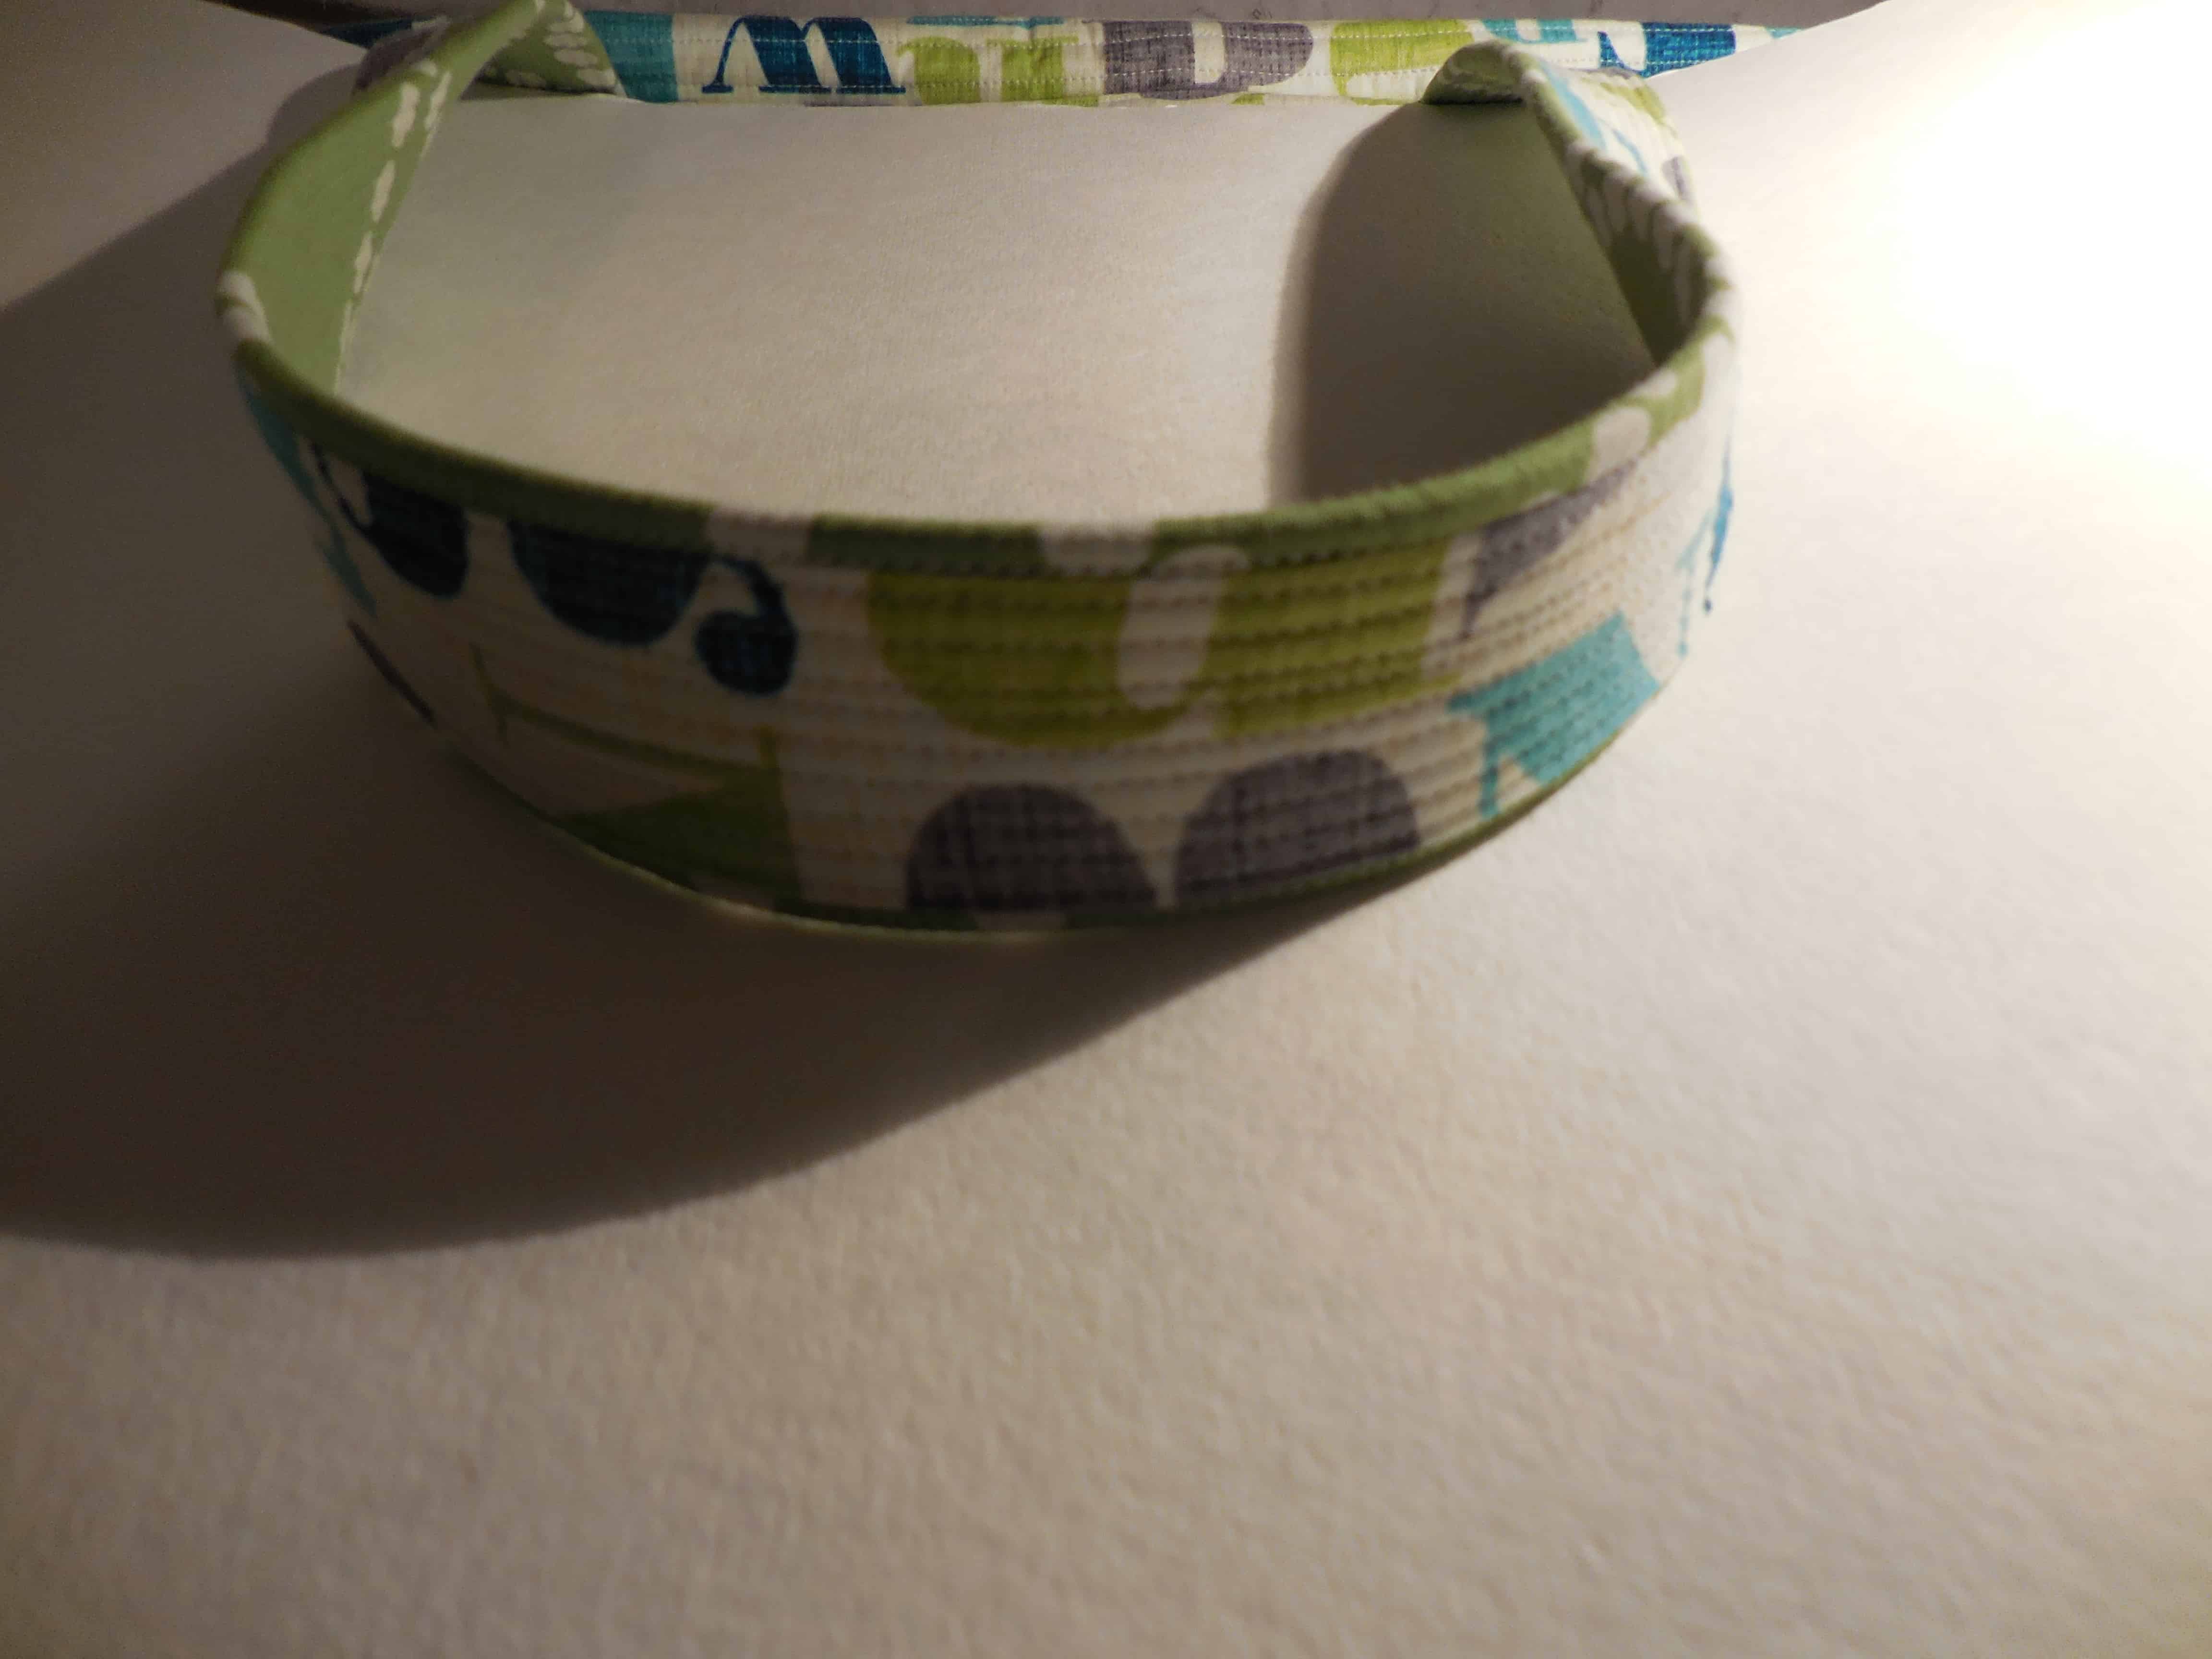

As you know I have been working on the homework for the Noodlehead Cargo Duffle*. This is one of the most difficult bags I have ever made, including the Liesl Backpack, though I think the directions are the problem and not the actual bag. Also, there is a lot of prep and, as you know, I like to get straight to the sewing. As I have said, the directions are too brief for me.
These handles can be used for other types of bags, so this tutorial creates a useful skill. If you want to use webbing, look at the directions in the Running with Scissors pattern to learn how Annie Unrein of byAnnie covers webbing with fabric.
In this case, I couldn’t understand the directions for making the handles. I looked at them several times until I decided just to try what they said and see if that worked. I did what the directions said, though they didn’t make sense, and the directions actually worked! Me or the directions? You decide.
Since I think the pattern instructions just need a bit of explanation for those of us who need to know more why in their patterns, I wrote up a tutorial.
Supplies
-1.5″ cotton webbing.
-fabric
-BSK
-Shapeflex (optional)
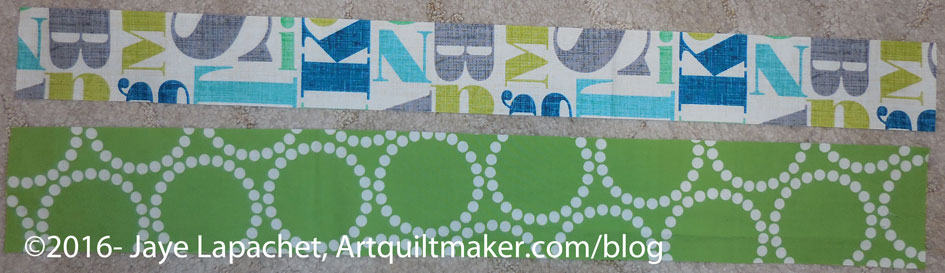
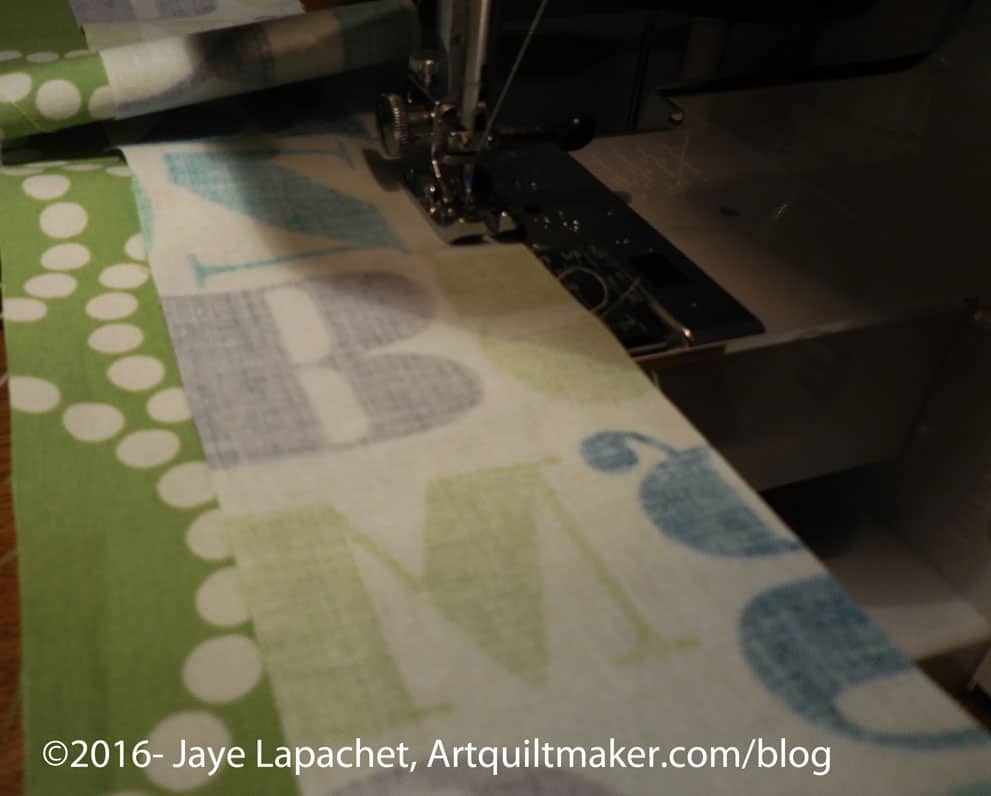
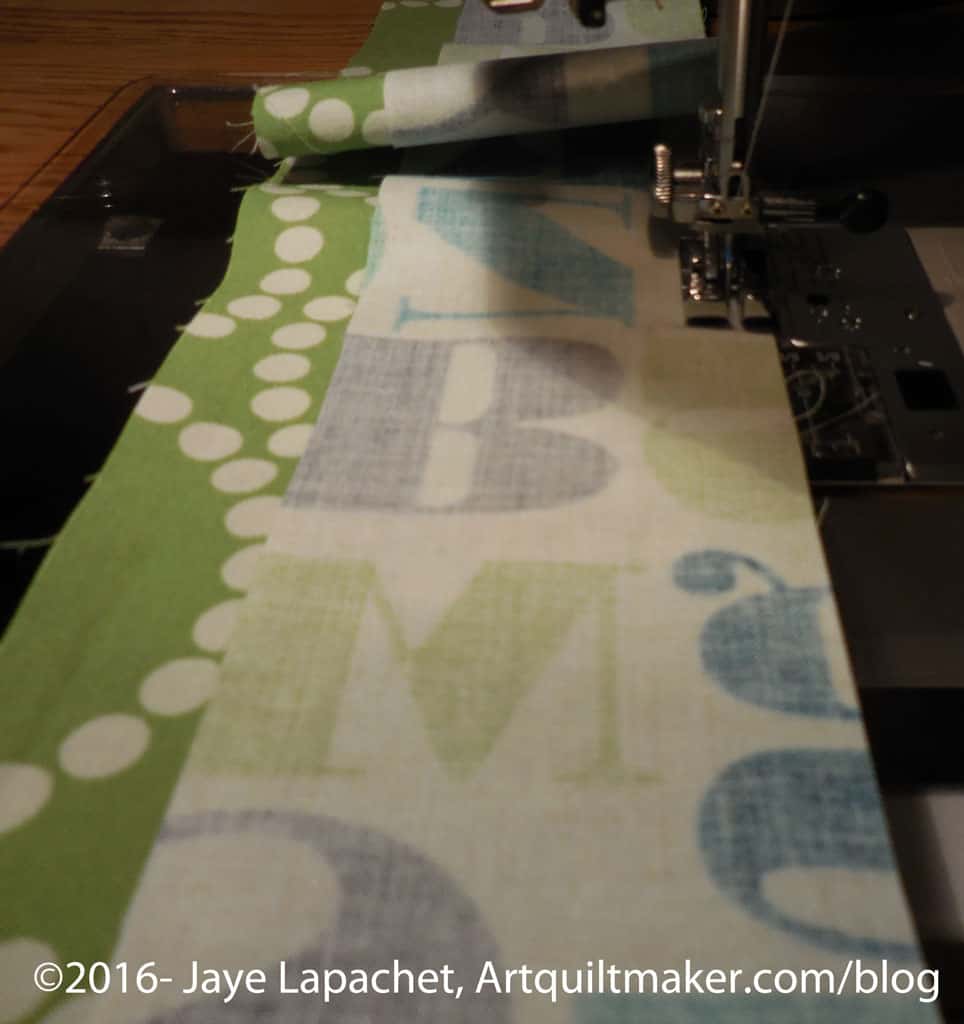
2. Sew strips together. They are not the same width so they will not line up, width-wise, exactly.
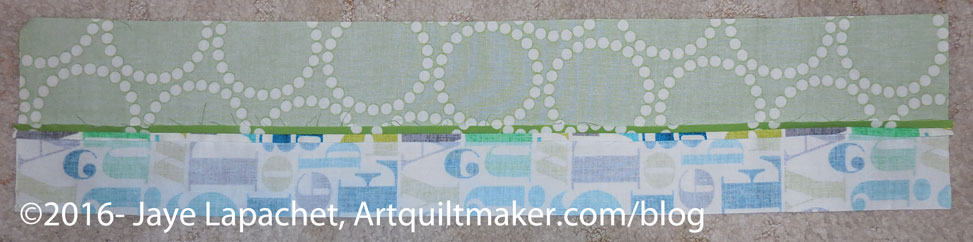
3. Press seams open. This is not critical and if you don’t want to, press how you like. I press seams open on handles, because I want to reduce bulk. You get a lot of bulk in handles, especially if you add some kind of filler like cotton webbing, which I used in these straps, or Soft & Stable or any other kind of interfacing. Pressing the seams reduces bulk.
Optional: At this point you can add some ShapeFlex to the handles to add strength. If you add ShapeFlex, cut a piece that covers both strips and covers the seam. It will add strength to the seam.

4. Fold the long side of the raw edges towards the center seam. I folded the Pearl Bracelets green piece first, but where you start doesn’t really matter, I don’t think.
5. Press fabric so there is a crease in the fold.

6. Next, fold the second long side, raw edge towards the center seam (yes, it is slightly off center, which is part of what confused me). This is the fabric (text fabric) with the smaller width.
7. Make sure to line both raw edges up with seam you just pressed open. Each different fabric will be a different folded width.
7. Press just folded fabric so there is a crease in the fold.

8. Fold the fabric with the smaller width (mine is the alphabet fabric) up towards the wider fabric (green Pearl Bracelets). There will be some green showing, which is what you want.
9. Press so you have crisp folds. Some of the wider fabric (green Pearl Bracelets, in my case) will show. This detail makes an accent.
10. Now unfold and add your cotton webbing or other stiffener. I used 1/5″ cotton webbing. I had never used this and was pleased at how well my machine sewed through it.
11. Refold so the cotton webbing does not show.
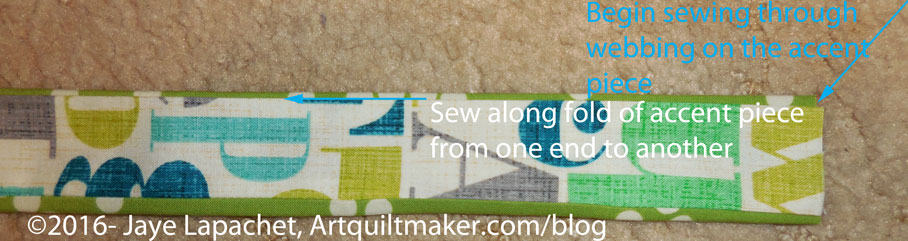
12. Quilt lines lengthwise, approximately 3/8″ apart, starting with the open seam. This will make the handle is very dense with quilting and add to the strength.
Ta da! You have very nice handles that will be sturdy enough to carry a heavy bag.
Ruth, being the super intelligent woman she is provided a link after I had figured out how to make these handles. I did search, but didn’t come up with the tutorial. I hope you like my instructions for the Cargo Duffle handles, which will, with any luck, come up in search results for others who try to make the Cargo Duffle.
*I really don’t know if the project includes the spelling ‘duffel’ or ‘duffle’. I am going with ‘duffle’ as that is what the dictionary says. You may want to search both, if you do any Google searching in order to get all the results.
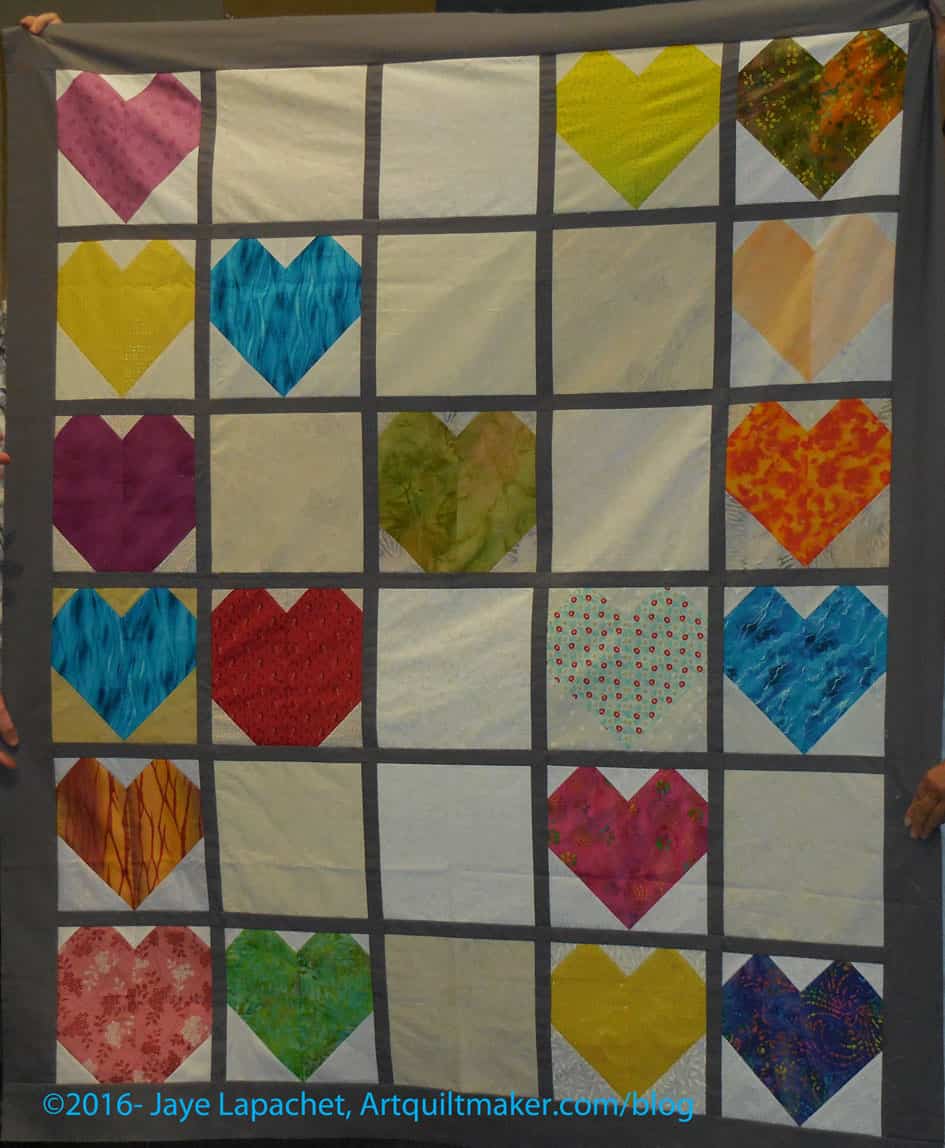
The BAMQG meeting was last Saturday. Mike and Jaime brought the Pulse tops we all worked, and they sewed together, on at the last meeting. I was thrilled to see them. Both Jaime and Mike are very talented quiltmakers and they did a great job, quickly, with blocks contributed by members.
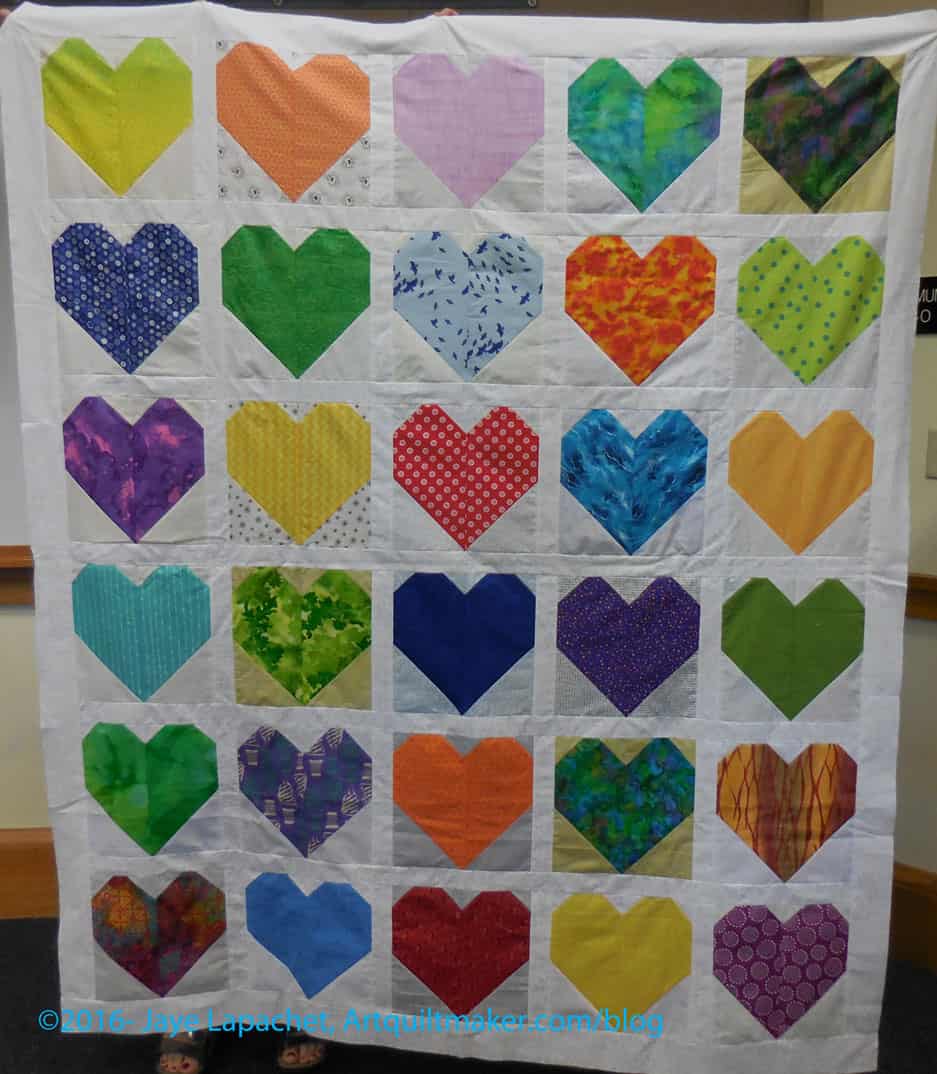
Jaime created a simple setting with a bit of sashing between the blocks. The sashing sets off the colors and fabrics of the blocks, which was a great idea. It is also looks very bright. A couple of my blocks are towards the bottom. Angela is going to quilt this quilt.
Mike infused some additional meaning into his design, which made me tear up. He left some blank spaces to remind us of those killed in the shooting. Great idea, but sad he had to think of it. Mike has a longarm and will quilt his quilt and send it off. I think a couple of my blocks made it into this quilt as well.
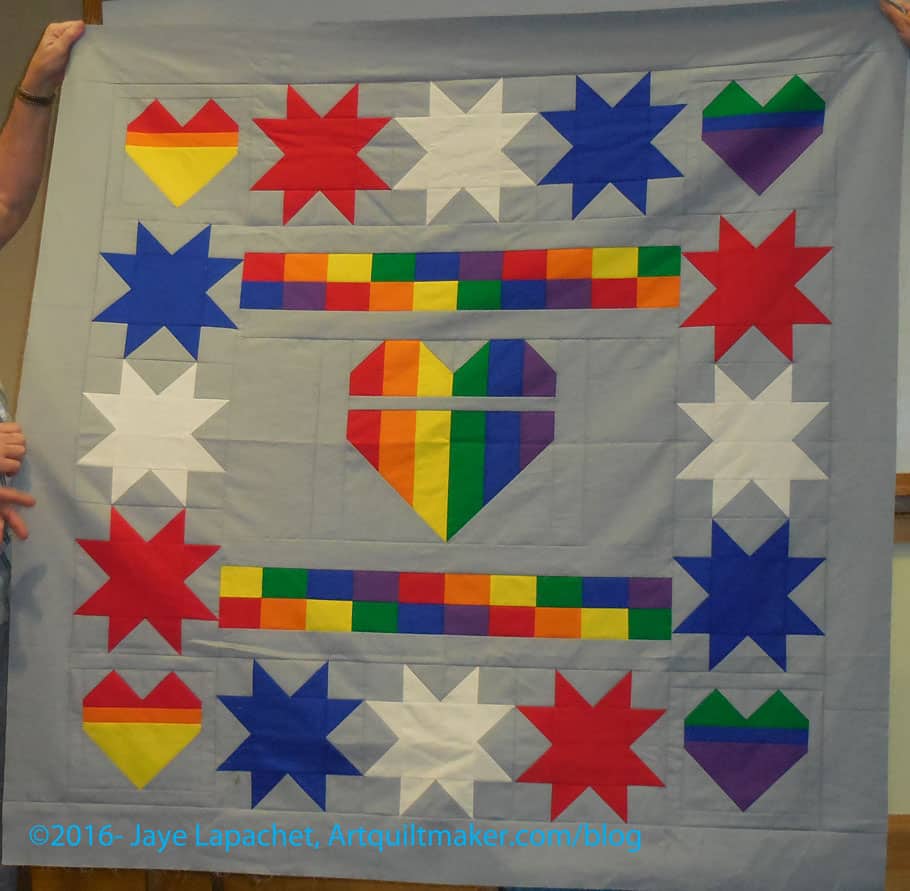
Finally, Mike made a quilt for himself and his partner. This commemorates the losses, but also the contribution of the first responders. I really appreciate Mike remembering them. I am not sure I think beyond them just going in and doing their job, but I can’t believe they are not affected.
The Orlando Modern Quilt Guild is posting blocks and quilts they have received. There are a great variety of really interesting designs. The guild also posted a lot of information about the efforts in the minutes of their July meeting. I was pleased to hear they already have 48 finished quilts and 600 blocks. their process for distributing received blocks is genius. The information also gives readers an idea of how you can still help.
Kathy M, quilt writer for ChicagoNow, writes about and shows the process of making her Pulse Quilt. I love the design.

I worked on a donation food quilt over the weekend. I decided, though it wasn’t a conscious decision, that I would try and use up the rest of my food fabrics and put that chapter behind me. Three food quilts is enough.
I think I also did it because I have been longing to provide another donation top and back to BAMQG.
Thus, I worked on the donation food quilt over the weekend. By Sunday night, I had a top, a back and a Frankenbatting.
I sewed it in kind of an Improv manner, but it is structured improv. I tried to use the pieces that I had and not do too much fiddly piecing.
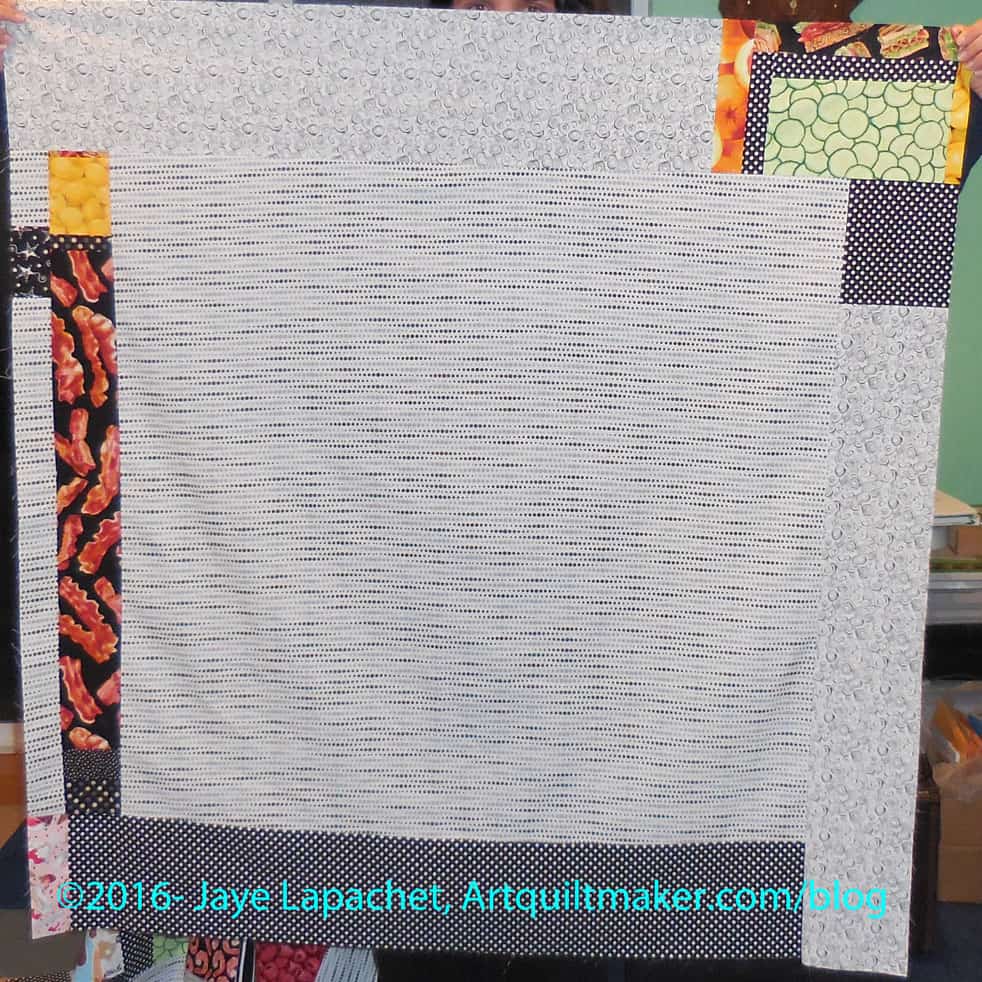
I may have enough pieces for another version when I get the Food Quilt #3 back. I think the back is large enough to provide at least a base for another donation quilt.
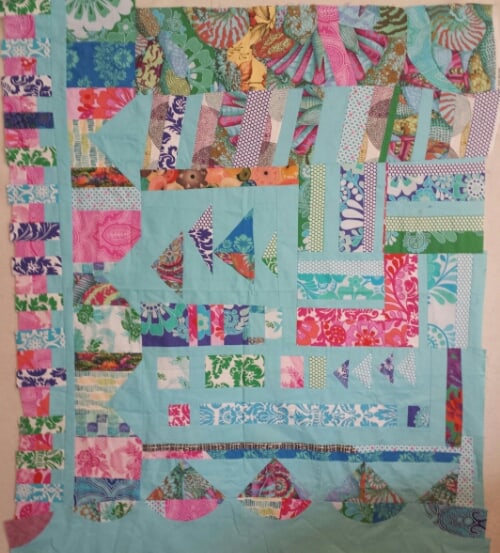
My Improv Round Robin has returned. Ruth had it for a couple of months because I wasn’t at the meeting last month and she wasn’t sure whether to pass it along.
She added the bottom part with the curves. It is an interesting addition.
I am trying to decide whether to try and get more people to work on it or whether I should just do some work of my own and finish it. I have some thoughts:
I do need to look at it for awhile.

I now have 12 red blocks, which I thought was the end of what I needed to make a top. I actually need at least 16, so I still have some sewing to do before I can make a top. That means I also have to cut more red squares as I am getting bored of the ones I have.
I have a few blue blocks, which I really like. They are cheerful. I have been tossing them into my BAM bag, but I may keep them and make a top from them as well. We’ll see.
I was pretty excited to get back to BAM to see my pals. I only missed the May meeting, but it felt like an eternity. I finally had some things to show. You, of course, have seen them all, but I showed:
My SIL came along. She hasn’t been a member of a guild in awhile, if ever, but I dragged her along. She said she had a good time, which made me happy.
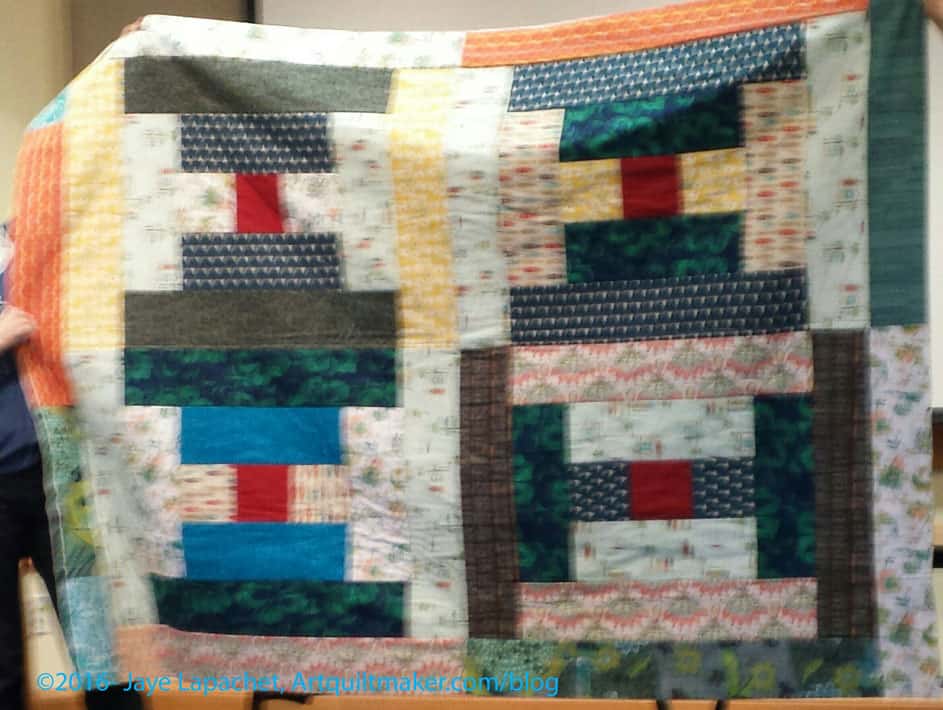
More details about the meeting can be found on the BAM blog.
I missed the Charity Sew Day due to Political Wifery, but some of the quilts they made were shown. Michelle B. designed the pattern and they sewed the quilts together using the quilt-as-you-go technique. This was a brilliant idea as it made the quilting after the piecing unnecessary.
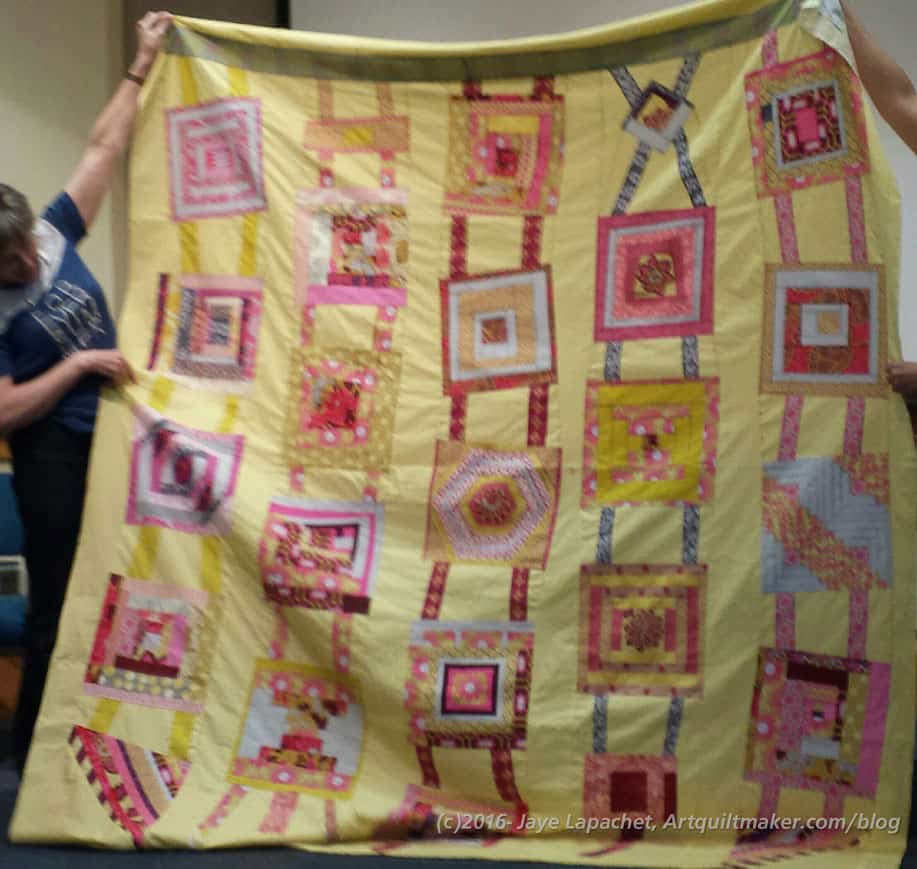
Show and Tell was fabulous as well. Joy-Lily has finished her 100 quilts project. Not all are quilted, but she has a nice variety of pieces. Zoe brought her tiny baby and the black and white playmat she is making. I loved them both! Claire set a bunch of blocks together in a really unique and innovative fashion.
I know it isn’t true, but I feel like I haven’t sewed at all after seeing all the great stuff people brought.
Jaime will be leading a workshop on making the Noodlehead Cargo Duffle. She has made a few and has made some changes to the pattern including more pockets. I signed up because I admire Jaime’s bag making skills.
We both helped work on the Hearts for Orlando blocks, which I wrote a bit about yesterday. You can see the full details at the BAM blog.
I dropped Cityscape off with my SIL who is the new owner after the meeting. I think she liked it.
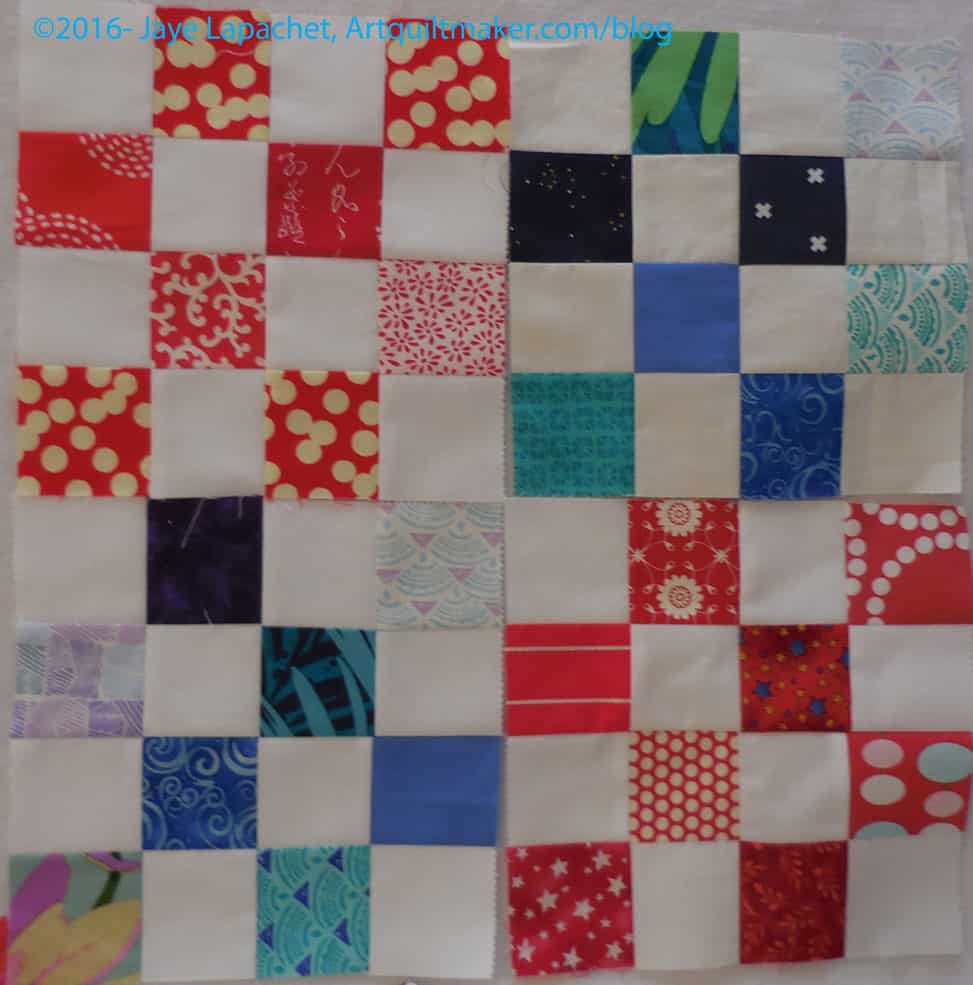
In between sewing the top and back of FOTY 2015 together, I made a few more donation blocks. Not a lot, but my pile of reds is growing and the other random colored blocks are going straight into the back to to take to the next BAMQG meeting.
As soon as I make enough of the red, I will make a specific top and back from those. I might use the Cutting Corners ruler again and I might now. We’ll see.
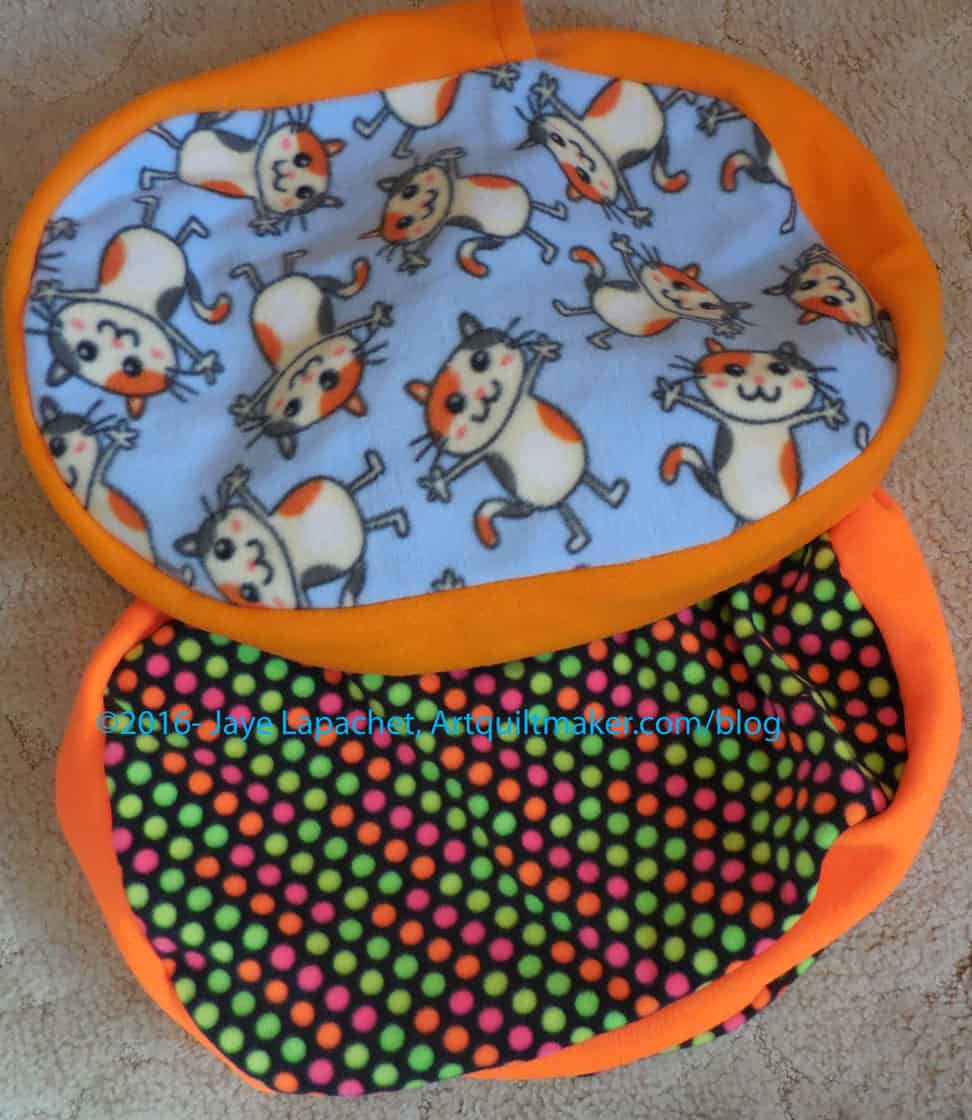
I have had some cat bed fabric waiting to be sewn since the BAMQG April meeting. I finally did it over the weekend, mostly to get the fabric out of my way. My horizontal surfaces are looking kind of full right at the moment.
I didn’t really realize how cute the top fabric was until I laid them down to take a picture. Don’t those cats look happy?
I get to count these as finishes, but I don’t get credit for the fabric since Amanda gave it to me. Oh well.
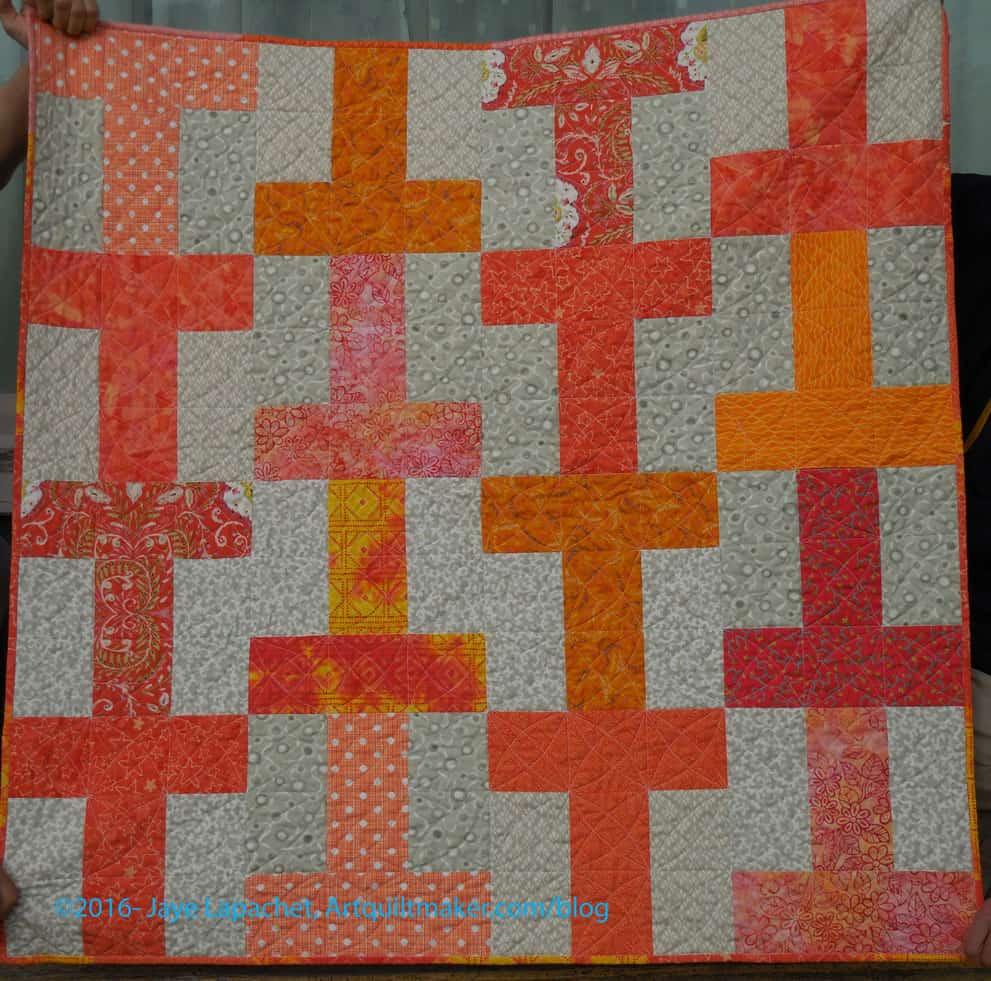
This is the quilt that Gerre and I worked on at her house a few months ago.
She finished it and brought it to Sew Day. I couldn’t believe that she finished quilting it so quickly! I was thrilled. Not just that it was finished, but also that we had another donation quilt to help give someone some comfort.
The oranges worked out really well and while we are working on the circle quilt, I am excited to cut for another T quilt. I am thinking of digging into those green bins and thinning out some of those fabrics. I also saw my nephew’s Wonky 9 Patch quilt over the weekend and think that blue would look great with the orange Ts as well.
I finally made it to a Sew Day at the new BAMQG location.
Gerre emailed me while I was in Portland and asked if I was going. I thought ‘why not?’ and Gerre was willing to sew with me again. Even though the YM is home and lounging around, he is old enough to be alone and didn’t want to come with. Why would he? He would be bored.
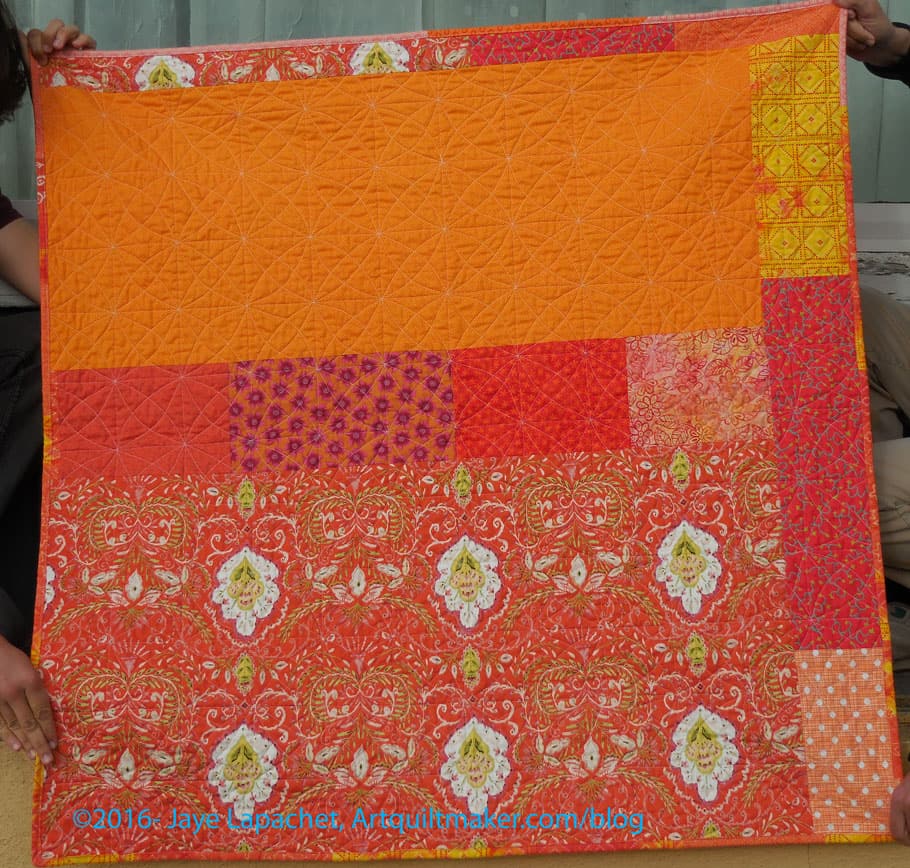
It was fantastic! I was thrilled to be there and thrilled to be sewing. Gerre brought the Orange T quilt and it is finished. I have to take some photos and then I will post a finished photo.
We had a great time sewing and chatting and working on our quilt. We had decided to work on a circle quilt as a donation quilt. We got the inspiration from Simply Moderne magazine. I was attracted by the cover and bought an older issue at QuiltCon.
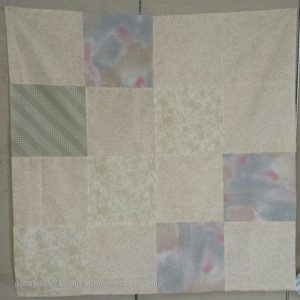
We started out by cutting the background pieces in the Pushed Neutral technique I learned from Mary Mashuta 1,000 years ago.
I brought the neutrals and Gerre brought the foreground fabrics, though we didn’t know it would end up that way.
We had talked about using greens, so I brought my green bins along with my beige and brown bin (which thankfully is almost empty). We pulled out the last of my light and tolerable beiges and cut them into 10″ squares and put this together as a background.
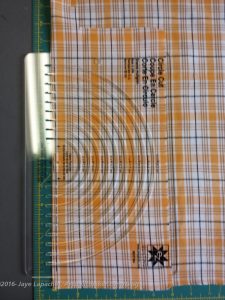
Gerre then showed me some plaids she had and we decided to use the plaids instead of greens and make a boy quilt. We cut circles using both the Go cutter than Pati brought (with her circle template!) and my newish circle cutting ruler.
I wielded the circle ruler while Gerre took over the Accuquilt Go! I only had my normal 45mm rotary cutter and I think it would have worked better with a smaller cutter. I only have one of those and it was at home, so I did the best I could. I may need a new blade after cutting the circles.
We decided not to have a lot of large circles, because the size of our quilt was smaller than the example we saw in the magazine and we didn’t want the entire surface to be covered.
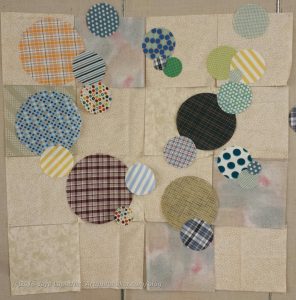
After putting the background together we laid out the circles on the background. I didn’t take a picture of that stage so you have to be satisfied with the photo on the right.
We decided we had to do the quilt in layers so that we could sew around a whole circle and not have to stop and start.
We didn’t bring fusible so we glued the first layer of circles down on the background, pressed it and then Gerre sewed.
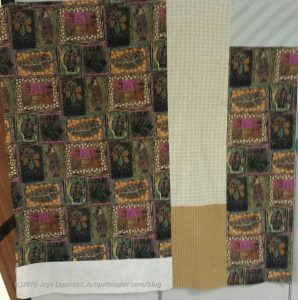
While she sewed, I worked on the pieced background.
The fish and leaf fabric is OLD! The selvedge says “Sykel Enterprises 1993.” I don’t even know if Sykel exists anymore. It is certainly no Moda or Kaufman. I am sure TFQ could tell me where I bought it. 😉
It was in the brown bin and good for a boy quilt. I also had about a yard, which was a great start. It was in two pieces, so I added the strip in the middle. We also cut off a strip so we could see about applique’ing some of the motifs somewhere on the quilt. The center plaids are a couple Gerre brought.
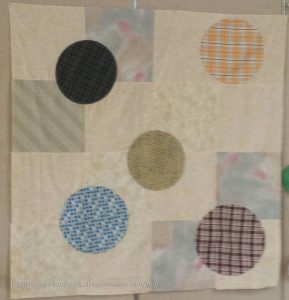
We were able to sew the first layer down. These were the largest circles.
We don’t intend to necessarily go from largest to smallest, but we wanted to start with the largest.
So far, it doesn’t look like much, but the next layer (no photo) looks better.
Stay tuned.
As mentioned in yesterday’s FOTY post, I need leaders and enders. Donation patches inevitably end up doing the job. I made a bunch and have an idea for a red and white donation quilt. I don’t have all the details in my head yet, but I am working on blocks using red fabrics to go with the plain whites.

I don’t have an unlimited selection of red 2.5″ squares cut, so I am also making donation blocks using other colors. I will donate those blocks to the Charity Girls and they can do something with them unless I have enough blue and green blocks and enough time to make a second donation top. We will see.
It was fun to make the donation blocks. I am playing with the arrangement of colors and different fabrics. The recipients may not know but I have fun and I hope the quilt absorbs my joy.