I thought about posting this under “Doing Good”, but while I think I am doing good for the guild, it isn’t really service to the community. At least I don’t think it is. Hhmm. Philosophy so early in the morning. I am sure you appreciate that.
I wasn’t at the August meeting to get my block kit. Since I definitely wanted to contribute to the support of the guild, I asked for a block kit and Ruth was kind enough to send me one. Sadly she didn’t have any turquoise kits left so I ended up with mauve-y colors. That’s what I get for not being at the meeting.
I left the fabric laying around near me for a week or so. I kept meaning to do it before I went back to work, but didn’t so the weekend before the meeting, I decided it was time. I decided to make a test block for my Tale of Two Cities quilt using the Opportunity block as the tester.
Tester is the wrong word. I knew I could make the next blocks. It was more of kick in the rear end to get me back in ToTCi gear. Just what I needed.
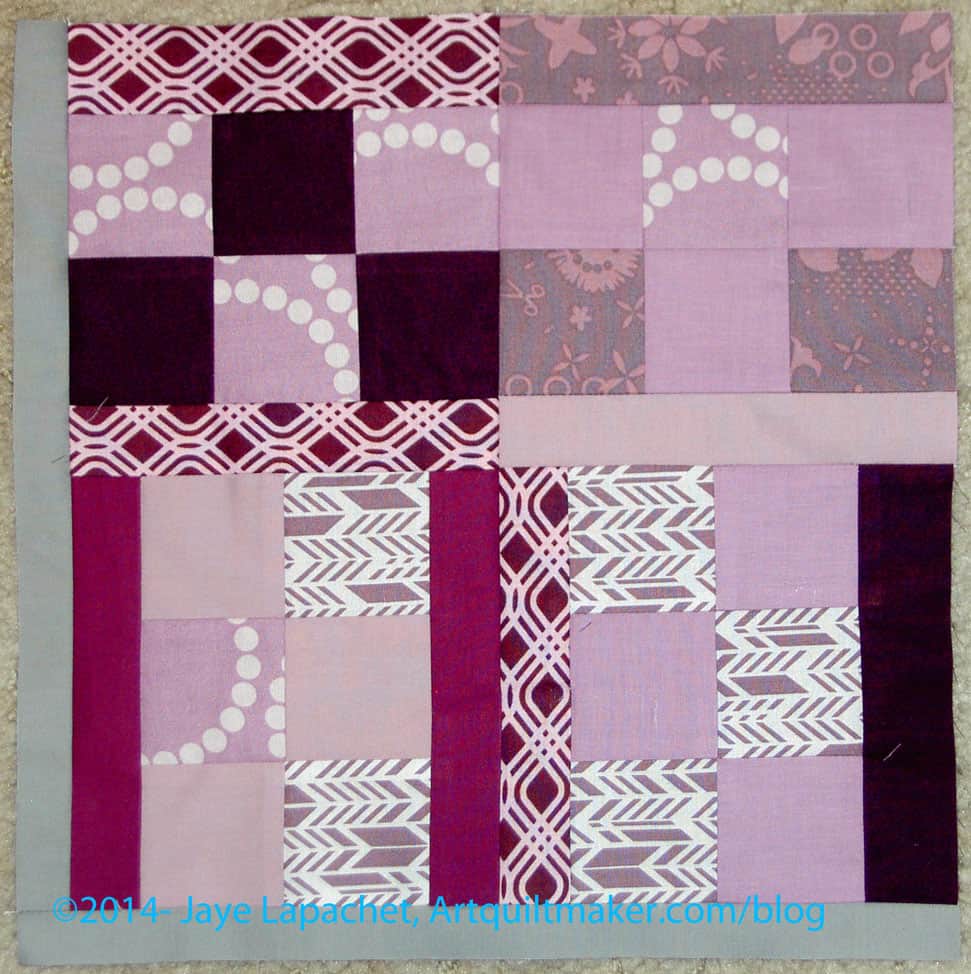
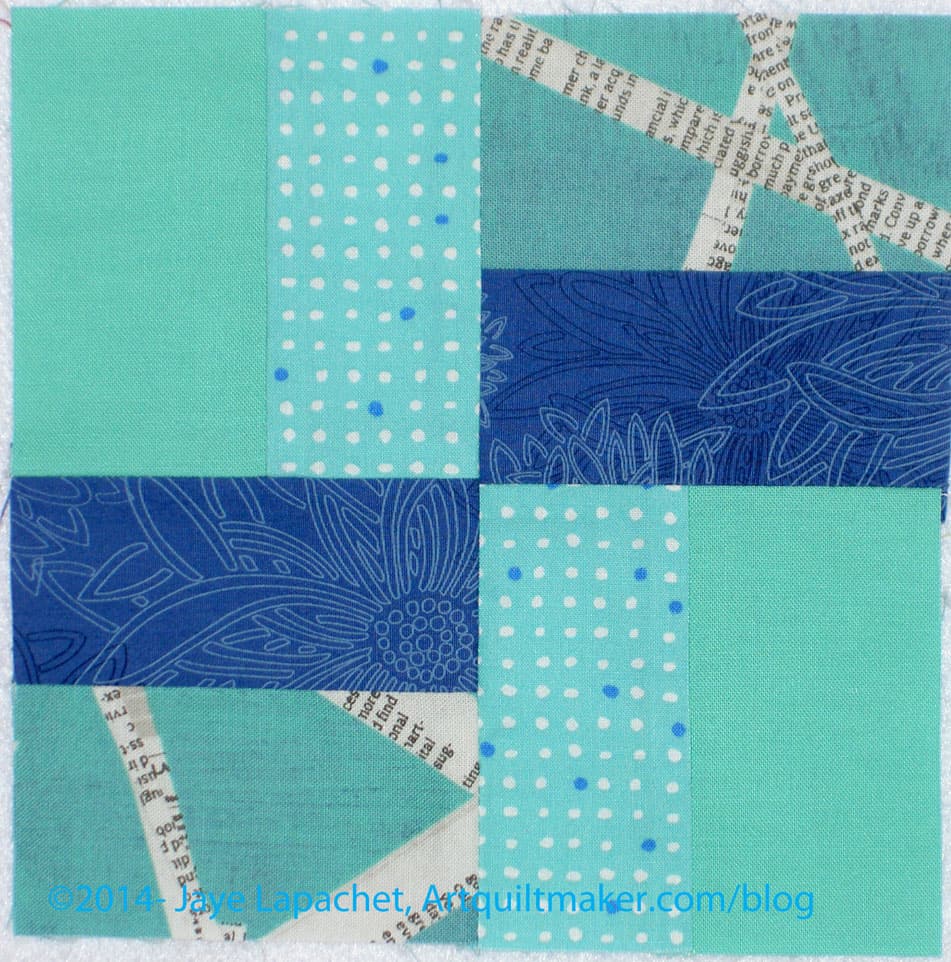
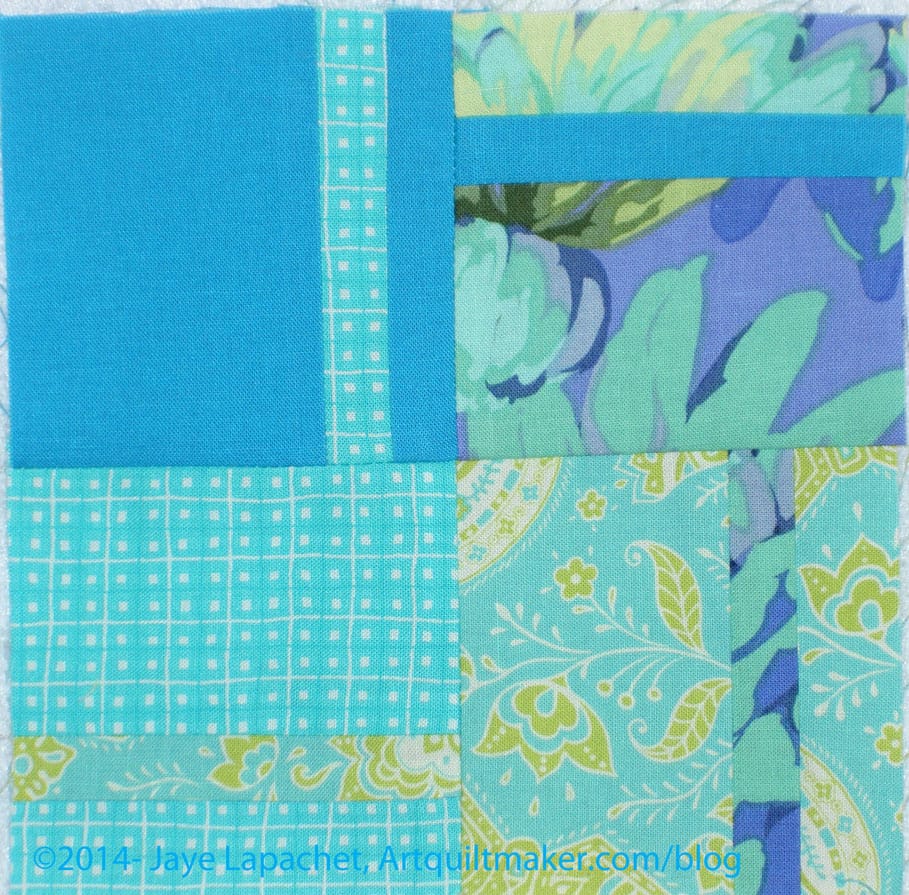
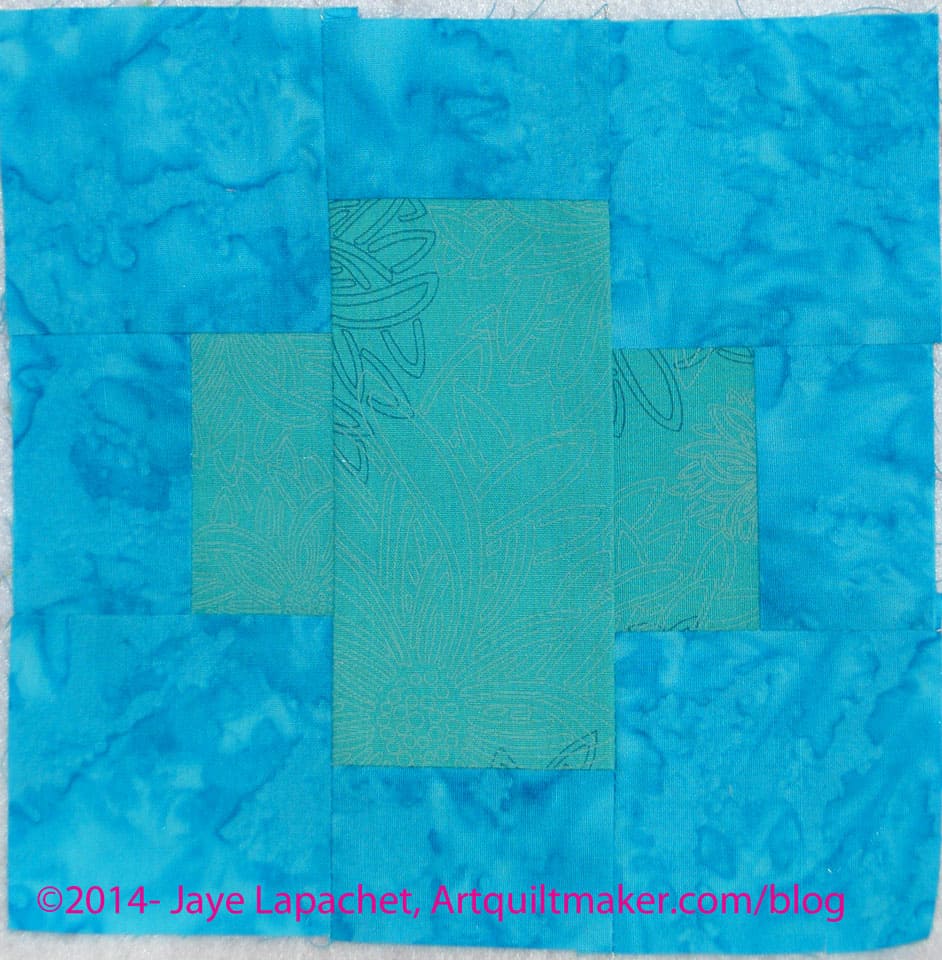
The idea, as I understand it, is everyone makes what ever blocks they want in a 6.5″ size, heavy on the squares and rectangles, and then sews them together into a 12.5″ block. Ruth has a plan and will put them together.
BAMQG Opportunity Block
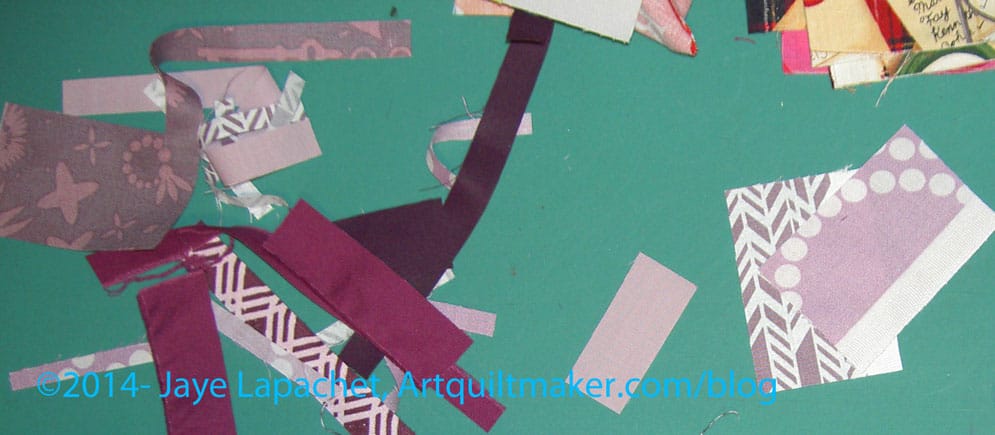
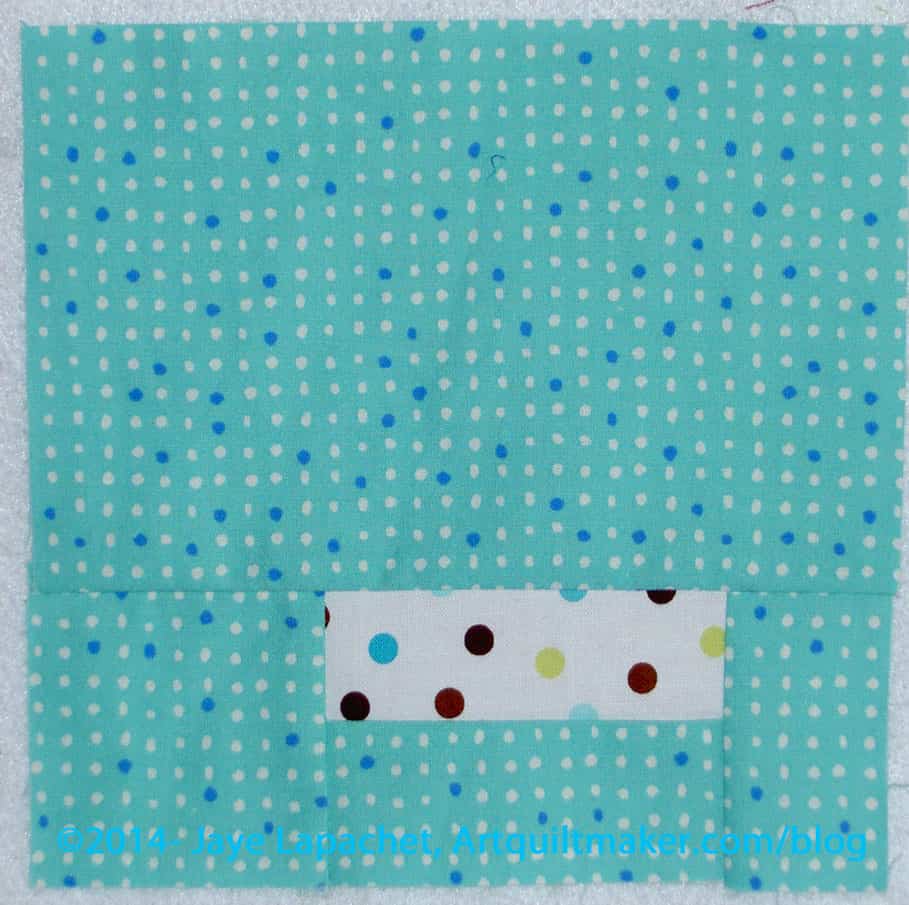
She must be a master, because I had just enough fabric. The photo (left) shows how much fabric I had left. I should have put a quarter in with the shards so you could see how little was left.
I didn’t make a bunch of different blocks and put them together; I just made one and repeated it. Repeating the structure not the fabric, because I didn’t have enough to make all of the blocks the same.
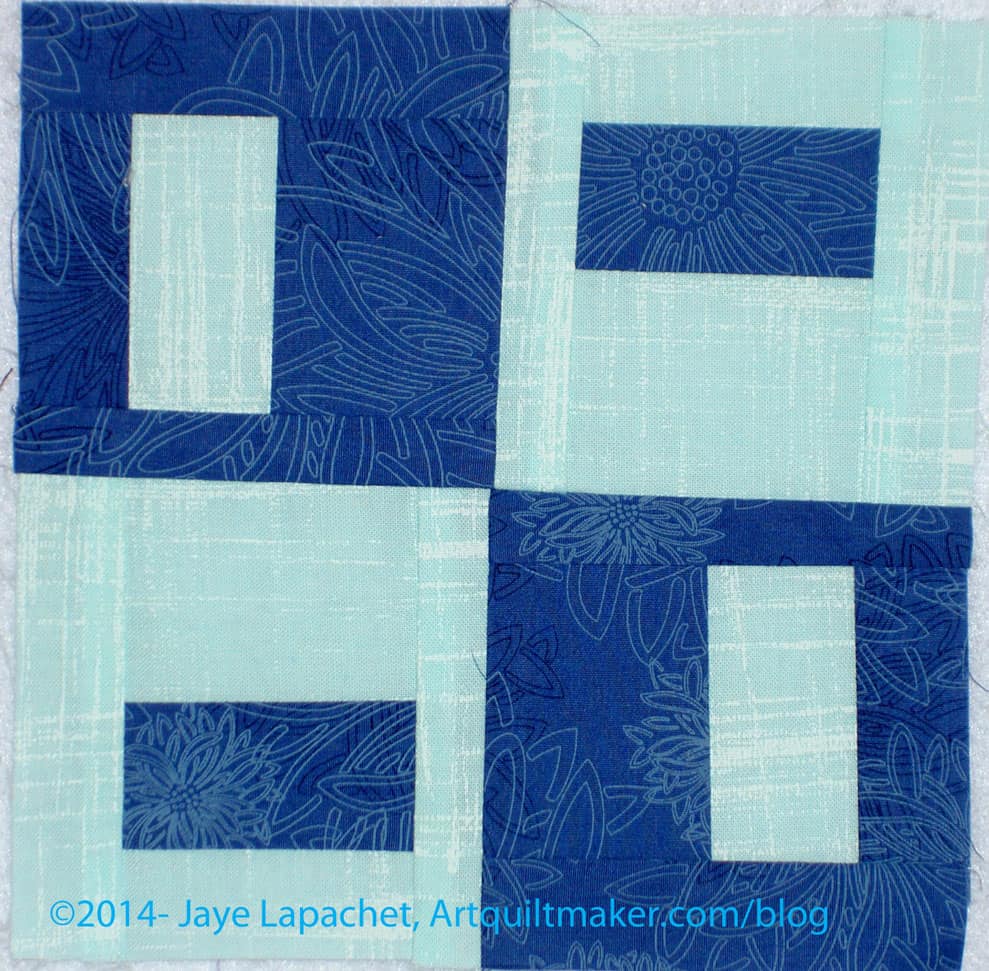
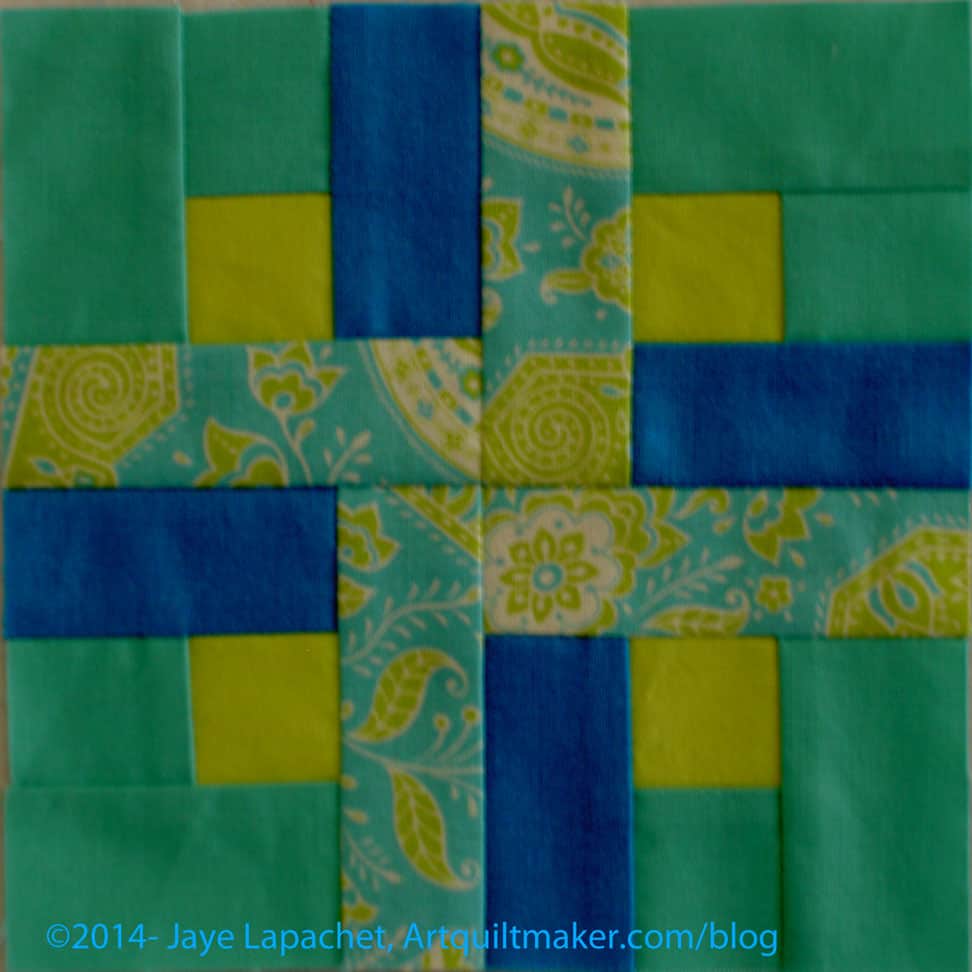
BAMQG Opportunity Block
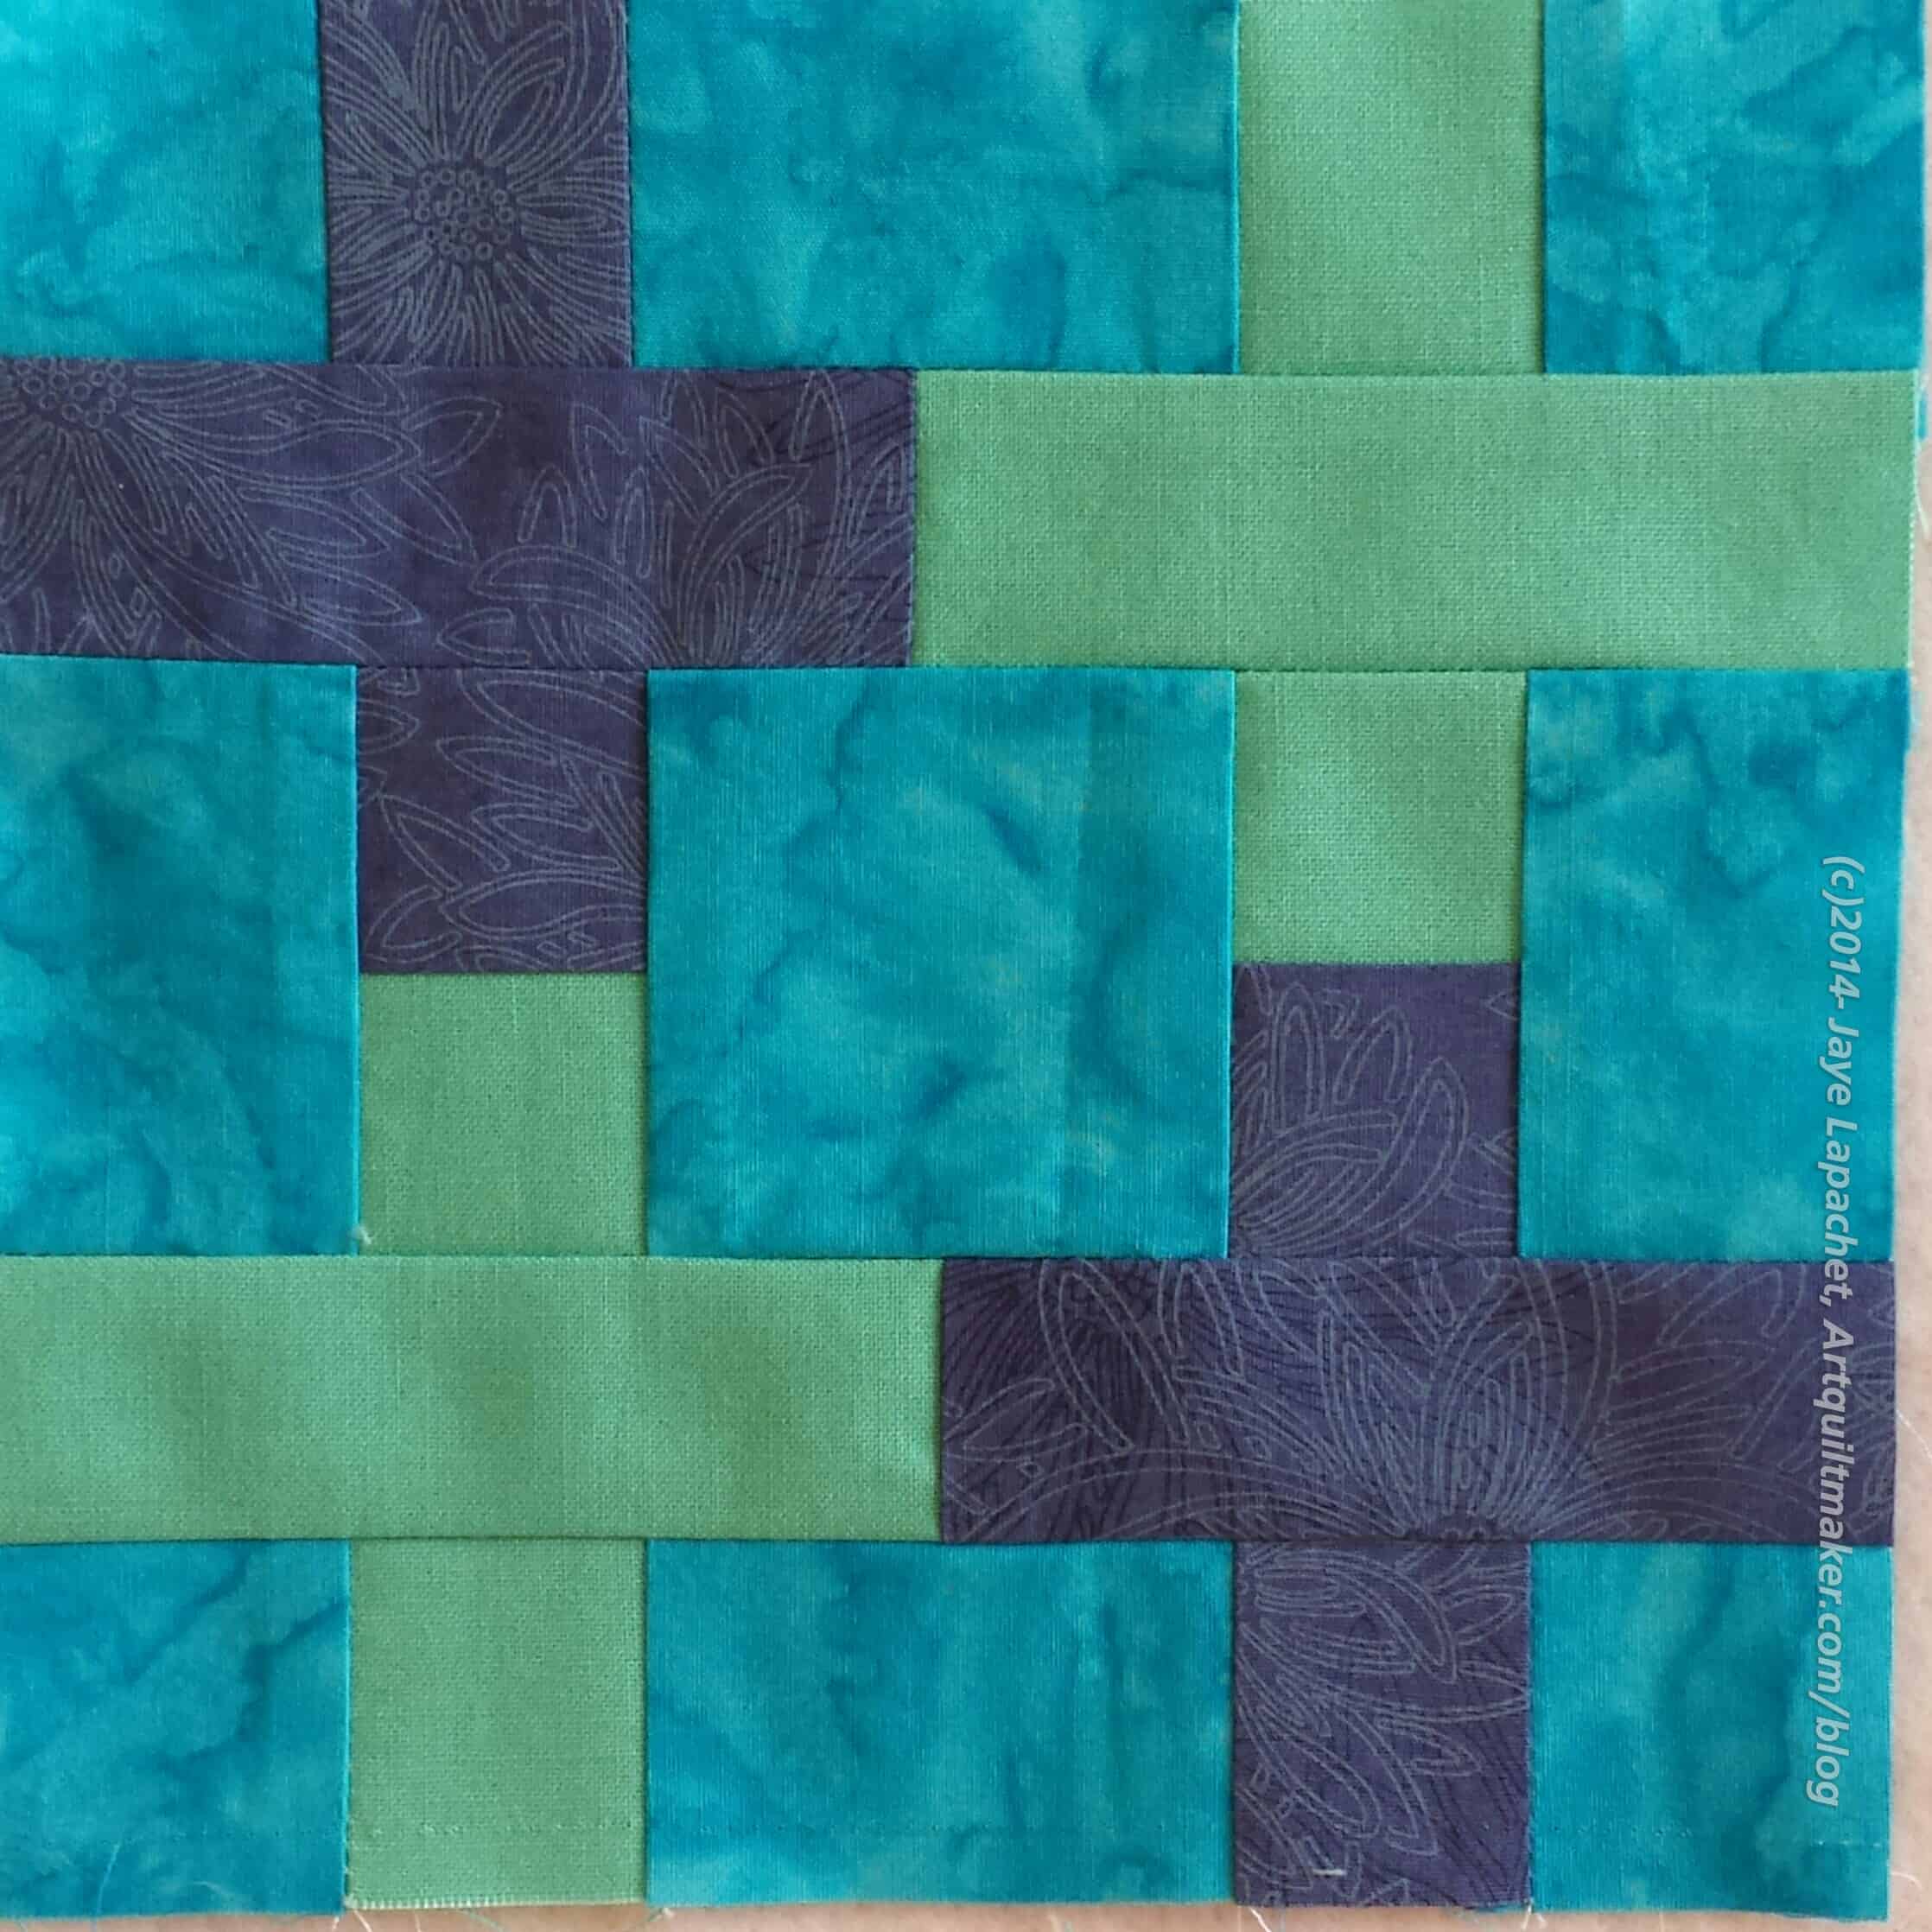
This one block design makes up four blocks into a new combination. The block looks different made up from four blocks
I made serious progress on the blocks for this quilt last weekend. As I mentioned, I took photos Friday (a week ago). That really prepared me for knowing what I needed to do to make some progress.
Finding the blocks, which had gotten stuff under a pile of fabric, was a really good start.
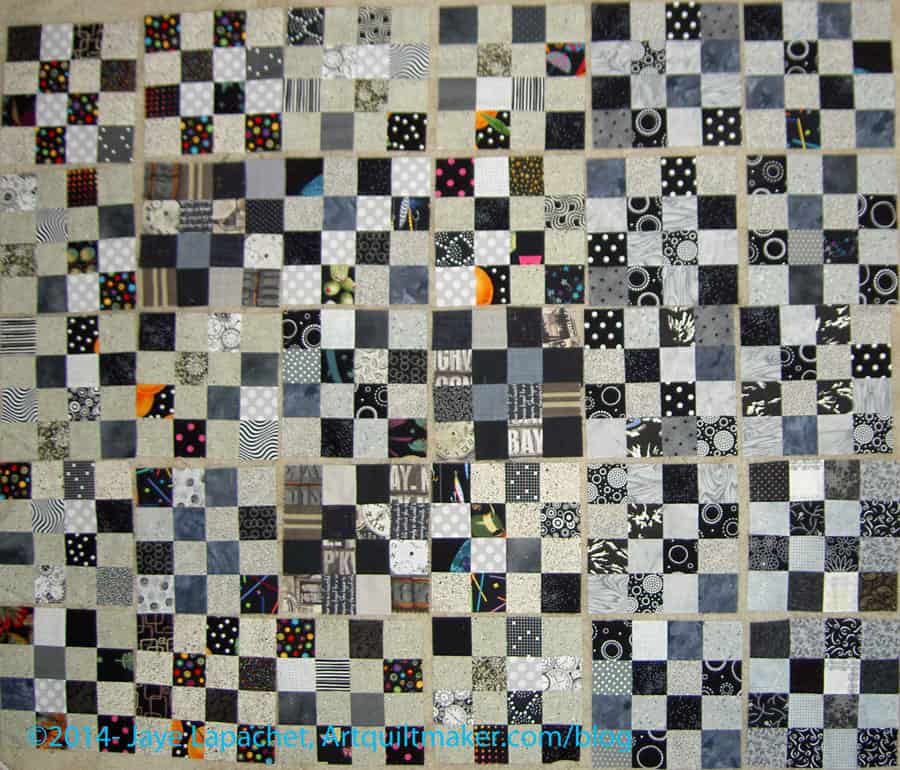
I laid out all of the blocks and realized that though it is getting there, I still need more blocks. The layout is 6×5 right now, but I might need to make it skinner and longer. Mrs. K’s quilt is on my mind, though, and putting the blocks on point is skittering around on the edges of my brain.
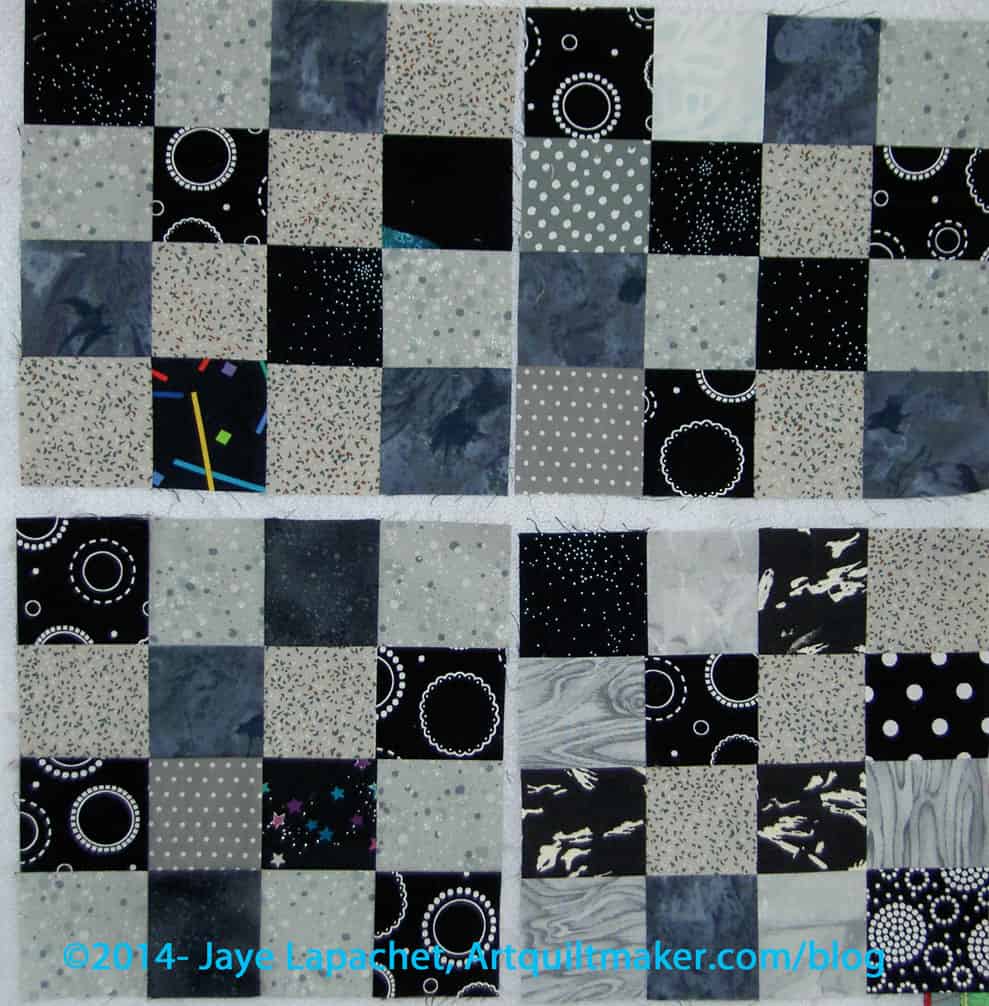
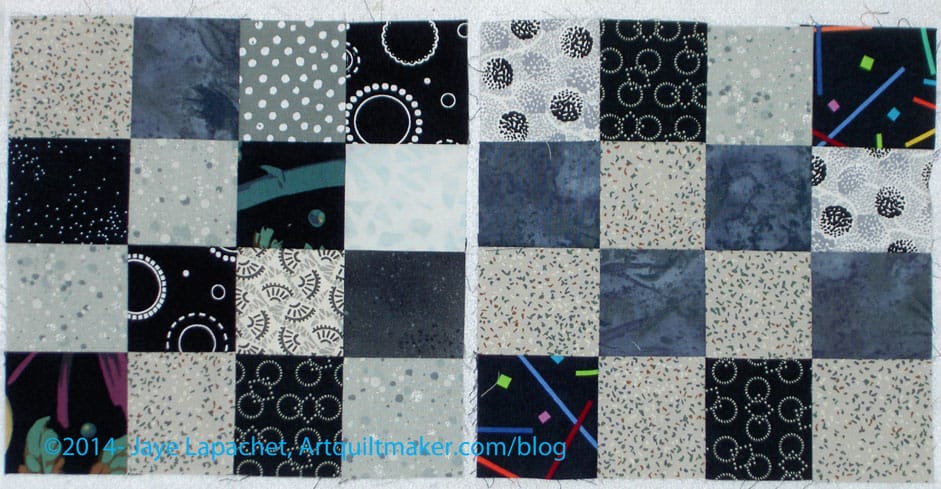
6 more Black/Grey Donation blocks
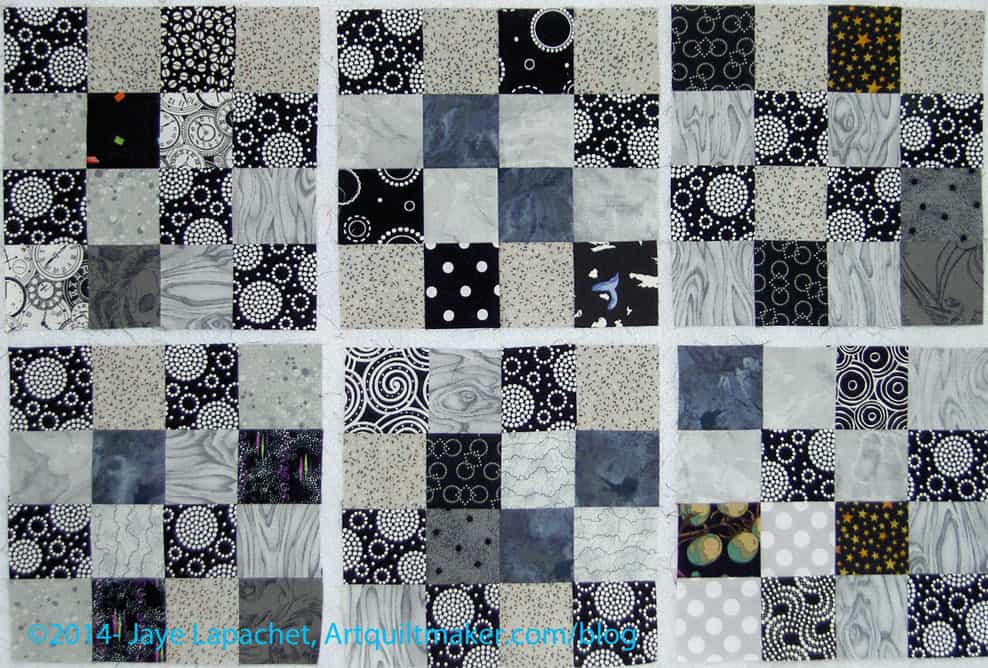
As soon as I had an idea of where I was, I gathered up all the parts of blocks that were on my sewing table and sewed them together. That added another 6 blocks to the group of blocks above.
My blocks have a lot of fabric repeats, but I think when all the blocks are put together (like above), the duplicates don’t matter so much.
I also think that Jackie and Cheryl’s blocks blend in nicely.
I didn’t sew any new blocks as I tried to work on the Russian Rubix using parts for a new journal cover as the leaders and enders.
I haven’t made a lot of additional progress since my last City Sampler/Tale of Two Cities update, but I have made a little. Frankly, I haven’t been at the machine much, so little progress has been made on anything.
City Sampler no.21
I was able to sneak in some of the background fabric on this block (No.21), because that one square is surrounded completely by other fabric. I am interested to know how those bits of background will look once I have all the blocks done.
As I look at it, I remember Sue’s (from CQFA) Eat, Play, Sleep, Repeat baby quilts. Blown up this might make an interesting baby quilt. Not that I made baby quilts.
City Sampler No.22
I also made it to No.22, after a couple of tries. AND, Patti and Nicki will be pleased to know that I used strip piecing! I didn’t really get it that the strips needed to be different sizes for different parts of the block. Sometimes I wonder about my brain.
I really hate to admit it, but I think I have too many projects going on that are in a similar stage.
Lots of piecing, no shortage of leaders and enders means that only a little is getting done on any of them.
More blocks was a bit ambitious of a title, but hope springs eternal.
I feel fortunate that I can contribute to a charity that helps people locally by using my sewing and quilting skills. I don’t think that contributing to charity should be unpleasant or painful and making quilts or quilt blocks is an awesome way to contribute.
That being said, this year has not been the most stellar example of charity quiltmaking on my part. Life is like that sometimes. I think I am back in the saddle with my charity-teenager-boy quilt.
I wrote about my whole dilemma a little while ago and got 3 blocks almost immediately from a quilt-mate. I also got a promise of blocks from a Twitter friend. I was so excited that these lovely women just made and gave! Quiltmakers are often such nice people. Thanks, ladies.
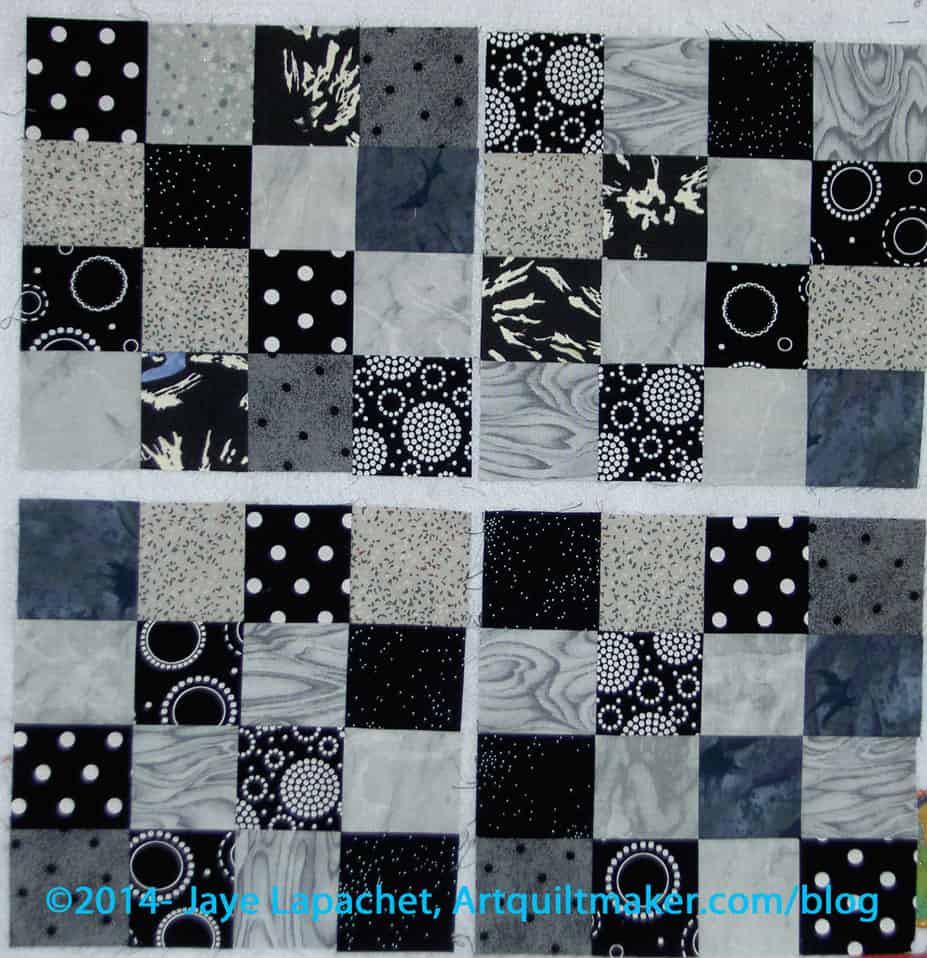
4 More Black/Grey Donation Blocks
Their generosity got me going again and I made eight blocks last weekend in between sewing on the facing to See and sewing triangles on to the Russian Rubix octagons.
I was feeling a little stuck in terms of fabrics. I really want this quilt to be interesting even with the limited ‘color’ palette. I dug into my grey box and got some new greys. I had a few black scraps around, so I cut those up into 2.5″ squares and that made the project a little more interesting.
I have over 20 blocks now and if I had even a few feet of space on one of my design walls, I would put the blocks up to look at them and see how large the quilt could be. I don’t expect or want it to be bed sized, but teenaged boys are large and I want to make sure it will cover most of one.
Last 4 Black/Grey Weekend Blocks
I really would like to get this project into a quilt top as I don’t want it to get to the point where it is dragging me down. I want the project to be filled with positive energy. I guess I just have to do it!
City Sampler No.20City Sampler No.19City Sampler No.18City Sampler No.16
I have been making more blocks; I just haven’t had a chance to post them. I only made it to 21 blocks, though I really tried to make 25 (1/4 of the total blocks) before the last meeting.
At least there is no real consequences for not making my goal except for a little disappointment in not trying just a bit harder.
At the meeting, we each showed the blocks we had made. I brought all of mine, though Patti, also in the small group, has seen a few of them. I have to try and remember not to show the same blocks again.
Patti is doing hers in batiks and I love the look.
Nicki joined us and is doing hers with scrappy fabrics choosing fabrics based on her whim of the moment. What a freeing experience!
I finished the crosses and am now in the rectangles. The small group is a great idea as people have good ideas on construction. I showed one of the rail fence type blocks at the meeting and both Nicki and Patti asked if I had made it using strip sets.
I was kind of shocked at myself that it hadn’t even occurred to me to use strips sets. I am not sure why, but it didn’t even occur to me use strip sets. Now that I am reminded, I will try to keep strip sets in mind.
I was looking for some pink fabric and, once I was finished, I rearranged my fabric bins. Now the aqua and turquoise bin was on the stop of the stack. I have a Leaning Tower of Pisa sized stack of fabric for this piece and yet, there is always the possibility that I will need more.
So, the project continues. How are you doing?
Previous Posts
June 5, 2014 – Various & Sundry #5 June 2014 (brief mention)
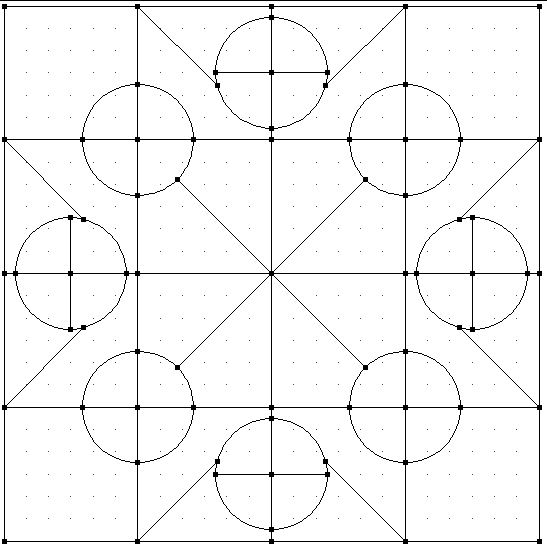
One problem I had with the previous post was that my Blockbase disk stopped working and I had to get a replacement disk before I could show you the templates or the detailed layout of the block.
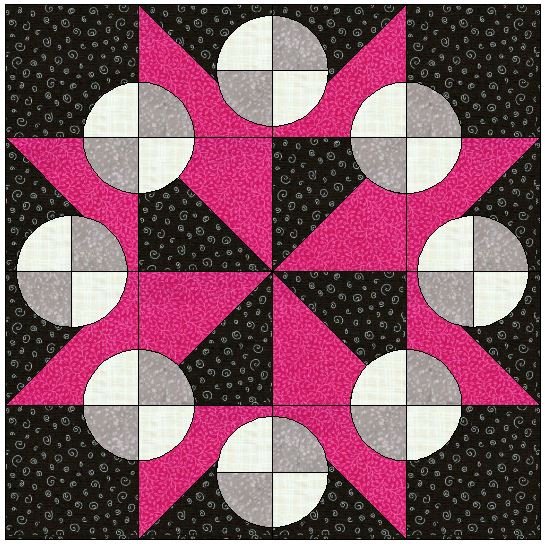
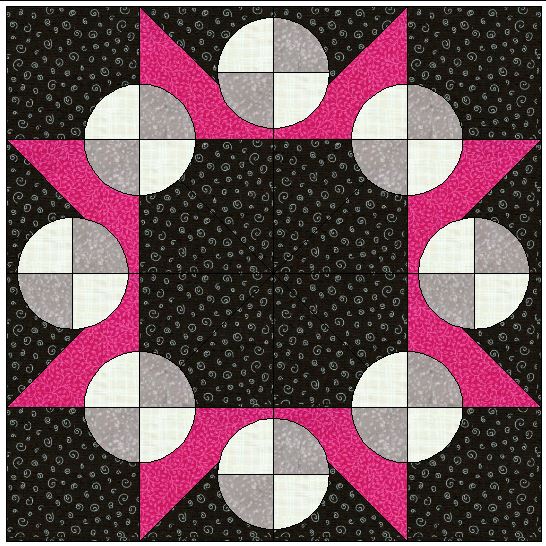
I just received the disk, installed Blockbase and immediately looked up this block. Snowball Wreath was there in all its crazy glory.I am so impressed that Laura Wheeler would have the guts to make a block with such crazy templates. Talk about no fear!
They had used colors in the sample that weren’t to my taste, so I recolored the piece to look like the block I made way back when.
Snowball Wreath Block (drawing)
I saw the block colored, but I also looked at it for a long time in the drawing format. Can you believe those pieces? I am reminded why we don’t see very many quilts with this pattern. Of course, I haven’t see every quilt in the universe, so they could be out there waiting for the perfect time to show themselves so I have another blog post. 😉
Finally, you can see from the second block I colored that there are different ways to get different looks out of the block. I don’t think the second one looks quite as interesting, but it would definitely work if you wanted to fussy cut some fabric then put it in he middle.
I think I am back in the saddle with the Black & Grey donation blocks. I haven’t really worked on the piece since February 8 of this year. I feel bad about that, but I can only do what I can do. I figure that doing something slowly is better than doing nothing.
I have about 15 blocks now and am still thinking of making a teenaged boy donation quilt. It feels dauntingly large, though and I don’t know if I can make all of those blocks. Again, I have run out of a lot of choices of different fabrics, which I know won’t matter in 6 months, but now feels constraining.
I’ll just keep plugging away as best I can and see how it comes out. Kelly offered to help and I am hoping she has made some blocks to add to mine to spice up what I have made.
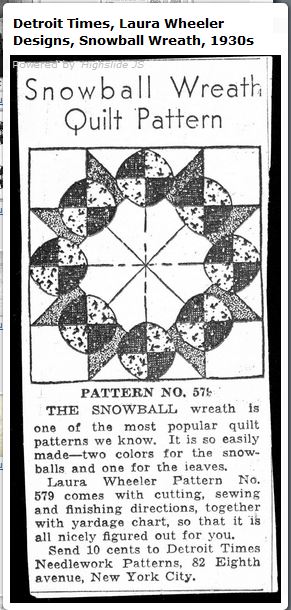
Longtime readers may remember my post about the Snowball Wreath block, a block originally published in the Kansas City Star in the 1930s as a Laura Wheeler design. It is number 1515 in Barbara Brackman’s Encyclopedia of Pieced Quilt Patterns with the name “Snowball Wreath.”
This came up again when Kelly found a newspaper clipping of the block on eBay and let me know about it. Since the block came up again, I did a Google search to see if any quilts had come up with this pattern. Lo and behold, Barbara Brackman had done a post on the block in 2009. I don’t read her blog regularly, though I should, and missed this post.
She talked about photos she had received of a quilt from Alabama. She recognized the block immediately as the Snowball Wreath. If you go to her blog, you can see that the quilt is actually made from blocks of that pattern!
It doesn’t look like the maker actually pieced the quilt from the pattern. It is hard to tell from a photo, but I think the ‘wreath’ part of the block was appliqued on to muslin.
Brackman gives information on getting the pattern and asks people to write in if they try the block or know of a quilt made up in the pattern.
The 2009 post is followed up with a January 2010 post with results of the query. In the post she talks about Vivian making the block and the changes she made to the pattern to make it pieceable.
I also found a reference to it in the Quilt Index. You can see a lot of the old newspaper patterns in the Quilt Index as well as examples of quilts and blocks. It is a worthy cause to which to donate.
ScrapHappy, who writes the soscrappy blog also tried the Snowball Wreath pattern and posted about it on her blog. she made it in miniature using paper piecing. This appears to be from some kind of BOM or group project from a shop called Sentimental Stitches. I came across a PDF with a pattern in my Google travels.
Flourishing Palms made a version of the block in 2011, though it is slightly different than the original. She calls the fabrics ugly, though I don’t think they are ugly. Again, to each his own. The interesting thing is that she wasn’t aware of my post or Barbara Brackman’s. She just flipped to it in Barbara Brackman’s Encyclopedia of Pieced Quilt Patterns book. Odd and interesting!
Helen, from the Being, Nothingness and 1000 Quilt Blocks blog, wrote in another blog post, also from 2011, the block is shown with a bunch of others after a discussion of Existentialism! the goal of this blog was to create 1,000 quilt blocks and read 600 pages of Satre in one year. I don’t think she made her deadline, but she is still plugging away on both. It is interesting to read the Satre bits and then look at quilt blocks. The first post of the blog describes the project a bit and, on the Gallery page, she writes “… in my quest to complete all the quilt blocks in Maggi McCormick Gordon’s 1000 Great Quilt Blocks.” I want to do this kind of project some time. The Tula Pink City Sampler could be a warm-up for a larger project. Barbara Brackman’s book or Jinny Beyer’s book? Either would be a retirement project.
I have to say that this block still fascinates me and I might try another version.
I am having a hard time getting into the sewing groove. I am pretty sure it has to do with my ‘depression’ over my sewing machine. All the travel I have been doing gets me out of the groove as well. I know that you don’t notice the travel, because I continue to post, but I have been out of town all but 17 days since May 23.
In order to get into the sewing groove again, I decided to work on the City Sampler/Tale of Two Cities block challenge. I spent almost the entire day last Thursday sewing. I don’t feel like I accomplished much, but I keep reminding myself that it is about the process and not the product.
Before I started working on this most recent batch of City Sampler/Tale of Two Cities blocks, I was thinking that this project was fulfilling a goal in my quiltmaking adventure: to make all the blocks in a block dictionary. I never picked out a block dictionary to work from, but always thought I would do the blocks in Around the Block. I didn’t even realize that I had started to work my way through a block dictionary until recently. I guess I wasn’t paying attention. 😉
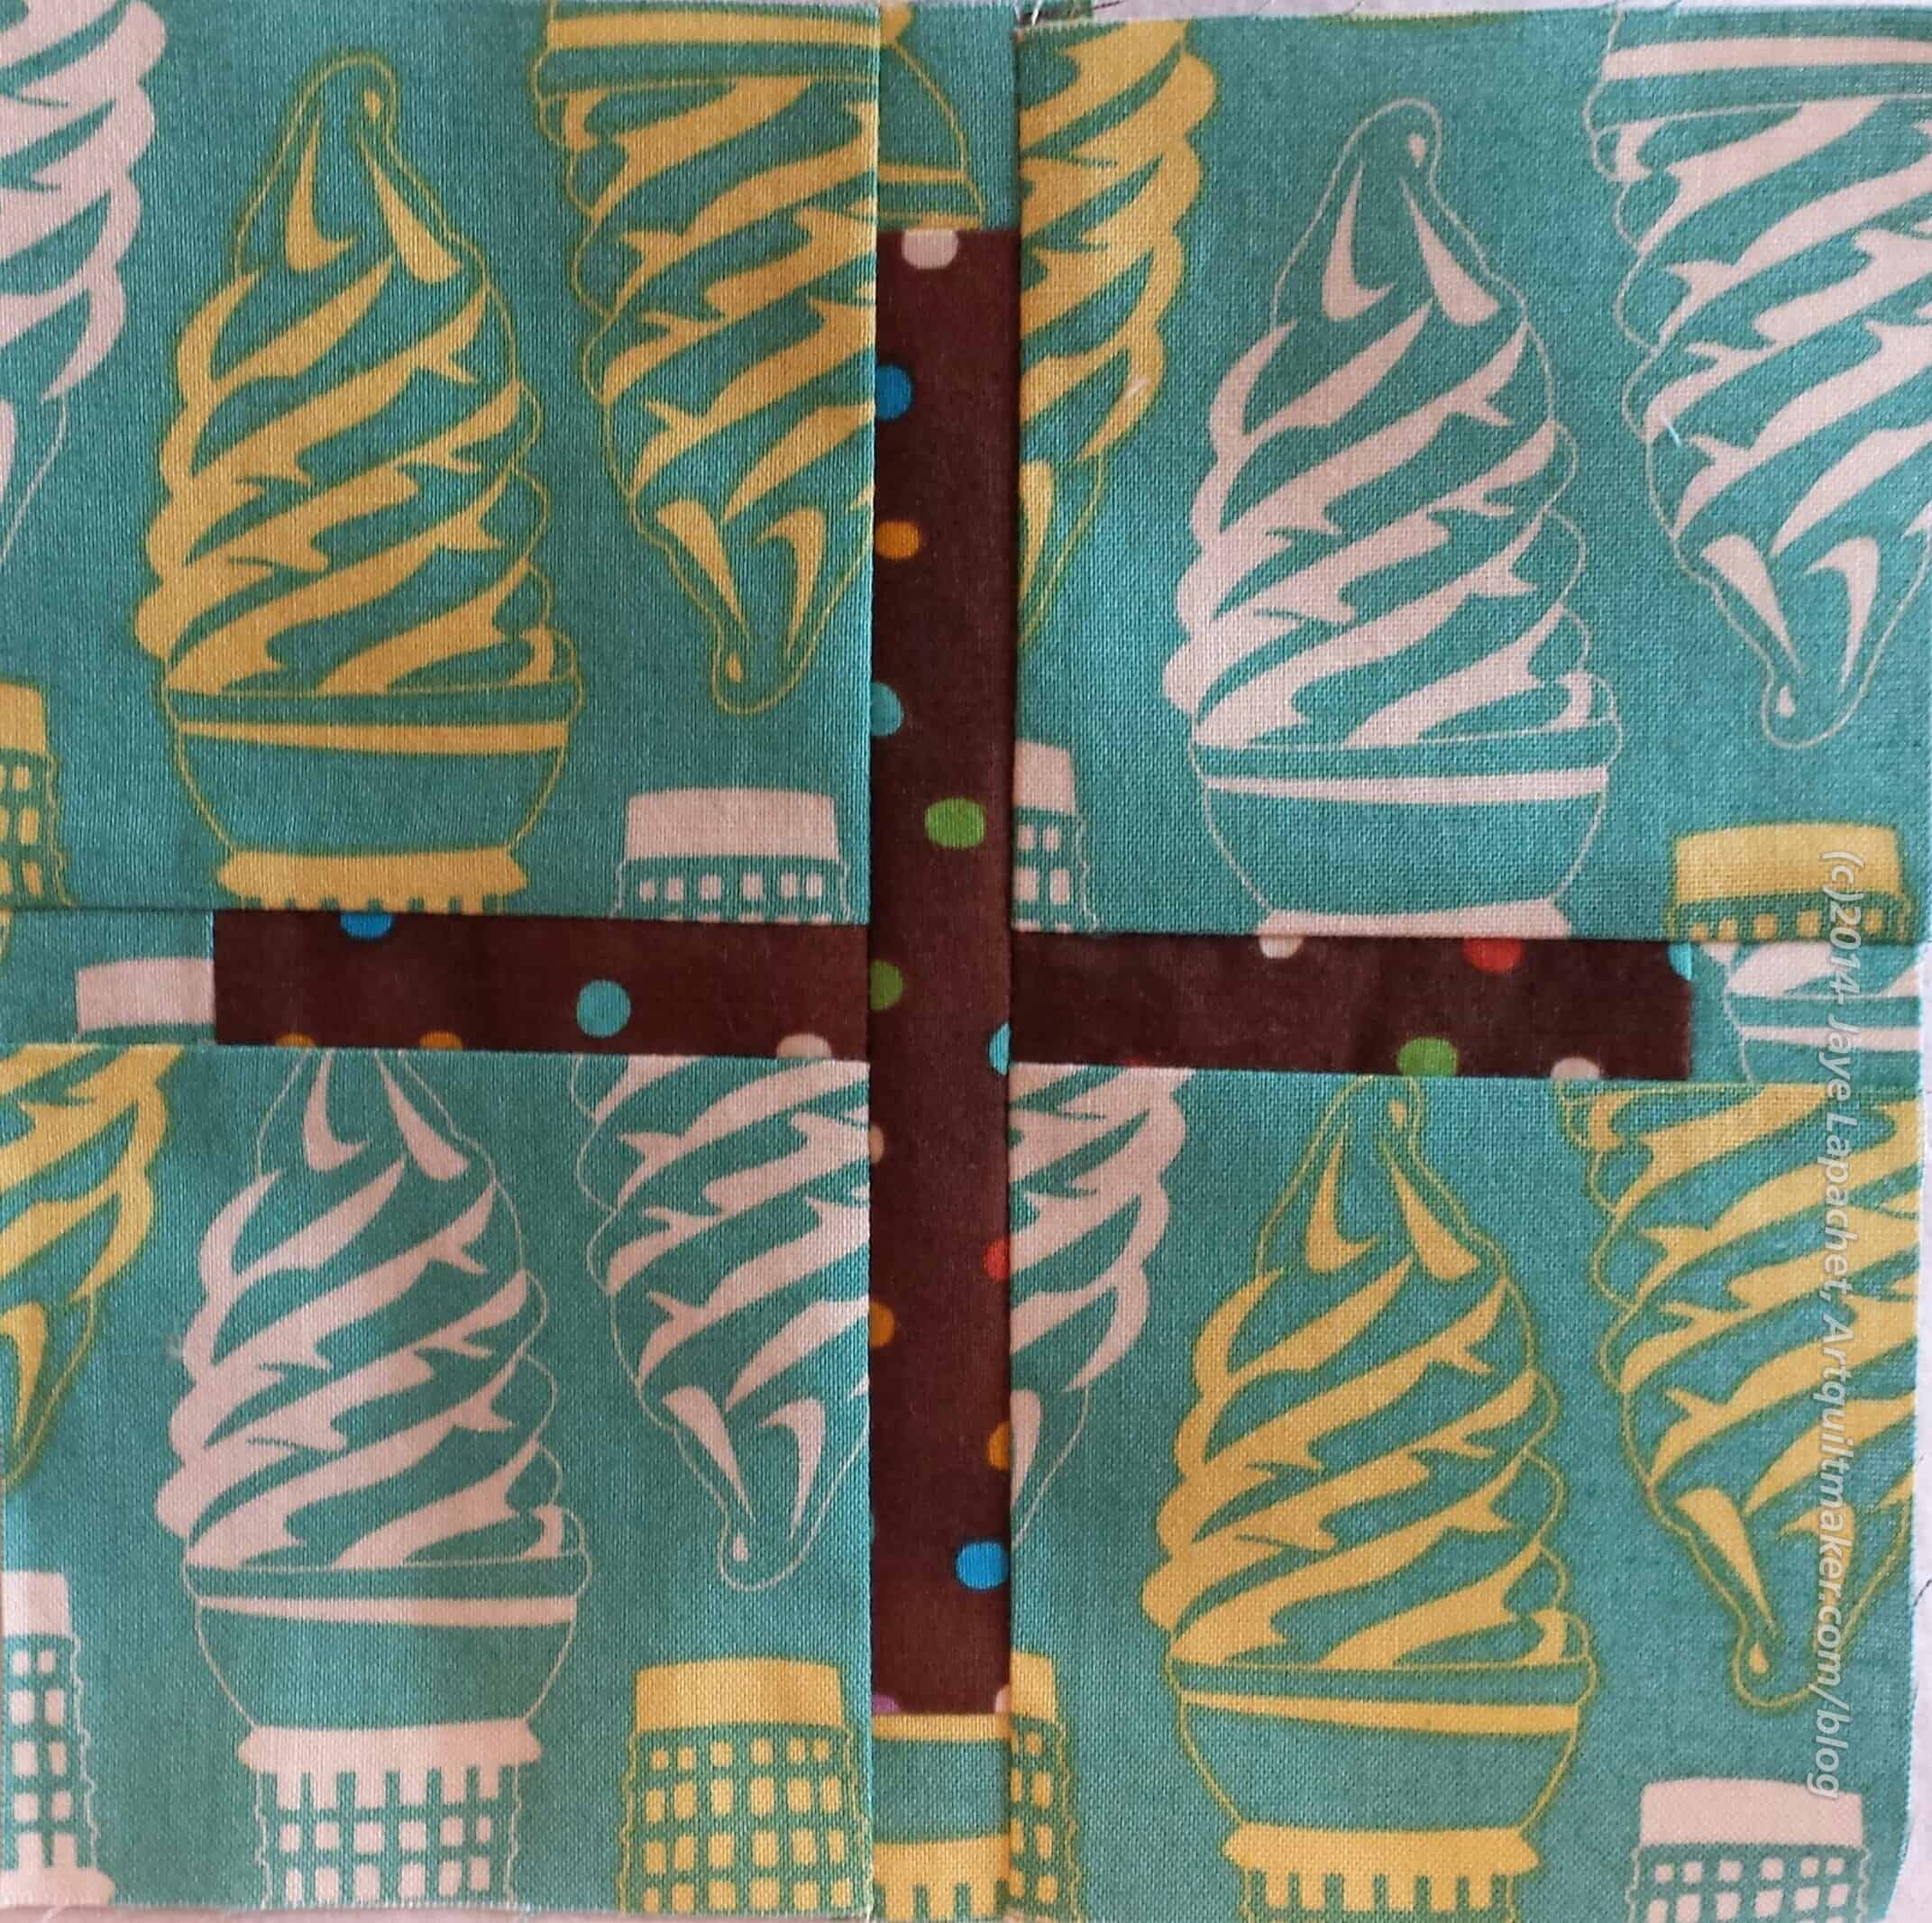
City Sampler no.11
I decided I’d like to make up to no.20 before the next BAMQG meeting. I had made 10 before I started on Thursday. My goal would have meant making 10 more blocks. The first block I made was, obviously, no.11. I am trying to go in order to keep everything straight, though I do veer off sometimes
I am not sure if I like this block. I love the fabrics, but the ice cream cones might be a bit much.
Also, the brown is still a problem for me. This is a similar, but different brown than the brown I used in the City Sampler block no.5. The dots are smaller and I was hoping that would help. I am thinking that the brown part of the background fabric will have to stand on its own in this quilt. I don’t think I will use anymore brown. I don’t know that I will remake the blocks I have made with brown, but we will see.
City Sampler no.12
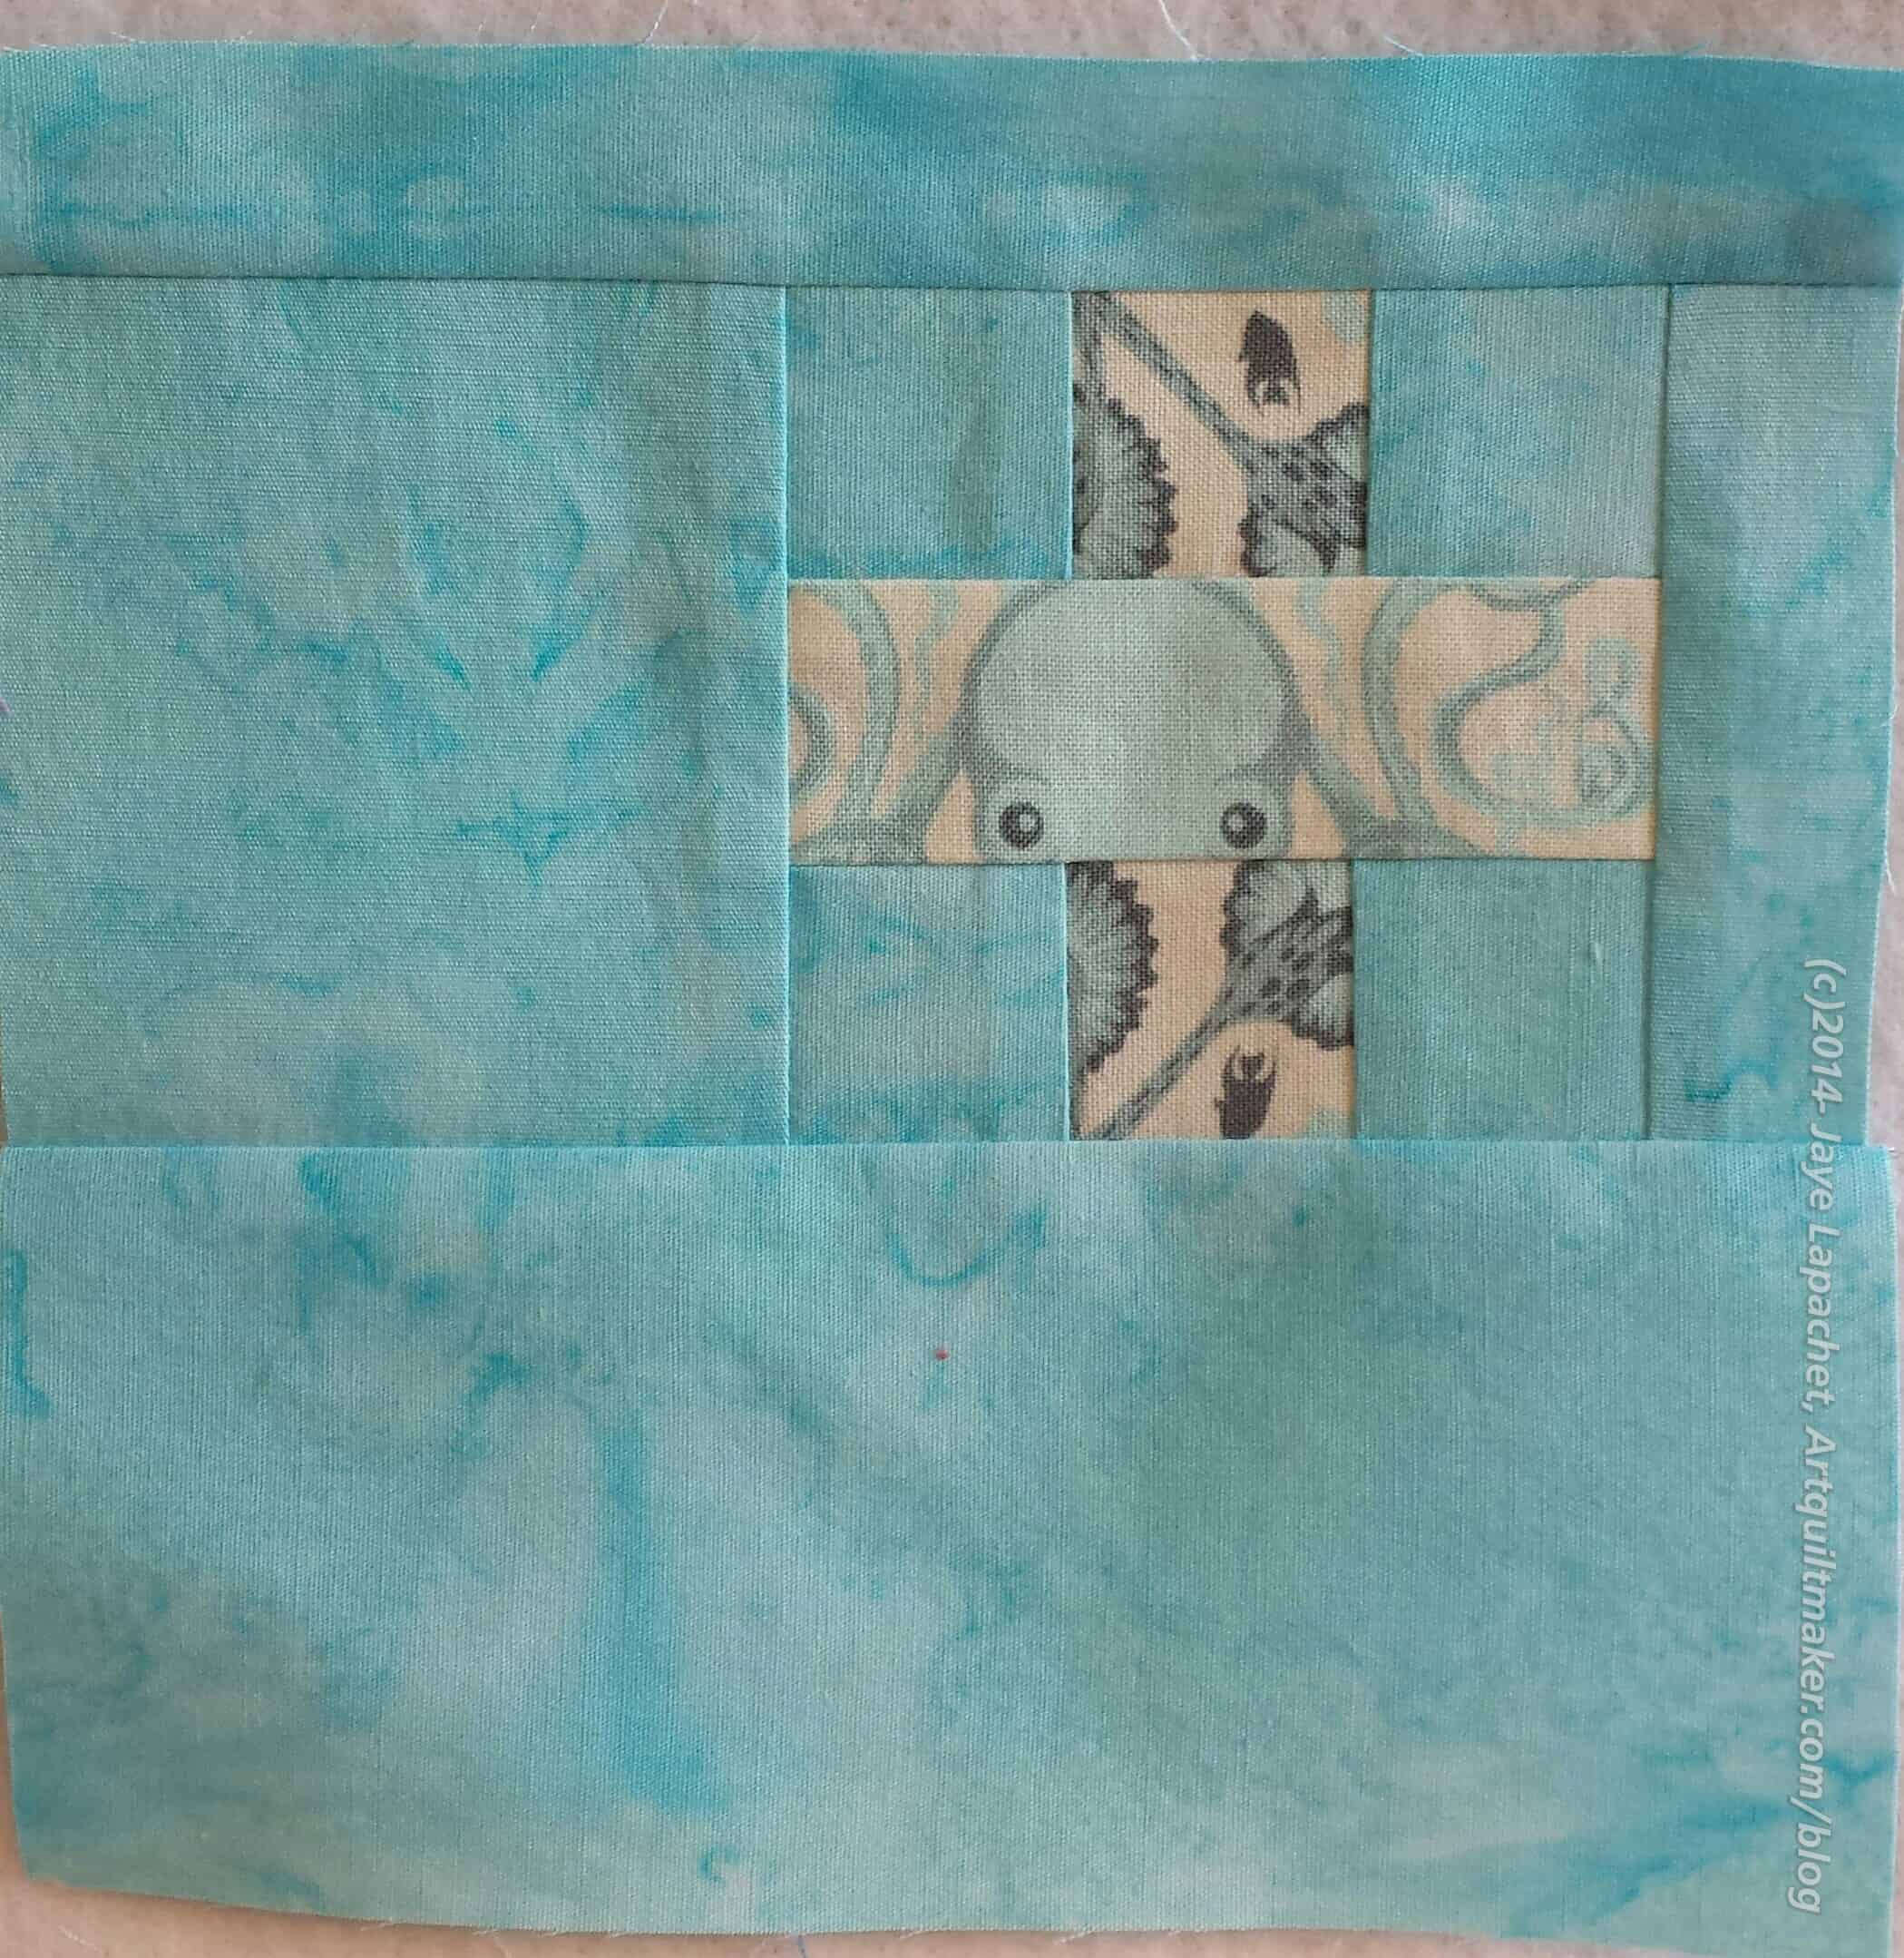
Next up was no.12. I used the octopus fabric again. It is really fun fabric, but I don’t think it is working in this quilt. I actually forgot that I cut the plus pieces and imagined using the background fabric for the plus pieces. When I found I already cut the pieces from the octopus fabric, I put the block together. Then I decided to make it again with the background fabric and see which one I liked better.
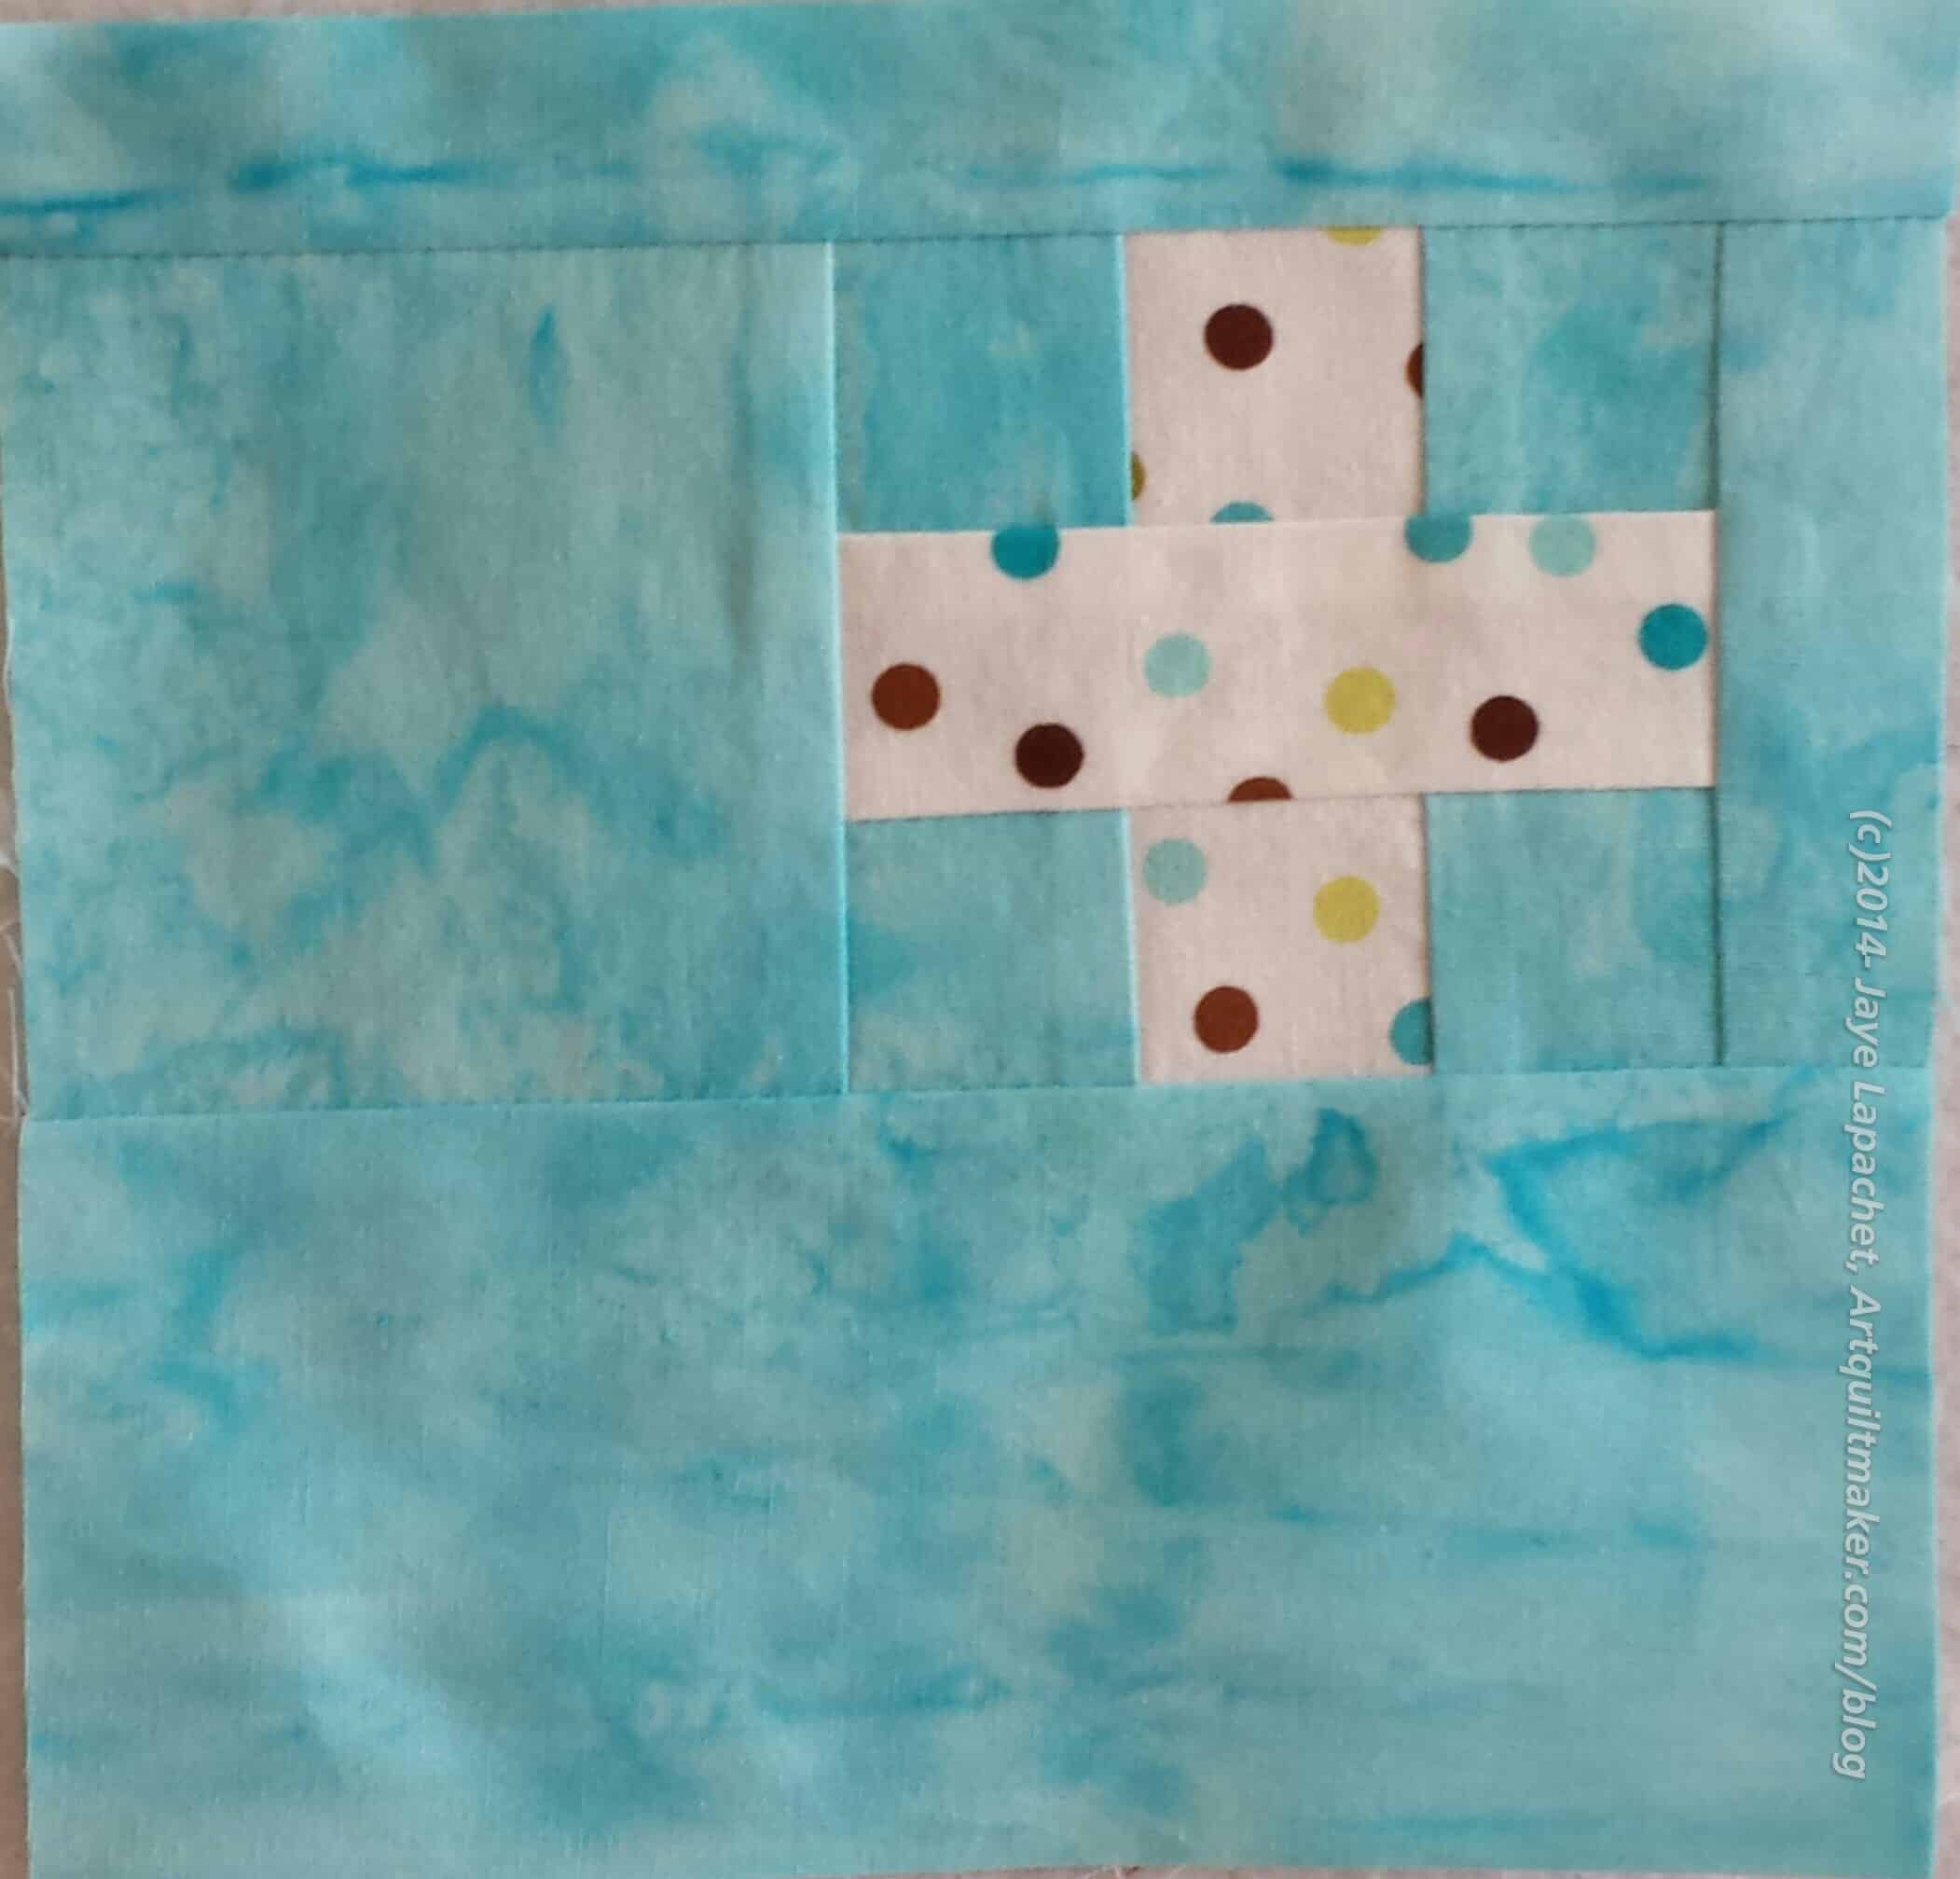
City Sampler no.12 (#2)
I definitely like the one with the background fabric (Remix by Ann Kelle for Robert Kaufman). The background fabric works in this block, because it is surrounded completely with other fabrics, thus the fabric in the plus will not run into the background fabric, should I decide to surround the blocks with sashing or something.
Making sure that the background I use in the blocks doesn’t bleed into the sashing or border is a design choice. I don’t mind using the background fabric in the blocks since I really like it, but I want the blocks to be crisp and distinct. You might make a different choice as you work through design choices in your work. You can create a great effect by allowing one fabric to bleed into another, so don’t be afraid to try it.
City Sampler no.13
One member of our guild made a few of hte plus blocks and then skipped to the rectangles. She considered the pluses crosses and the motifs bugged her. I thought about this while I was sewing the blocks and I have to say that I didn’t think of them as crosses. I began thinking of them as pluses and continue to do so.
Whether you think of these blocks as crosses or pluses, I think there are enough blocks to remove a few from the running, as you prepare to put the blocks together into a top, to create a look that you really like.
No.13 looks odd to me – off balance or something. I realized that the outside still has a seam allowance so the pluses don’t looked balanced at the moment, but will once I put all the blocks together.
I briefly thought of posting new blocks on a weekly schedule like the Block-a-Long and the Creative Prompt. I don’t think I am quite that organized. We’ll see. For now I’ll just write posts as I sew the blocks.
This is a fun project and it is getting me to sew. I feel a small sense of accomplishment as well. All I have to say is that Friend Julie better be working on her blocks!
Previous Posts
June 5, 2014 – Various & Sundry #5 June 2014 (brief mention)
I started a couple of these blocks at the BAMQG Retreat in hopes of adding to the giant pile, but I just couldn’t get them done. I was using a non-quarter inch foot for the Petrillo Bag and that foot doesn’t work when I need a quarter inch seam.
I had a couple of extra kits at home and a set of 2.5′ squares (green batik, middle of top row), so I ran them through the sewing machine one afternoon and suddenly had 6 donation squares. I’ll bring them to the next meeting.
I have also been working on the grey and black donation quilt. We are getting into our foggy time of year and I may not be able to work on it much longer as it is too depressing. Not good for a donation quilt. I have a lot of squares cut, but enough blocks for a baby quilt. I was just kind of hoping to make a teenage boy sized top as the colors would be better for a teenaged boy. I will keep running the squares through the machine and see what happens.
I had these two blocks mostly cut out before I went to Grand Parlor, but didn’t get around to sewing them until last weekend when, after finally getting my sewing mojo back, I worked hard at avoiding the Petrillo Bag.
These are the next two in the crosses section (Blocks 1-15 of the City Sampler Project). No.9 doesn’t much look like a cross, but No.9 makes me think of a Maltese Cross.
I, unintentionally, used pretty subtle fabrics in No.9. It will be one of the blocks that gives the viewer a reward if s/he comes closer.
I like the way No.8 looks on point and wonder what kind of secondary design the block would make if I made a lot of them and set them right next to each other? Of course, it depends on the fabric. I imagine NOT putting background fabrics in the corner would be key, but I really can imagine how it would look.
Tale of Two Cities, No.10
I usually cut out the fabrics in sets of two, but my design wall was crammed with Russian Rubix blocks, so I did No.10 as a single.
It is also subtle and I had to take the photo a couple of times to make sure I got the piecing. the center is Art Gallery fabric and I just love the feel and the color.
Last week, I got a bug in my ear to look at all of my Sampler blocks. I hadn’t done it in awhile and, frankly, I had forgotten where we were with the class.
As soon as I finished the top and back of the Super Secret #4 project, I got it off the design wall and put up the blocks.
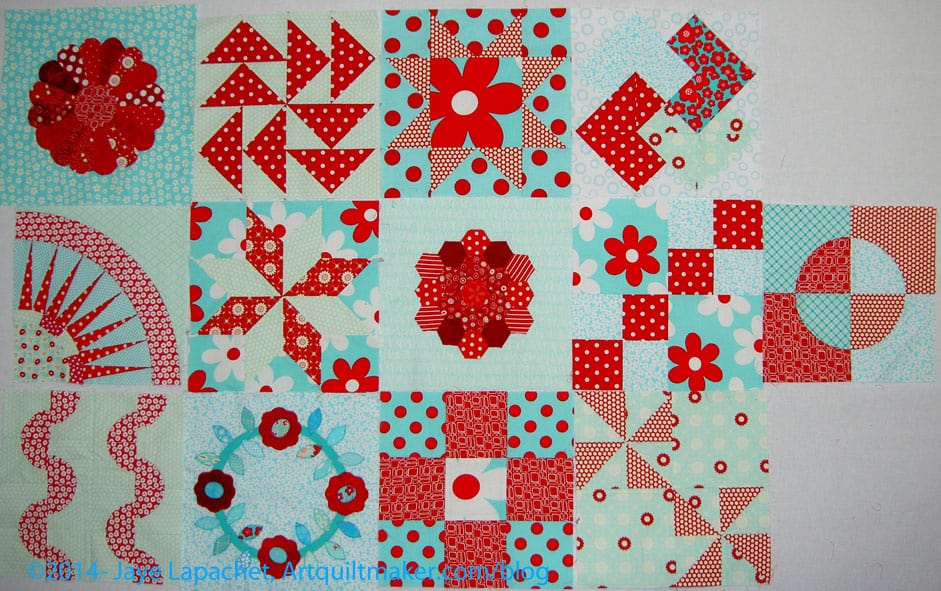
Aqua/Red Sampler Blocks
I had totally forgotten the Double 4 Patch, the Card Trick and the Dutchman’s Puzzle. I had also forgotten what a good job I did using the large Patty Young flowers in these blocks.
I also noticed how some of the backgrounds are very bold and others are more subtle. I think the piece hangs together well despite the differences. I am not sure what block to do next, but I need at least 2 more and could work with more.
The basket block is clearly missing. That block teaches combining piecing and applique’. If I did a different one, such as the Tea Basket block that would be an interesting addition that I haven’t done AND be challenging.
Other than a basket block I can’t think of what skills I haven’t worked on with Frances. I don’t think an art quilt block would work with this piece and I am not sure what something like the Spiderweb would buy. I could do a block with some weird shapes like trapezoids.
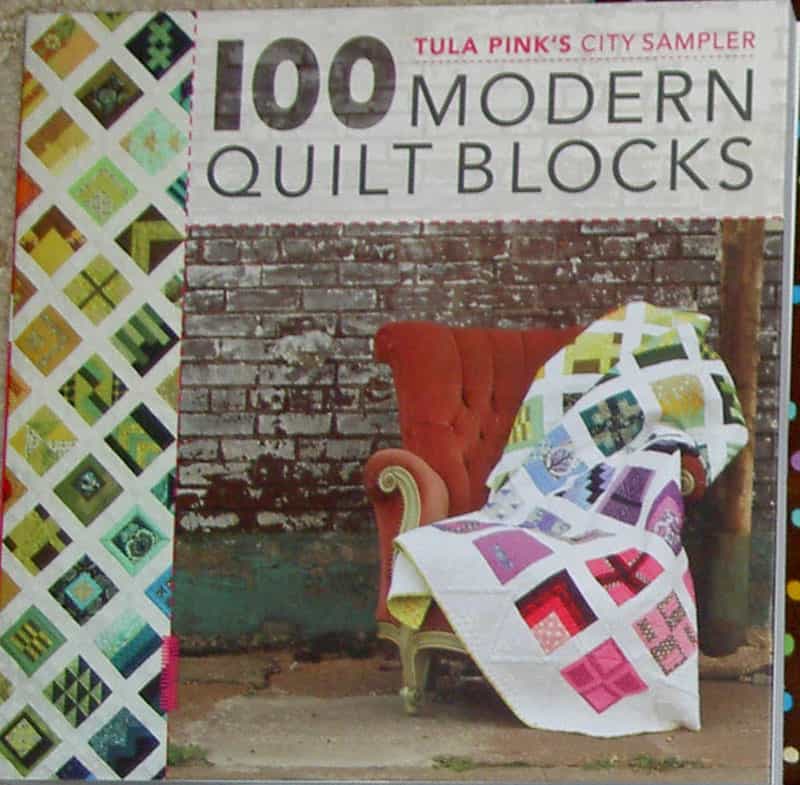
City Sampler by Tula Pink is block book that was written/designed in 2013. The project has been all over Twitter, Instagram, Flickr and other social media outlets as quiltmakers make the blocks, the quilts and share them. BAMQG has just started a project using this book in one of the small groups. So far, I have only seen a few blocks and some members seemed to imply Instagram would be better for sharing than Flickr. I am not a huge user of Instagram and don’t find the way the app crops photos to be appealing, but whatever. My view is probably the old fart quiltmaker view.
Julie got the book for me, as I mentioned, and we agreed to do the project as a way of doing something together while she is in China. One of us thought of the name Tale of Two Cities and I decided to be inspired by the colors of winter here. I haven’t selected all of the fabrics, but there are a lot of blues and greens and they are very clear.
I have been feeling bad that I haven’t done the blocks until now. I finally got busy and I knew that once I started, I wouldn’t be able to stop.
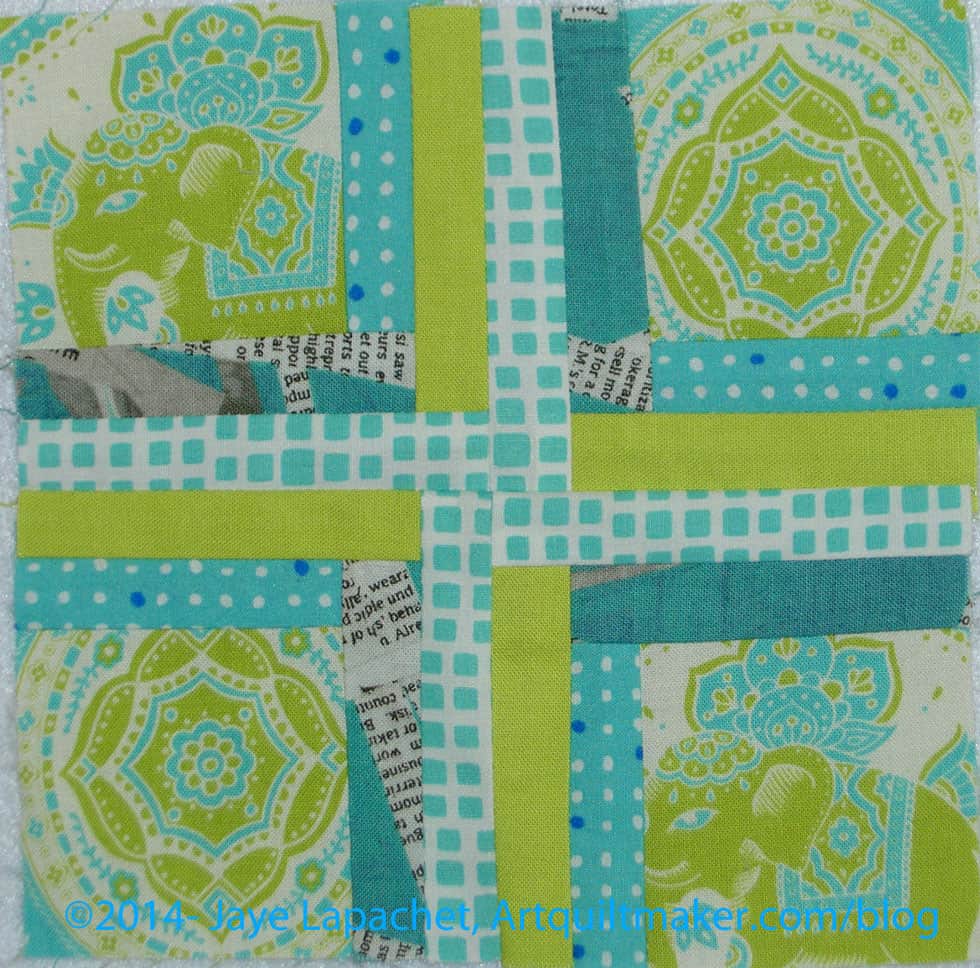
City Sampler block No.1
The first group of blocks shown in the book are crosses. These are, or feel like, log cabin blocks. I admire log cabin quilts and the variety of layouts possible with the log cabin block style. That being said, I don’t like making log cabin blocks. The strips make me crazy. I don’t know why. Strips are fine, but somehow sewing these types of blocks makes me crazy.
City Sampler block No.2
The group of cross blocks are part of the City Sampler, which is a group of 100 blocks. I said I was going to participate in the project, so I am making the cross blocks. There are 15 of them and not all have a log cabin-y feel when I sew them, so I can suck up the ones I don’t like making. After making 5 of the blocks, I found that they go together quickly.
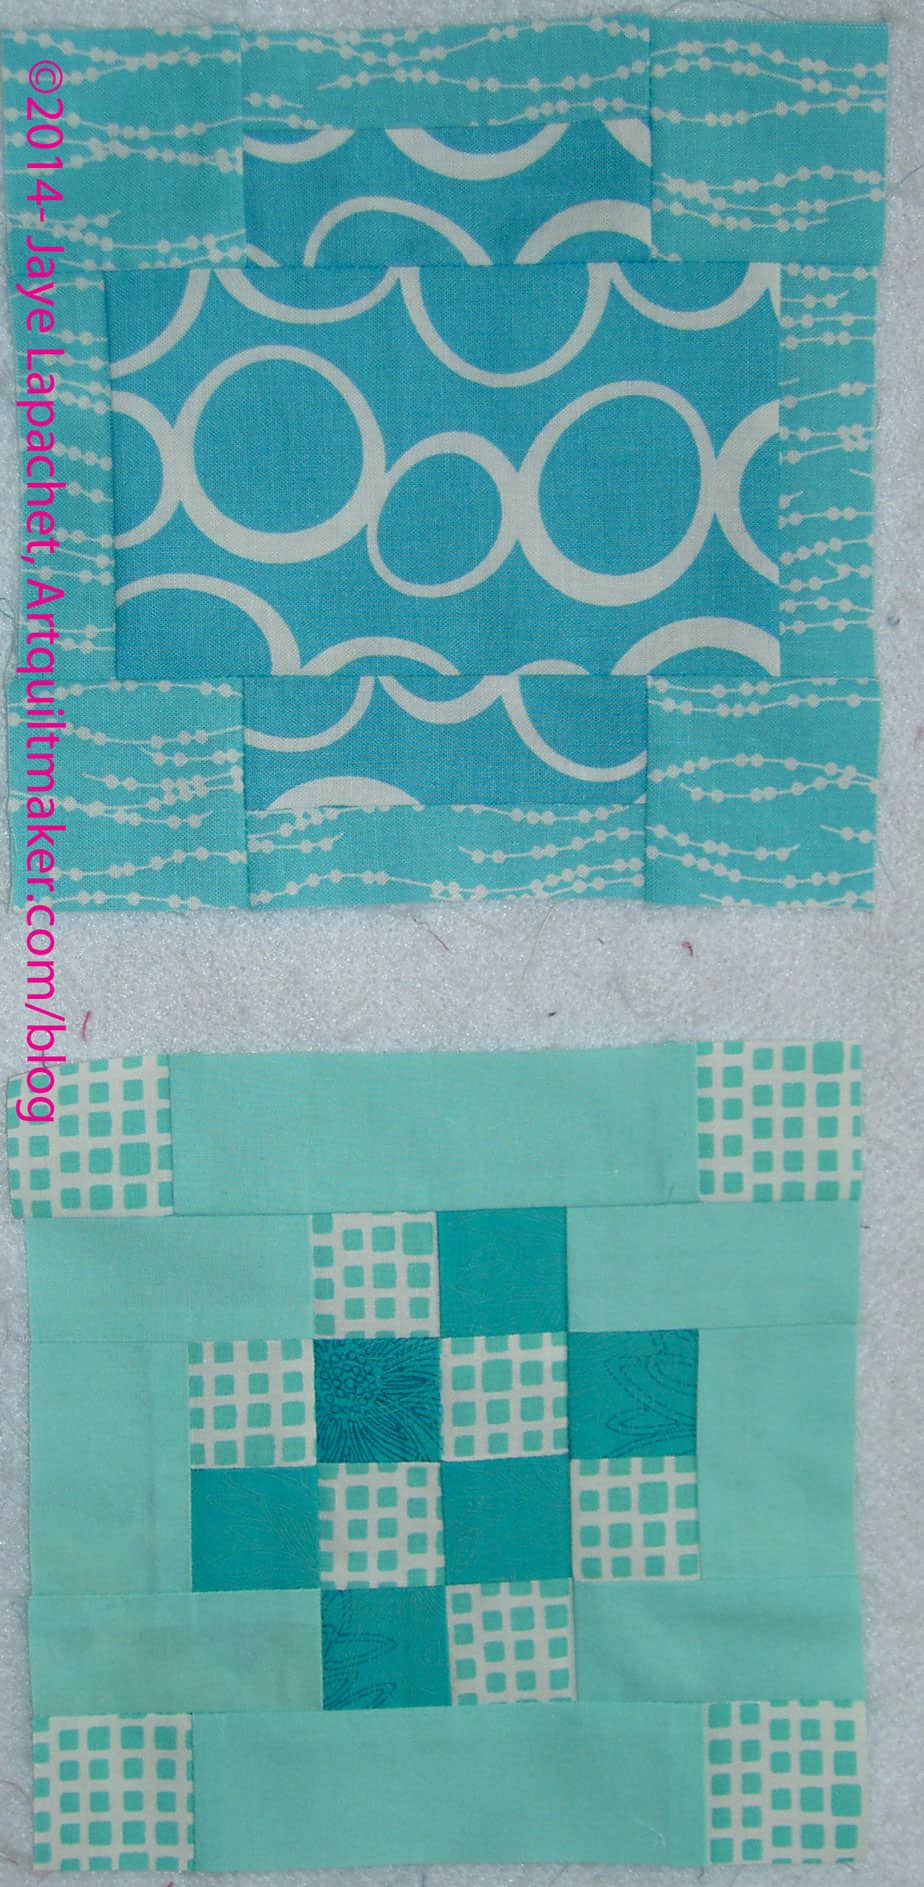
No.2 (all the blocks are numbered and there is a spot where you can fill in the name) looks the most like a log cabin. I took the opportunity to fussy cut some motifs from one of the prints. This will provide a surprise for those who decide to look closer at the quilt. This is the one that set my nerves on edge, because of the small pieces. The others, so far, have had larger pieces.
All of the blocks are 6″, which contributes to the small size of the pieces. When I say “larger pieces” I mean that the pieces are relatively larger.
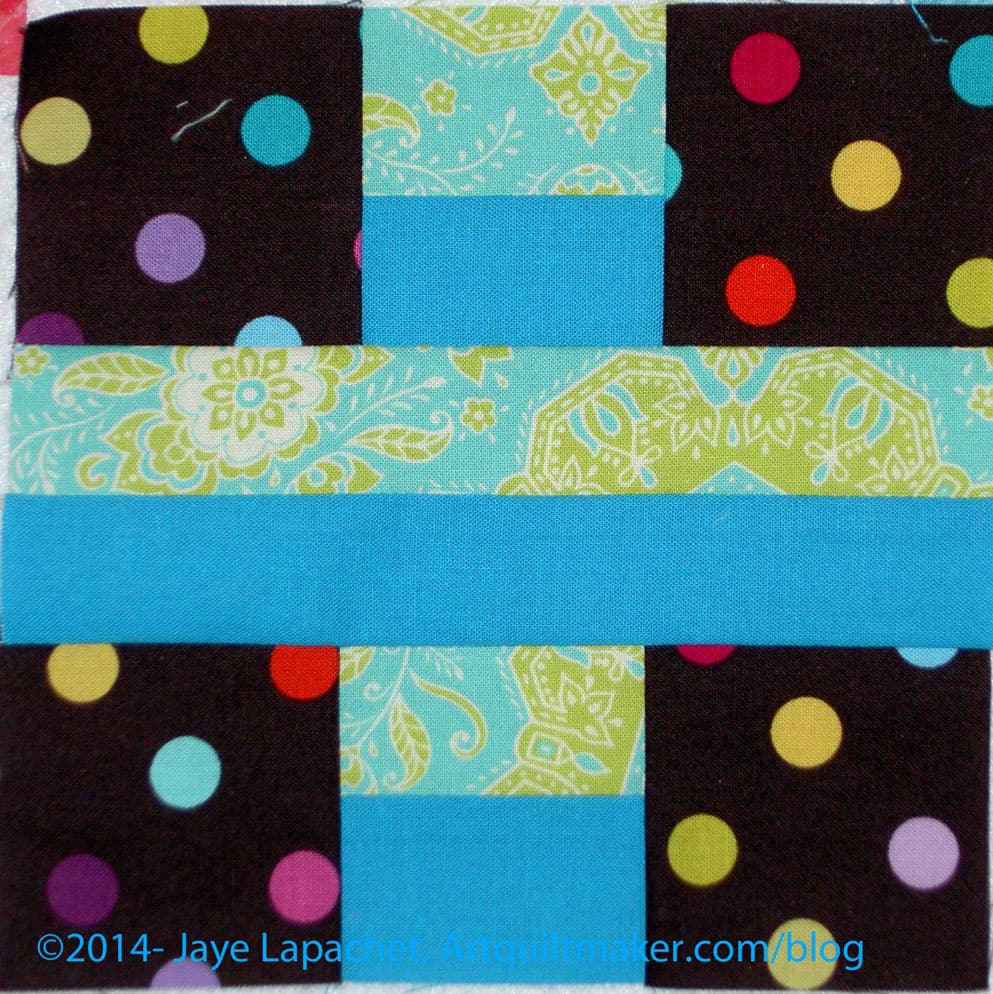
City Sampler block No.5
I don’t know if these are all original blocks. I haven’t taken the time to look through The Quilter’s Album of Patchwork Patterns (have you bought yours yet??) or the Encyclopedia of Pieced Quilt Patterns (or the BlockBase equivalent). I might at some point.
I know I added 3 browns to my original group of fabrics. I used the brown dot in No.5 and the corners might be too much brown. It is hard to tell with only a few blocks, but I can always make this block over if the corners look like big holes in the middle of the quilt. After making this block, I decided I would use the brown in less prominent areas of the quilt and for smaller pieces.
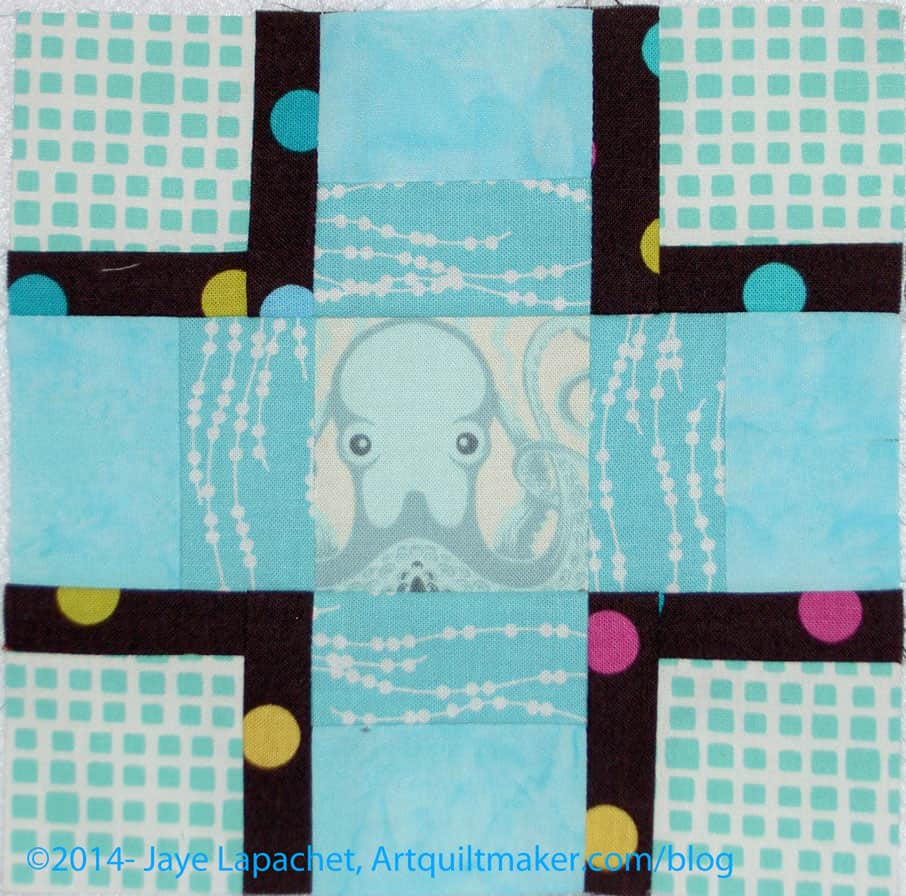
City Sampler block No.4
I used this idea for block No.4.
I cut very small brown pieces to see how the idea would work. This block has all new fabrics except for the brown. I used the brown in small pieces, as I said. I want to use it as an anchor to relate No.4 to the other blocks. The blues are subtle.
A word about the octopus. Tula Pink put out that octopus print as part of the Salt Water line. I thought the print was amusing, so I bought a fat quarter. I am going to sprinkle it into the quilt, but I am not planning on making this a Tula Pink quilt. If I had to assign this quilt a theme it would be either blue or calm.
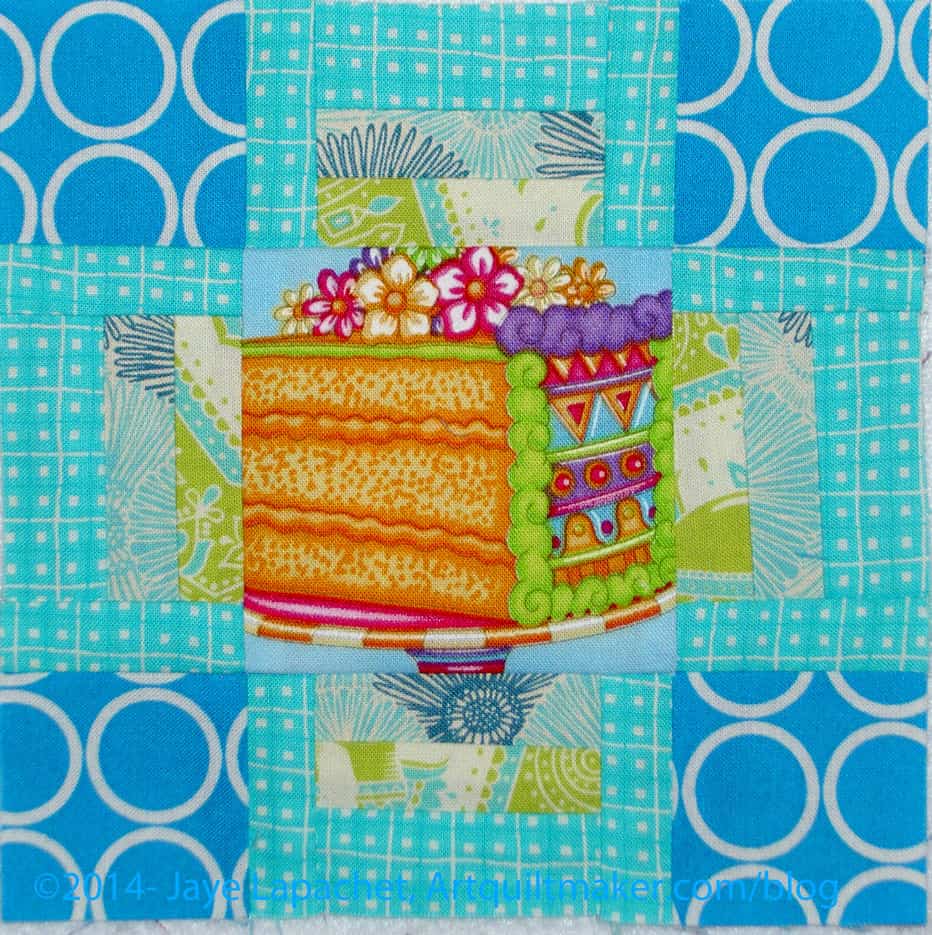
City Sampler block No.3
Block No.3 is another one where I could use fussy cutting. I skipped it initially as I was waiting for the Thomas Knauer Asbury fabrics to arrive and be washed. Instead of going through with that plan, I pulled some fabrics out of my scrap bin and used those.
I am not sure I like this block with the others, but I am reserving judgment until I get more blocks and see if they fit my theme and how they look with the other blocks.
I think I will use a lot of fabrics in this quilt, so I am trying to use as many fabrics as I want, but also trying to use them in multiple blocks so that there is some continuity.
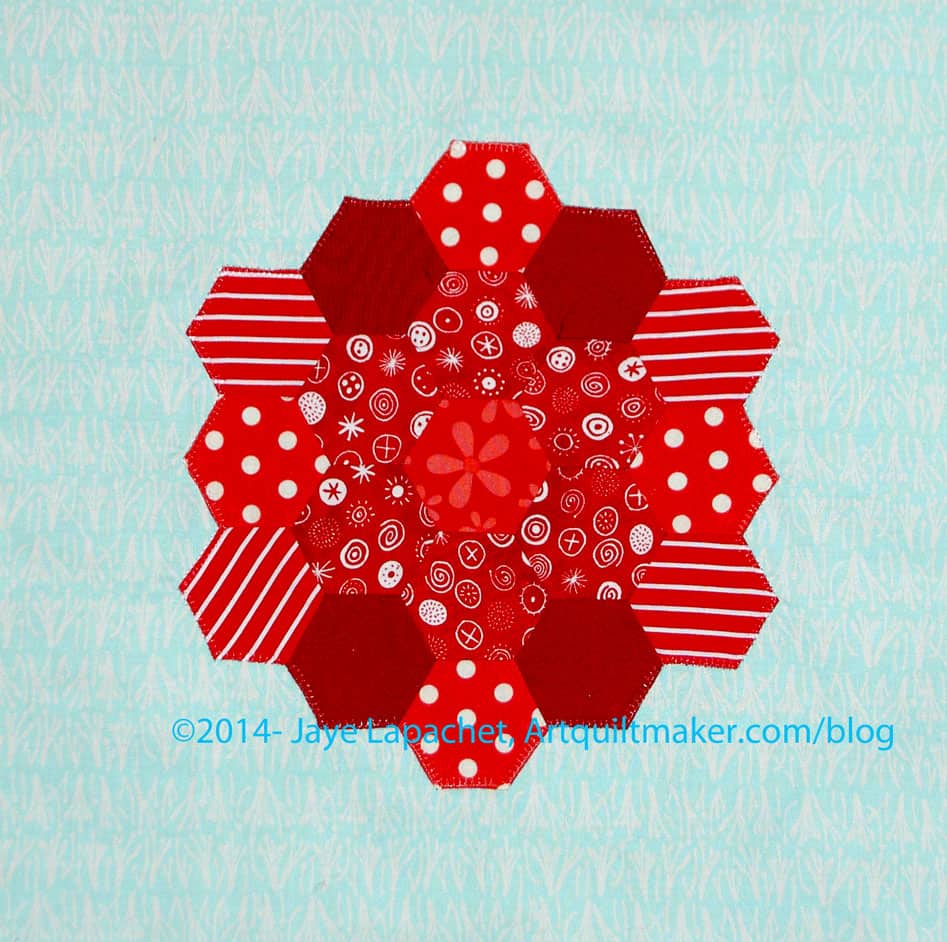
Tomorrow I will talk about how to make a hexagon block. I realized that I haven’t been talking about the actual blocks that *I* make for the sampler more than what is in the tutorial. I decided I wanted to talk about it a little bit.
As with the other blocks, the reasons I have my students make this block are:
More practice on Y seams
Hexagon quilts are popular and my students may want to make one one day
More practice with color is always good
More practice with pattern is always good.
You may think that Y seams are tedious PITA that aren’t worth it, but becoming comfortable with Y seams has truly expanded my repertoire of techniques. I can make so many more blocks knowing how to complete Y seams.
I never thought I would make a whole hexagon quilt, but I did. I was even shocked. I don’t think I will make another, but you never know. I also watch TFQ make one with a similar sized hexagons to the hexagons in the block above.
Since my sampler quilt is basically a two color quilt, I need to create contrast within that palette for each block. With all of those Y seams, you can bet that I do NOT want you, as the viewer, to see a big blob. I want you to see every single Y seam. 😉 While I am comfortable with Y seams, they are still a technique worthy of celebration and the choices of fabric that I made reflect that.
The result of using only two colors is that my color choices have already been selected. For the foreground, I am working hard to stay in the bright red arena – like scarlet. No blood red or rust red. As a result, I had mostly pattern with which to work . Using the different patterns of the fabric draws the viewer’s attention around the block.
For the background, I am trying to stay in the aqua arena. Some of my blocks have red in the background, but for continuity’s sake, none of the blocks have a completely red background and most have more aqua than red.
In the past I have hand appliqued the piece of hexagons to the background, but I was impatient this time. I machine appliqued it using Aurifil invisible thread. I didn’t scream through it, I sewed slowly and the blocks is pretty flat. I am pleased.
This project has been on my mind since December when Friend Julie suggested it. I am finally making a wobbly start. The start is that I have started to choose the colors.
Julie bought me the book as a gift and after some discussions with her, I decided I would be inspired by the city around me. This, in my mind, fits into the ‘City Sampler” theme that Tula Pink encourages also.
In the winter, the sky is very blue here and, though cold, I enjoy the strong light and clear colors. It should be no surprise that turquoise factors into my choices. I just can’t help myself.
Another appeal of this project is the block element. I miss making blocks on a regular basis like I did for the A-B-C Challenge and the Star Sampler. This project will help me satisfy that craving and, hopefully, will not annoy me.
Finally, shortly after Julie and I talked about the project, Kelly brought it up as a BAMQG small group project. This means I can have fun with Julie and participate more in BAMQG.
I was having trouble getting started. I have been distracted by life and picking a few fabrics (I am sure I will need more) really helps me to get the process out of my head and started.