Recently Daisy asked for some of us Twilters to donate some pastel/springy Scrapitude blocks. It was intended for one of our Twilter/podcast pals who is going through a tough time.
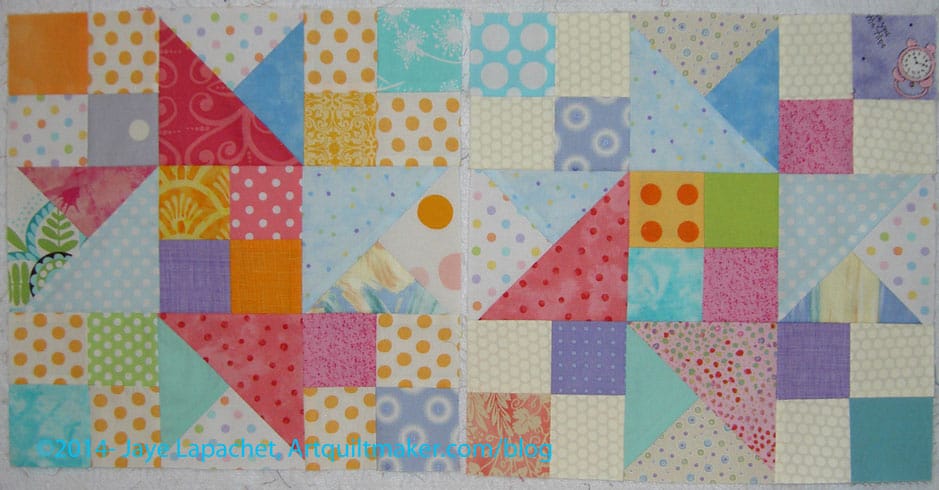
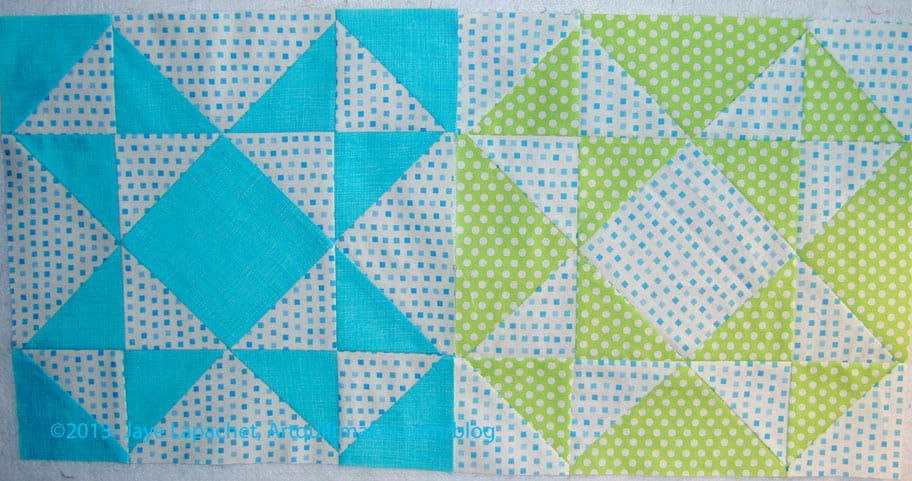
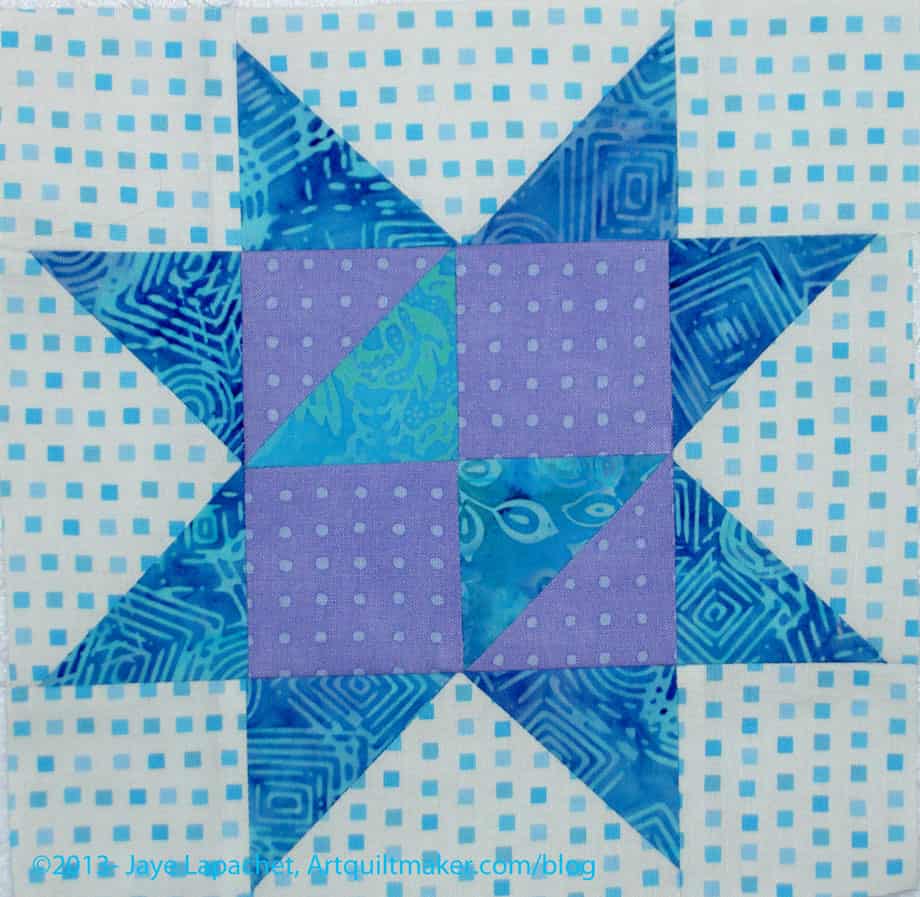
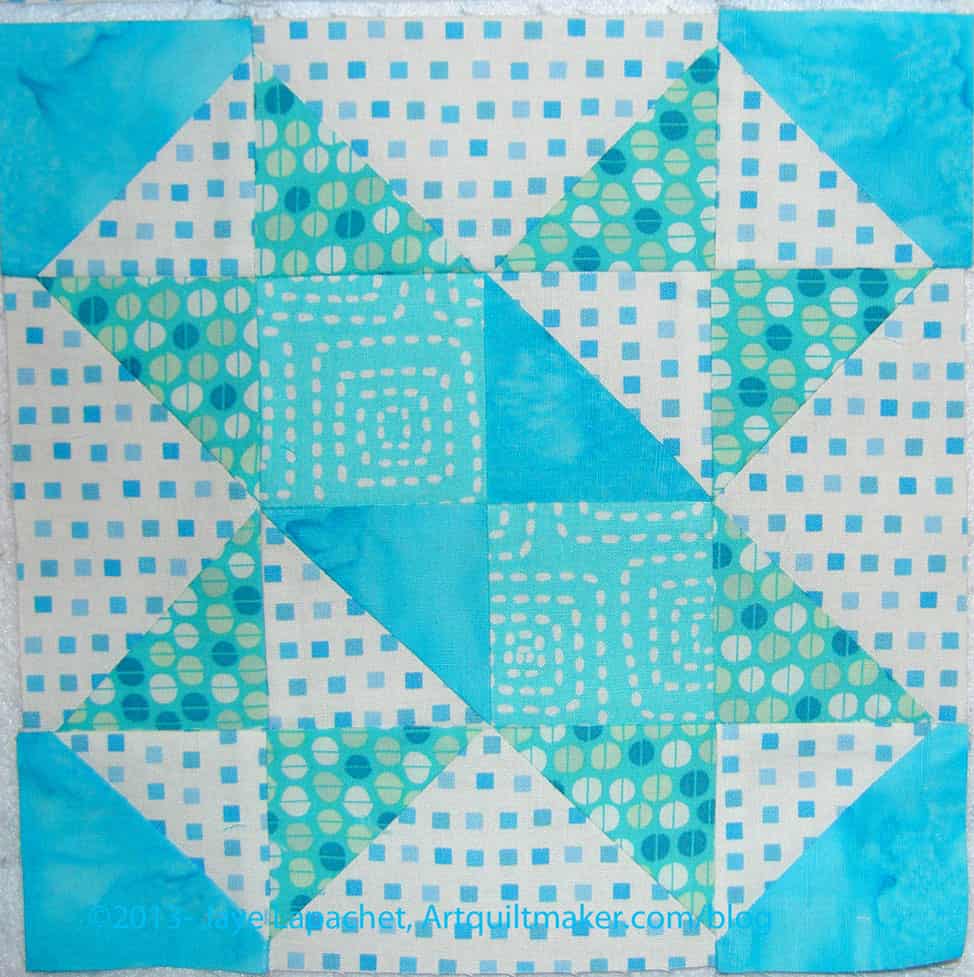
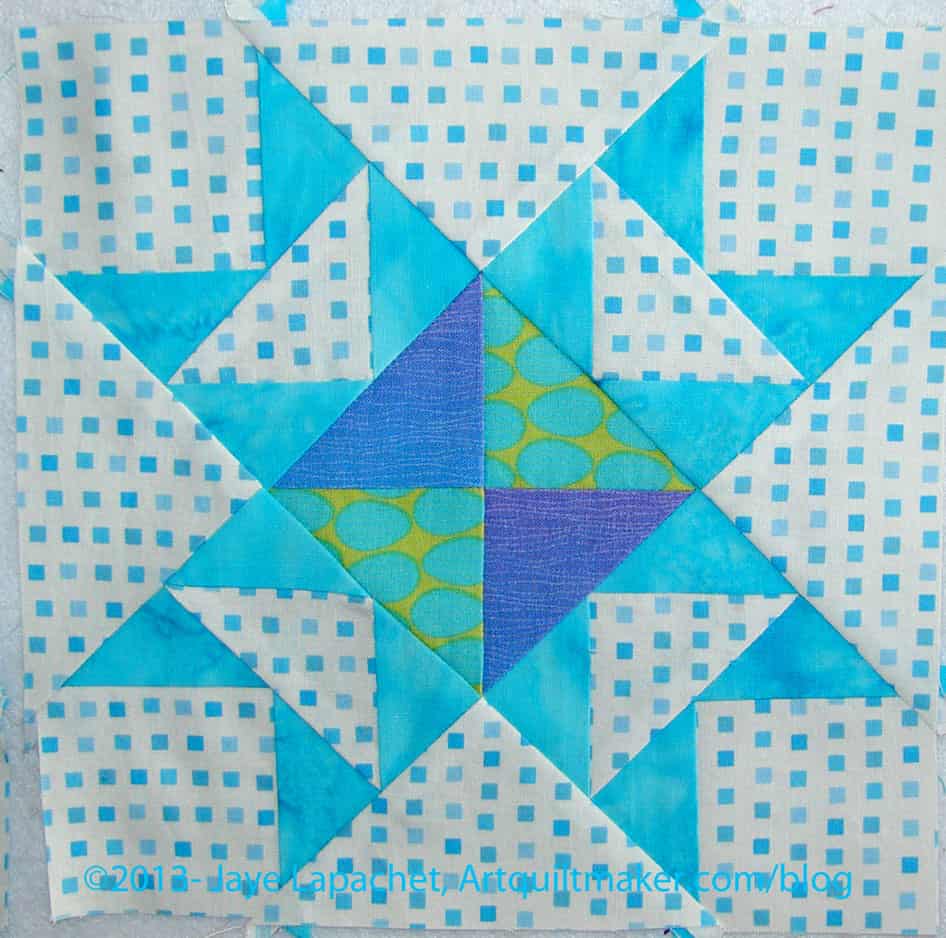
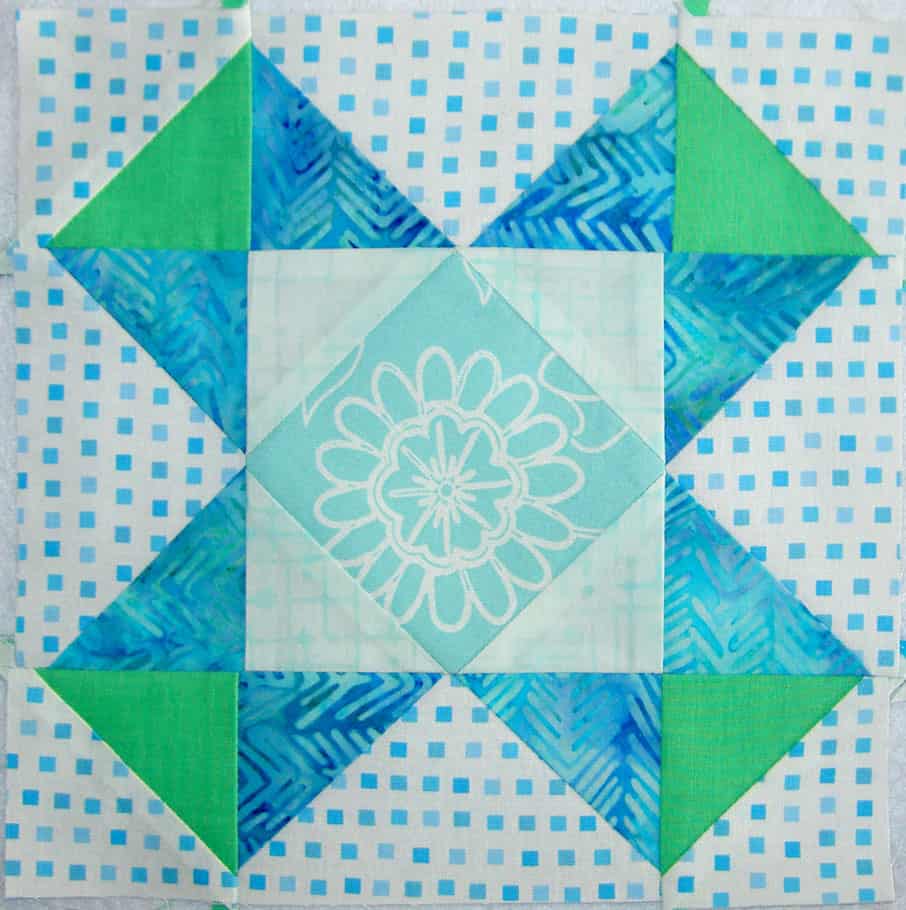
As you know, my fabric selection tends to brighter fabrics so I had to dig deep to find springy pastel fabrics. I succeeded and came up with these two blocks, which I think are quite pretty.
Pastel Scrapitude Finished
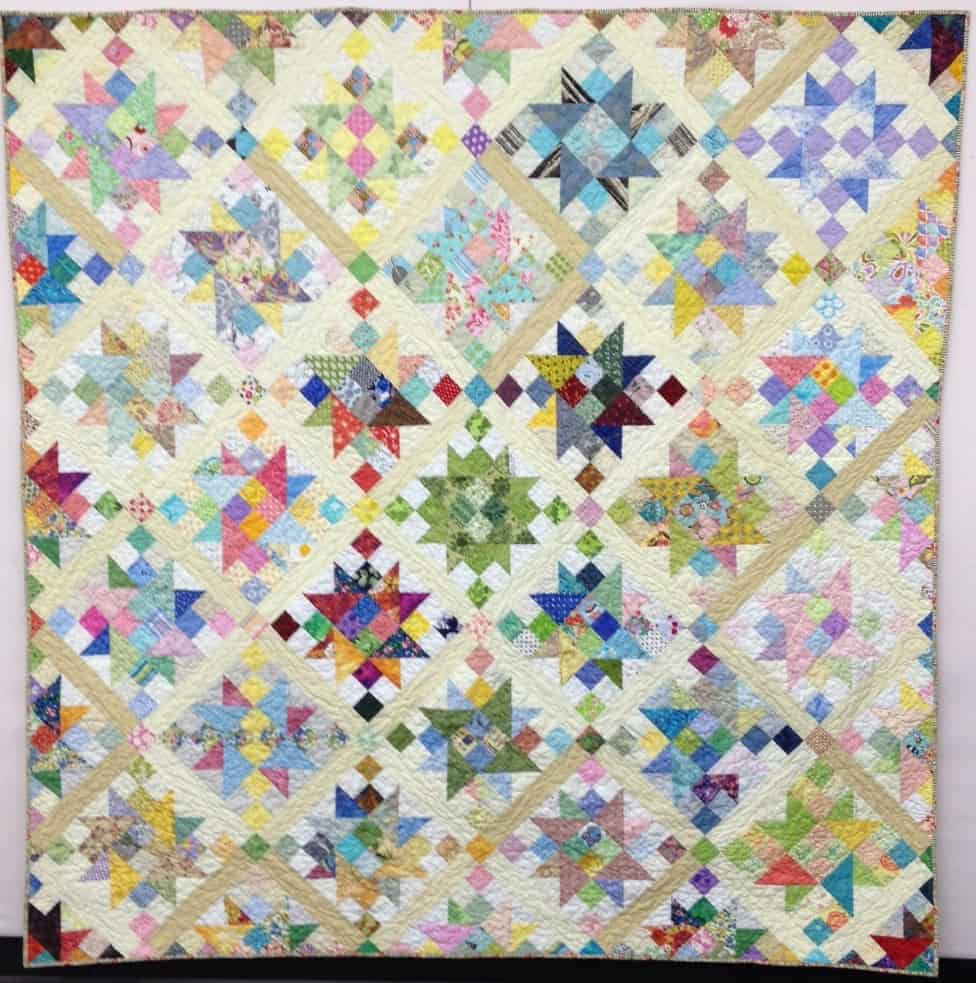
Daisy finished the whole quilt around March 5 and sent it off to the recipient on March 6. There are a couple of really dark blocks. Daisy did a good job clustering them in the center of the quilt.
I see one of my blocks (center top with the yellow with orange dots) and another in the middle towards the bottom.
Daisy really did the lion’s share of the work. I was pleased to be asked to be a part of the project. It was such a nice thing for Daisy to organize.
Daisy had put tracking on the package and reported back to us as she watched the package cross the country. There was a lot of excitement when the package went “out for delivery.” We all on pins and needles as the status changed to ‘delivered.’ Finally squealing could be heard across the country as the recipient posted to Twitter thanking everyone. It was unexpected and perfectly timed.
The recipient LOVED it. She was very surprised and slept under the quilt that very night.
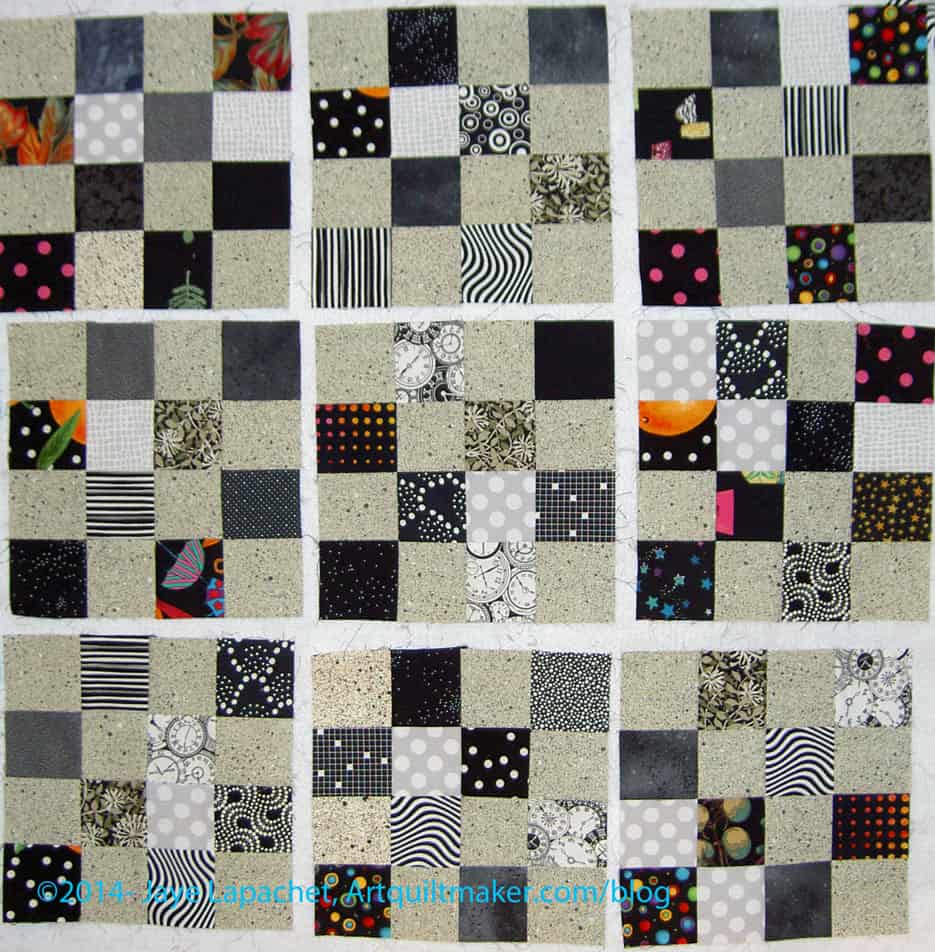
I started out, after Grama died, cutting black and grey 2.5″ squares. I have one scrap drawer for black, grey and brown and, as you may recall, my scrap bin was overflowing. Earlier this week, I picked up the project again and found that I had 9 squares. I think I mentioned that I had lost a few of the squares. I found them in a pile.
I really wanted the background to mostly be the speckle grey I used for the T-Shirt quilt. I am not sure that is going to work as I don’t think I have enough to make many more blocks.
Due to the colors, my idea was to make it larger to appeal to a teen in need, but unless I have yardage left, I’ll have to find another grey. I do have some various greys from the edge of the T-Shirt quilt; I am just not quite sure that is the way I want to go.
Black & Grey Donation Blocks
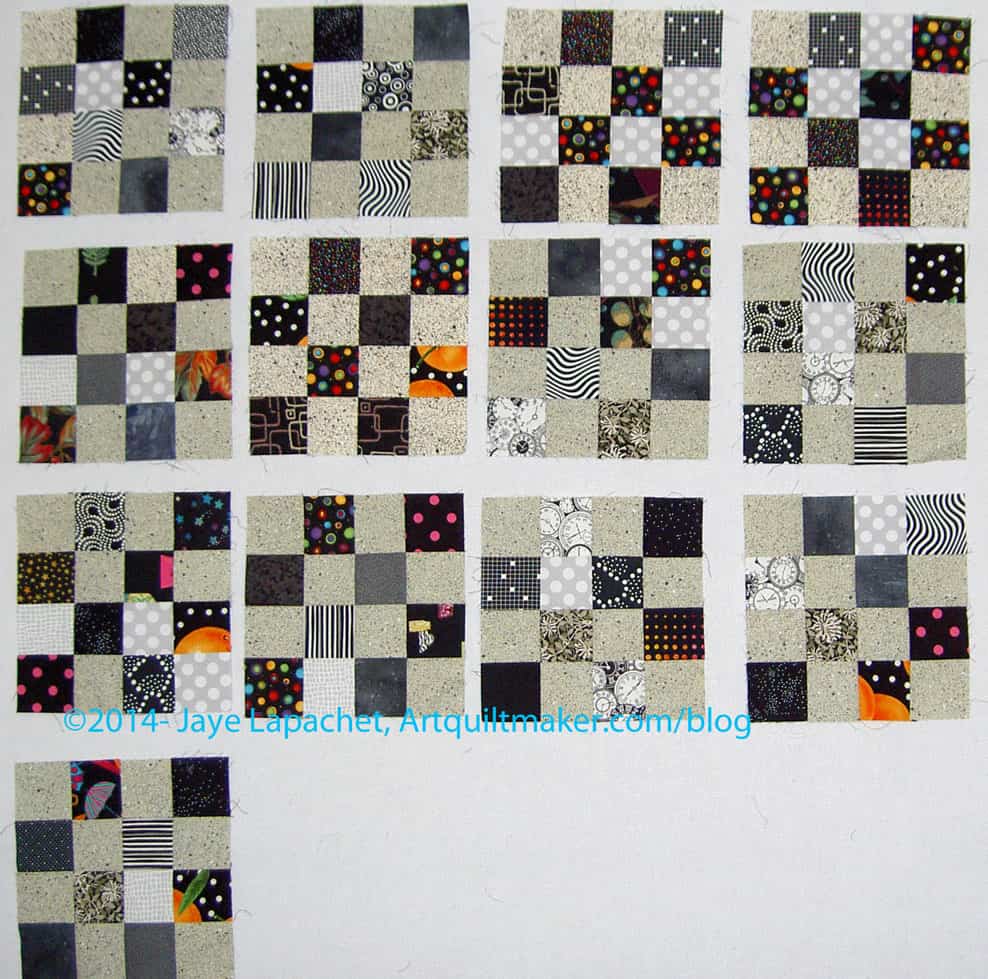
I used this project as a leaders and enders project while working on the Scrapitude blocks. I thought I made an additional 6 blocks, but when I counted them up, I was disappointed to find only an additional 4. I am glad I have as many as I have, but it is still not enough to make into a teen quilt. I will need to rethink my design idea by looking through my greys and see what I think I can do.
I made the Ribbon Star back in the midst of the Star Sampler quilt project. You might remember that I went back and forth and resewed, had trouble, unsewed and resewed again. I finally ended up with a block with which I could live and put it in the quilt. I also, however, had a second block laying around which was not up to par.
Ribbon Star on design wall
I finally decided to do something about it. First, I looked at the block a lot. I had it hanging on my design wall for a long time.
As an aside, my design wall is completely crammed. That was part of the reason I wanted to work on this. If I could save it (for a pillow? or the start of a different project?), I could get it off my design wall.
Someone pointed out to me that one piece (blue upper left hand corner immediately next to the background square) is sewed in wrong. Someone else said that it looked like the piece you grab to unroll or unravel the Ribbon Star. I really tried to think that was true, but it bugged me nonetheless.
The other thing that bugged me was the placement of some of the fabrics. I thought I read somewhere that this would look more dimensional, if light and darks were alternated. I messed that up and wanted to fix it.
Ribbon Star unsewed
I unsewed.
First, I unsewed a little bit to see if I could make it work with unsewing as little as possible.
I pretty much had to unsew all of the major seams. One survived. I didn’t unsew the units, except one, which was great.
Then I rearranged. I moved all of the pieces and parts around until I had an arrangement with which I could live.
Press. Resew. Voila!
Final Ribbon Star
It isn’t perfect, but it is better and all I can do is learn from this and do better next time. I don’t know what I will do with this block, but it will be a good start to something.
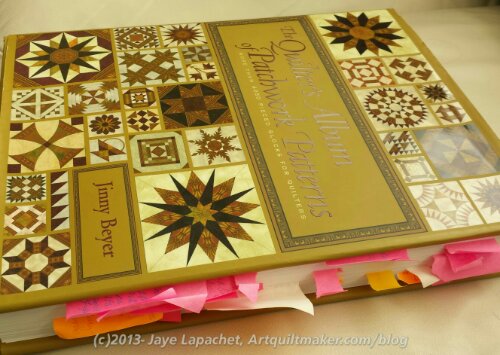
After I started the book, which I did read from cover to cover, I knew I wanted to spend time on this review, which is why it took me so long to get it up. I didn’t want to rush, because I want you love this book as much as I do. The short version is that if you have even the slightest bit of interest in blocks, drafting blocks or quilt history, you need this book. It is a fabulous reference, full of inspiration, well written and well organized. Go buy it right now.
This is a follow-up to her 1980 book, The Quilter’s Album of Blocks & Borders. If you see the 1980 book for a decent price, it is useful as well. Make sure it has the plastic grid insert.
The Quilter’s Album of Patchwork Patterns is not a sequel necessarily, but Jinny Beyer built on the original idea to come up with this larger and more comprehensive book. The basic idea that I got out of the original book was that if you understand the structure of the block, you can make any quilt. I understand that all quilts aren’t made from blocks, but having a good foundation makes analyzing the structure of all types of quilts easier.
This book lists the all the names by which a block is known. The primary name is listed first and comes from the oldest source she could find. This means that you will see blocks you know by one name entered in the book by another. Have no fear! All the published block names are listed under the primary name and the comprehensive index makes finding your favorite blocks by almost any names easy. She has limited herself, primarily to blocks created before 1970. As she says “This book would be at least four times its size if I had attempted to catalog all designs that have been created since the 1970s. I purposefully limited myself to traditional quilt blocks created for the most part before 1970…”. The exception are blocks Ms. Beyer has designed. You may not find more modern variations or names listed here. I hope she or someone else will do follow-up or a volume two adding truly new blocks to this resource.
The beginning of the book is extensive and includes not only the Table of Contents, Acknowledgements and an Introduction, but also A Primer on Pieced Blocks. The last section includes some history of the block sources, a description of the way the blocks are organized and how to draft a variety of blocks, even the oddly shaped blocks.
I was amazed to see how many catalog offering there were prior to World War 2. People could buy pre-made blocks, quilt pieces and even quilts made up. Some may lament the advent of quilt kits now, but shop owners are following in the footsteps of the “good old days” of quiltmaking.
The blocks come next and are organized by shape: squares, hexagons, continuous pattern blocks, one-patch blocks and miscellaneous patterns. It was amazing to me how the bulk of patterns are based on a square grid.
Beyer talks about the grid and this is the piece that is important to understand that will allow you to analyze blocks in a quilt at a show, draw it and go home and make it. Read this section carefully and make sure you understand before you move on.
The drafting section is very useful. It explains geometry related to quiltmaking, so those of us who tried hard to stay awake in that 9th grade class have a reason to stay awake now. My favorite part was the magic that is drafting the perfect square. Beyer gives, at least, two methods. I also liked her method of making a perfect grid. As a bonus, understanding these drafting instructions really help when you are working with a program like EQ7. Understanding the grid and how a block is drafted makes using that program much more intuitive.
The section on blocks takes up the bulk of the book. Each group of blocks is broken down by the type of grid it uses. For example, the first section is called 2×2 Base Grid Category. The blocks in this category are what we would normally call four patches. Each block is shown in Jinny Beyer fabrics and colors and also as a line drawing. Included on the page is the block name and reference.
Another bonus is that Ms. Beyer has gathered like blocks together into a section called Quick Reference: (theme). This is a good and easy way to find all the blocks with a certain theme to use in a quilt. One Quick Reference is called Boats. There were also Quick Reference pages for leaves, baskets, Red Cross blocks and Feathered Stars. All the blocks on a Quick Reference page have the name of each block and where to find it in the book.
As I moved through the book I marked blocks I liked as well. Most were my standard favorite categories like Baskets all with a twist. In a way I was creating my own quick reference pages, which I, sometimes, found were redundant with Jinny’s quick reference pages. Still, I enjoy seeing my own notes and references.
One of the things that I loved was the names of the blocks. i always knew that quilt blocks had interesting and funny names. This book gathers all of those names. Crow’s Nest, Scroll Work, Night and Day, Open Sesame, and California Sunset are all wonderfully evocative and spur on the imagination, but have nothing to do with the piecing. Like modern paint color names, I guess.
Like the previous book, this one comes with Transparency Grid Sheets as well. These tools allow you to lay the transparency grid on top of the blocks to see why they are categorized as the grid indicated.
There is a comprehensive table of contents, a bibliography, a variety of cross references, footnotes, tables and a fabulous index. All of this warms my librarian heart. This is a well done book and well worth the money.
I spent the day Saturday doing laundry and working on four patches. I had really looked forward to a day in my workroom and, while I got that, I felt out of sorts. I am not sure why, but it just wasn’t the relaxing sew day I thought it would be. I sewed, but I didn’t enjoy it as much as normal.
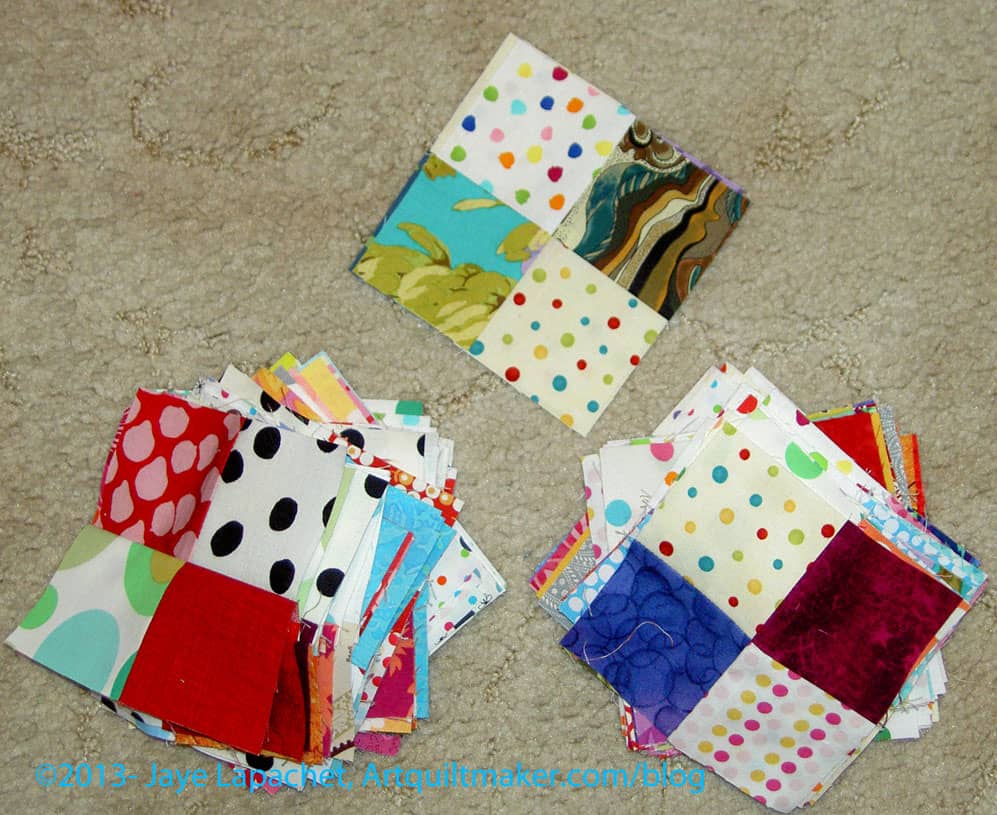
112 Four Patches
Still, I made progress. I finished the 112 four patches that were part of the first sewing step in Charlotte’s Mystery quilt. I had started them last week or the week before, so about half of the halves were sewn. I needed to do the rest and I had to cut enough pieces to make them.I alternated cutting and sewing. It works better for me.
I have to figure out how and where to store these. I don’t have a good sense of when the next step will happen.
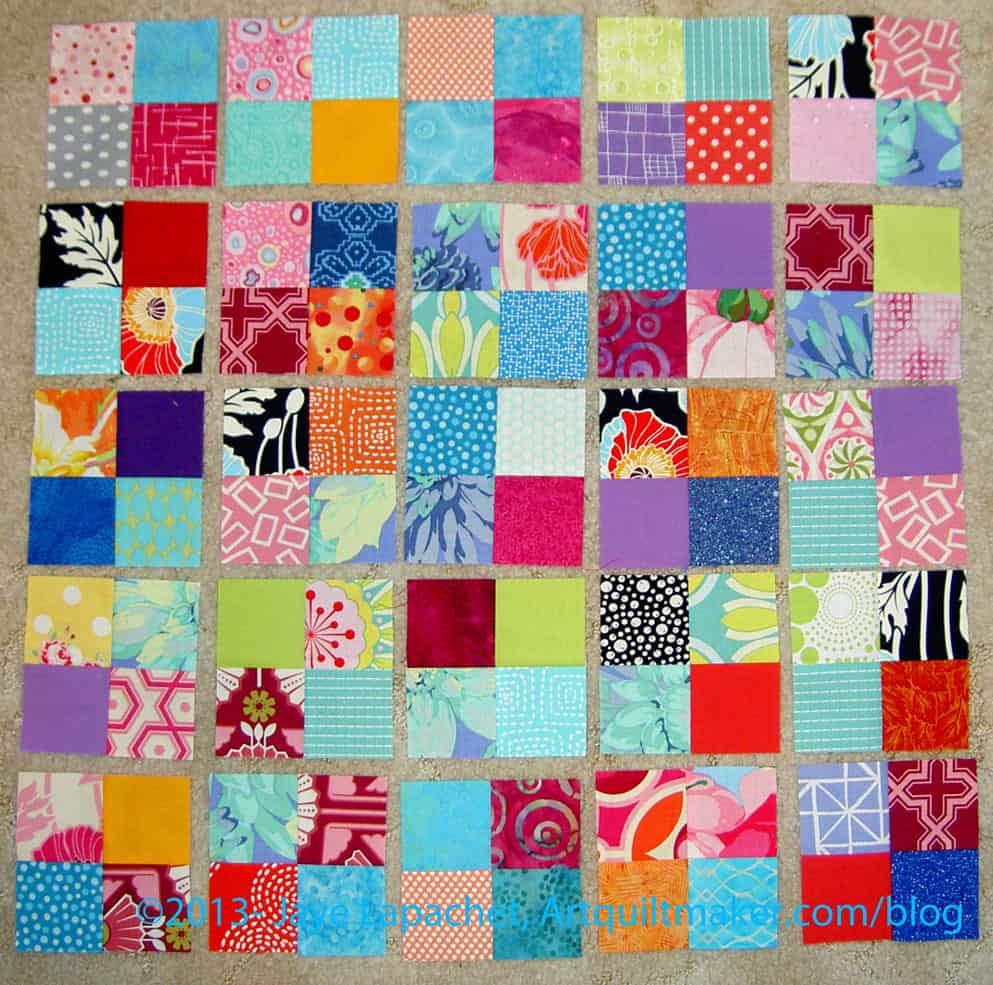
Example Four Patches
As you can see, my background fabric is dots. I figured I would use some of the dots I have been collecting sinc they are just sitting there waiting for a project. As I mentioned, I had to cut much of the background from yardage. I rummaged through my scrap bins as much as possible. Now, I am pretty much left with weird shapes and smaller than 2.5″ squares in many of the colors.
I have to say that part way through making the 4 patches, I was ready to make some larger blocks and see where I was going. I got a little sick of 4 patches, which is sad, because I really adore the simplicity of four patches. There is a lot one can make with a four patch as a base. I think part of what is going on is that I am not organized in my sewing room right now. I don’t have a good handle on the projects I have going. I know what they are, but I don’t have the steps in my head.
If you haven’t been following along, I went down to SoCal for a week and that trip, along with problems with my machine, kind of ruined my flow. I’ll get back into it; it is tough, though. Learn from me: sew or pet fabric every day.
Since I finished the 25 4 patches already as well, I think I am ready for the next step. I don’t see it posted on Sandy’s blog, so I guess I’ll get back to some cutting, of which there is plenty left to do.
Why Should You Care: You can see that it is possible to get work done even if your machine is out of commission and you have a loaner. You can also see that it is possible to create some organization, even in a scrappy quilt.
I succumbed to the Siren call of the mystery quilt. Just like Jason and the Argonauts or Odysseus or the sailors passing Die Lorelei, I couldn’t resist their call and am working on the Scrapitude Mystery Quilt.
The Scrapitude Mystery Quilt was created by Sandy’s friend charlotte after the ladies in their guild begged. Sandy put out the [Siren] call and many of The Twilters joined in. I found an already cut batch of 2.5″ squares, so I joined as well. Lame reasoning, I have to say, because there are a whole bunch of other shapes I need to cut as well.
Scrapitude First 4 Patches
It turned out to be good, though, because I needed something easy where I could accomplish a lot in a short amount of time.
I only had about 3 hours to sew yesterday and was able to finish 25 four patches and make a huge dent in the 112 I still need to make.
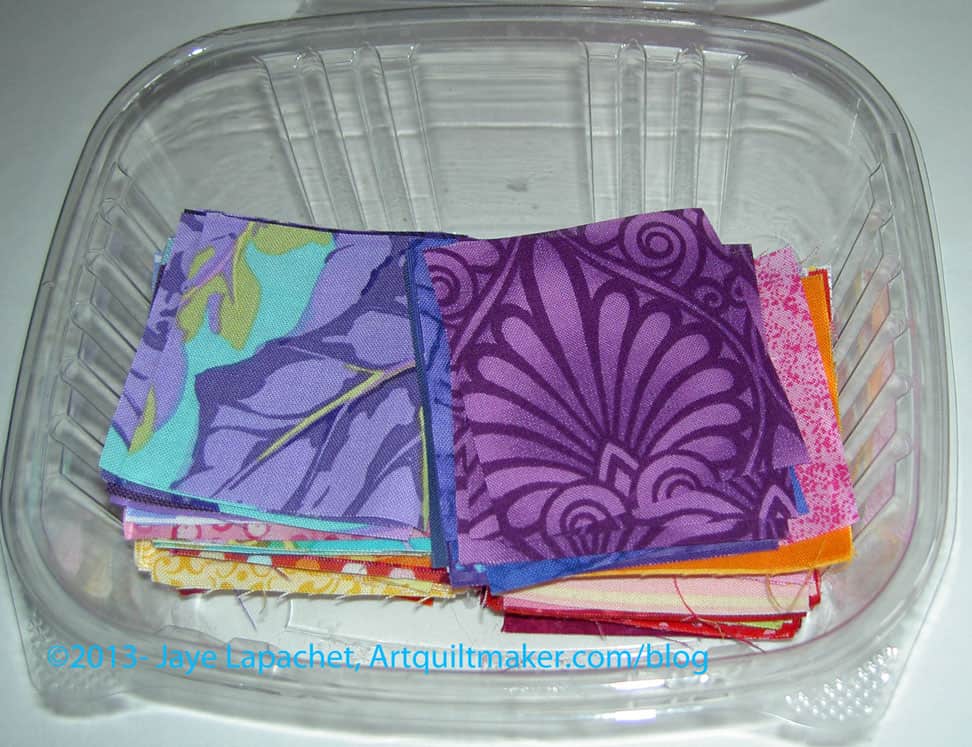
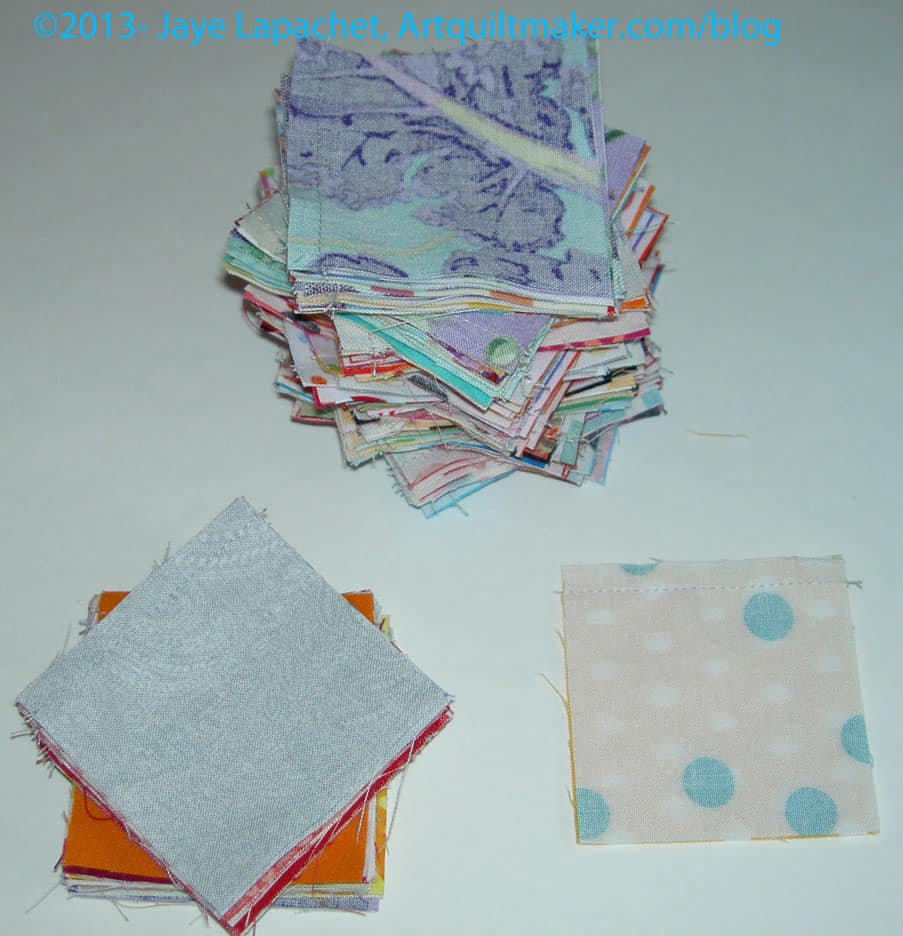
One of the first sewing directions was to make 25 four patches out of the foreground fabric (e.g. not the background). I found a container of 2.5 squares I had cut sometime ago and started out with those. I was able to make good progress and finish the first 25 pretty quickly.
2.5″ Squares
The next 112 would be a little harder and I knew that before even starting the sewing. Part of the difficulty was that I hadn’t, yet, picked a background. Fortunately there were enough dots with white backgrounds already cut to sell me on the idea of dots as a background. I toyed with the idea of blacks on whites, but went with the dots. There aren’t enough dots in my life ever. 😉
There were a lot of orange squares in the container, so, periodically, I rummaged through my scrap bins and cut some other colors. A lot of what I was cutting were greens. It is fun delving into my scrap bin. First, I use up scraps, which is always a bonus. Second, I enjoyed thinking about the fabrics through which I was rummaging and the original projects for which they were used. I found a lot of Philip Jacobs prints and joyfully cut those up to use.
112 4 Patches in Progress
Now I have about half of the 112 finished. I have had to use some yardage for the background, but I have plenty of dots, so it is ok.
Sandy has a tutorial on her blog on making 4-patches. Nonnie pointed out a very interesting 4-patch tutorial on the NZ blog, Bee in my Bonnet. I have not tried this tutorial and she doesn’t give sizes, so I don’t know how it works. It looks cool, though.
Why Should You Care: Perhaps you want to join in or use the directions for an activity for your guild?
A few days ago, I talked about my mom’s quilt. I decided that you would probably appreciate some detail shots.
This is one of the Blossom BOM blocks. Now, I always thought that BOM blocks were supposed to encourage people to quilt more. This block is a tough block. My mom has garment sewing experience and she had a tough time with this block. Look at the pieces – curves and that little block in the lower right hand corner. Not impossible, but also not a nine patch.
My mom is tough and created a strategy. After screwing up a few blocks and not having enough fabric for the BOM block, she started making a practice block with her own fabric and then used the BOM fabric for the non-practice block. The above blocks are the practice blocks.
Blossom BOM block
This is the same block, but made with a bolder selection of fabric. I believe that I gave my mom some of these fabrics. I feel like I make some bold choices in fabric selection, but my mom has me beat by a mile. I would not have thought to put the blue and the pink together.
I am glad that I took the time to look at these blocks.
They make me think. What would your interpretation of this block be? Even if you use fabric on paper with glue stick, what colors would you choose? What colors would take you out of your comfort zone?
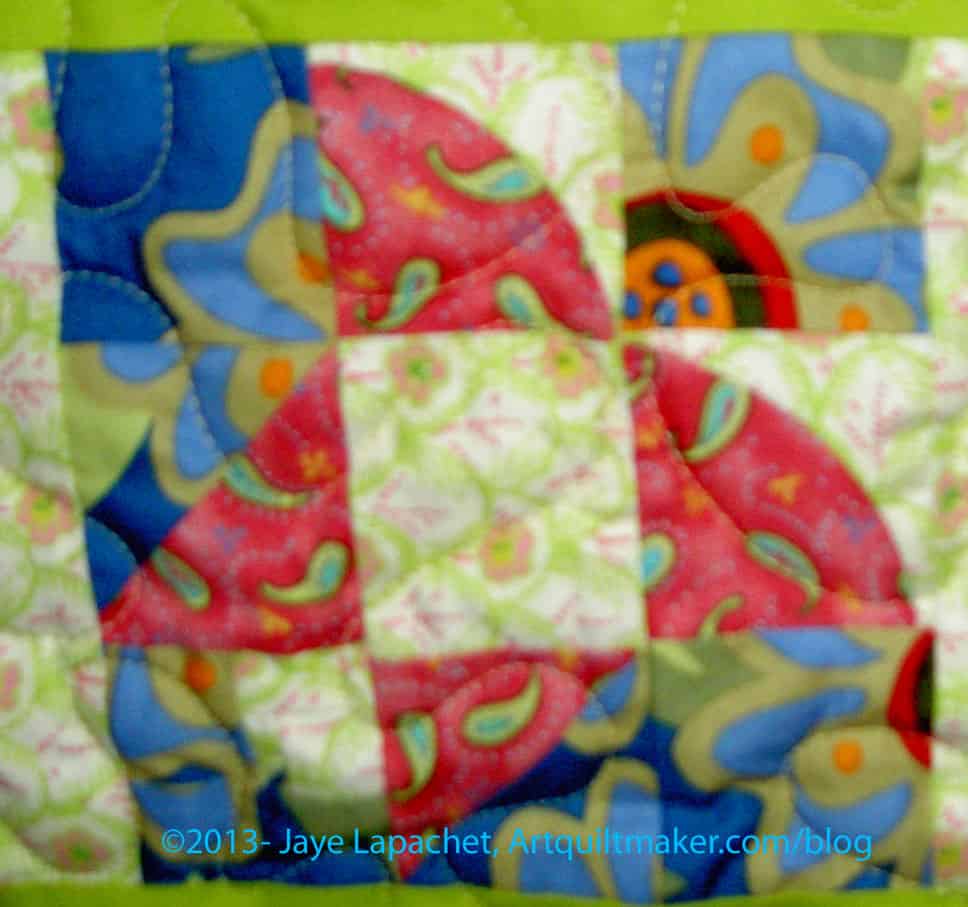
Pinwheel
The pinwheel block is a pretty standard pattern. It is actually a pattern that you can really make look like it is spinning if you place the fabric a certain way.
Again, though, mom has made it her own. The blue and the cabbage rose/bold flower print are an interesting combination.
I really think my mom and I see color in different ways. Again, I wouldn’t have chosen these fabrics together, but they work. It kind of reminds me of the quilt Bill Kerr showed that included David Butler and Jo Morton fabrics together.
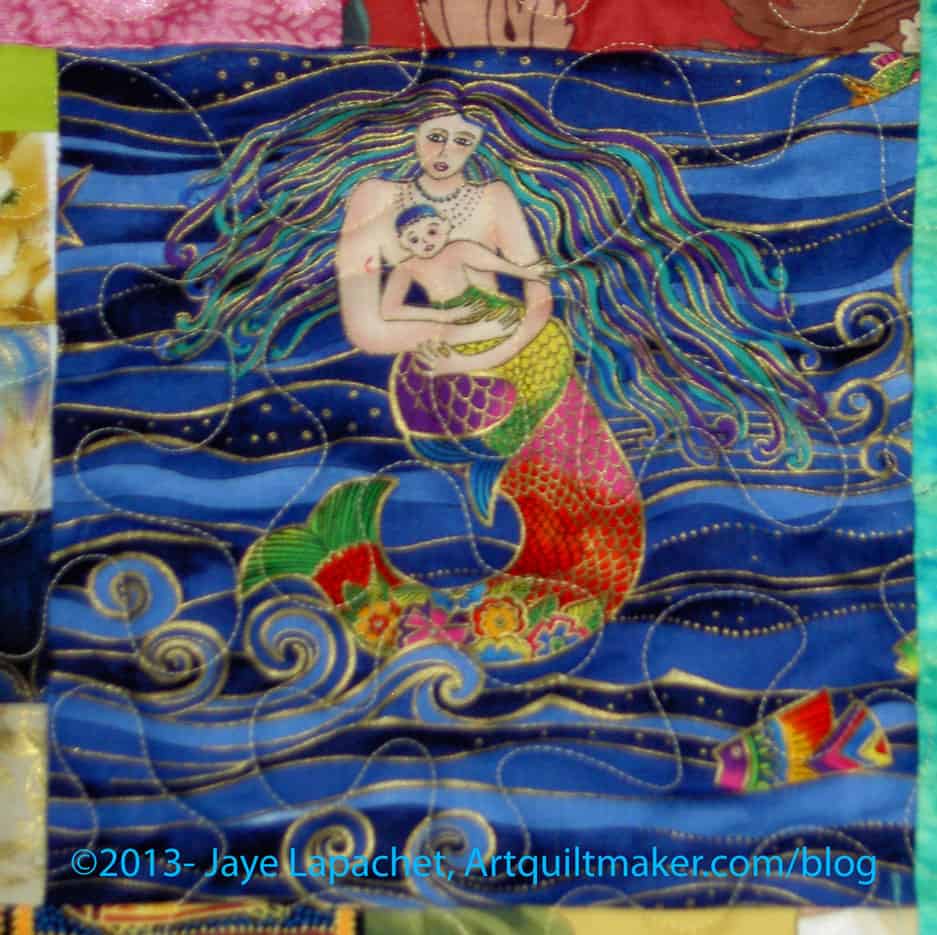
Mermaid Block
The mermaid block is some kind of panel. I have no idea what possessed her to add this to the quilt, but it works. Interesting.
Morning Glory
The Morning Glory block really looks like a morning glory. You can see that the center cannot have been easy to piece. I know that isn’t applique’ and am pretty sure it isn’t paper pieced either.
Improv Piecing
The very bottom block reminds me of one of Gwen Marston’s filler blocks. I also, though I am reluctant to say it, think it has qualities of the Gee’s Bend blocks.
I did diligently work on these donation blocks until they were done a week or so ago.
They are fun to work on and I am happy I put the blue square in each block. I think it adds interest.
I am thinking that my next effort will be sans background, e.g. no grey, and just have different scraps all in the same color make up the blocks. Where the blue is in these lovelies, I will substitute a complimentary colored patch, similar to what Pam did with her Rainbow Baby quilt. I guess I keep saying this over and over so I must really want to do it.
Yes, I still want to put sashing between the blocks. I’d love to get this done by the September meeting. We’ll see. Apparently, crawling up into my fabric closet for a blue bin is a problem. I don’t even know if I have the right blue for the sashing.
Remember that I went on a bit about the Mosaic Number 19 and how it wasn’t quite up to par? Still, it was the first block I made for this project and I had some fondness for it.
Well, I remade it.
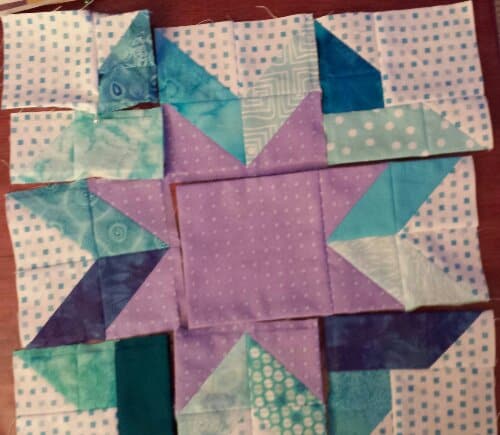
Mosaic No.19
So much for fondness. It just didn’t fit and I decided that while I was remaking blocks that weren’t working for other reasons, I might as well remake this one.
One thing I wanted to do was make sure that the background was the background. In the green version, there are large triangles of green in the middle center where background should be. Essentially the Sawtooth Star shape is reversed in terms of fabric. I thought the green where the background should be would ruin the flow of the background of the quilt. Yes, this new configuration meant that the corners would be non-background fabric, but other blocks have that quality as well, so it will be ok.
I have to say that I do like the frame around the center block int he green version. It really focuses attention on that center tilted/on point square. I suppose I could have found something to fussy cut and kept that look in the new version, but I didn’t think of it.
That blue that I used is a really nice blue. I think it shows up really well in the photo.
See more about this quilt using the Star Sampler tag. I wrote a whole post about the genesis of this project, which you might want to look at.
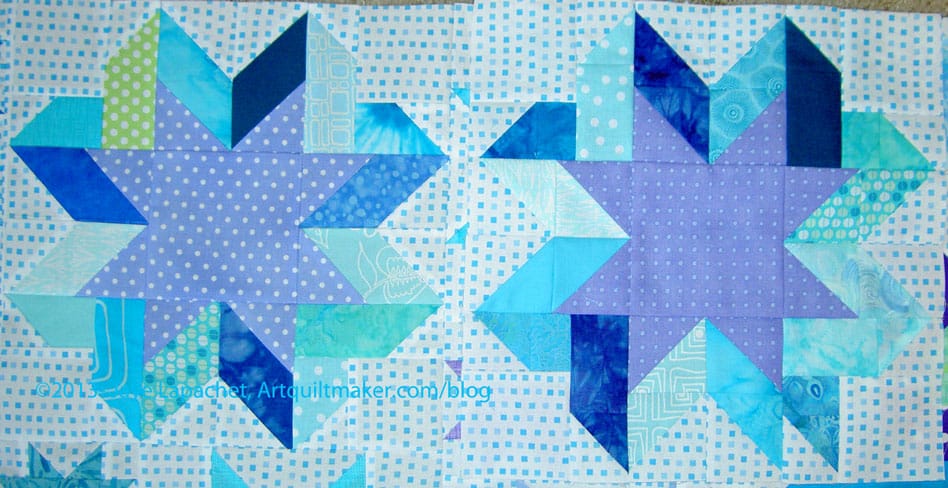
You might remember the drama of the first Ribbon Star. You also might remember that I made the star over using half square triangles rather than parallelograms.
I have to admit that I never really liked the new version, which you can see on the right of the above picture. I used it, because I had no choice, but I didn’t really like that particular lavender fabric.
Finally, I decided that I would remake the first block. The first block had a lot of problems, not the least of which was that the parts were a variety of different sizes. I unsewed all the squares, rearranged some of the colors and resewed them so that the block, basically, fit together. Many of the seam allowances are so far short of 1/4″ that I really worry about their integrity.
Still I am really happy that I get to use the original version of the block.
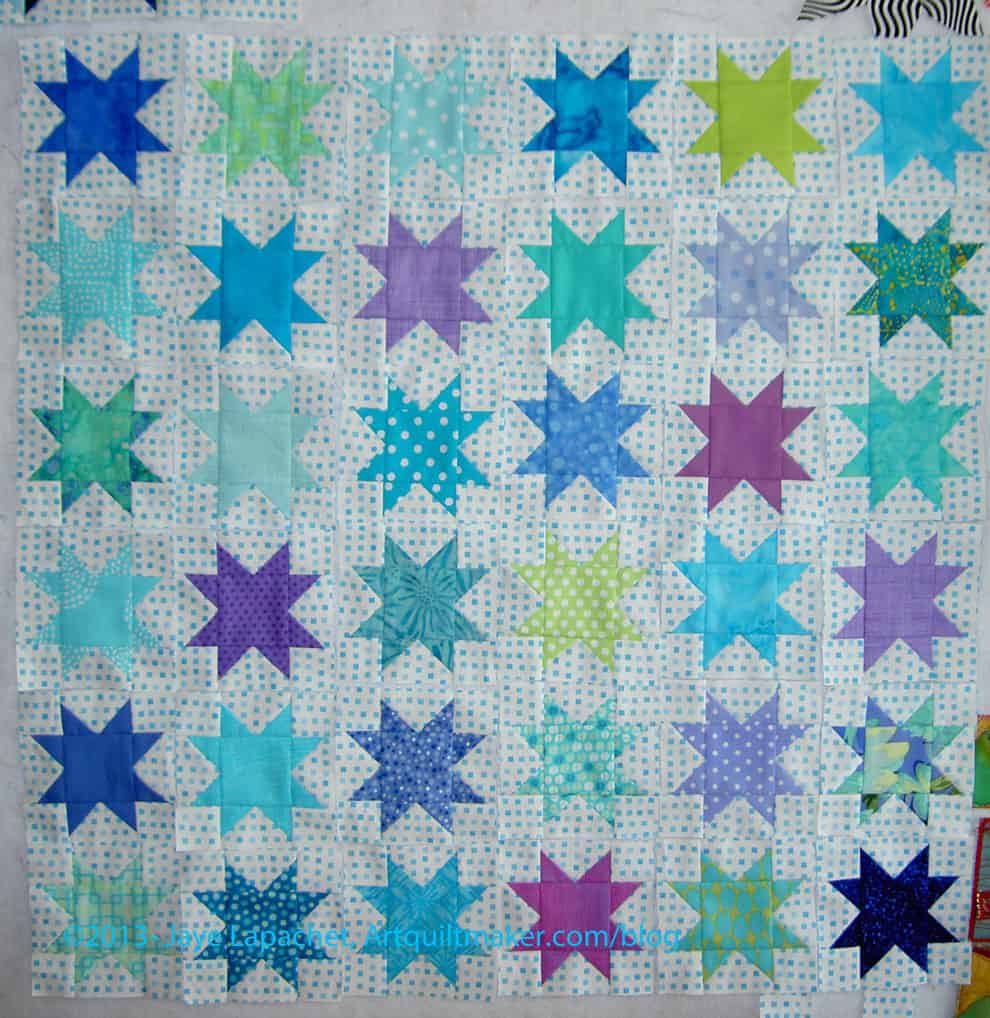
I finally finished the 4″ Sawtooth Stars over the weekend. This project is lingering a little too long for my tastes, but I wasn’t miserable making these little stars and the group of them makes for a very nice accomplishment.
Now I am ready to put the blocks together. I plan to follow the plan from the Oh My Stars QAL, because I think it is an interesting way to put the blocks together.
I really do. The possibilities are so endless and I love possibilities.
All Pieced 8″ & 12″ Blocks
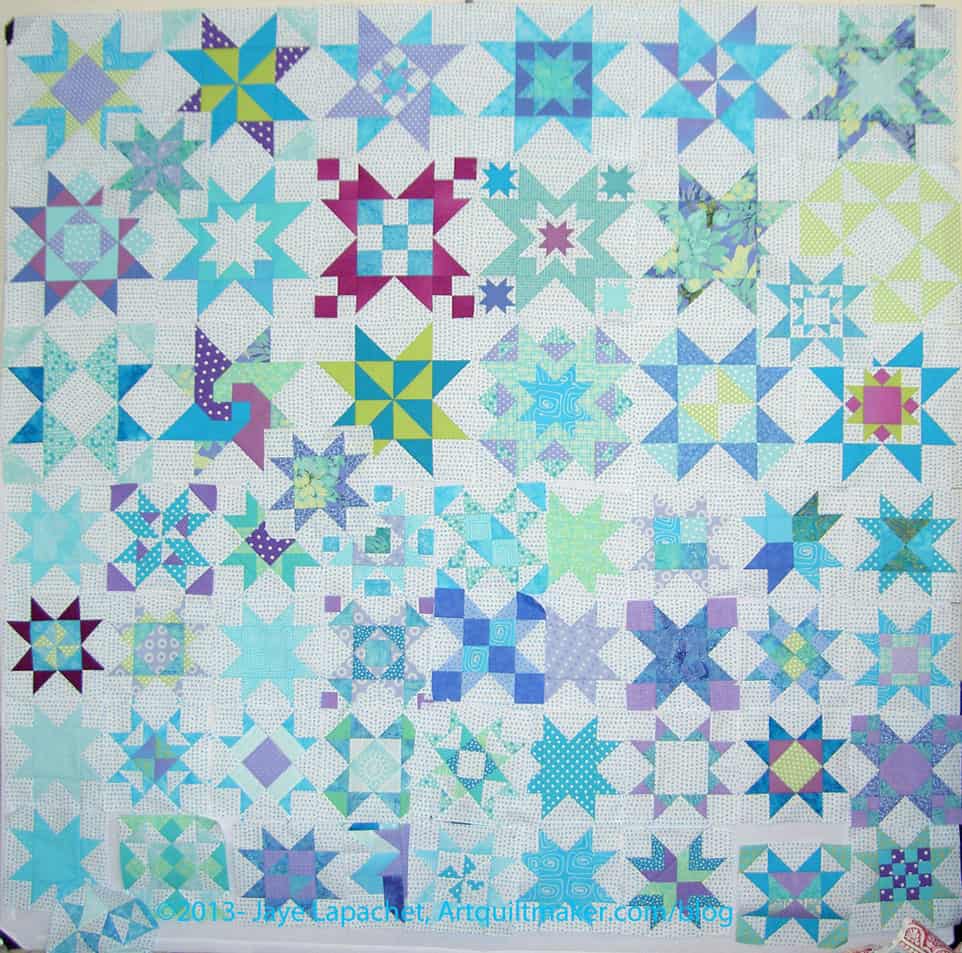
Above are the 59 Sawtooth Star variations that I have made for my Star Sampler Project. I am pretty pleased with the way they look together. There are 2 I may redo, but TFQ is coming to visit this weekend, so I will ask her what she thinks.
Week 15 8″ Blocks
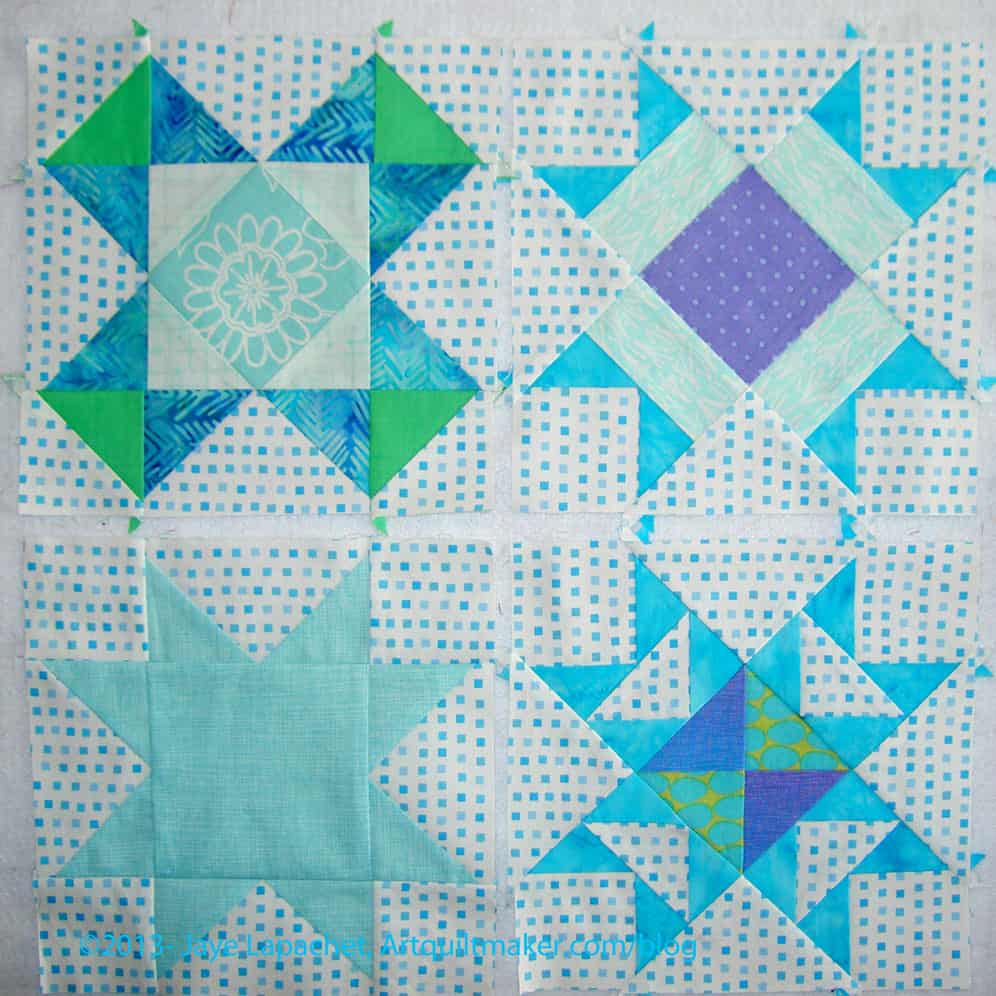
These are the Week 15 blocks.Left to Right, Top to bottom they are Mosaic #11, Sarah’s Choice (again), Basic Star (with a flourish) and Rising Star (another redux).
I am still dying to know why many of the classic blocks are called Mosaic #something. I’ll have to look on Barbara Brackman’s blog to see if she ever talks about it. I like the fabrics I chose for this block. It looks beachy and fresh.
The Sarah’s Choice is a bit blah, but not terrible and it blends in well with the other blocks (see above), so I will leave it.
I decided early on that I wouldn’t get fancy with the Basic Star, but decided on this last one to use my ‘focus’ fabric as the center and different legs for one block only. I wanted it to be clear that the Basic Stars were Basic Stars.
I am pretty pleased with the Rising Star. I really love the design of that block. I used the excess backing (cut off after the quilting process) from another quilt. It is a nice batik fabric and I wanted to use it again.
I still have about 25 4″ Sawtooth Stars to make. I pressed fabrics earlier this week and on the weekend and cut parts to make them, but didn’t do much sewing. I didn’t get to cut all the parts I needed, but I will certainly be ready to sew when the weekend finally arrives.
I am really looking forward to starting the process of putting these blocks together.
Week 14 Week of April 29 (8″ blocks) (JHL chooses)
Basic Star
Broken Star (Around the Block)
Indian Star (Around the Block)
Martha Washington Star (Around the Block)
Hooray! I finished another week’s worth of blocks. We are nearing the end of these blocks, too.
I still have about 40 of the 4″ blocks to go, but I have been cutting for them and using them for leaders and enders. I can get about 5 done in a few hours that way.
I made a pile of fabrics, from the grand pile that is my palette of blues, greens and purples, that I may use for the 4″ stars. I’d like them, if possible to each be different. I don’t know if it is possible. I have plenty of fabric, so that isn’t the issue.
The issue for next week is whether I lost a basic star or not. I think the issue is that the stars fill every inch of my large design wall and I may have lost track of one of the blocks. I have to count and see.
I have plenty of work to do on this project, but I am glad that the end is near.
As I have mentioned, I am behind on this project. We both should be done with the 8″ blocks and finishing up the 4″ stars. We are on Week 13, which was supposed to be finished during the week of April 22. TFQ chose these blocks and I just started them on Sunday.
Basic Star
Free Trade (Around the Block, page 67)
A Salute to the Colors (Around the Block Again, page 106)
Chisholm Trail (Once More Around the Block, page 50)
Star Sampler: Free Trade
Free Trade was the first block I sewed to try and catch up.
I like the look of the squares and half square triangles in the center.
I used squares for the center that had been rejected from other blocks. I couldn’t find any to match, so I used some that would look good together and, perhaps, create a little added movement in the block.
I was pleased with myself for thinking of this. I happened to be filing scraps in the course of tidying up the workroom when I thought of it.
Star Sampler Week 13
I finished all of the blocks last night.I don’t usually sew during the week, but my mom had to switch her days (she usually comes over on Tuesdays to see the Young Man) so I threw caution to the wind and just worked. I don’t know what DH was doing (ballgame, maybe?), but he didn’t want to catch up on a show with me until later.
So, TFQ picked these blocks and they were fine. I wasn’t really pleased with A Salute to Colors (lower left) when I saw the pattern, but I changed around a couple of colors and like it now that it is done.
Chisholm Trail
My favorite of this group is the Chisholm Trail block. I love the way the fabrics work together.
The fabric I used for the arms of the star is perfect in that space with the other fabrics.
I am pleased.
Now I have to get busy with the blocks for Week 14. I have one cut out, one made and another 41 4″ Sawtooth Stars to cut out and sew.
I think we are on week 12 of our Star Sampler project. We are still making 8″ blocks. These are from the week of April 15. I am now behind again, because I was able to sew over the weekend. I chose these blocks:
Basic Star
Whale’s Tail (Once Again Around the Block, pg.126)
Centennial (Around the Block Again, pg.40)
2142 Mosaic #19 (R1, C5)
Whale’s Tail
Whale’s Tail: There are a number of the blocks with chevrons making up the legs. I kind of wonder about the name of this blocks.
Since we are nearing the end of the pieced larger blocks, I am trying to make sure that all the fabrics I have used in other blocks have been used at least 3 times, so that there is some balance in terms of the colors and fabrics. If you want to read more about balance, Sandy and I did an episode in the design series and we talked about it.
Centennial
Centennial: I really have to wonder why this block was named Centennial. I looked up the block on the web, because I don’t have my Jinny Beyer book handy. I found some interesting settings for this block.
2142 Mosaic #19
2142 Mosaic #19: I should look up this block in the Jinny Beyer book, because it is such a weird name. Were there 18 other versions of this block?
I have also done similar blocks. I paid attention to the fabric placement and, as you can see, fussy cut the fabric for the center.
I think all four blocks came out nicely and look good together.
I have now made 37 4″ blocks. I am almost half way finished with them. TFQ is going on vacation and my goal is to make them all during the first two weeks of May so they are ready when she comes to visit.