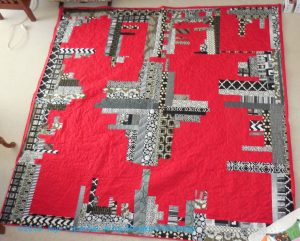
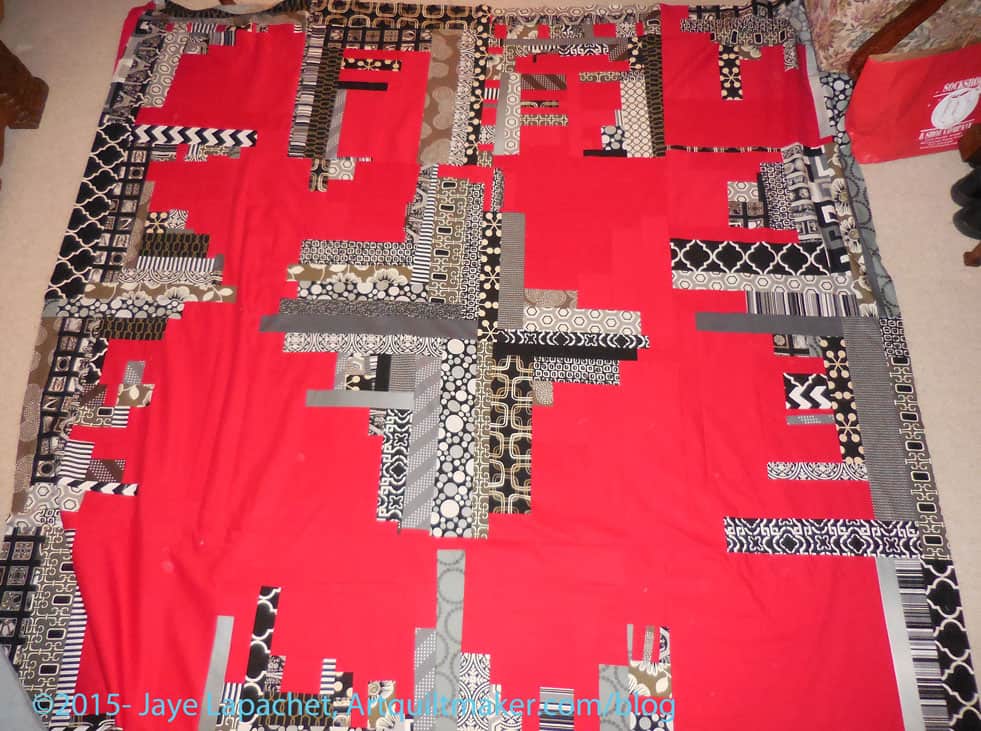
Along with Flowerburst, I also got back this quilt, which I wish I had called Cityscape. It really does look like a cityscape.
Cityscape- back from the quilter
I have sewn on the binding. I worked at sewing one whole side per evening so the binding process only took me about 8 hours. The quilt is 82″ x 84″ so quite a bit of work. I used a Kona solid for the back and the binding and it was a pain. The needle doesn’t slide through that fabric like I think it should. I MUST remember that.
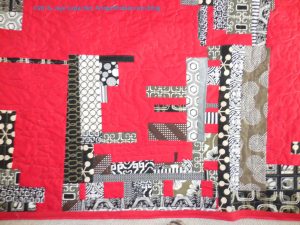
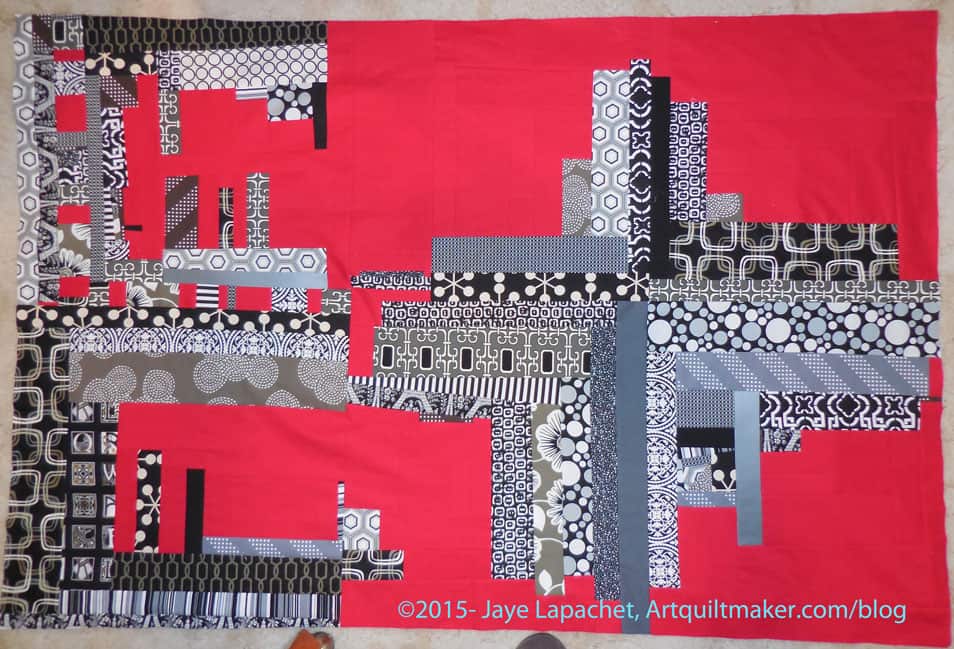
Cityscape – detail
The red is the background and I had Colleen think of it as a sky and put clouds in it. She did four different types of clouds in the four quadrants. I think of it as the four seasons.
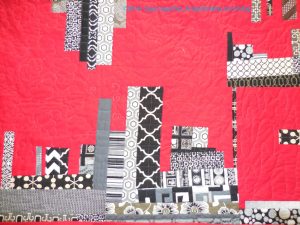
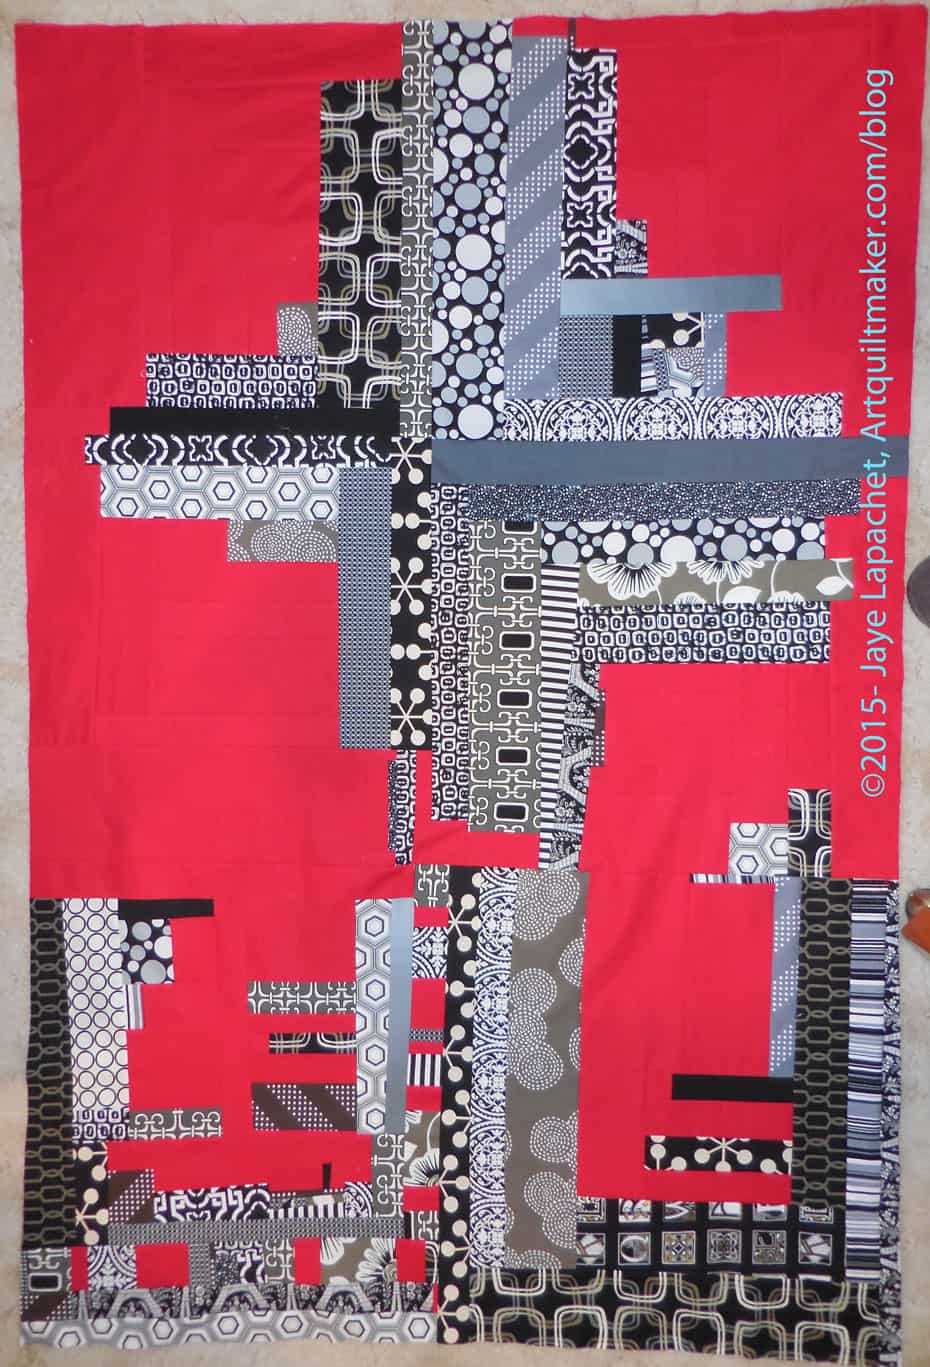
Cityscape – detail
The black and grey are more like buildings, so she did more geometric quilting in those areas.
I made major progress on this piece during the weekend before Thanksgiving. I have had a lot to talk about, so posts are getting backed up. For someone who hasn’t had much of a chance to sew recently, I seem to have a lot of content!
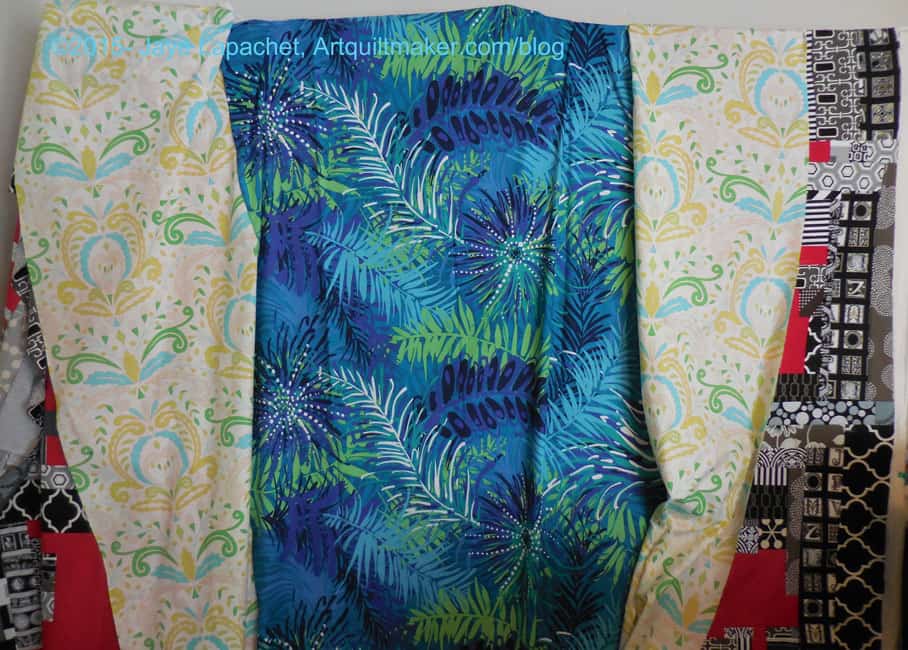
Potential Red & Black Improv Back
I walked around my workroom trying to get comfortable with the blue and green backing. I really tried hard to like it. I tried to convince myself that another color scheme would provide a different look and make a good addition to the piece.
No dice.
I had already cut one piece into two and I still couldn’t like what I saw. The blues just didn’t work with the red and black and I couldn’t do it. I admitted to myself that I wanted to save the large piece of red solid for another project and that cleared the way for progress. I found a piece of American Made Brands red solid on sale and bought it. That kind of freed me up to use the large piece of Kona red for the back, which is what I did.
I spent a whole Sunday piecing the back. I wanted to finish and it took me a long time. I did. I just need to make the binding and then I can take it to Colleen’s to be quilted. I like the way the whole piece came out, but I am glad to get it off my design wall.
The thing is huge and I need to take a photo of both sides outside, but that will have to wait for one of my quilt hangers to return from college.
I was kind of shocked to realize that the last time I devoted a post to this project was back in September. I did mention it last week and meant to write a full post. I was out of town for most of the week for work and it never happened.
Red & Black Improv Top
On Saturday, I got back to the machine. I worked on this top, in between other projects. For the Improv top, I seem to be able to make progress on this project, but only while working simultaneously with other projects. For some reason this project does not inspire me to buckle down and work on it by itself.
I tried Improv again and it still doesn’t inspire me. I guess I like the technical precision of regular blocks. Does that make me boring? Perhaps.
Three blocks was the sum total of what I needed to finish to put this top together. The end was in sight! (Let’s not talk about back or binding at the moment). I finished one block completely on Saturday and made major progress on two more.
Sunday, I finished the blocks and then put all the blocks together into the top.
I started on the back, for which I am making different color choices just to give it a different feel. I am choosing some blues so that the back will have a different feel.
I am still feeling like I am in some weird in between place with my projects. There are projects where I am at a strange point that seems to be stopping me. I have to count up all of the FOTY squares and figure out how big I need to make the quilt. I need to cut some more squares for the Octagon Nine Patch, which has been languishing for, what feels like, a long time.
Improv Top in Progress
I decided to work on the Improv quilt again and get that project farther along.I finished a second ‘B’ and decided to sew it, along with the first ‘B’ block on to the quilt. I like what is happening and I can see where I go next, to a certain extent, but I think those 2 blocks look heavy. I might put them on the bottom, but I will see if I can lighten them up with more red on the three sides.
One idea I had from looking at the photo above is to make sure some red meets the red on the bottom and continues over almost to the corner. That will mean making that part of that corner side block last and making sure I remember. I think if I do that, there will have to be a bit of one of the black and white prints in the corner – or a strip of red alternated with black and white prints.
Improve top – turned
I also thought of making those blocks the bottom. Heaviness works on the bottom. The photo (left) is the same one as above, just turned so you don’t have to turn your head.
It looks ok, but I remembered that there will be other blocks on each side of those new ‘B’ blocks.
Yes, all the blocks are sewn together. I just wanted them sewn.
After using some Flying Geese as leaders and enders, I switched to using the large Improv blocks as leaders and enders while putting together the T Donation quilt. The Improv quilt is not a good project for leaders and enders as I really should have it on the design wall and be looking at it all the time as I worked. I really wanted to make progress. This project has been shuffled from corner to corner of my workroom and I am forgetting my plan. My design walls were full of other projects, so it was what it was.
I added a few more strips to make the center (A) blocks more even then sewed the four center blocks together. This breaks my ‘Chunking It” rule, but I just wanted to see the four blocks together. Somehow with them together, I was able to start on the B blocks.
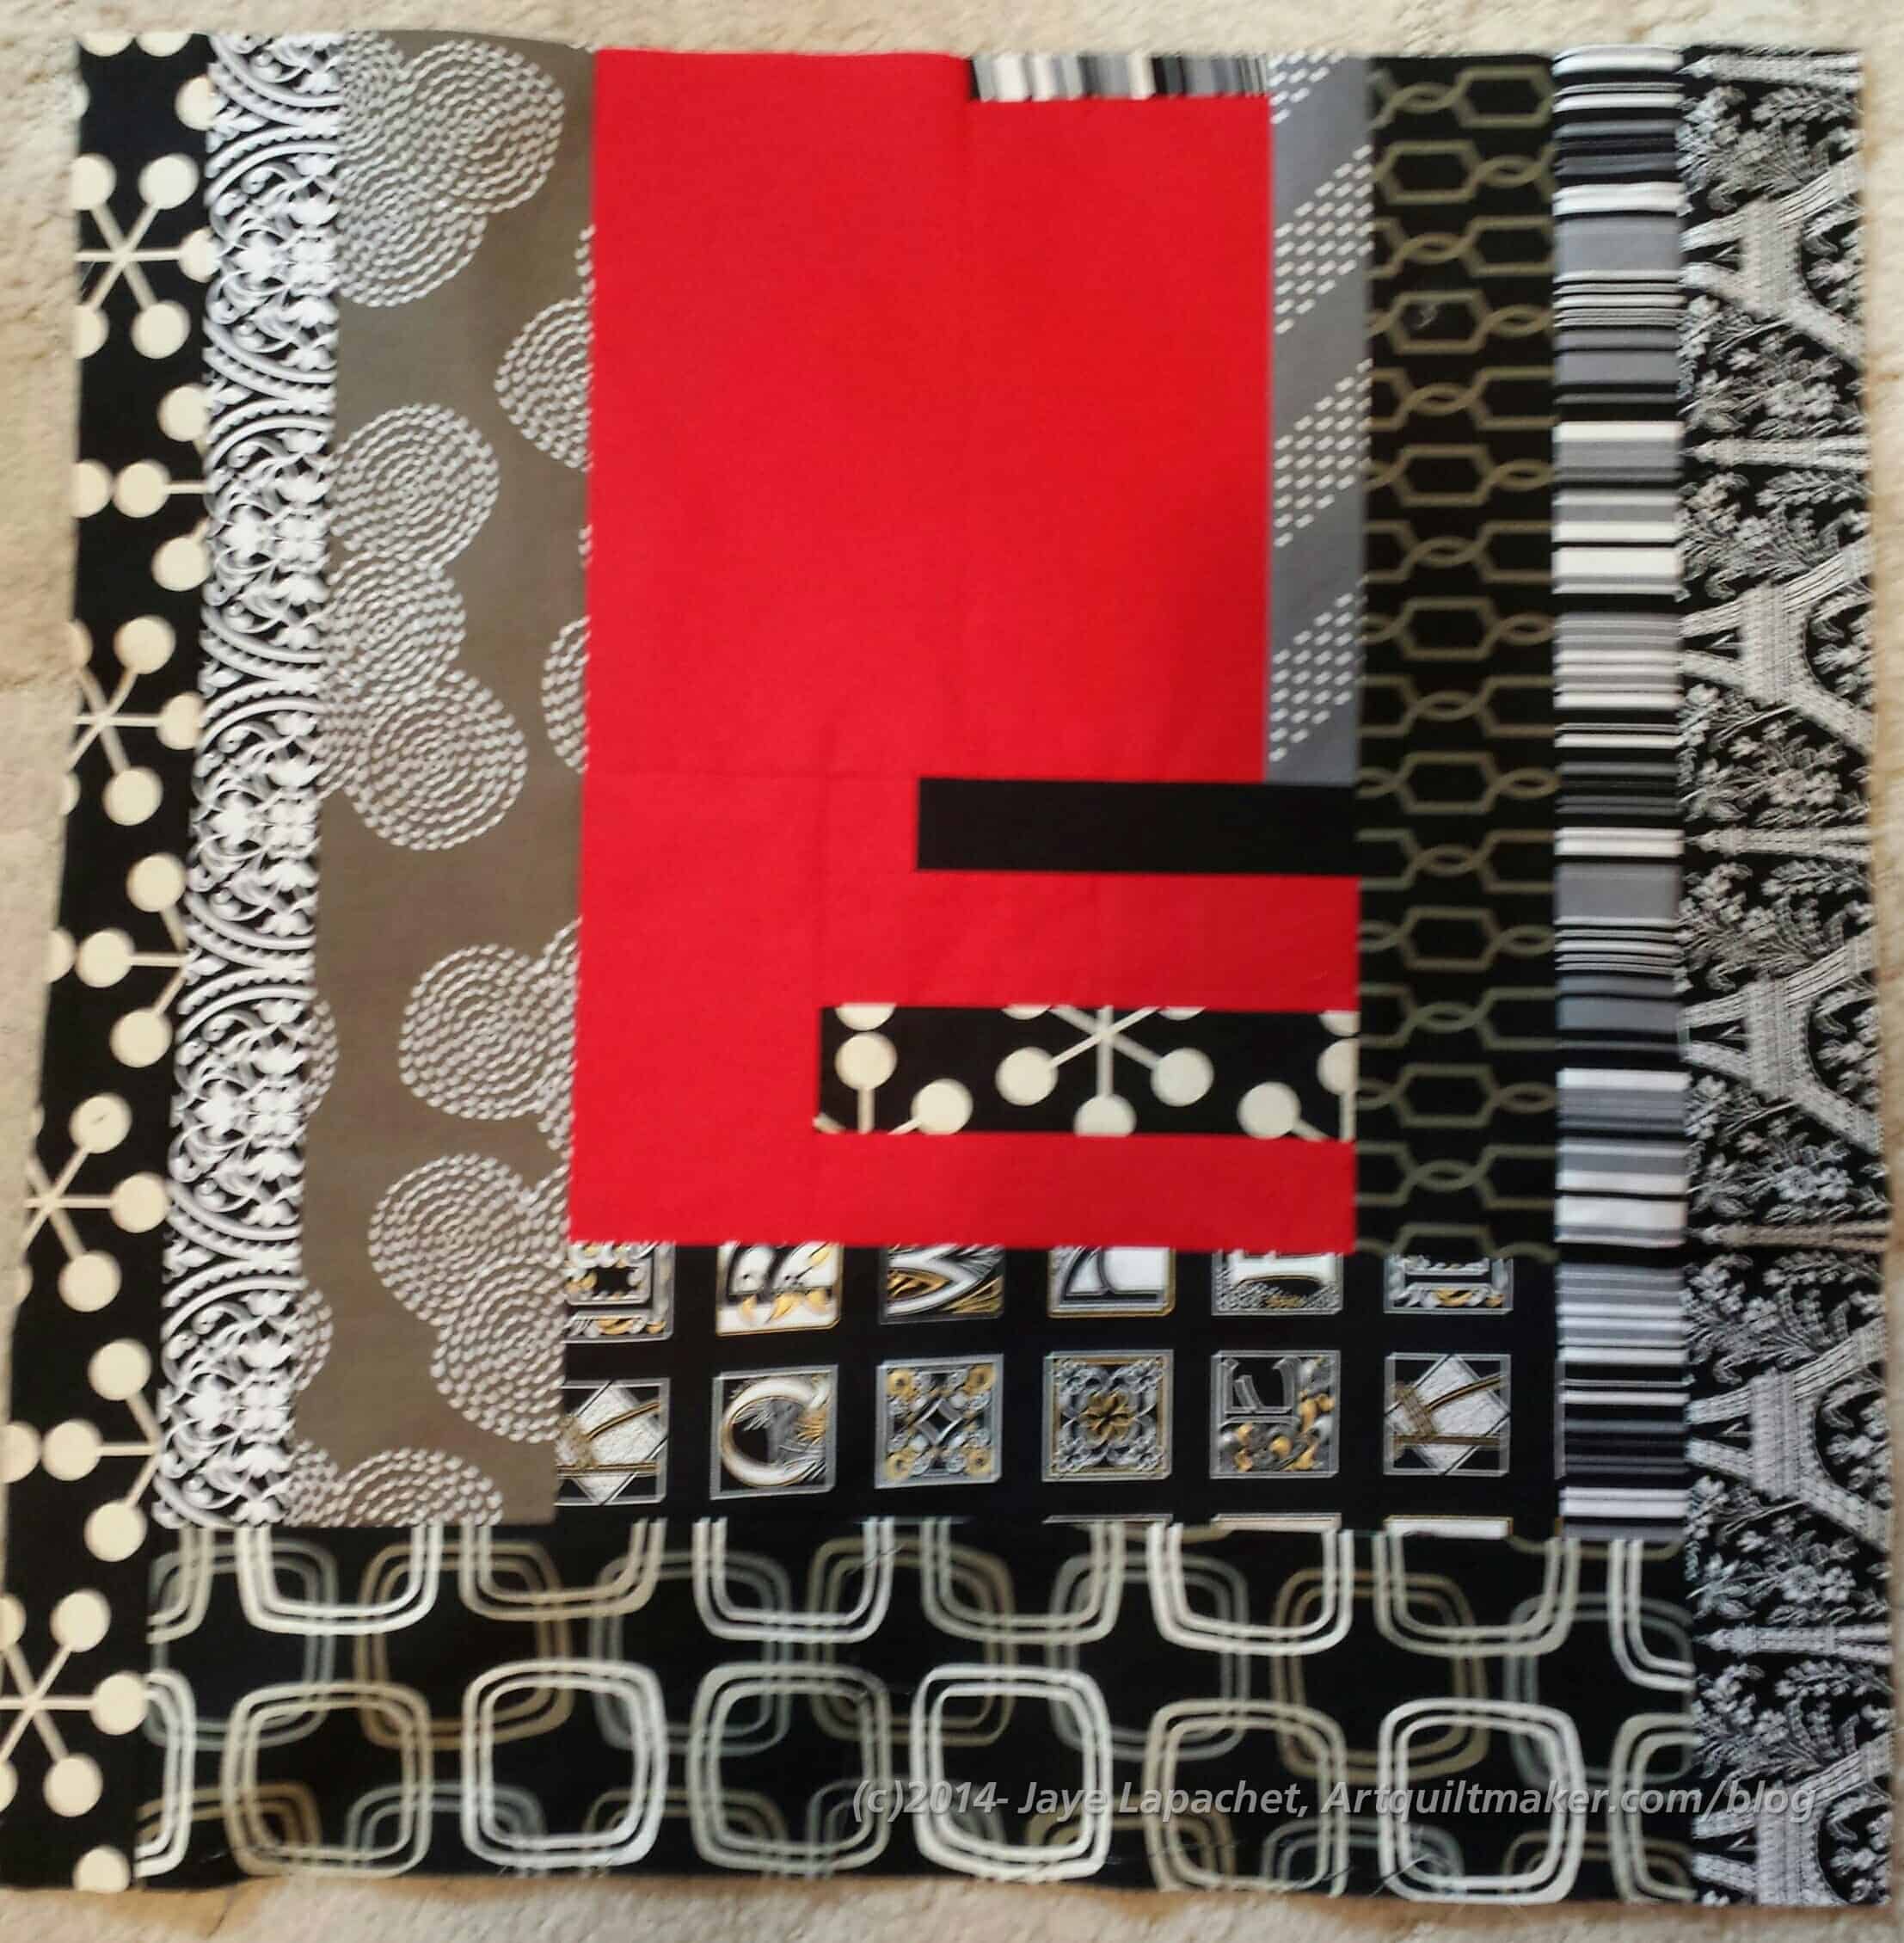
Improv B Block #1
They look pretty good and I got excited about working the B blocks. I had bits and pieces that I made in class that I hoped to use, though I wasn’t sure what I was thinking when I made them, so I kept going. The first one went together relatively quickly and that helped me move forward with the others. I am working on about 4 at once right now and expect to have a big group of them done at once. We will see.
I don’t remember exactly when it was, last Friday, I think, but I had a brief window of time before I had to go do something else for someone. The grief at the implications of my BIL’s loss were starting to creep into my brain in the quiet and threatening to overwhelm me.
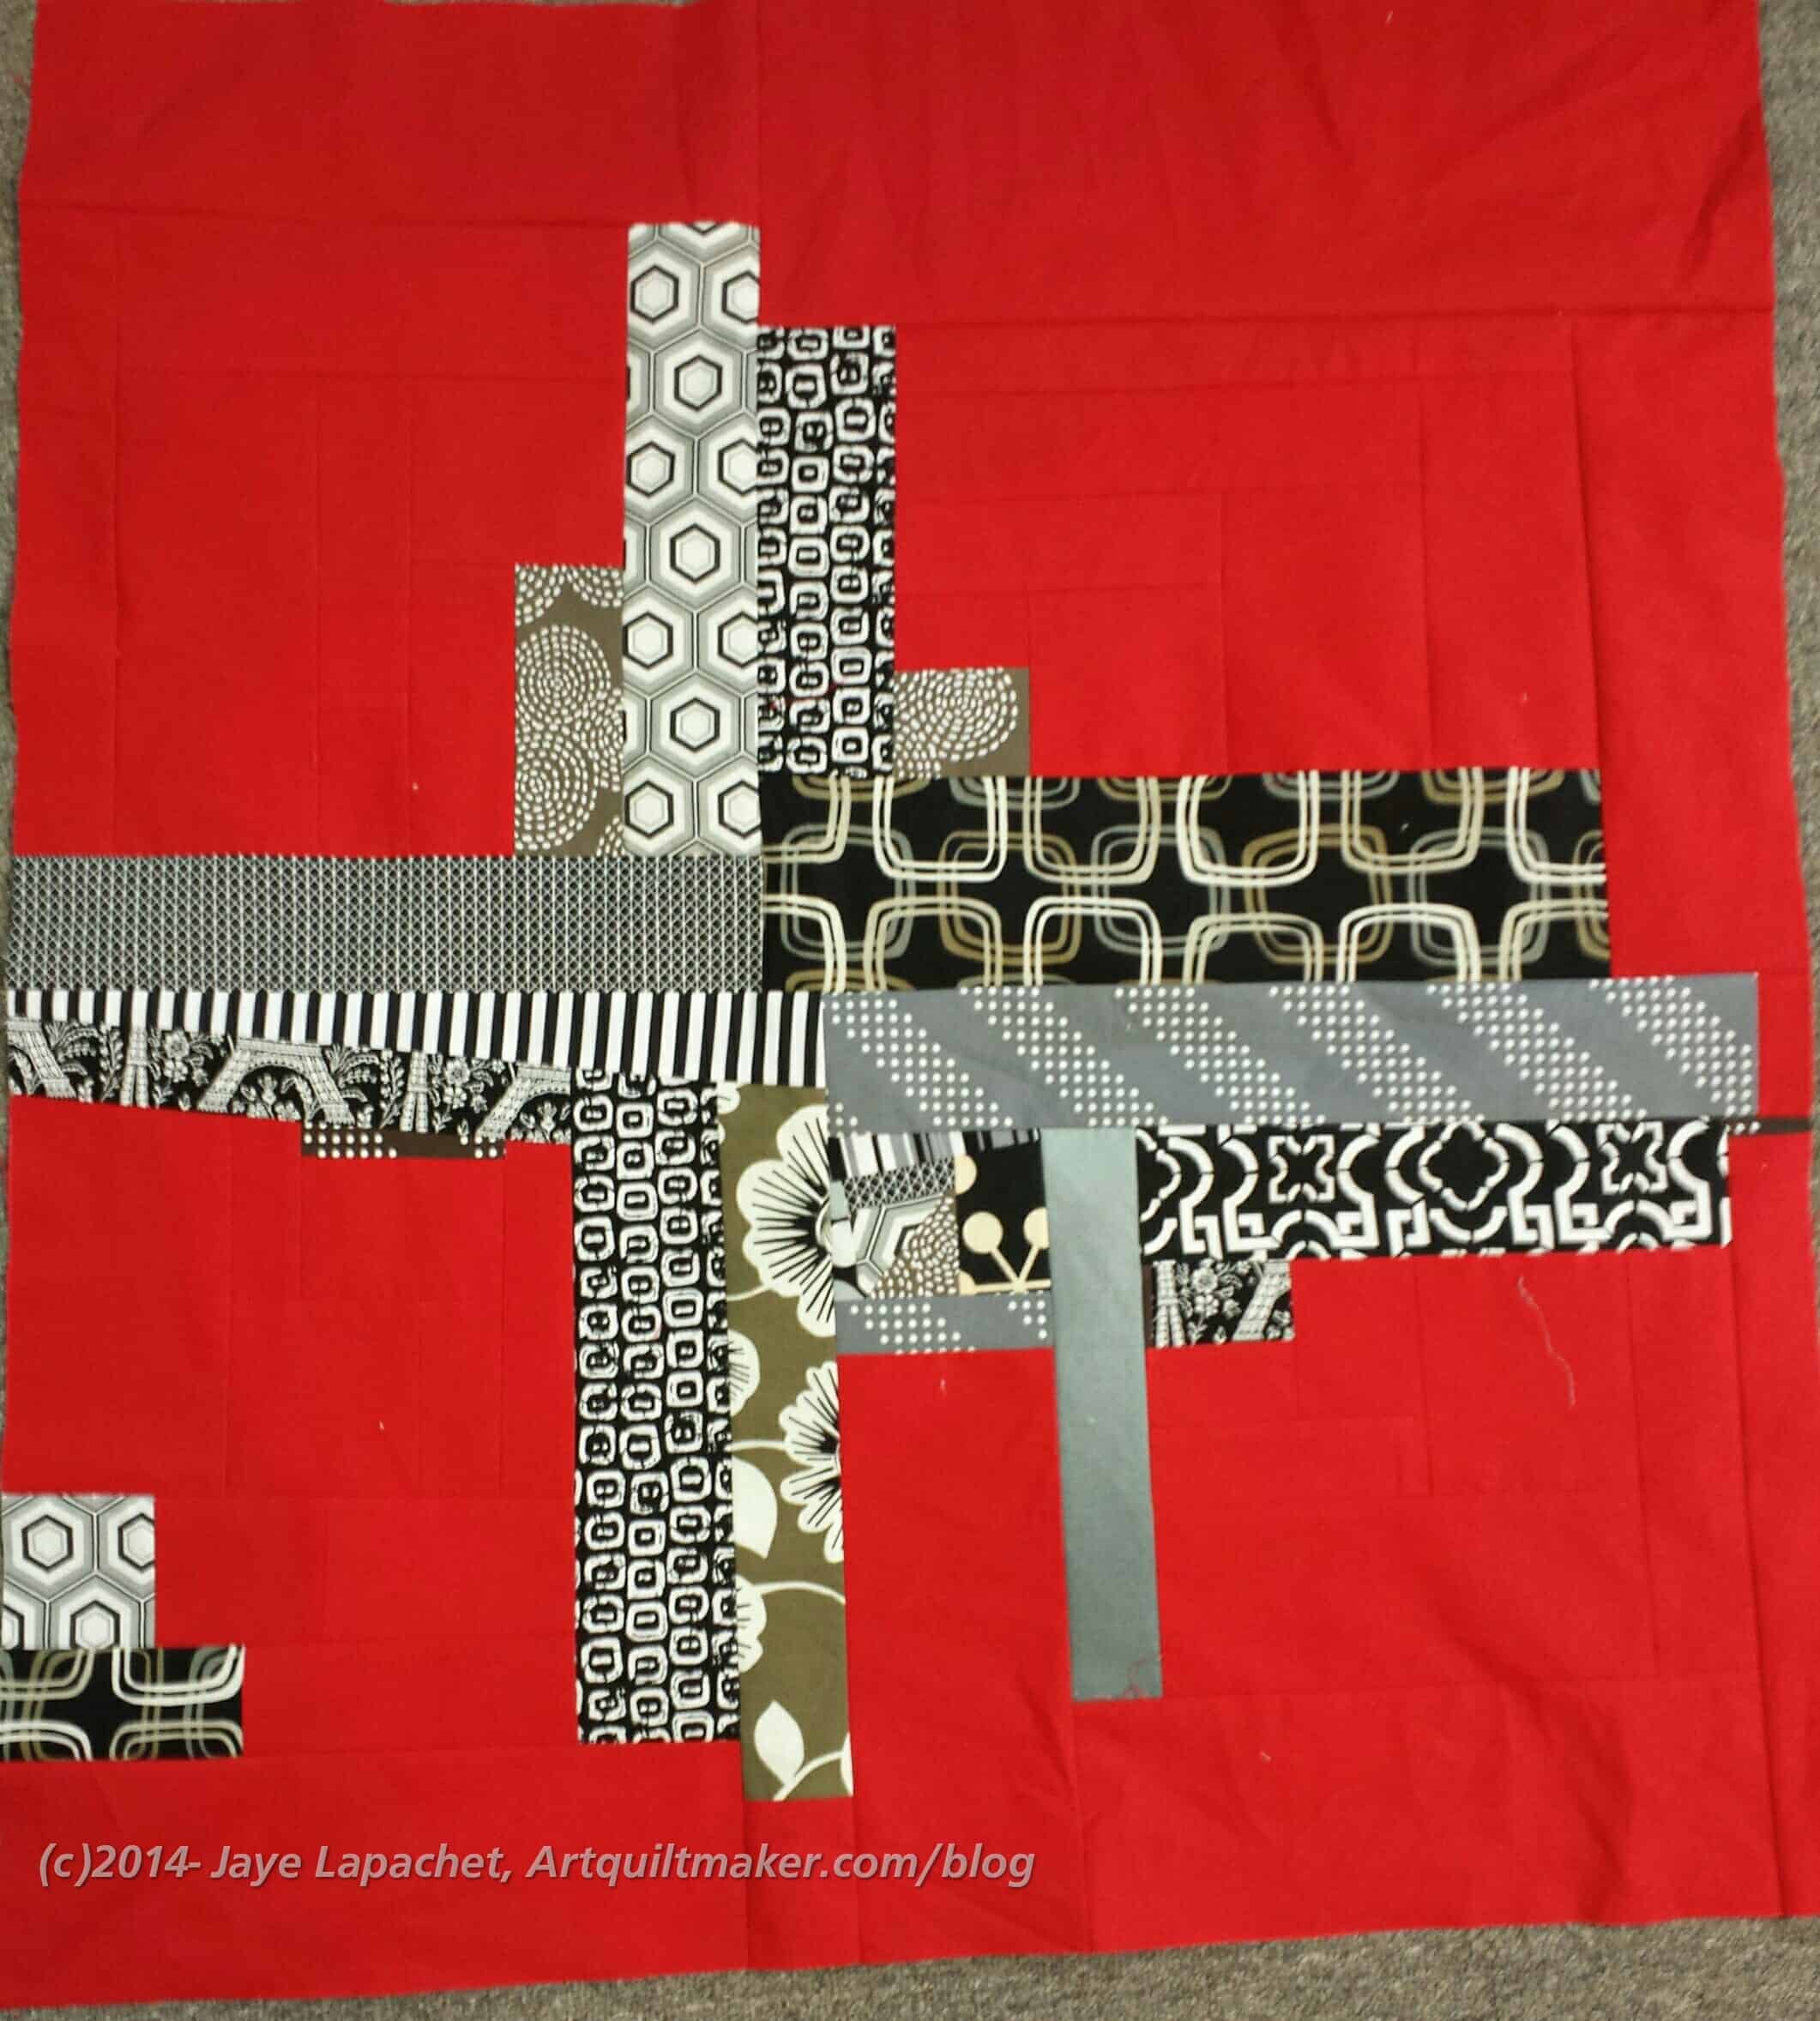
4 ‘A’ Blocks
I turned to the Improv pieces I had worked on at the workshop. They were sewn together as you see (left photo), but I wasn’t happy with them, so I unstitched them and began to rework them.
Tina’s idea (from Little Blue Cottage) is that there should be a lot of negative space in the center. Because I like the interplay of the strong pattern, I wanted the blacks and whites to act as the negative space and the red to act as the foreground.
This isn’t a terrible idea, but it wasn’t working with this layout. I looked at it a lot, trying to like it – or at least be okay with the center. The reality was that I didn’t like it. I wasn’t achieving anything near what I was imagining, thus the ripping.
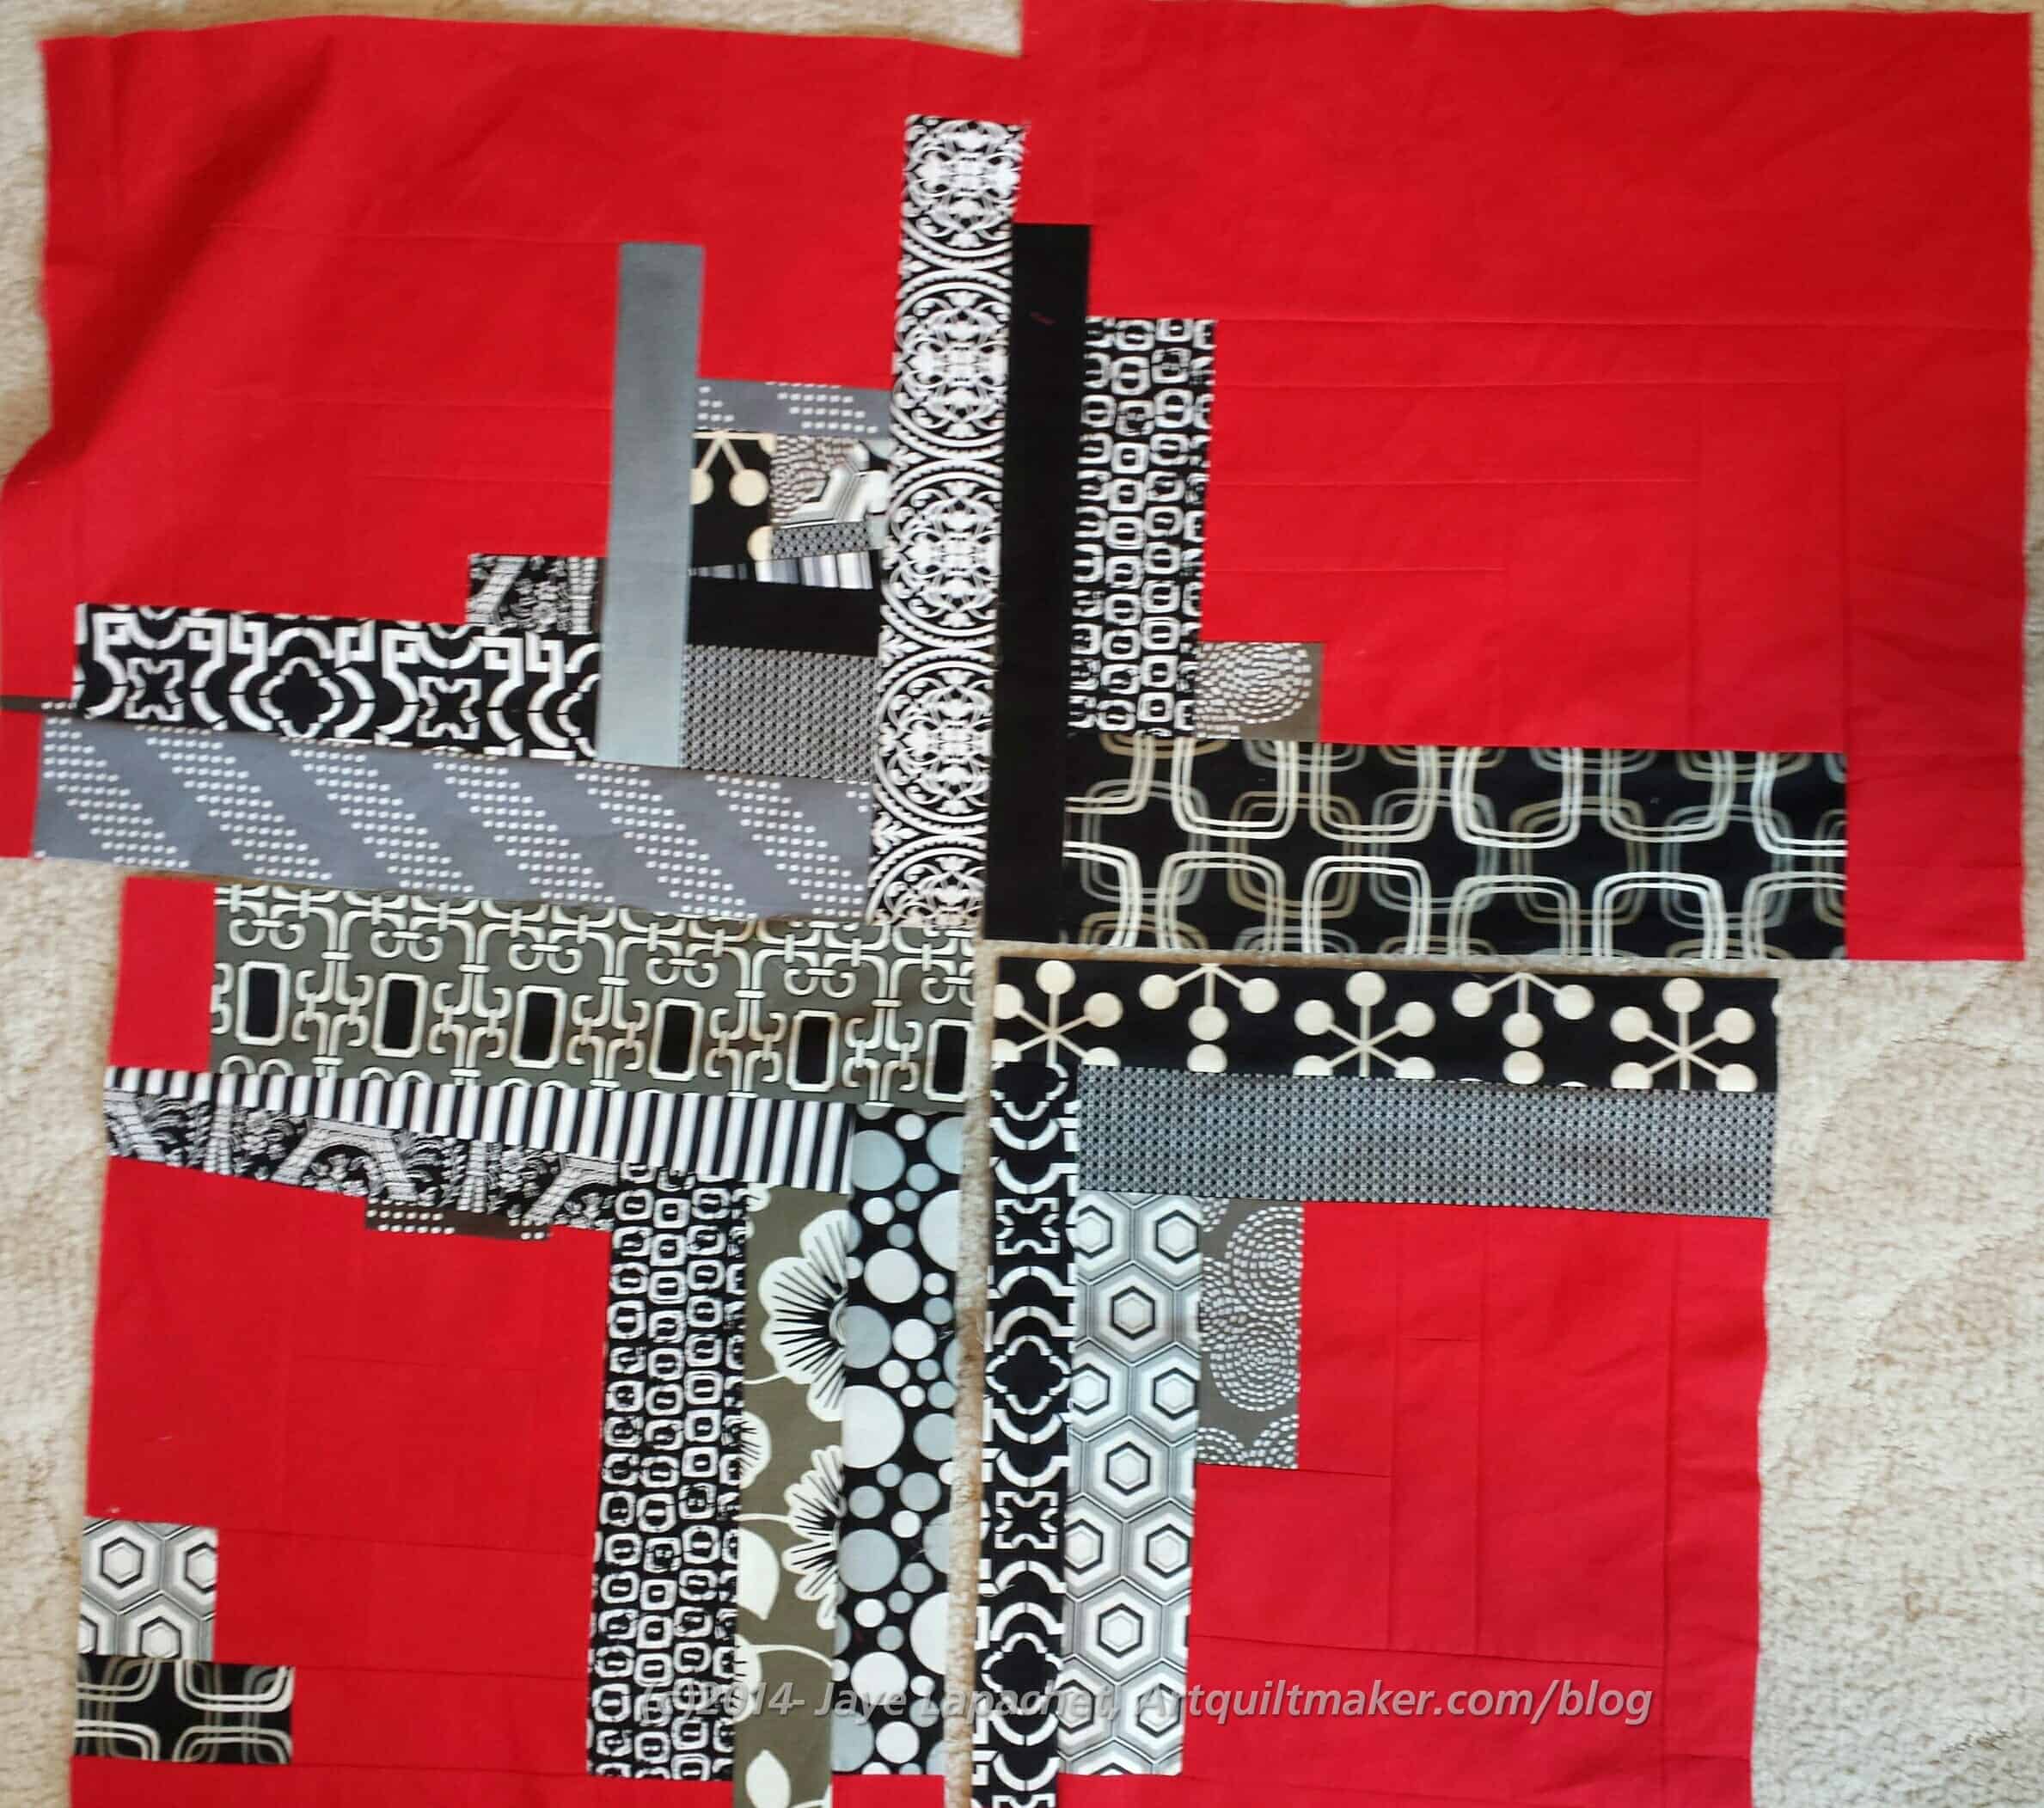
Big, fat Improv
The ripping really didn’t take long, but it did allow my mind time to wander, which is not what I wanted. After ripping, I began adding more neutrals to the ‘legs’. The photo (right) is what the pieces look like right now. I have not sewn the four blocks together yet. I haven’t decided if I am done with the ‘A’ blocks yet.
I think I will definitely add some more red to the outside. I also think that a few more neutrals is in order. It needs to sit a bit.
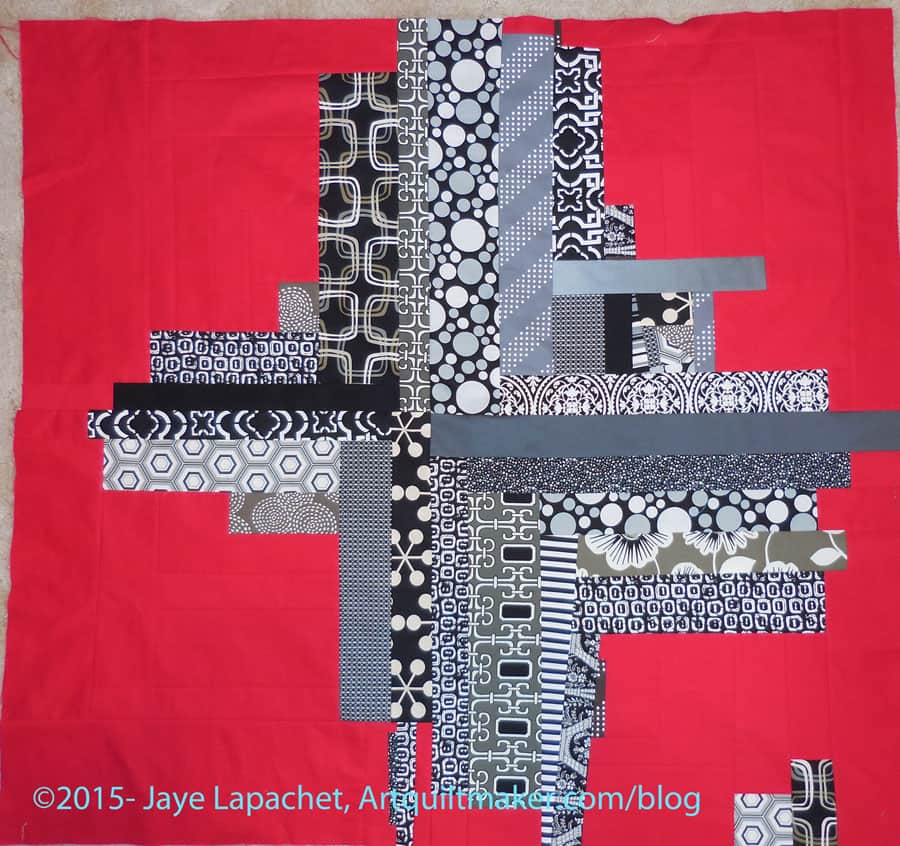
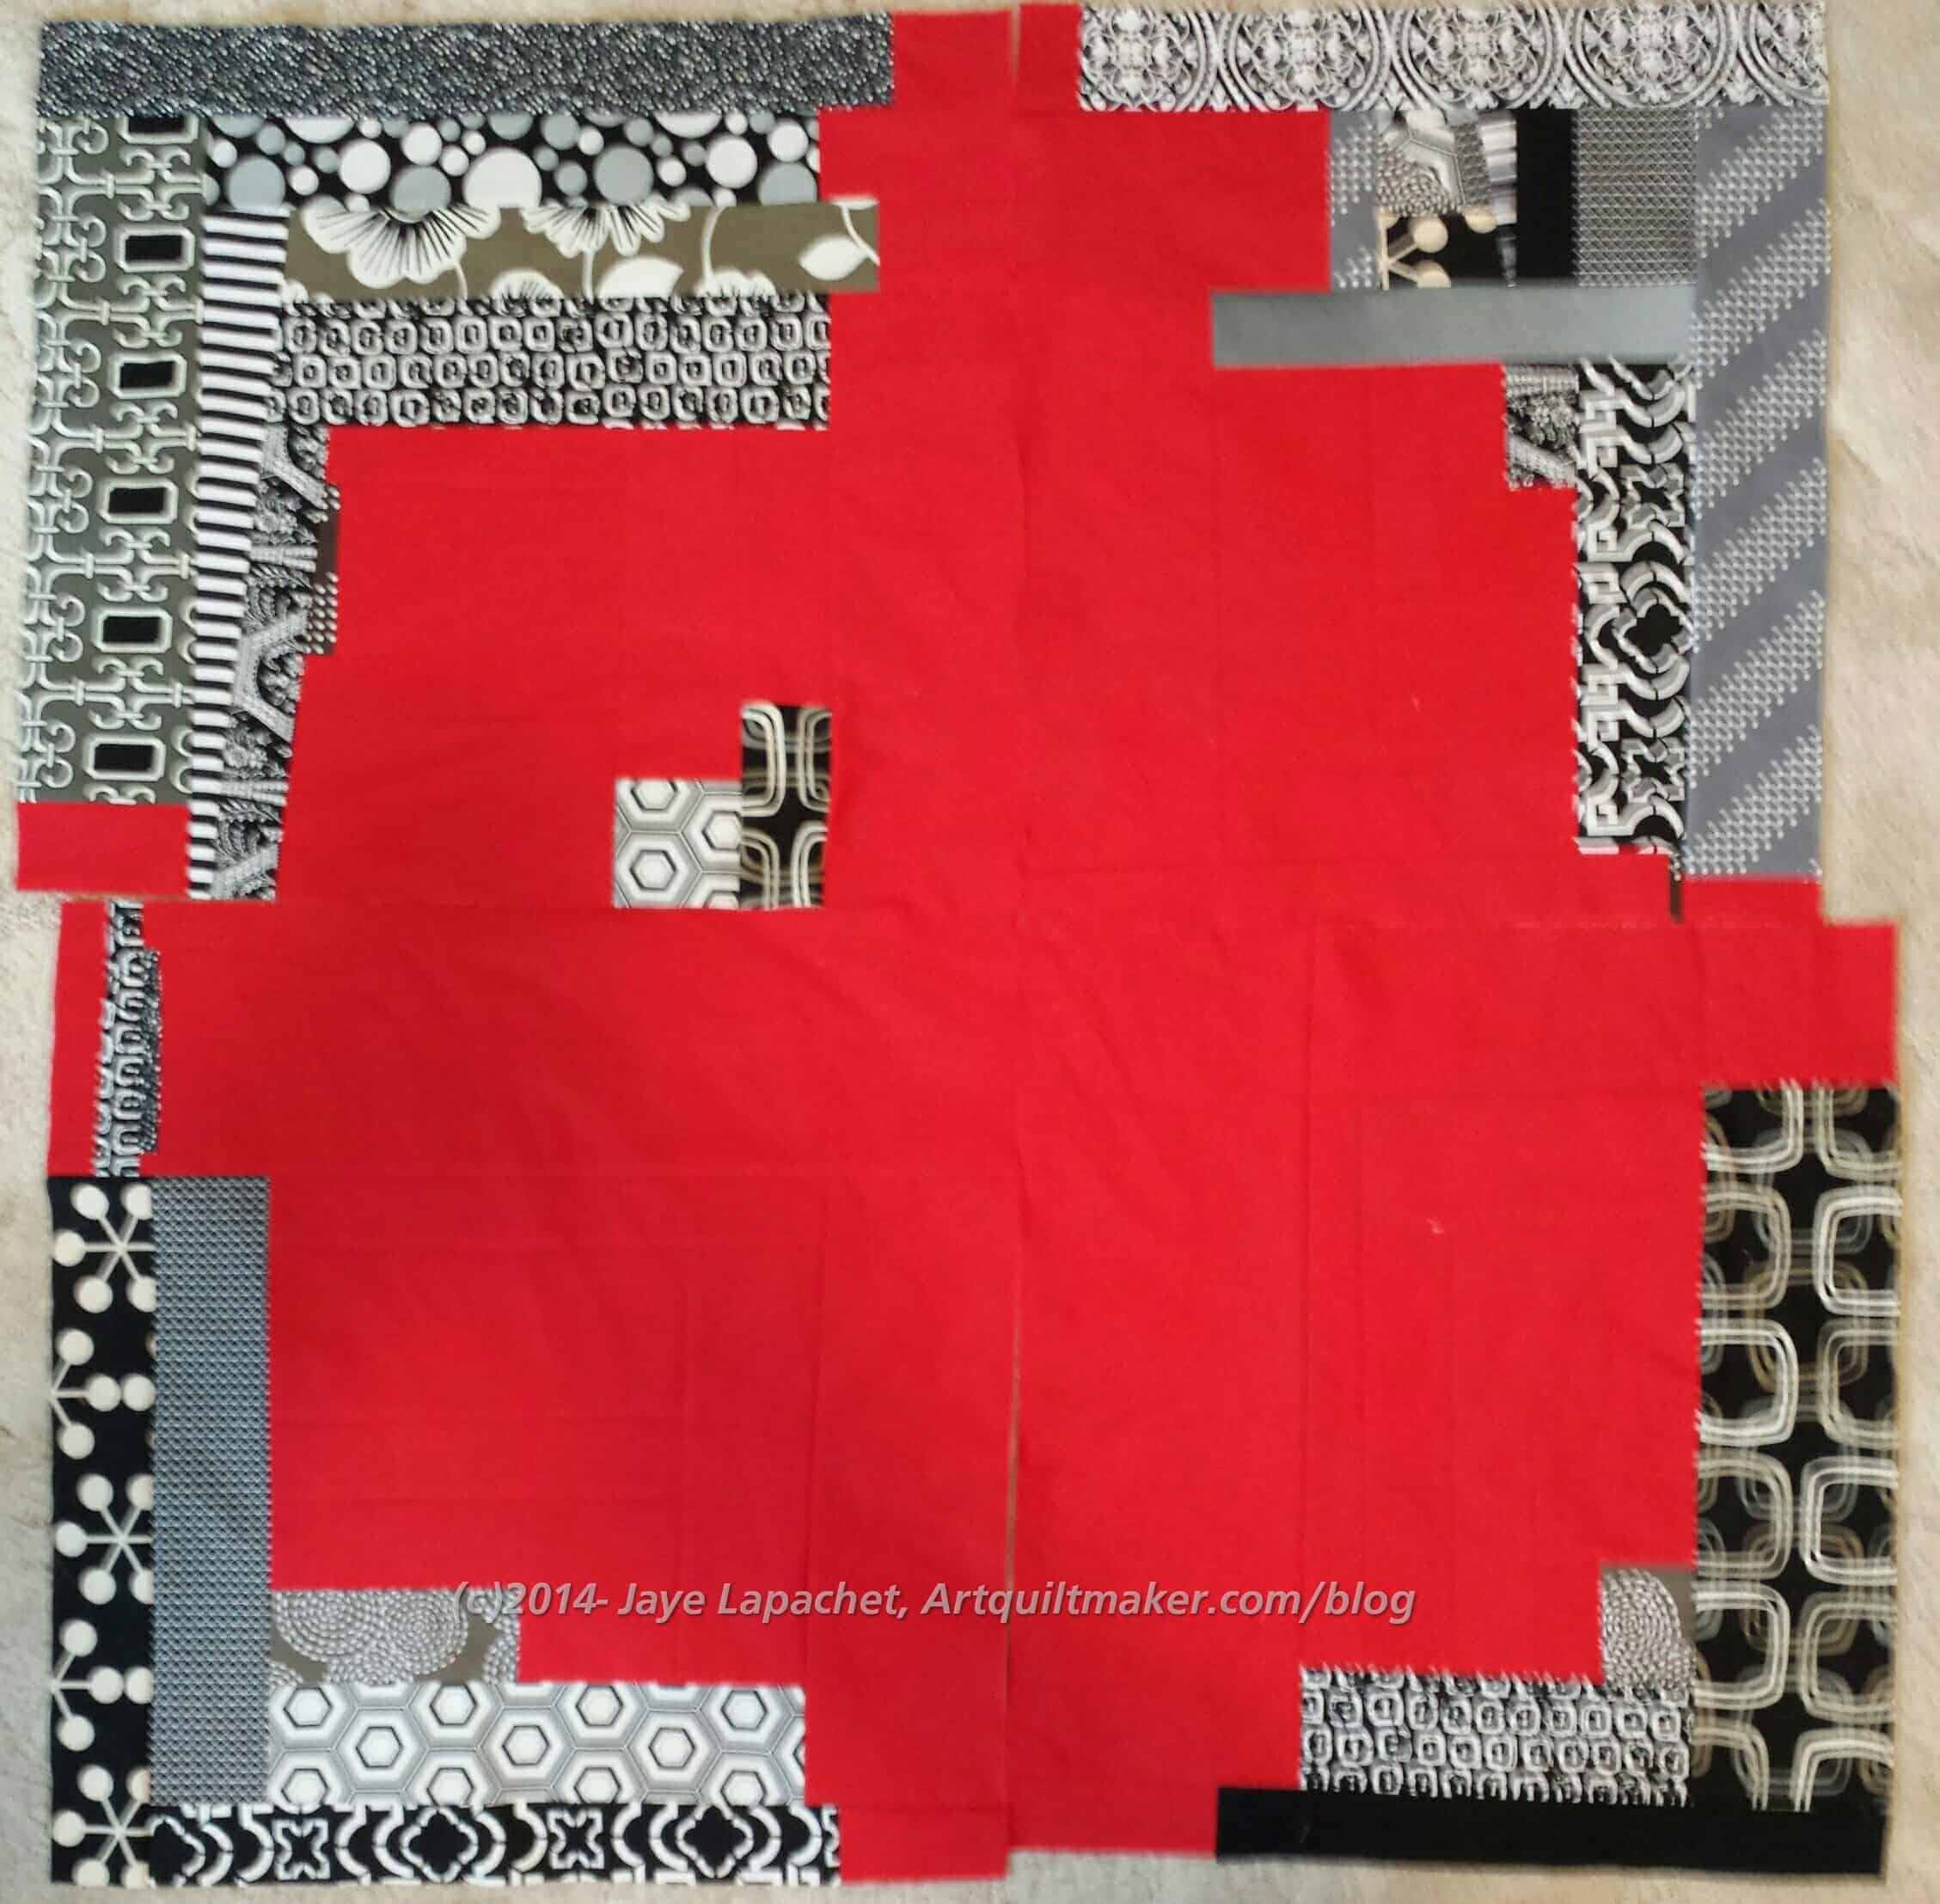
Windowframe layout
I wandered around it for awhile and then began to wonder whether I should reverse the blocks and arrange them the way Tina intended the pattern to be arranged. I think the neutral part of the blocks look too skinny again when arranged with the red in the middle. It isn’t terrible, though.
I think the ultimate path is to make some of the ‘B’ blocks and see what happens once I have more to look at.
Yesterday was a BAMQG Improv class at Always Quilting with Tina Michalik. I really liked it and it wasn’t long enough, mostly because I was on a roll sewing and wanted to keep it up. Mostly I took it as a reward for smiling and being the perfect soon-to-be First Lady.
I wouldn’t really start an Improv quilt on my own in my workroom. It isn’t that I don’t like the technique, the issue is that I have other things to work on and the technique never comes to mind.
The last Improv quilt I made was the Women’s Work quilt I started in the Gwen Marston workshop. I like that quilt and remember the freedom I felt making the blocks. There was a similar feeling in the class yesterday. I think because of the constraints on my time lately I really liked that feeling of freedom.
I switched around the background and foreground so the red is actually the foreground according to Tina’s pattern. I wanted the interplay of the prints as the background. I may have been wrong in that choice as I am not liking what I have made so far. I like the interplay of fabric motifs and the black, white, greys with the red, but the center is too cross like. The center is sewn together, but I am considering unsewing and resewing in the way that Tina suggested. I am a little angry at myself because I did not even turn the blocks in Tina’s direction to consider laying them out with the red as the negative space.
Kelly’s ‘A’ Blocks
Kelly used some Alison Glass and Anna Maria Horner prints and I love the way hers looks.
Regardless, I want the prints area to be fatter, so I think taking the four blocks apart is in my future.