There is a lot of discussion in the Pink Door La Pass FB group when each new month arrives. One of the discussions has to do with how to put the sections together before adding them a main piece.
The goal, overall, is to have as many straight lines as possible . One of the members is great at figuring out what pieces to put together to make sections of straight lines.She figured out the Hearts and Cones method I talked about.
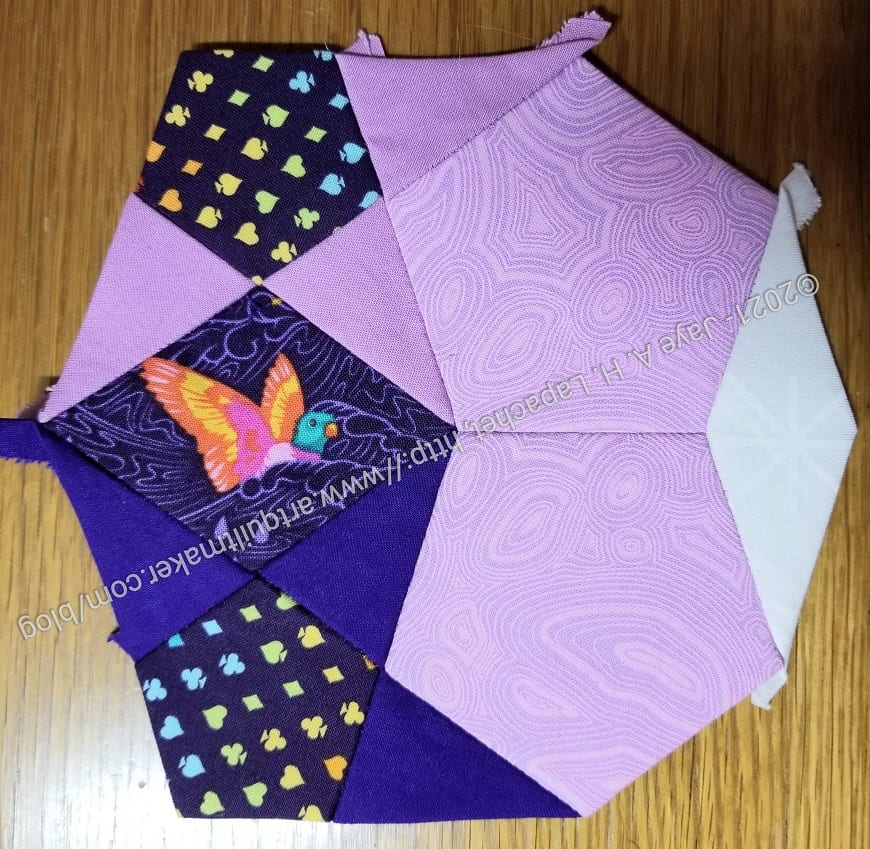
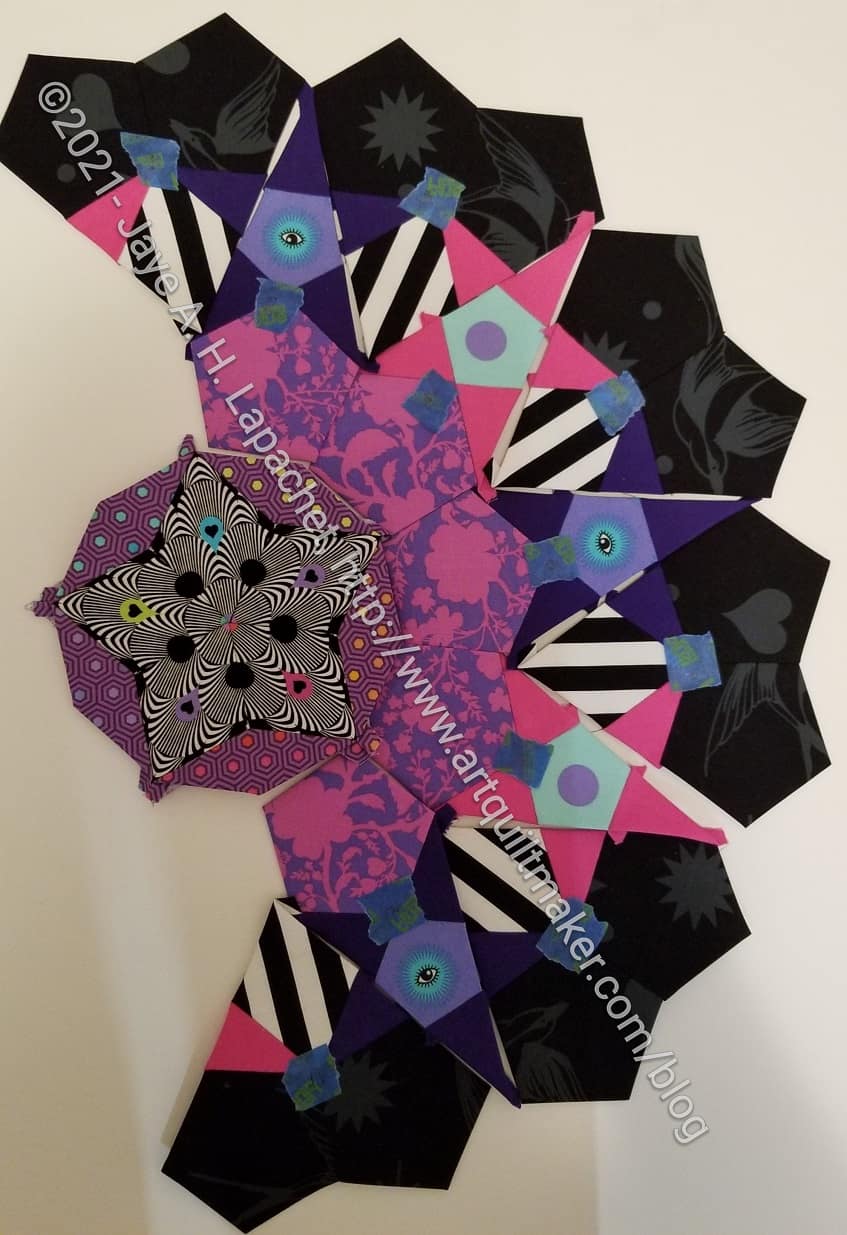
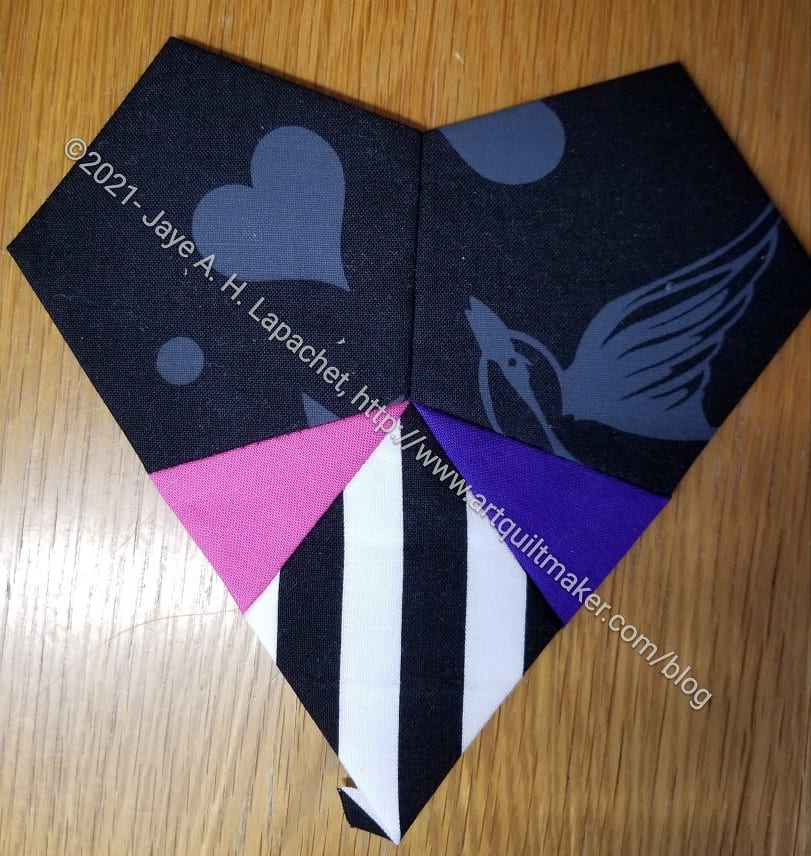
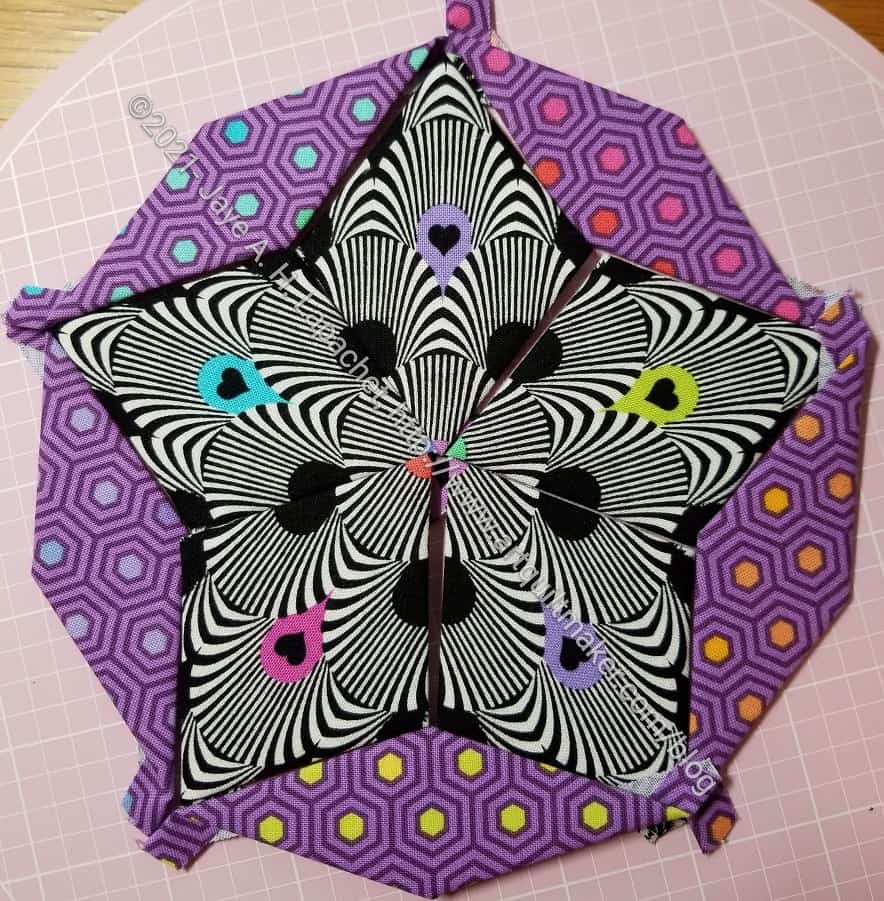
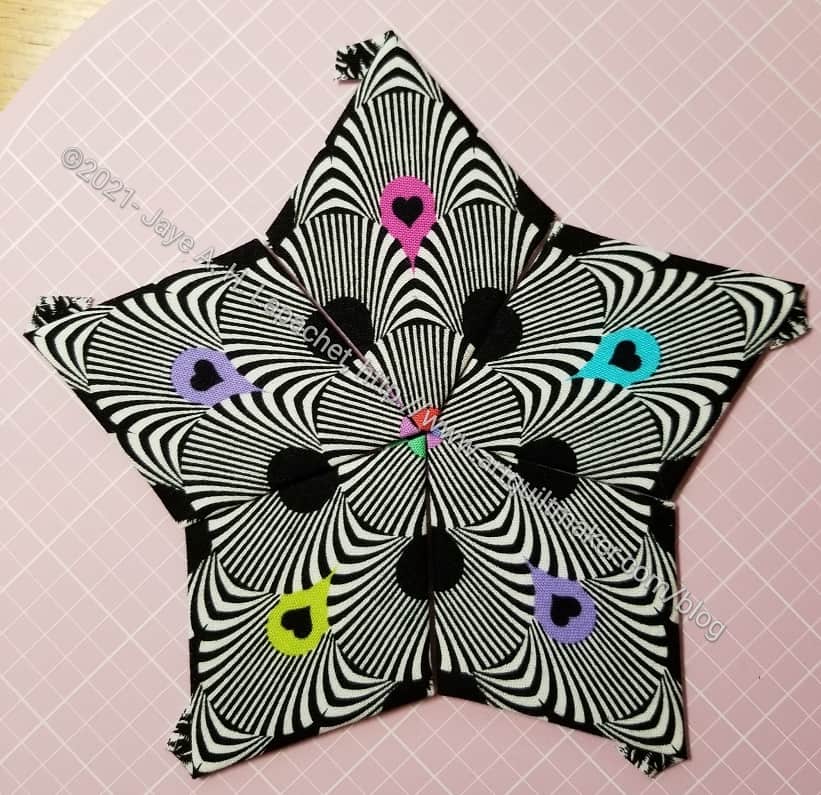
La Pass M2 chunk
For month 2 I didn’t pay attention to her work. I just figured out what worked for me. I felt like these chunks worked for me. Adding any piece to a larger rosette, like Rosette #1, is a hassle, but with this chunk, I get a lot of bang for effort.
I decided as the chunks floated around my workroom that I would sew them partially to Rosette #1 so that they wouldn’t get lost, then go back and sew the rest later. Stay tuned for more on whether that worked or not.
I spent some time at Sew Day working on La Pass, M2. Actually, I spent the whole Sew Day working on La Pass. I got some more done, but, as usual, not as much as I expected.
I might be using Sew Day for the foreseeable future for La Pass since I have so little other time to work on it. I was working on it during meetings where I didn’t have to present, but those meetings are less forthcoming that before.
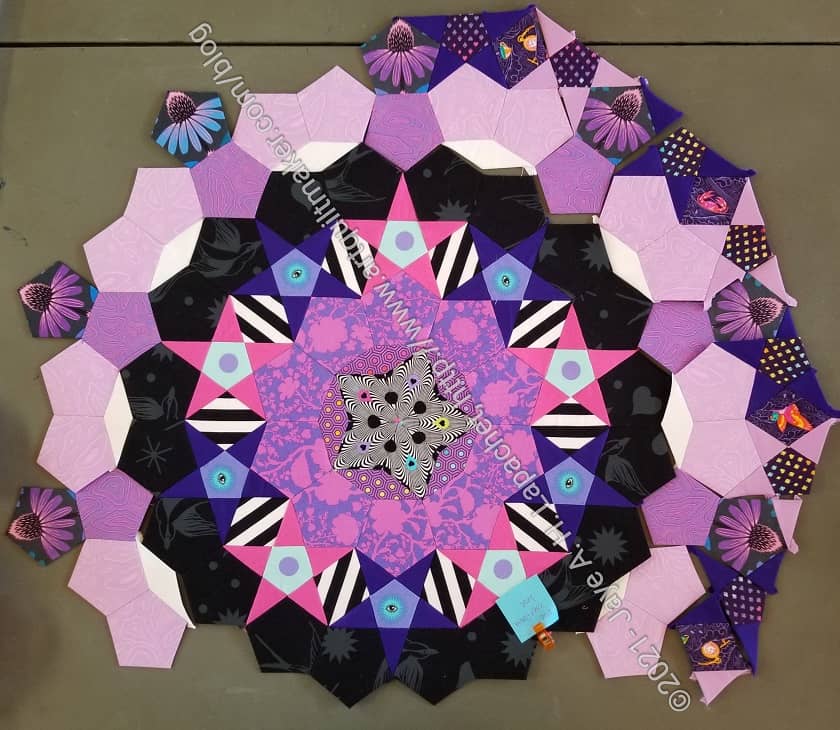
Many of the pieces you see around the right edge are not sewn to Rosette #1, though some of the smaller chunks on the left edge are attached. I am working on putting chunks together before I sew them to the rosette.
The chunks are strange shapes. I didn’t follow the guidelines shown in the Pink Door La Pass BOM group. I know I can sew them to Rosette #1 and I just didn’t feel like doing it their way.
Some progress, which is good. Not enough, but better than nothing.
As I mentioned yesterday, I was sewing on the go. I have a specific way I do that using my Sew Together Bags. I usually use the grey Sew Together Bag for EPP. I have used that one for years for working on the Half Hexie Star project. I could have used that one, but I didn’t want to disturb my Half Hexie project (which I haven’t worked on in a year. 🙁 )
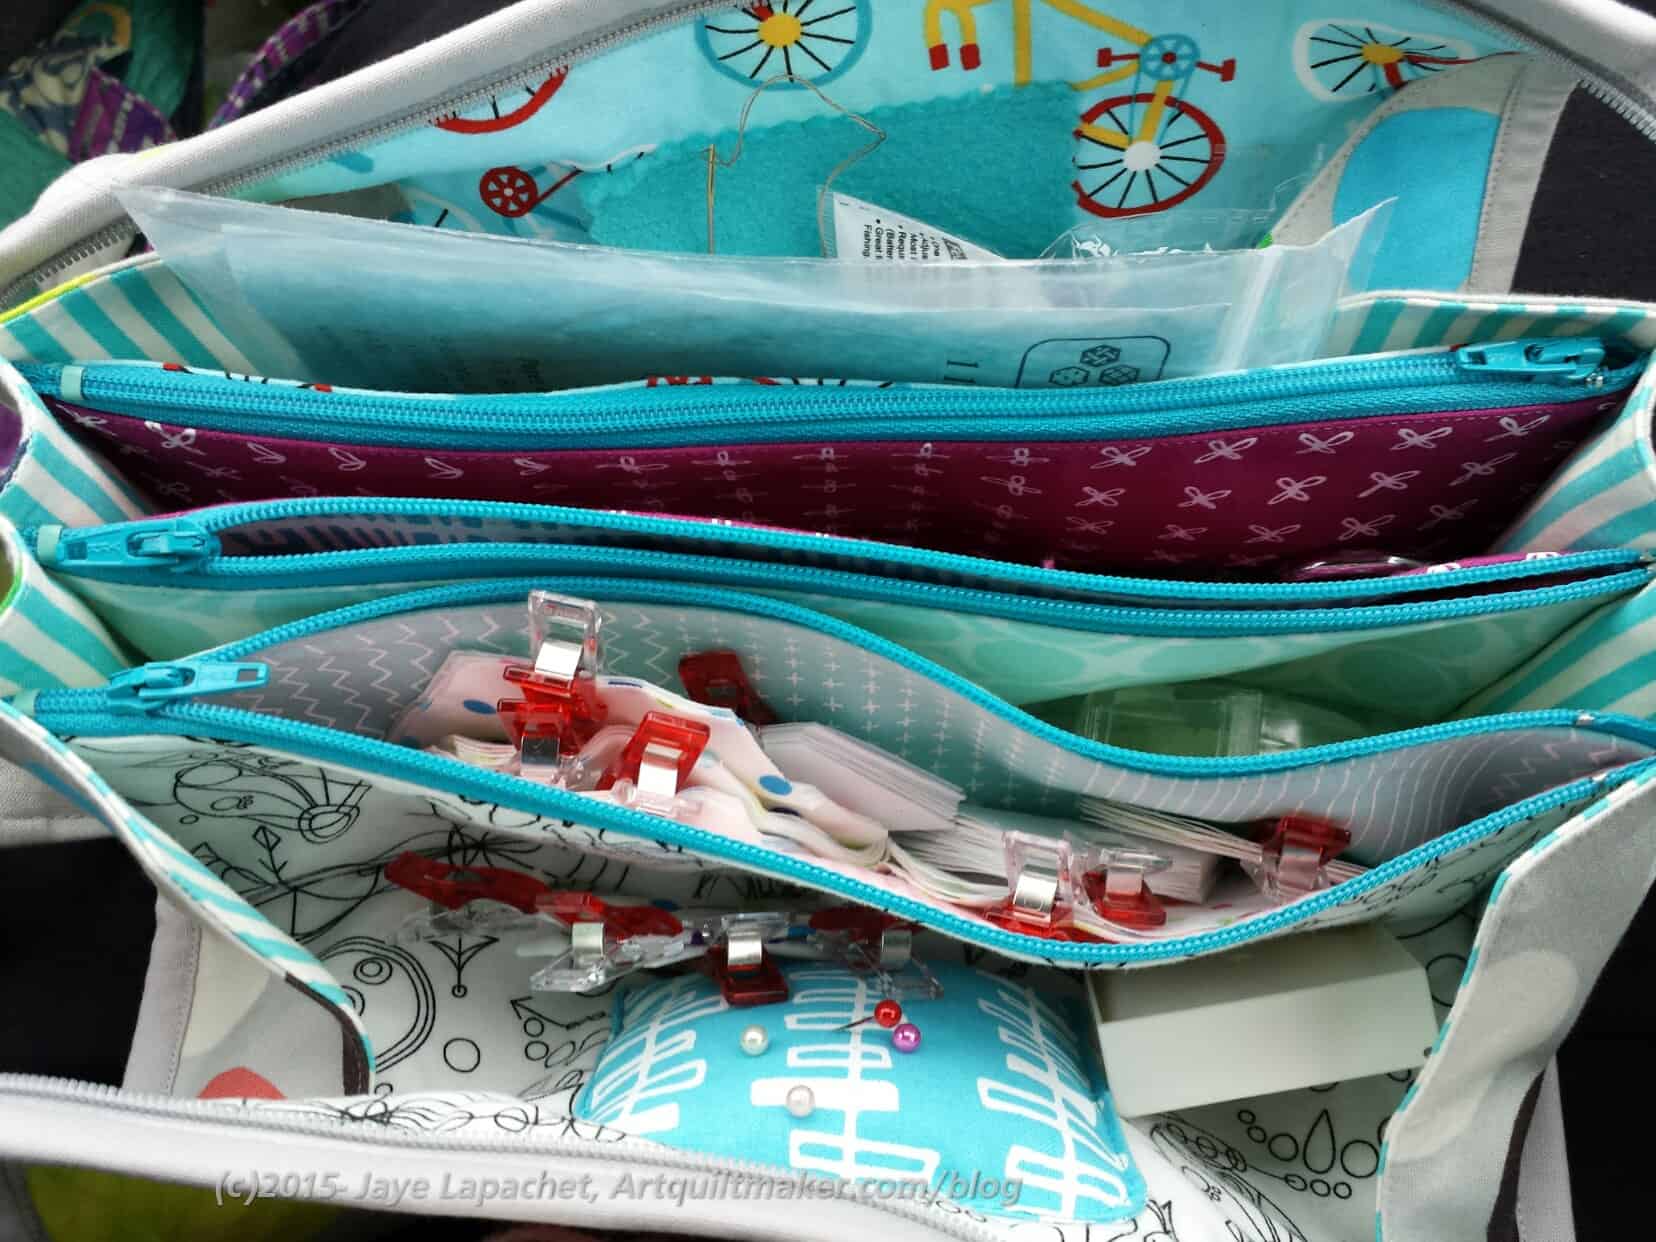
Brocade Peony STB for La Pass
For La Pass, I am using the Brocade Peony Sew Together Bag. The photo, left, is what it looks like sitting in my lap as DH drives.
I made this one specifically for La Pass. I didn’t really realize that all the pieces weren’t going to fit inside.
Some of the smaller pieces fit inside, but the larger chunks don’t. For the Half Hexie Star project, I can fit a couple of stars in the bag after they are sewn together.
I kept my backpack nearby while DH drove and could put the larger chunks in the project folder to keep them flat. I also had some zipper bags with the basted pieces inside. They were also in my backpack so i could just reach down and grab what I needed. I probably need to make the A Place for Everything Bag for this project.
I was out of town for a few days for some Political Wifery. DH had to give a big check to St. John’s Hospital. They are doing fabulous things for kids with cranifacial anomalies. As usual, if you want to donate fill out the form and send it in. Know that the Board does not get reimbursed for their efforts AT ALL. We paid for the whole trip ourselves so all of the money can go to the kids.
End of PSA.
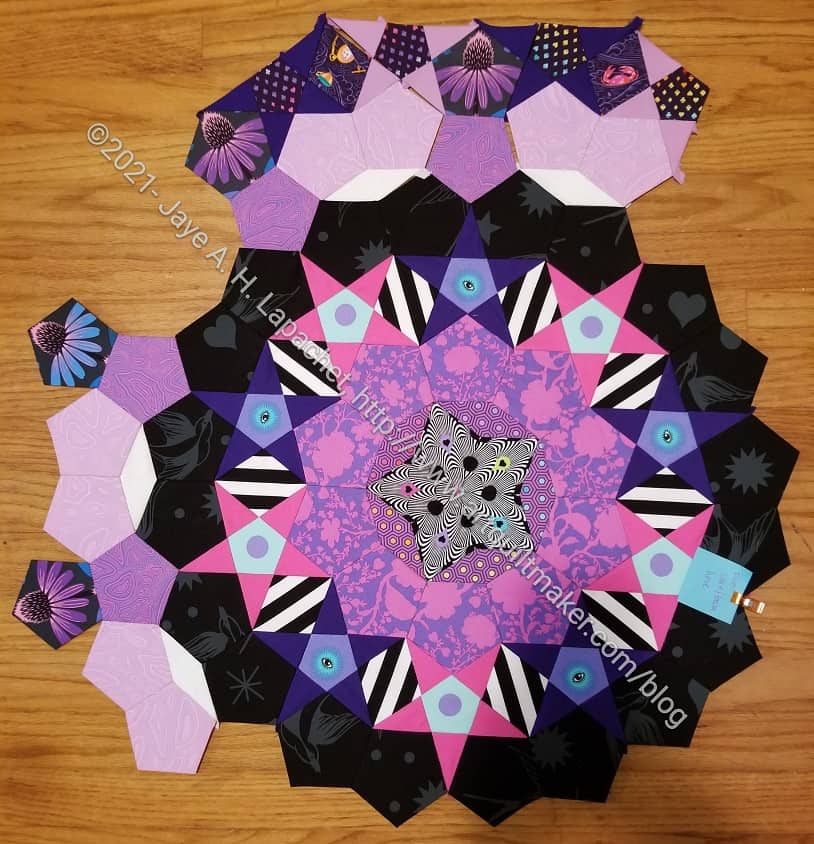
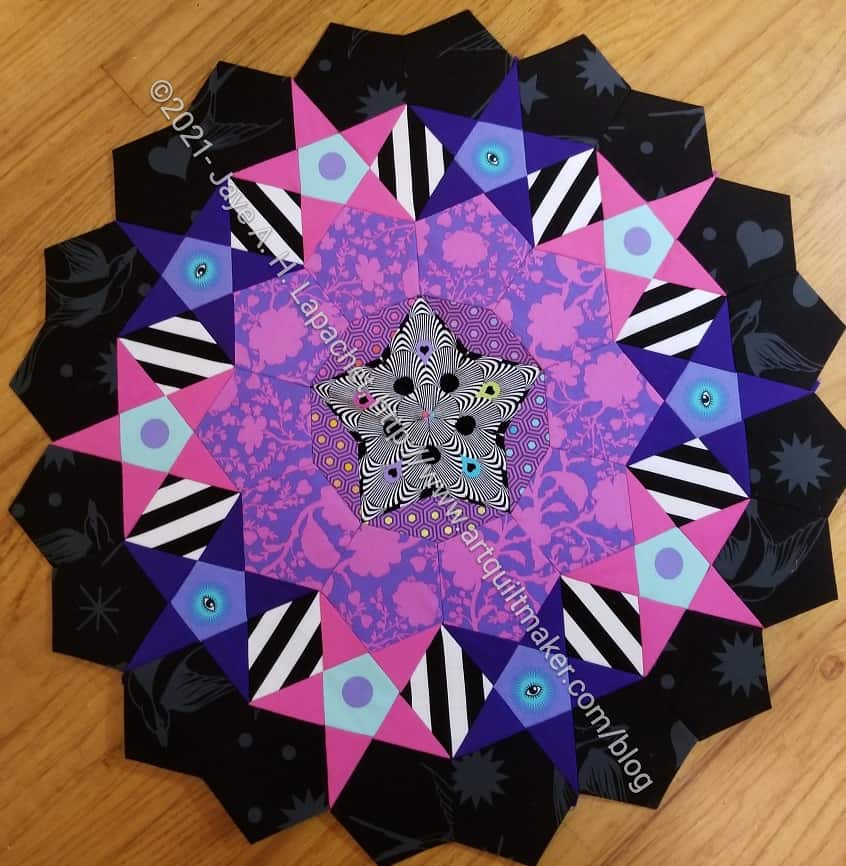
La Pass – started M2
When I was not driving or at some event smiling, I was working on La Pass. I got some done.
Month 2 consists of sewing another ring around Rosette #1.
The pieces on the left are sewn to the Rosette #1. The pieces on the top are sewn into chunks, but not yet sewn to Rosette #1.
I am substituting one of the Tula fabrics for the coneflowers. The Tula fabric I am not using is the cats from Curiouser and Curiouser. I don’t want animals looking at me. I know Tula is famous for her animals, but I prefer no obvious novelty fabrics. I am using a bit of the ‘Drink Me’ in the diamonds of Month 2, so I am very inconsistent.
I had hoped to get more done, but I did most of the driving and I haven’t figured out how to drive and sew. I tried to get DH to sew while I drove, but he refused. Someday maybe…. LOL!
I finally finished Rosette #1!!! I am pretty excited, though I’d be more excited if I could rest on my laurels a little bit before having to start Month #2. No rest, though, as I have to get going so as not to fall behind.
One thing I am excited about is that I am FINALLY making progress on La Pass. I have wanted to make this quilt for a long time and I am finally doing it. Working on it as a block of the month is a lot more doable for me than doing it on my own, which is strange. I am good at working on projects on my own, but this one defeated me.
I thought about putting this in my 26 Projects list, but it isn’t a finished quilt. I decided that I would add it to the small projects area so I could keep track of my progress.
The other day I talked about working on Rosette #1 at Sew Day. Since the Month 2 kit and fabrics arrived, I have been thinking about how to arrange the fabrics and replace the cat fabric that is fussy cut into some pentagons.
I came home and did some testing for Month #2’s work, which involves adding on to Rosette #1.
Fussy Cutting Testing
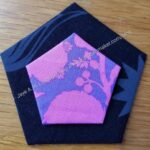
I photocopied the cat fabric to see if I could work out a way to fussy cut it so I wouldn’t see the cat faces. I photocopied the fabric so I could play around with the designs and not mess up any of the actual fabric.
No matter what I do, a little part of the cat faces are in the picture. I would use the purple background, but I don’t have enough to just cut the background. I like the purple of the background of the cat fabrics, but Tula doesn’t seem to have that as a solid or as the background of any other fabrics
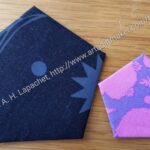
Testing the coneflowers
I also tried to see if some other fabrics would work. The Anna Maria coneflowers fit pretty perfectly into the acrylic template. These are my top choice right now. Lindsay pointed out that if I had other colorways of this fabric I could incorporate them into future parts of the quilt. I don’t know why I didn’t think of that, but it is a great idea.
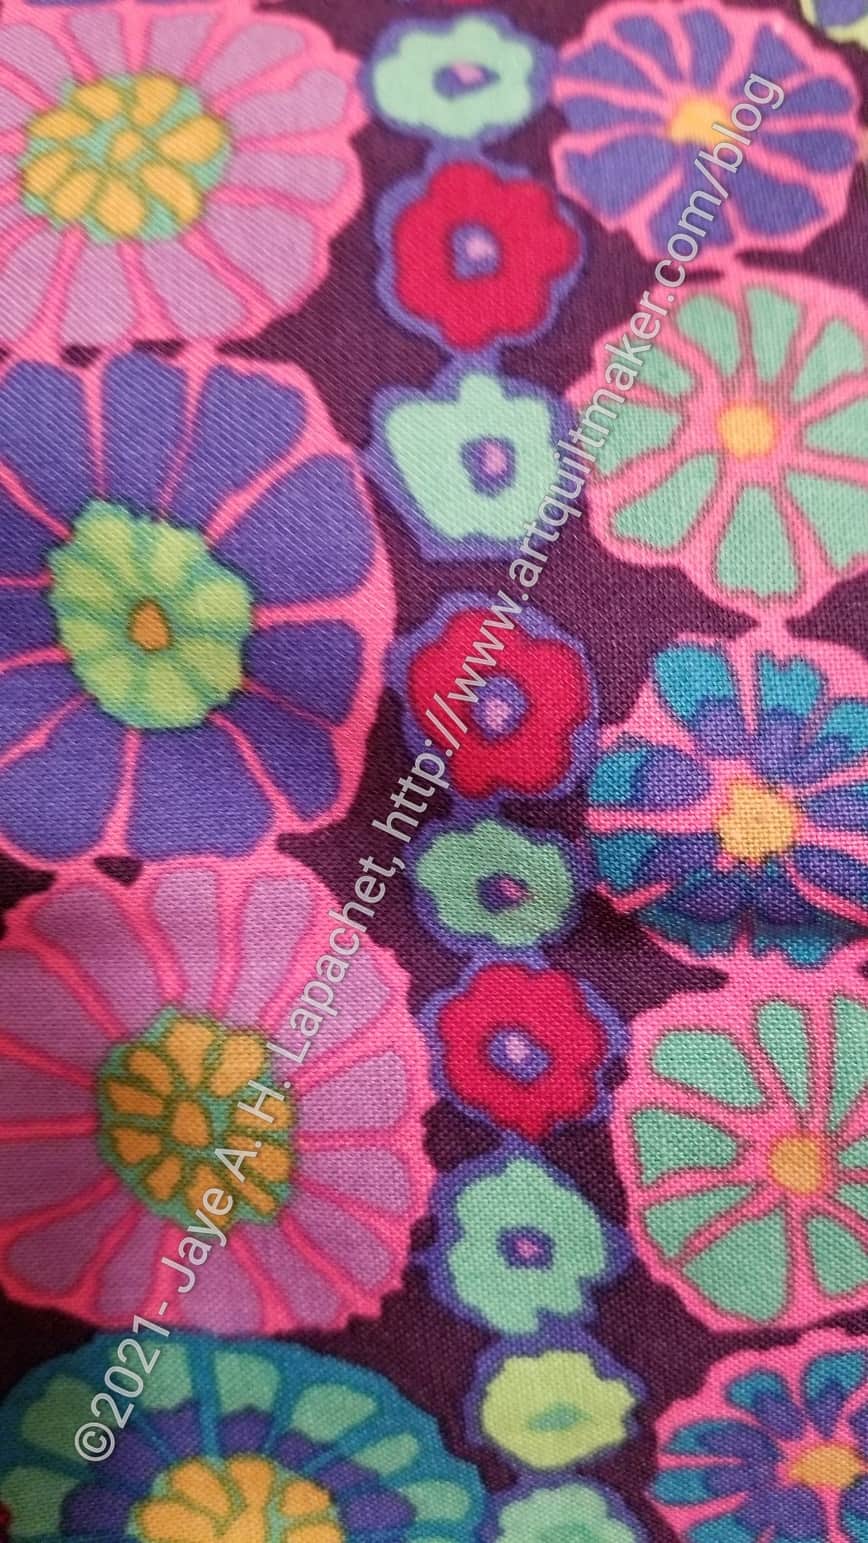
Kaffe flower fabrics
My other idea is to use some of these Kaffe millefiori flowers. They are bright and cheerful, though not very fussy cut-able.
I still have to finish Rosette #1 before I have to decide, but that time will soon be upon me.
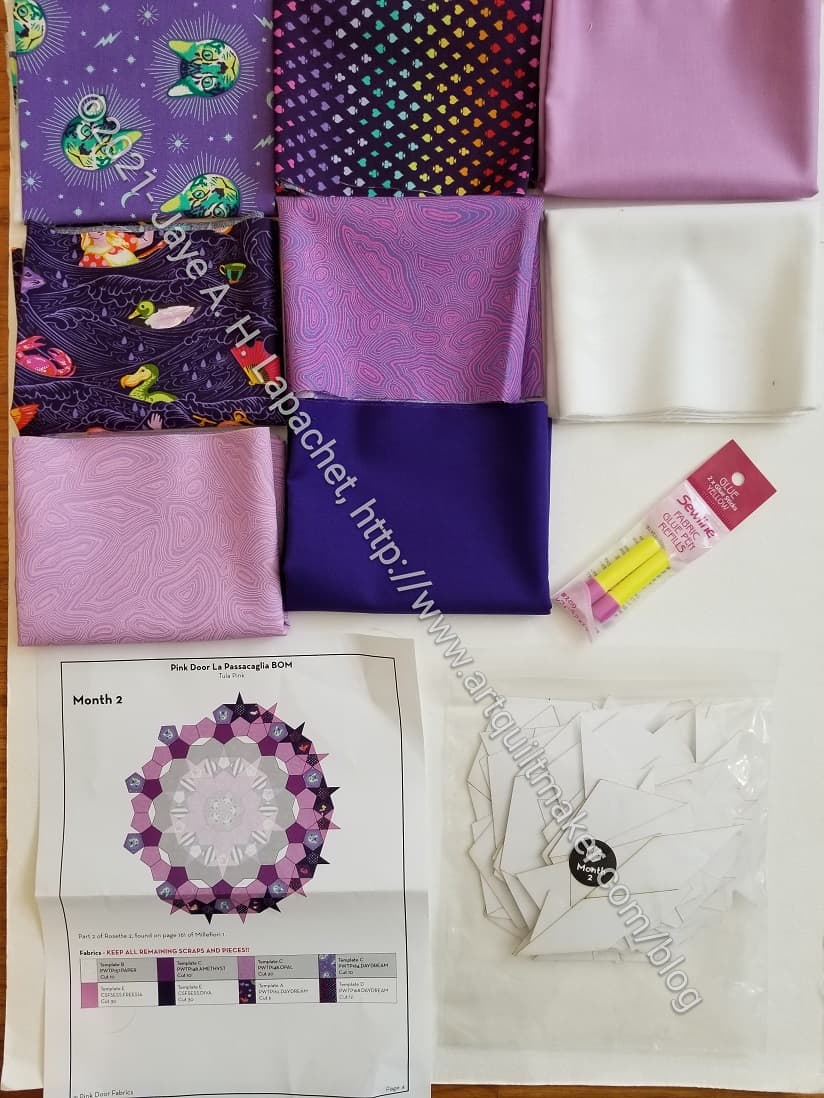
Right is what came in this month’s kit. No acrylic templates this time. Apparently, we use the same ones we used last month: more skinny diamonds and pentagons.
This group of fabrics is not my favorite. Those light purples look wimpy to me My general rule, following my friend Lindsay’s good sense, is that I will replace as little as possible. She allows herself to replace one fabric per month. I am trying to stick to that since I bought the ‘papers and fabric’ option.
I definitely will not be using the cats. I am also not a superfan of the ‘Drink Me’ print, though some of the motifs are ok. I need to study the plan and see if I will replace it with something else.
I am going to see about fussy cutting the cat fabric so the cat faces do not show like I did with the panda print. I am thinking of using the same Anna Maria Horner coneflowers I used in the I Spy pouches. That doesn’t have as much green and yellow as the cat fabric.
The issue is that if I don’t want to use the fabric provided then what will I use?
I have been working steadily, if a bit slowly on the first La Pass Rosette since I talked about it a few days ago. I am making good progress and refuse to be discouraged.
It can be discouraging when the others in the group finish their second Rosette and I haven’t finished the first one. I reminded myself that I had a few weeks earlier last month when I couldn’t sew and I am still ‘camping sewing’ because of my workroom’s unfinished status.
My next step is to sew the hearts and cones together then attach them to the center.
I took Friday off work, mostly because I was tired and just needed an extra day. I thought I would tack an extra day on to Labor Day, which would allow me to get stuff done around the house and sew quite a bit. Also, I really need to take some boxes to the donation place. I have a big pile from clearing out my workroom. DH contributed to the pile. He was encouraged to clear off his piles as well.
I have made some good progress on La Passacaglia as you have no doubt seen. I really want to keep up with this project. I think getting behind would put this squarely on my UFO list. I am a little behind as Rosette #2 has been sent out. I am waiting for it. I have until Tuesday to finish this Rosette.
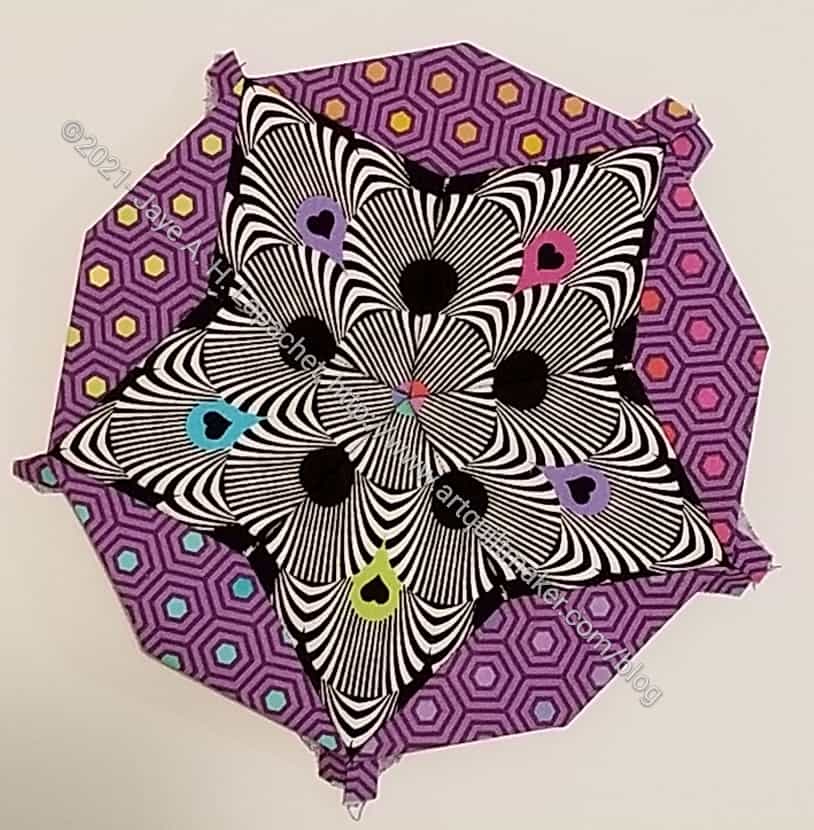
Rosette #1 center
Thursday night, after work, I sewed the center together. I had been working on the hearts and cones as I thought that would be the most bang for my buck. Still, not having the center completed started to bother me. I decided that would be my after work goal.
It isn’t perfect, but I am pleased with the way it came out. In the overall scheme of La Passacaglia, the slight imperfections won’t show. It was my first time fussy cutting to create a new look (new fabric design) in the manner Paula Nadelstern works. It felt like a huge achievement to finish the center.
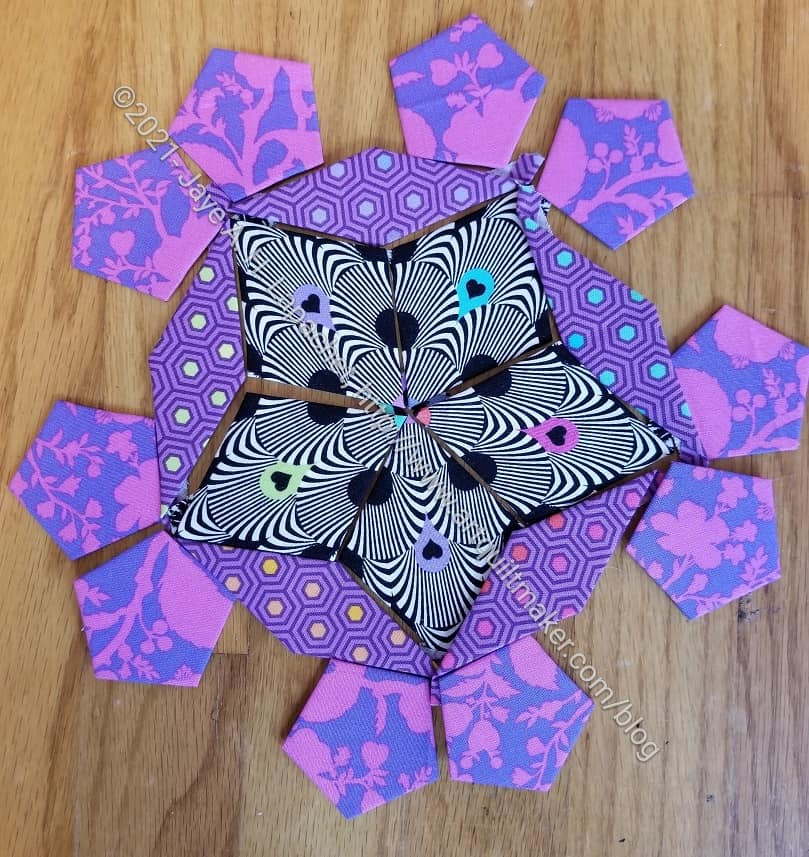
Rosette #1 – almost finished
Once the center was done, I laid out what I had sewed and looked at it.
In the photo you can see the hearts and cones in the outer part of the rosette are not yet sewn together. I also have 4 more cones and 3 more hearts to make before I can sew the whole piece together.
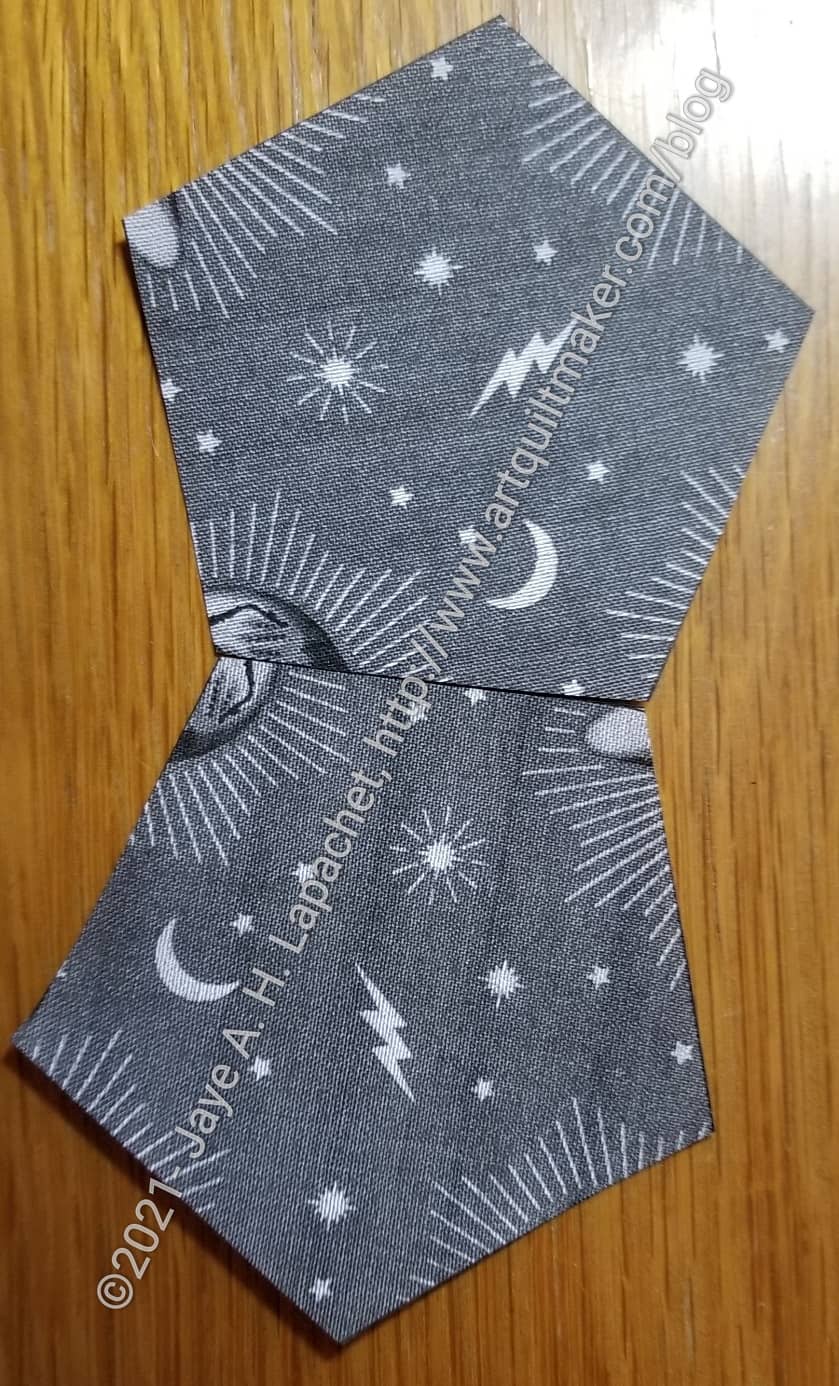
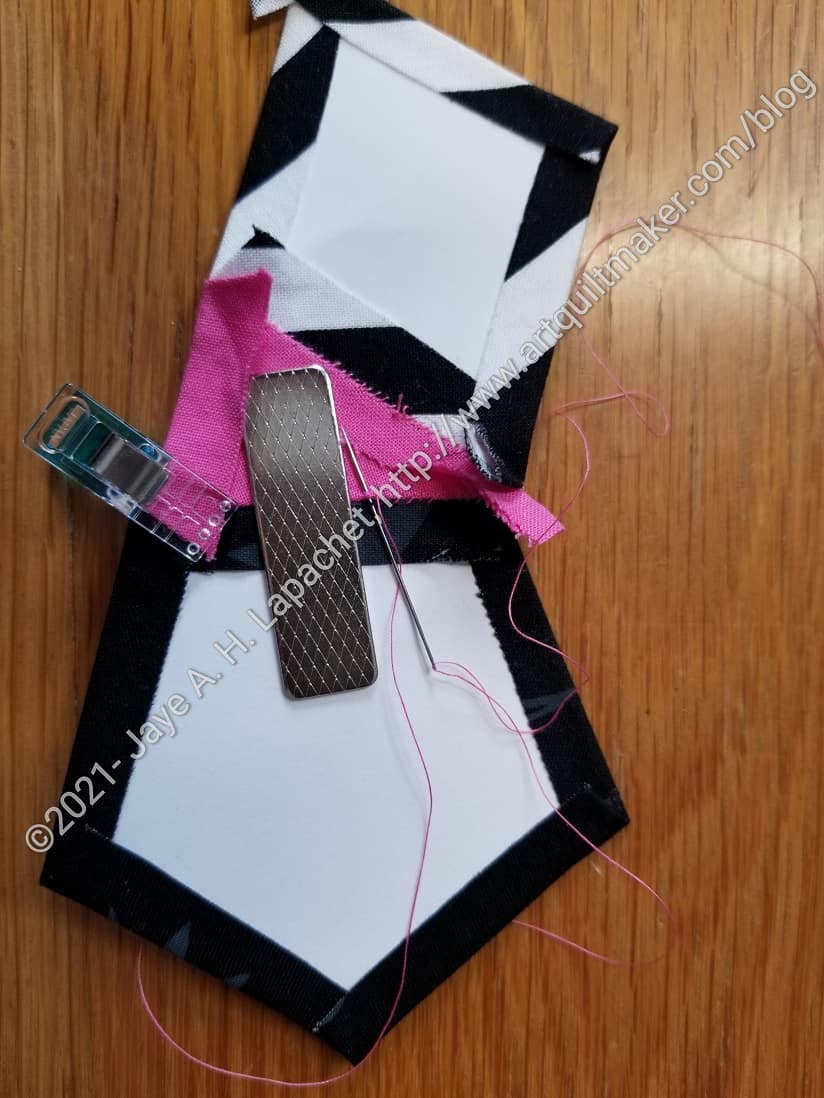
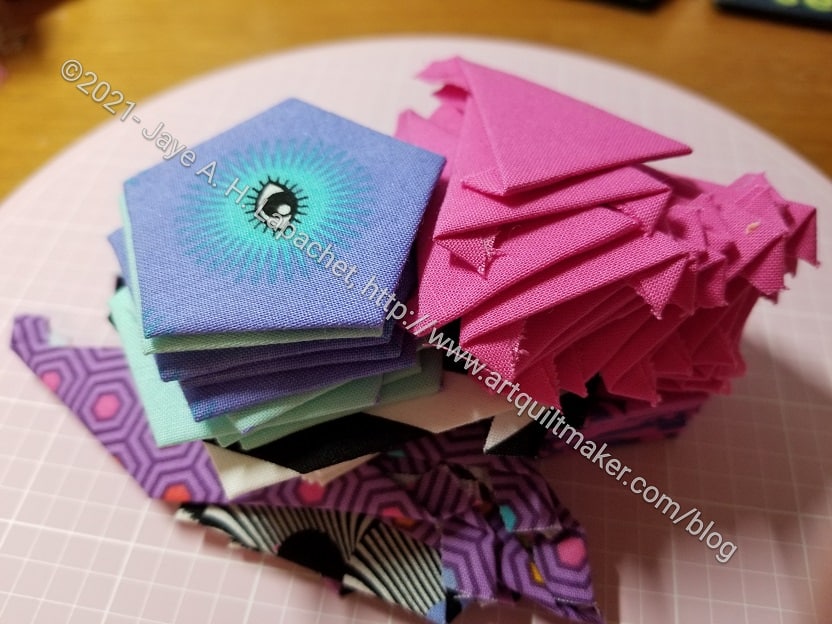
I have changed several techniques as I work on La Passacaglia. I am trying out glue basting, for one. One thing I have not changed is using the flatback stitch. It requires keeping the basted fabric pieces butted up against each other.
This is difficult to achieve, thus I use a combination of WonderClips** and Sew Tites**. I use tons of WonderClips and never seem to have enough, so if you are going to buy them, get more than a few. I put the rainbow pack on my wishlist every year, which means I usually get another 10 every year.
I also have a lot of Sew Tites, but I don’t use them quite as much, so a small pack is good. I am a bit of a sucker for their new shapes. I bought a small pack of Tula Pink Sew Tite hearts**. I saw they have skulls, but I don’t plan on buying those. I can think of someone who might enjoy them as a gift. I find the bars, pictured above to be the most useful for EPP. I use a variety of Sew Tites for bag making.
La Pass pieces basted – detail
The flatback stitch it is a kind of whip stitch. I put the needle in very close to where the two basted papers meet and come up the same distance on the other side, then pull taut, but not tight.
I have a hard time sewing the stitch when I get too close to the Sew Tite, so I move it over towards the end as I sew. When I am more than halfway through sewing the seam, I remove the Sew Tite and just use the WonderClip to hold everything in place.
I like the way this stitch does not show on the front. I have also changed the thread colors I use. After watching the Tula Pink EPP video, I decided to try using thread colors that match my fabric. This helps in hiding the stitching.
**I use affiliate links and may be paid for your purchase of an item when you click on an item link in my post. There is no additional cost to you for clicking or purchasing items I recommend. I appreciate your clicks and purchases as it helps support this blog.
I cut and basted the wrong size pentagons. I am not sure how that happened, but I did. I need pentagons in that True Colors Dahlia colorway (pink and purple flowers) in a larger size.
Pentagon size comparison
Pentagon size comparison #2
I rummaged through the various bits and bobs I have for this project and found enough papers and fabric to redo the correct sized pentagons. The whole project fits together much better with the correctly sized pieces.
I was finally able to assemble part of the first La Passacaglia rosette.
These pieces make up the outer circle of the rosette. Some clever person showed how she had assembled the outer circle into ‘hearts’ and ‘cones’. I haven’t done a cone yet, but I think this method will work very well.
It is taking me a long time. Once I get time to sew I can make progress. I just don’t have a lot of time to hand sew right now. I am, however, applauding every little bit of progress. I plan to take this to Sew Day and work on it there. I really want to keep up and I have enough projects cut out at the moment.
The other day I talked about starting to baste the first rosette for my La Passacaglia quilt.
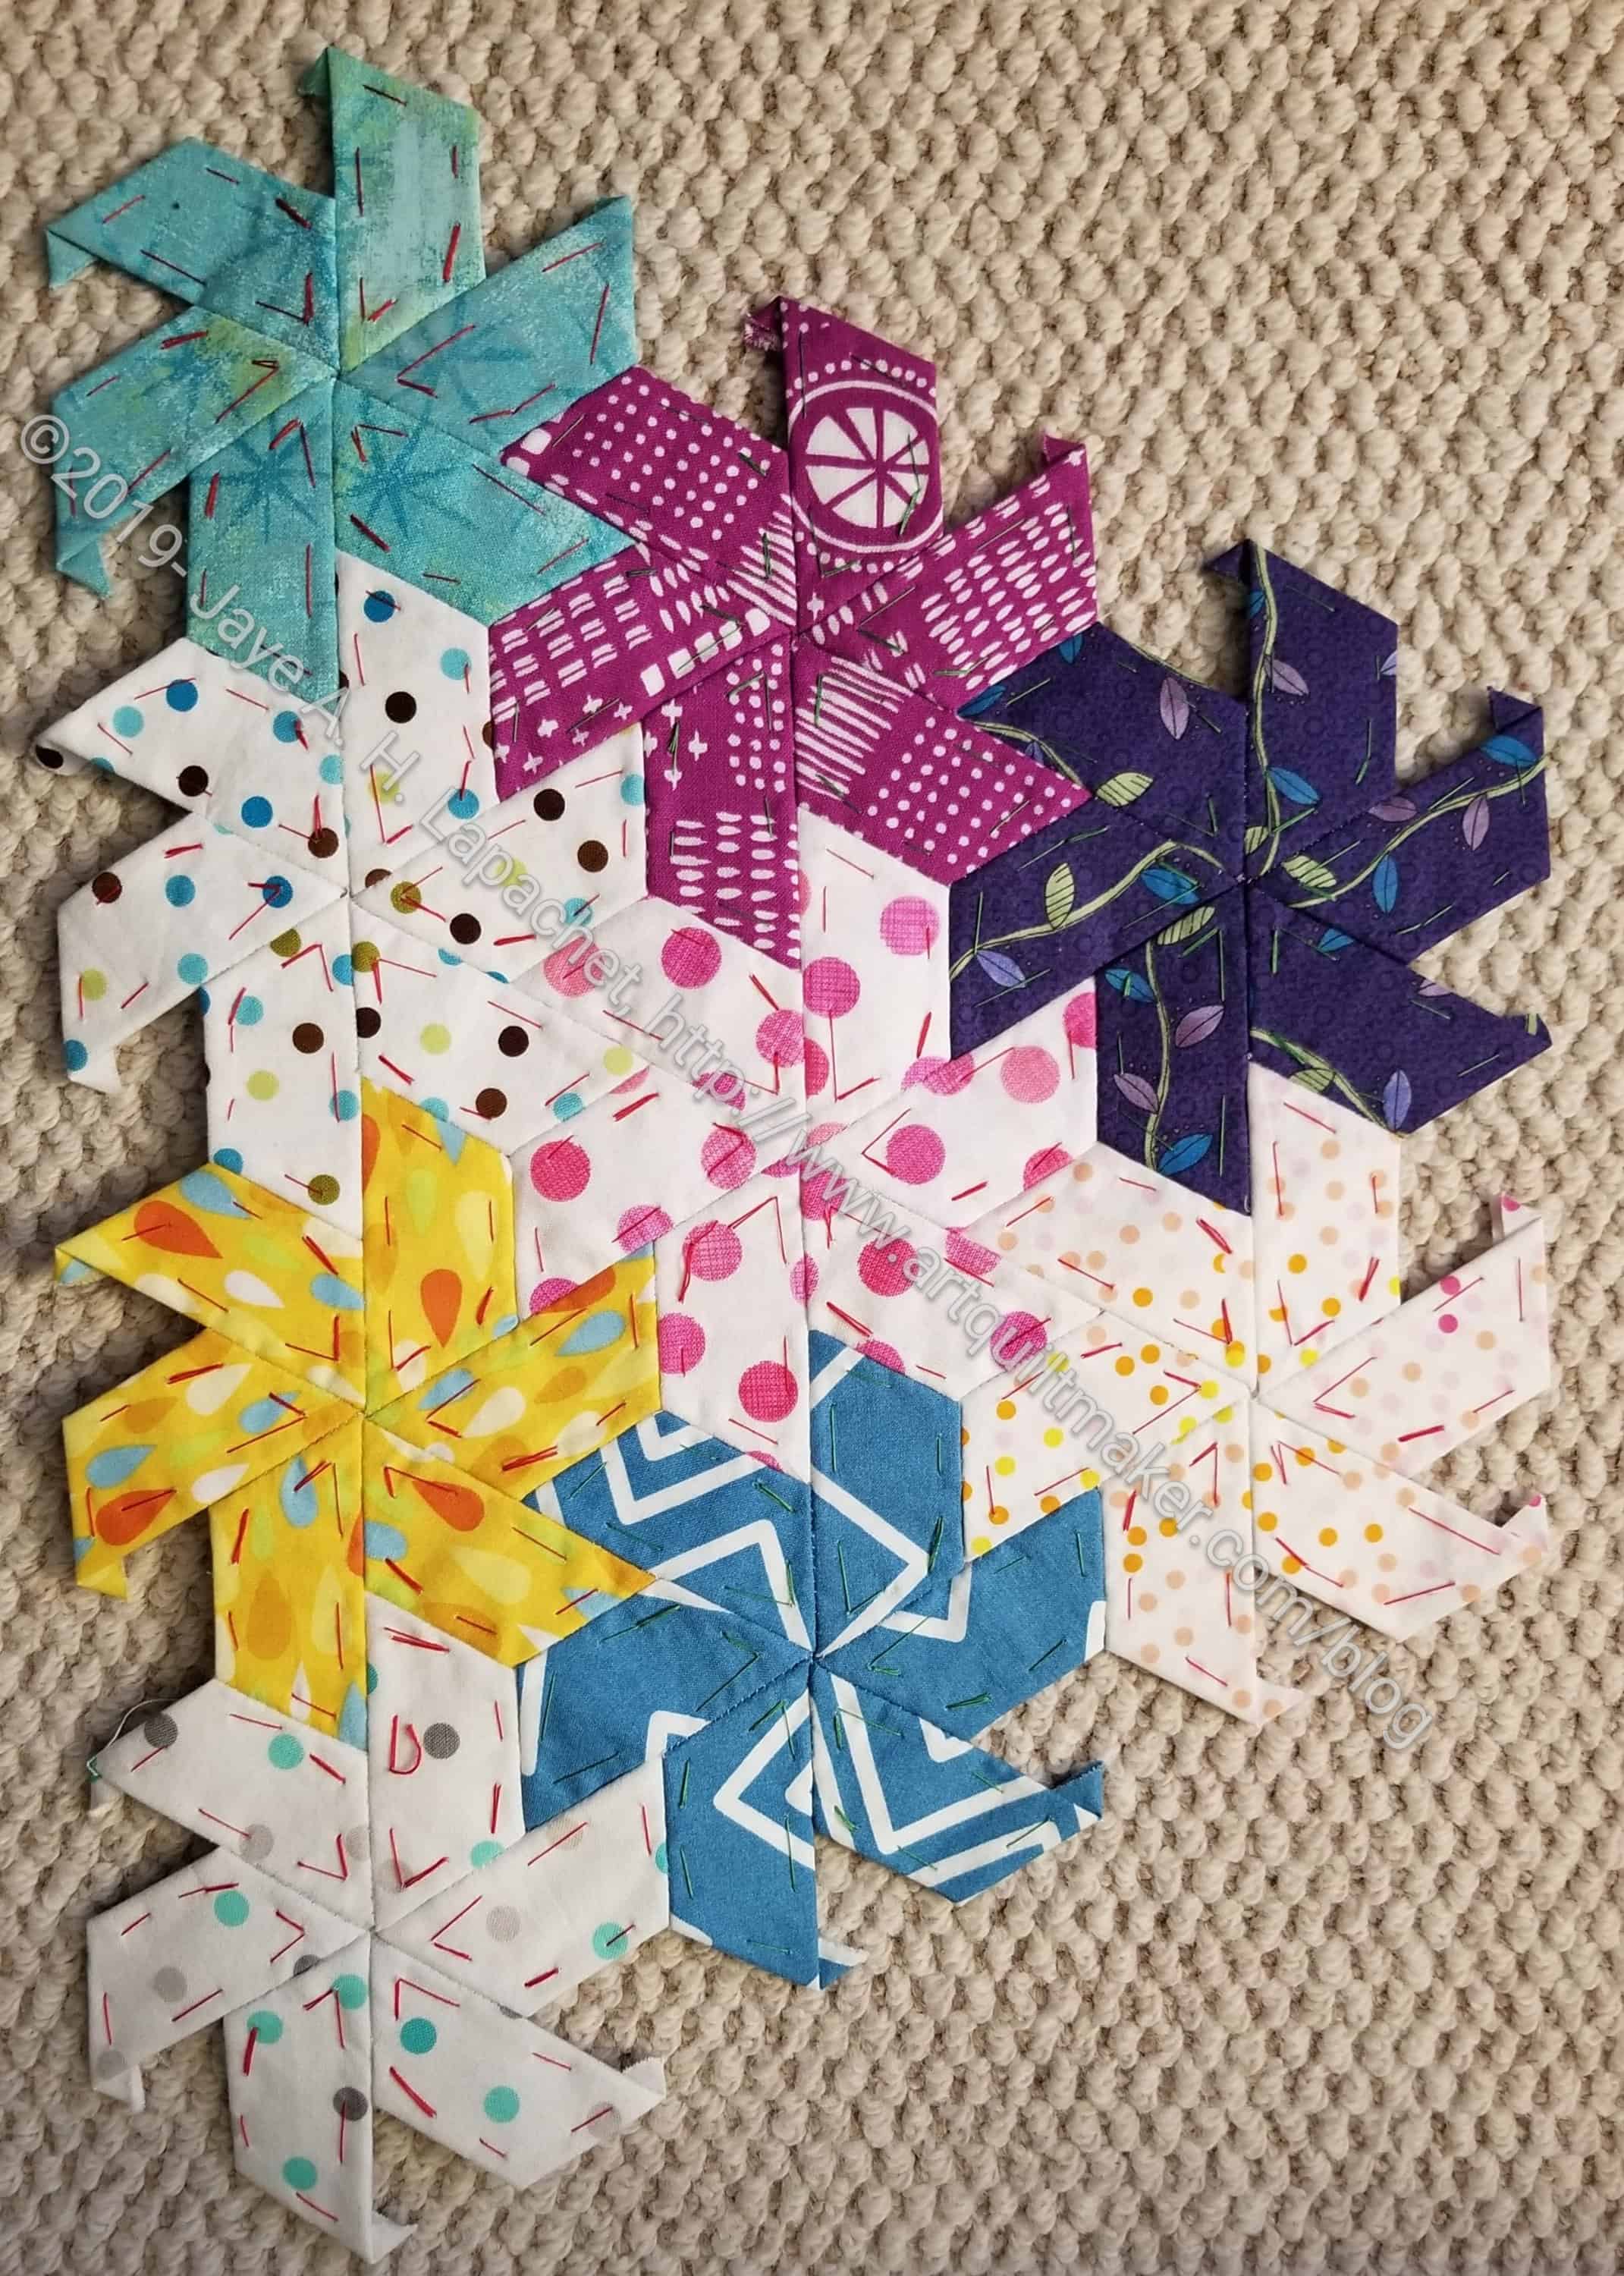
La Pass star with diamonds
I worked on it at Craft Night for a couple of hours after cleaning up my sewing room.
As I basted pieces, I couldn’t really wait to see what they looked like so I kept laying them out to see if what I cut and basted looked good together.
I did struggle with what the two videos said about which way the bunny ears should go. I thought I understood, but I still have some pieces that I know are going to be a problem.
La Pass star with diamonds
Still, I am happy with what I accomplished. I think this star looks really nice with the skinny diamonds.
I have seen what other people have made in the group so this isn’t really a huge surprise, but I like seeing what **I** have done. I almost started sewing these together, but I continued basting.
Pieces basted at Craft Night
In one of her videos, Tula talks about saving time and being kind to our body parts. I was pleased with how many pieces I was able to baste. I am pretty sure I would not have been able to thread baste this many pieces in the same amount of time.
I spent Craft Night the other night basting my first La Pass Rosette. Yes, I finished cutting in case that wasn’t clear.
Half Hexie EPP Section – April 2019
On my Half Hexie Star project, I have been thread basting. If you zoom in on the photo (right) you will see the bits of thread holding the papers and the fabric together.
Thread basting is a fine way to prepare English Paper Piecing pieces and their fabric. I had planned to thread baste La Pass. Then I watched the Naudia Tatum video and Tula’s first EPP video, about halfway throug., both of which included sections on glue basting. Sue Daley, the apparent queen of EPP, though I had never heard of her until I started this project, also has a video. Of course, I watched it. I might be tending towards obsession.
Finally, I decided that I would, at least, try it. Time is kind of short around here lately and I really need all the spare minutes I can get if I have any hope of getting anything finished this year.
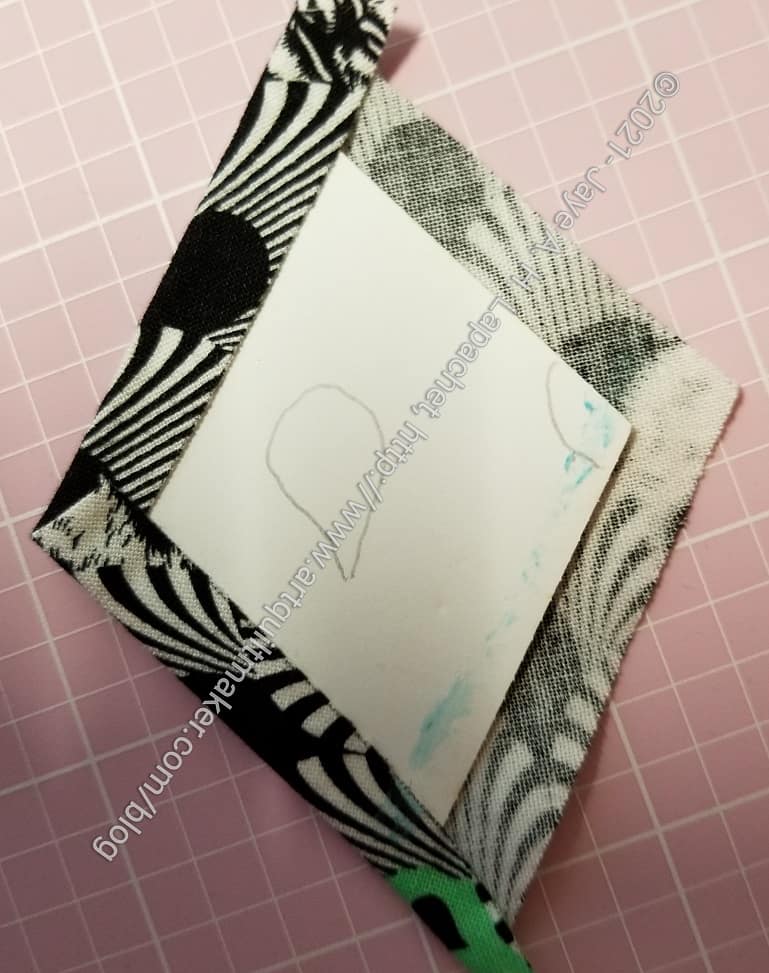
La Pass -Glue basted diamond
First, I had to find my glue pen**. Fortunately, it was in the place I thought it was. Why I knew it was there, I have no idea. Visual memory, I guess. Then, I watched the glue basting section of Tula’s first EPP video video again and went for broke at Craft Night.
In the photo, left, you can see the swipe of glue on the paper on the right hand side. The process takes some practice. I know there will be pieces where I glued too close to the edge, but I think I got used to the process as the evening went on.
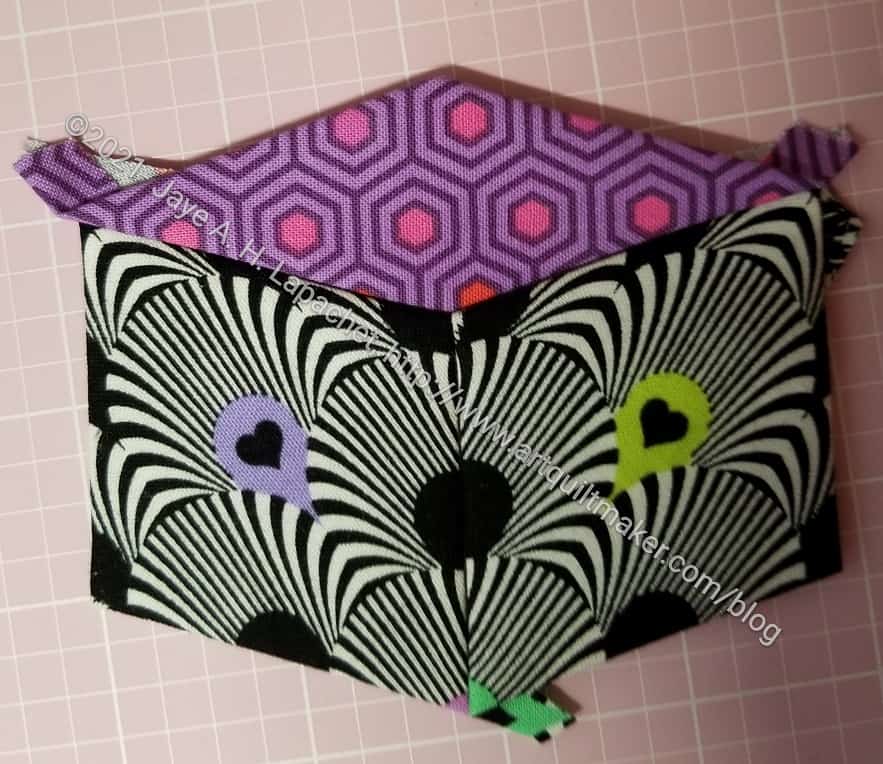
La Pass fussy cutting
The good thing was that I could see the results of my precise fussy cutting right after I basted.
This is some Tula Pink panda fabric. I do not want animal faces looking at me from my quilt, so I fussy cut them in a way that would make black and white optical sort of designs. I am excited to see it once I sew it together.
**I use affiliate links and may be paid for your purchase of an item when you click on an item link in my post. There is no additional cost to you for clicking or purchasing items I recommend. I appreciate your clicks and purchases as it helps support this blog.