I saw an article about Christmas coming up fast. That article and the gift bags I made for birthdays recently reminded me that it was time to encourage all of you to make gift bags! I updated the tutorial and am reposting it here.
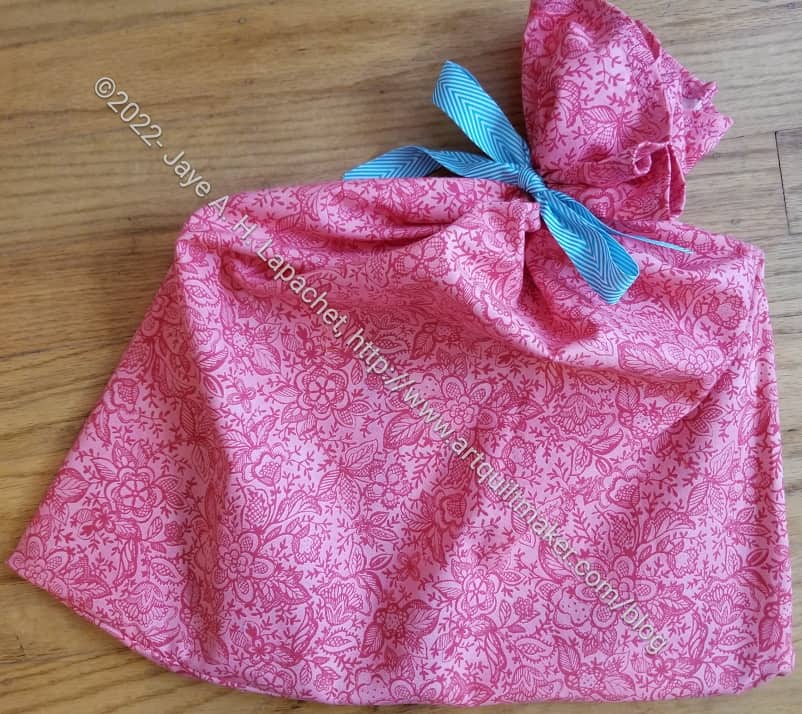
I love using fabric gift bags for all types of gifts – birthdays, Christmas, graduations, weddings. Besides the fact that I intensely dislike wrapping gifts with paper, the fabric feels so much nicer in my hands. For Christmas, or other specialty holidays, I also get to sew with the new and beautiful fabrics each year with out committing to a holiday quilt.
Gift bags are a great way to use up scrap fabric that would otherwise hang around unused. If a fabric is no longer to your taste, it will make a great gift bag.
You don’t need super high quality fabric for gift bags either. If stored properly gift bags can be reused year after year.
Supplies:
- Basic Sewing Kit
- Sewing machine
- Thread
- Fabric
- Ribbon
Supply Notes:
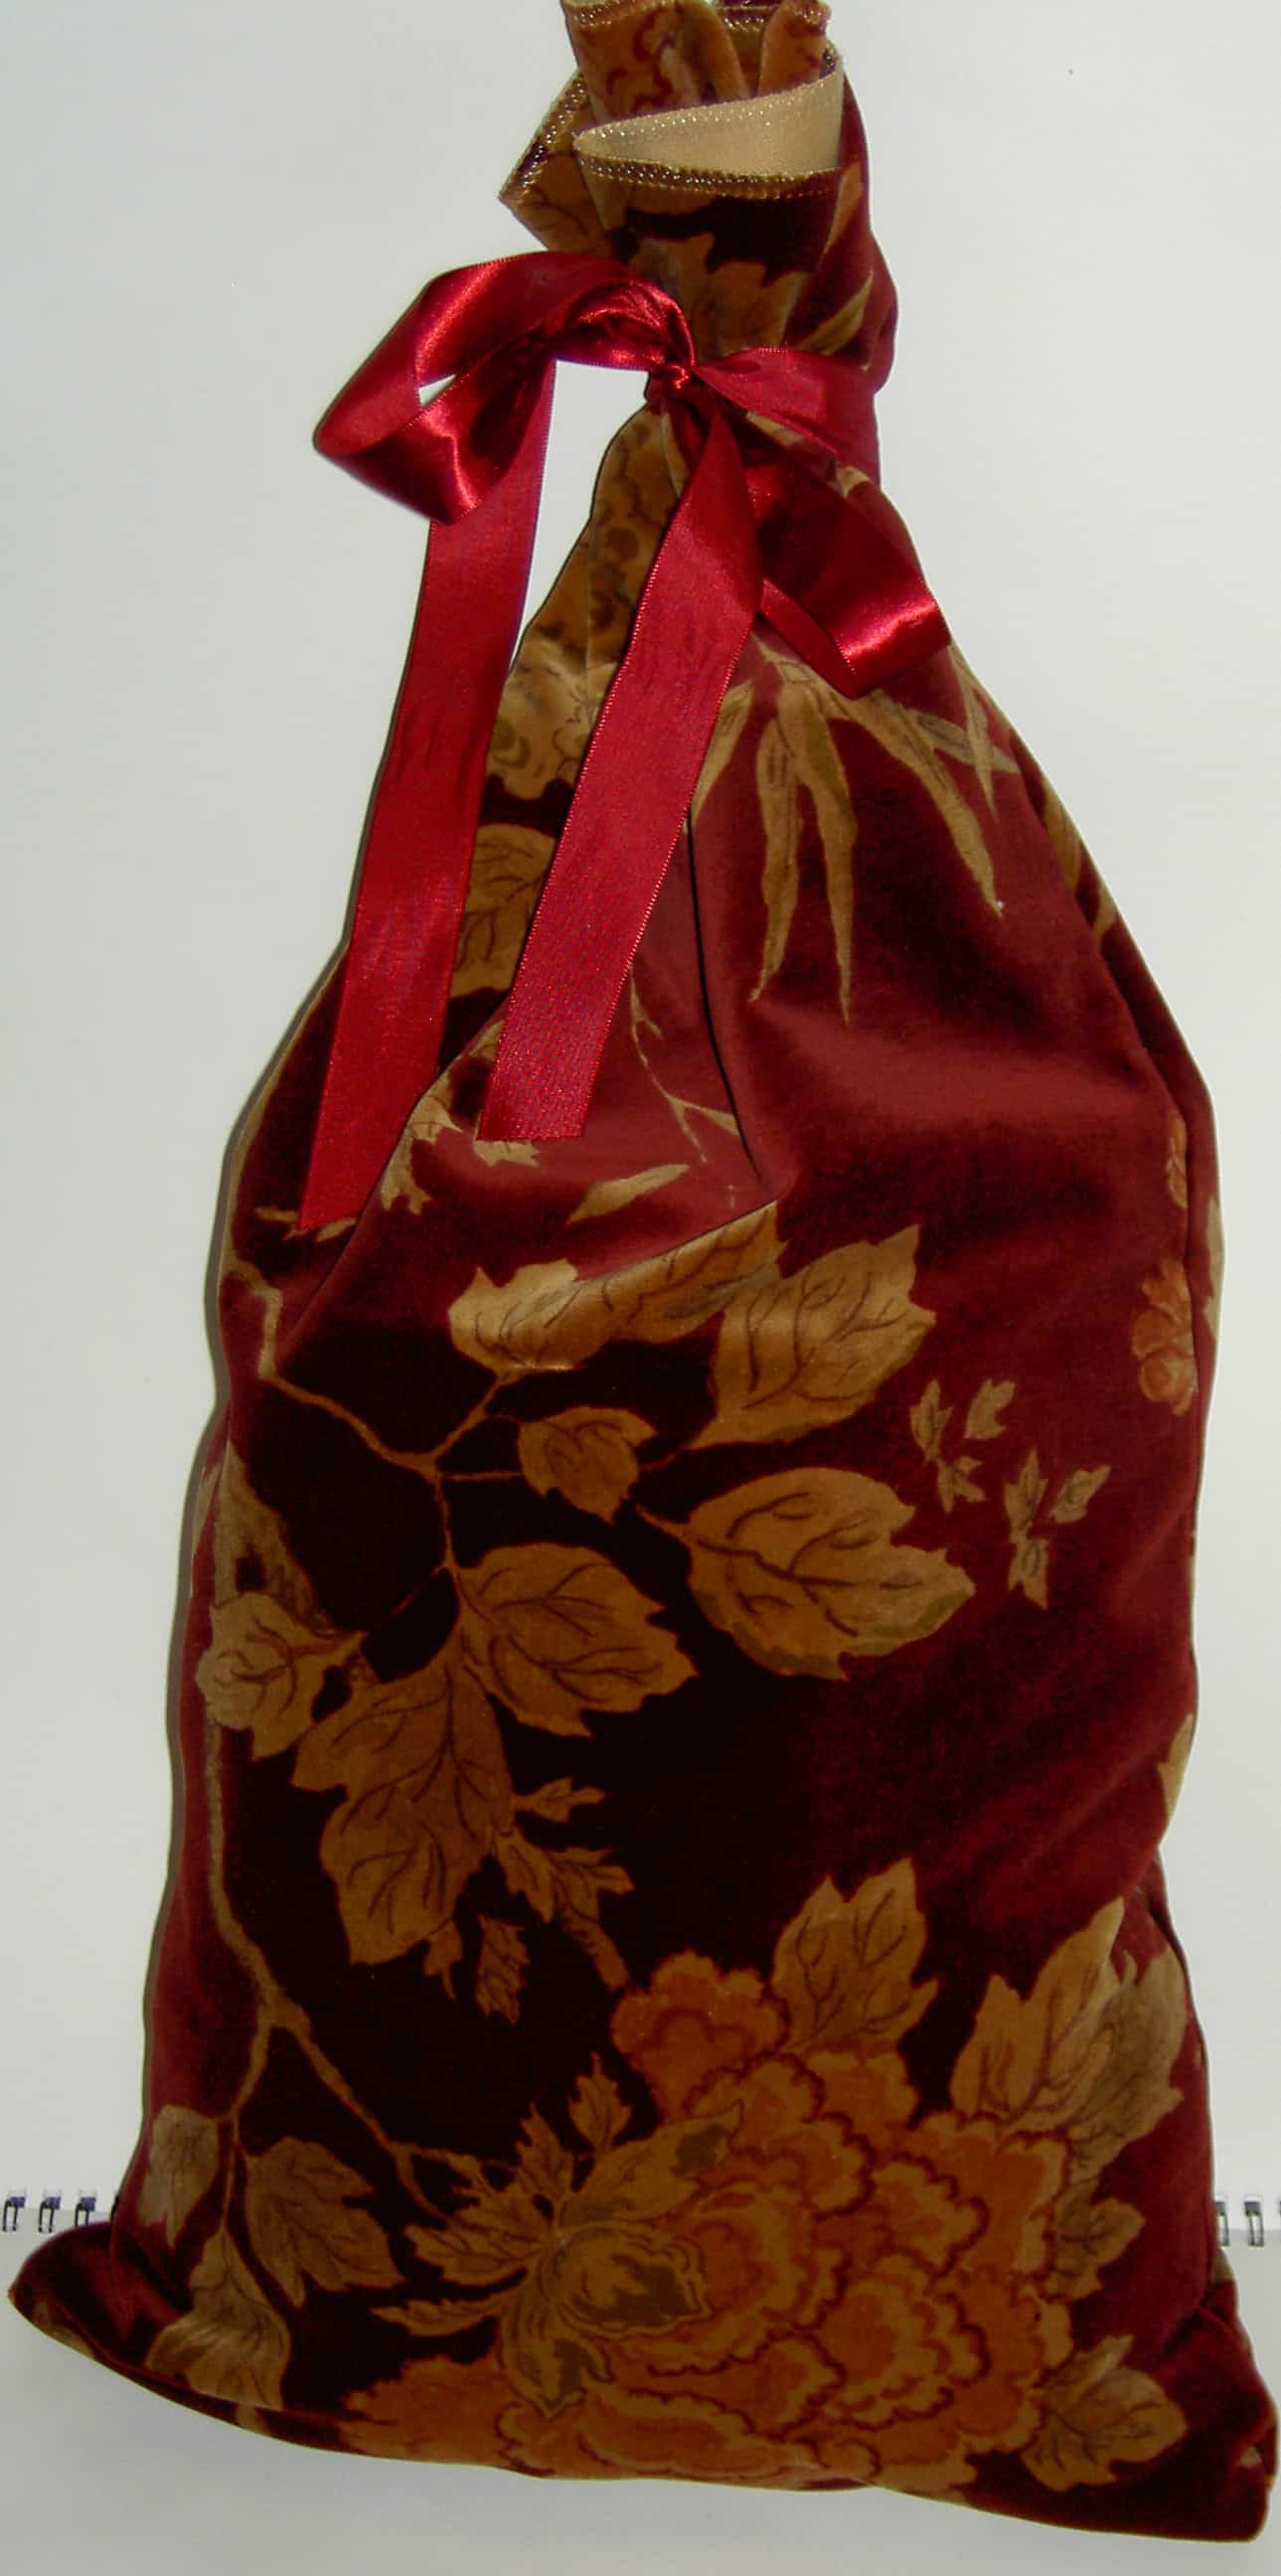
Fabric: the amount you need depends on the gift you are wrapping. If you are making some to have on hand, you can make one bag from a half yard or small bags from a fat quarter. Making gift bags is also a great way to use different fabrics such as upholstery fabric, velvet and other lush fabrics you wouldn’t normally use for quiltmaking.
Decorative stitches: This is a good way to get to know the resources required to use your decorative stitches. I made a lot of bags systematically using all the decorative stitches on my machine. This allowed me to know how much thread each one used and how long they took to stitch out.
Instructions:
Press a double hem on the edge of your fabric that will be the top. I often use the selvedge so I can skip this step.
Finish the hem with a decorative stitch. If you do not have decorative stitches on your machine, two straight stitches close together make a nice finish.
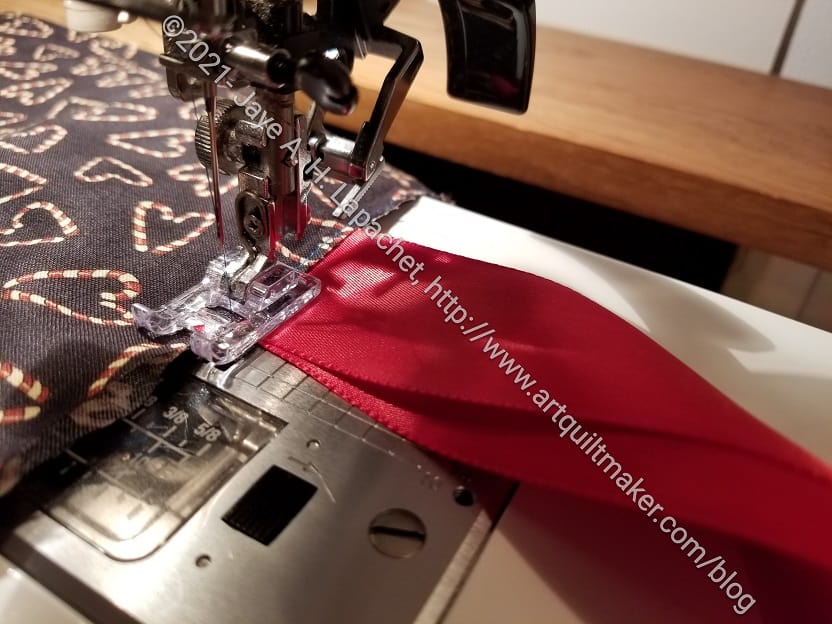
Once done, I fold the piece in half, wrong sides together, aligning the hem at the top. I put a piece of ribbon, folded in half. The end of the ribbon should be sticking out of the piece. Place the ribbon about a quarter of the way down the side.
Stitch down the side, starting with the hem using an 1/8 inch seam allowance. I reinforce the start backstitching over it a few times. I do the same for the ribbon and the end.
After sewing, trim any stray threads. Trim the corners.
Turn the bag wrong side out.
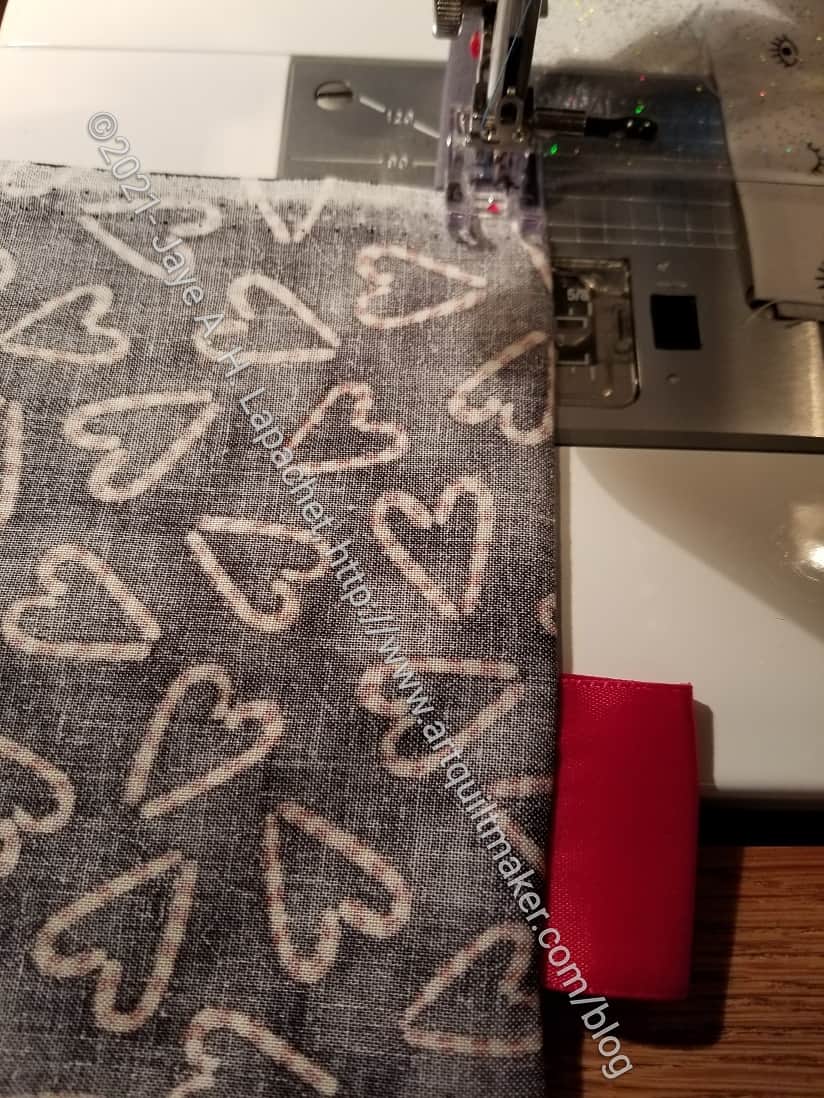
Stitch using a larger seam allowance. A quarter inch seam allowance may work, but you need to make sure you cover the entire previous seam allowance. Again, I reinforce the start backstitching over it a few times. I do the same for the ribbon and the end.
-
-
- N.B. Be very careful that the end of the ribbon is out of the way.
-
Turn your bag right side out and poke out the corners carefully.
Hooray! You have finished a gift bag!