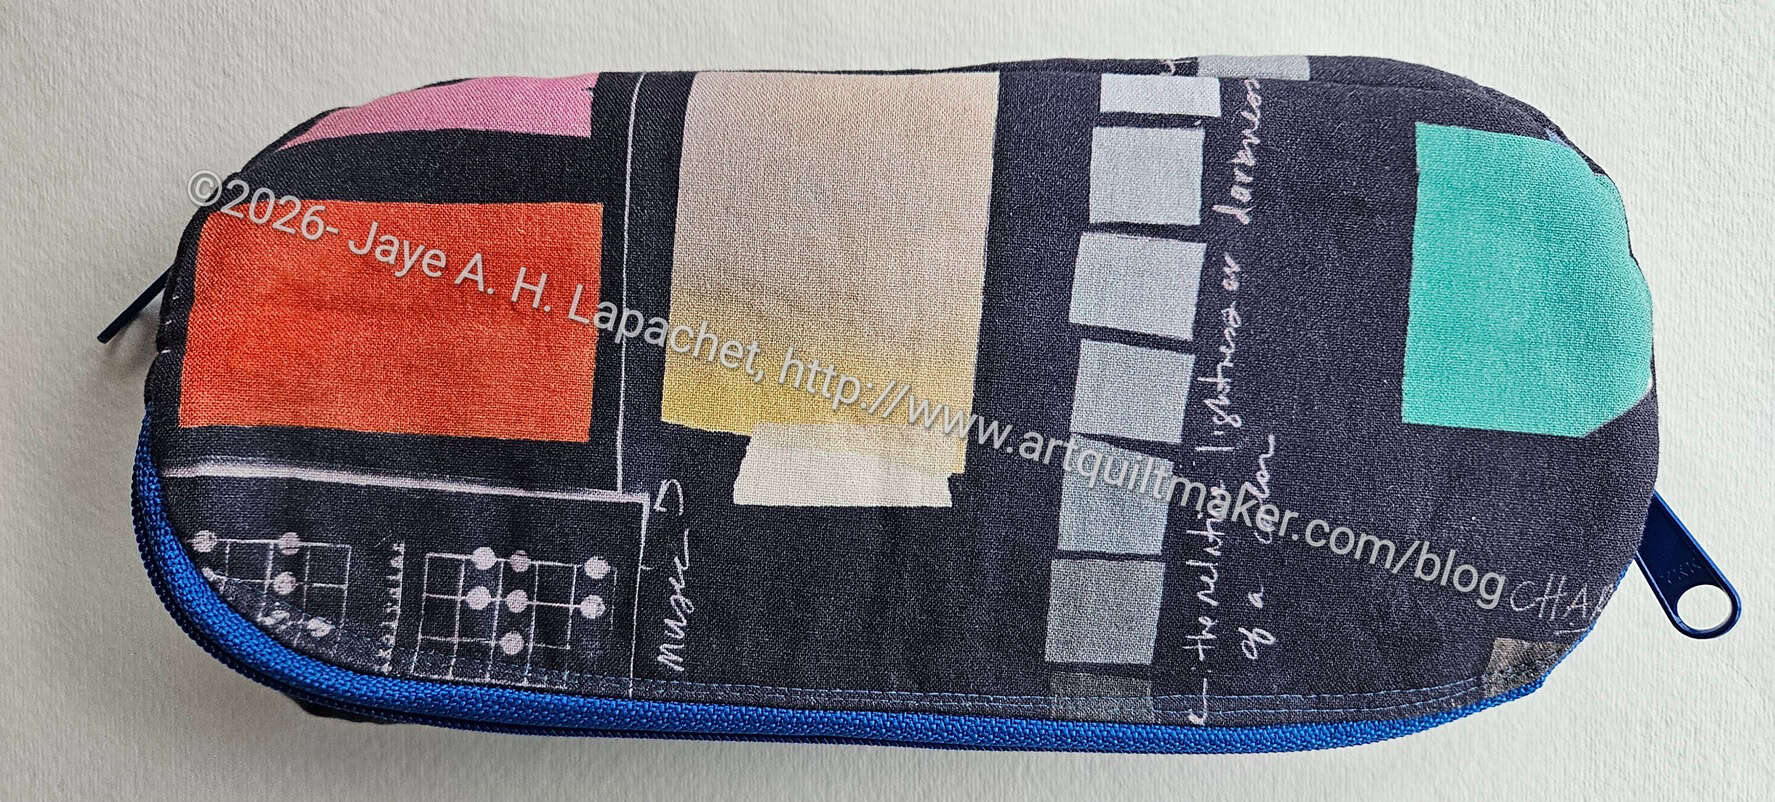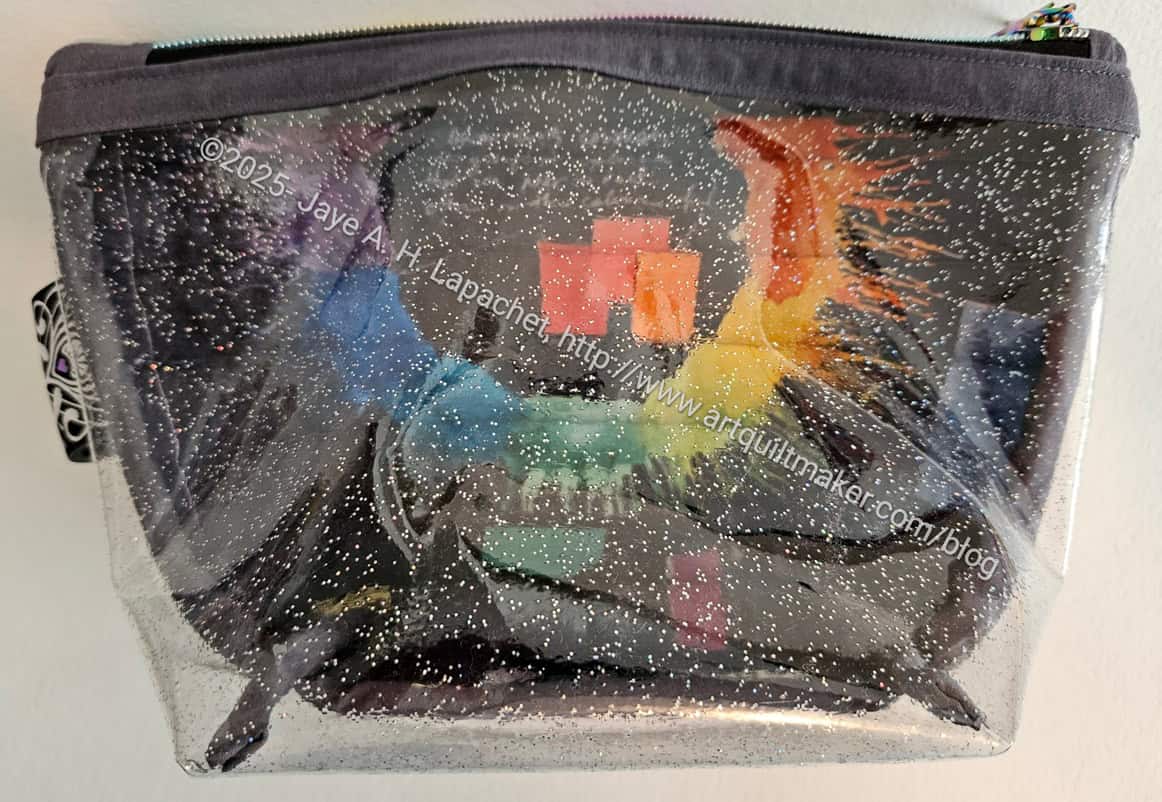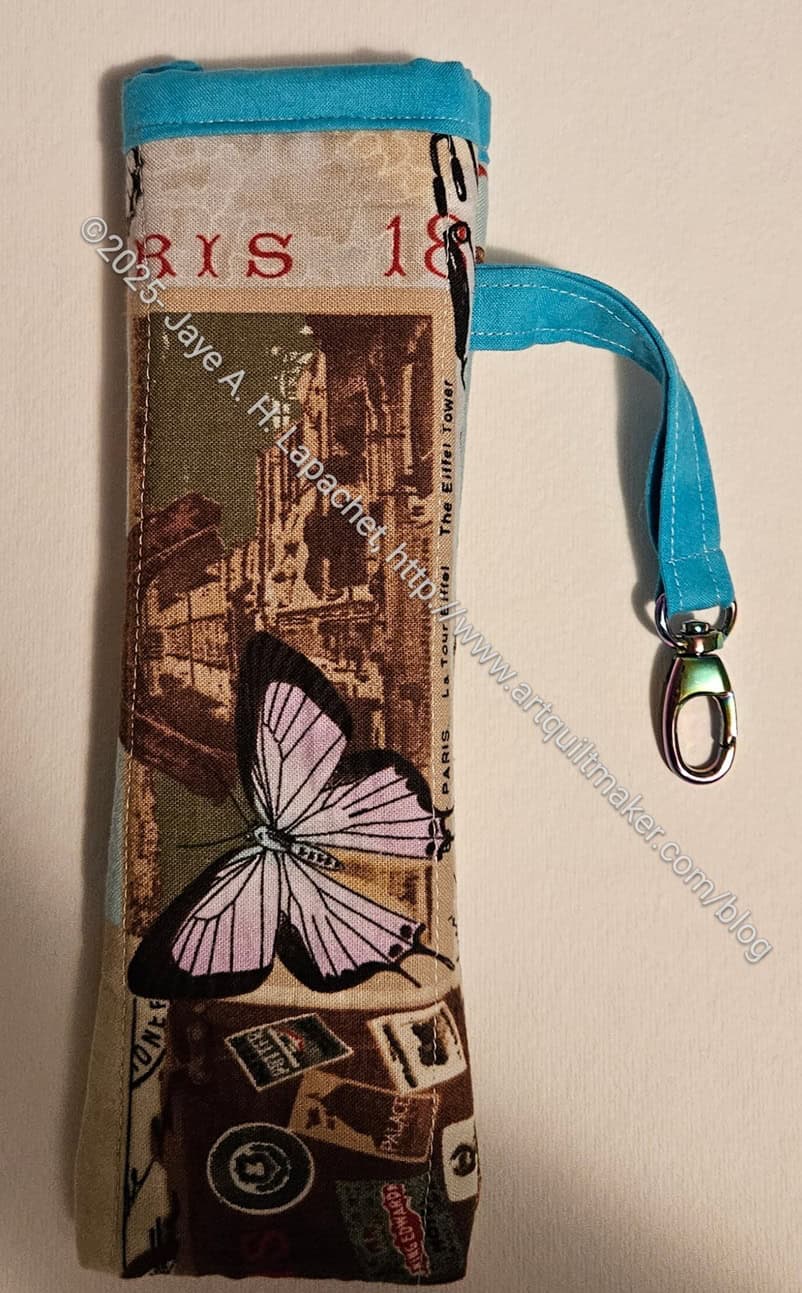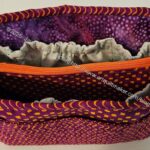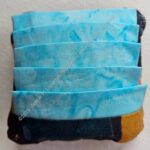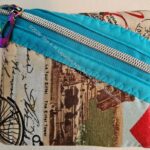
I finished the Tadpole I made for Gerre’s International Women’s Day celebration. This is another Sew Sweetness pattern I bought and hadn’t yet made. I made this one at the same time I made Carrie’s.
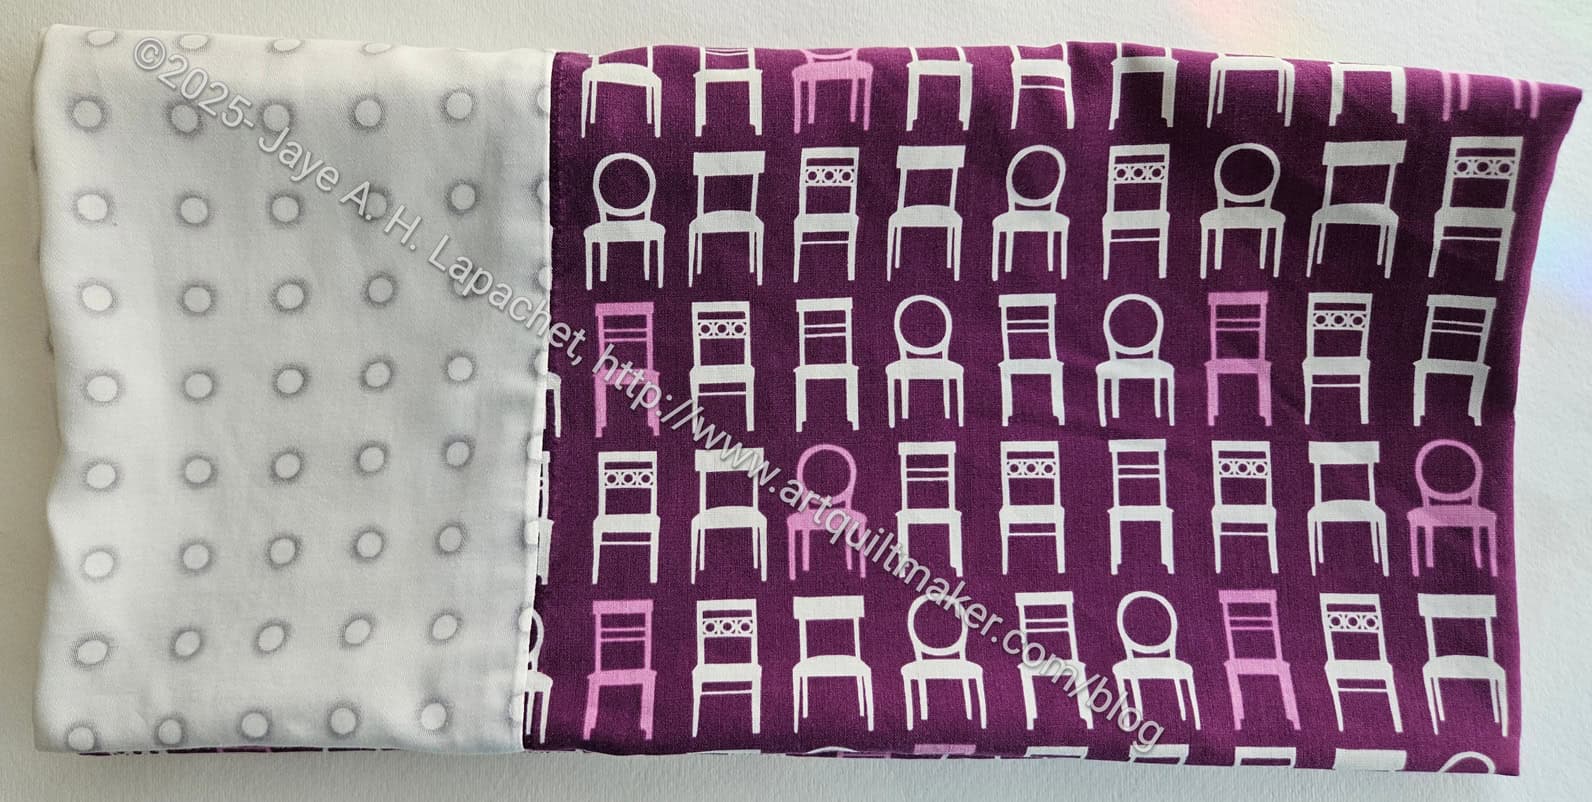
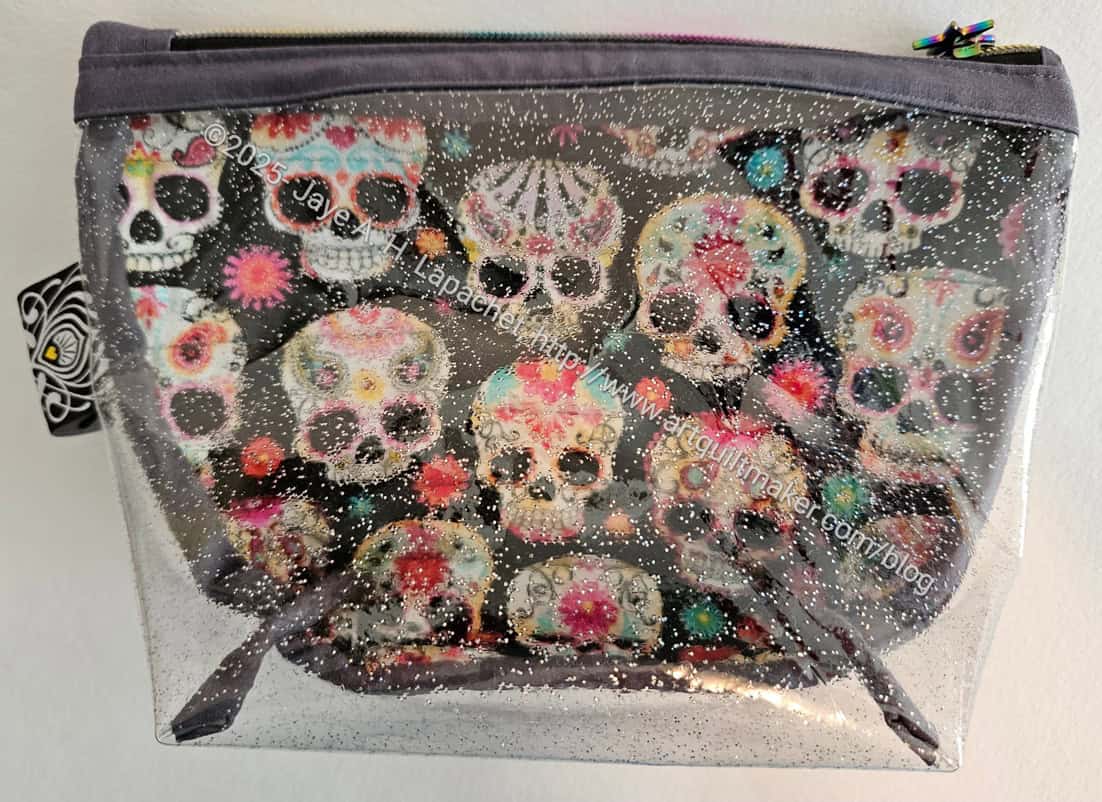
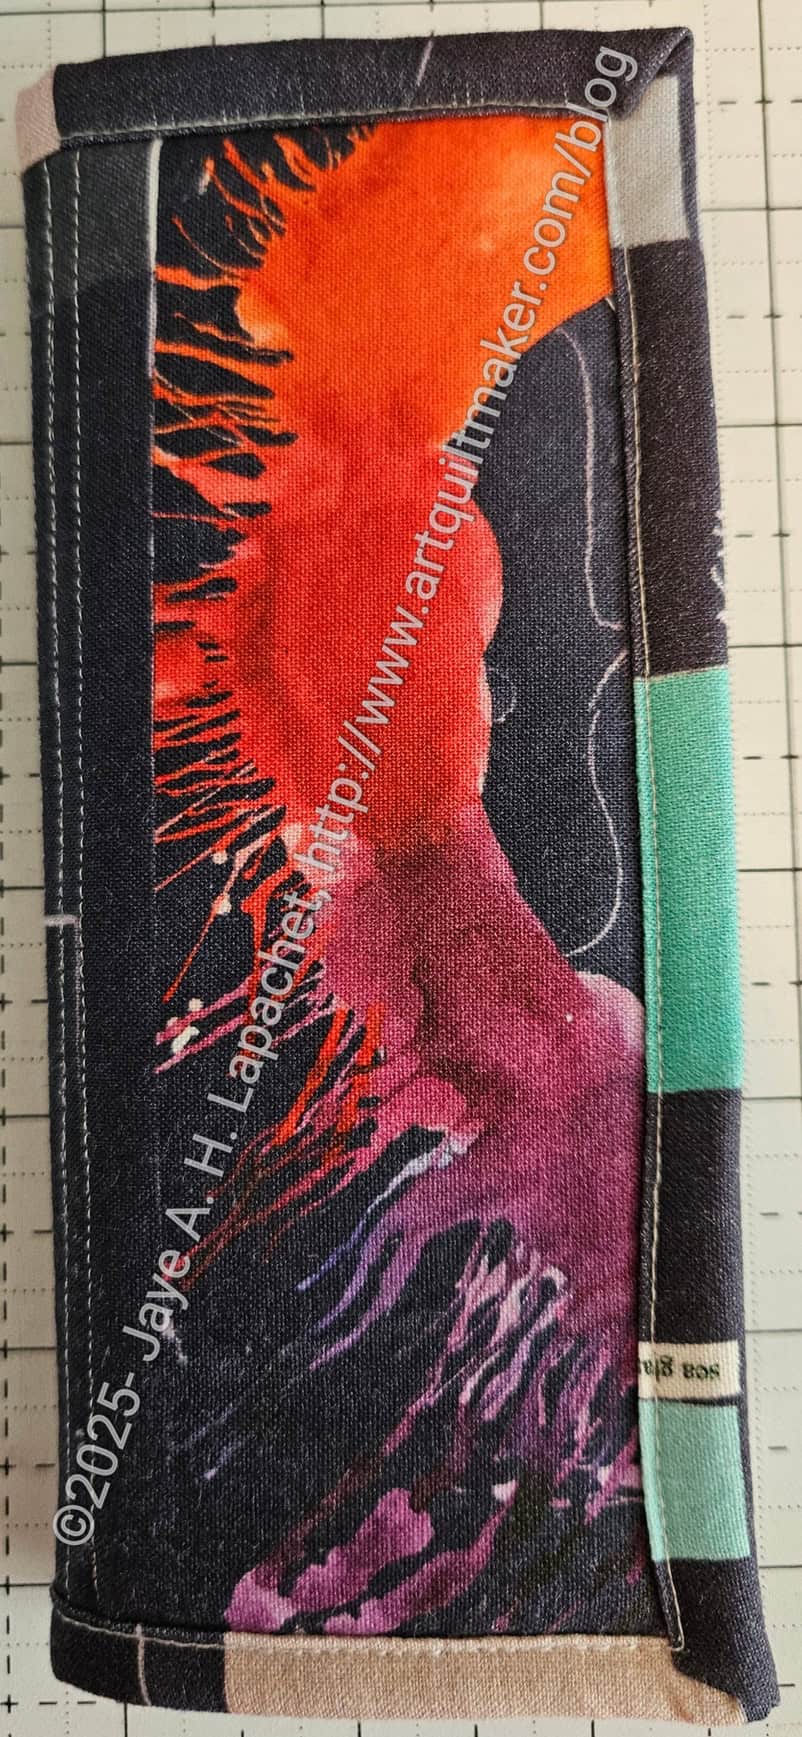
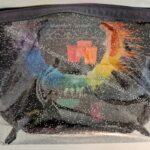
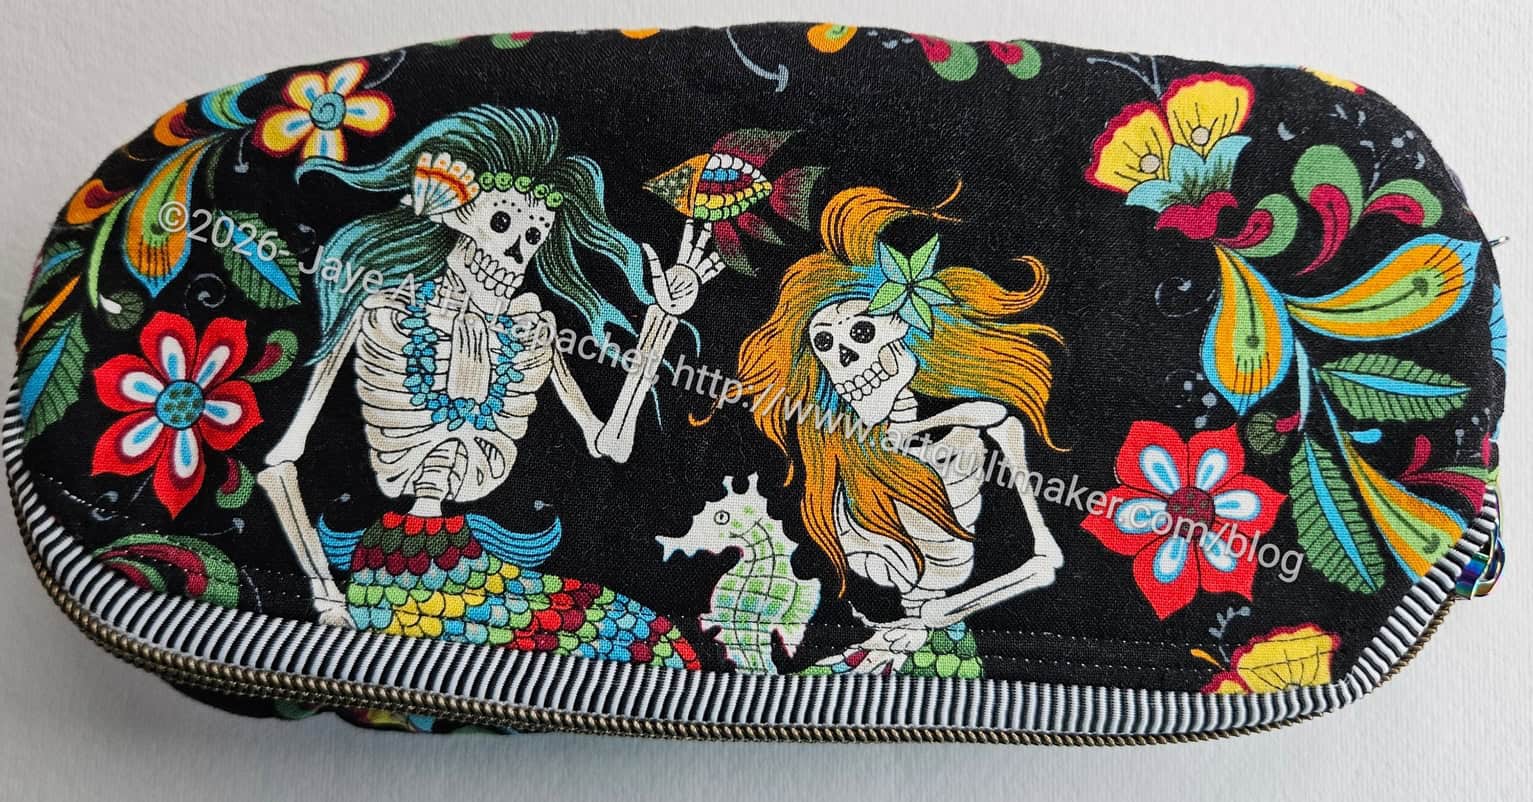
The fabric I used was the same used for another of Gerre’s bags, the Enigma Pouch. I am not a huge fan of this fabric as it looks a little too creepy for me. However, first, I am almost out, and second Gerre said she really likes it. I decided to use it up and then I can get back to the Alexander Henry Dia de los Muertos fabric I also use for her gifts. Yes, I have used a few different fabrics for her gifts. She was the first one, I think, for whom I started making sets of bags. It took me awhile to settle into the process.
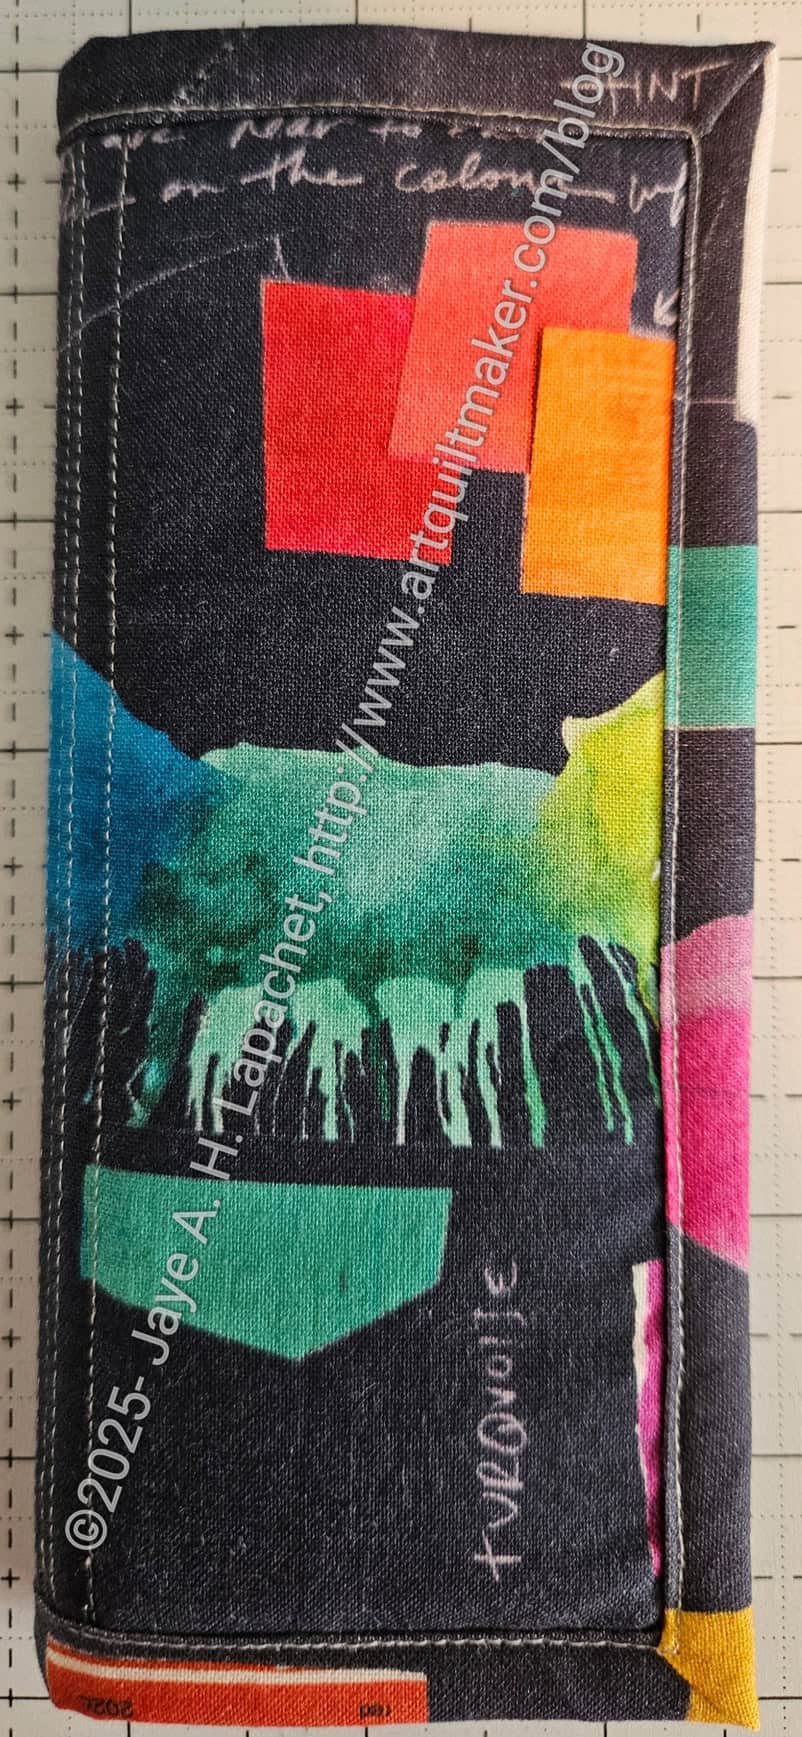
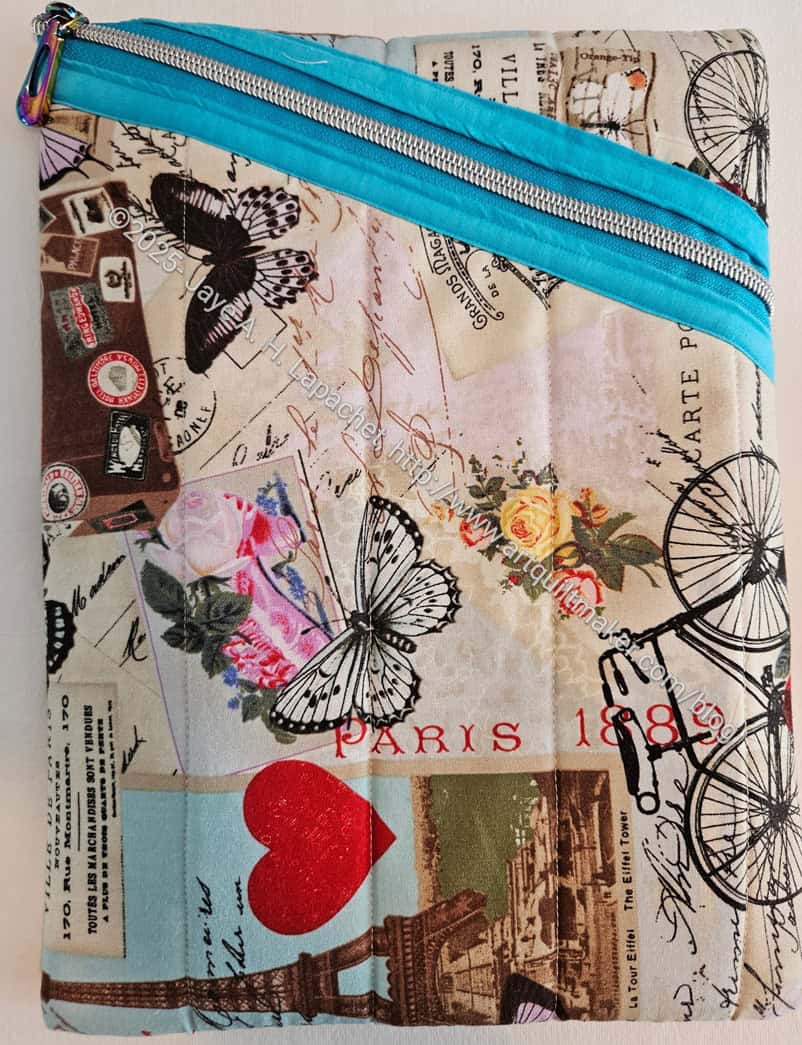
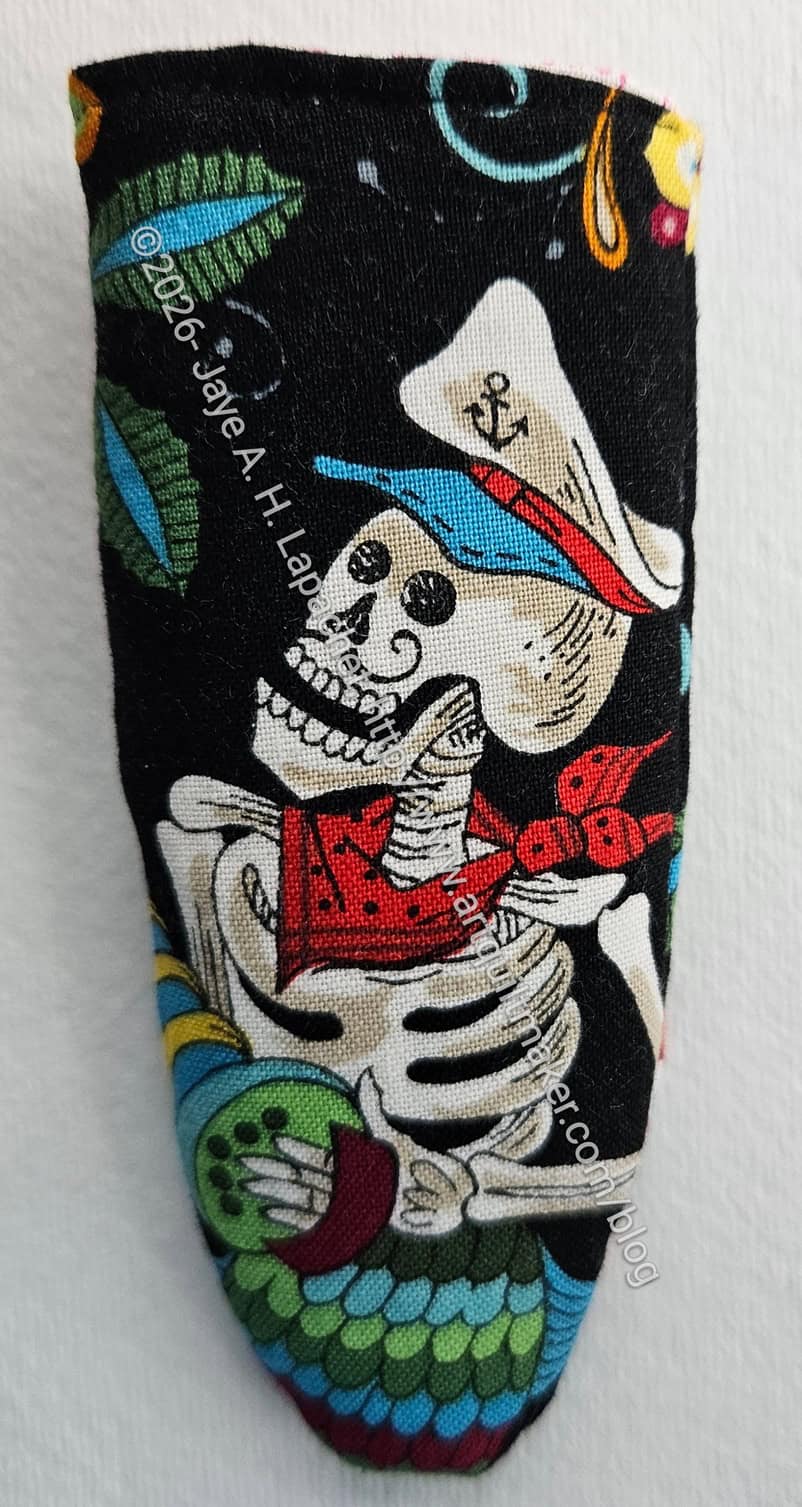
This fabric does provide some good fussy cutting opportunities. Since I don’t have much of it left, I am using all the bits.
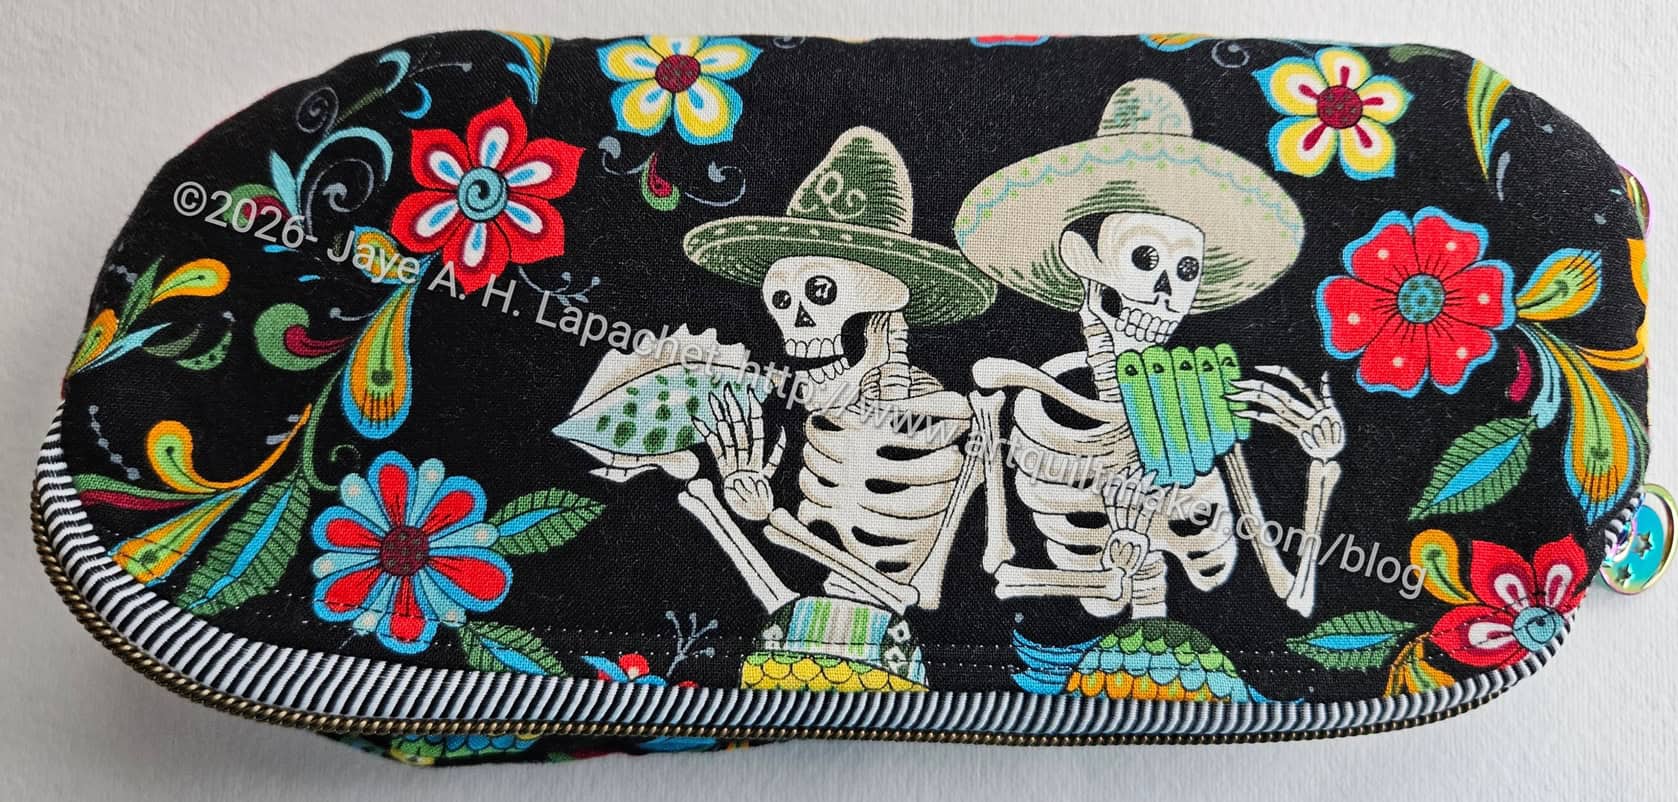
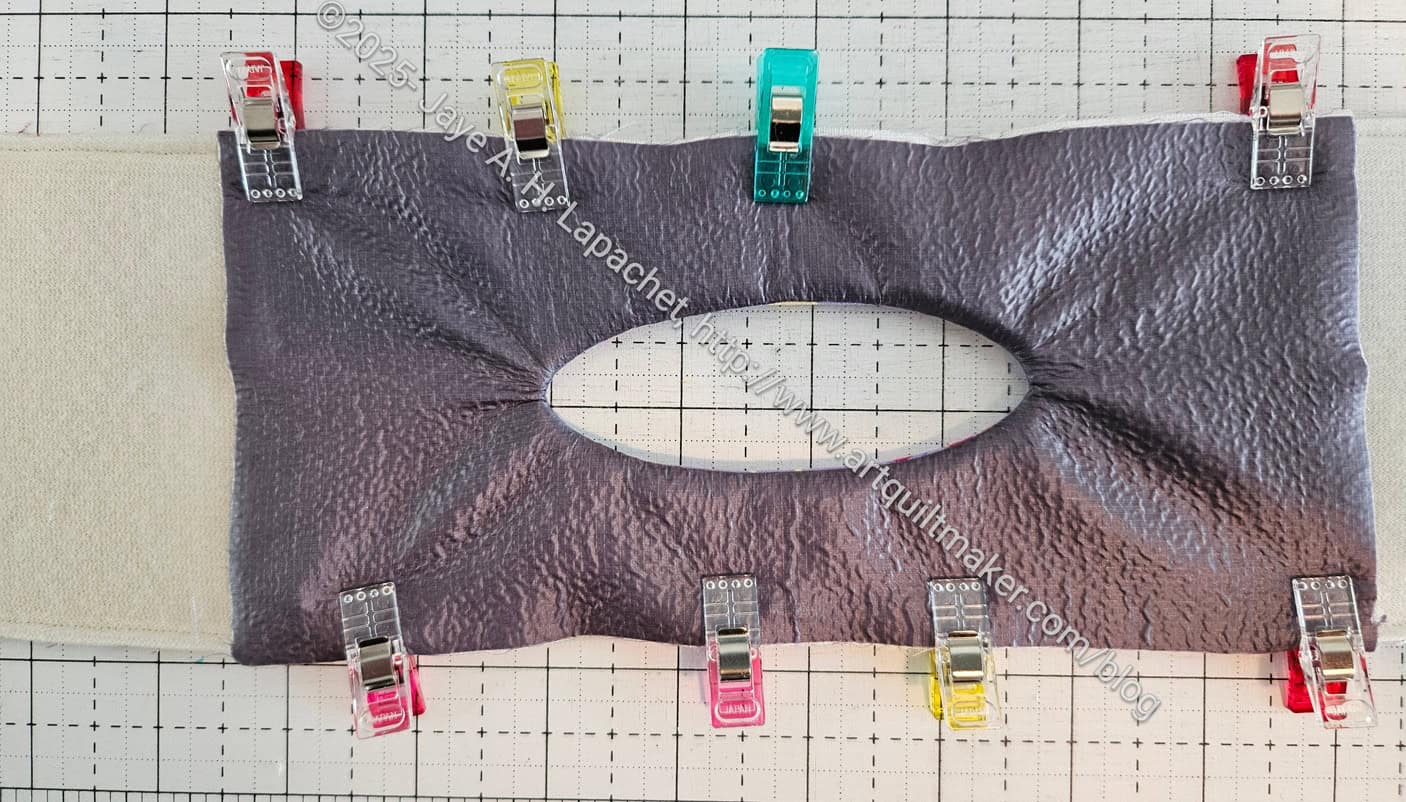
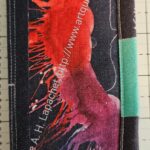
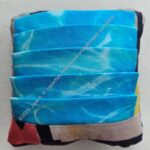
This pouch is more 2 sided than Carries, because of the fussy cutting opportunities. It is interesting how different the two sides are. However, all the figures are skeleton mermaids or mermen. I mostly cut off the tail of them. I suppose I could have turned the fabric 90 degrees and included the tail. Considering the design of the pouch, that might be a better way to orient the fabric. I guess I’ll have to make another one to see. 😉
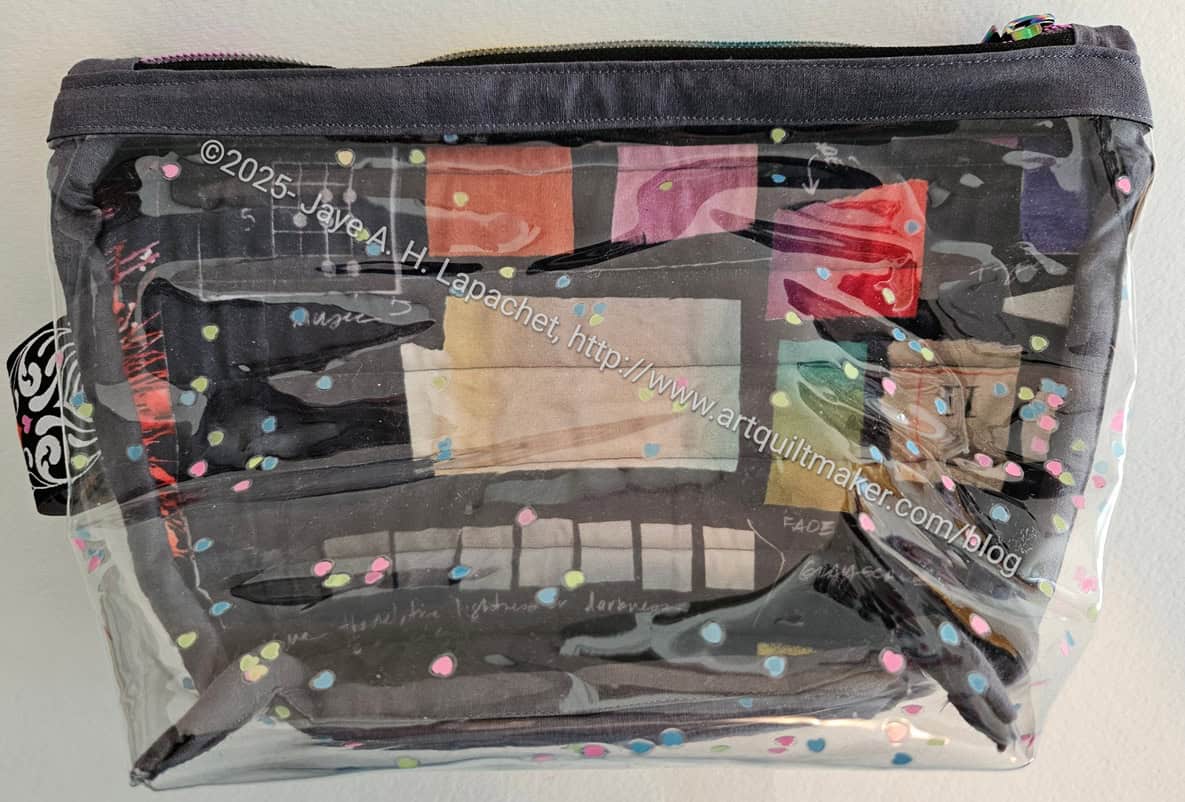
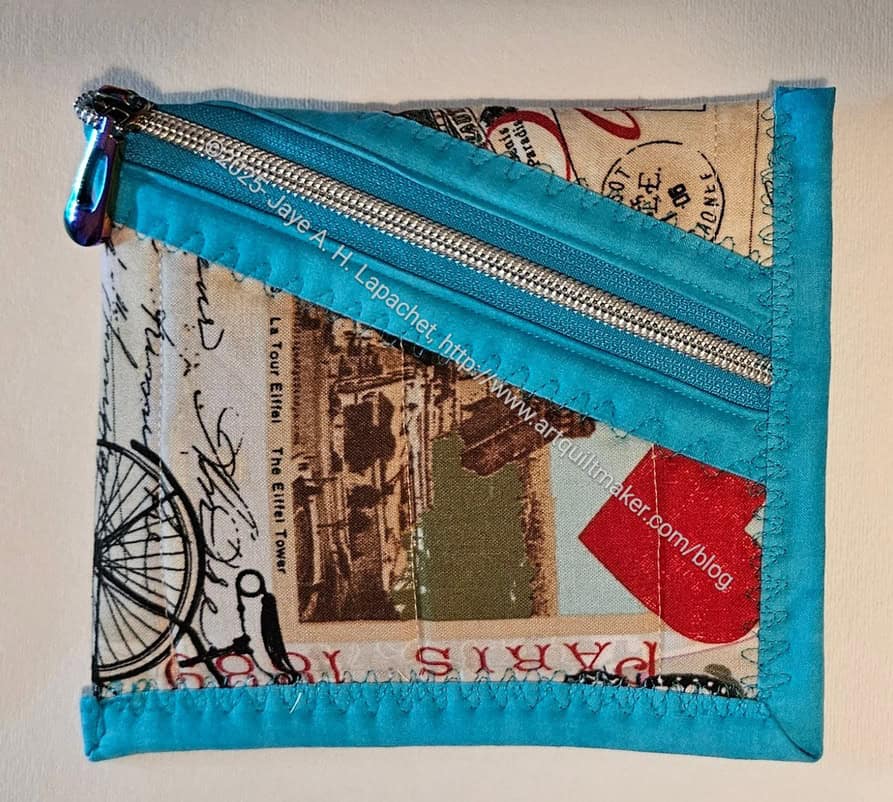
As mentioned, I followed the pattern exactly, which I might not do if I make this again.
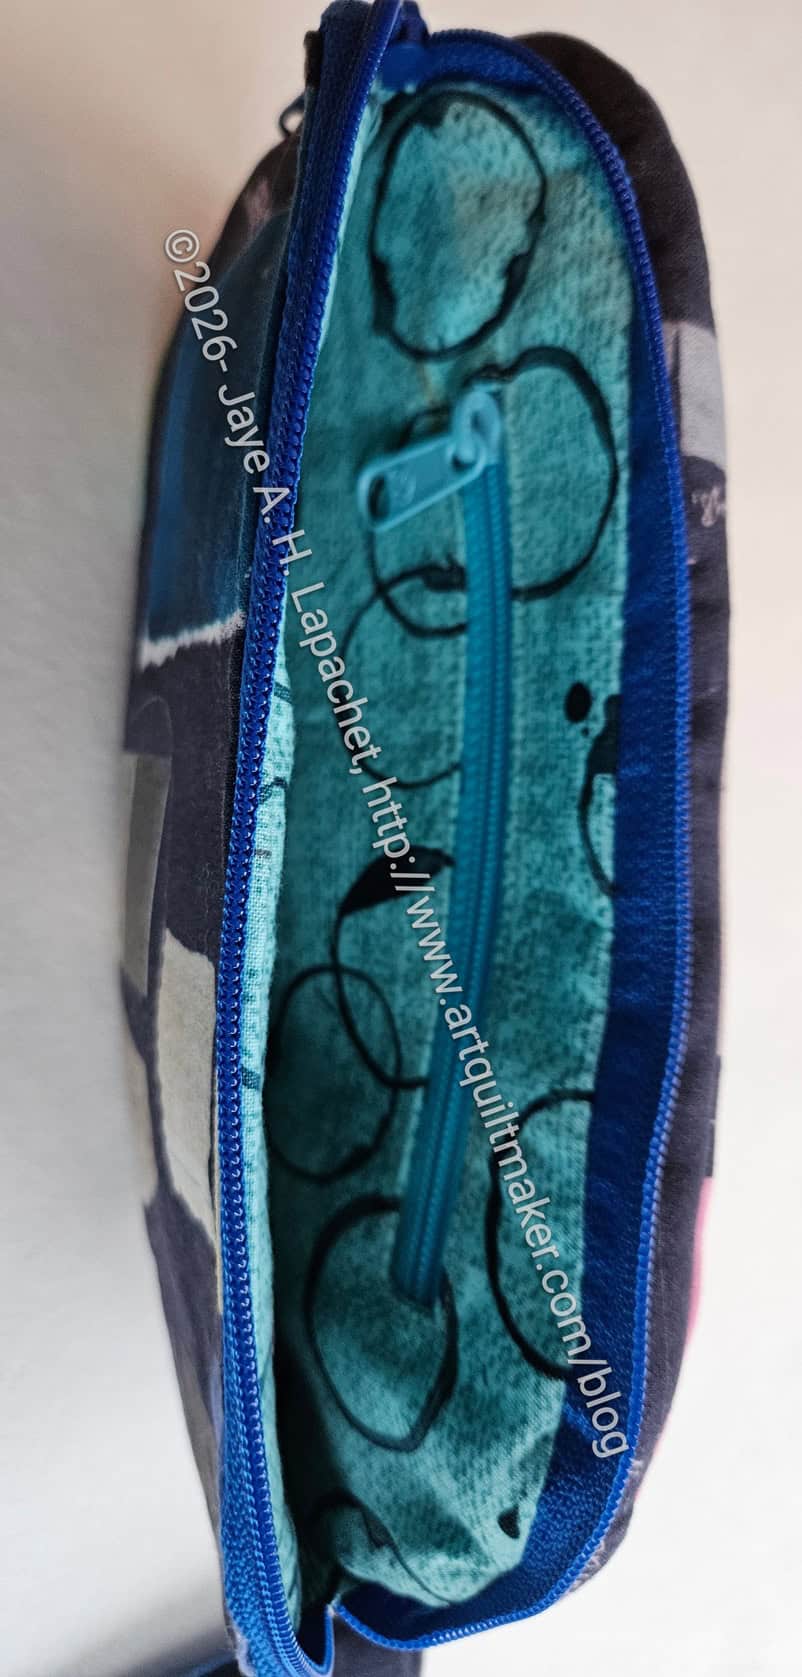
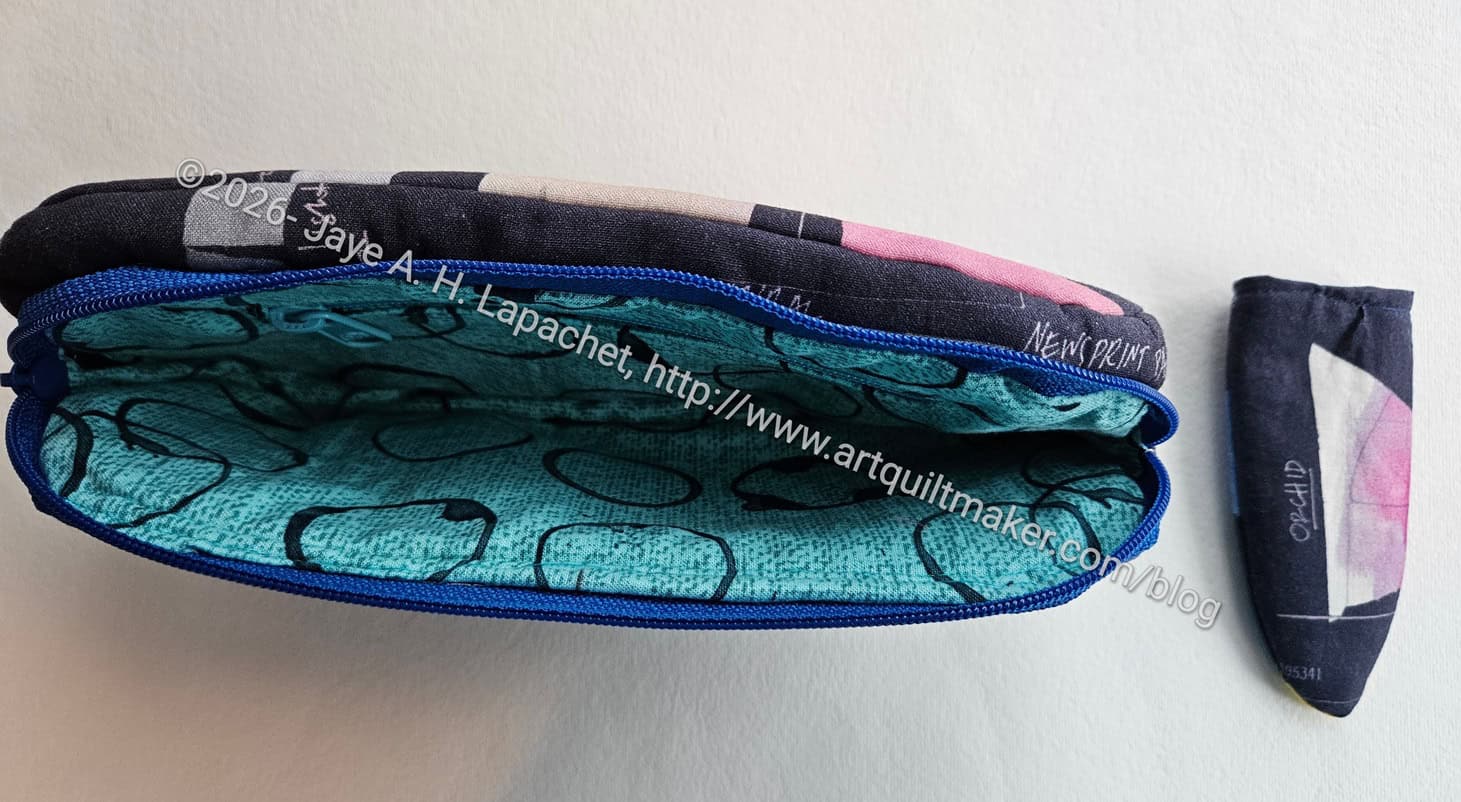
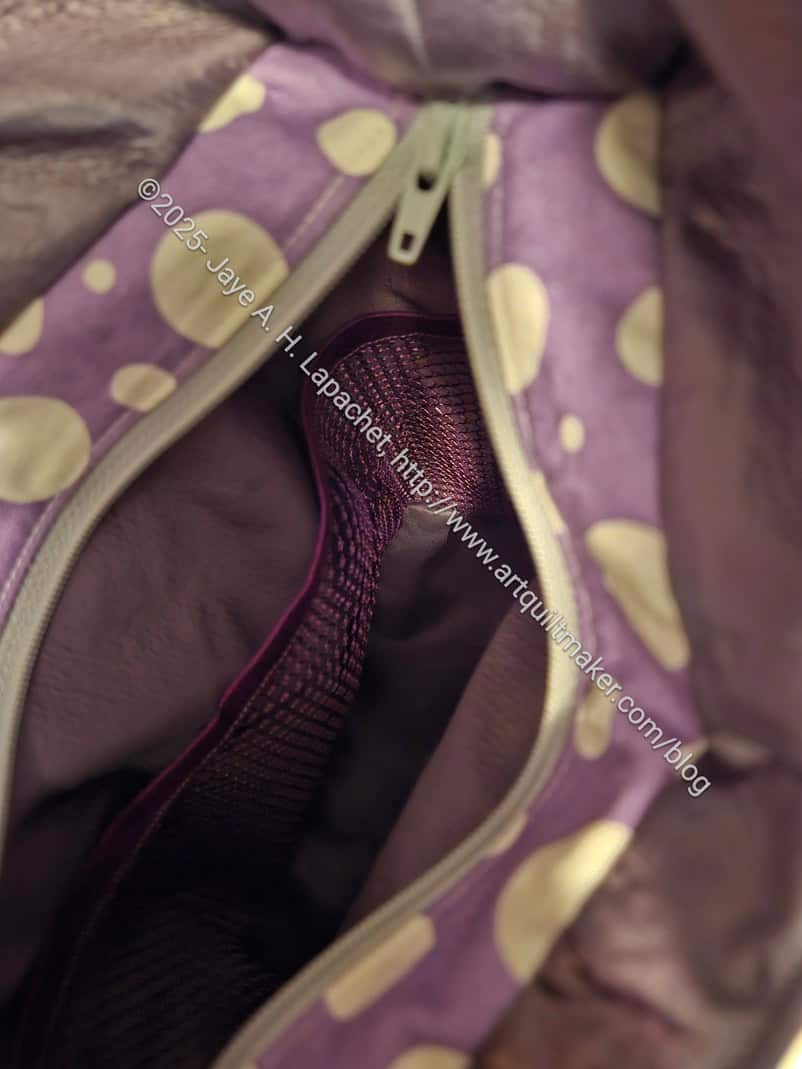
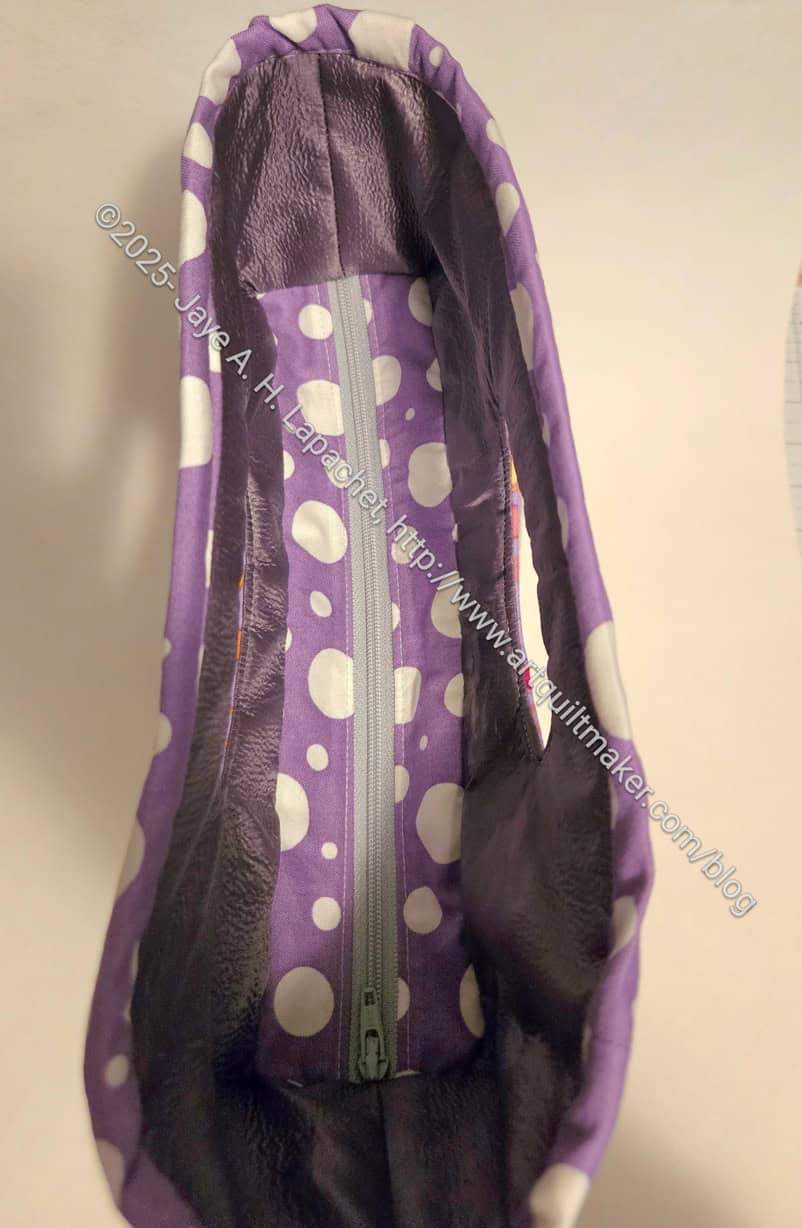
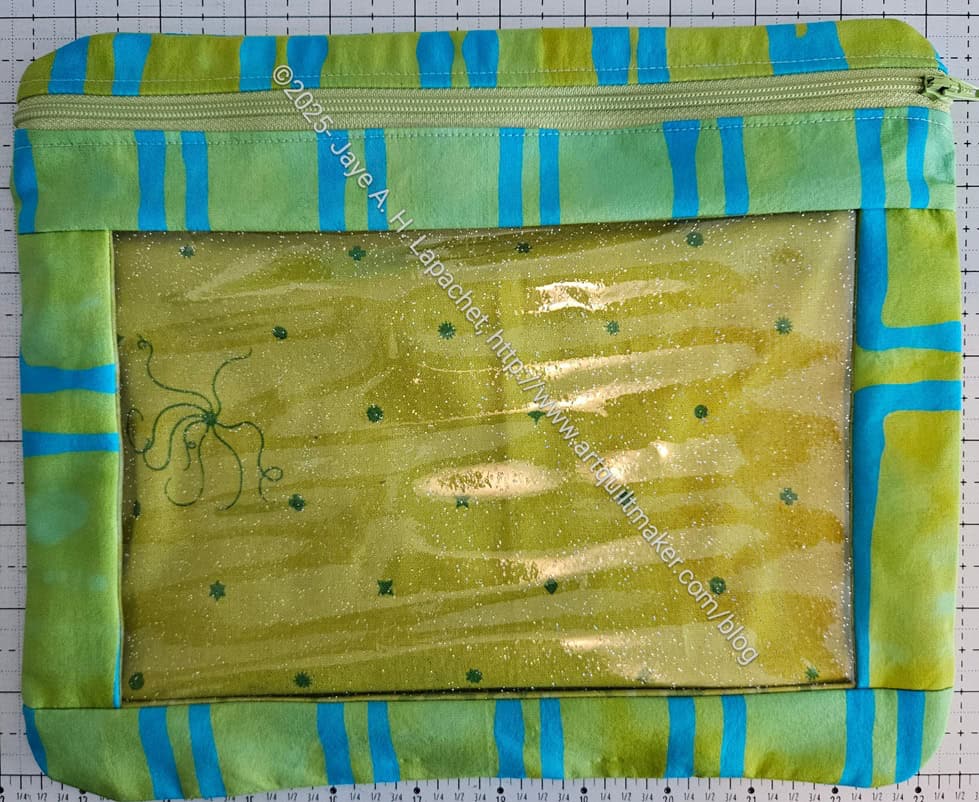
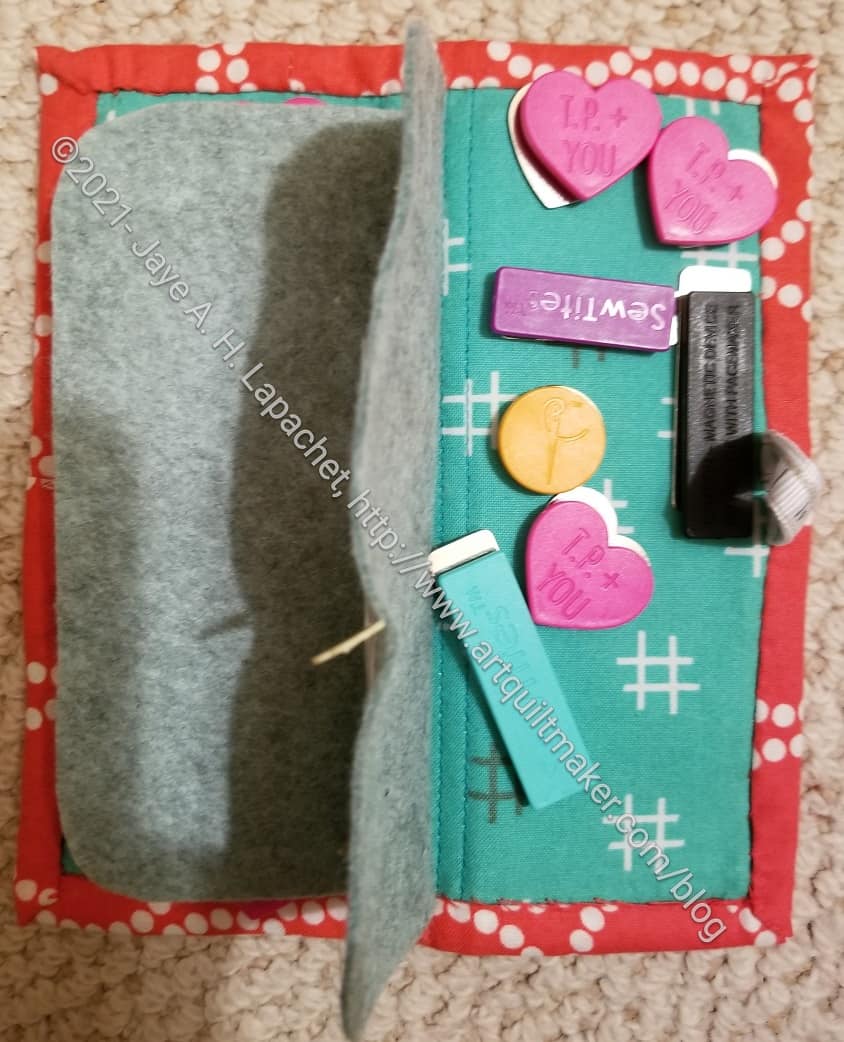
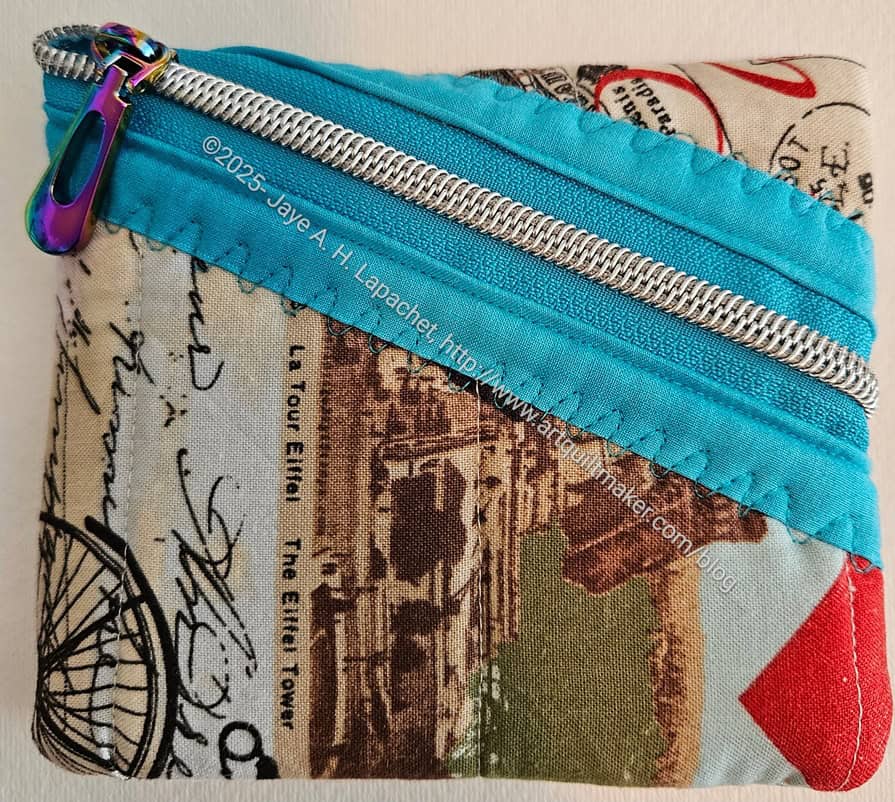
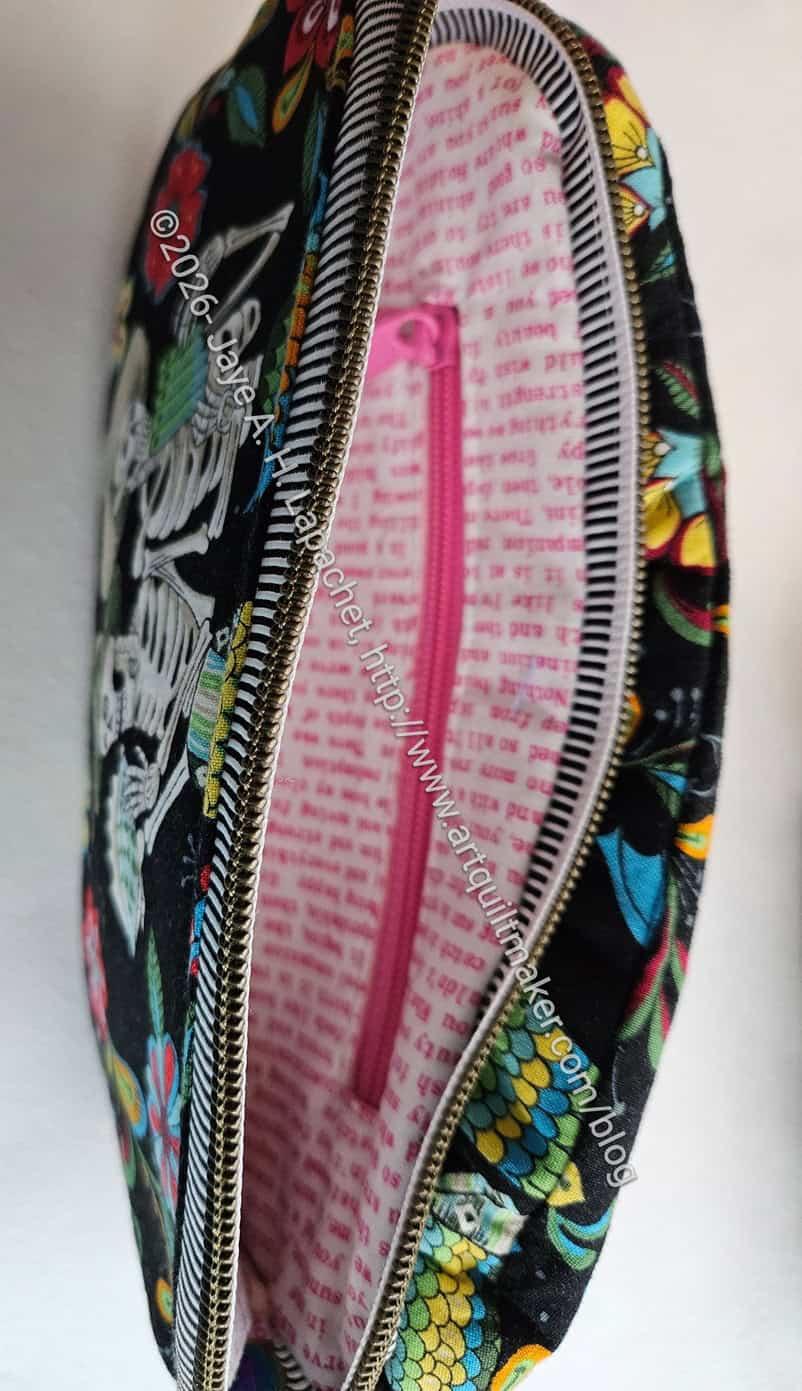
I also put an interior zipper pocket on one side of the pouch. I think this pocket could be used for extra rotary cutter blades. They might not be obvious, but a reminder could be using this same side for a rotary cutter.
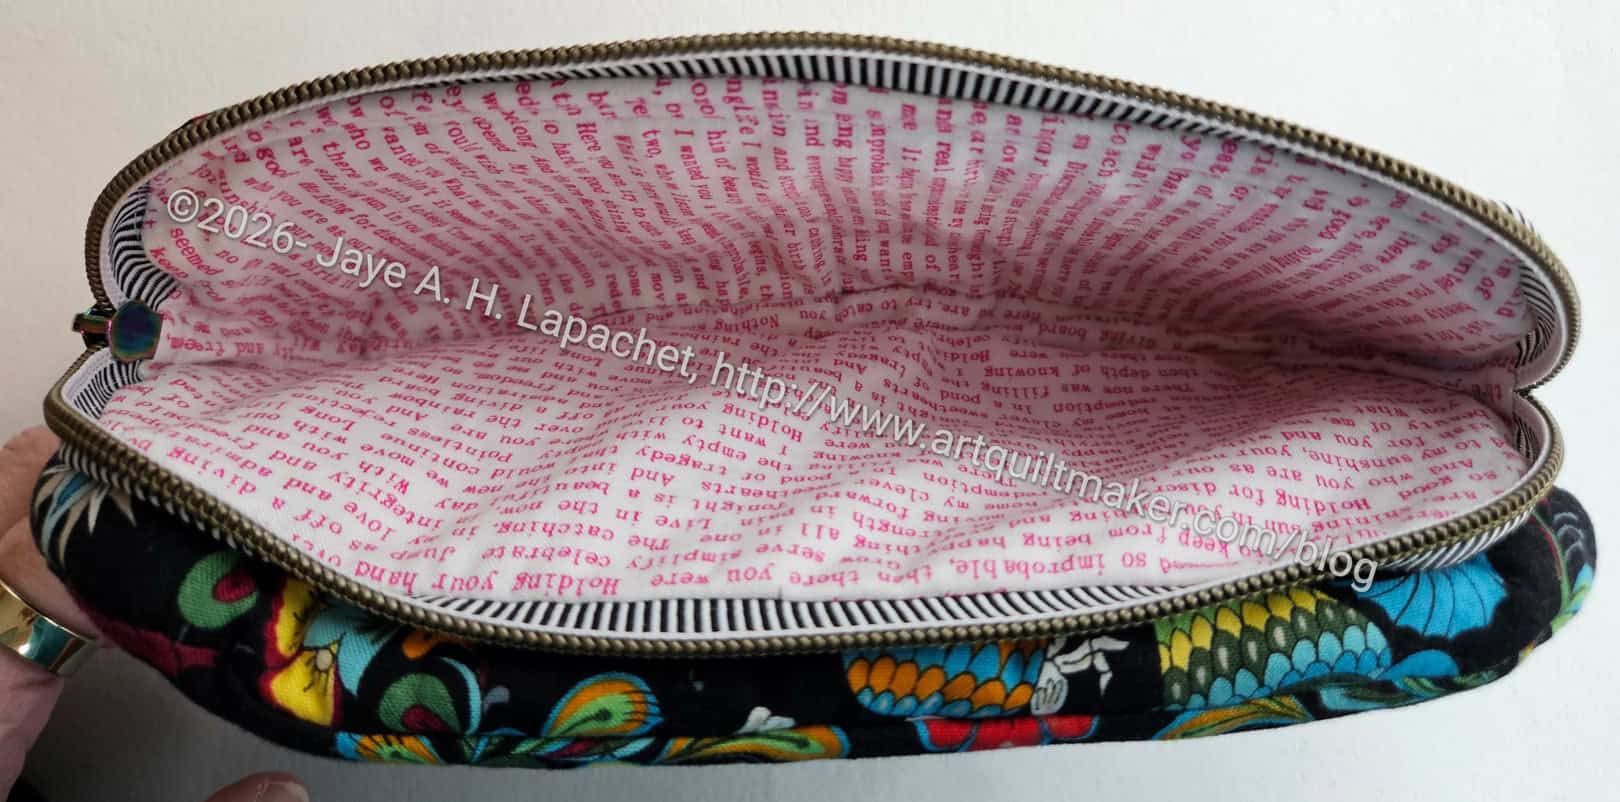
I am paying closer attention to making sure the linings are not saggy baggy. I am pleased with the way the pockets came out.
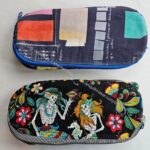

Both Tadpoles look good, I think. I need some practice to make them better, but this is a useful pouch.