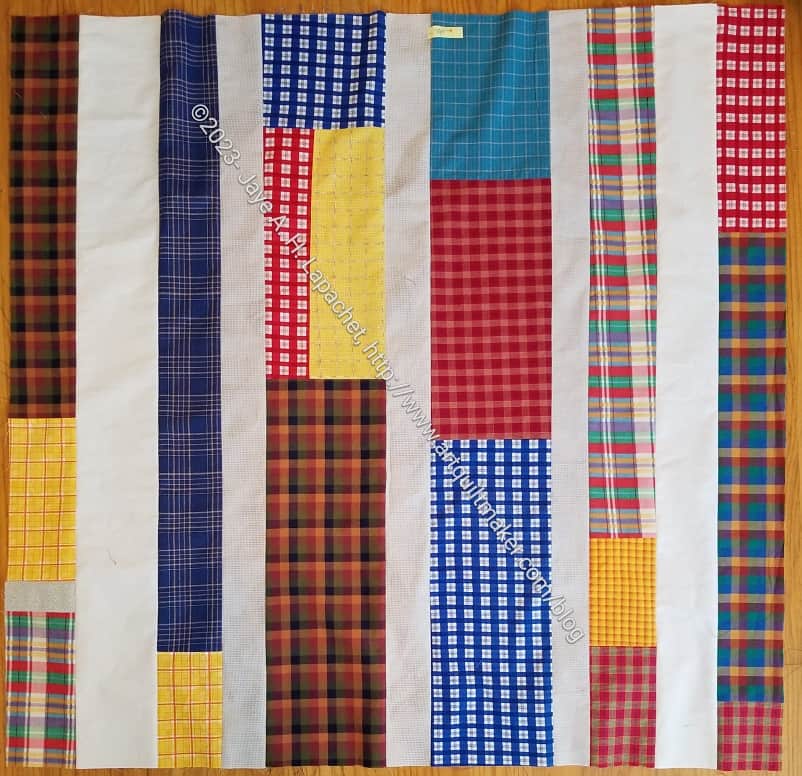
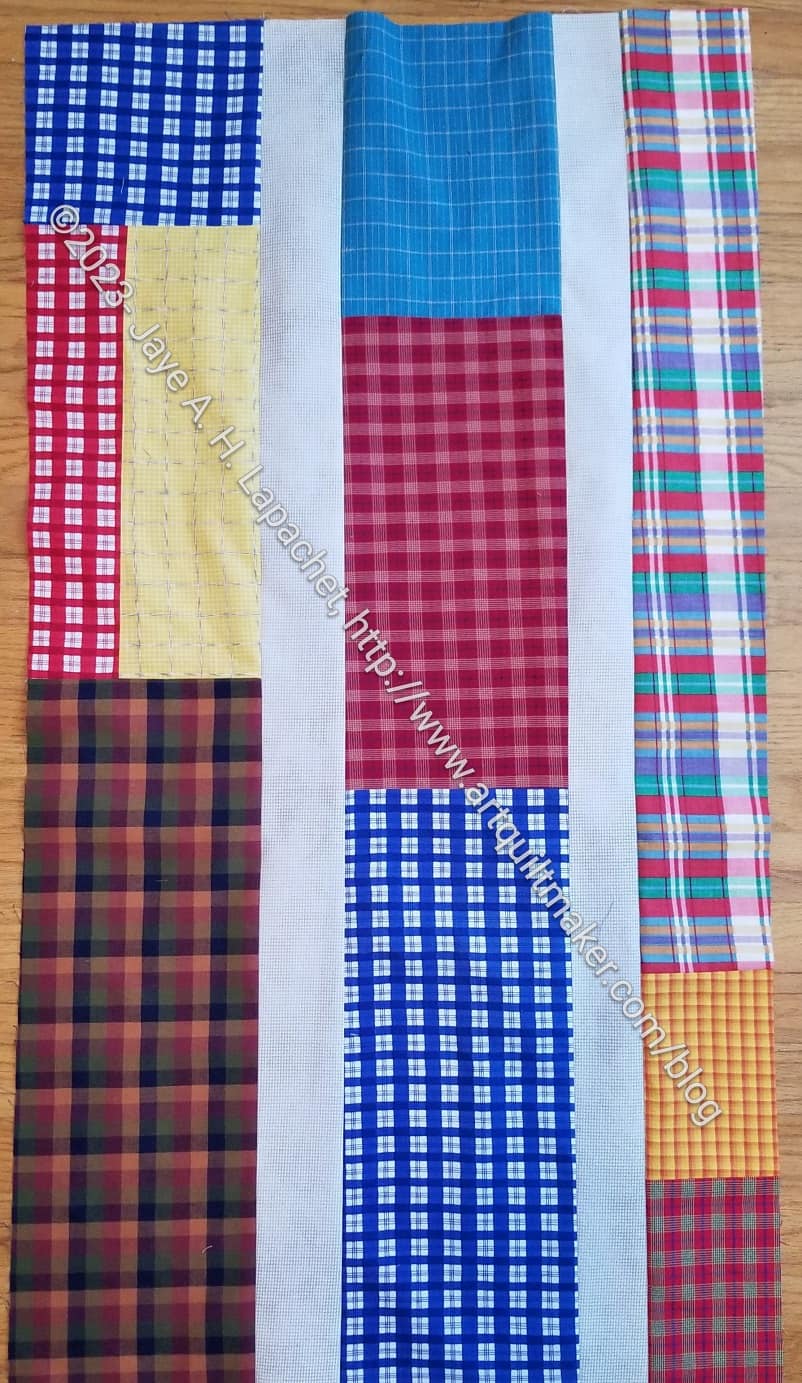
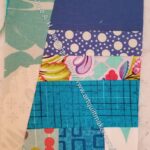
I have used up that taupe fabric I used to separate the print strips. Hooray! That’s out of my life.
I have also made backs for all three Ends tops. I couldn’t not do it. I have another day, so I might make another one of these quilts to hand in on Saturday.
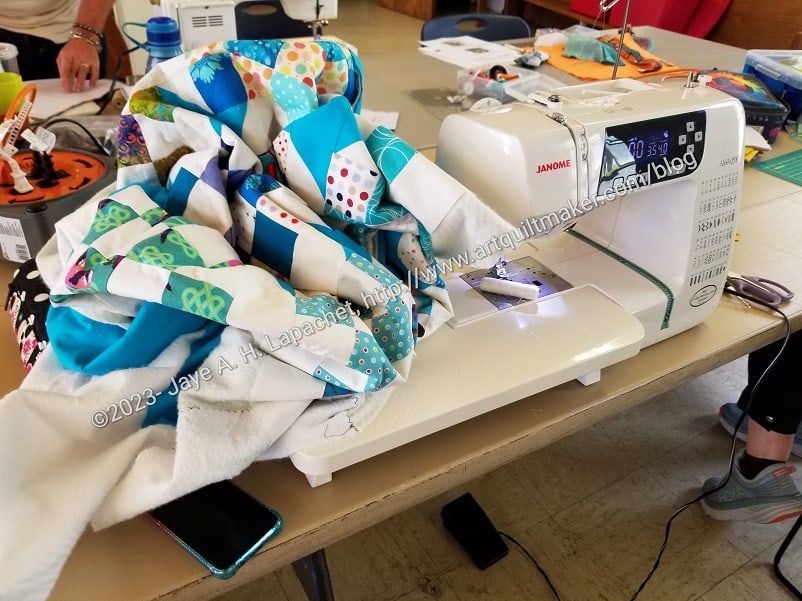
Ends n.16 went together very quickly. I actually worked on it at lunchtime the other day, then after work yesterday and I was done. Of course, I had everything out and available, which made the process go faster. Now it is ready for Sew Day next week.
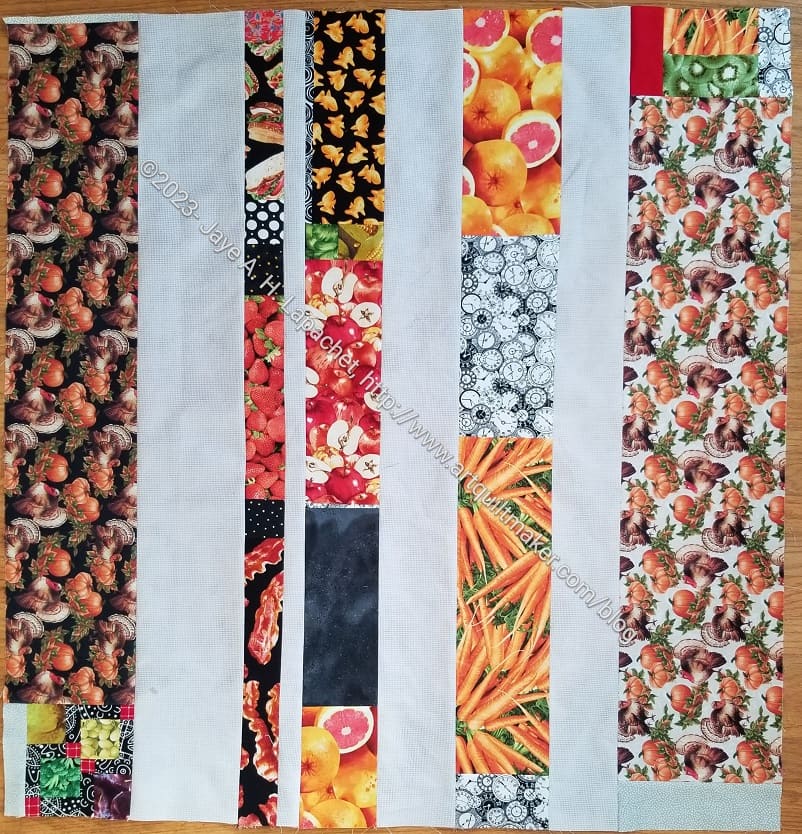
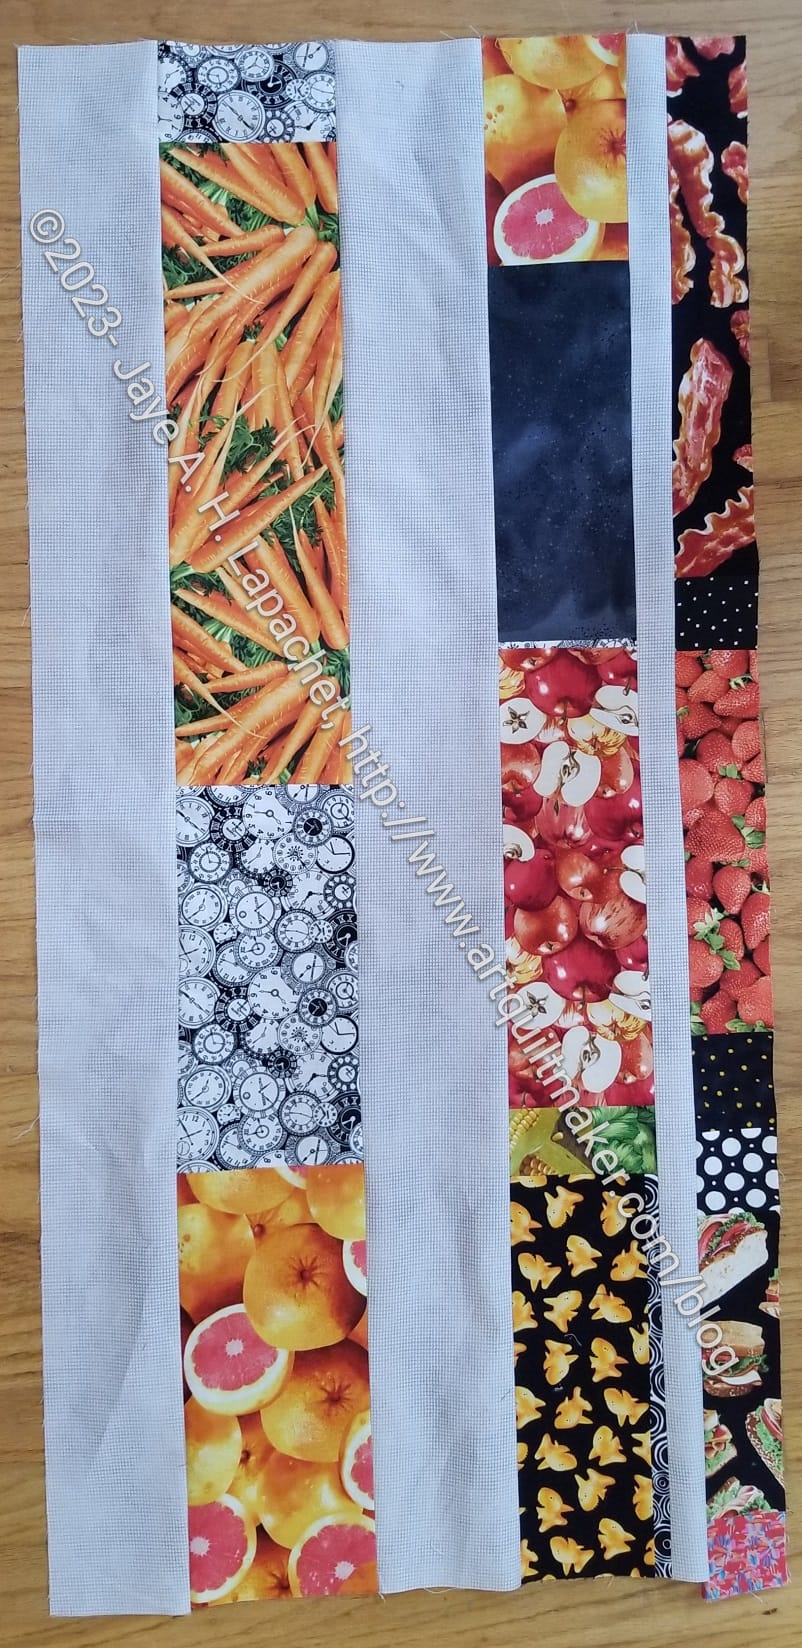
Yes, I used that crazy turkey fabric from the pillowcases I made last fall. LOL!
I didn’t use up the taupe fabric I wanted to use so I started another Ends donation top almost as soon as I finished Ends n.15. I guess I am trying to make up for the fact that I don’t want to participate in making log cabins.
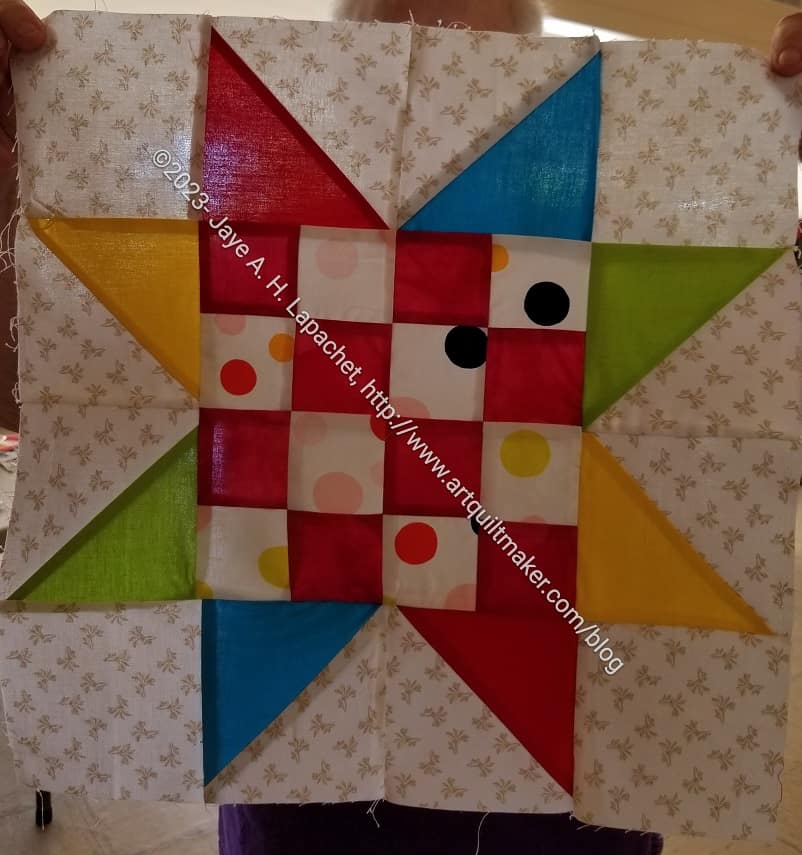
The other day I showed some red and dot donation blocks. I brought them to hand in at sew day and Peggy immediately grabbed them. Very quickly, she came up with a block with my donation blocks at the center.
This is such a cheerful block. I love the way she used HSTs instead of Flying Geese to vary the color of the rays of the star. I would say the block is probably 16″ in this form, but I didn’t measure.
Sawtooth Star donation top
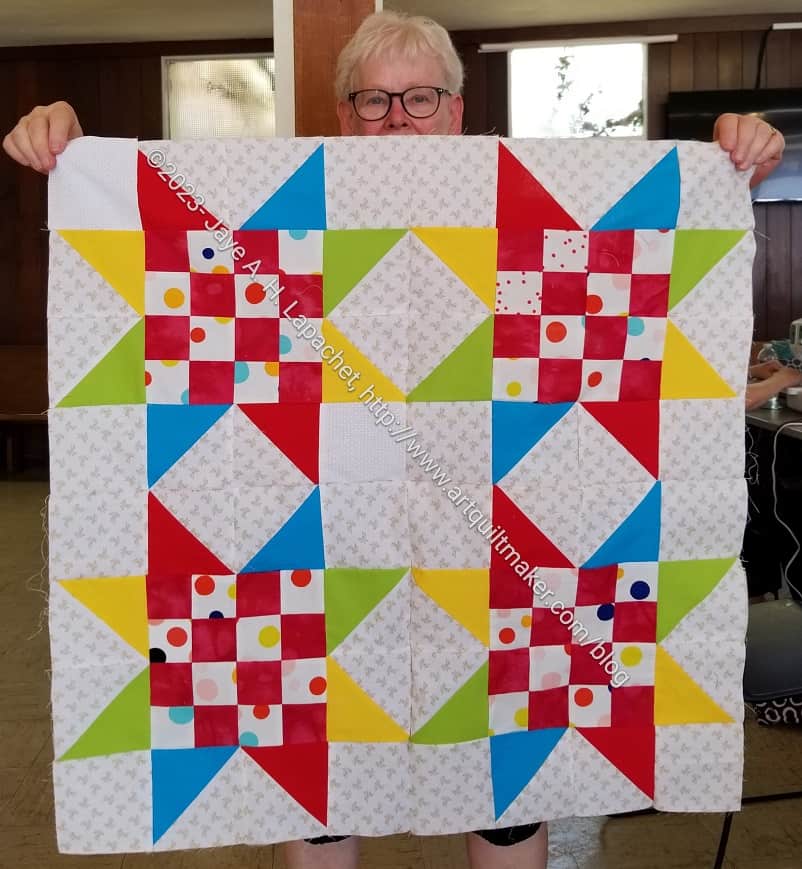
As the day wore on, Peggy continued to work. Midafternoon, she came up and showed me the quilt top made with my block at the center.
I know I say this all the time. I love this about the guild community quilt program. I can hand in something half finished and Peggy or someone will take it and make something fabulous.
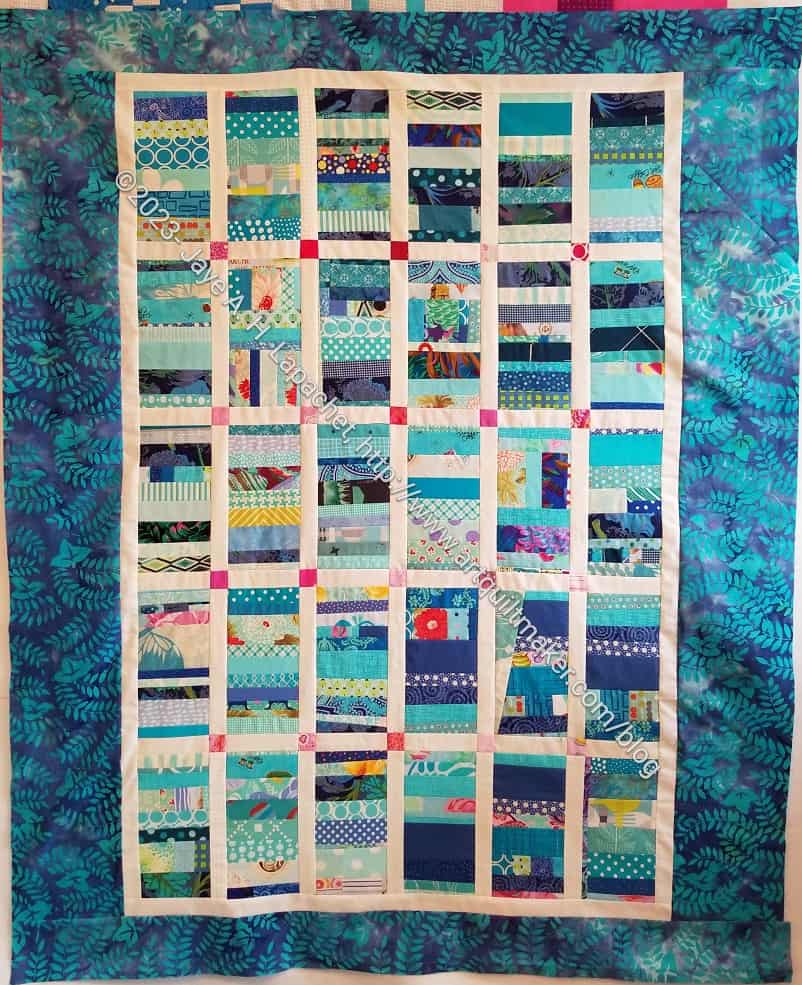
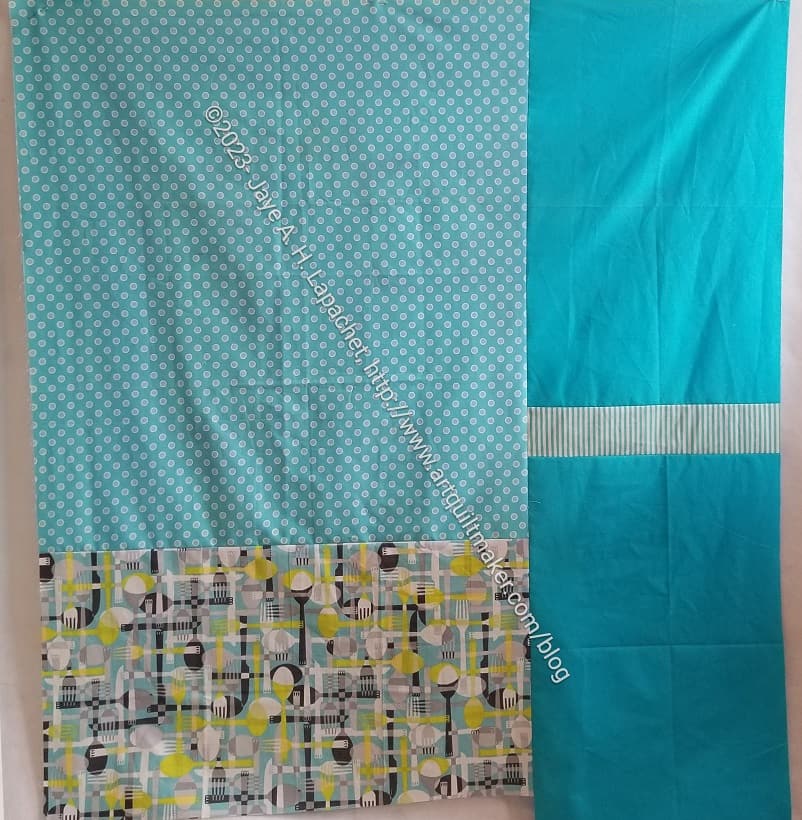
I finished the Blue Strip #3 donation top and back in the nick of time to take to Sew Day on Saturday.
As I mentioned, it was a weird shape, so I made an effort to widen it by making the side border strips larger than the top and bottom border strips.
It is still very much more rectangular than square, but more of a bed shape than a weird shape.
I’ll have to work on a blue color improv quilt like the others as I still have quite a few blue scraps. They seem to multiply when I am not looking. LOL!
Peggy, as usual, was very complimentary and happy to receive it. I plan to make another one using greys or blacks or both. The scrap drawer with greys, blacks and browns is very full.
After the meeting on the weekend, I cleaned out the Chubby Charmer I take to the meeting and found a bunch of stuff leftover from Retreat in the bottom. Among the items was a bunch of Pantone Project blocks that Julie made. She must have handed them over at the Retreat.
This group looks very Fallish/Autumn-like to me.
I feel terrible that they have languished unremarked upon for weeks. My only explanation is that I left for a business trip only a few days after I returned from the Retreat and really didn’t do a great job of putting everything away.
I have some fabrics chosen for some blocks for Julie and I am determined to get some done.
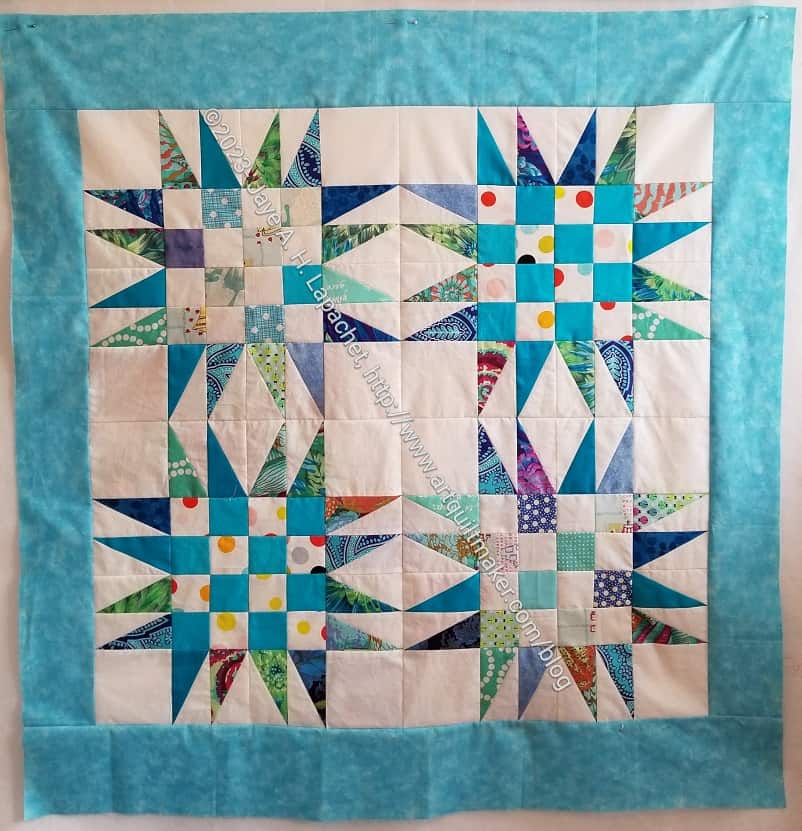
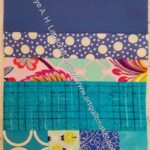
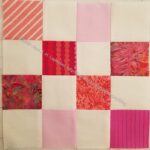
I am ready to put the Blue Color Strip blocks together. I have made all the blocks and laid them out on my small design wall, ready to sew. I hope to get the quilt ready to hand in on Sew Day in July.
I looked at the previous quilts and didn’t want to do the same thing, but also am not up for a lot of fancy piecing.
It came to me in a flash to add some pink cornerstones!!
I have decided (today) that waiting for a chunk of time to select fabrics for the Pantone Project isn’t getting selections made, which means I cannot make blocks for Julie. I think that if I select even one fabric I am much closer to handing more blocks over.
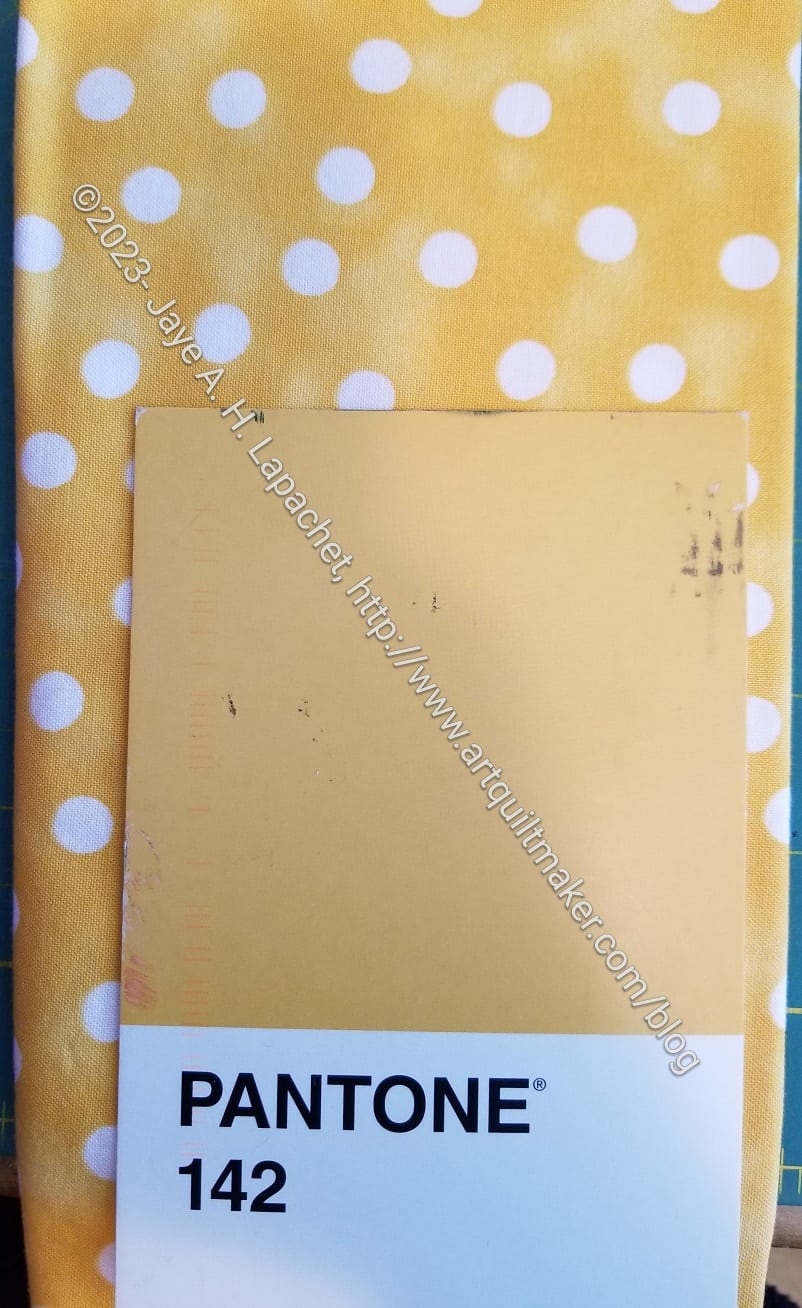
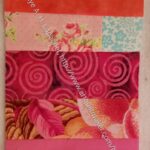
I am pretty pleased with the yellow selection. I know it doesn’t look exact int he picture, but the card is more of the same color in real life.
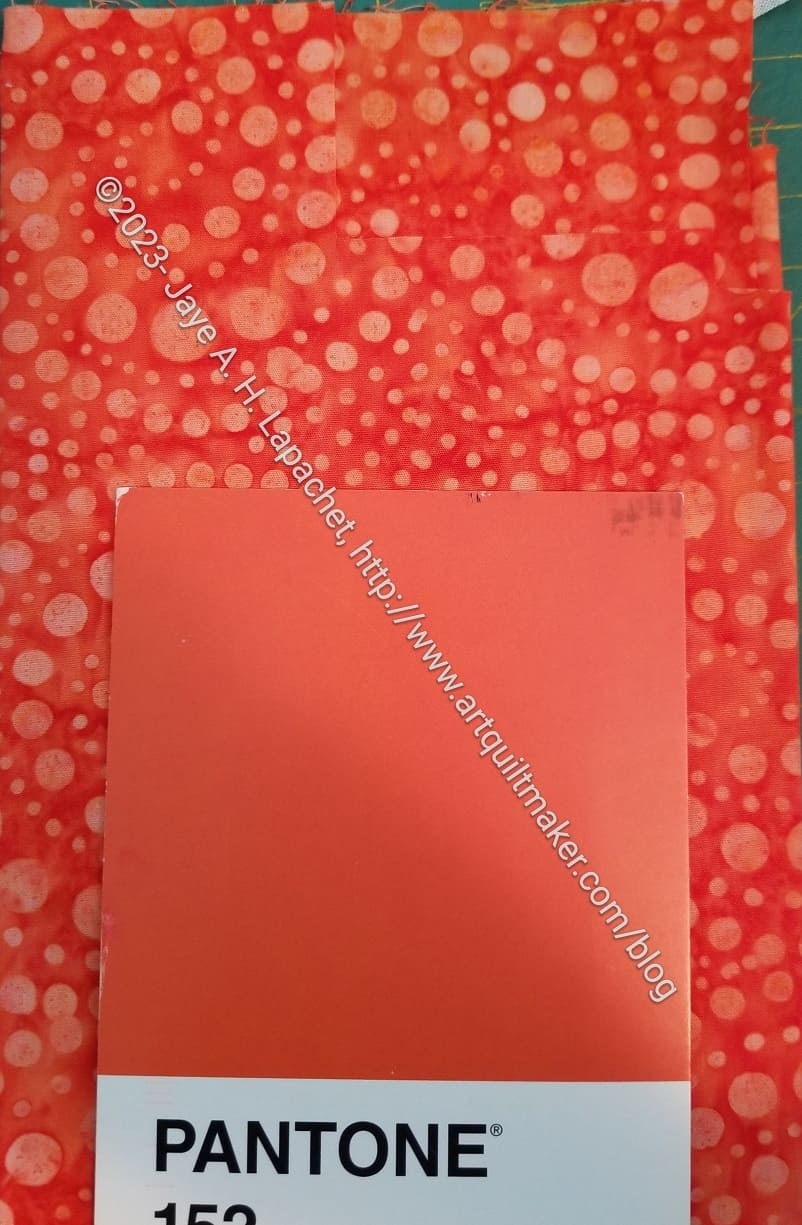
Pantone 152ish + fabric selection
Last week, on my lunch hours, I selected one or two fabrics. This orange is also a better match in person.
Julie and I both acknowledge that this is more challenging than we thought it would be. Still, I think doing it in small chunks is worth a try. I hope I can make some progress using this strategy.
Julie and I meant to go over her technique for foundation paper piecing and we didn’t get around to it. That lack gives me a reason to get together with her soon.
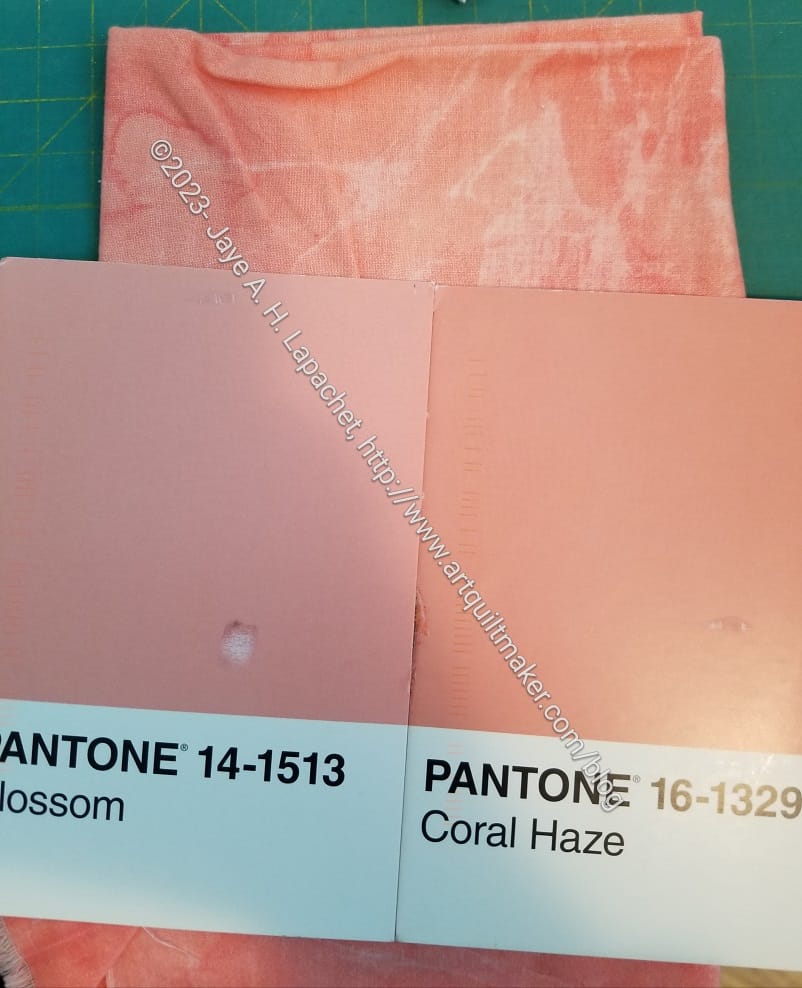
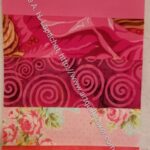
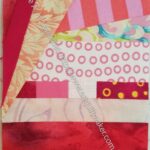
Pantone Blossom and Coral Haze + fabric
These two are pretty similar. I remembered this peachy fabric, but had to get it out to see which one works better. I think I will use this fabric for the Coral Haze and find something else for the Blossom.
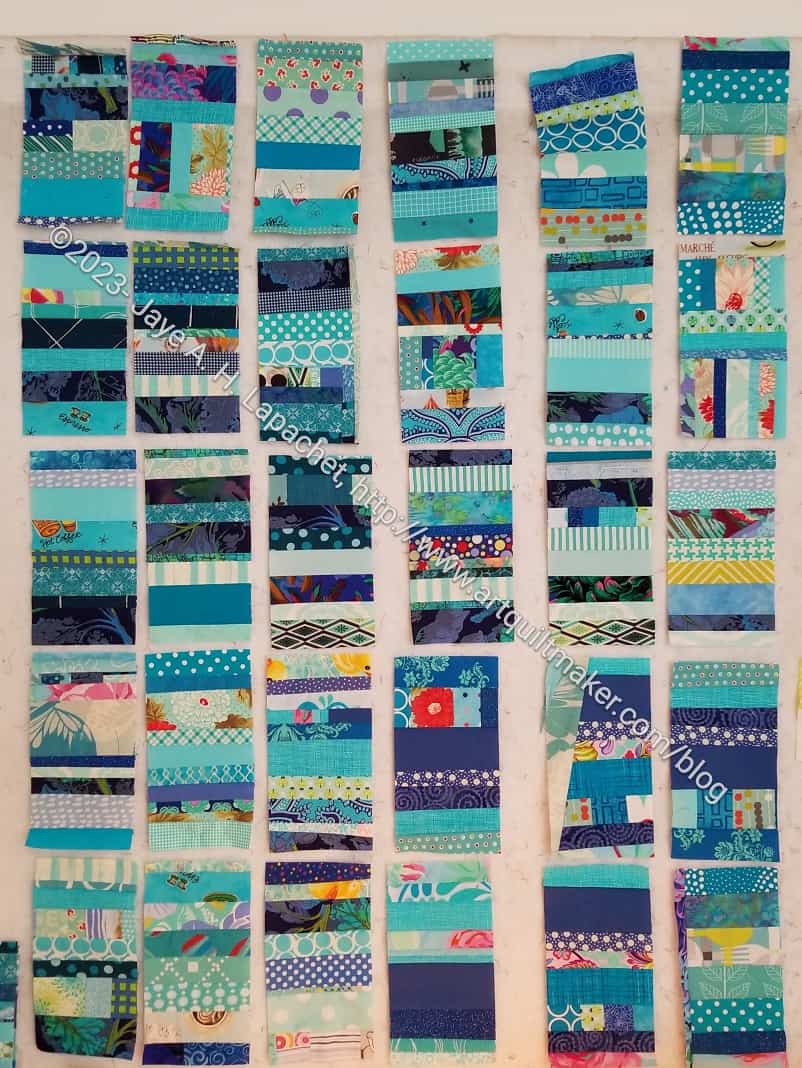
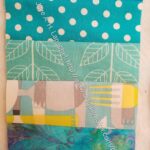
I started, sort of, the next Rainbow Strip donation top. I finished the first one in September of last year. Mostly what this means is that when I am delving into a scrap bin and come up with strips, I make a Color Strip block from it.
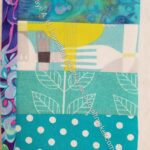
Blue Strip donation block #1
Blue Strip donation block #2
Blue Strip donation block #3
Blue Strip donation block #4
Blue Strip donation block #5
Blue Strip donation block #6
Recently I have been making blue strip blocks and I have a lot of them. I think I will have to make a blue Color Strip donation top.
I don’t know if I will use all of these since 6 is a lot of any one color. We’ll see.
This group adds to the yellow, green, grey and pink blocks I already have.
I finally finished Orange You Glad’s sleeve. It took forever considering I got the quilt back from Colleen in February. The real problem was that I put off making the sleeve for awhile. I know I should have made when I finished the quilt, but I didn’t.
This quilt doesn’t look square, but apparently it is. It is 63×63 inches.
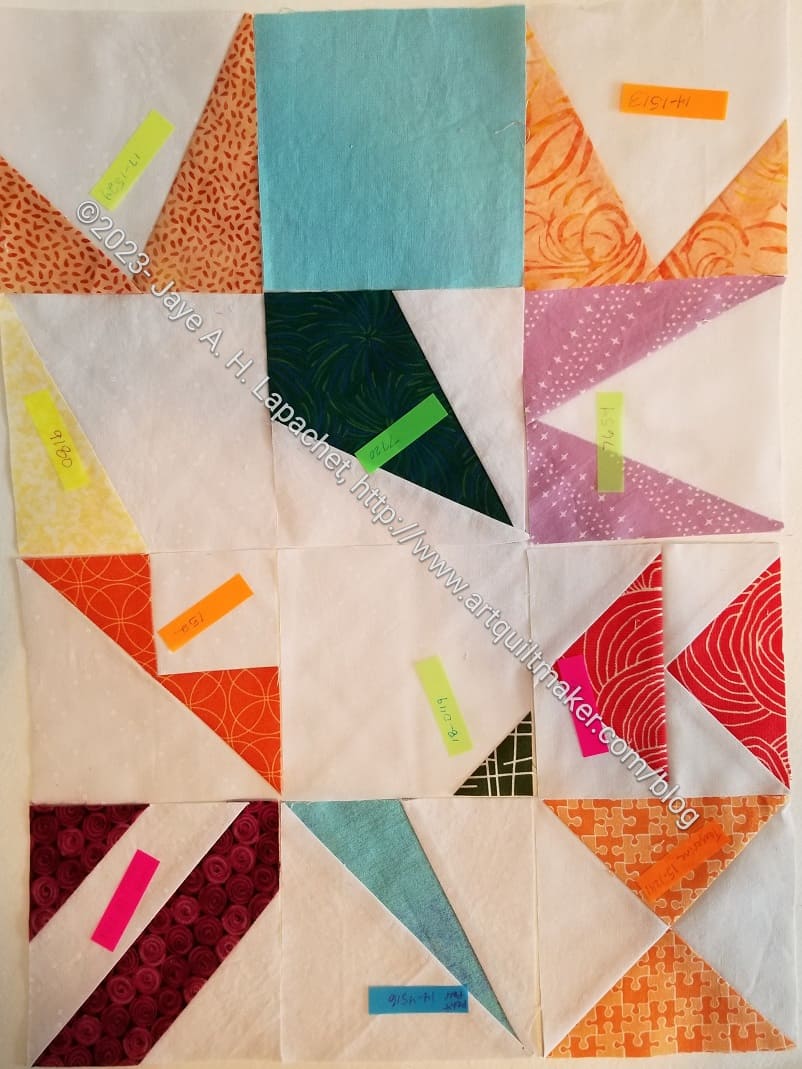
I was really pleased to see a bunch of quilts that Peggy made for donations at the meeting the other day. She called them her “Jaye collection”, which I thought was very kind. I was confused until she talked about how she made them out of bits and pieces I sent to her. I sent her a couple of stacks of HSTs during the pandemic as well as many 16 patch blocks and she turned all of them into great quilts.
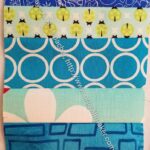
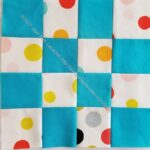
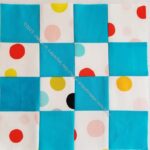
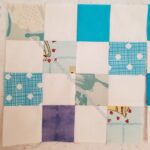
Turquoise dot donation block
Turquoise dot donation block #2
Turquoise donation block
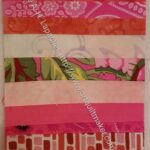
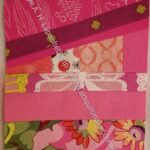
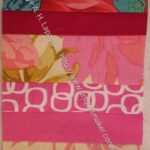
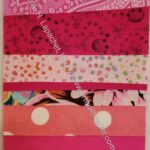
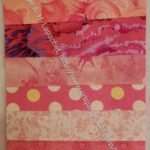
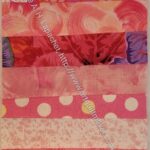
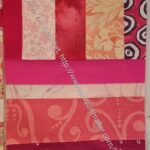
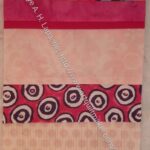
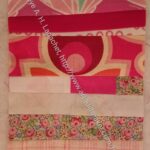
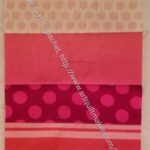
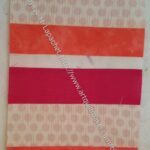
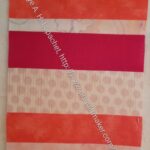
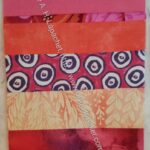
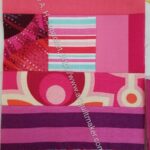
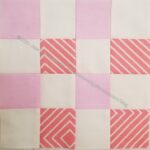
Pink color strip #17
Pink color strip #18
Pink color strip #19
Pink color strip #20
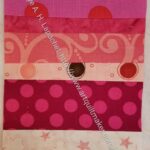
Pink color strip #21
Pink color strip #22
Pink color strip #23
Pink color strip #24
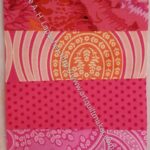
Pink color strip #25
Pink color strip #26
Pink color strip #27
Pink color strip #28
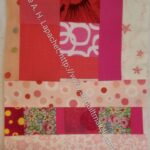
Pink color strip #29
Pink color strip #30
Pink color strip #31
Pink color strip #32
Pink color strip #33
Pink color strip #34
Pink color strip #35
Pink color strip #36
Pink color strip #37
Pink color strip #38
Pink color strip #39
Pink color strip #40
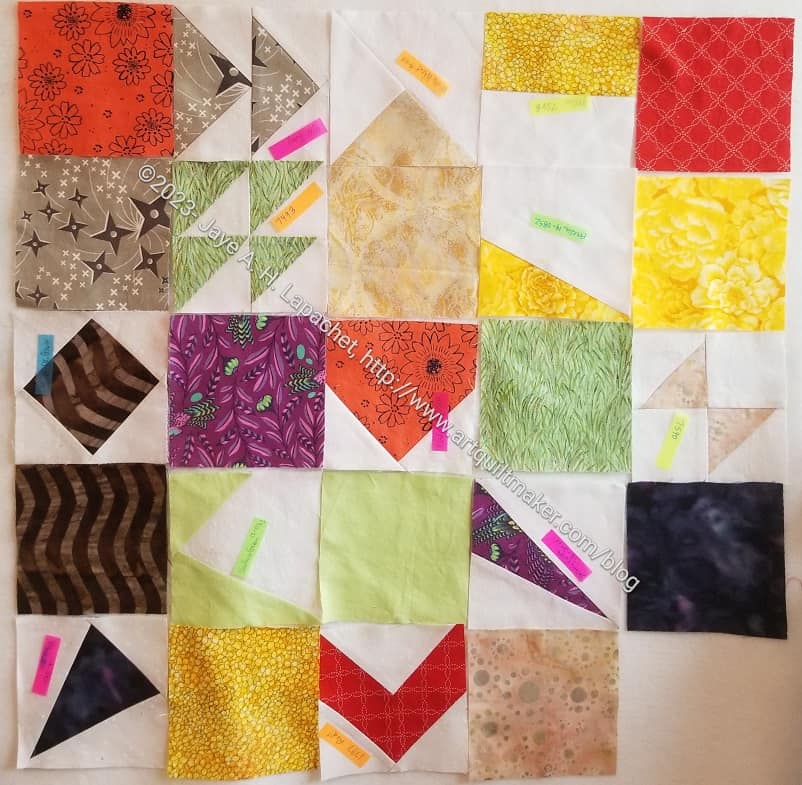
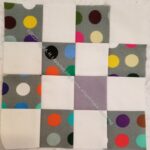
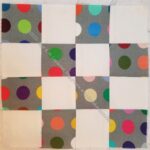
Yellow dot grey donation quilt
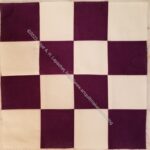
Purple donation block
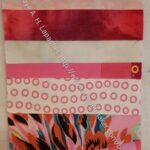
Pink donation block 2023 #2
Pink donation block 2023 #1
Grey dot donation block #2
I made a bunch of donation blocks this month. Some are 16 patches and some are the pink strip blocks. As a result I am feeling better about my contributions to the guild.