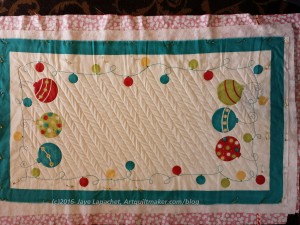
This project has been on my to do list forever. Now it is OFF! It is complete. Finished. Done.
Yay!
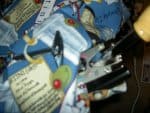
So, the deal with this piece is that I got the panel somewhere. I think I may have been collecting opportunities to practice my free motion quilting at the time. (Stop laughing!). It hung around for a few years. At some point, I probably put it on the to do list when I cataloged my UFOs. It was on the to do list for a long time. At some point I decided to get busy and work on these languishing projects.
Back of Christmas Tablerunner
The only thing I might do is embroider my name on the back. there is no label on this piece and I don’t want it to be anonymous.
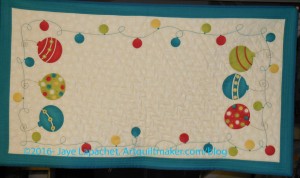
I spent some time at the quilt retreat quilting the Christmas tablerunner.
Finally! I know. The project has been on my to do list forever. I was determined to get some of my quilting tasks out of the way. I still have to do the border, but I am well on my way.
I was determined to work on some of the projects on my to do list at the Retreat. I also wanted to work on some projects I wasn’t likely to work on at home.
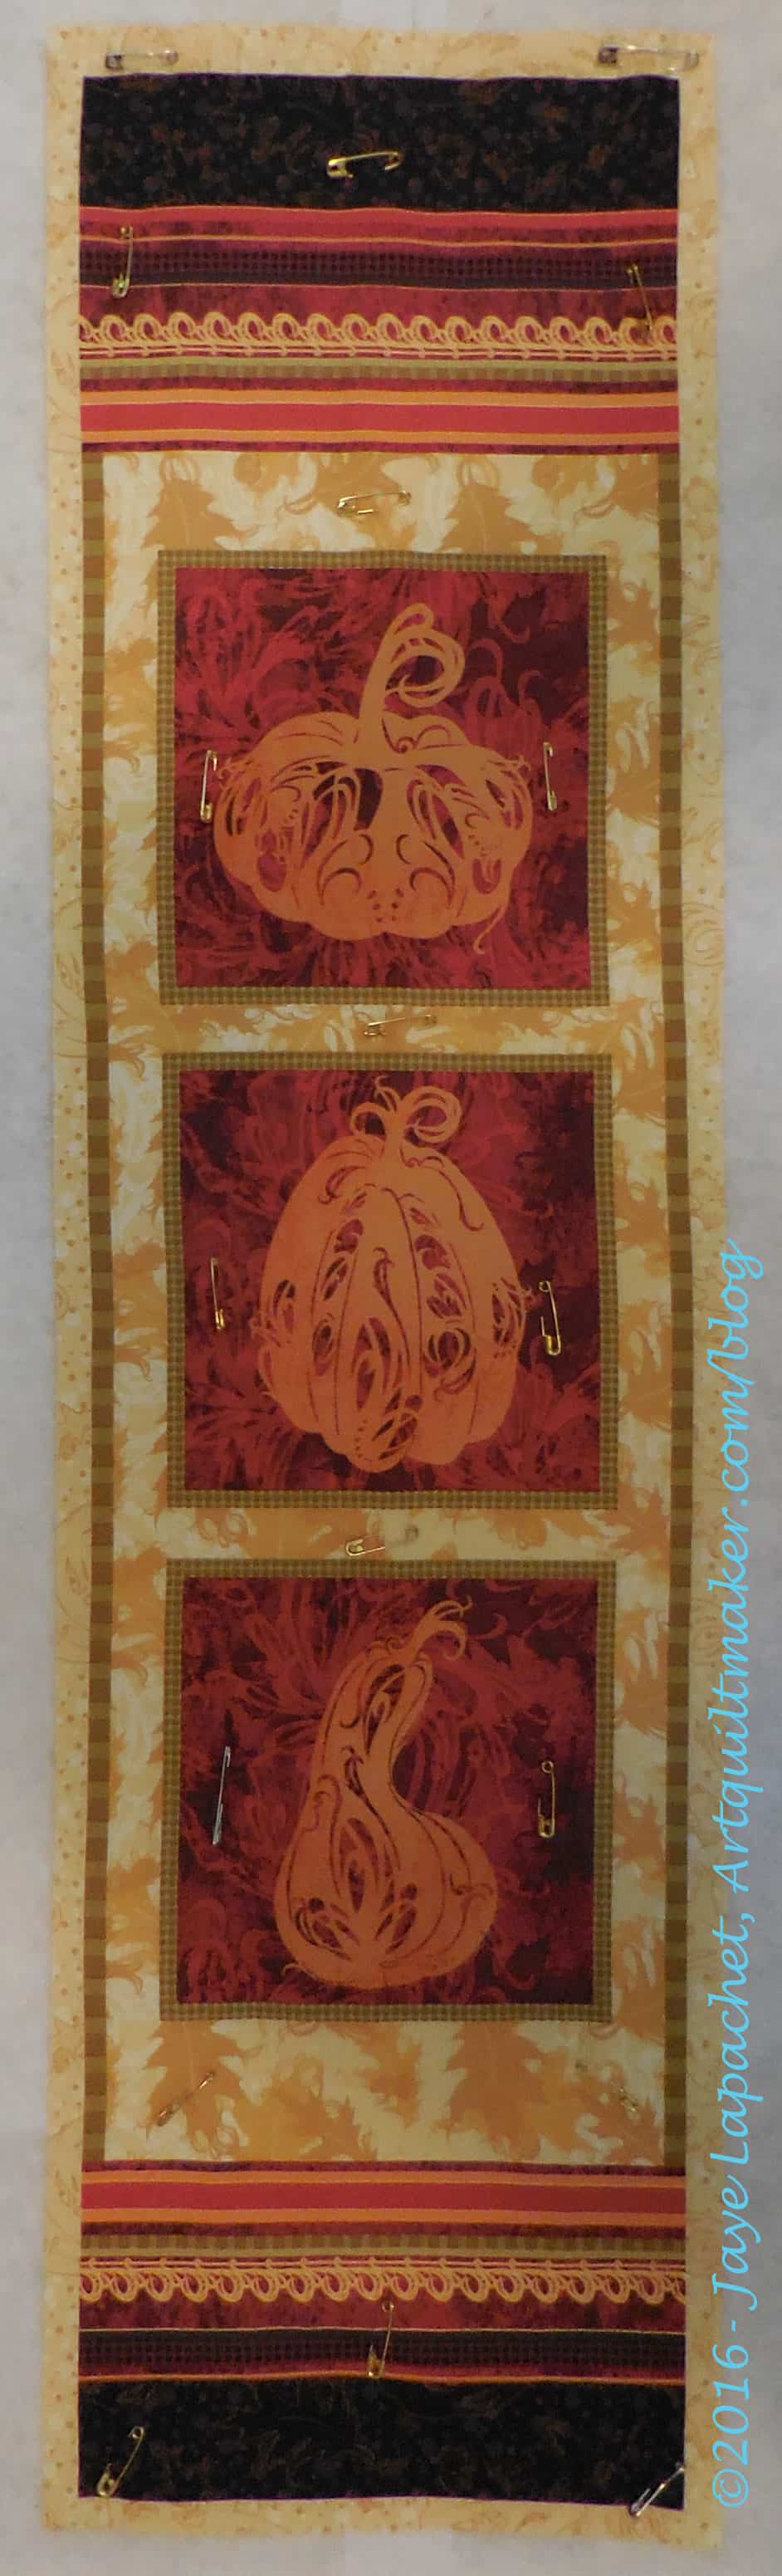
First up was the Thanksgiving tablerunner. It has only been on my to do list for 5 minutes, but I started with it because it is small. I figured that I could actually finish it.
Thanksgiving tablerunner – quilted
I was able to finish the quilting. I am a bit of a maniac when I do decide to quilt, so the project took me all afternoon and into the evening. I did go out to dinner and socialize, but otherwise sat in front of my machine and quilted.
I quilted diagonal lines in the center (red) using some blue painter’s tape to keep the lines even and straight. As I got more comfortable, my mania started to kick in and around the edges I did a lot more quilting. I followed the outline of the pumpkins and gourds. I also quilted a lot around the leaves on the top and bottom and in the orange sashing.
Thanksgiving tablerunner – quilted – detail
Thanksgiving tablerunner – quilted – detail
Next up binding, then I will have a finish for 2016.
As I mentioned back in August, I want table runners for Thanksgiving. I don’t have many Thanksgiving decorations and I can’t bring myself to make napkins yet. I want napkins, but I can’t deal with all that brown and years of decorative stitching required right at the moment.
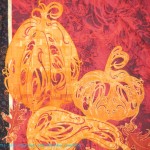
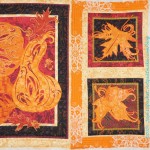
Thanksgiving PanelThanksgiving Panel
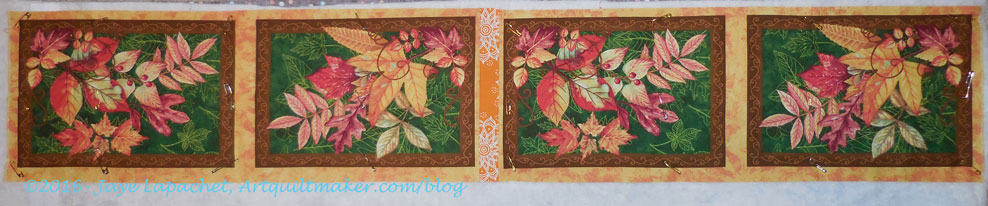
I bought two Thanksgiving fabric panels at Forget Me Knots in Bandon, Oregon. Friday, I put the table runners together.
How it happened was that I was going through the fabric on my ironing board, cutting the pieces I needed for various projects and putting yardage away. My goal was to allow DH a brief window to iron. When I got to the table runner panels, I decided putting them away would be silly and I just did what I needed to do to move those projects along.
Small contemporary tablerunner
The small contemporary table runner was easy. It just required cutting apart from the rest of the piece. I didn’t add any piecing to it. Just basted and it is ready to quilt.
Traditional table runner and mat
I pieced two sections of the traditional panel together. I think some of the pieces and parts of the panels were supposed to be coasters, but I think these sections (right) are too big to be coasters, but there are too small to be placemats, so I don’t know what their original purpose was. I like the leaves. The green is a little odd.
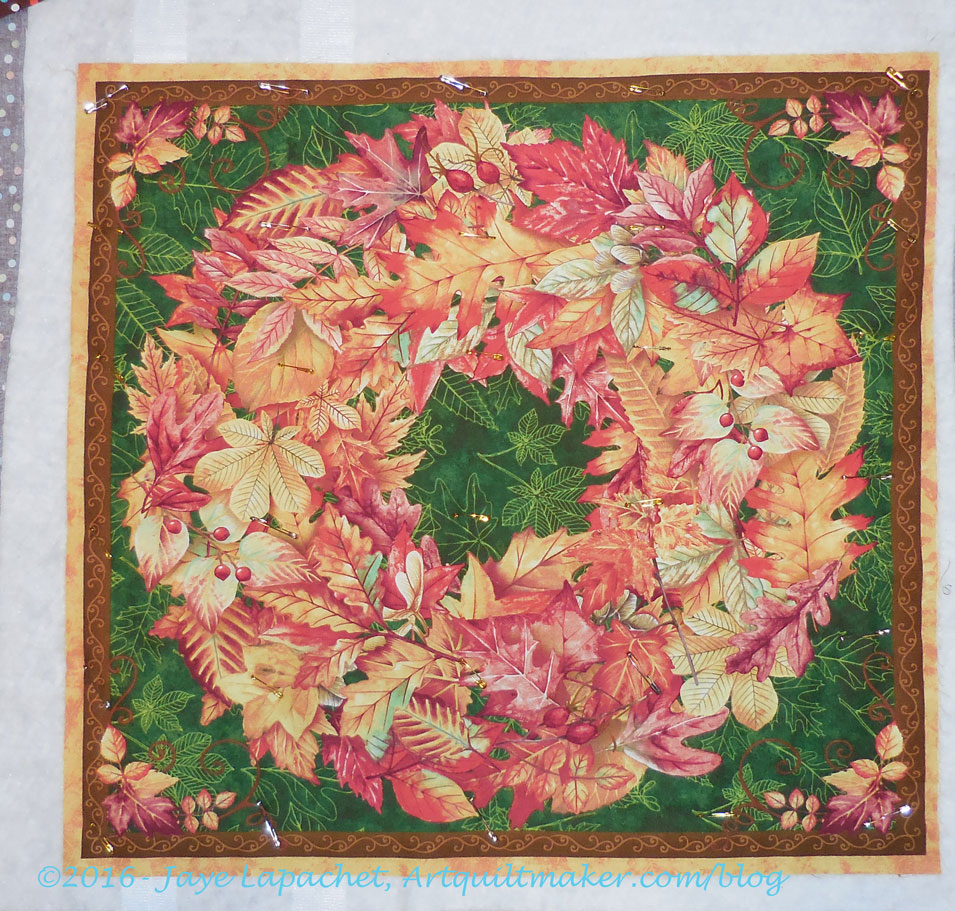
Thanksgiving Table Mat
The traditional panel also had a square leaf wreath, which I will use it as a table mat on the coffee table.
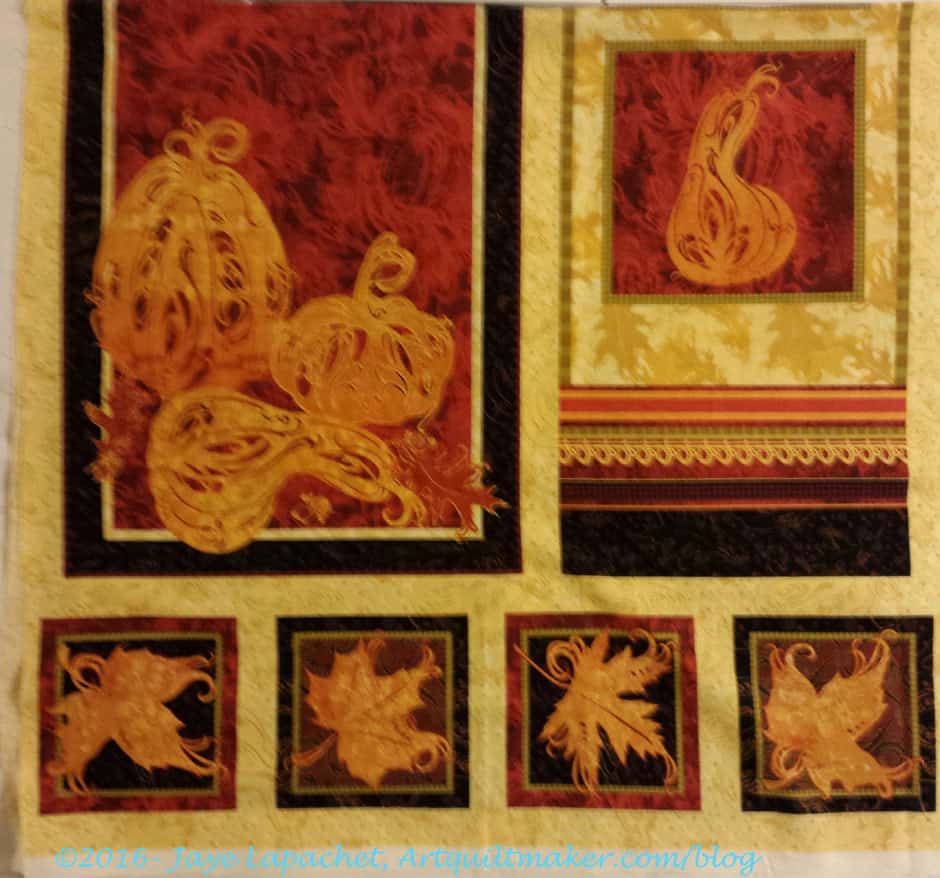
Contemporary Thanksgiving Tablerunner
Finally, my favorite is the one to which I added the most piecing. I am not sure that pumpkin orange fabric was exactly right, but it is close enough and doesn’t match. It will add interest.
In various books I have read, especially set in Edwardian England, a Rag Man has been mentioned. This person, presumably not always a man, came around and collected scraps of cloth, clothes to worn to use any more, bits of fabric too small for quilts, etc. That is all I know and I have to say that I have longed for a way to get rid of fabric (not quilt fabric!), items made of fabric that are no good for the various charities that take clothes and linens. I just hate tossing them and thinking of this perfectly good fabric, once cleaned and shredded and reused for …what? Something no doubt — ending up in a landfill. Sadly, no such person is forthcoming.
I was thinking of my mythical Rag Man last Friday when I tried to cram some recently washed socks into an overflowing sock drawer. I thought of him again two minutes later when I tried to do the same with some undergarments. That was it. I took everything out of the drawers, both sock and undergarments, one at a time, and sorted the good from the bad, then reorganized the drawers.
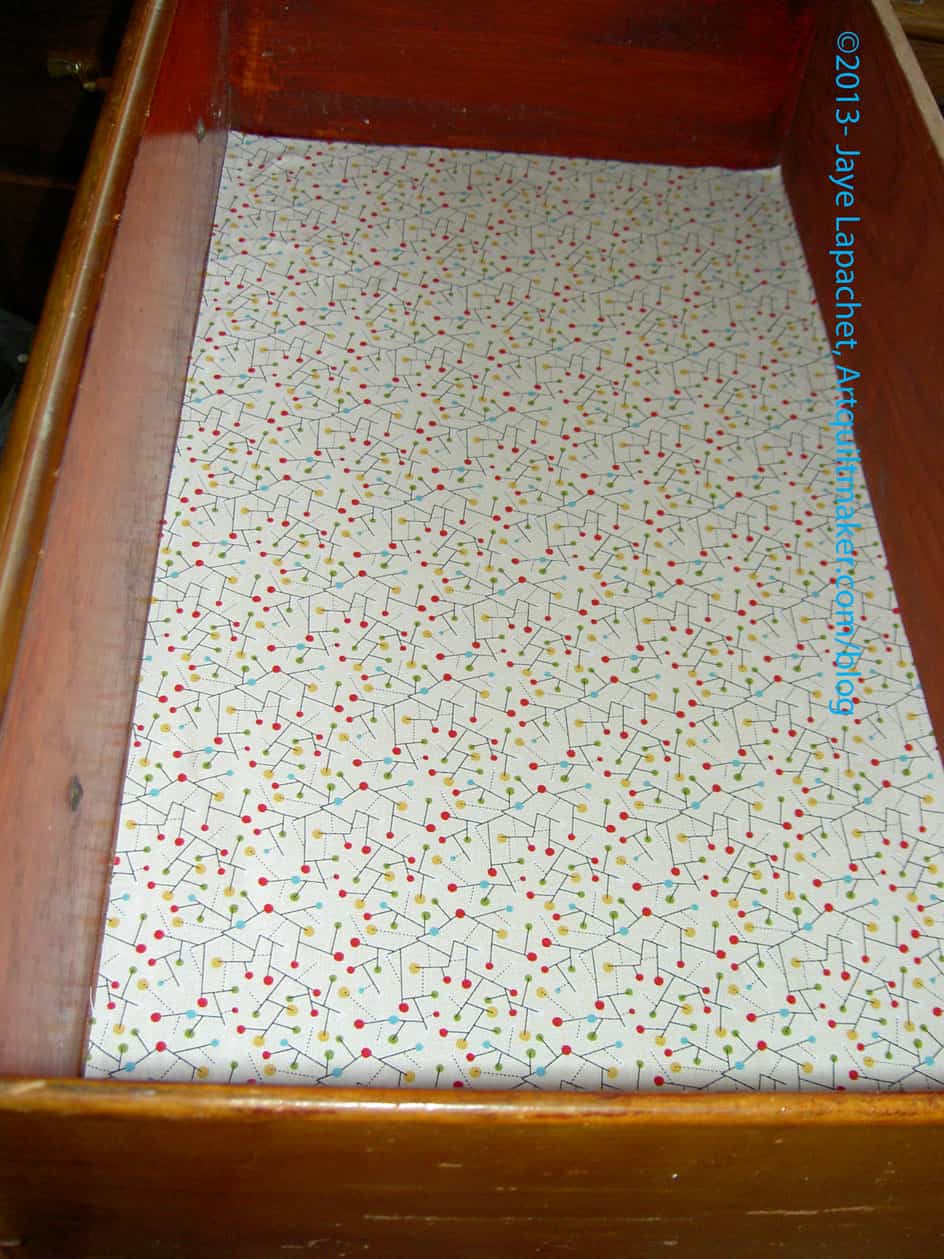
In the process, I found some handkerchiefs with the brown spots that come from fabric touching wood. I decided that I would line the couple of drawers I was cleaning out.
As an aside, I like a clean and tidy house, but I am much happier when someone else lines the drawers and cupboards. As I moved to this house when the Young Man was six months old, and I was more concerned about keeping the tiny being alive than lining the drawers, the drawers of my dresser were never lined.
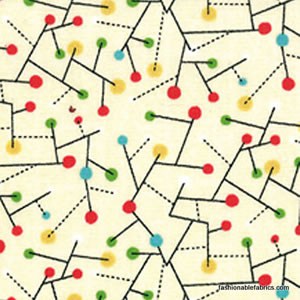
Mod Century Geometrics Dots in Cream
My mind raced around the house for Contac paper or some other type of drawer liner. Nothing came to mind until my mind’s eye rested on the ironing board where I had pressed but not yet cut up a half yard of one of the Mod Century background prints. When I thought of fabric I thought “yes, something warm, but fresh and light.”
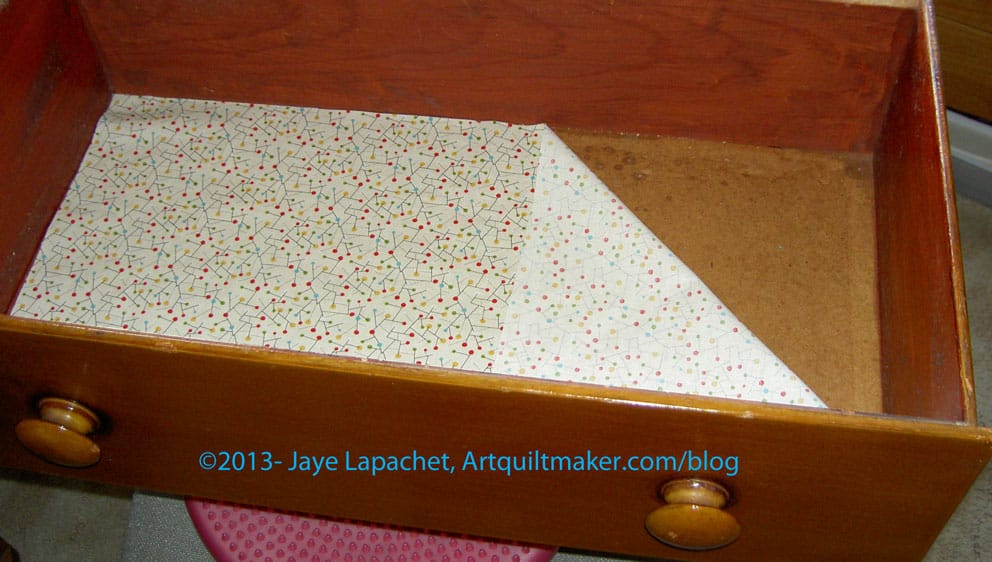
Pretty soon, I was cutting a rectangle of the fabric for my underwear drawer and glue sticking it directly to the wood of the drawer. Probably not the ‘right’ way to do it, but since the interior designer had the day off, I went ahead. The sock drawer was next and a giant pile of singles and knee socks went out. I put some more of the Mod Century print down to line the drawer, put the revitalized socks back in an order that surely only makes sense to me and felt very pleased with myself.
Drawer lining in process
We have a lot of house projects to do. There is a long out of date list somewhere that is overwhelming to me every time I come across it. I have decided that one drawer is good. One shelf makes progress. Getting rid of three blouses that have not been worn since 2004 creates space and lightness and that is all good. I don’t have to clean out the entire closet at a go. Incremental or iterative progress is good.
The funny thing is that with this mini-success, I am eying the closet hungrily and can feel the clothes in there quivering in fear. I am also looking at fabric in a new way. 😉
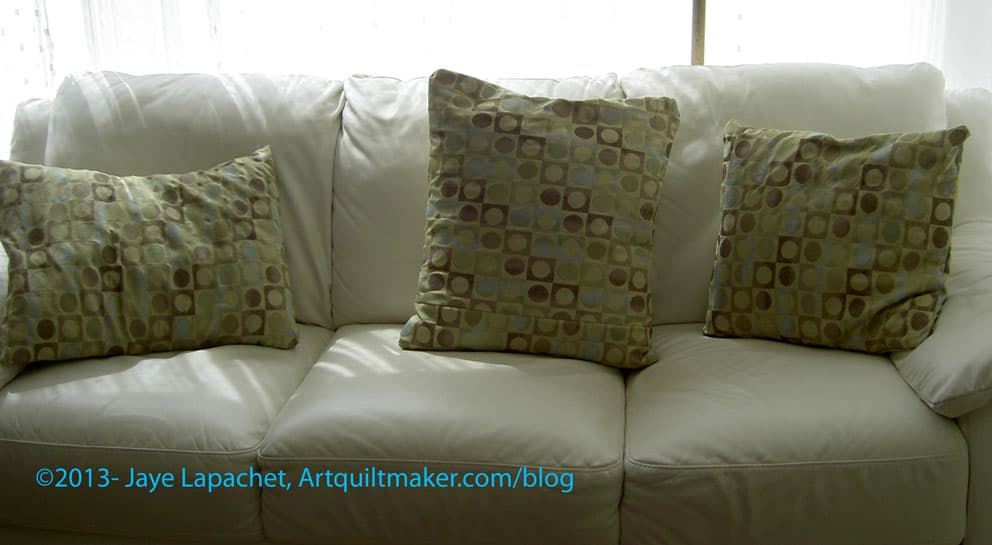
The last time I recovered our couch cushions was about 16.5 years ago. We were staging our flat for sale and I found some fabric that matched the our futon cover. The futon along with its wine grapes and hydrangea cover were jettisoned last year when we bought the new couch. We use our cushions. They don’t get tossed out of the way when we sit down, so now the current covers not only don’t match, but are worn through in places. See that blue and white peeking through? That is the previous cover.
Pathetic, I know.
It has been time to make new cushion covers for awhile. I needed to make three. The sizes are
20″ x 18.5″
23″ x 18.5″
21″ x 22″.
Several months ago I went to Joann, coupon in hand, and bought some home dec fabric that was suitably grown up. Since I am still in small project mode, I decided that I would work on them over the Labor Day Holiday.
I did it. I made 3 new cushion covers. Making those cushion covers has not changed my mind about what a pain in the neck new cushion covers are to make. You see my various rants about the Teacher pillows, which is where I spent most of my cushion cover making time in the recent past. Suffice it to say, what should be an easy project always has a problem. I am glad I don’t have to do that any more.
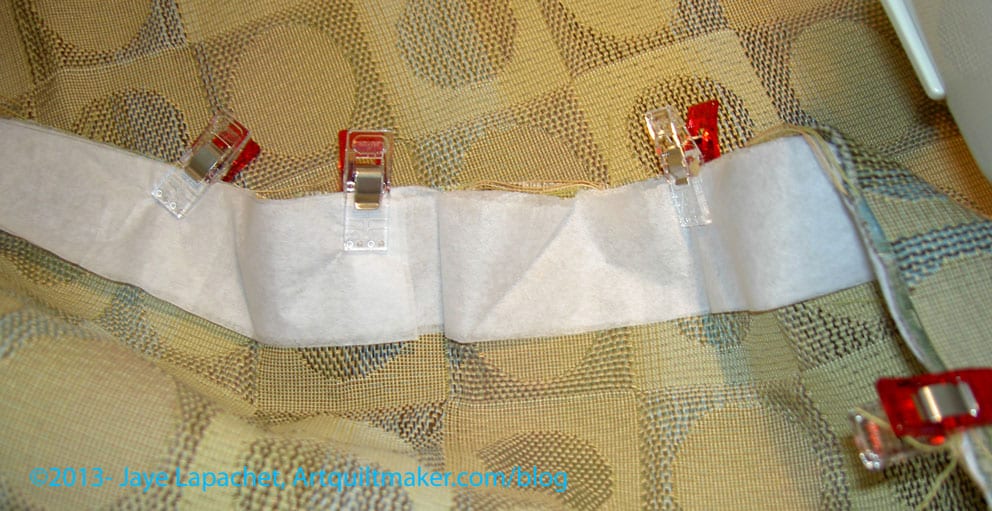
Tissue paper on Fabric
The major problem this time was the fabric. The home dec fabric I bought turned out to be a really loose weave. My machine really had a hard time with it and wouldn’t feed it properly. I pushed, pulled, put a new needle in, used a walking foot and nothing worked. Finally I tried tissue paper, as suggested by one of the Twilters. That made the fabric feed through the machine. I’ll have to remember that. I don’t know why I didn’t think of it as I have done that before.
WonderClips & Tissue Paper
In addition, pins wouldn’t work on this fabric. Good thing I had WonderClips, otherwise, I don’t know what I would have done.
This was very strange fabric. The loose weave, which didn’t look loose, meant that I had other problems as well. The fabric raveled like crazy. I know that some of the seam allowances aren’t large enough and I expect these covers not to last for long. I couldn’t poke the corners of the covers out with my knitting needle, because it went right through the fabric. Guess how I found that out? If I had known, I wouldn’t have bought it.
I did try lining the seam allowances with fusible interfacing, but it didn’t help the feeding through the machine problem. It probably would have helped the raveling problem, but I didn’t think of lining the whole cover until it was too late.
Finished Cushion Covers
Well, at least they are done and they match. I can think of my next project now. I think I’ll go for red next time. I’d better start looking for fabric now.
Only on one front: napkins. I have started to buy some Christmas gifts, but that job is still majorly in process. I have started, slowly, because I have to spread the cost out.
We use cloth napkins. They may not be more environmentally friendly considering the manufacturing process and that we have to wash them every week. Still, they get a lot of attention when we have guests, which usually leads to interesting conversations, so I keep using them. I also don’t like the feel of paper napkins on my face. My pretty, pretty princess face. 😉
I had an idea awhile ago to make napkins for every holiday. I made napkins for Valentine’s day, 4th of July and Labor Day. I may have made more, but I don’t remember. I never got to Christmas or Thanksgiving. Frankly, I should concentrate on Thanksgiving, because that is when we have the big family party and I would get a lot of compliments. Still I haven’t done it.
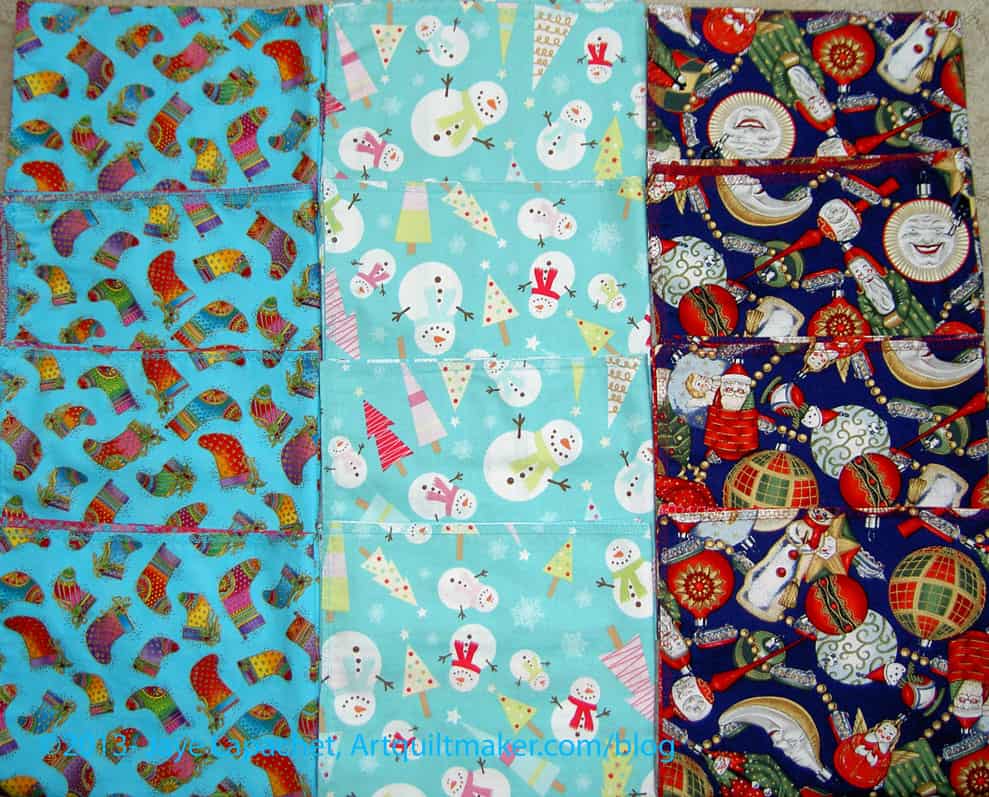
Christmas Napkins
However, when I started my ‘small projects extravaganza‘, I got out some Christmas fabric to make gift bags, then I decided to make some napkins instead. It had been long enough since I made any new ones that I forgot how tedious they are to make.
I have to say that the fabric on the right creeped me out the whole time I was sewing it. I love the vintage glass ornaments, but there are a couple of faces on that fabric that look a little too much like horror movie characters for me. I will stick to using the other two types during Christmas for myself.
Still I made 12 – all the fabric I cut – and now I can move on.
I spent some of Friday and Saturday trimming and sewing napkins. I have seven sewn and ready to press and topstitch. I don’t know why I don’t have eight, but I don’t.
The fronts are made of various food and food related fabrics. The backs are made from Michael Miller’s fabric with the 1950s family and their funny comments like “Thanks honey, mother will never taste the arsenic”. DS thinks the fabric is hilarious.
I did the first round of sewing (FQ right sides together, sew around the edge with a straight stitch leaving an opening slightly larger than your hand, turn inside out press). I am now at the pressing stage.
This pressing stage is always a pain, because no matter what I do the are where the stitching is wants to collapse in towards where the raw edges of sam seam are. Sigh.
I have tried pressing the seams open before I turn the napkin inside out. Didn’t make a difference. This time I will try to press with my mini iron by sticking my hand and the iron on the inside of the napkin. I am not hopeful, but we will see.
This is the only photo that really came out at all. It was hard to press with the mini iron and take photos at the same time.
Napkins 1
You can see how I stuffed the mini iron into the inside of the napkin after I had turned it inside out and was pressing from the inside.
I have finally sewed these together and they came out moderately well. I still need to work harder at preventing the sleeves from collapsing.