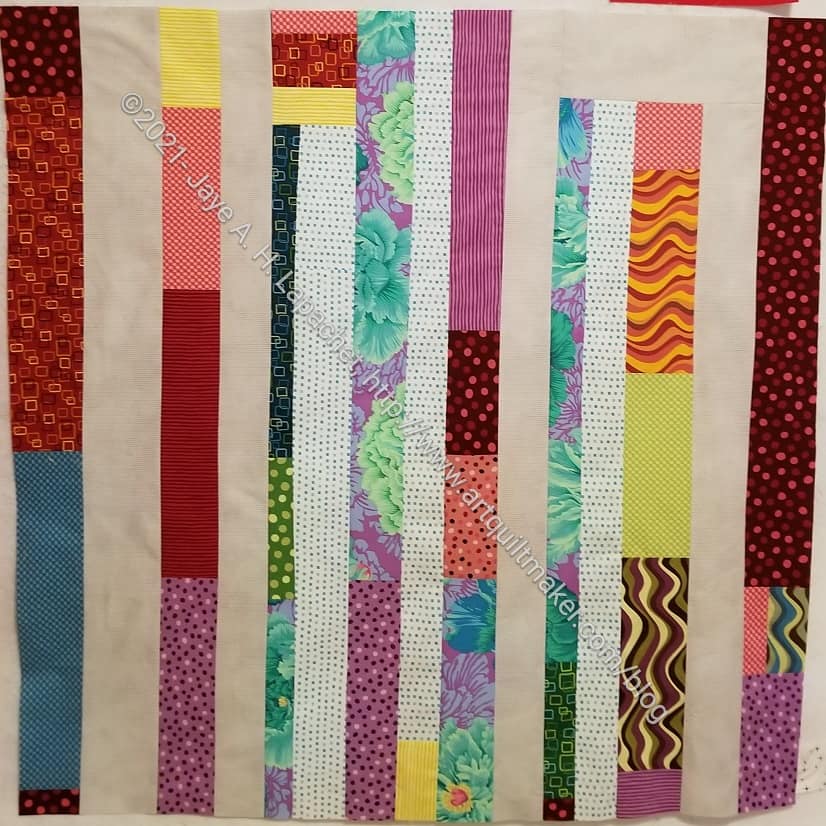
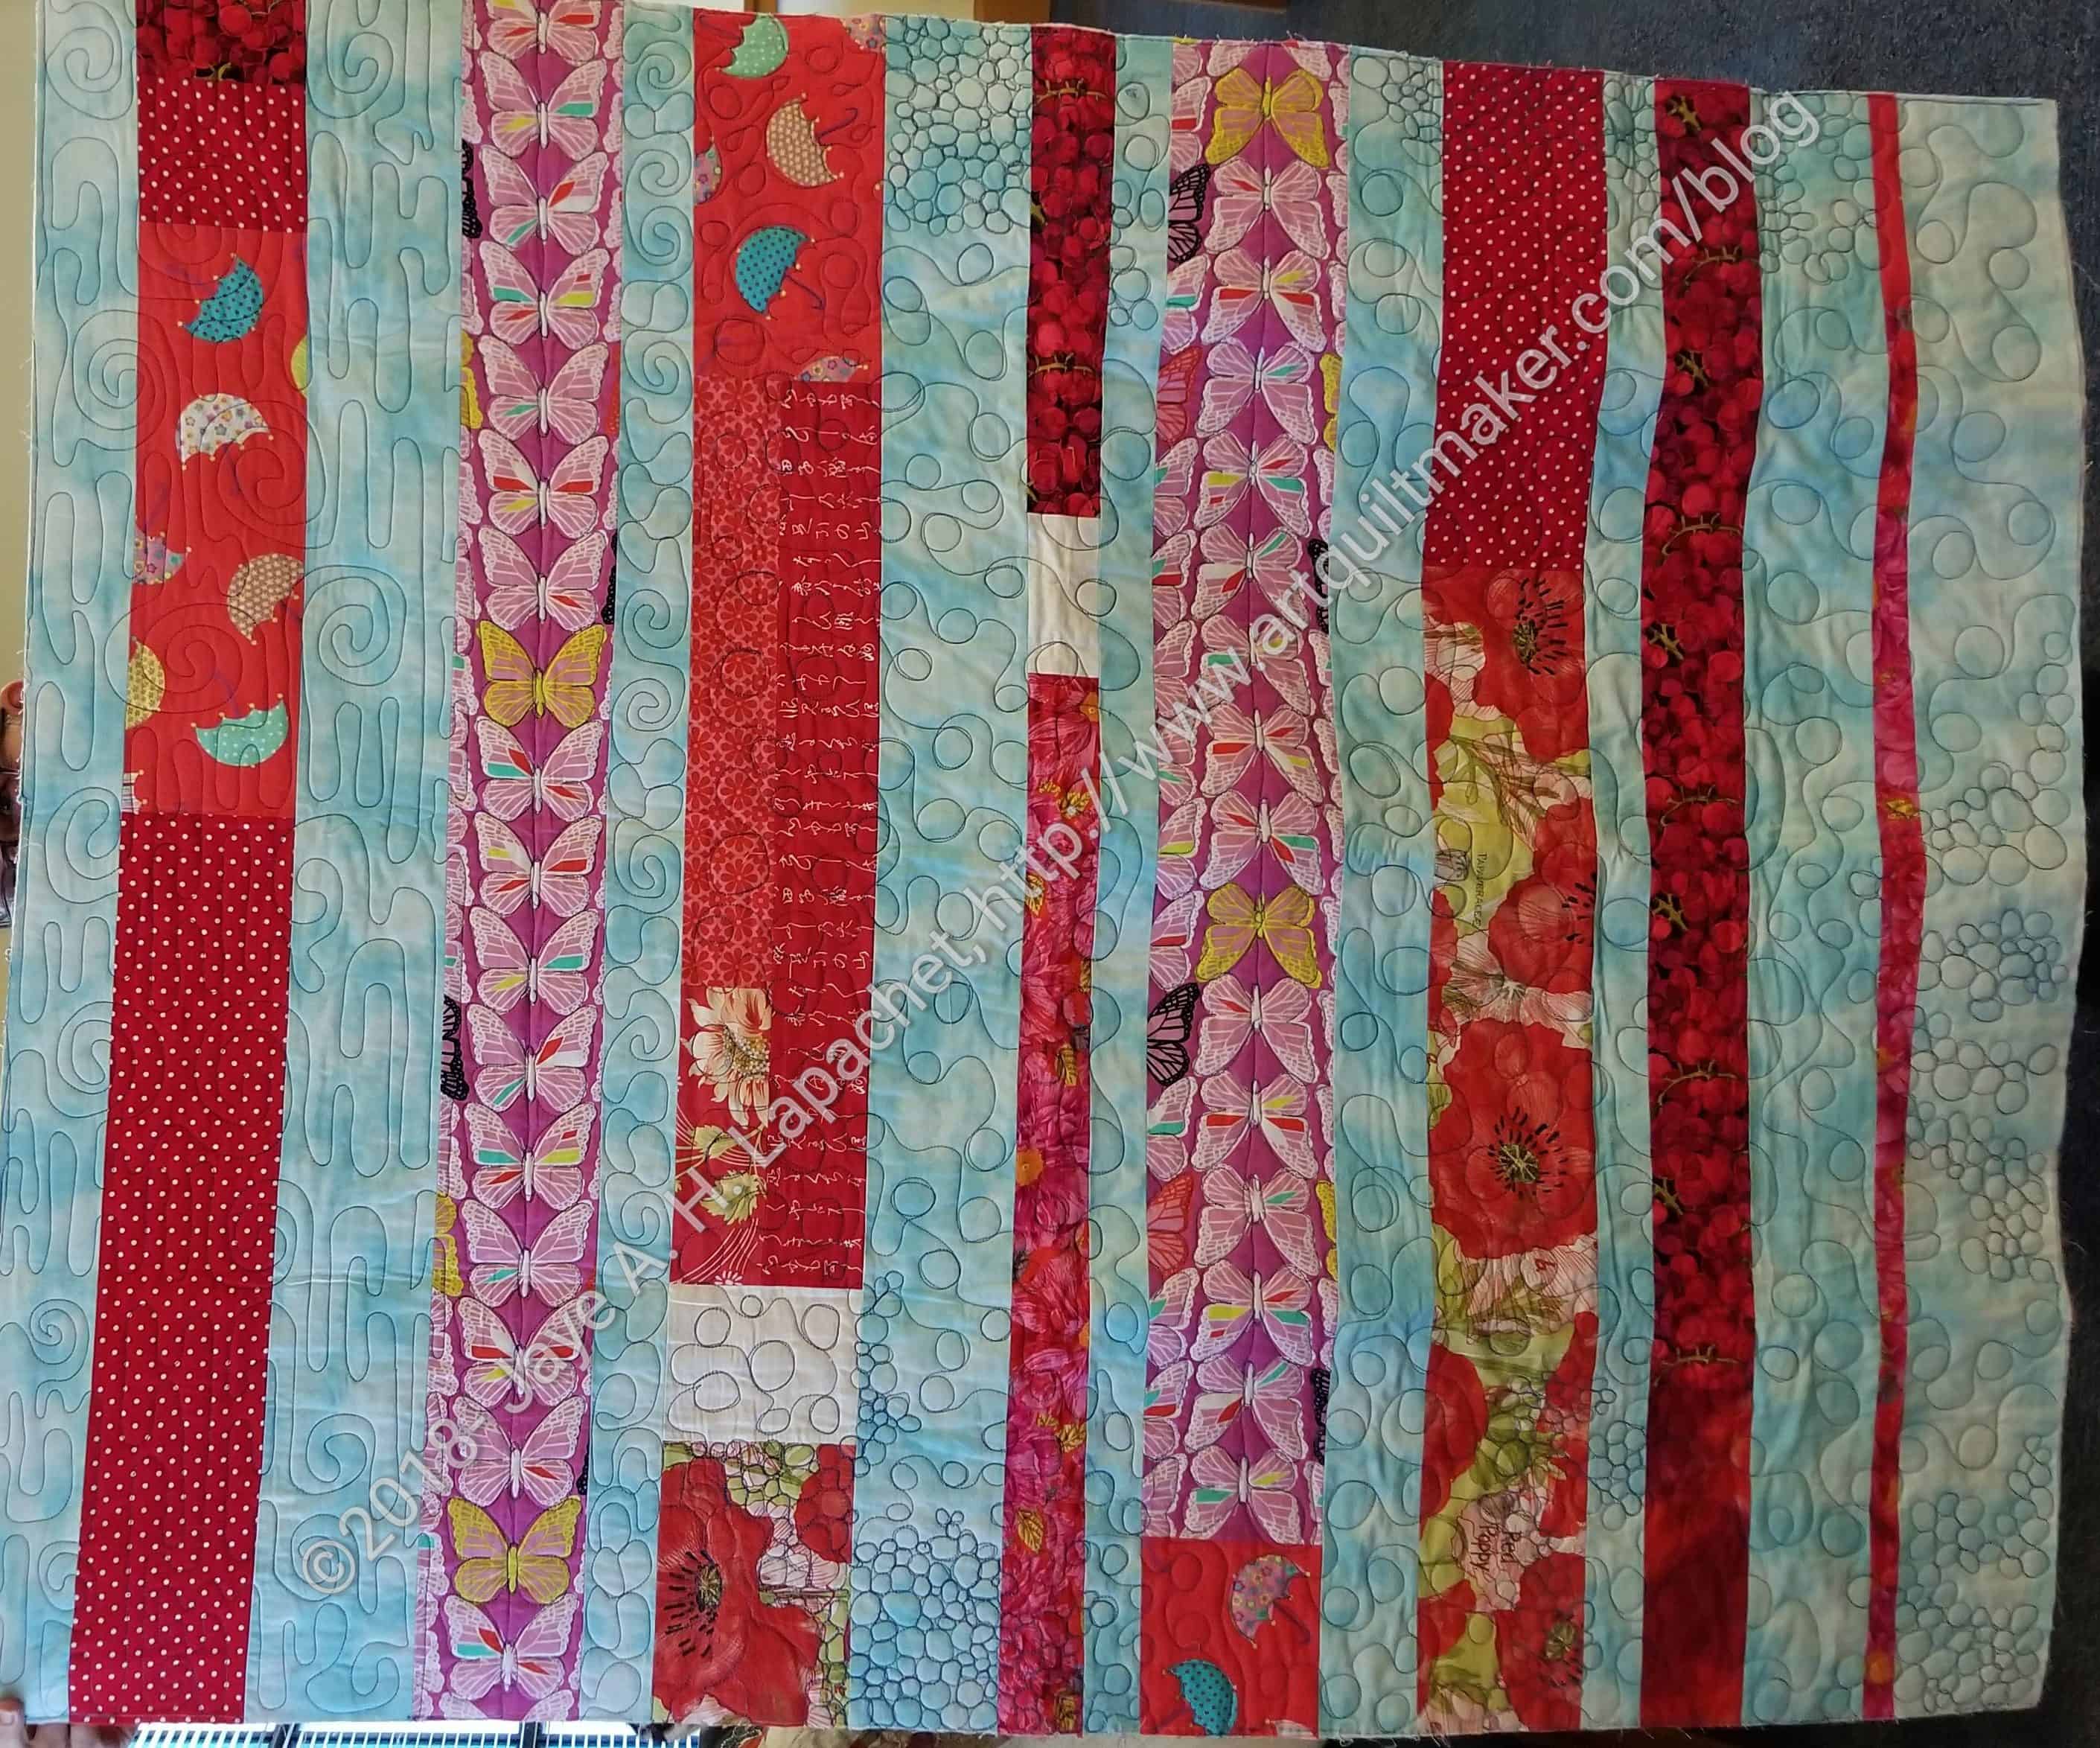
I finished the back of the Diagonal Nine Patch Saturday morning before I drove to the BAM meeting. I found a piece of fabric that comprises the main part of the back (top left). The large print works well for a back and I am glad I didn’t cut it up for the front.
I used up a number of pieces of fabric that have been hanging around for awhile, which is always a good feeling.
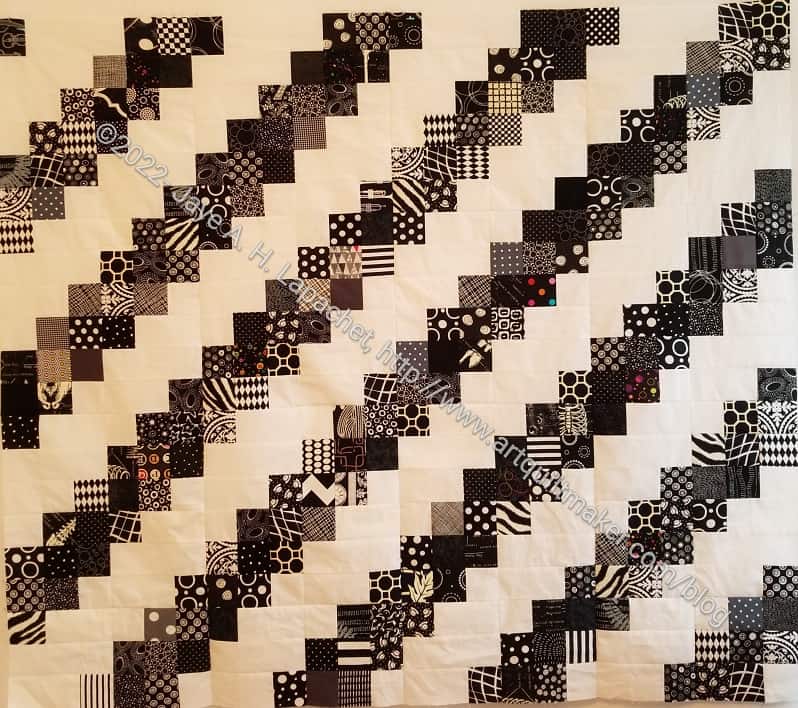
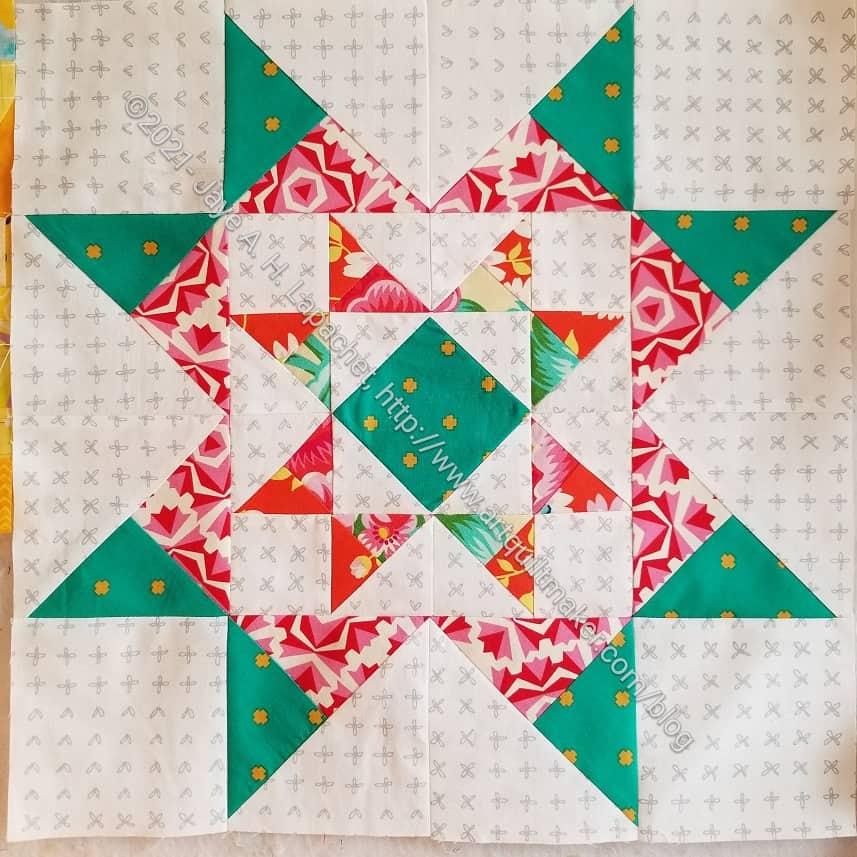
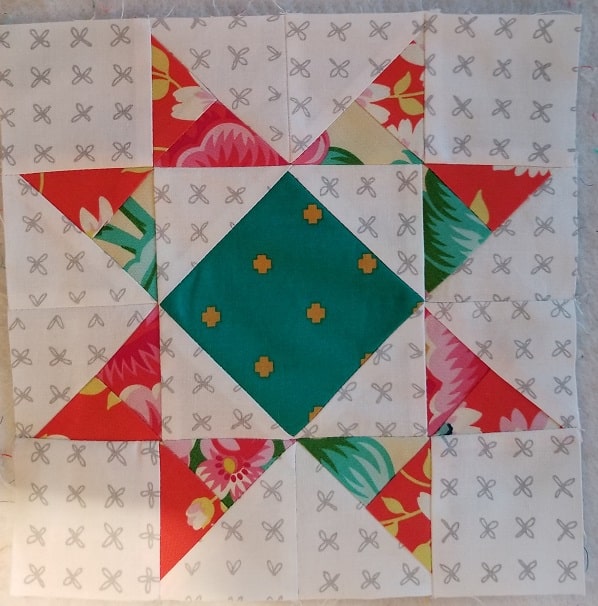
Diagonal 9 Patch top
I am pretty pleased not only that the whole package is ready to go to Colleen, but also that there were no tasks hanging around for after the meeting. It felt like a clean finish.
I chose a black and white stripe for the binding.
I worked on the back for 20 minutes or so on Friday after cleaning out the garage and that 20 minutes put everything in place for finishing on Saturday. Every minute counts!
This is a pretty easy quilt so as soon as I finished all the bits and pieces required to make Pies & Points ready for quilting, I turned my attention to the Diagonal Nine Patch. I talked about the size in my last post and, as you can see, I increased the size. I think this size will be fine, but am still reserving judgement.
With 7×7 blocks, the quilt top will be about 42 inches square and my hesitation is whether that is a large enough quilt. I think it is on the verge of being large enough, but I may want to add another column and row.
I have about 7 more blocks to go in this configuration. The issue is that I am eager to get this quilt done and move on to Orange You Glad. I also want to bring this quilt to Colleen.
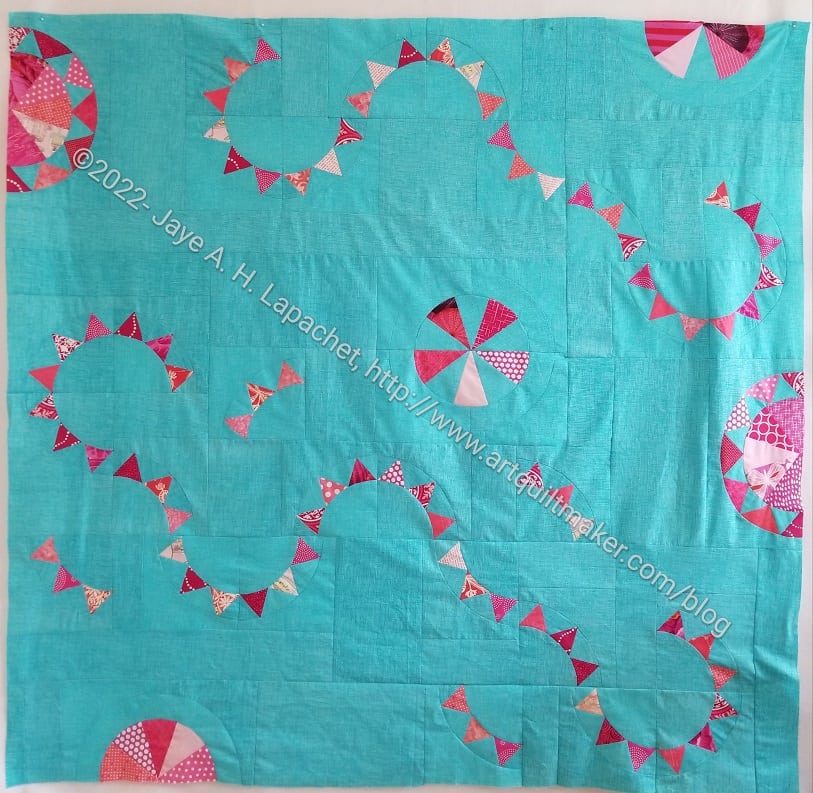
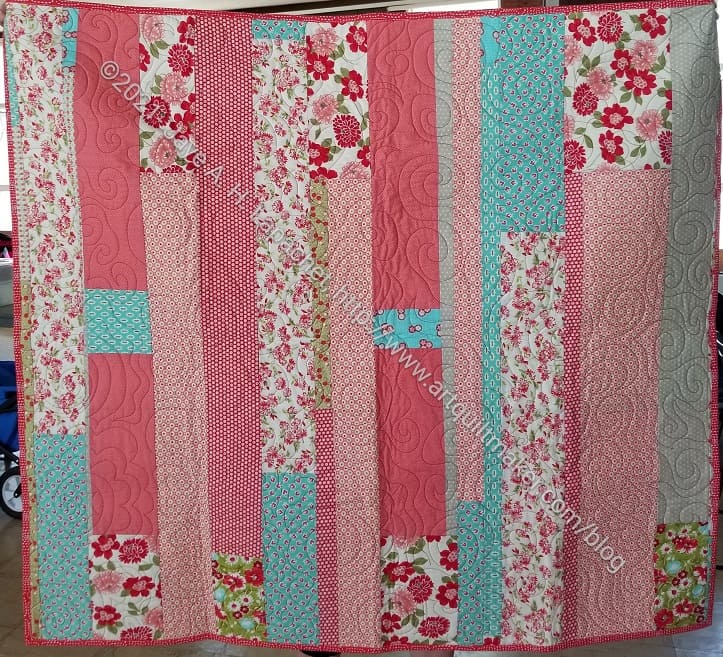
The Pies & Points top and back are done! I really could have used TFQ’s help with the piecing, but I am pleased with the overall design. Quilting won’t solve all of it’s little piecing challenges, but quilting will flatten it out and give it some structure.
I used all the blocks I made and am happy with the look. I like the Points blocks and how they look like flags. The Pies blocks and half blocks add a bit more interest and give the piece a kind of pink circus feel.
I am also happy I used a non neutral background. I like that look and need to get back to doing it more.
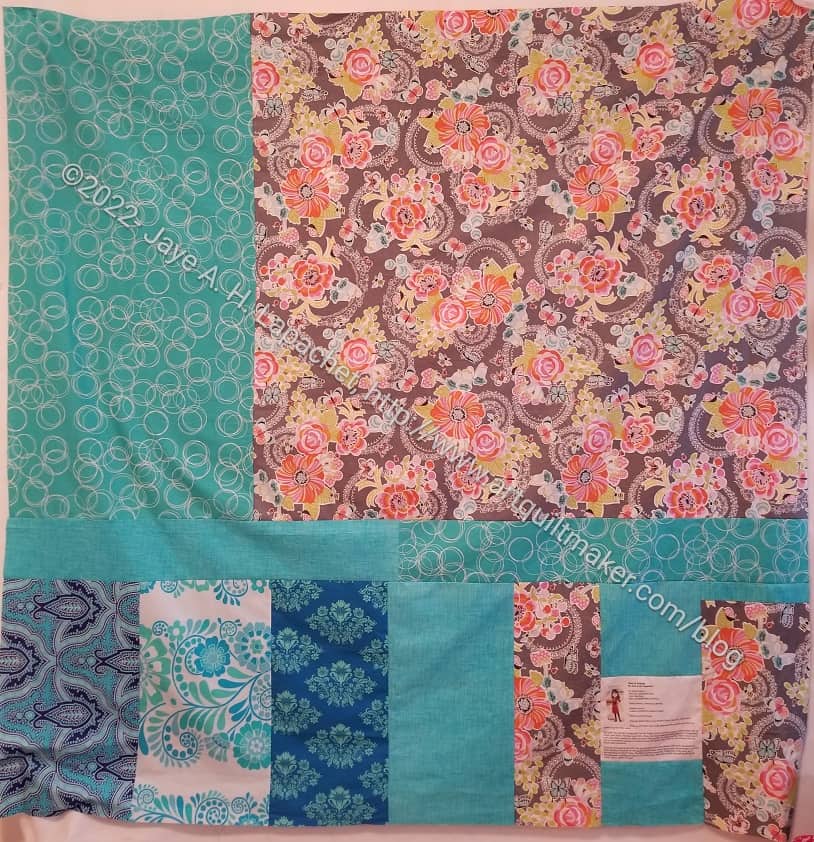
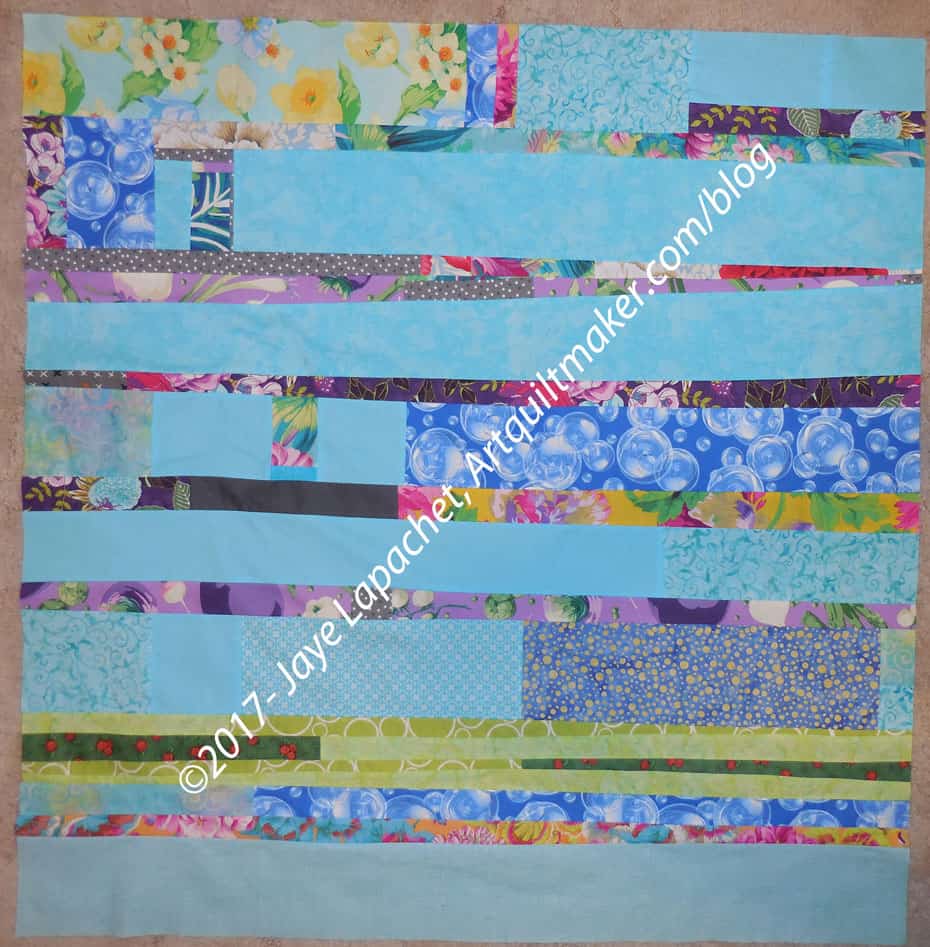
Pies & Points back
The back is done, too. I should have done yoga that day, but instead I pulled fabric off the background stack and made the back.
I plan to give this away so I didn’t choose any of my Philip Jacobs fabrics. I did pull some fabrics from Queen Street. I have some leftover after the BAMQG IRR and thought they would work.
Friend Julie and I started a project together. This isn’t the first project we have worked on together. We have worked on Bullseye quilt projects together, the Windmill quilts and Julie’s Tumbler quilts. I enjoy working on projects with her.
Pantone Postcards
This project started with me asking for the Pantone Postcard Box for a gift. Friend Julie got it for me, then we started talking about doing something quilty with it.
We threw ideas back and forth, but recently we got together for lunch and laid out our guidelines. It was a lot easier to make the list when we were together, though I suppose we could have done it on the phone as well.
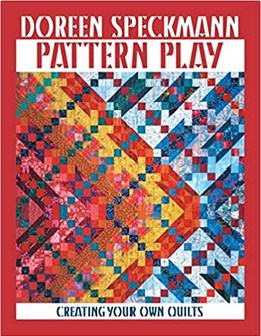
Pattern Play by Doreen Speckmann
We decided we would use the units Doreen Speckmann recommends in her Pattern Play book. I LOVED Doreen Speckmann’s classes. I have had the book for a long time, but Friend Julie bought it recently. It is a technique book, though there are a few patterns. Doreen shows readers how to make and use different units to make quilts look more personalized. These were the types of books that were written in the past whereas now people just write books that tell you how to make a certain quilt with certain fabric. I don’t see that I have written a book review on this book, but it might be time.
That being said, this is a block based book and, thus The Pantone Project will be a block based quilt.
Fabric, Sewing machine and regular Sewing supplies (BSK)
Decisions to Make:
Size of units (blocks)
Type of units to make
Timeframe for making the project
Timeframe for sending postcards
Every week or so we send each other a postcard. The interval is pretty random, but we aren’t letting months go by. I was on a trip recently and didn’t send any that week, but sent one as soon as I got back.
The postcards have a certain Pantone color. From the color we will choose a solid, tone-on-tone or ‘reads as solid’ fabric to use for the block.
Blossom by Christopher Thompson for Riley Blake
We decided to use the same background and bought some together the other day. We bought a cool grey called Blossom by Riley Blake. Christopher Thompson is the designer. I don’t know why it is called Blossom since there is not one blossom-y color on it. Some of the other fabrics in the line are more blossom-like. Anyway, this is a really good grey, which is now washed and waiting to be incorporated into blocks. You can see more of the design of the fabric on Julie’s blog.
Our units will be 4 inches finished (4.5 inches unfinished).
We will make two blocks, plus cut two squares and send one block and one square to the other person. At the moment, I am behind and won’t be able to get started until later this week or next week. Julie has a nice picture of the postcards I have sent on her blog. She also made one block already. I need to get busy, and will soon.
**Obviously, you should shop at a local quilt shop. However, I use affiliate links and may be paid for your purchase of an item when you click on an item’s link in my post. There is no additional cost to you for clicking or purchasing items I recommend. I appreciate your clicks and purchases as it helps support this blog.
I worked really hard over the past weekend to get this quilt pieced and off the design wall. I didn’t succeed, but made good progress.
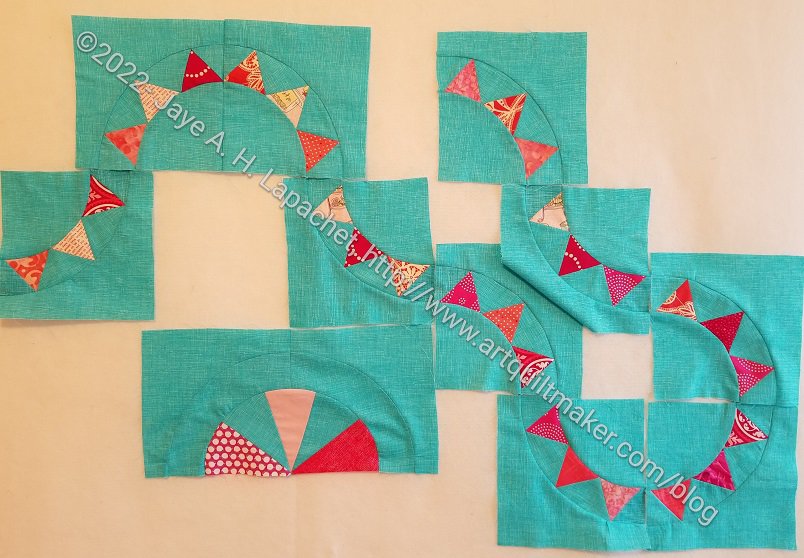
As I worked on this quilt, I realized that I was more interested in working with Victoria Findlay Wolfe than this actual quilt. I will finish it — I am excited about getting this quilt off my UFO list, but I am not excited about the project in general.
There are some things I like about it. I like practicing curves and I am enjoying the pinks.
I started another quilt (stay tuned for photos) as leaders and enders about which I am much more excited and I am eager to get busy with that one.
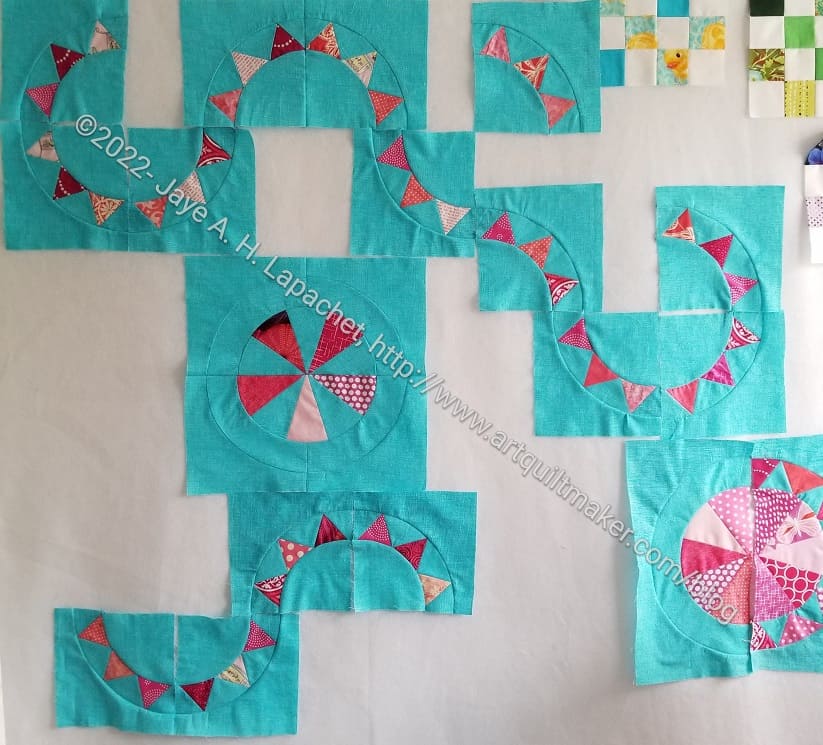
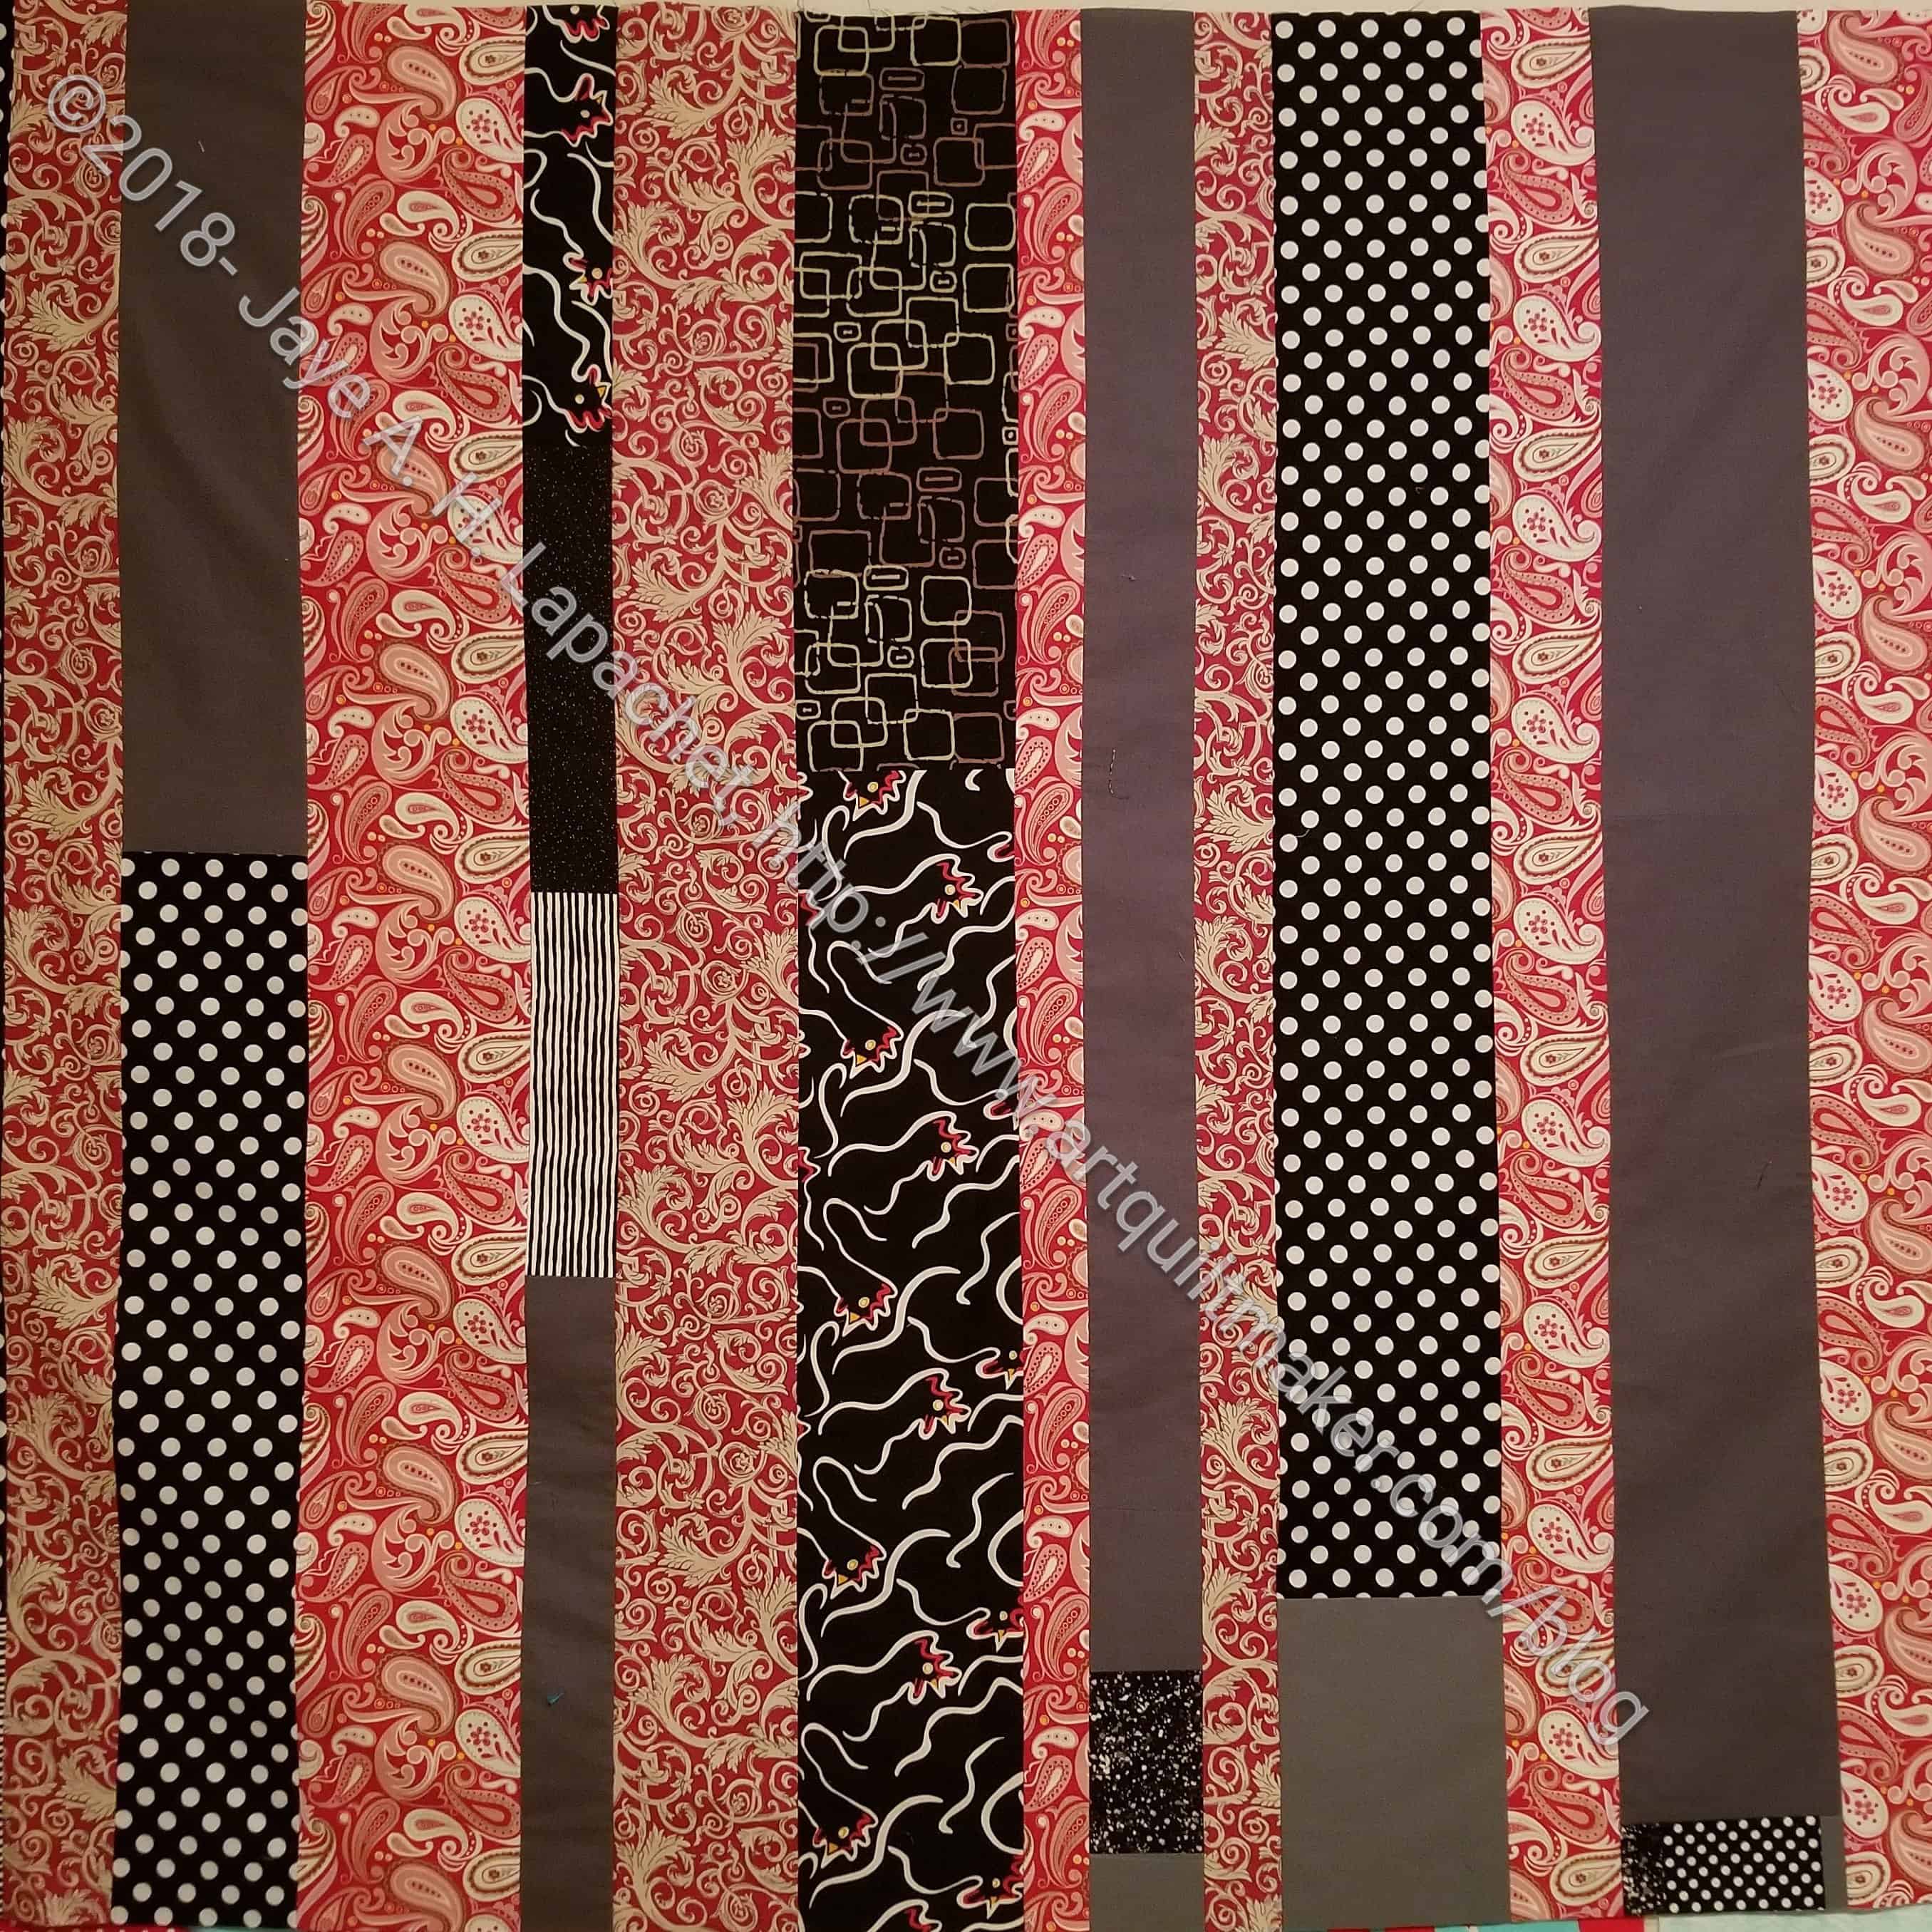
I have made a few more blocks. I don’t want to lay the quilt out symmetrically like in the class handouts. I want the eye to follow the lines around the quilt and find some surprises. For now, the surprises will be the Pie blocks placed strategically around the quilt.
Pies & Points blocks -problem
I don’t know if that idea will work. As you can see from the arrow, the blocks to do not fit together in all directions.
It isn’t that I couldn’t piece those pieces together and I may still do that. I want to consider all my options. This is one of those design challenges.
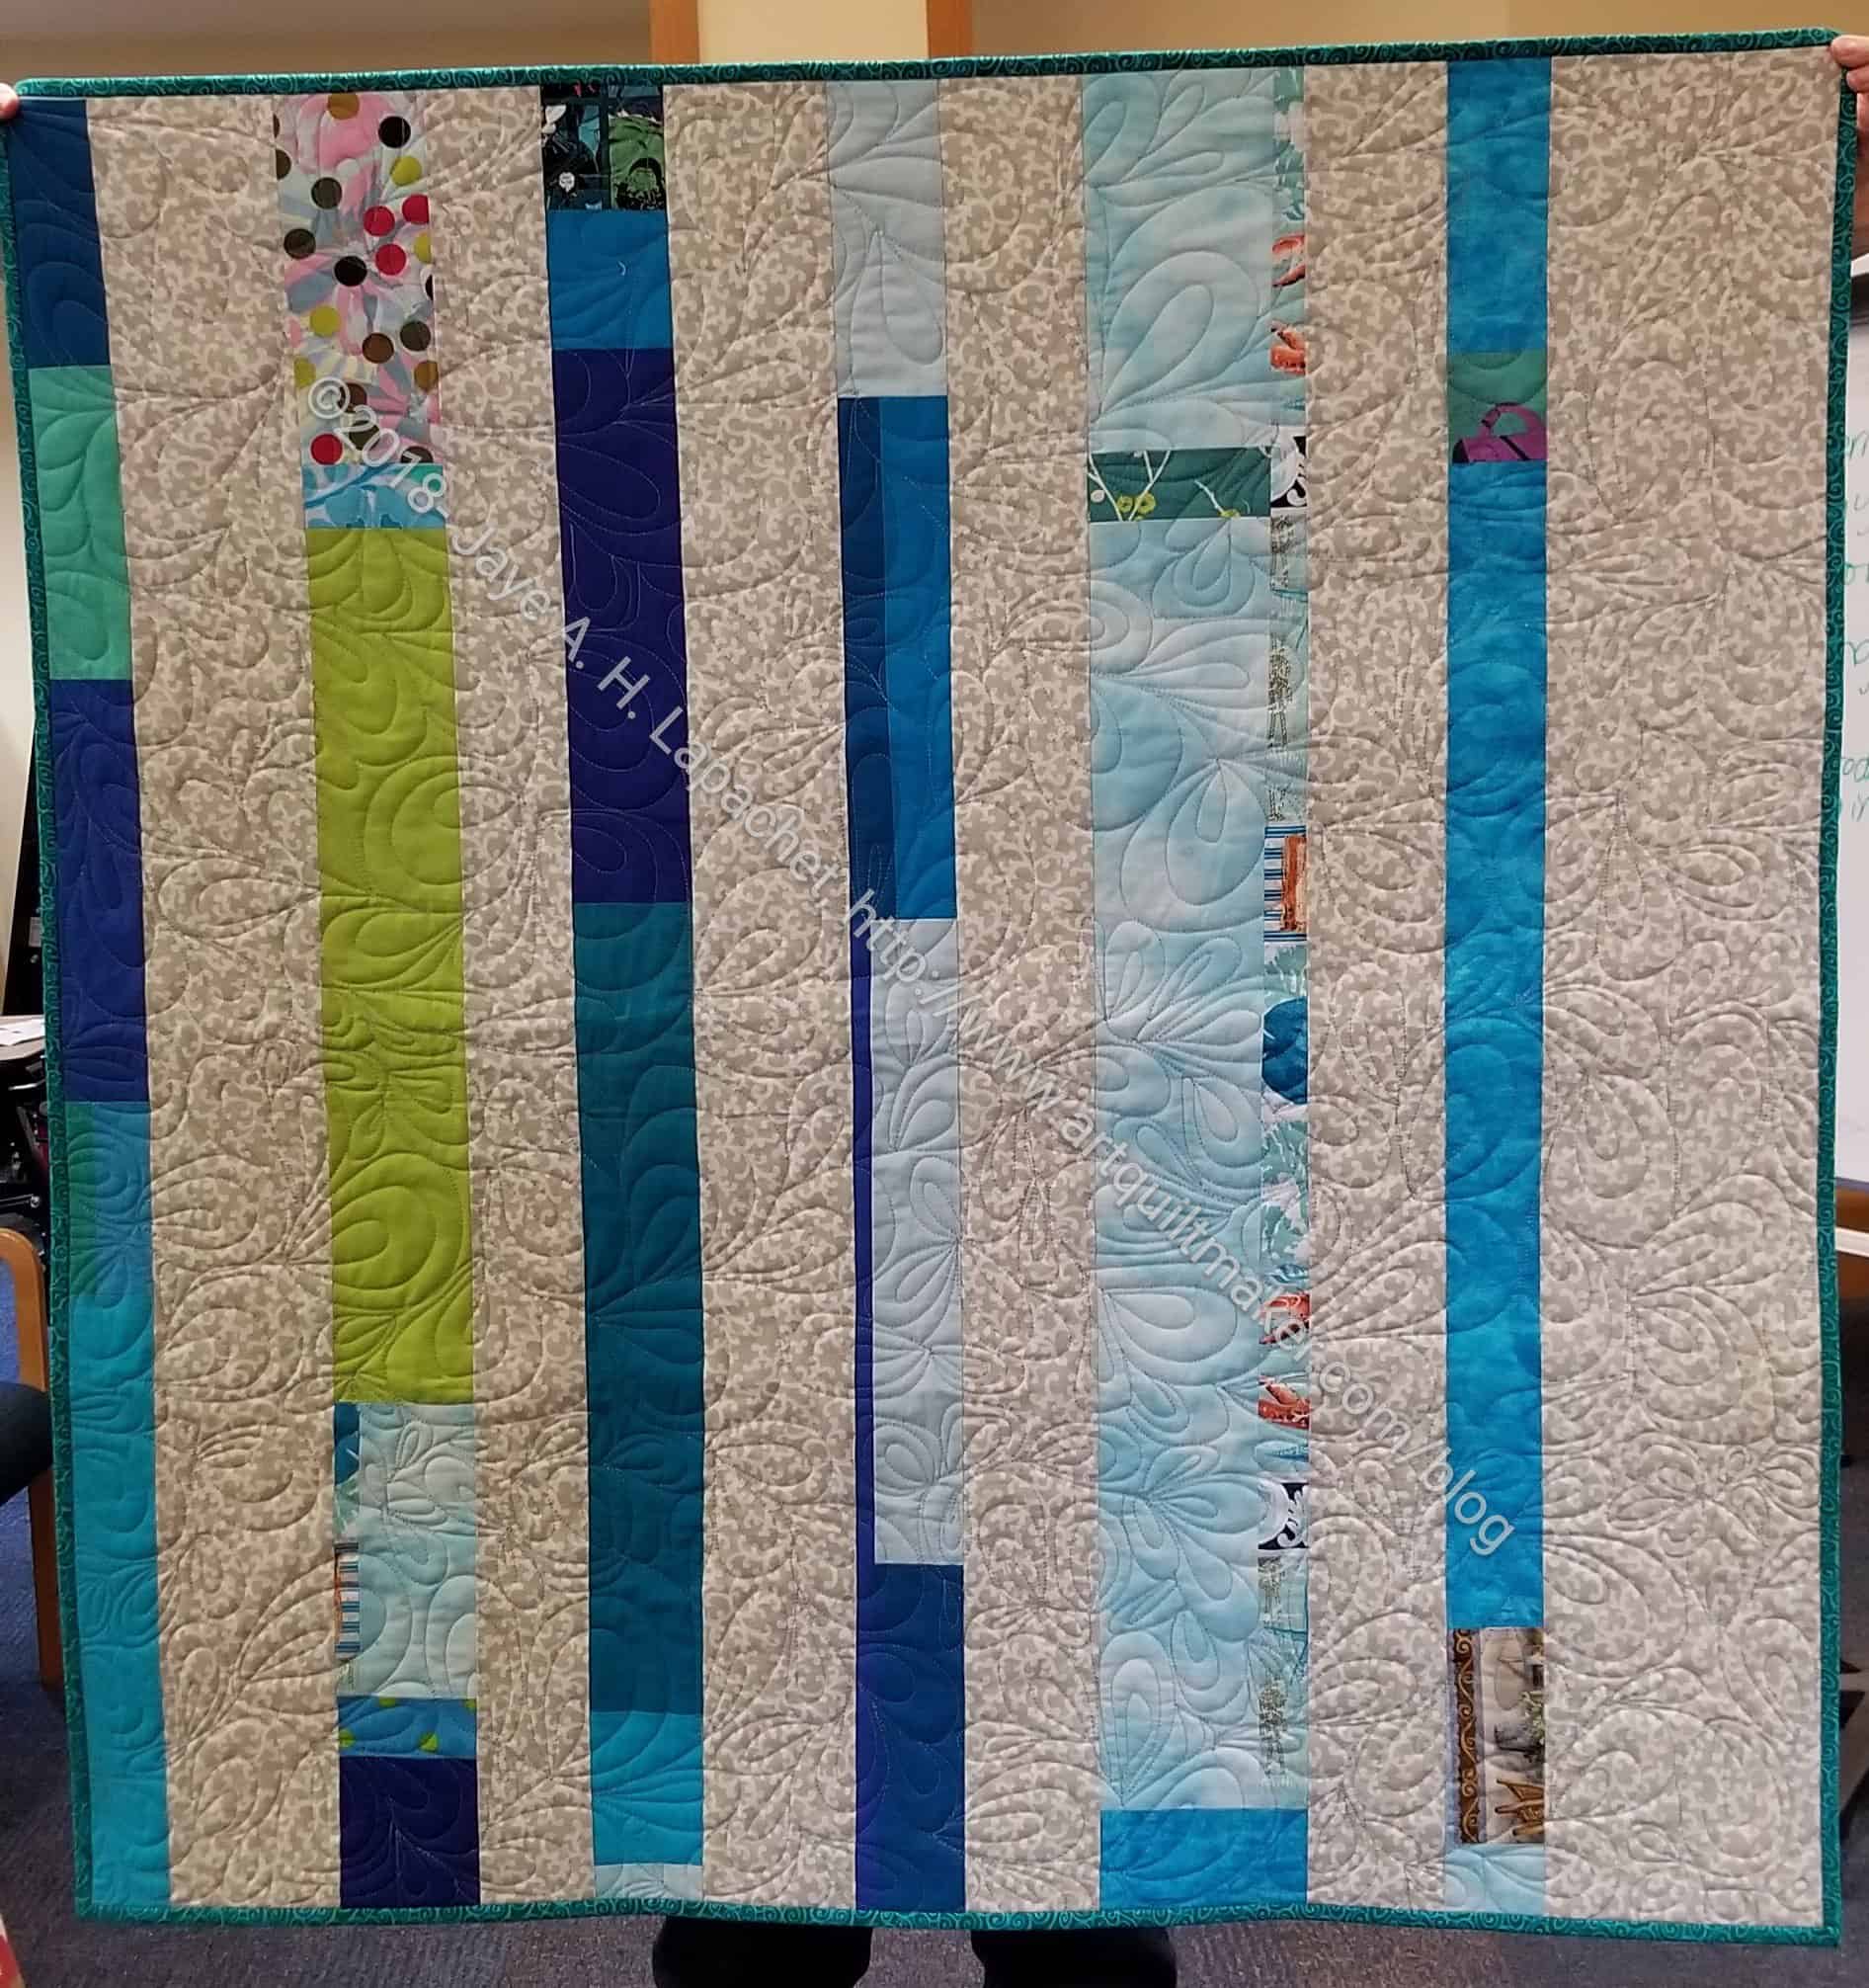
These quilts are all made from the edges that are cut off of other quilts as they are being squared up. Sometimes I make the backs larger than needed so I get some large-ish pieces back. Those pieces are hard to store, so making some donation quilts out of them is a good idea.
Ends (n.1) – see more information – this is the top that started it all!
You could also put scraps together into strips, add some background and make one of these. These are very improv-y and there isn’t a pattern. It is a good way to do something good with fabrics I wouldn’t otherwise use.
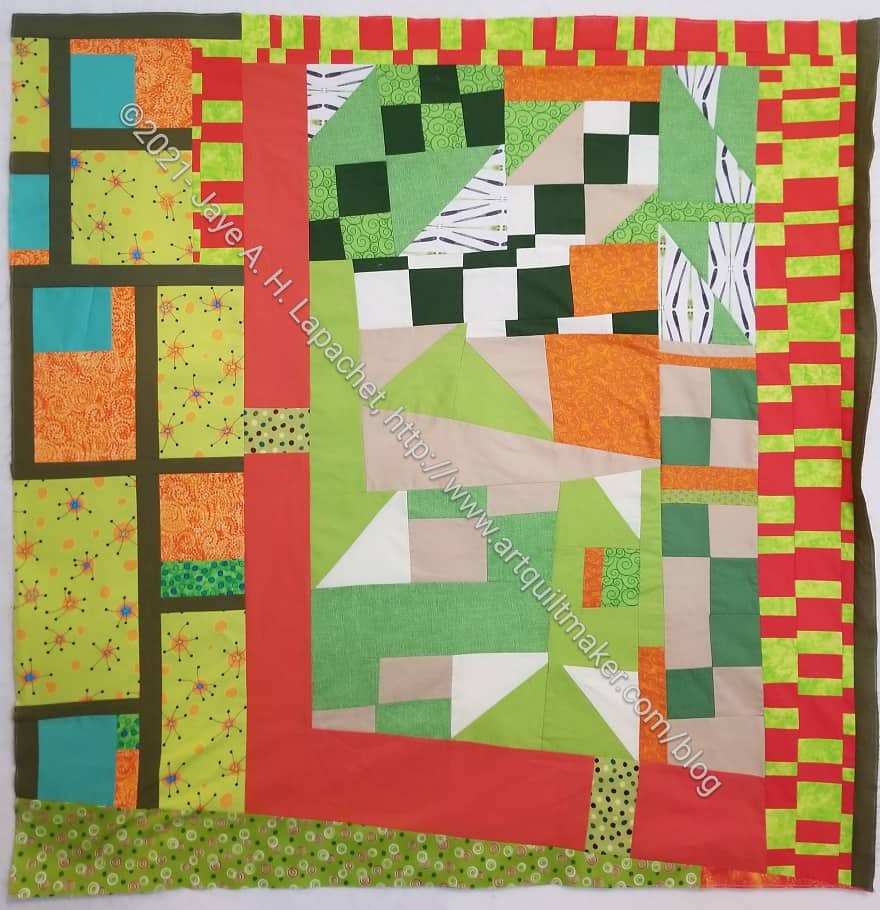
I don’t think this is my best work. there are a lot of disparate elements. Somehow it works. It kind of looks like buildings surrounding a park to me.
I struggled with this piece, because of the green and orange. I don’t sincerely dislike green, but I don’t make it a main color in any of my quilts except the Improv Color quilts. I also like orange, but somehow this was a struggle on which to work.
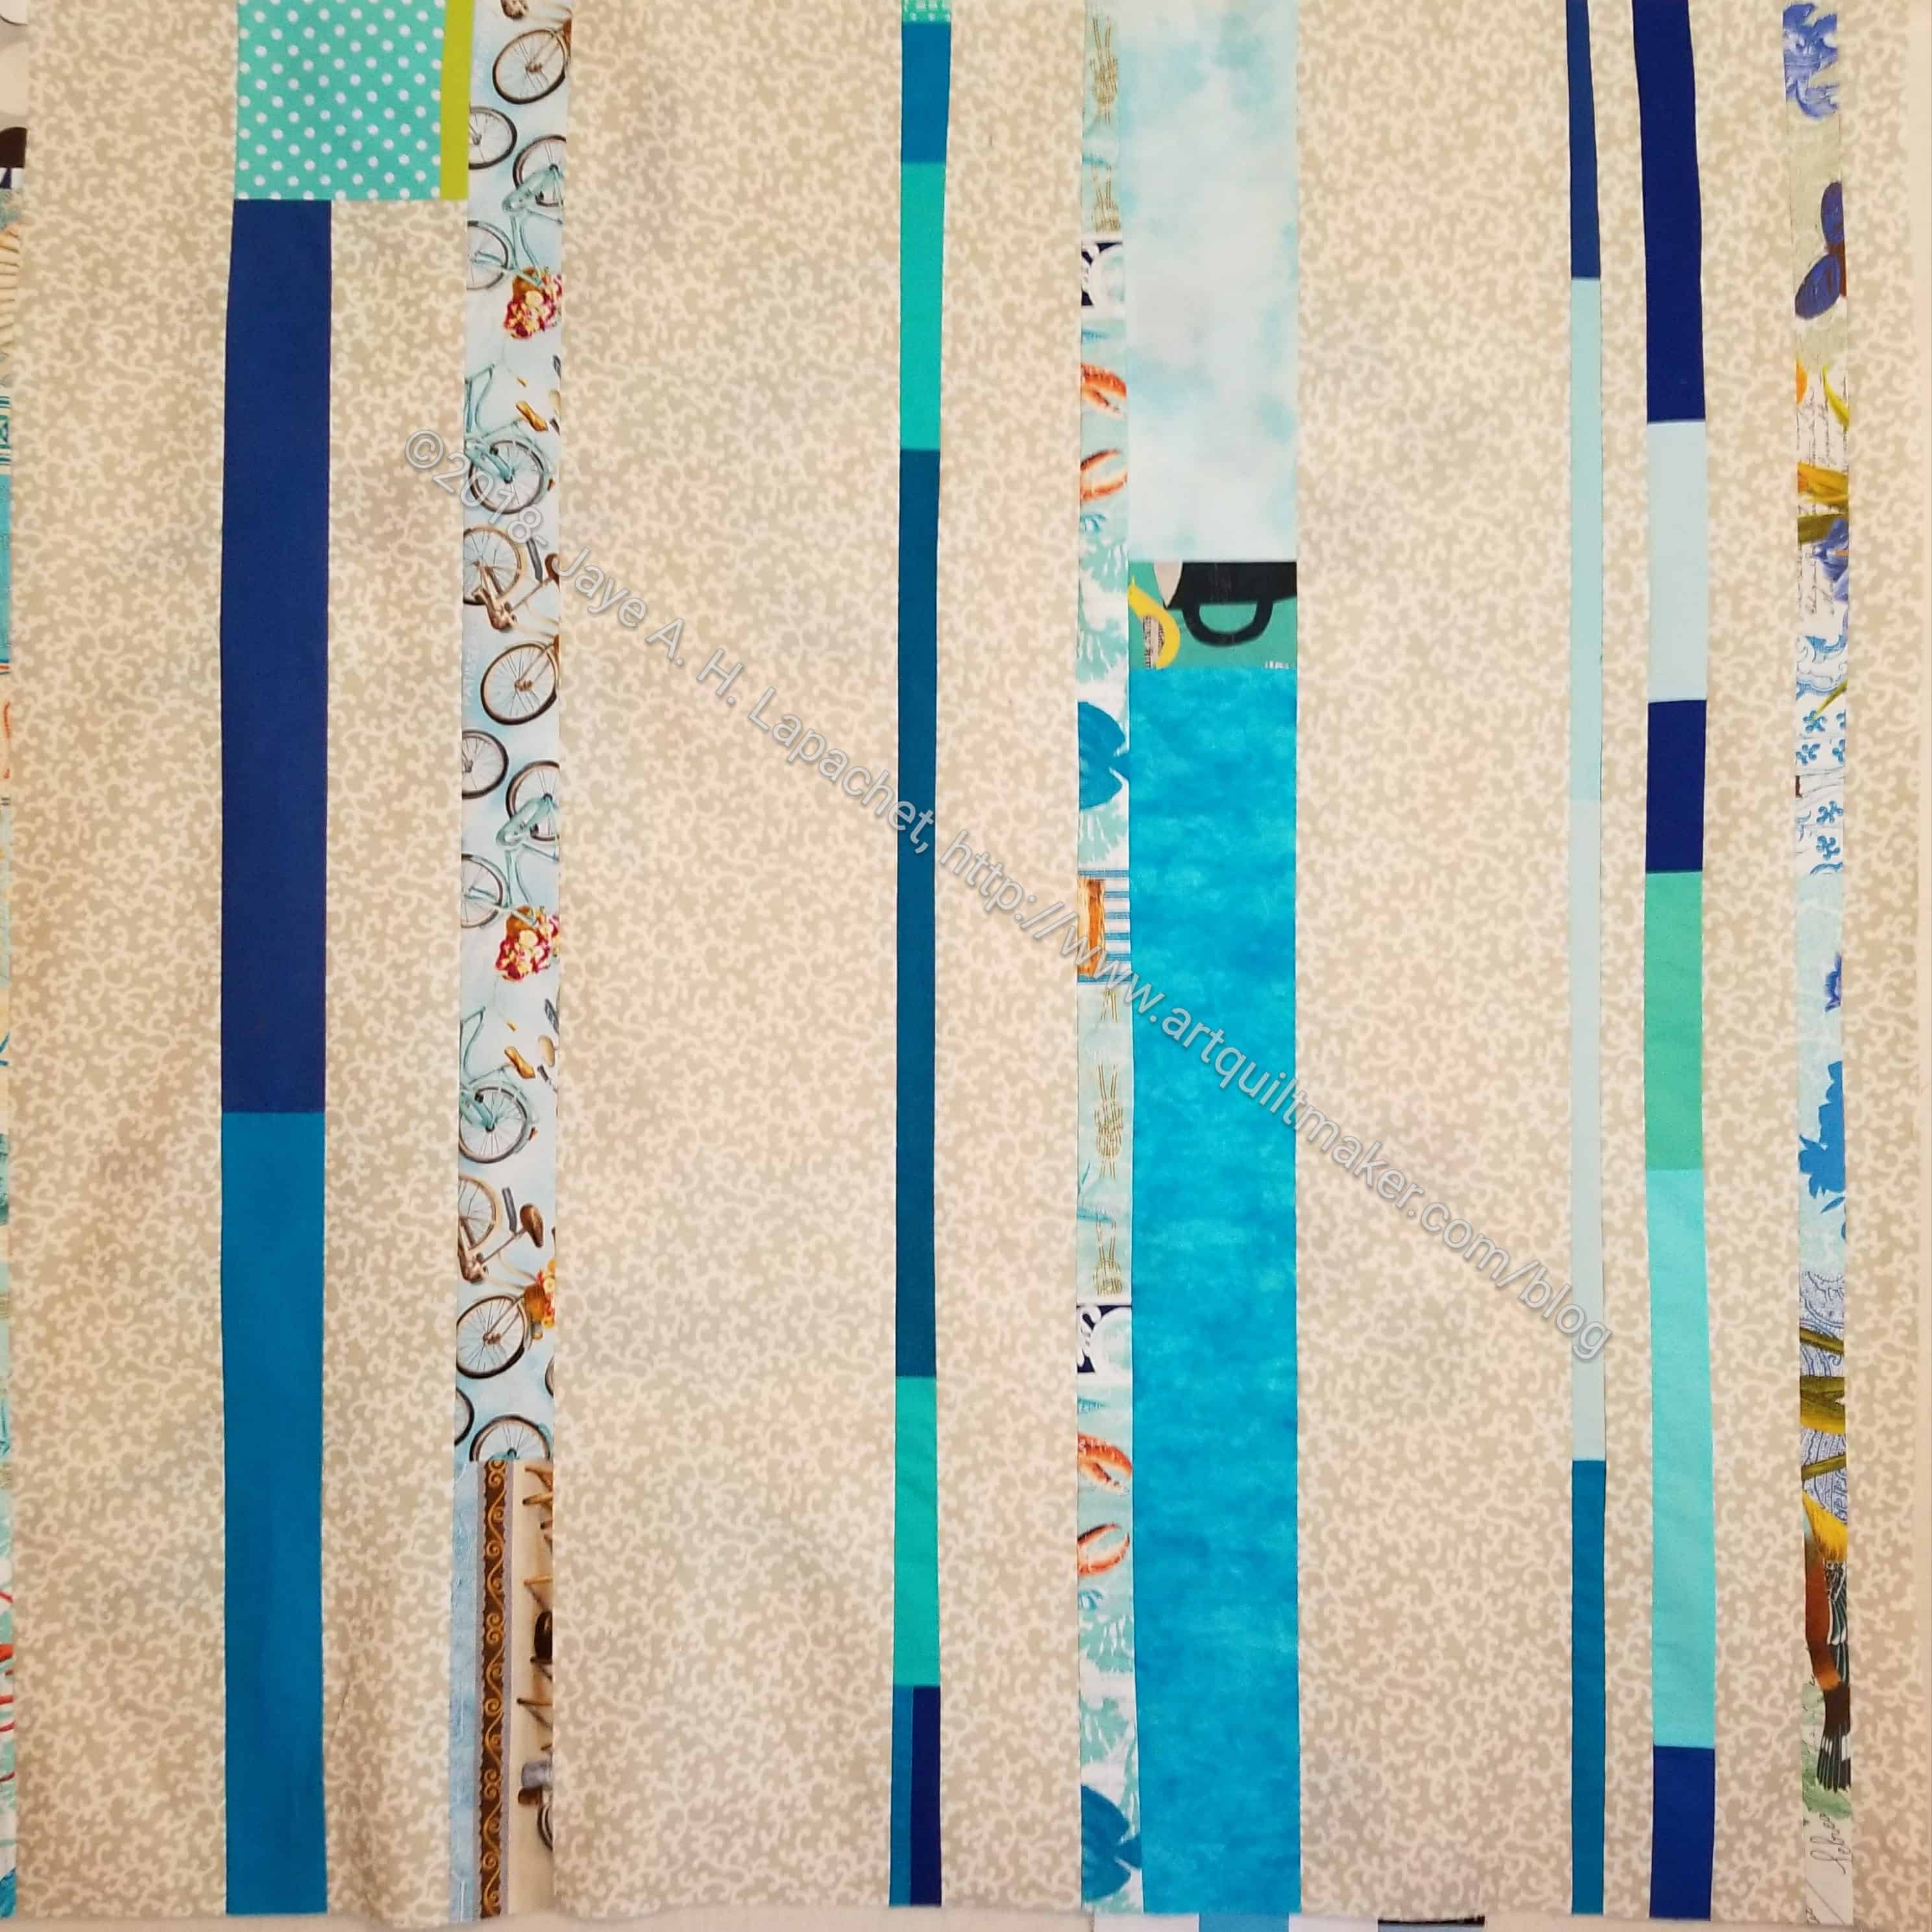
Tim’s Improv Donation Back
The back went relatively fast. I took both pieces to Sew Day and gave them to Peggy and the team for quilting.
I talked about one of the Triple Play Missouri Star videos in a recent Various & Sundry post. In this video, Jenny, Natalie and Misty take the same block pattern and make different quilts. I really liked what Natalie did with her version and I decided to try it out myself.
I thought it would be a quick test. Then I thought that I know how those quick “tests” go and started surfing around the Internet for fabric, thinking I would make an entire quilt. Fortunately, I got myself under control and decided to make one block with the True Kisses fabric I have and go from there. Cotton Cure still has packs of yardage.
I stopped and started the video as I followed along with the Missouri Star directions. Unlike other shows, Jenny and the gang tell viewers what sizes to cut, show you how to sew and press so you can follow along and make the block or quilt just from watching a free video. I like this about them.
Double Missouri Star center
The Missouri Star is a block they use for their logo. In this video they redid it. Jenny shrank the block and made a quilt from smaller versions. This version provided the directions for the center of Natalie’s block (above).
I didn’t choose good fabrics from the True Kisses line. There wasn’t enough contrast in the legs. Unfortunately I succumbed to the lure of those fabrics and the desire to just make something.
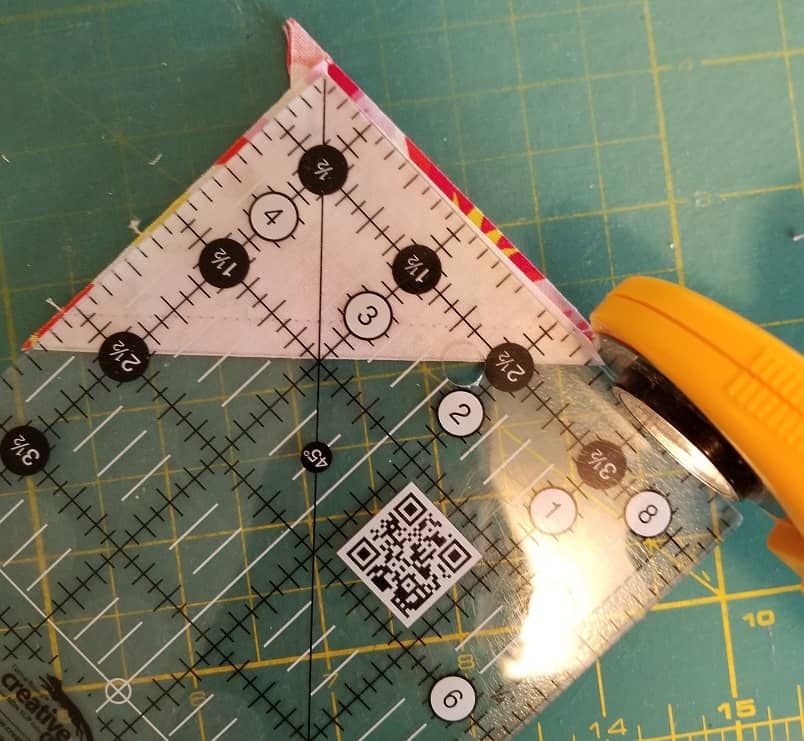
Trimming alternative
In the video, they show how to use the Clearly Perfect Trimmer**. I didn’t have that ruler so I tried their alternative method of using a regular ruler and it absolutely didn’t work. I should have saved myself the trouble and just squared up the various pieces the normal way.
My pieces were all the wrong size. Since I followed the Missouri Star method for making HSTs, all of my edges were on the bias. The small center block looked awful. I took the whole block apart, trimmed and put it back together again. I was reminded of how bias can work against me. I also think I didn’t completely understand the alternative method of trimming.
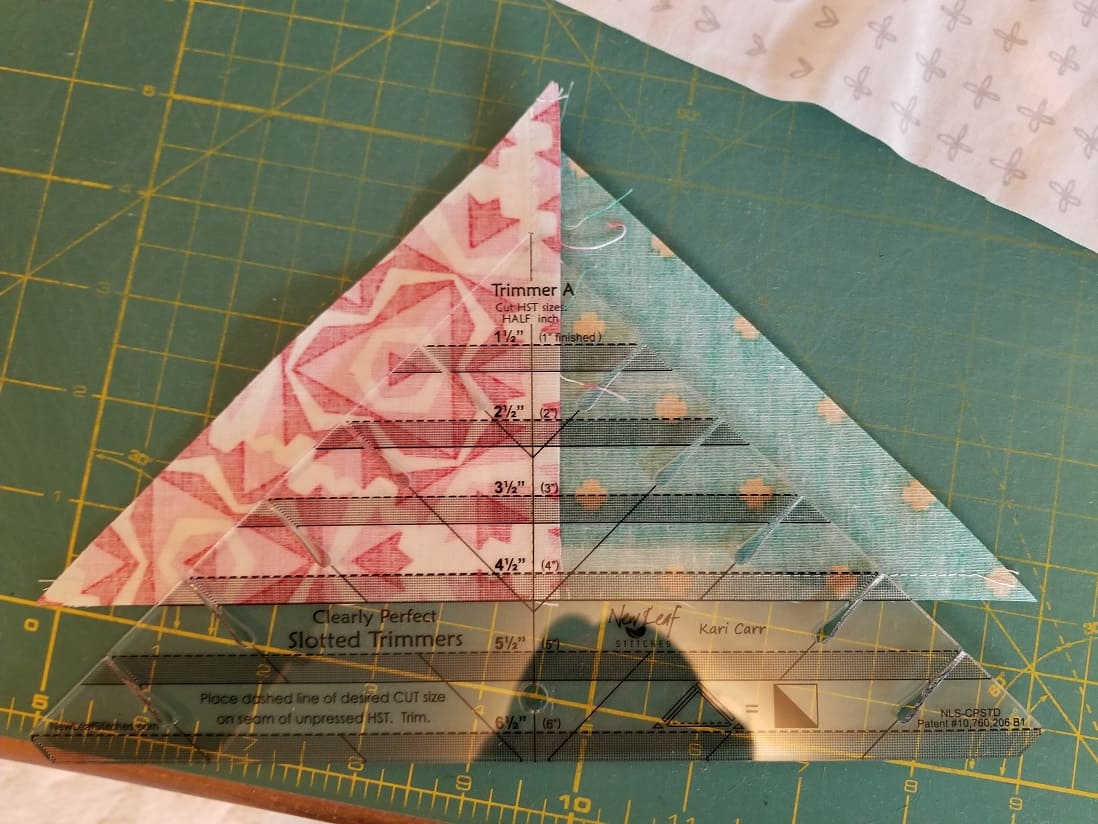
Using the Clearly Perfect Trimmer
I did end buying the Clearly Perfect Trimmer**. I had never heard of this ruler and I was curious to try it out. I can’t really tell if it was any better than trimming the regular way. The one difference was that you only make two cuts vs making two cuts, turning your piece and making two more cuts.
I haven’t read all of the directions for this set of rulers, but I am interested in learning how to use more of its capabilities.
Despite all of the ripping, I am pretty pleased with the way the block came out. I won’t be making a whole quilt, however.
**I use affiliate links and may be paid for your purchase of an item when you click on an item link in my post. There is no additional cost to you for clicking or purchasing items I recommend. I appreciate your clicks and purchases as it helps support this blog.
I have a new, year long work contract that is going to be taking a lot of my time. Between the time I found out and the day I started, I had about two weeks where I finished other projects, sewed like a demon and saw friends. Fortunately, the COVID cases were down enough and we were all vaccinated, so I felt comfortable going to people’s houses. One thing I did was have a mini Sew Day with Gerre. Mostly we talk and eat, but this time we sewed quite a bit as well. Our last Sew Day was too long ago.
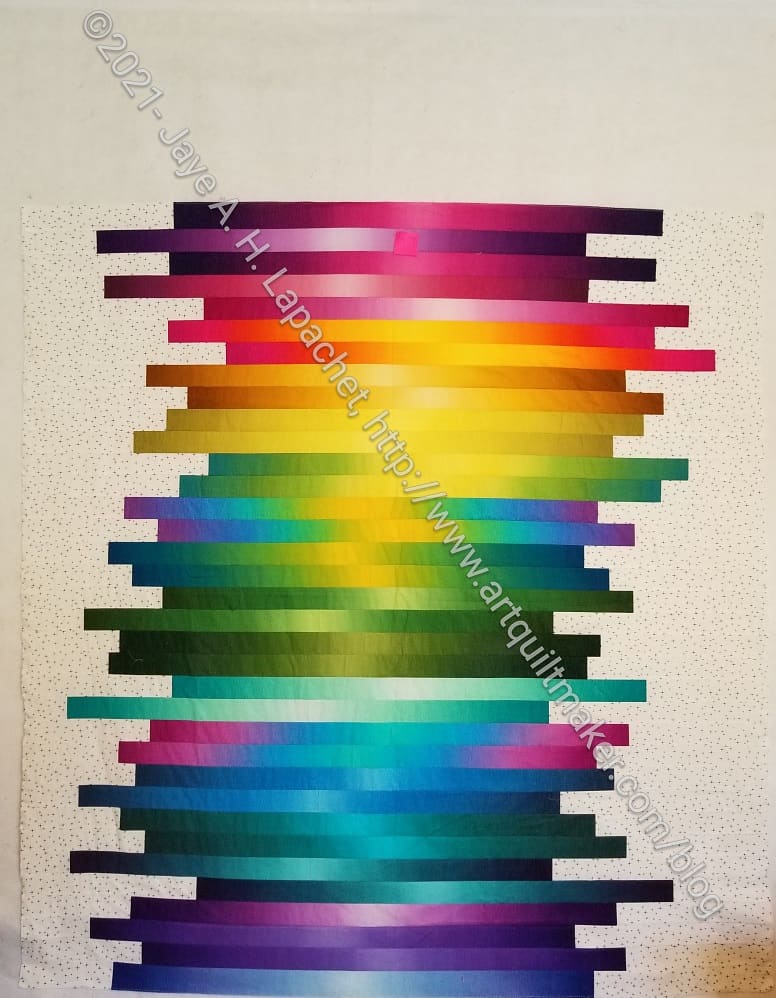
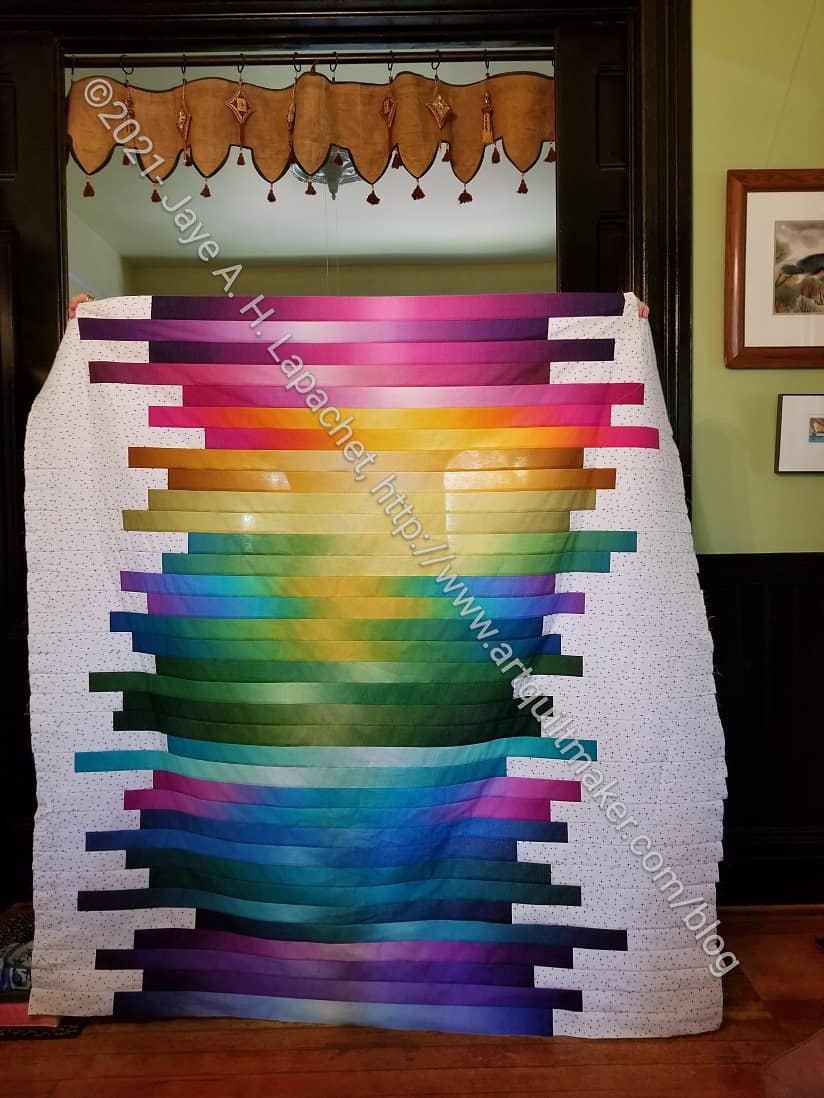
Finished Gelato at Gerre’s
I took my batch of Gelato strips to Gerre’s house and worked on sewing them together. The numbered pins really helped. In a flash, I was able to finish it. I think chatting and sewing made the project go faster.
Gerre held it up for me so I could take a photo. I was pleased to see that in different light and against a dark background, the quilt still glowed.
Gerre worked on her Ring quilt and was able to finish the top.
We had Thai food, which I like and don’t get a chance to eat very often.
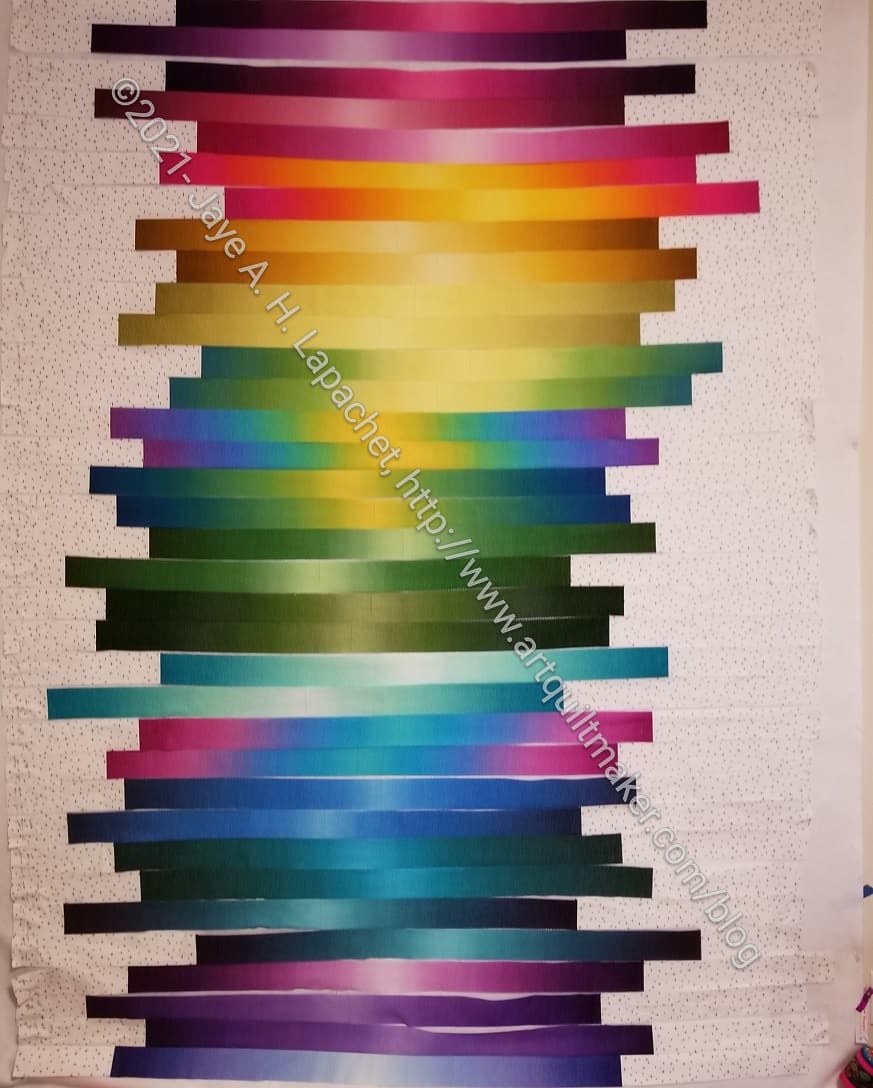
I made good progress at Craft Night on Gelato. I got all of the background sewn to the precut strips.
I wanted to prepare for my mini Sew Day with Gerre. This quilt was on the agenda. By sewing all the background to the strips, I could get it ready to transport. It was important to me to keep the strips in a certain order. I was able to use the numbered pins** I bought some time ago (and thought were useless) to good effect. I also used giant WonderClips** to keep the strips together.
I didn’t have a design wall at Gerre’s and with the numbered pins, I was able to keep the whole thing in order so I could sew it together.
**I use affiliate links and may be paid for your purchase of an item when you click on an item link in my post. There is no additional cost to you for clicking or purchasing items I recommend. I appreciate your clicks and purchases as it helps support this blog.
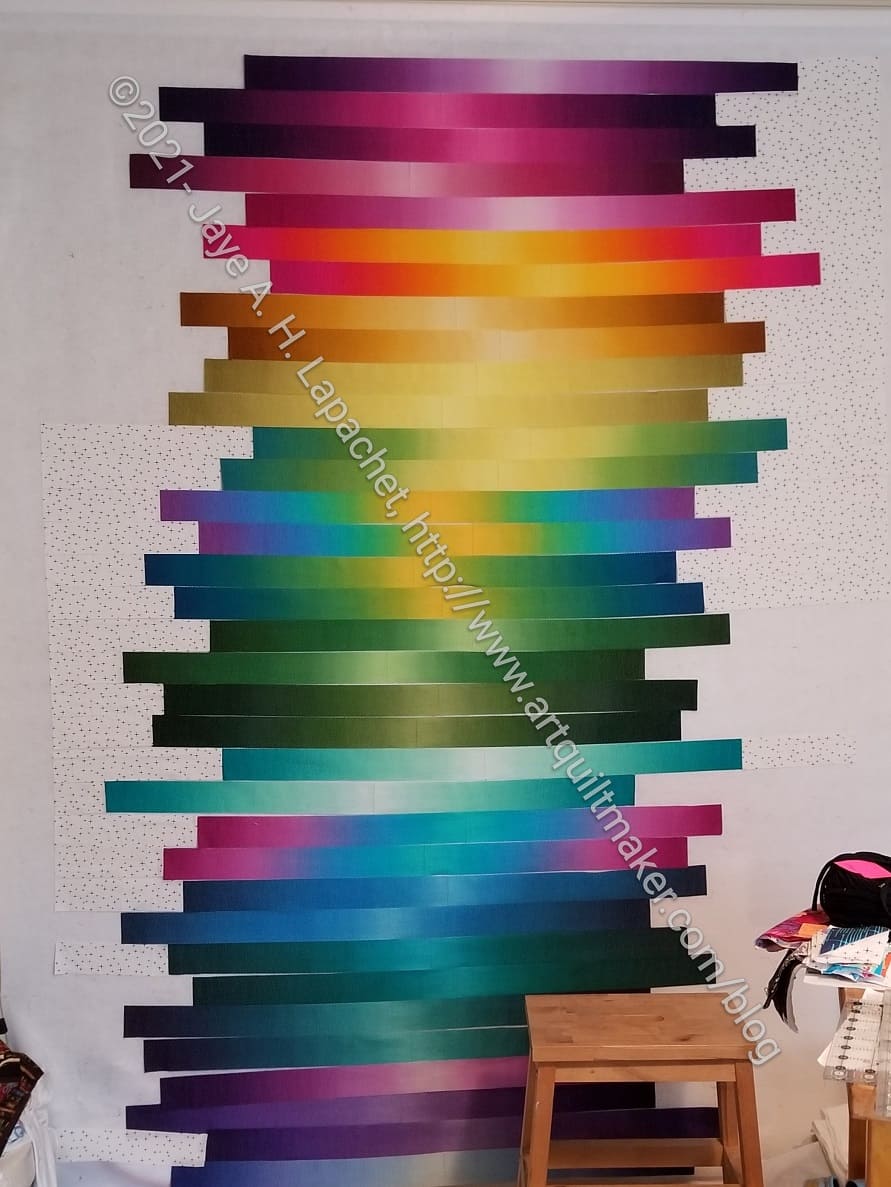
I made some good progress on Gelato the other day.
I think it is looking really good. It kind of glows in a way that I didn’t expect. I am working really hard on cutting the background fabric for the outside of the colored strips.
I don’t think this quilt will take me very long. Fingers crossed.
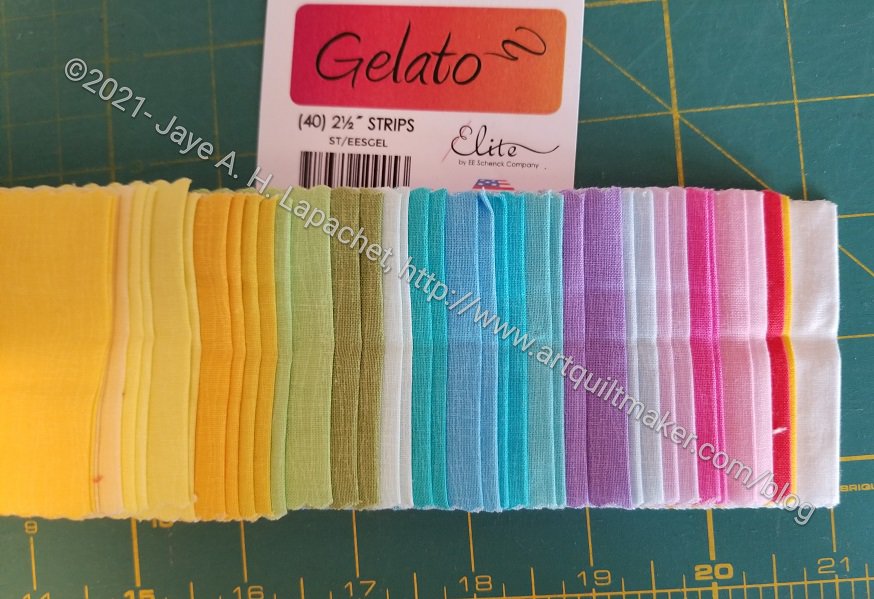
A long time ago, in this galaxy, Friend Julie gave me a jelly roll. I don’t usually like jelly rolls, but I like this one.
One reason I like it is that the serrated edge isn’t deeply serrated, so the width is actually pretty close to 2.5 inches. Also, the strips seem to be pretty much cut on grain.
Molly’s Jelly Roll Top – June 2021
At Sew Day, Molly was working on a jelly roll quilt. She also didn’t want to cut up the jelly roll into squares so she was using the strips almost as is. She made a cut in the middle where the color really started to change and inserted a KFC fabric.
Molly’s quilt got stuck in my mind and I couldn’t get it or the jelly roll in my workroom off my mind. I tried to stay focused on Scrap Dash, but the jelly roll kept creeping in.
One good thing about Sew Day is that I get to be inspired by projects on which other people are working. It is also a good thing about the guild.
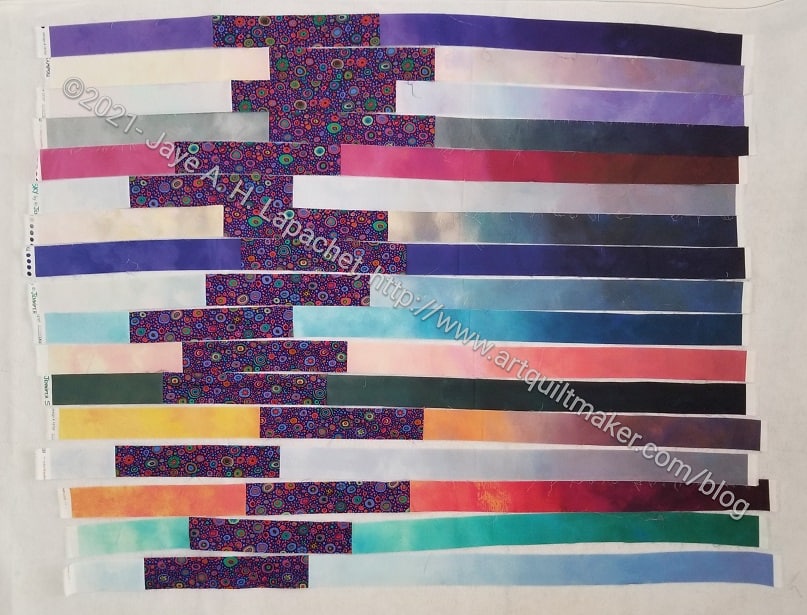
Gelato Start – June 2021
Almost as soon as Scrap Dash was ready to be quilted, I opened the Jelly Roll and started putting strips on the wall. I want to add the background to the outside of the strips.
I didn’t realize the fabrics were ombre! This makes the project much more interesting. Just putting them on the wall is exciting.
Gelato Jelly Roll Open
I am starting out keeping the strips in order. I may move them around later after I see what I have. I am also planning to use the Art Gallery fabric I used as a background for Scrap Dash as a background for this quilt.
I spent quite a bit of time on Scrap Dash over the weekend. I want to get it done and I need to get the left border on the wall where I can 1) see and 2) piece it.
I focused on sewing the vertical seams between sections on the top two rows. I needed to take up the seam allowances to make space for the last column. I also needed to be careful not to force myself into having to put the quilt together in rows. I think I have walked the line successfully, but we will see.