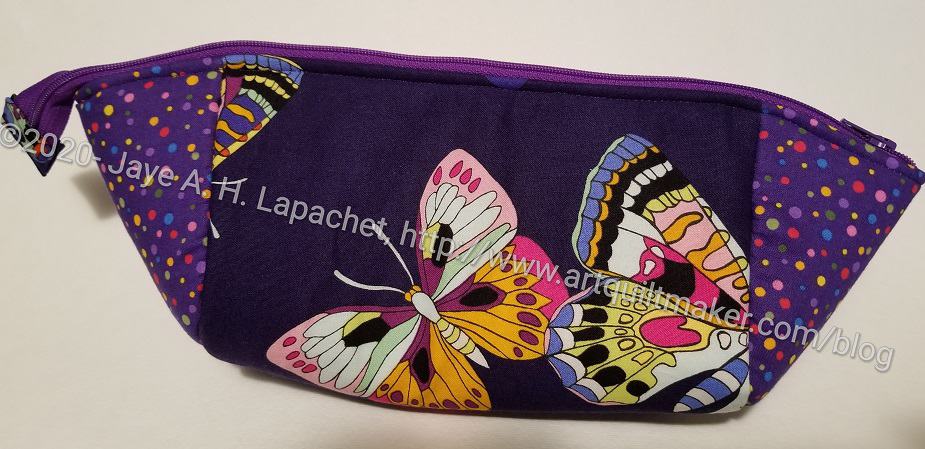
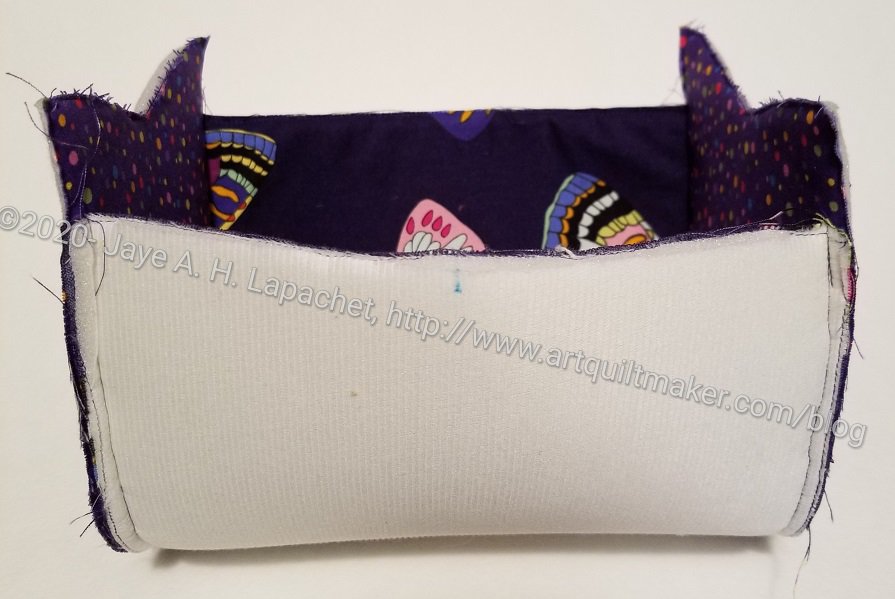
I finished the Butterfly pouch I talked about the other day. It was a relatively quick project and despite some problems I am happy with how it turned out.
I resolved the size issue by cutting off the excess on the side panels. I think this is a little smaller than others I have made, but I still like it. I am particularly happy with the fussy cutting of the main panel.
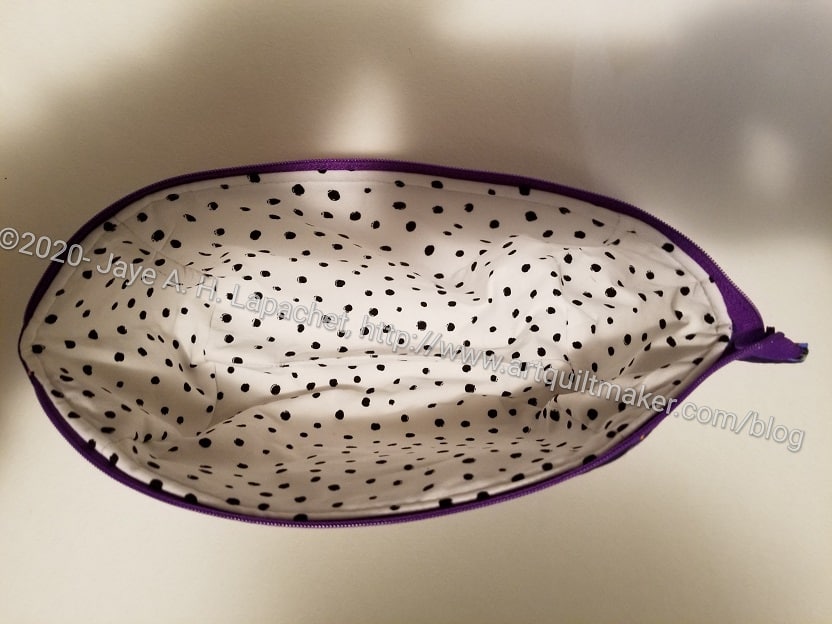
Butterfly Cotton Candy pouch finished – inside
The inside fabric is a really good choice, if I do say so myself. It is a bright white and reflects the light really well. I think this means that SIL will be able to see her stuff easily.
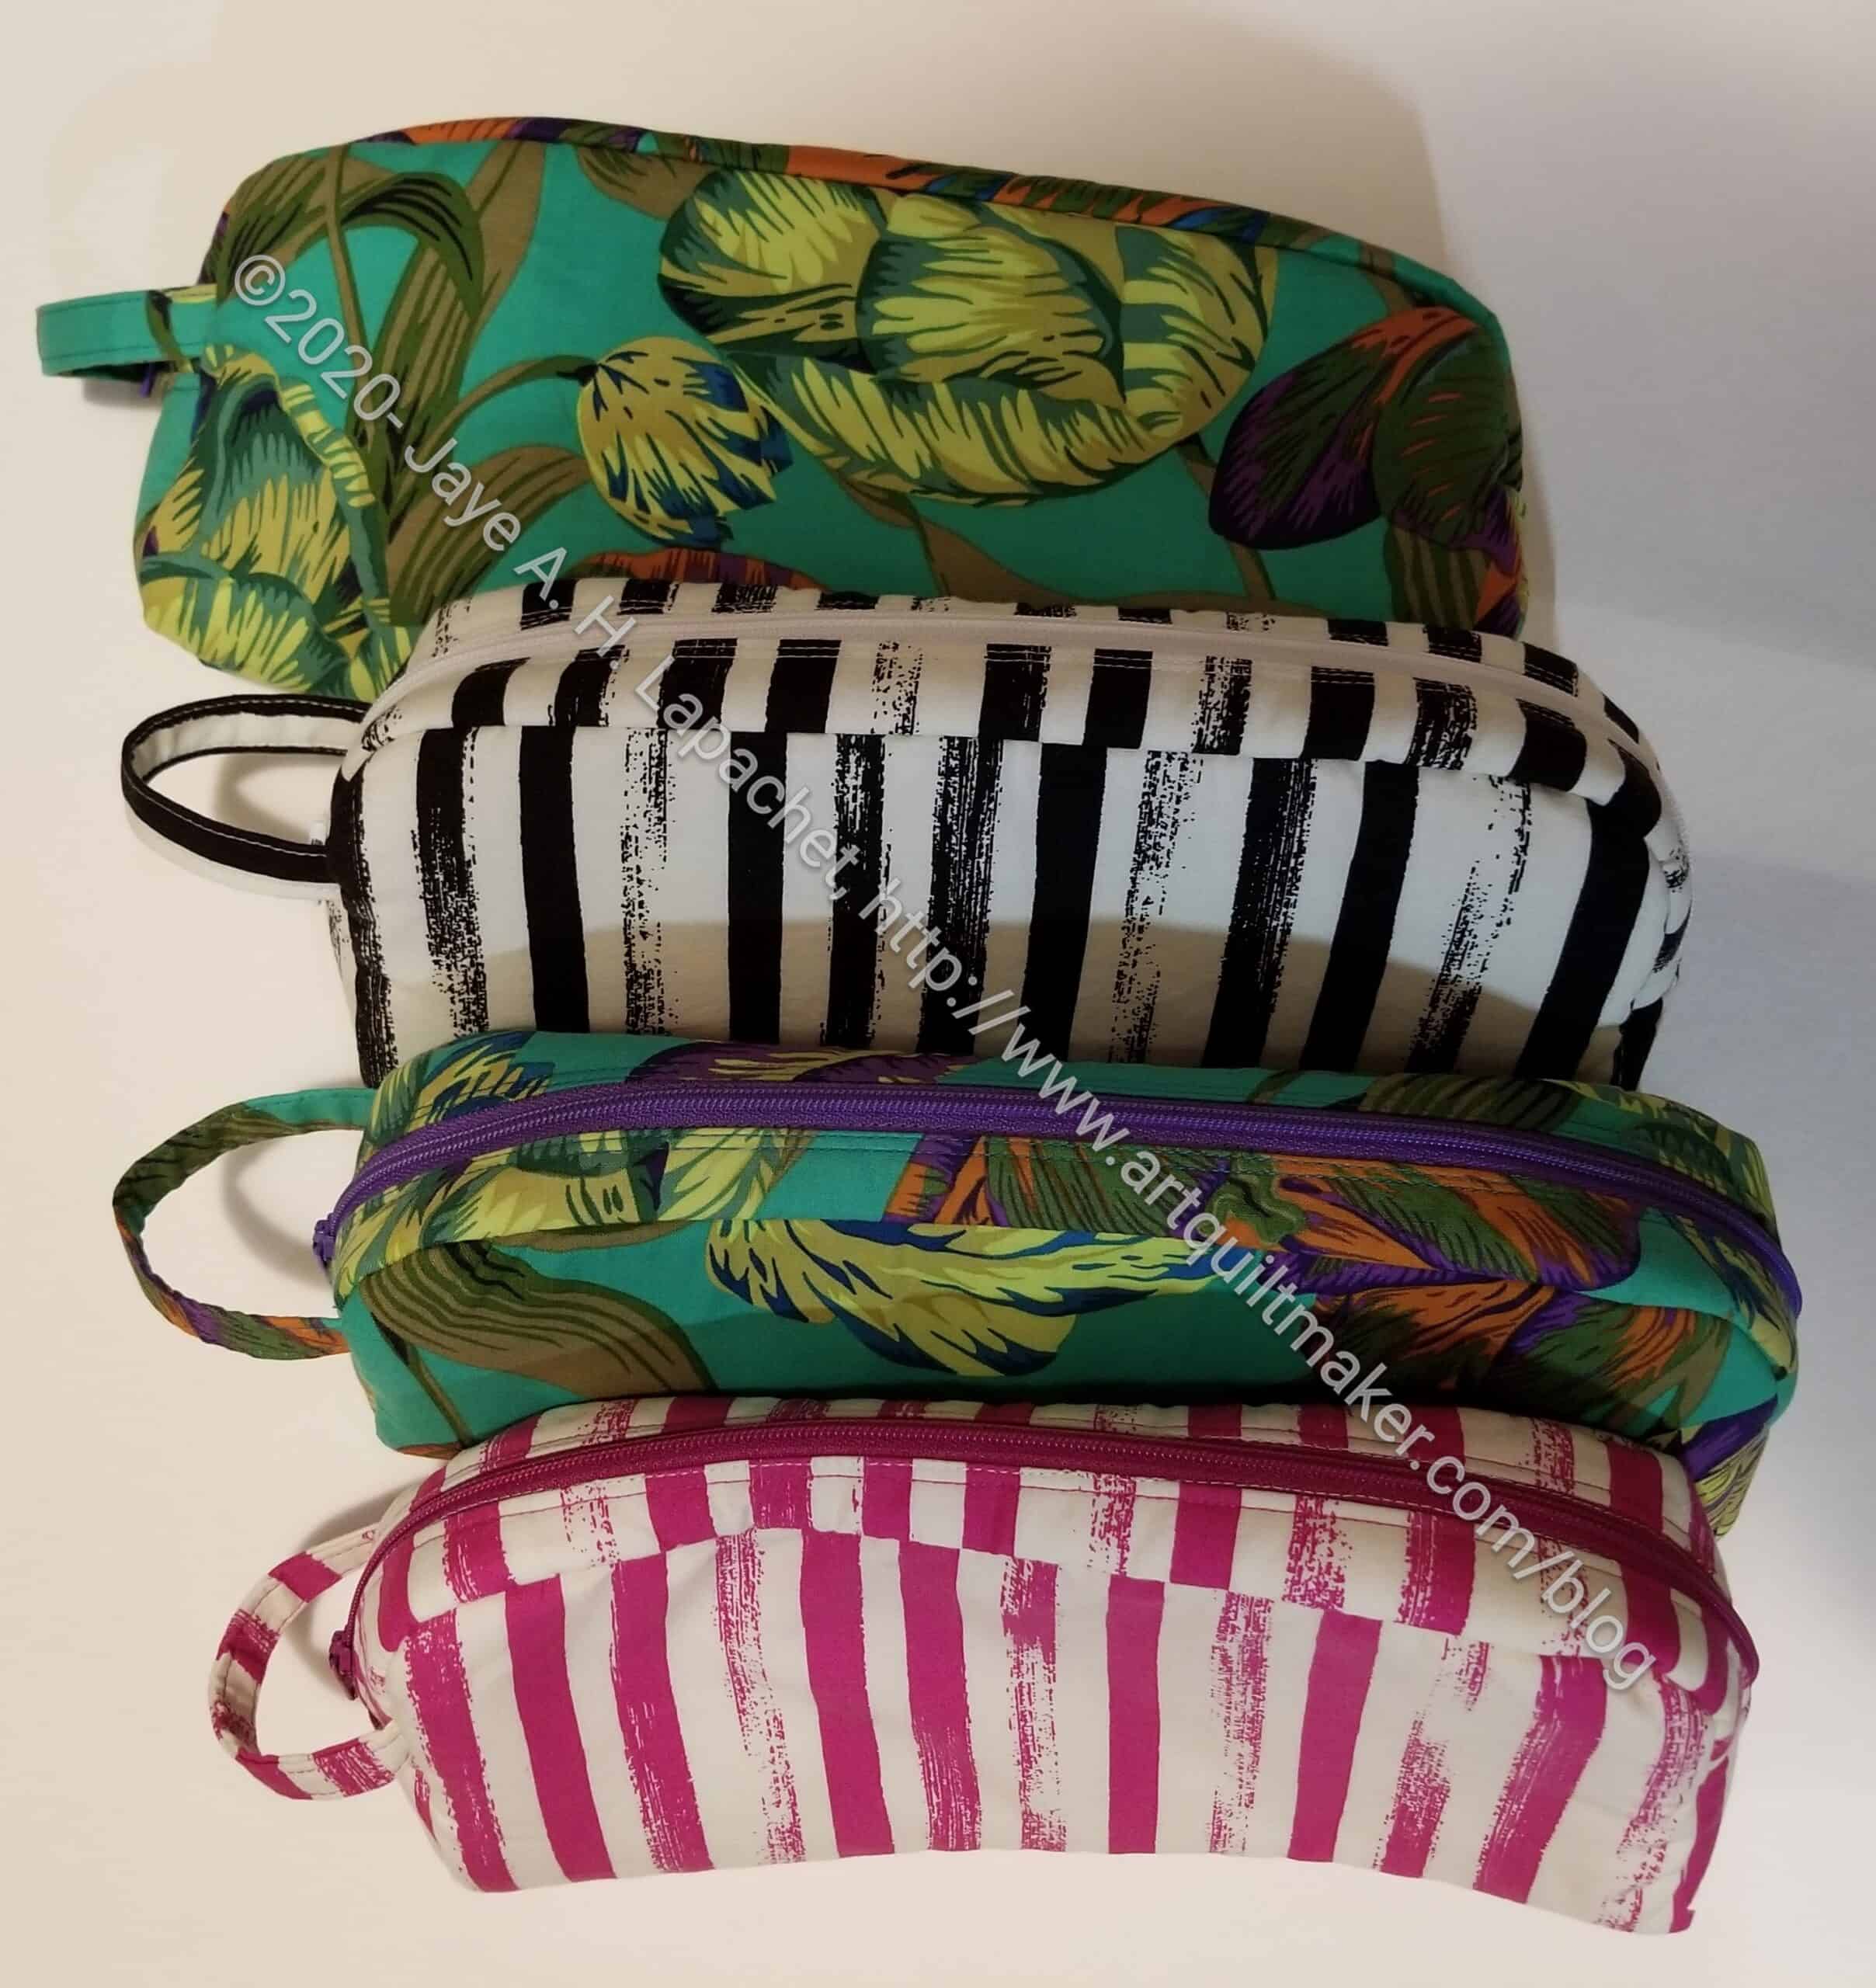
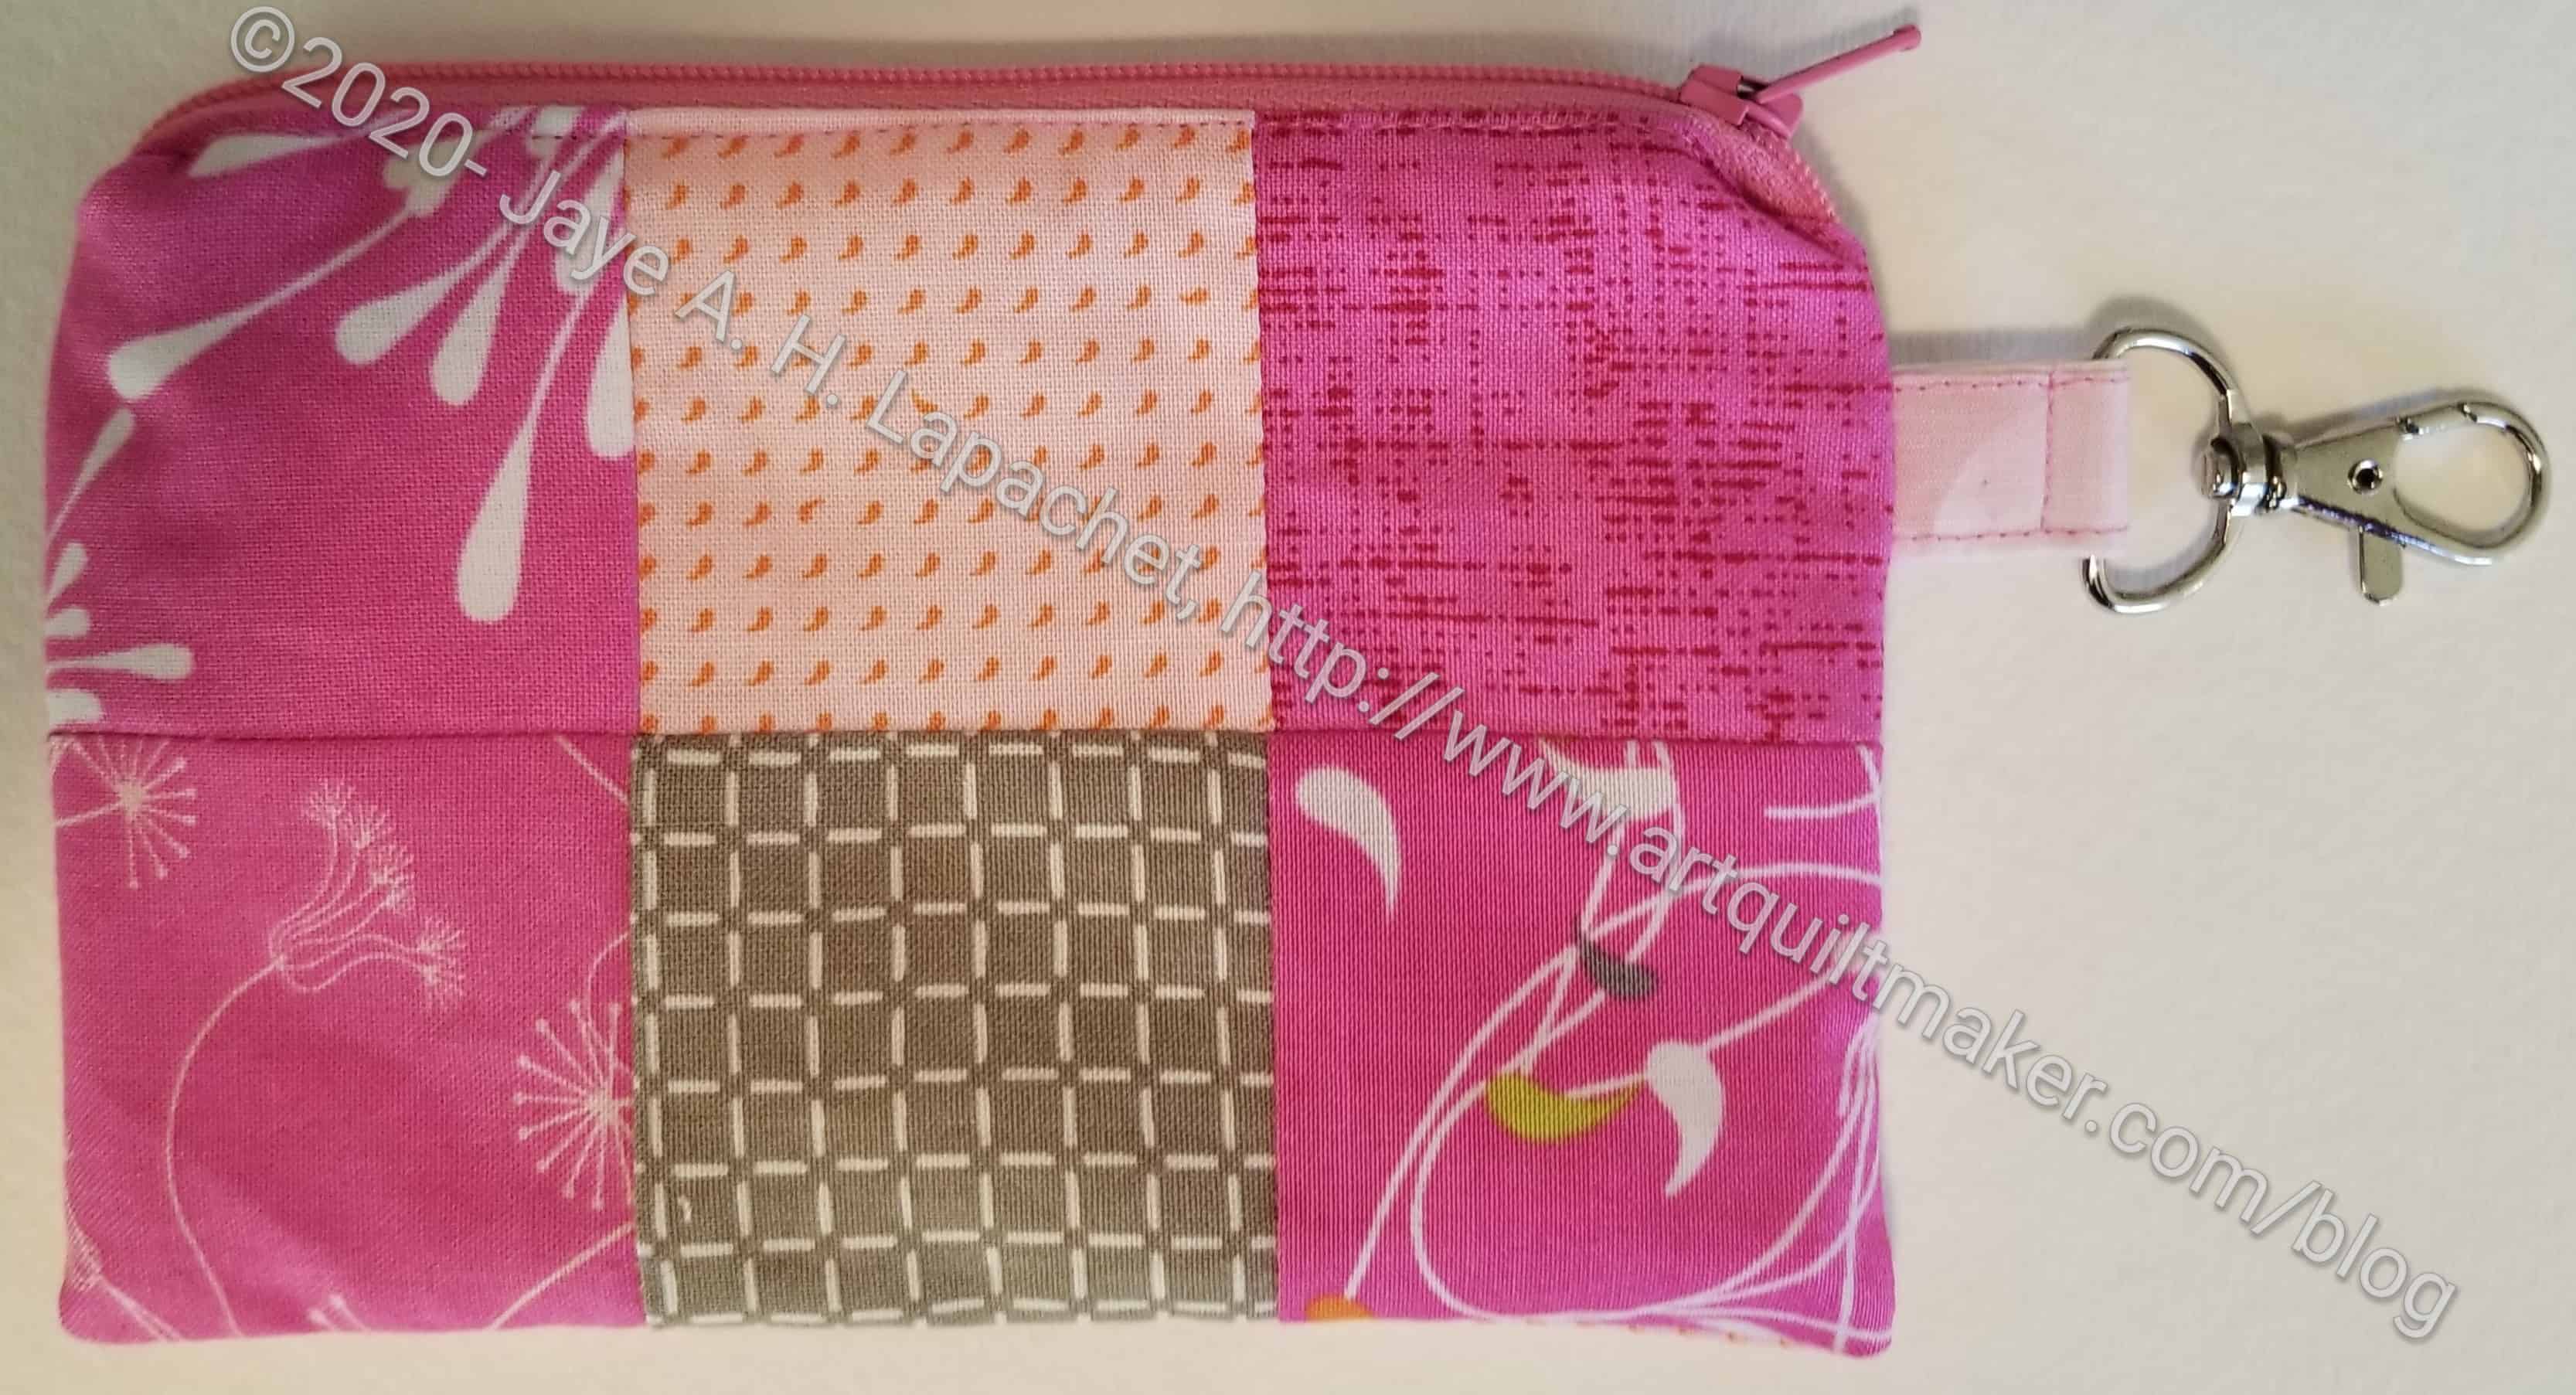
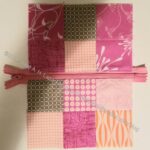
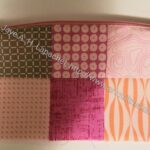
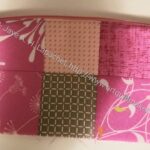
I finished the four mediaum Sidewinder pouches earlier this month, but didn’t want to show them until the recipients received them.
I wanted to make them all with stripes, but didn’t have any green stripes (that I could find).
I thought the leftover Philip Jacobs fabric from the back of FOTY 2019 was great fabric and the two young women who like green would like that fabric. They can donate their pouch if they don’t like it.
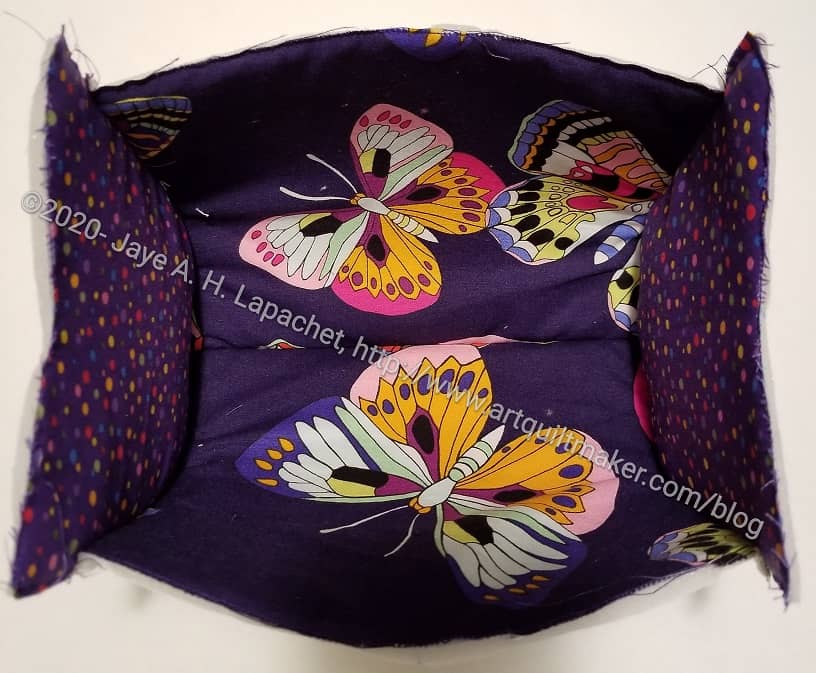
Finished: Sidewinder Pouches open
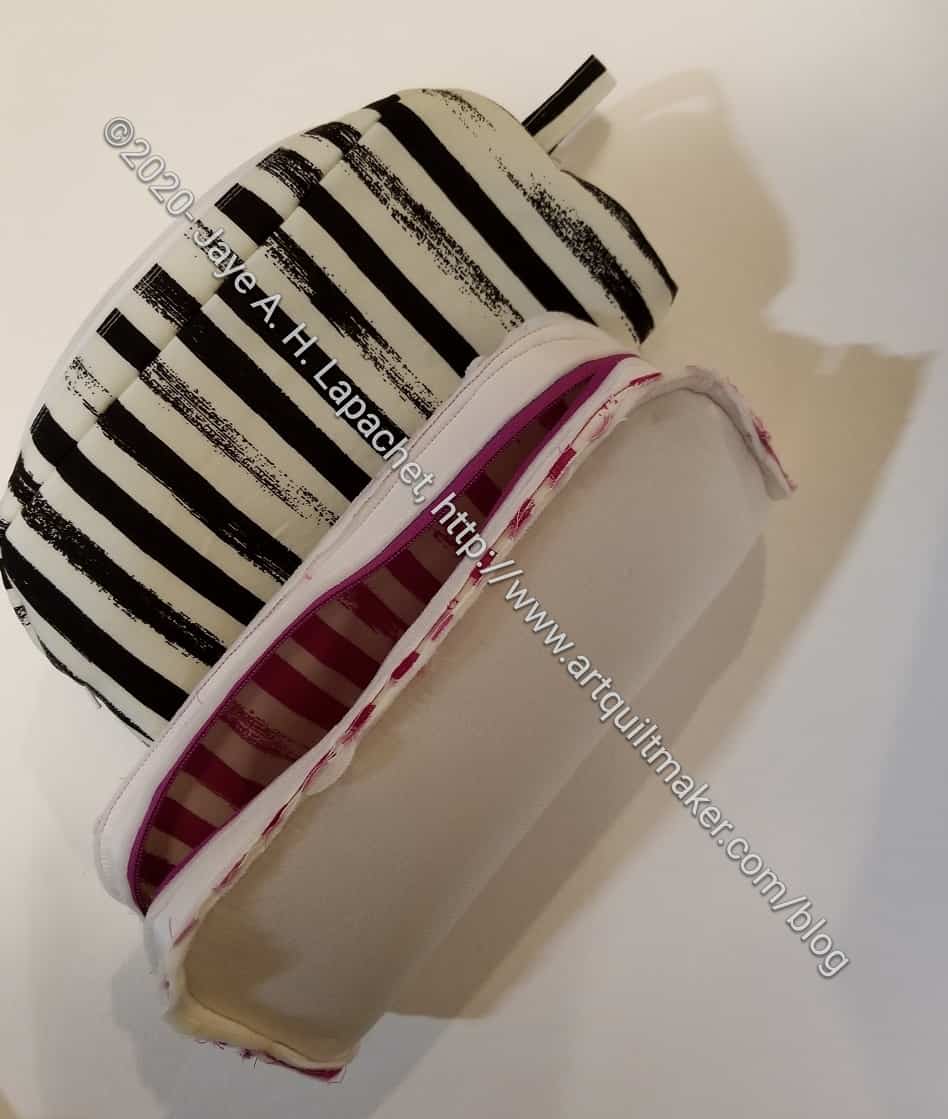
The top zipper placket would have looked a little better if I had turned the stripes vertically. I just didn’t think about it. I will know better next time, if I make this pattern again.
We draw names at Christmas, so we can get a nice gift for one person rather than a bunch of small gifts for everyone. I usually purchase something off of my giftee’s wish list, but occasionally I like to make something as well. This year I got one of my SILs and really wanted to make something.
The Cotton Candy pouch is still a favorite, soI started another one on Friday as an additional gift. I used a similar fabric as I used on an apron I made for her a few years ago. I forgot that I used the blue instead of the purple. Oh well. I hope she likes purple.
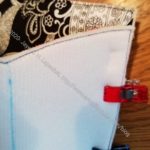
Butterfly Cotton Candy pouch side view in process
I am still struggling a bit with this pattern. This time the side panels were MUCH larger than the main panels. I checked the measurements multiple times, but still can’t figure out why the side panels don’t match. And this time they are WAY off. Regardless, I can still make it work.
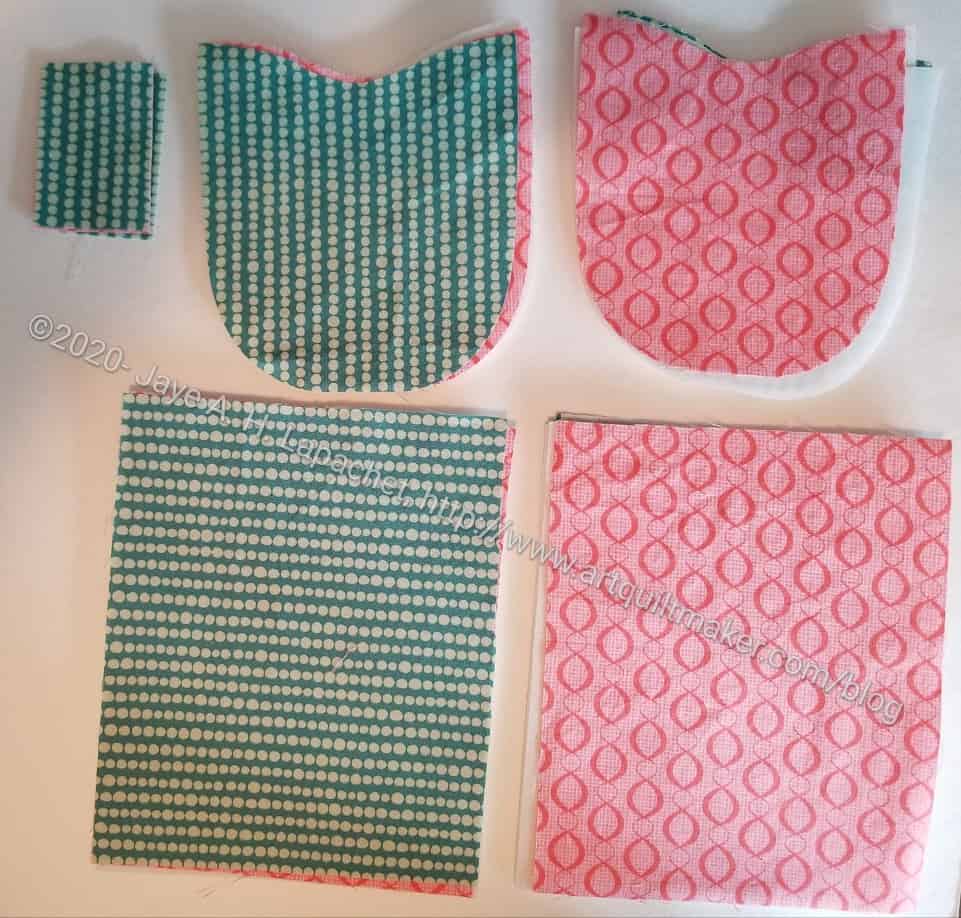
Sidewinder pouches from Minikins Season 1 have been on list for Christmas gifts. I finally started them last week. While I was on the phone, I cut out most of the pieces. I say most because I found out later that I forgot to cut out several pieces. I found out once I started to put the pouches together. I guess I was paying more attention to the call the cutting. Oops!!
I decided to make 4 of these pouches for various family members. Part of the reason I wanted to make them was the striped fabric version in the Minikins ad is so cool looking. I also wanted to make use of the patterns I bought. I have made several Cotton Candy pouches from Minikins Season 1, but I want to make more of the projects. Also, I enjoy making pouches and there are only so many I can use.
Two Sidewinder pouches in process
I have to say that I felt giddy after making good progress on Saturday. It wasn’t that I didn’t struggle a little, but I was just so excited about how cute these pouches were turning out to be.
I still have a bit of work to do on them, but they will be great. I hope the recipients like them.
Mary and I were talking about something else when I remembered the Retreat Bag she and I decided to make. Neither of us have done it, but we both have all of the supplies, including the wire frame. This is a free pattern from Emmaline Bags. The pattern shows the frame you need and that is not free, sadly, but having a free pattern is helpful. And we have to support women owned small businesses.
Emmaline Bags Retreat Bag -free pattern
The bag really doesn’t have anything to do with Retreats – as in going away to sew – I think that is just the name.
I also noticed that Laura Coia of SewVeryEasy has a video on how to make the bag with the addition of an outside slip pocket and handles. This video is linked from the pattern page on the Emmaline site. I also saw a video from Birdcage and Thread that shows how to make this bag. The techniques in the two videos are a little different and one might work better for you. It’s good to have a choice.
I have two frames, so I can make two of these with the supplies I have on hand. I have been trying to think about what types of items/supplies I would store in this pouch and haven’t come up with anything yet. I could make one, or both, as a gift.
I am also thinking it might need a handle, leash or shoulder strap.
I seem to have a strong desire/need to finish things. I know I should be more enamored of the process. I have been trying for years to be more about the process, but I think I am sick of looking at things in my workroom and need to just make the projects and be done with them. OR fall in love with the process once I have tried it and go back for more.
I finished the latest Cotton Candy Pouch over the weekend. This is the one that Friend Julie cut out using her Cricut Maker. You last saw it as a bunch of pieces. I am always interested to see how strangely shaped pieces turn into something 3D. It was awesome to not have to cut anything but to have it all ready to go.
Zipper Beginning
One reason I keep making this pouch over and over is to perfect some of my skills, especially Veering the Zipper, which went much better this time. I was also able to get the beginning of the zipper even with each other. So progress.
Yes, I could have gotten the head closer, but that is a challenge for another day.
I also like the shape of this pouch a lot. I am going to try the sidewinder next. Bronwyn, one of the moderators of the Sew Sweetness FB group, had so much trouble with the Sidewinder that she threw out her first attempt. This scares me!
I forgot to use a deeper seam allowance for the lining :(, but c’est la vie. It is fine for this time. Another part to work on.
The Sidewinder is another part of Minikins Season 1. I have two dozen or so patterns from Minikins Season 1 & 2 to try, so I need to get busy! I am constantly wondering if Sara will come out with a Minikins Season 3? Yikes! I need to get busy.
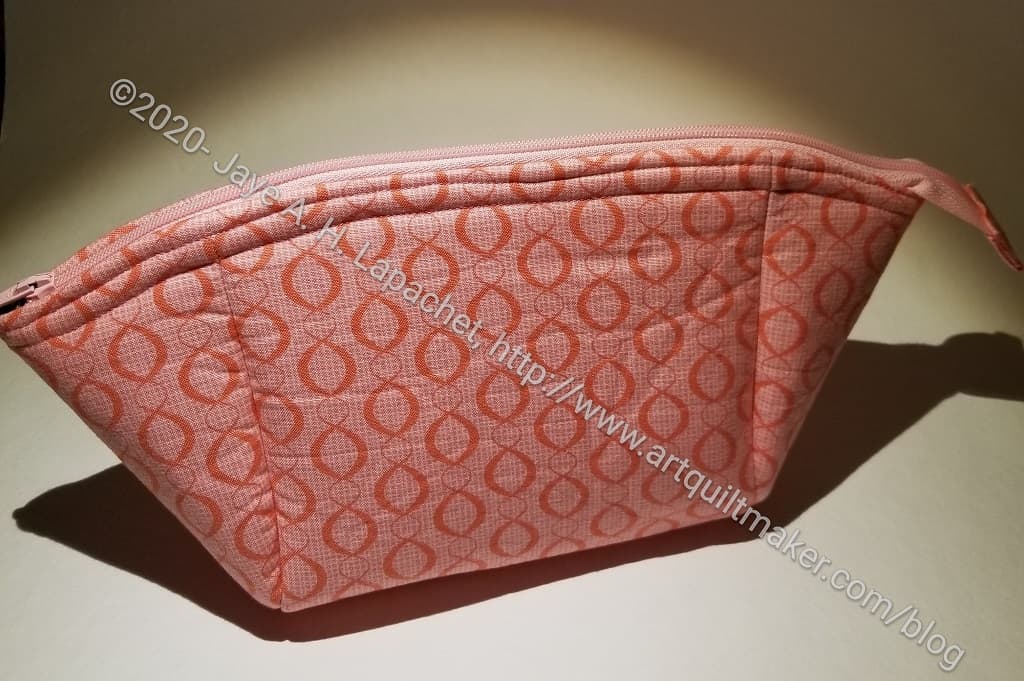
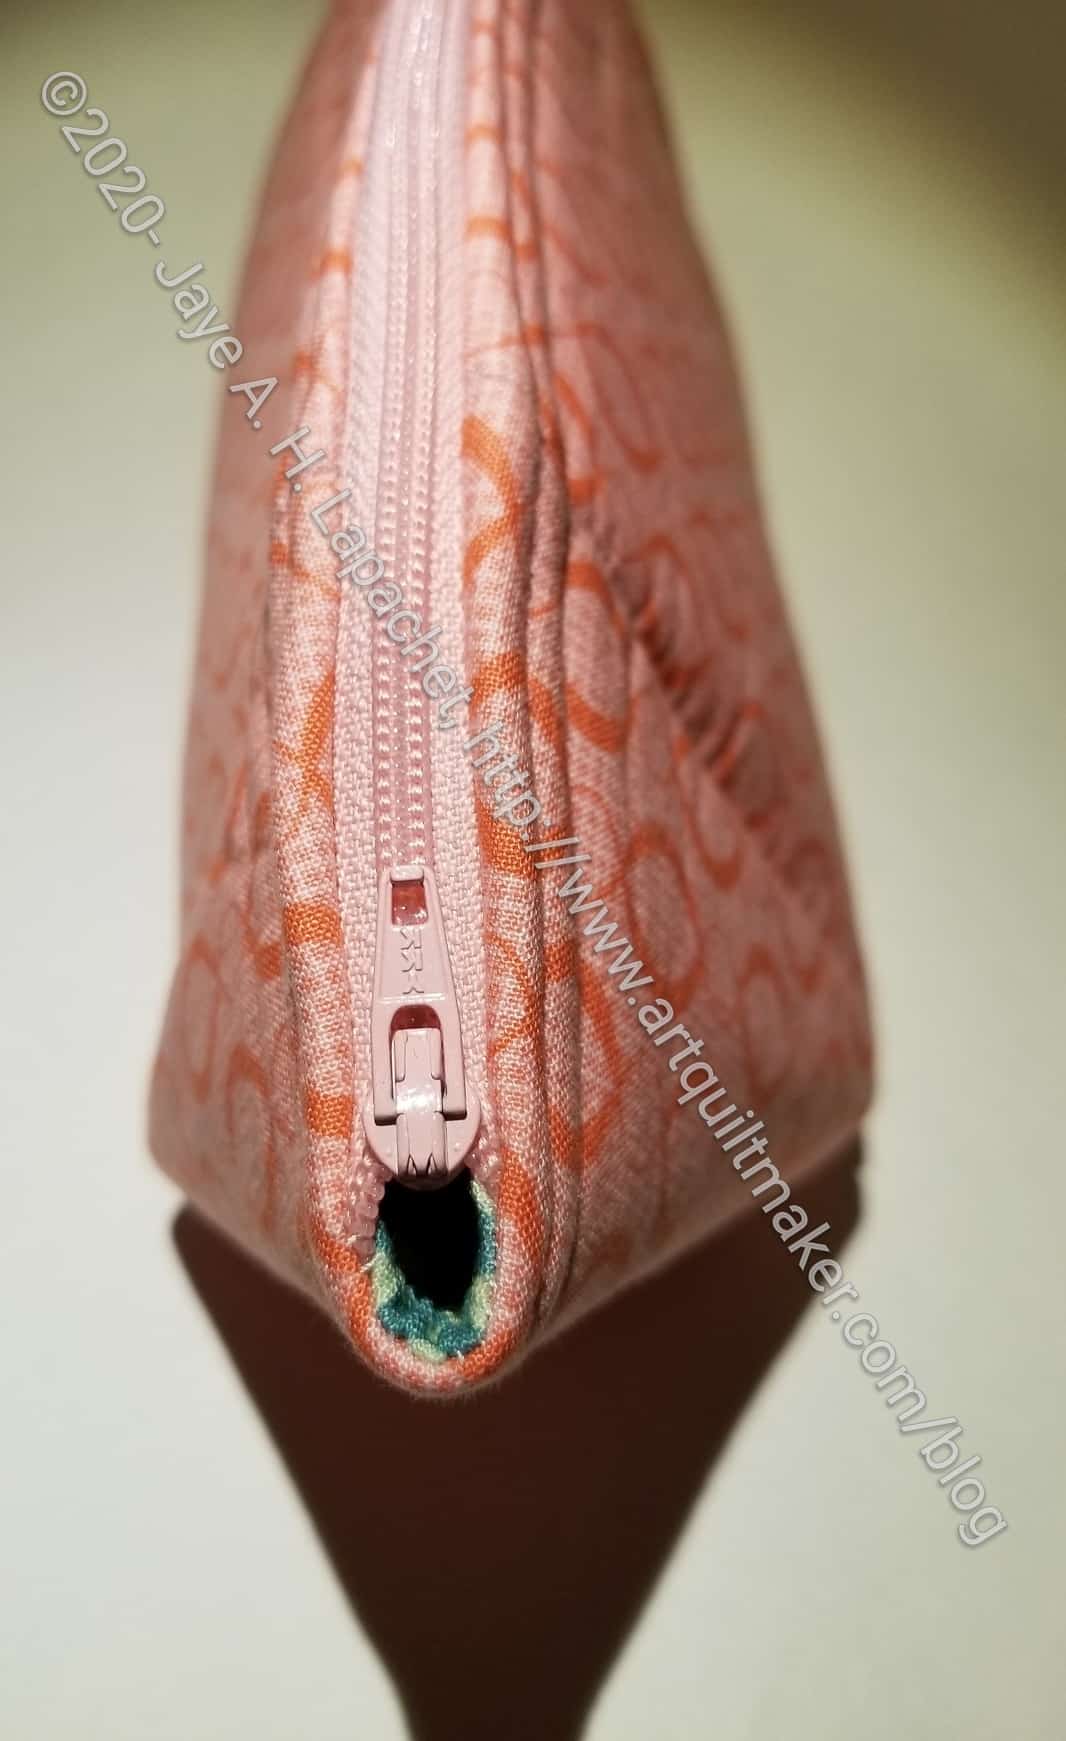
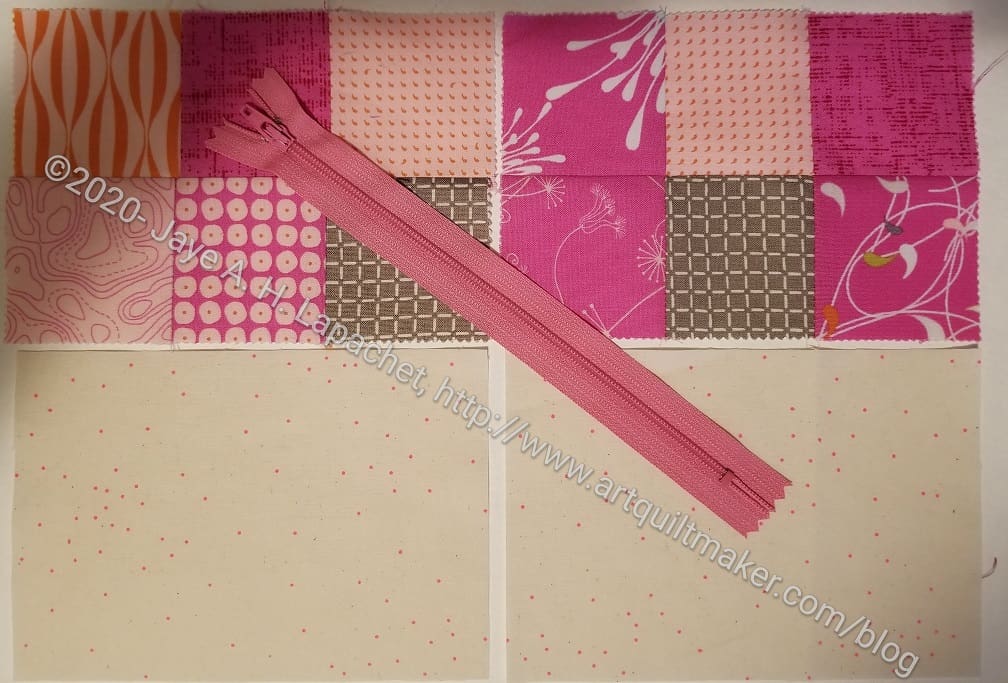
After making the Mondo Bag last year, I had a few squares leftover. I sewed them together into panels of 6 charm squares, found a pink zipper and decided to make a quick pouch. Several months later, I finally got busy.
Pink Pouch fabrics
I cut some lining fabrics and found a random tutorial just so I wouldn’t mess up the steps.
I was pretty pleased with how it was shaping up, then I decided that I needed to include a leash. I love adding tabs with a lobster clip on the end, as I have mentioned numerous times, so I can clip my pouches to other bags. This step slowed me down a little as I had to find fabric that would look good (scrap diving!) and dig out a lobster clip, but I ended up being ready to sew the leash before I had to stop. Next time I’ll be able to show the item as done as I think I only need a half and hour or so to finish.
As I mentioned, Friend Julie cut some Cotton Candy Pouch pieces out for me with her Cricut. I pulled them out over the weekend with the intention of starting to sew them together. I have to wait to finish until my zipper order arrives, but I thought I could, at least make a start.
Cotton Candy Pouch cut from SVG files
I was super pleased when I delved into the bag to find ALL the pieces required – Soft & Stable, SF101, everything! She is a rockstar and this work was super appreciated, because cutting is not a favorite task for me.
These were cut before her recent adventures. She is back to sewing now, which is great. I may want her to cut more pieces for me, if I like these. Alternatively, though space is an issue, I may just buy a Cricut of my own. 😉
Cutting Cotton Candy -cutting by me
Cutting Cotton Candy using SVG files
I sewed the Cotton Candy sides and main panels together and came up with the same problem I had when I cut out the pieces. The main panels did not line up with the sides. I feel better now about my cutting. There is no problem as I can trim the pieces after they are sewn together. I can see why this slight extra might be a feature as it gives the maker a little wiggle room.
Friend Julie and I have been talking about her relatively new Cricut. We are doing a sort of test of her Cricut for fabric cutting. She has been playing around with cards, but this started when I asked her if she had cut out fabric from SVG files. When she said no, I sent her an SVG file for the Cotton Candy pouch and said that if she cut one out, I would sew it for her. I kind of wanted to see how the SVG files would work.
Cotton Candy Pouch cut from SVG files
Recently she sent me some pieces of a Cotton Candy pouch she had cut out for me. I am curious to see how these pieces fit together versus the ones I cut.
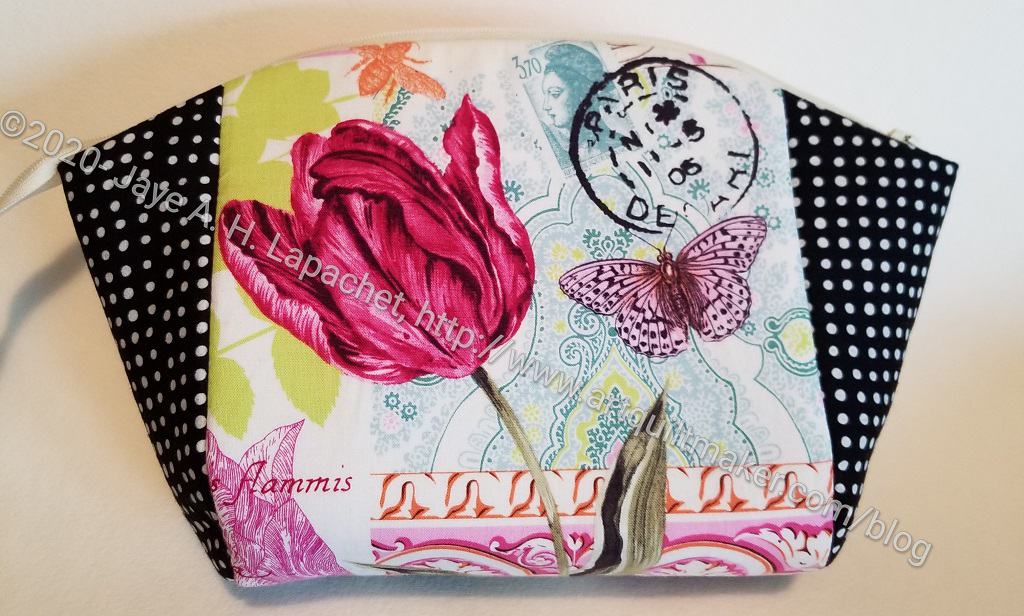
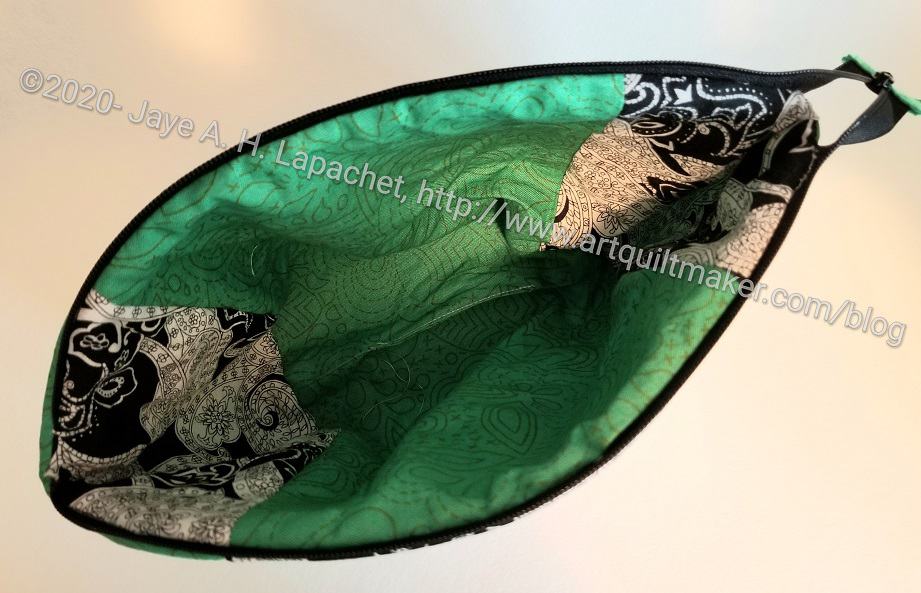
I have talked about the two other pouches, Green and PJ Ivy, I made last weekend. This, however, is the main one. I decided to make this one, then added the others on to the project.
I tried to think of how a non-sewing person would use this pouch (or any pouch??) and could only come up with a makeup bag or a cord carrier. I hope the recipient will find some good uses for it. It is a large pouch so it might be good for a project. I know she started an embroidery or cross stitch project recently.
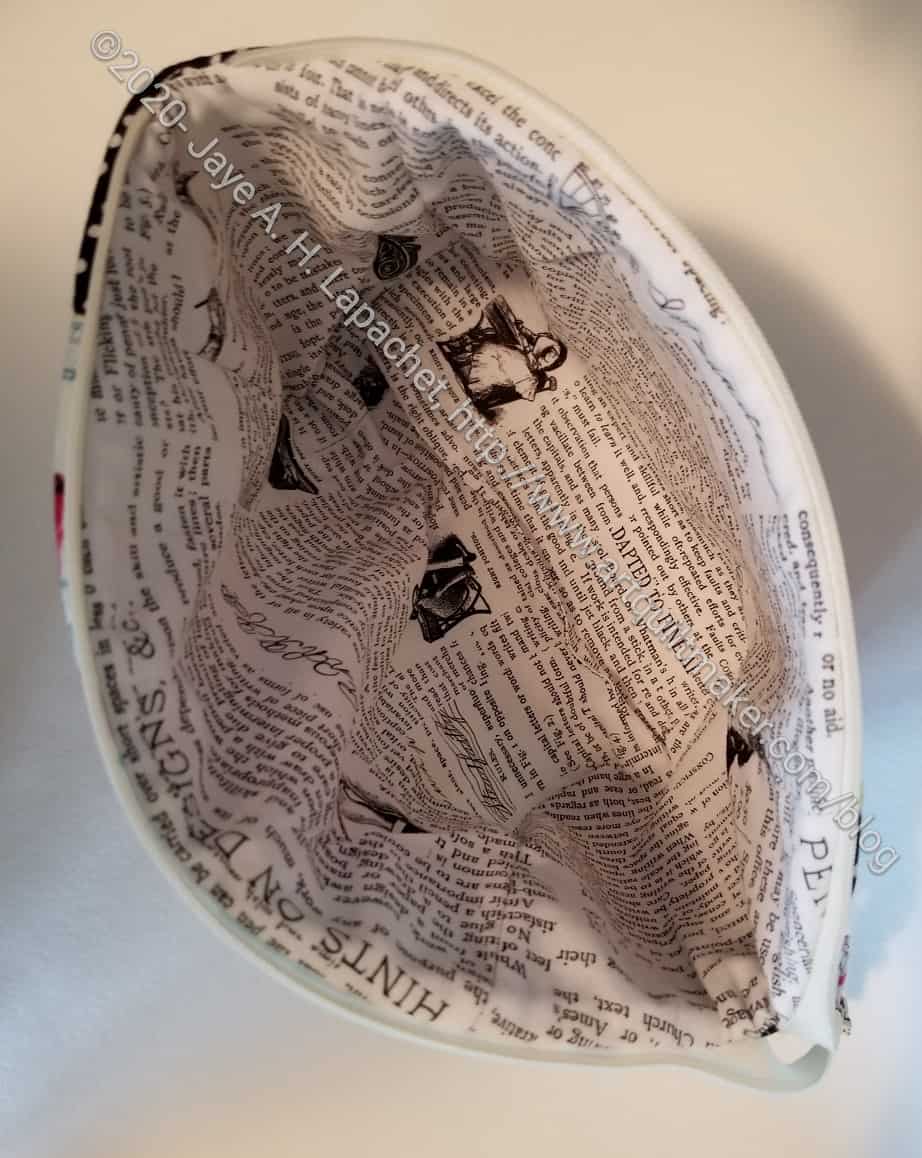
Tulip Dot Cotton Candy Pouch- inside
I made the inside light, as I try to do, so she could find whatever she puts in the bag. It is a kind of fun newspaper print that I haven’t used before, though I have used fabric like it. I still like the text fabrics.
I used some of the Michael Miller French Journal Collection from London Portfolio for this pouch. It has good areas to fussy cut. I bought a lot of it several years ago and keep cutting bits off for this and that. It is fun fabric.
I don’t know what the recipient likes, so I made some thing that I liked. Also, this pattern lends itself to fussy cutting and I was able to cut this fabric in such a way as to highlight the featured flowers.
Tulip Dot Cotton Candy Pouch- back
This is kind of busy fabric, so I used the black and white dot fabric to keep the French Journal Collection under control.
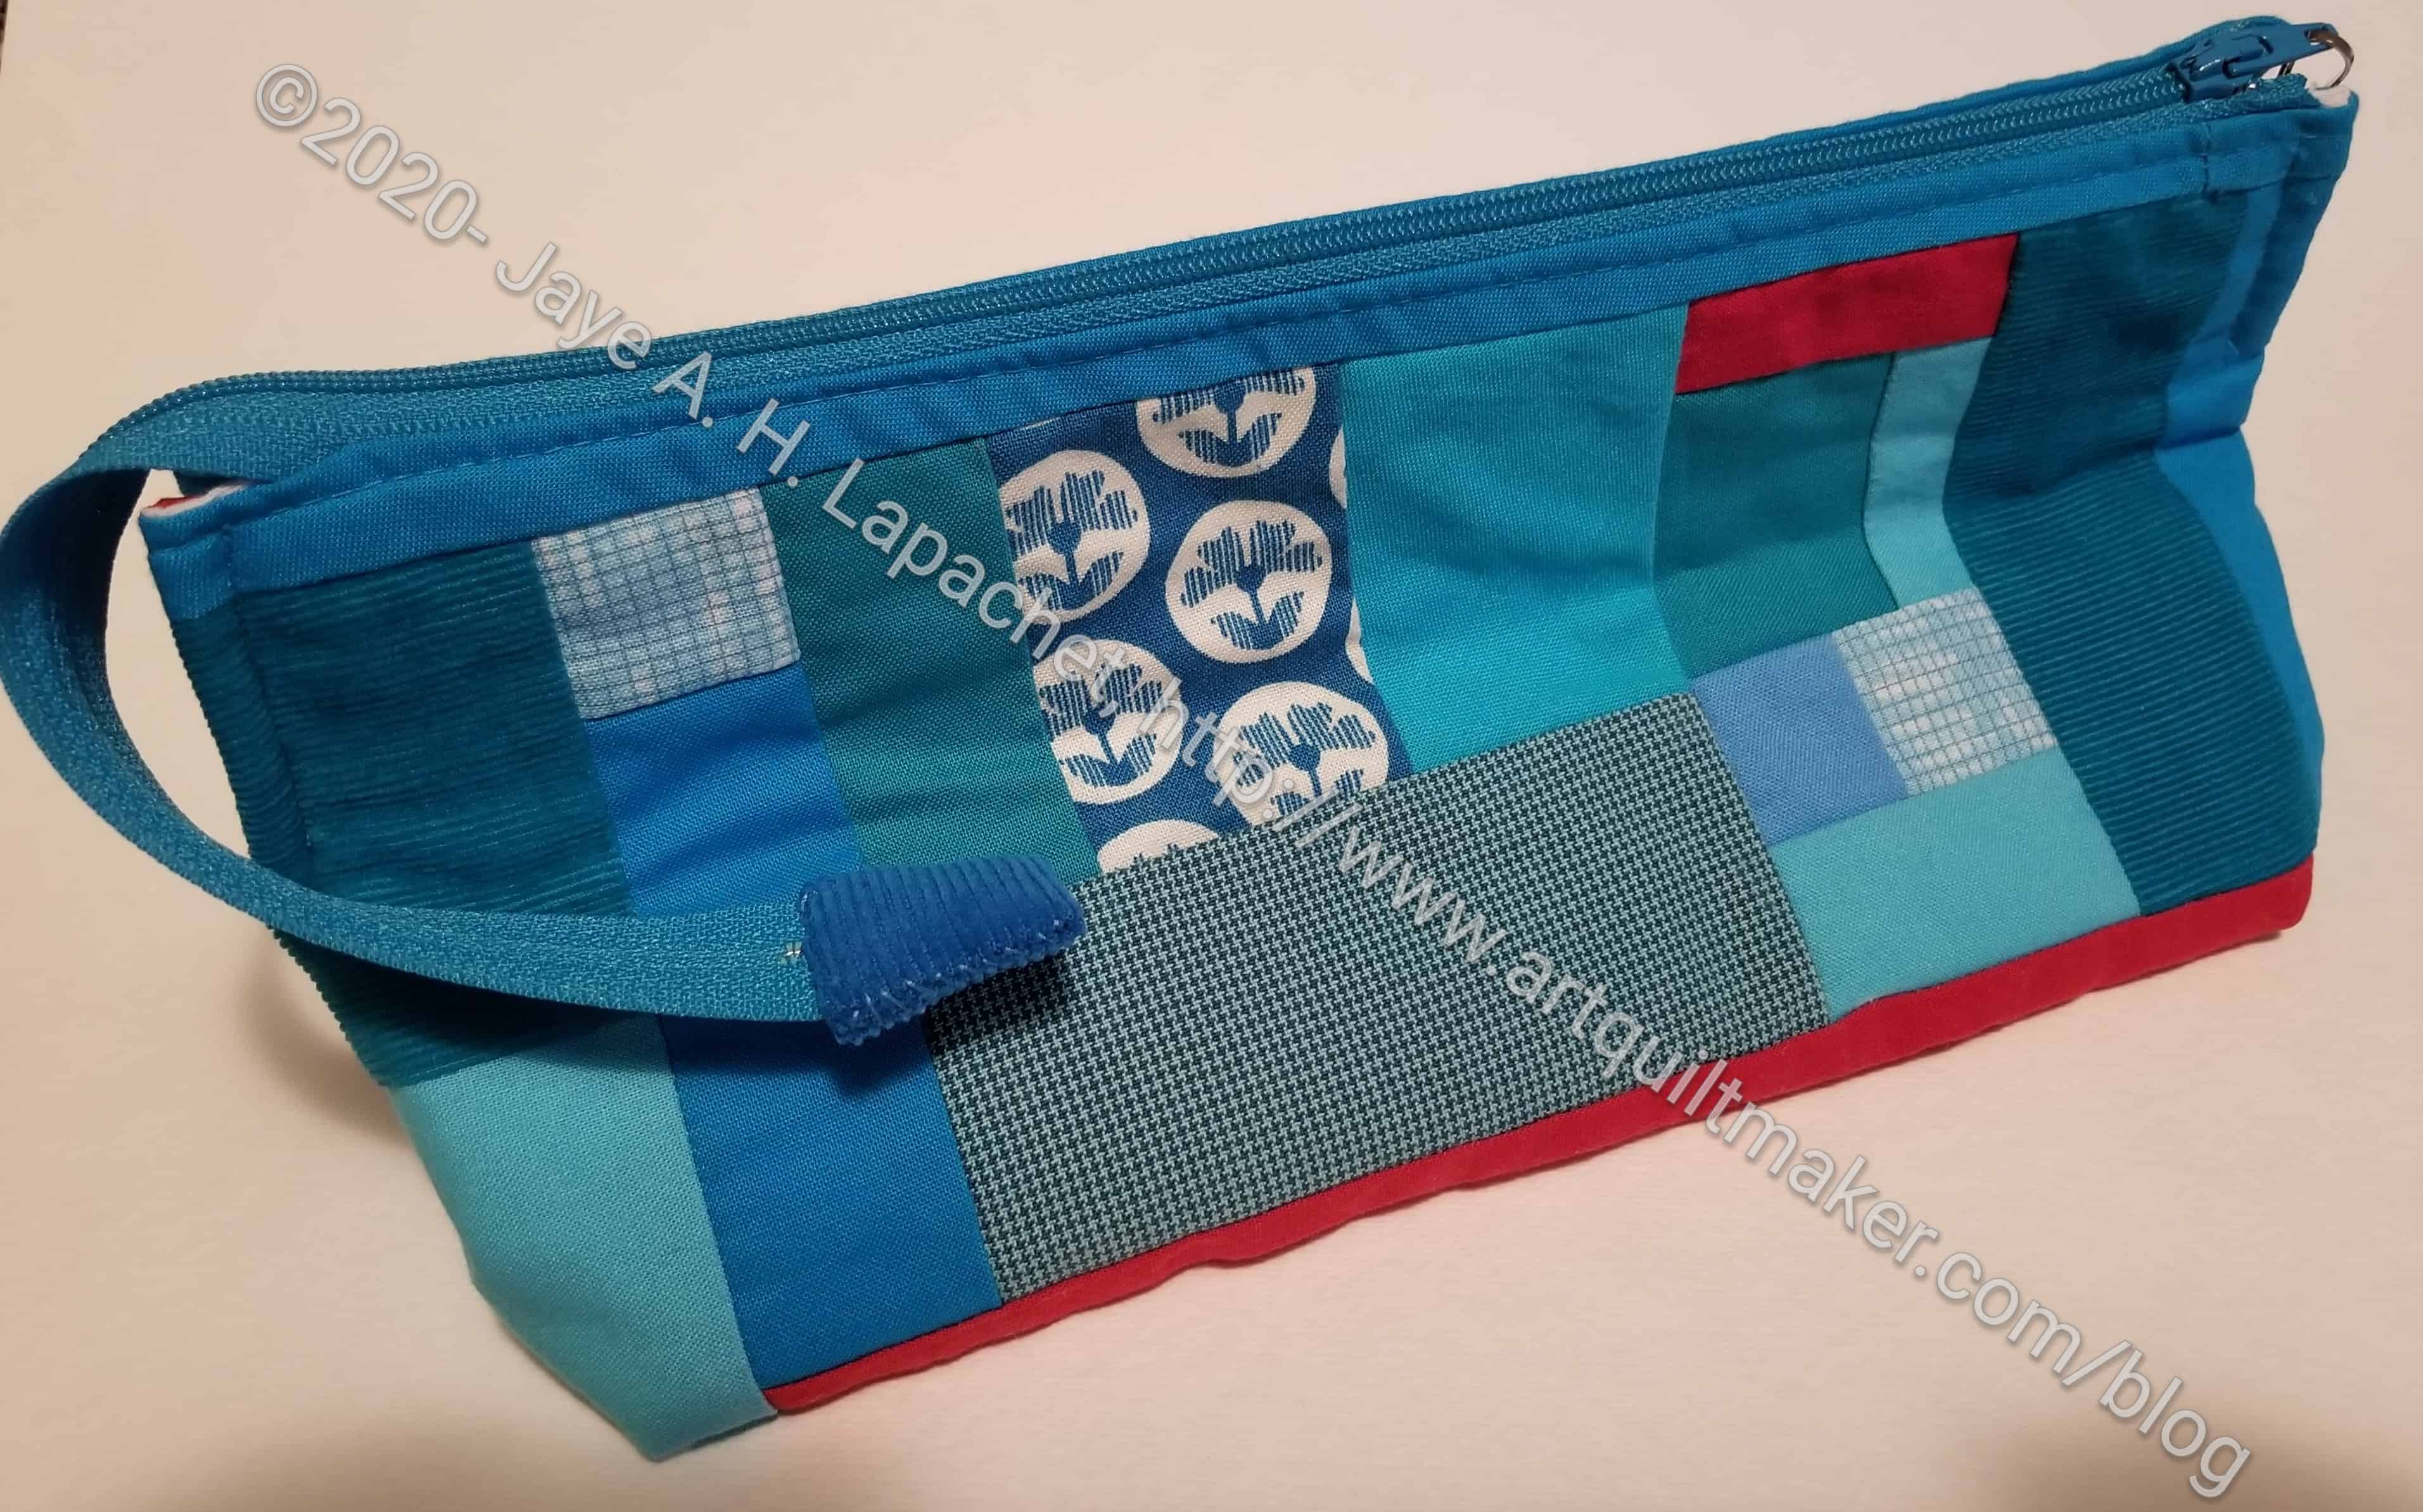
A few months ago, Angela organized a swap for the guild. The rules were that we were to use a pattern that we had been wanting to try. As mentioned in the post about what I made, I used one of the Minikins patterns.
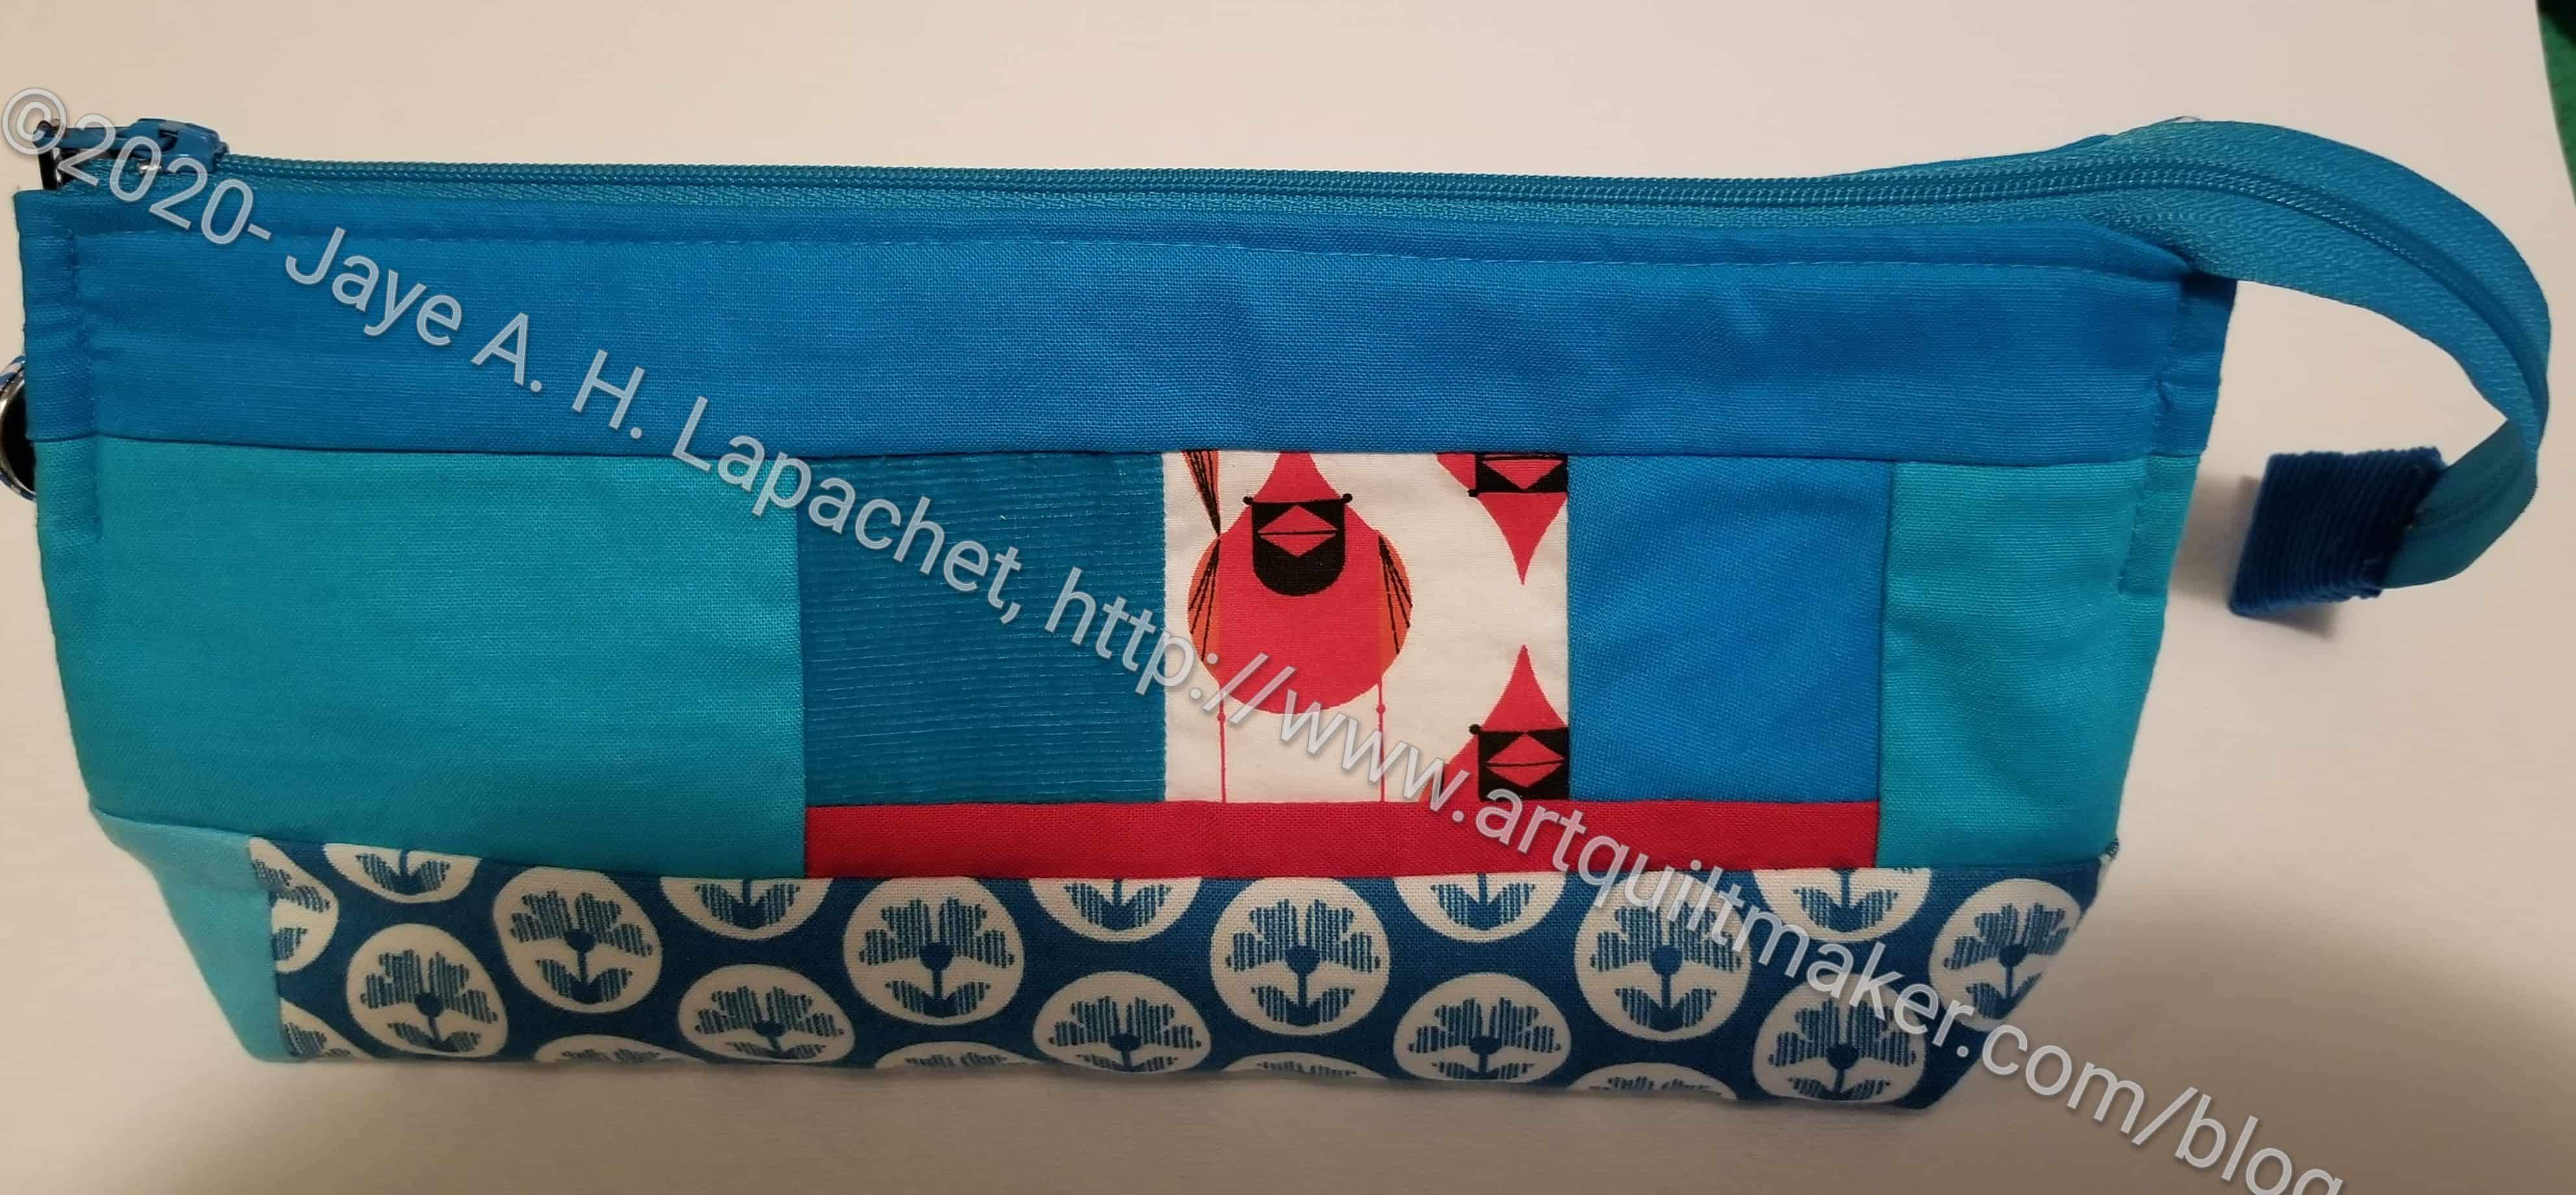
Cheryl’s Swap Pouch – front
Since our guild meetings are on Zoom now, we all took turns opening them on ‘camera’ one at a time. Cheryl was selected to make me something and she made me a POUCH! I told you it was pouch week here at AQ!
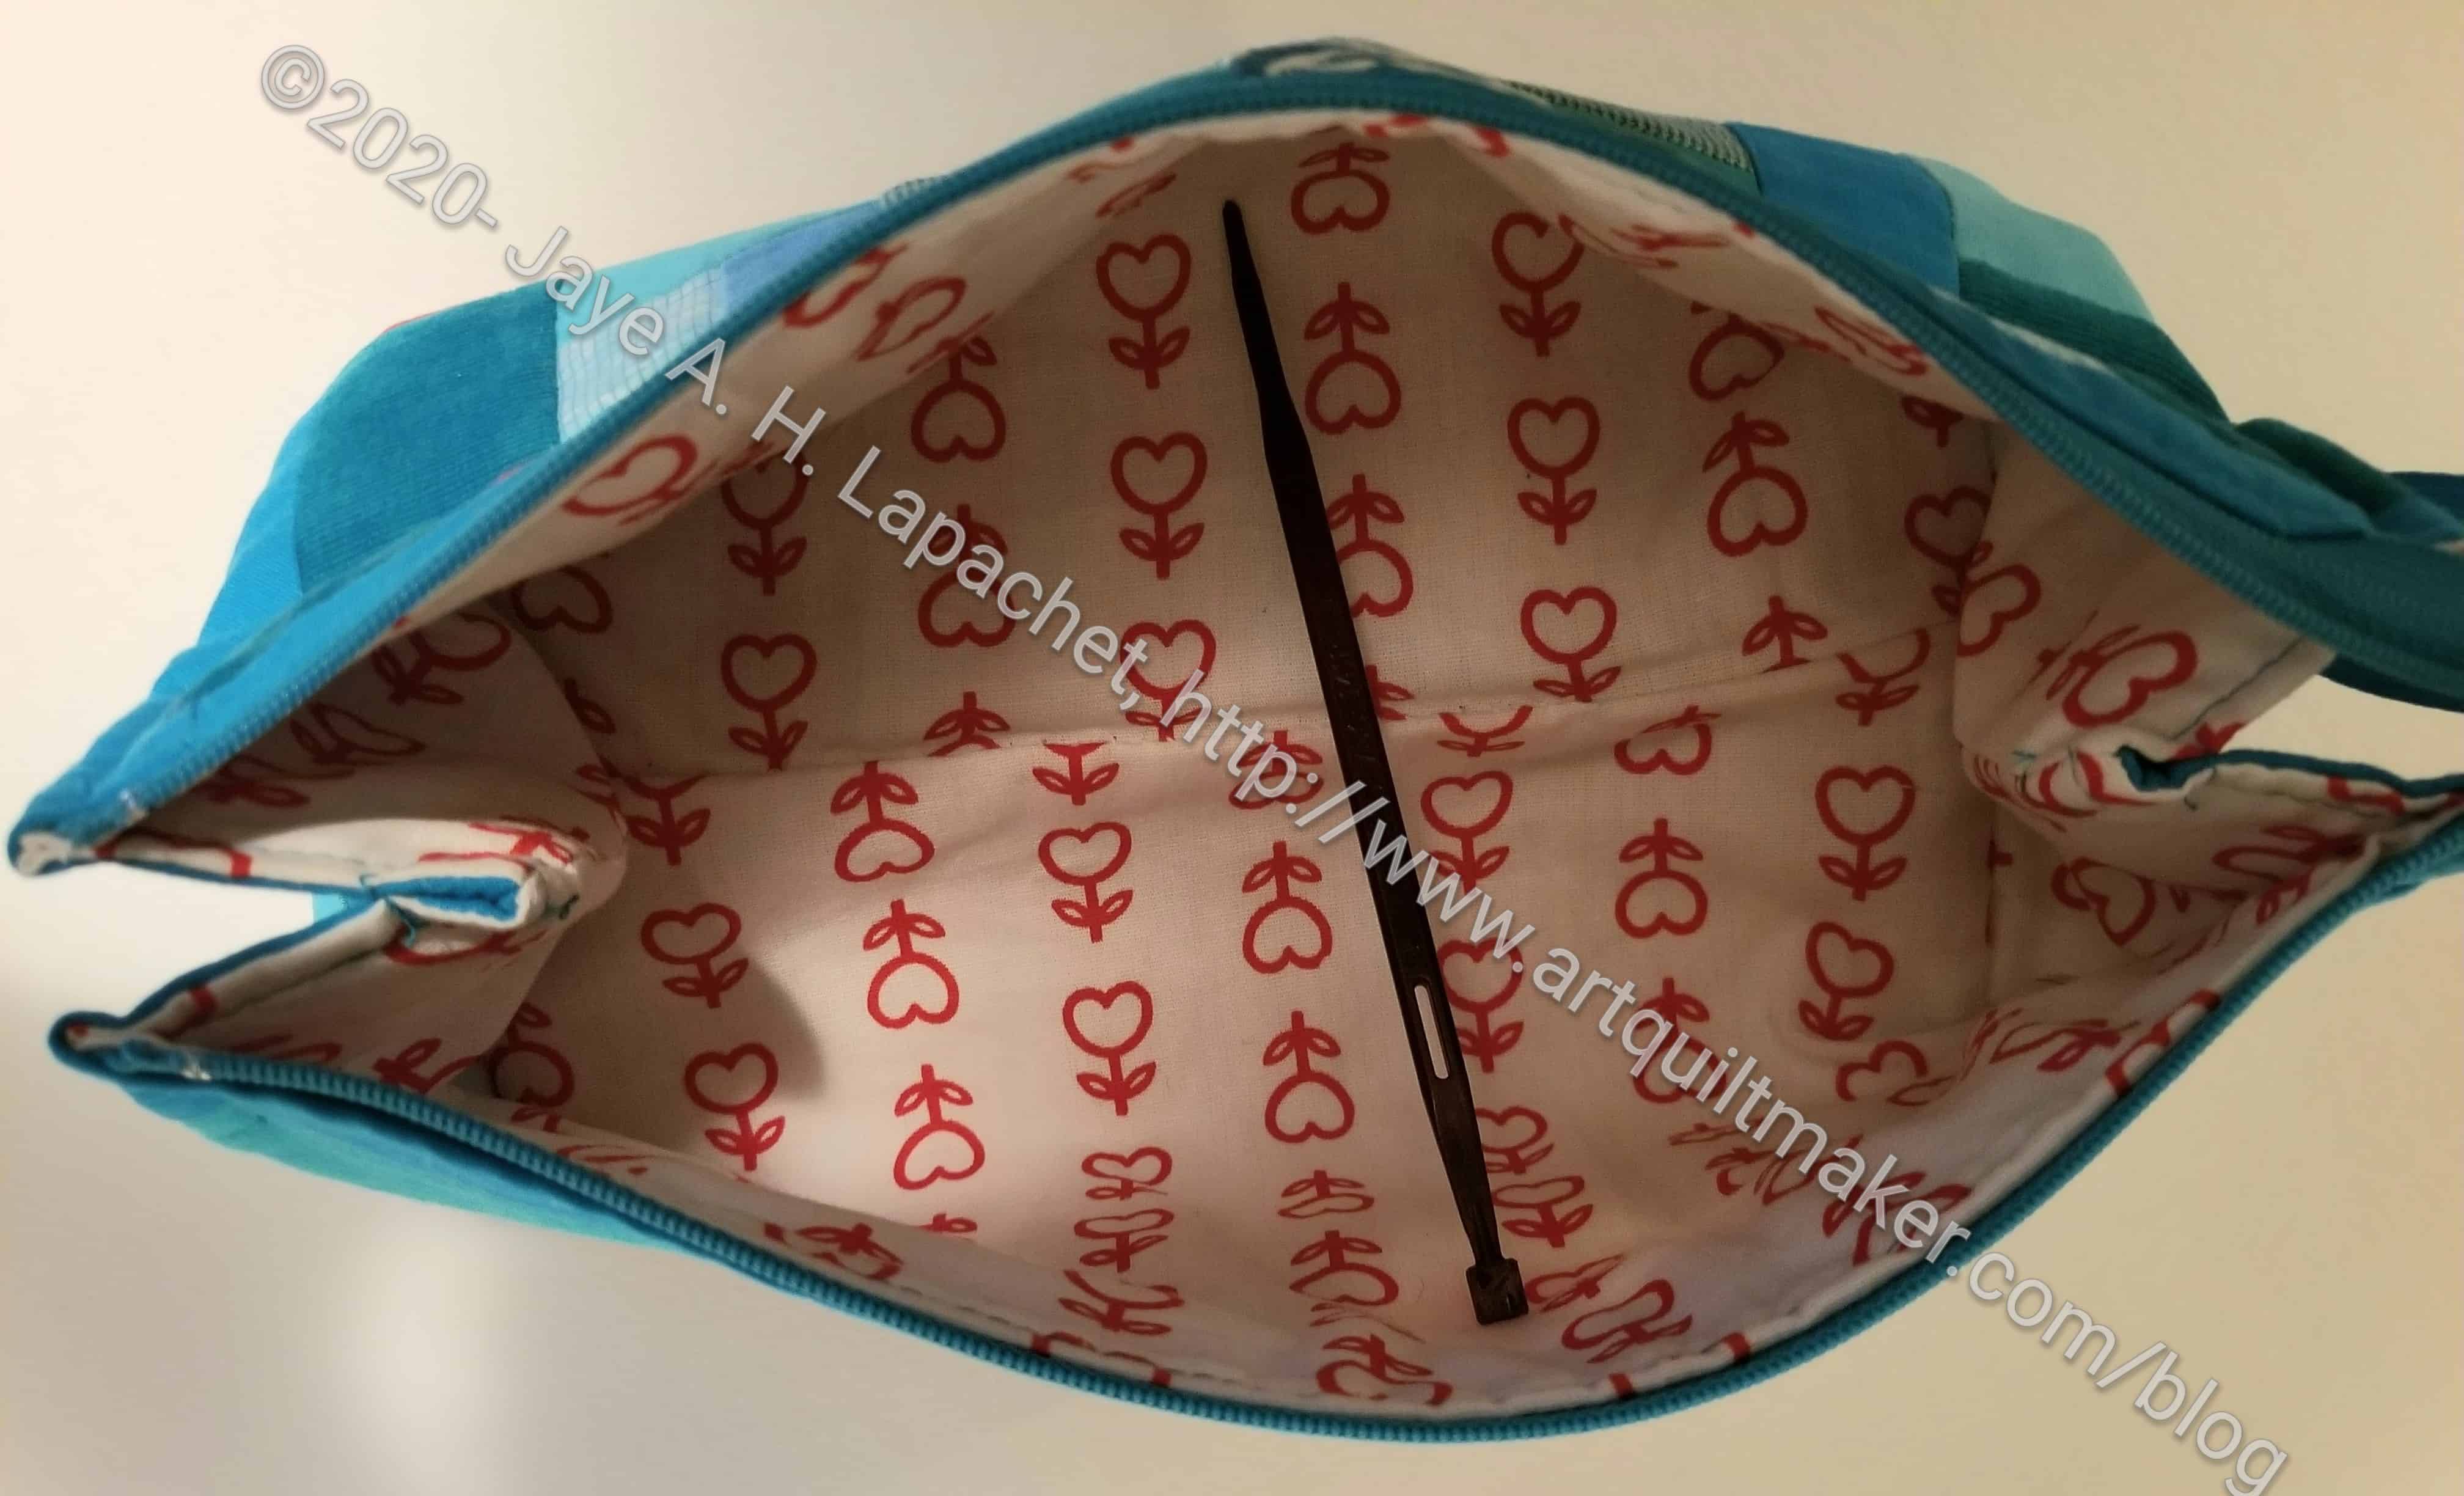
Cheryl’s Swap Pouch – open
Yes, a pouch and it matches the pouch that Angela made for me several months ago, which I use for work.
How do you like that bird (cardinal??) on the front? I love it! He looks sassy. I don’t know why I think of it as a ‘he’.
Cheryl’s Swap Pouch – back
This is a really nice wide mouth pouch. It will be really good for a small knitting project or some EPP or something that needs some space, but not a lot of tools. There aren’t any internal pockets, but I think that is ok.
One really nice thing is that there is some corduroy fabric included in the piecing. It is so soft! I want to stroke the corduroy parts of the pouch.
Perhaps I will use it for my bias tape makers? It’s a little big, but I have it available.
This is the second of the three pouches I made over the weekend. I used the Philip Jacobs Variegated Ivy fabric in pink for the ends and the lining. In order to tone down the large and exciting flowers, I used the black and white for the main panel.
It is actually not for one of my co-workers. I made this for my co-worker’s daughter. They are having an especially tough time at their house. Another zipper, some time and fabric were not that big of a deal.
I sent this one off with my co-worker’s yesterday.
In some ways this will be pouch Week. I didn’t intend it to be, but I have a lot of pouches to show.
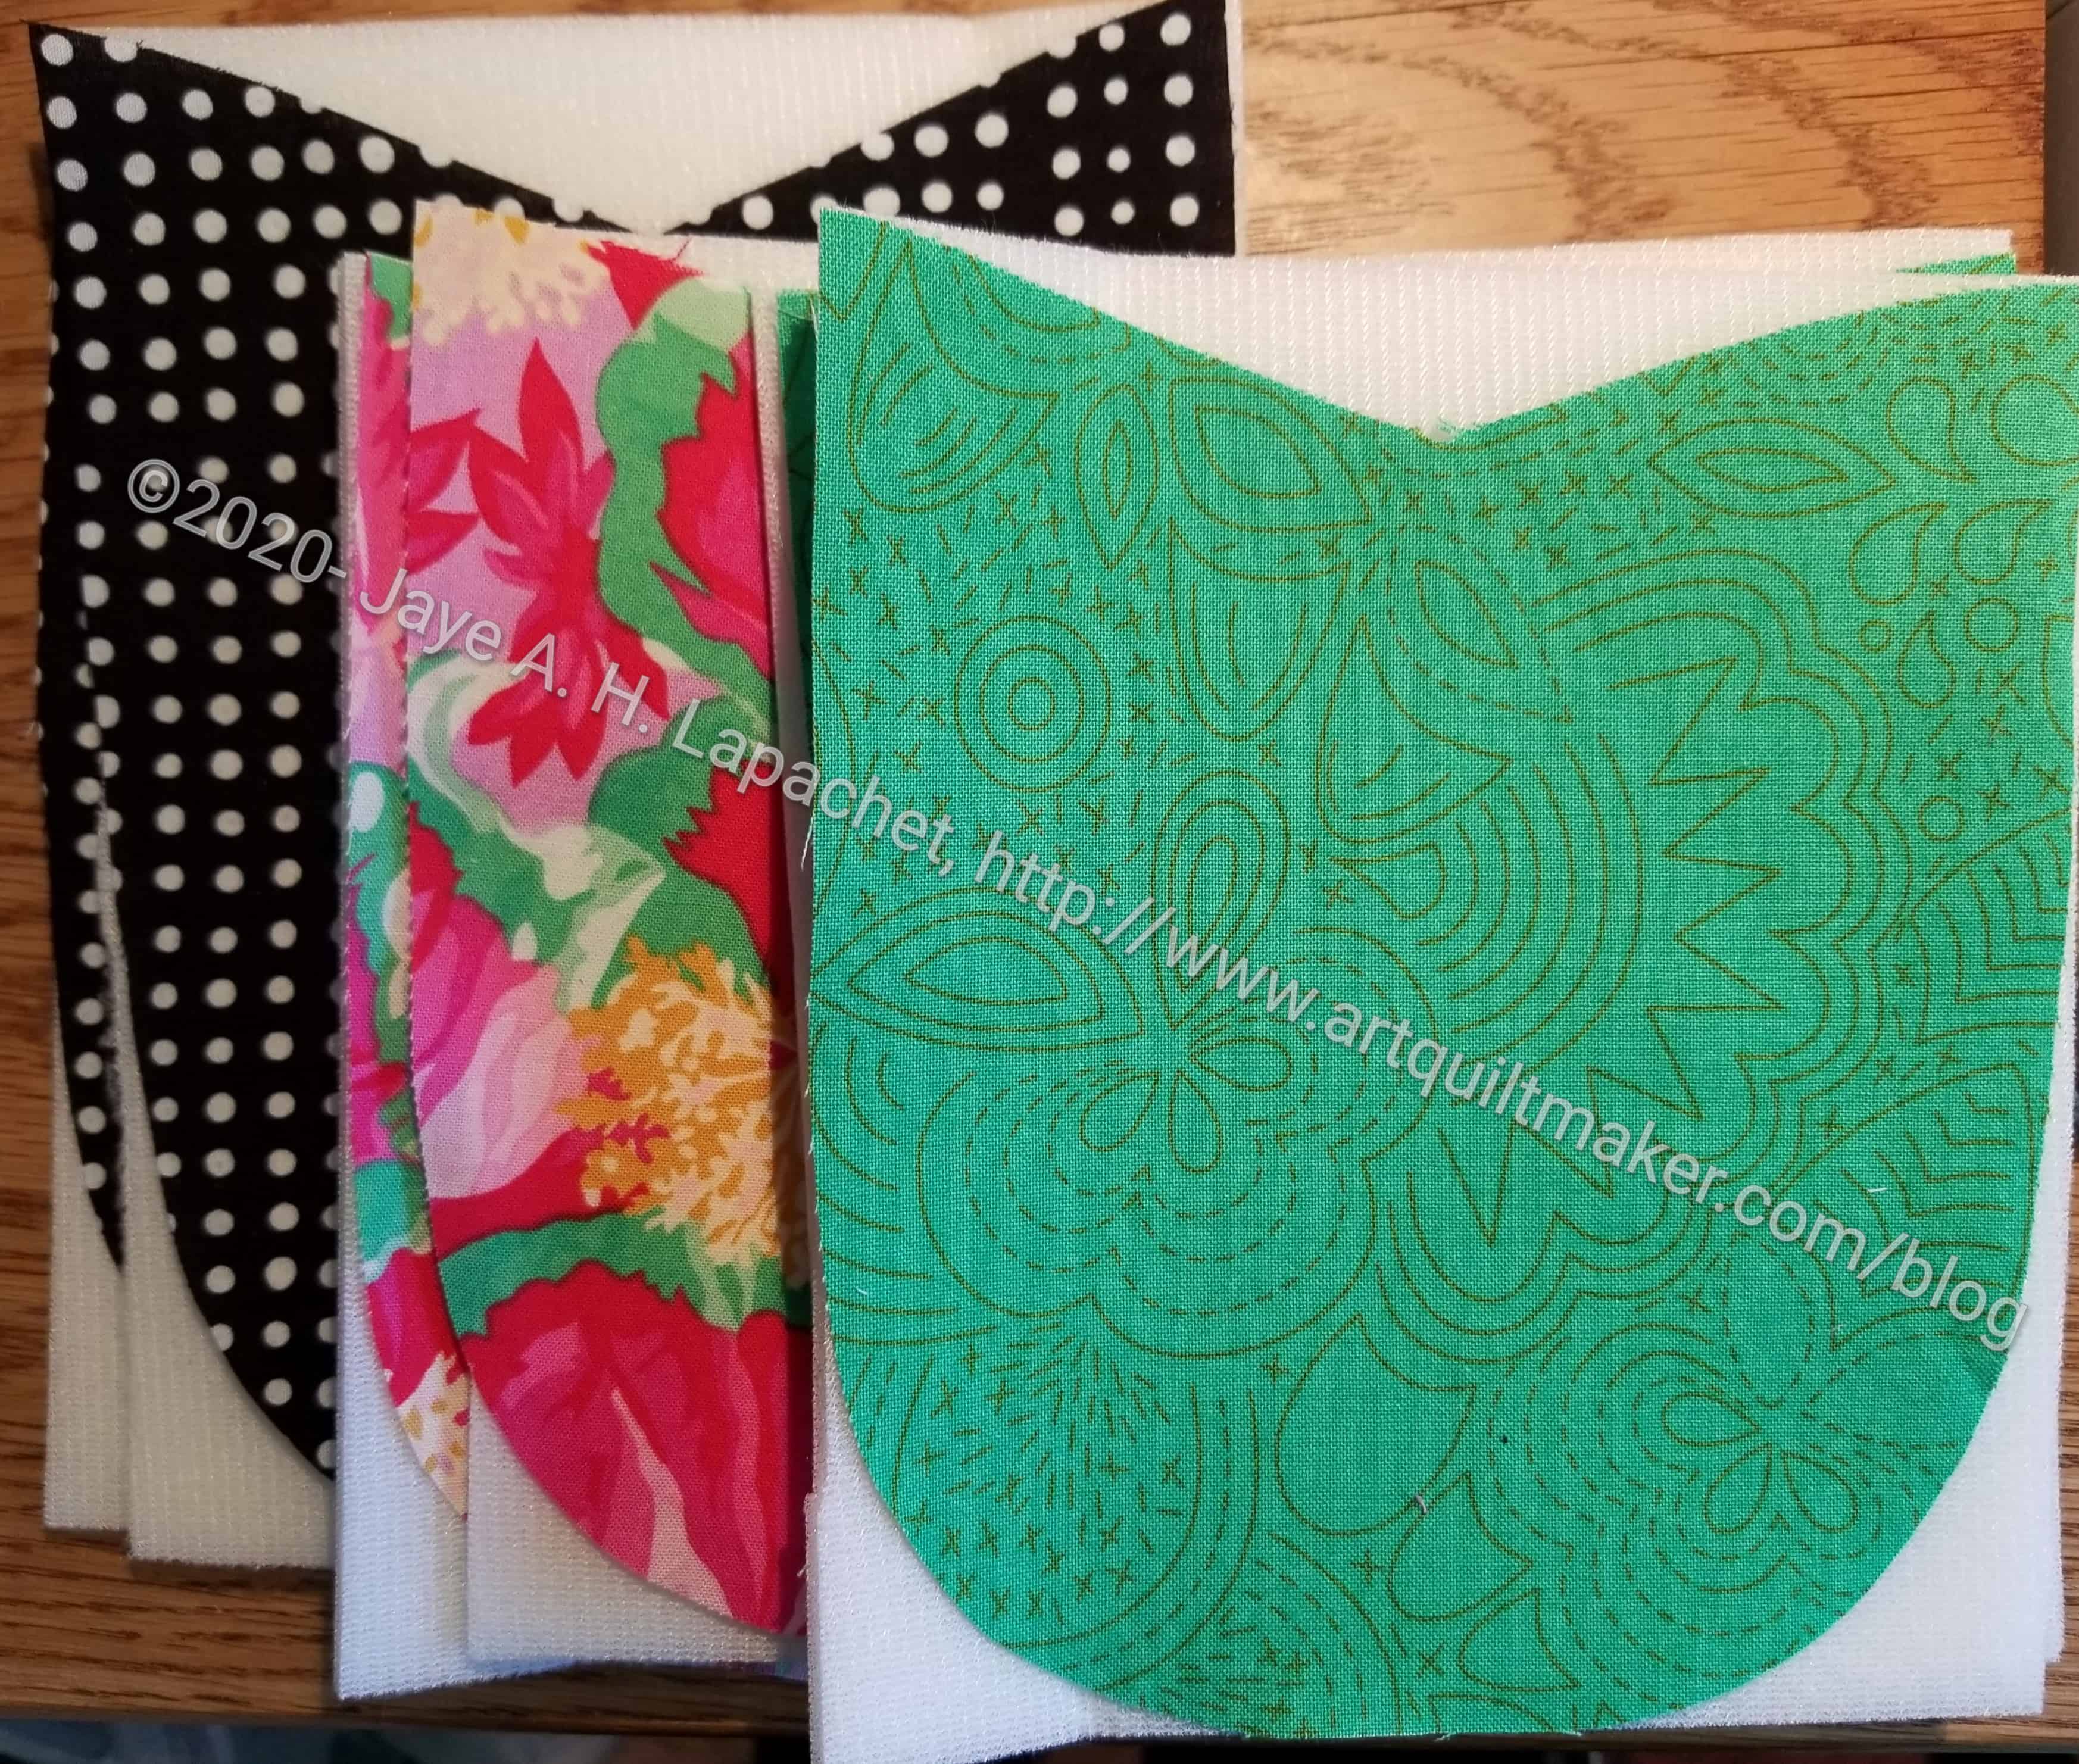
I made three Cotton Candy pouches over the weekend. As mentioned before These are to be gifts for co-workers who have helped me.
Green Cotton Candy Pouch-open
I really want to get good at this pattern, so I keep making it even though I have many patterns from the Minikins to try. There are a couple things I need to work on. One is veering the zipper. I didn’t get both sides of the end even this time. Next time, I think I will mark where I want to veer the zipper off the fabric and see if that works. I ripped it out a couple of times, but couldn’t do better, so I’ll try to do better next time.
I am making 3 more Cotton Candy pouches as gifts for people at work. I am also trying to perfect my efforts at sewing this pattern.
Making 3 requires a lot of cutting time. It took me about two hours to cut out all the pieces, which didn’t include forgetting to cut out the lining side panels! Duh! I guess I have decided that cutting out all the pieces at once is the best way to work.
Cotton Candy Pouch side panels
One of the things I found was that basting the side panels to a square and cutting the shape out later was really handy. Cutting out the side panel, which is tulip shaped, with the rotary template on the Soft & Stable is difficult. It is difficult, because the Soft & Stable is so thick. Cutting the shape out after basting it worked really well.
I also found that basting the pieces to the Soft & Stable in advance was really helpful. I know the pattern says to do it, but I hadn’t done it before.
I am still struggling with veering the zipper. Apparently, I need to make more of these to get that right. I made some annotations to the pattern so I remember what to do next time and where salient points are in the videos.