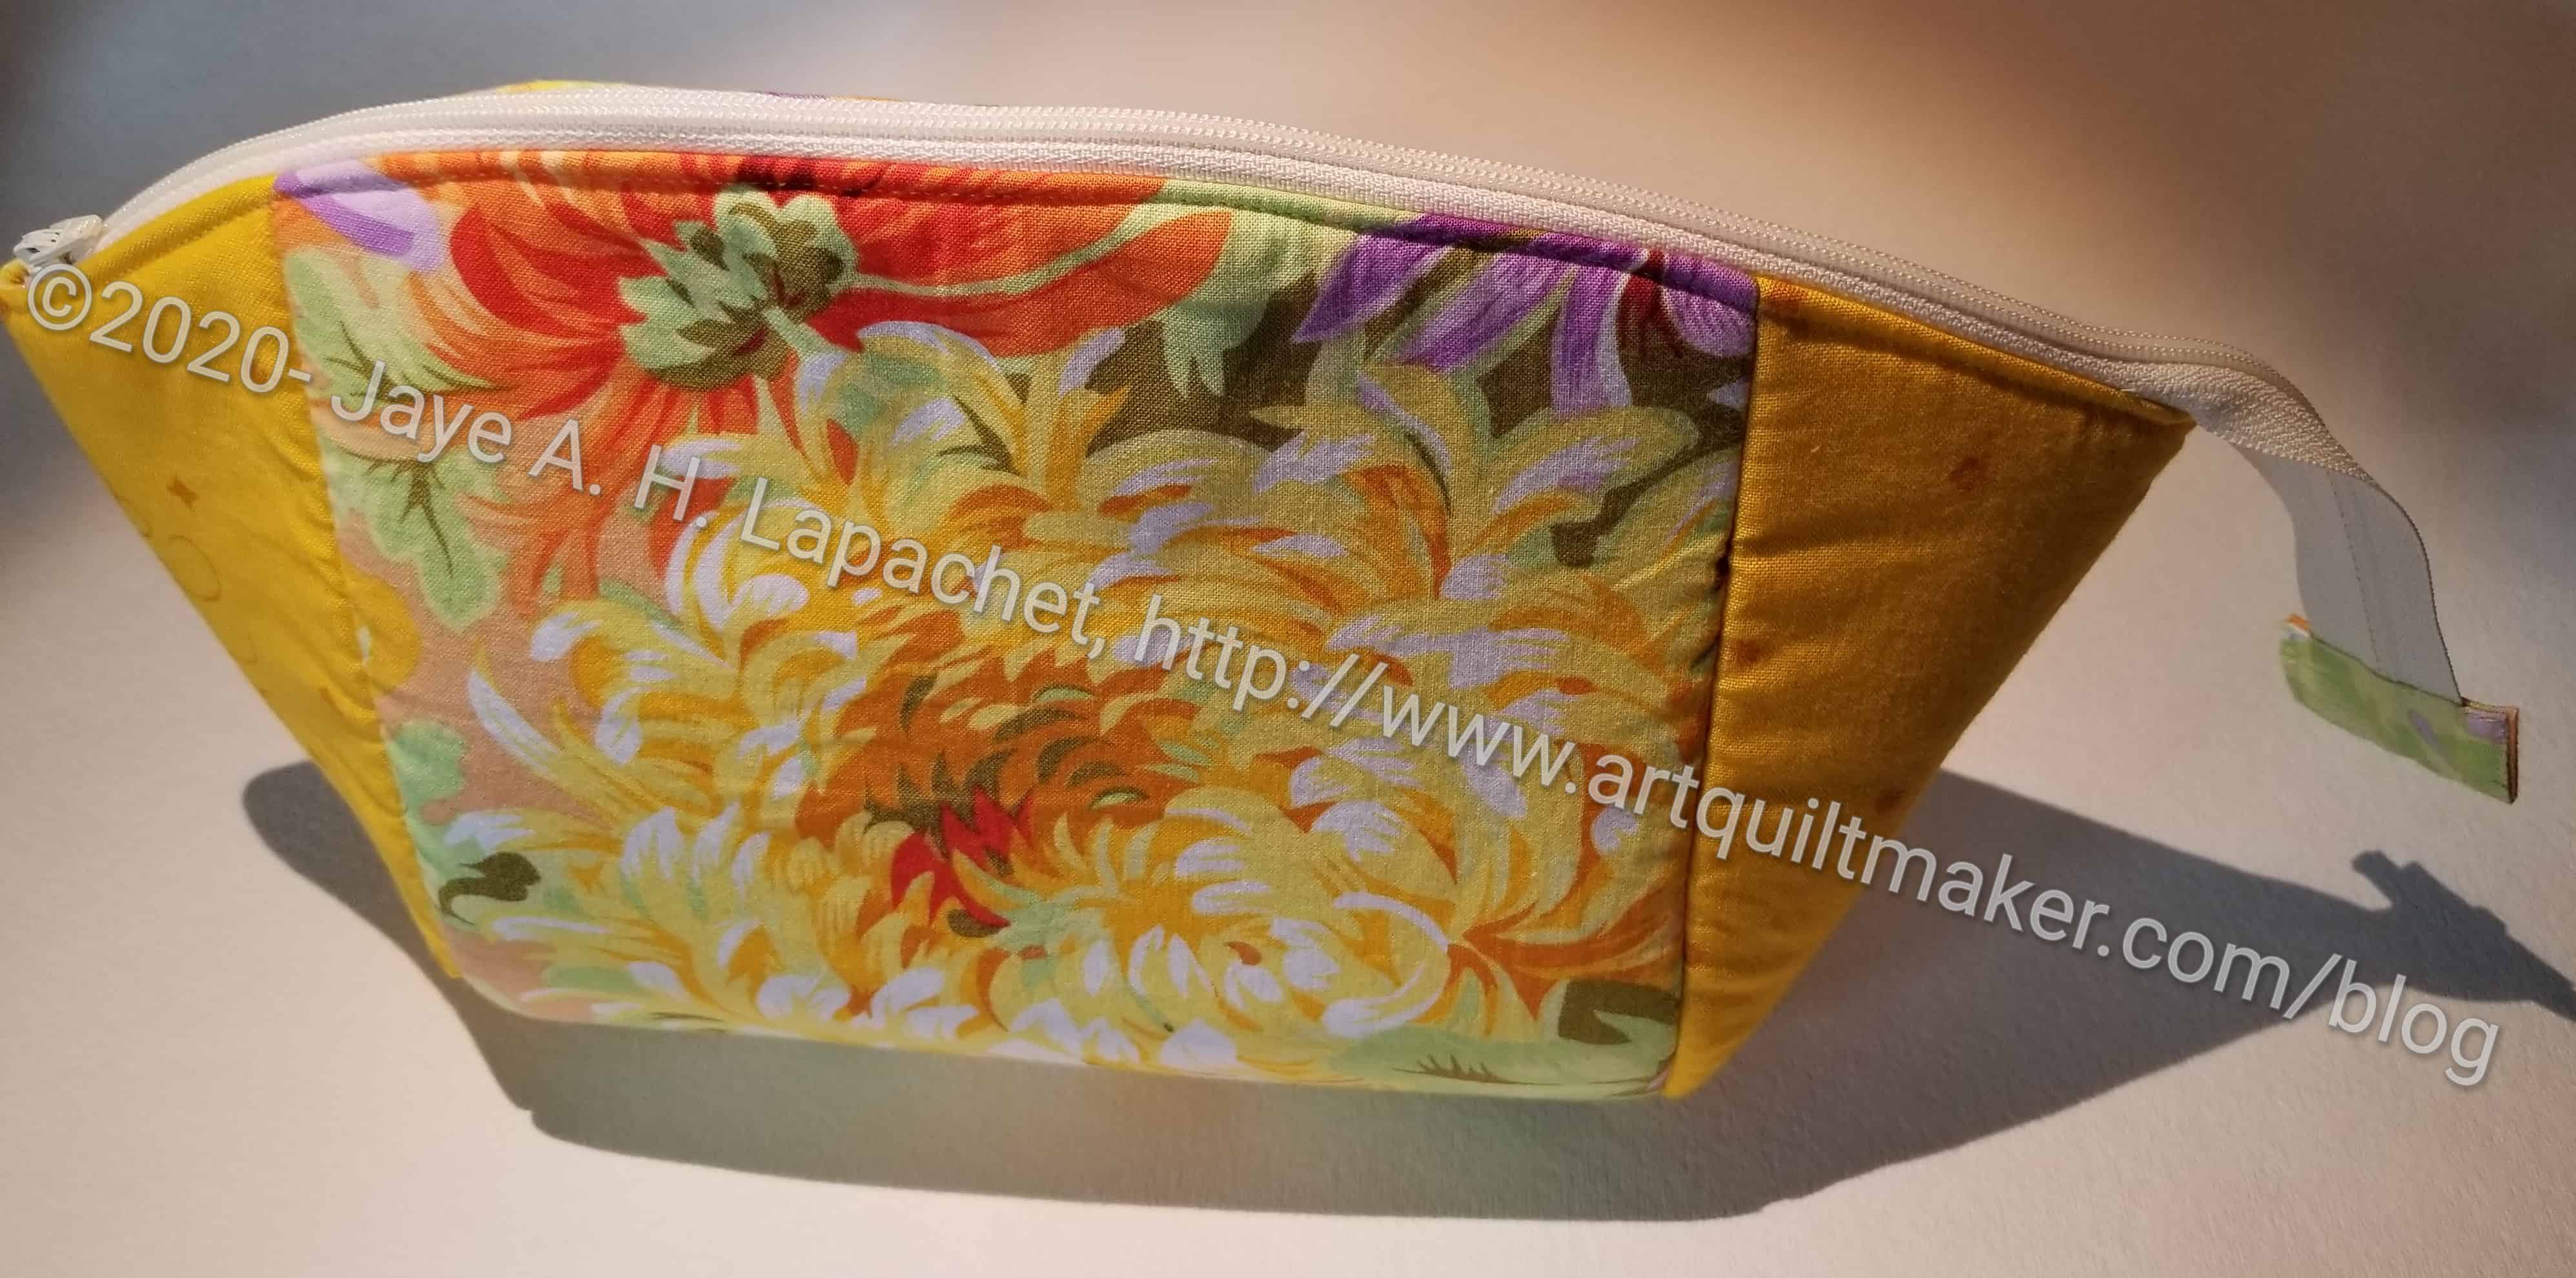
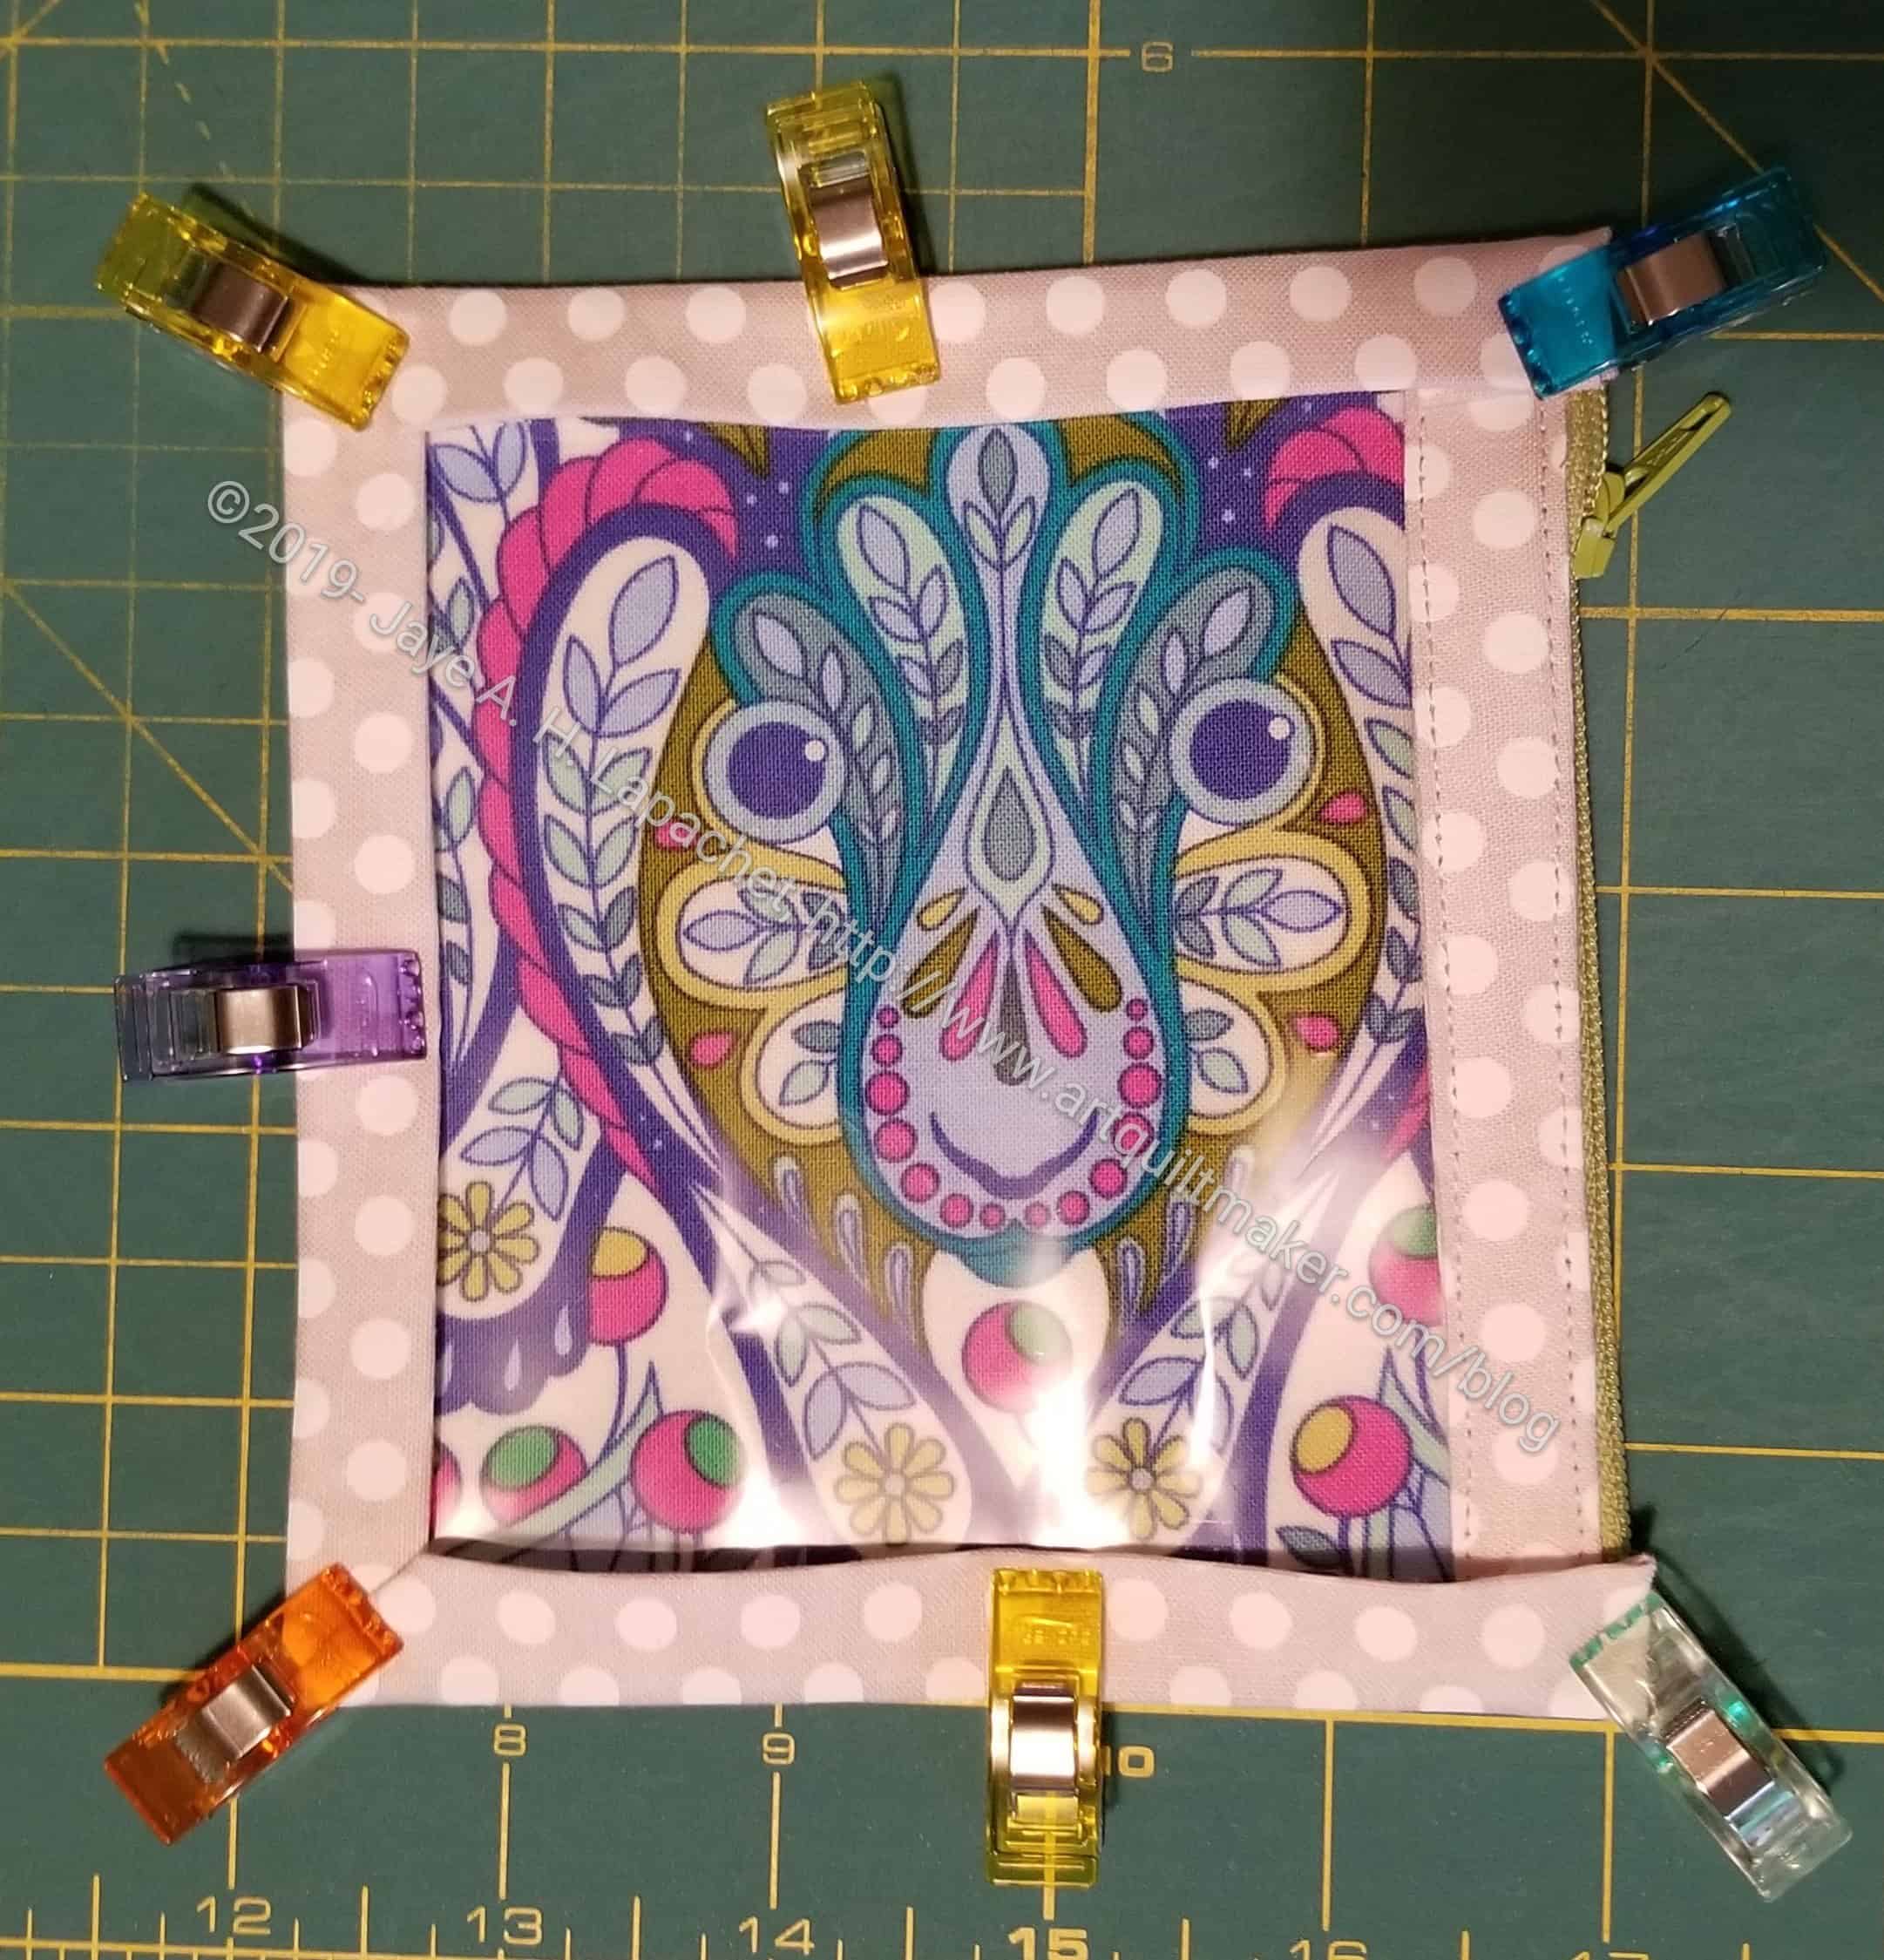
I finished another Cotton Candy Pouch over the weekend. As mentioned in a previous post, this pattern is from the Minikins Seasons 1 & 2 (no affiliation) by Sara Lawson of Sew Sweetness.
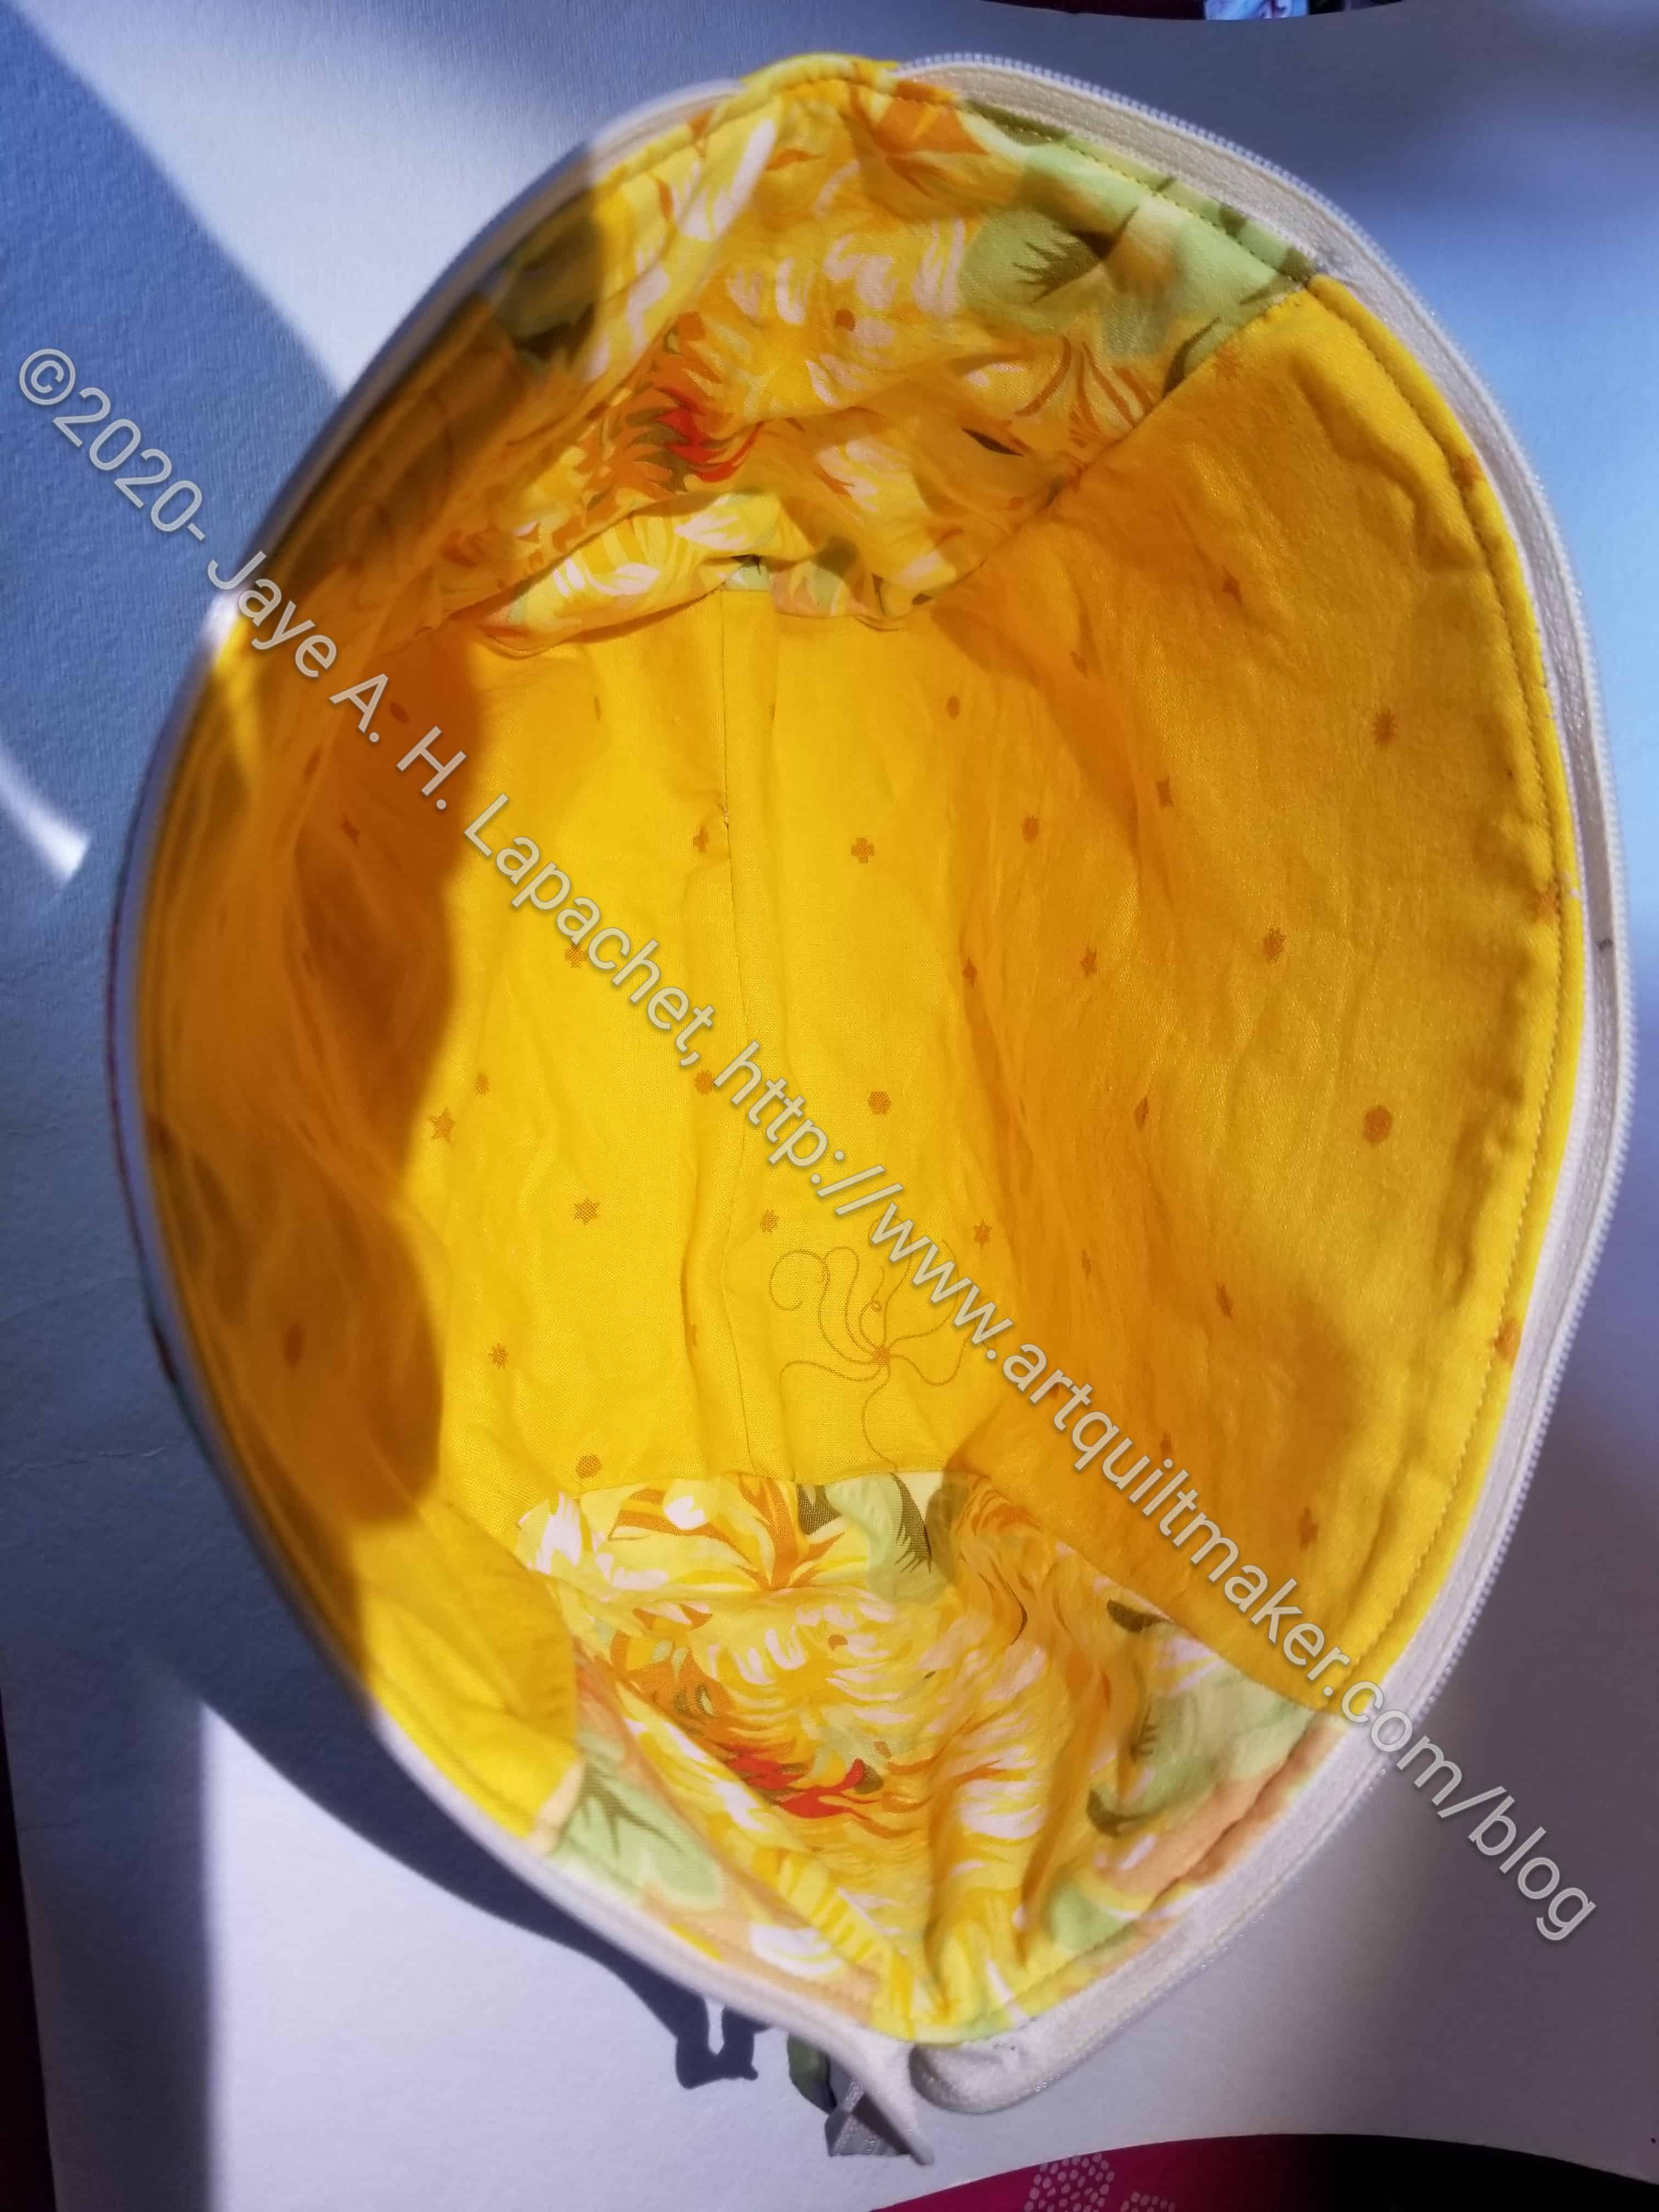
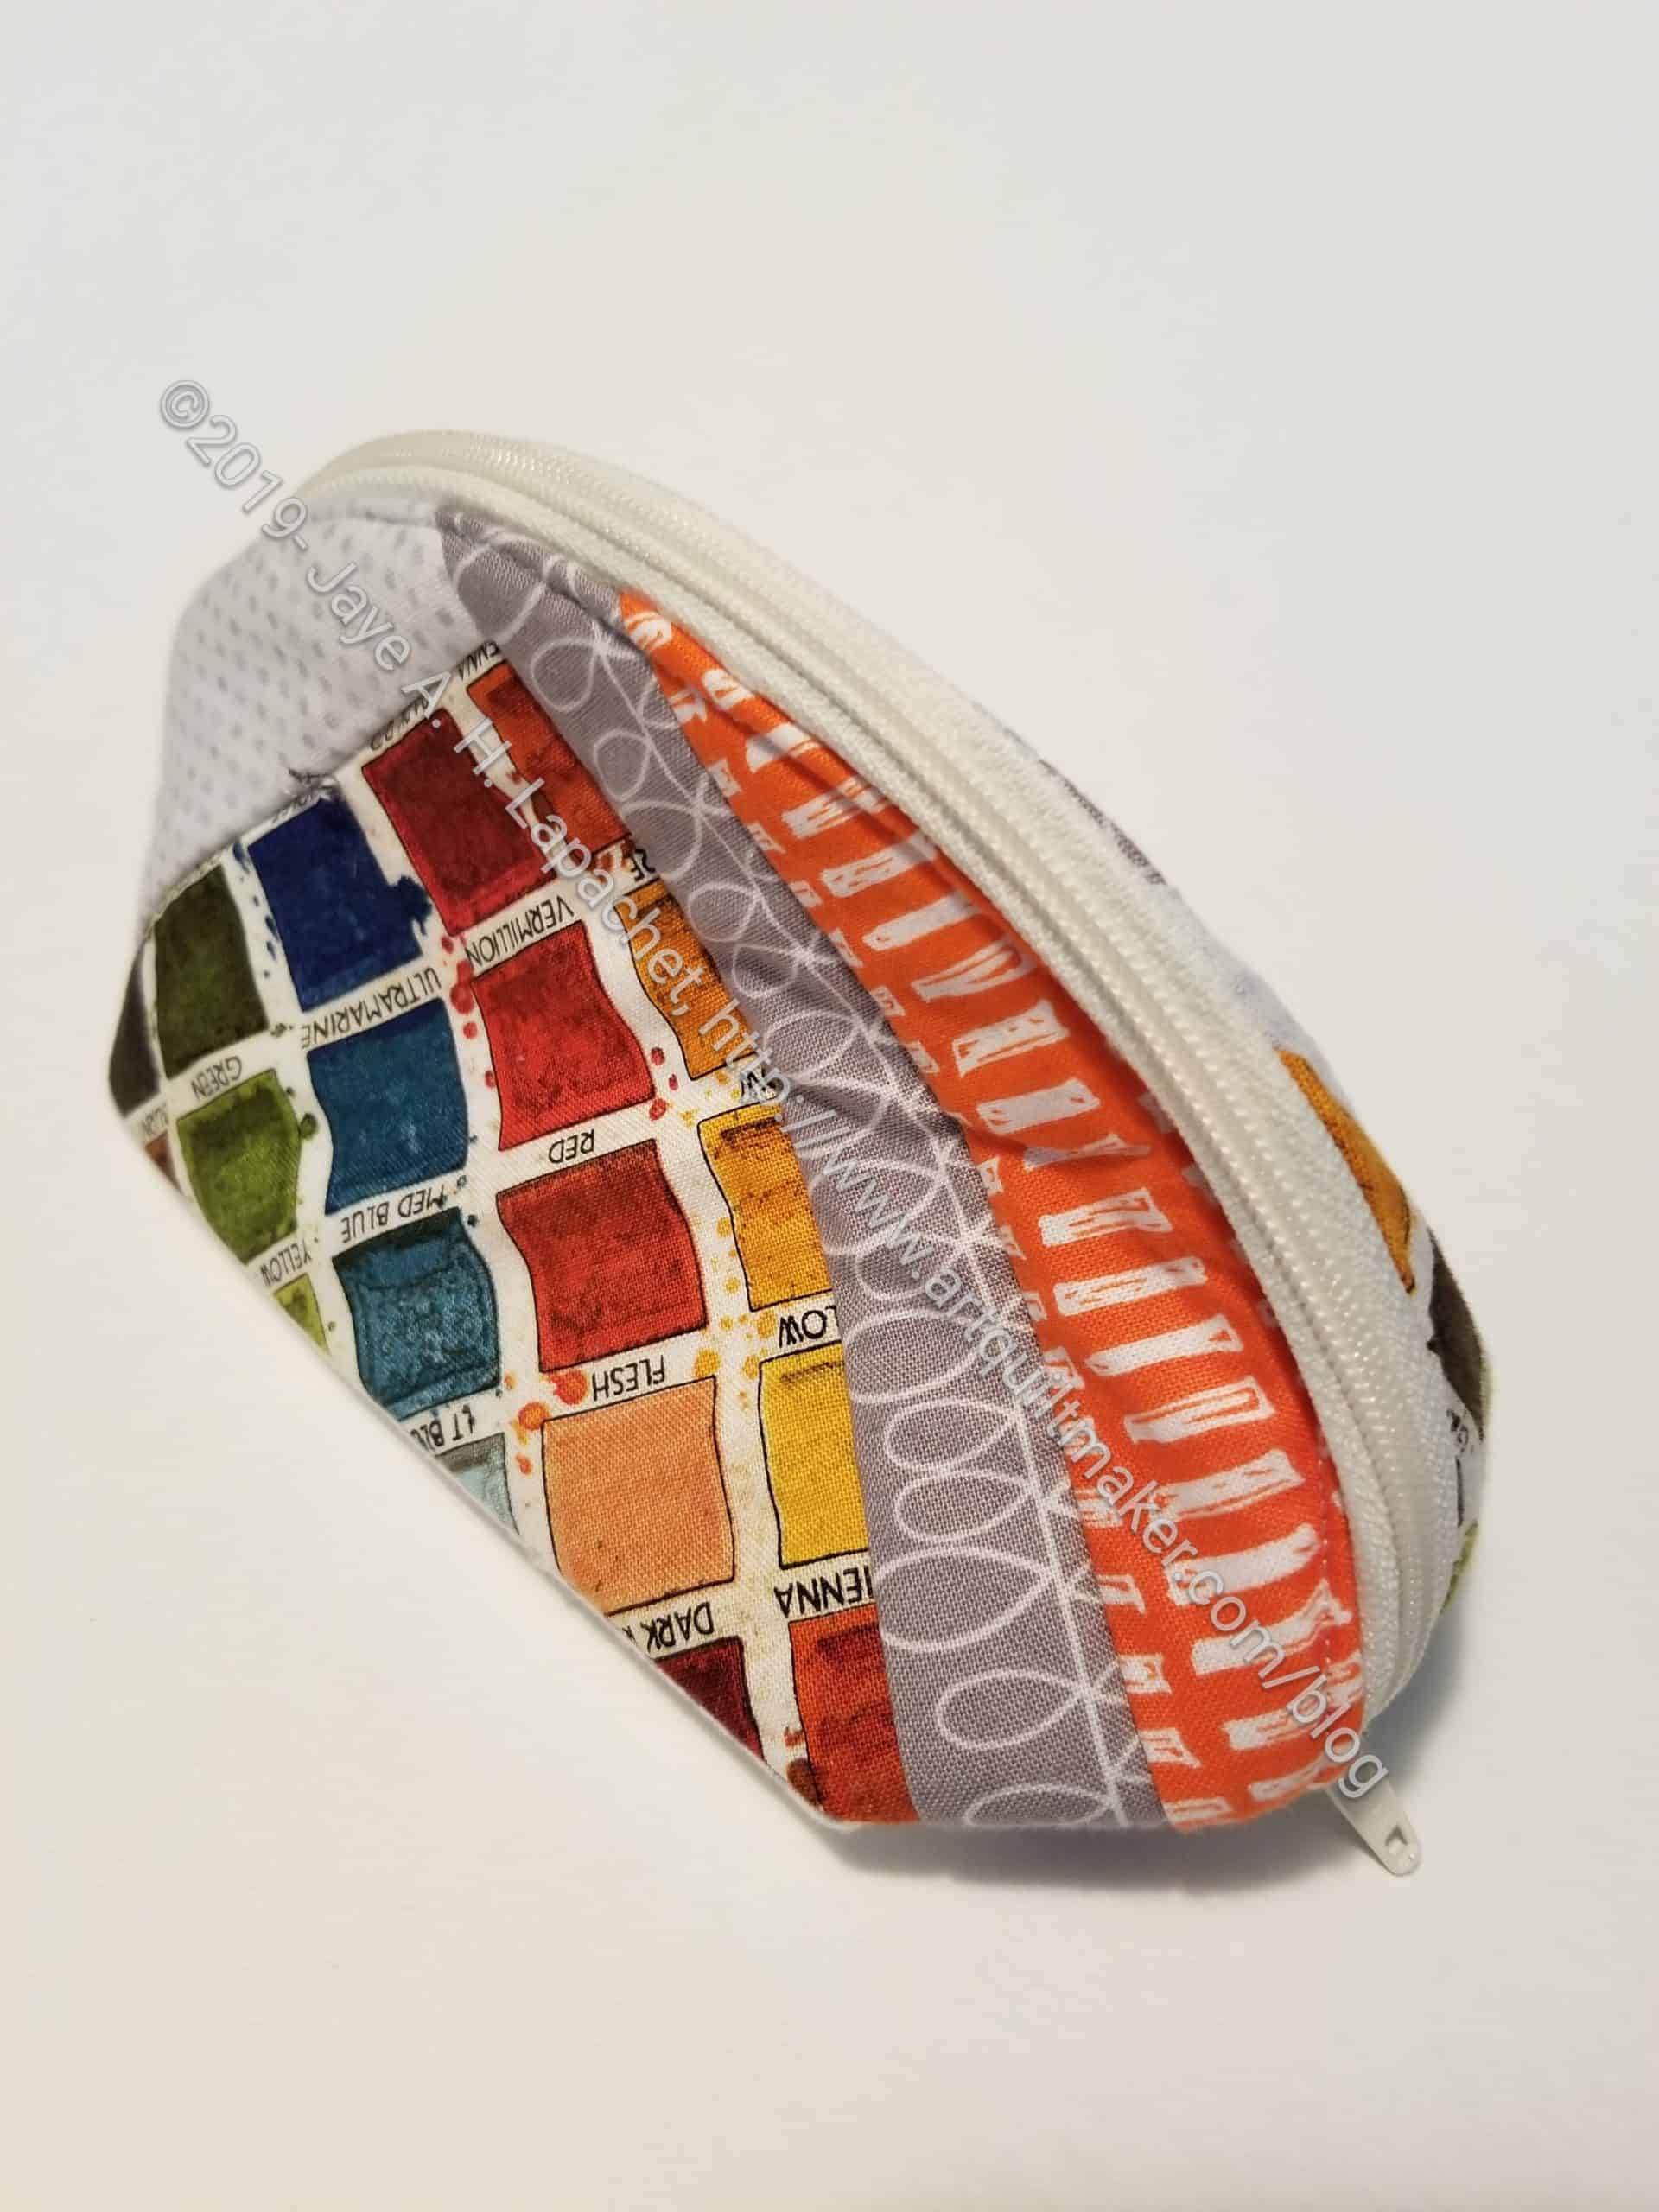
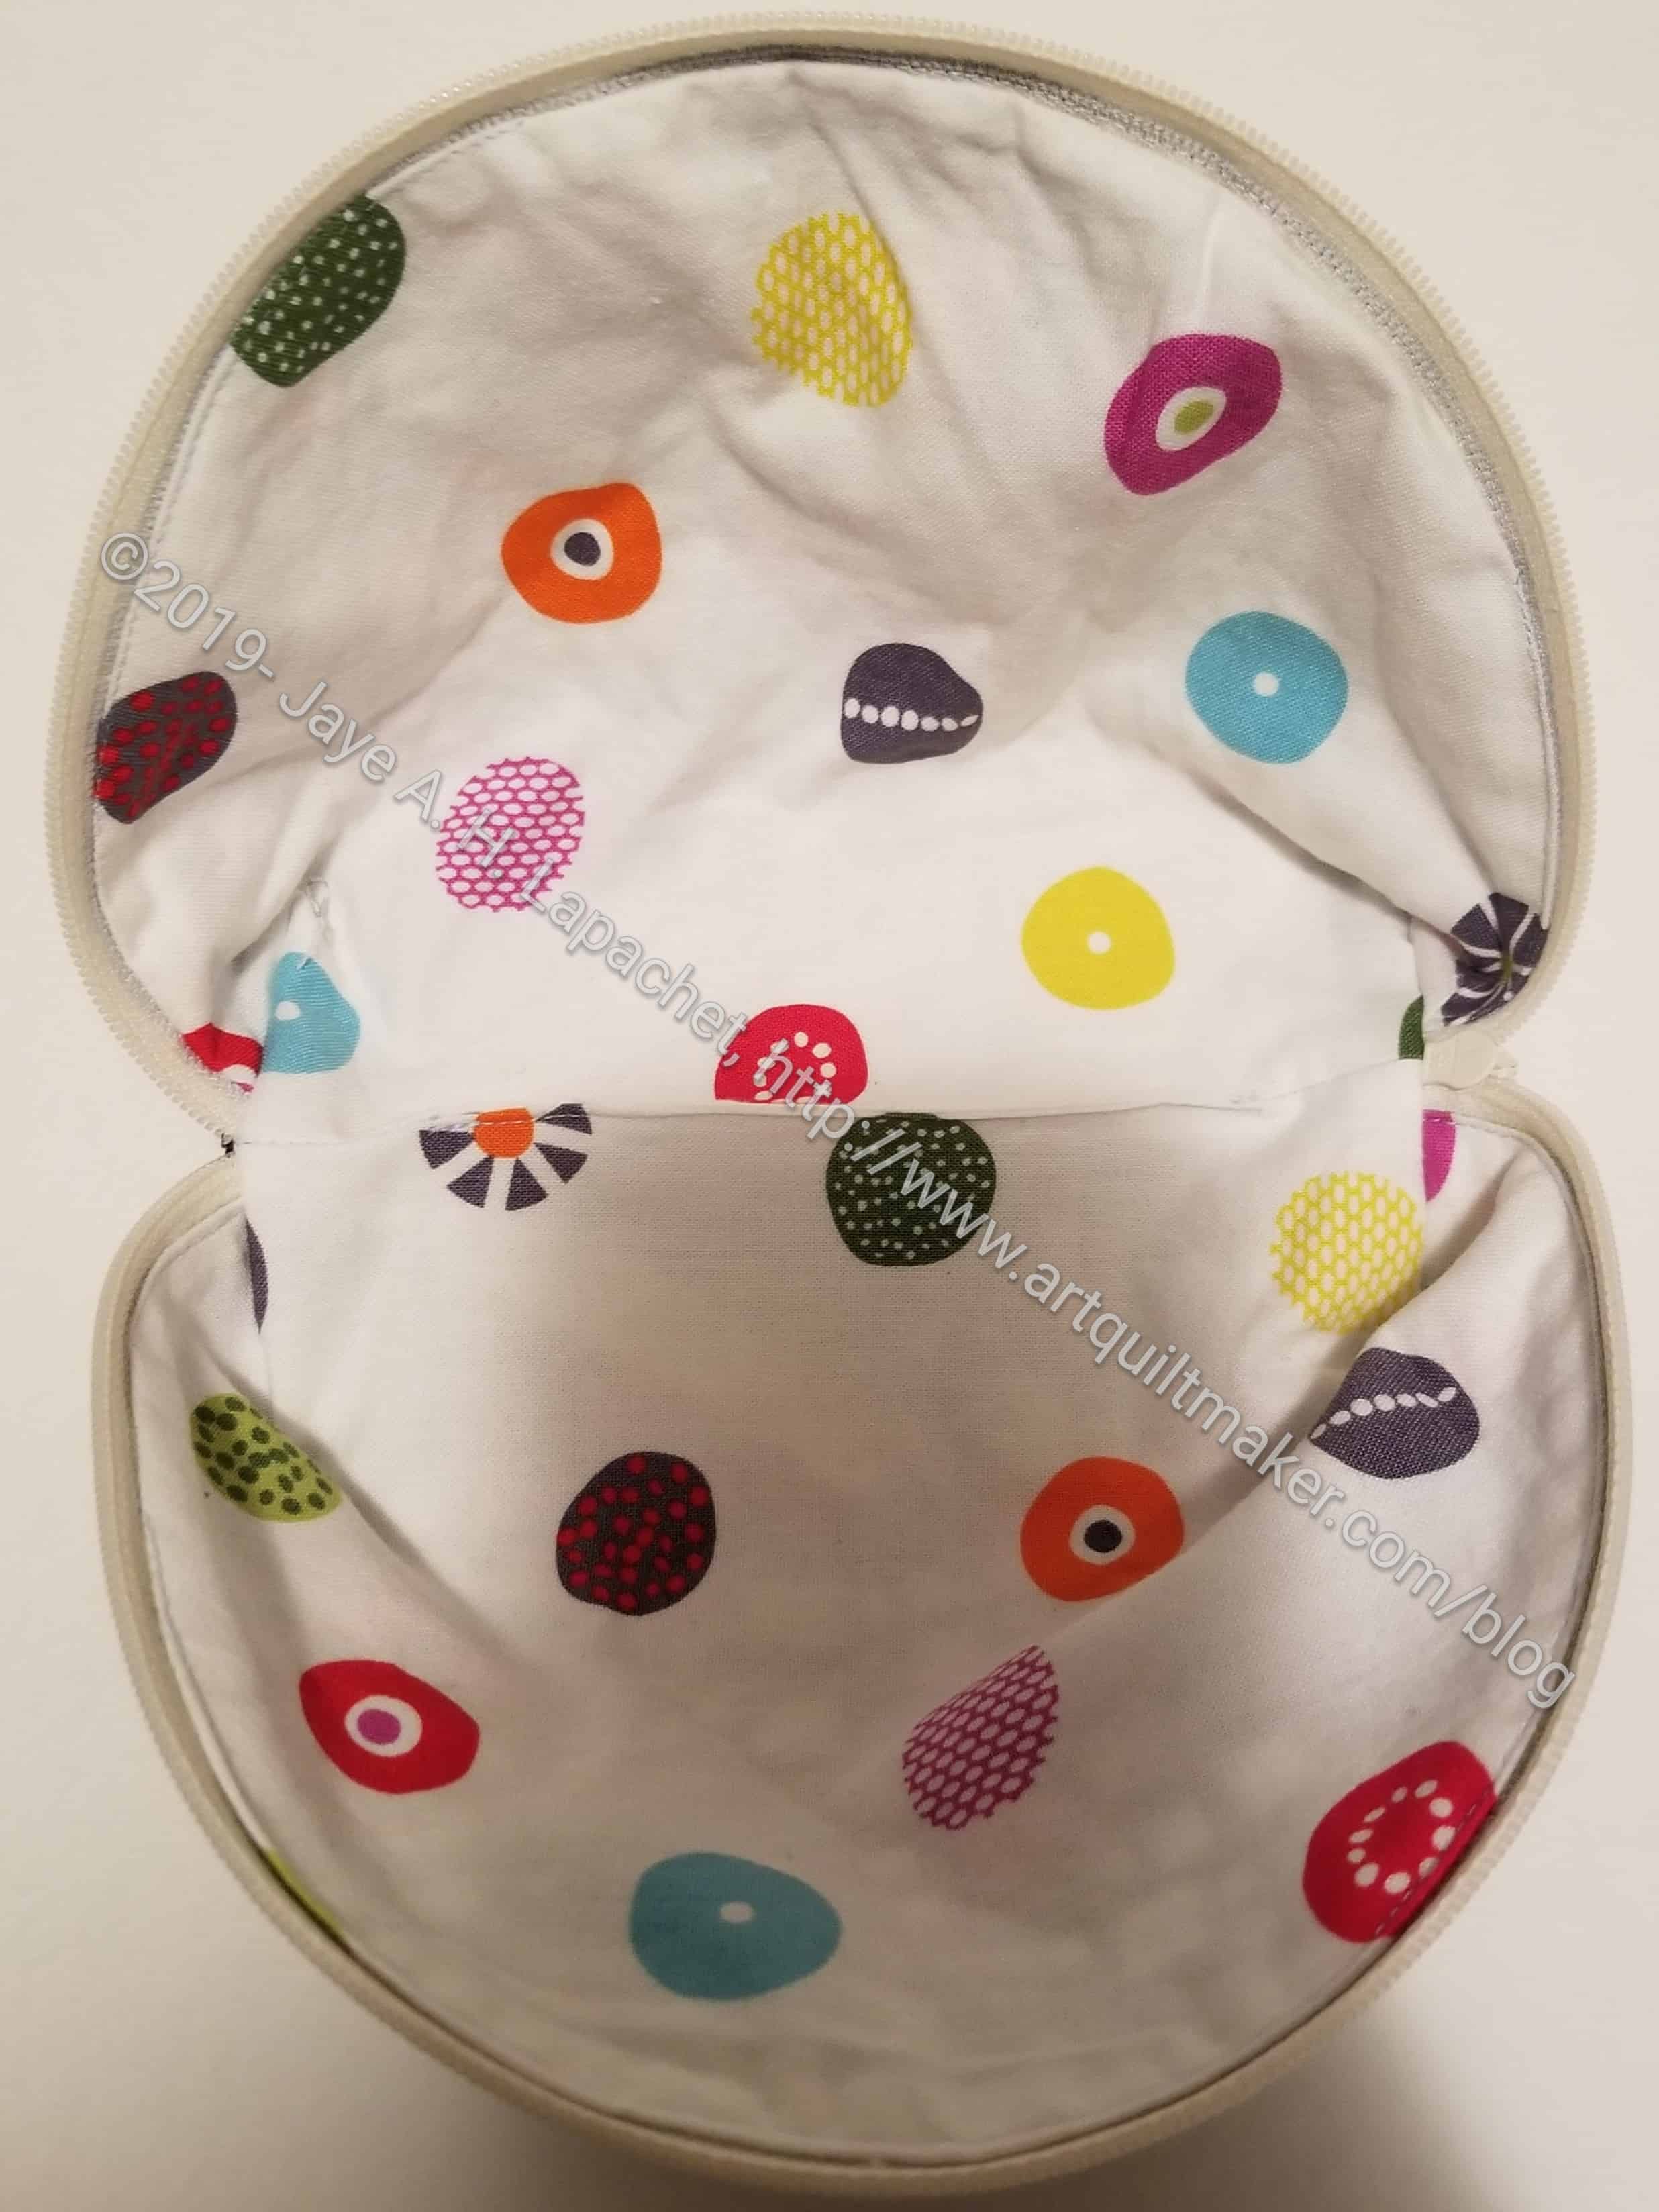
Chrysanthemum Cotton Candy Pouch – inside
I made an effort to fussy cut fabric this time so my pouch highlighted some great fabric. Sara does this in her pouches and I really like the look. I cut the side panels out of the Philip Jacobs fabric, which was not correct – I keep thinking those side pieces are the main fabrics. I decided to use them on the inside, reversing the way I put in the fabric.
I had some trouble with the zippers, but in the end the video about veering the zipper off the project and the project video finally got the thole technique into my head. I want to cement it. I think I might make another pouch with some of the Echinacea fabric I got from the last Modern Quilter’s Box.
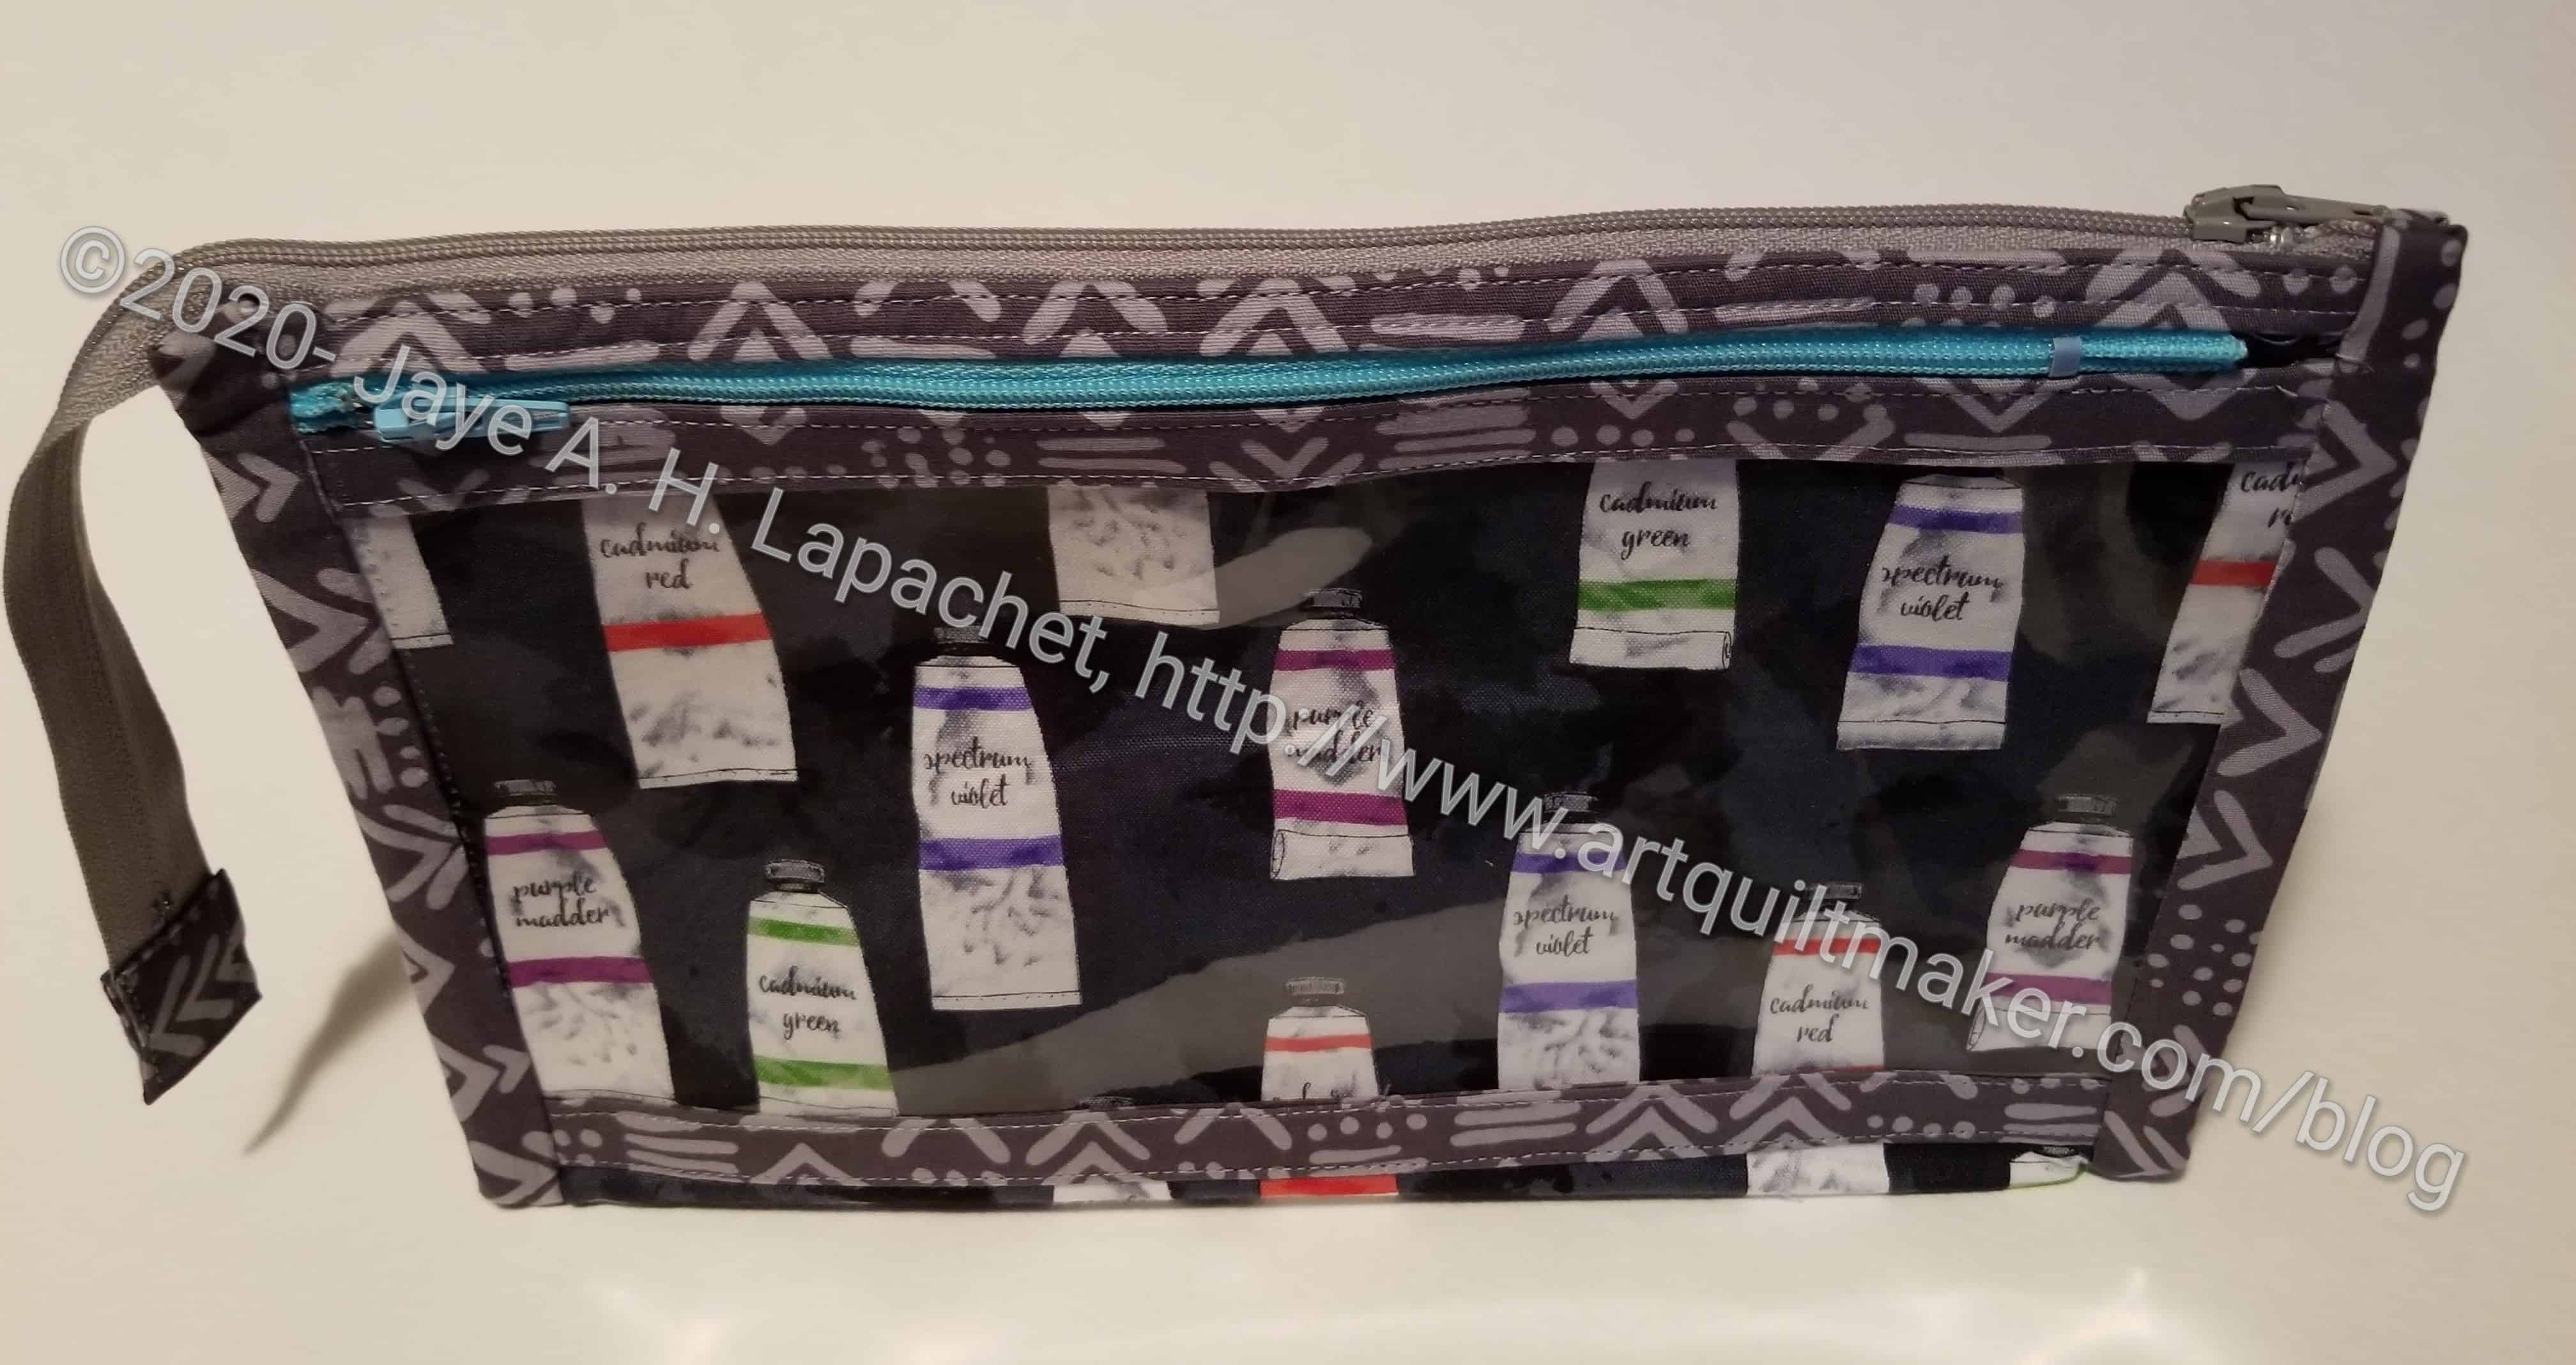
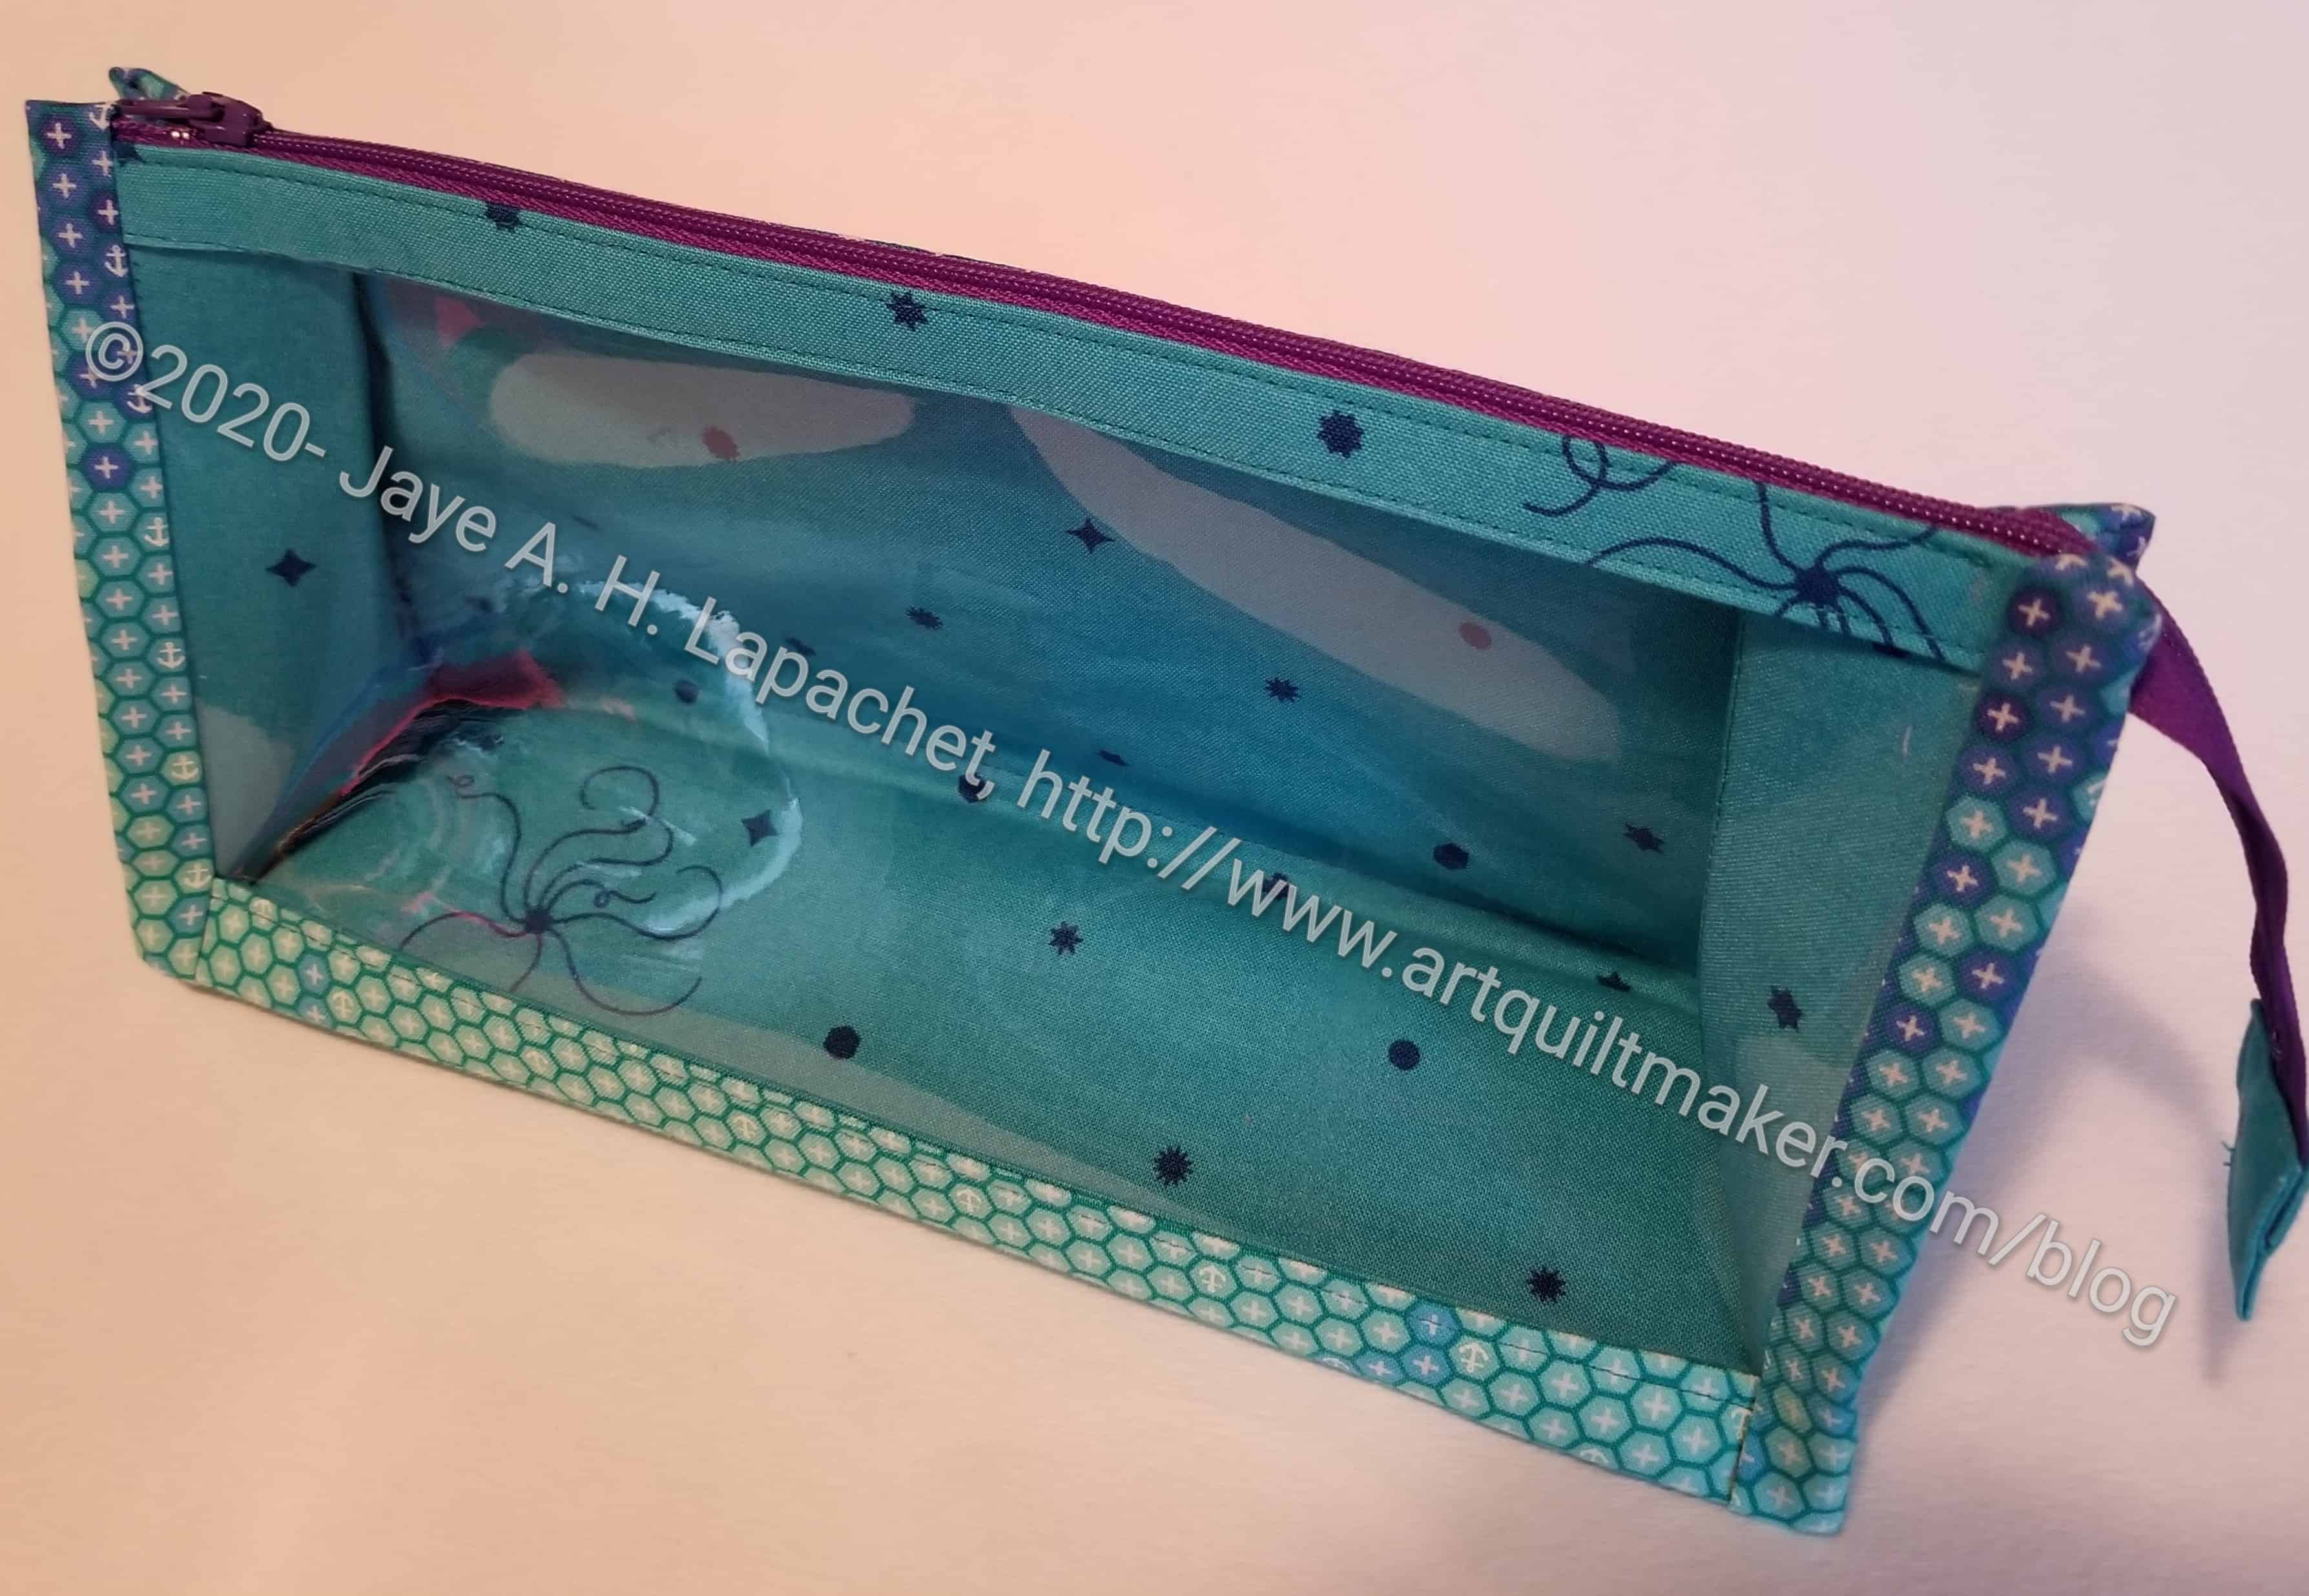
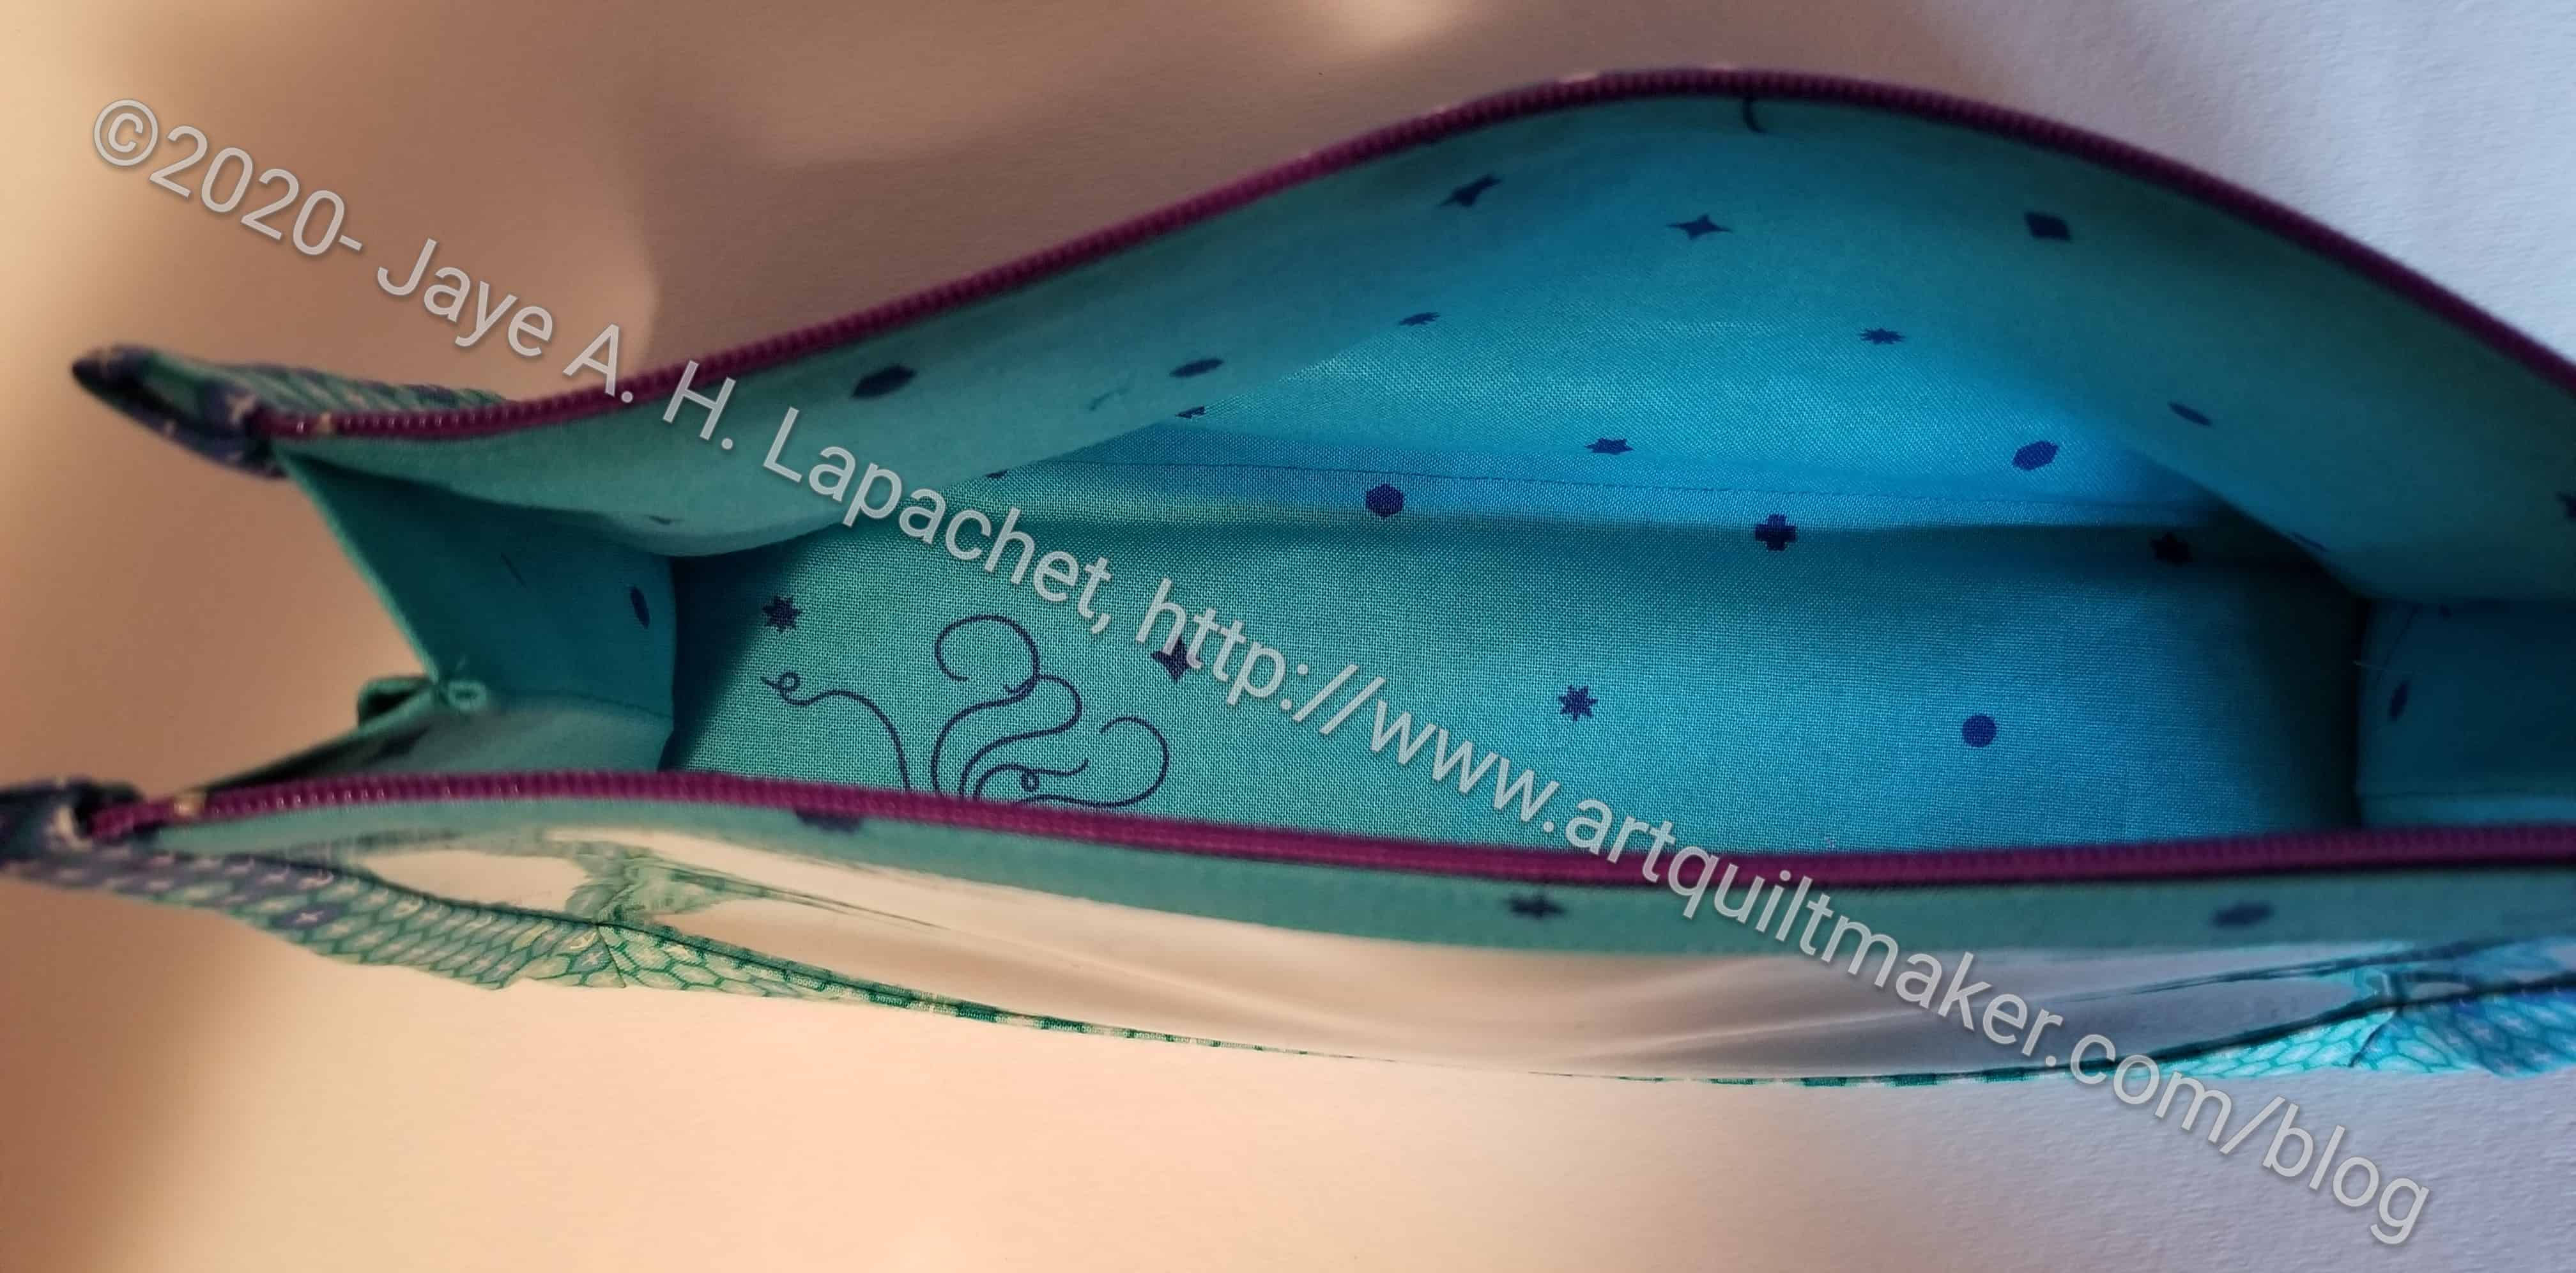
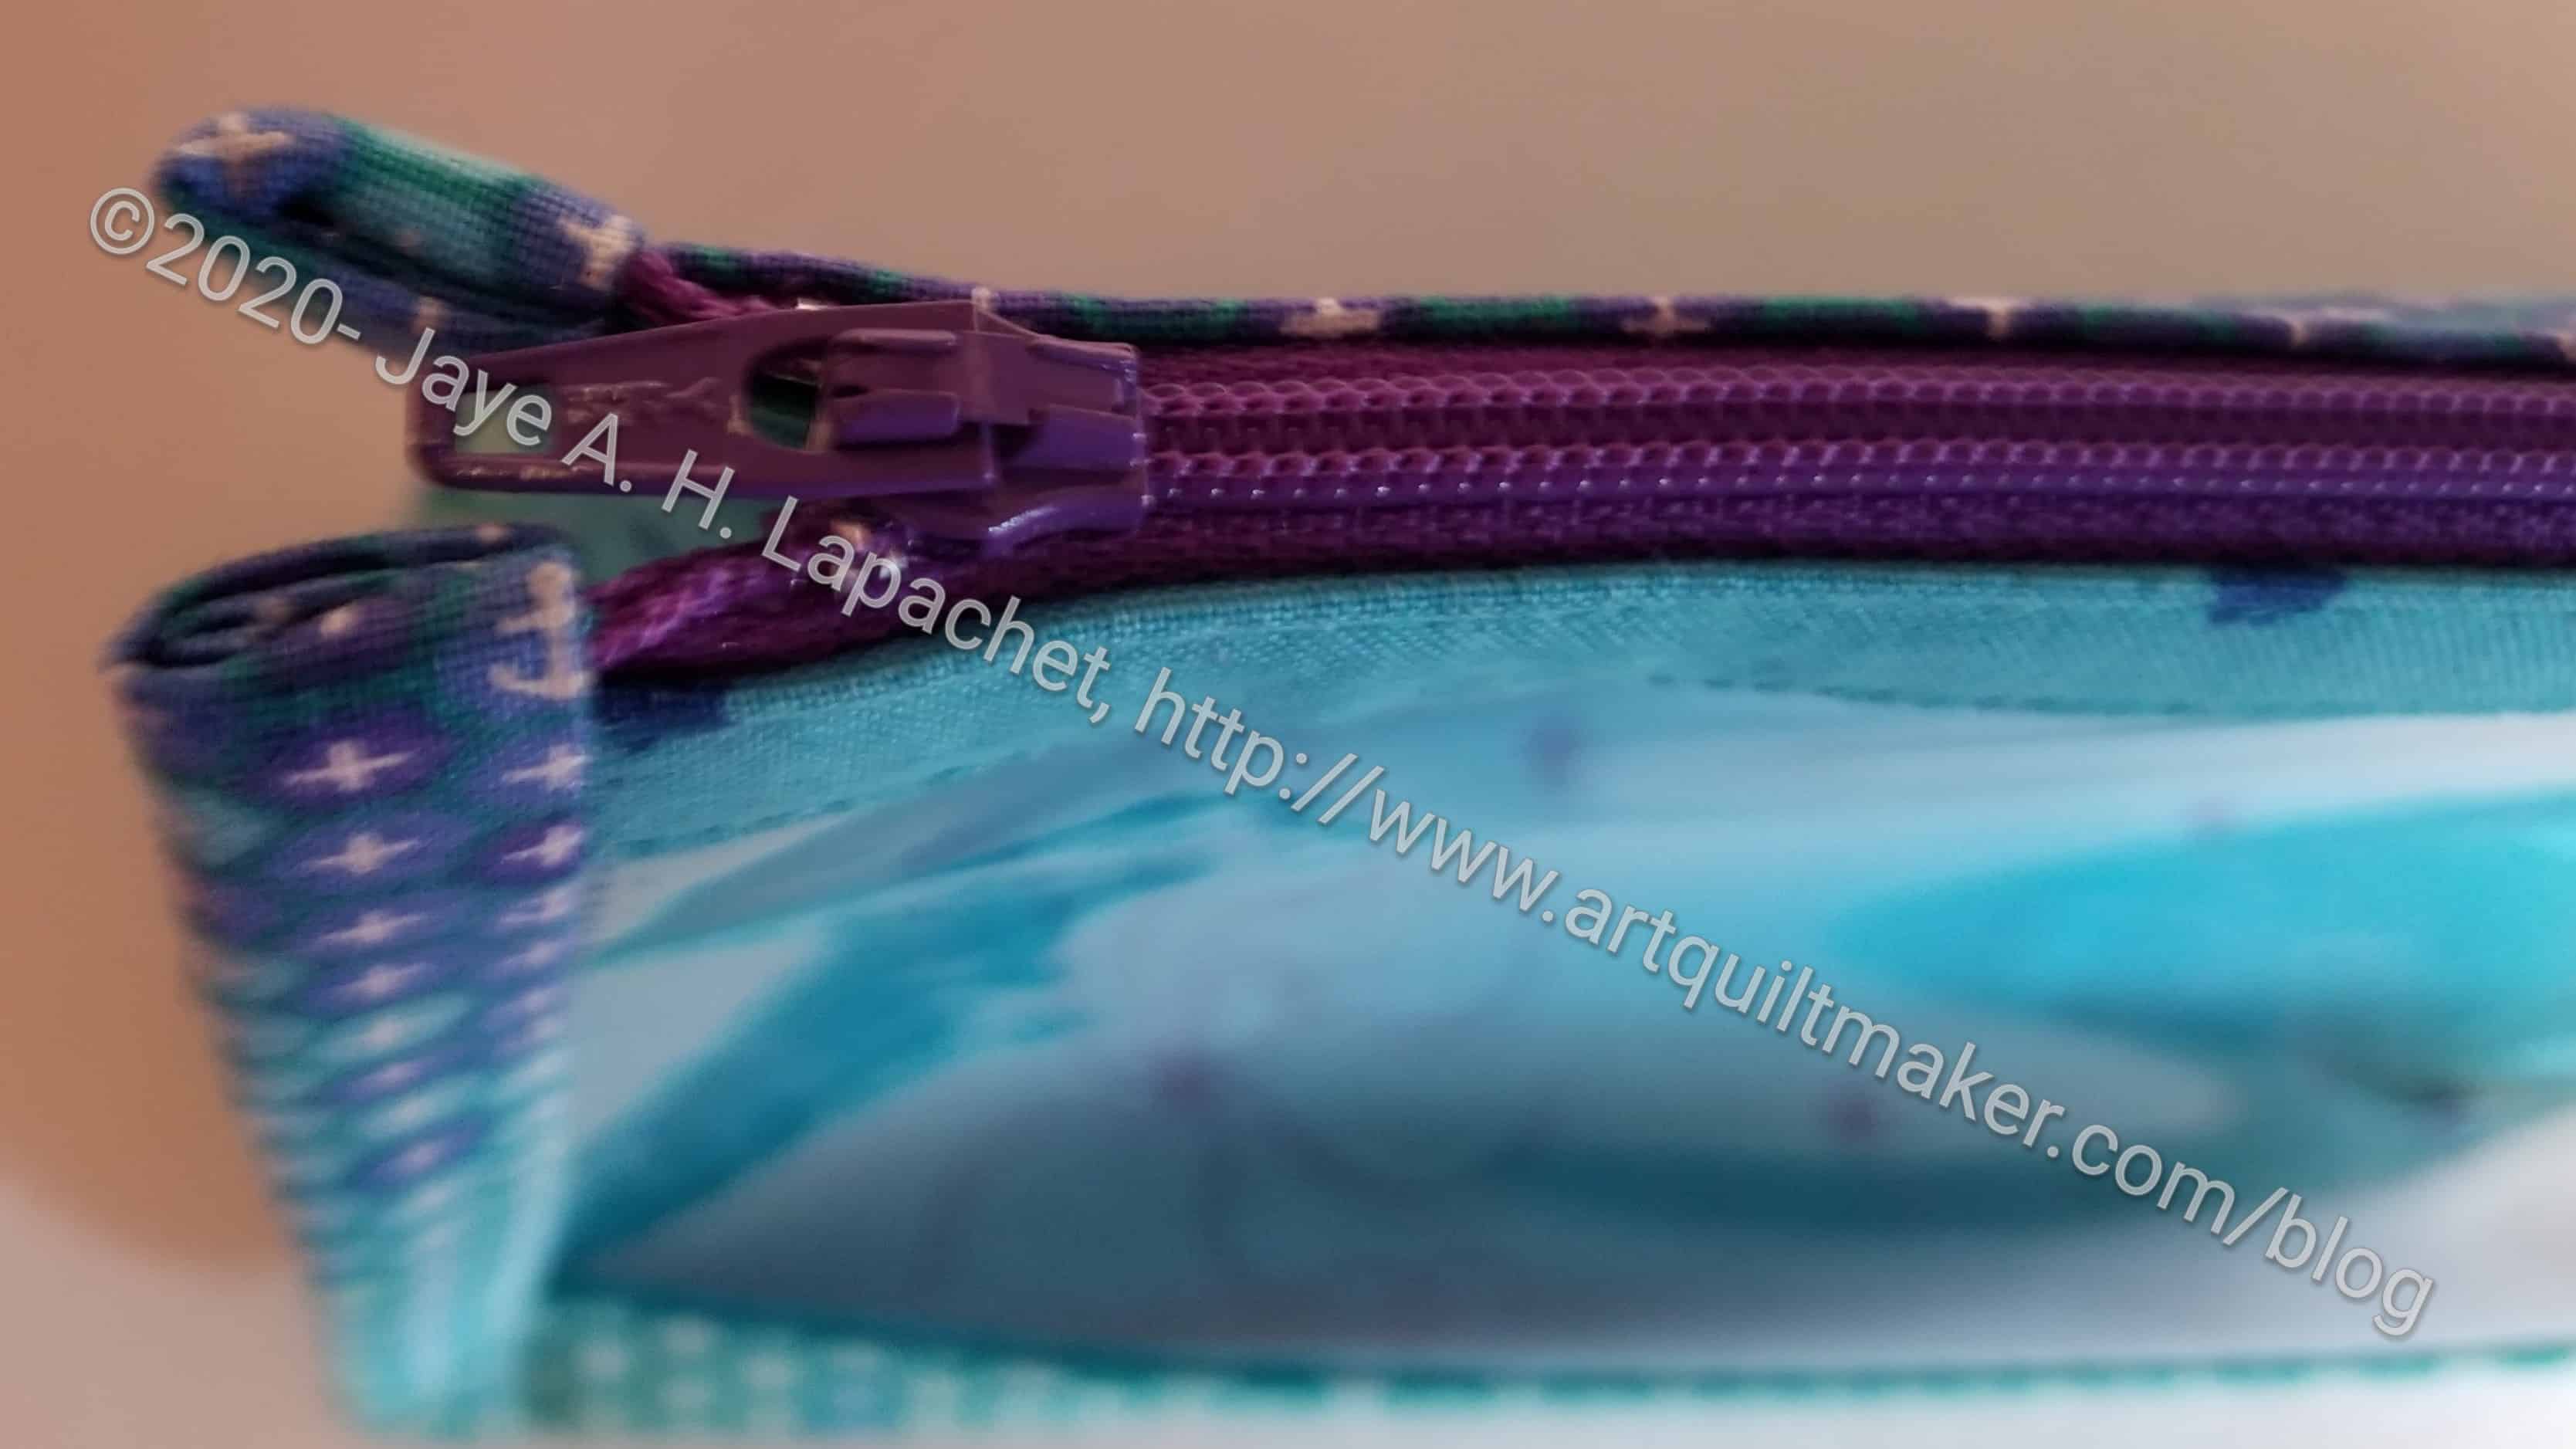
I finished the Inside Outside Pouch at Craft Night on Monday. I only had the binding left and that was a good task to work on.
The pattern is pretty easy, especially after making the Boxy Clear pouch as many of the steps are the same.
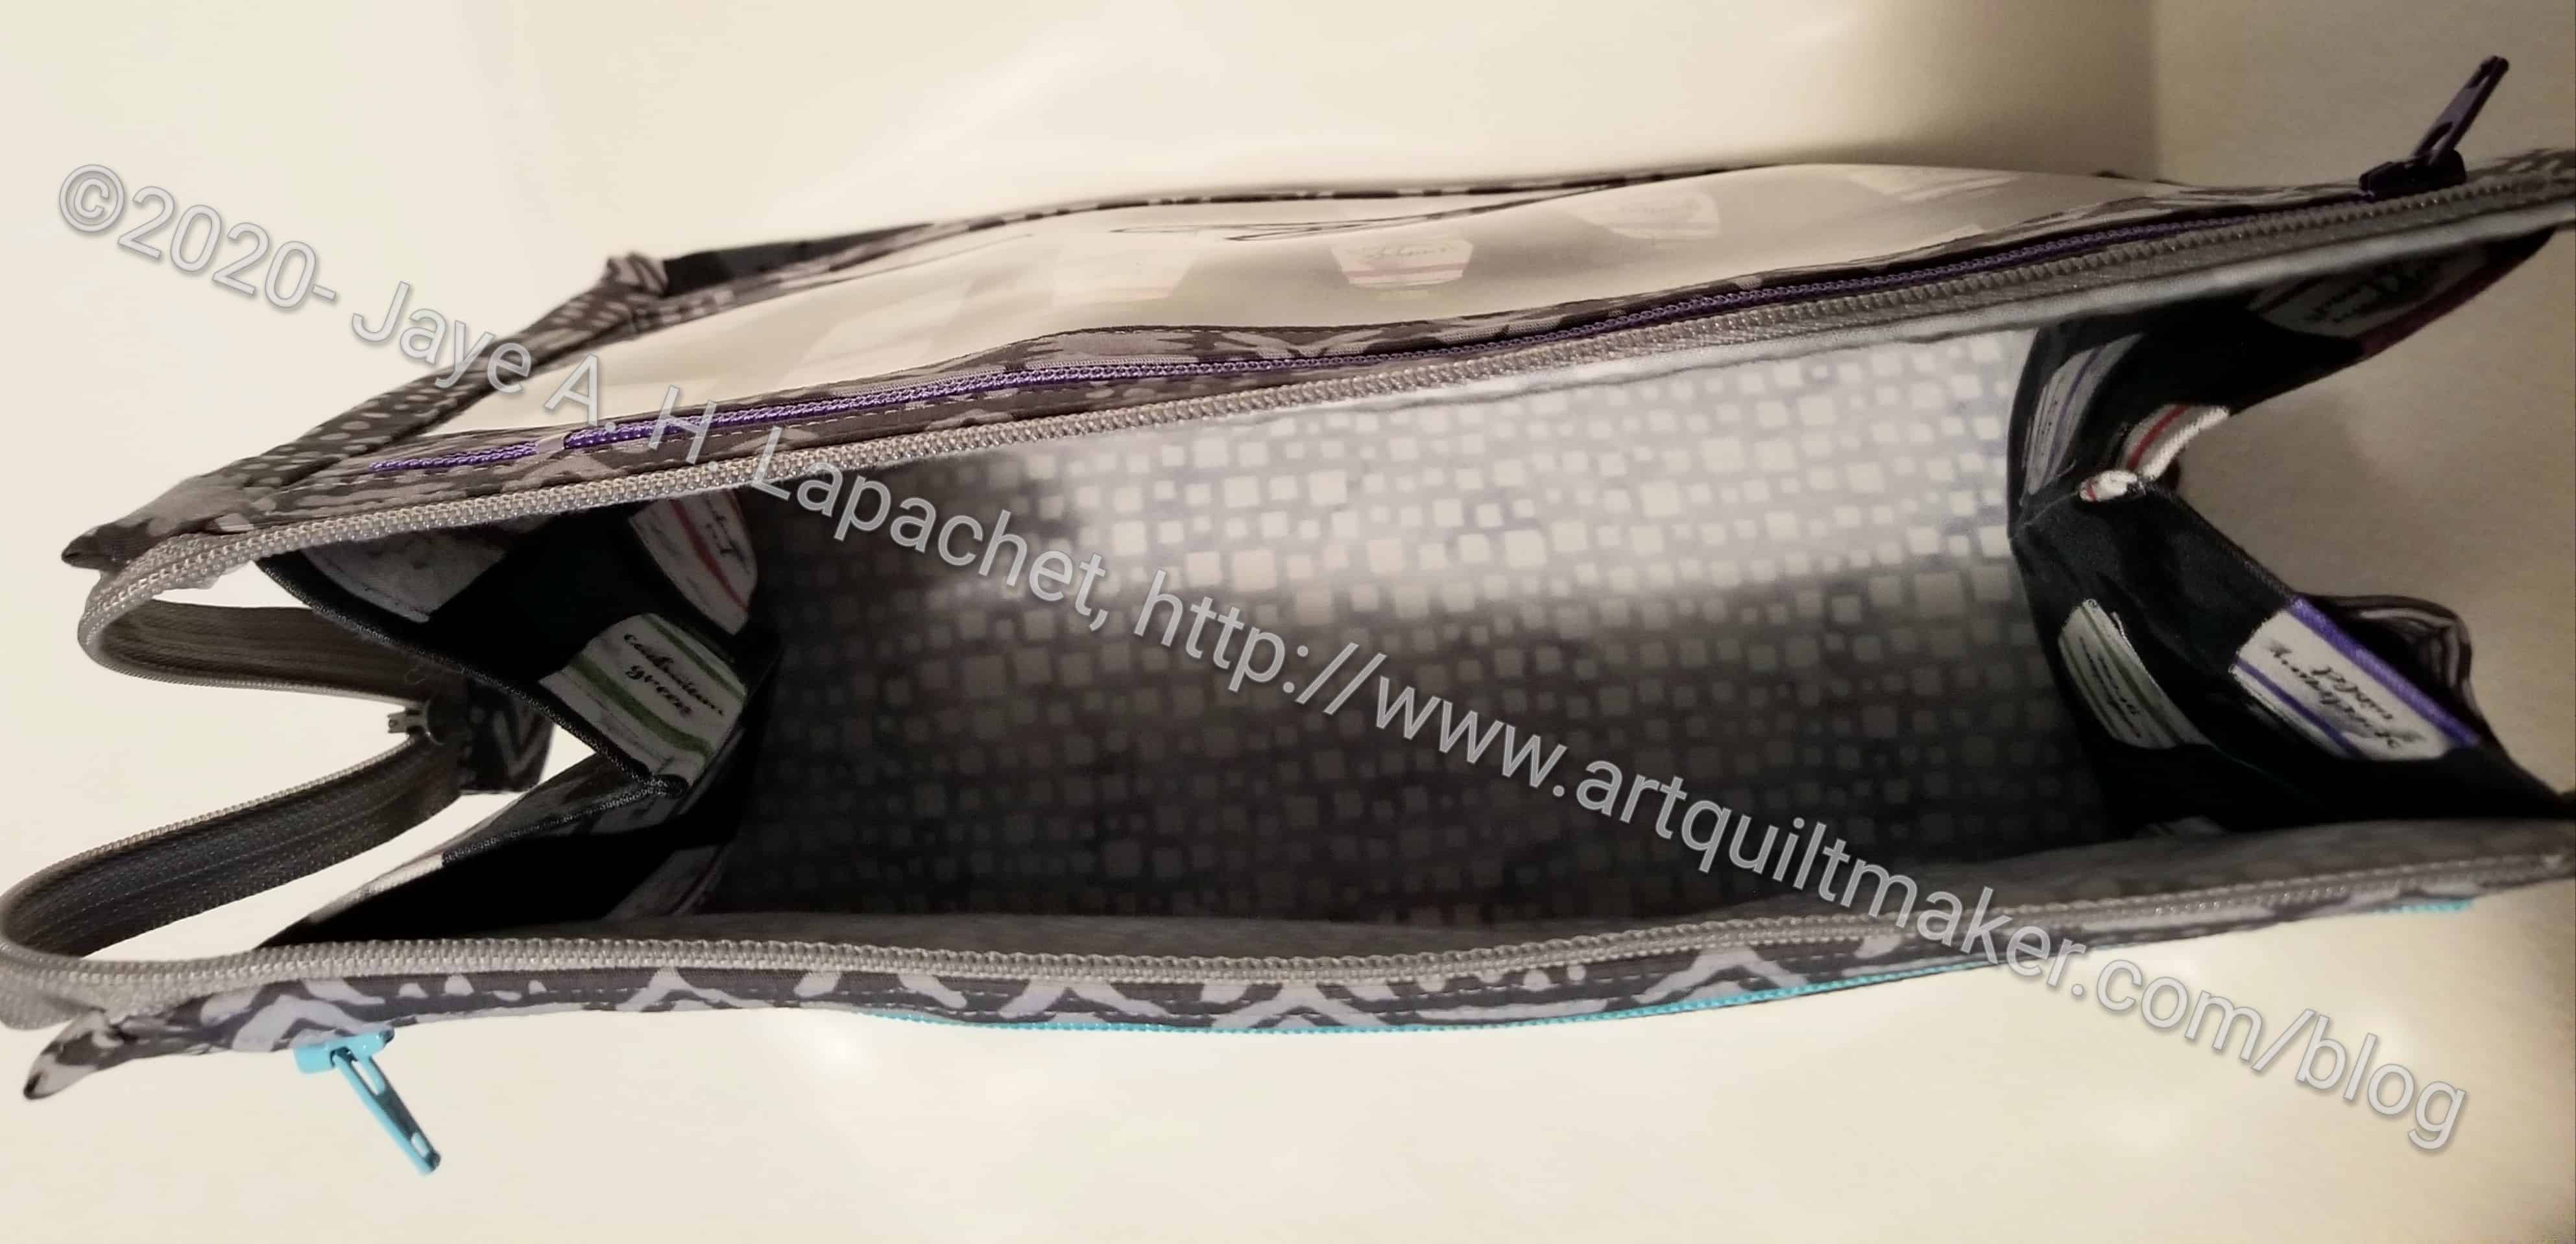
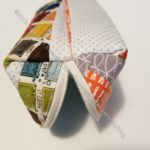
Inside Outside Pouch inside detail
One problem I had was with the zippers. This was not a problem with the pattern, but was a problem with how to measure zippers. I know now that you measure from puller to stopper, not from end to end. The zippers in this pouch are a little short, but it shouldn’t matter in the grand scheme.
I used some leftovers from projects for Mom, so she will probably end up with it. I am not sure how much I like this product. It is a good pattern and easy to follow, but the pouch is kind of large and I am not sure how I would use it. I’d like a smaller version for my binding makers. I may try making a smaller one.
After making the Boxy Clear Pouch, I decided to try the Inside Outside Pouch. I was so pleased with how quickly the Boxy Clear Pouch went together that I thought 2 additional zippers wouldn’t be so bad. I am still working on small projects while I wait for my design wall materials to arrive.
I cut the pieces out during Virtual Craft Night on Monday and felt like it didn’t take much time at all. I think I felt like I was cutting out similar pieces to the ones I cut for the Boxy Clear Pouch.
On Tuesday night, I started sewing right after work and spent about an hour on the project. I really got a fair way into the process before I stopped because it was getting late.
There are many aspects of this project that are the same as the Boxy Clear pouch so it feels like I am reinforcing skills or pattern steps that I did the other day. also, I think I am used to working on the complicated (but fabulous!) ByAnnie patterns and this one is much easier, though just as effective.
I did not want to stop working on it. I was having such a good time and making such good progress that I wanted to keep the feeling going. I may be able to finish tonight. Then I may have to start working on a second version!!!
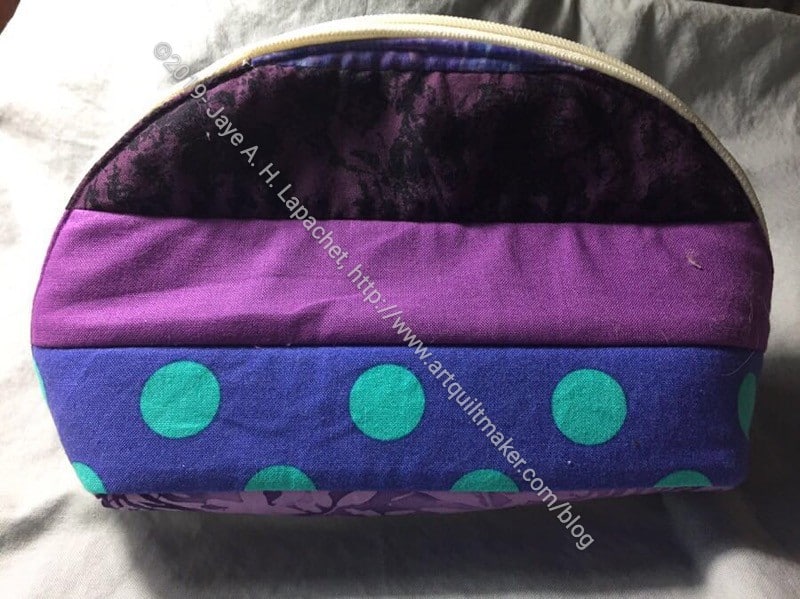
I talked about the Boxy Clear Pouch yesterday. I realized I had more to say about this project, which surprised me since it is a small project.
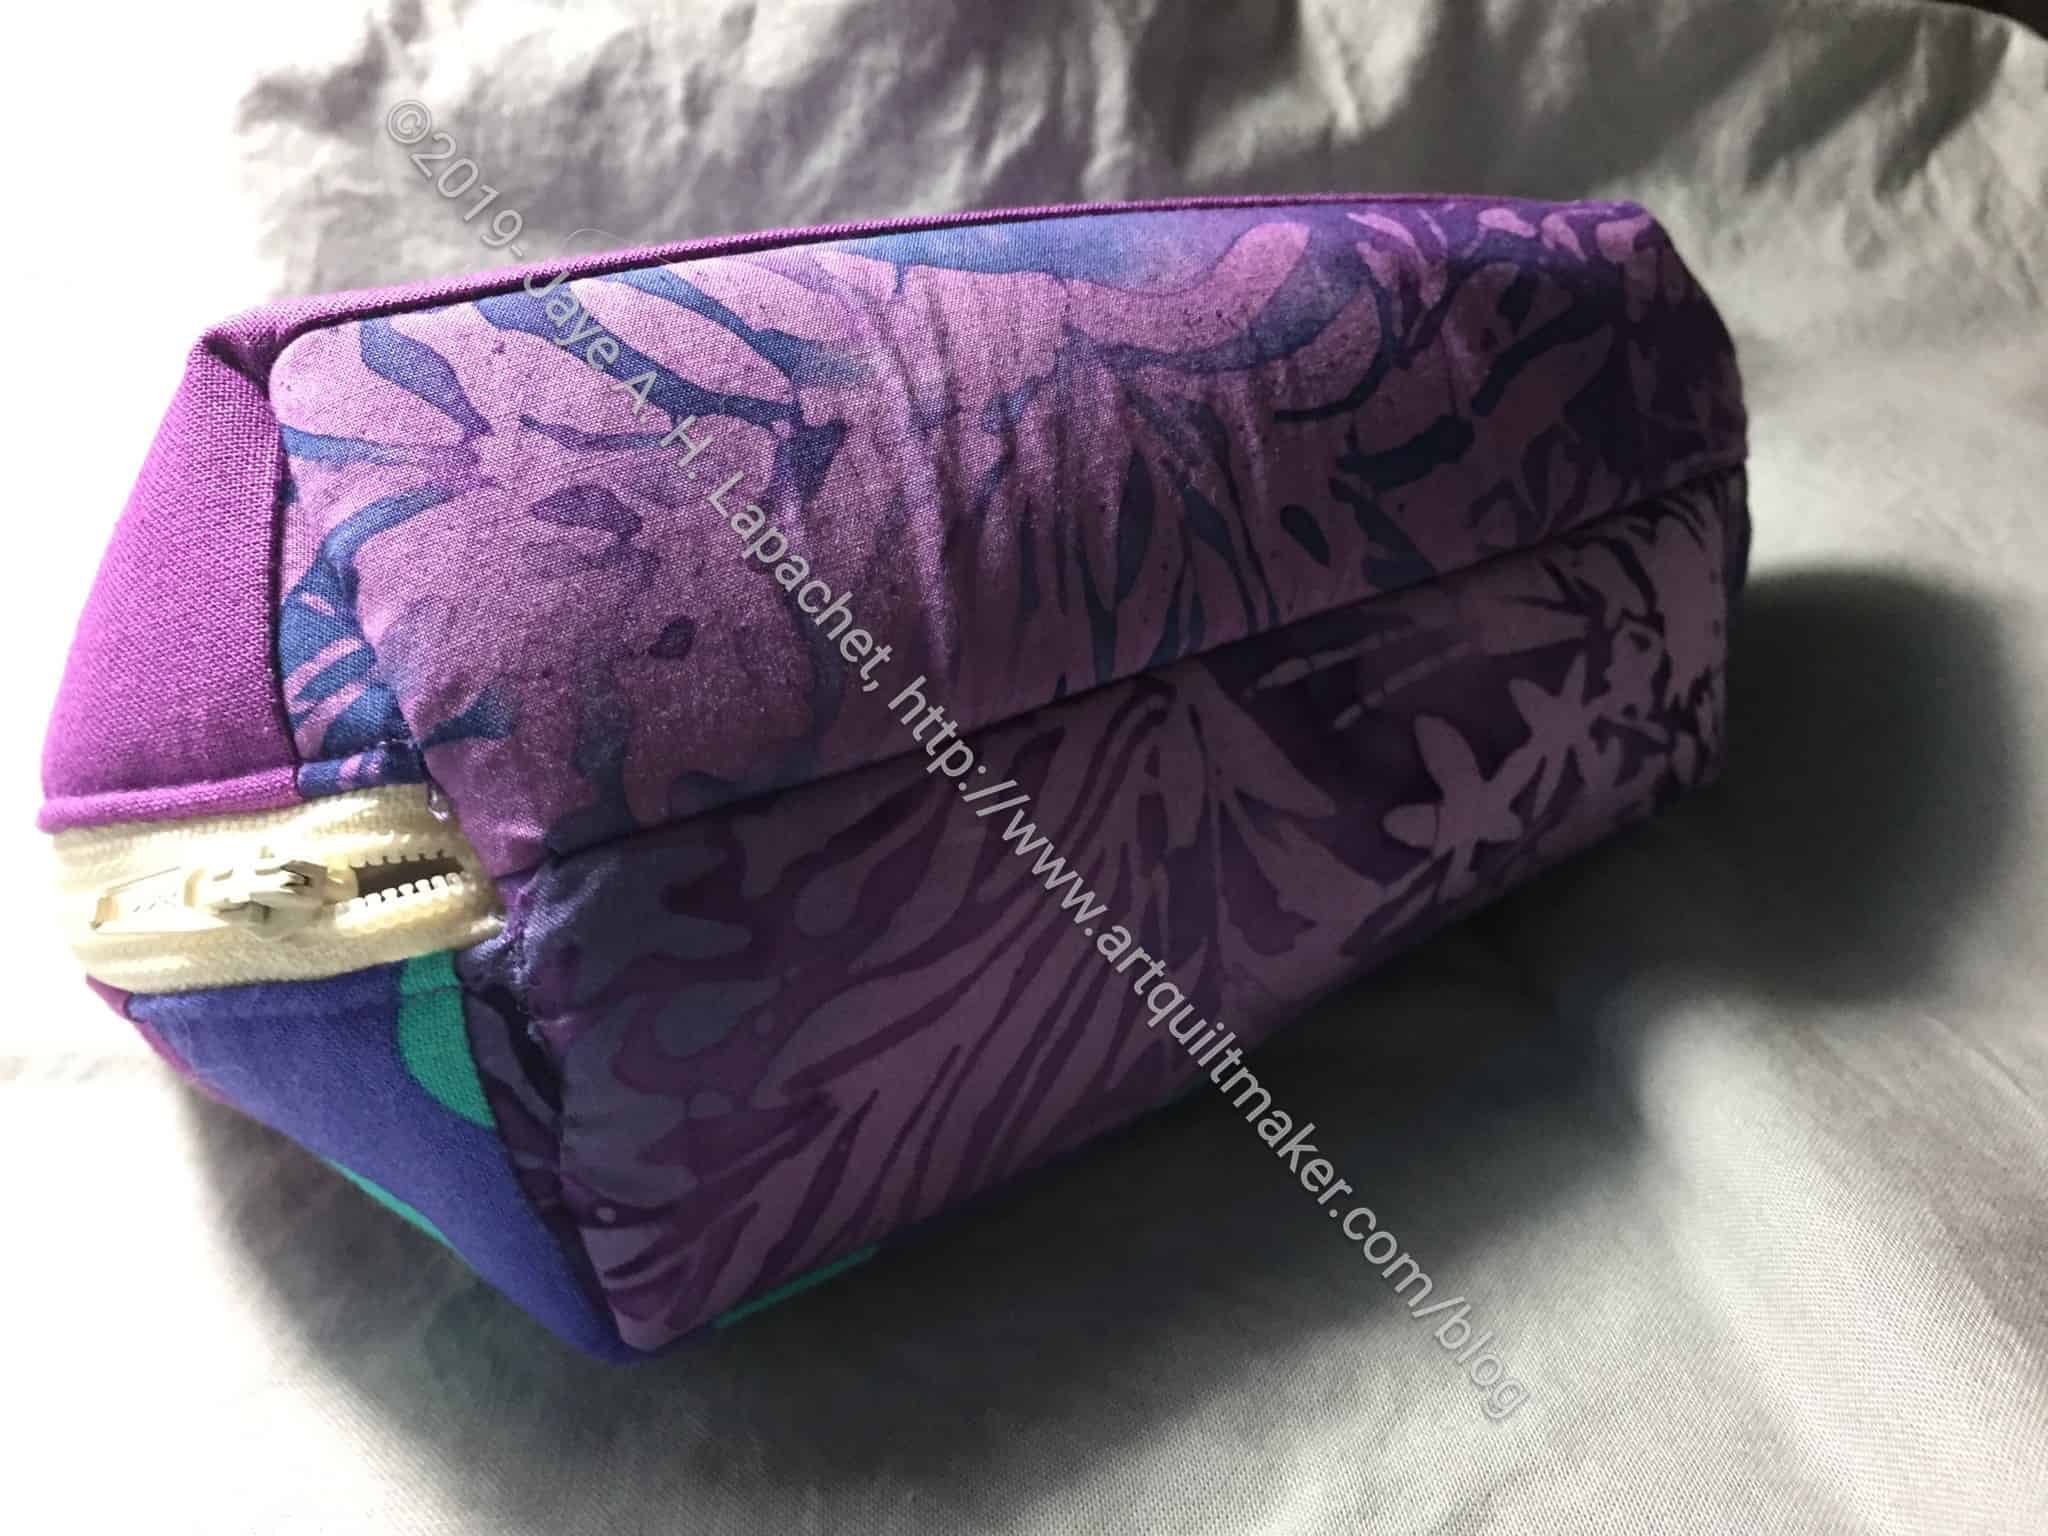
Boxy Clear Pouch – zipper end detail
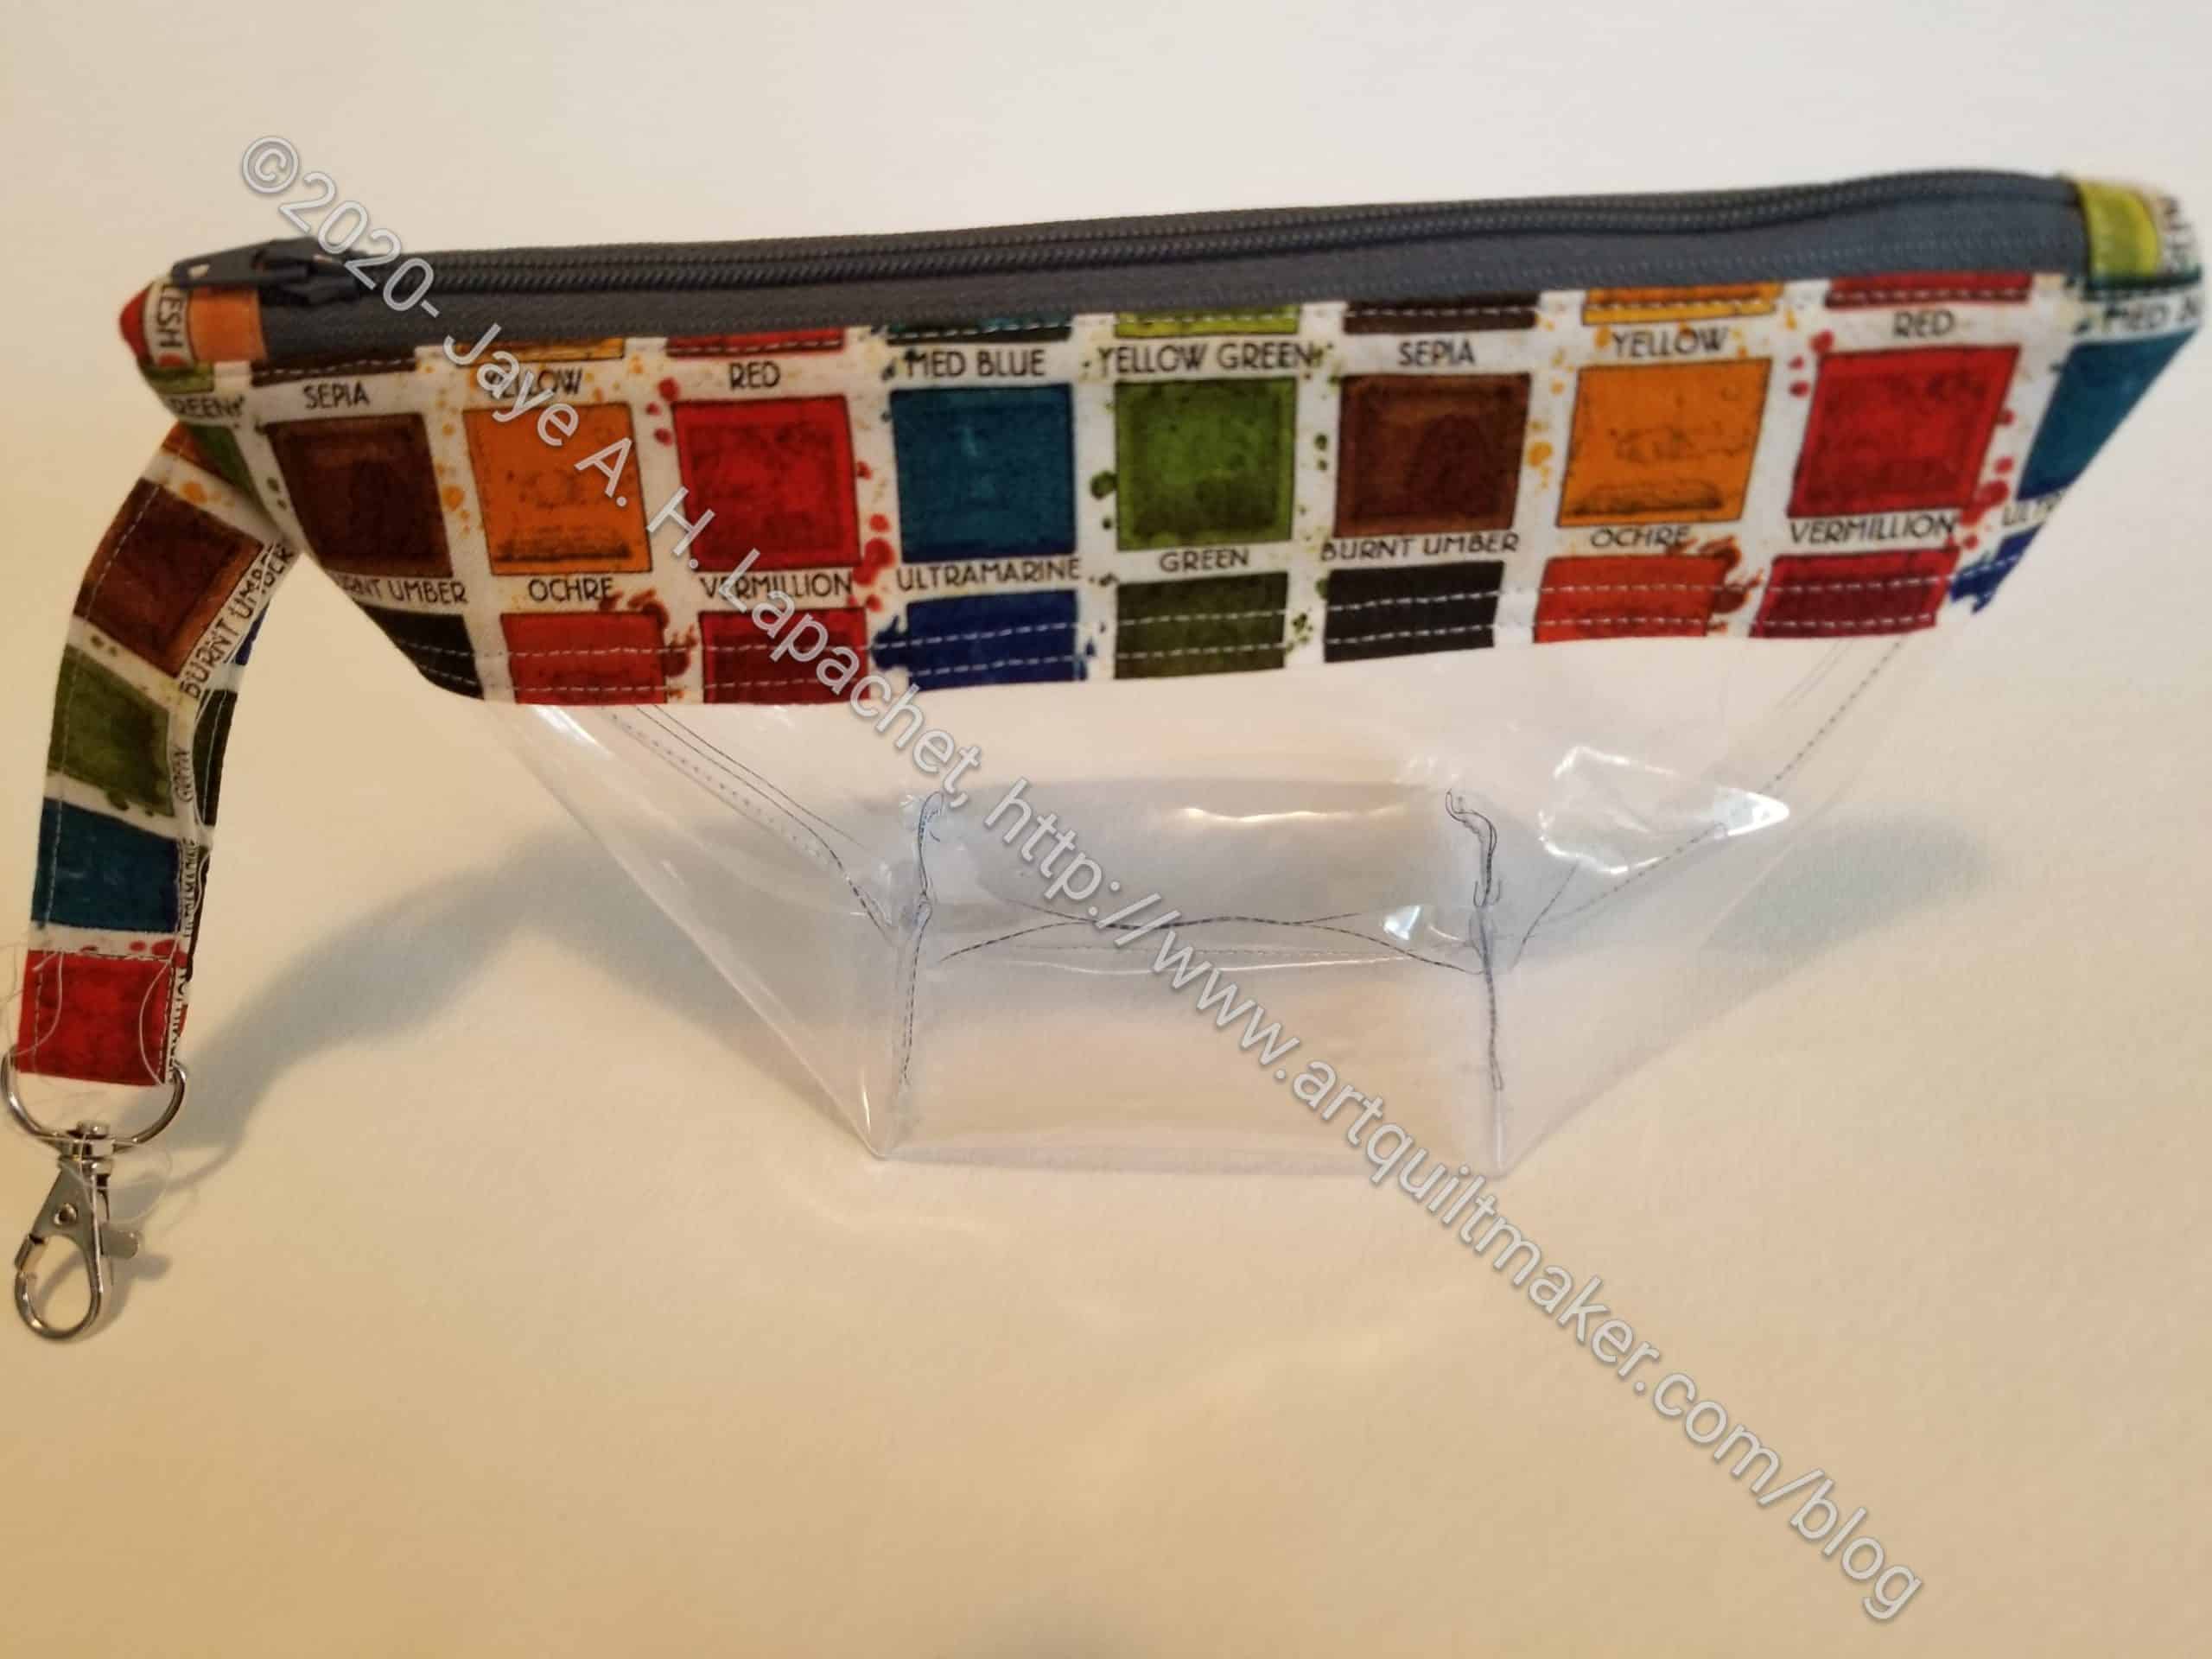
One of the things I liked was the finishing on the zipper. On the stop end, the designer, Aneela Hoey, has the maker stop 5/8 inch from the end. I didn’t know why, but realized that it was to accommodate the zipper draping over the end of the pouch.
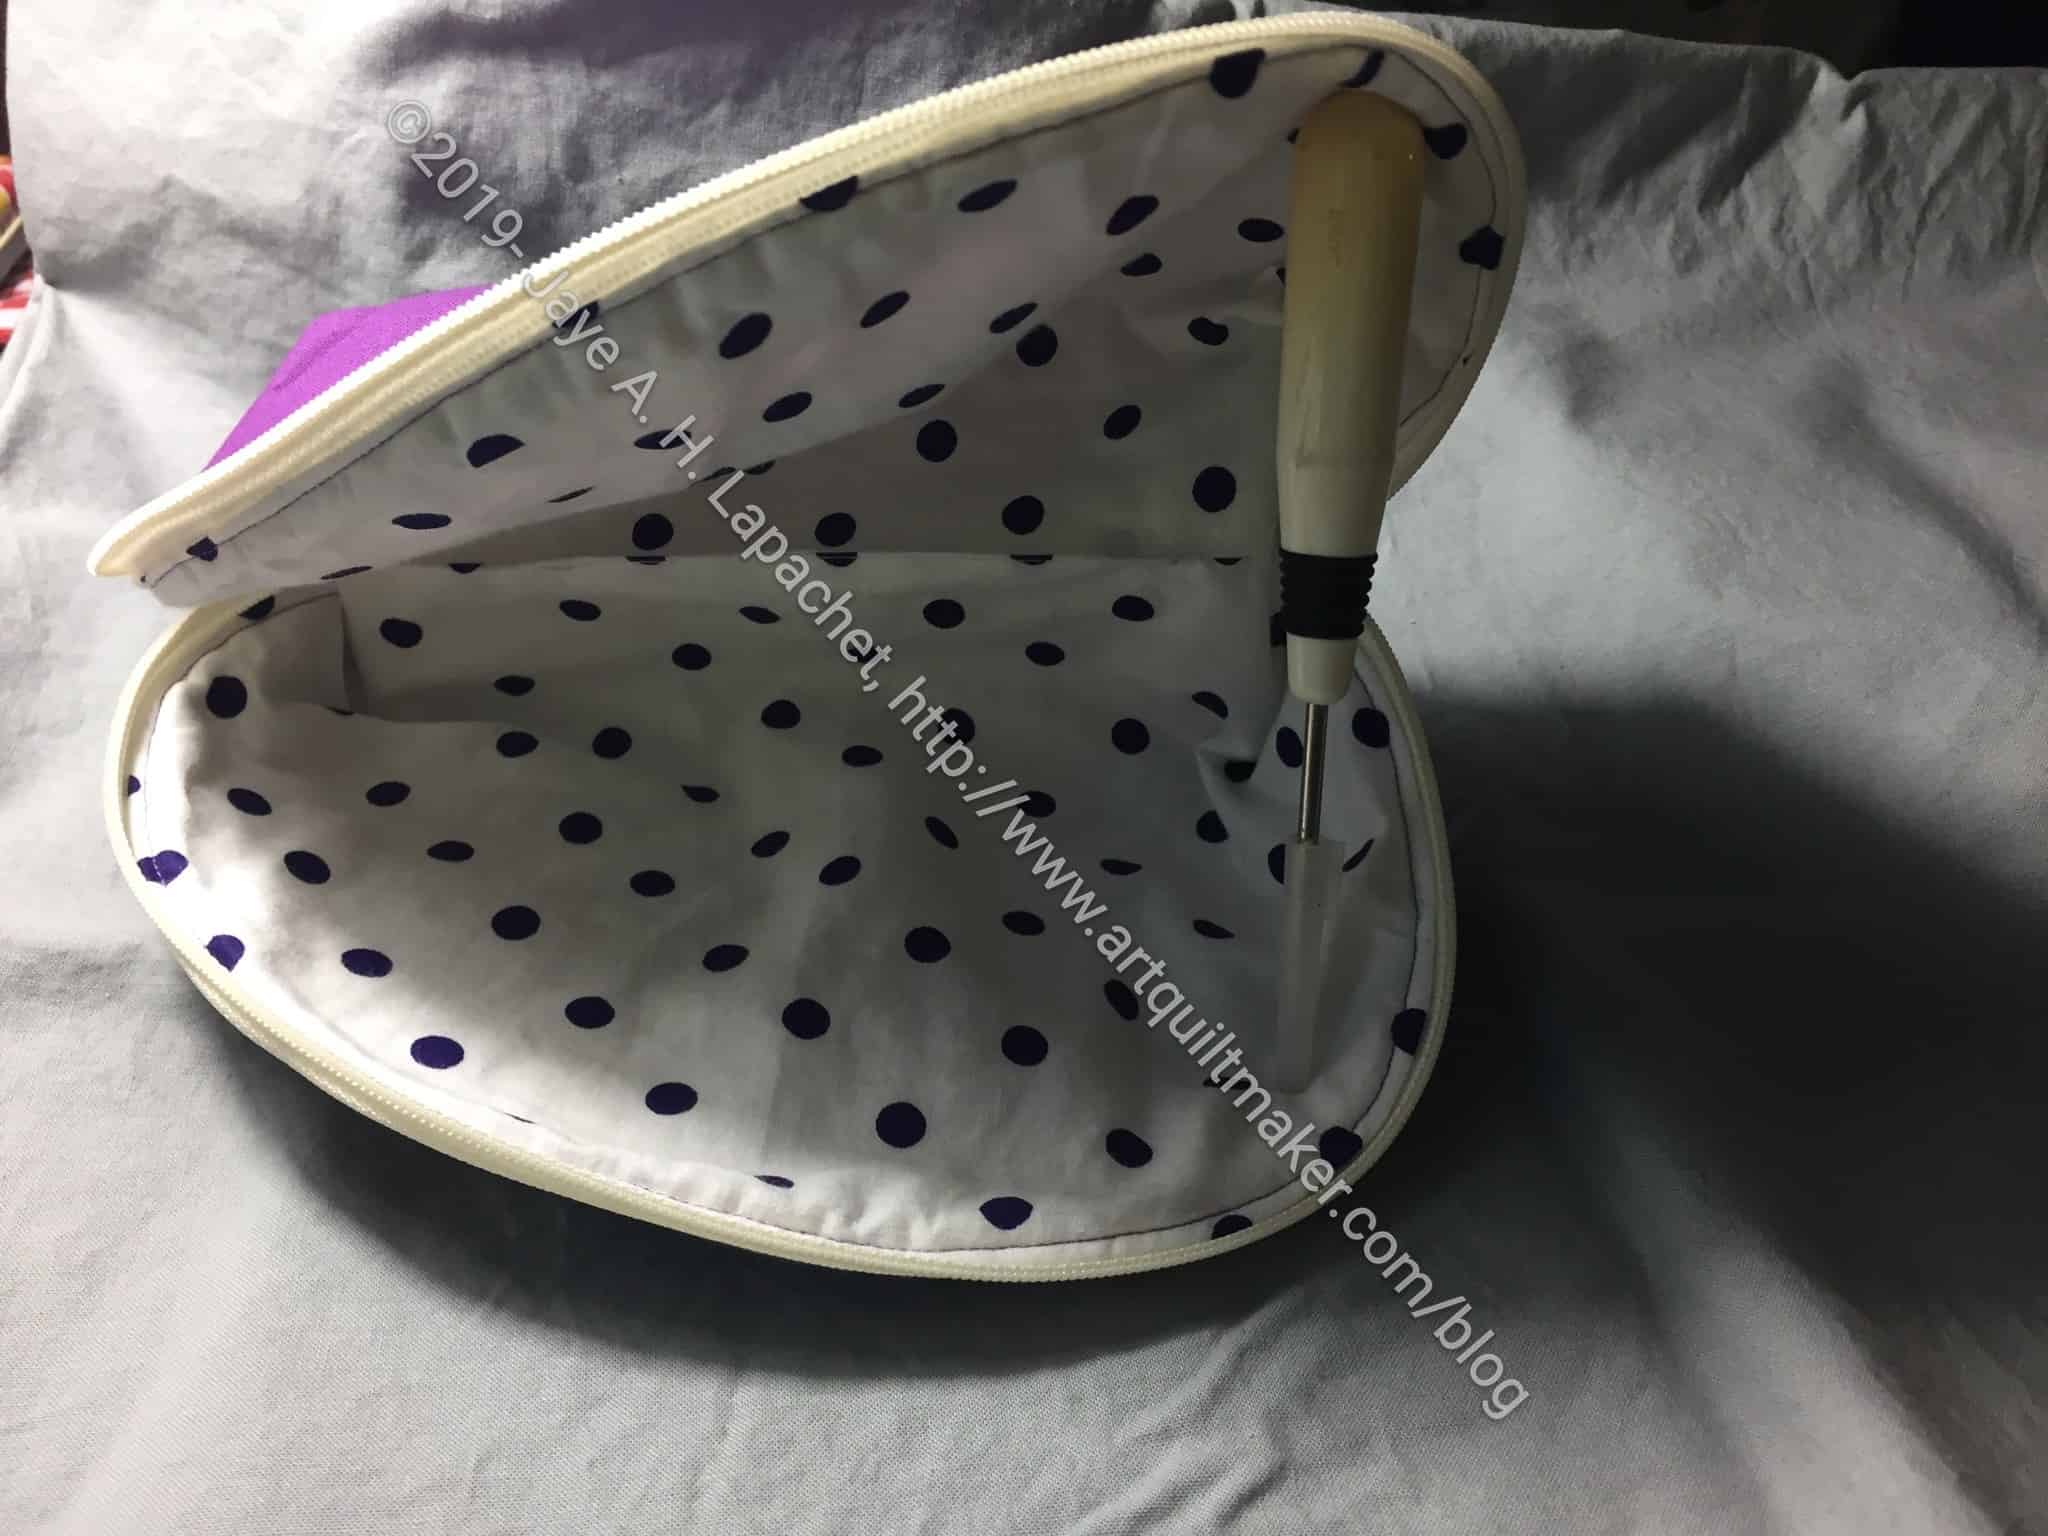
Boxy Clear Pouch – inside detail
In general, I try to avoid zippers hanging over the end of a pouch, but this pattern’s design makes me realize what the designer is trying to do. Utilizing a long zipper makes the pouch into one that opens wide. This means that things can’t get hidden inside. Somehow I didn’t realize it or realized it only briefly and then forgot.
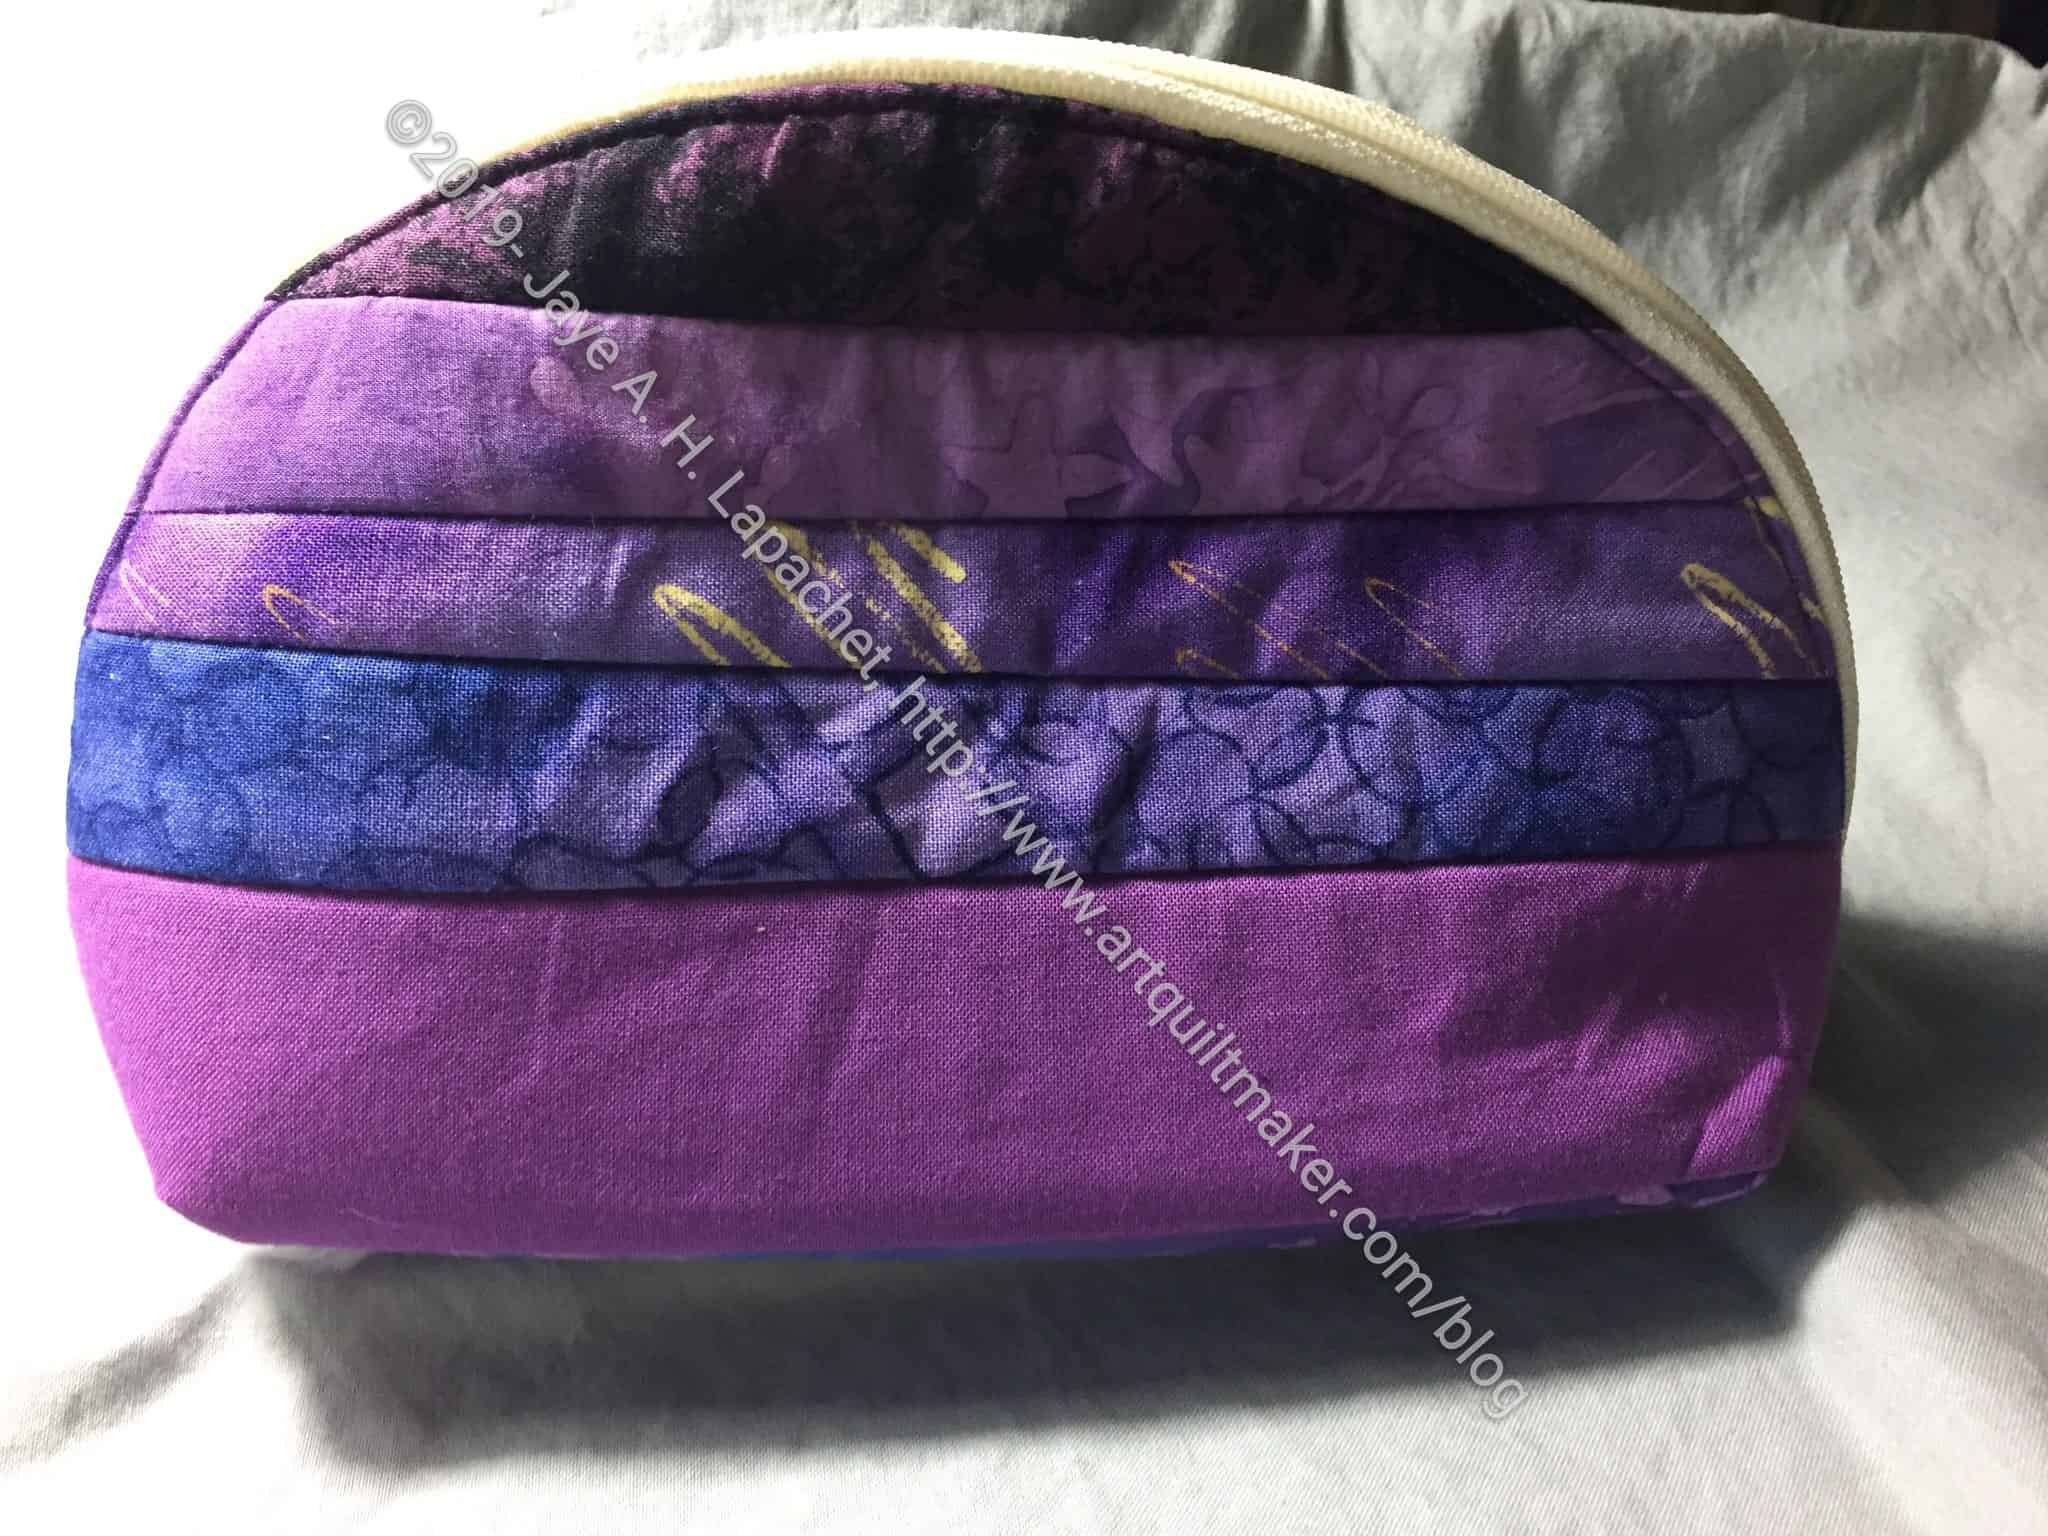
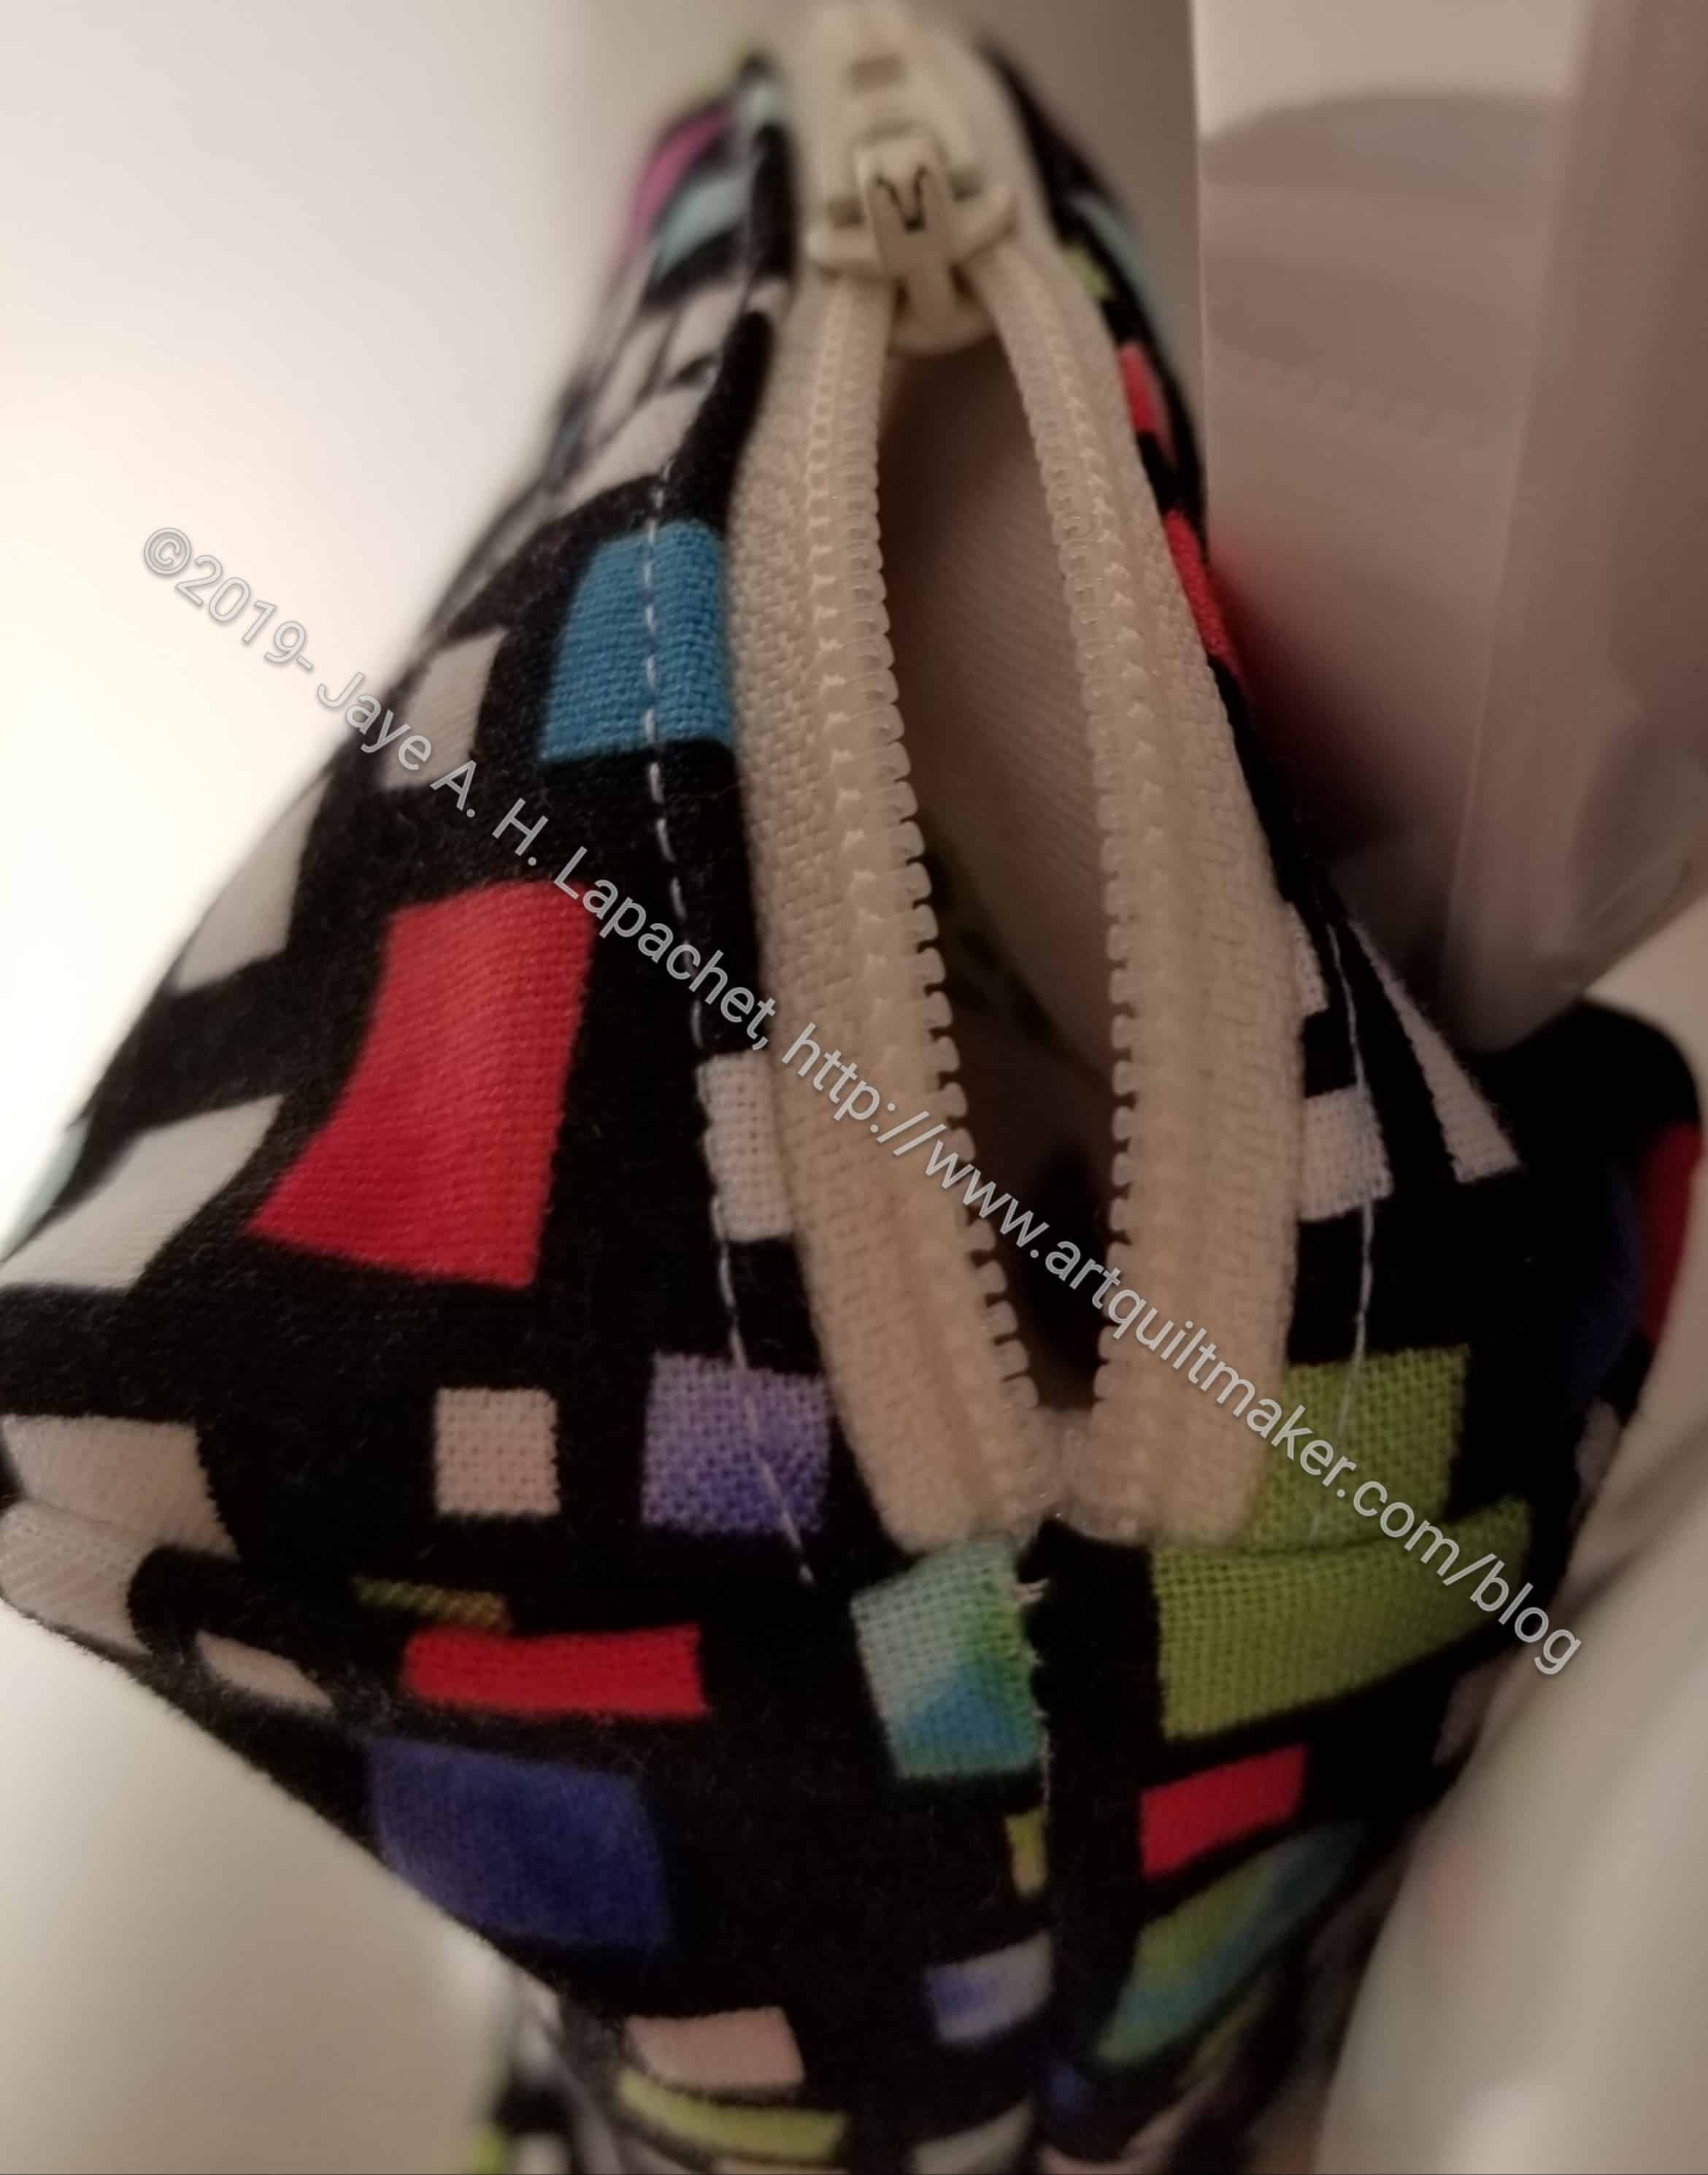
Boxy Clear Pouch – zipper detail
I could have done a bit better job on the beginning of the zipper, but, again, Ms. Hoey does a great job with the design. The beginning of the zipper is far enough back so the binding doesn’t get in the way and there is no issue with sewing through a million thickness layers on the end.
My one criticism, which is the same criticism I had with another one of her patterns, Speedy Pouches, the binding ends. The designer doesn’t really say what she does to tuck in the ends. I cut them off and tucked them in as well as I could to make them even with the top edge of the pouch, then I handstitched them down. I’ll have to take a look at her website to see if she ever talks about it.
The one thing I did wrong, which ended up not mattering much, was switch the lining and the exterior fabric. The pieces were fairly uniform and the pouch ended up looking fine with the lining fabric on the outside.
Boxy Clear Pouch
Boxy Clear Pouch – back detail
I am pleased, as I said, with how this project turned. The pouch was larger than I expected even though I made the small size. I would have liked an even smaller version
I finally broke into my stash of Aneela Hoey patterns. I have one of her books, Stitched Sewing Organizers** and a couple of her patterns. I hadn’t made anything from any of them. Recently I started thinking about the various patterns I have that I have not made. I decided, while I am waiting for the parts for my design wall, to concentrate on some small projects. Since I had been talking about the Aneela Hoey patterns with Angela, I decided to make the Boxy Clear pouch.
This whole project took me about 4 hours of work. I didn’t rush because I didn’t expect to get this project done in one sewing session. However, I was able to finish it!
The directions are very clear and the drawings help a lot. I did have to read over the directions a few times as I made the pouch, but everything was pretty clear as long as I went slowly.
The pattern comes with two sizes and I made the small size as I thought I might want to use one for my bias tape makers. It turned out to be larger than I thought it would be, though I may still make one for the bias tape makers. I have to put them somewhere, after all!
**I use affiliate links and may be paid for your purchase of an item when you click on an item link in my post. There is no additional cost to you for clicking or purchasing items I recommend. I appreciate your clicks and purchases as it helps support this blog.
I finally bought the Minikins Seasons 1 & 2 (no affiliation) a few weeks ago when I received a bonus from a vendor with whom I work on occasion. I talked about being obsessed with these patterns back in January since they came out. They are on sale when they first come out and then they went up in price. I plan to buy Season 3, if there ever is one, when it is on sale.
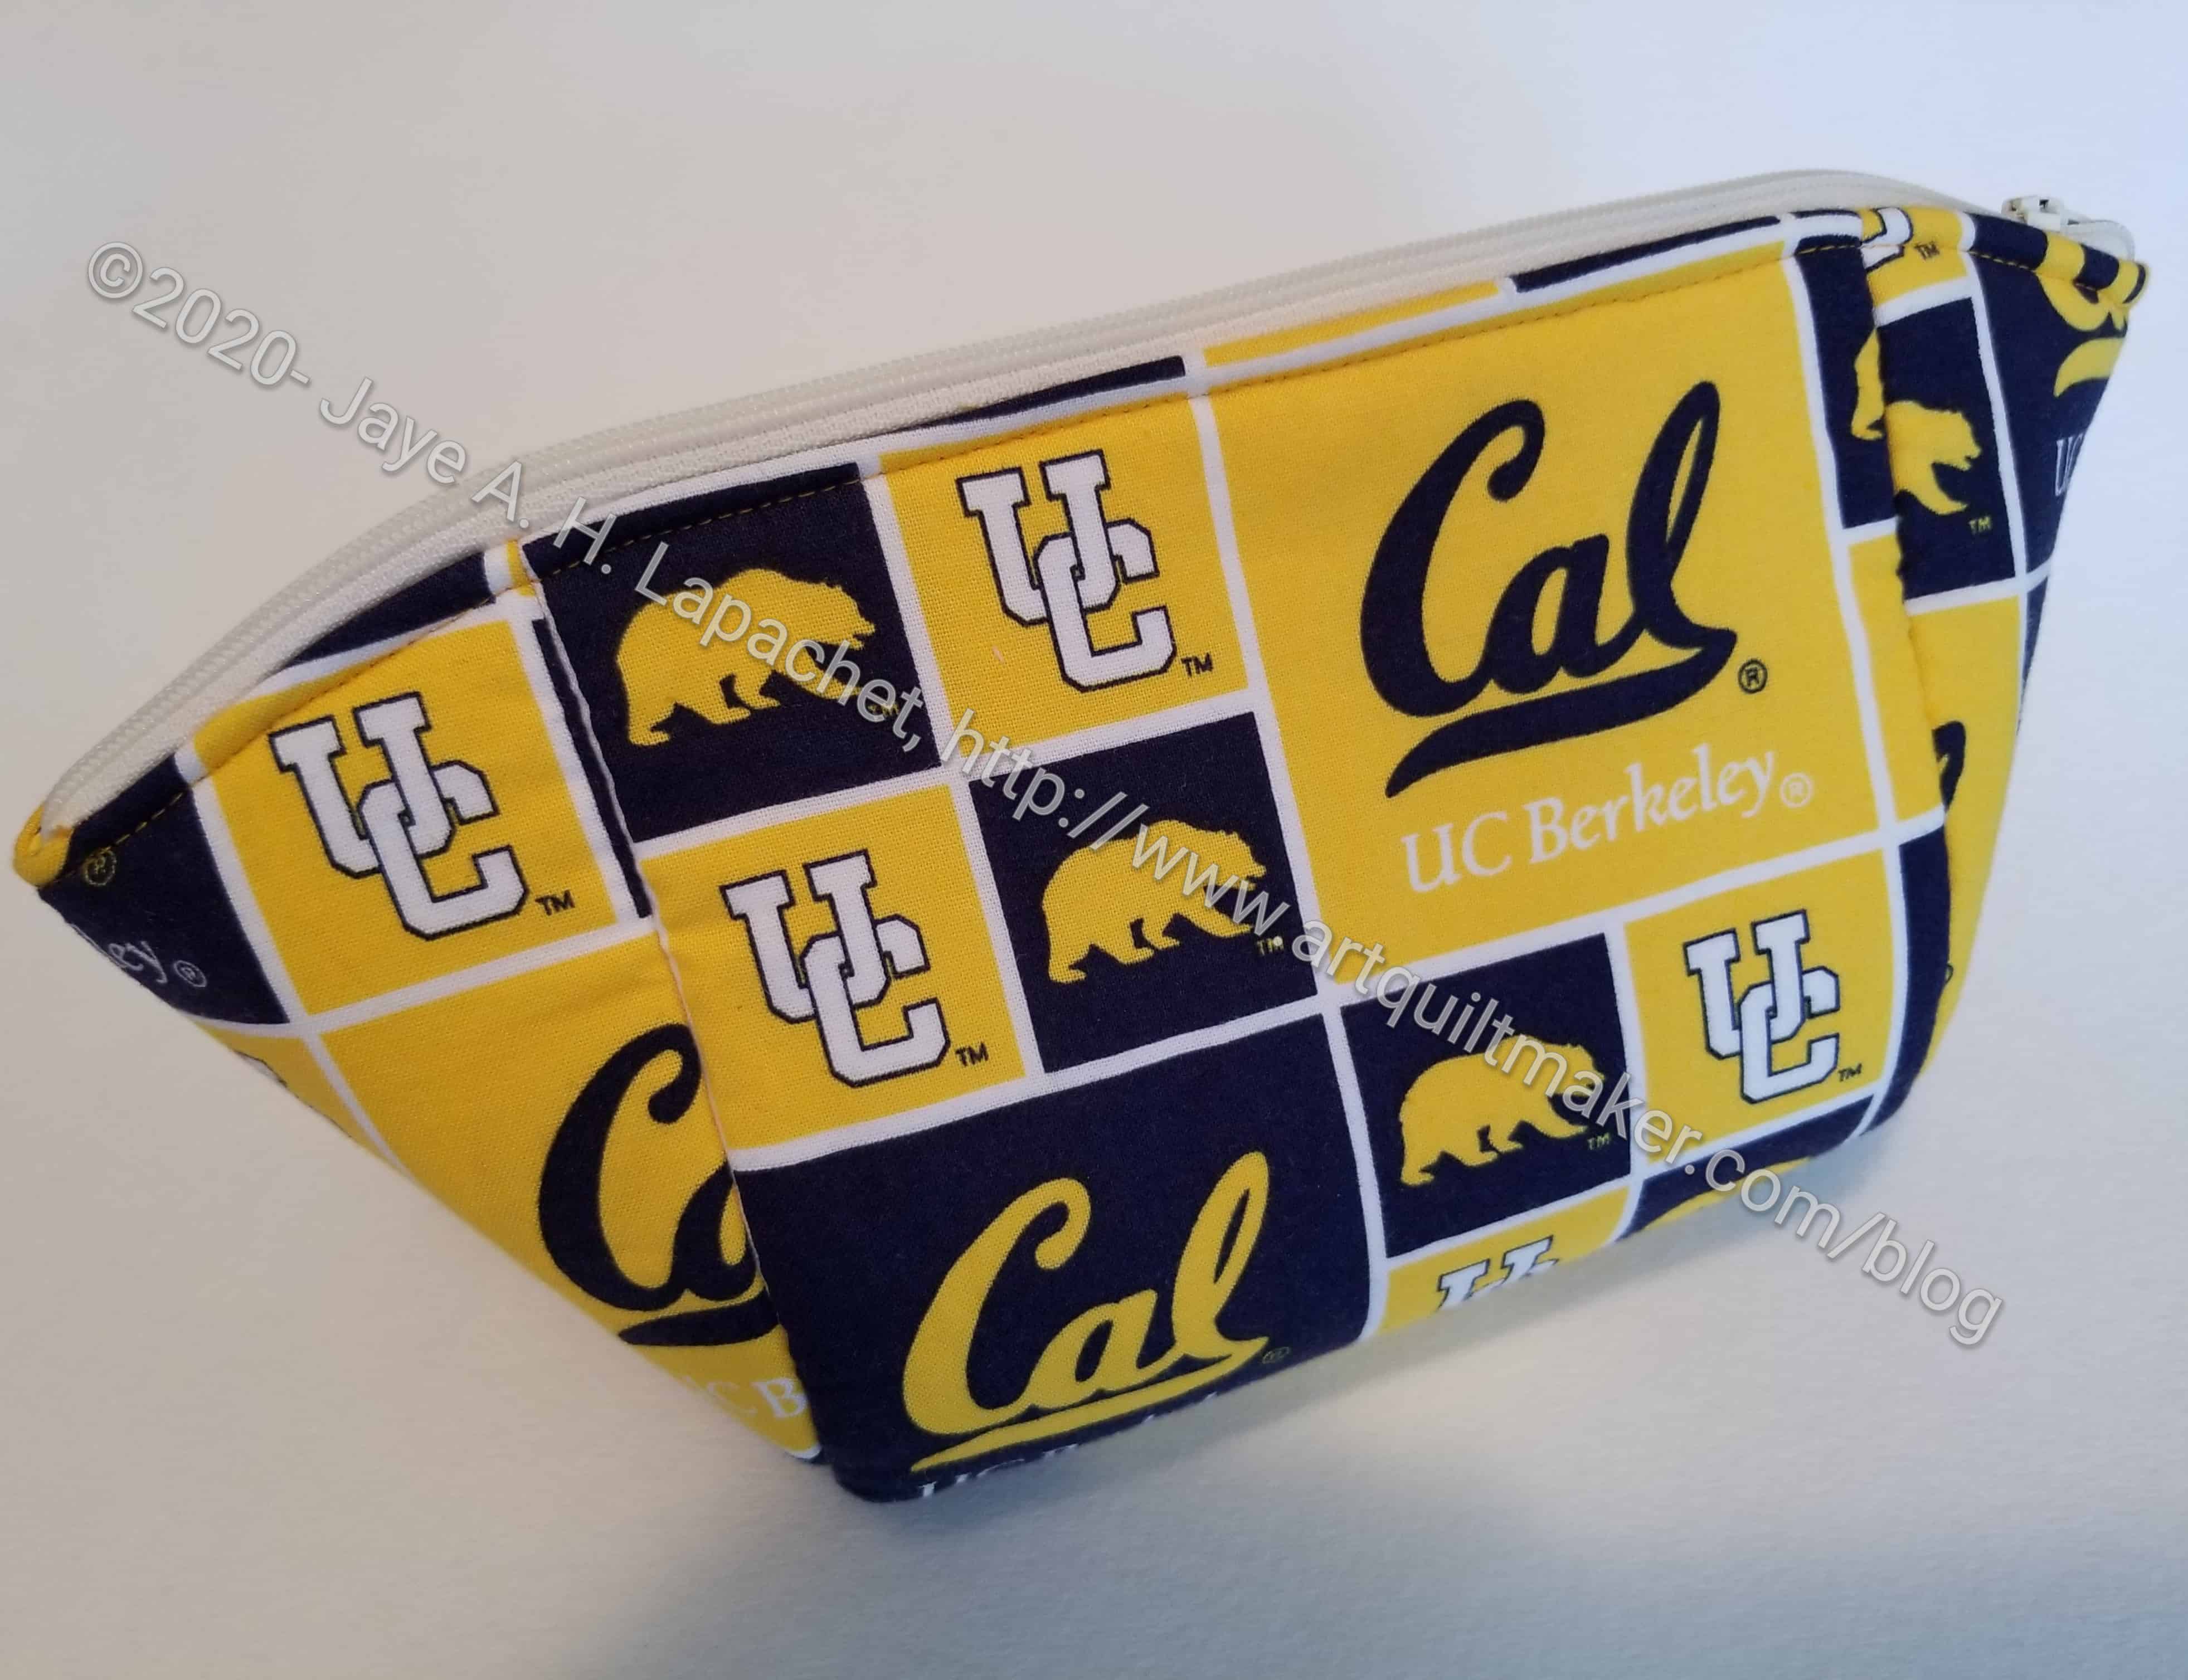
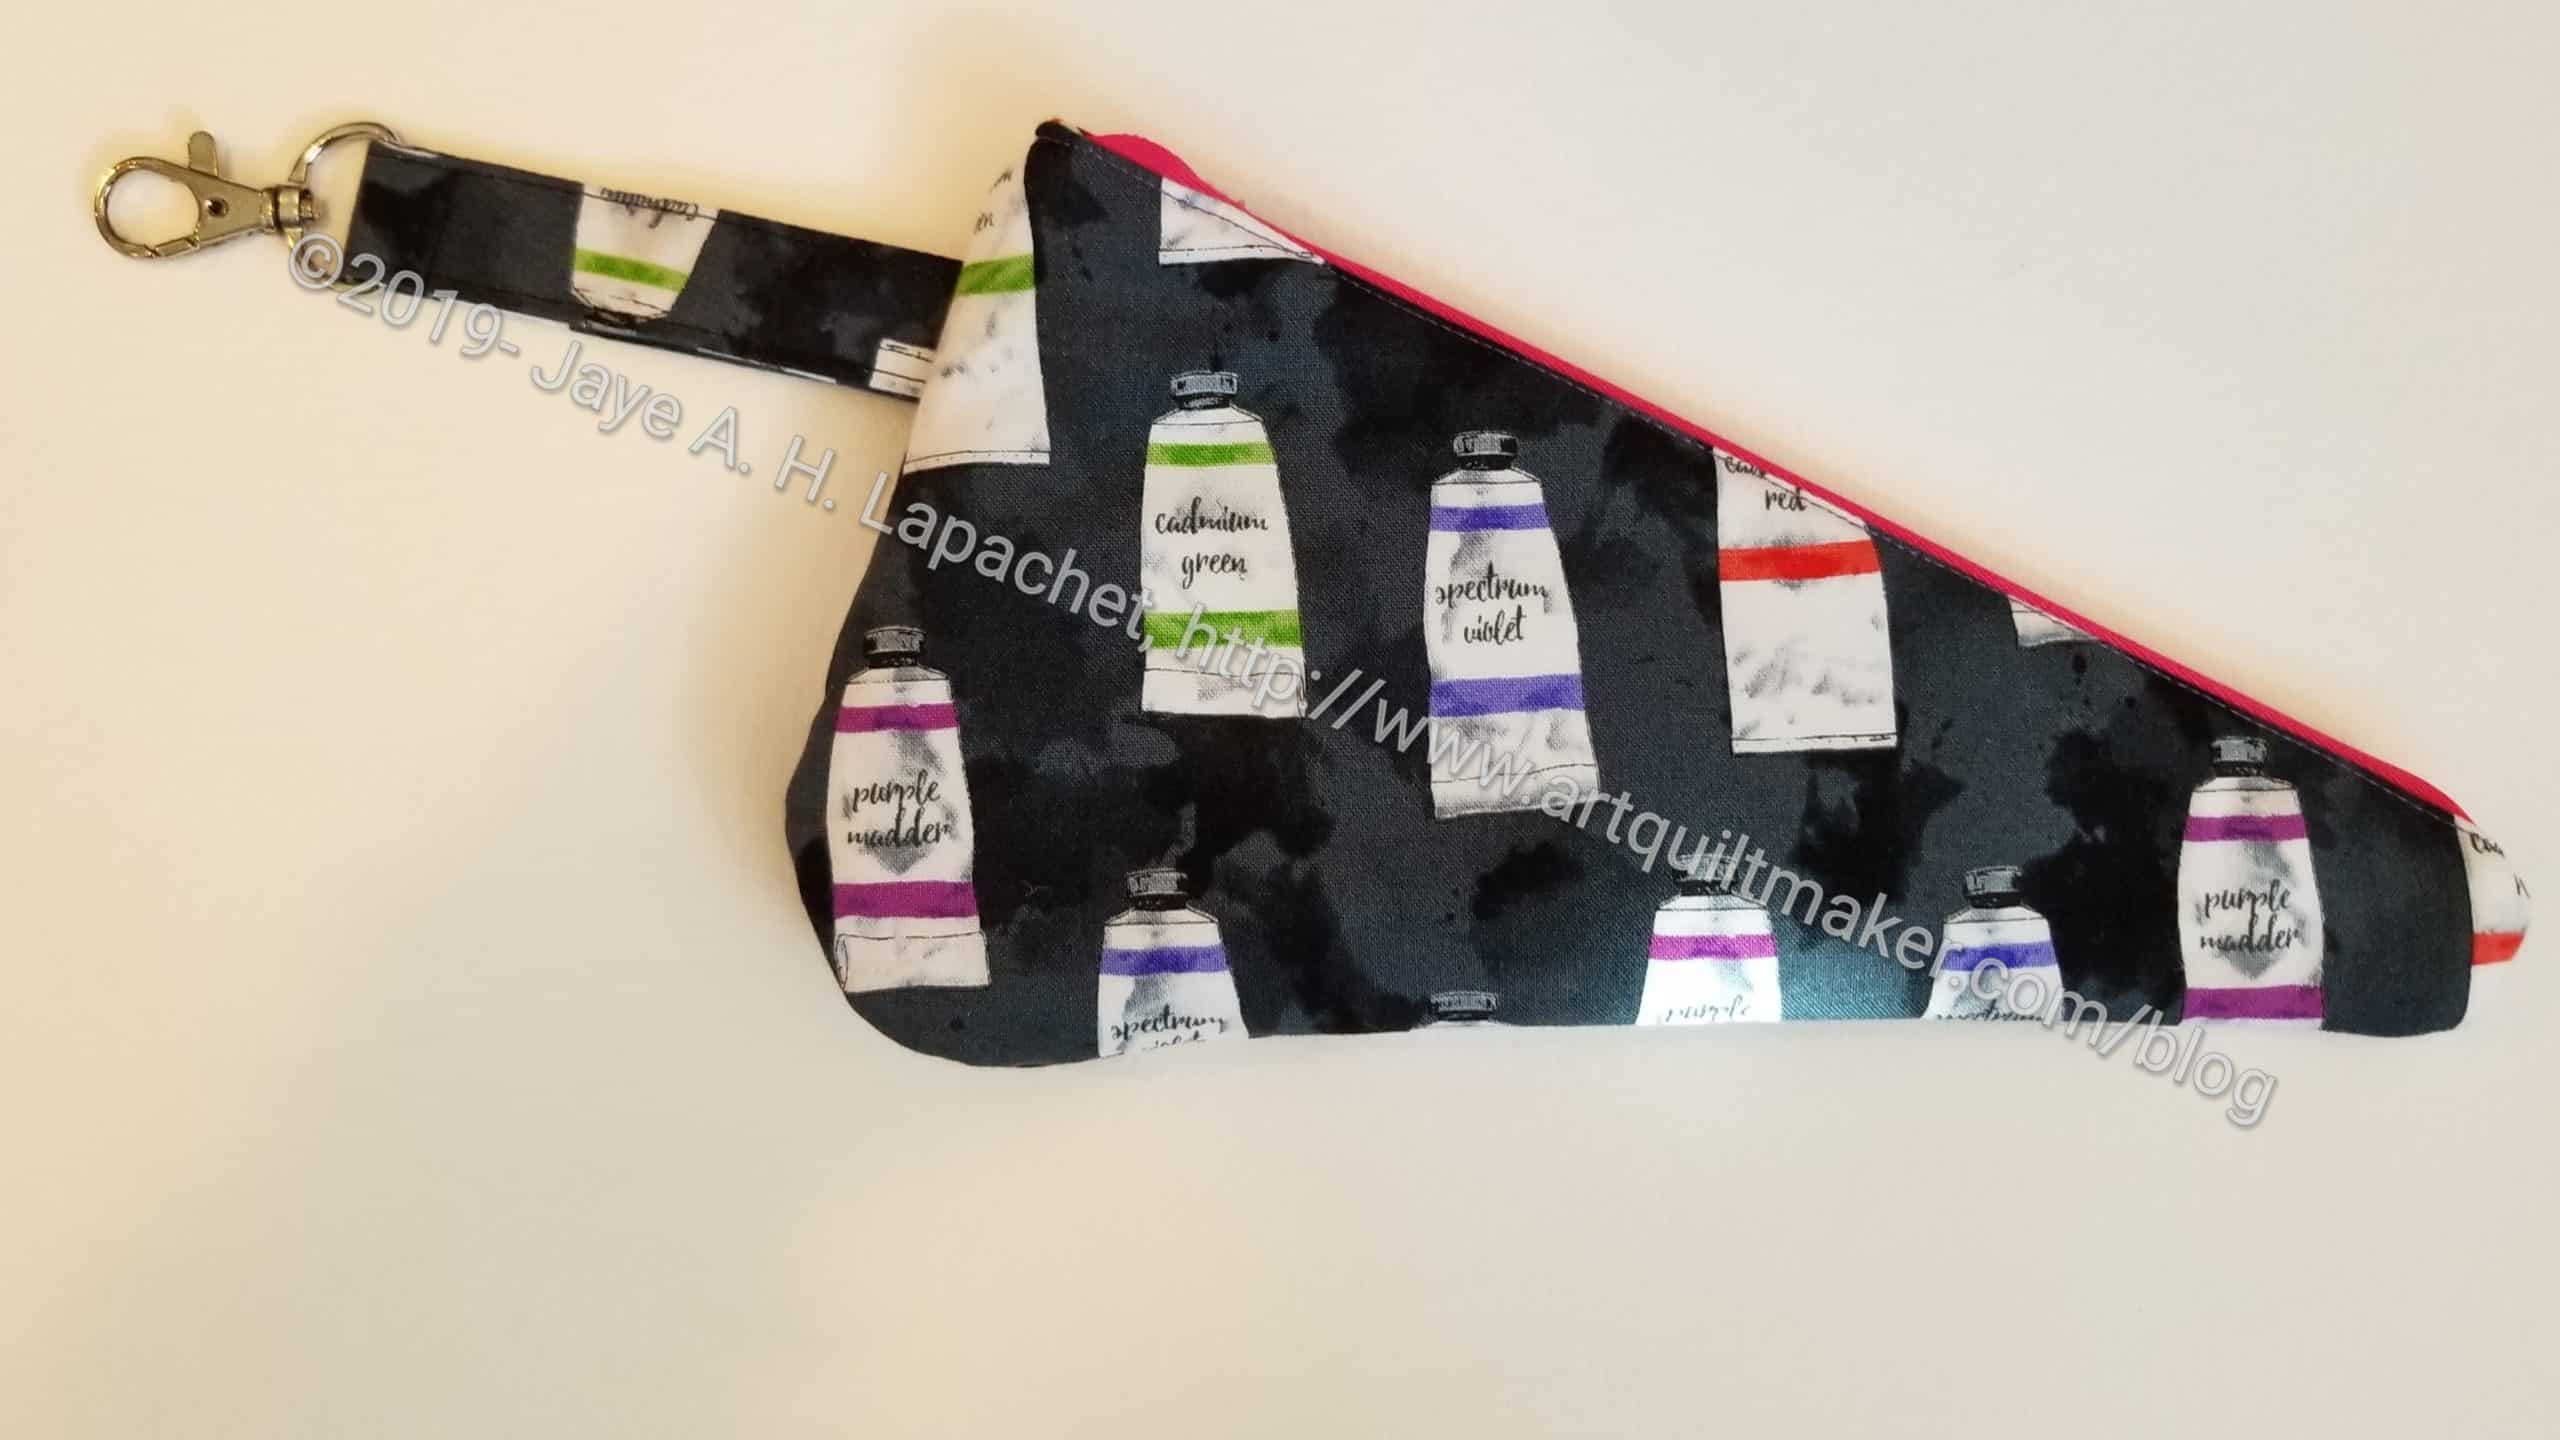
Cal themed Cotton Candy Pouch
Anyway, I made my first project from the patterns, the Cotton Candy Pouch. I made this for my SIL for her birthday. Fortunately, she lives around the corner, so I just put the bag on her doorstep during my morning walk and then texted her to take a look. Not as good a party with cake, but something during this shelter-in-place situation.
There are a few things I had trouble with. I am pretty pleased with the evenness of the zipper, but the ends were a bit of a problem. Next time, I think I will use a coordinating or solid fabric for the side pieces. I think it will highlight the themed fabric better. I find that making a project the first time is always an adventure and a learning experience.
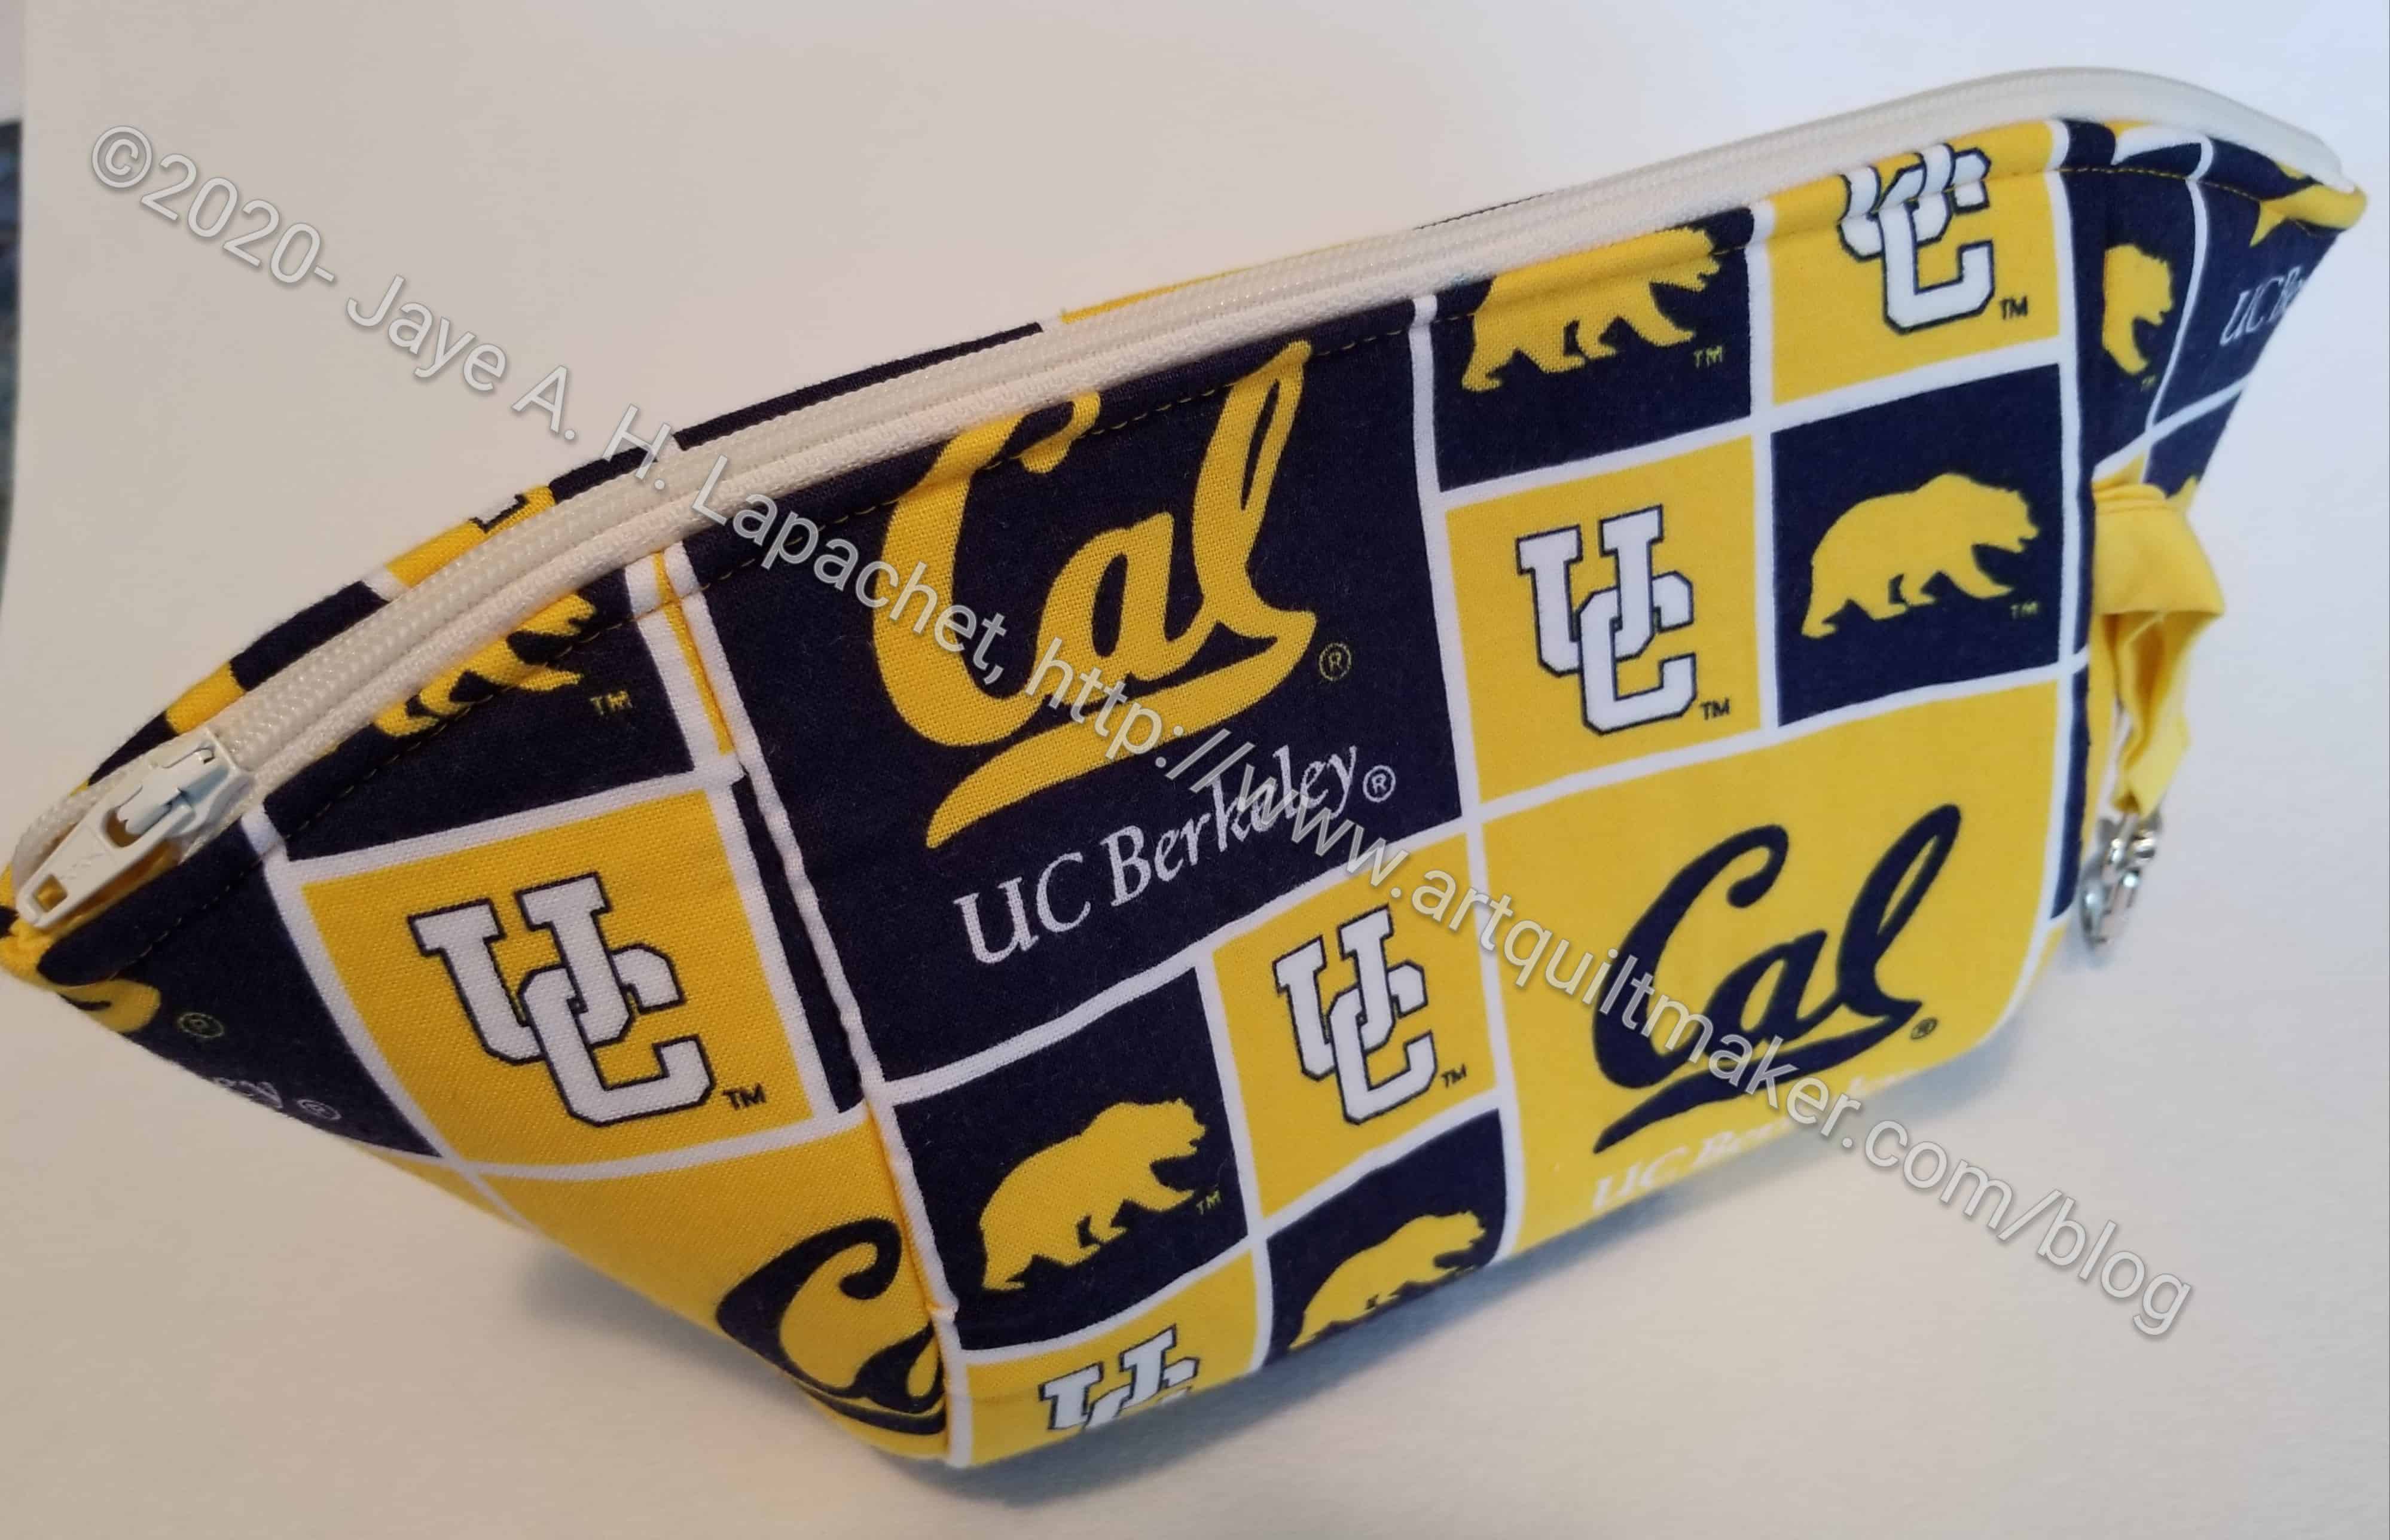
Cal themed Cotton Candy Pouch
I also added a leash. I don’t know if she has a bag with a D-ring, but when she does, she will be able to attach it.
This pouch takes an 18″ zipper, which I thought was long. I don’t have many that size, so I’ll have to think about getting some.
I was trolling YouTube for some some reason I can’t remember and found a video for a vinyl pouch. I actually found several, but one from So Sew Easy caught my attention. I think it caught my attention because I have been thinking about the vinyl pouches in the UCAB pattern and how I could make something more useful. I was thinking about making pouches similar to the Comfort Stitching Speedy pouches I made for the officer gifts. That pattern has a lot of binding, which is nice looking, but annoying to sew. All of these random bits of information contributed to my thoughts. The thoughts all sort of dovetailed when I saw this video.
Vinyl Pouch
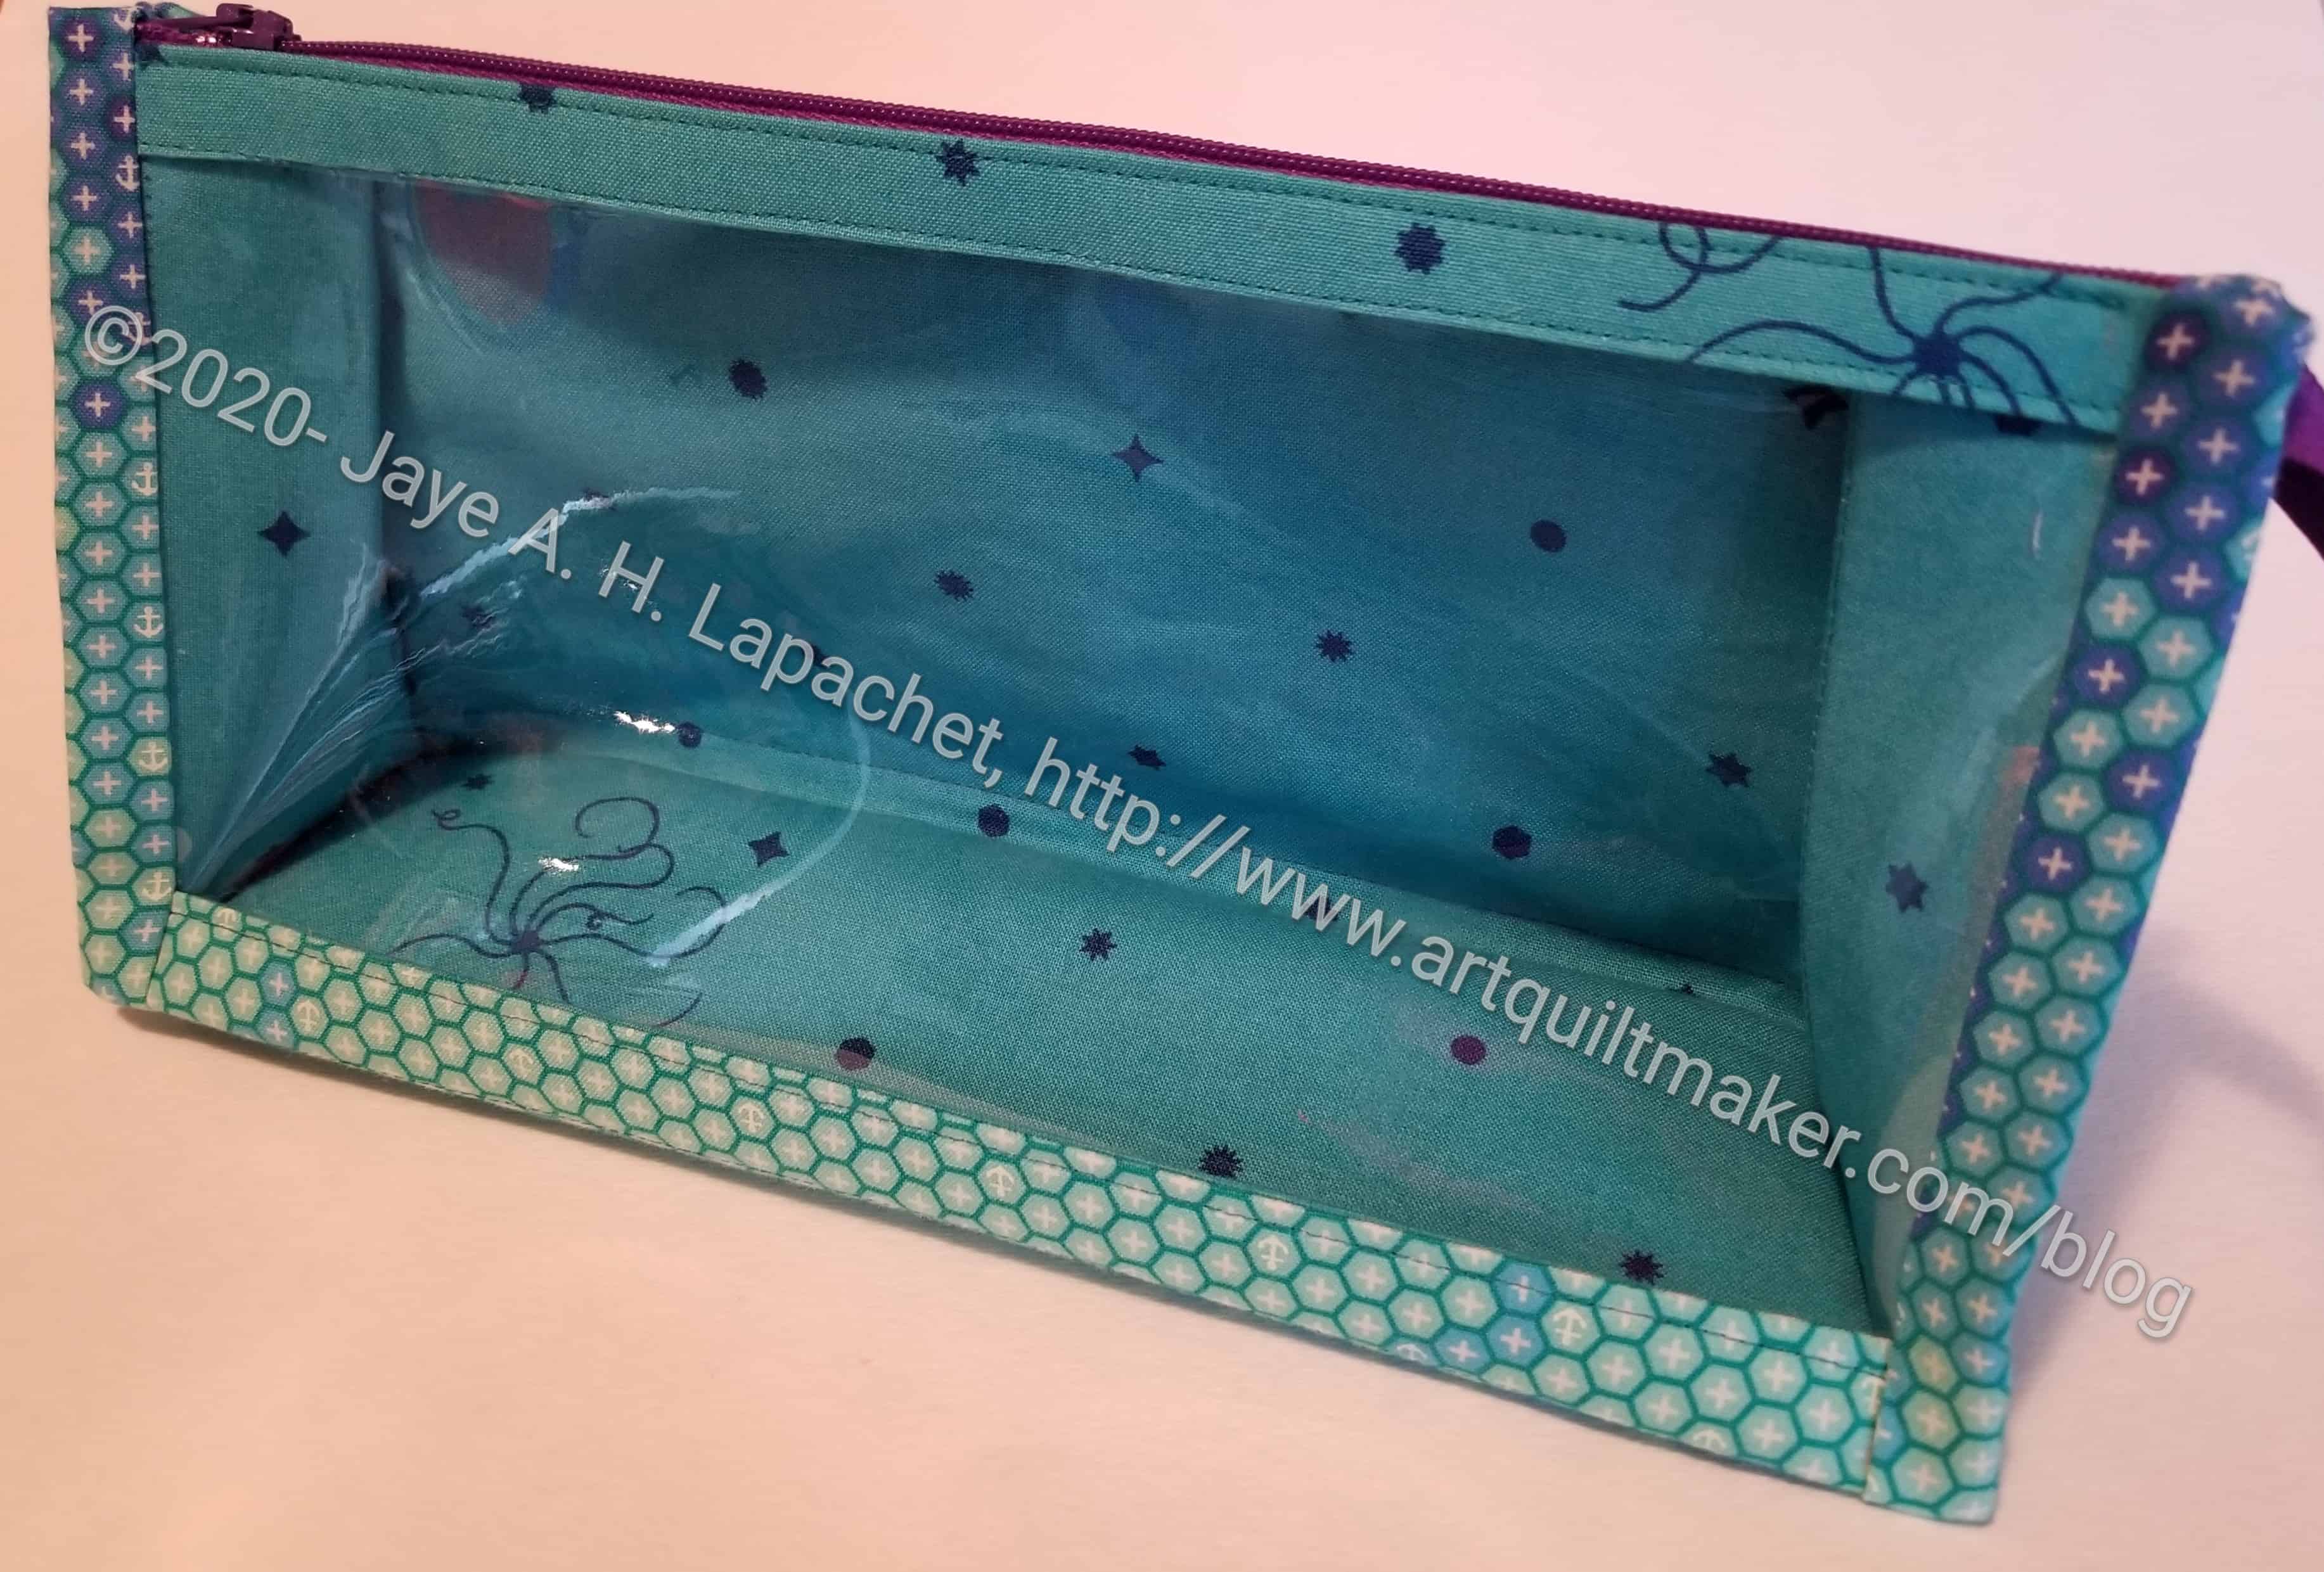
I decided to use some scraps to make a pouch loosely based on this video. As you can see, I used some fabric scraps from the projects I have made for mom. I was lazy and the scraps were handy.
Instead of having the ends of the zipper sticking out, I wanted to try encasing them in the seam.I am pleased with the way the ends came out, but I finished the zipper tab and it meant there were a lot of layers through which to sew. In the future, I will leave the sides of the zipper tab open in order to reduce the number of layers. This assumes, of course, I can finish them and they don’t show on the inside. Unlike in the video, encasing the zipper in the ends of the pouch means that this will not be a widemouth pouch.
I also wanted to try boxing corners. Boxing corners means that the pouch will not be as tall, but the user will be able to put 3D objects inside. I was thinking of thread. The boxing worked well, but I had two problems. First boxing vinyl is a hassle. The video shows fabric on the top. I think, if i make something like this again, I will put a fabric strip on the bottom as well. One of the benefits of this pouch is seeing inside and I would want to preserve that feature. Second, I chose a size (1.5 inches) that was a little too small. I think I would try a 2 inch square next time.
The seams aren’t finished and that is always a problem for me, but I didn’t want to take the time. I would if there was fabric on the bottom.
This project is not a loss. It may not meet my perfectionist standards, but I think it is perfectly serviceable.
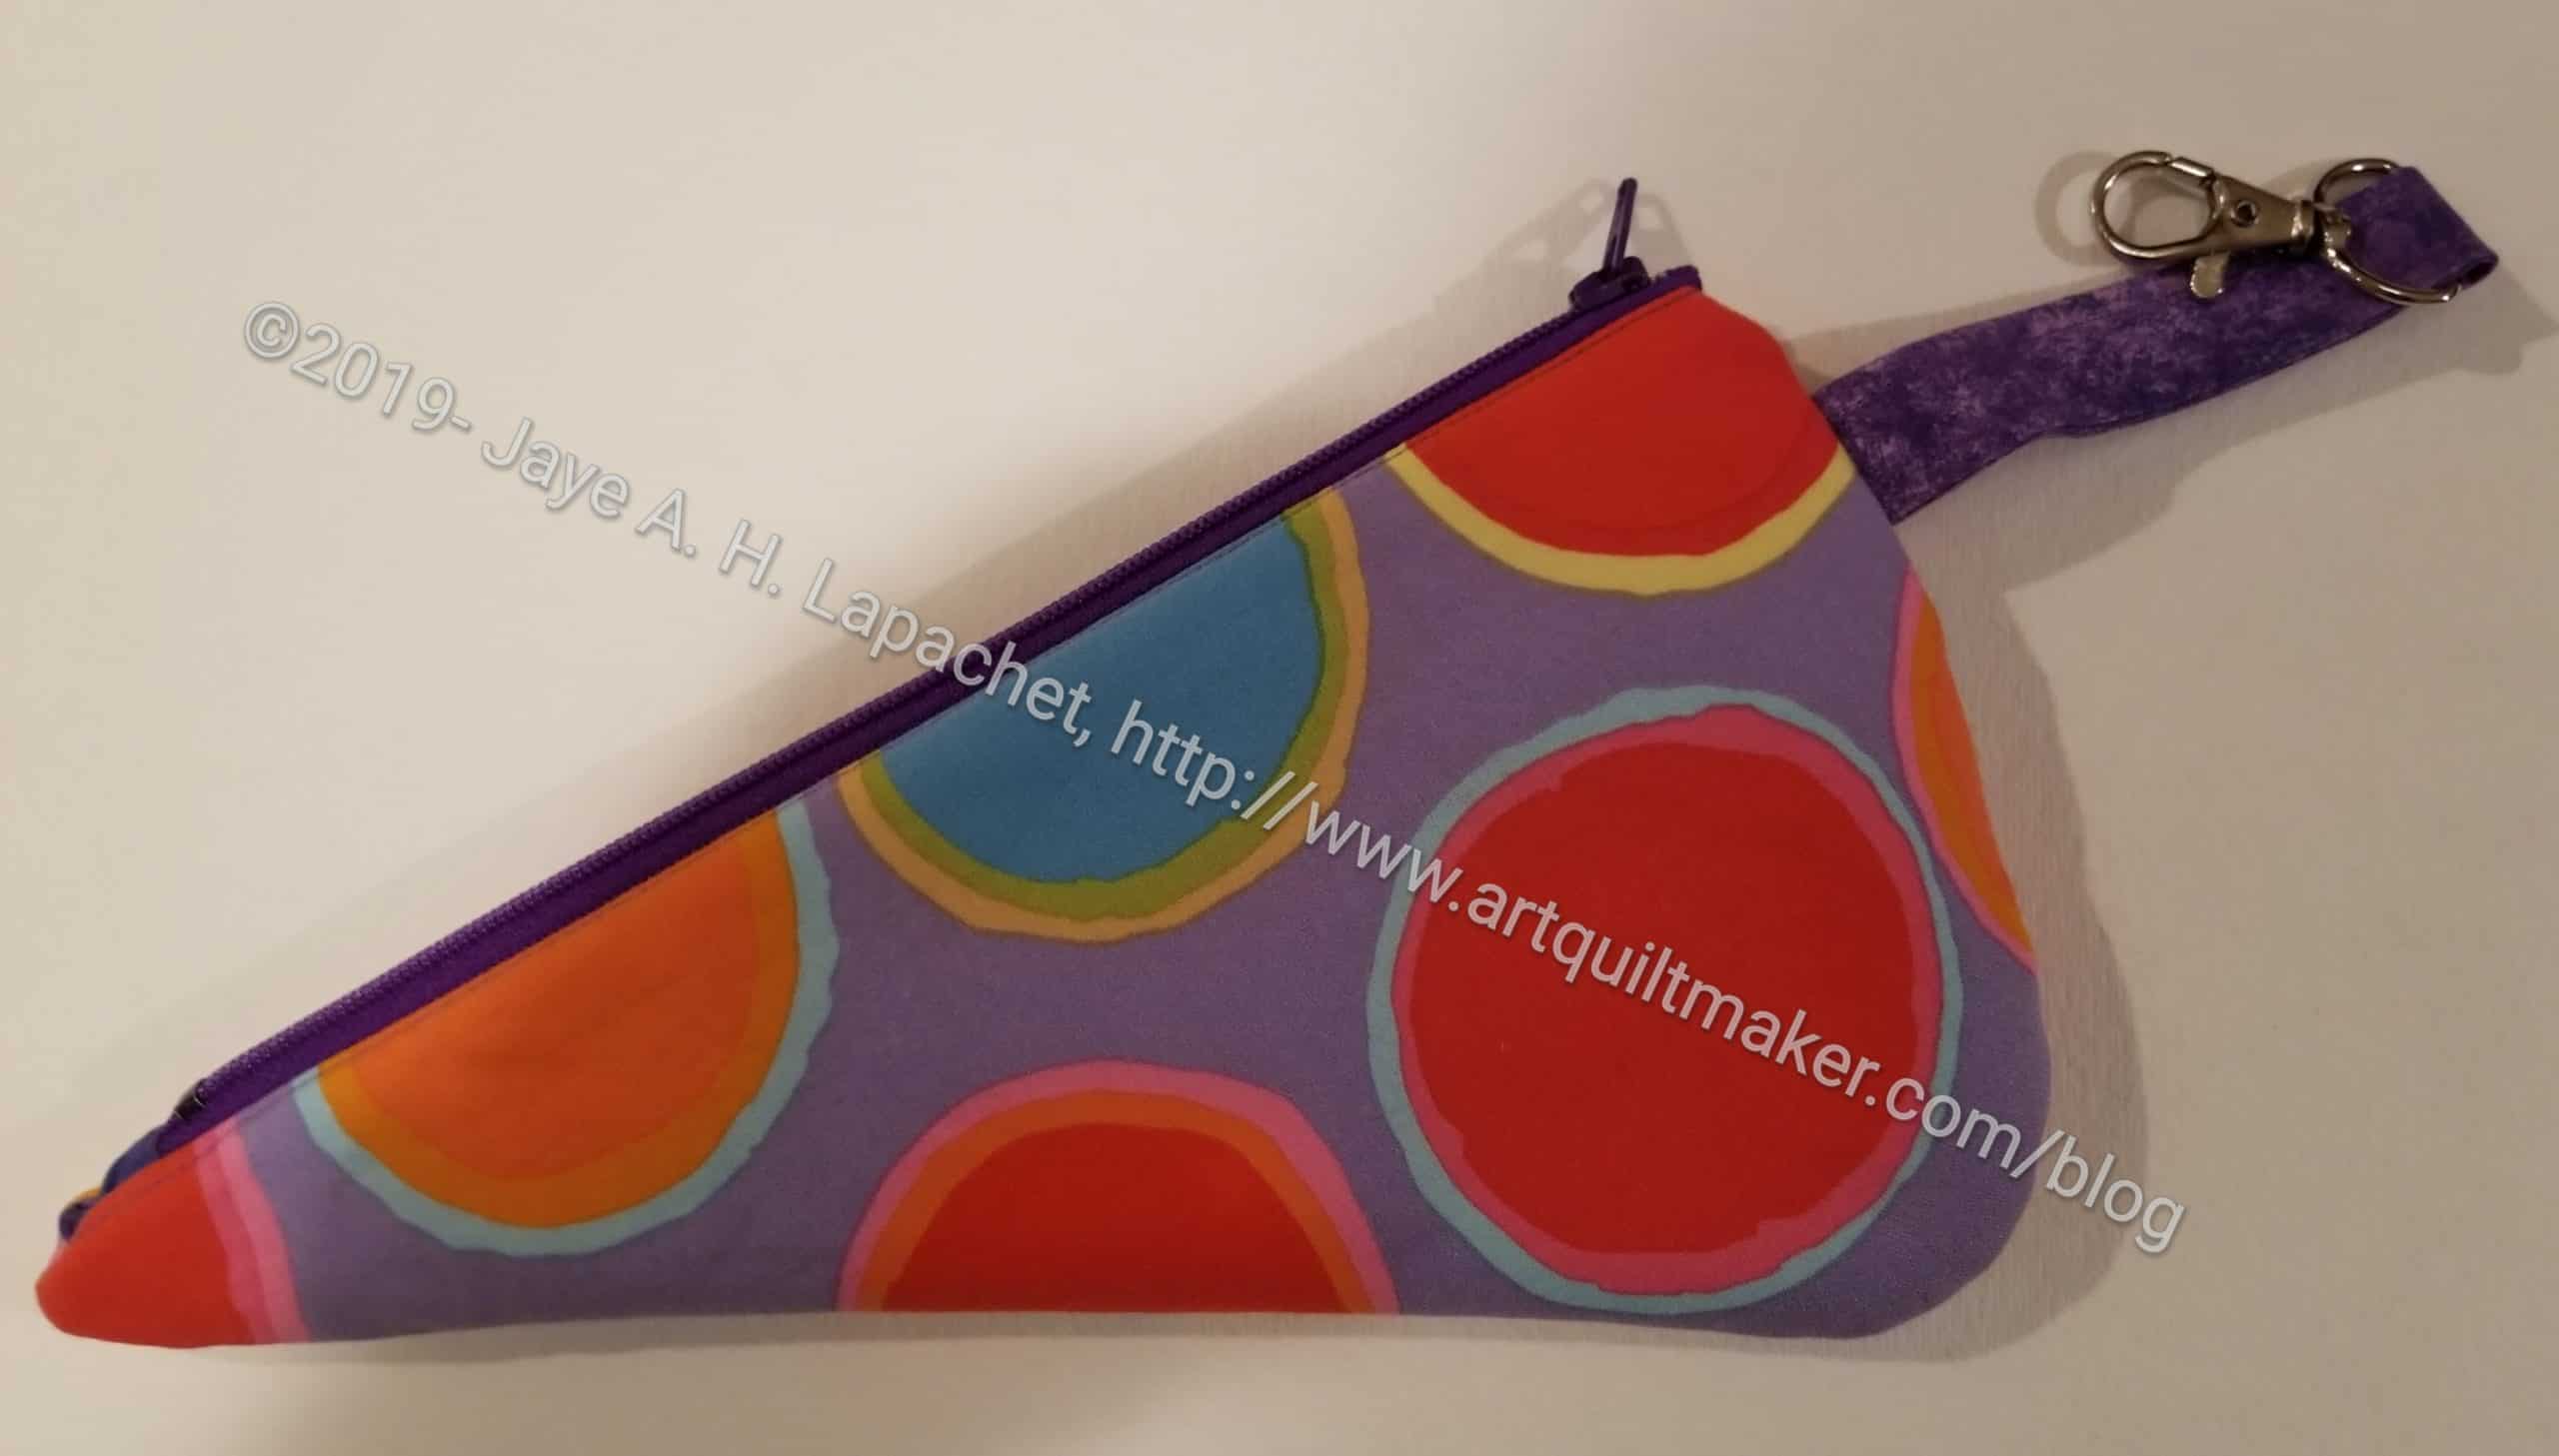
I have been thinking about the Scissor Cozies I made recently.
I went on a mini-rampage flinging things out of my fabric closet and filing other things away. At the end of it, I had found an already quilted piece of fabric/ Soft & Stable left over from the Cargo Duffle.
In general, it has been a week of tidying and tossing things into the donation pile. One thing I found that I put into my new Sewing Machine Suitcase was a pair of Fiskars scissors I used to keep in my office (I would sew there on my lunch hour). I have several pair and didn’t need another in my sewing room, so I thought the suitcase would be a good home.
Scissor Cozy for Julie
This led me to think about making a Scissor Cozy for them, especially after I saw another IG post about the free tutorial from sotakhandmade.
I might need to make the template larger as those Fiskars are on the large side. I can cut it out from that extra piece of fabric, though the piece is large enough to use in a Running with Scissors tote, so I might want to rethink. Regardless, I’d like to use that piece for something and get it out of my fabric closet. It is one of those things that floats around without a real home.
I am in the process of making some of Aneela Hoey‘s pouches. I pulled this pattern out at the last minute to make some gifts that I was woefully behind on making. Although I am not finished, I am pretty pleased on how these are coming out.
The pattern I am using is called Speedy Vinyl Pouches. If I weren’t trying to make 5 at once, they would have been much speedier. 🙂 Still they are fairly quick to make. I bought this pattern on spec after seeing another one of her patterns, the Boxy Clear Pouch that Angela made and looking through the site. Of course, I want all of her patterns, but I am trying to make the patterns that I have, so I limited myself.
Speedy Pouch Gift
The materials are pretty easy to gather up from what you have around the house, except for the zippers. I didn’t have 4″ zippers, but I did have 5″ or 6″ zippers and I just cut them off. It worked fine. Well, it has worked fine so far. We’ see when the pouches are finished.
The thing I really wanted to tell you is that the pattern is great! It is very clearly written, has a great font and is easy to follow — even for me! There was one line with the binding that I didn’t understand, but I made my own way and it seems to work. I guess we’ll see when I sew the binding down.
As you can see, I cut the fabric the wrong way, so the zipper is on the side. Oh well! One thing about this pattern is the orientation of the fabric. She is clear about it. I was trying to use scraps and cut the wrong way, then didn’t have more, so I am going with the flow.
Once I started working on this pattern, I thought I might be able to suggest the pattern to the Bag-a-Long group as an alternative to the ones the designer of the Ultimate Carryall Bag sells. I have nothing against her bags, but I think people might like an alternative to those pouches. I am not sure if this pattern will work as I can’t see a way to add a leash. I could add something as a zipper pull with a lobster clip on the end, but I am not excited about that option. I am going to consult with Lynette on Saturday.
I forgot to take photos of this pouch before I sent it off, but Friend Julie was kind enough to send me some photos. The photos were much better than I would have taken so I was glad I asked her.
This is another version of the Persimmon Dumpling Pouch by Sara Lawson. You can find this free pattern at the Sew Sweetness website. I made a few of these during my fabric gift foray (November 2019) and found it to be a clever design.
Persimmon Pouch for Julie side 2
I made this one, as well as another, with Soft and Stable*. I think the pattern calls for Soft & Stable, so I cut the pieces out, but decided not to use it in the first pouches I made. I just used fabric with SF101/ ShapeFlex* and that worked fine. After making a few of these, I decided I was ready to tackle one with Soft & Stable*. I used the Soft & Stable as a base and piece it using the Quilt as you Go. This prevented me from having to quilt the pieces later. I also got to use up some scraps. I didn’t do anything crazy, though I can see improv possibilities using QAYG.
Persimmon Pouch for Julie bottom
One thing I like about this pattern is the zipper installation. It is very clever and there are no issues with the ends of the zipper. The ends get tucked into the lining out of sight. There is no need for zipper tabs or cutting zippers or anything.
Persimmon Pouch for Julie lining
Turning the pouch was a little tricky because of the Soft & Stable, but not terrible. Normally, I like to make my interfacing a little smaller than the fabric, to reduce layers. When I make this pouch again with Soft & Stable, I will cut the piece larger than the pattern and then trim after I sew fabric pieces to the Soft & Stable. I had a couple of problems with the ends and I think this method would increase accuracy.
I did not hand sew the inside shut. I just wasn’t up for it. Still, I think the piece looks nice and Julie seems to be happy. The only other thing I would change is to get a zipper than matches.
*I use affiliate links and may be paid for your purchase of an item you click on. There is no additional cost to you for clicking or purchasing items I recommend. I appreciate your clicks and purchases as it helps support this blog.
Like the pouch I talked about after Christmas and back in November, this pouch is made using the same Persimmon Pouch pattern, still FREE from Sew Sweetness. I made this one and Julie’s at the same time. I used Soft & Stable* for the lining.
I used the Soft & Stable as a foundation piecing base and sewed scraps to the base. The Soft & Stable* makes for a good base and I liked not having to quilt the sides separately.
I also used some of the artist fabric I had in my scrap pile to keep the idea of the set of items going.
Mom’s Persimmon Pouch inside
Mom’s Persimmon Pouch amazing end finishing
*I use affiliate links and may be paid for your purchase of an item you click on. There is no additional cost to you for clicking or purchasing items I recommend. I appreciate your clicks and purchases as it helps support this blog.
I finished Mom’s Scissor Cozy on November 17, but couldn’t post about it until today. I had trouble on both of the cozies with the tips.
I am not sure how to remedy that except to eliminate the batting near the edges. i don’t know if that would work, but I’ll try it if I make this pattern again. It’s a cool shape.
This isn’t very Christmas-y, but I knew my friend would like it. I cut this one at the same time I cut the other Persimmon Pouch. Same pattern. Same FREE pattern.
I used the fabric leftover from some pillowcases I made for her.
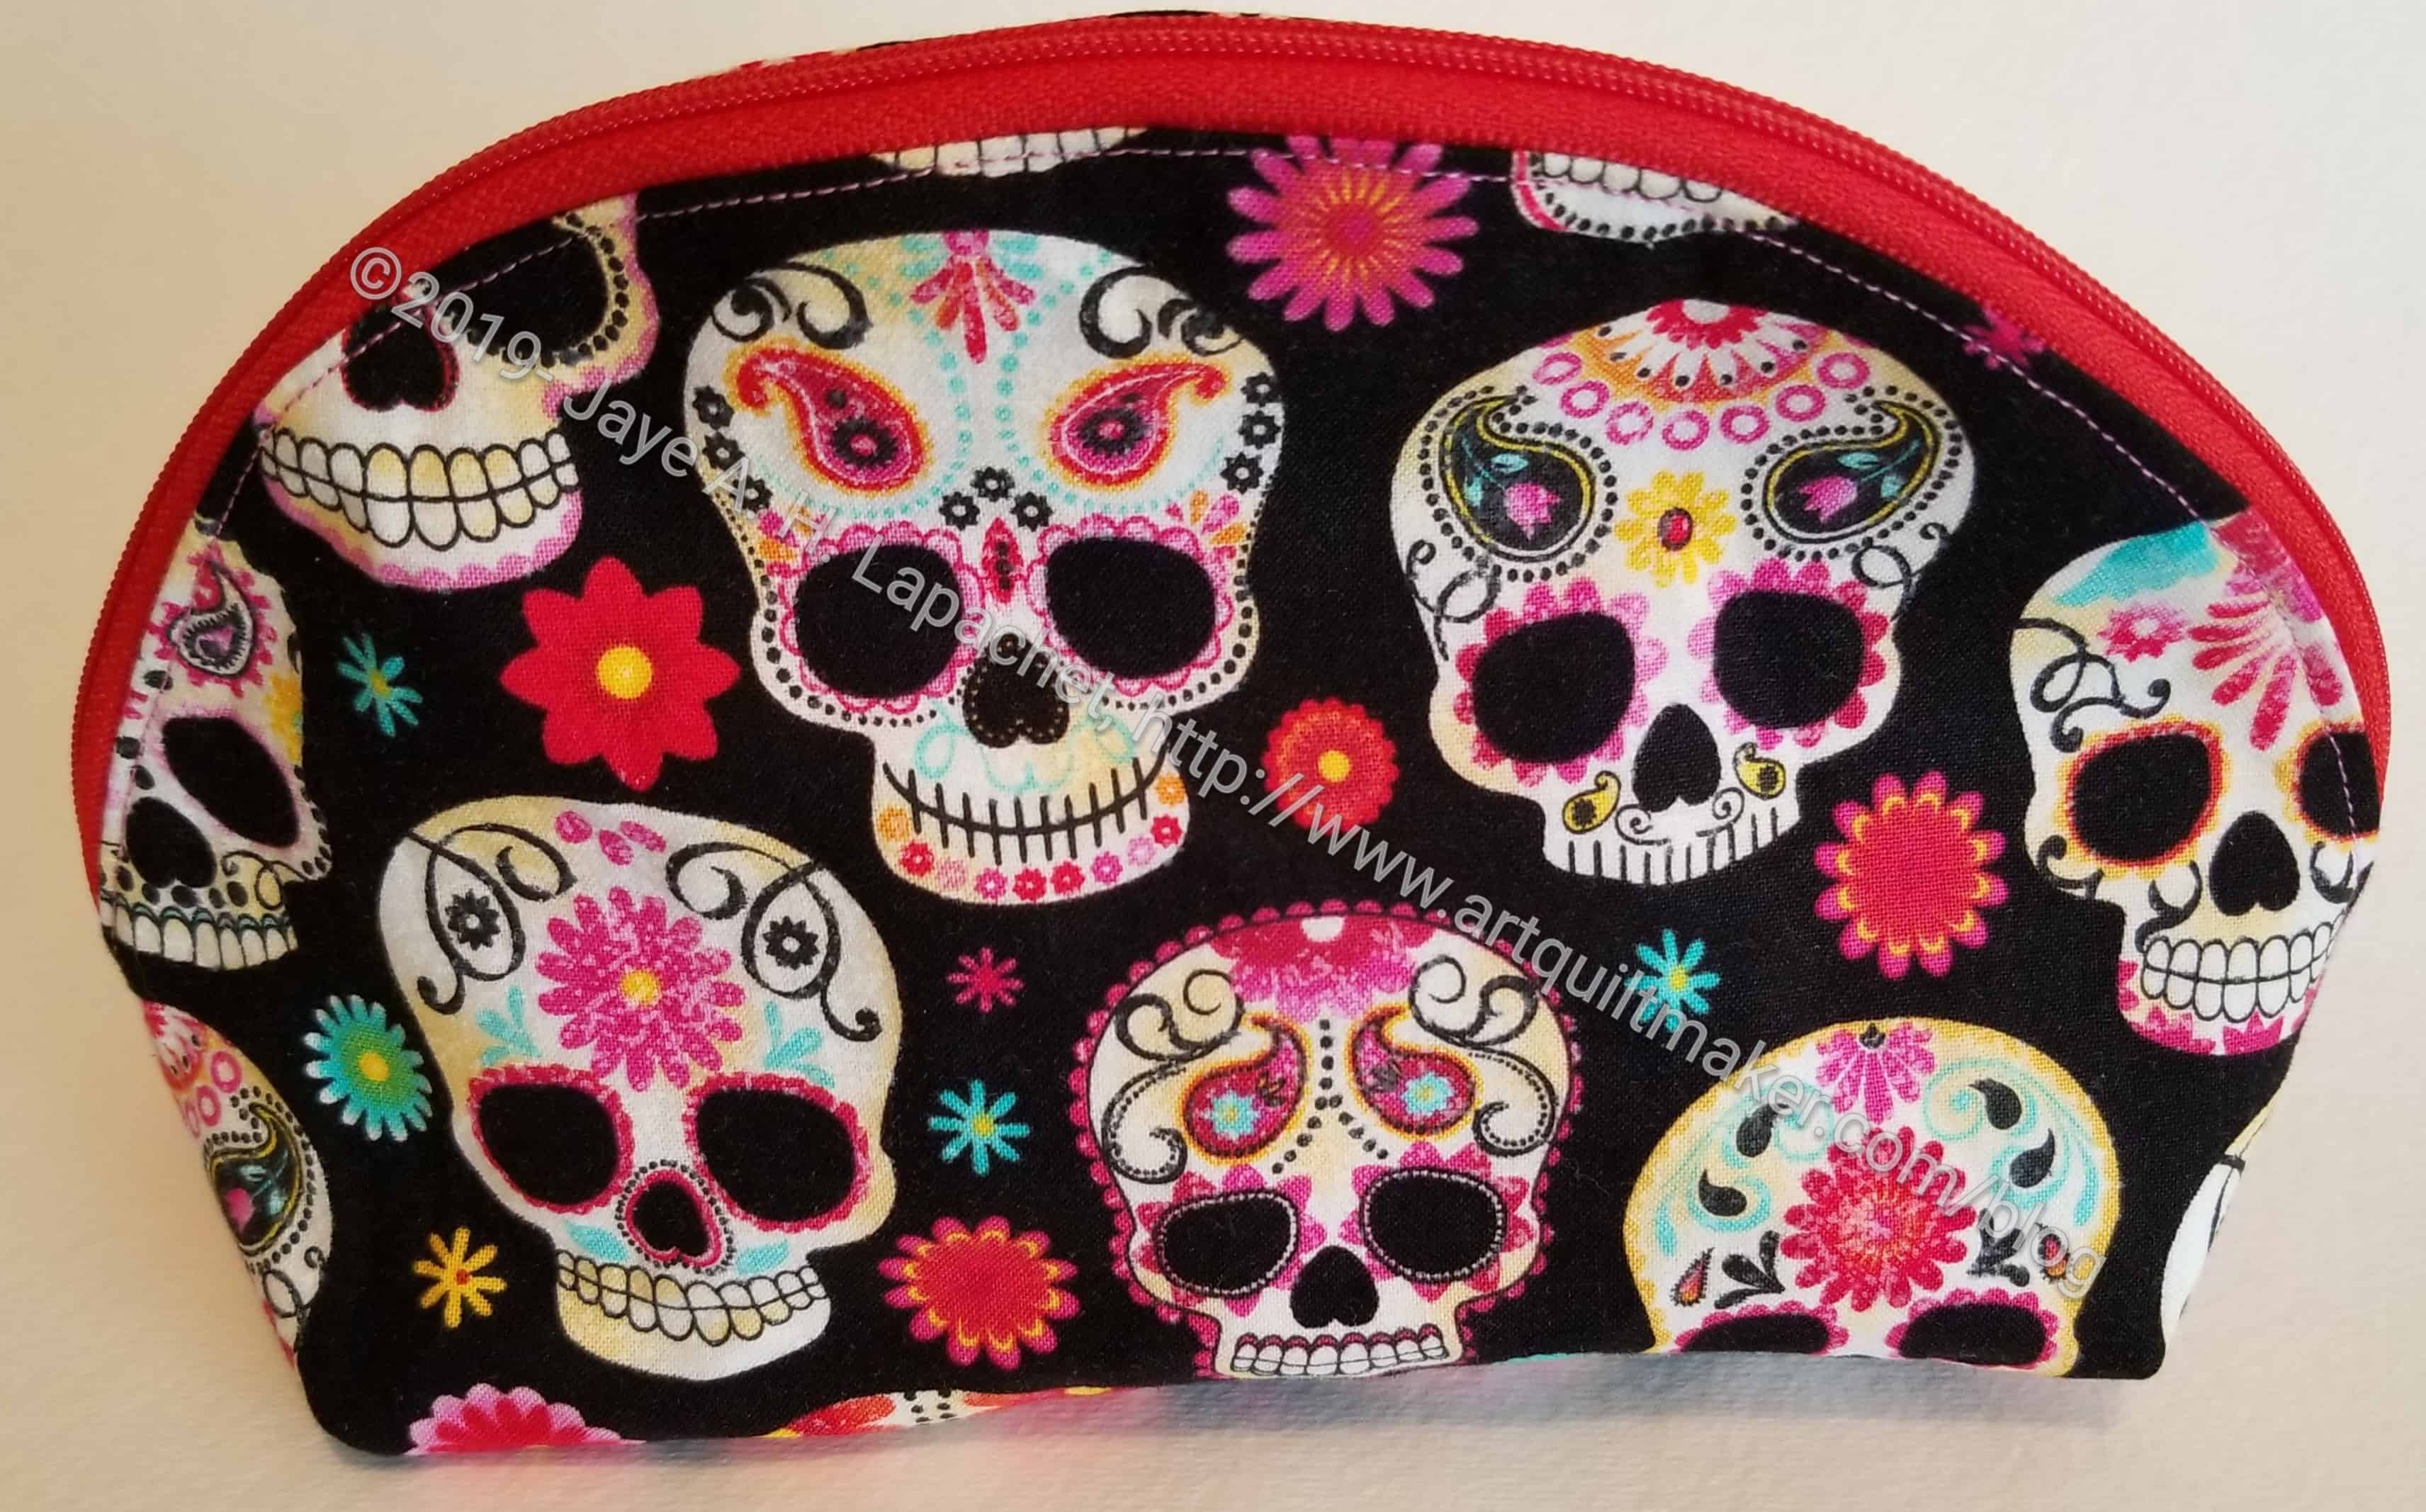
Dia de las Muertos pouch end
I wasn’t able to get this zipper to behave as well as the one in the first pouch, but the pouch still closes and I think it looks fine.
I still love the way this pouch finishes! It is so clever.
Mine is a little different as it has a leash and a lobster clasp, so it can be clipped to another bag. I don’t know if I have made Julie a bag with a D-Ring. I’ll have to put it on the list for next year.
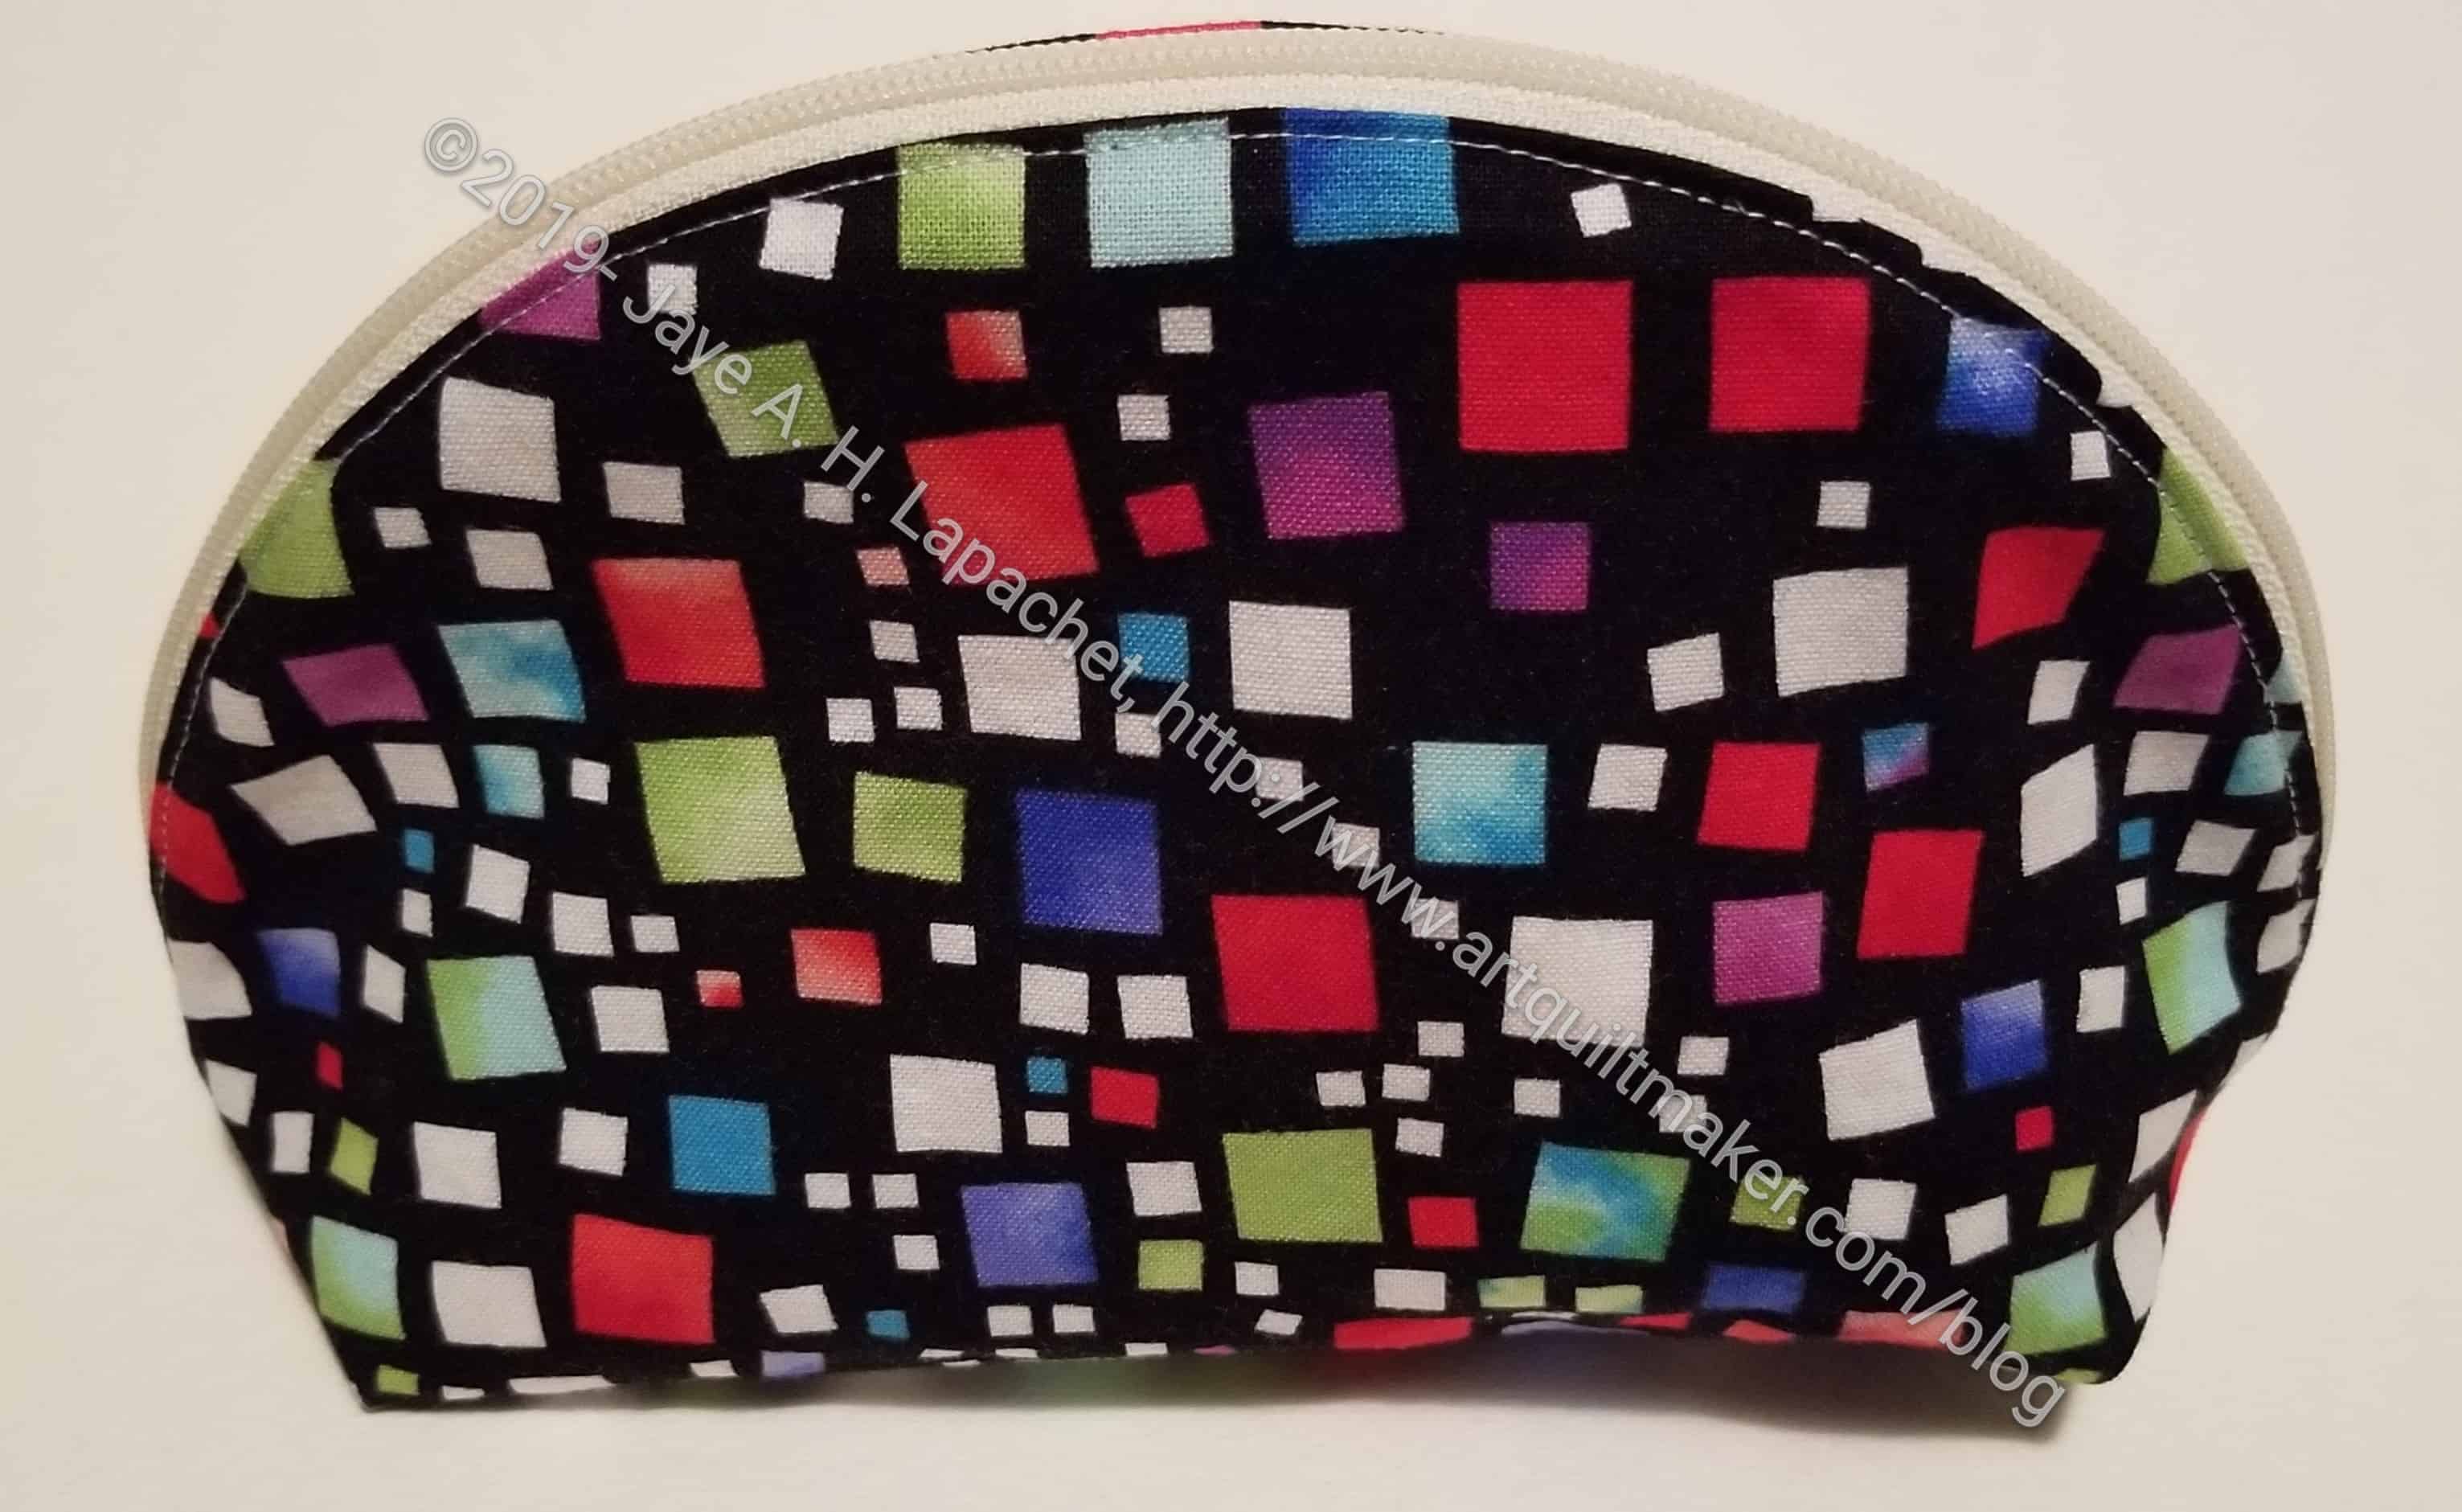
A few weeks ago, I cut out some pouches. I used the Persimmon Dumpling Pouch pattern, a free pattern, from Sew Sweetness for two of them. The pattern has three sizes, small, medium and large, included. This is the small version.
Persimmon Pouch: open
I LOVE this pattern. It went together really quickly after I sat down and just worked on it. It has about 5 seams and the pouch is together. My first try took me awhile, but after finishing it, I thought of a couple of ways I could make this project go faster.
It is so interesting how this pouch opens almost all the way flat. I suppose that could be a problem if the owner had a lot of small items inside.
I have seen this made with two zippers that come together in the middle. Doing that is a skill I have not yet mastered – or even tried. I doubt it is difficult. I’ll put it on the list.
The pattern uses strips to make the exterior. It would be a great pattern to use with some improv piecing, but I just used one piece of fabric for this one and the one I have not yet completely sewed. There is a lot of scope for imaginative fabric use in this pouch pattern (and most, I suppose).
I made this one for the raffle baskets as a test to see if I would want to keep making these as gifts. I think it will be a great pouch to hold all the little gifts. Of course, I have other patterns I can and want to try as well.
Persimmon Pouch: zipper ends
It also has a great way of finishing the ends of the zippers. There is no cutting off the zipper ends or making new stops. The ends are tucked into the bottom seam and hidden between the lining and exterior.
I was thinking I would like to add a leash and a lobster clip to this pouch, but since there are side seams, I am not sure if it is possible. I have another one cut out, so I will think about it some more as I make the next one.
Stay tuned for more! If you try this pattern, let me know what you think.