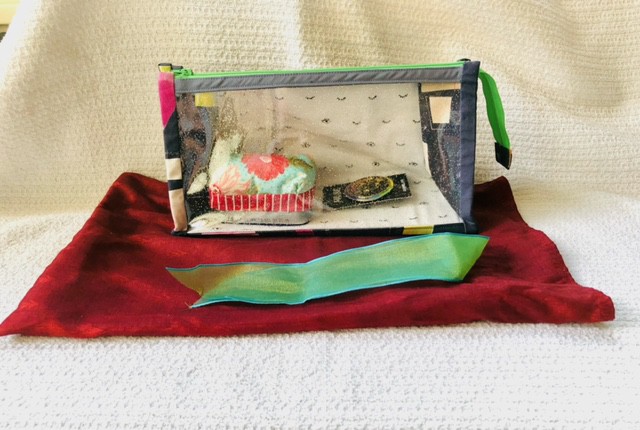
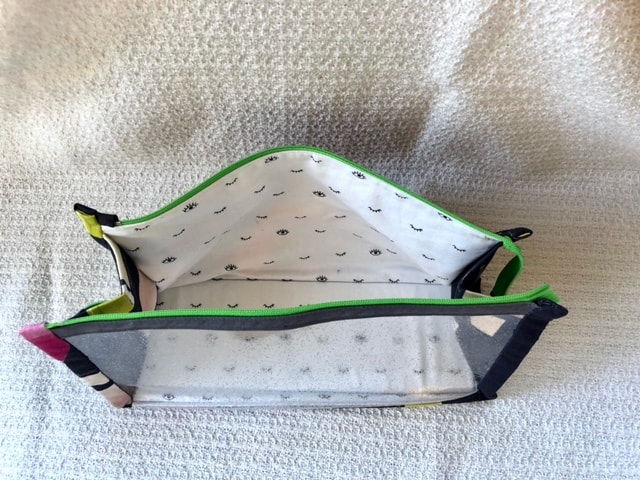
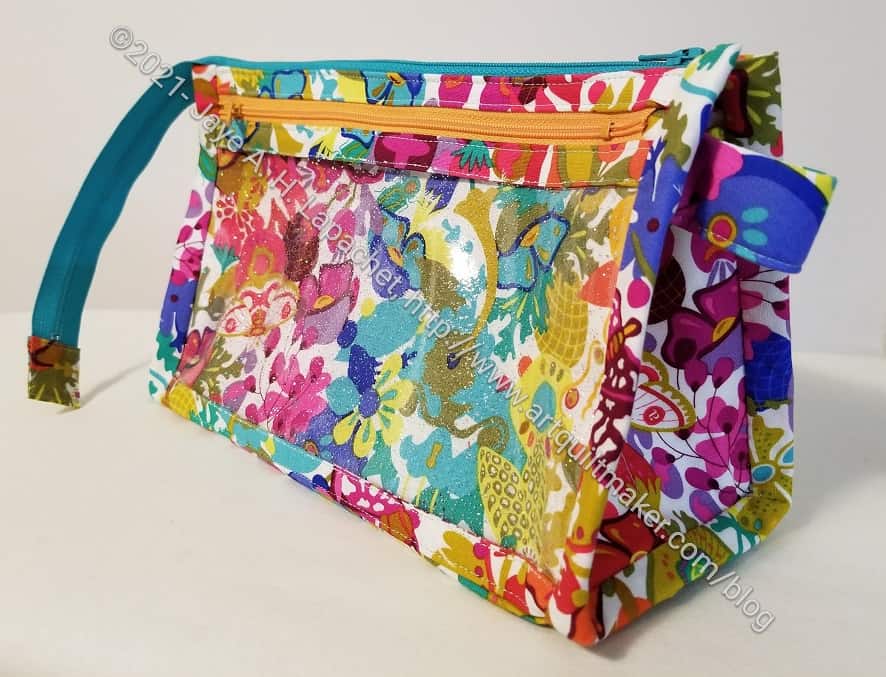
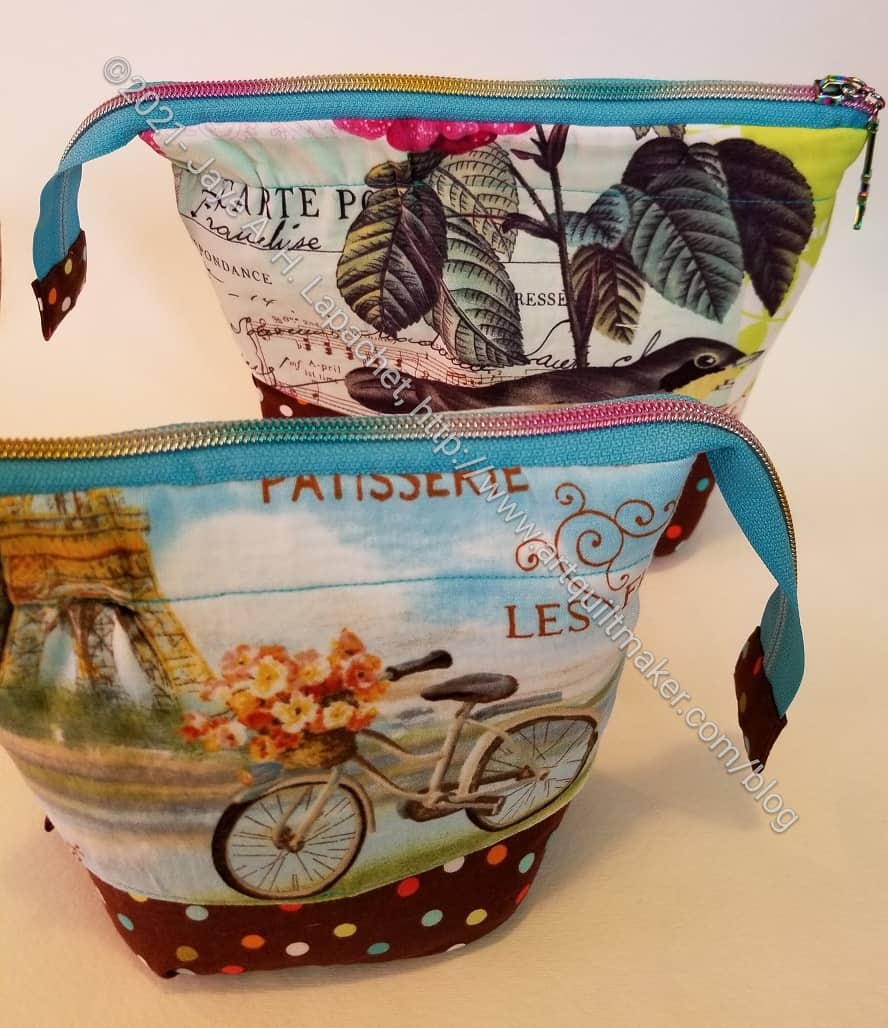
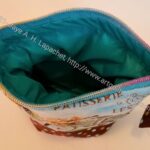
I forgot to take pictures of Carrie’s pouch, but she kindly took some and sent them to me. You’ll get a different view from the ones I usually provide. Perhaps it will shake up my photographing a little bit.
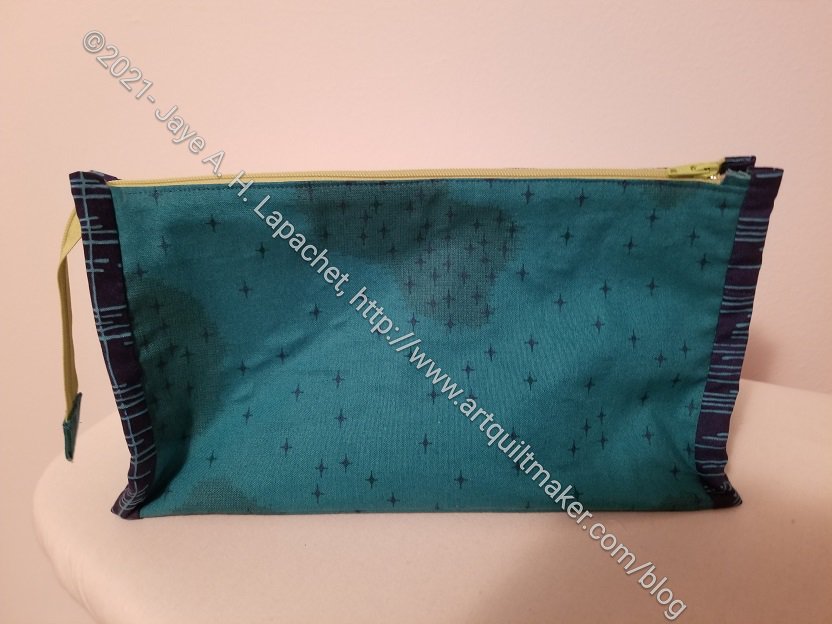
Carries pouch
In the pouch I put one of the color wheel pins I bought for gifts. I also put in one of the small Altoid tin sewing kits I made for the officers earlier this year. (see above)
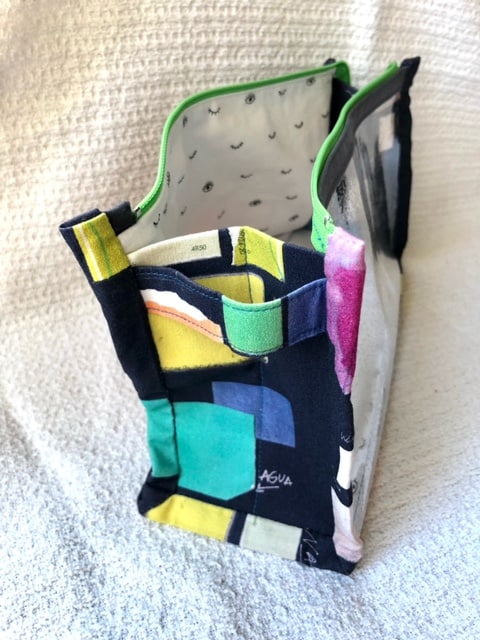
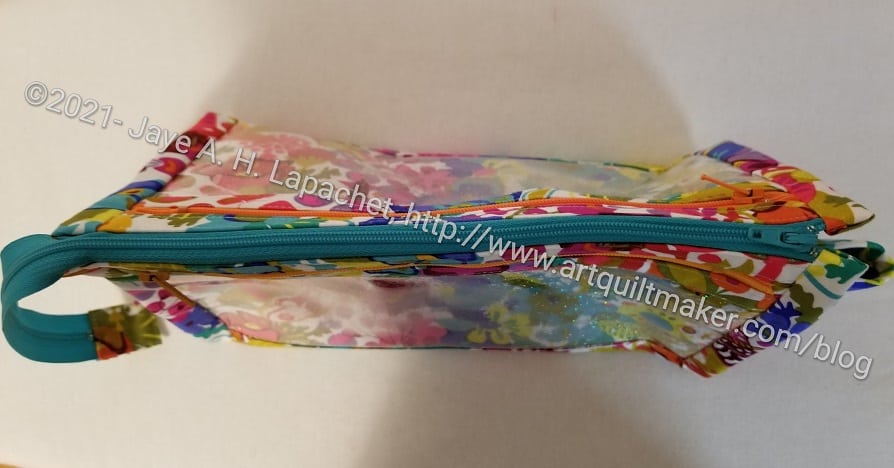
I tried something different with these based on my desire to cover the ends of the zipper tape on the Inside Outside pouch. This is, however, a different bag and I ended up ripping out a lot of work when I realized it wouldn’t work. My idea of zipper tabs will work on the Inside Outside pouch, if I make it again.
Carries pouch end
Carrie was really happy with it and sent me a lovely thank you note. Don’t you love a good thank you note? I can’t wait to see how she uses it.
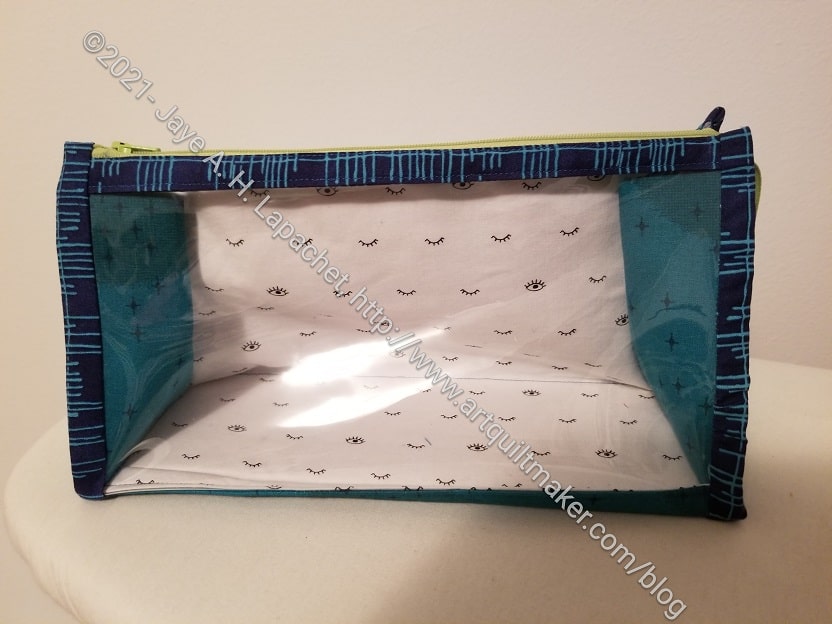
I finished another Boxy Clear Pouch right before Christmas. This one is for Tim and I gave it to him when we had an after Christmas Sew Day. It is the same pattern as the ones I made for my students. The difference is that I used fabric that will coordinate with the Sew Together Bag I made him last year.
The Bernard
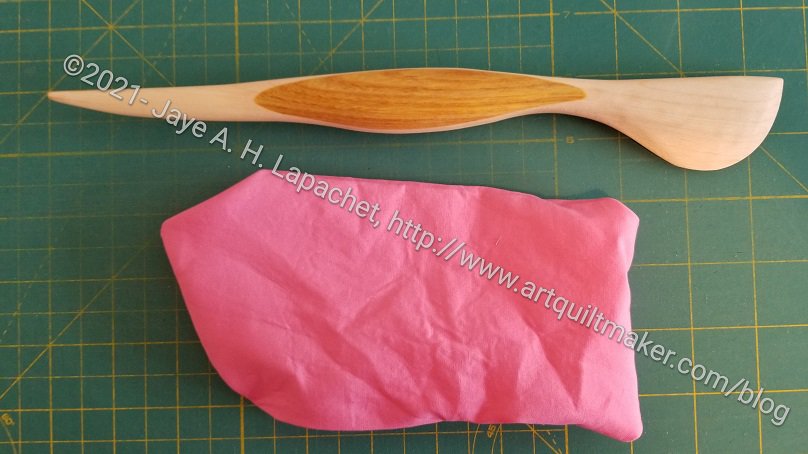
Inside I put a point turner from Modern American Vintage. Remember I talked about them in a recent Various & Sundry post? (Ignore the pink pocket in the photo; that is from an unrelated project.) The company have some beautiful tools. They make wooden point turners, seam rippers and Hera markers. Often wooden tools are over the top, but these are simple, gorgeous and amazingly functional. Tim is a great friend and my bagmaking buddy, though he makes fun of me for the complicated bags that I make. Every bagmaker needs a good point turner. I have several different ones and this is the best. I know Tim would like it as well.
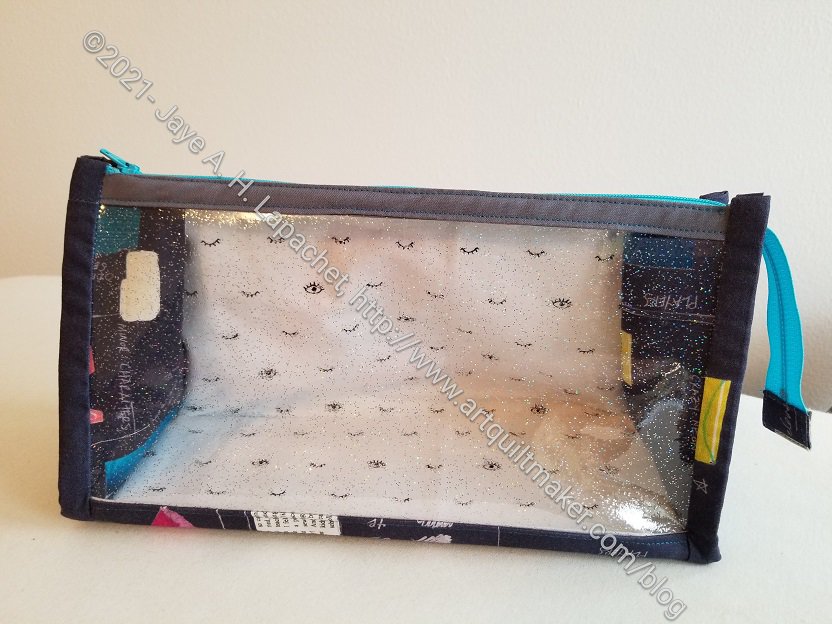
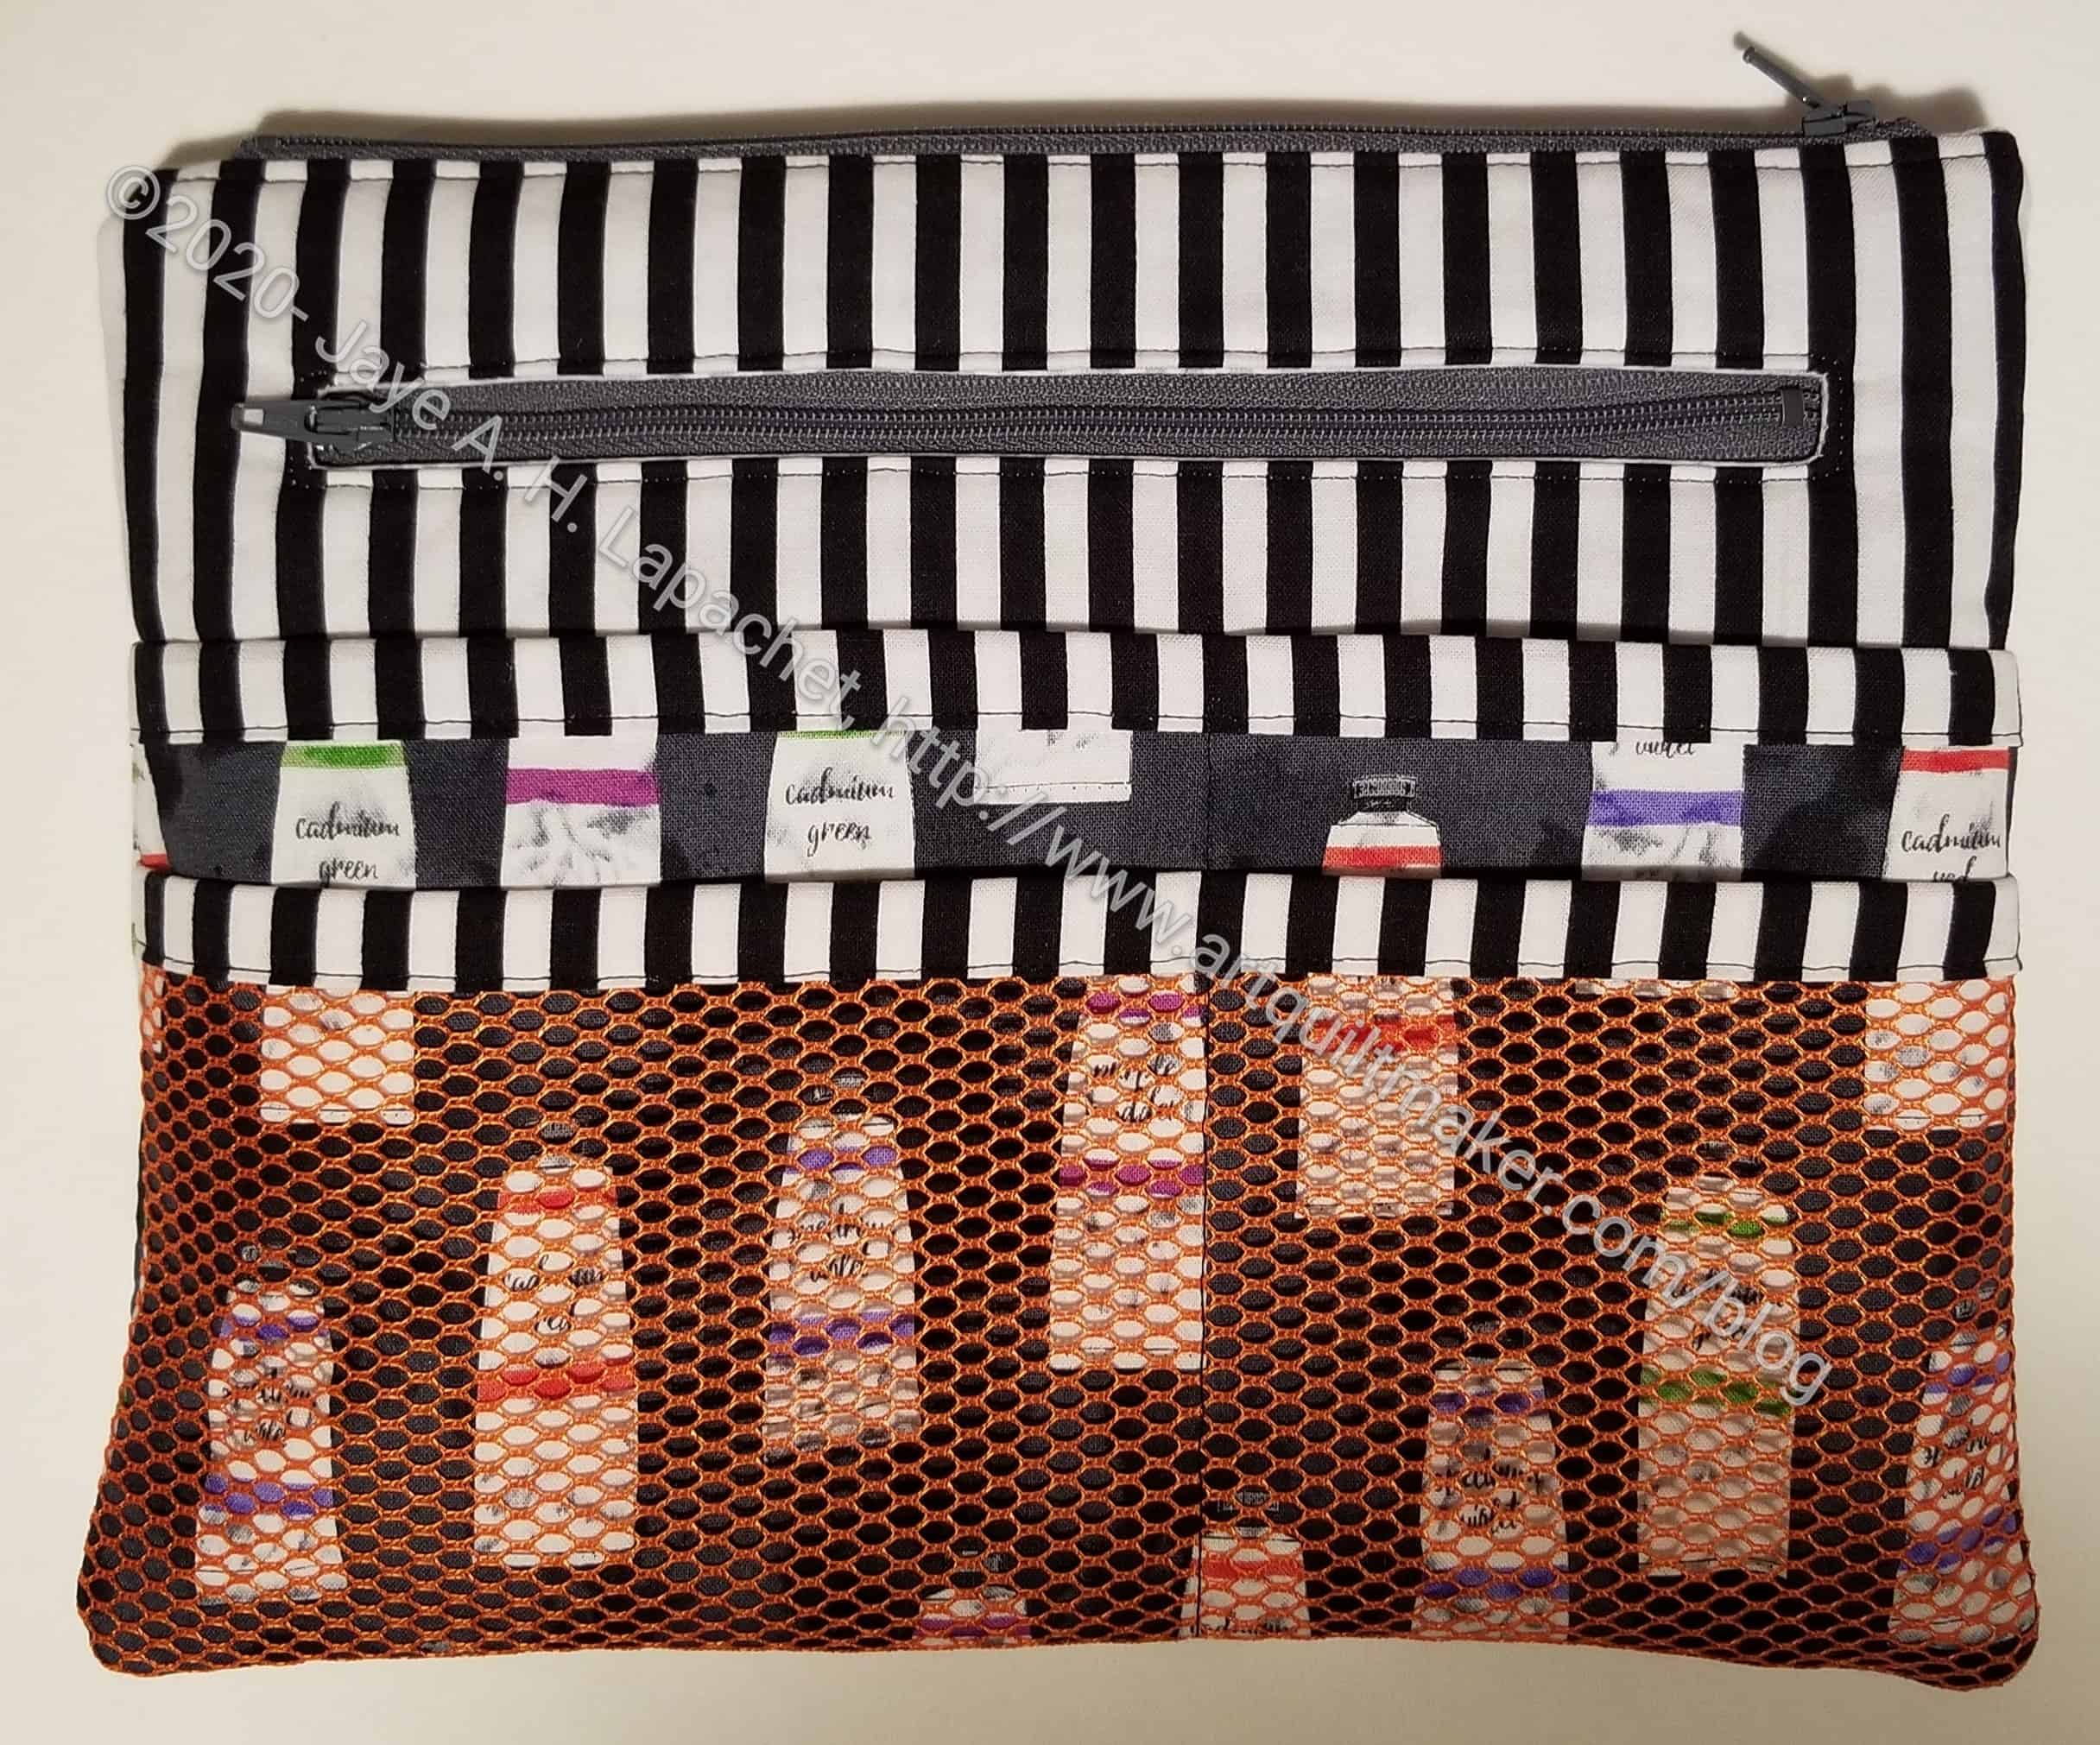
Tim’s Boxy Clear Pouch – back
Aneela Hoey’s patterns are pretty well written. The thing I don’t like about this pattern is the binding on the ends. It looks great in the end, but is a hassle to hand sew down at the end of the project.
I think this is a useful bag, because you can see what’s in it.
I used the Boxy Clear Pouch pattern from Aneela Hoey. It is related to the Inside Outside Pouch I made for myself. The difference is fewer zippers. I think I like the Inside Outside pouch better, though this is in no way a terrible pouch. It would be great for a small knitting project.
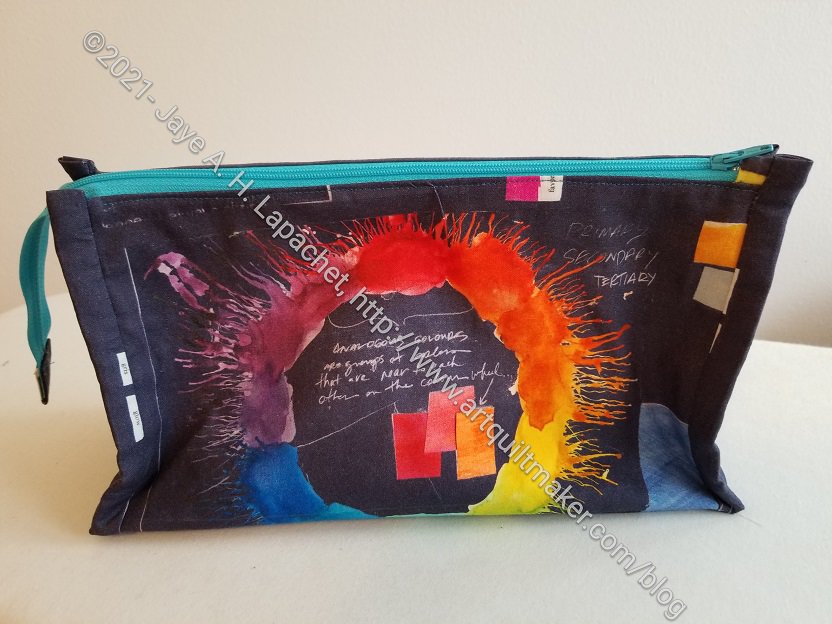
Color Wheel Boxy Clear Pouch – back
I am pleased with the fabric I used. It is Carrie Bloomston fabric. I am constantly referring to the color wheel when we are in class. Sue will have a color wheel with her if she keeps this pouch around.
Cutting out pieces for bags is the hardest part. It is also, for me, the worst part. I often make two of a pouch or bag at the same time. Cutting out two of each piece at one time doesn’t seem to be that much harder than cutting out one. That is how I made this pouch. I decided on the spur of the moment to make the same pouch for Lil Sissy for Christmas that I was making for myself. I didn’t think really hard about the fabric. I grabbed this Alison Glass fabric, which is super cheerful, IMO, and for which I hadn’t yet found a use.
Lil Sissy’s Inside Outside Pouch – 3/4s view
I am on the fence about whether I should have used a different fabric for the zipper plackets. I have trouble figuring out where pieces are going to go and most independent pattern makers don’t really tell you beyond naming the piece. I think using the same fabric on this pouch looks fine. If I used fabric like the Dripping Rose again, I would probably use different fabric. The motifs get broken up too much.
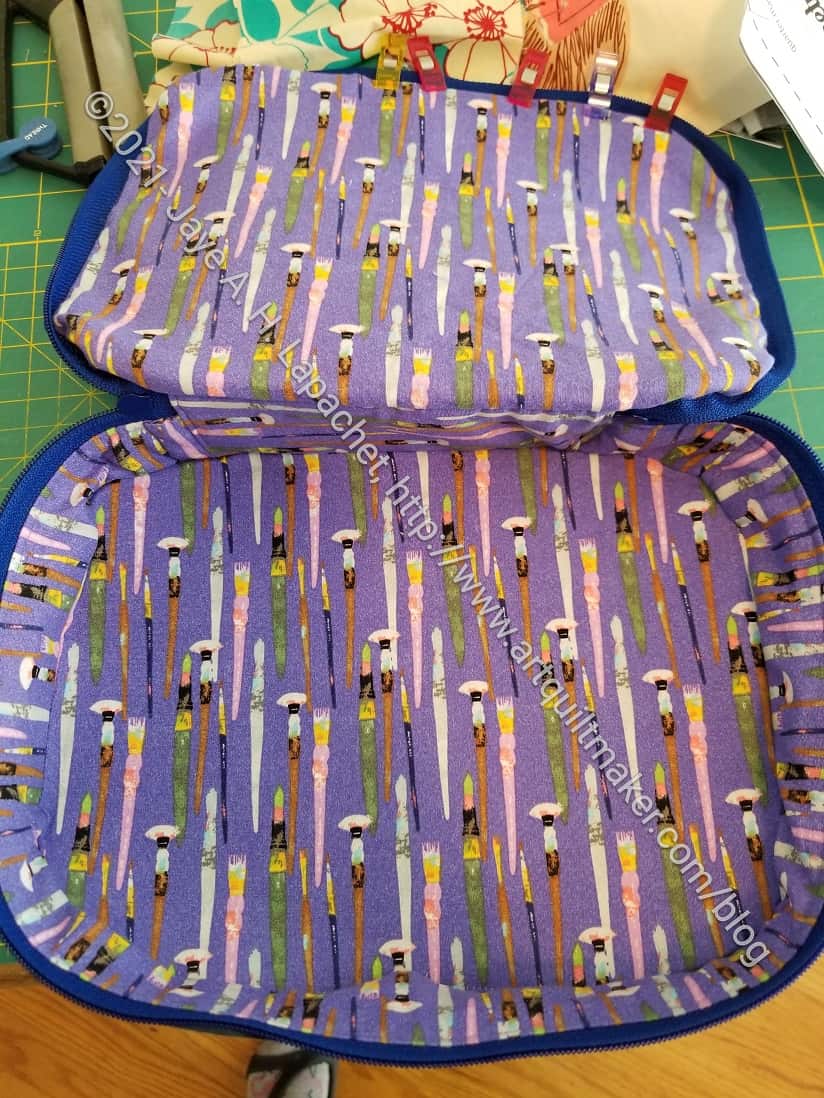
Lil Sissy’s Inside Outside Pouch – interior
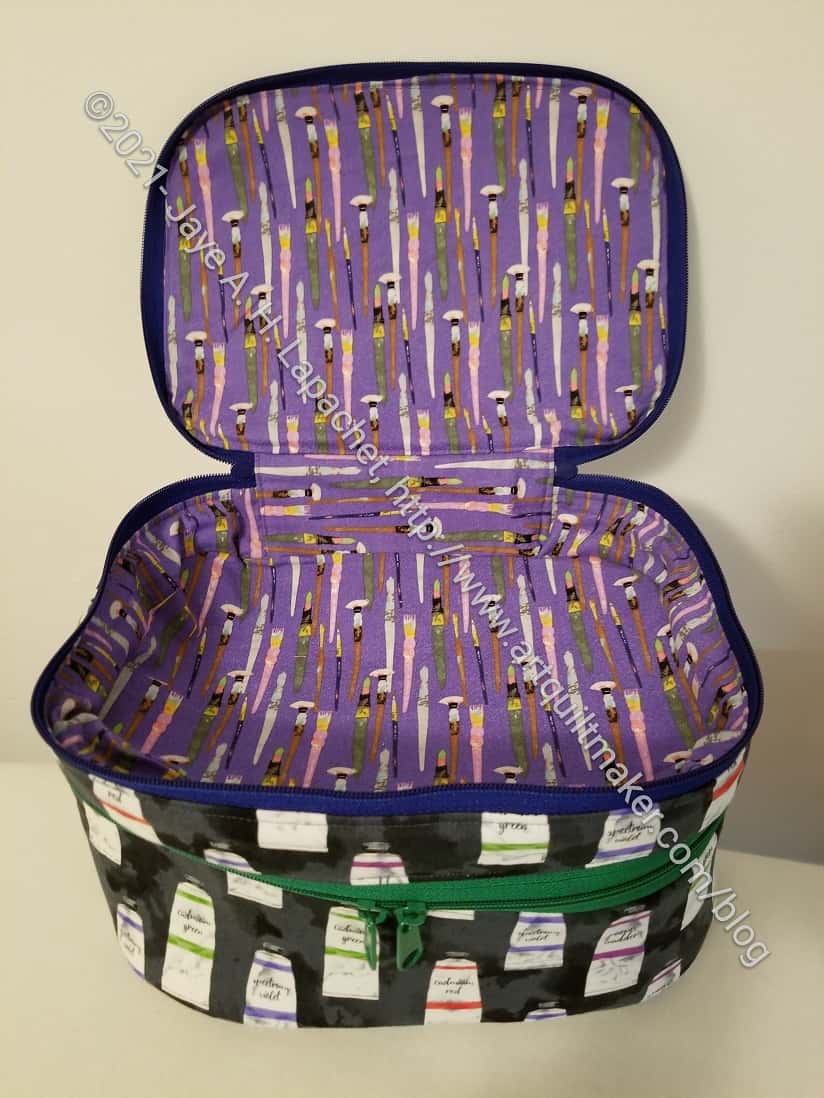
I picked a specific inside for this pouch, because it is for my sister. She is an artist, thus the splatter print. She seems to like the bags I make for her, though I have always used Paris related prints for her. This fabric is a departure.
I finished the Percheron Pouch over the Thanksgiving Weekend, which was a great relief. I couldn’t show it because it was a gift for my mom and she reads this blog.
I gave it to her on Christmas and she really liked it. She filled it up with all of the other gifts she received.
I really liked the look of this bag, which is why I decided to make it for my mom. I like making her bags I think are interesting. She always seems to appreciate them.
Percheron Pouch top zipper area
I really struggled with this bag. As I said before, I cut this bag out in June. Then it languished for all the same reasons that other projects languished: workroom upgrade and work.
I worked on it a little, but was frustrated with all of the sewing and ripping that I had to do. I don’t know what the issue was with this bag, but I struggled with the pattern and the video.
Percheron Pouch bottom zipper area
Finally, over Thanksgiving, I decided to work on it in earnest. Yes, I still ripped and sewed and ripped some more, but I was able to finish it.
I thought it looked good enough to give away even if it isn’t perfect.
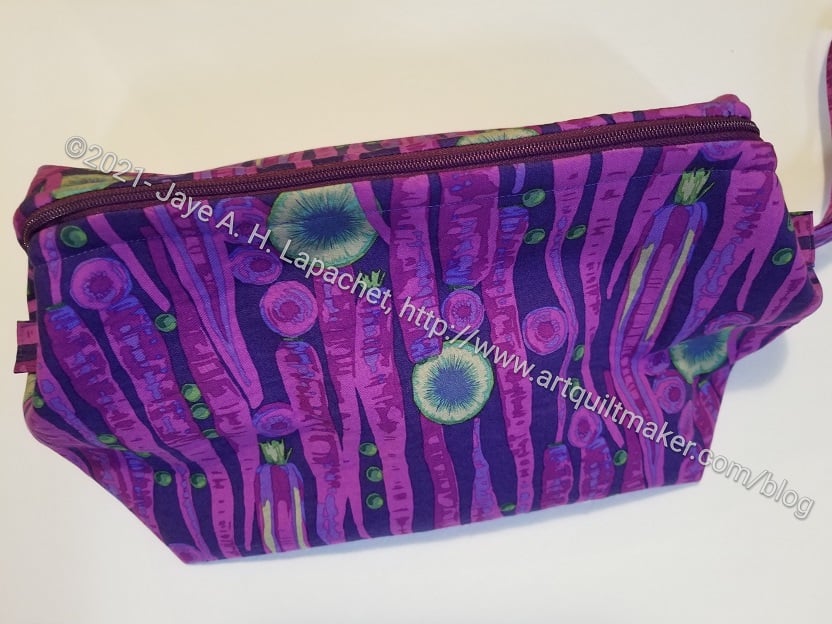
I gave Julie this Large Retreat Pouch for her birthday the other day. This is the bag I made over Halloween weekend, but couldn’t show you since she reads this blog.
The Retreat Bag is a free pattern from Emmaline Bags. It requires a frame and the frame is not free, but also not very expensive. The frame allows it to open all the way, providing easy access to the contents.
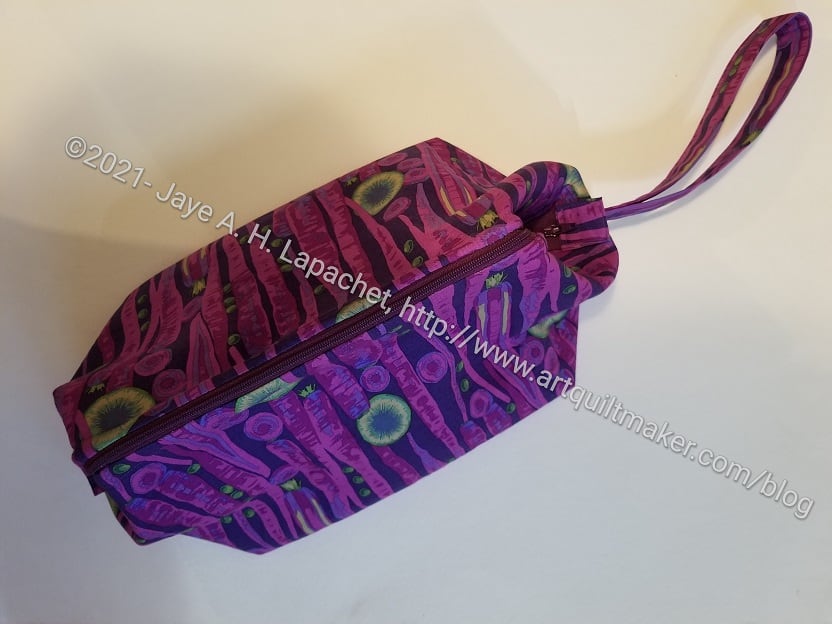
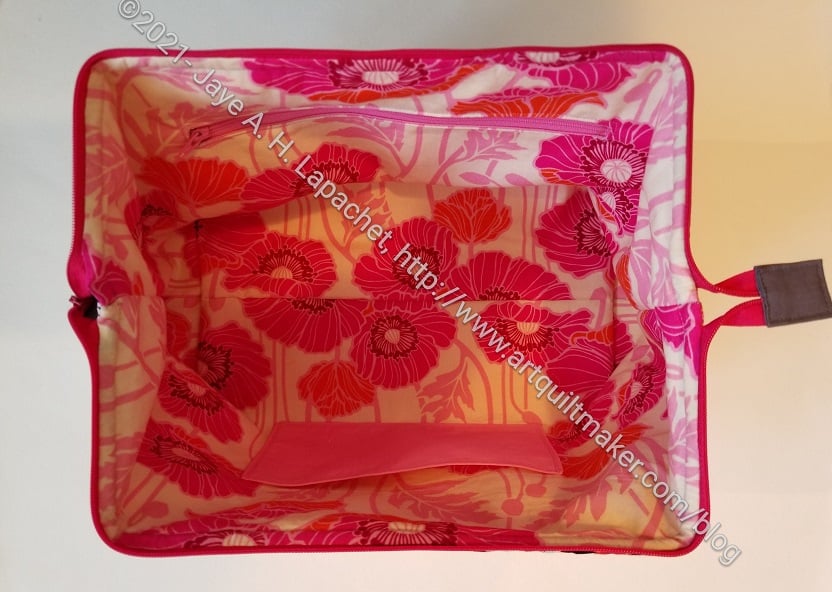
Large Retreat pouch -aerial view
I realized around that time that I needed to get busy and start making any gifts that I wanted to make for the holidays. That weekend, this was one of two Large Retreat Pouches that I made. As I mentioned then, it was the first time I had made the large version of this pouch. I added a leash to this one, because I thought it would make the bag more useful.
Large Retreat pouch open -aerial view
This is a pretty large bag. It would be great for a few balls of yarn and knitting needles as well as some EPP. I think it could also be used for a sponge bag or makeup kit.
The lining actually fits pretty snugly though it looks baggy in the photo.
I used some of my favorite purple fabrics since this was going to one of my favorite people.
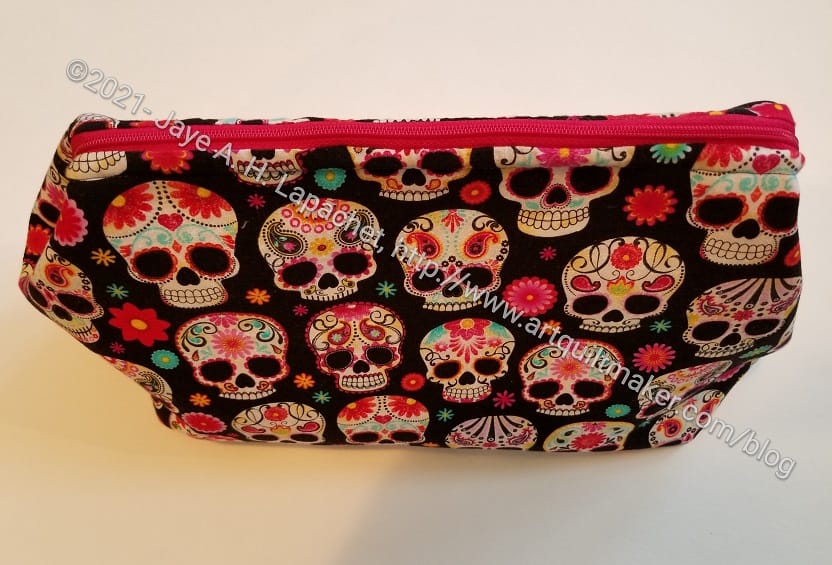
This was the other Large Retreat Pouch I completed over the Halloween weekend. I sent it off to Gerre for Christmas and am assuming she liked it.
The Retreat Bag is a free pattern from Emmaline Bags that requires a frame. The frame is not free, but also not very expensive. The frame allows it to open all the way, providing easy access to the contents.
I ran out of the ice cream fabric I used for her other gifts. I bought this, because I thought it was fabric she would like. I made some pillowcases out of the fabric and she told me she really liked them. I don’t really like it, however. I only had a yard of it, so I will use the rest of it for smaller gifts and then find something else that will work for future gifts.
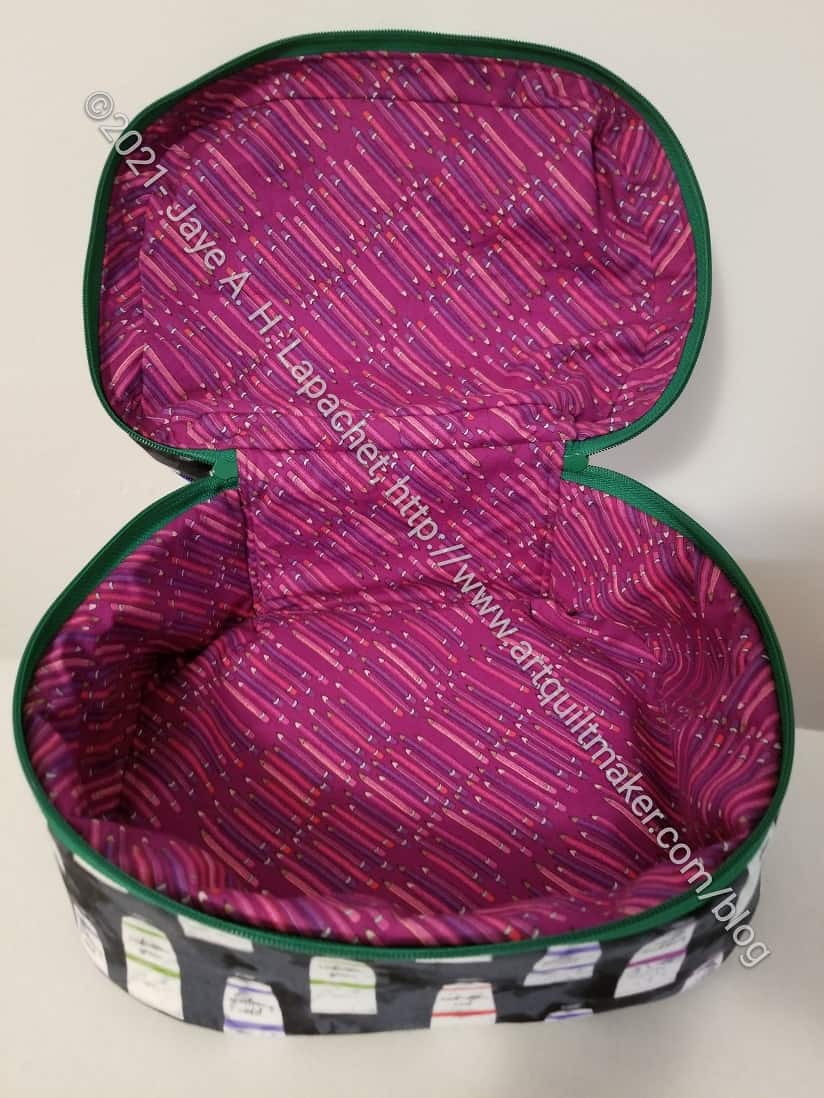
Sugar Skulls Retreat Pouch open
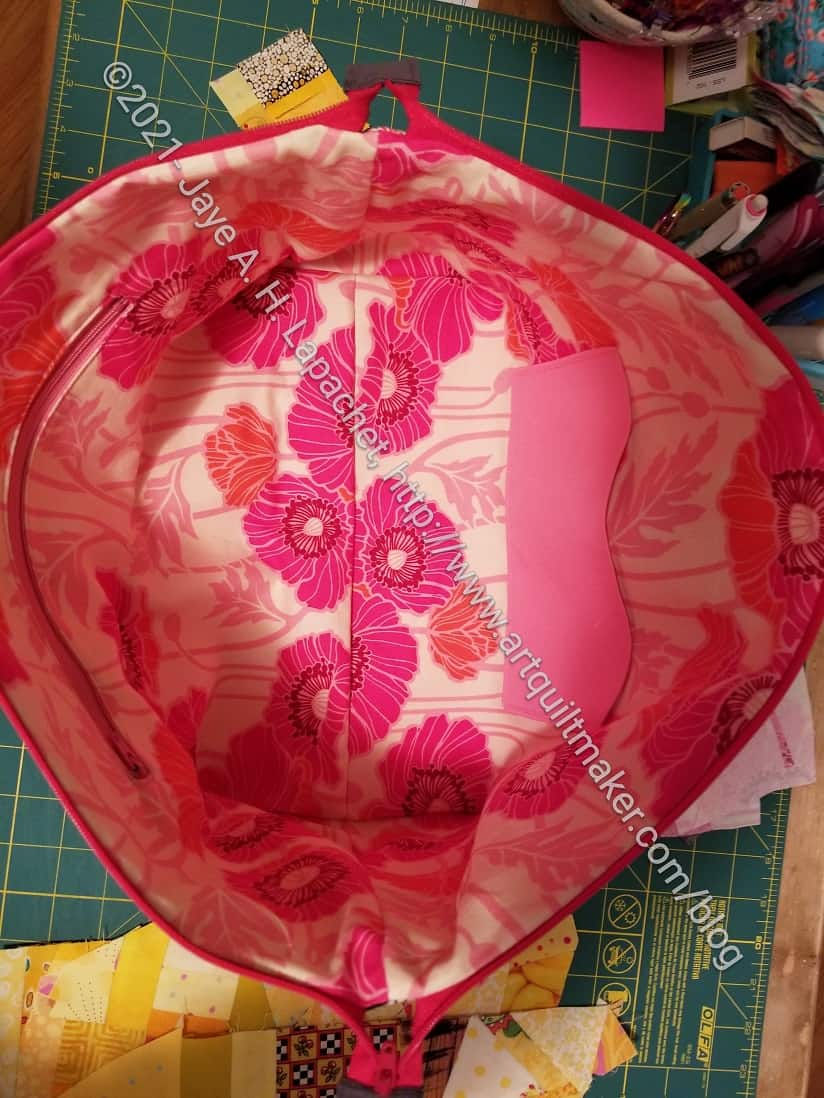
I didn’t use the Sugar Skulls for the inside, because I always like a light inside for bags. As I have said a million times, it makes it easier for me (and people) to find things at the bottom of the bag.
I used a Joel Dewberry Notting Hill poppy print. I have had this laying around for a few years and am so glad I used it. The inside is so pretty!
Sugar Skulls Retreat Pouch zipper pocket open
Sugar Skulls Retreat Pouch zipper pocket open detail
As mentioned, this is the pouch in which I put an inside zipper pocket and needed to consult with Tim as well as watch the video. I also made a slip pocket, which is included in the pattern, but I don’t like it as much in this iteration. It will be fine, but I’ll do it differently, if I made this size again.
Sugar Skulls Retreat Pouch closed detail
I had some zipper pulls and decided to use one on this bag. I got these on sale at Michael’s, I think, and always forget I have them. I have been going through my hardware bag regularly. I remembered and thought one would be a great addition.
I bought this Purse Organizer pattern from Sotak Handmade sometime in December 2020 when she was having a sale. It was an impulse buy. I thought that the bag would be useful in my work laptop bag for carrying my wallet and some items I would normally put in my purse. When you don’t have a desk, everything has to be portable and carrying a purse in addition to a laptop bag and a lunch bag makes me feel like a small pack animal.
I cut out this pouch on New Year’s Eve eve 2020 and sewed it together on New Year’s Day 2021. Once cut out, it was an easy project.
The excellent thing is that I was reminded how easy Zipper slip pockets are to add! Tim and I have talked about these types of pockets, but I was reluctant despite the cool zipper ruler I bought. This pattern got me back into the swing of those zipper slip pockets and I feel more confident that I can put them into any bag. I did have trouble keeping the zipper straight as I sewed it, so that is something to work on.
I also should have clipped the corners of the bag before turning it as I couldn’t poke the corners out and make them look sharp.
I decided to make this as a gift for my mom for Mother’s Day, but ended up giving her something else, so it was a Christmas gift.
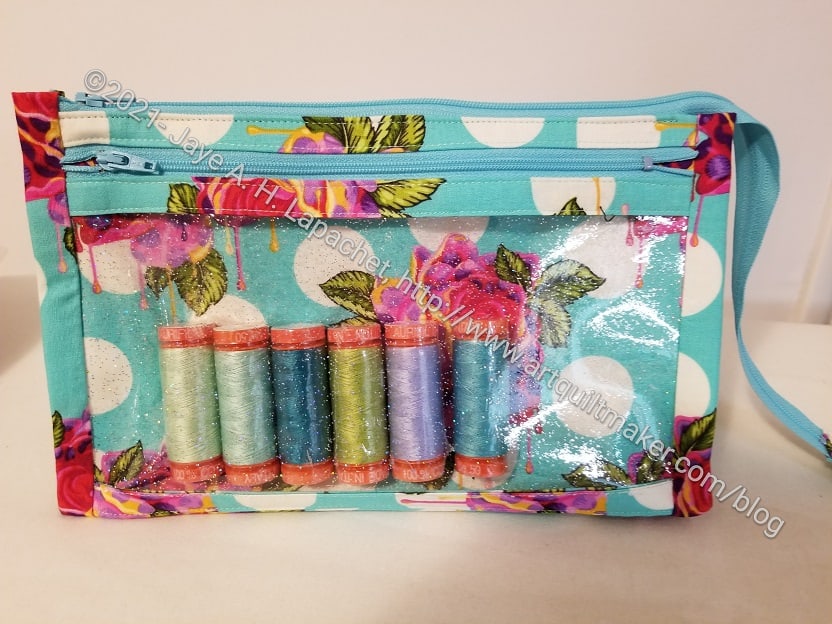
I am using it for various La Pass pieces and boy-oh-boy was I glad I had it! I forgot my La Pass Sew Together Bag when I went to Sew Day the other day and I couldn’t sew. I had nothing except my M5 fabric, my Sue Daly turntable cutting mat and this bag. I borrowed a rotary cutter from Amy, and was able to cut out M5 pieces (and not just sit around) because I had this bag, which had my templates. WHEW!
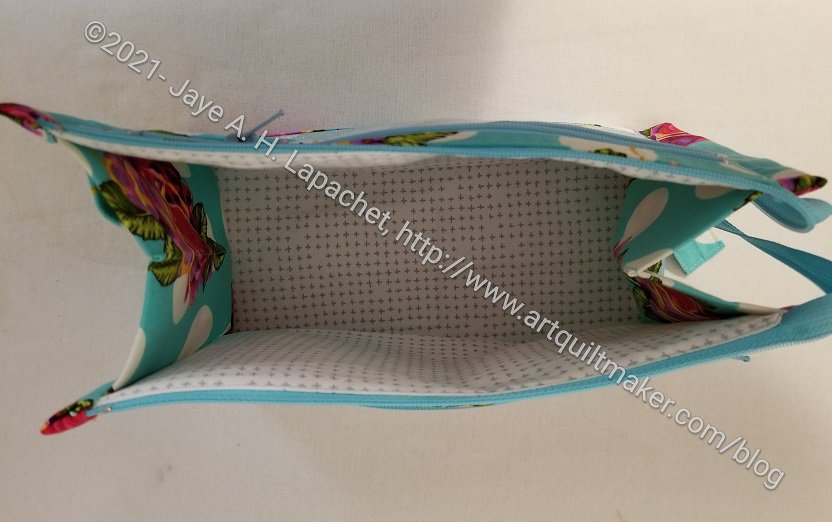
Dripping Roses Inside Outside Pouch open
This bag replaces the thread boxes I got when I ordered the Curiouser line of thread. The thread boxes were cute and well designed, but I can’t keep that kind of stuff around. This is more useful, because I can put other things in it like my templates.
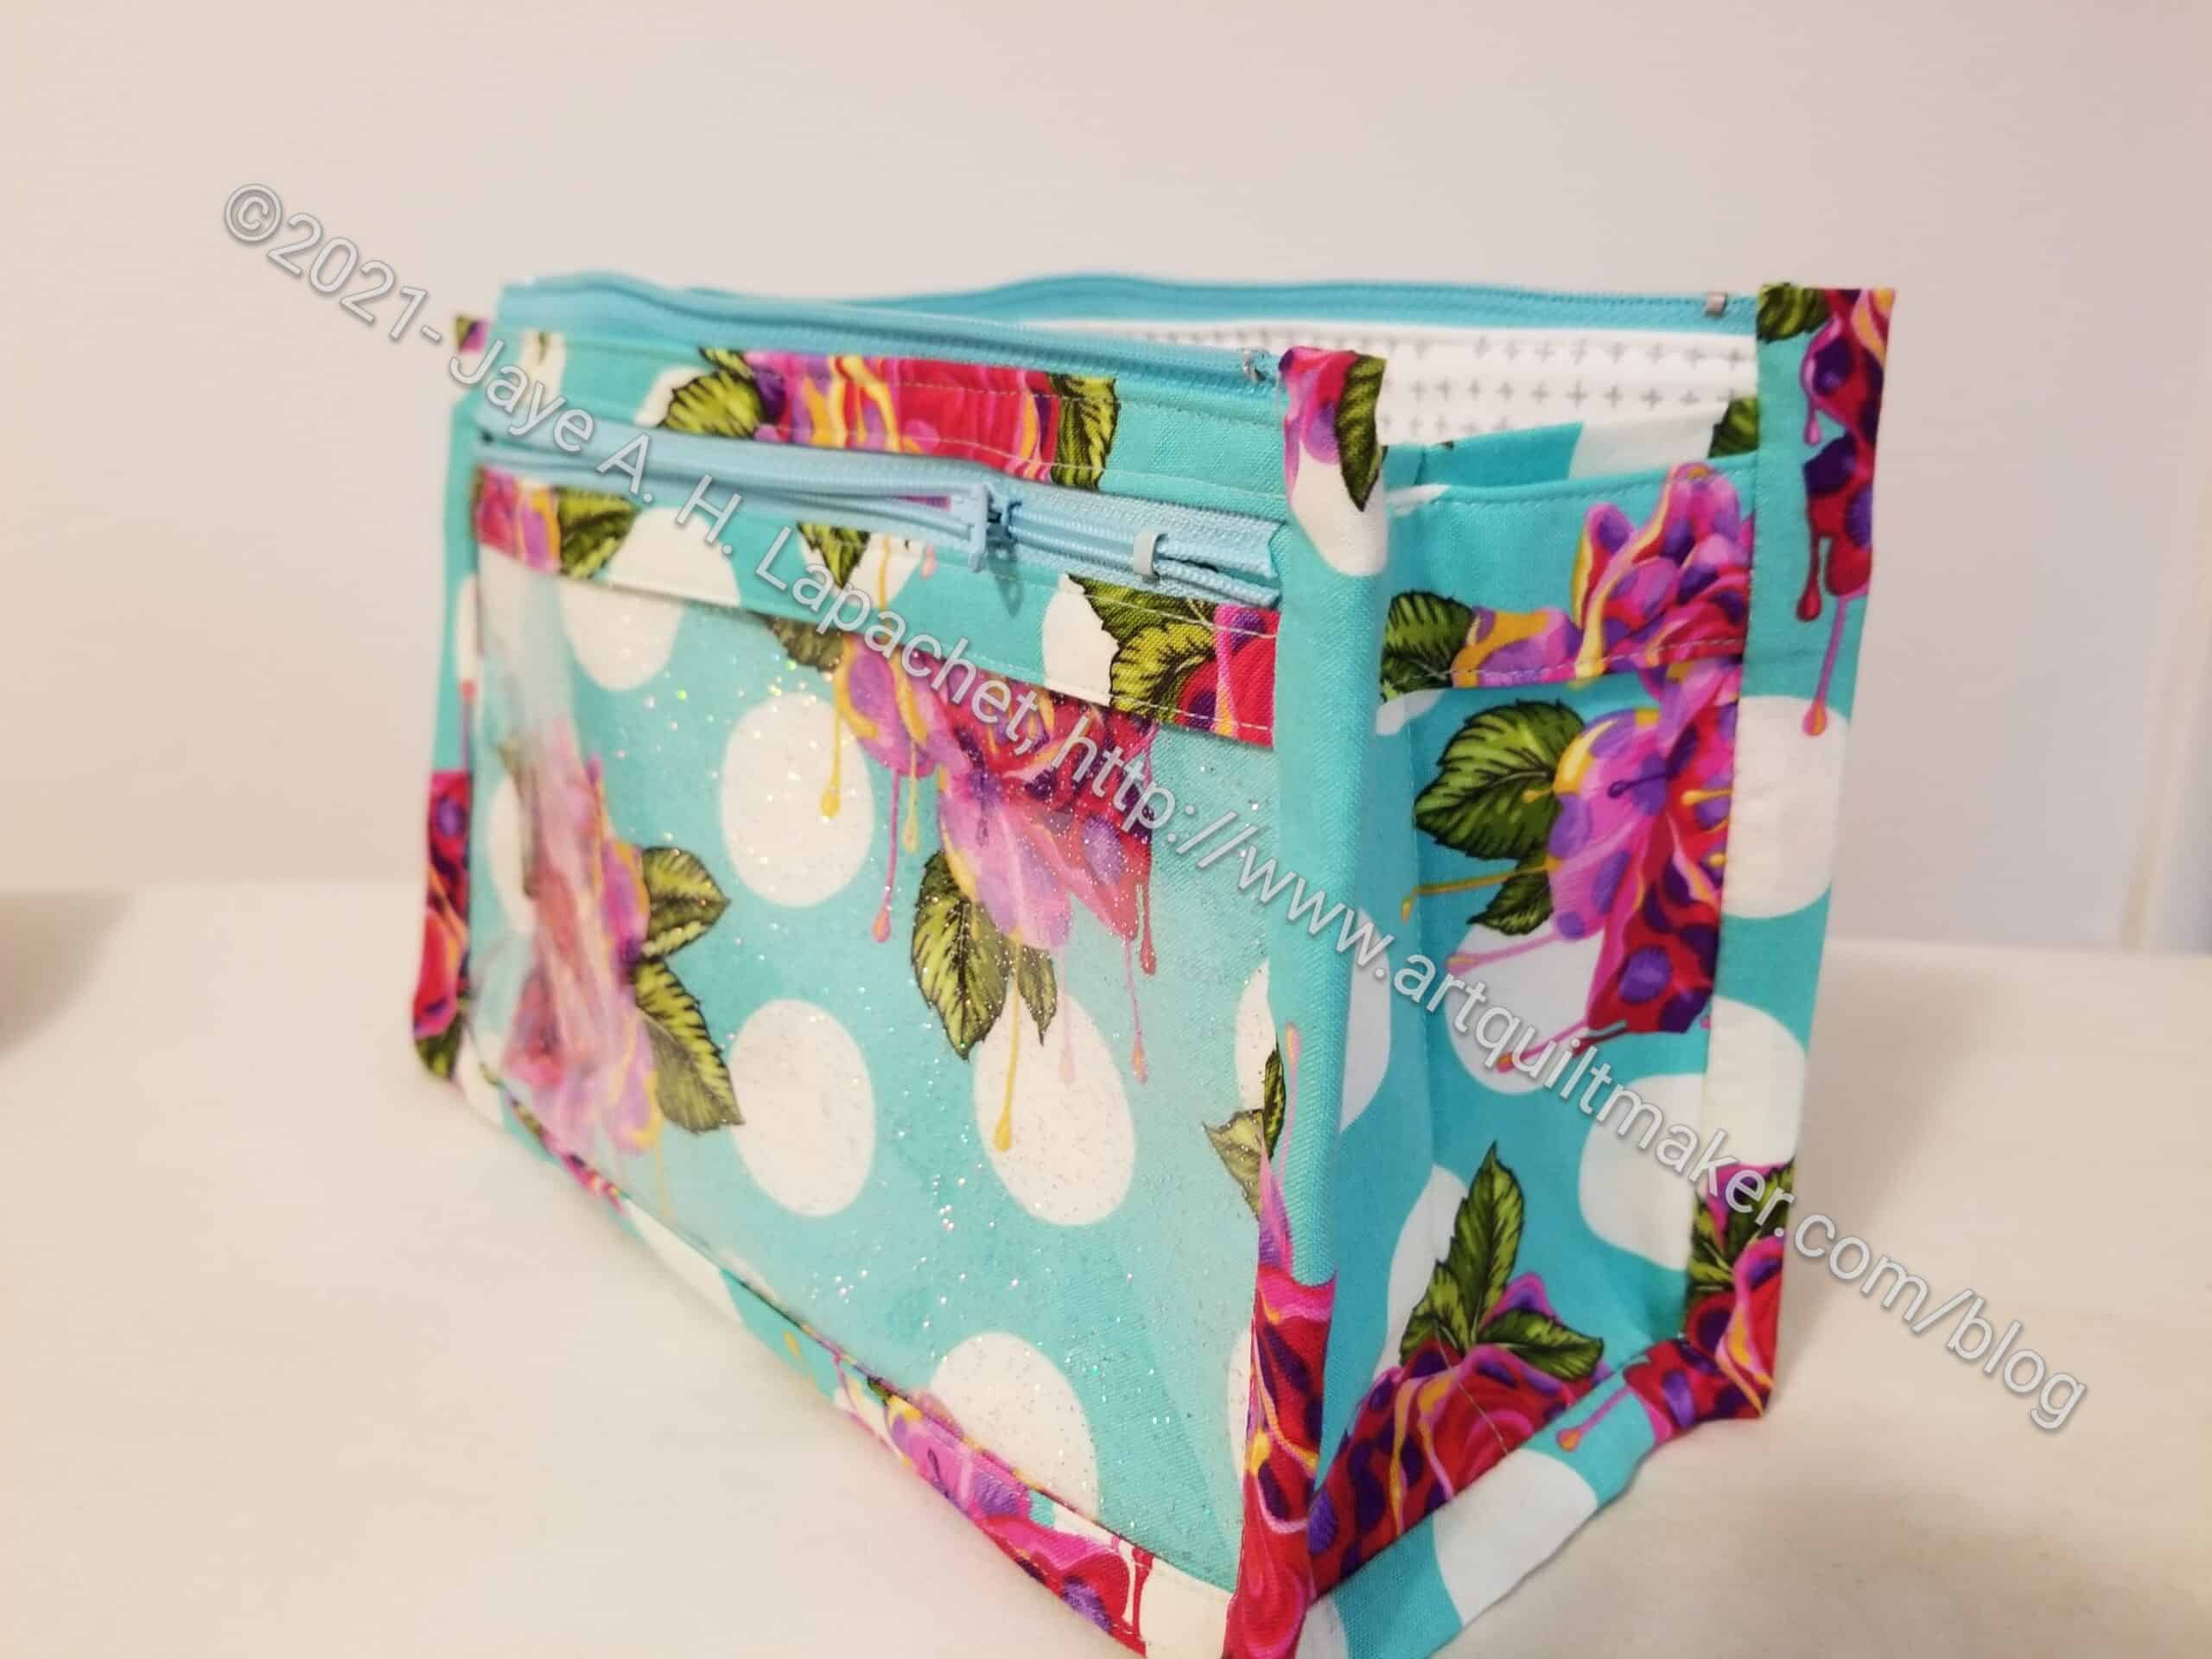
Dripping Roses Inside Outside Pouch -3/4s view
The finished size is 10 x 6 x 4, so not huge, but big enough for the miscellany I need for this project.
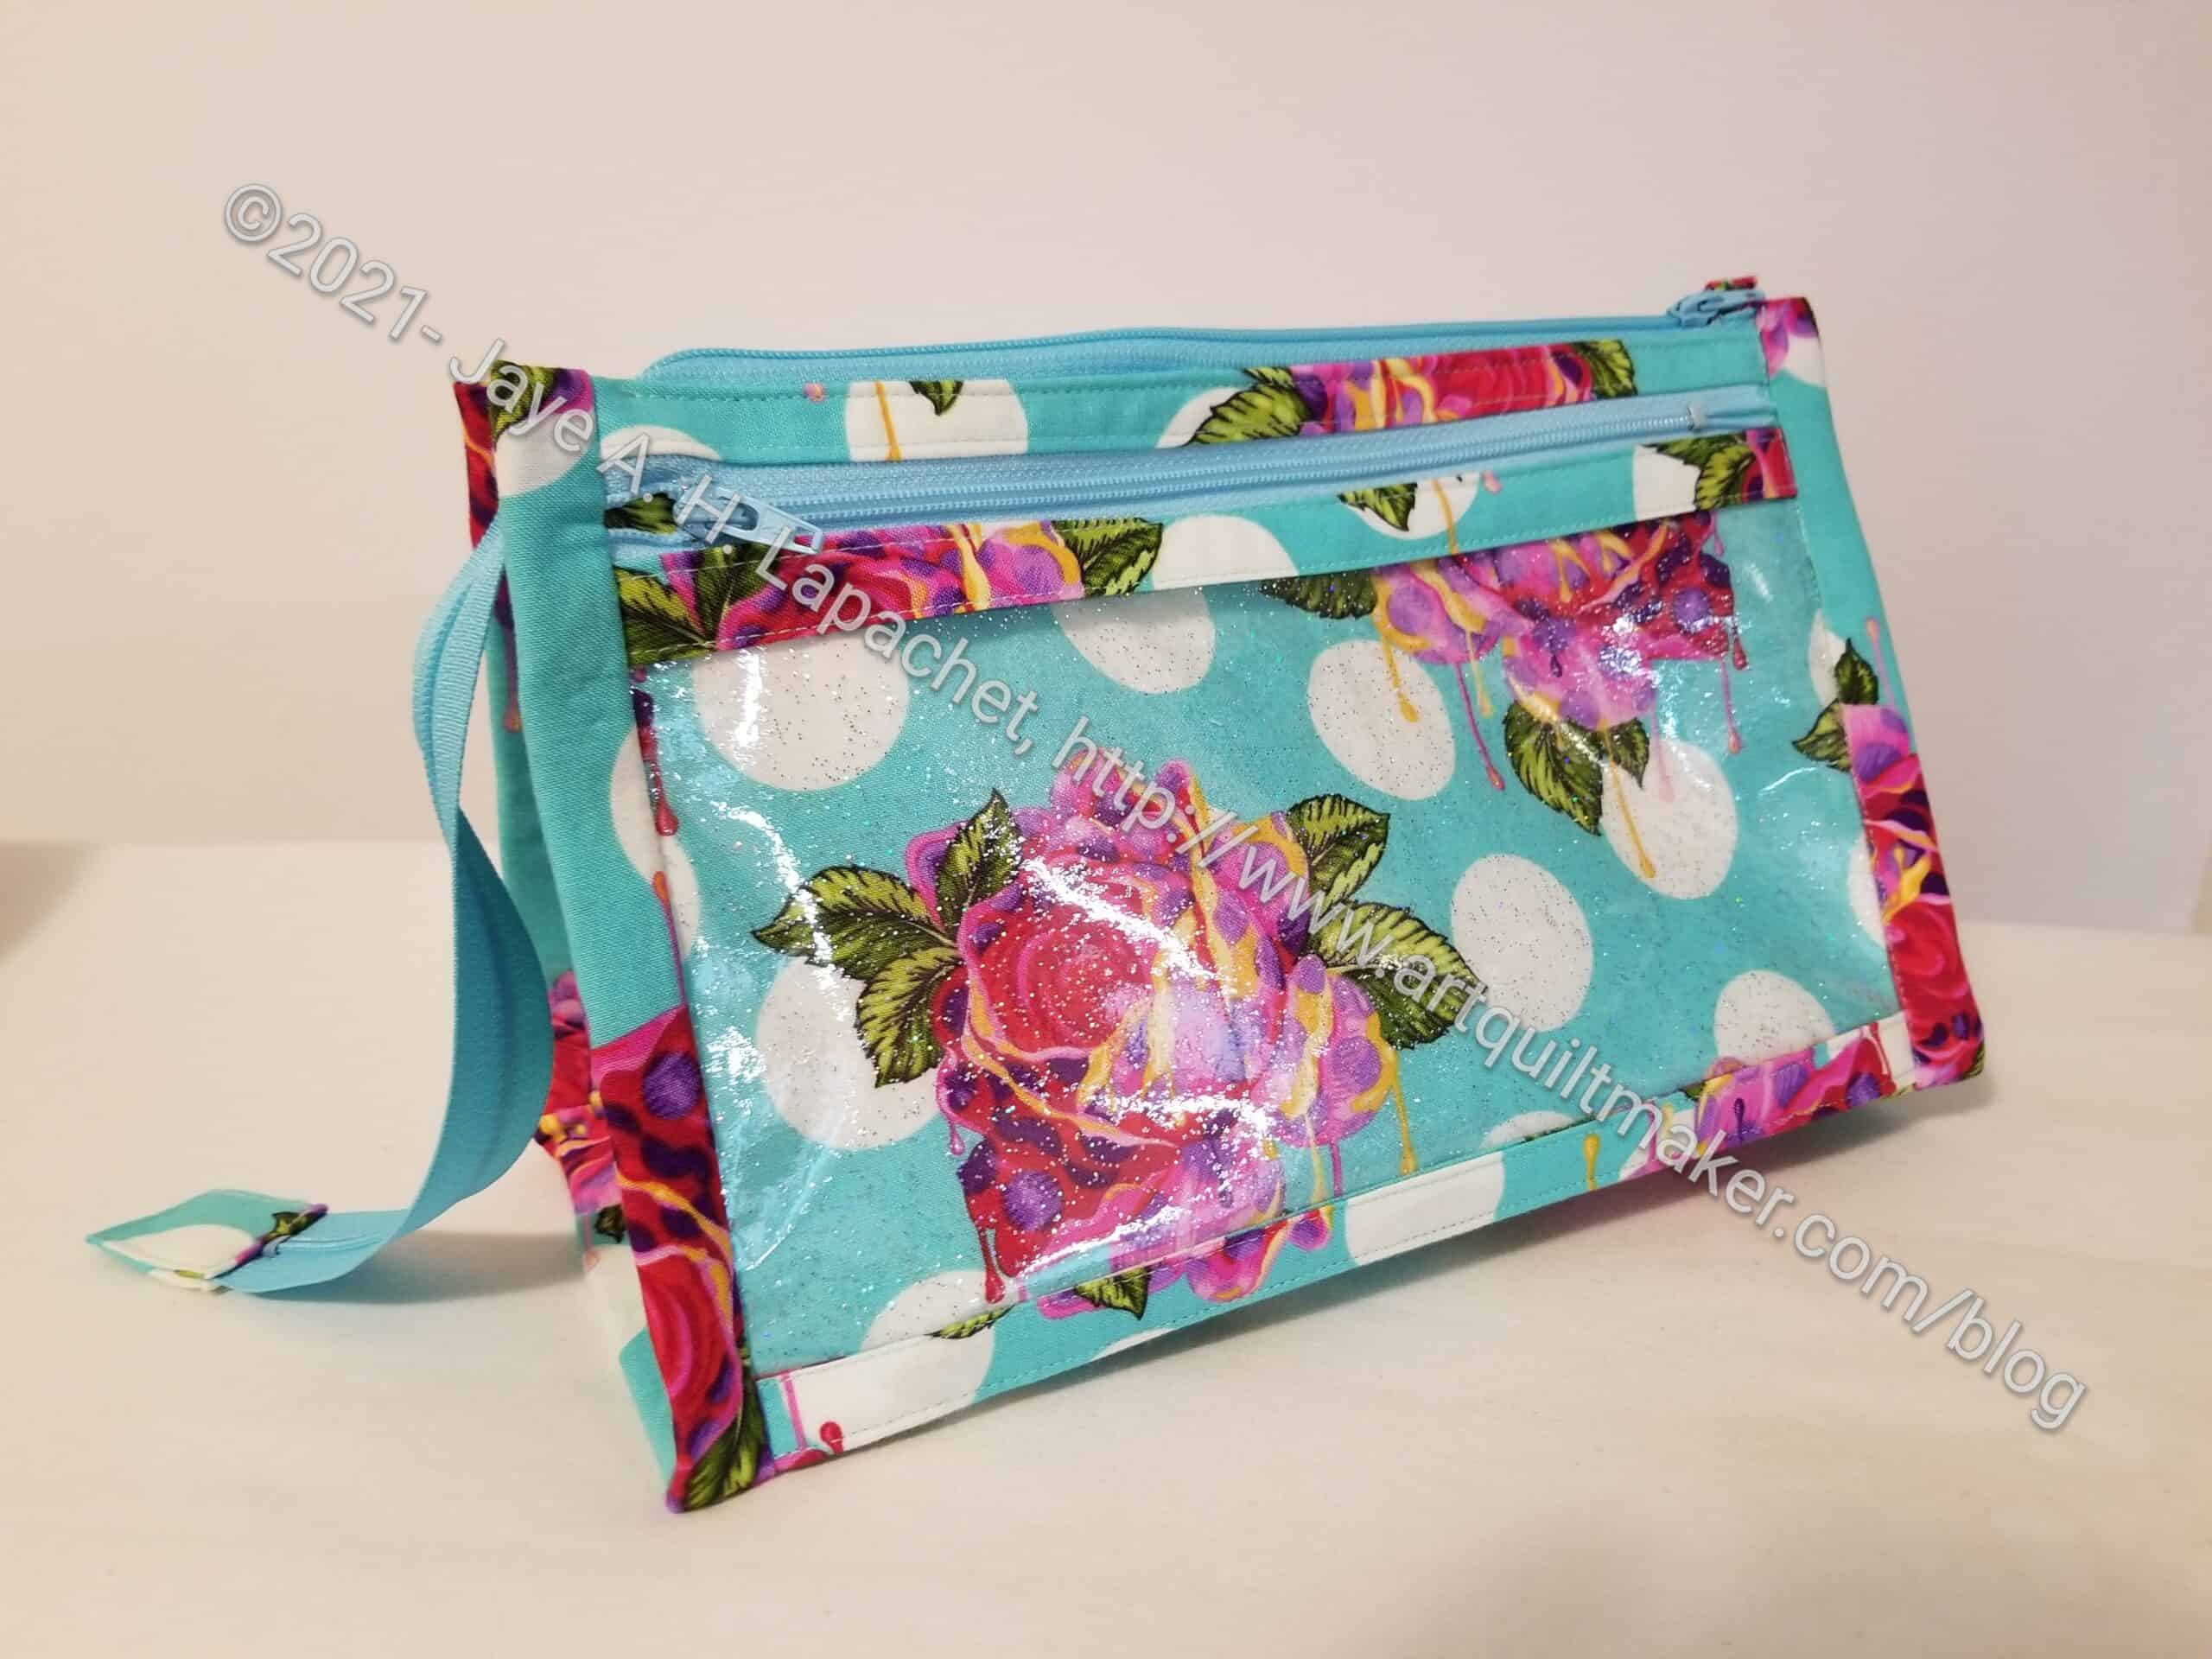
I showed this at Sew Day the other day and people went wild for the Sparkle vinyl. It was funny, but also nice that they admired it. People got on their phones and were buying some then and there. Mary pointed out that it was easier to see and cut with the sparkly bits in it. I didn’t think of that, but she is right.
Dripping Roses Inside Outside Pouch
There are two things I might do different. I used a longer zipper than the pattern called for . I wanted to make the pouch then not wait for a zipper order. Also, I have a bunch of zippers, so why not use them? This one is pretty long, so I might sew it into a loop or something so it doesn’t drag or get caught on things. I am tucking it inside the bag and that seems to work.
The long top zipper has a zipper tab on it, but the small side zippers don’t. I think I would add them. I think they would look better with zipper tabs. I would have to sew all the way around them, because the fabric would be fully enclosed once the zipper parts were fully enclosed. I may make a couple more of these and will try it. I could also try a longer zipper,, but I think I used the recommended size.
I have to admit that I didn’t have the original idea to make this pouch this way. I saw someone else in the La Pass BOM group had made one using the Dripping Roses and I really liked it. I remembered that I had the pattern and could also make one. It was the Dripping Roses that really pulled me in.
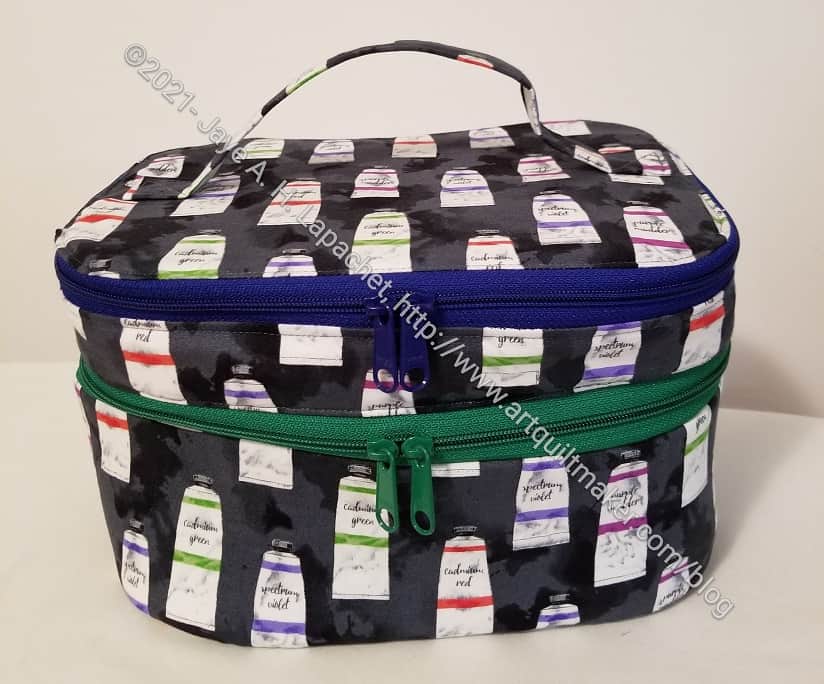
I am making slow progress on this pouch (which doesn’t seem like a pouch). The thing finally looks like something, but more of a suitcase than a pouch.
I like the finished look of this project, but I am finding it difficult to understand the directions. I know that is crazy when you look at the other complicated projects I have made, but it is true. This project is all sew, then rip, sew, then rip.
Yes, I am using the video. I just don’t understand it.
I was over at Tim’s house sewing the other day and he commented that I do like my complicated bags. It’s true!
Inside Outside Pouch Exterior
I saw an Inside Outside Pouch in the La Pass group made with the dripping rose fabric and I really liked it. I have been wanting to make one for ages, but haven’t had (or maybe made) the time. The Inside Outside Pouch is a stand-alone Aneela Hoey pattern. You might remember that I made one before. It has a lot of zippers.
The issue isn’t really the sewing. It is the cutting out. No matter how hard I try I do not want to spend time at home cutting out fabric. It’s really stupid, I know; I just can’t seem to get over not wanting to spend any of a long stretch of sewing time cutting.
I went over to Tim’s the other day and took stuff to cut out there. That’s where I cut out the fabrics for two Inside Outside Pouches. It seems to go so fast when I am with him. I guess we chat and laugh and the time seems to fly by.
I came home and sewed and made a good start. I am partway through the exterior. It is much easier the second time around.
I started this project some months ago when Sara Lawson had the Percheron Pouch as a project of the month. I cut it out, did some interfacing and then put it away. After making the bowl cozies over the weekend, and moving the pieces of the project around my workroom 834 times, I decided to work on it.
The Percheron Pouch is part of Minikins Season 3. As mentioned previously, the Minikins are series of small pouches and bags that Sara releases periodically. Each series has 12 or 13 patterns and they are mostly great shapes.
Samsonite train case
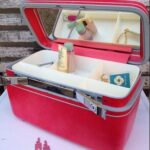
Samsonite train case open
The Percheron doesn’t seem like a pouch to me. It reminds me of a ‘train case’. My mother had one. They were intended for cosmetics and small items and the bag was often included as an option with suitcase sets. The one I am thinking of was Samsonite.
I also took the opportunity to use Decovil. I never used this interfacing before and am not 100% clear on 525 vs.526, but so far I like how stiff it makes the top and bottom of the bag. Stay tuned for how it actually works in the finished bag.
While this is the first Large Retreat Bag I have made, it is the third Retreat bag I have constructed (total). This is a free pattern from Emmaline Bags that requires a frame. The frame is not free, but also not very expensive. The frame allows it to open all the way (widemouth), providing easy access to all of the contents.
I like this bag, but the Large size is LARGE. I am not sure what I would use this size for so I don’t know that I will make a large one again, though I have another frame, so I might.
Sugar Skull Interior
The pattern doesn’t call for it, but I put in an interior zipper pocket. Tim thought up the idea of an interior pocket to use to turn the bag. This means I (we) can turn the bag without leaving the bottom seam open. Yes, the bottom of the interior zipper pocket is left open, but it is much more hidden than the bottom.
It has been awhile since I made an interior zipper pocket (also called a flush pocket), so I screwed up a few times on the first one. I definitely didn’t remember how to do it at all and had to get Tim to remind me which resources he used. I did find a couple of tutorials, but they were lacking.
The most helpful tutorial was Sara Lawson’s video (of Sew Sweetness), which is the one Tim uses. I started out using the directions in the book, the Bag Making Bible** by Lisa Lam. The part after the zipper installation are a little skimpy, so the video filled in the gap.
I made two of these bags over the weekend and the second zipper went much more smoothly. Now I have a couple of gifts ready for the holidays. As a result, check back to see the whole bags.
**I use affiliate links and may be paid for your purchase of an item when you click on an item link in my post. There is no additional cost to you for clicking or purchasing items I recommend. I appreciate your clicks and purchases as it helps support this blog.
A month or so ago, as I waited to start my new contract job, I finished these Falabella Pouches. I didn’t write about them sooner, because they are gifts for my younger (middle) sister and her birthday is today.
She is an artist and has no qualms about asking for what she wants. She wanted something to hold her pens, etc.
The Falabella Pouch is part of Sara Lawson/Sew Sweetness’ Minikins 3 set of patterns. I want to make more of the various Minikins patterns since I bought all three ‘seasons’. Her request helps me with that goal.
Falabella – back of medium pouch (down
Falabella – back of medium pouch (up)
This is a pouch that gets taller if you pull up on the zipper or smaller if you pull down on the zipper tabs (shown vaguely in photos above).
Falabella – medium pouch open
Falabella – large pouch open
I used ripstop nylon for the inside. If Lil Sissy’s pens open, I wanted some kind of fabric that was marginally cleanable. This was a difficult fabric with which to work. It frayed a lot. Some people said to burn the edges, but I was too chicken to do that.
Large Falabella Pouch
This was the first time I used Zipper-by-the-Yard for a project. I bought it specifically for this project, because I found some zipper pulls with the Eiffel Tower on them. Lil Sissy loves Paris, so these are perfect. I used Sara Lawson/Sew Sweetness’ video on adding a zipper head to zipper tape.
I have tried this activity before and never been successful. The video has one trick in particular that makes the activity work. I couldn’t believe how successful I was! I also did not use a fork, which is what Sara demonstrates. I used the self adhesive towel holders** I bought from Amazon. I can see how a fork would work just as well.
I bought the zippers from the Sew Sweetness site and can’t wait to try them again. I want to make another Piebald with a double zipper and now I know I will use this zipper head technique to do it. I know I must sound like an idiot, but I can’t tell you how gleeful I feel about this zipper!
Anyway, I sent these off last week, after admiring them for a few weeks. I hope Lil Sissy likes them.
**I use affiliate links and may be paid for your purchase of an item when you click on an item link in my post. There is no additional cost to you for clicking or purchasing items I recommend. I appreciate your clicks and purchases as it helps support this blog.
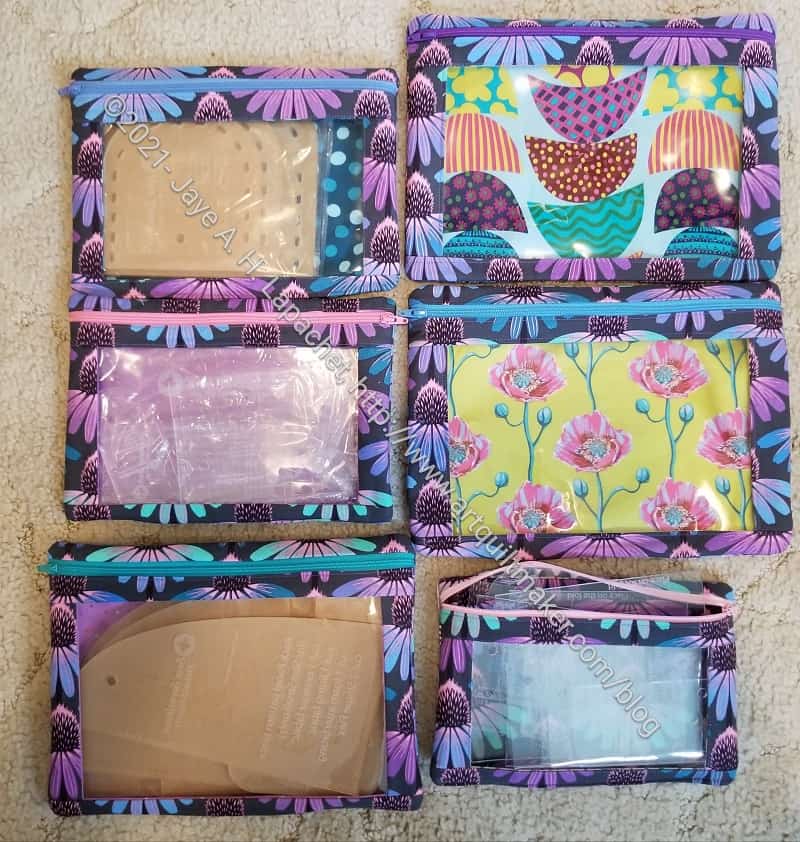
I used some of the Anna Maria Horner fabrics I received in the Quilty Box to finish some of the more recent I Spy Pouches. Once I finished the two large ones, I got all the pouches out and rearranged my templates.
I know it seems kind of ridiculous to make pouches for templates. On one hand, I like having them organized. I also like the fabric and enjoy using the coneflower print for something I am going to keep. Finally, the I Spy pouches are quick to make, so rather satisfying.
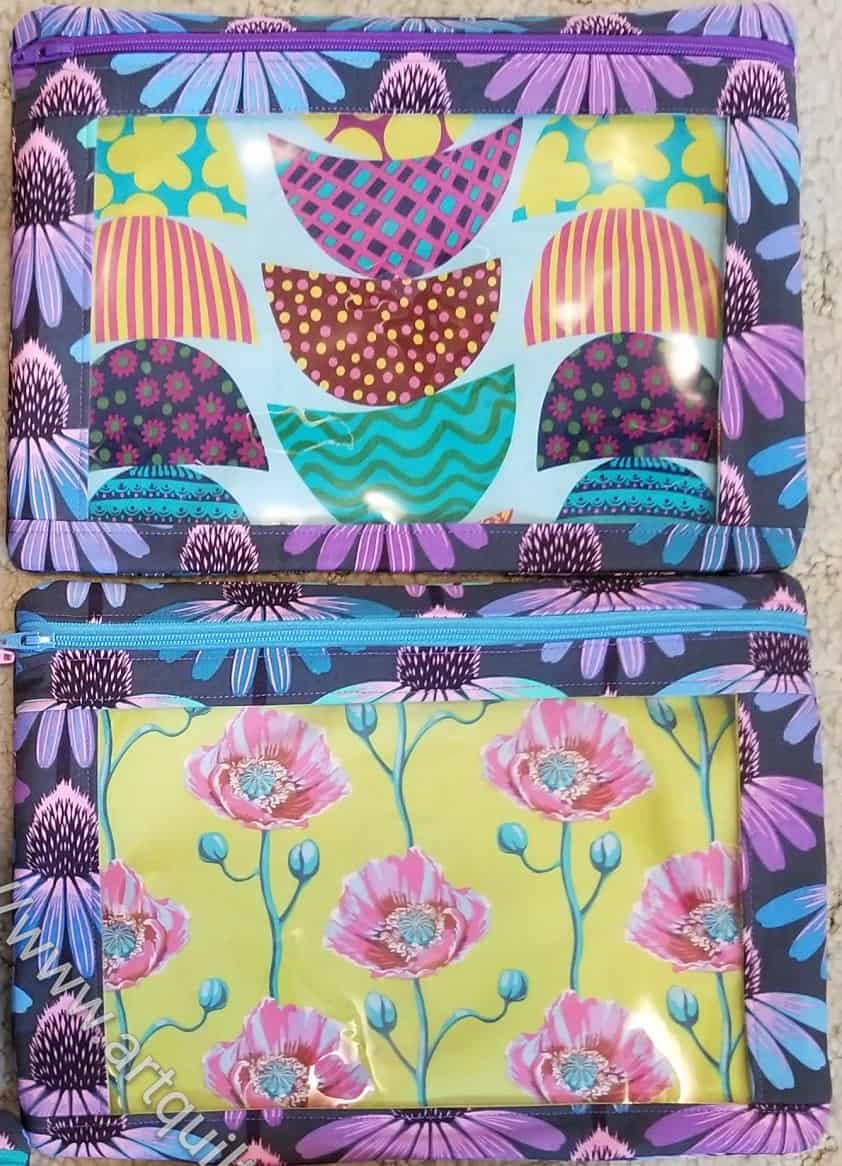
New Large I Spy Pouches
The two newest pouches are quite wild. I used a couple of the Bright Eyes prints. I didn’t really realize how exuberant the pouches would be using those fabrics. The fabrics clash a little with the coneflowers, unfortunately. Still, I like them and the coneflowers will show up when I put some templates inside.
I have a number of template sets that are too big for these pouches. I can use the same directions to make larger pouches. I just haven’t been up for that lately.