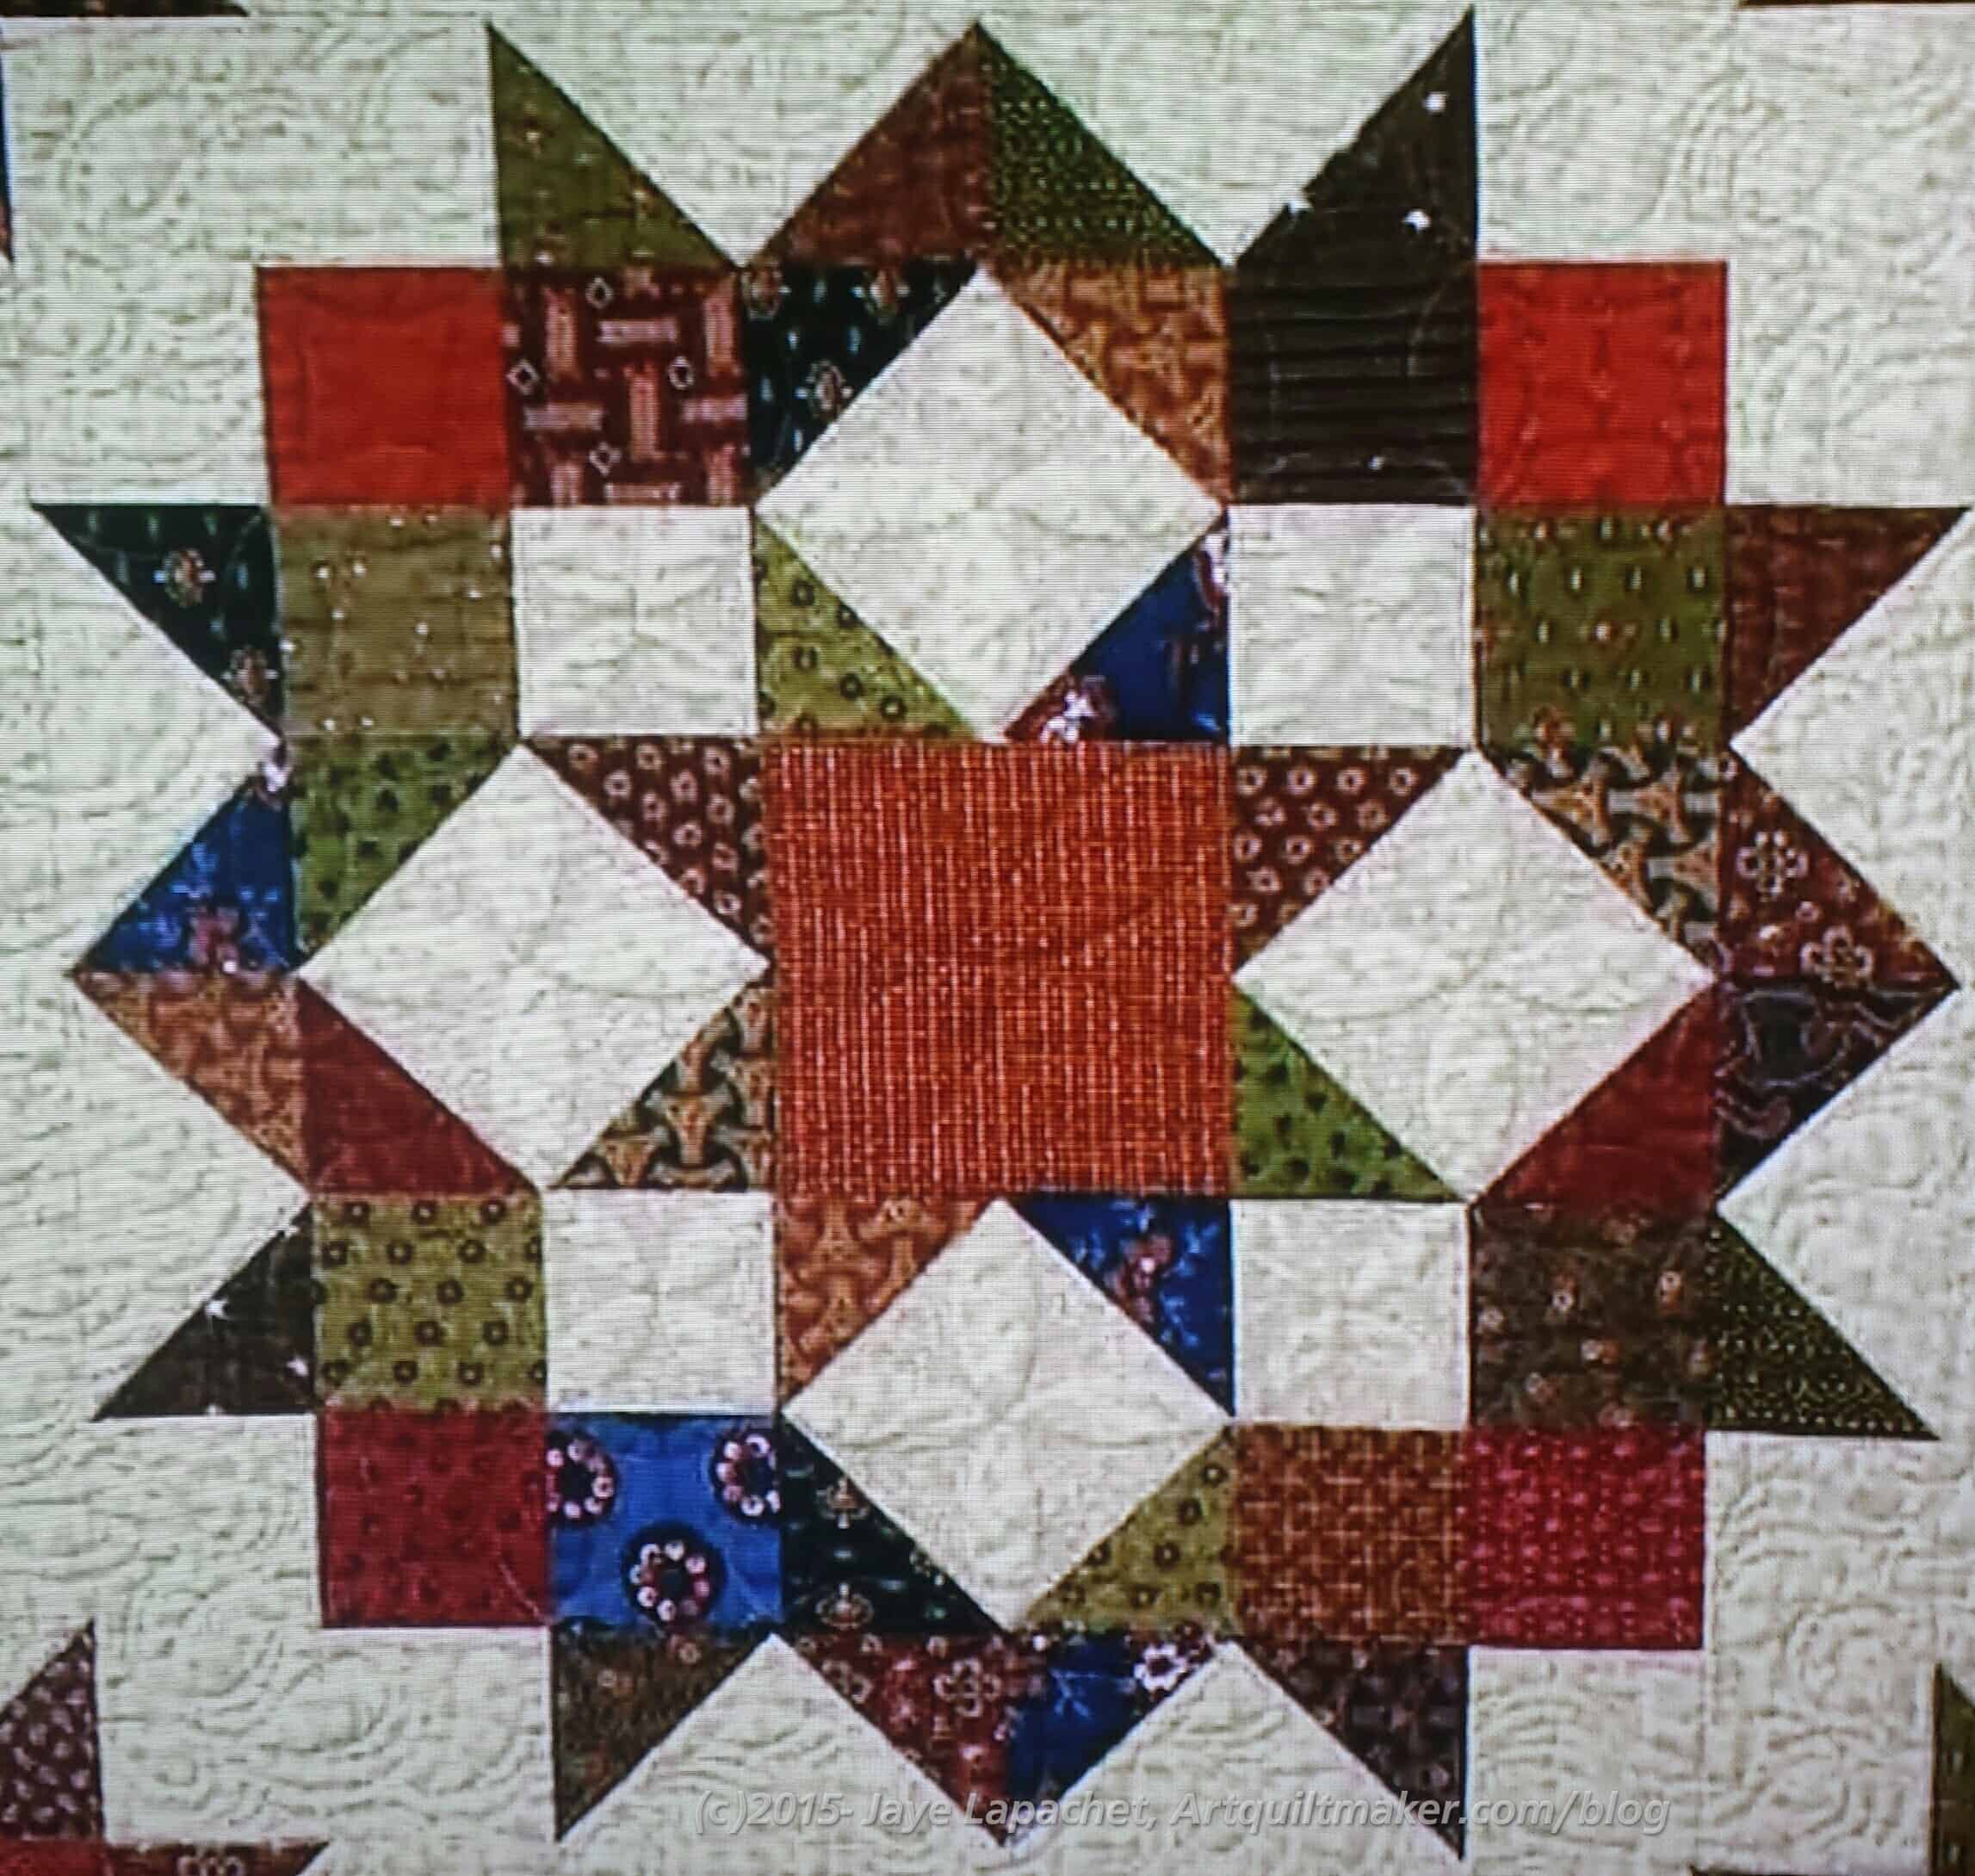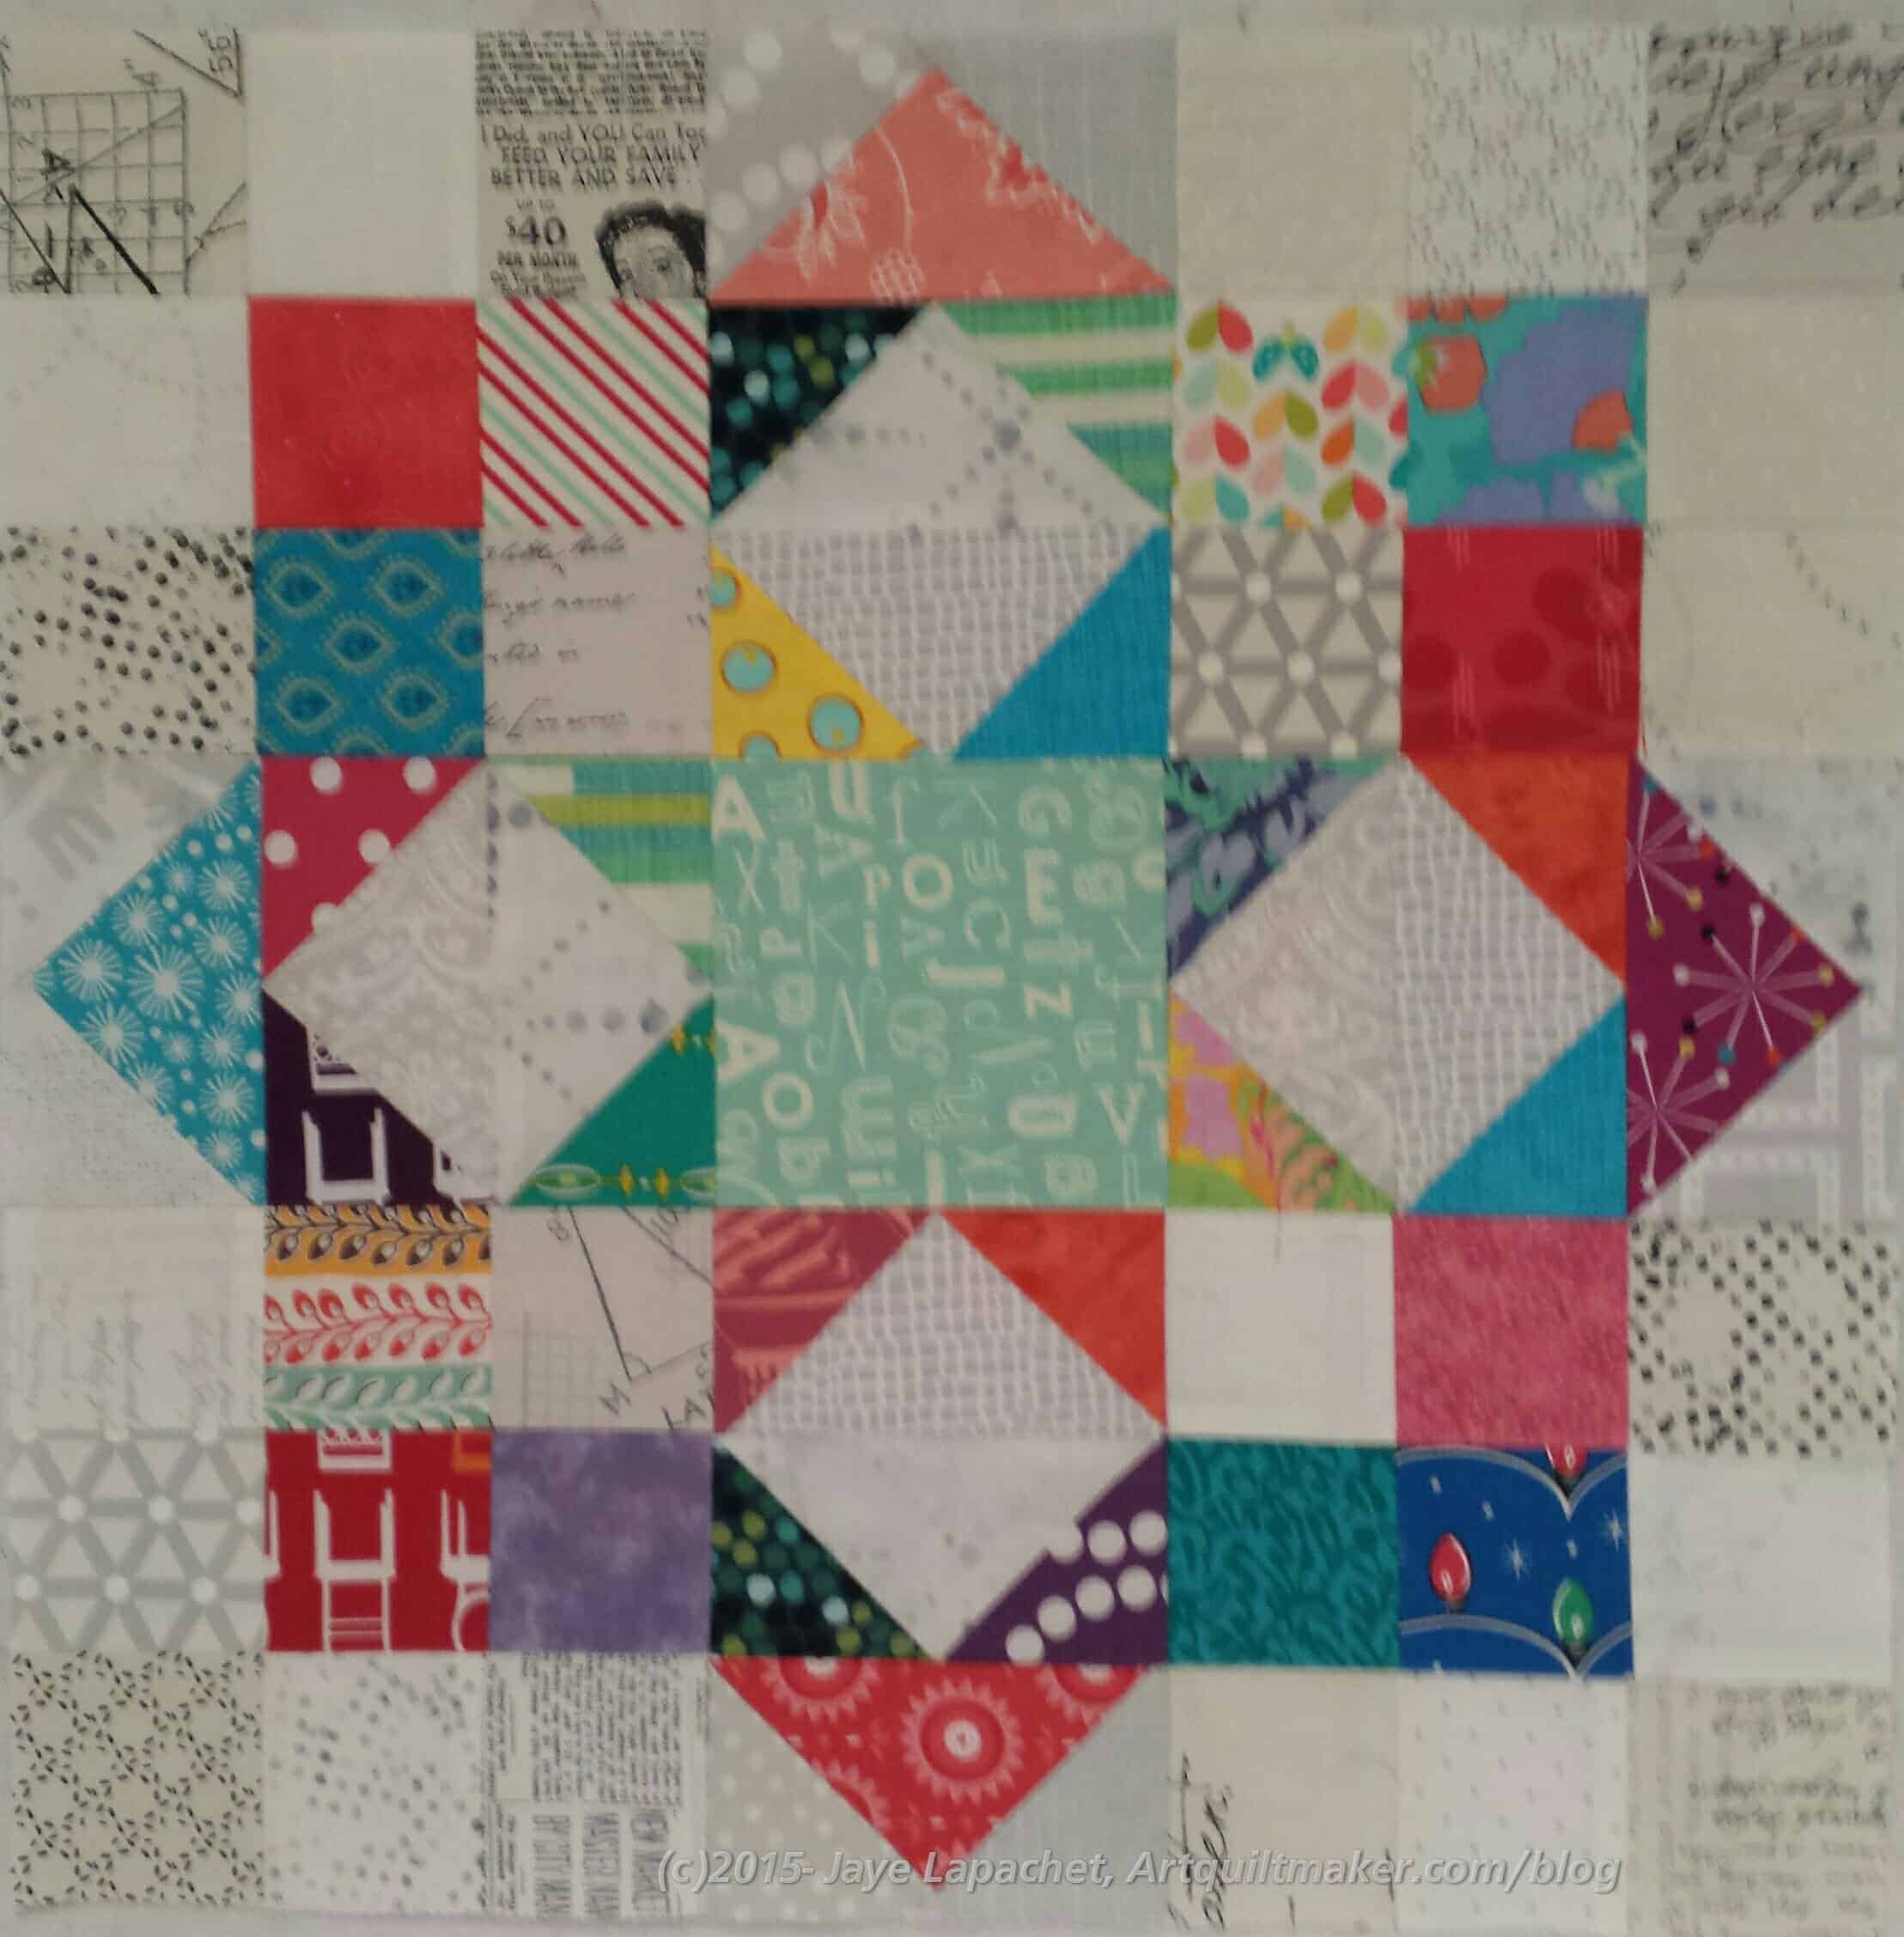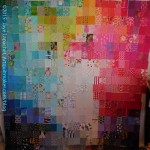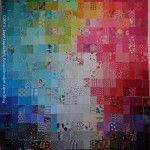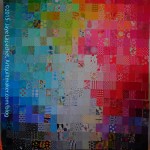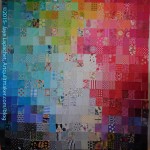
I don’t remember exactly when it was, last Friday, I think, but I had a brief window of time before I had to go do something else for someone. The grief at the implications of my BIL’s loss were starting to creep into my brain in the quiet and threatening to overwhelm me.
4 ‘A’ Blocks
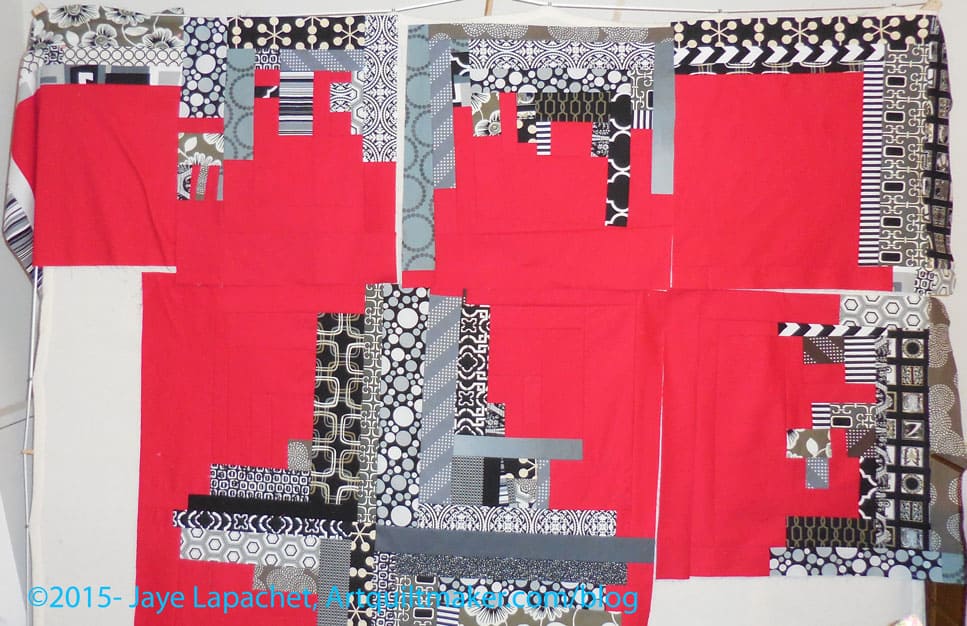
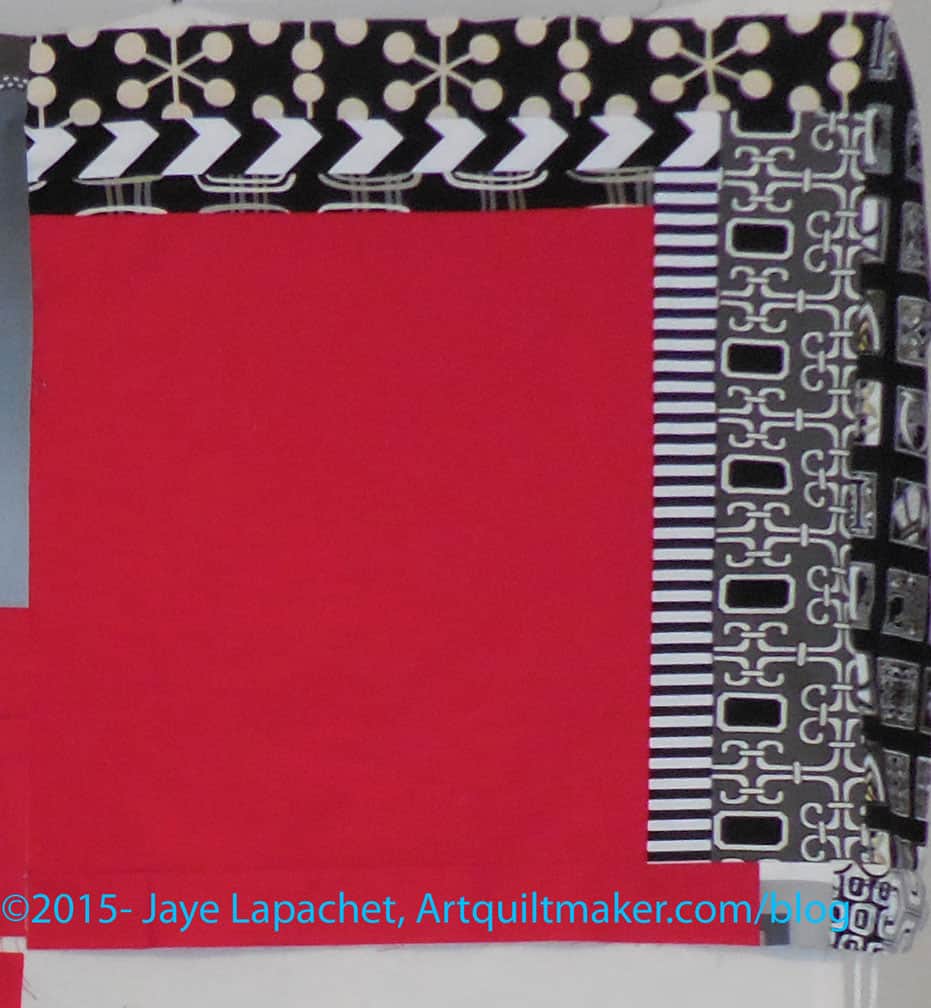
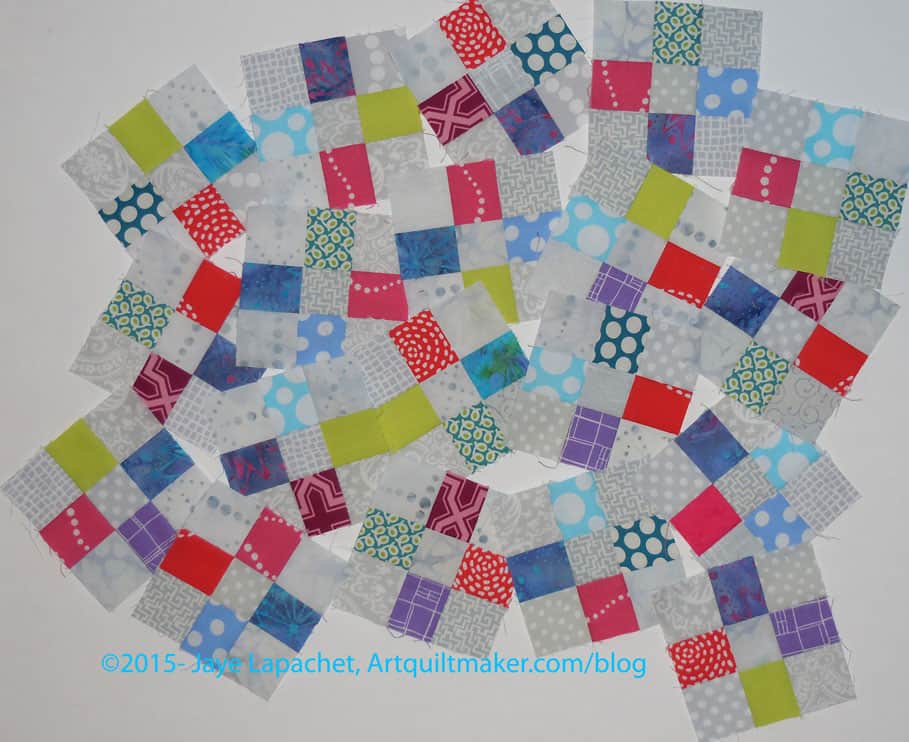
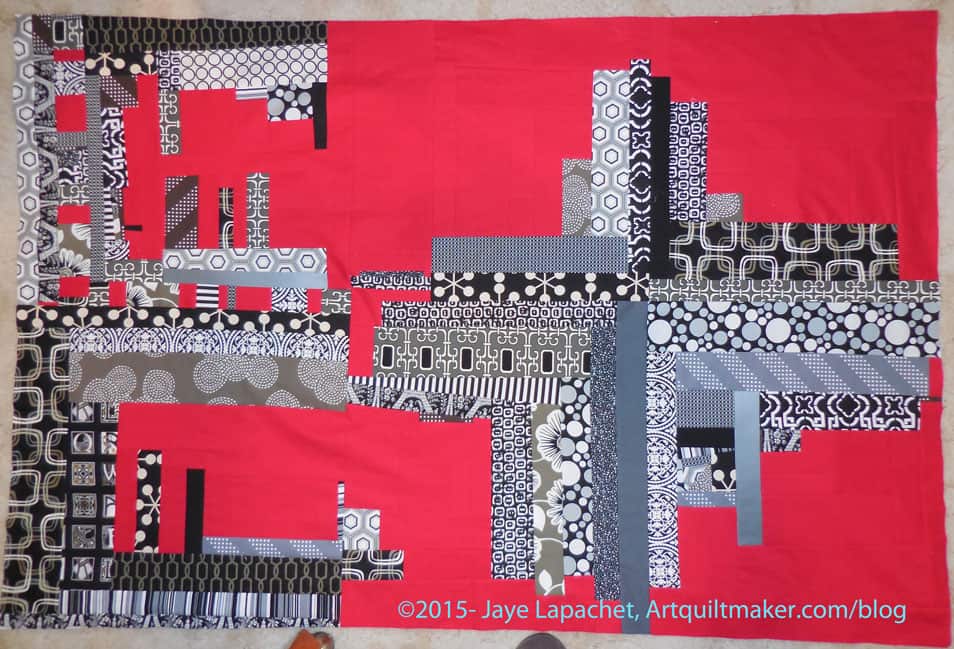
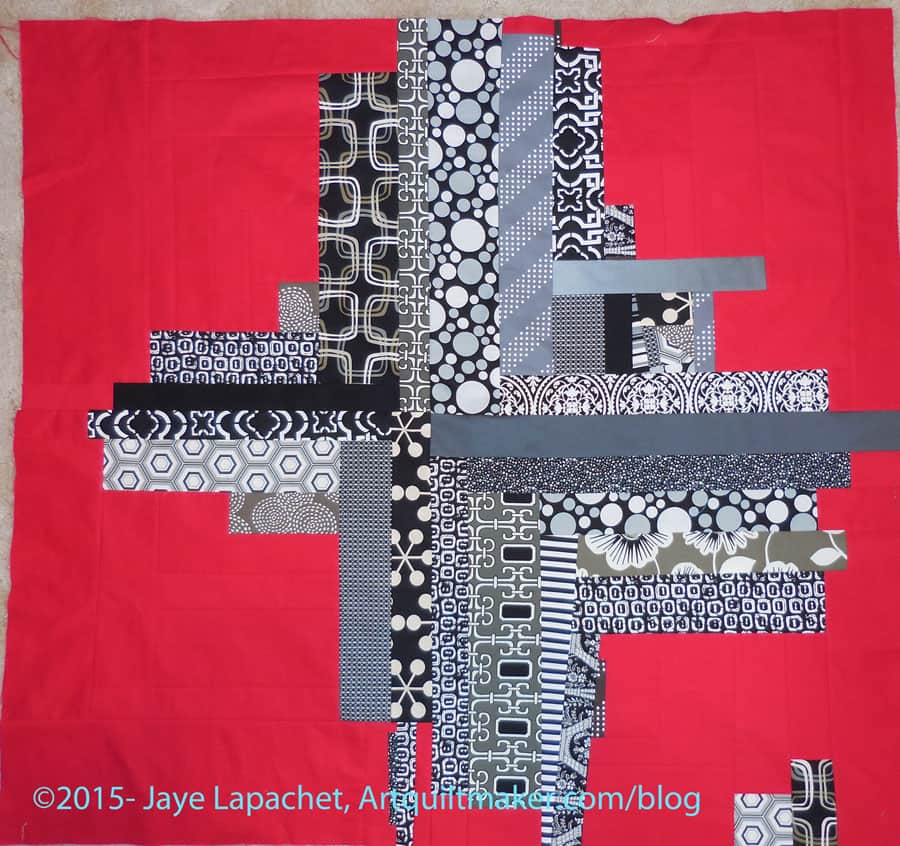
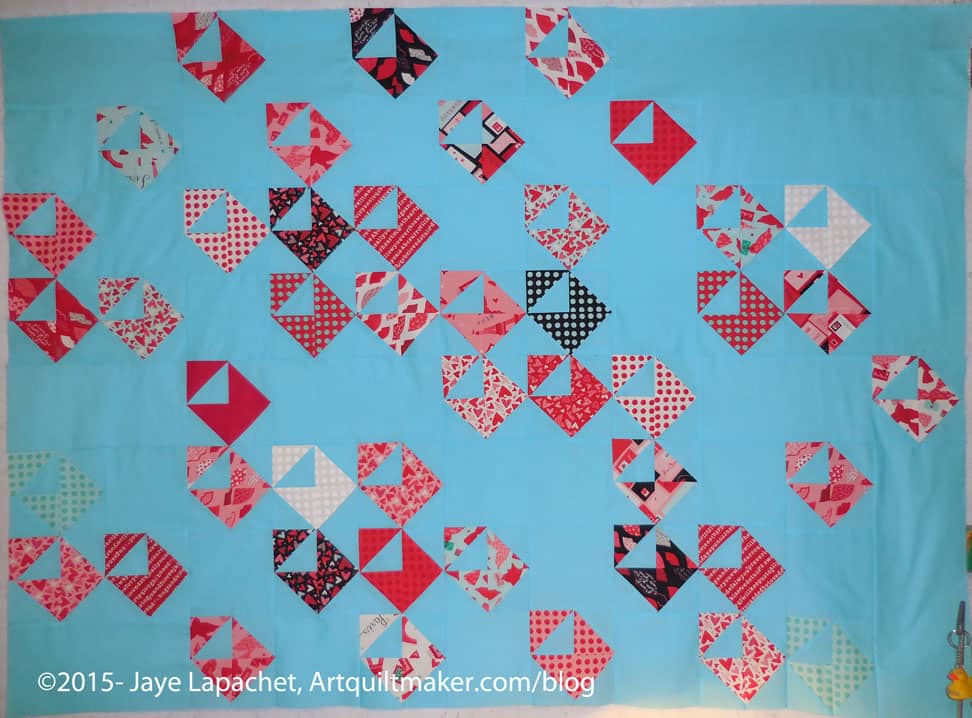
I turned to the Improv pieces I had worked on at the workshop. They were sewn together as you see (left photo), but I wasn’t happy with them, so I unstitched them and began to rework them.
Tina’s idea (from Little Blue Cottage) is that there should be a lot of negative space in the center. Because I like the interplay of the strong pattern, I wanted the blacks and whites to act as the negative space and the red to act as the foreground.
This isn’t a terrible idea, but it wasn’t working with this layout. I looked at it a lot, trying to like it – or at least be okay with the center. The reality was that I didn’t like it. I wasn’t achieving anything near what I was imagining, thus the ripping.
Big, fat Improv
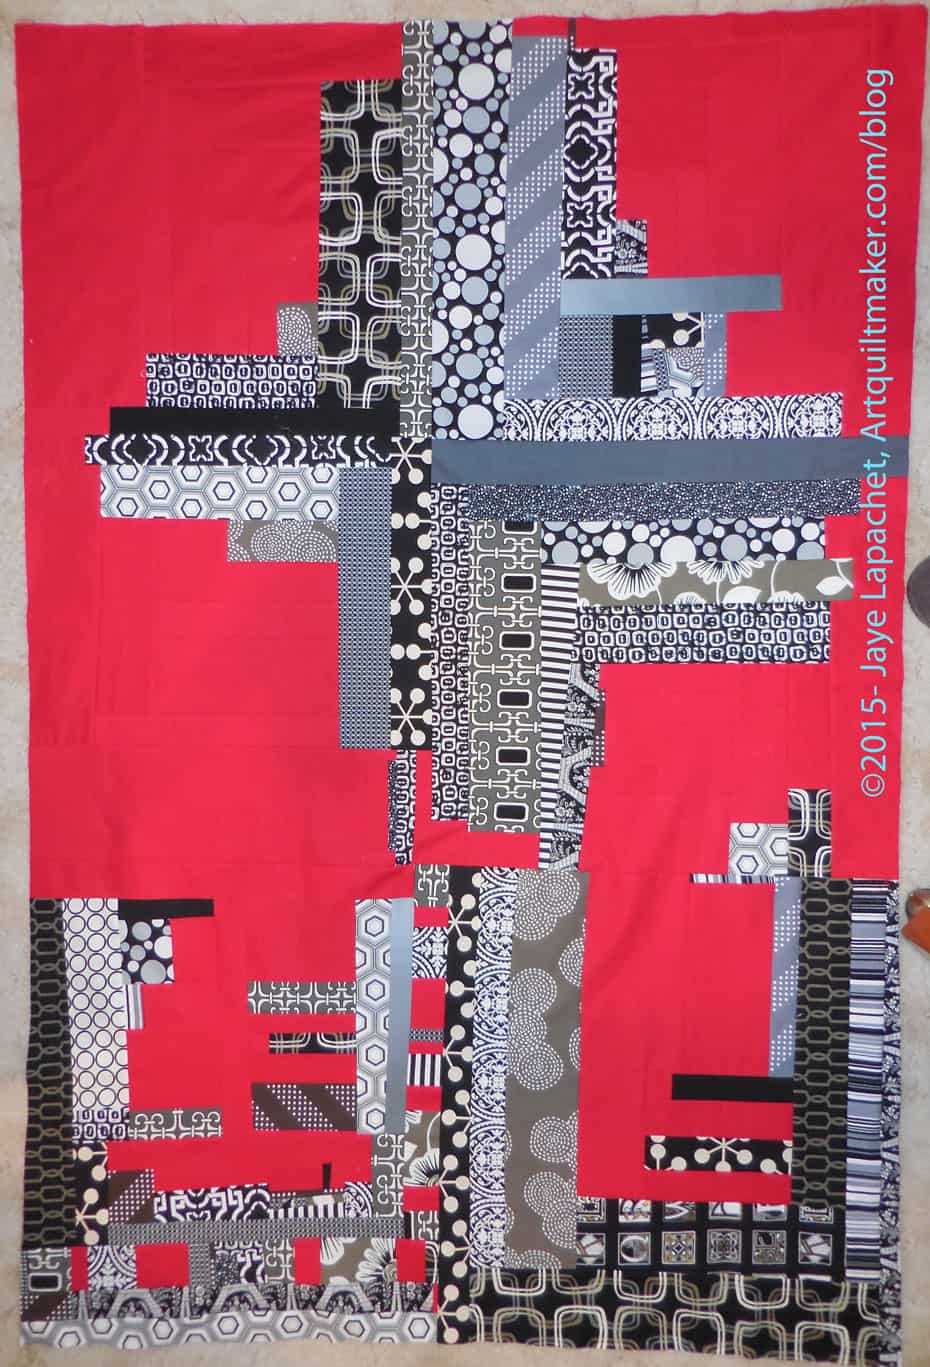
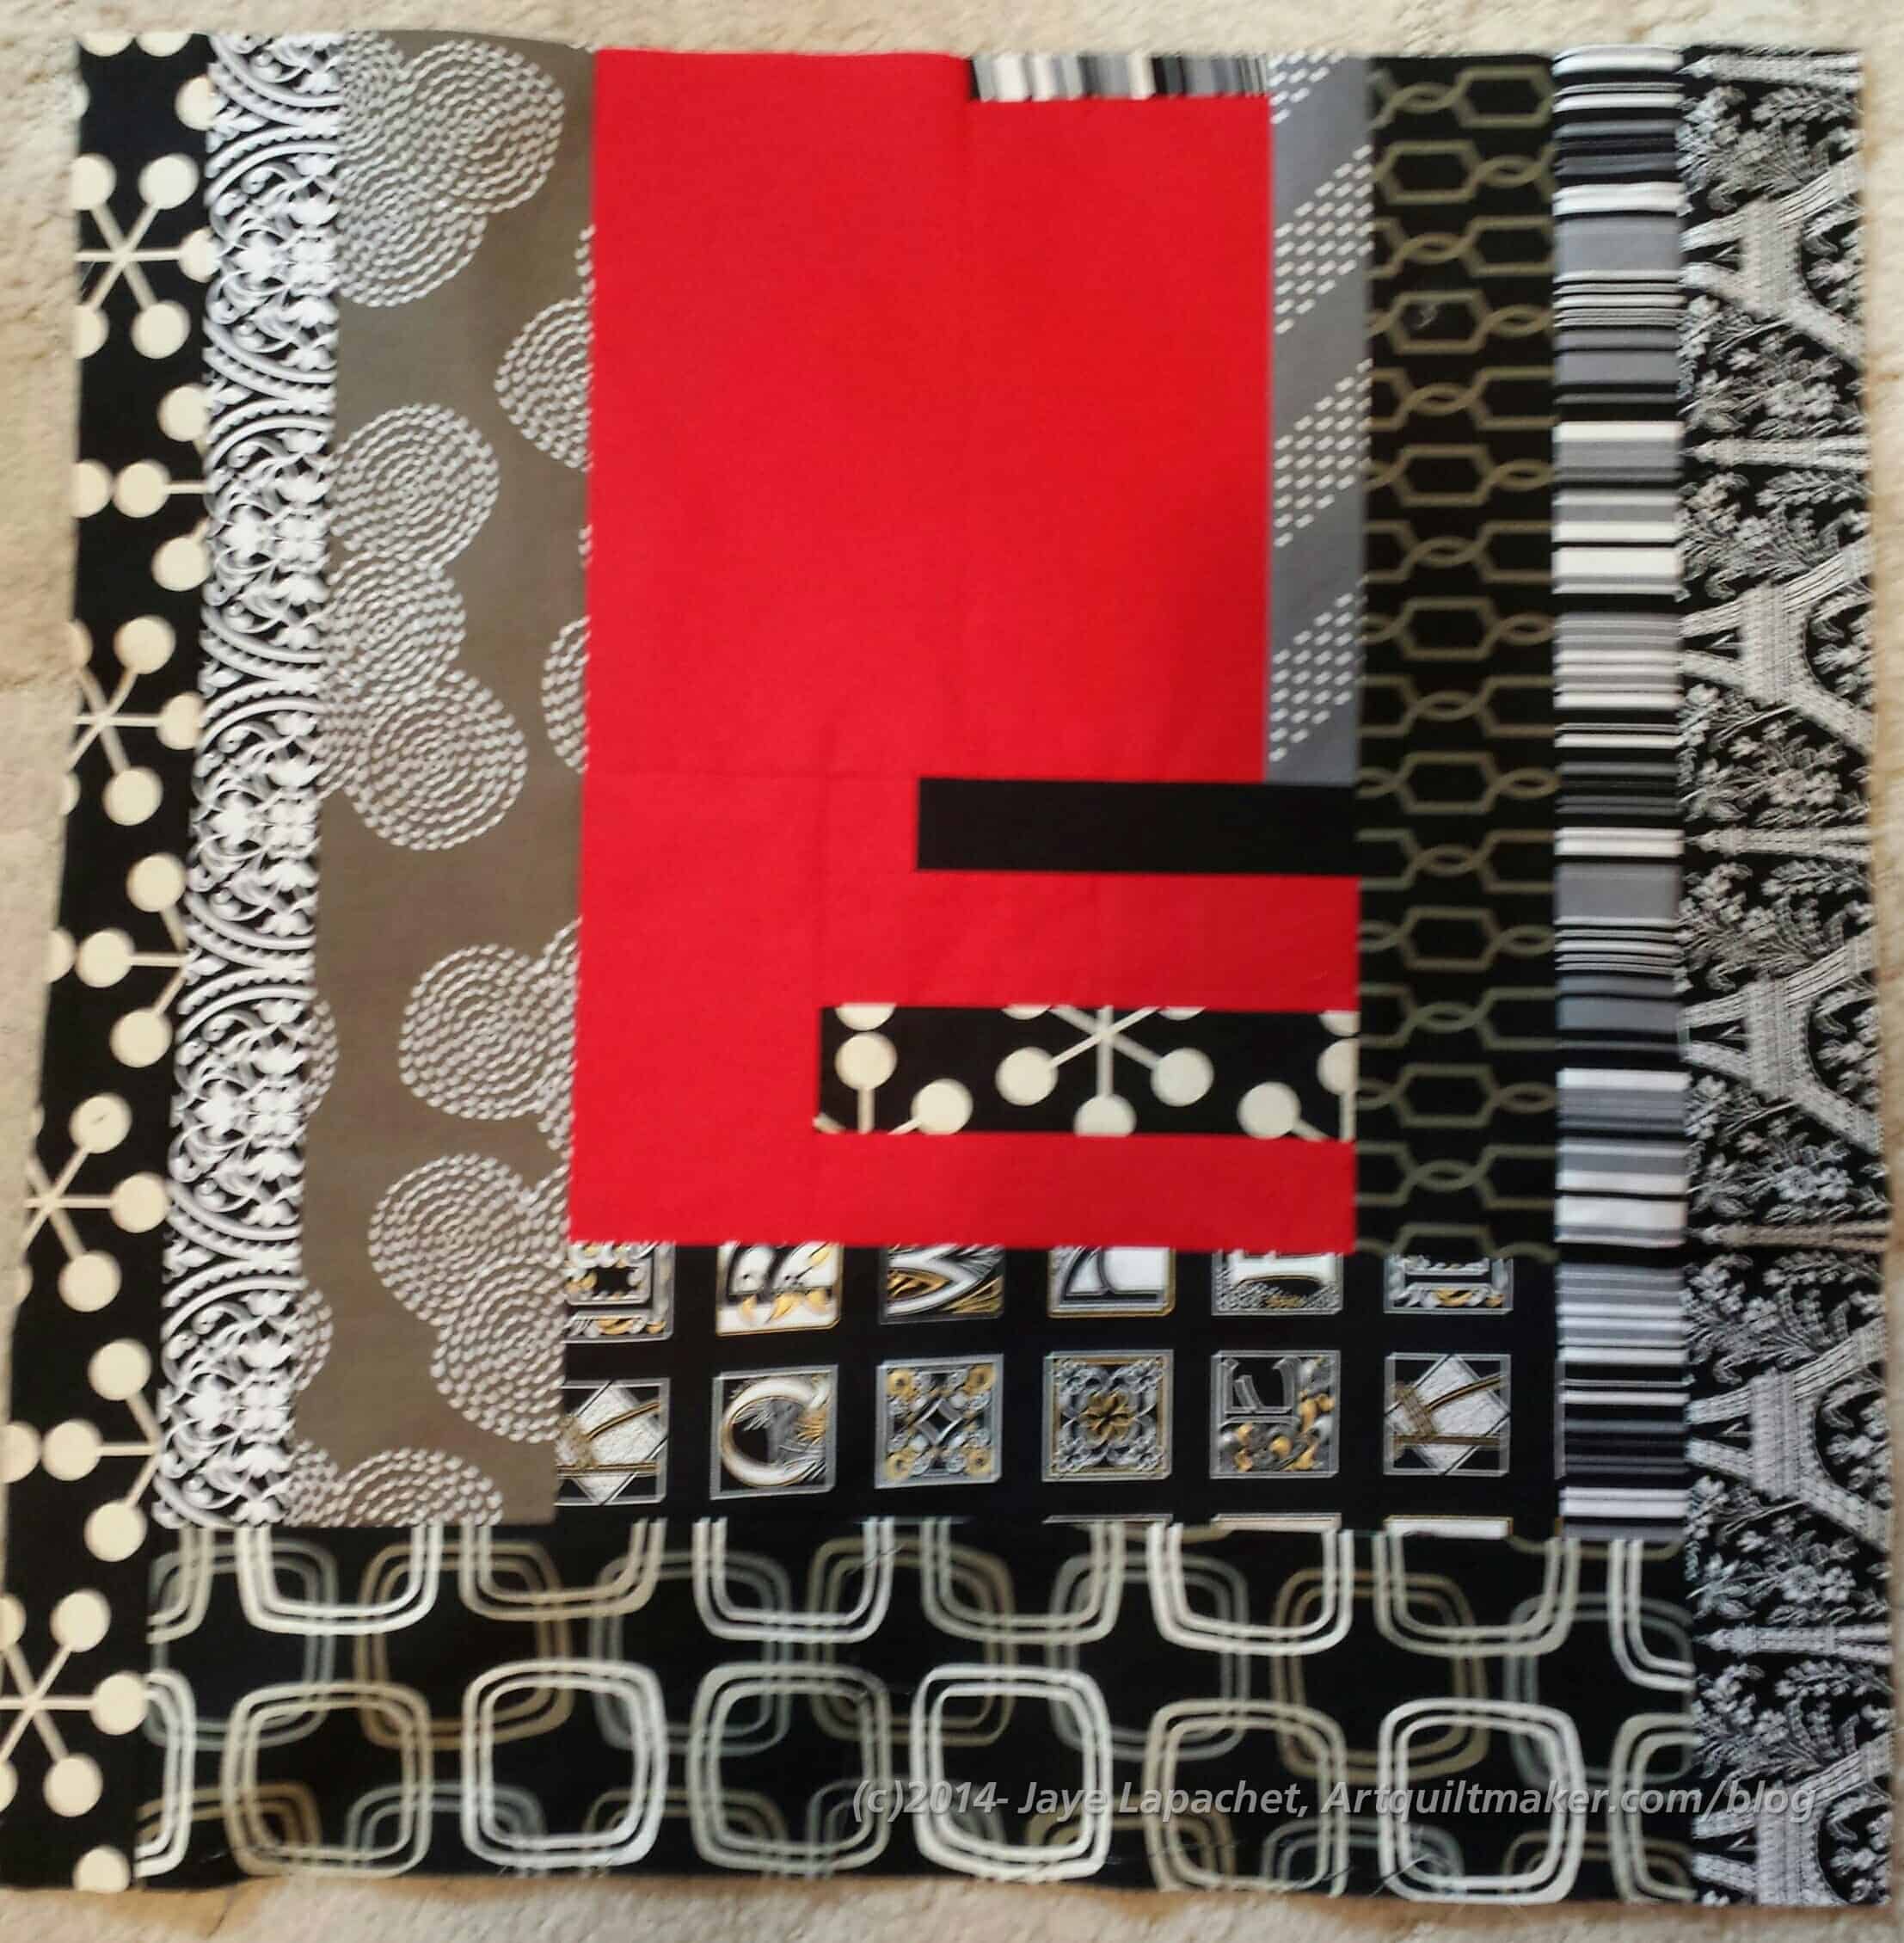
The ripping really didn’t take long, but it did allow my mind time to wander, which is not what I wanted. After ripping, I began adding more neutrals to the ‘legs’. The photo (right) is what the pieces look like right now. I have not sewn the four blocks together yet. I haven’t decided if I am done with the ‘A’ blocks yet.
I think I will definitely add some more red to the outside. I also think that a few more neutrals is in order. It needs to sit a bit.
Windowframe layout
I wandered around it for awhile and then began to wonder whether I should reverse the blocks and arrange them the way Tina intended the pattern to be arranged. I think the neutral part of the blocks look too skinny again when arranged with the red in the middle. It isn’t terrible, though.
I think the ultimate path is to make some of the ‘B’ blocks and see what happens once I have more to look at.
The last post was in April. Not quite a month, but close.
Design Wall 5-18-2015
How’s this for a change? I completely revamped my design wall.
Normally, I am fortunate enough to work with two design walls. I usually have a large design wall leaning against one wall, but I gave it to Friend Julie at the last retreat. yes, I used it, then made her take it home. HA! I have been waiting for a new one since the Santa Clara show and it was finally delivered on Friday of last week. In the meantime I was a design wall short, so I cleared off the small one in anticipation of actually sewing. HA again!
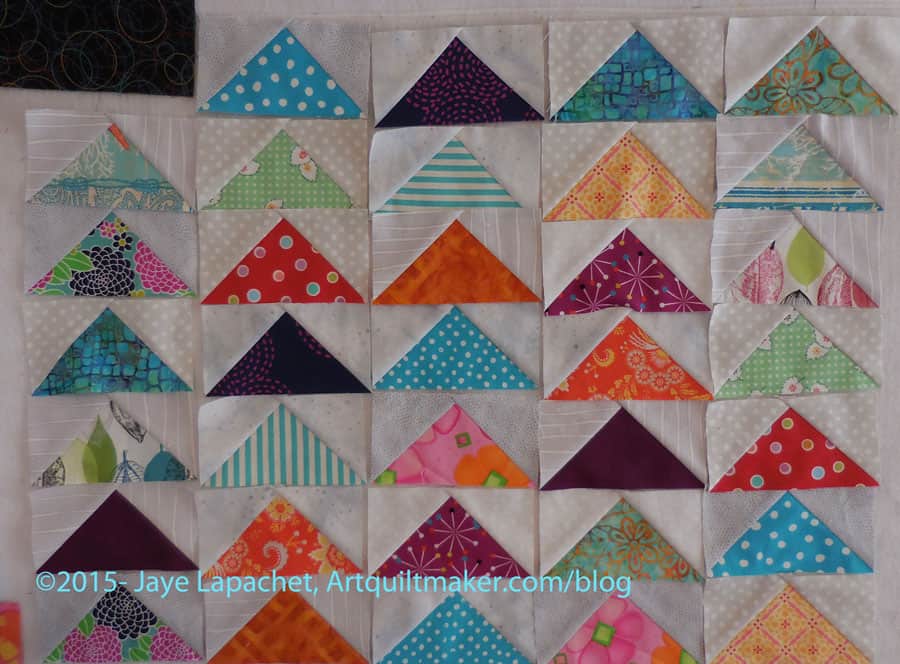
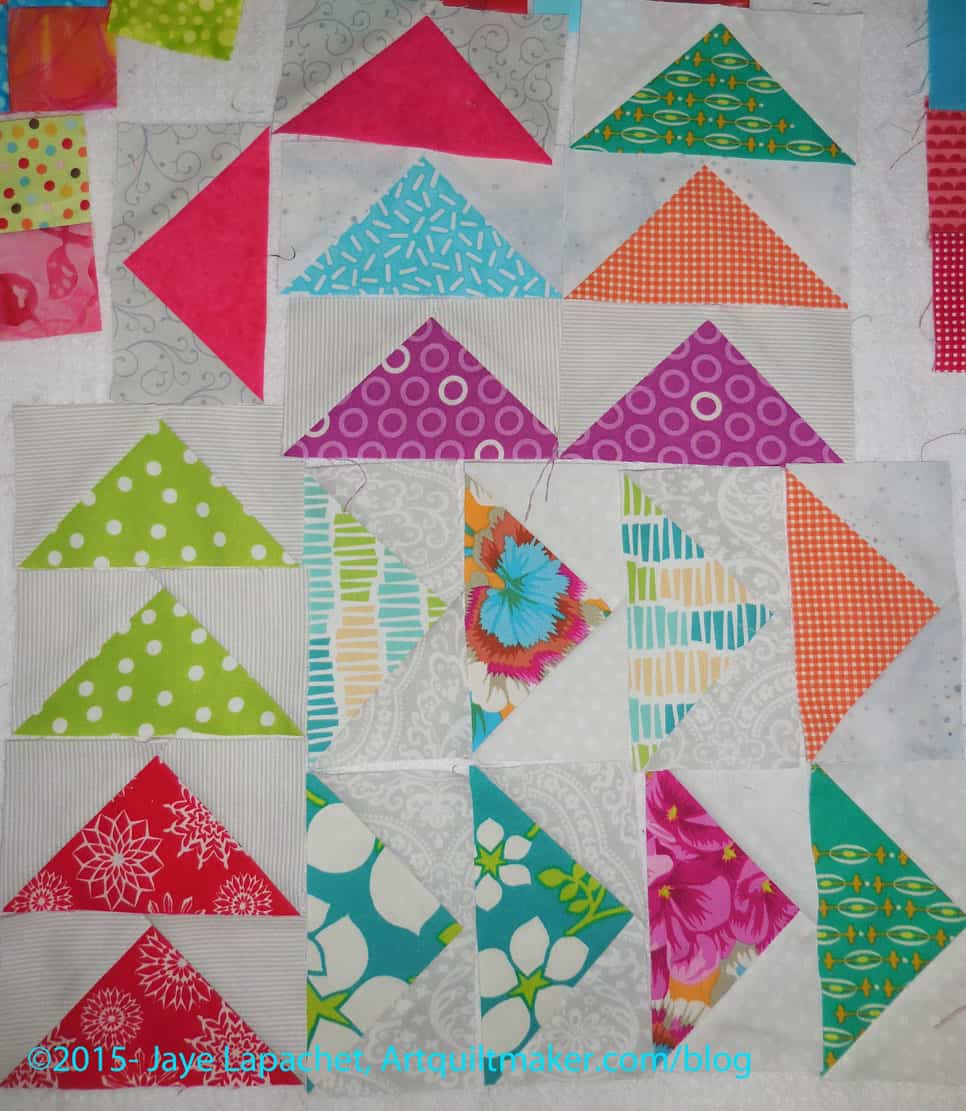
I made two Flying Geese all week. This nonsense has got to stop or I will not have anything to write about and you will all go away.
Here are the things on my design wall this week:
Hot 4 Patches. I will want to make more of these and do something with them, but they have not floated high enough in the idea file for me to actually do anything about it.
I rearranged the red and turquoise 4 patches. They look kind of cook in a big row like that, don’t they?
FOTY 2015. This is the start of the second batch of patches. Amazing how fast they accumulate.
Field Day Zipper (or whatever I am going to call it). I wasn’t able to put the whole thing up on the wall, because I didn’t want to take down some of the things on the left, but the last three rows are stacked up on top of each other on the right. When I am able to sew the left hand rows together, there will be space for all the rows.
These are hand written numbers that tell what order the rows should be sewn.
Wash fabric AKA The Great Unwashed-I washed more loads in April. I have a some receiving blankets to make and some dresses for Political Wifery to make, so it was inevitable.
Make stiff bucket or box for TP in main bath
Make stiff bucket or box for TP in second bath – I am thinking of making this triangular in shape
Anna Maria Horner Multi-tasker tote (gift-due Holiday 2013- sigh. Missed 2015 deadline as well)
Cut out 3 notepad covers for gifts
Finish cutting out Day in the Park backpack variation
All small items, prior to those completed in December 2014, have been completed since November 4, 2013. This is a new list for 2015. You can find the list for 2014 and previous on the last post.
I haven’t done a post like this in a long time. A long time is about a month and a half. i wonder if it looks much different from my last post? You tell me.
Hot four patches. I want to make some kind of four patch quilt out of hot colors. This is a long term project that I am thinking about. It just came to the fore recently.
Love Notes quilt: this is a Missouri Star Quilt Company pattern. Someone told me it was boring, but I decided to make it anyway. I object to the bias edges, but there is something about it that I like. Perhaps the envelopes making people think of writing. I am not going to call it Love Notes. Look for a more comprehensive post later.
Red & turquoise four patches.
FOTY 2014 Patches: I have decided that this is the last batch of the FOTY 2014 patches.
Sampler quilt basket block in progress. I haven’t done more about the tutorial, but, see Frances, it is in process.
Red & turquoise four patches in progress.
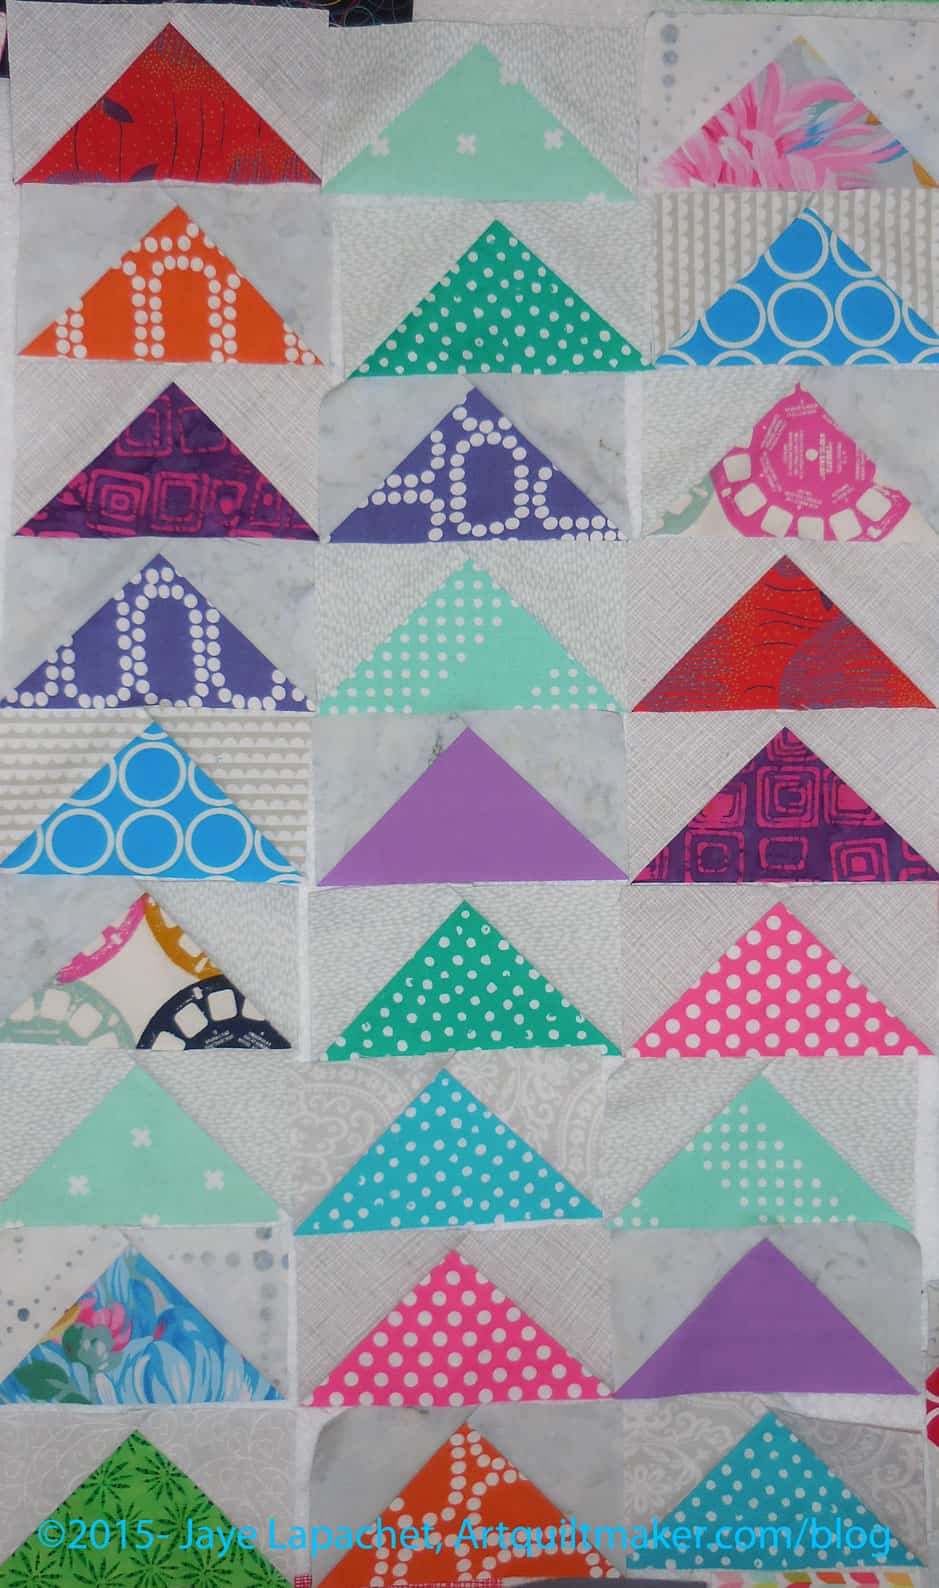
Flying Geese project: TFQ and I are exchanging Flying Geese and these are the ones I have made and received so far.
Folded paper star: I made this with a friend and really wish I could remember how to make it. If you know, let me know. Each leg is made from a square piece of paper.
Four Stepping Stones blocks. I have a stack of fabric and various parts of blocks, but I haven’t made any new ones yet. No room on the design wall for another project.
I am linking up with Judy Laquidera at the Patchwork Times.
It looks so little. You know I make big quilts so this one just looks weird.
I could cut more octagons and make it bigger, but the pieces are really small and piecing the blocks takes forever.
I have a few more octagons that are in the process of being sewn into Snowballs, so the piece will be a bit bigger, but it won’t be bed sized.
I can add a border and I do have an idea for that already, so that will also enlarge it.
I could also just be okay with the size that it is.
Octagon 9 Patch – March 2015 detail
There are a lot of warm colors and I may need to cut a few octagons from cool colors, but I am not going to decide until I have more 9 patches completed and all the octagons are made into Snowballs.
Wash fabric AKA The Great Unwashed (I am still pressing and cutting the loads of fabric I did in December. I did do a couple of loads in February since I wanted to use the fabric)
Make stiff bucket or box for TP in main bath
Make stiff bucket or box for TP in second bath – I am thinking of making this triangular in shape
Anna Maria Horner Multi-tasker tote (gift-due Holiday 2013- sigh. Missed 2015 deadline as well) – found the pattern, which is a good start.
Make 3 notepad covers (gifts)
Day in the Park backpack variation
Sew Bon Appetit apron
ATCs for CQFA January Meeting – meeting was cancelled and I have until February 28? I have found some fabric for the backs and marked it
All small items, prior to those completed in December 2014, have been completed since November 4, 2013. This is a new list for 2015. You can find the list for 2014 and previous on the last post.
I have thought long and hard to try and describe what quiltmaking means to me. Quiltmaking, for me, is more than a hobby, but not a career. Vocation might be the right word. I am not sure. It smacks of the cloister for me and the online definition leans heavily towards trade or occupation.
Vocation Definition from Google
Quiltmaking has all of the qualities of a good non-work hobby/occupation for me. I can work at it – sewing and piecing. I can study various things about quiltmaking: the history, patterns, techniques. I can meet up with people and talk about quiltmaking as well as engage in group activities around quiltmaking (Sew Days, guild meetings, shows, etc). I can engage one-on-one with people in exchanges, discussions of their projects, or my projects. I can write about quiltmaking, read about it. The list goes on and on providing almost infinite opportunity for occupying my time.
There is so much in quiltmaking on which I can focus that I flit from place to place, trying out different aspects, talking to people, trying out patterns. There is freedom in the art. That has also meant that for some time I was scattered. It resulted in a lot of UFOs and other things. So I started working towards being more mindful about process and tried to lessen the importance of product in my mind and in my quiltmaking. I have been trying to enjoy the journey as well as the finished product. It is always a struggle, because putting that last stitch into a quilt is intensely satisfying. However, it has given me focus. The result of one of those exercises was the abandonment of the PIQF Cross project. The project wasn’t working for me or TFQ and I abandoned it. I just didn’t want to make the blocks. That doesn’t mean I won’t make those blocks in the future, but last Fall was not the time. Process.
Recently, I read a couple of things that really made me think. There were two articles about process by Pat Holly and Sue Nickels. It was interesting read about the process of two artists who work together.
Pat Holly wrote something that really struck me: “I will say, in the end, it is all hand work – my hands draw the design, cut the fabric, hold it in place, and guide it under the machine. And, whatever size the quilt is, it makes my heart happy.” Pat Holly, Inspire column “My Process,” American Quilter, January 2015, pg.62-63.
Hearing about the process other employ makes me think about my process informed by her words. The thought about my hands as tools made me think about ‘handwork’ in a fresh way. According to Pat Holly, I don’t have to always do hand piecing or hand quilting in order to make something by hand. Making it from materials using my hands, even to guide the fabric through the machine, is to make by hand. I don’t know why is was a revelation, but it was an AHA moment.
I visit the YMCA to work out. The Wellness Director writes a newsletter every month and this month (February) was about working on New Year’s Resolutions. She quotes from Dr. Christine Carter, a Sociologist and Happiness Expert in her article about New Years Resolutions: “When starting a new habit, it can be frustrating to fail. But failing is also essential to the process of creating a habit that sticks. Unless you are some sort of superhero, you will not be able to get into a new habit perfectly the first time. And then you’ll have the opportunity to learn something from your failure that you probably couldn’t have learned any other way.
In other words, faltering is a normal part of the process. It doesn’t matter if you have a lapse, or even a relapse, but it does matter how you respond. If you’ve had a slip, don’t get too emotional or succumb to self-criticism.
Take Action: If you’ve started faltering with your resolution, the first thing to do is forgive yourself. Remember: lapses are a part of the process, and feeling guilty or bad about your behavior will not increase your future success. Make a plan for the next time you face a challenge similar to the one that caused your lapse. What will you do differently? What have you learned? What temptation did you face that you can remove? Is there something that you need to tweak? Were you stressed or tired or hungry — and if so, how can you prevent that the next time?” (from a blog post posted Monday January 26, 2015, retrieved 2/19/2015)
Though the post was New Years Resolution focused, a traditional time to start new habits for some, I find it to be relevant in my effort to be healthier. After reading the article, I tried to take a look at it in relation to my quiltmaking. Do I avoid patterns and techniques, because I am afraid to fail? Do I learn less because of it? What does focusing on process mean in terms of failure?
I am not fearless in my quiltmaking, though working towards fearlessness is part of the process. I still am anxious about ‘wasting’ fabric, though the waste in the sense of trying something that didn’t work is, perhaps, not waste. Also, using scraps to fill Cat Beds or cutting scraps up with Accuquilt really help alleviate the feeling of wasting resources.
My health journey has made me realize that I can do poorly today, but tomorrow is a new day. I don’t have to give up on my entire program just because I ate a Snickers bar. this idea sneaks up on me in quiltmaking. Part of the process may be that if a project is going poorly, walk way and get back on the pony the next day. Or it could mean do a test block or a test of the technique, even after starting. It could mean making an ATC using a technique before commiting to a full quilt.
These are the things my mind ponders when left alone in the wild.
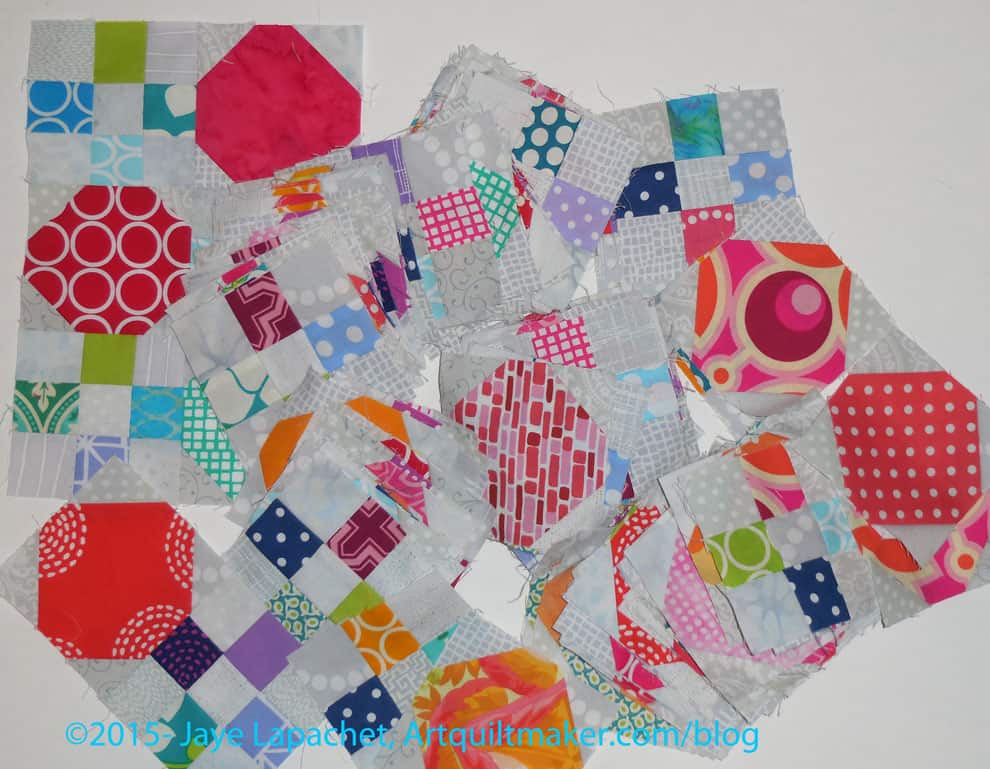
I am starting to think I should call this quilt the Snowball Nine Patch. Even though I think of the original shapes as octagons, I am turning them into snowballs. It is probably too late since, by now, I think of this quilt as the Octagon Nine Patch quilt, but it is a thought.
Also, what is it with Nine Patches all of a sudden? First it was the Rick Rack Nine Patch and now I have, as planned, added nine patches to this quilt.
Octagon Nine Patch Detail
I felt like I needed to add some nine patches to the octagon/snowball pieces to see some progress. I know I am making progress with the ever increasing number of octagon/snowball pieces, but I needed to see more. Making new scrappy blocks meant cutting a whole bunch of additional squares. Still, it was very gratifying when a couple of nine patches came to fruition.
I am trying to decide if I need more cool colors. I used a lot of the cool colors on the Russian Rubix. From the top photo, it looks like enough, but when I look closer I see the same fabrics over and over, then one of the circle blue octagons and one of the violet/light purple with the squares and rectangles line drawing. I don’t know how many octagons I will need as I don’t know how large of a quilt I am making. I am trying to restrain myself and wait to cut more until I can put this on the large design wall to see what I see. At this point the quilt (with 64 Snowballs only) will be 208″, which is a respectable size. Adding the Nine Patches will, I think, double the size.
I am getting to the point where this is starting to look like something. Perhaps this will become my number 1 project soon.
All small items, prior to those completed in December 2014, have been completed since November 4, 2013. This is a new list for 2015. You can find the list for 2014 and previous on the last post.
I think that my design wall looks exceptionally turquoise this week. There seems to be a sufficient amount of pink, too.
It looks really different from the last time I posted, partially because I have been sewing. Though different is probably the wrong word; it looks more – more of everything. More octagons, more Stepping Stones.
Same old four patches, though I have actually sewed a few.
More Fabric of the Year patches
A folded paper wreath that I made a long time ago. I really wish I remembered how to make it. Even extensive Googling didn’t help. If you know how to make one, let me know.
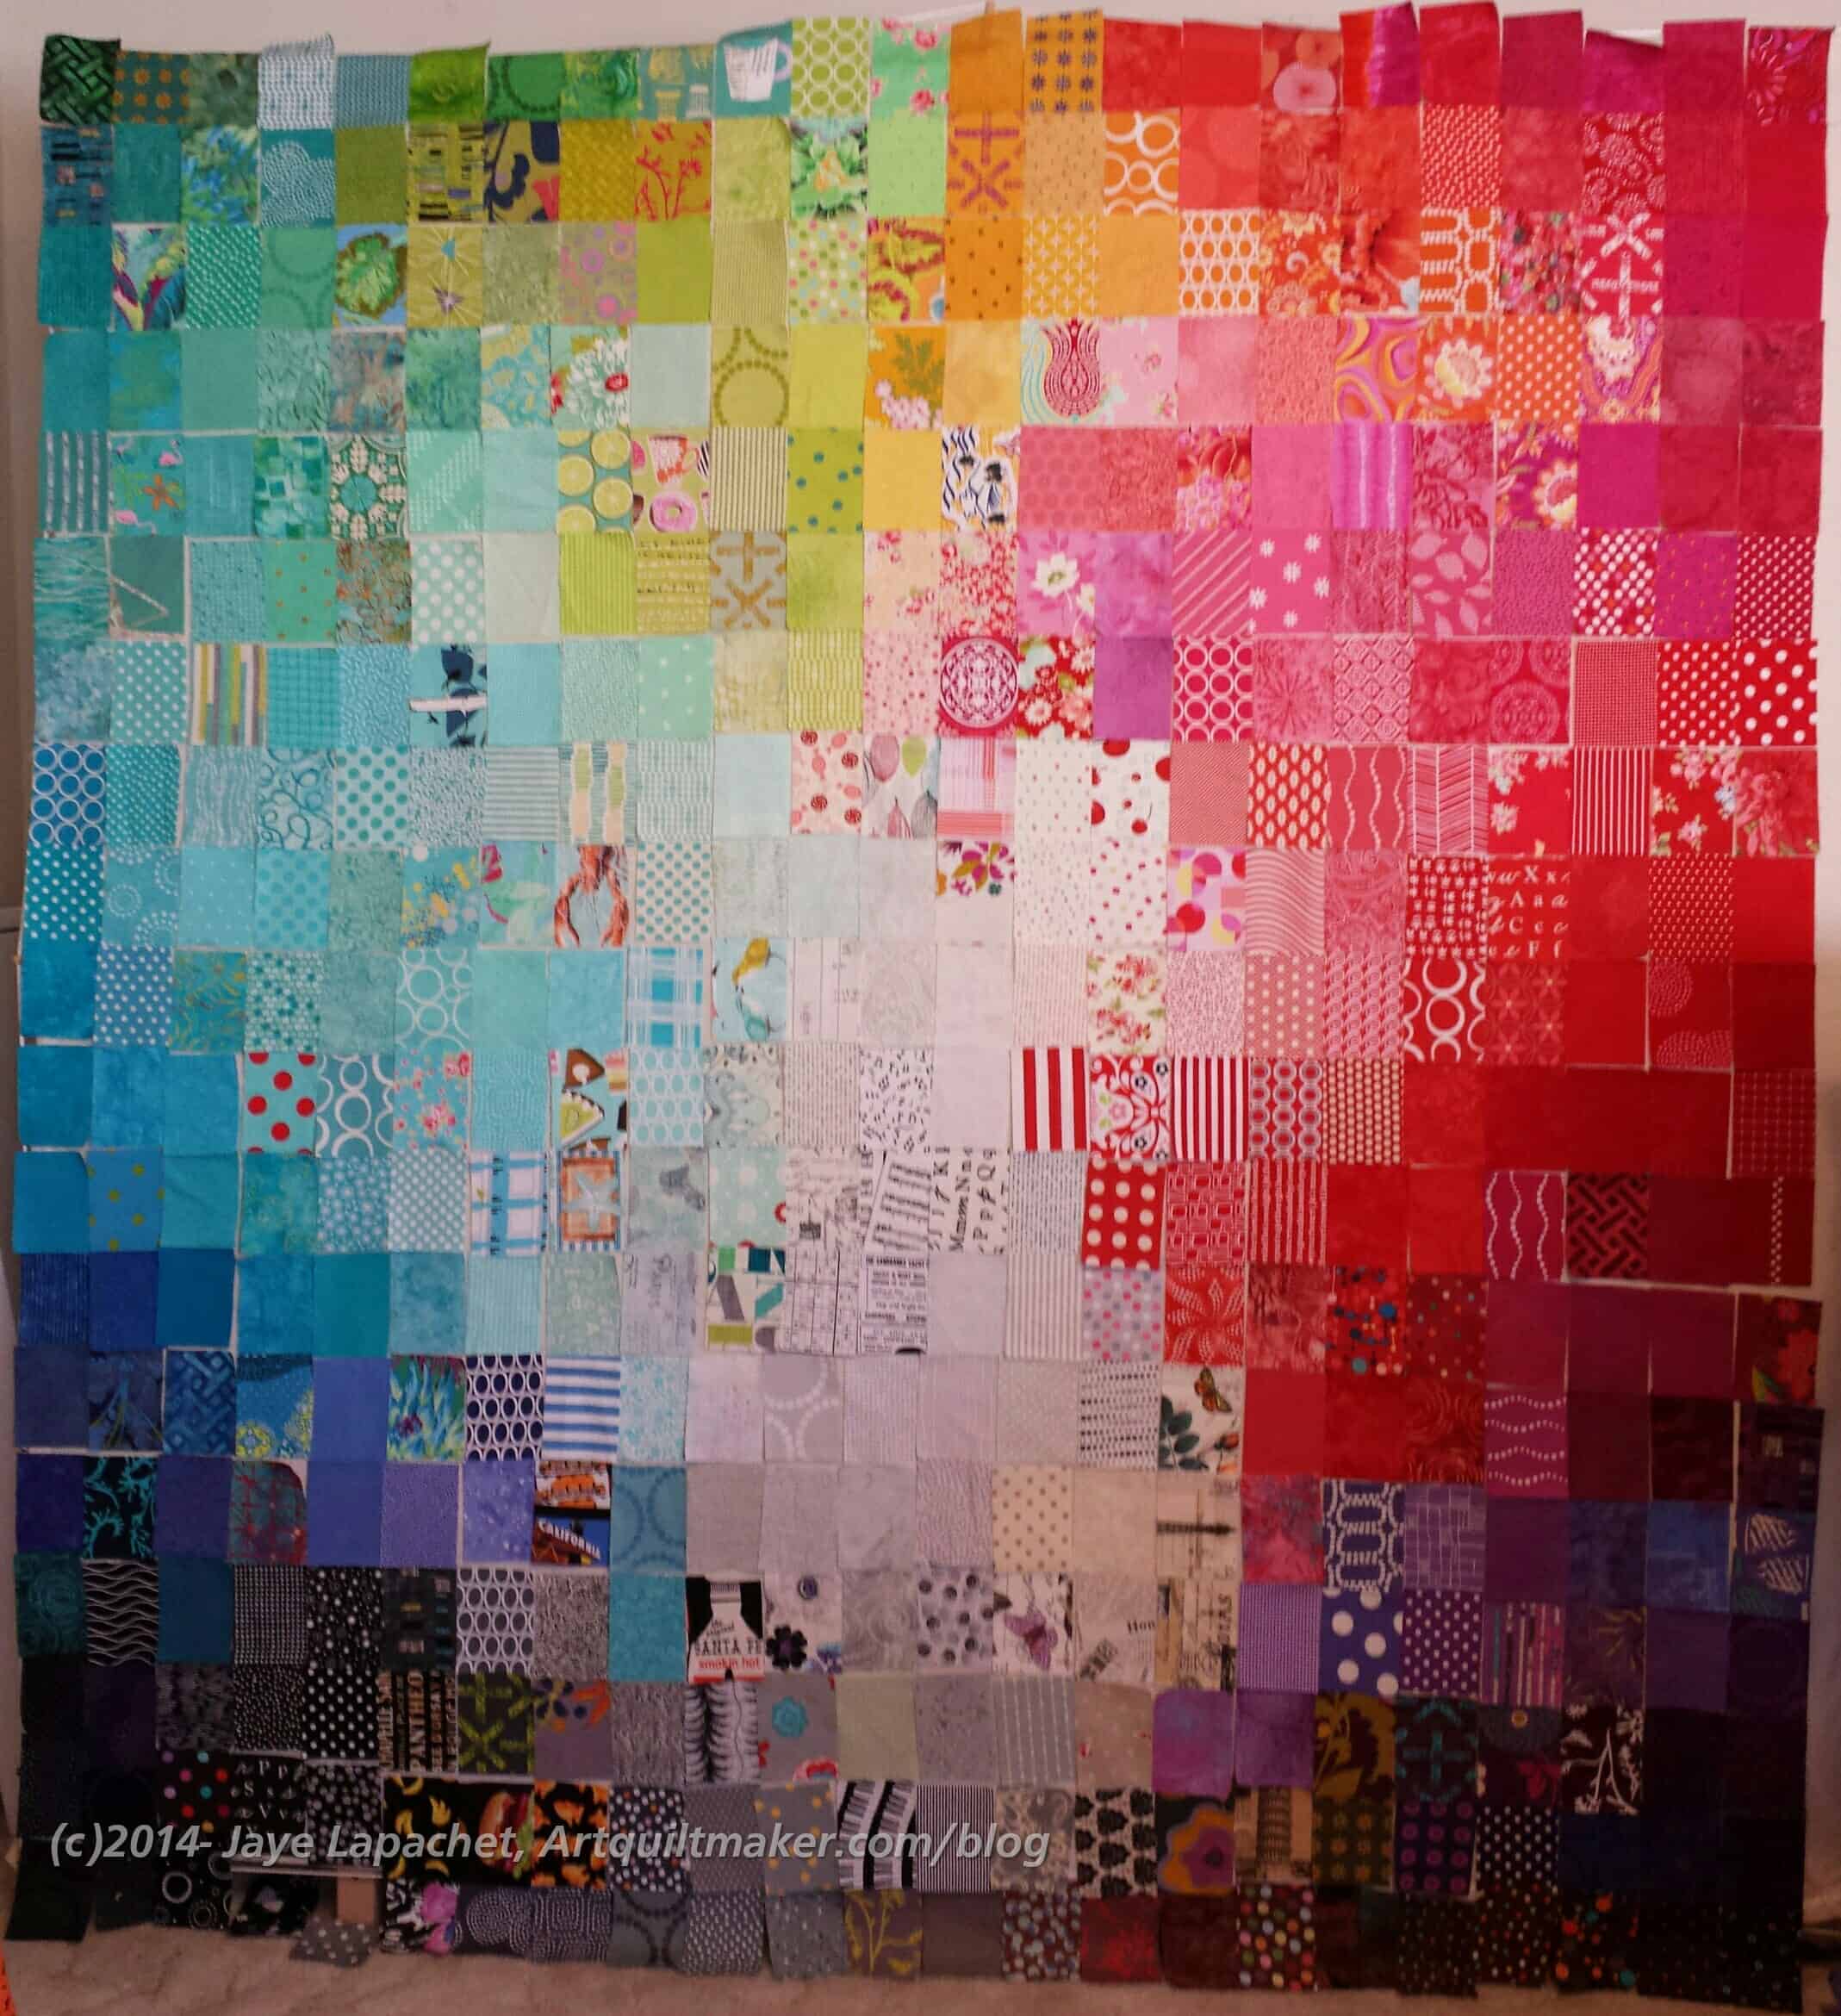
During my recent trip to the East Coast, I stayed in a hotel while attending a work meeting. I saw the carpet and thought it would make a great quilt, recolored, of course.
I like the simple design.
There is interest even though the design includes just squares, using different sized squares and subtle changes in “color.”**
I can see this design with a solid background and a variety of bright colored something fabrics for the squares. Prints or solids would both work. I was thinking about it, designing this in my head and then I saw….
Modern Quilts, Winter 2015
almost the exact same design in Modern Quilts, the Winter 2015 issue. I couldn’t believe it.
Back to the drawing board.
**Nota bene: color in this instance is generous as I consider color to be something I can actually see. 😉
Progress is being made, but I have still only worked on the snowball blocks since the last post.
There is certainly a lot of pink! And, secondarily, a lot of warm colors. I used most of the cool colors on the Russian Rubix and want to use what I have.
The good news is that I have to make the 9 Patches, so I can use more cool colors there if the design warrants it.
I am adding the corner pieces using the leaders and enders method. Adding the triangles to the corners makes the octagons look really different from the octagons in the Russian Rubix quilt. I am glad, because it keeps the piece from being boring.
We had a discussion at the CQFA social on Saturday about Workshop projects and how they are not always the kind of projects one wants to finish. There are a lot of variables going into the workshop -the right fabric and supplies, working in an unfamiliar environment, etc. – that conspire to make you learn something, but not always like the end result.
Serendipity Lady – Beginning Work
That is not the case with Serendipity Lady. I have wanted to do this design ever since I made stained and leaded glass panels back in the dark ages. Caroline’s workshop at CQFA last spring (?) gave me the means in fabric and the inspiration to make this dream a reality.
The problem was that my piece had so many small pieces that cutting out the pieces straight from the fabric became an issue. I went back and tried a few times and failed – or didn’t succeed as thoroughly as I would have liked. I didn’t want to simplify the pattern and I didn’t want to blow it up larger either. Struggling with the mechanics of making a piece does not make it fun. Finally, I put it aside to mull over.
This was disappointing, because I came home so jazzed about this project after the workshop. Creating is a struggle, but for this one, I just wanted it to work. Sadly, that is not the way ‘making’ works.
In the mulling process, I came up with the idea of making templates for each piece. I was about to embark on that line of thought using the kind of cardstock (tagboard??) I used to use for cutting the templates for stained and leaded glass panels when I had lunch with Maureen and Dolores.
I mentioned my problem to them and how I wanted to use templates and asked their advice. They both immediately went to freezer paper and patiently explained how to use freezer paper to make the templates. I couldn’t really envision the process in my head. It became clearer when they kind of walked me through the process, reminding me to trace the design backwards.
What Process Looks Like
Again, I was really excited so I came home, taped the design to my sliding glass door and retraced the pattern backwards. Then I traced the backwards pattern on to freezer paper and sat in front of the TV and cut it out.
Again, those tiny little pieces were not my friend. At the moment I have them all paperclipped together, but that is only because I keep forgetting to get an envelope each time I go downstairs.
Serendipity Lady – Weekend Work
Next I started applying freezer paper to fabric. Then the real fun began. I threw out some fabrics after putting them near other fabrics and the picture really started to take shape. I am not done and I haven’t glued down the pieces yet, but I really had a lot of fun making some serious progress.
My mind is whirling with the possibilities of adding a few beads, embroidering the eyelash, etc. Fun!
Is it still early January or have we moved into mid January already? I don’t know. I seem to be back in the saddle after a really good mini-session with Maureen and Dolores. More on that later, but in the meantime, I have been making a sort of effort to sew.
That effort has result in the pieces and parts for many, many Stepping Stones blocks, a bunch of cut pieces for the FOTY 2014 and one Stepping Stones block completed.
Design Wall Jan 12, 2015
Parts for turquoise and red four patches. I really need to cut some more blues.
Octagons and snowball blocks for the Octagon 9 patch. I am making progress, but mostly I am sewing triangles to the corners of the octagons to make the snowball blocks.
One completed Stepping Stones block. I am having fun selecting fabrics for the patches. I am glad I added some fabrics to the Bonnie & Camille fabrics. It is good to use them and I think they add a lot to the look of the blocks.
Third Stepping Stones block in process. You can see how I keep track of the pieces I choose. There are still a lot of pieces to cut.
Second Stepping Stones block in process. I am sewing patches together.
I haven’t gotten rid of these PIQF Cross blocks yet, so they are still on the design wall.
Take a look at my last design wall post and see the difference, though some quilt things never change. 😉
I am linking up with Judy Laquidera at the Patchwork Times.