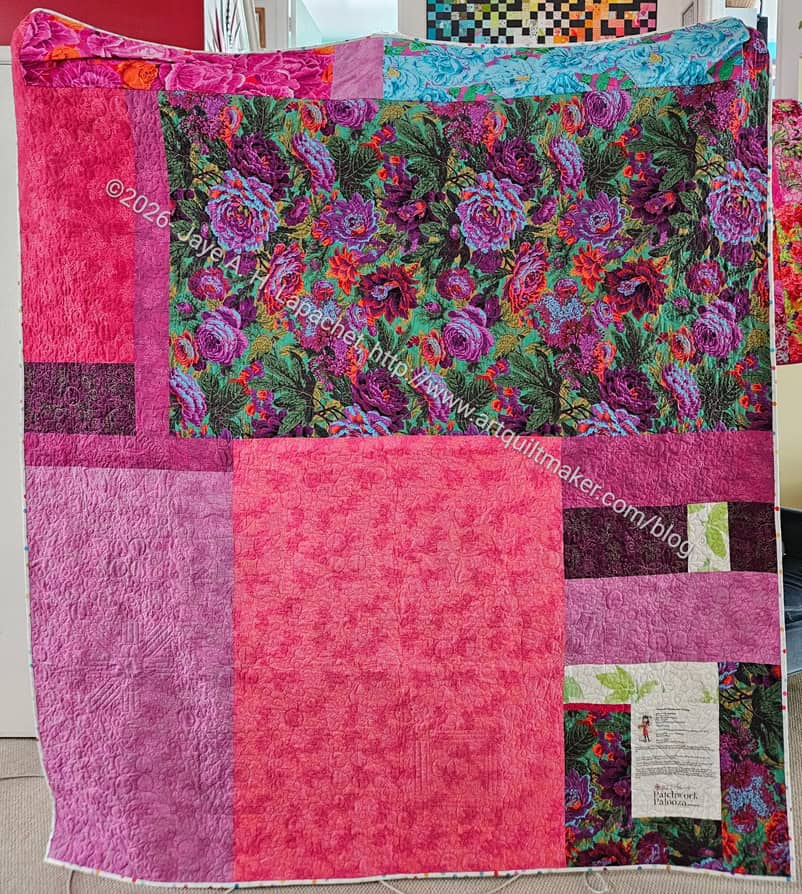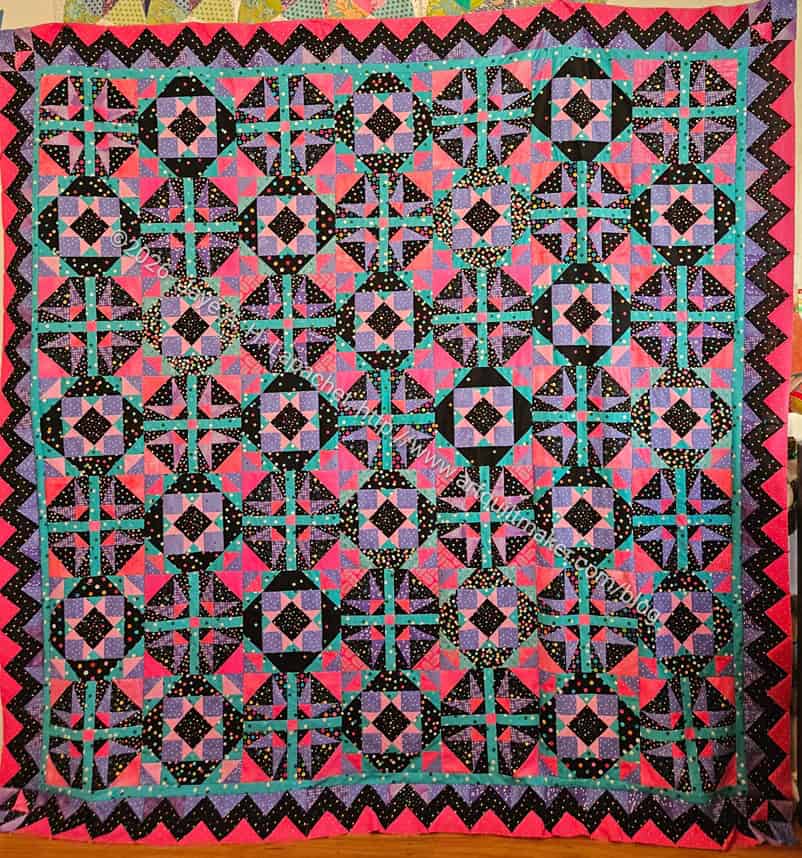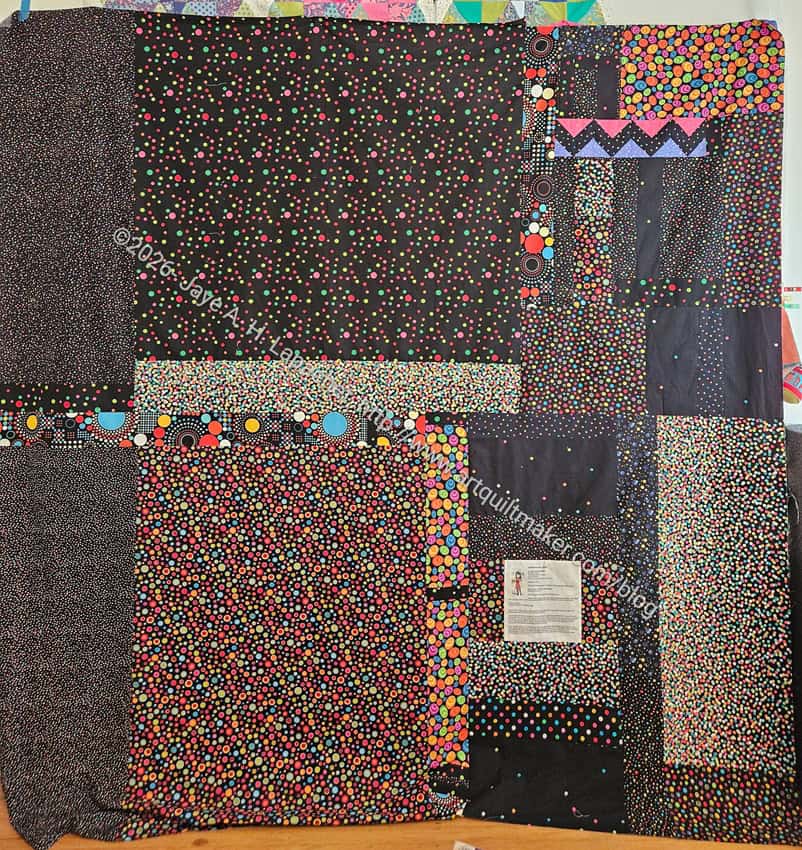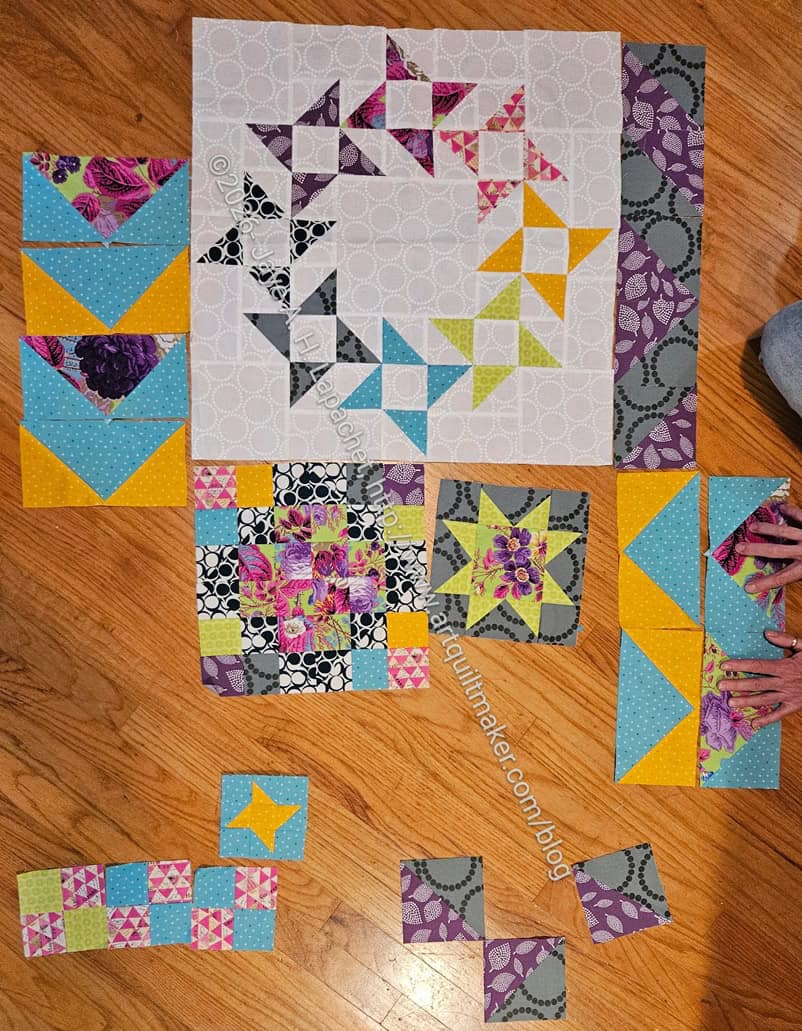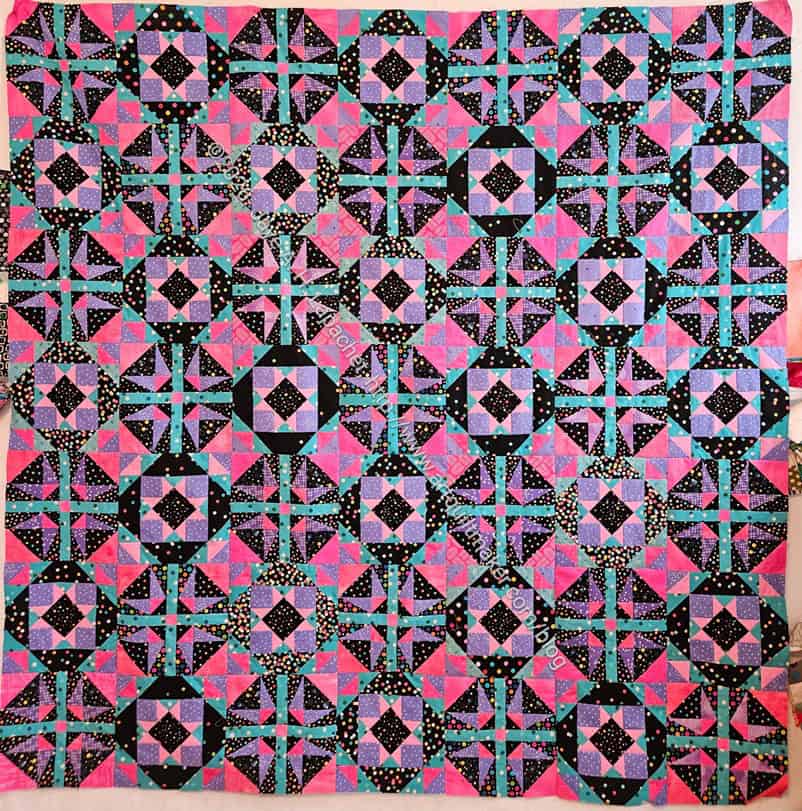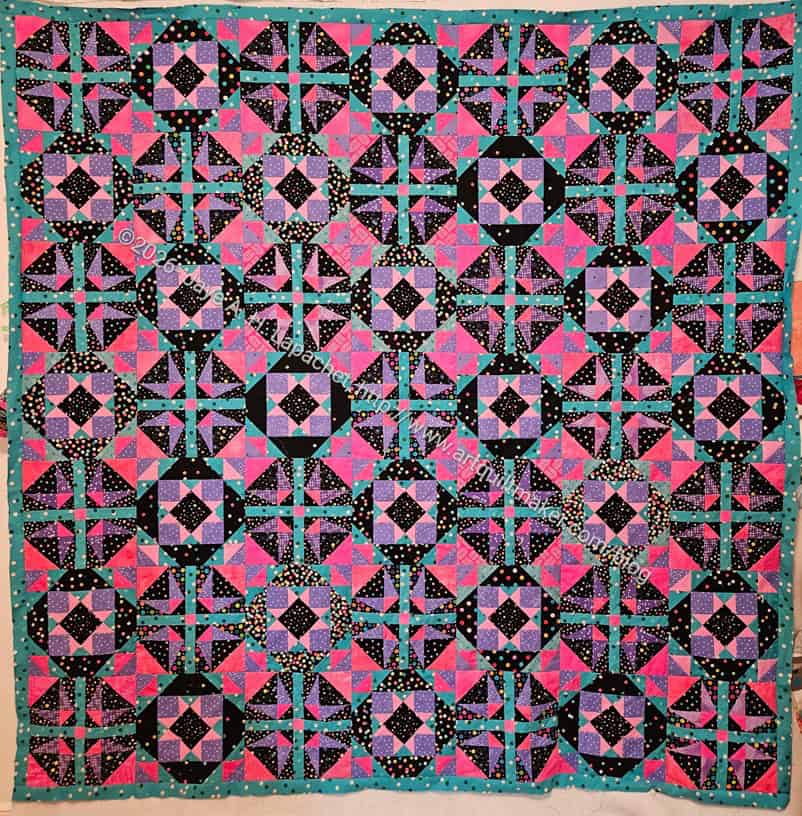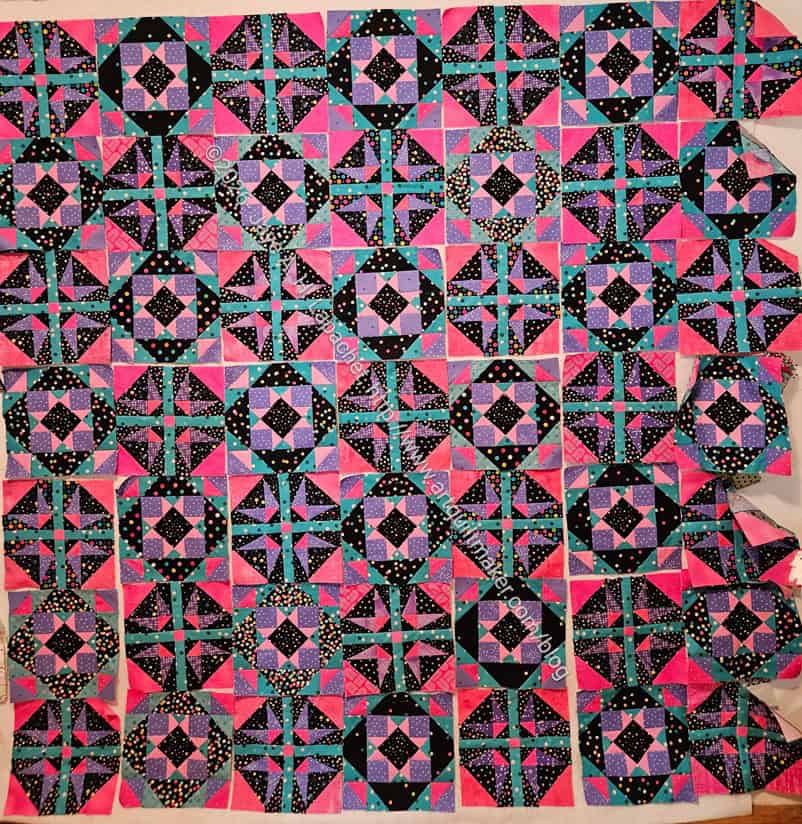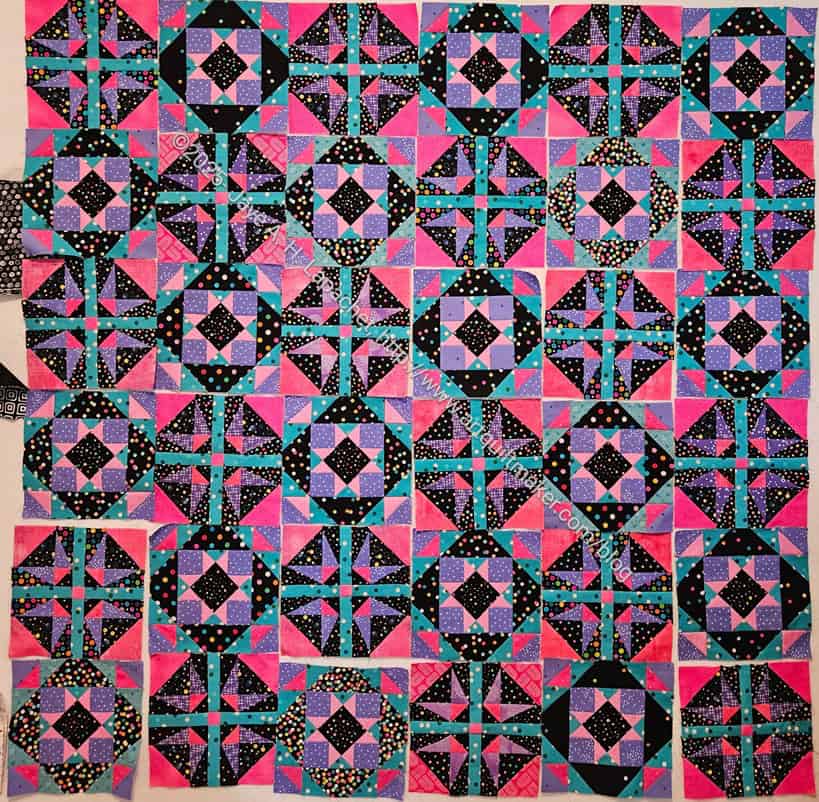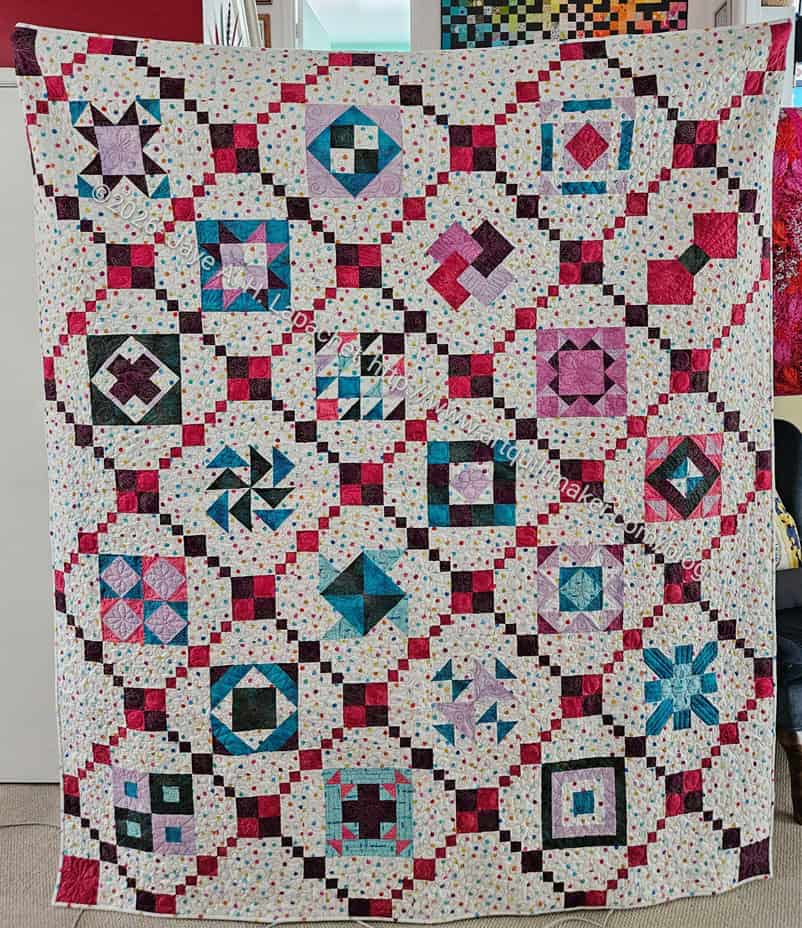
I finished the Patchwork Palooza top in January and now the whole quilt is complete: top, back, quilting, binding, sleeve. Done.
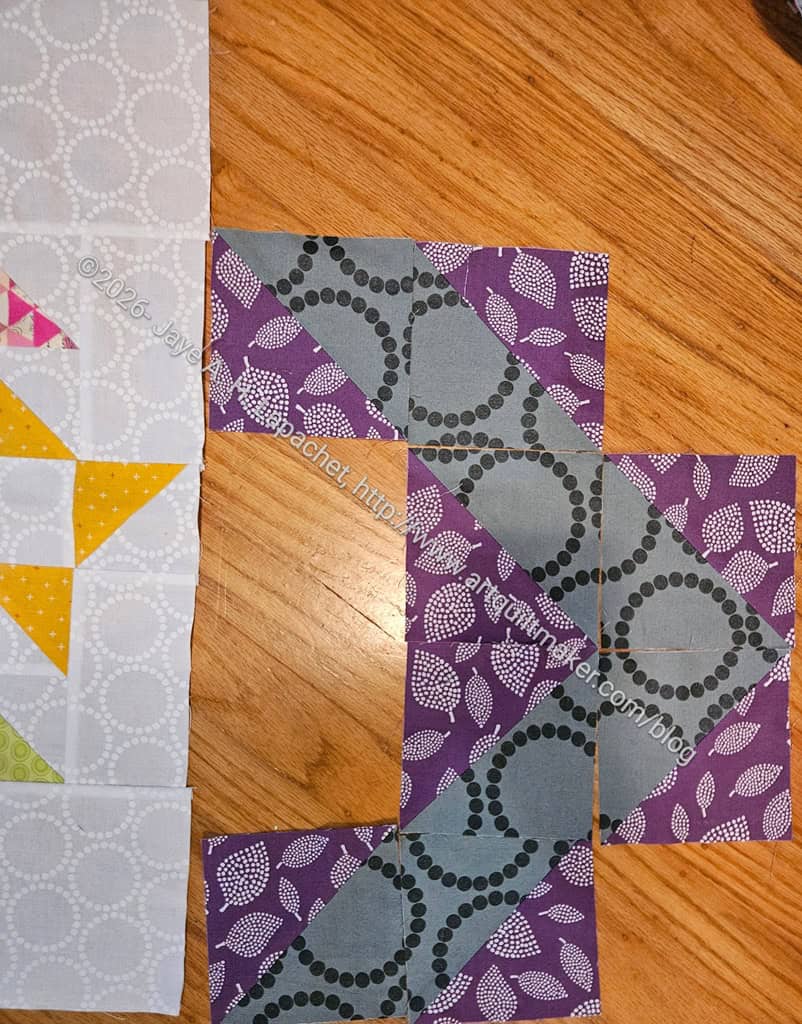
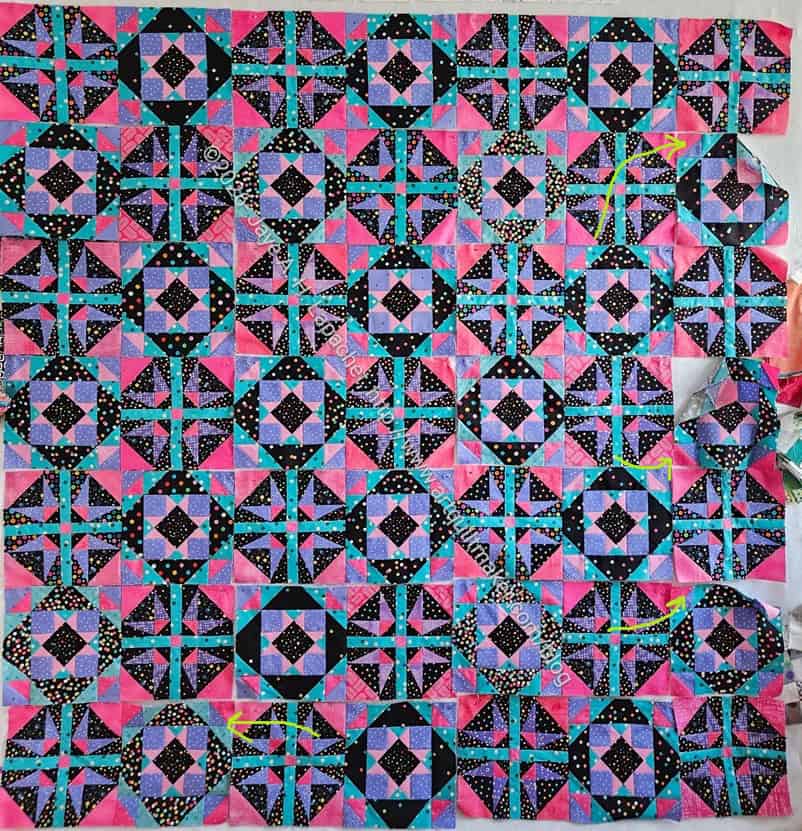
I am pleased with how I finished the edges. I think completing the diagonals looks nice.
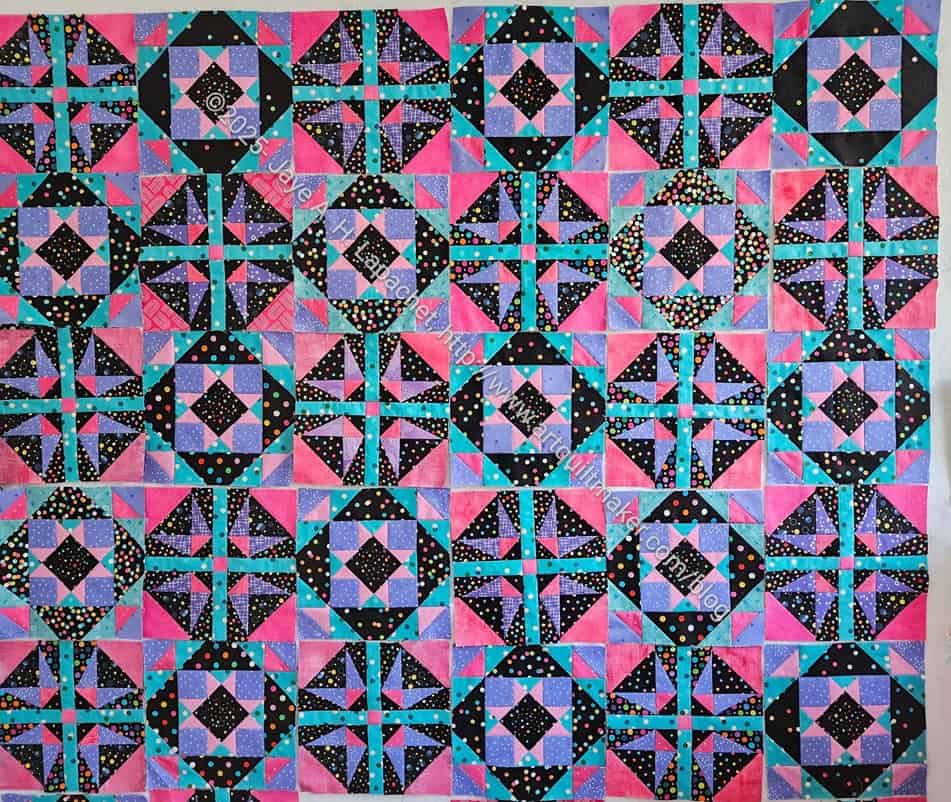
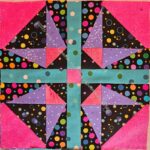
There are blocks that I wish I had moved, but that will probably always be the case.
DH actually commented that he really liked this quilt. Maybe it will be a gift for him?
I will be entering this quilt into the Fair.
It must be some kind of record! I started this quilt on about September 6, 2025. Here it is, 6 months later finished. I am really happy and kind of stunned as well.