A few weeks ago, Sandi, of Quilt Cabana Patterns, posted a playmat she made. It reminded me of Throwback Thursday (#TBT) and how Quiltin’ Jenny always posts something from her pre-blogging days. I wasn’t very productive in pre-blogging days, but I do have quilts that only show up on Artquiltmaker.com about which I have never written.

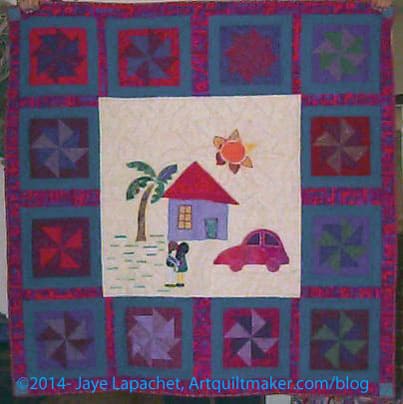
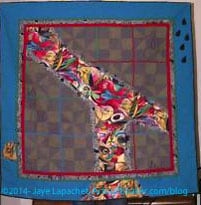
The Playmat is one of those quilts.I made this quilt in about 1997 or 1998.
The Playmat was one of the first projects I worked on when I was a new mom. I hadn’t been sewing much, was only marginally connected online (remember this was in the dark ages with no Twitter or podcasts or blogs) via the QuiltNet listserv.
I don’t remember why I decided I needed to make a playmat, but I really used it to lay out on the floor so the Y.M. (previously the Tiny Bubba) could lay on it. Later, he sat on it, but as soon as he started crawling, we used it briefly in the stroller, but he would throw it off and out, which became annoying.
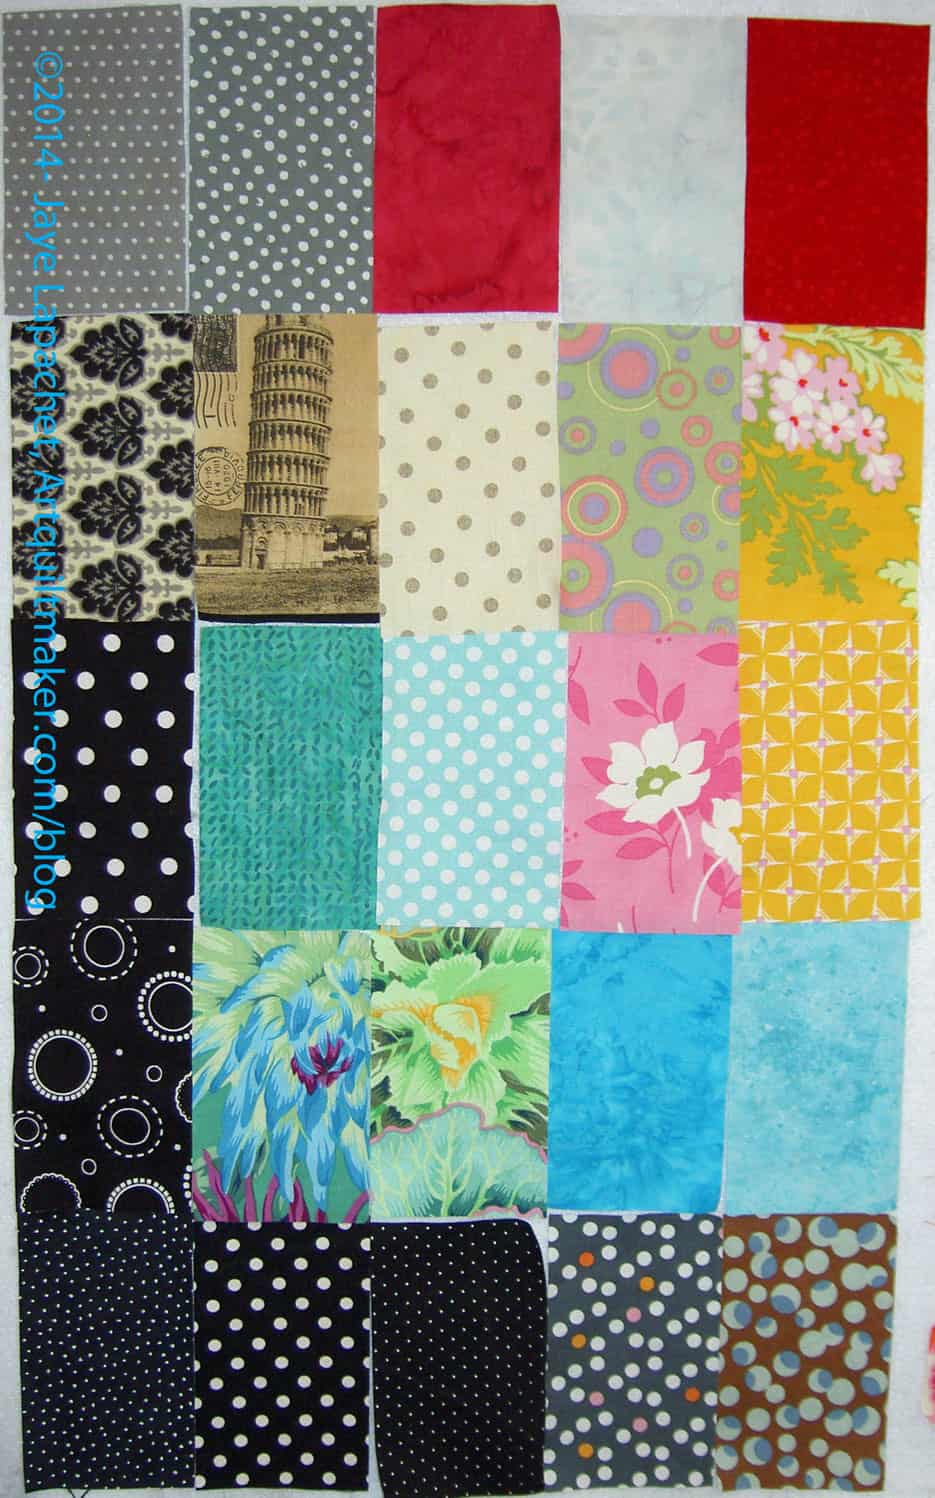
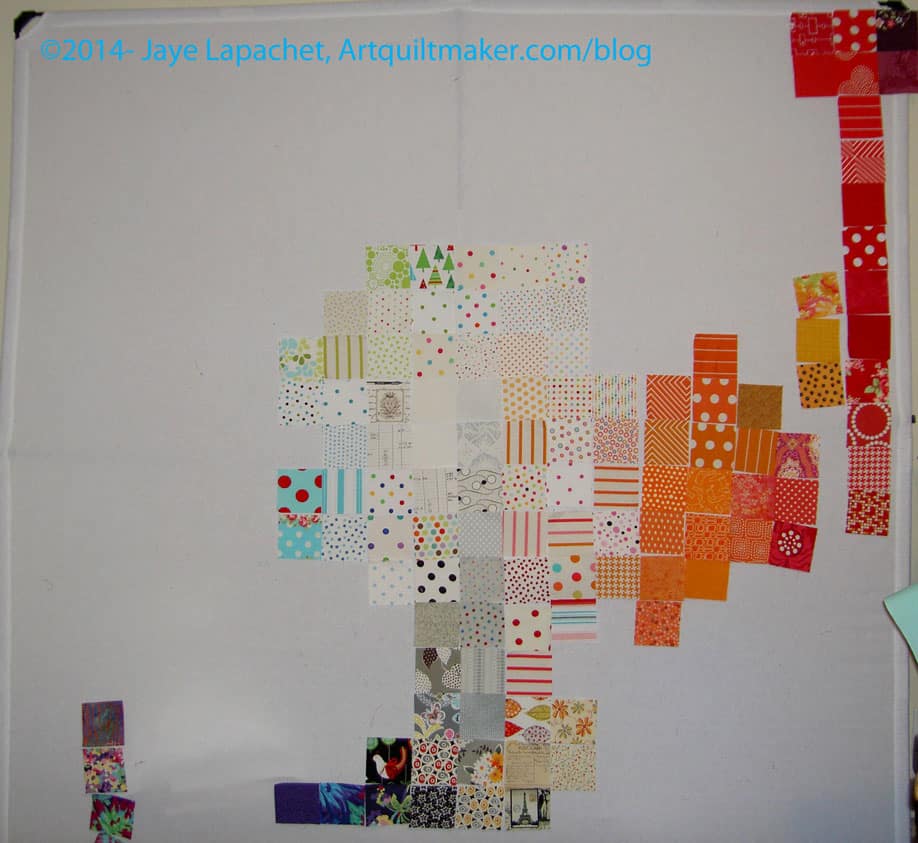
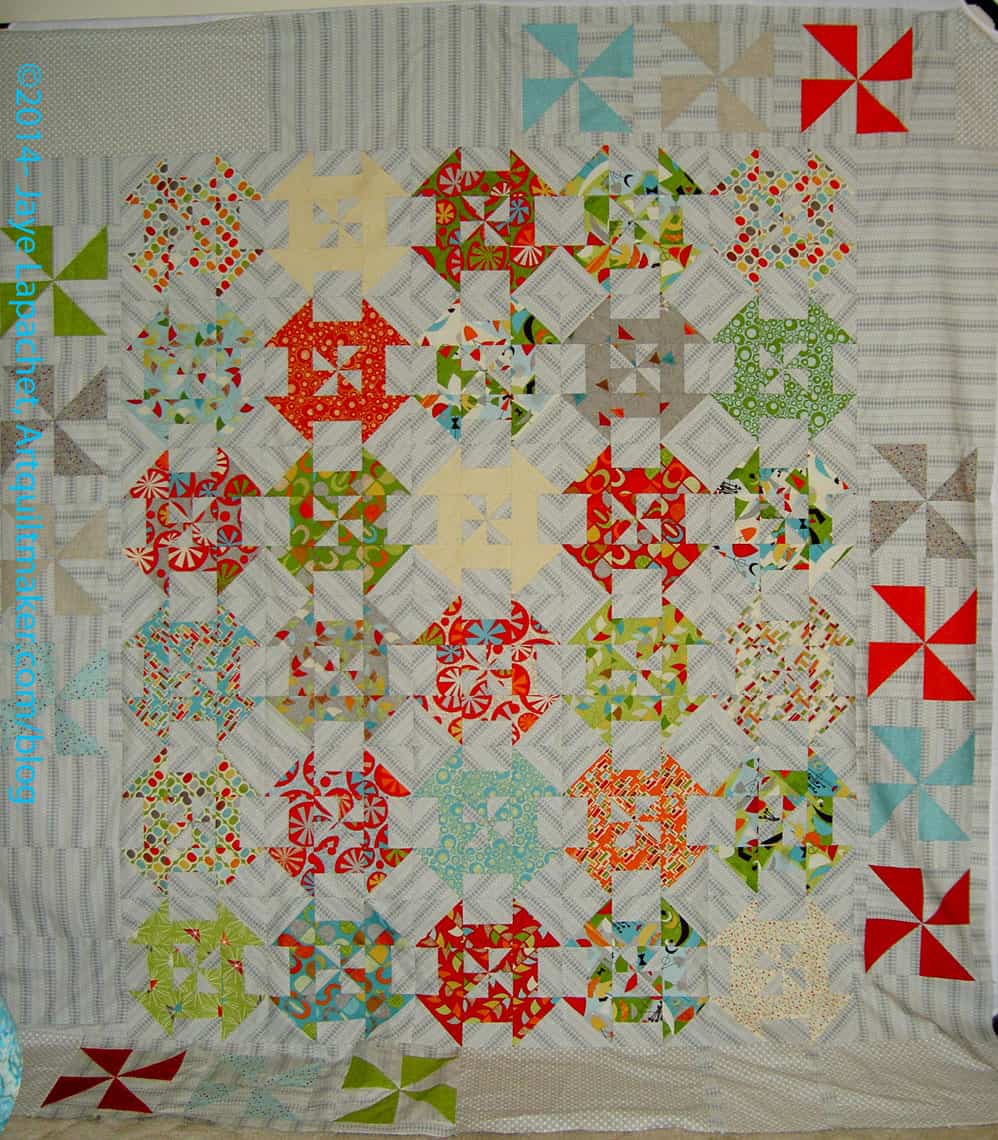
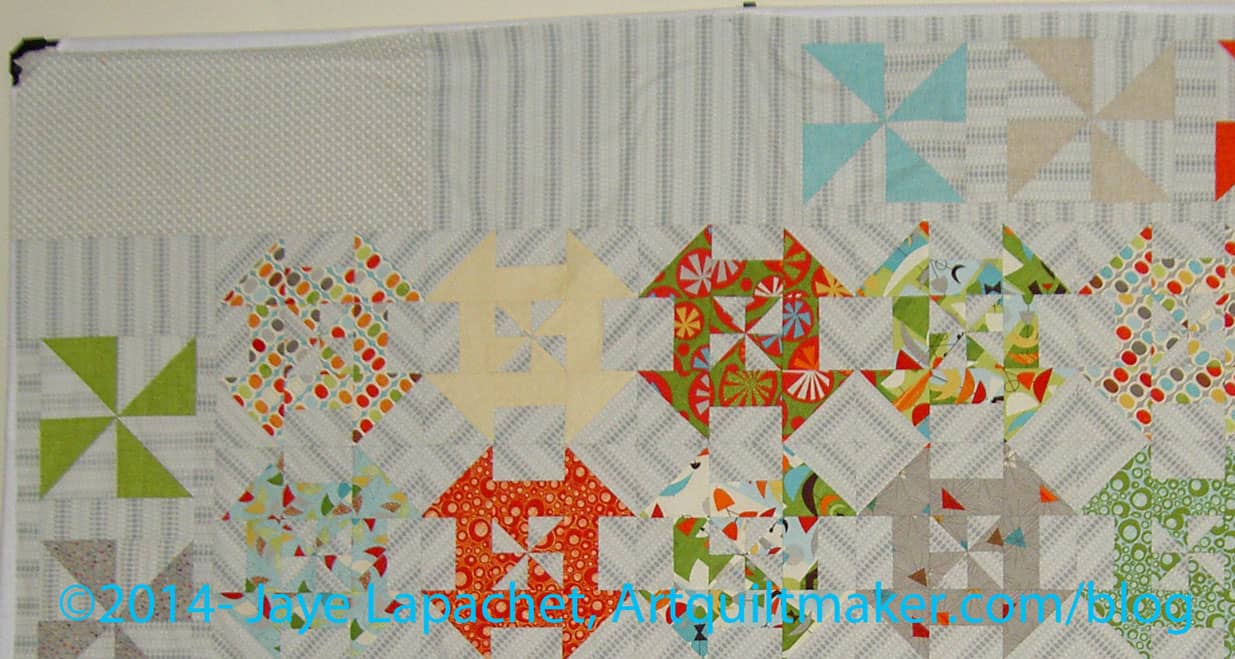
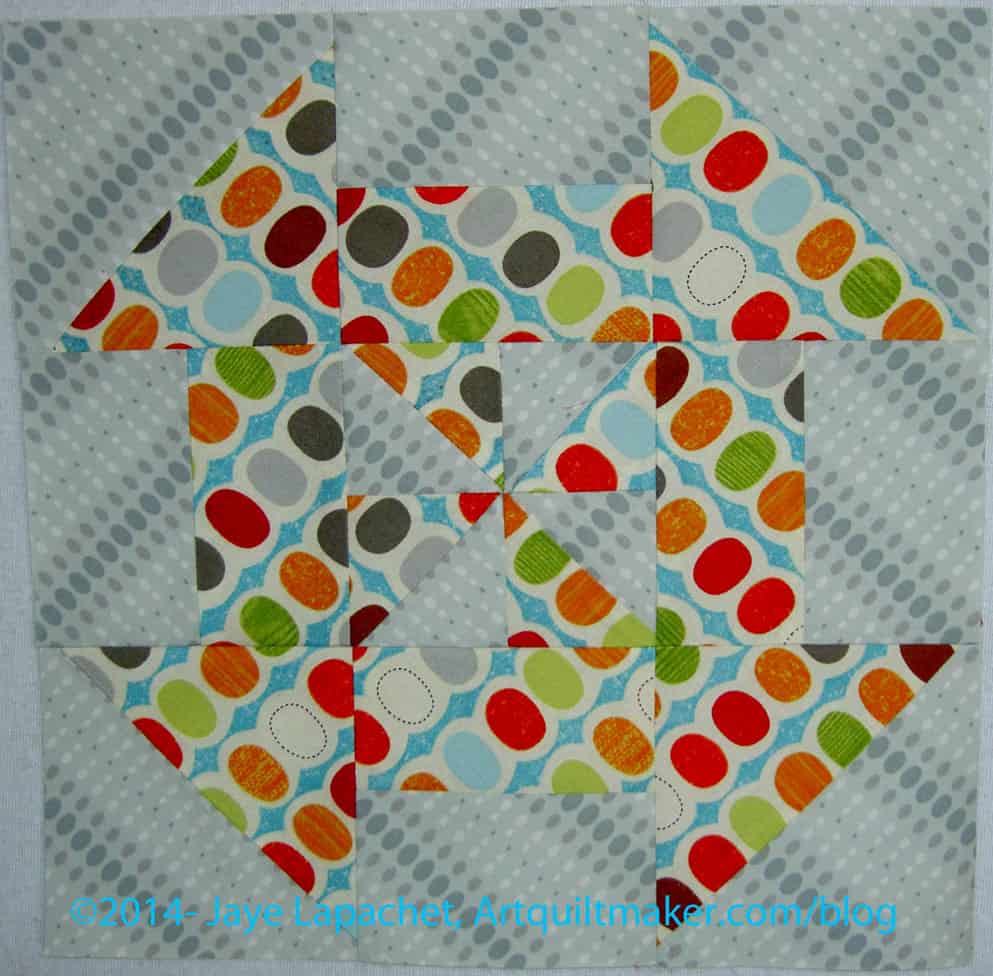
I made this quilt very quickly and used a pillowcase technique to avoid binding it, then quilted it myself. I notice now that the edge is all bias. Not sure what I was thinking, but the piecing is much more interesting (if the color combo doesn’t hurt your eyes) on point than a straight set.
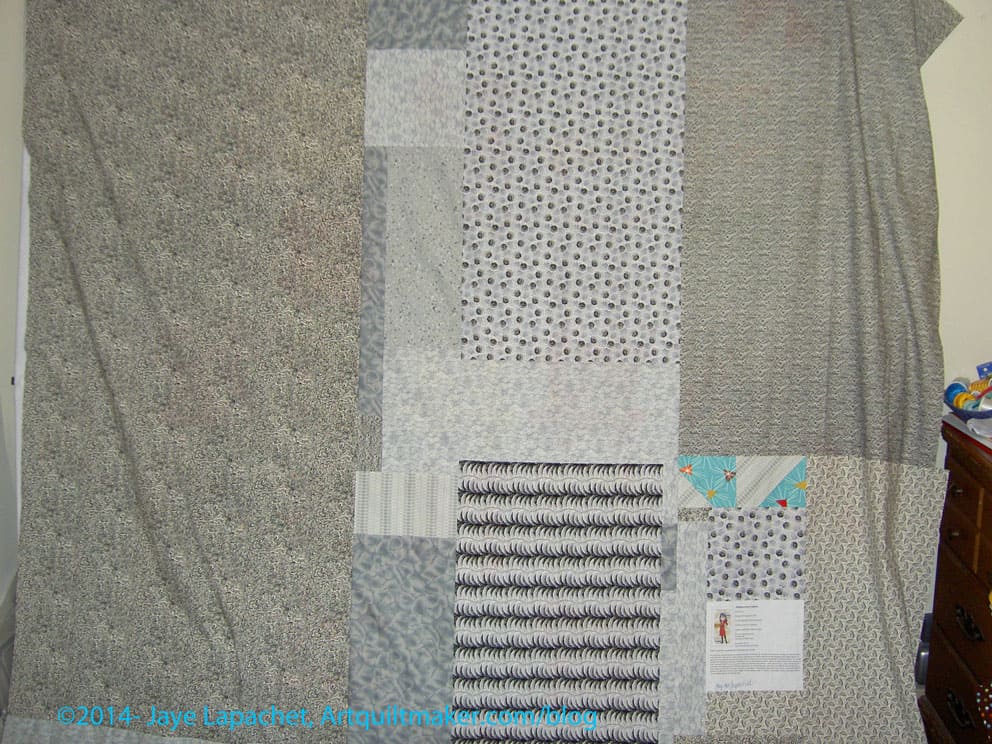
The back is a nice cute bears in King Arthur garb print. I know I didn’t want to cut it up and I used it for a quilt for Friend Julie‘s younger son as well. I’ll try and add that photo to this post.

")