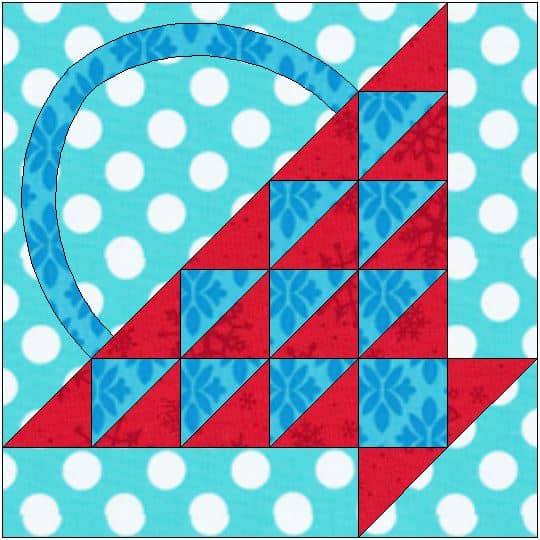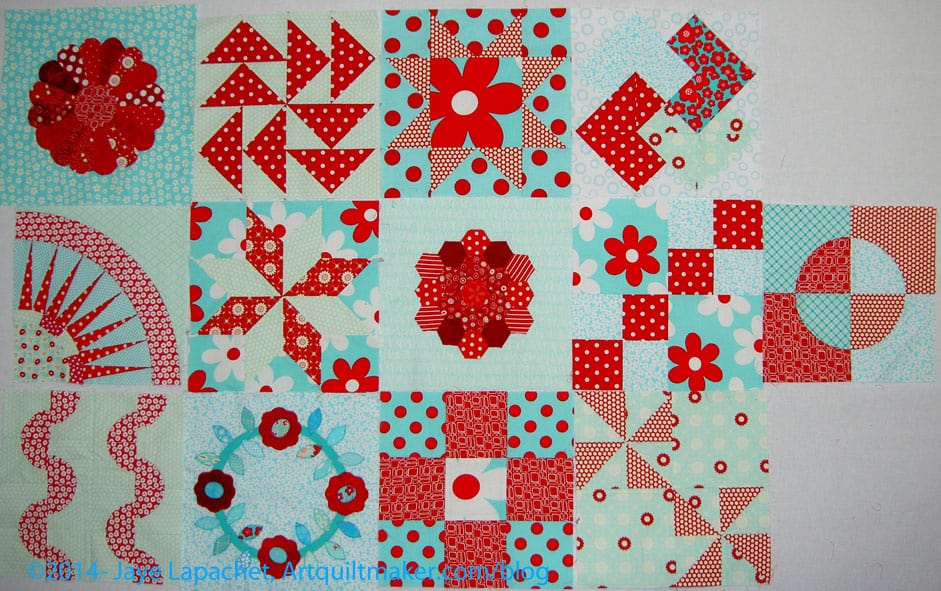
The next block is the Dresden Plate, which we are making using templates. As you have probably guessed, there are a large number of methods of making blocks. If you would like to see a wide variety of Dresden Plates, you can do a Flickr search to see what others are doing.
Supply list:
- pen
- heat resistant template plastic
- Glue stick
- paper scissors
- Pilot SCUF black thin point pen or Pigma Micron or Sewline pencil
- magazine subscription postcard or small piece of scrap card stock
- pins
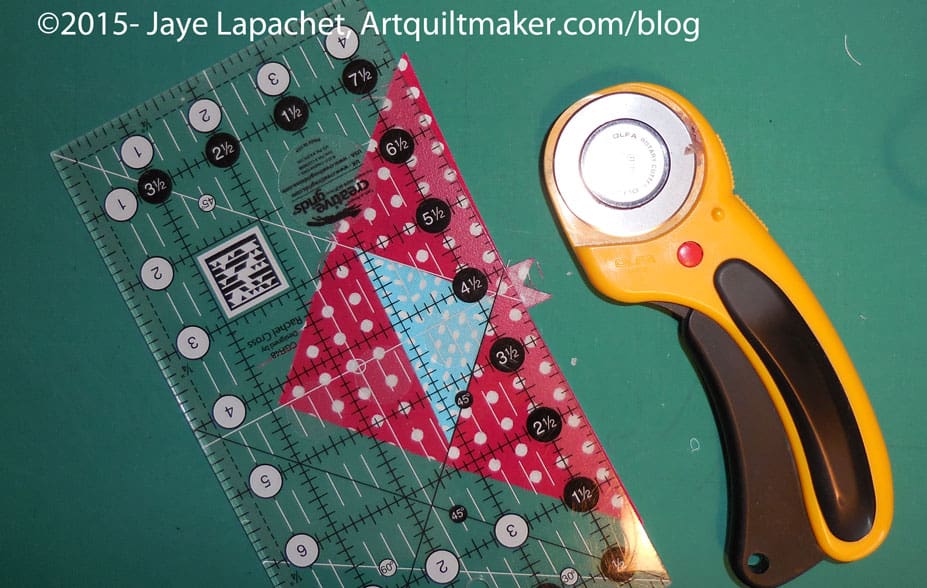
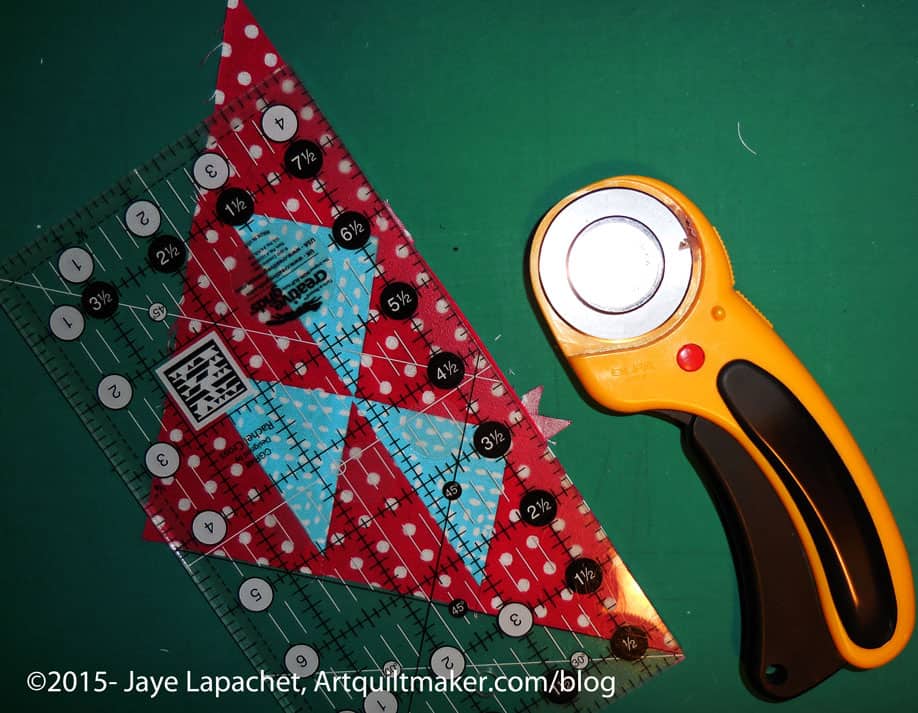
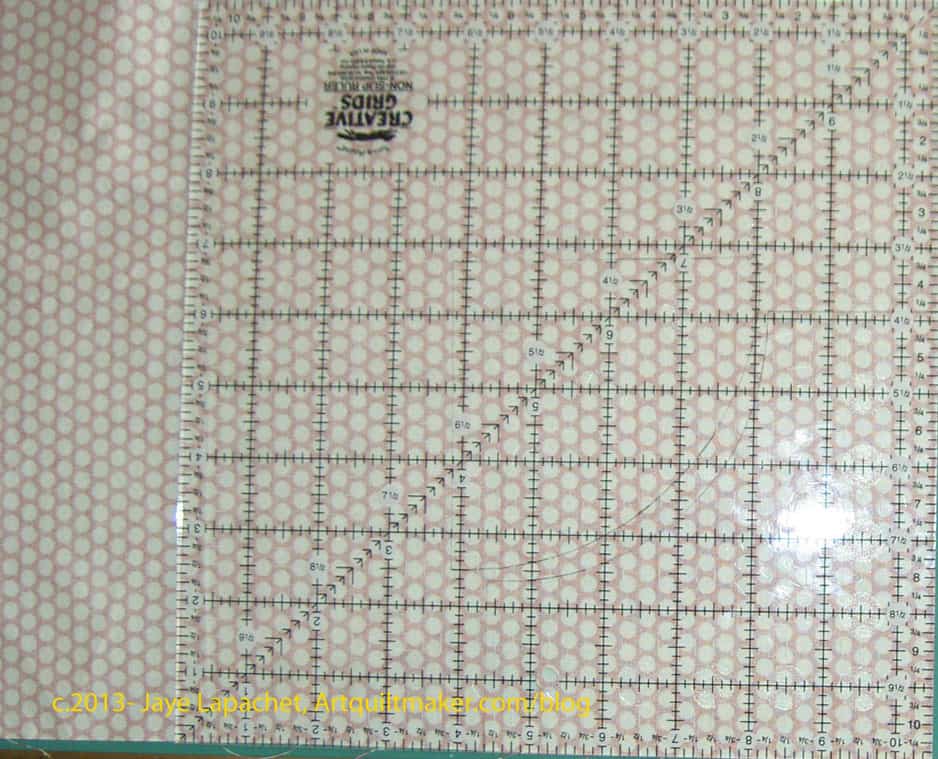
- 12.5″x 12.5″ or larger square rotary cutting ruler (I like Creative Grids)
- fabric
- Mary Ellen’s Best Press (or similar)
- stiletto or similar (skewer might work)
- sharp fabric scissors
- thread for piecing
- sewing machine
- basic sewing kit

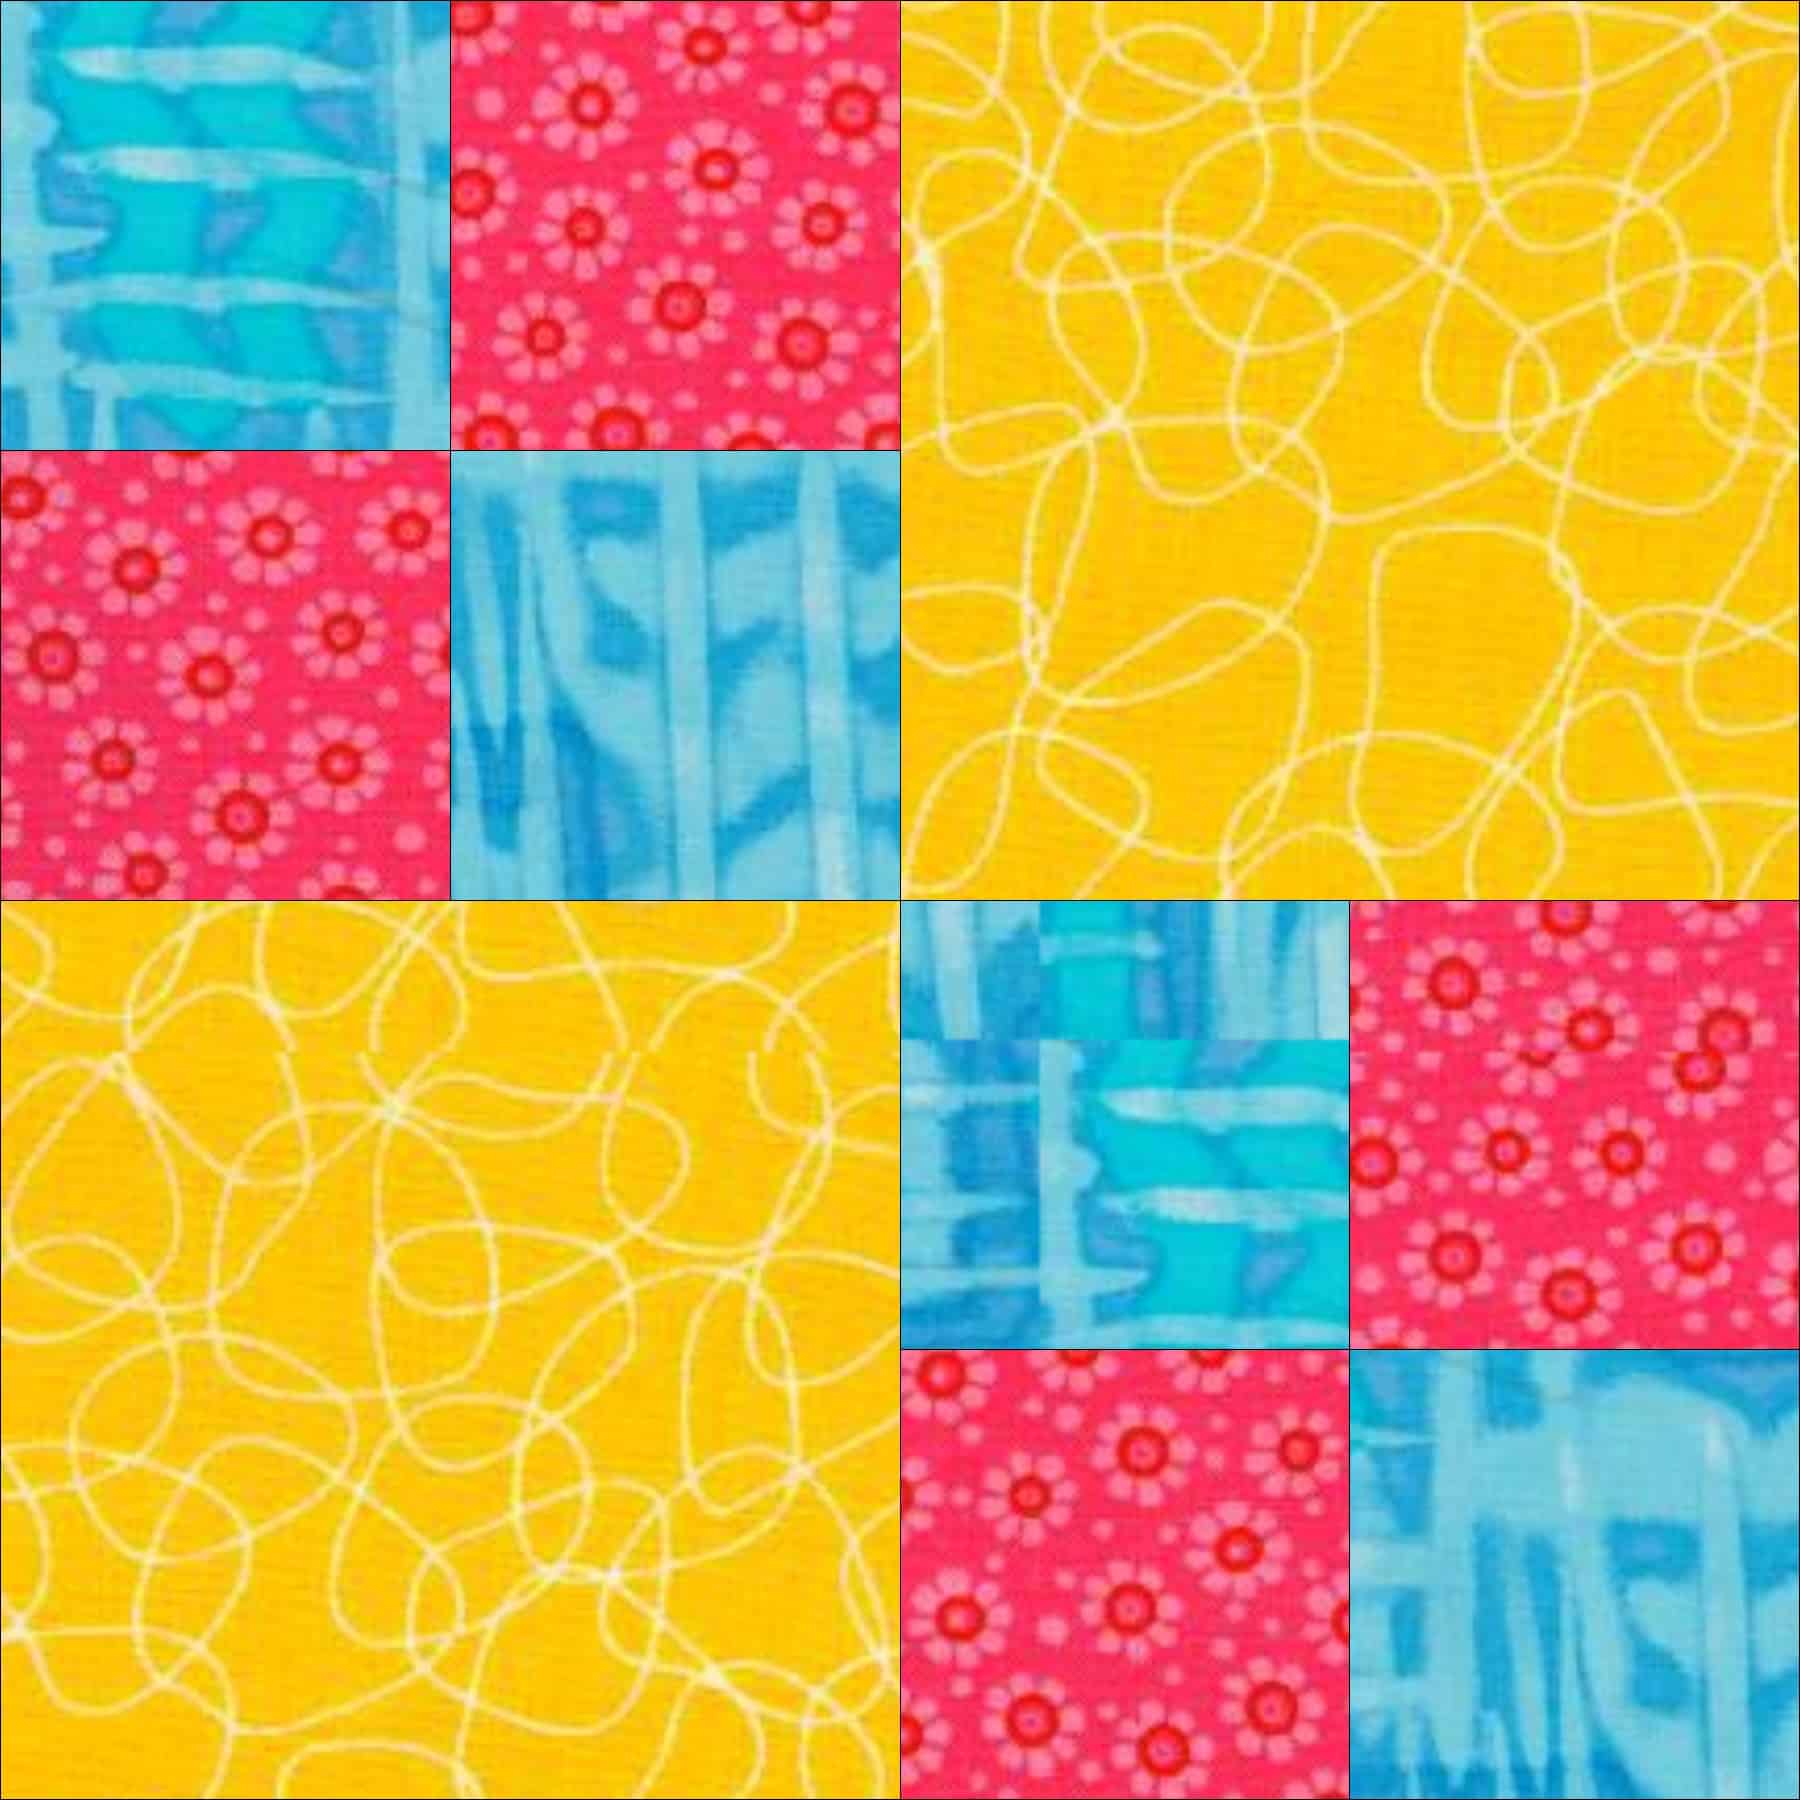
1. Select your petal fabrics. You can use 2 or many. You want to be able to see the work you have put into this block. Above are all of my options. I didn’t end up using all of them.
2. Print 3 copies of Dresden Plate Templates pattern. Two you will cut out and one you will keep for future reference.

3. From one pattern sheet rough cut around the petal and the circle including the seam allowance.
4. From one pattern sheet rough cut around the circle template and the petal template excluding the seam allowance. On the petal, cut off the thick black line. For the circle, leave the thick black line on the template.
Optional: Write ‘Dresden Plate” on each piece (or some way of identifying why you made these templates for later). Make a notation on the circle with no seam allowance so you don’t it mixed up with the other circle.

5. Glue circle and petal templates to template plastic

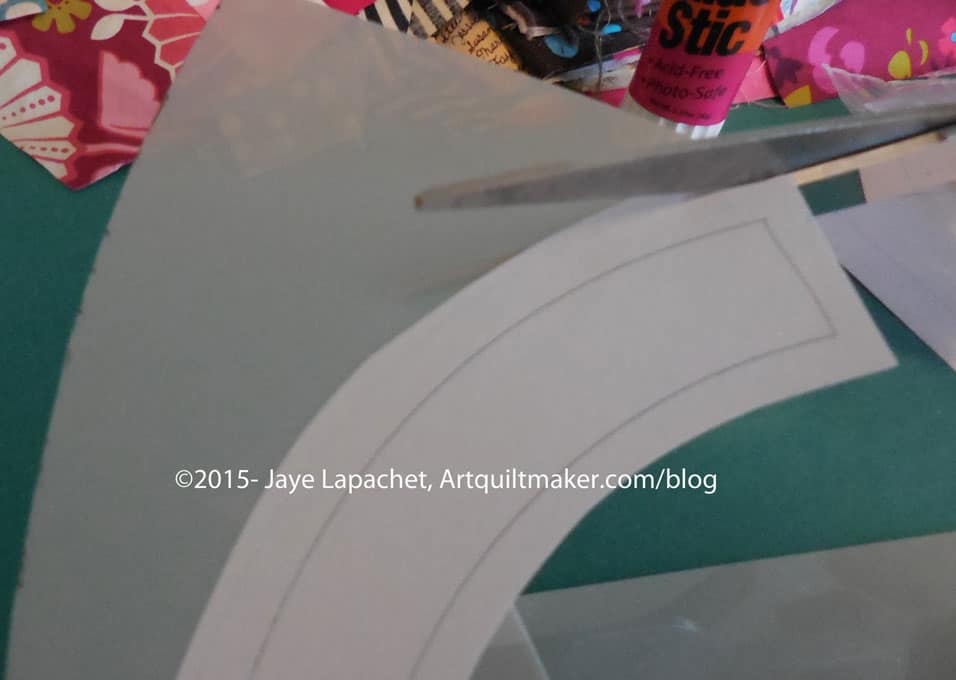
6. Carefully cut templates out of template plastic just outside of thin outside line.

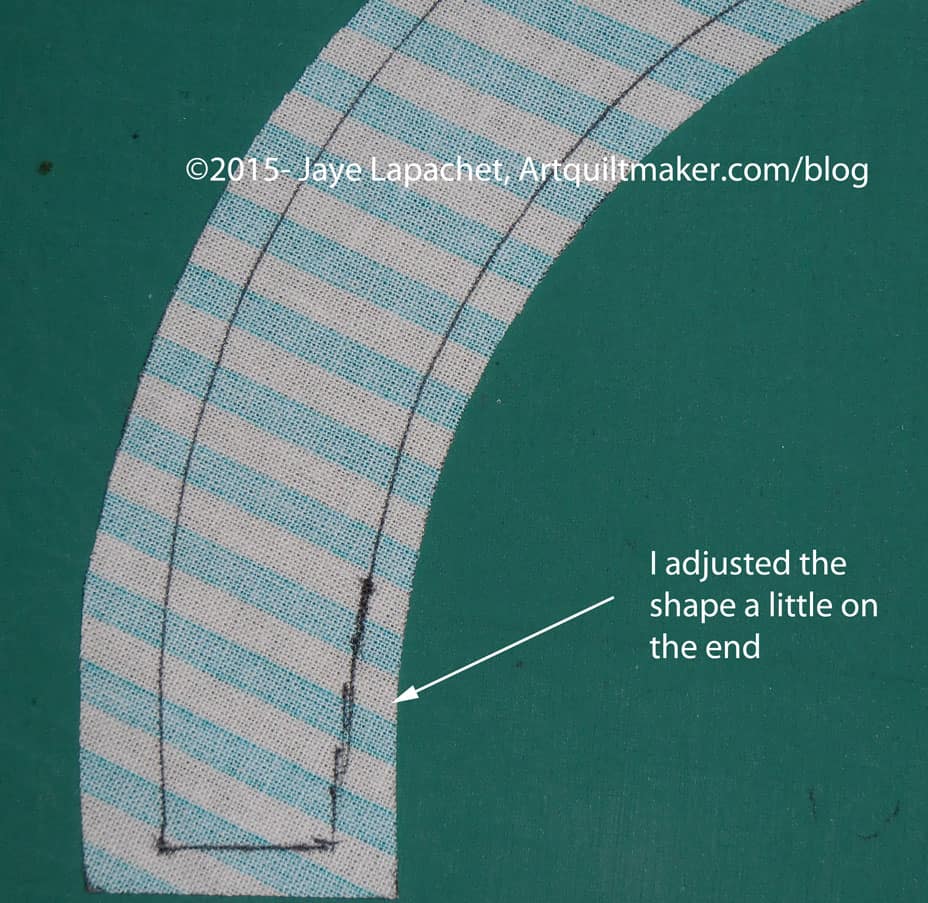
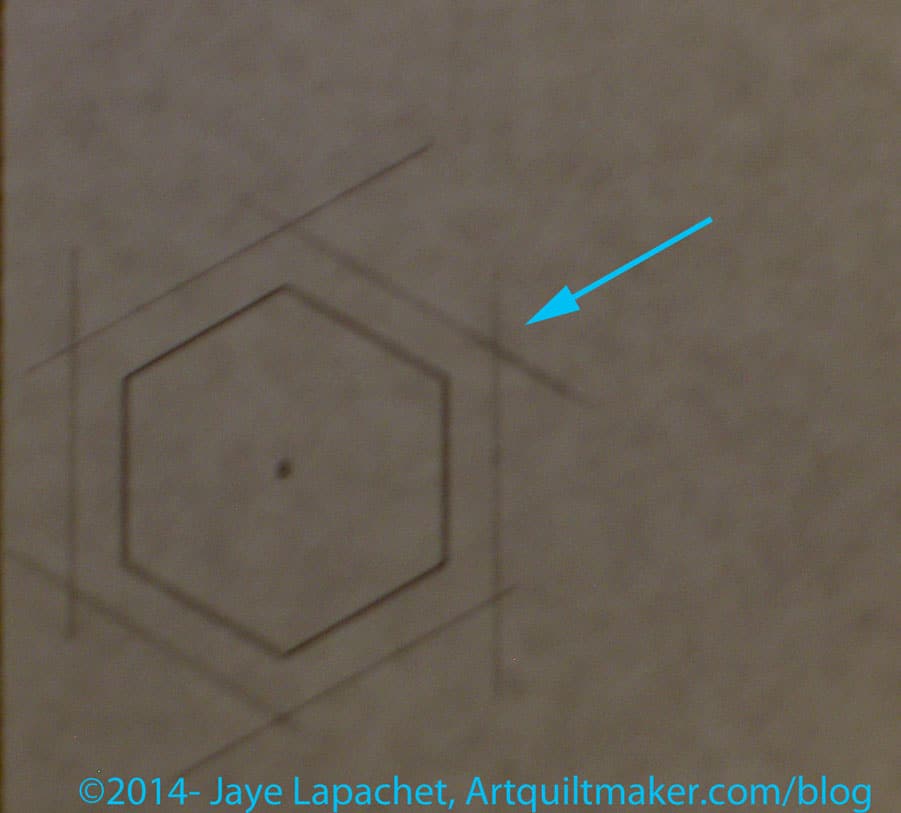
7. Extend the straight line into the seam allowance with a ruler and a very sharp pencil or pen.
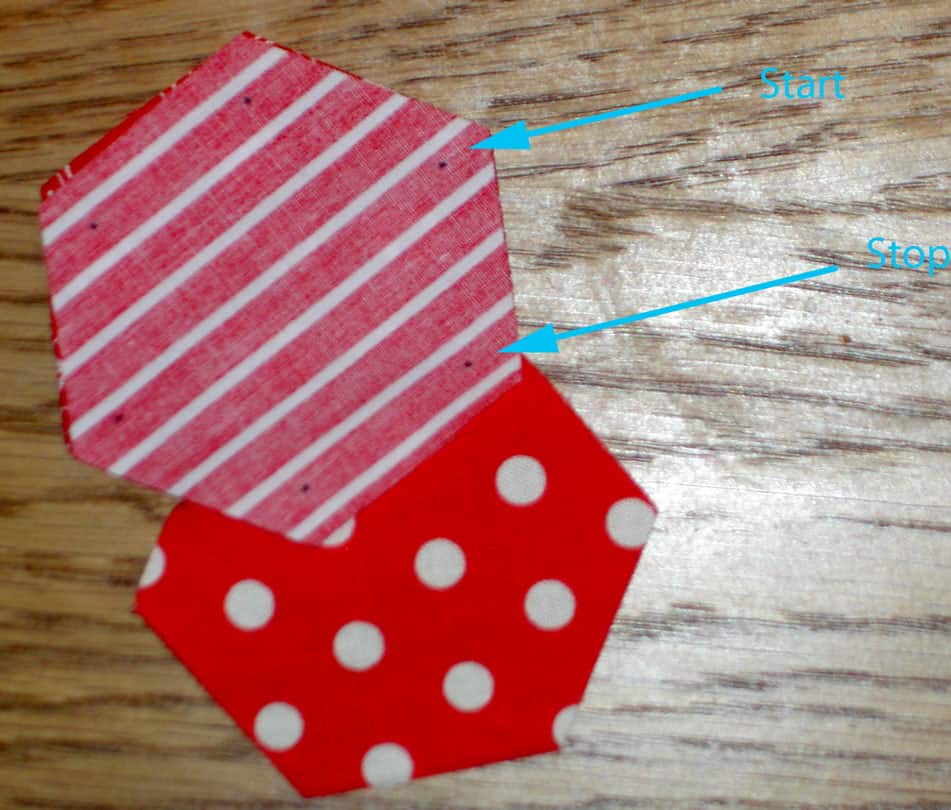
8. Right where the curve starts to move away from the straight line of the template, draw a line between those two points.

9. At the intersection, poke the corner of the petals to mark sewing start and stop points. I used a pin and then enlarged the holes with a seam ripper.
Cut your fabric into rectangles larger than your petal templates.
Optional: Spray rectangles of petal fabric with Mary Ellen’s Best Press to control the bias.

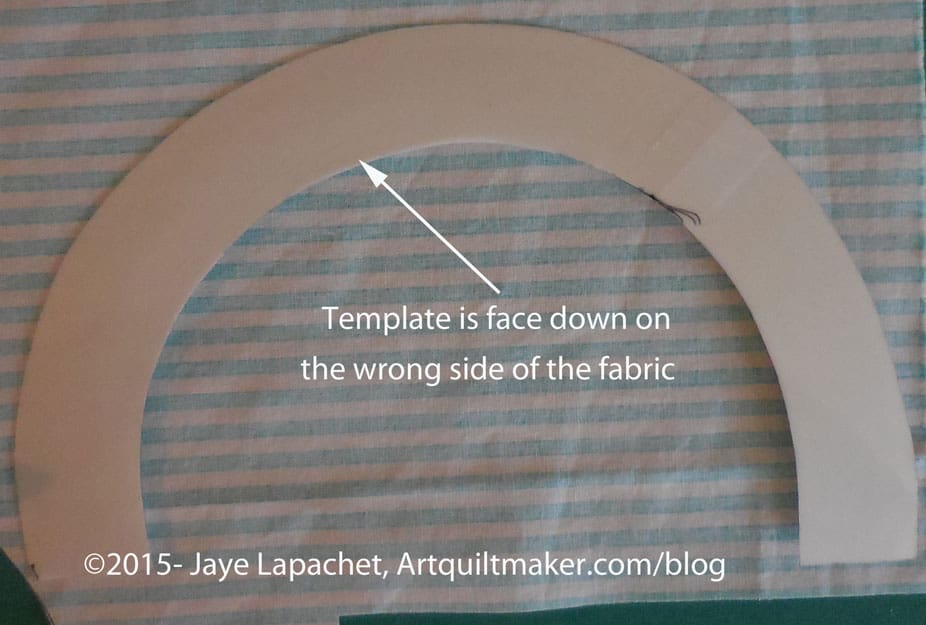
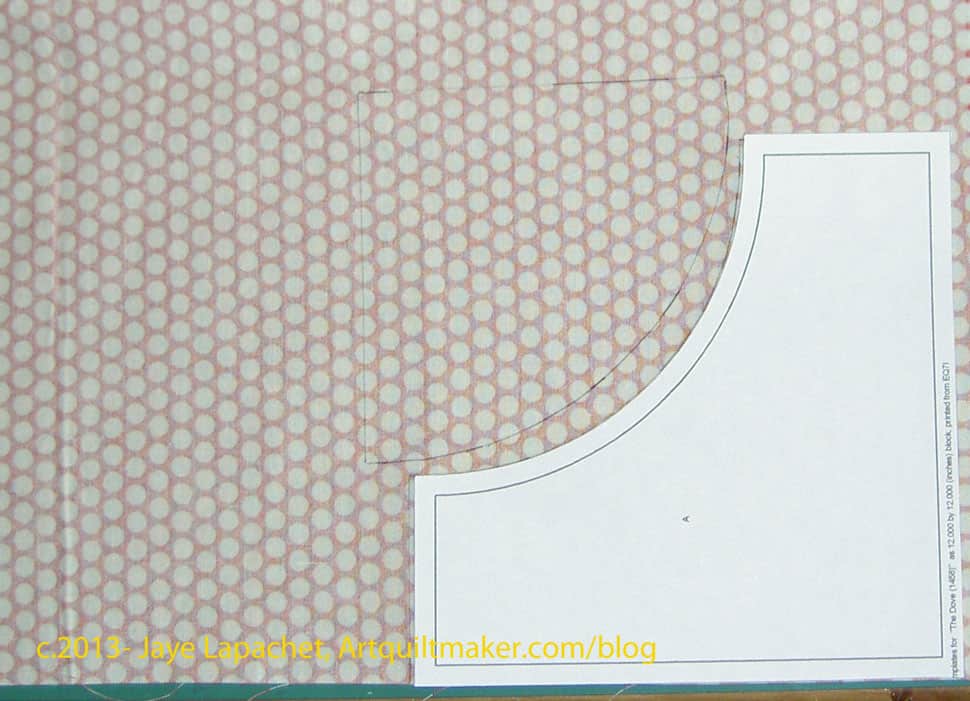
10. Place fabric wrong side UP on your table or cutting mat. Trace around the petal template, which is face down on the wrong side of the fabric. In order to keep that template still, hold the template tight down on the fabric with your fingers near where your pencil or pen is moving around the template.

11. Use at least 2 different fabrics to trace 16 petals. You can use many more. If you use two, alternate them. You want to be able to see the work you have put into this block, so select fabrics with contrast.


12. Trace a circle using the template with the seam allowance. Cut out the fabric circle with a generous seam allowance (more than 1/4″).
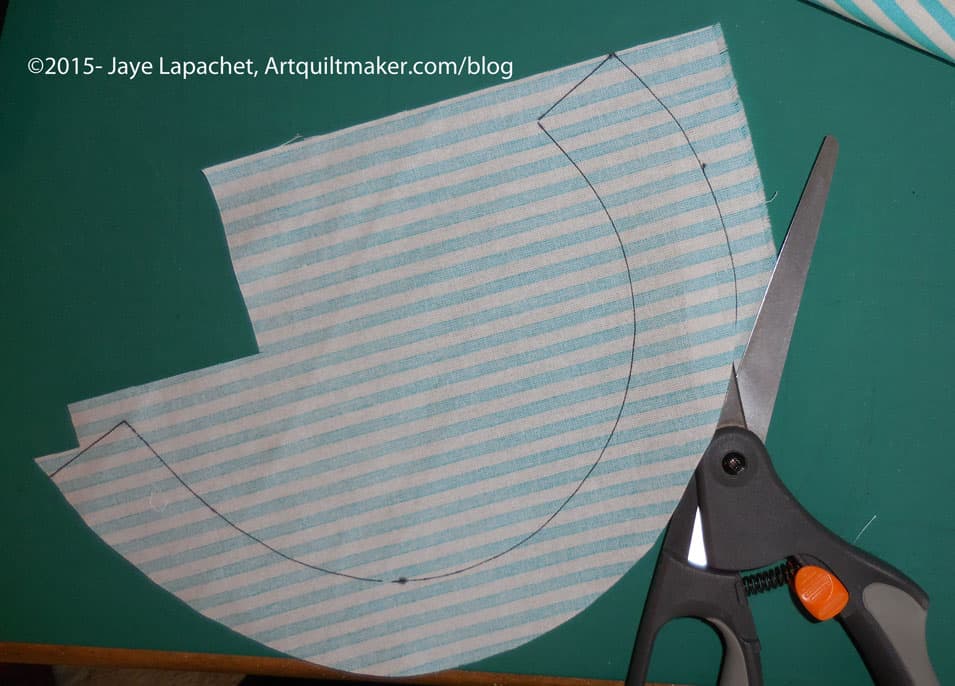
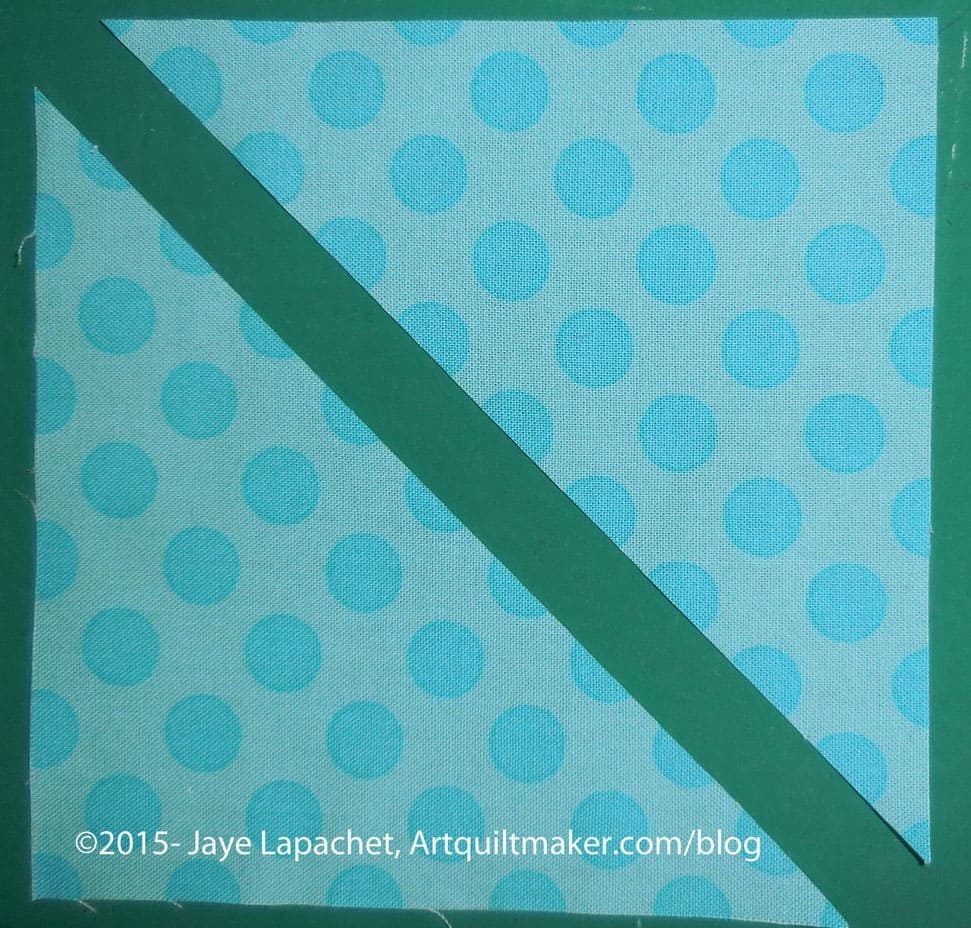
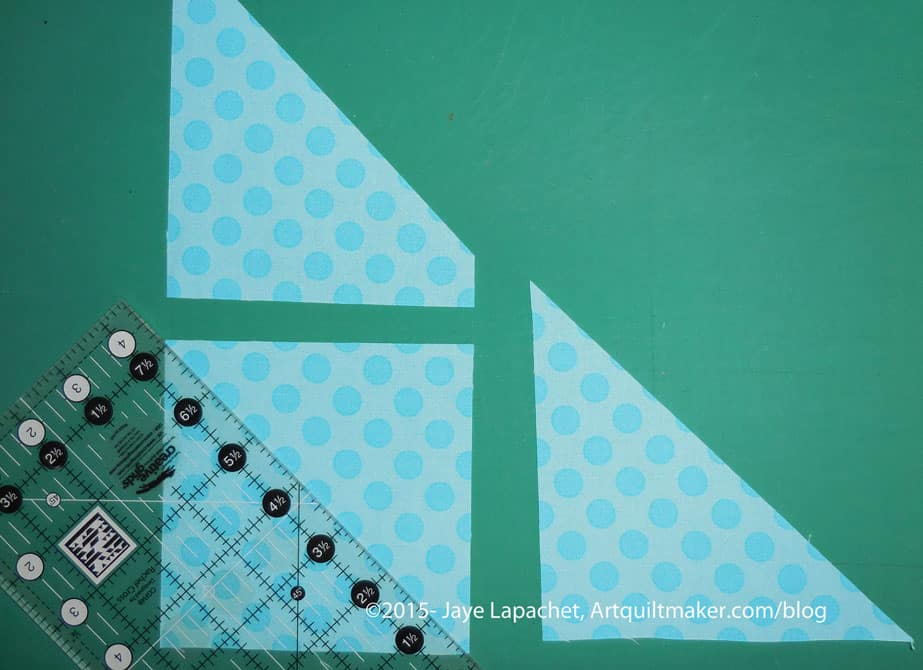
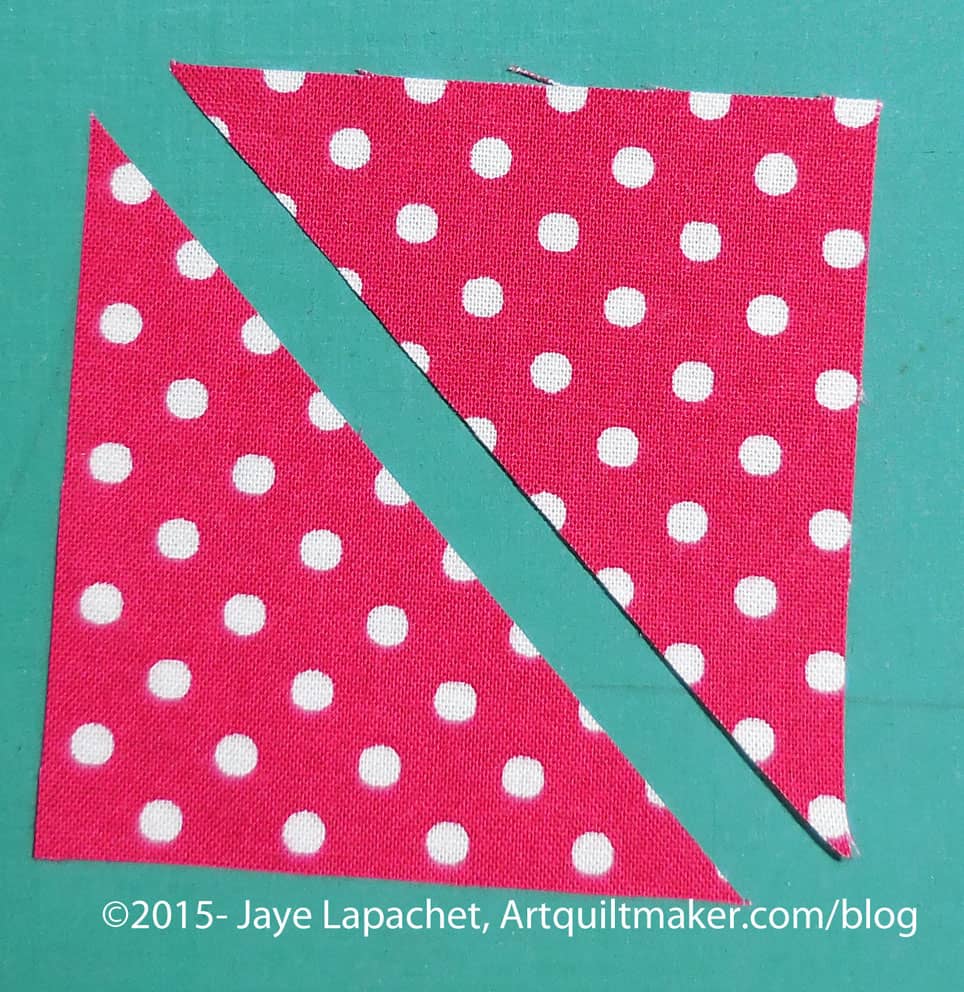
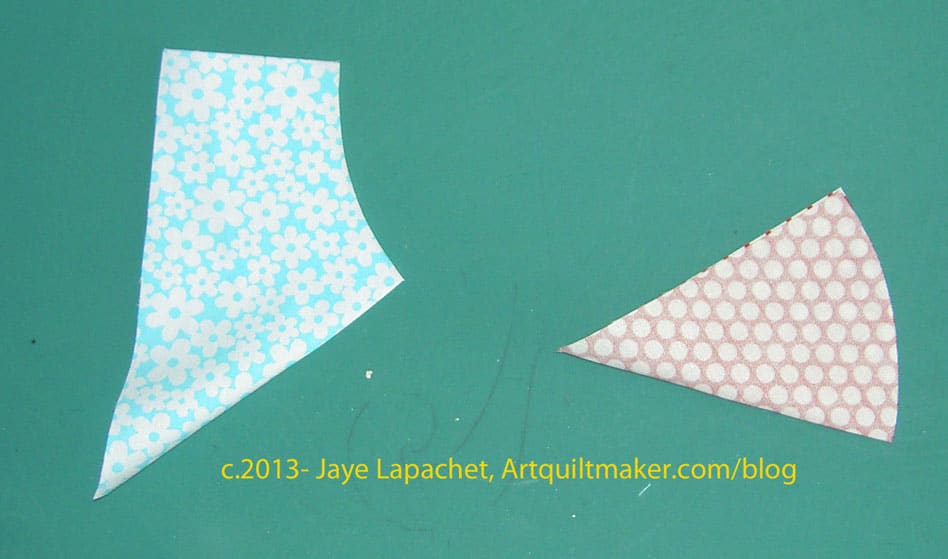
13. Cut fabrics using very sharp fabric scissors OR cut straight lines with rotary cutter and curved seams with fabric scissors.
Mark the holes you cut near the curves.


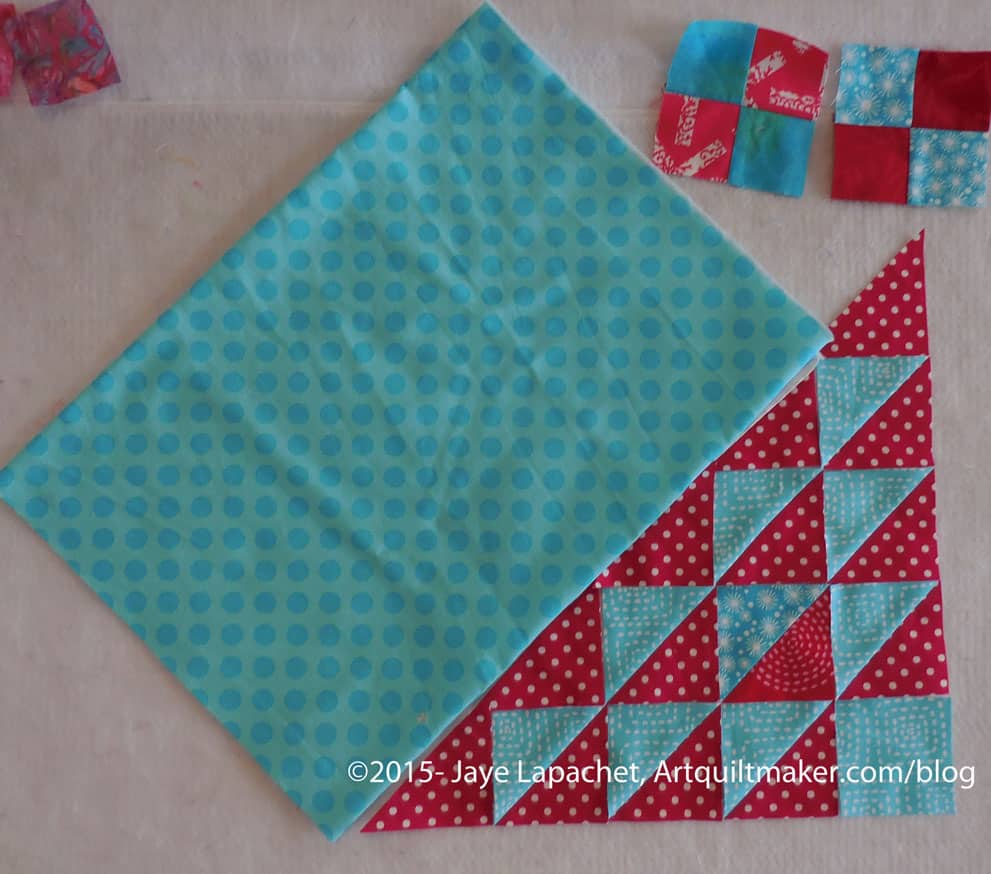
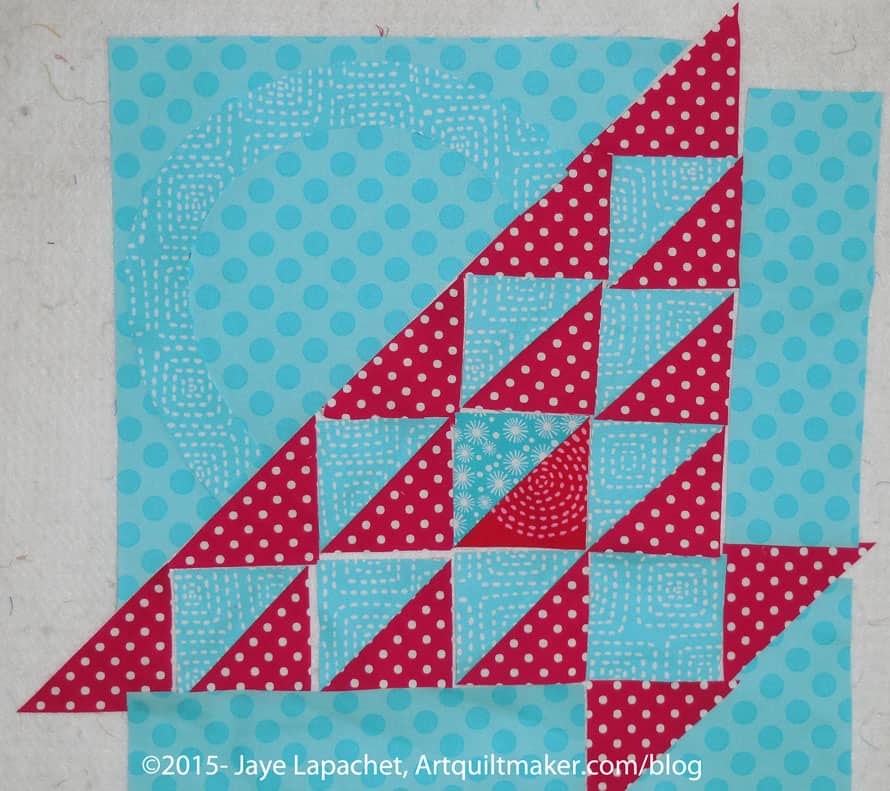
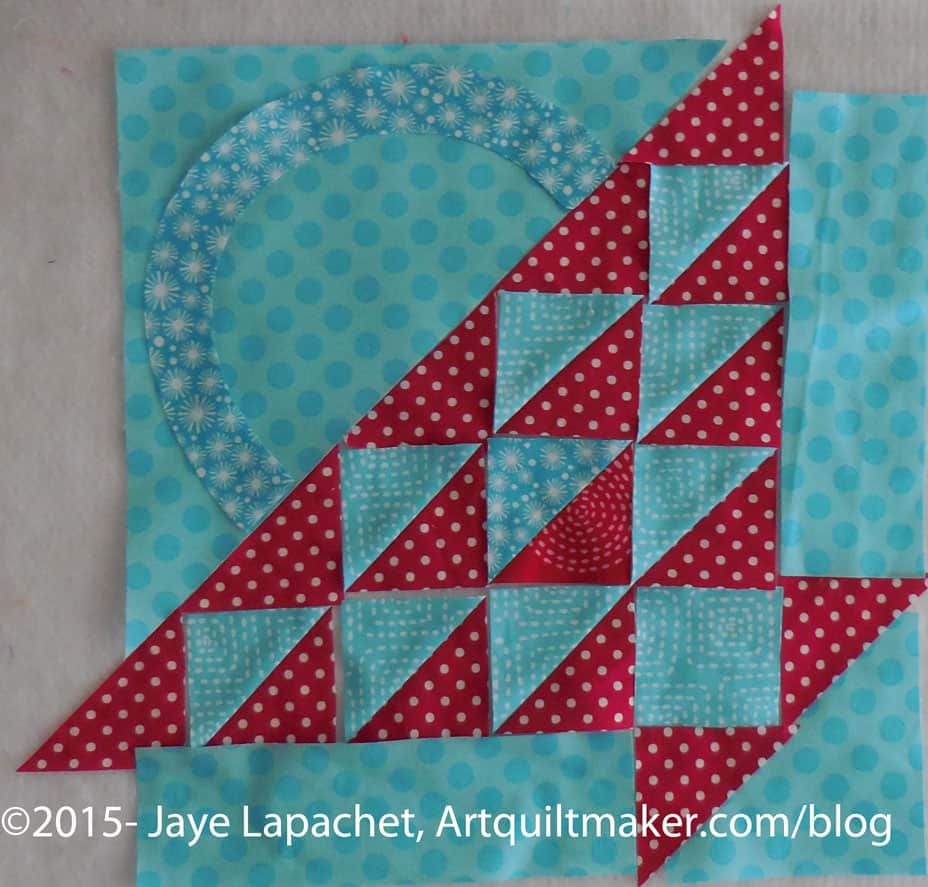
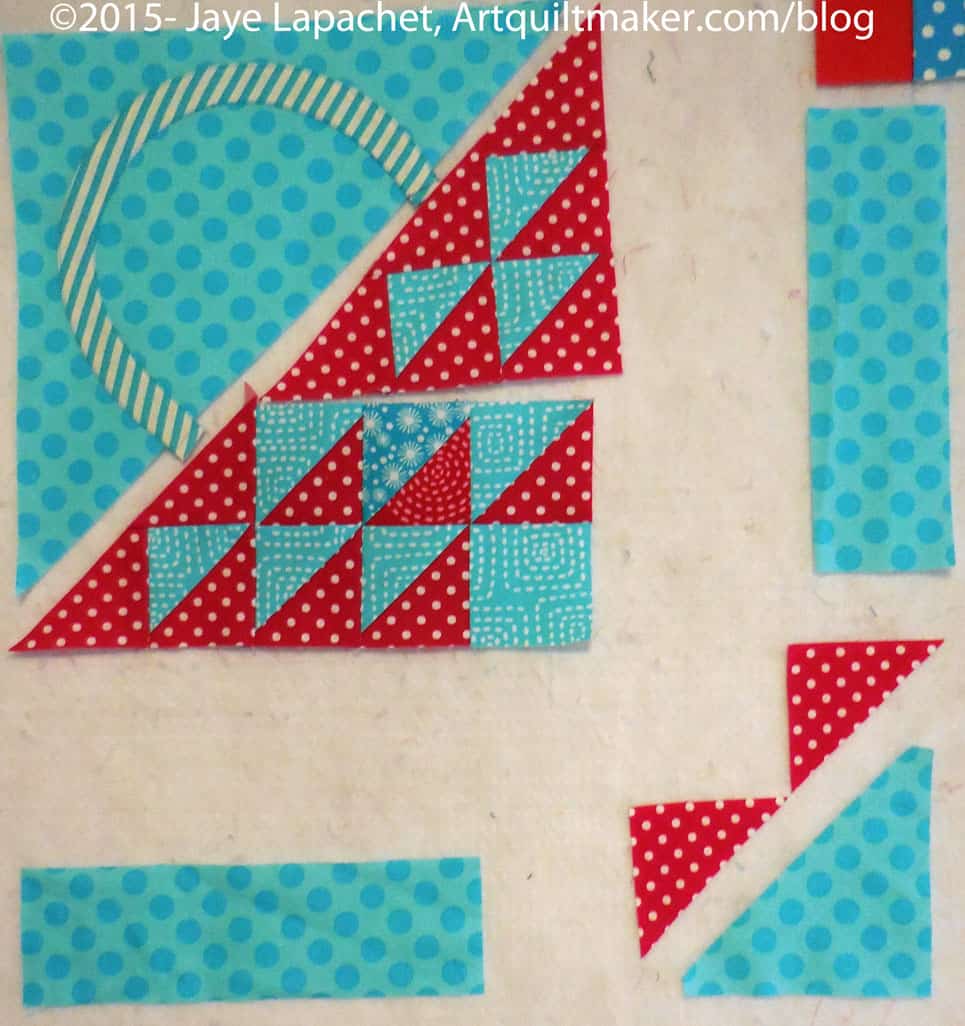
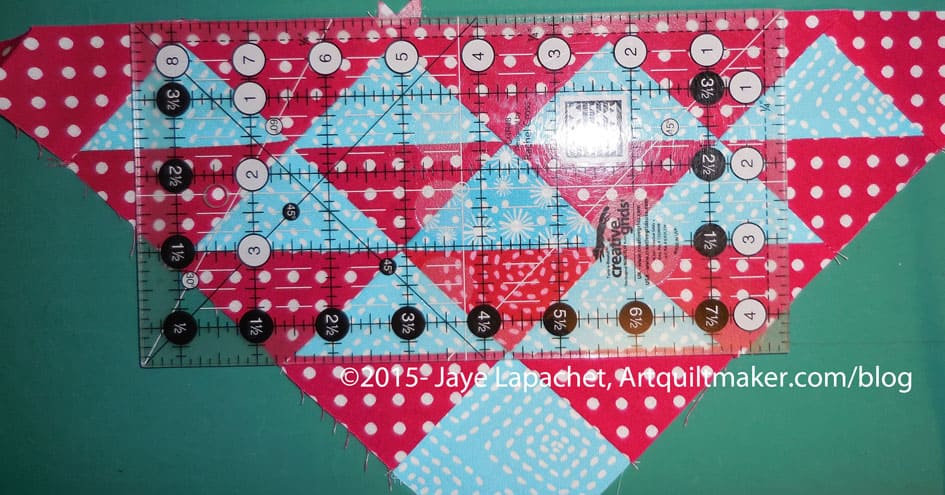
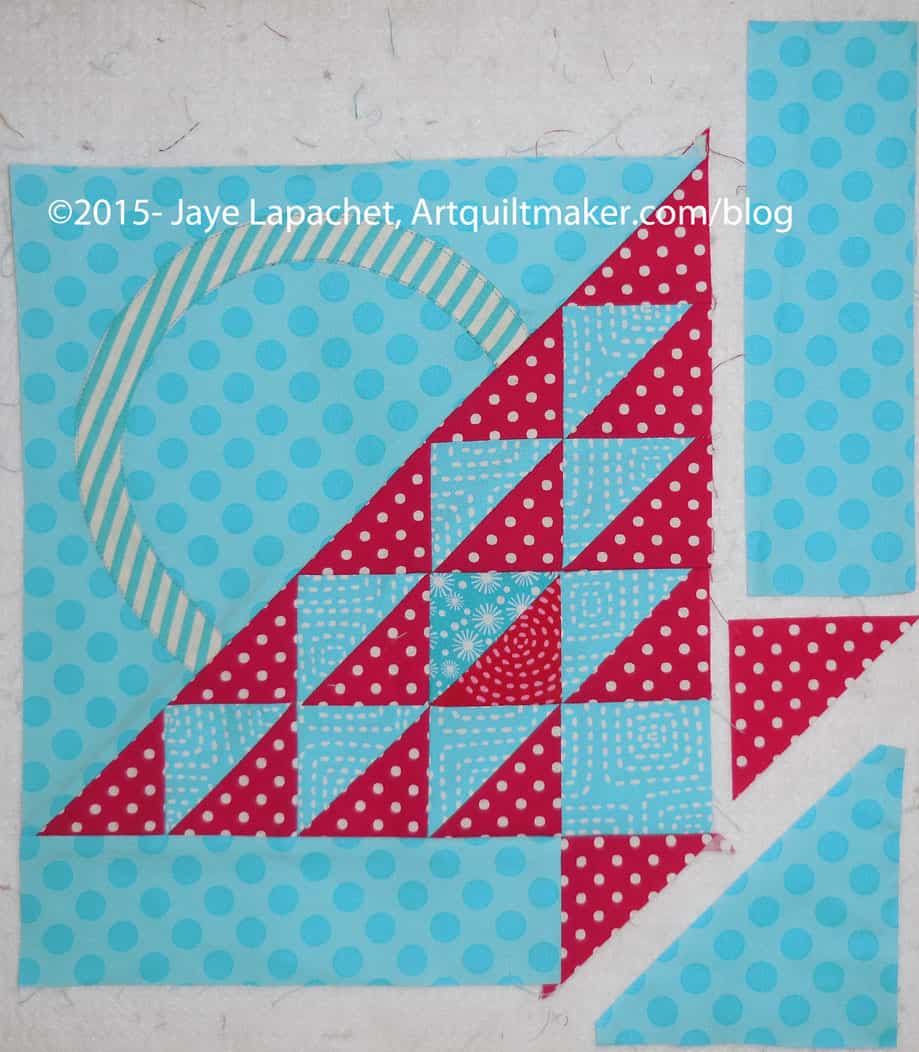
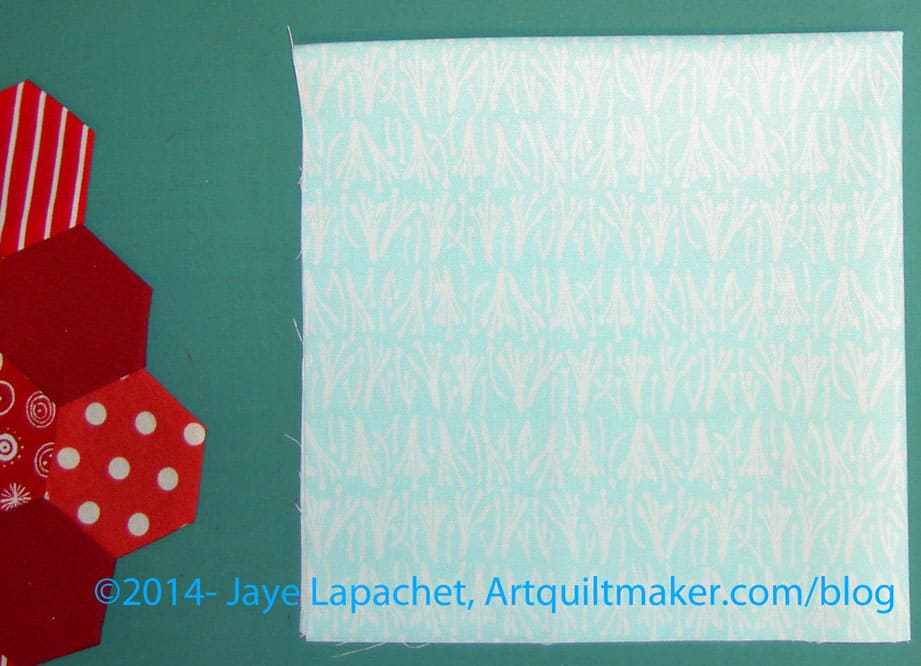
14. Choose your background fabric by laying the petals on the possible background fabrics, approximating the shape of the Dresden plate.
15. Cut a larger block, because the sewing of the block may make it shrink up. Cut a 13.5″x13.5″ background piece. Your Dresden Plate will be appliqued to this piece. Make sure it is square. You will trim the background piece once your block has been completed. Set this aside for now.
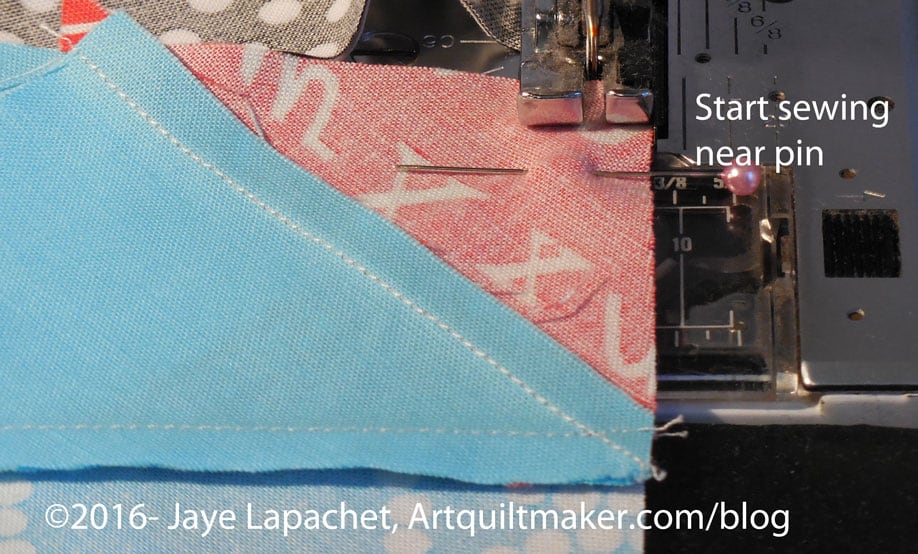
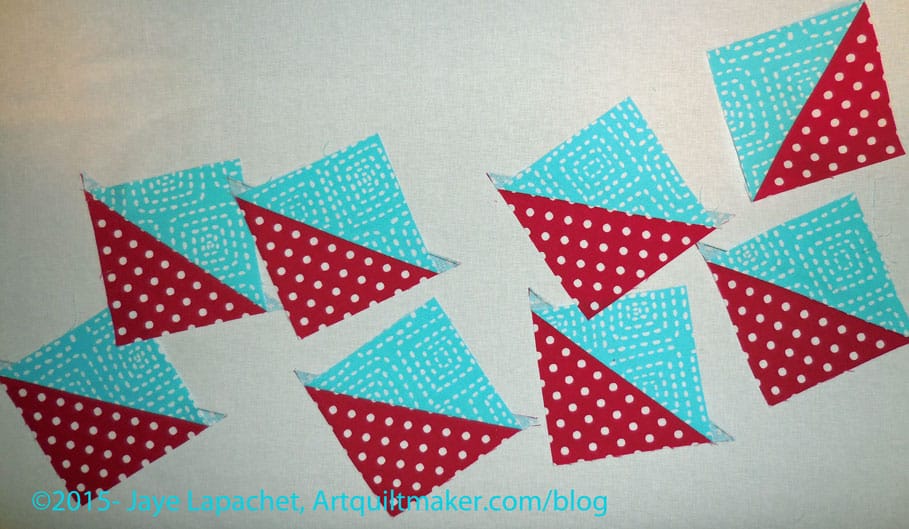
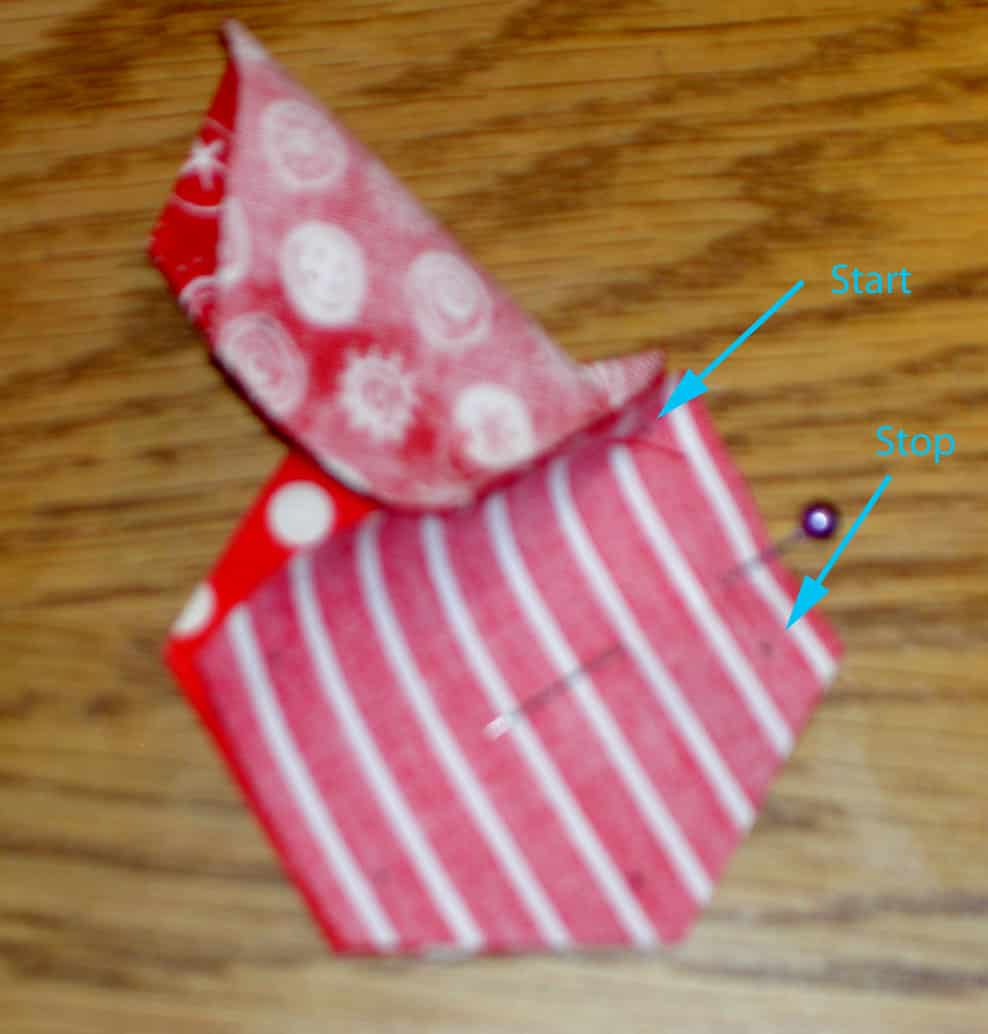
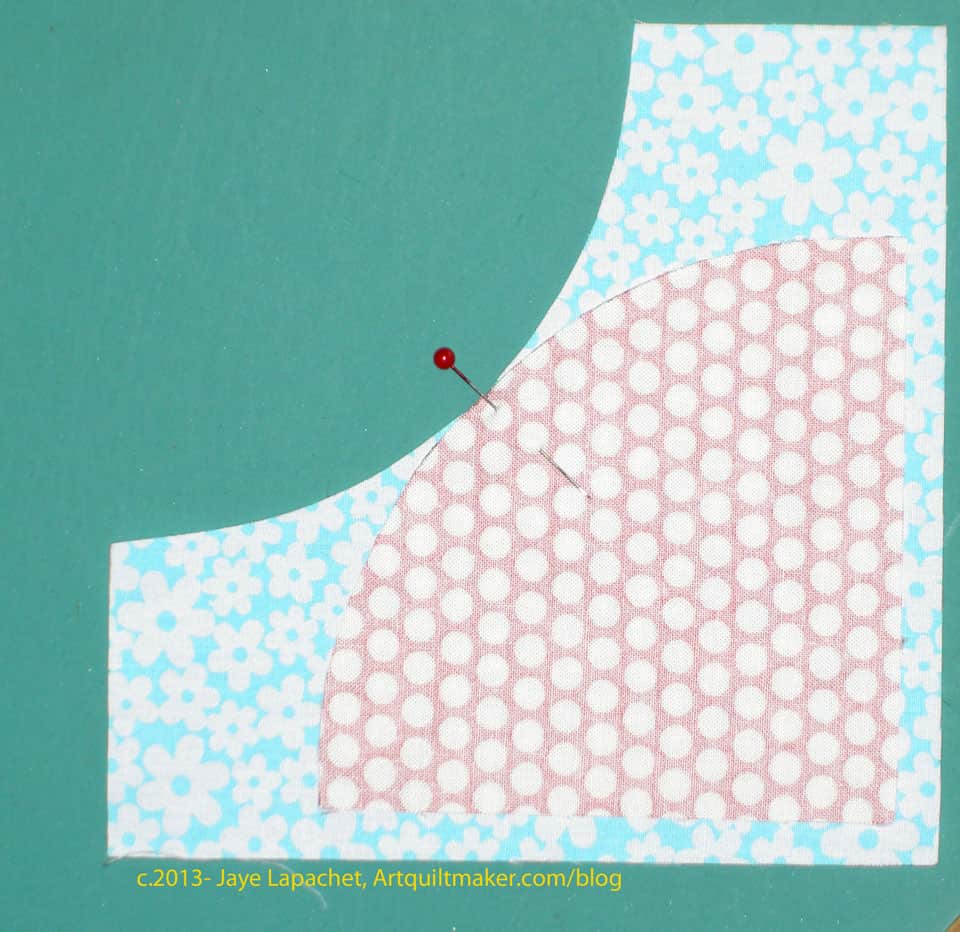
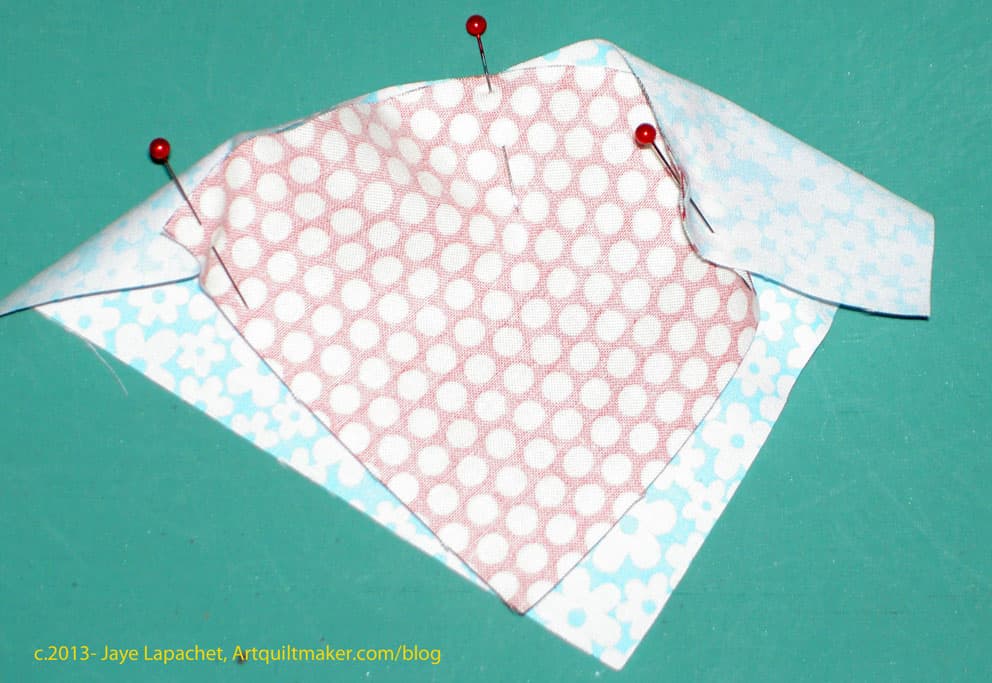
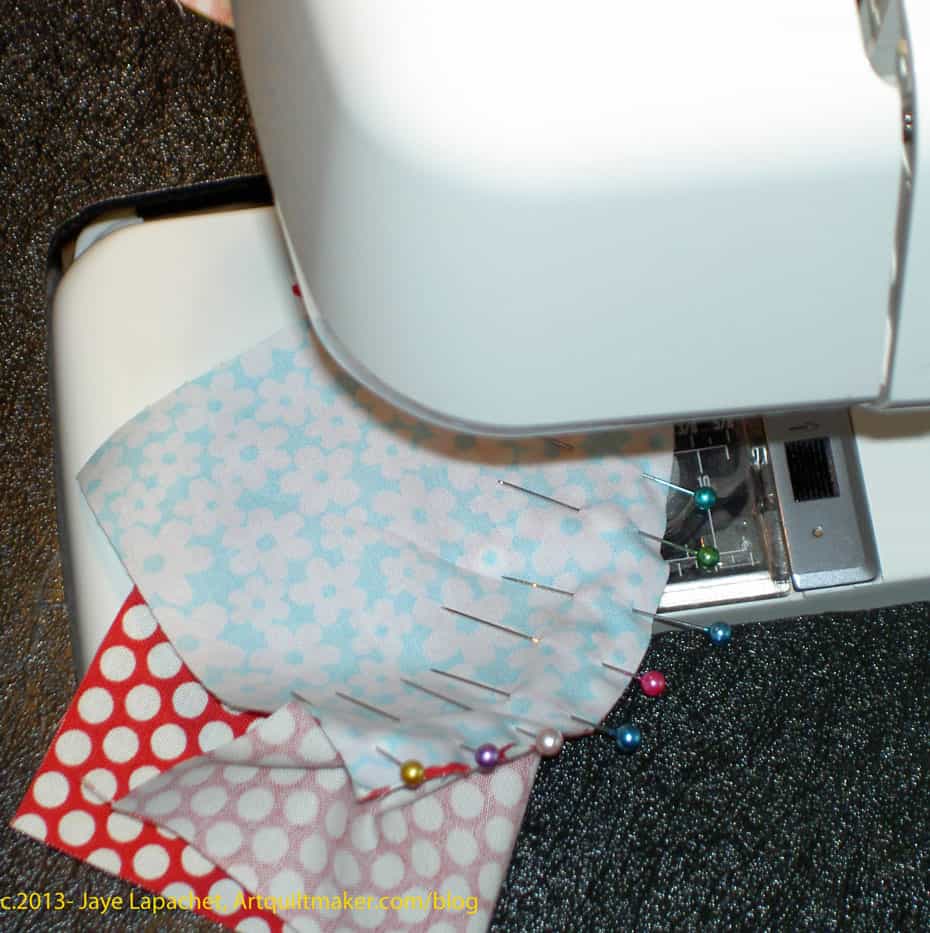
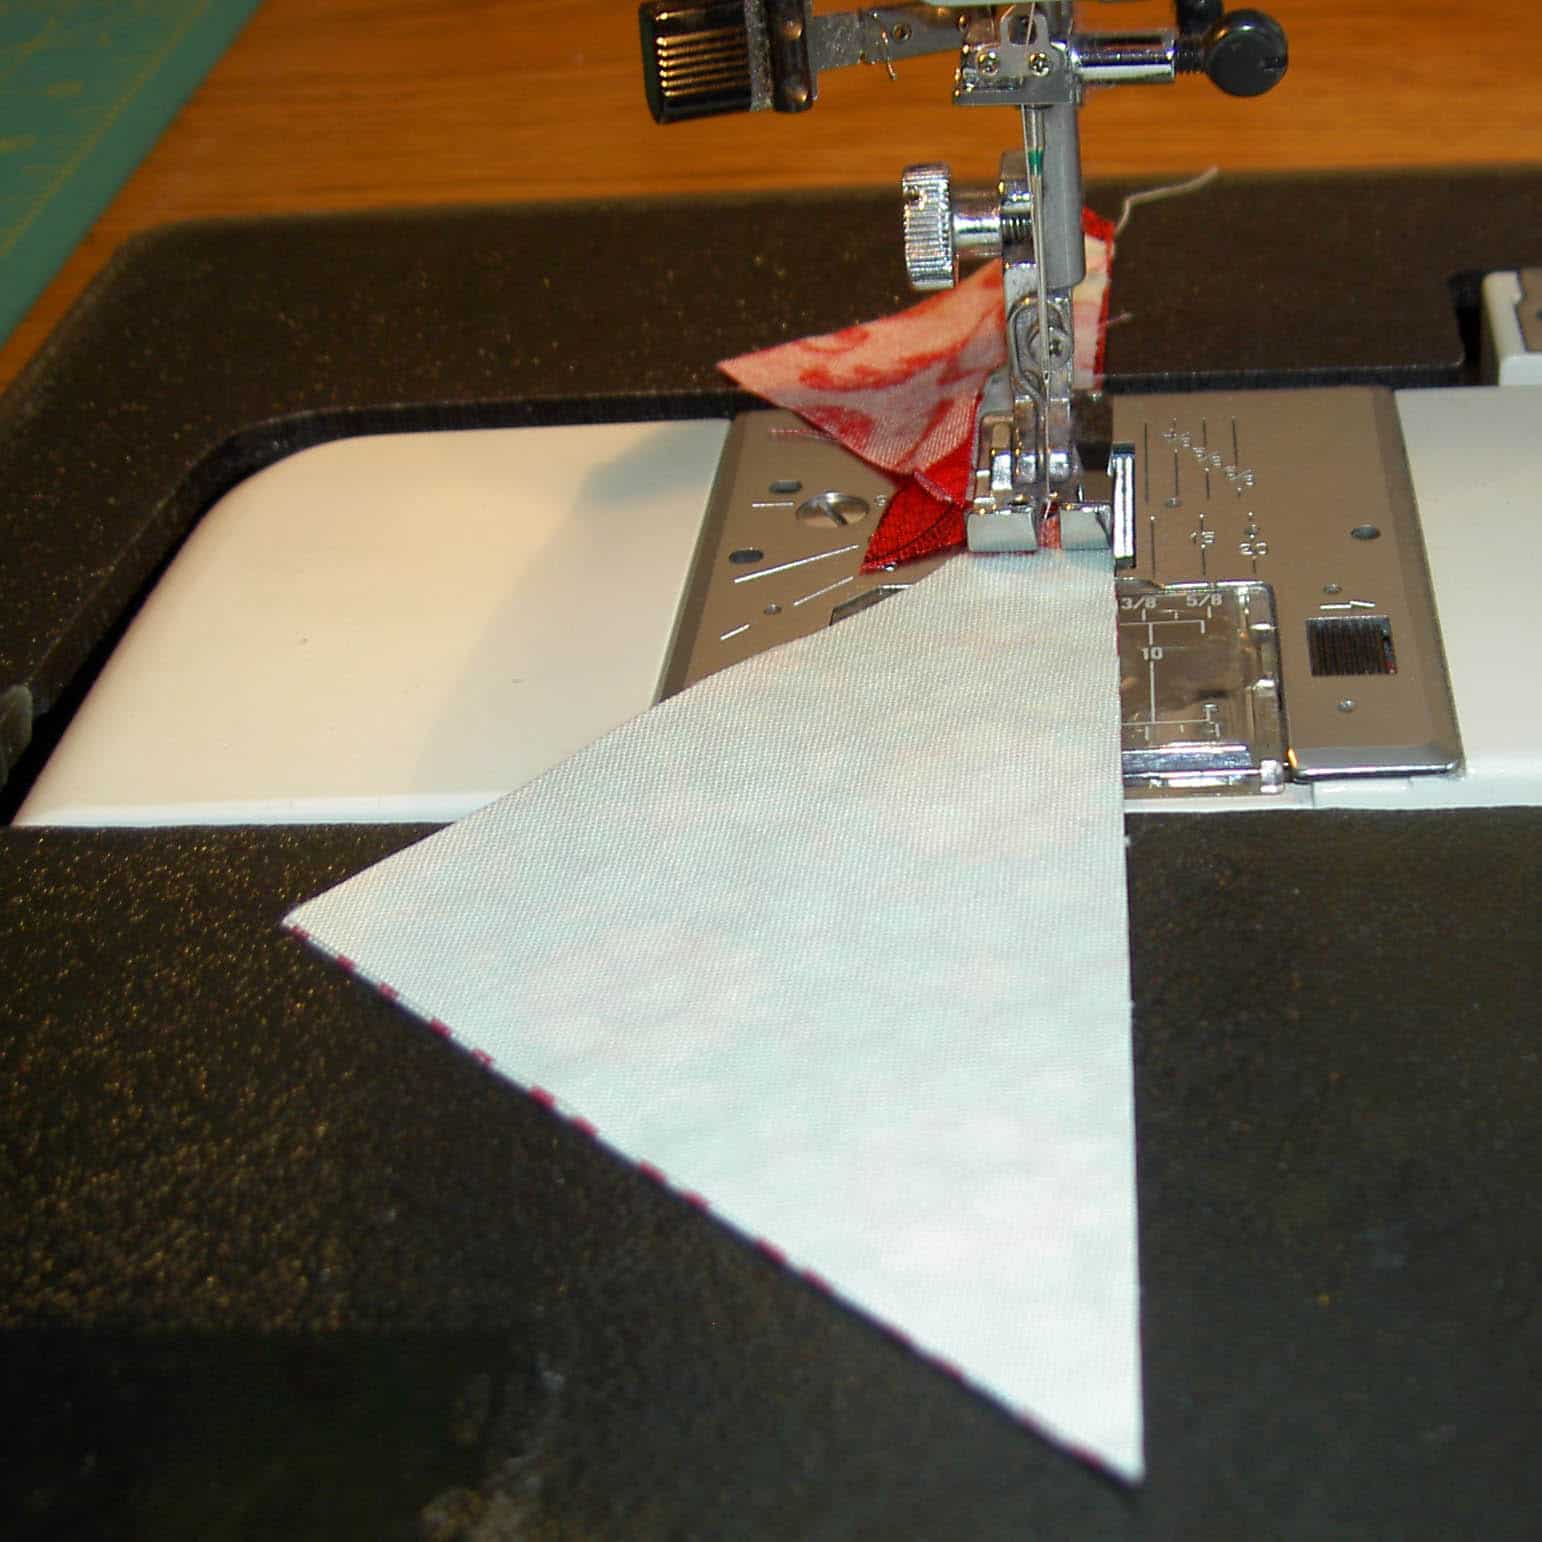
16. Line up two petals, right sides together.
17. Pin pieces together by lining up the holes you made when you traced around the template.

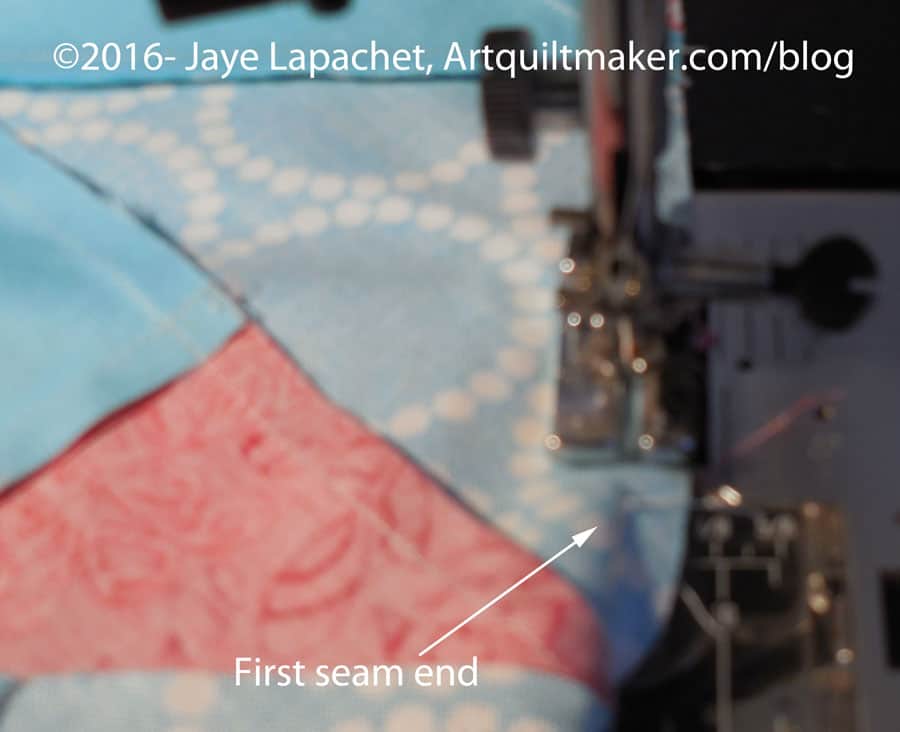
18. Sew from point to point, back stitching at each end. DO NOT sew into the seam allowance.
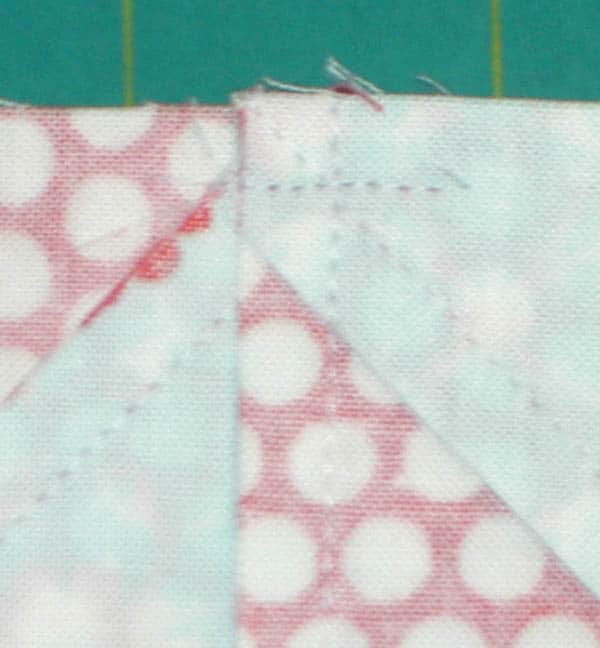
19. Press seams open.


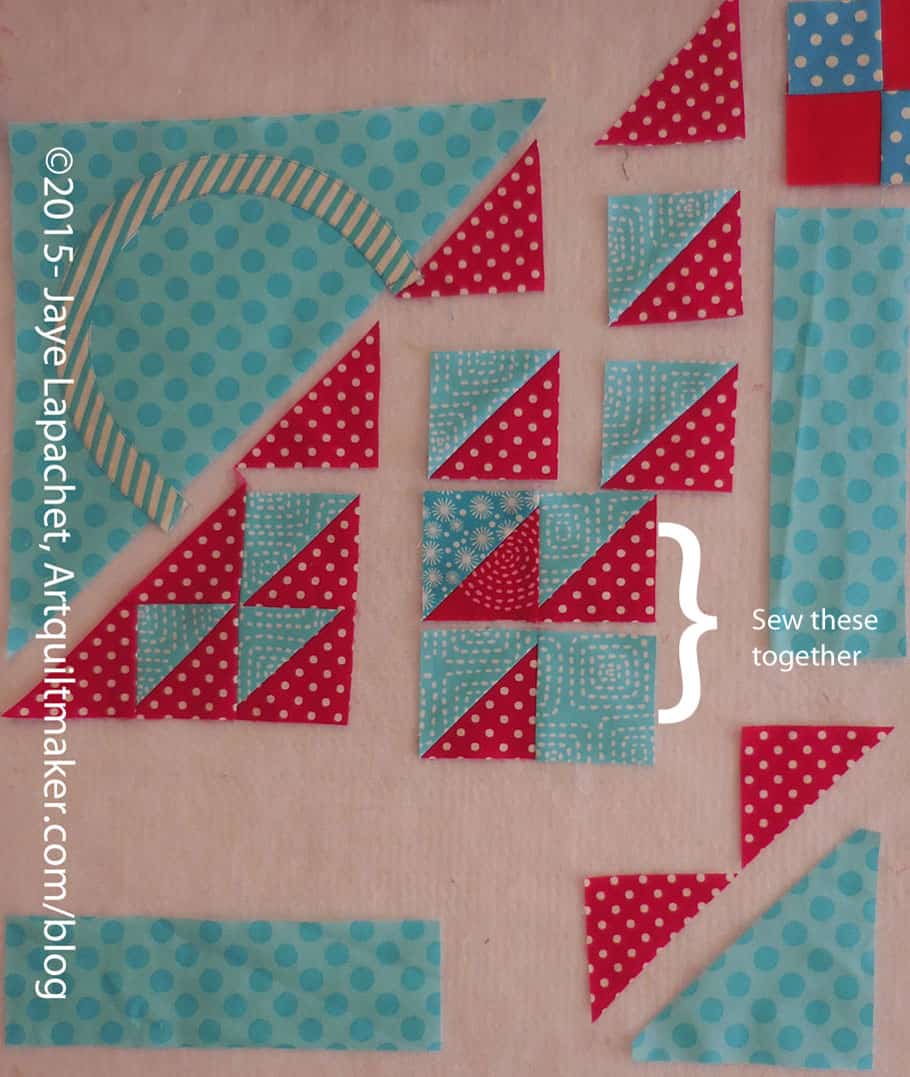
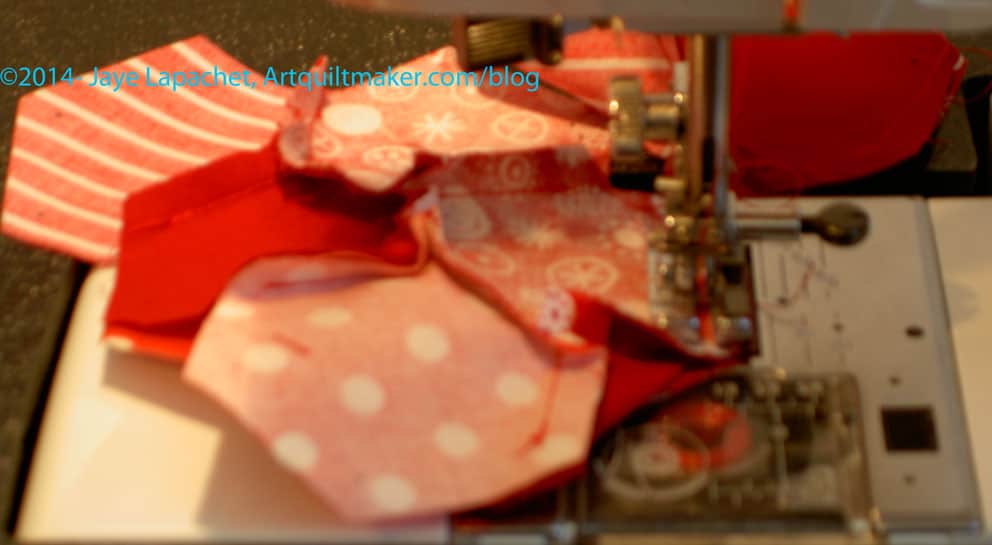
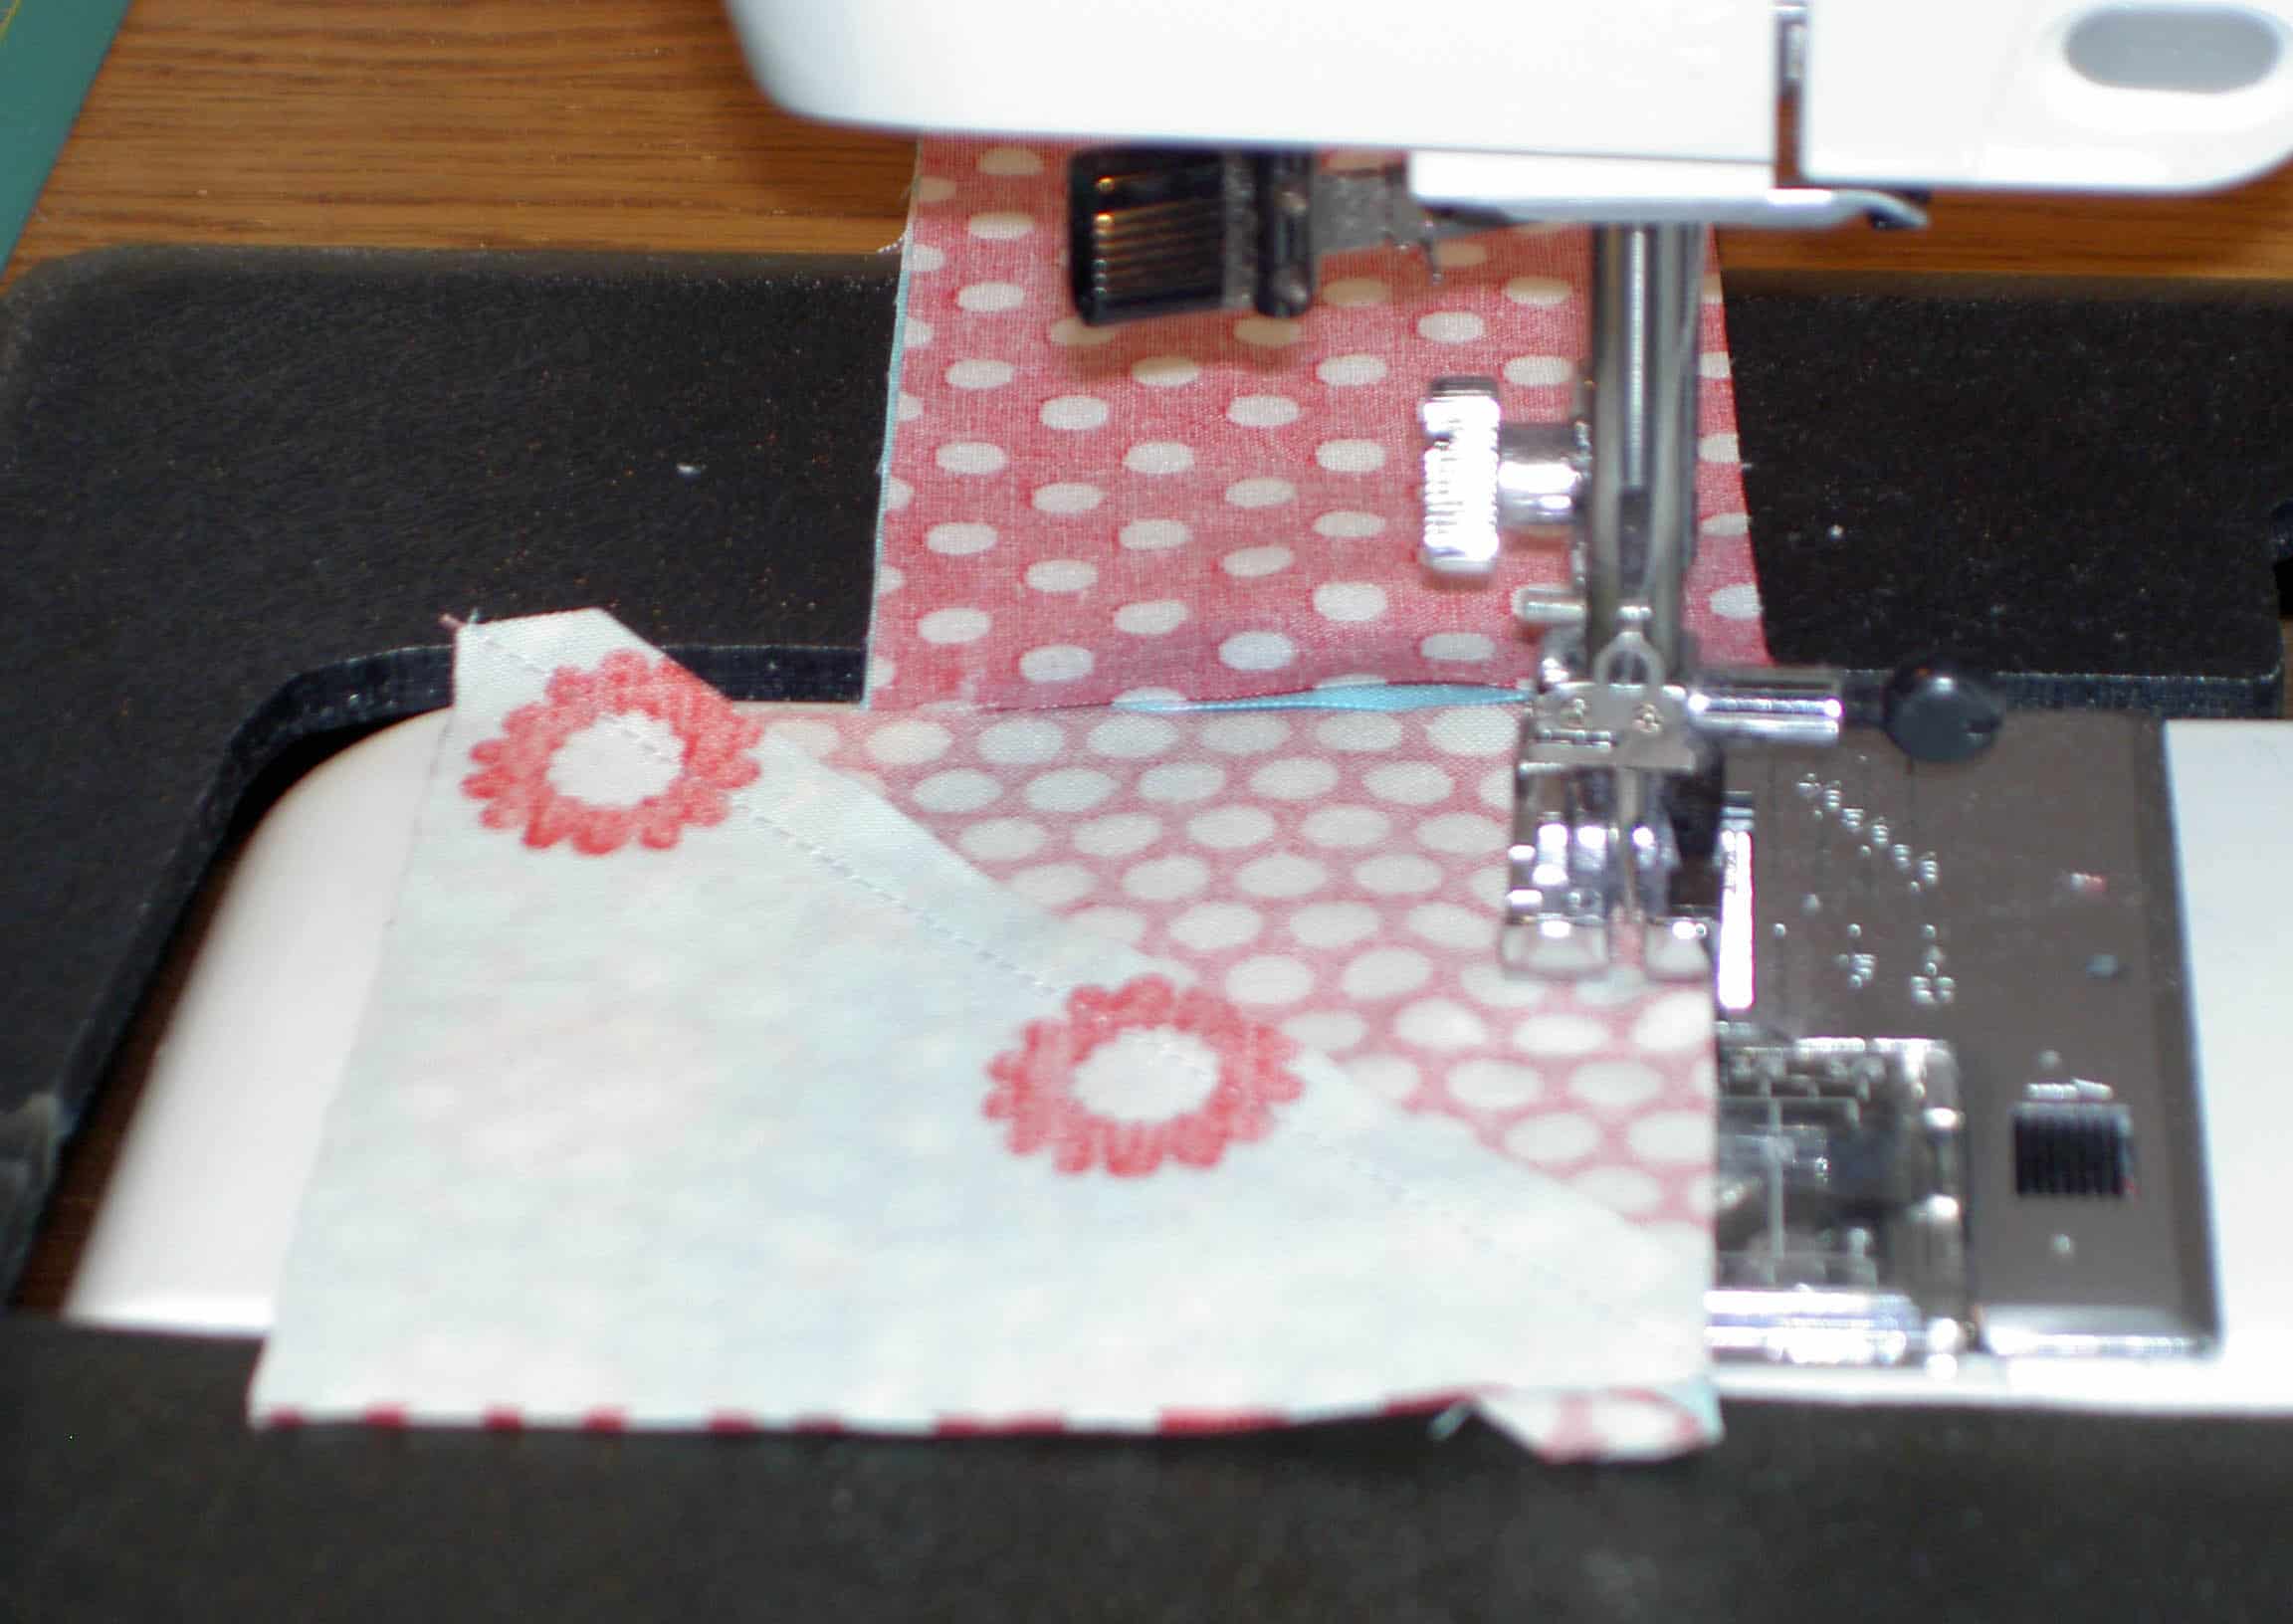
20. Sew petals together in groups of 2, then sew the groups of twos to each other to make groups of 4, etc.
21. Sew between points, back stitching at each end. DO NOT sew into the seam allowance.

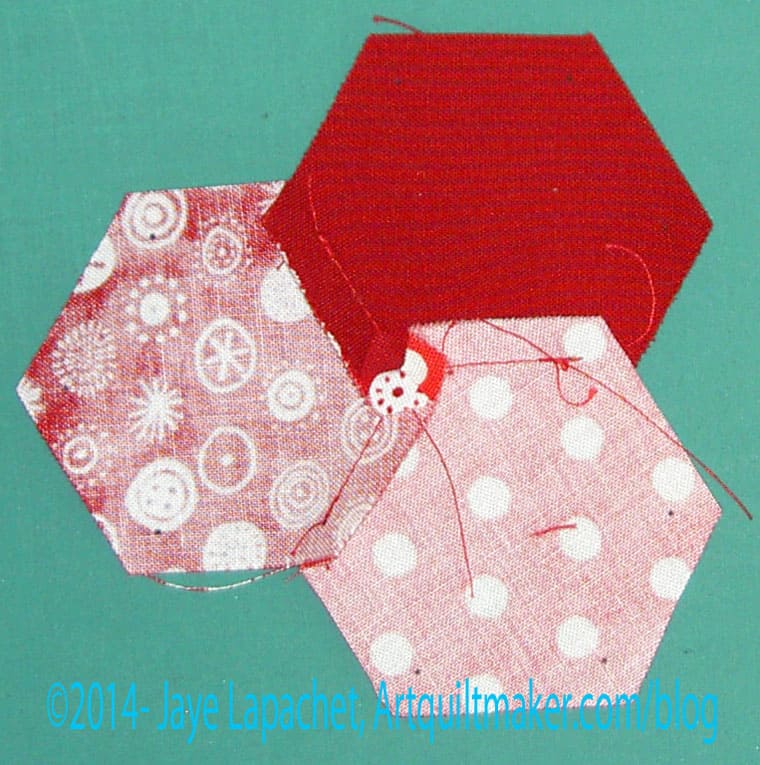
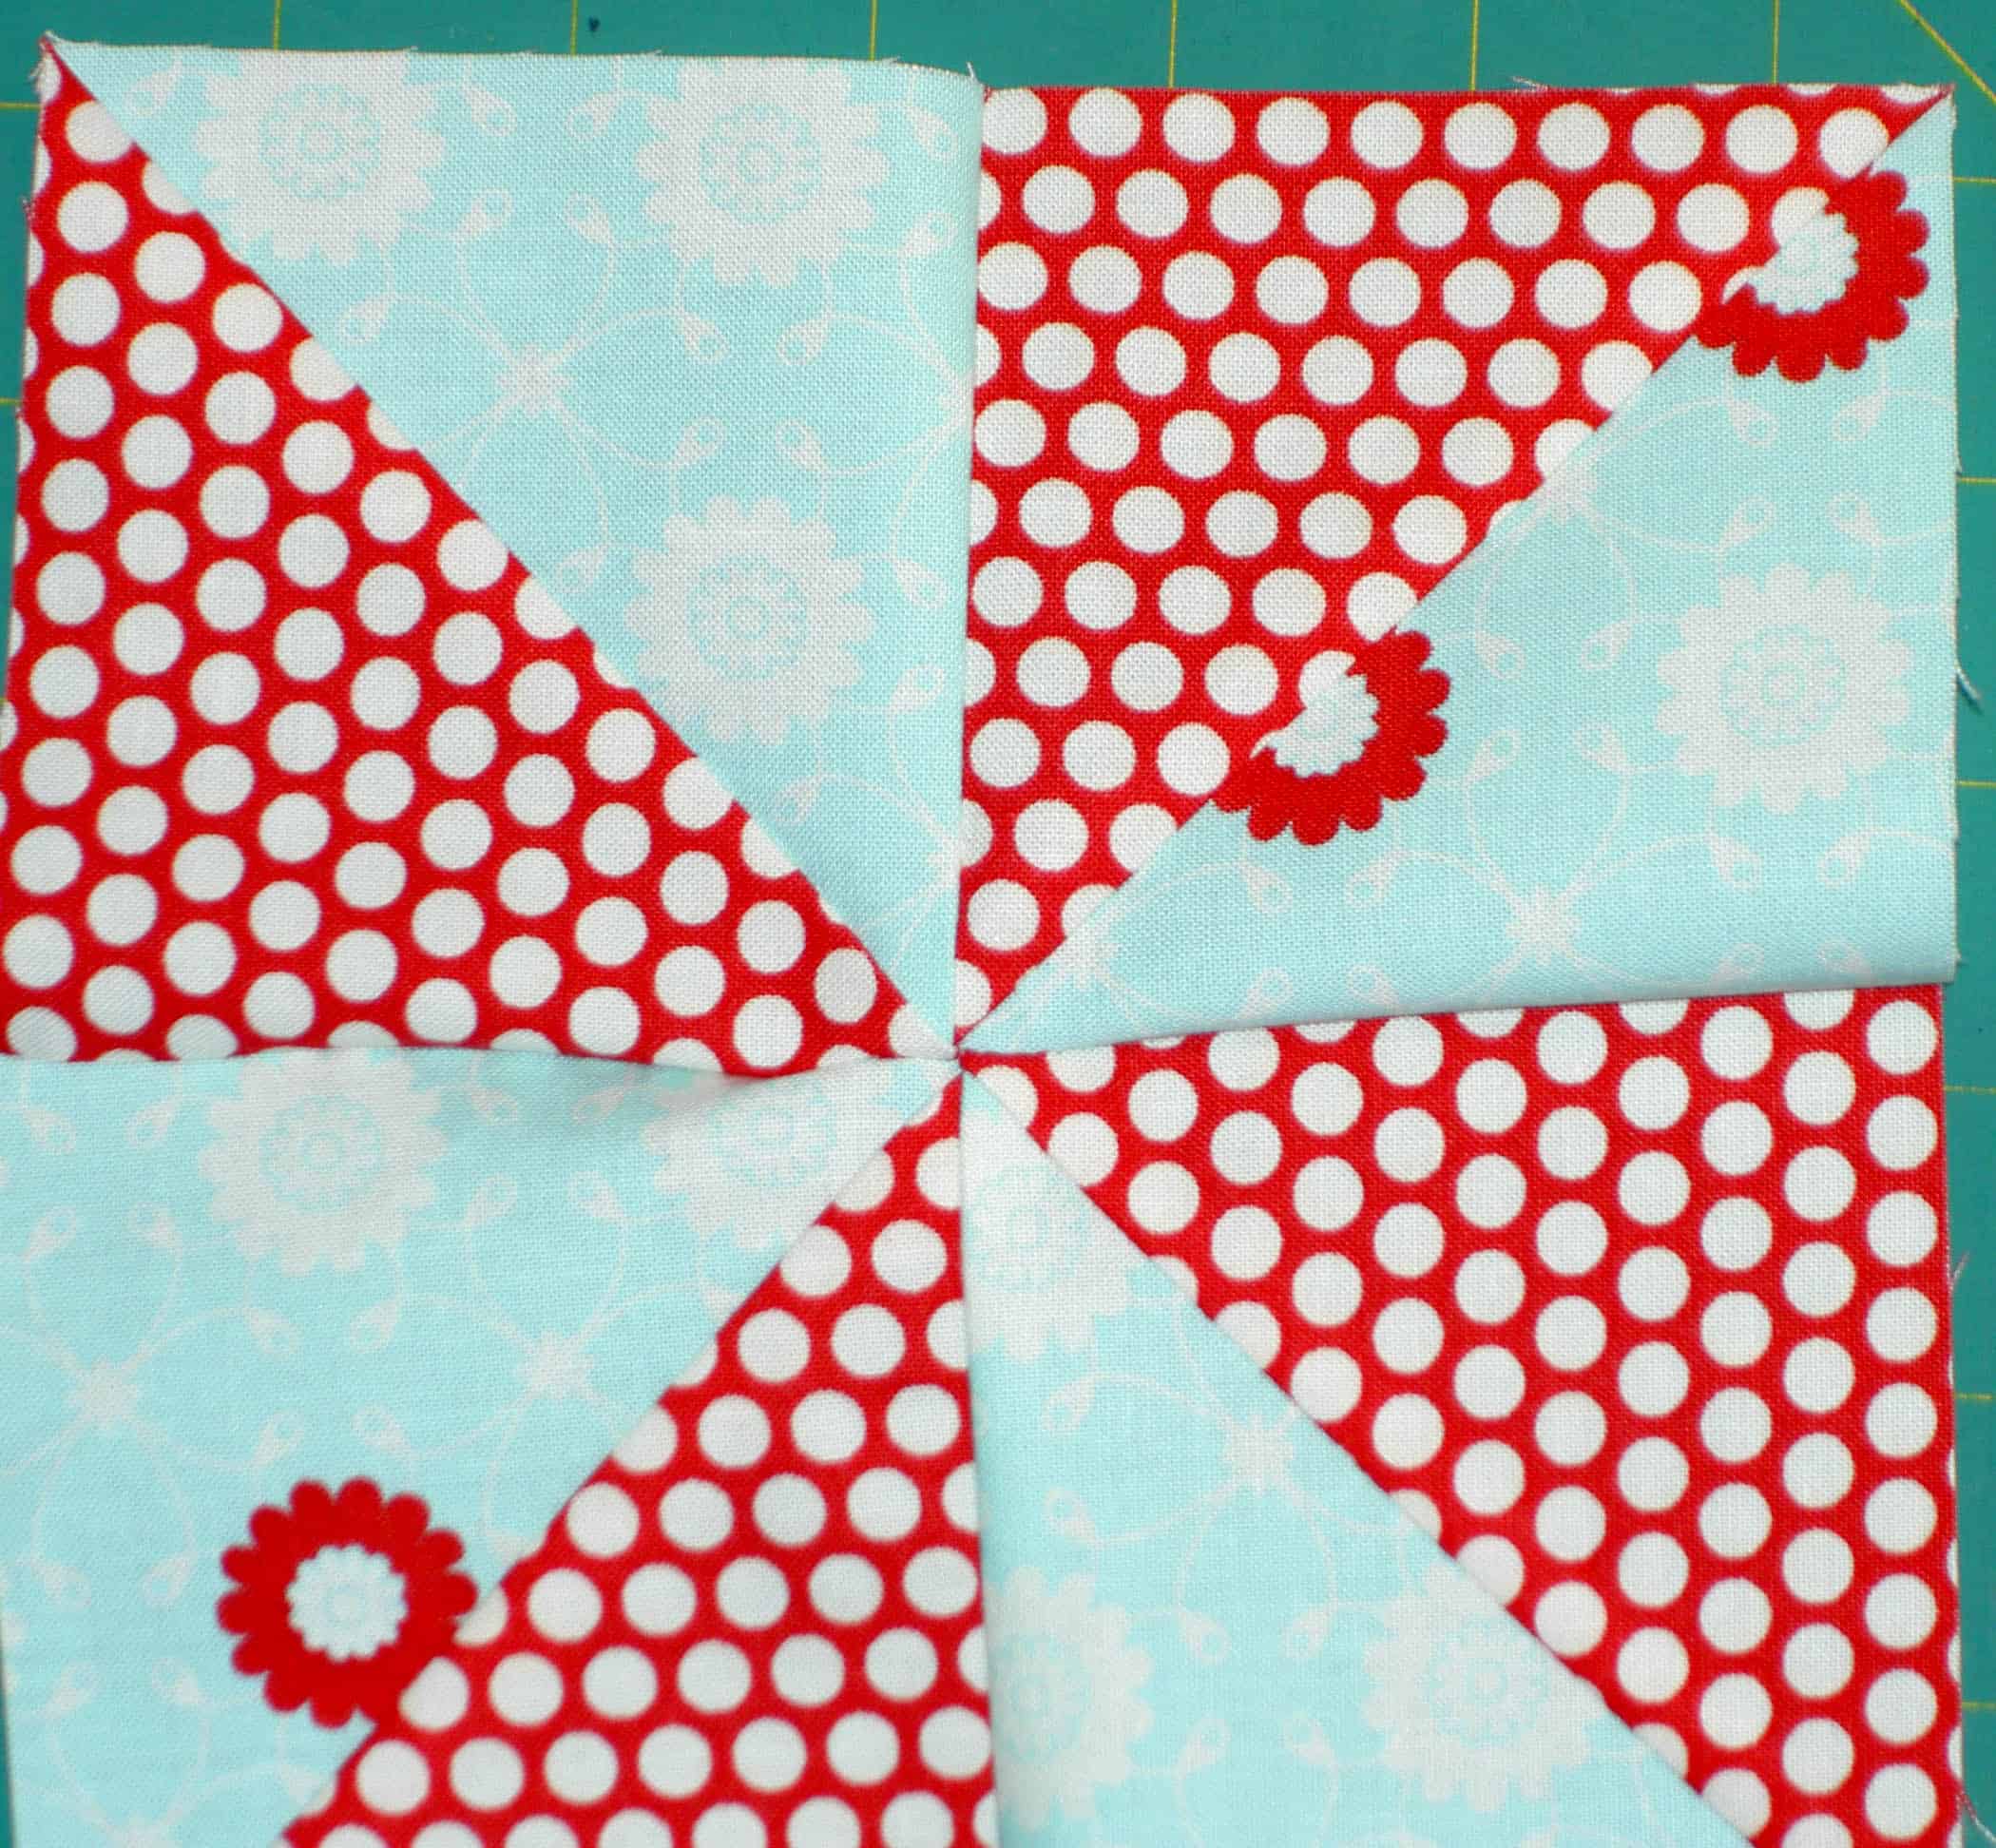
22. Sew all petals to each other, back stitching at each end, making a ring.
23. Press all seams open.
24. Trim threads.
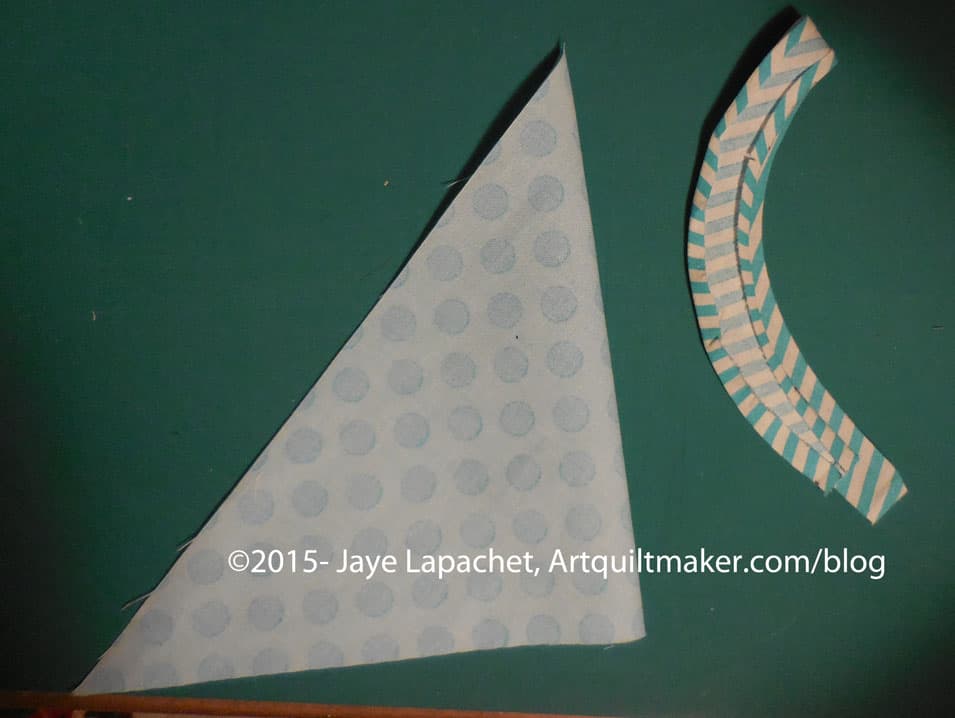
25. Lay petal ring face down on your ironing board.

26. Lay the petal template without the seam allowance (which must be made from heat resistant template plastic or cardboard. Don’t use something that will melt) on the back face up.

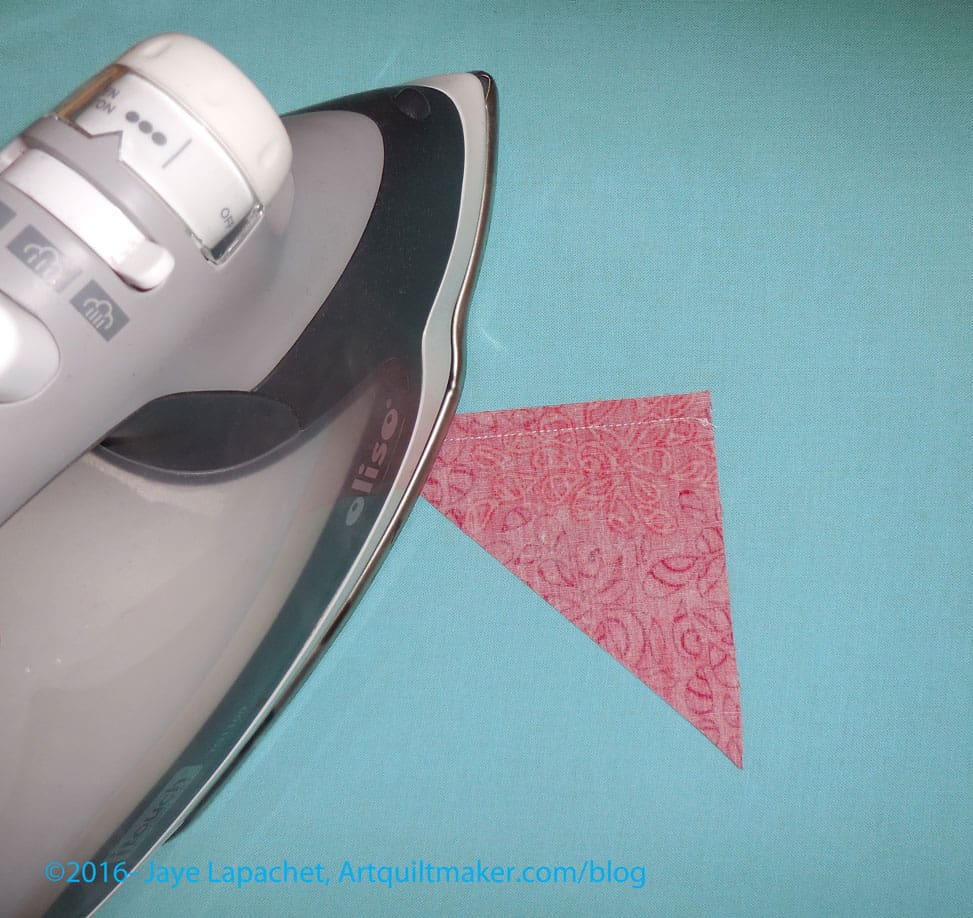
You probably won’t be able to get the seam allowances flat, but press enough so the fabric knows where the curve is. It will help you when you are ready to stitch it down.


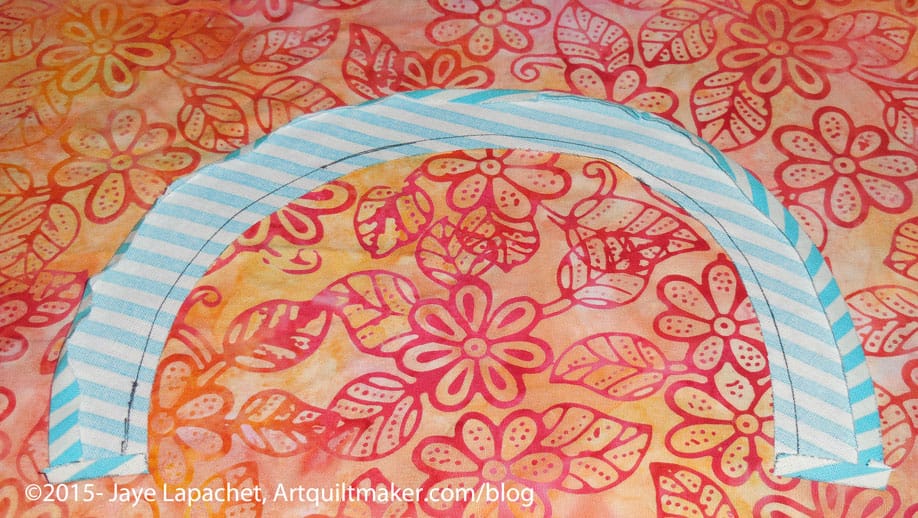
27. Press the curve into the outer edge of each petal. Use the stiletto to hold down the edge and iron right over the stiletto tip and the template. This is the miserable step, so intersperse eating some chocolate or some other sewing. Lay aside.
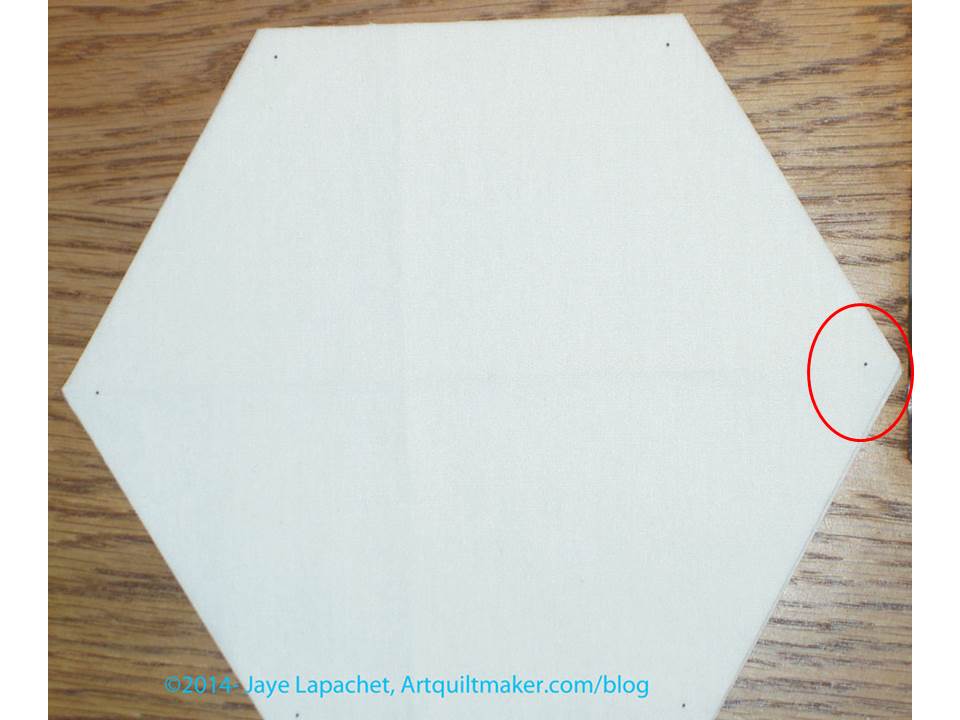
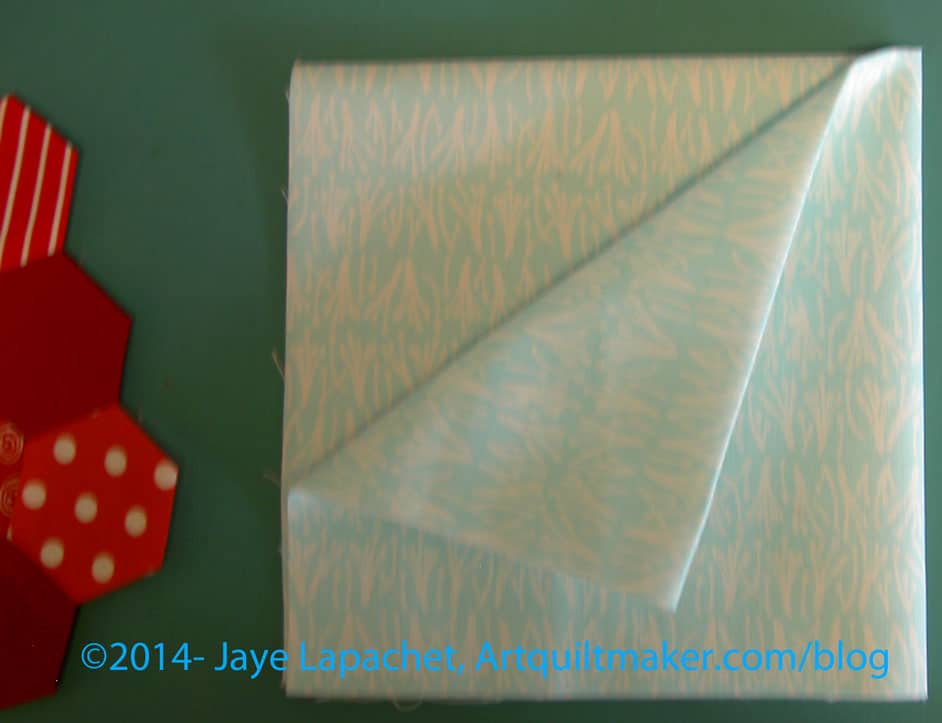
28. Take your cut piece of background fabric. Fold it in half and press lightly.

29. Fold your background fabric in half again (in quarters) and press lightly.
30. Open and you should be able to see the cross you have pressed into your background piece.

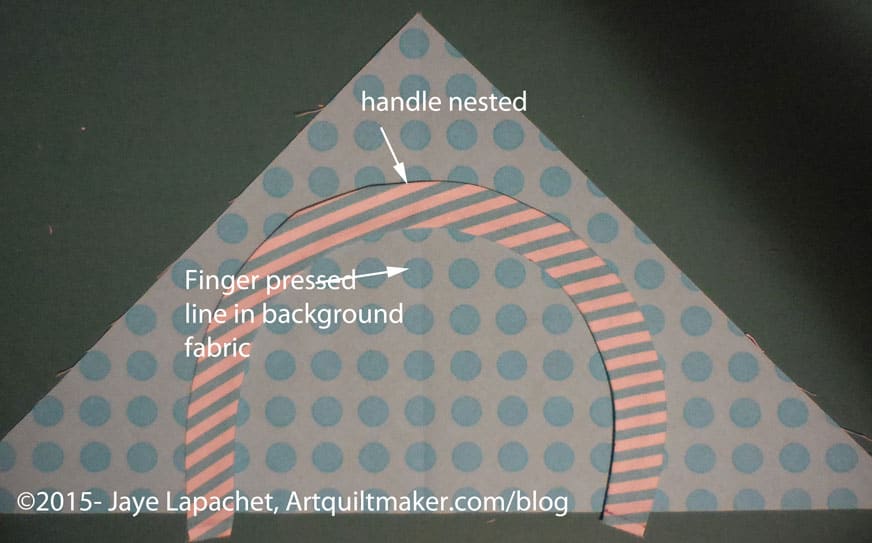
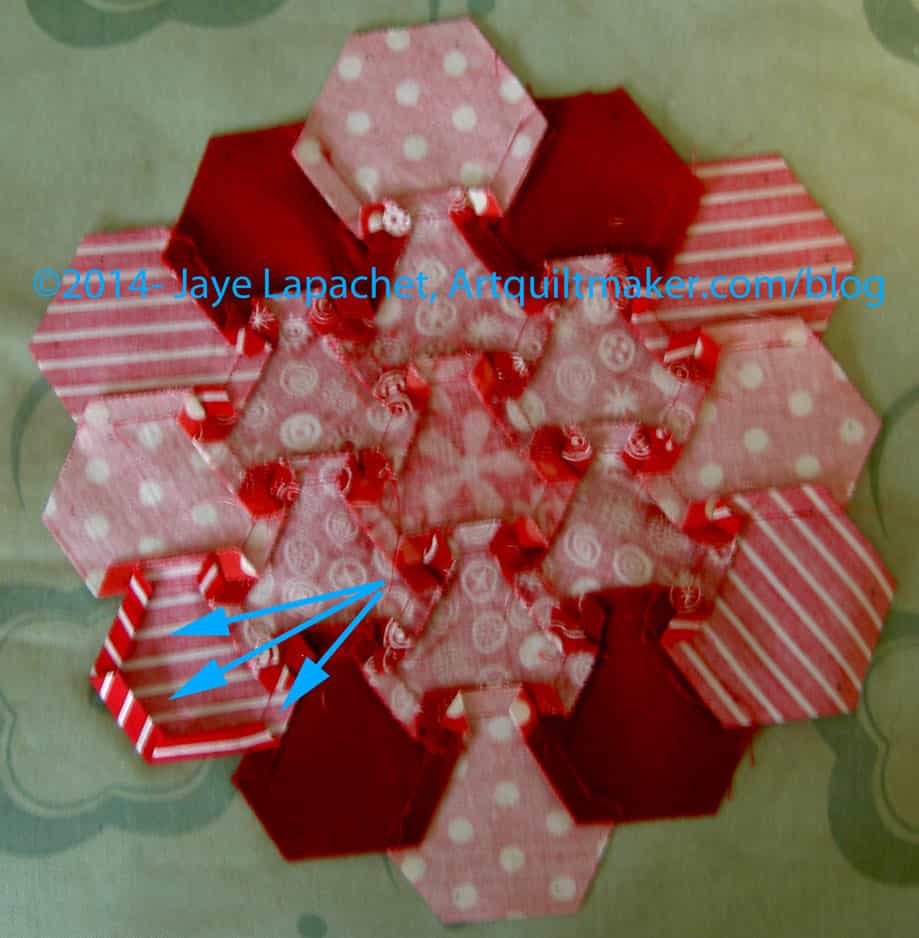
31. Take your plate of petals and line up 4 of the seam allowances with the pressed cross on your background fabric. This will center the plate on the background. Make sure you pay attention to the vertical as well as the horizontal.
32. Pin in place
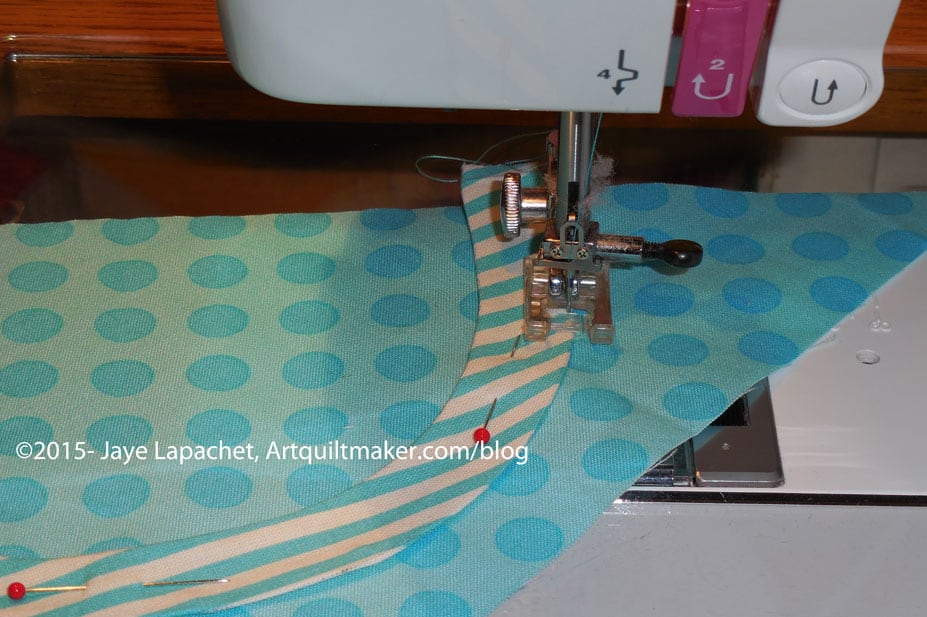
33. Use thread that matches the plate or is neutral for hand applique’ or a blanket stitch to sew plate to background. You can also machine applique’ the plate to the background. We will cover that technique in another lesson, but there are many other tutorials available.

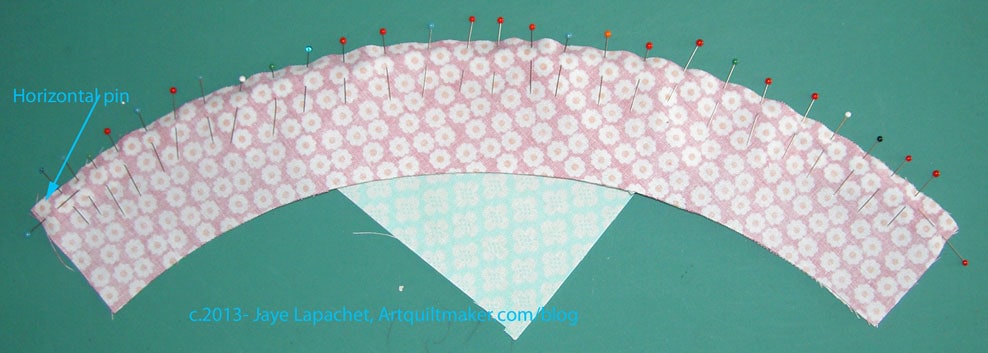
34. Pin curved edges of plate as you move around the plate to applique’.
35. Knot the thread sufficiently so the knot does not pop through the background.
36. Bring the thread up from the back through the fold of the plate (where you pressed the seam allowance).
37. Tug gently and put the needle into the background, just catching it, and pull the needle tight through the fold of the plate again.
38. Go around the entire plate in this manner, using the needle to tuck in the seam allowance so it has a smooth round shape.

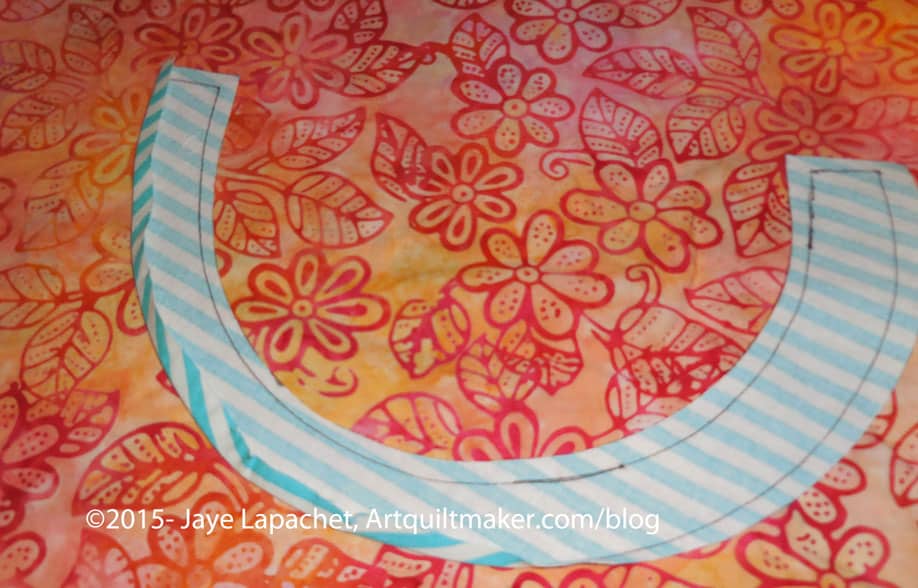
39. Trace the circle template without the seam allowance onto the magazine subscription card.

40. Cut out the magazine subscription card circle, being sure to cut off the pencil/pen line.
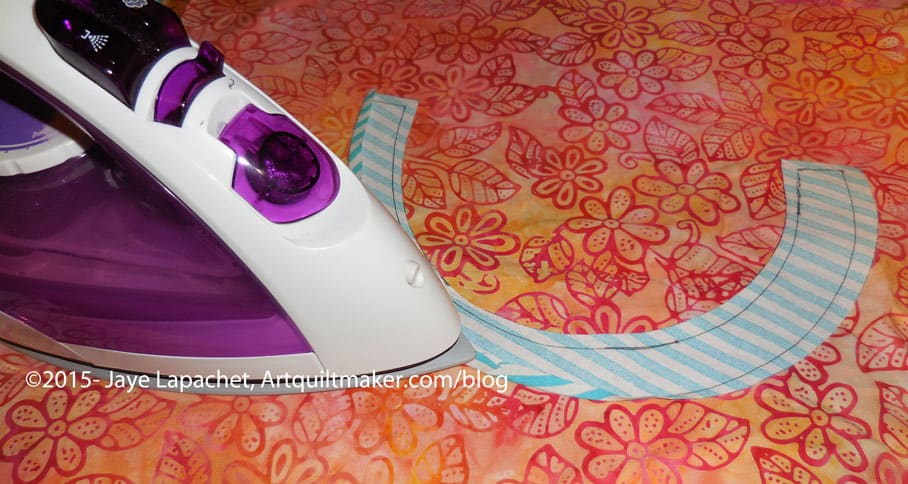
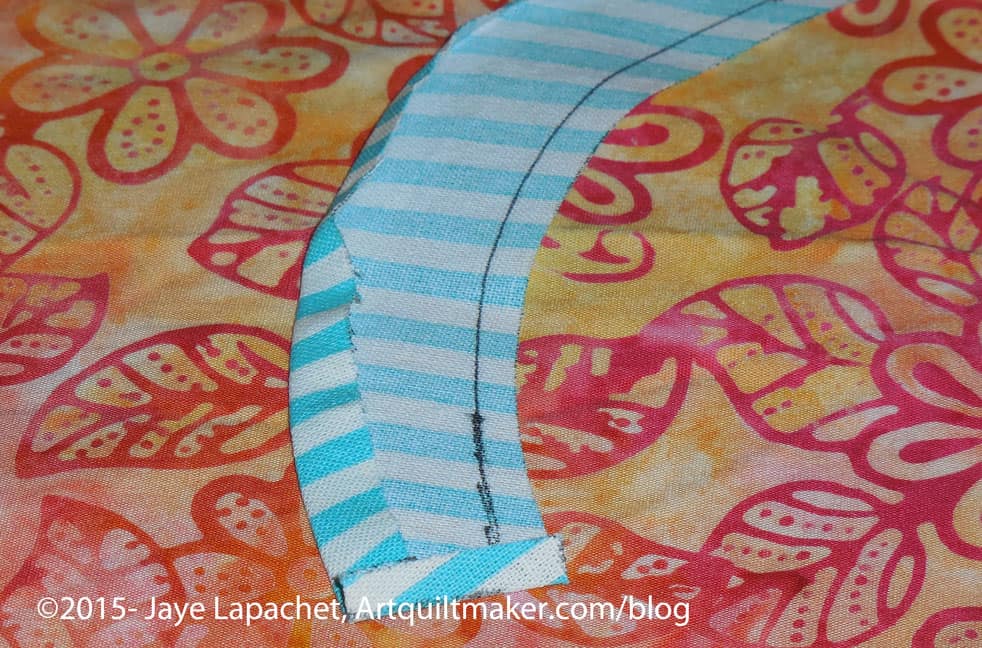
41. Take the circle fabric you have cut and wrap it around the magazine subscription card circle.

42. Using any thread, take a running stitch in the seam allowance of the circle fabric and tighten it, keeping the magazine subscription card circle flat. If the magazine subscription card does not have enough body, you can also use the circle template without the seam allowance.

43. Press the drawn up circle well, so it is flat and a perfect circle. You will need to tug on the thread to draw the circle up as you press the first time. Once the fabric knows it needs be pressed you can pull the thread tight and make a knot.

44. Pin the circle to the center of the block, covering the raw edges of the center petals.
45. Applique’ using the same directions you used to applique’ the plate.
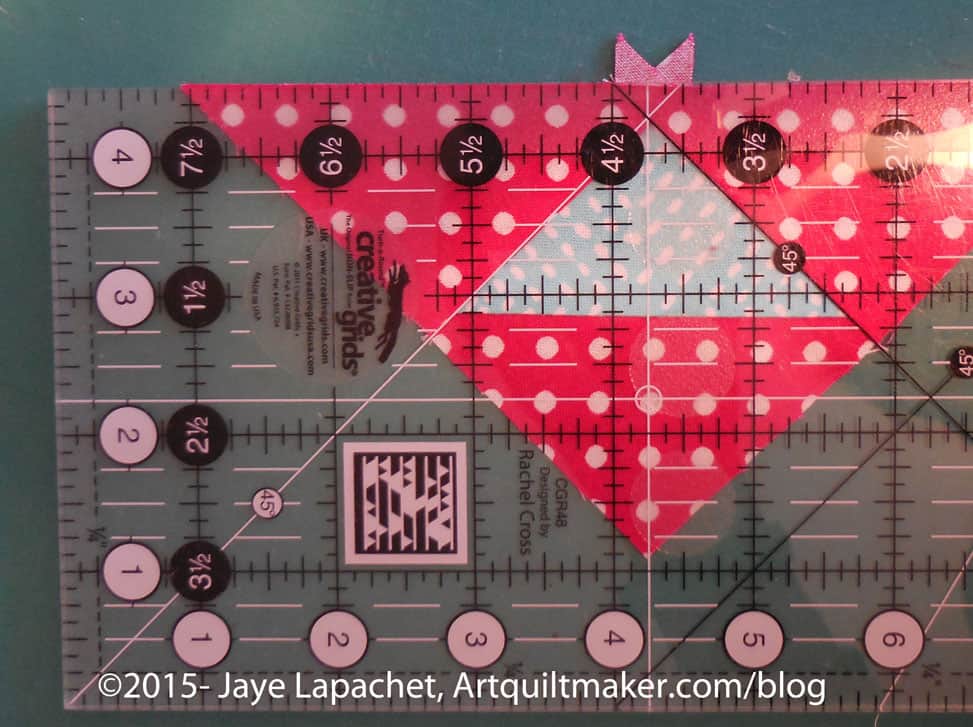
46. Trim block to 12.5″x12.5″. You might want to wait until on this step until you start assembling the quilt.

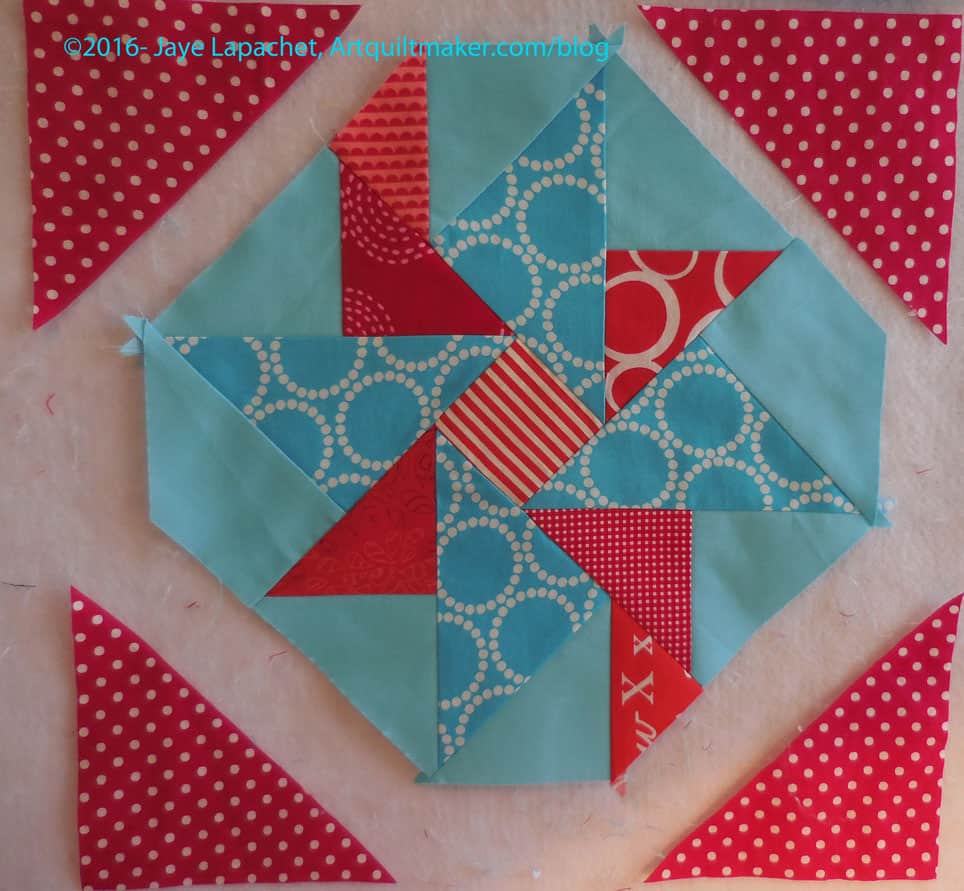
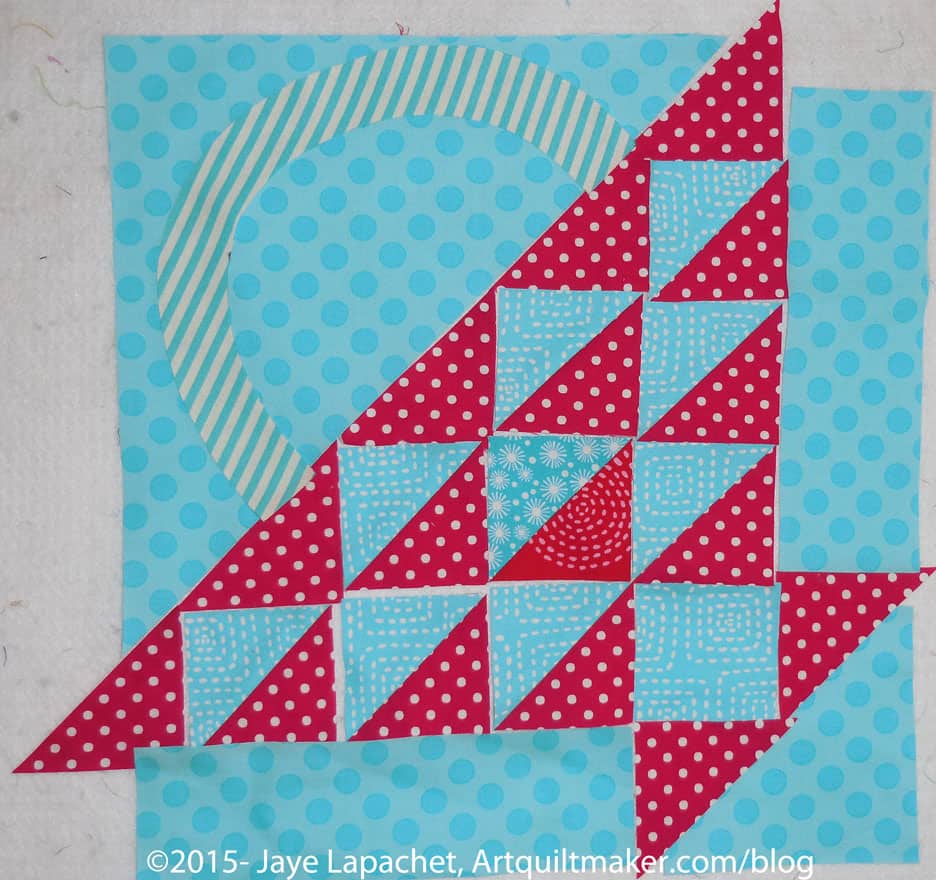
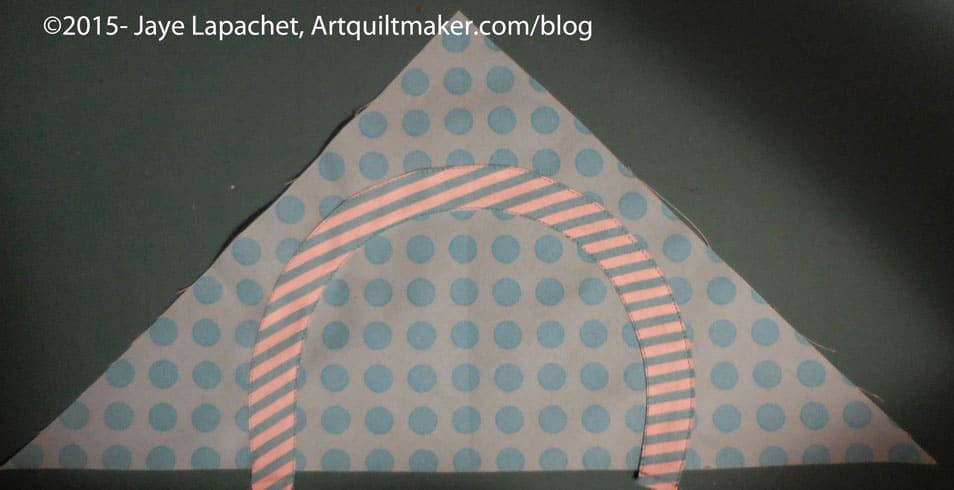
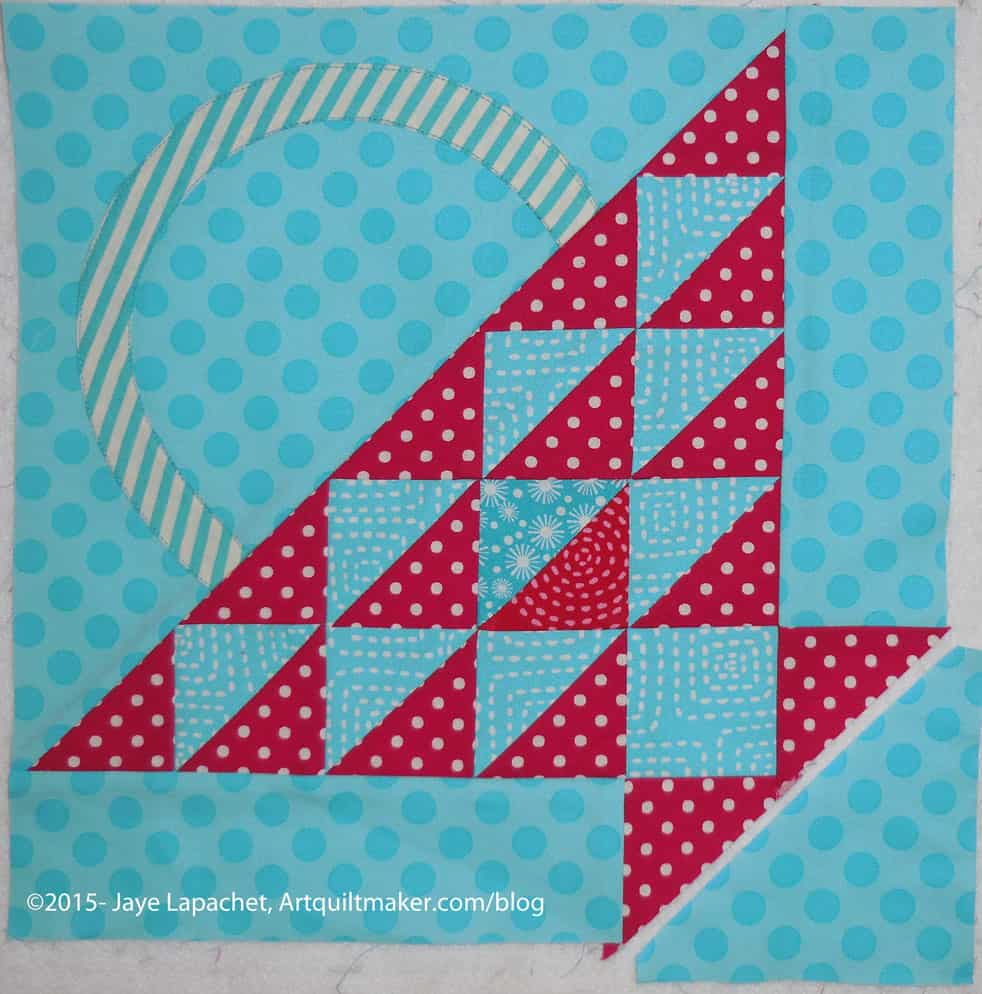
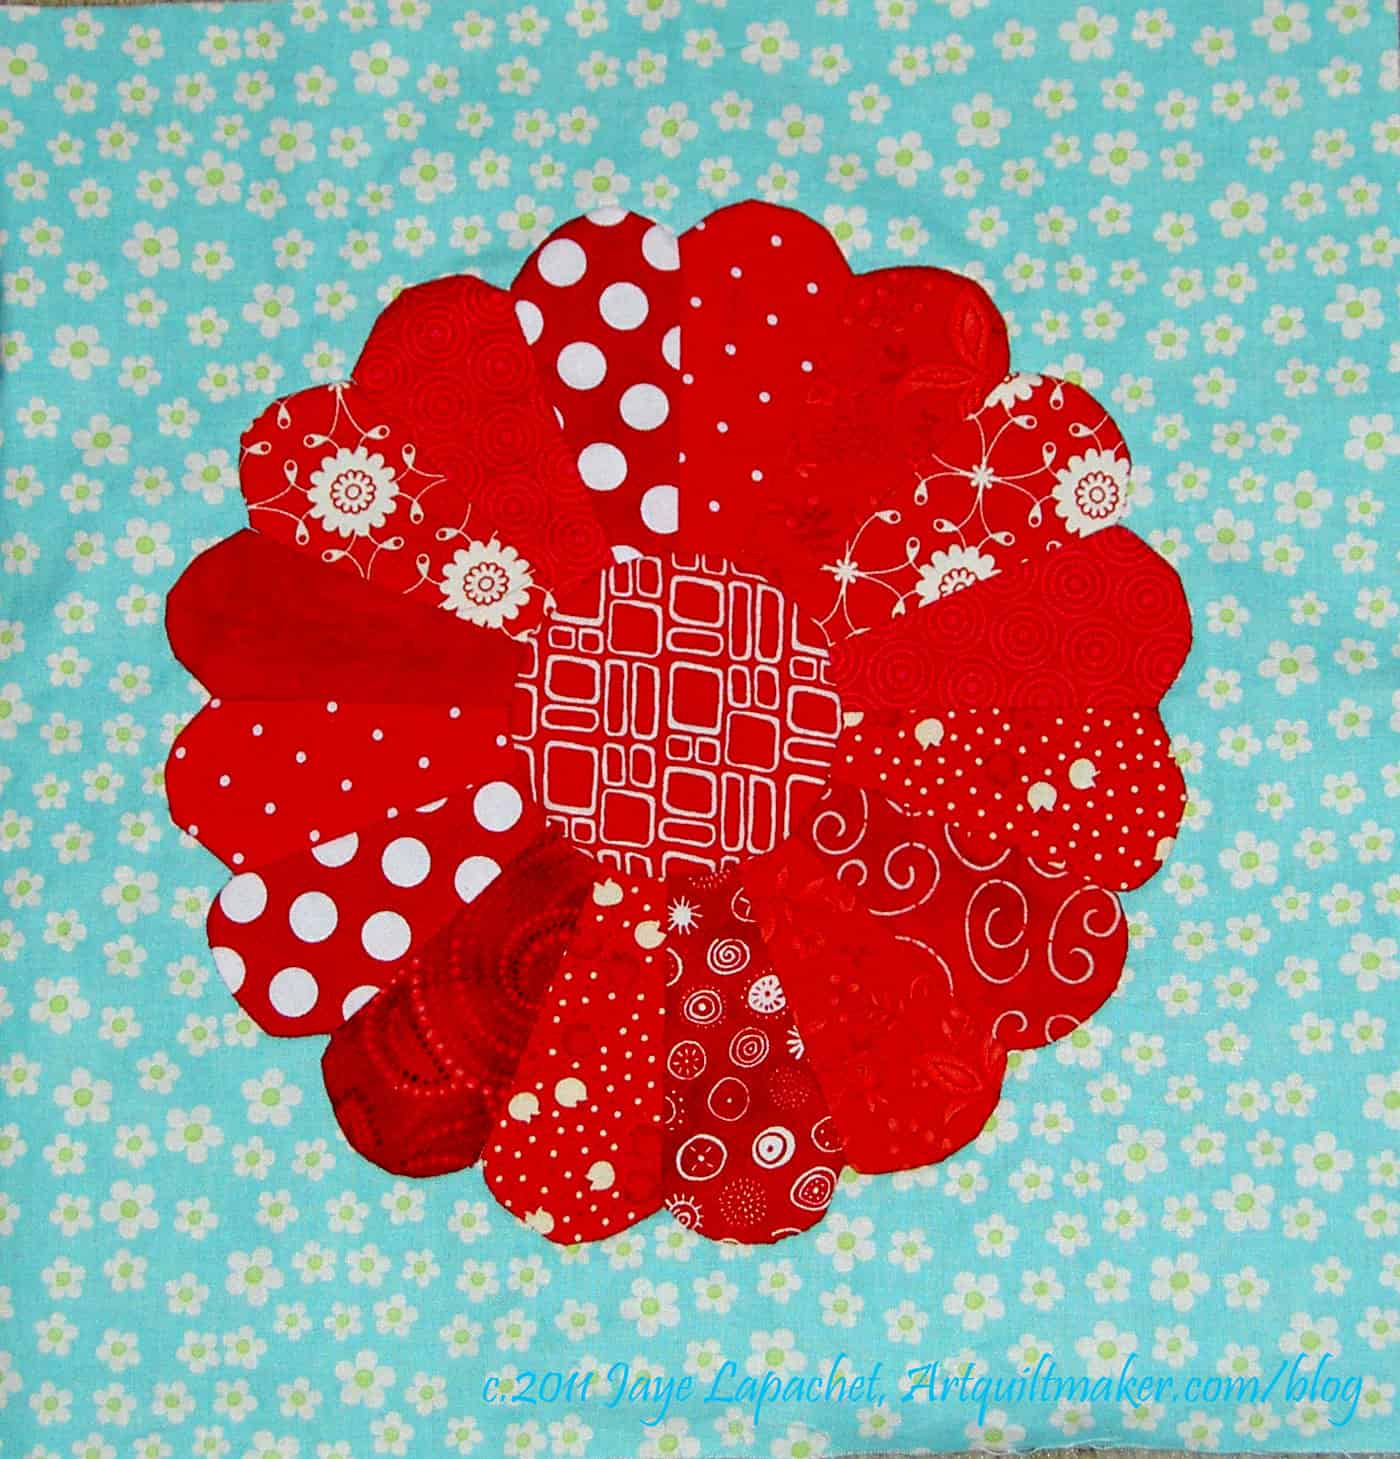
The green, turquoise, black and pink sample Dresden Plate was made for the class I taught in 2006/2007. I did this one a little differently. I machine stitched the plate to the background and the circle to the center.
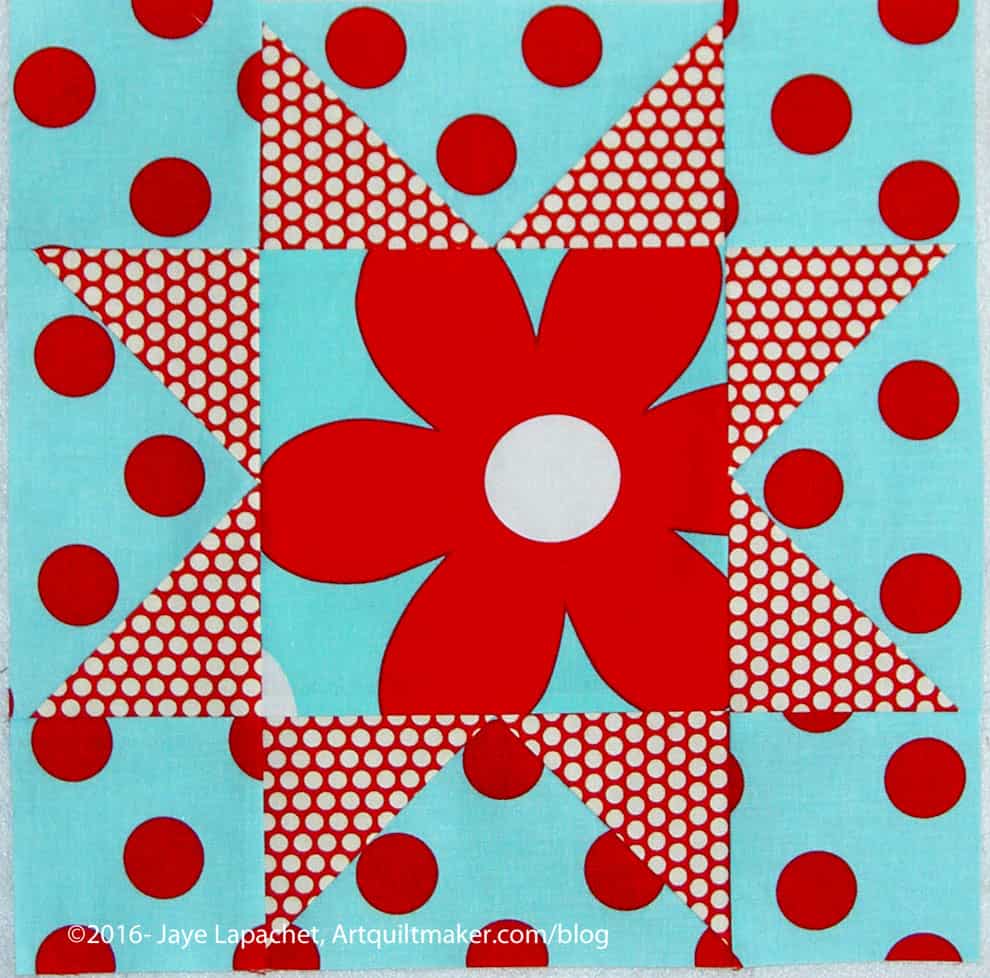
As you can see, I also fussy cut fabrics to take advantage of larger spaces in the quilt block.

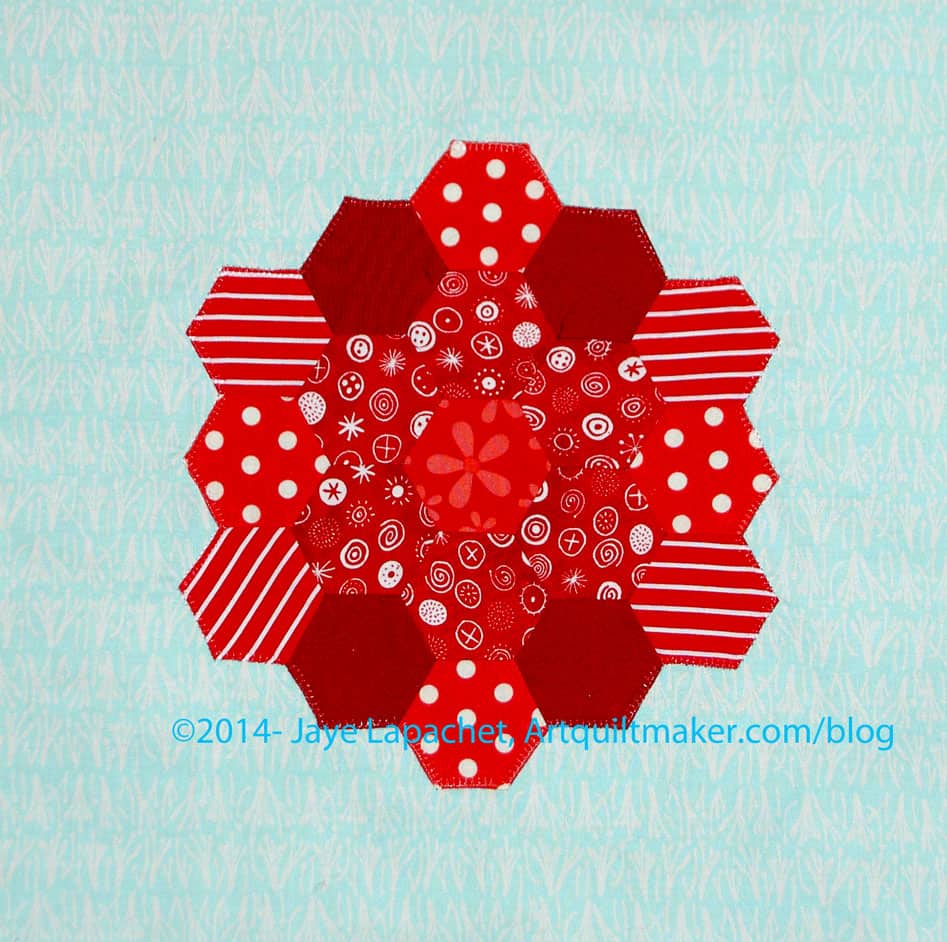
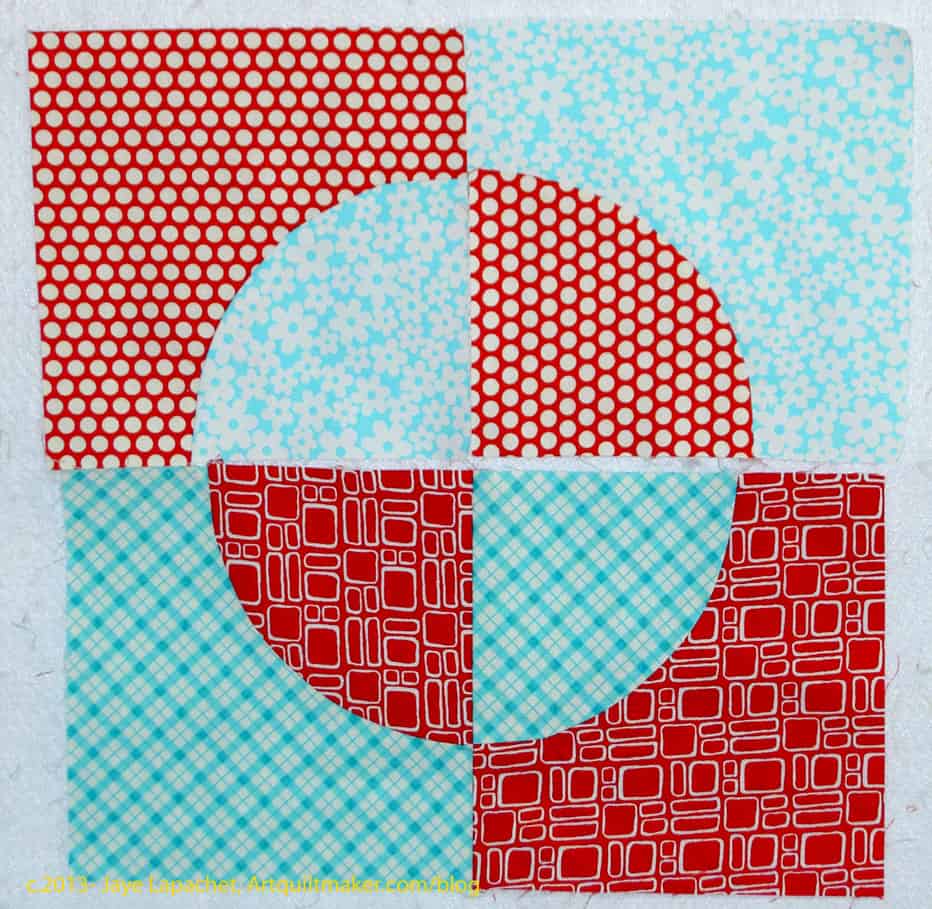
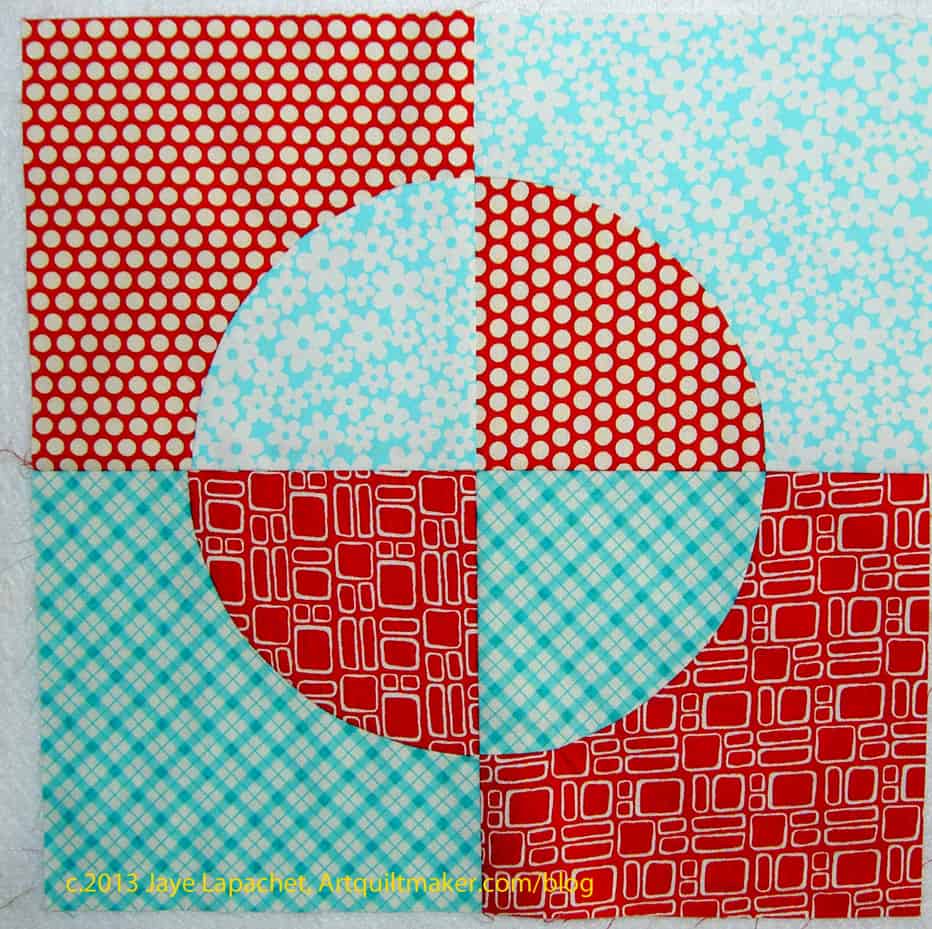
In the solid Dresden Plate, I placed like fabrics into groups of two for a slightly different look. The center circle was a good showcase for a bit of hand quilting.

I store my templates in a ziploc bag with a picture of the block or a label with the name and size of the block on it.
There is a link to this tutorial from the Artquiltmaker Info–>AQ Tutorials link under the header (see above).


")


")