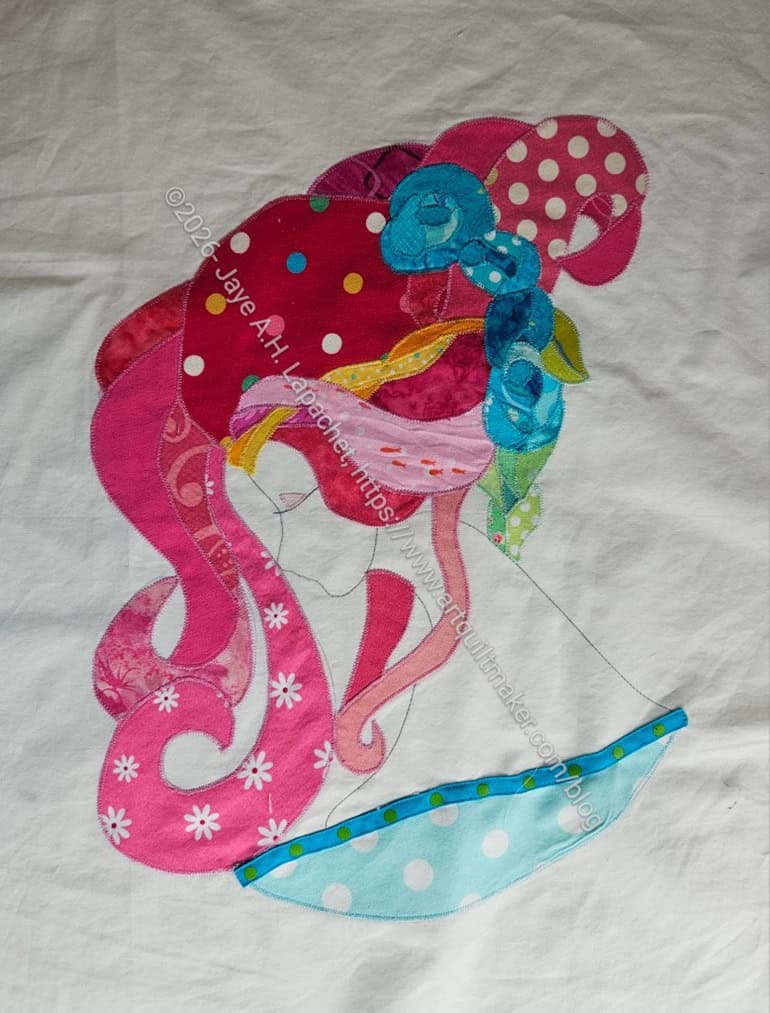
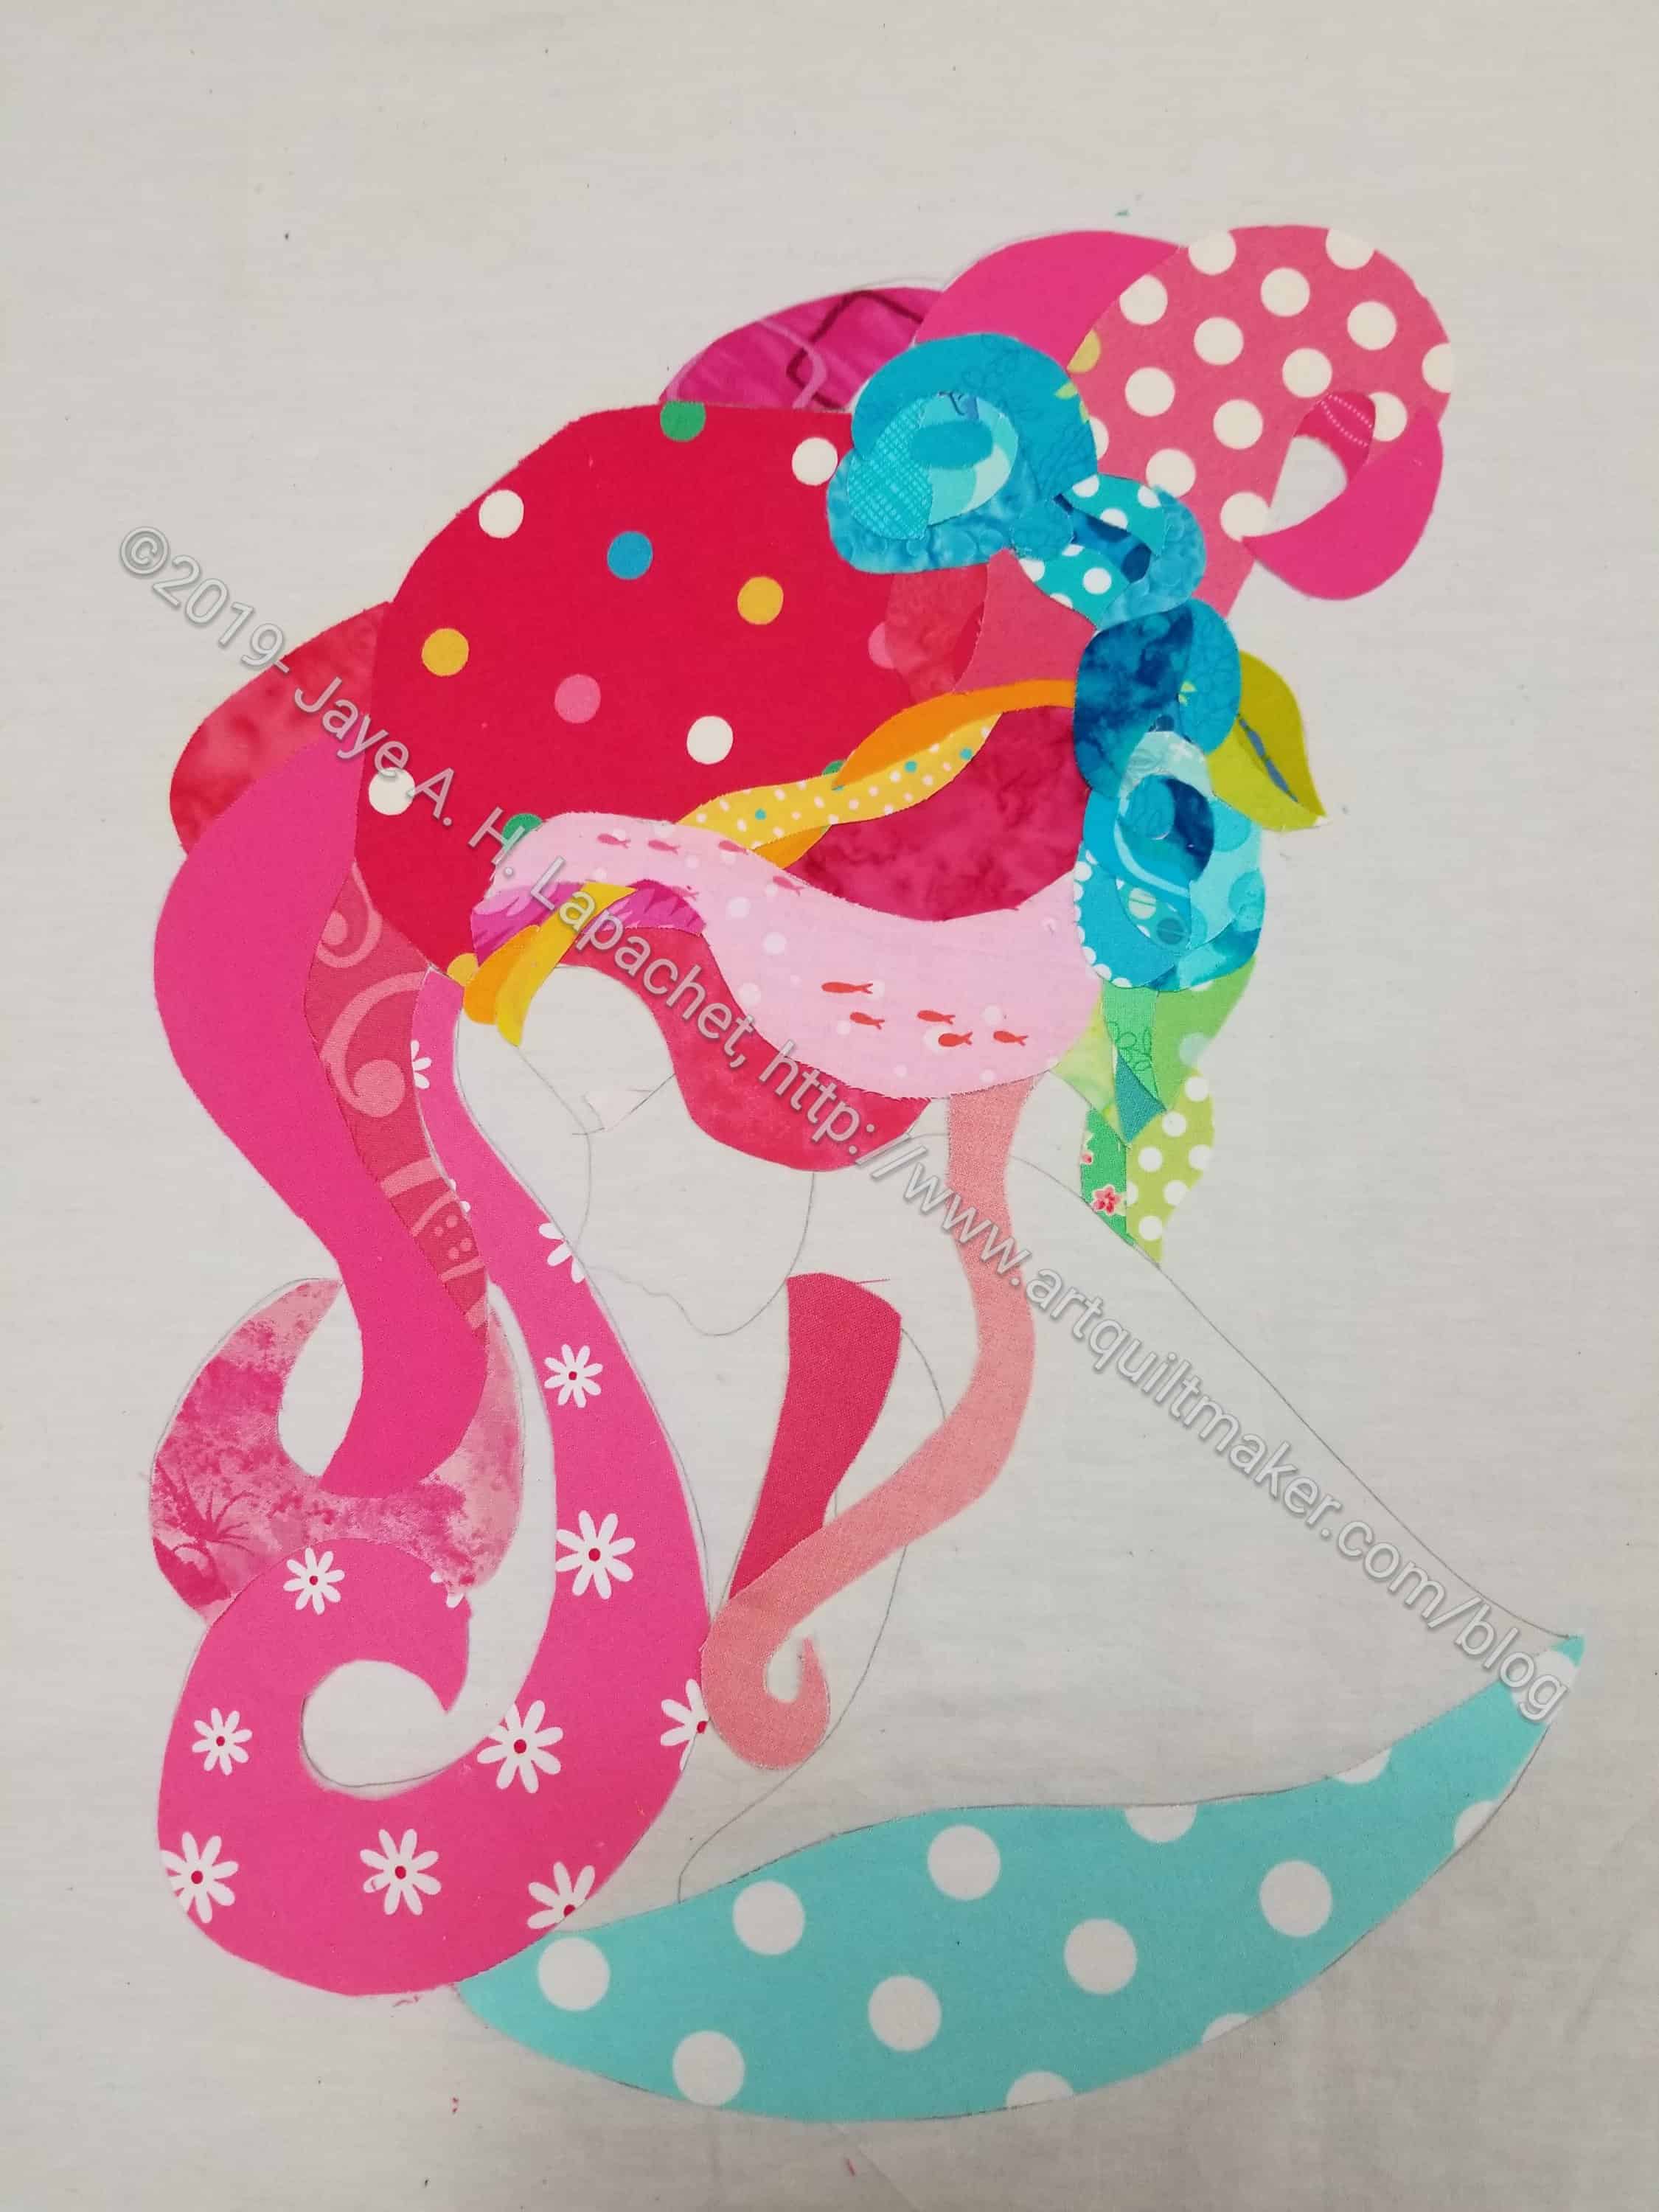
I was able to repair the tear on Serendipity Lady and move forward. Repair is a bit of an exaggeration as I just appliqued a piece of ribbon on the edge and called it done.
I was inspired after reading a novel about debutante balls. It made me think of the trim around those ballgown/ tea dress types of dresses. I am not sure of the era in which my lady resides, but I thought it was an appropriate way to fix the tear.
I am not going to be able to finish this piece before today’s UFO Challenge deadline. I really wasn’t inspired about the quilting and I don’t know my machine well enough to do the careful work I do know I want to do. I have kept up pretty well and am excited for the next project. I am not giving up on finishing Serendipity Lady. Today is just not that day.
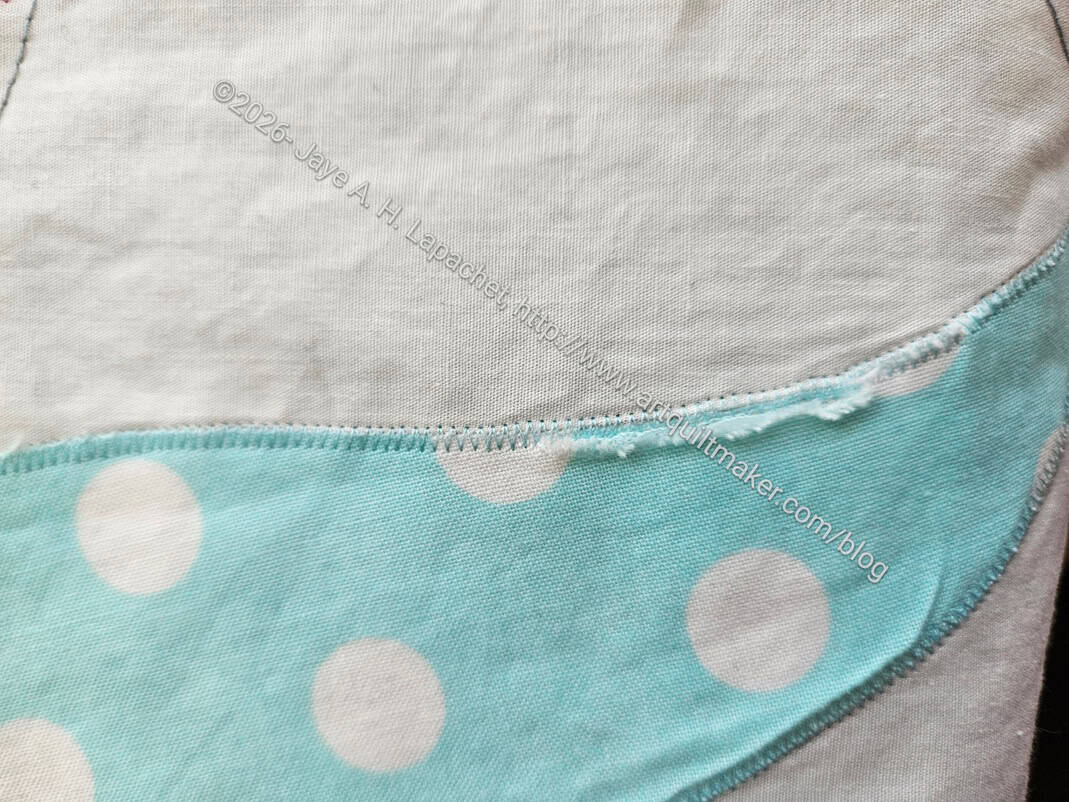
I ripped all the paper off of Serendipity Lady, as mentioned. When I turned it over, I realized that the fabric had ripped or pulled away from the stitching and needed to be repaired.
Mostly, I looked at the tear for awhile, trying to decide the least difficult way to fix the problem. I didn’t really want to rip the whole thing out and do it over, though that was one option.
The other option was to trim the top edge. I was kind of excited about that option, because I think it could add to the look of the piece. The blue dot I used doesn’t provide a lot of contrast with the white of the skin. A trim could add some much needed contrast.
If I did it right, it would look like trim on a dress. I thought about rick-rack, though I don’t know if I have any. Mom does, but I have other options, too. I have a load of Renaissance ribbon. If I found the right ribbon, it might work with the fabric I used for the dress. I also thought about bias tape. I loved sewing the bias tape down for the Red Scribbles quilt.
I am not sure what other options there. I am going to test out a few of these and see what I come up with.
This is UFO challenge project #1 and I may not make the deadline, but at least I am working on the piece.
Every month when the number is pulled, I groan. These are projects that I theoretically want to finish, but groan when it actually comes to working on them. I don’t know why, especially since I feel a great sense of accomplishment when I actually finish one of them.
I have been contemplating UFOs recently as I see how easy it is to switch projects and put blocks away and move on. I am working on the Four Patch Fun quilt(s) and the 1-2-3 Mosaic. Neither are really feeding my soul, but I am determined that will not go into the fabric closet as UFOs.
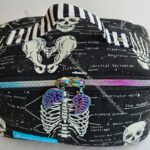
I have a couple of projects on my mind on which I really want to work. I saw a portfolio/folder video for which there is no pattern, as far as I can tell. I would happily buy it if there were. The video shows enough detail that I can sew the bag. The issue is sizes, so I have been thinking about that.
I am also very interested in the quilt I designed for the Chaos with a Twist class. The next class is all about construction and choosing fabrics. I have that nailed and really want to start piecing.
Canvas Vue from Sewfisticated
There are also projects on the list I really want to make. I have an idea for how to use the Catalan Storage Cube and was really hoping it would be pulled this month. I also want to use the Canvas Vue fabric I bought from Sewfisticated to make one of the Joni totes.
I started Serendipity Lady in 2014. I haven’t worked on her since a CQFA Retreat in 2019. I also haven’t written much about it.
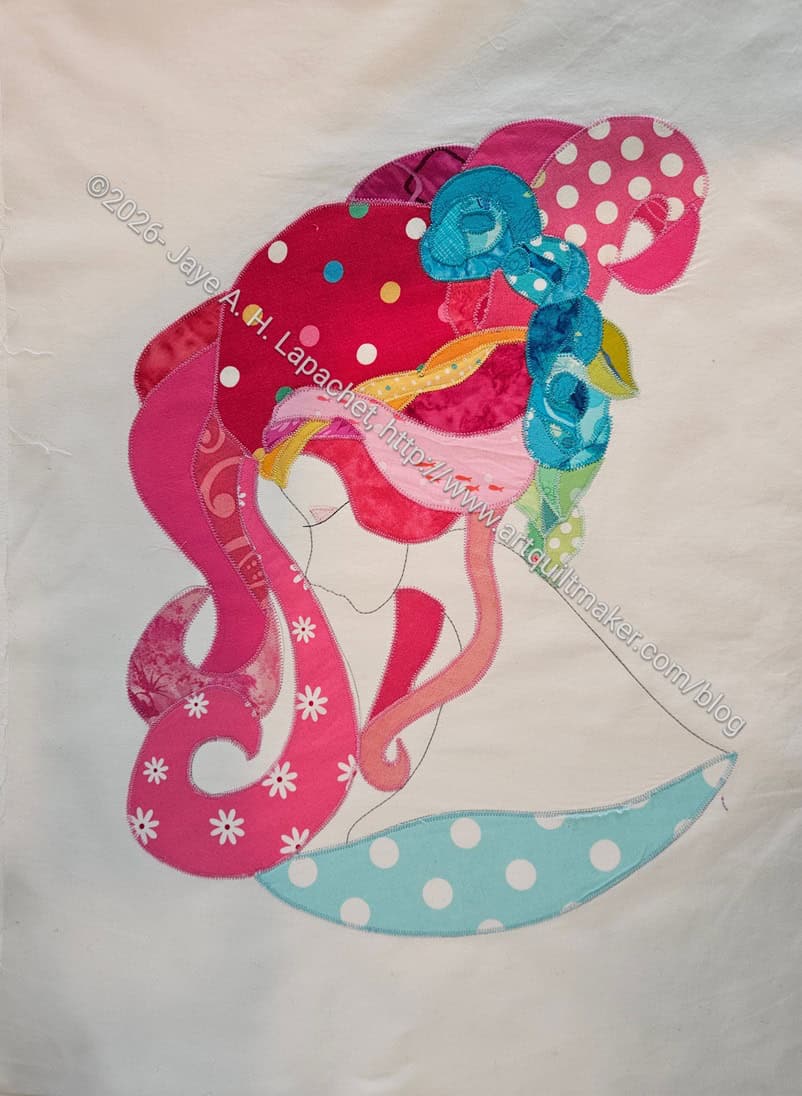
Serendipity Lady, 2026
She is the next UFO Challenge piece on which I have to work. The first step was getting her out of the closet. I didn’t have to find her as she was hanging flat against the back wall of the Fabric Closet. So, the first step was achieved pretty easily.
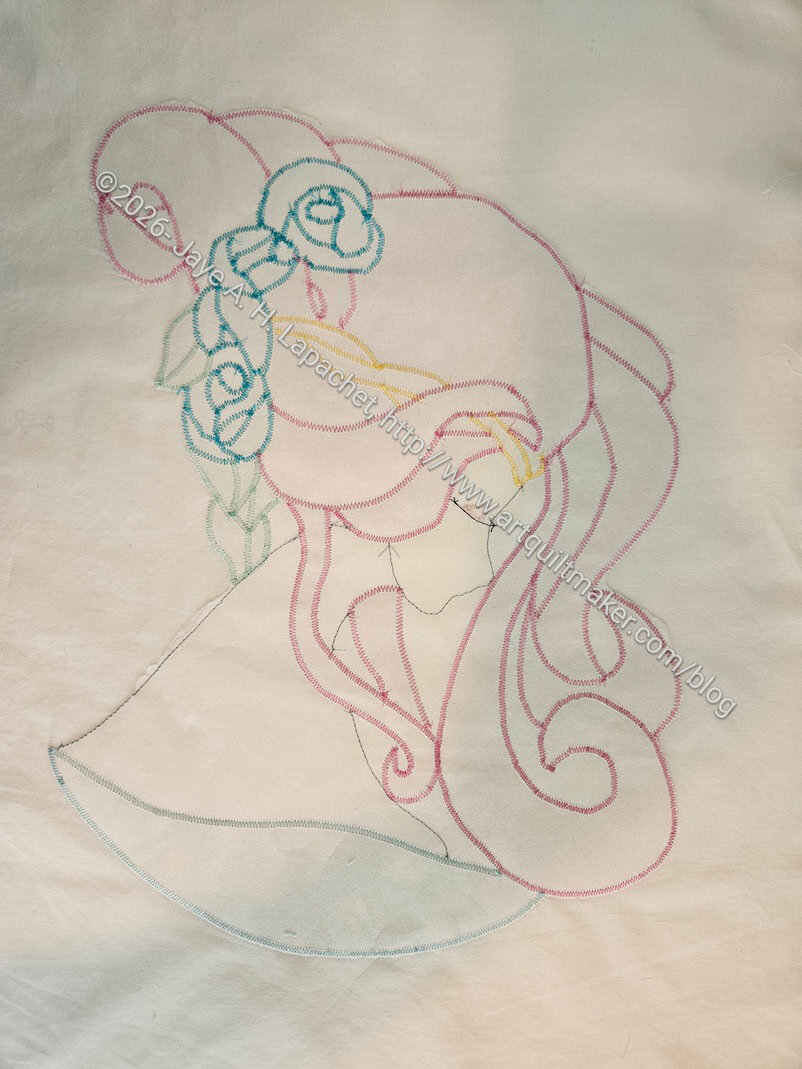
Serendipity Lady, 2026 -reverse
The next step was to rip off the paper that I used to stabilize the piece for the applique’. I was able to accomplish this task over the course of a couple of nights in front of the TV.
I have no idea what I used, but it was two layers and it felt like drawing paper. Some of it under the actual satin stitching was impossible to remove. This will be a wall hanging, so it doesn’t matter.
My next step is to quilt the piece.
Shock! Horror! I know. I have a plan and since it is small, I think I will be able to do it. I had planned to frame this piece, but I don’t know if I will do that or not at this point. One thing at a time.
The last time I worked on this project was back in January of 2015. I was stuck. It has been awhile.
I decided what I needed was time and some space. Since I would have 30 or so uninterrupted hours at the CQFA Retreat, I decided to bring it along. It wasn’t a UFO I was intending to finish, but it was a good opportunity and I grabbed it. Finished is finished, right?
I gathered up all the pieces and parts and looked it over before I left. I also brought a couple of drawers from my scrap cabinet and a variety of other supplies. Clearly, I got serious about this project.
At the Retreat. I started cutting out fabric to match the pattern pieces I had made from fusible. It wasn’t long before I had all of them done and the piece was ready to sew. I arrived at the Retreat at about 2pm and had all the fabric in place by the time we went to dinner at 6.
Serendipity Lady – redy to sew
The fusible got too old, so I ended up using a Sewline Glue Pen. It isn’t ideal, but it keeps the pieces down long enough for me to sew them. All the fabric is in place and I just have to zigzag.
When we returned, I started to sew – zigzagging down the edges. The state of the fusible was one reason I started to sew down the edges. I didn’t think it would last long.
We had a discussion at the CQFA social on Saturday about Workshop projects and how they are not always the kind of projects one wants to finish. There are a lot of variables going into the workshop -the right fabric and supplies, working in an unfamiliar environment, etc. – that conspire to make you learn something, but not always like the end result.
Serendipity Lady – Beginning Work
That is not the case with Serendipity Lady. I have wanted to do this design ever since I made stained and leaded glass panels back in the dark ages. Caroline’s workshop at CQFA last spring (?) gave me the means in fabric and the inspiration to make this dream a reality.
The problem was that my piece had so many small pieces that cutting out the pieces straight from the fabric became an issue. I went back and tried a few times and failed – or didn’t succeed as thoroughly as I would have liked. I didn’t want to simplify the pattern and I didn’t want to blow it up larger either. Struggling with the mechanics of making a piece does not make it fun. Finally, I put it aside to mull over.
This was disappointing, because I came home so jazzed about this project after the workshop. Creating is a struggle, but for this one, I just wanted it to work. Sadly, that is not the way ‘making’ works.
In the mulling process, I came up with the idea of making templates for each piece. I was about to embark on that line of thought using the kind of cardstock (tagboard??) I used to use for cutting the templates for stained and leaded glass panels when I had lunch with Maureen and Dolores.
I mentioned my problem to them and how I wanted to use templates and asked their advice. They both immediately went to freezer paper and patiently explained how to use freezer paper to make the templates. I couldn’t really envision the process in my head. It became clearer when they kind of walked me through the process, reminding me to trace the design backwards.
What Process Looks Like
Again, I was really excited so I came home, taped the design to my sliding glass door and retraced the pattern backwards. Then I traced the backwards pattern on to freezer paper and sat in front of the TV and cut it out.
Again, those tiny little pieces were not my friend. At the moment I have them all paperclipped together, but that is only because I keep forgetting to get an envelope each time I go downstairs.
Serendipity Lady – Weekend Work
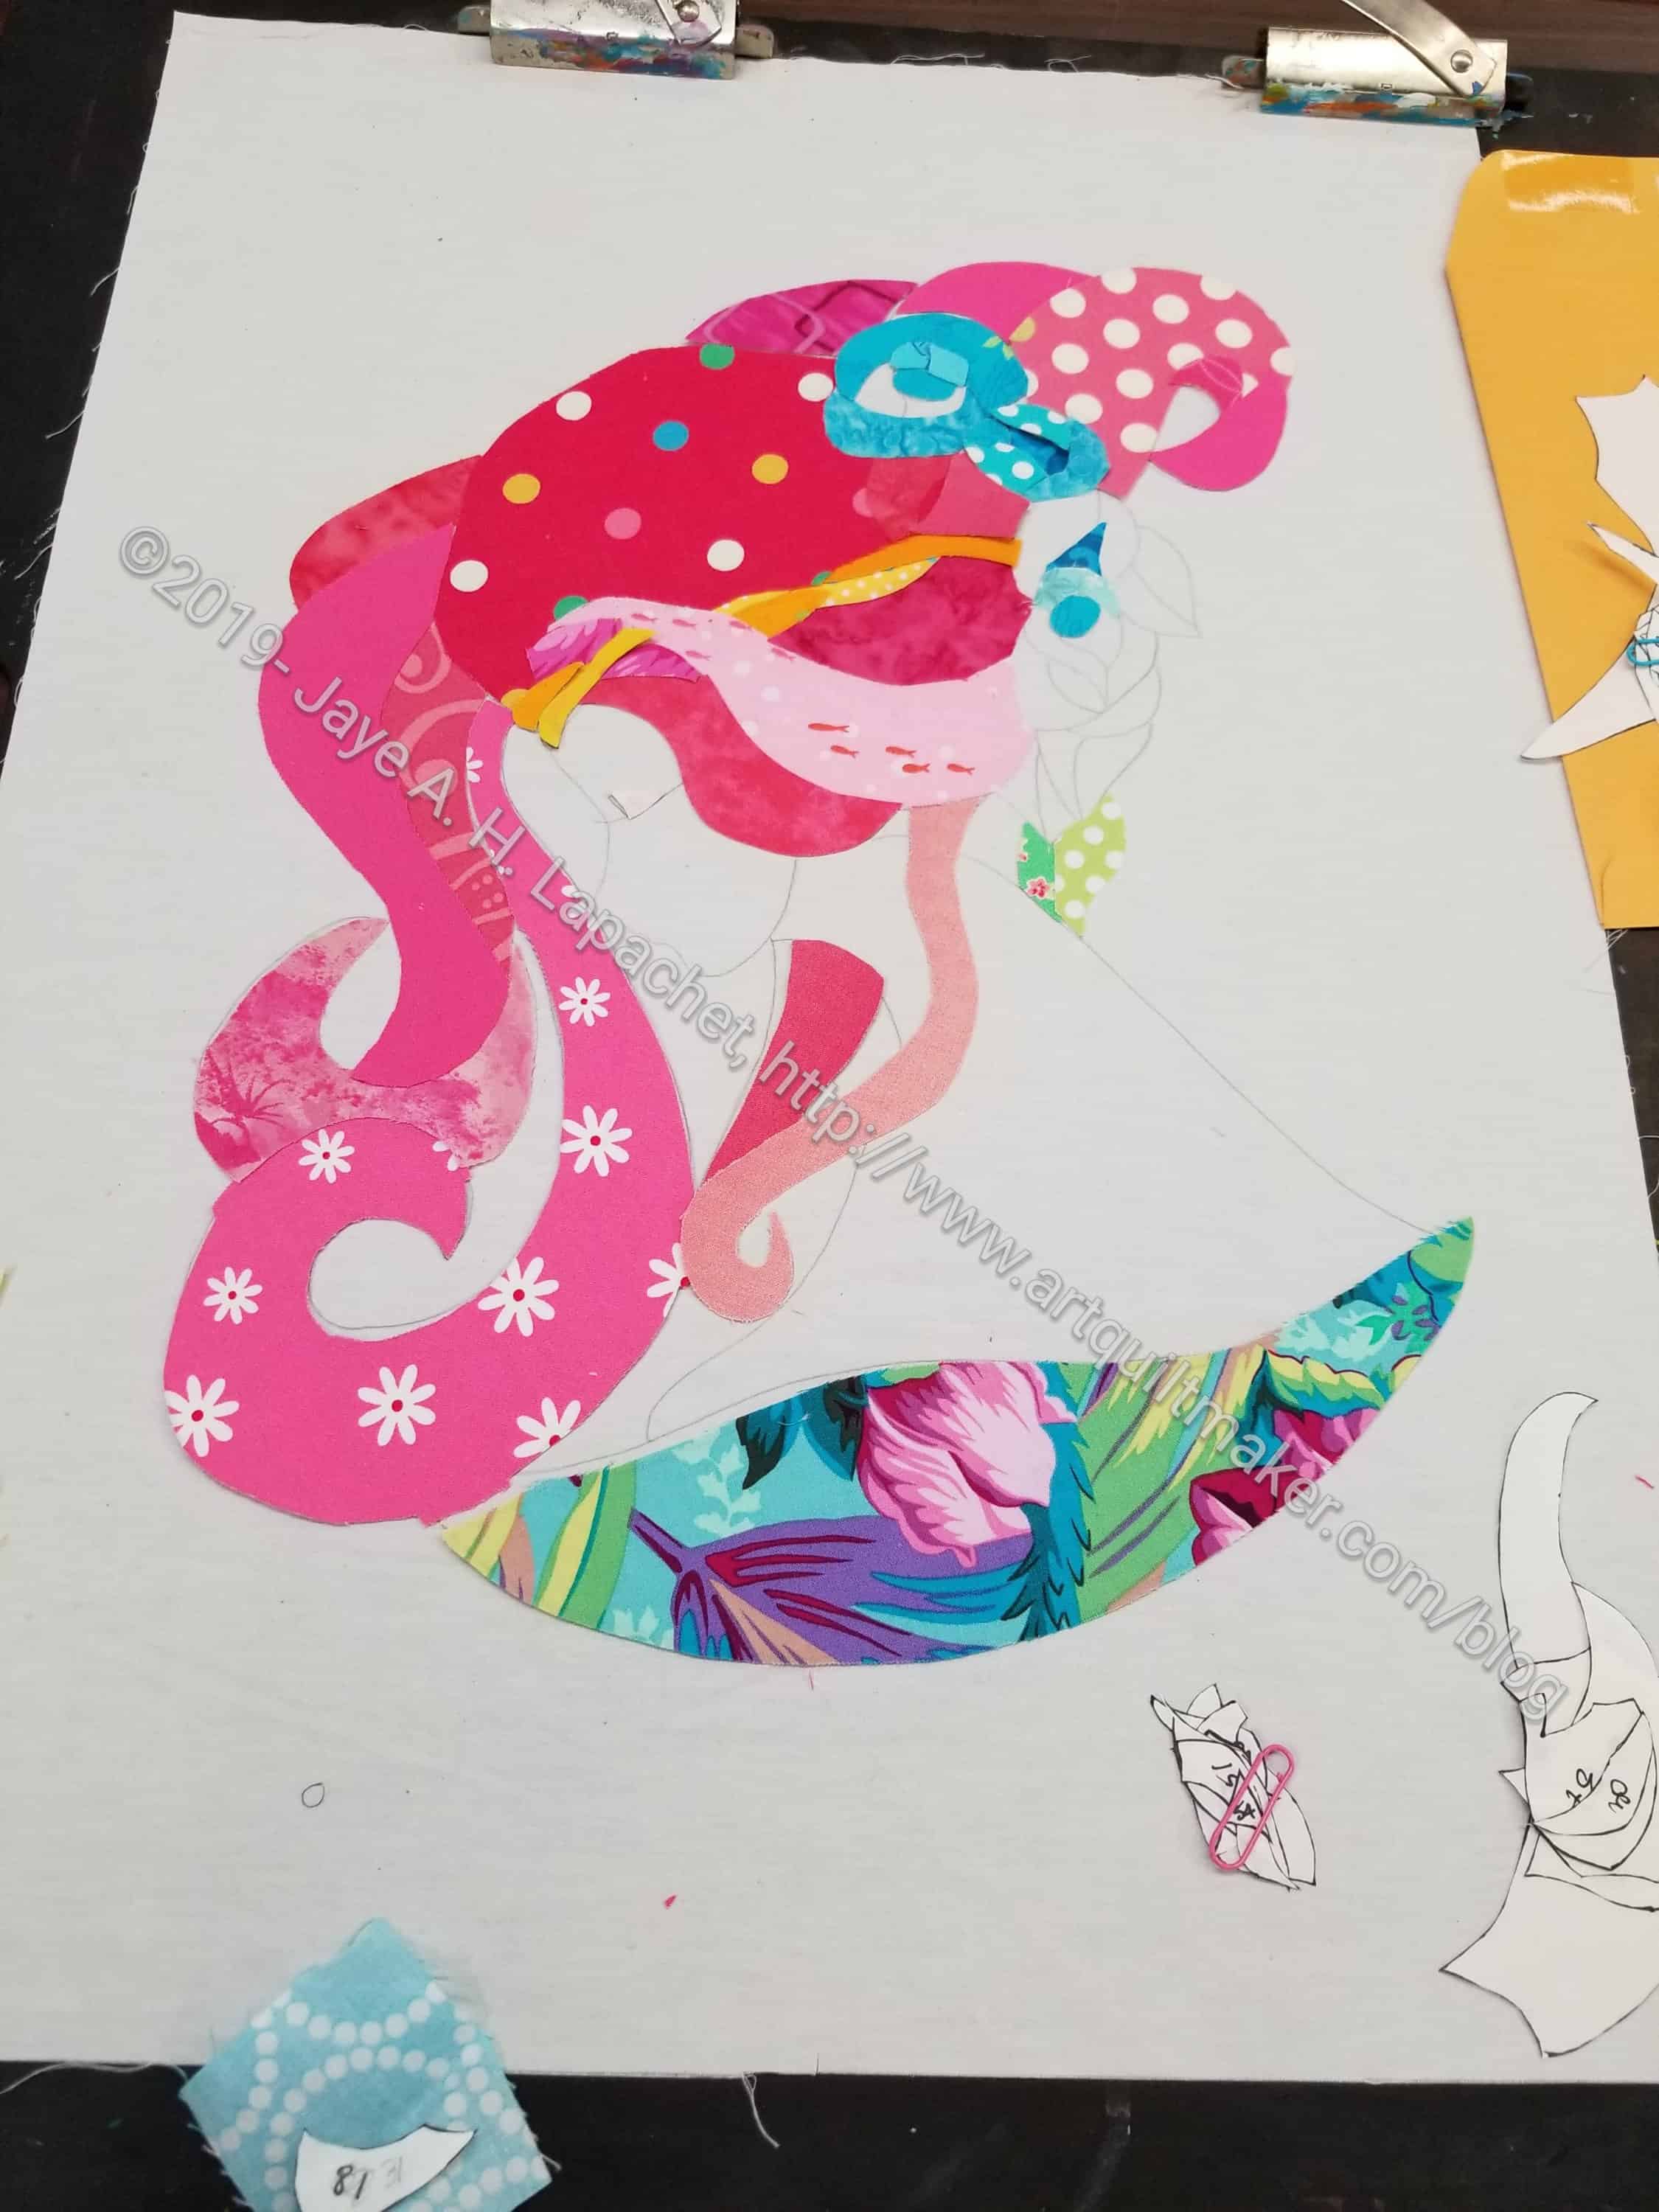
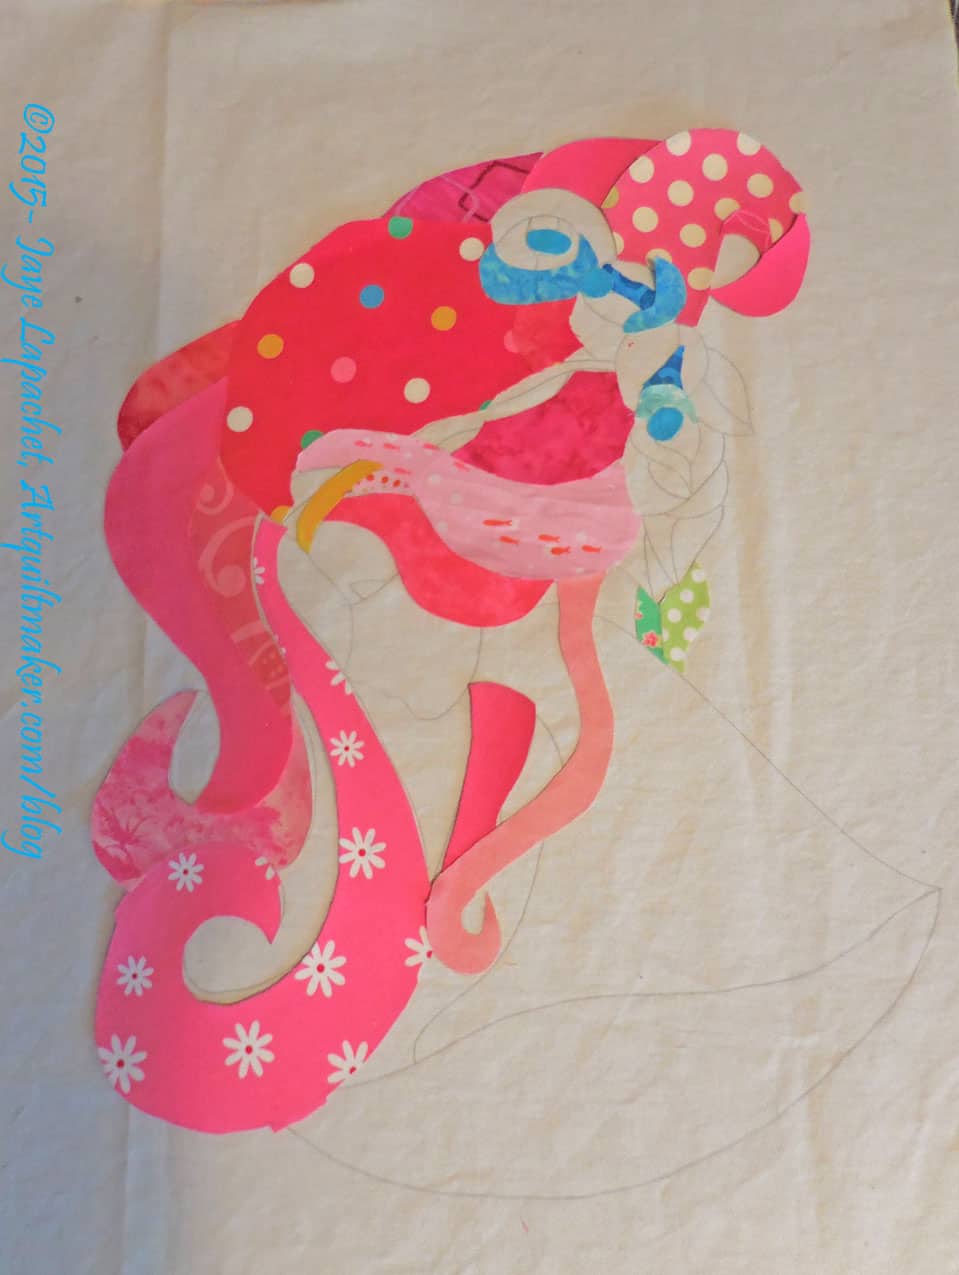
Next I started applying freezer paper to fabric. Then the real fun began. I threw out some fabrics after putting them near other fabrics and the picture really started to take shape. I am not done and I haven’t glued down the pieces yet, but I really had a lot of fun making some serious progress.
My mind is whirling with the possibilities of adding a few beads, embroidering the eyelash, etc. Fun!
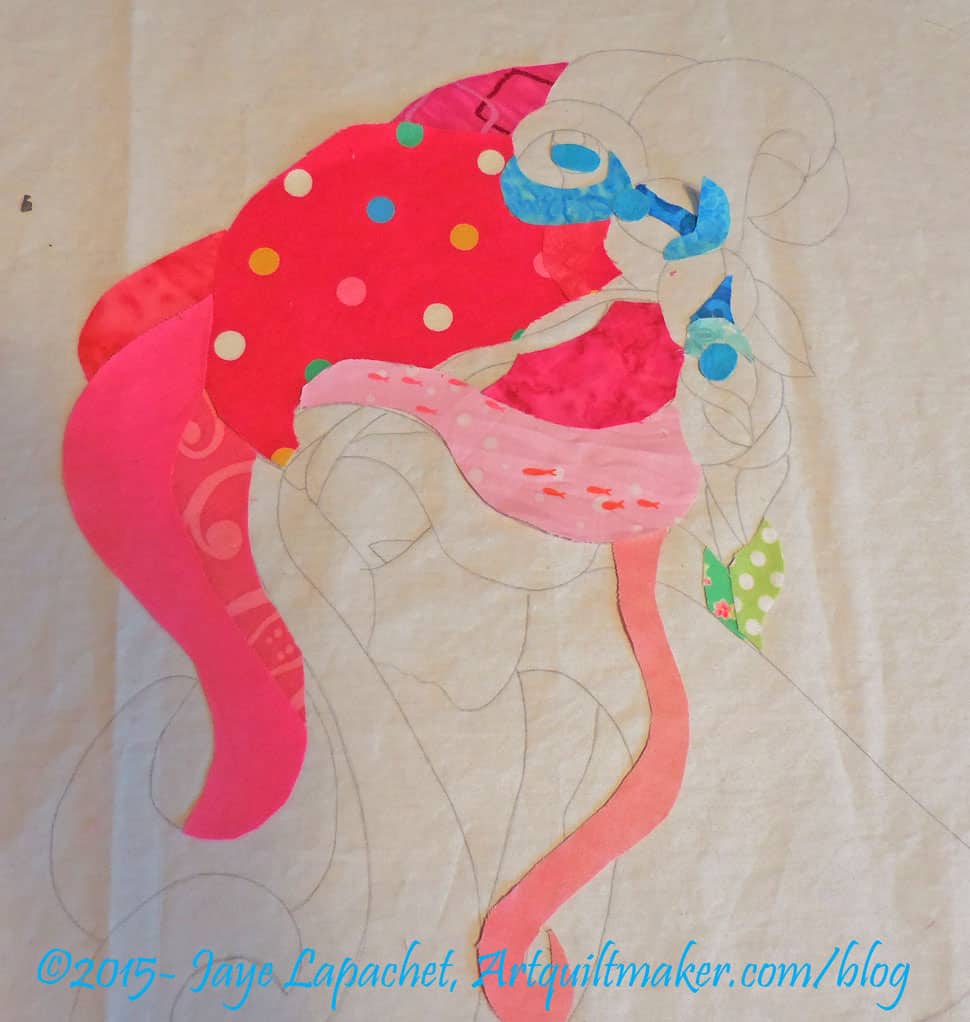
I didn’t think I would actually start with fabric, but last week was a challenging week and I did! I had about an hour before life started in again, so I stood at my cutting table, cut fabric and glued it to my pattern. Having a limited amount of time was good, because I didn’t get overwhelmed with the thought of starting.
I know she looks like a big helmet haired weirdo, but I promise she will get better. I am putting all the dark pinks on parts of the hair that are supposed to be farther away and lighter fabrics on hair that is supposed to be closer. That is what my research told me to do, so hopefully it will look ok.
I am making the roses (perhaps some other flower, but I think of them as roses) blue and am working with the same principle.
So far all of the fabrics are from my scrap bin.
Two products you MUST try: Karen Kay Buckley Perfect scissors and Sewline Glue Pen. DH bought me the scissors for Christmas. I don’t do much hand work and thought this would be a great project on which to use them. It is! They are a fabulous tool! They are sharp and precise and you absolutely need them. I recently spoke about being interested in the Sewline Glue Pen. I came across one and bought it. Again I thought it would be good for this project and, again, it is perfect. The glue is just sticky enough to keep the pieces down. It is also very smooth, so it doesn’t pull as much as a glue stick. I feel like I got a lot done in a short amount of time and these two tools really helped.