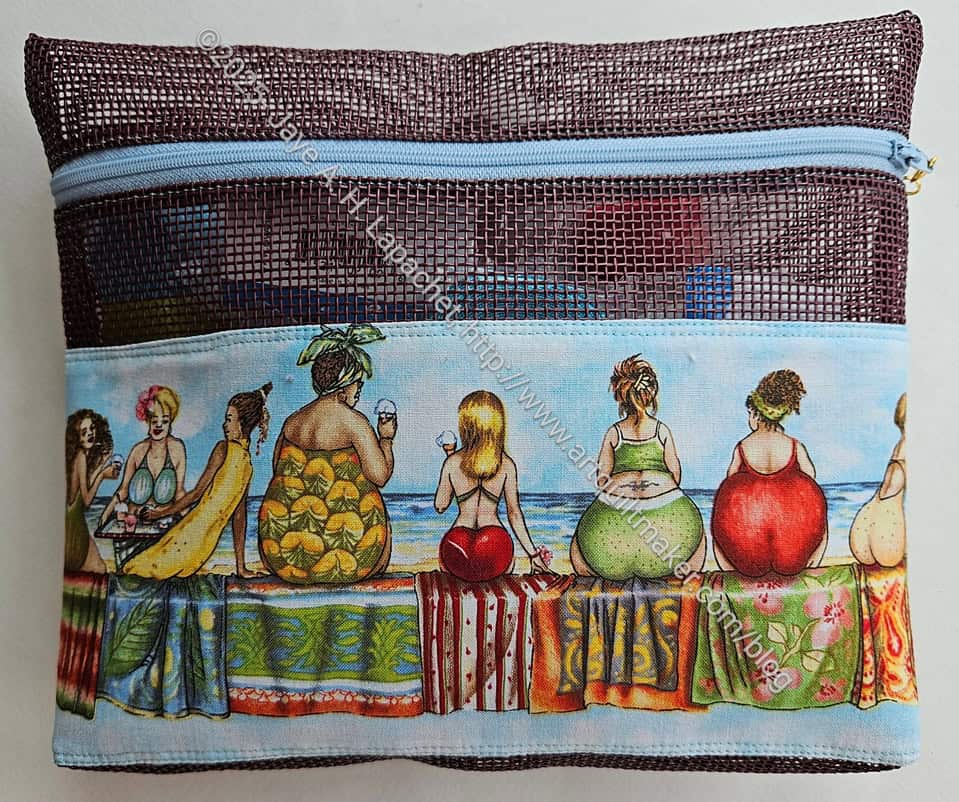
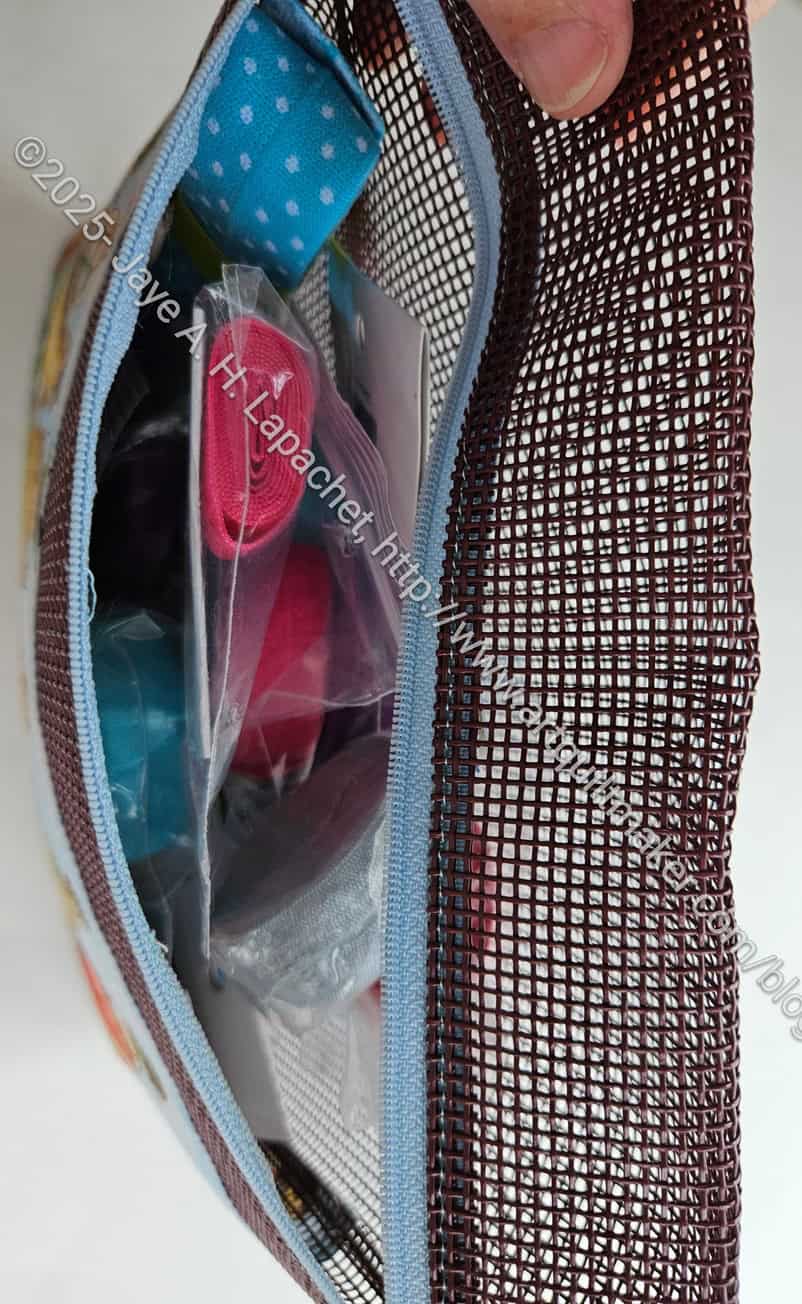
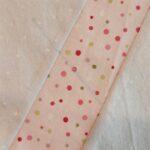
This pouch was made by Cyndi. it made from the mesh that is more stiff than the mesh I use for bags. It is kind of like screen, but not sharp. I remember buying some of this (or Friend Julie buying me some?) for a jewelry storage project we were going to make together. I never made mine and don’t think she made hers. Perhaps we need to revisit that project?
2025 Organizer Swap gift – interior
I wasn’t sure what I would do with, but got a brainwave when all of my doublefold elastic exploded on the floor of the fabric closet. I put it into this pouch and now it is nicely corralled in one place. The excellent thing about having it in a pouch is that I can grab the pouch and go and then decide on a color later.
SIL#2 led at swap at the meeting on Saturday. As mentioned, I made a pencil roll. I decided at the last minute to make another organizer in case a new member or potential member came and wanted to join in.
I found the pattern in a book I reviewed some time ago called Make It, Take It: 16 Cute and Clever Projects to Sew with Friends by Krista Hennebury. I am glad to say that I did notice this project when I reviewed the book.
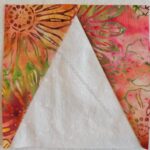
Make It, Take It needlecase
I am very pleased with the needlecase I made. It is kind of a portfolio and holds quite a bit of stuff. I like it because it is useful and practical, but also has scope for creativity.
I used some of the leftover improv piecing from the latest improv donation top. I think it would work to use Quilt-as-you-go to make the cover as well. I could just as easily use one piece of fabric for a very quick finish.
I was also pleased to see the way the zipper was installed, because I thought it would help me with another project on which I have (mostly not) been working.
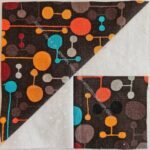
Make It, Take It needlecase – open, inside
This was a fairly quick project. I had all of the supplies, which helped. You do need some wool felt and a long zipper.
Each section could be used for a different type of needle, if one were that organized.
One of the reasons I am pleased with the pattern is that it gave me a different way to install a zipper on a circular piece. I can use this technique. I need more practice, but it came out better than my other project.
Make It, Take It needlecase – open, outside
I am also pleased because the exterior looks really good. There is ton of scope for creativity with the outside, as I mentioned. This might be a great project to work on in a group.
As mentioned, we had an organizer swap at the guild yesterday. I was not the organizer of the swap, but I was put in charge of selecting swap items for a couple of people who weren’t able to attend.
Christine and Mary thought the swap was at Sew Day. Since it wasn’t, they gave me their organizers and put me in charge of selecting something for them.
Mary’s Atlas
Mary made the Atlas again. I made a couple of these and still want to make one for myself. Remember one was Cal themed? I am not done with this pattern yet, but I have other things to finish first.
Mary did a fantastic job on hers, as usual. The fabric is so fun! She also used some specialty vinyl with sewing motifs for some of the inside pockets, which is super cute. I normally stick to the glitter vinyl, but some of the specialty vinyl is tempting me.
Mary’s Atlas – open
As I have said before, this is a great portfolio. It is so useful and I think it would be used much more if you had one as pretty as Mary made.
Mary’s Atlas – zipper pull
I really love her zipper and zipper pulls. The actual zipper reminds me of the zippers I found at Sewlarium.
Mary’s Atlas – zipper ends
Mary has been experimenting with different methods of finishing zipper ends and the photo on the right (above) shows one of her favorite current methods. The pattern has the maker fold the zipper under into a kind of curve. I have had mixed results on my efforts using the recommended method. I haven’t tried Mary’s method yet.
Christine’s swap divided basket
Christine made a very interesting divided basket. I went and found the pattern, because I thought it was so cool.
There are a lot of pockets and storage areas included in this pattern. I think it is a great idea to have some slip pockets on the outside.
Christine’s swap divided basket
We discussed the construction and decided it would be worthwhile trying some different interfacings to see if they made a difference.
The shape and positioning of the handles reminds me of the One Hour Basket. I have made several One Hour Baskets, but I put the handles on the sides as I find it more useful.
I also like the shape of this design. The skinniness would make it easy to tuck into certain spaces.
Christine’s swap divided basket
Christine used some great Philip Jacobs fabric for the outside.
As I have mentioned recently, my sewing time is short these days. My job isn’t especially demanding, but it takes a lot of my best hours.
Pencil Roll open
Back in May, I decided I needed to do a two birds one stone project. I needed something for the Fair and a swap project, so I pulled out my Pink Chalk Studio Pencil Roll pattern and the fat quarters from Family Threads and got to work. I was done in time to enter the project in the Fair. Today it will go to its new home as part of the organizer swap at the guild.
I am trying to squeeze as many projects as I can out of these fat quarters, so I cut enough strips to make another pencil roll.
I decided that making a pencil roll would fit in with the upcoming Organizer swap and would be good to enter into the fair. I had nothing to enter and needed to make something. Time grew short and my free time became a precious commodity, so here we are.
I spent some of last weekend sewing the strips together after cutting them out at Sew Day. It didn’t all go as smoothly as I would have liked, but it has been about 6 years since I made one of these so some bumps in the path are to be expected. I am thinking black and white for the other pieces. Dots and stripes.
I hope to finish this sometime this week so I can hand it in at the meeting next weekend to be taken to the Fair.
There were 34 people at the Sew Day/Meeting the other day, which is some kind of record. I am not sure what generated the interest, but I am glad so many people came. We have four new members and they came, too.
BAM Pouch swap 2024
The swap was really successful. I was amazed that almost 20 people participated!
Some were wrapped and some weren’t. Mine was very popular and got stolen twice. It finally ended up with the guild president.
People did nice work, too.
Swap pouch 2024
I chose a pouch made by SueG. It matches the Poolside tote I was gifted by Angela a few years ago.
I worked hard at posting different patterns on our member forum and trying to generate interest. I guess it worked!
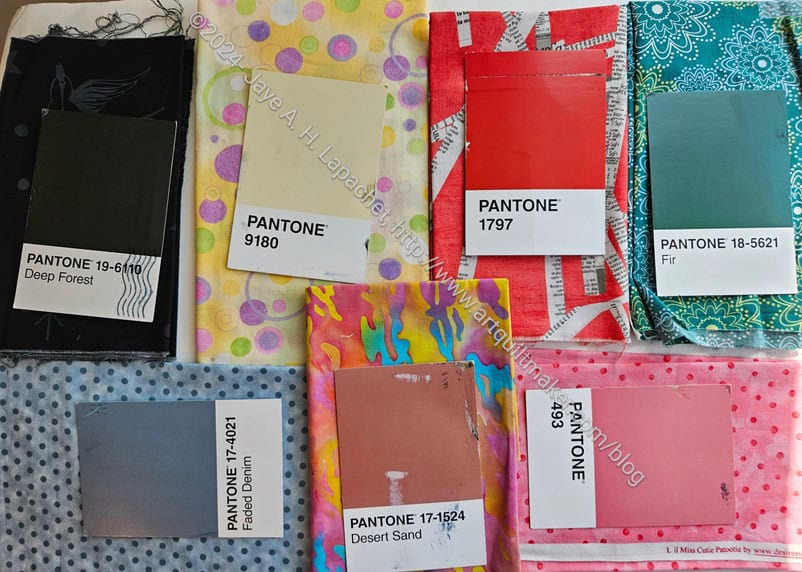
I finished work on Friday and spent the weekend on some cleanup projects, one of which was the Pantone blocks.
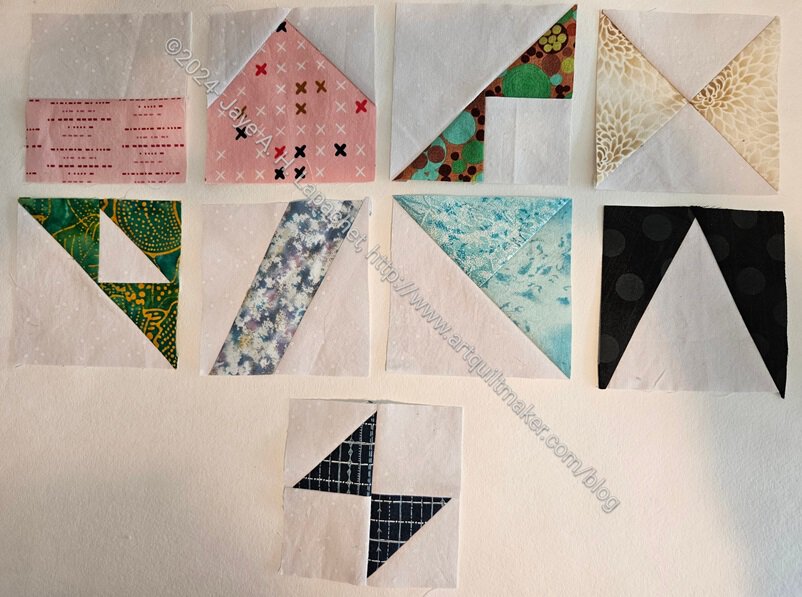
I finally finished all the blocks for the Pantone Project. I am excited that I can start playing with the layout, especially after I saw what Friend Julie was doing on her design wall!
These have been hanging around my workroom for a few weeks now. Last weekend was really the first time in a few weeks I had uninterrupted time to sew. DH was out and the house was quiet so I could concentrate. Fortunately, except for one fabric, I had picked out all the fabrics previously so all I had to do was cut and sew. I did choose some of the easier blocks, but I tried to choose blocks I thought I could use in the overall quilt design. Now to just get these to Julie at some point soon.
I spent some time last week finding fabrics for my last group of Pantone blocks.
I don’t have any greens as dark as Deep Forest, so in the end, I just chose a black.
Most of the others I selected from older fabrics that I haven’t even looked at in awhile. I have one more fabric to select, but I have already cut the 4.5 inch squares. I have also started to make the blocks and will show those soon.
I spent some time last weekend making the last of the Pantone blocks for our swap.
The first step is always selecting fabric. For this group, I went through practically every bin of fabric except red. I had a really hard time finding fabrics that were close to the postcards.
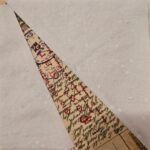
Pantone selections – April 2024 pt.2
I always dislike thinking I have to do the selection, but once I get into it, I am happy. It is also a bonus to discover fabrics I didn’t remember I had.
This batch of postcards had a LOT of browns and beiges. I don’t have a lot of those colors, as you know. I made due. Caramel turned out to be the hardest color. I couldn’t match it with anything brown or beige so I went to orange and found one fabric that looks ok if you squint, in a dark room. 😉
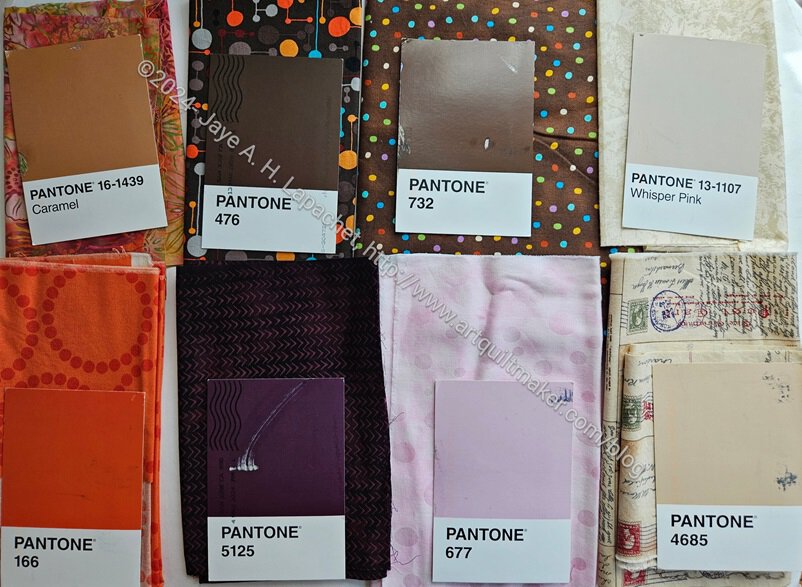
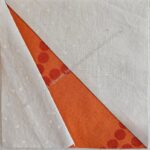
4 Patch in 414
Ribbon in Freesia
Ribbon in 600
Ribbon in 9241
Ribbon in 7654
Peaky & Spike in Caramel
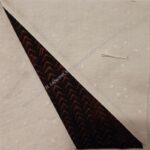
Storm Center in 476
166- Sliver Left
5125 – Sliver Left
Whisper Pink (HA!) – Corner Gone
4685 – Sliver Left
732 – Mutt & Jeff Left
677- Wingy Things
I started making blocks as soon as I was done selecting fabrics. I chose the block design based on what I needed for something like the design I showed you last week.
I just received two more postcards and Julie tells me she has about 6 more cards to send me.
Along with garment sewing and a new bracelet, I also got some more Pantone blocks from Julie at Sew Day.
I have a stack of postcards to match and plan to do that this weekend. I owe her several and hope to bring them to the Retreat.
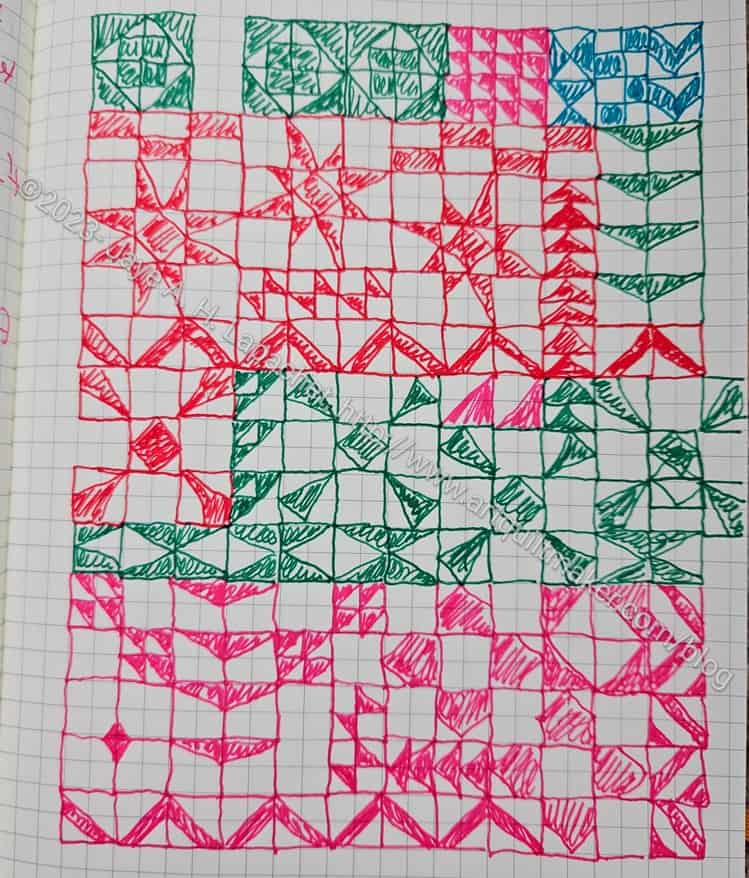
Pantone ideas – evolving
We are almost done making the blocks, then it will be time to put the quilt together. Perhaps I will use this design – or something like it – sooner than I think.
I decided to participate in the BAM swap, which was a pincushion swap. I was a little overwhelmed with life, so I just sewed my old standby pincushion, the Clippy Pincushion. The pattern is from Love of Patchwork and Quilting, issue 39. The pattern is also available digitally in the Apple and Google Play stores. I used this pattern to make the Clippy Pockets in the UCAB, which I find to be very useful. It isn’t rocket science, so I am sure you can make something similar without the pattern.
BAM Swap pincushion 2023
I did supersize this one a little bit. I wanted to make it slightly larger to accommodate the cool selvedges from which I made the back.
At first I machine sewed the stuffing hole closed, but then I unstitched and hand sewed it closed. I think it looks better hand stitched.
Joelle described the construction and it seems a little different from the Persimmon Dumpling Pouches I made. This pouch has little shield in the bottom to keep things from falling out, I guess, which is clever.
Joelle said she didn’t like the way the zipper was put in. The technique leaves part of the zipper exposed. I can see what she means, but Joelle did a great job being precise about inserting the zipper so it looks nice and even.
Swap pouch from Joelle – zipper
Also, you can see in the interior view that the exposed zipper is not that noticeable.
I haven’t decided how I will use this pouch, but I have some hardware that might need a home.
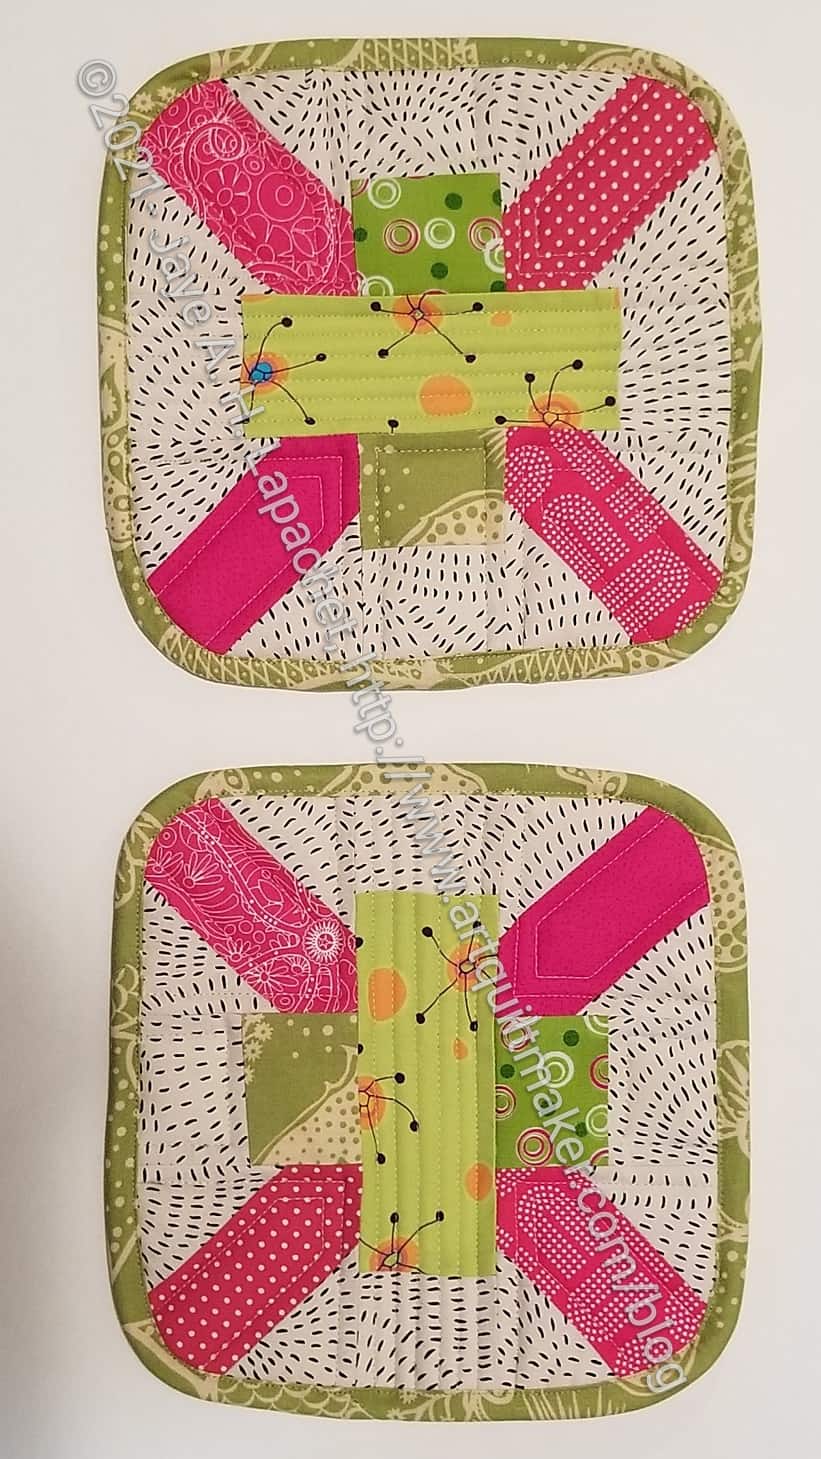
My guild had their first in person meeting over the weekend. Maria organized a swap as a fun thing to welcome everyone back. I joined and was assigned Maria who wanted potholders.
Maria’s potholders
Potholders are almost the last thing I would consider making. When I use potholders I want them to protect my hands from the heat and I have not found that homemade potholders do that. Still, Maria wanted potholders, so I made potholders.
I had some Insulbright on hand, so I used that in addition to two layers of batting. The sandwich was super fat. I didn’t want to do very much thread sinking, so I didn’t quilt it as much as I could have, but they turned out pretty thin in the end. I hope all the layers will protect Maria’s hands.
She also wanted lime green. Since I made her a pillow before, I decided to stick with that theme and use the same block. I had to redraw the block in EQ8, because I couldn’t find my block from the swap. The proportions came out a little different in this piece, but I think they still look good.
I didn’t think about a hanging loop until it was too late to put one on. Oh well.
I added in pink because I like pink and it made the potholders look cheerful and celebratory. The theme of the swap is Celebration! so the colors fit. I made a gift bag in the same fabric as the binding. The gift is ready to go.
I participated in the swap that was part of the guild year end party. Sadly, I can’t show all the gifts because we were all on Zoom, but I can show my gift. Of course, you saw the gift I made, the Oslo Tote, earlier this week.
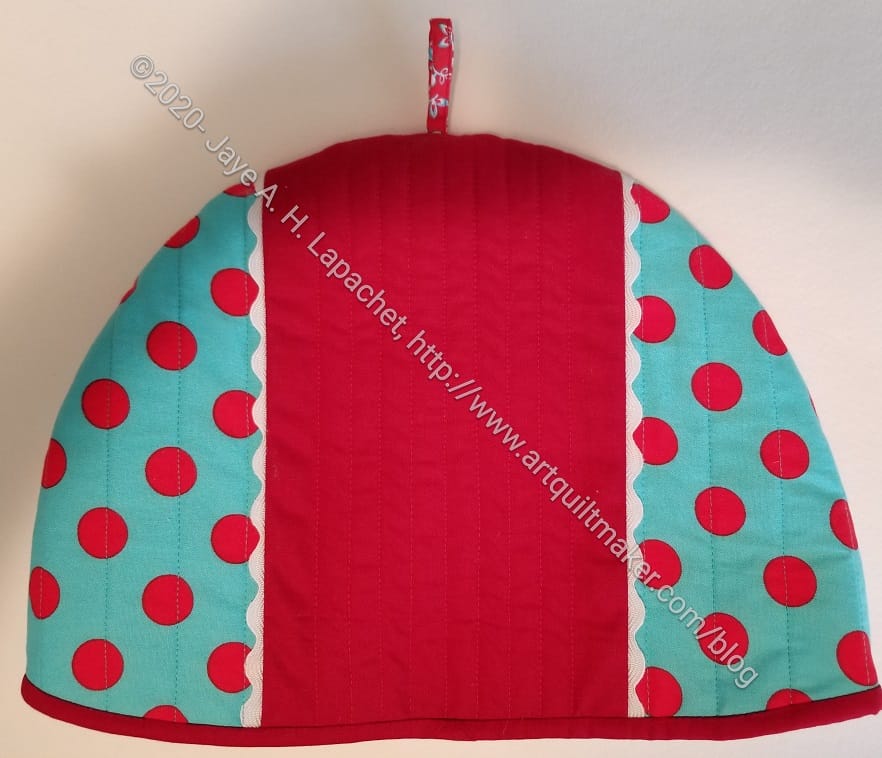
Swap Gift Tea Cosy
I received a tea cosy.
As you can see the colors are perfect for me. They mimic the colors of my Aqua-Red Sampler. Some of the fabrics are even the same.
The front has a little pocket. I don’t what I could put in there aside from tea, but I’ll think about it.
Swap Gift Tea Cosy back
Cyndi made it (it was a one-on-one swap, which I didn’t know until I received my gift) and she did a great job. Of course, I asked for turquoise and red, but she chose great fabrics in those colors.
Swaps are fun way to challenge myself. I am not often up for such a project, but I try and participate in swaps the guild sponsors.