Ursa Major on Flickr took some great Fourth of July Photos. Hope you had a great day (if you were celebrating) and enjoy this photo.
Day: July 4, 2009
Longarming FOTY 2008
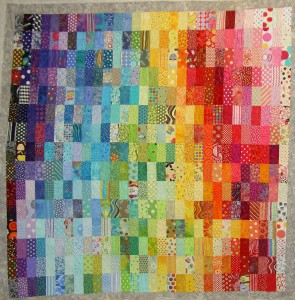
I spent time yesterday machine quilting the Fabric of the Year 2008 quilt at Always Quilting. It took me 3.25 hours from the time I started pinning the piece to the machine until I took it off. It was the fastest I have ever done longarming-all three times I have quilted a quilt on the longarm! I can’t really take all the credit credit for the speed, however. I did focus on the longarming, but the helper did everything for me except the actual quilting.
The quilting part is actually the speediest part of the longarm process. The other parts of the process are pretty time consuming. You have to, first, pin the quilt to the leaders on the machine afer you center it. When the bobbin runs out of the thread, you have to wind and change the bobbin and start up again, etc. While these tasks sound really straightforward, they add to the time it takes to move the process along.
Since I am not an expert, all of these tasks take me longer. I need to learn how to complete the whole process alone. In order to get the process straight in my head, I need time. I need time to think and make logical connections between the tasks while I am quilting.
Today was not the day to do this. They wanted me to quilt my quilt and get off the machine. They had a Kid’s Camp going and needed to have one of the girls finish her quilt after I was done and by the end of the day. As a result, anything except for the pinning and the quilting was done by my helper. I didn’t ask her to do this. She just, basically, muscled me out of the way and did it. It was fine. I have had a long week or so and was tired.
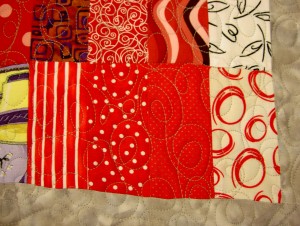
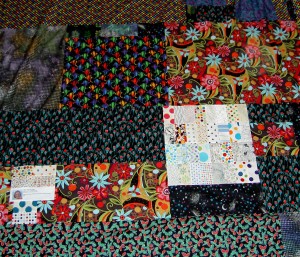
I am particularly fond of the quilting in the red next to the red circles with white background.
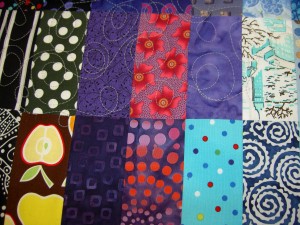
I stopped in this spot for some reason and snapped a picture so you could see an image of quilting and non-quilted spaces. See how tight the quilt is? You could bounce a quarter off of the top.
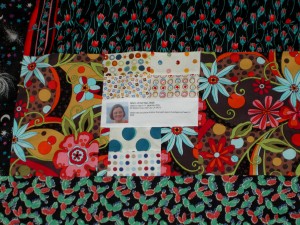
I make my labels by printing on fabric something that I type into a word processing program, like Word.
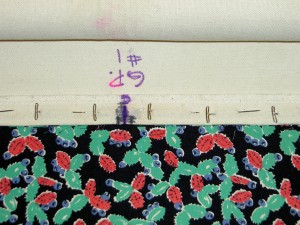
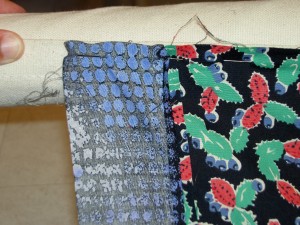
This is how the back looks after pinning it to the leader. I was looking down from the top.
Here is how the back looks from the other side when it is pinned to the leader. I am trying to collect pictures of the entire process in an effort to make a visual tutorial for myself, but it is taking me awhile.
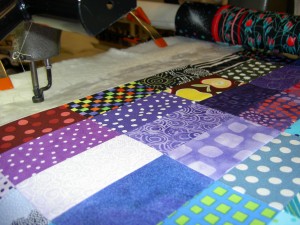
After you finish a row, you have to cut the threads and move back the controller to the left side of the machine to start the next row. Before you can start quilting, the quilt needs to be rolled up to an unquilted section.
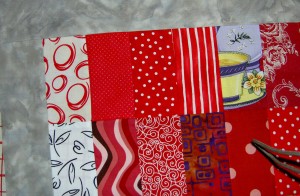
I don’t like borders that much, especially if the quiltmaker has just slapped them on to make the quilt bigger. However, I decided to add these borders so I would have something other than the piecing, which I like, to trim in order to square up the quilt. I wrote about this issue in a post from 2005 when I was binding Feelin’ Blue. I added a grey that had been hanging around the fabric closet for awhile. The ladies at the quilt shop were a bit horrified that I was going to cut this off. They liked the grey.
It was something I tried and it worked ok. There was still one corner that got a little distorted. We’ll see how it looks after I put the binding on.

