This is more of a guideline than a tutorial. It will teach you how to make the Spiky 16 Patch block in a general way. You will need to review the Studio180 video and know how to do basic piecing.
This block is my own design and uses Half Rectangle Triangles (HRTs) and 2.5 inch squares to make a 16 inch (finished) block. I have used these blocks to make a number of donation quilts.
Supplies:
- Fabric:
- 16-2.5 inch squares
- 8 -2.5 inch squares for foreground
- 8-2.5 inch squares for background
- 5 inch strip of foreground – you’ll have to work through what width you need. I use scraps, so I don’t know the exact length
- 5 inch strip of background fabric
- Background fabric for corner squares
- rotary cutter
- rotary cutting ruler large enough to cut 5 inch strips
- Split Recs ruler** (By Deb Tucker)
- Optional: 4.5 x 8.5 inch Creative Grids ruler** to cut smaller squares
- Optional: Mary Ellen’s Best Press (or similar)
- Optional: pins
- sharp trimmers or scissors
- thread for piecing
- Iron
- ironing surface
- sewing machine in good working order
- Computer or other device capable of viewing YouTube
- Internet connection
Fabric Units Needed
This is a repeat of above, but with, perhaps, some additional information
- 8 – 2.5 inch squares (unfinished) from background fabrics
- 8 – 2.5 inch squares (unfinished) from foreground fabrics
- 8 – 2 inch x 4 inch (finished) left facing half rectangle triangles (half foreground and half background)
- 8 – 2 inch x 4 inch (finished) right facing half rectangle triangles (half foreground and half background)
- 4 – 4.5 inch (unfinished) squares from background fabrics
Center of block:
Take your 2.5 inch squares and sew them into 4- 4 patches
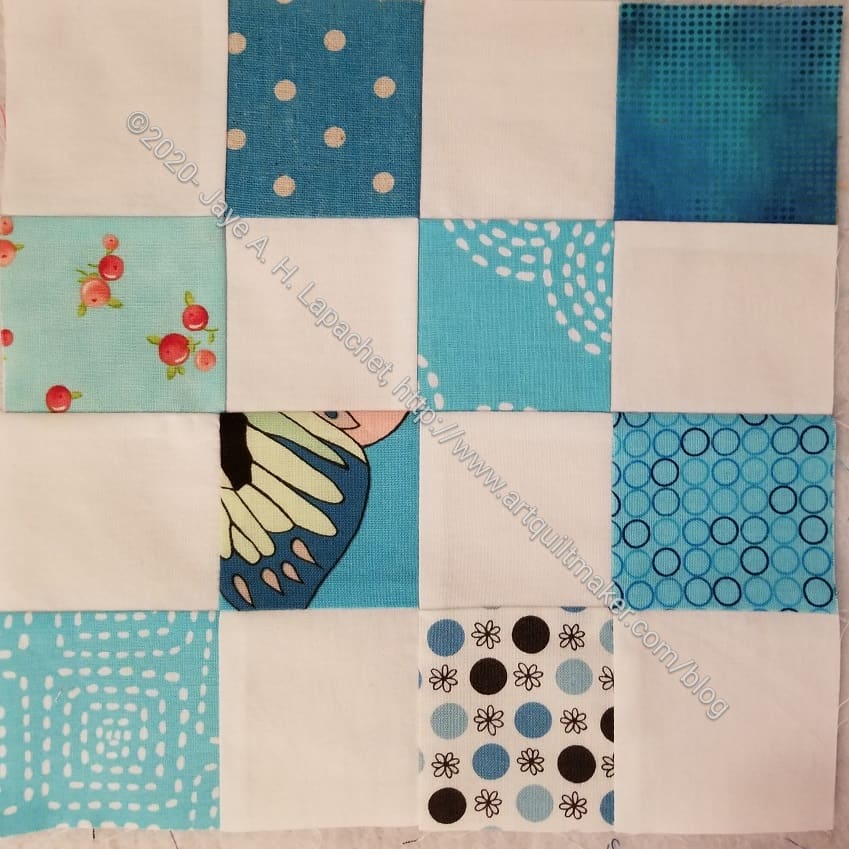
Sew your 4 patches together into a 16 patch as shown above.
I start with 5″ strips for the 2 in x 4 in (finished) HRTs. Remember: I am using the Split Recs ruler and it uses that size strip for the HRTs. You can make your HRTs using whatever method is convenient. Make sure they end up 2 inch x 4 inch finished.
It is really important to take the time to look at the Studio180 Split Recs video. It will make your life a lot easier.
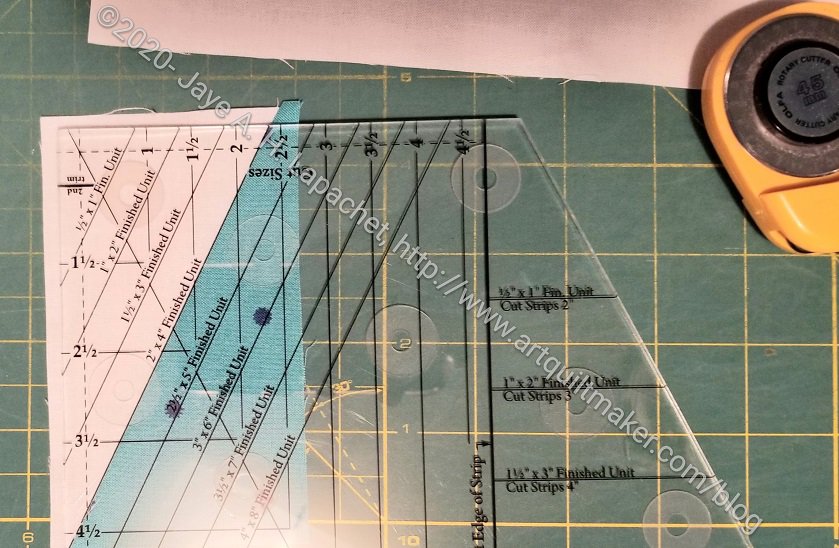
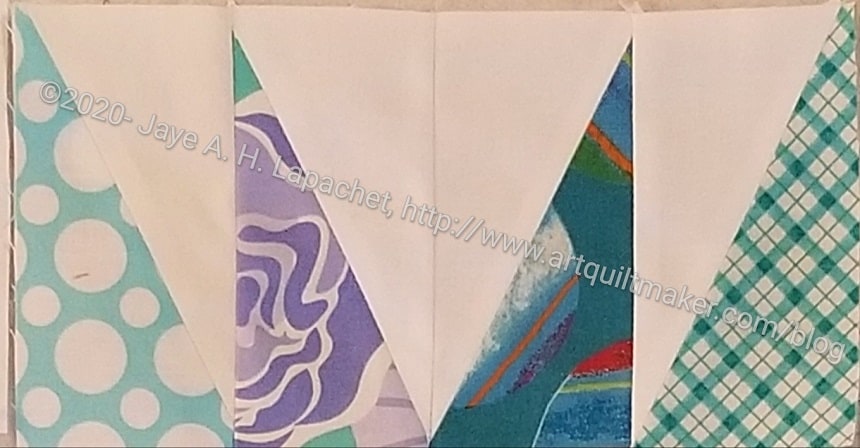
Following the directions in the video, cut, sew and trim your HRT pieces:
- 8 right facing triangles
- 8 left facing triangles
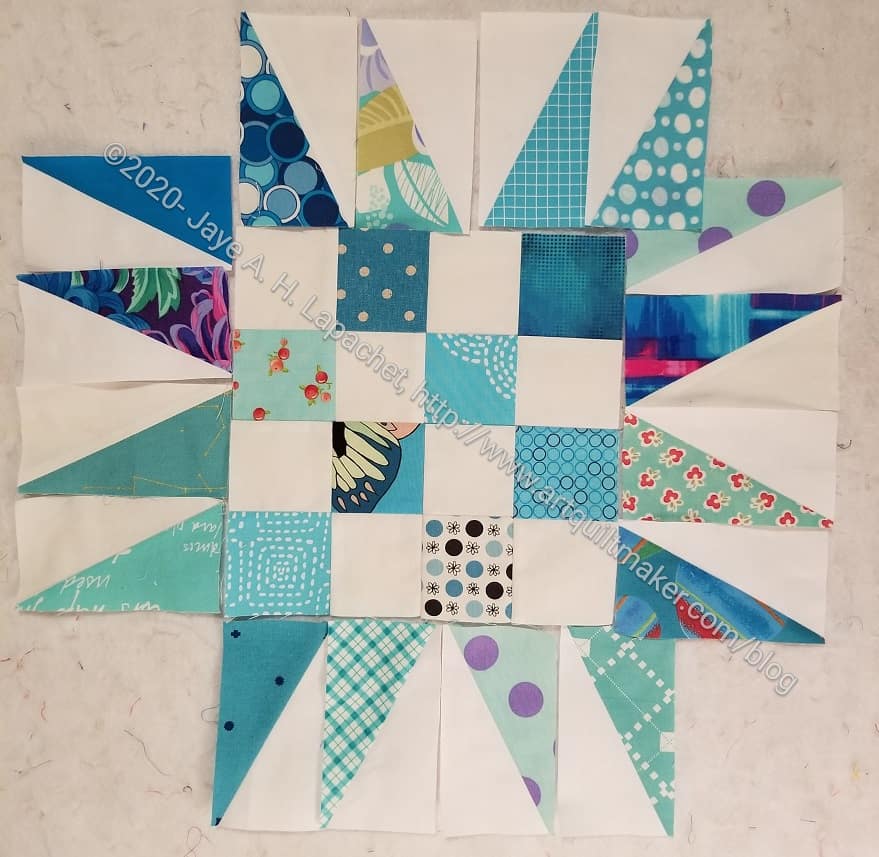
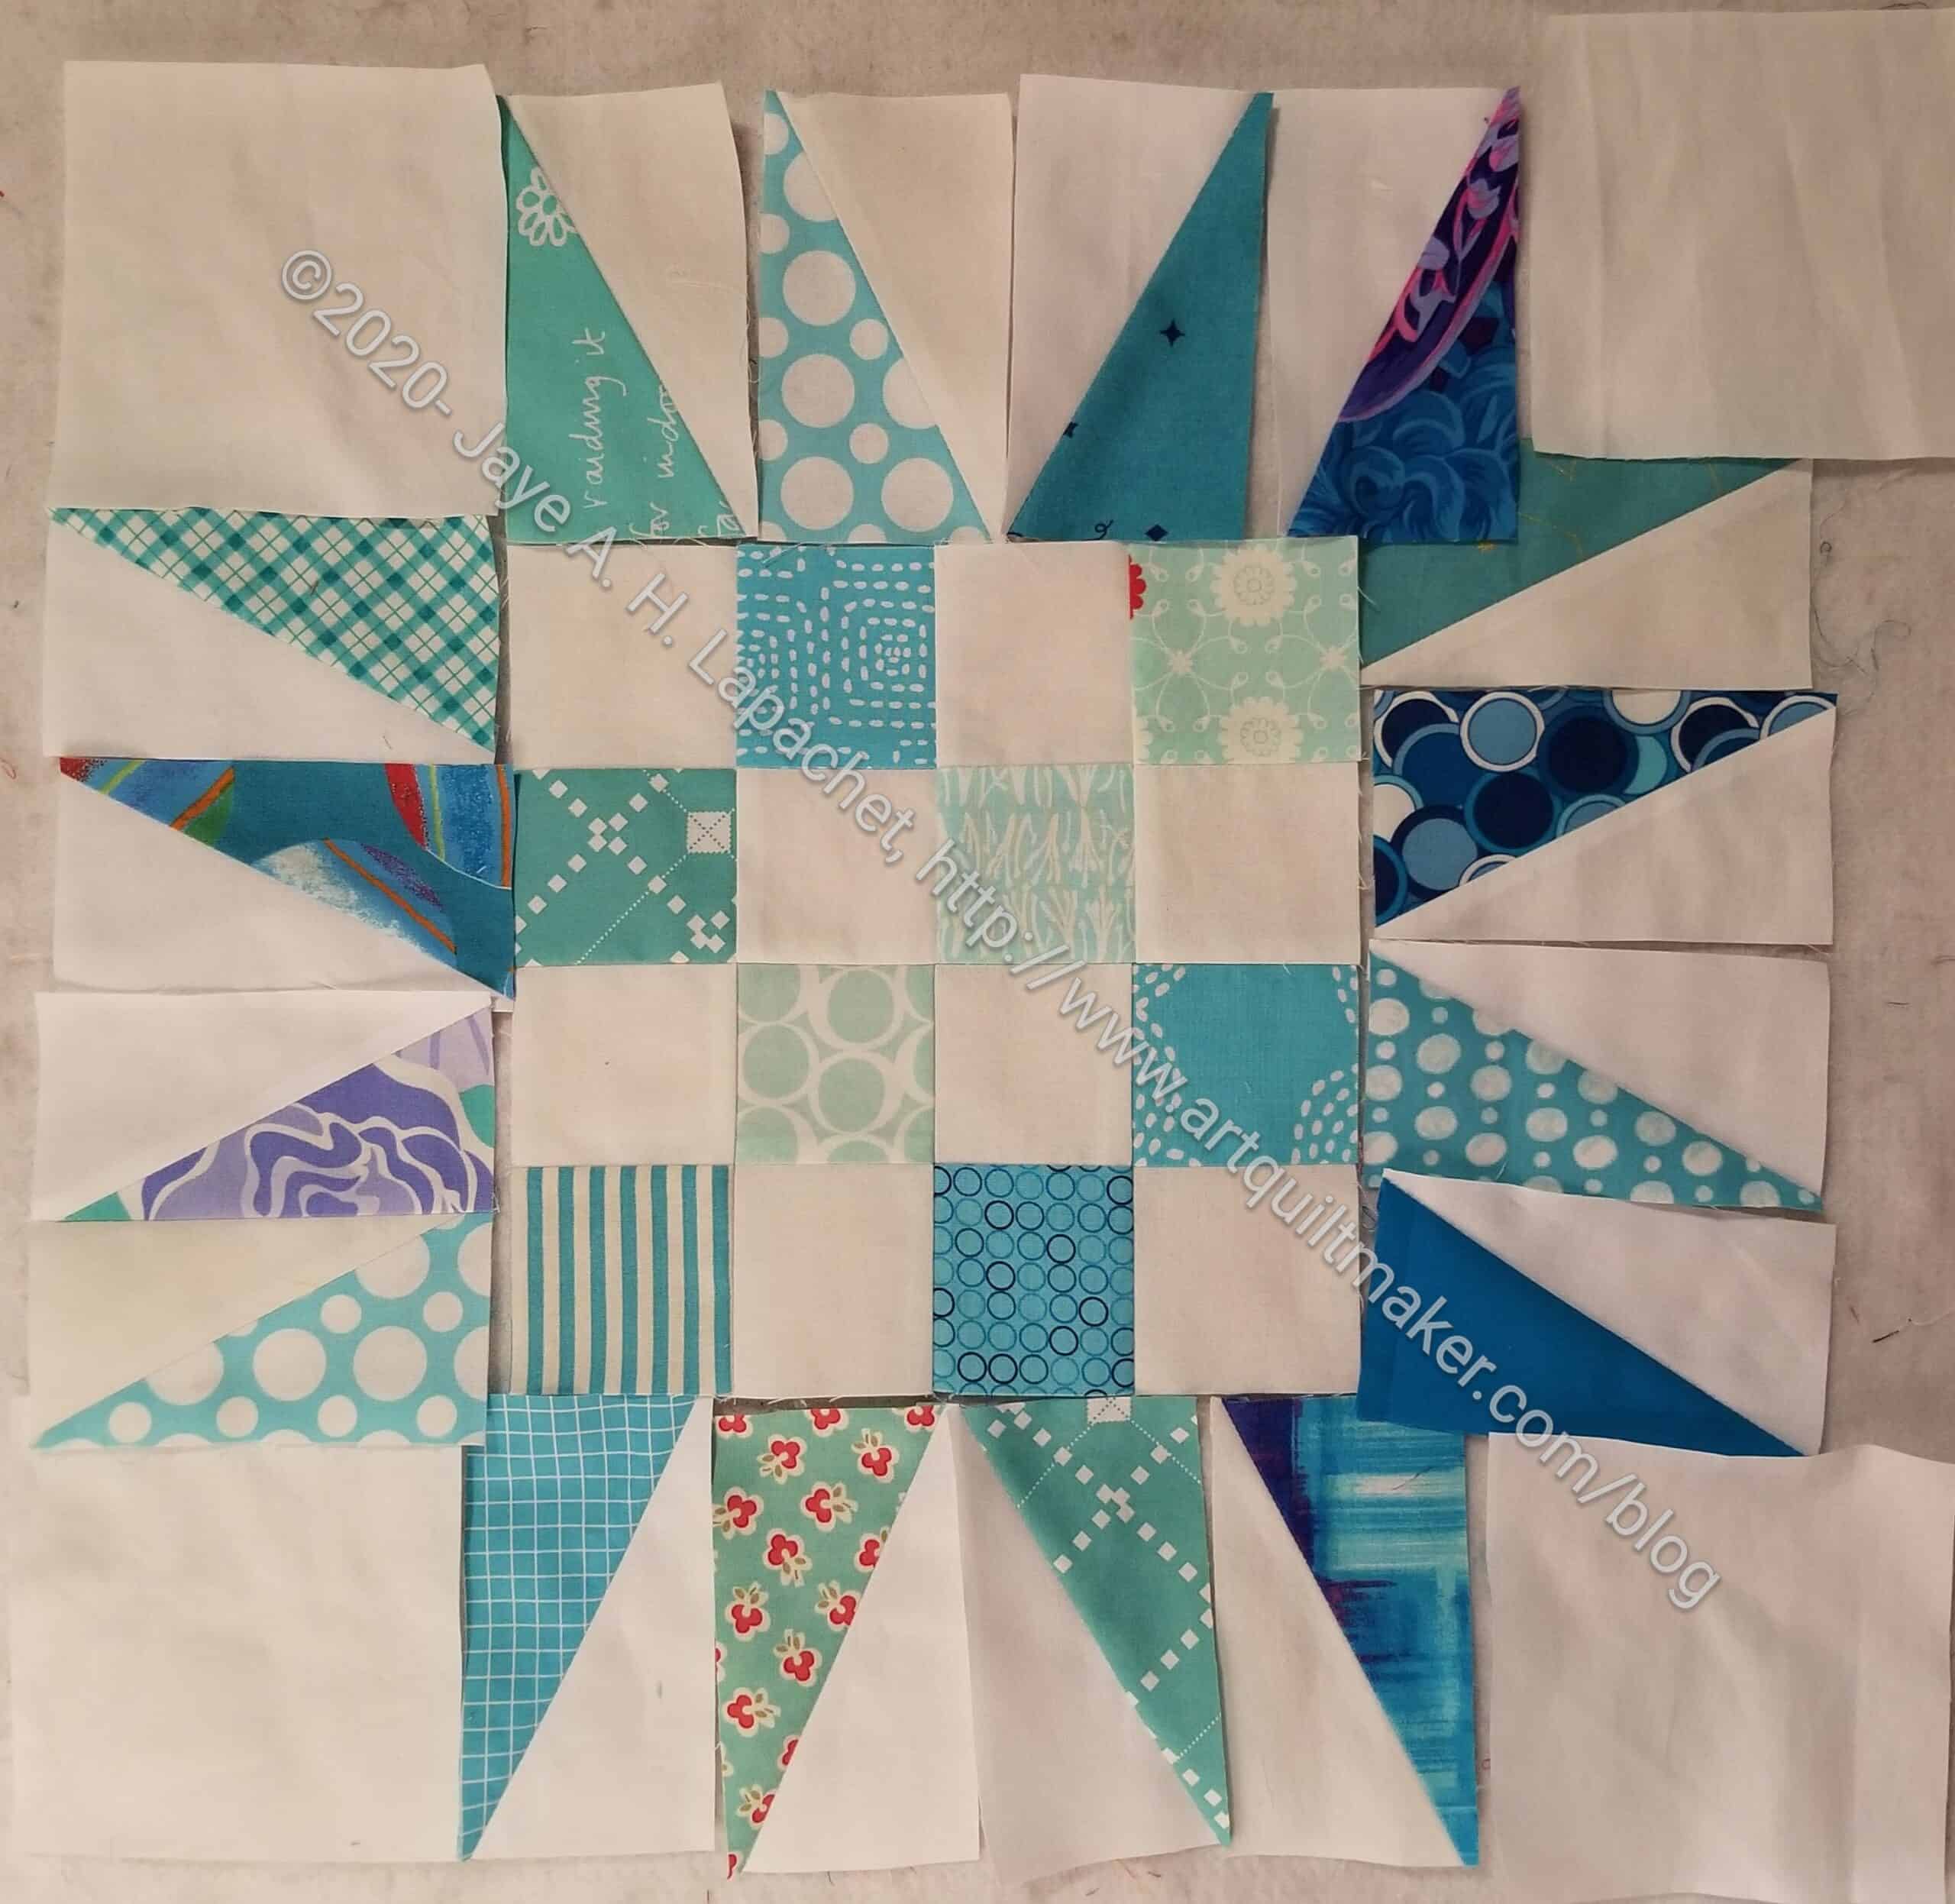
Once you have sewn and trimmed your HRTs place them with your 16 patch, like the photo above. Note: until you sew the HRTs together, the laid out block will look uneven as my example above shows. The bottom left hand HRTs are already sewn together and you can see how they fit nicely next to the squares in the 16 patch.
Cut 4 corner squares from background fabric 4.5 inches by 4.5 inches. Sometimes I use a variety of background fabrics when I am cutting from scraps. It adds interest to the block. Just make sure you have enough contrast.
Start sewing your HRTs together into groups of 4.
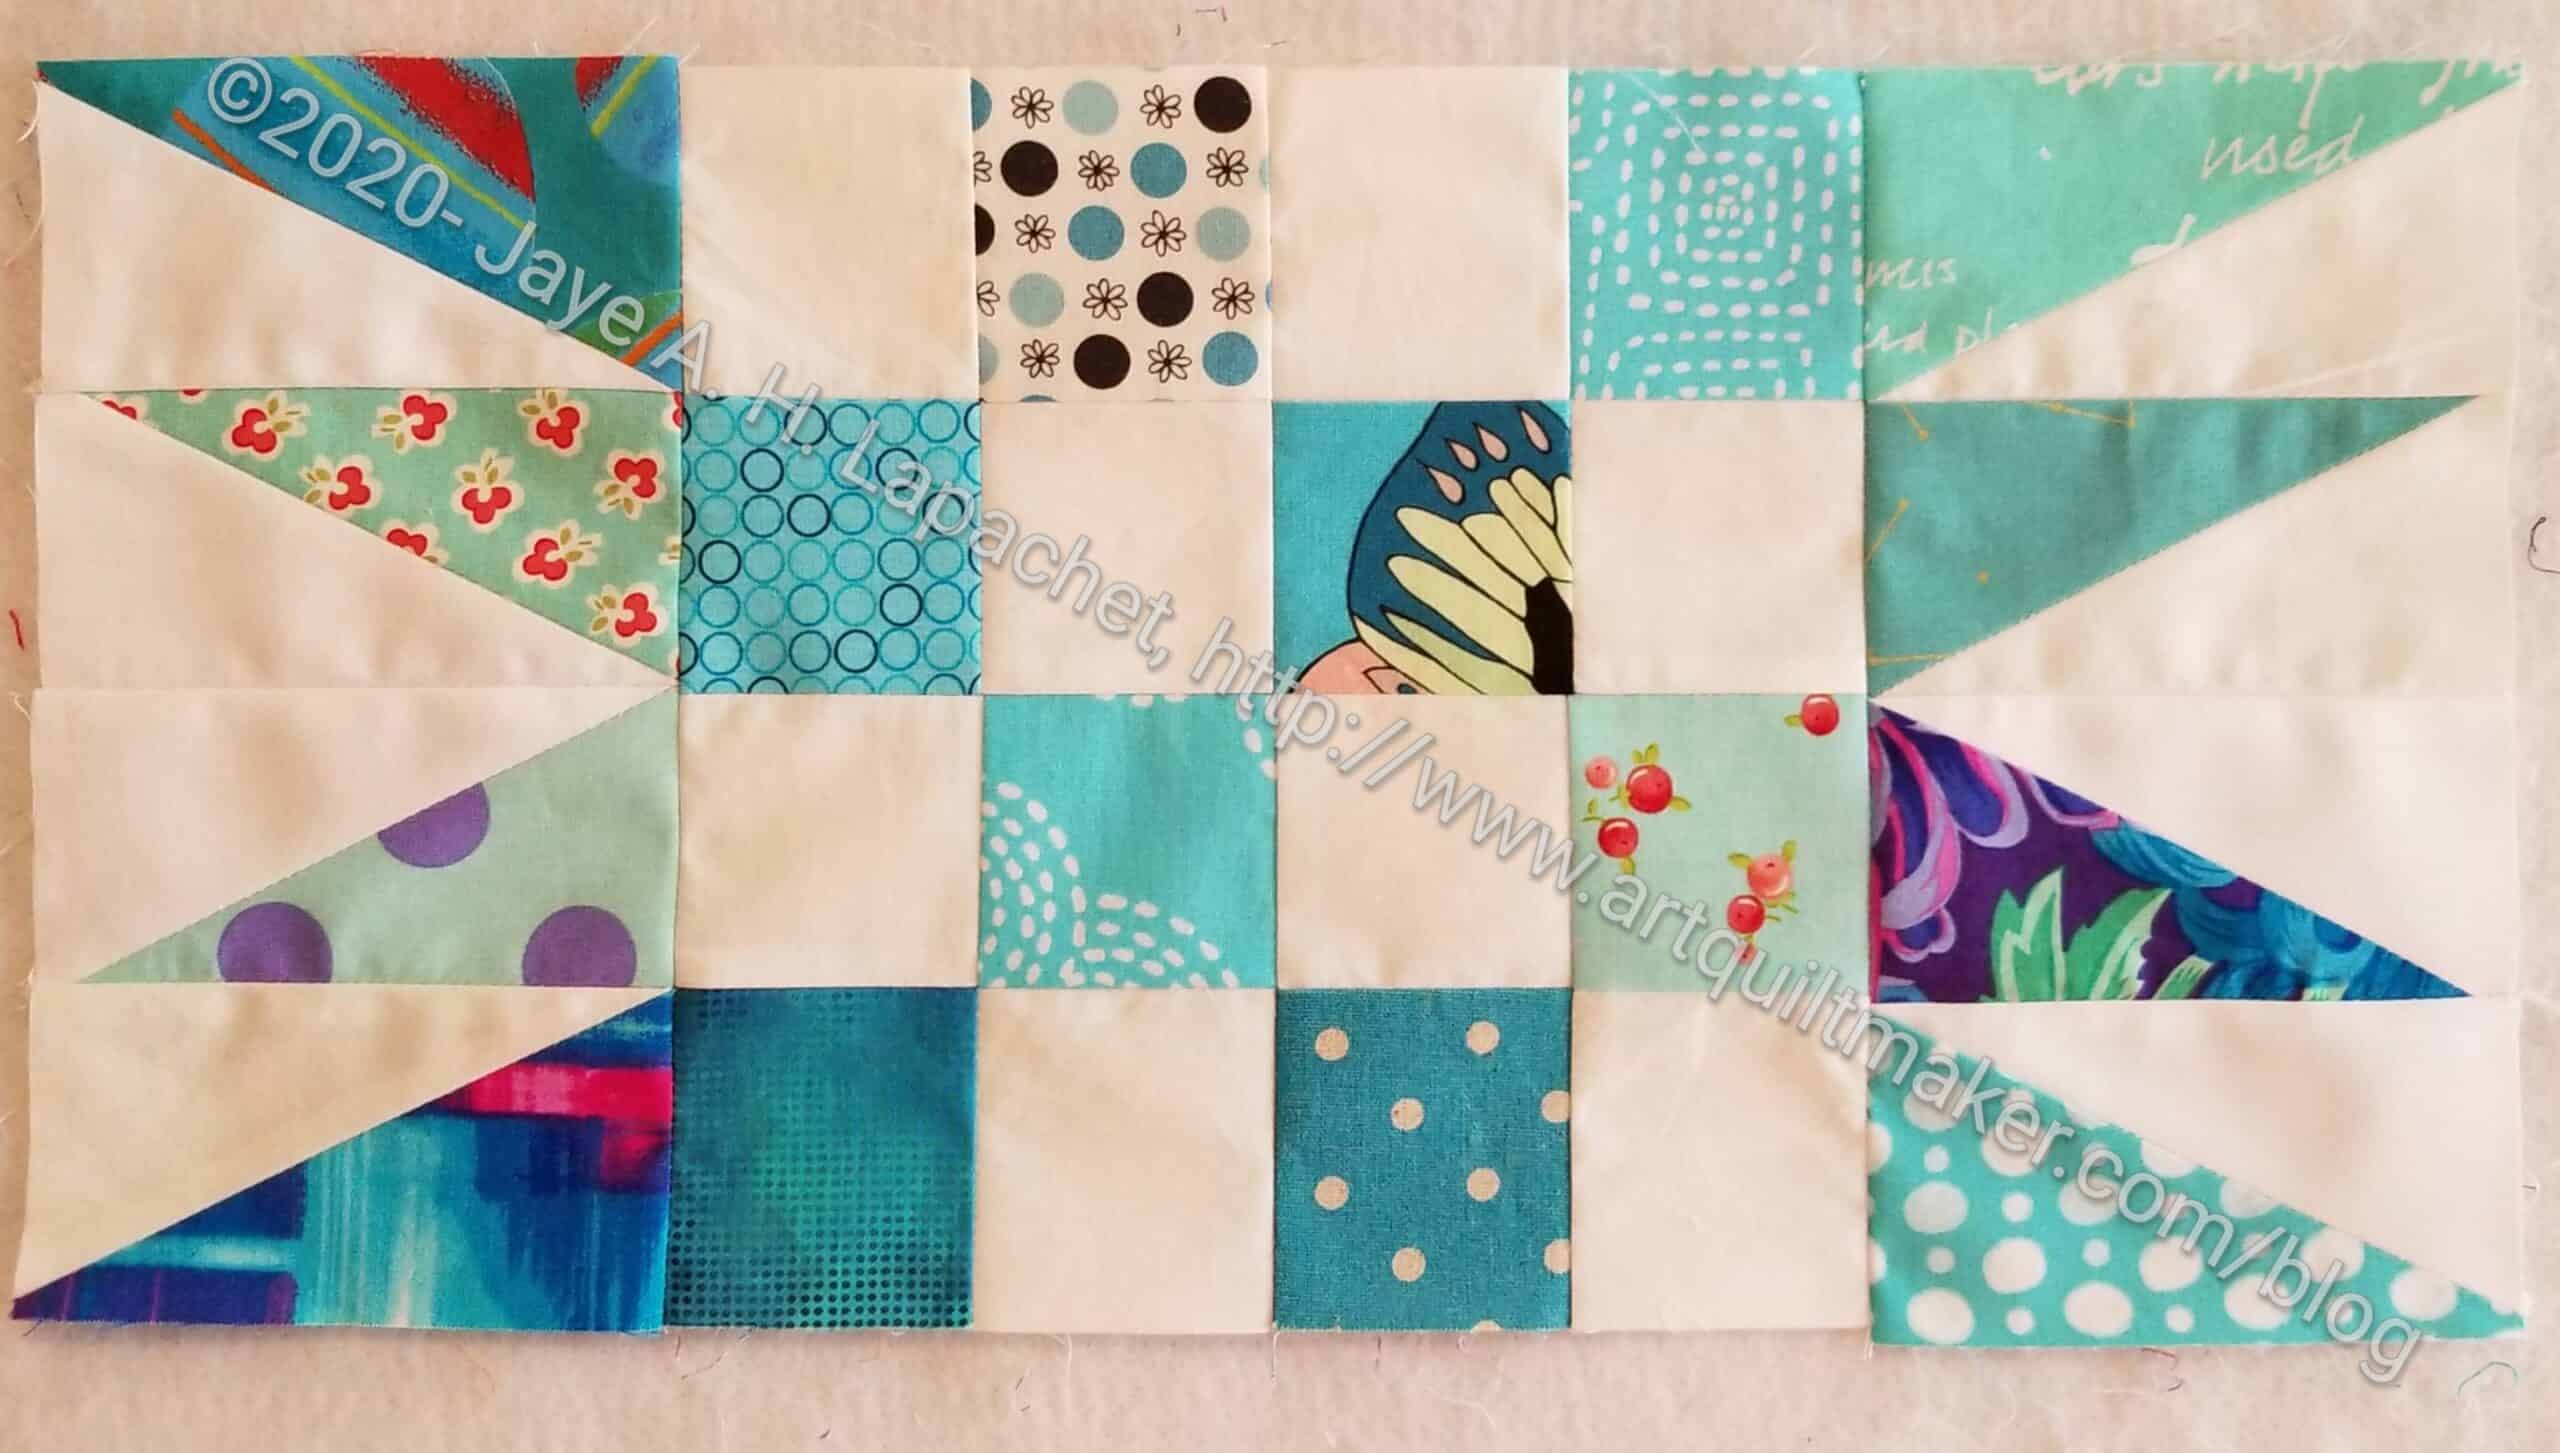
Once I have the four HRT units, I sew one to each side, starting with the sides. Above shows the center block with two HRT groups of 4 sewn to the sides.
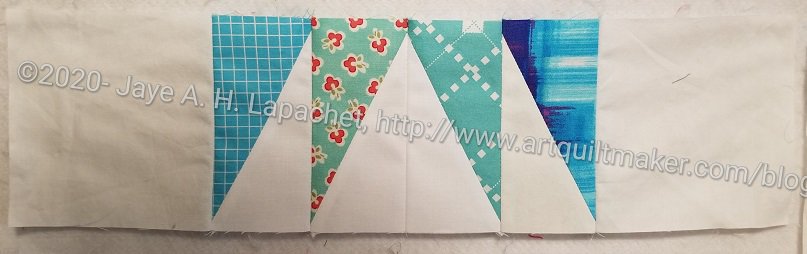
Once part of the block is made, I start making the last two sections, the top and the bottom.
Take one HRT section and sew it to a 4.5 x 4.5 background square. Sew the second background square to the other side of the HRT section. Do this step again for the top.
You will end up with 3 sections.

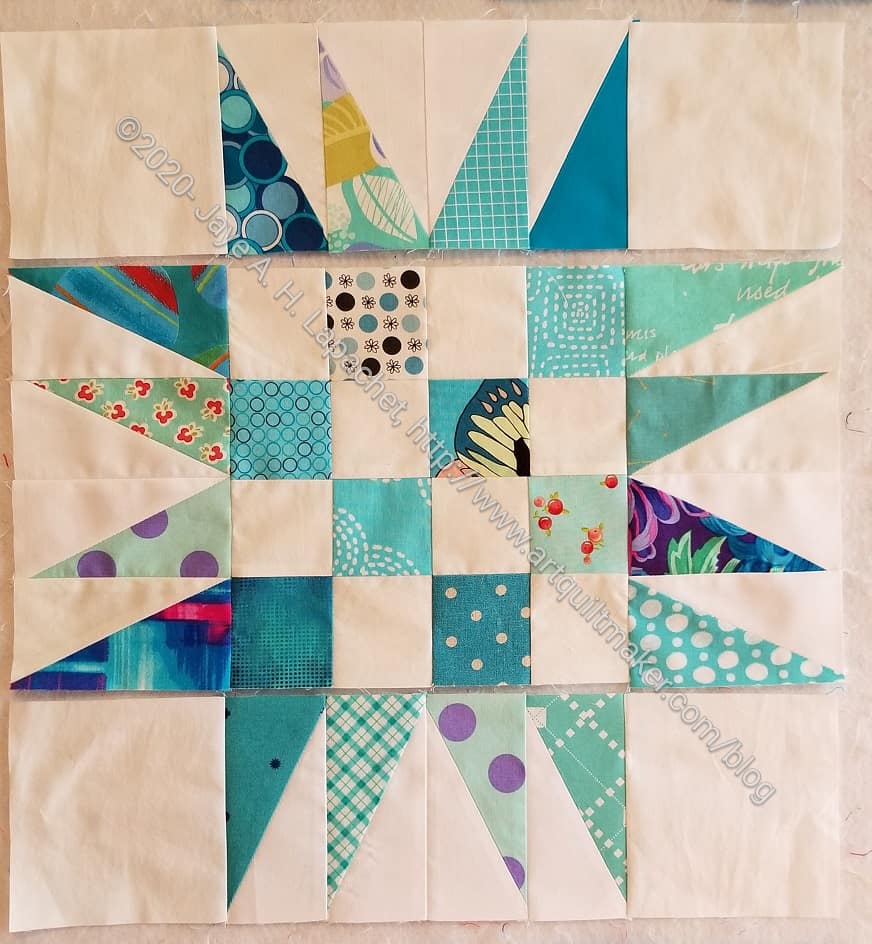
Sew one HRT/background square section to the top and then sew the second section to the bottom of the center section. Once you have done this, press and your block is complete.
There are other ways to make the HRTs for this block. This is the method I use. Take a look at the Spiky 16 Patch blocks and quilts I have made using this technique.
**I use affiliate links and may be paid for your purchase of an item when you click on an item link in my post. There is no additional cost to you for clicking or purchasing items I recommend. I appreciate your clicks and purchases as it helps support this blog.