I am using a different quilt for this tutorial, but I have faith that that won’t make a difference to all of you intelligent readers and students who have been following along with my various sampler class tutorials.
Supply List:
- blocks
- fabric for sashing
- fabric cornerstones (I used scraps, but my cornerstones were only 1.5 inches square)
- calculator
- sewing machine
- thread
- measuring tools
- basic rotary cutting kit
- scissors or snips
- seam ripper (I use a Clover ergonomic seam ripper)
- pins
- iron
- ironing board
- Mary Ellen’s Best Press (optional)
- stiletto (optional)
- design wall (optional, but super helpful)
Please note that we are only talking about sashing in this tutorial. We are not talking about borders. I will do a separate tutorial for borders in the future.
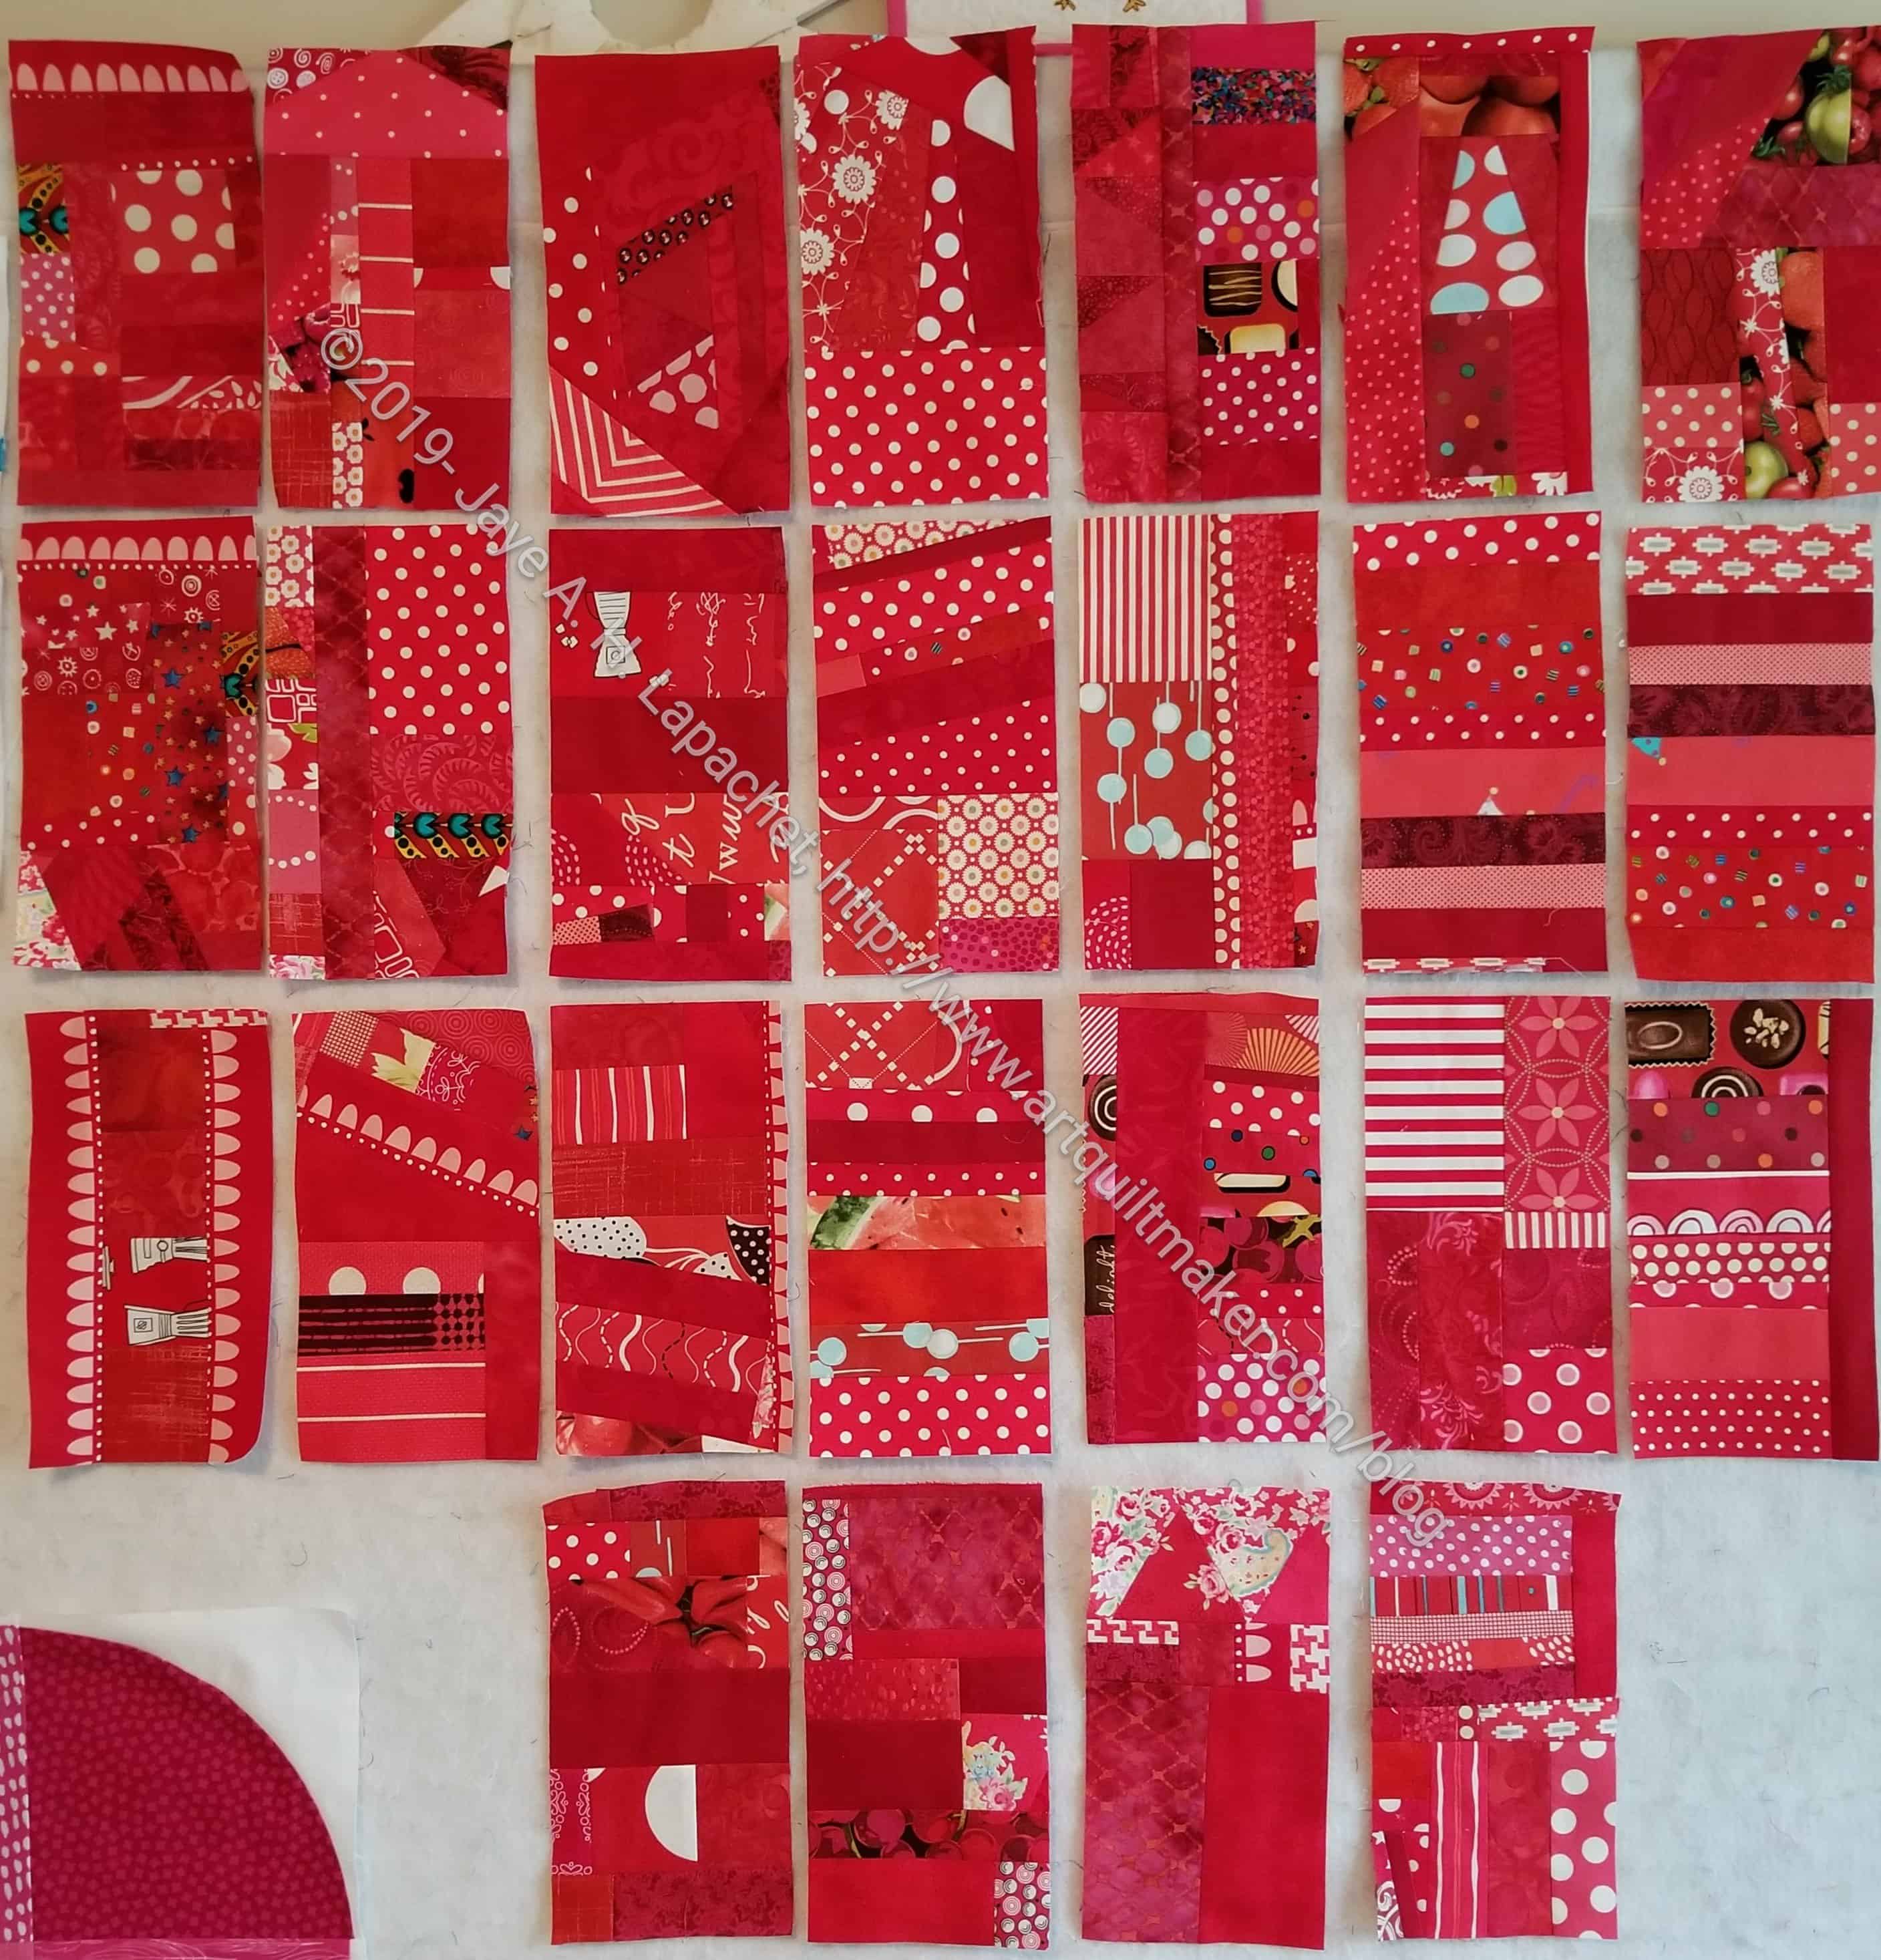
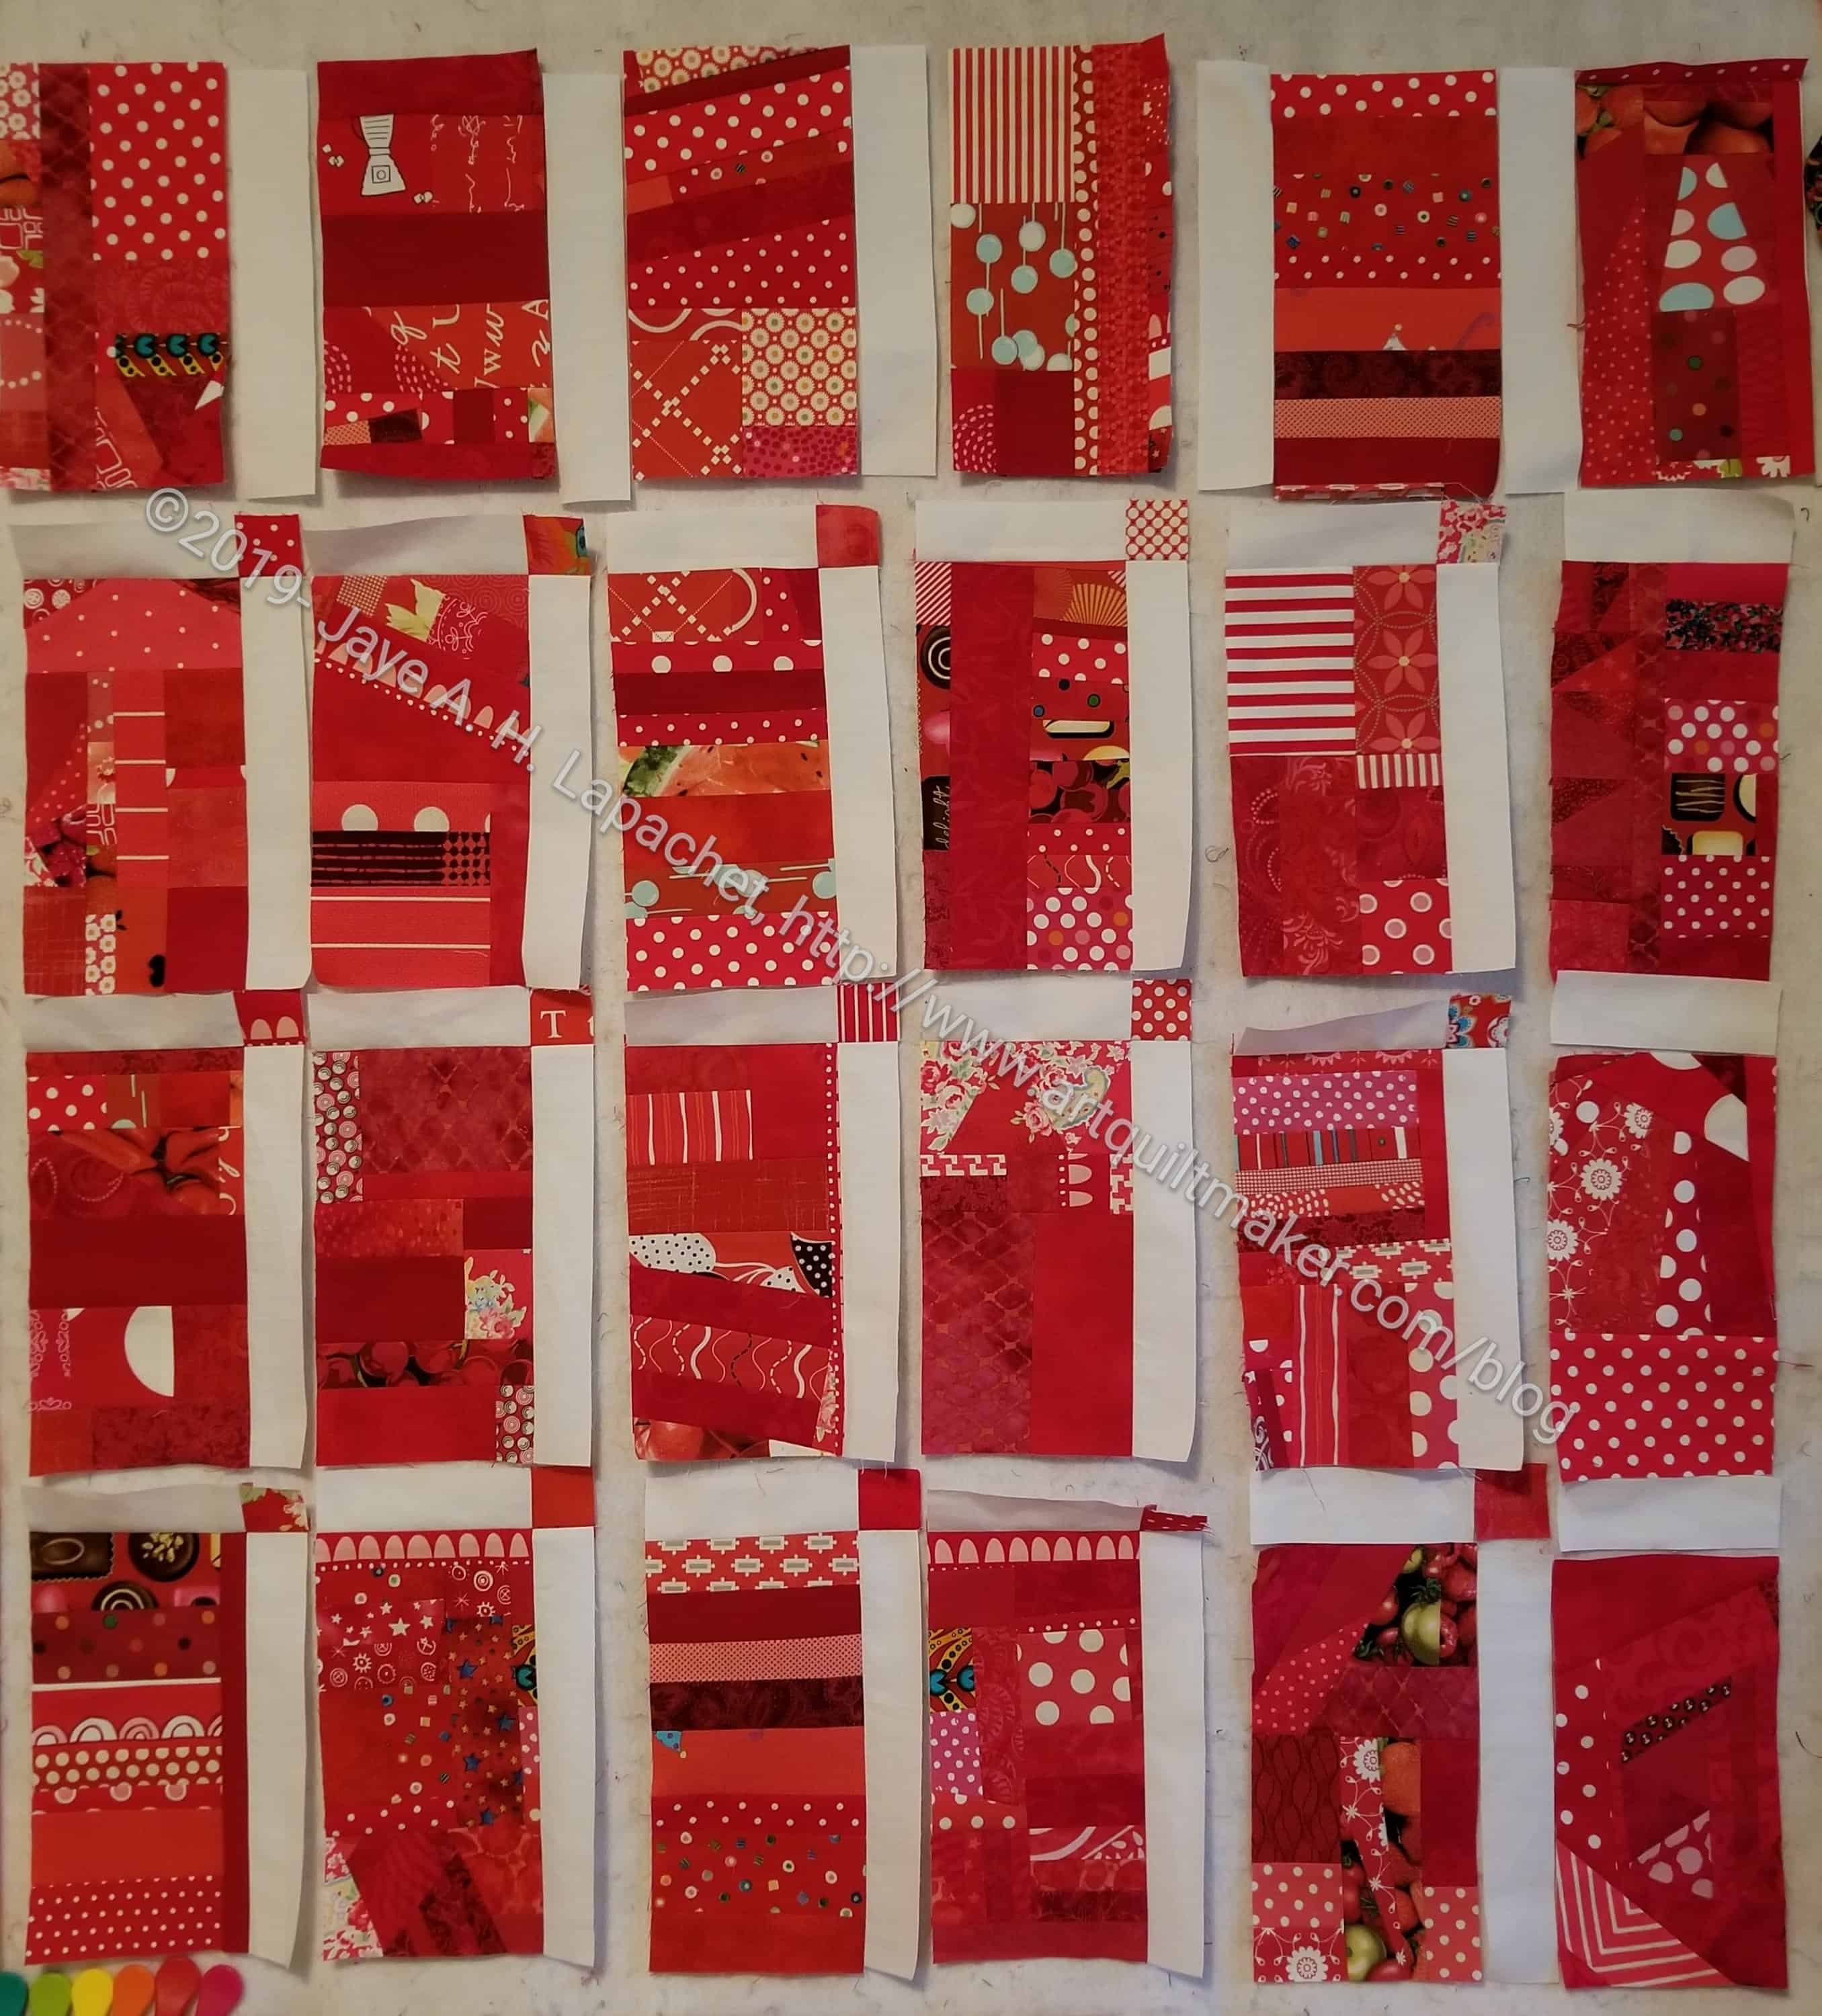
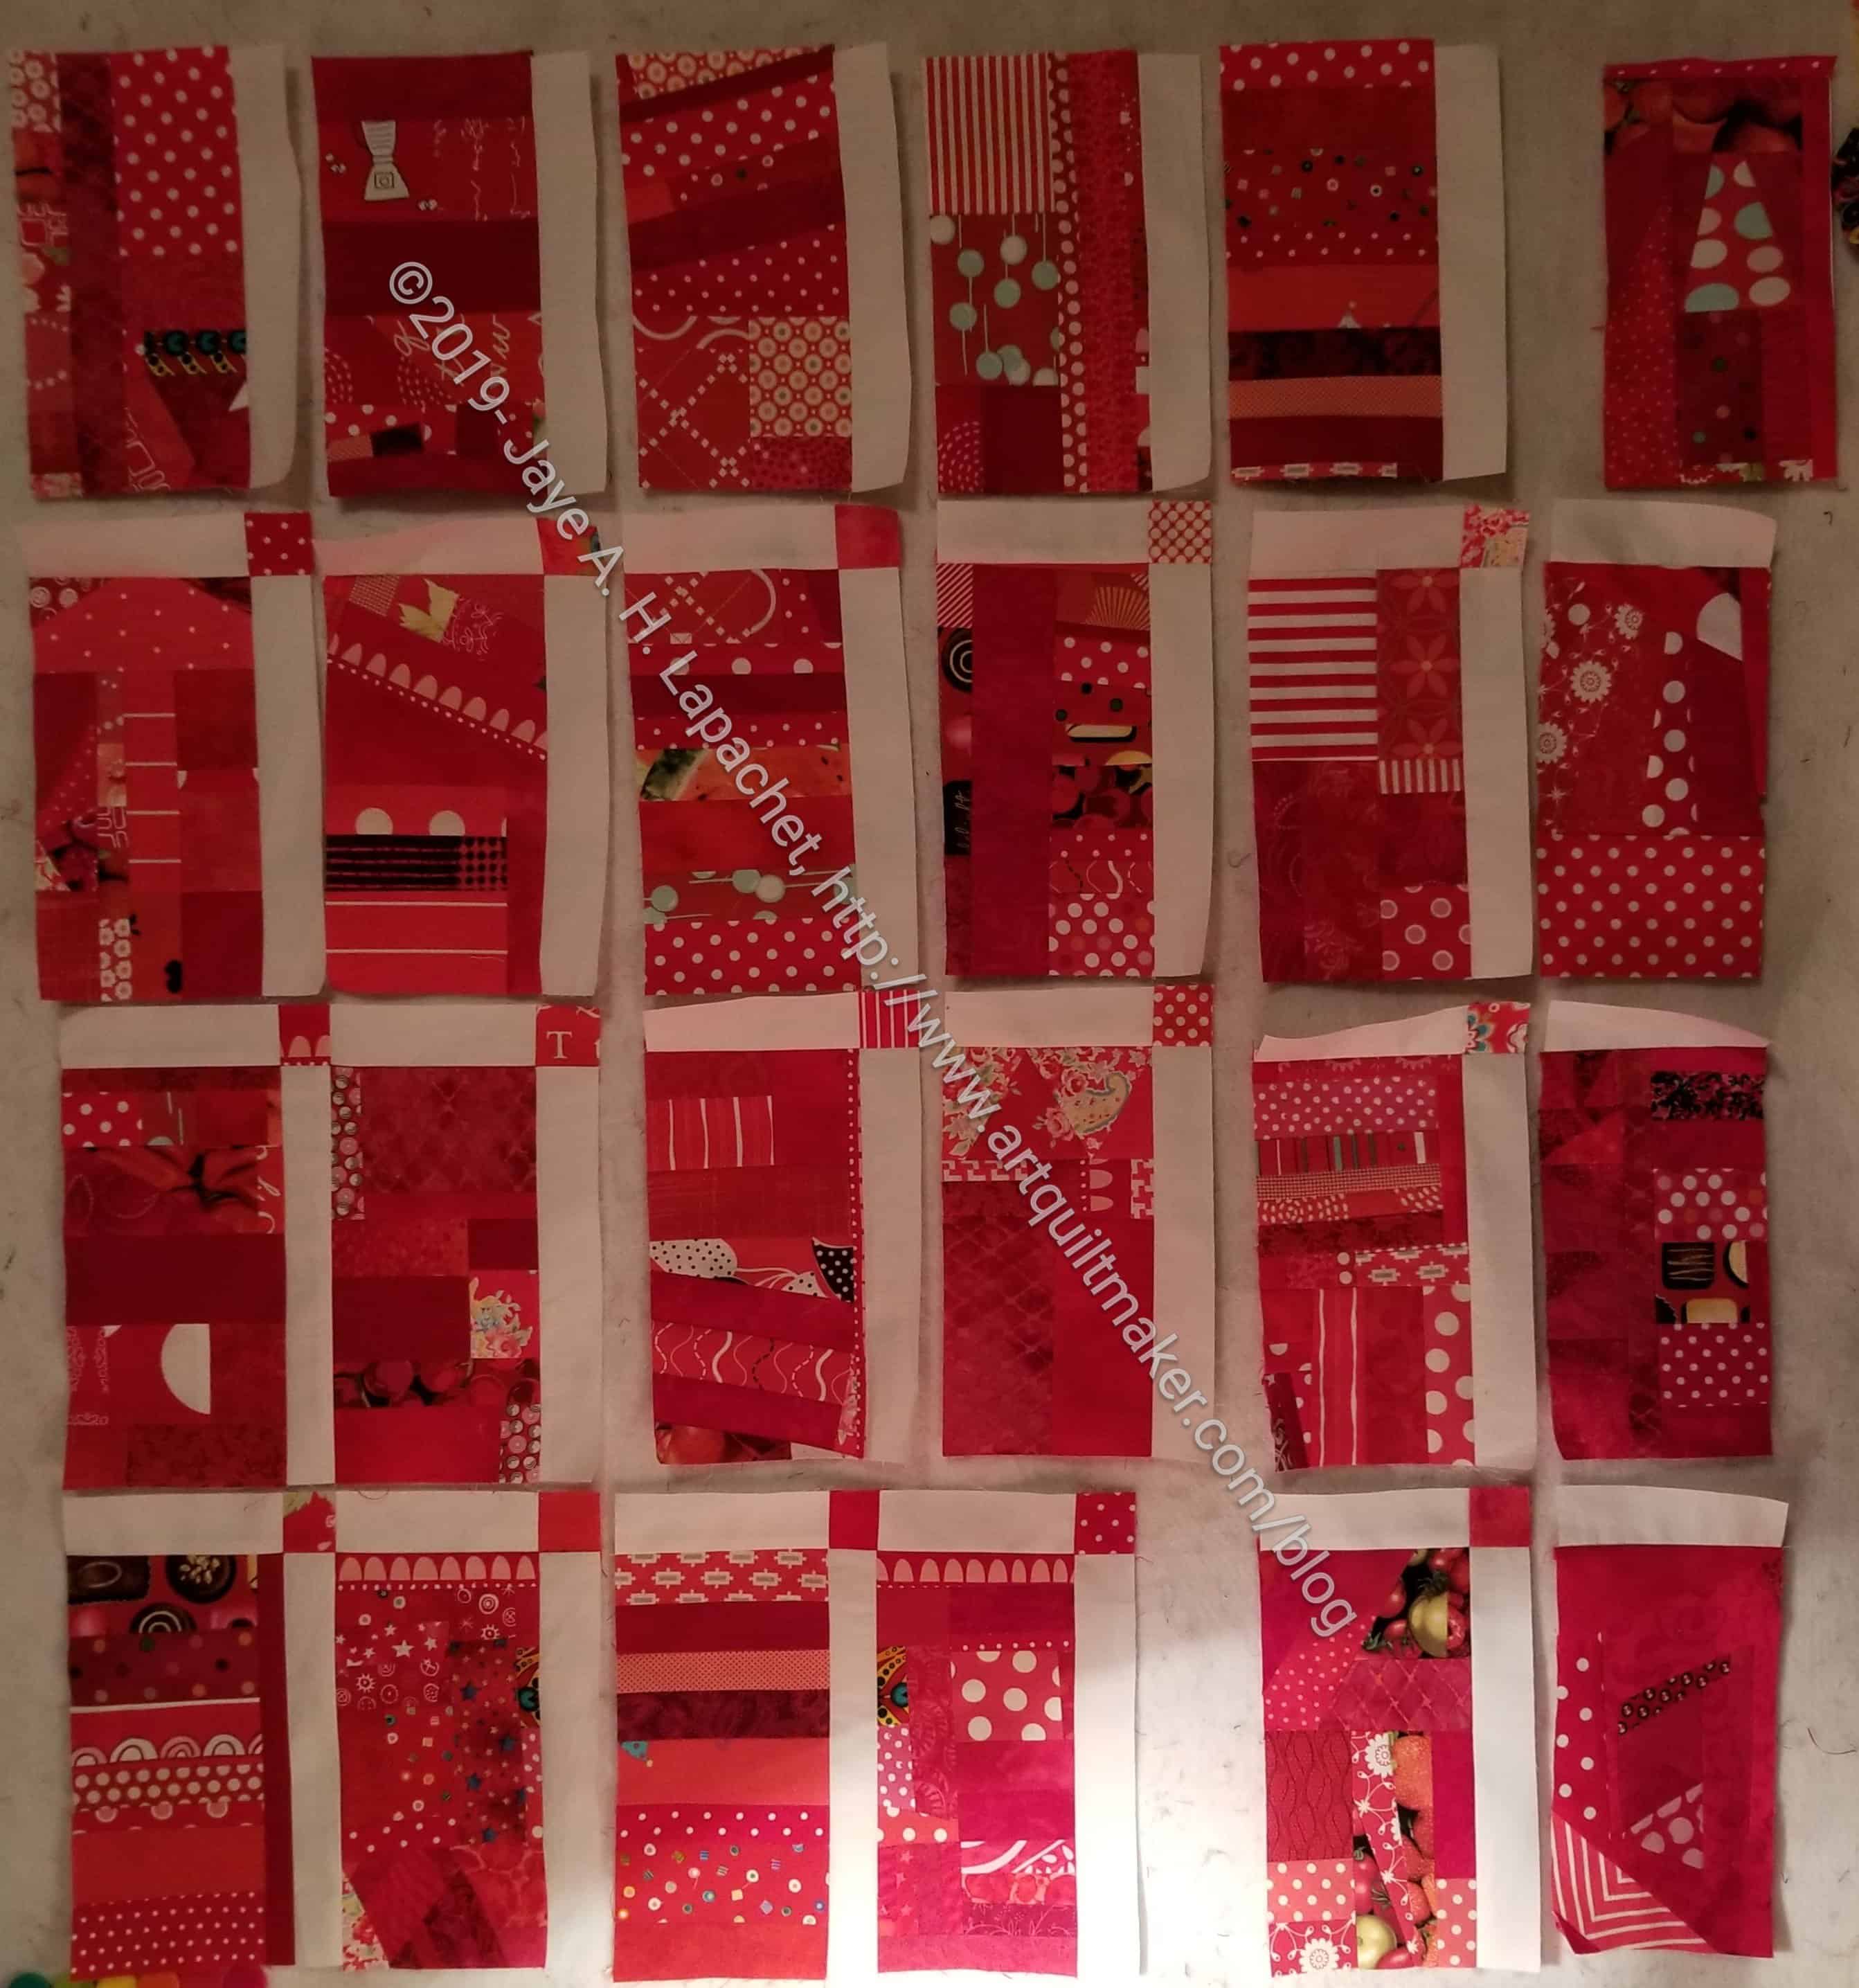
I started out with the above group of donation blocks. I have been setting these with plain blocks of the same size. I decided that I wanted to do something different with these blocks. Sashing is the answer. Having something between these blocks prevents the seams from getting too thick and hard to sew. Also, it allows each block to shine a little bit rather than being part of a mass. Adding sashing or plain borders or nothing is a design choice. For any quilt, it is important to decide on the look and feel you want.
Even if you put the same sized plain blocks between these blocks, the method I will show you works the same way.
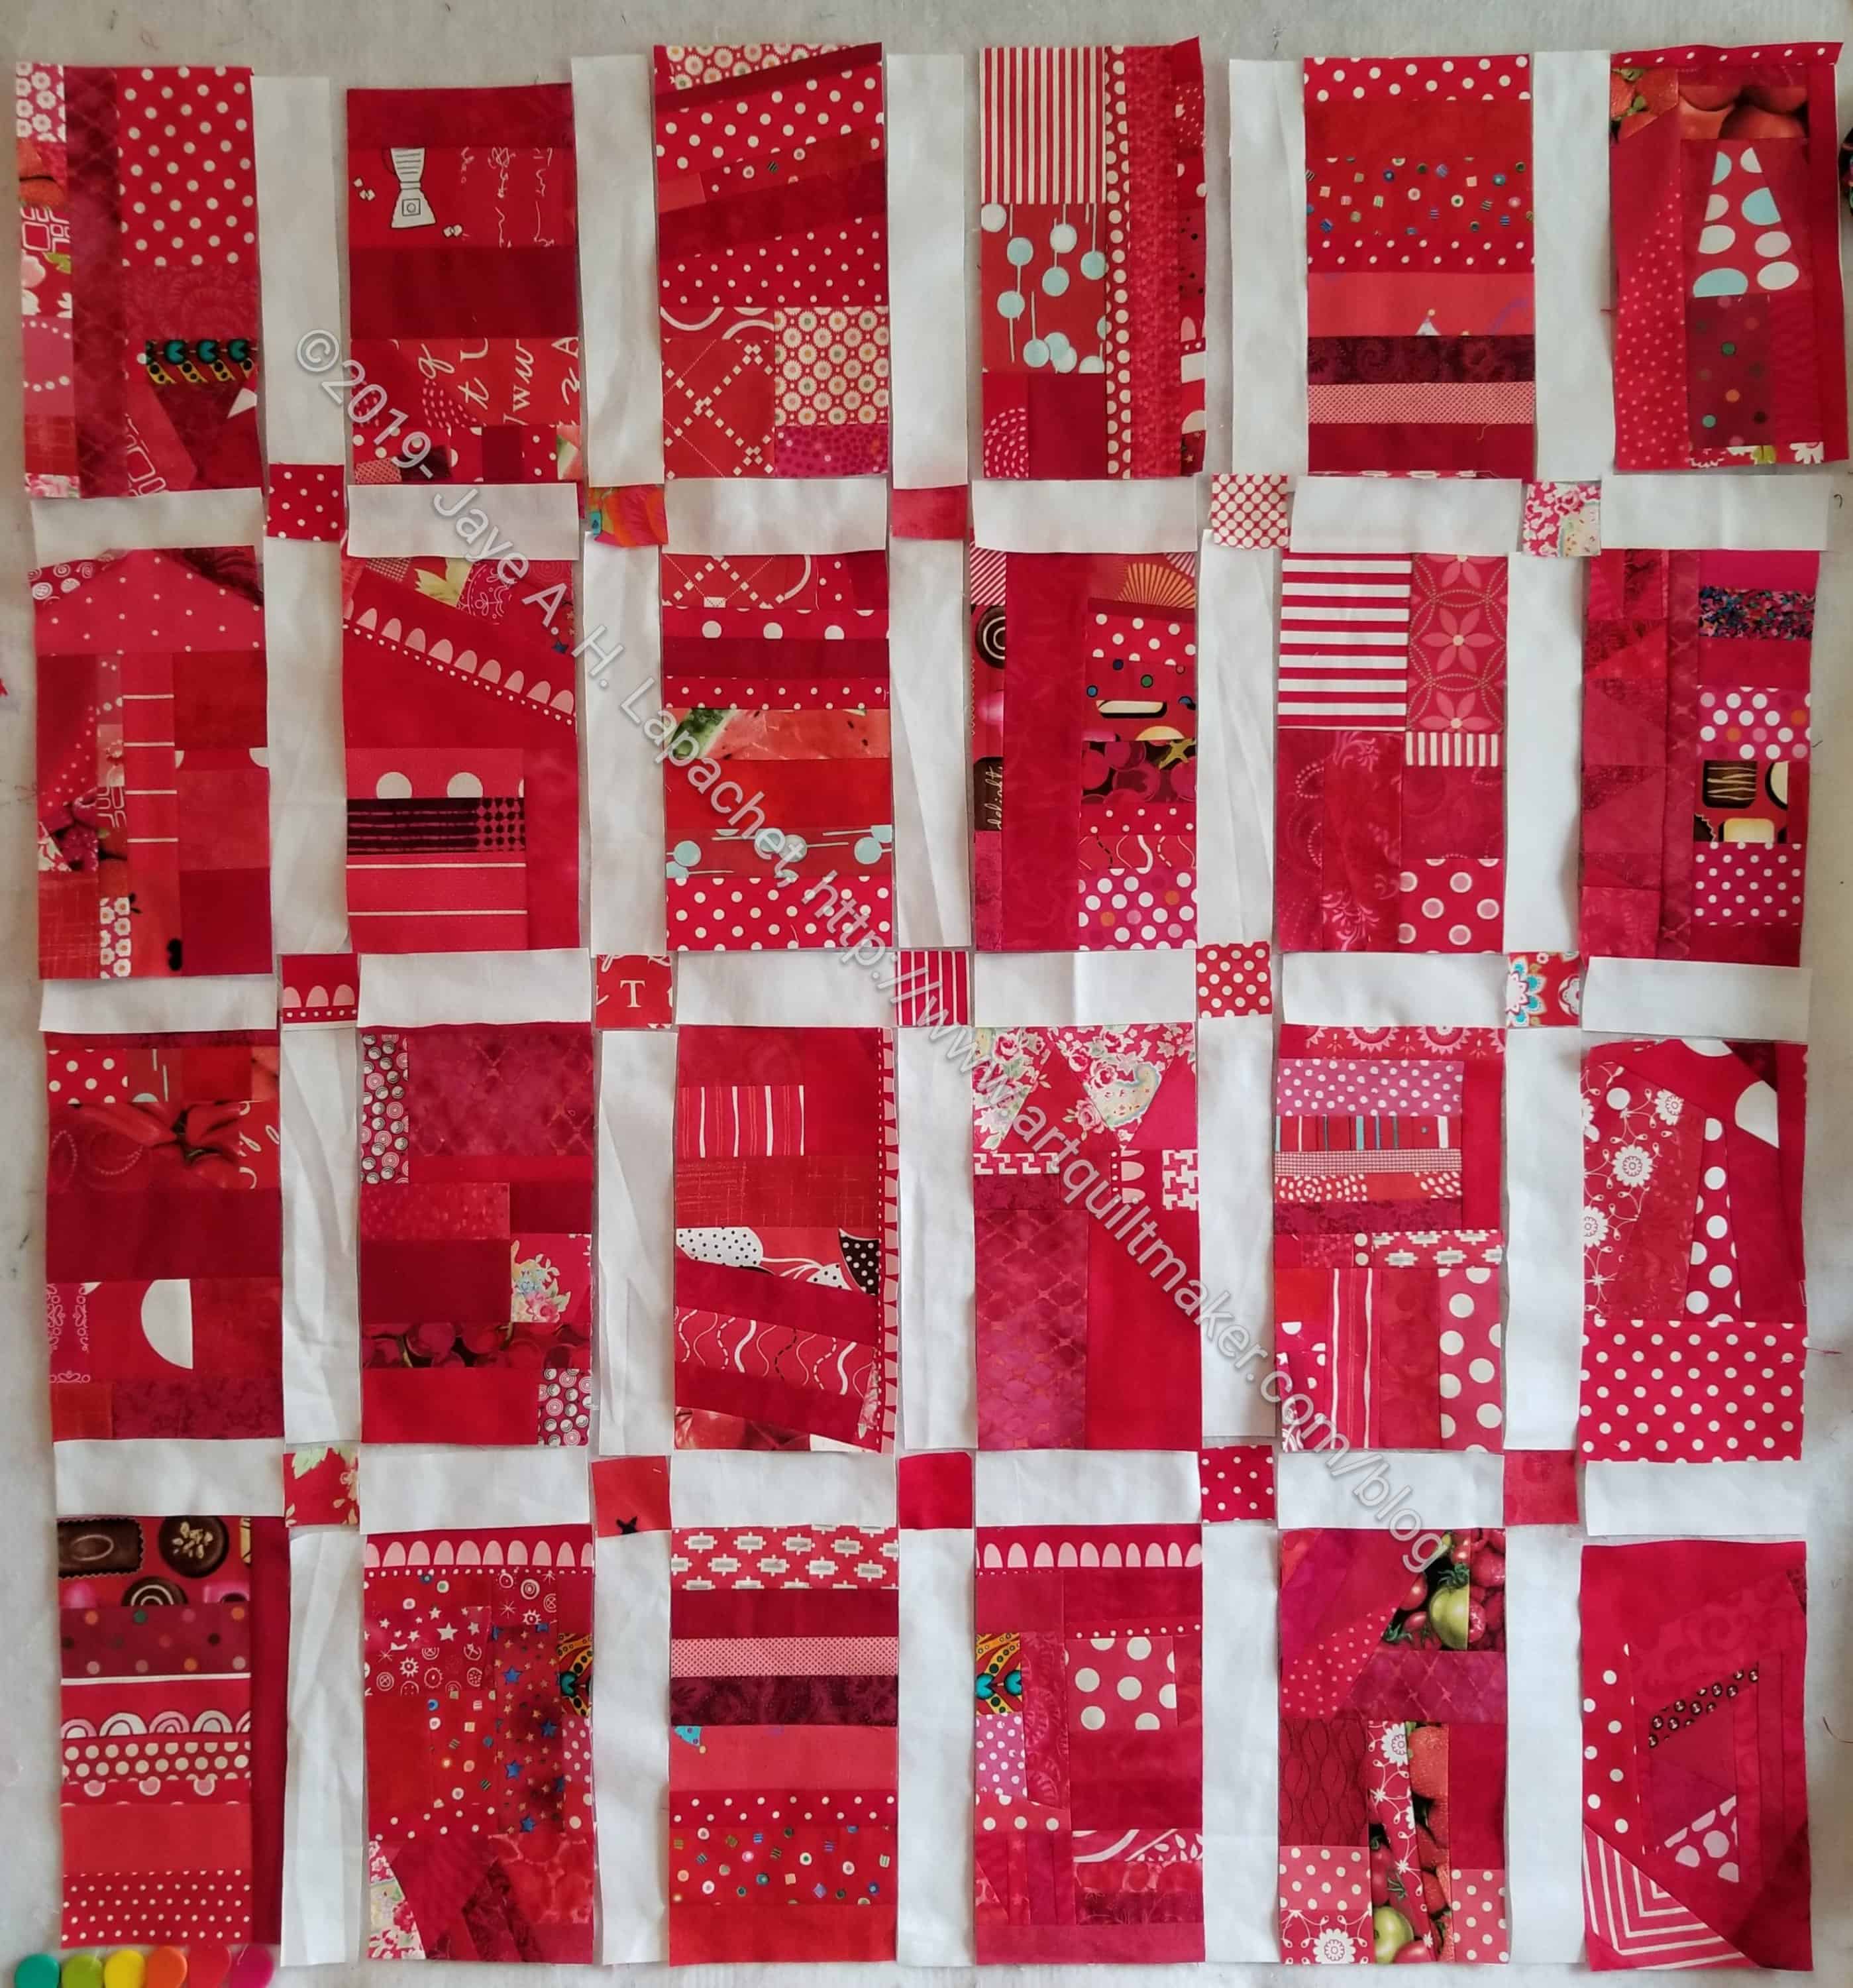
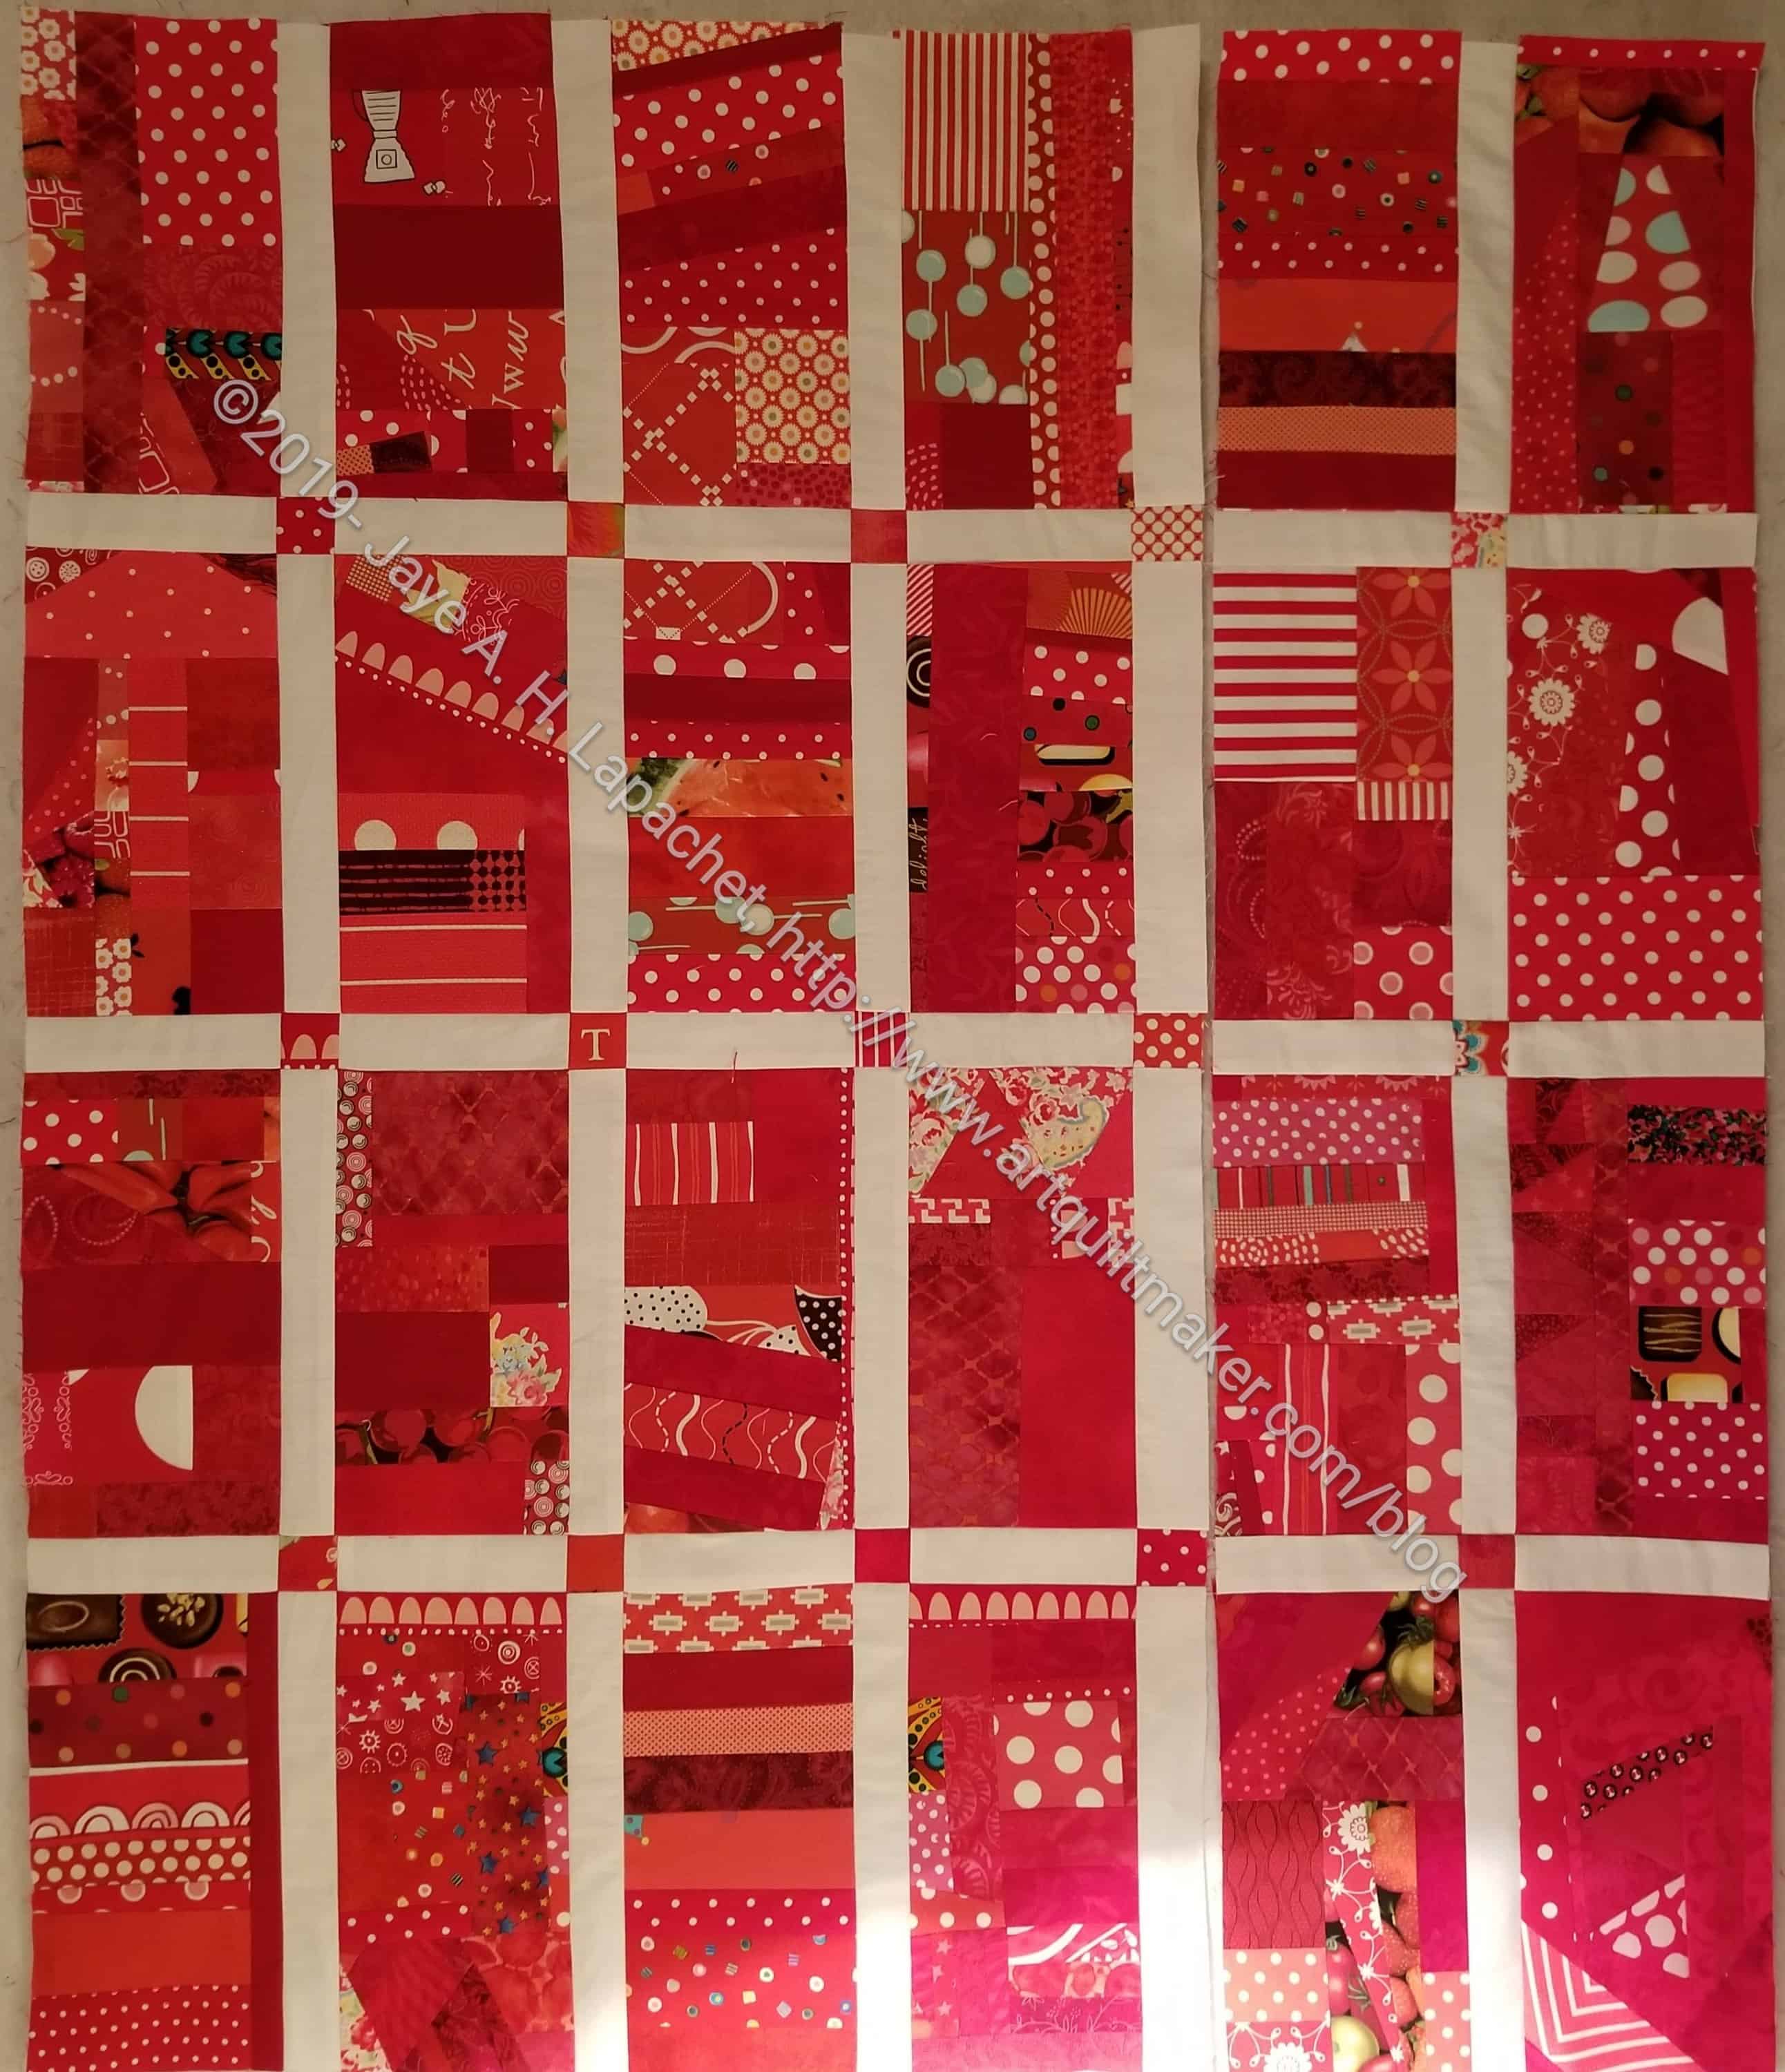
The first step is to cut sashing and cornerstones. The photo above shows all the sashing and cornerstones cut and laid out on my design wall.
If you don’t want cornerstones, cut your top sashing the same size as your block + side sashing – 1/2 inch seam allowance (1/4 inch + 1/4 inch = half inch). The formula is:
Block size + vertical sashing – 1/2 inch seam allowance = finished size of top sashing without cornerstones
I can’t tell you the exact size, because I don’t have your blocks in front of me. Use a calculator. I do.
Also, notice that my top and side rows are different. I plan to put a straight strip of fabric across the top and sides as a border, which means I don’t need sashing for the top or sides.
Once you have all of your sashing and cornerstones cut, it is time to sew. I like to start in the bottom left hand corner. I start there because it is closer to my sewing machine when all the blocks are on my design wall. As I sew, the blocks shrink (because of the taken up seam allowance) and get closer to where I am sitting.
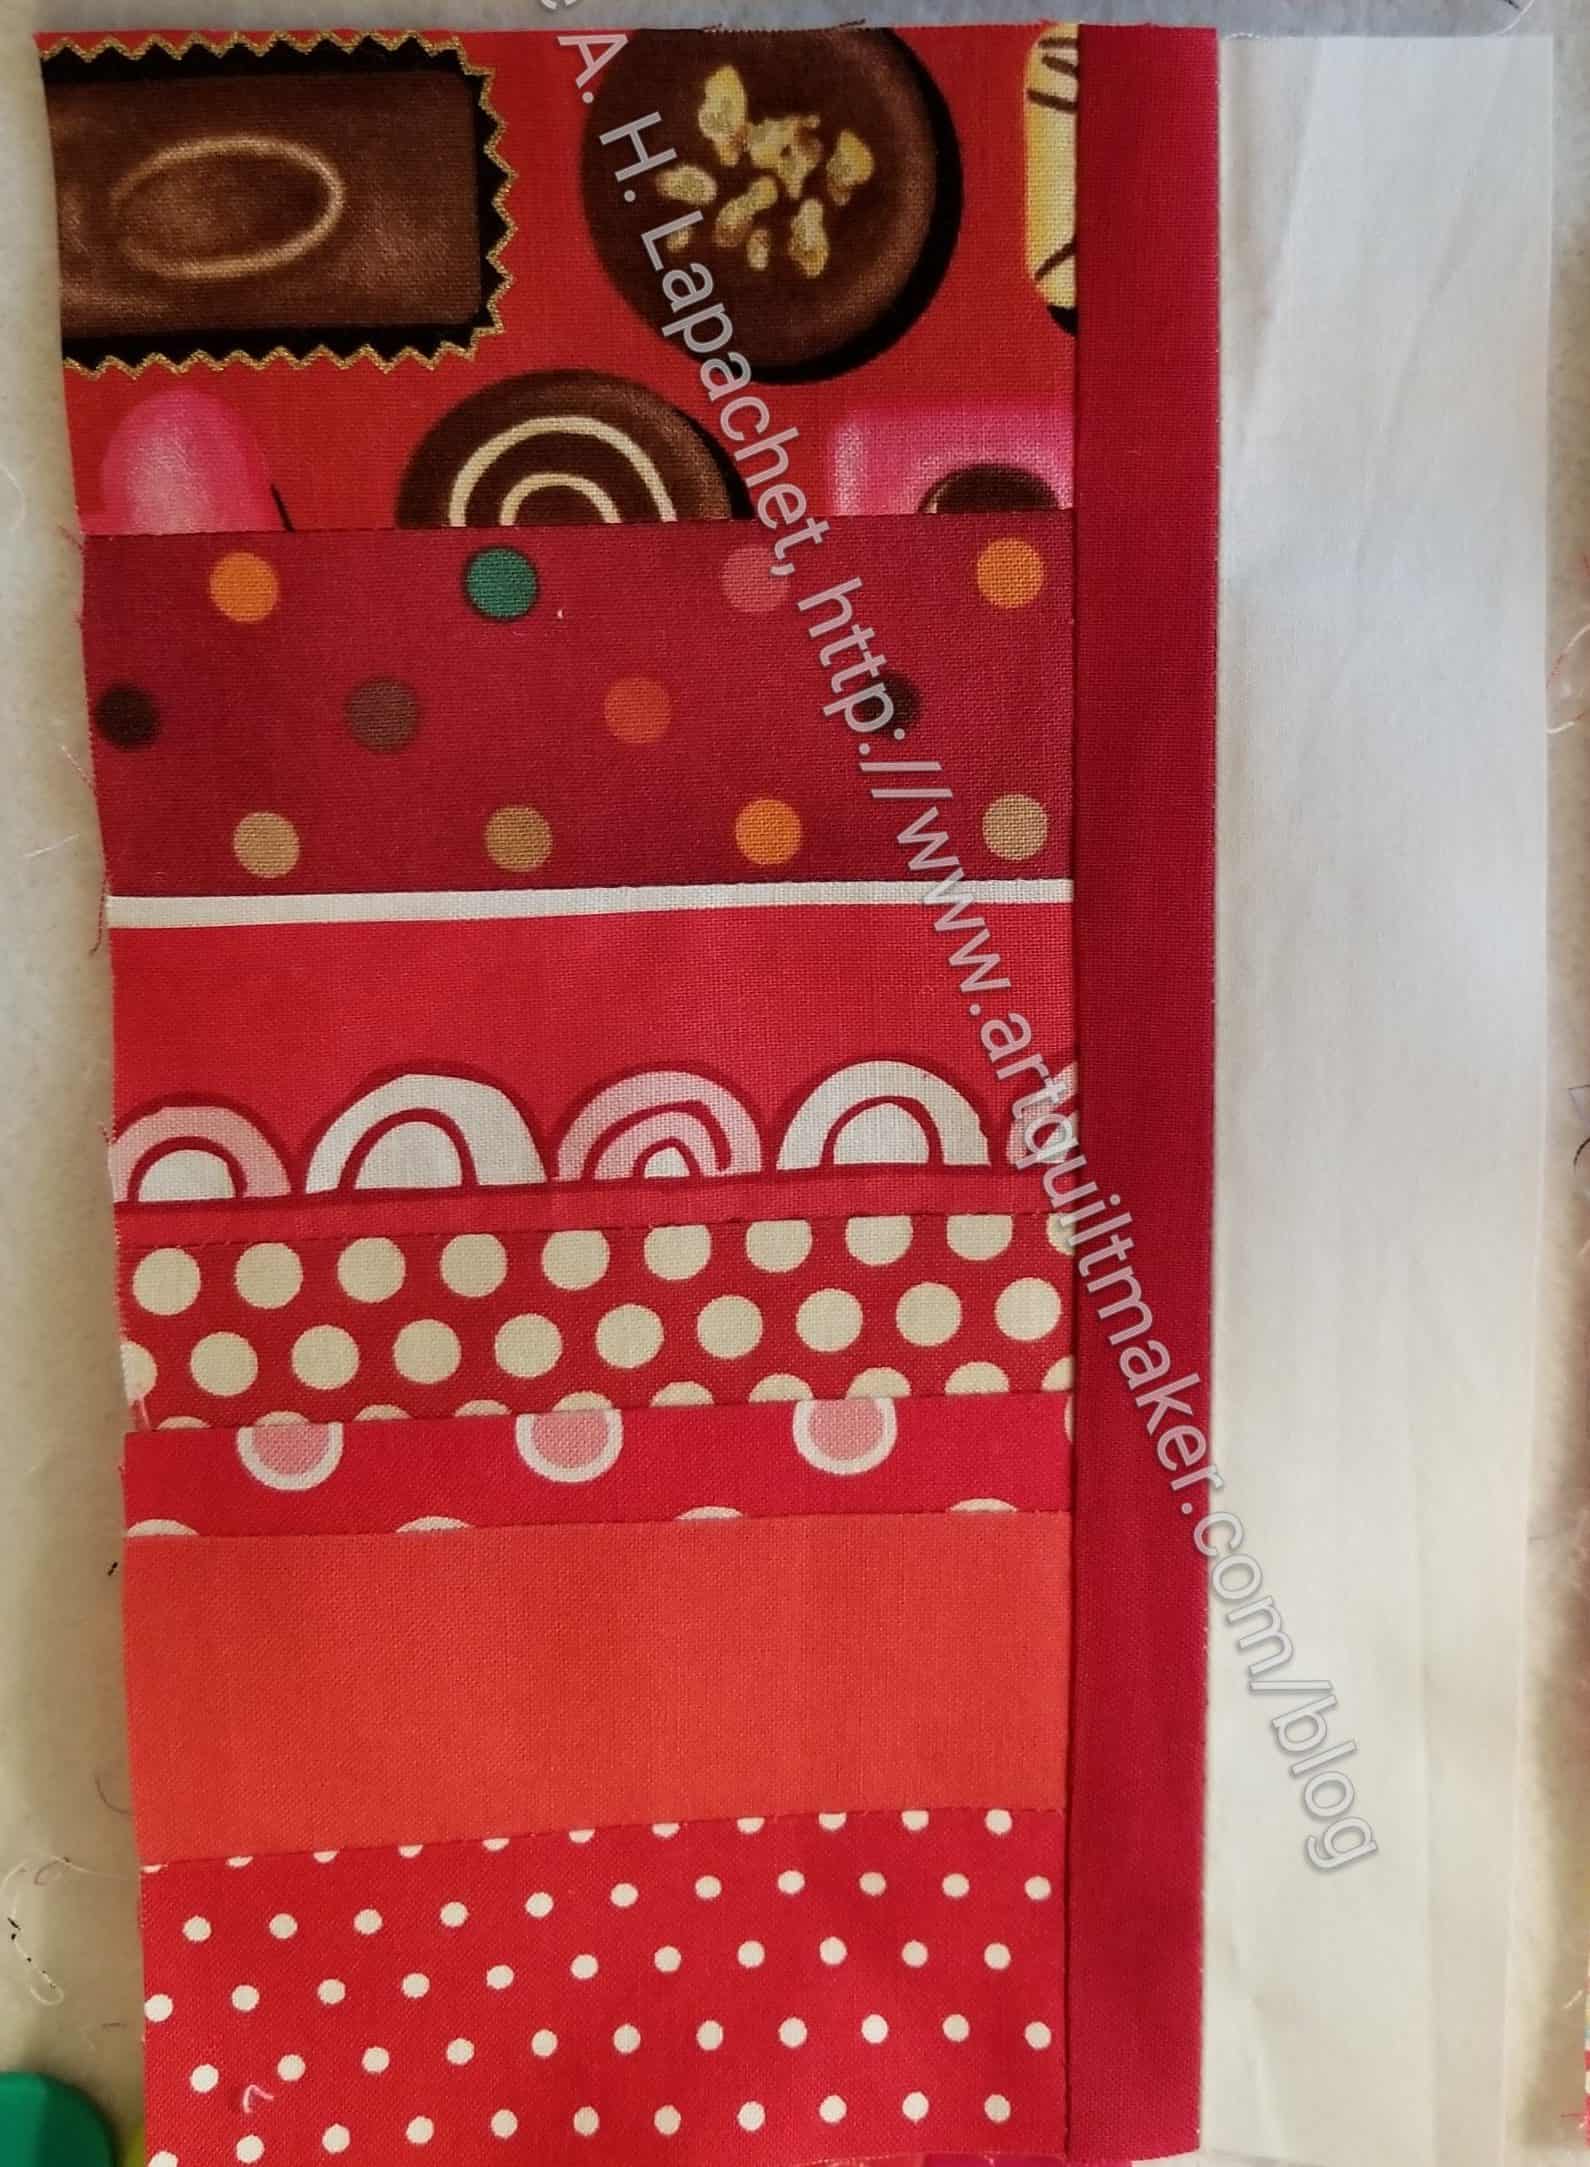
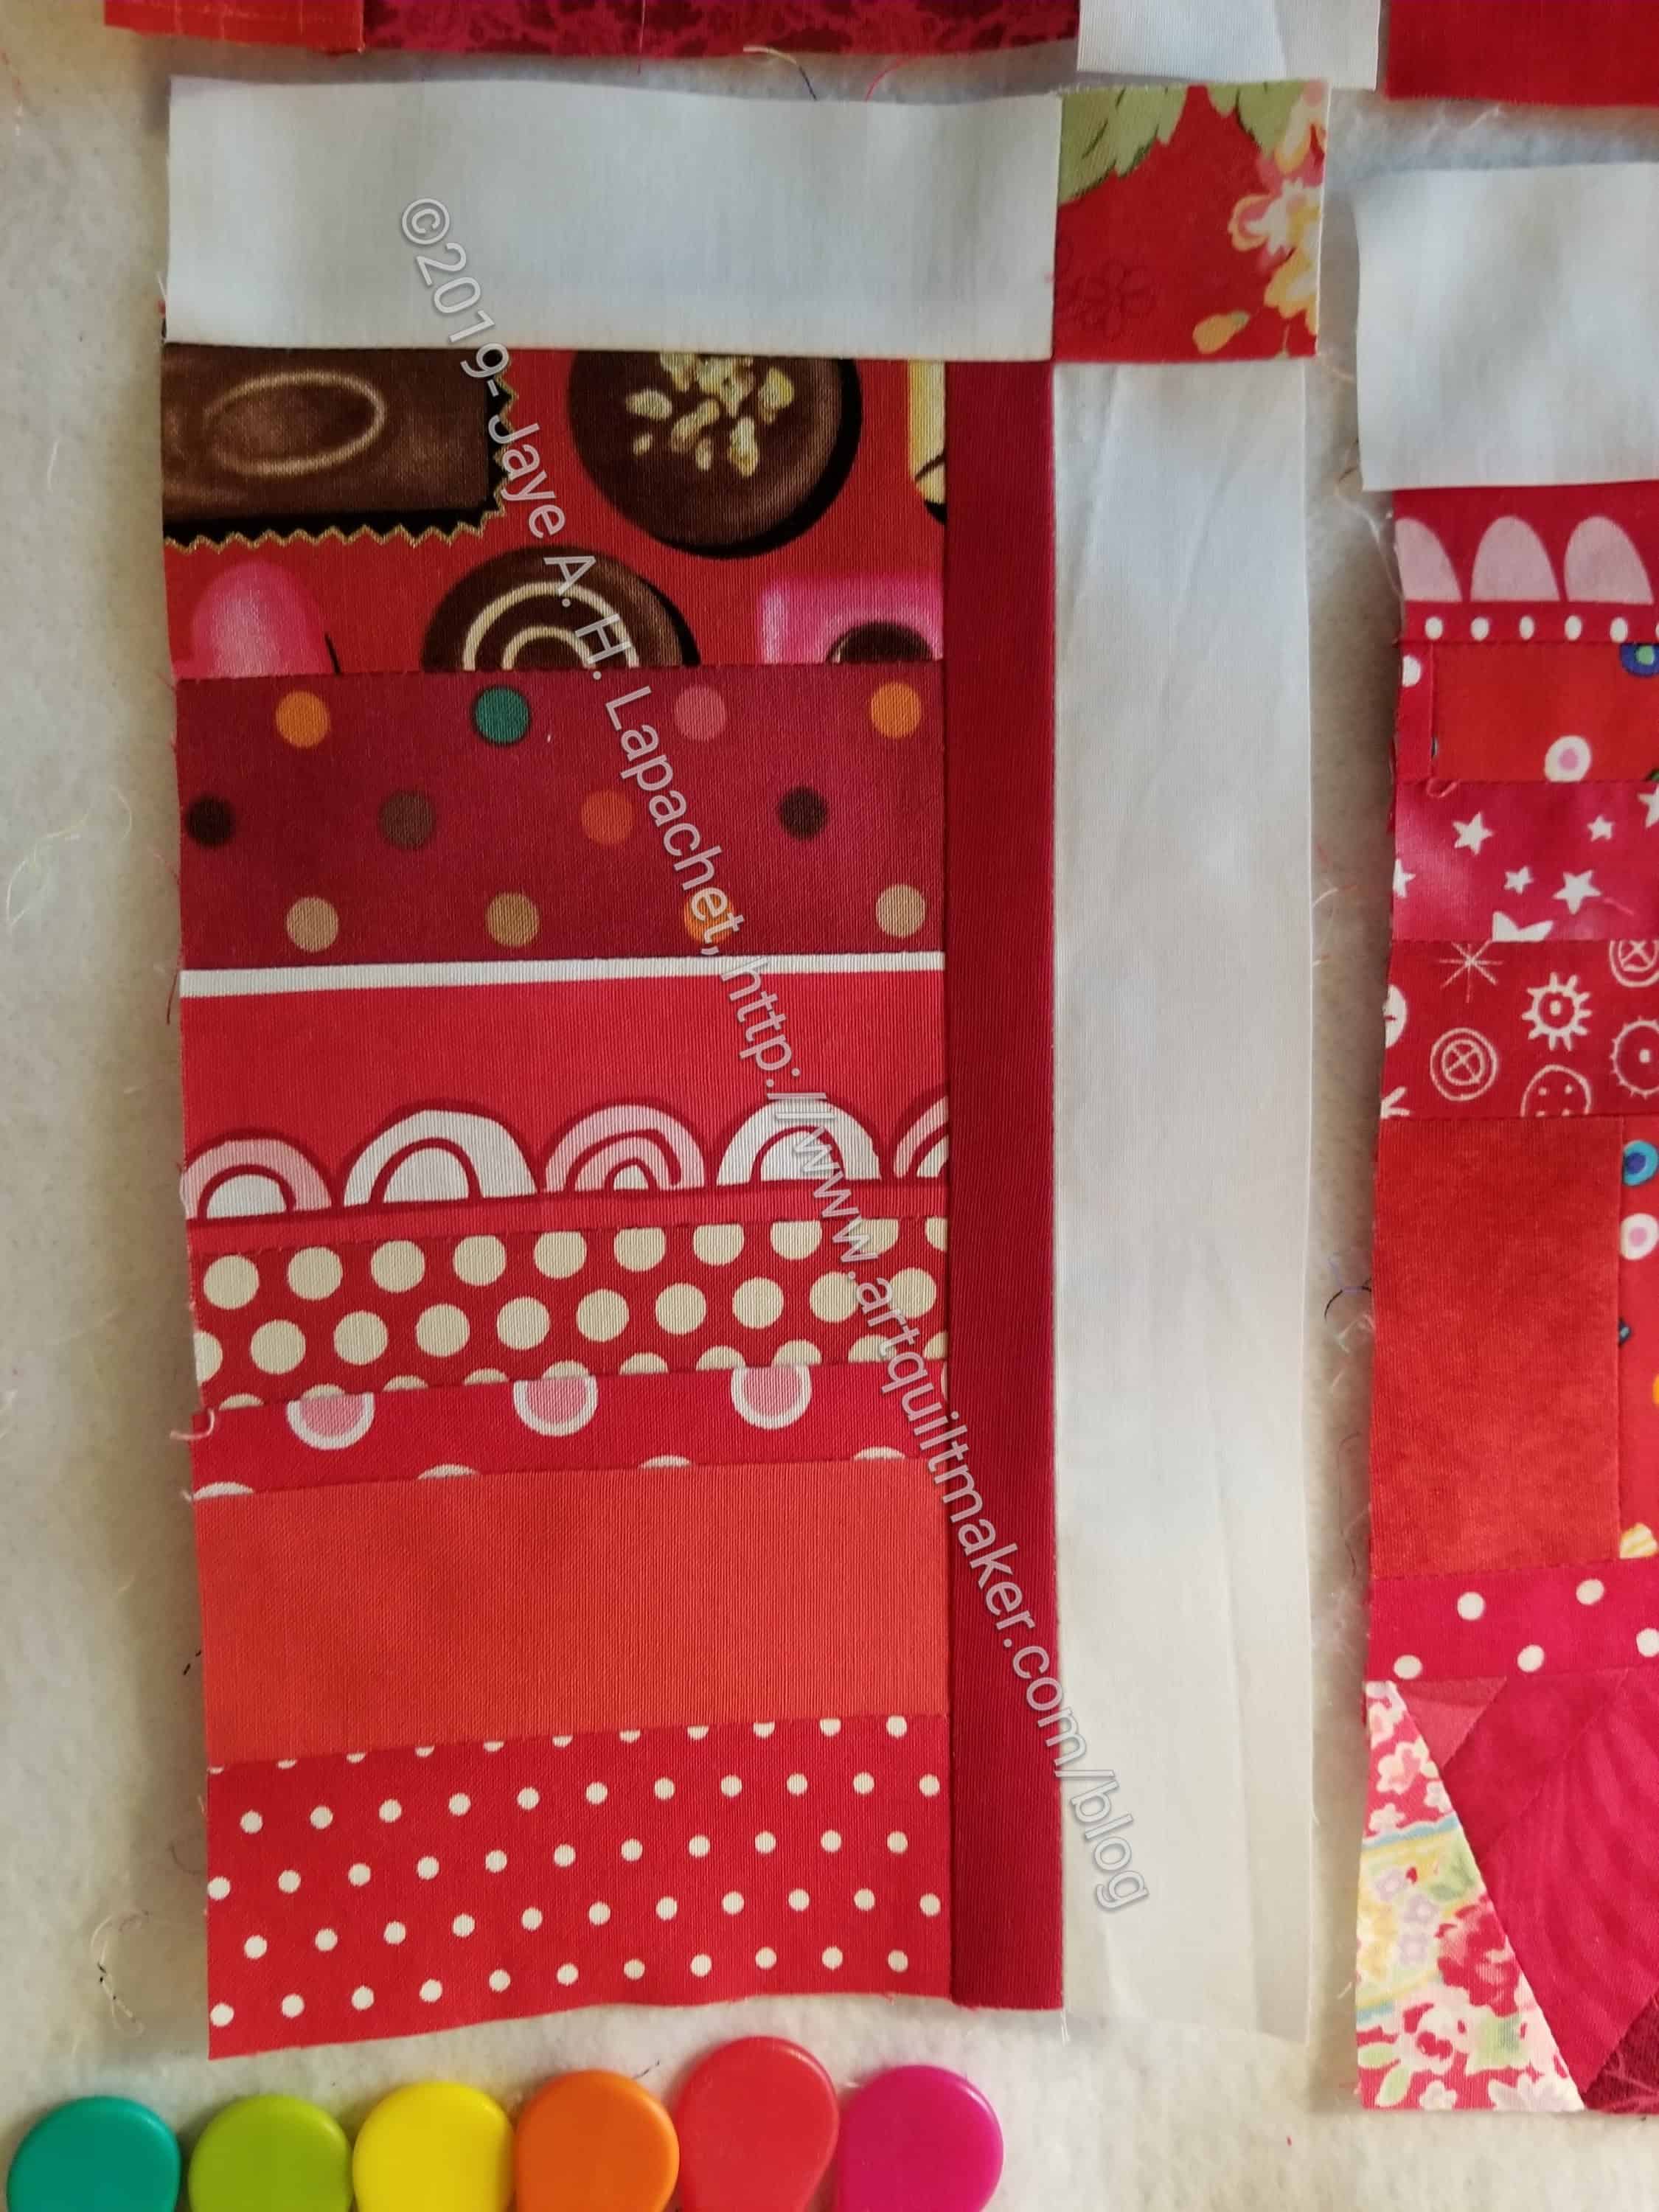
First, sew one vertical sashing piece to the right side of your block.
Press to the red.
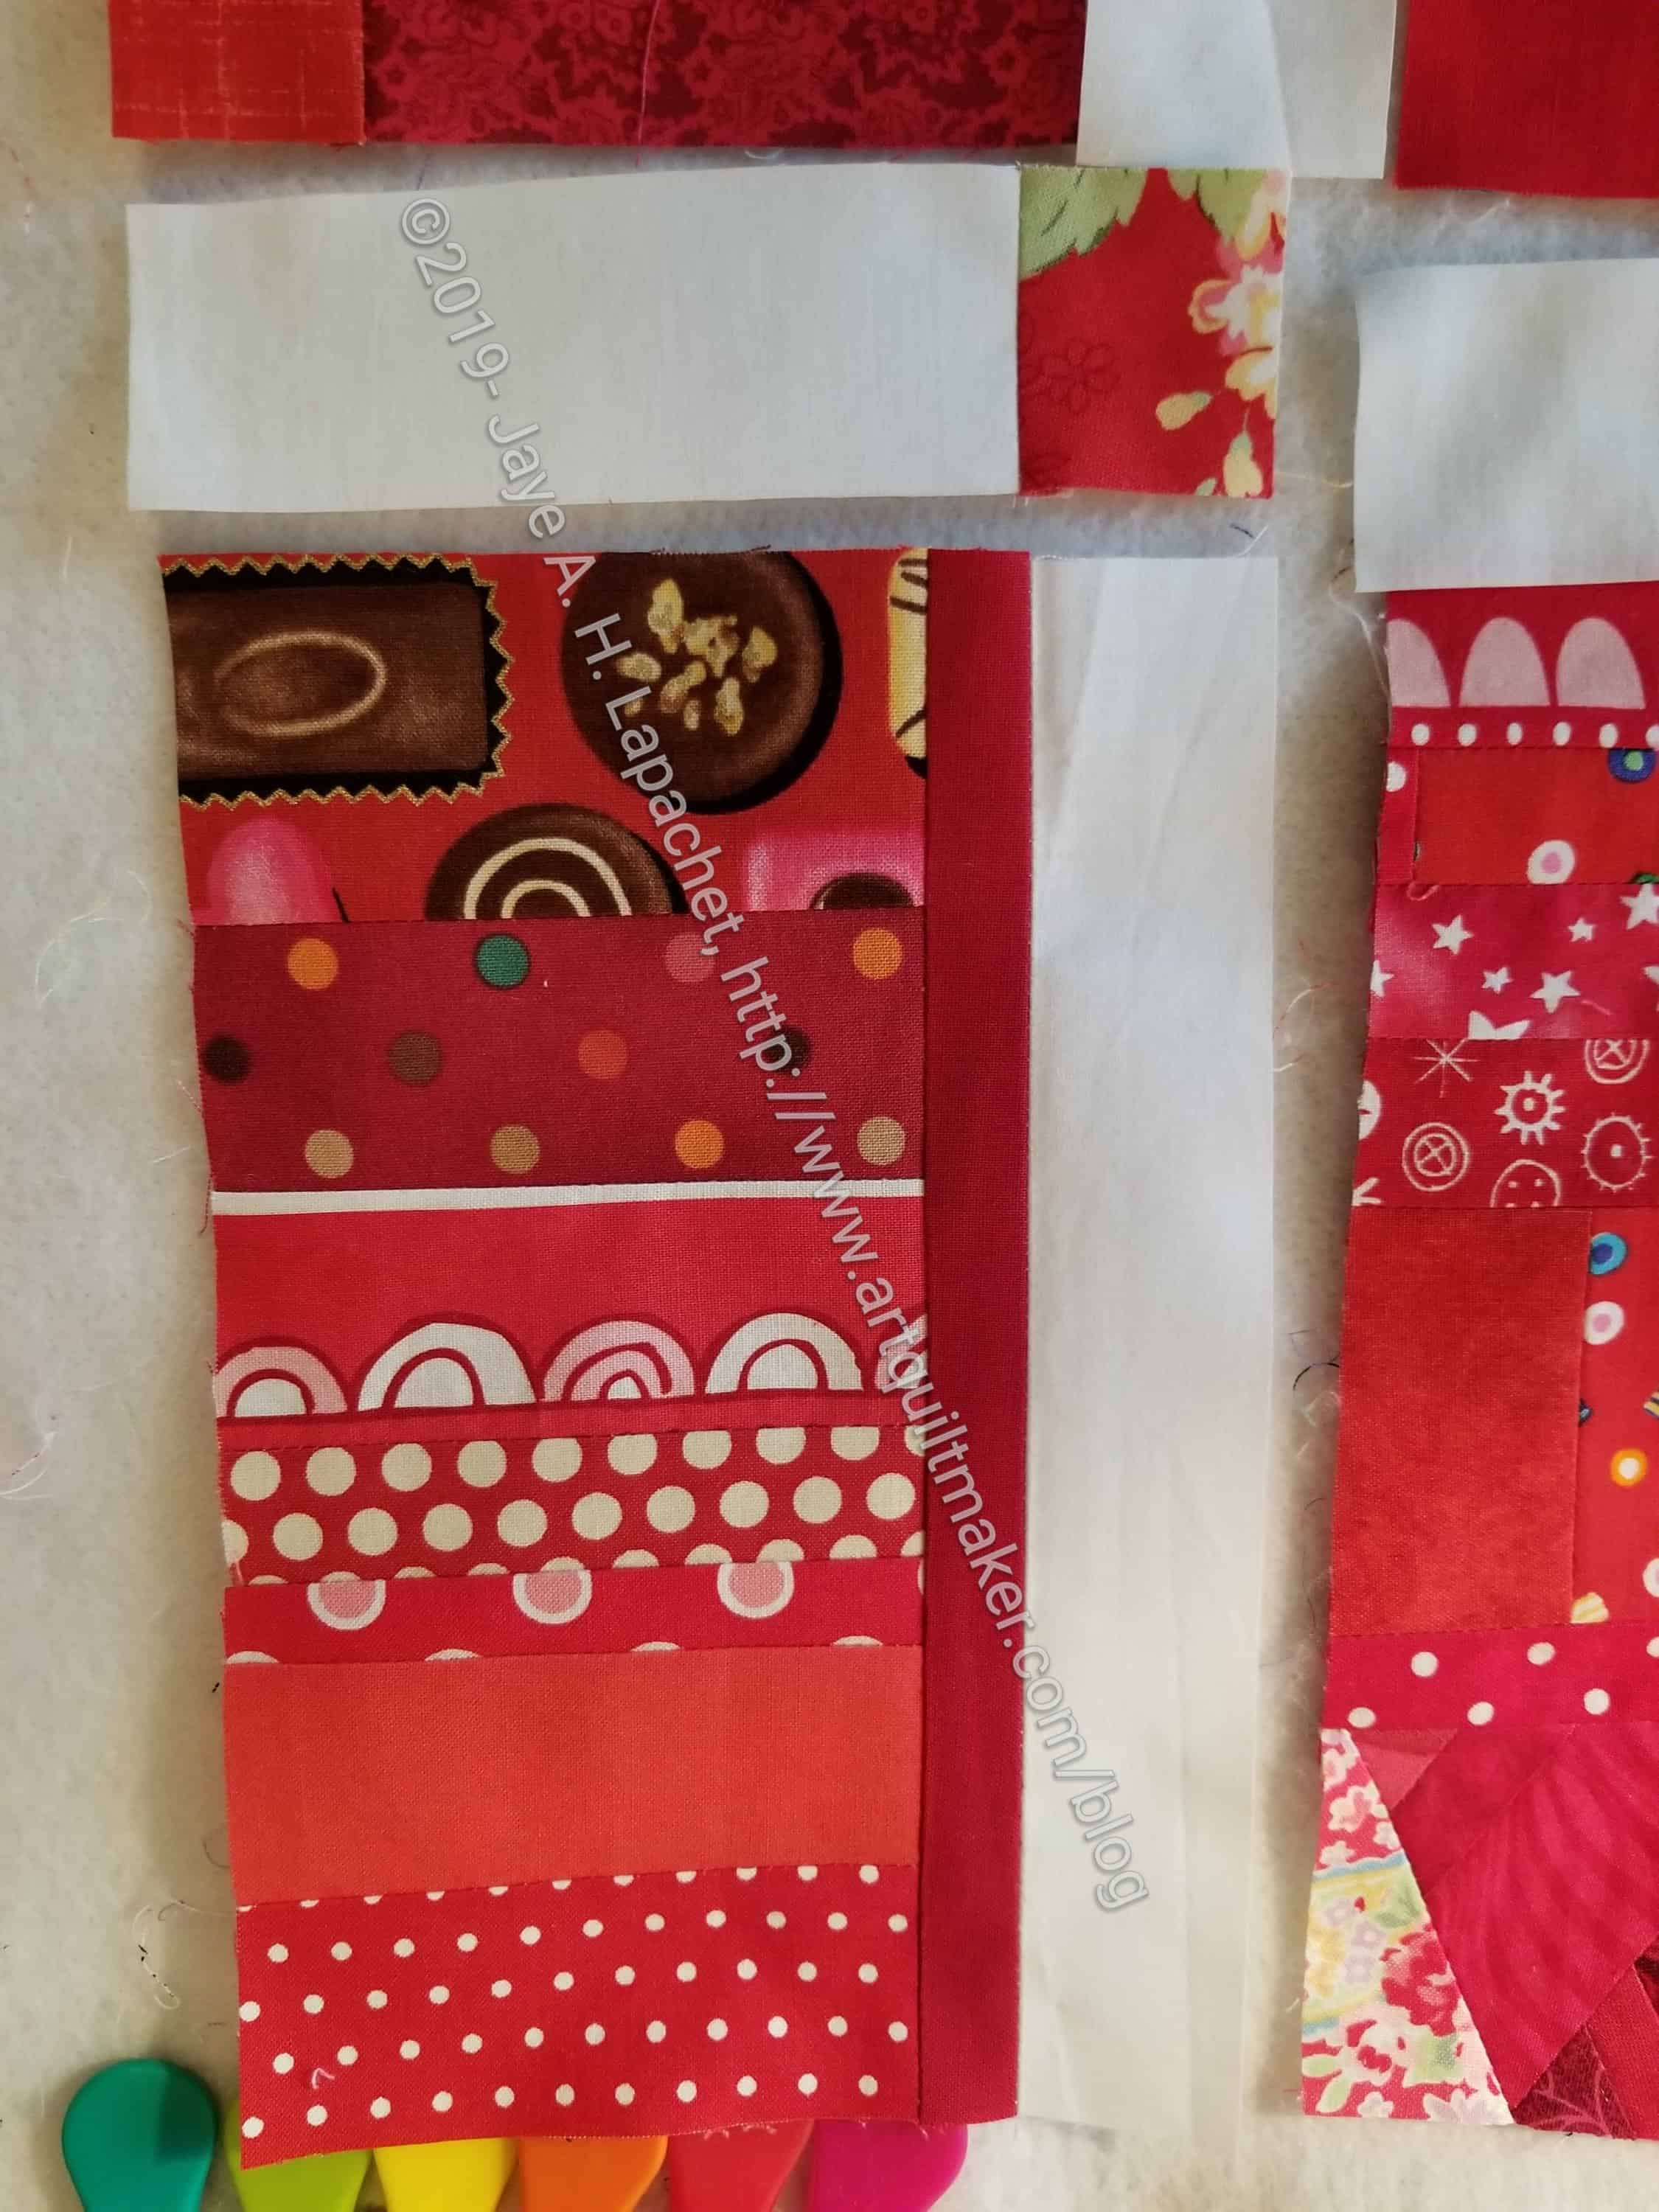
Next, sew one piece of the top sashing to a cornerstone. In the above photo the sashing is white and the cornerstone is a red flower fabric.
Take your new little sashing + cornerstone piece to the ironing board and press to the red.
Now, nest the seams and pin the top sashing/cornerstone piece to the block with vertical sashing.
The top sashing should be on the top of the block as it moves through the sewing machine. Sew the top sashing to the block.
Sew the side sashing and the top sashing/cornerstone to all the blocks as described above.
IMPORTANT: The top row, as mentioned above, in my quilt, is different, so just sew the vertical sashing to the blocks in the top row and the top sashing to the blocks on the right edge.
Once you have sewn all the sashing on to the blocks, you will begin to sew the blocks together. This is chunking. I have talked about it before. I ‘chunk’ because 1) I don’t like sewing long rows together and 2) it keeps my piecing more precise.

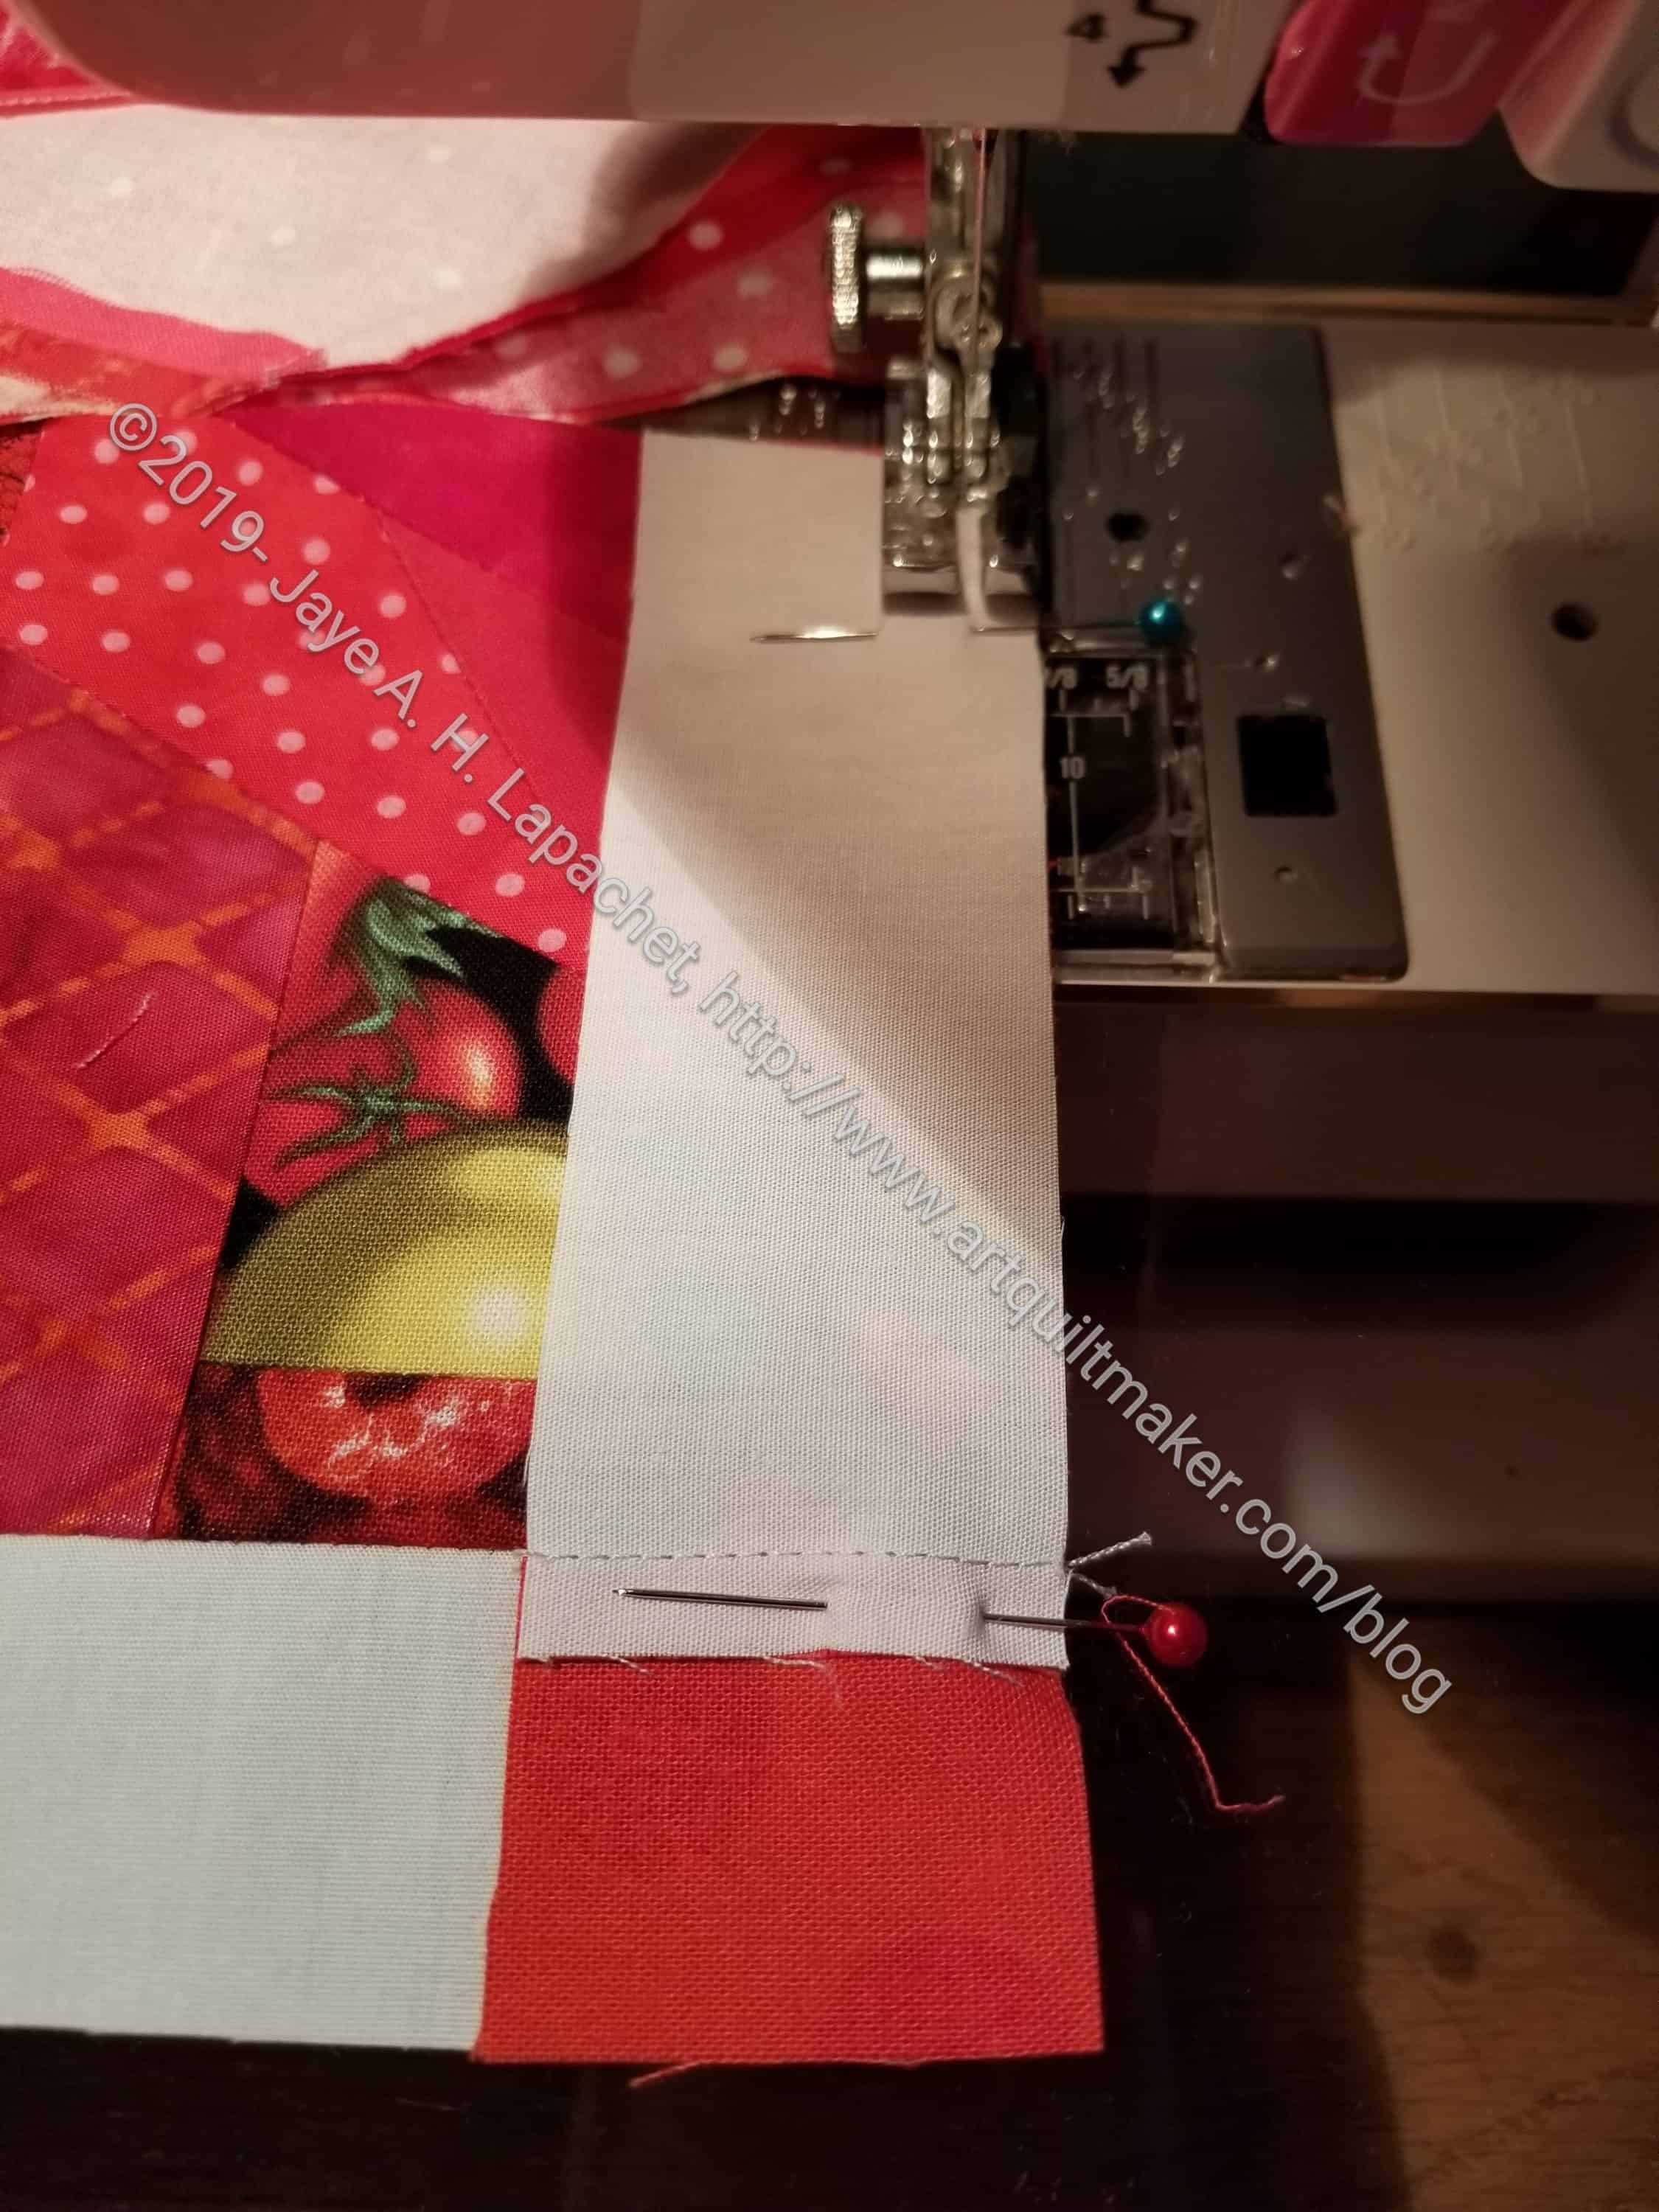
First take the two blocks in the bottom left hand corner, pin them with matched points and nested seams. You will pin them together so that the top white sashing is sewn to the red cornerstone. The white vertical sashing will be sewn to the red block.
Sew them together. I pin in the seam allowance so that i have a better chance at the seams matching up. When I take the pins out as I am sewing, chances increase that the seams won’t match. In general, to increase my chances of perfectly matching seams, I try to sew towards the seam allowance, but that didn’t work on this quilt, because I pressed towards the red. Use a stiletto to keep the seams in place for as long as possible.
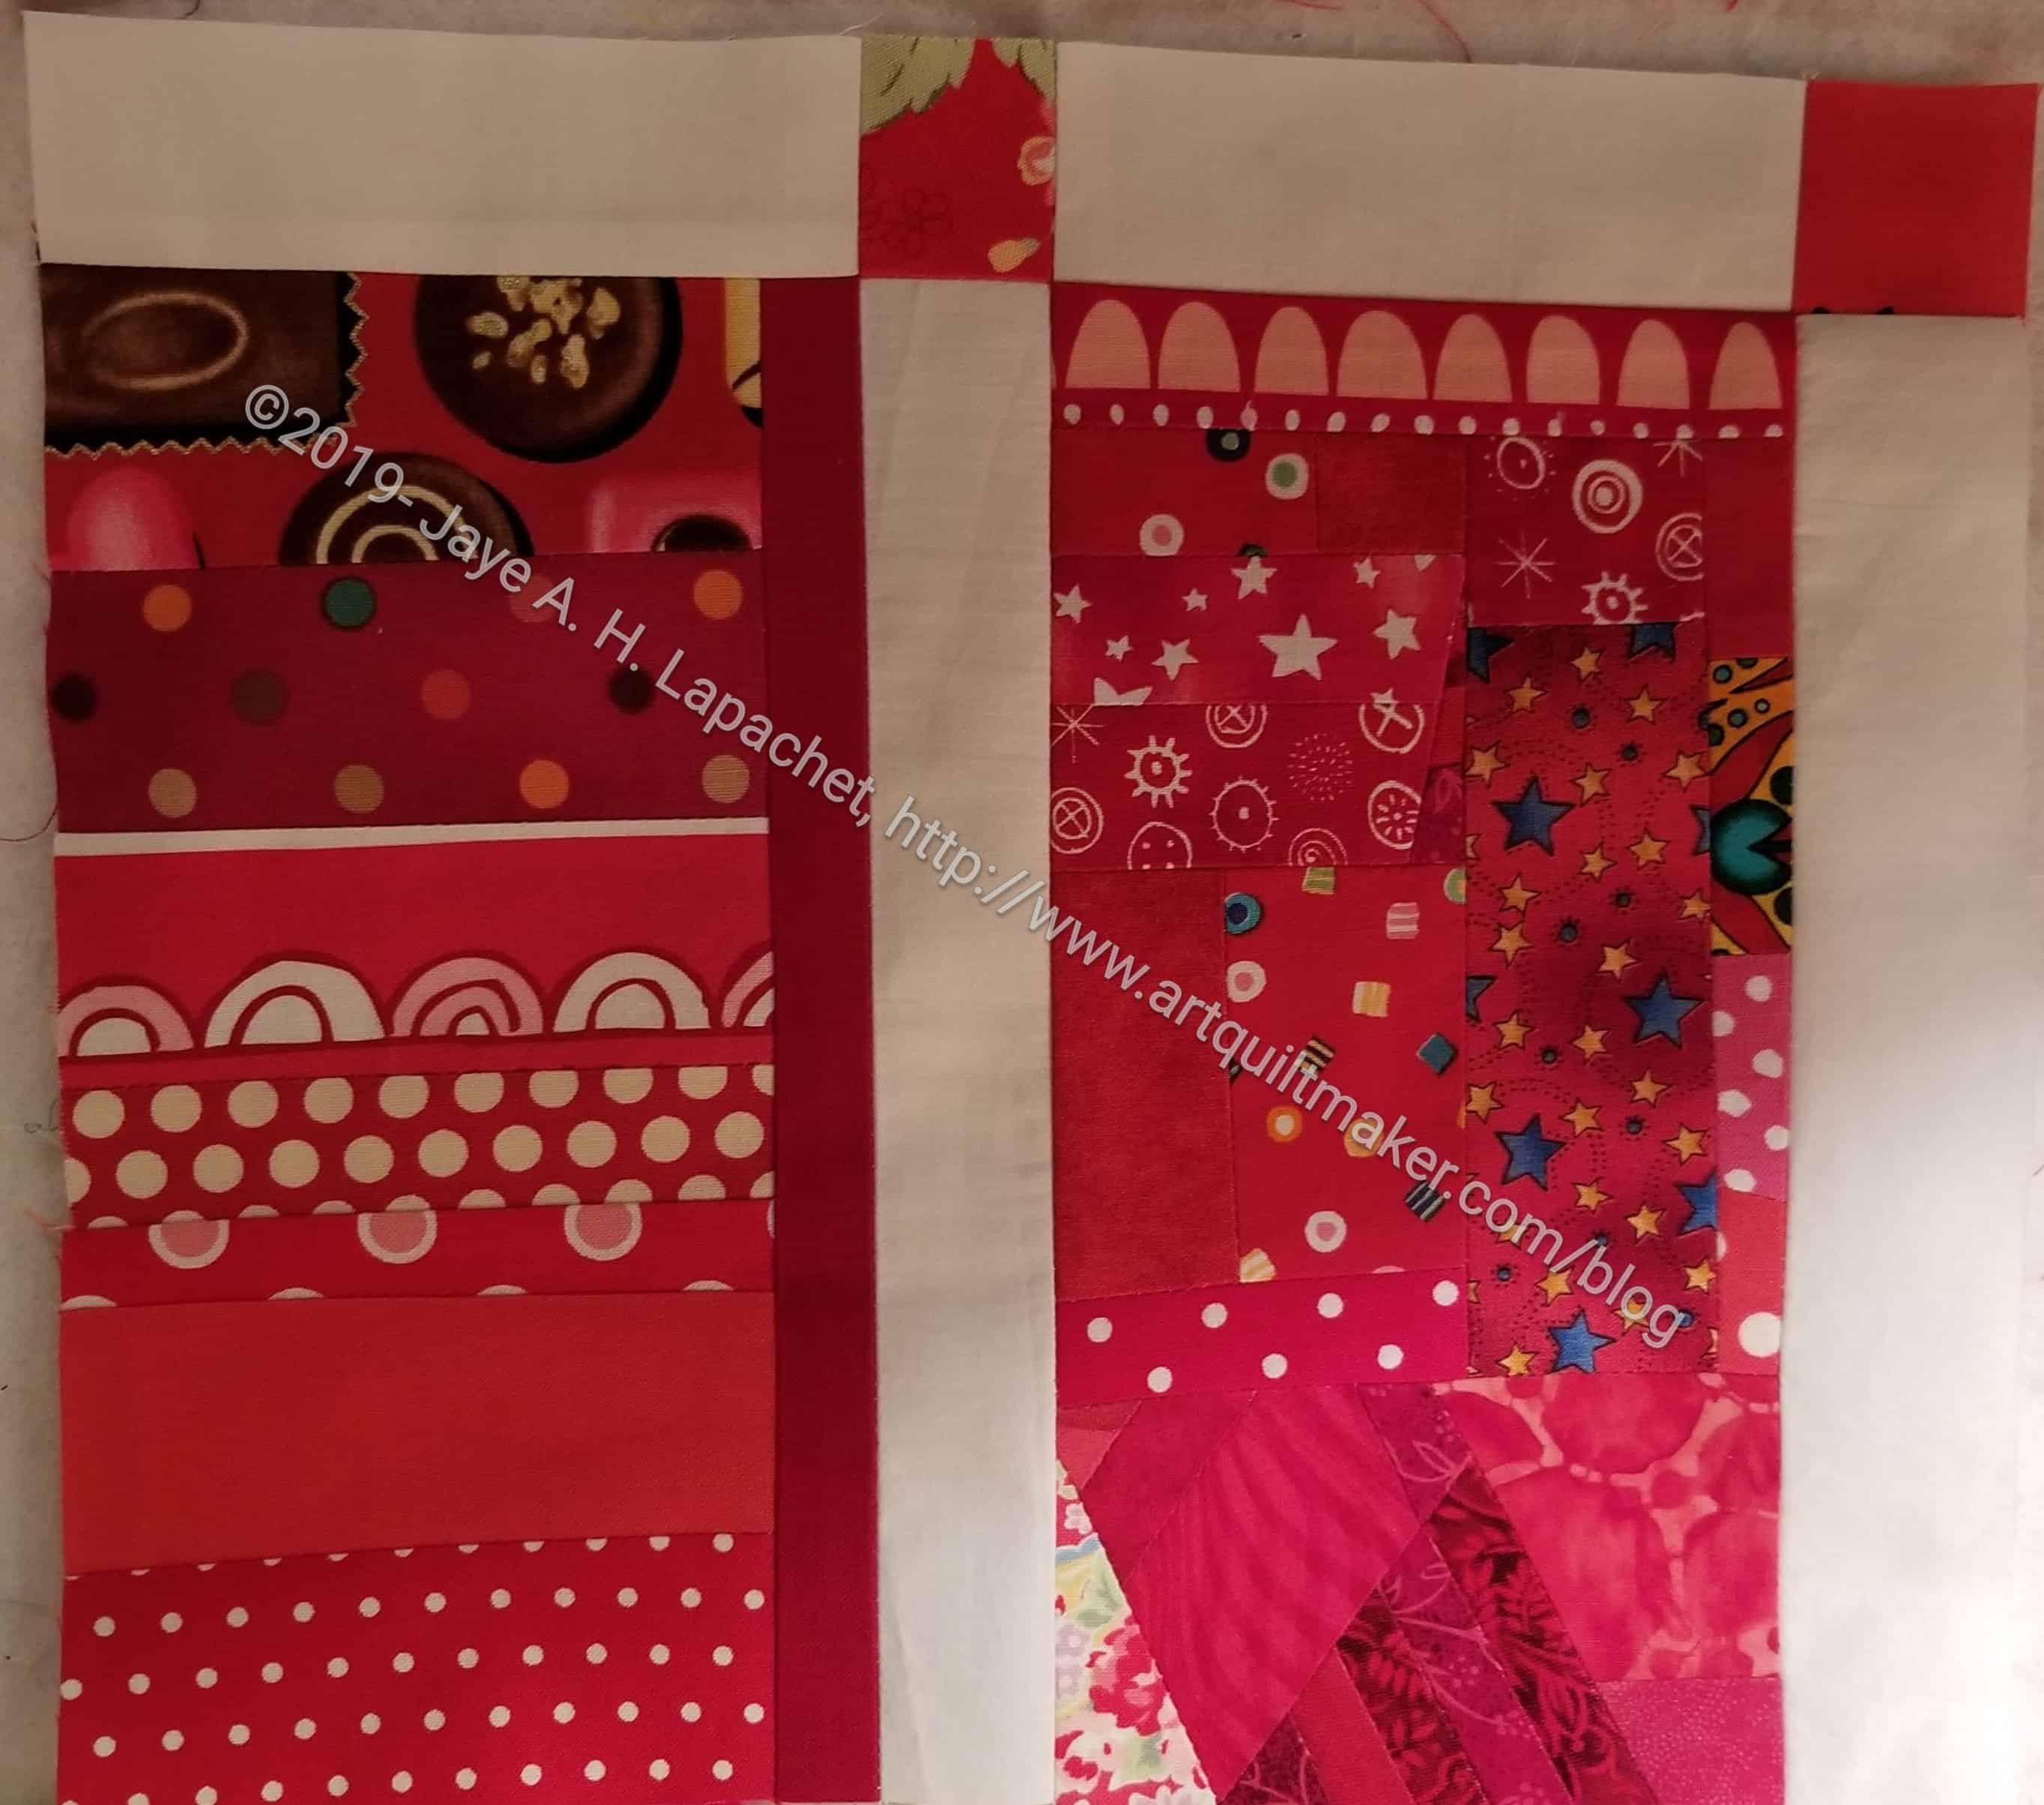
Now you have a block with sashing on two sides.
Once you have sewn all of the sashing and cornerstones to the blocks, you will have completed the first step in putting your quilt top together.
On the right edge of the quilt, you will only sew the top sashing to the blocks. As mentioned before, there will be a border without cornerstones in my quilt, so I don’t need vertical sashing or cornerstones on the edges. If you want cornerstones in your border, follow the directions above for all blocks.
After you have sewn the various blocks together, you will have one long seam left.

Once you sew that seam, the center of your quilt top is done.
I know that the common way of sewing a quilt together is sewing it together in rows then sewing all the rows together. Using the row method is easier to explain than ‘chunking’, but, as I said above, my method is more precise.
**I use affiliate links and may be paid for your purchase of an item when you click on an item link in my post. There is no additional cost to you for clicking or purchasing items I recommend. I appreciate your clicks and purchases as it helps support this blog.