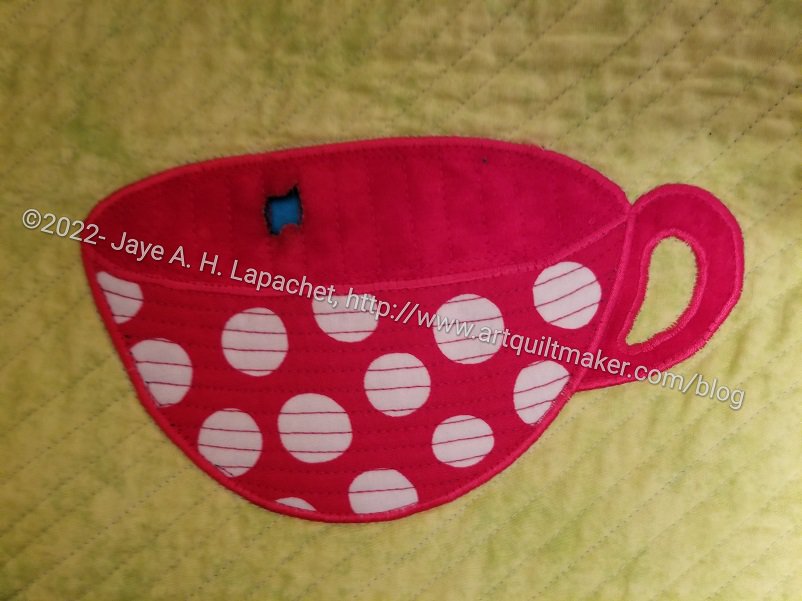
After finishing the quilting on the Tarts Come to Tea, I realized that I still needed to fix the burn. Ever since I wrote about it, I have been very careful not to burn any other parts of the quilt. The center of the burn, however, did not get any better. Crispy bits of fabric and batting fell out until I had a hole I could see through.
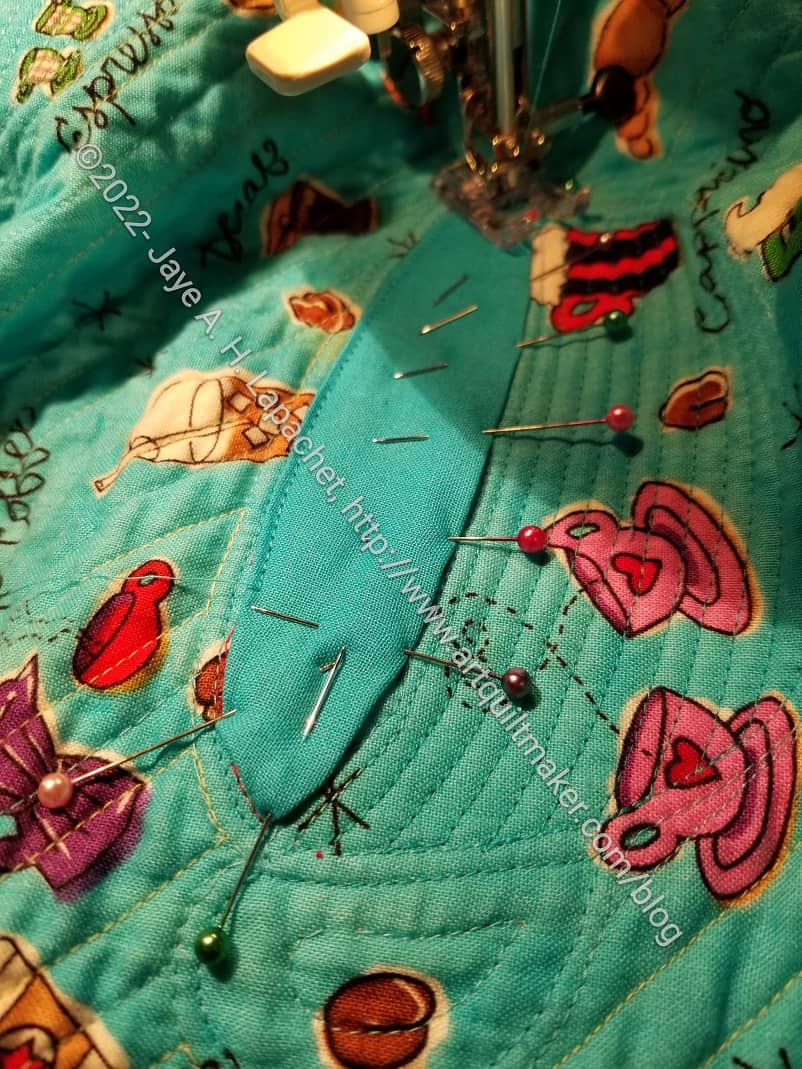
As I worked, I also thought about how to fix it. I finally settled on some machine applique.
First, I patched the back. To make the patch the correct size, I made a template out of tracing paper by doing a rubbing of the satin stitching. The satin stitching is more 3D than other parts of the quilt so my method worked pretty well.
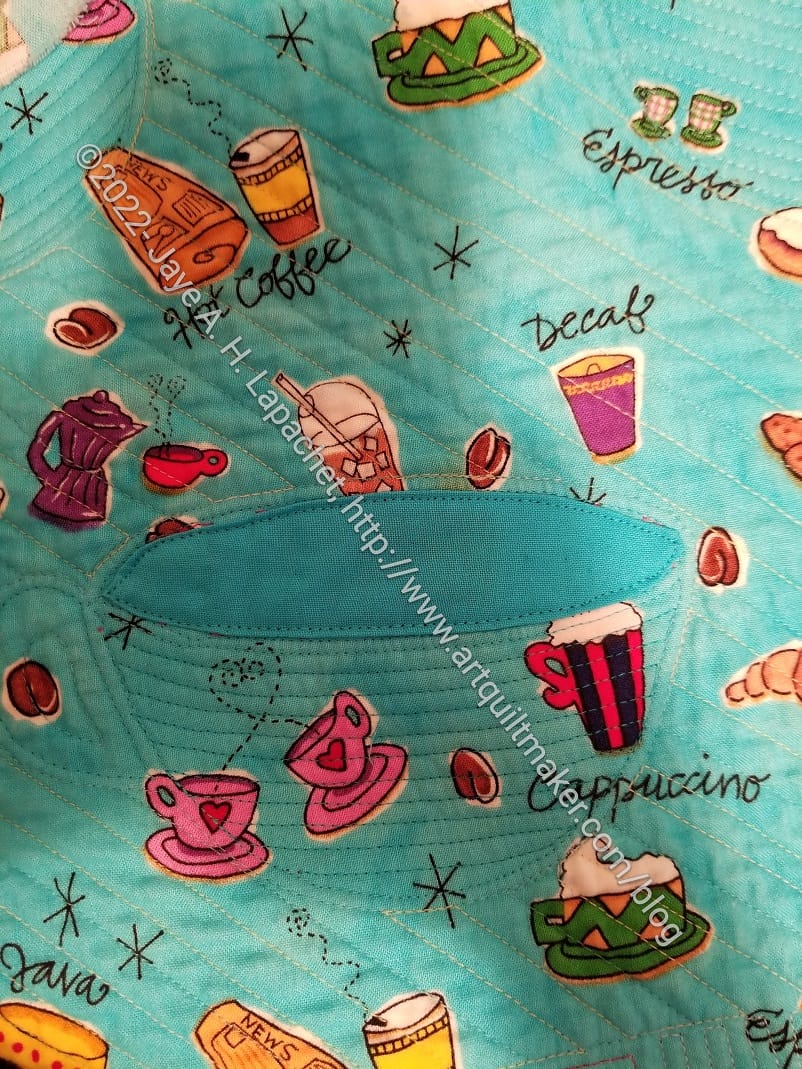
Then I cut a piece of fabric that wouldn’t stand out. I didn’t have (or couldn’t find) any more of that coffee novelty print so I matched the background with a solid. It isn’t a perfect match, but looks ok.
Then I machine appliqued the piece on to the back.
It isn’t perfect, but I think it looks acceptable. It is so annoying and disappointing that this burn is in the center of the quilt. In the picture of the cup (above), you can see the blue fabric through the quilt. That is the patch on the back.
I needed to take more care with the front of the quilt. I had two competing feelings while I did the work. First, I just wanted it done. Second, I didn’t want it to stand out so much after a quick glance that people would notice it immediately.

I am pretty happy with the patch on the front. It doesn’t scream out that there was a problem, though you can see it if you look closely. Hopefully people will enjoy the overall look of the quilt and not focus too much on the details.