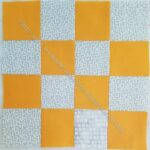
My pace of making donation blocks has slowed because of my mania to clear my to do list. I am, however, still making a few. Many in the guild have gone off this pattern, so I may have to start making something else. I find it easy, inoffensive and easy to make. It’s great for leaders and enders.
I went and got Pies & Points back from Colleen. I also dropped off quilts and projects off for her to quilt.
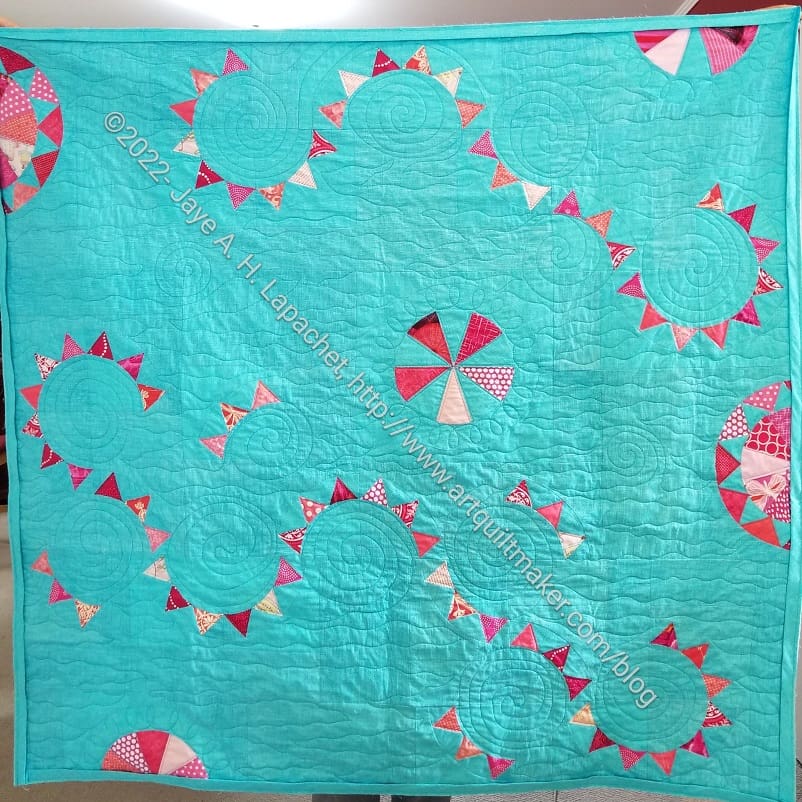
Pies & Points looks great. I didn’t give specific instructions about the quilting design and she went with a breeze/wind/sky theme. My little niece will like it, I hope.
Quilt designs always improve after I haven’t seen them for awhile. LOL!
Pies & Points wheel motif quilted
I do think the elements of this pattern have possibilities in other quilts. The wheel is a motif I have wanted to play with. I was tempted by Barbara Brackman’s Southern Spin project, but didn’t do it. Yet? I don’t know. It is pretty far down the list at the moment.
Anyway, I kind of like the wheel motif. There is a little view of the overall quilting and the clouds motifs as well.
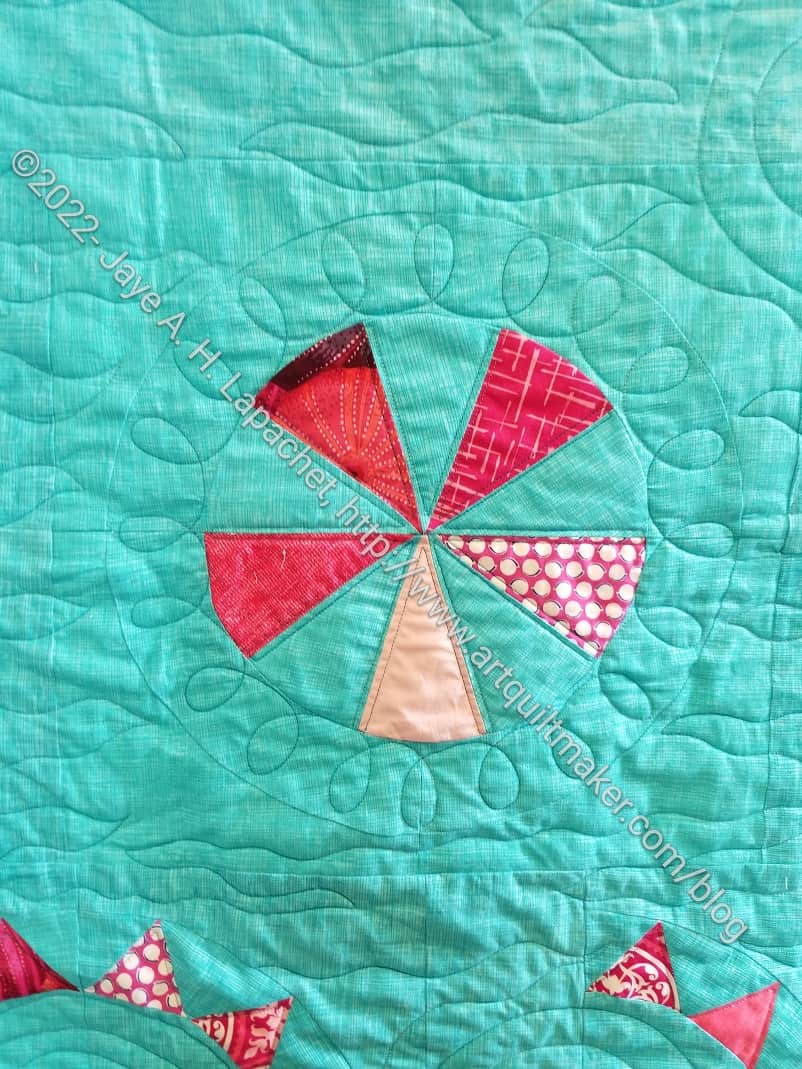
Pies & Points circular flags motif quilted
The circular flags got spirals quilted into them. The spirals might be too big; they look a little odd to me. However, there is a ton of background in the quilt and I think that makes for a challenging quilted design. I haven’t made a quilt with this much background in a long time.
Pies & Points flags motif quilted
I do like the overall effect of the quilt. I like the sense that the flags are fluttering in the wind or against the sky. I think it looks different from most of my other recent quilts.
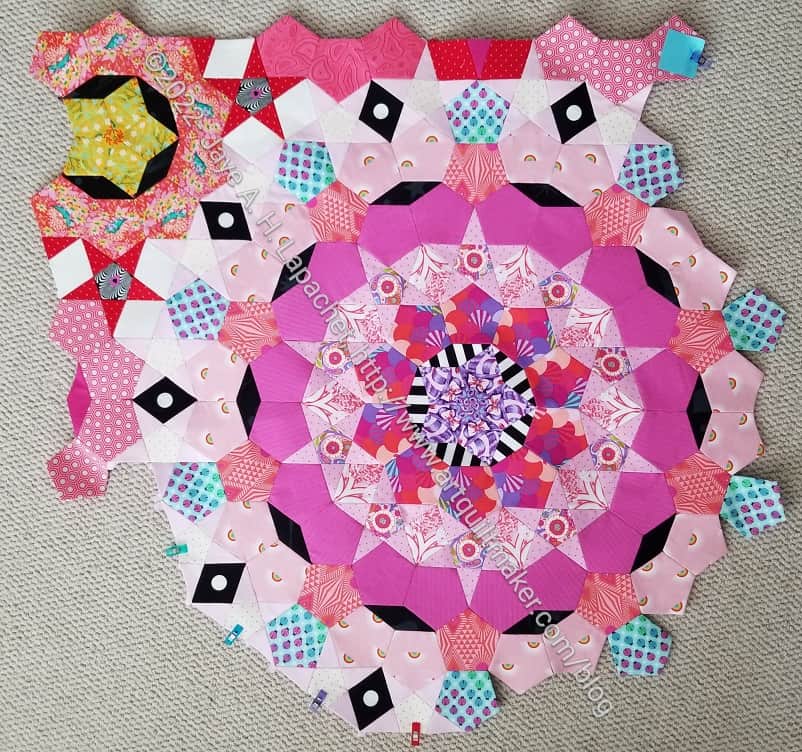
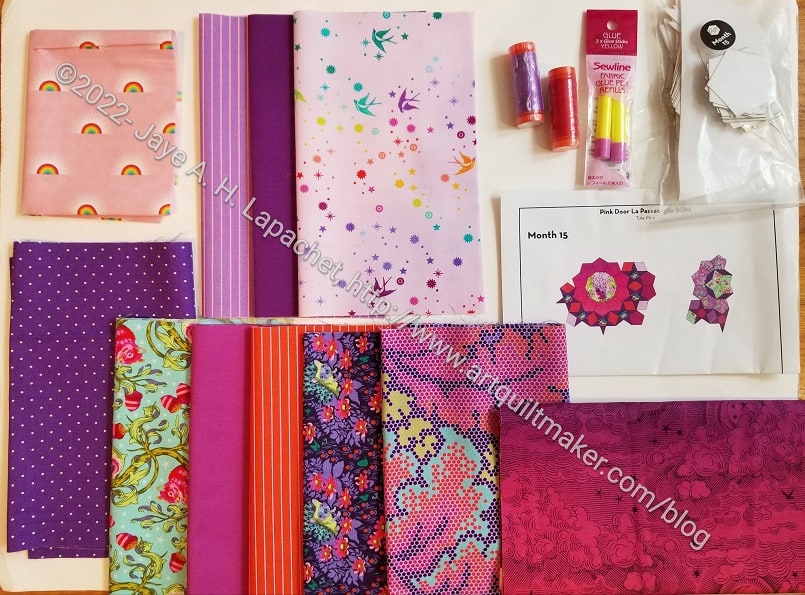
While I waited for Month 15 to arrive, I sewed some smaller rosettes to Month 13/14, which will be in the upper left hand corner of the piece.
The pieces I sewed on to the M 13/14 are the smaller sections from Month 11. Since they were so small, I thought it would be a good idea to contain them.
I am now wondering whether I really want to cut off any piecing at all. That rosette in the corner with the chartreuse center might be better off being finished.Not sure I have enough fabric to finish all the pieces that are suppose to be cut off.
Nobody, including Pink Door has said anything about finishing. My book, All Points Patchwork**, doesn’t say anything either. Tula went over it briefly in one of her videos. Otherwise, I haven’t done a lot of research, but will need to do some. We are nearing the end of the project and some decisions will have to be made.
**Obviously, you should shop at local quilt shops. However, if you are too busy or can’t find what you need at quilt shops, I use affiliate links and may be paid for your purchase of an item when you click on an item’s link in my post. There is no additional cost to you for clicking or purchasing items I recommend. I appreciate your clicks and purchases as it helps support this blog.
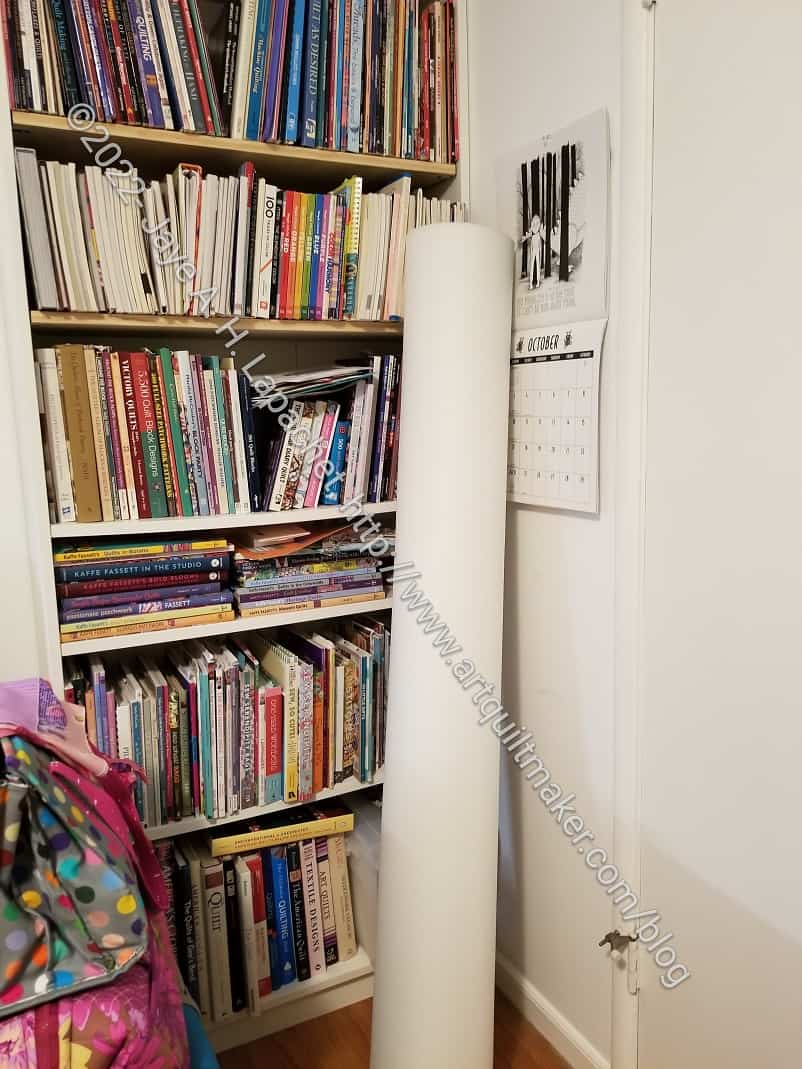
A local quilt shop is closing. Always bad news. Friend Julie contacted me to tell me that the shop had 60″ wide Soft & Stable for a discount. I had her buy 5 yards for me. I didn’t realize, in physical space, how much that would be.
The roll is large – 60 inches tall LOL! Now it is sitting in different places around my workroom. I am going to need a supply closet, separate from the fabric closet if I am not careful. I bought a bolt of Pellon foam* recently and haven’t even cracked it open.
The wider foam is much easier to use. I can use less of the yardage, because I can take advantage of the width.
Foam and fabric ready to quilt
I took some quilts to Colleen the other day and included two lengths of foam and fabric ready to be quilted. One sticking point for me, especially with ByAnnie patterns is quilting the foam before I can even get started on the project. I really don’t like quilting and quilting the Tarts has cemented my resolve not to quilt any project soon.
Before I was even ready to make a date with Colleen, I asked her if she could quilt foam. She had never tried it on her machine. She was kind enough to get some Soft & Stable and quilt a sample. She told me she could and showed me the sample when I saw her. I told her I had opened up a whole new line of quilting for her!
One length (shown above) will be for a project with a drop-in lining, maybe the Sew Sweetness Chickadee backpack. the other length has a lining as well as an exterior and it will be for a ByAnnie bag. I have made most of the patterns I have except the Case in Point pattern. I am still searching for the perfect bag in which I can store my tools in for travel. I am also wondering if, I have a length of pre-quilted fabric, the process of working with a ByAnnie pattern will be easier and quicker.
*N.B. Pellon foam** is ok. It works just fine. It is a smidge less stiff than Soft & Stable. It is also only 20″ wide, so there is a lot of seaming pieces together for larger projects.
**Obviously, you should shop at local fabric stores, knitting shops, independent booksellers or quilt shops. However, if you can’t, please know that I use affiliate links. I may be paid for your purchase of an item when you click on an item’s link in my post. There is no additional cost to you for clicking or purchasing items I recommend. I do not recommend items I don’t like. I appreciate your clicks and purchases as it helps support this blog.
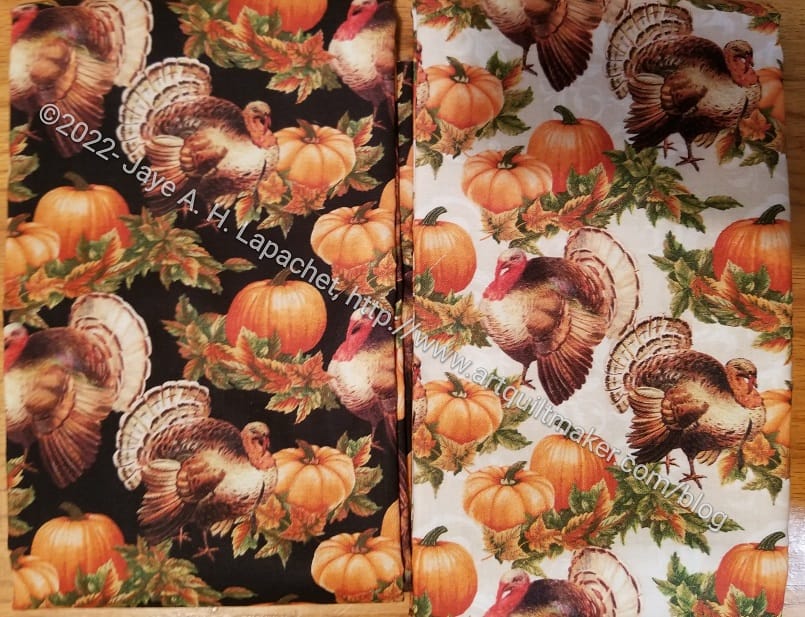
Once the Halloween pillowcases were done, I knew I needed to start thinking about Thanksgiving.
I finally (that must be my word of the month!) bought some fabrics for the Thanksgiving pillowcases. I was inspired to get turkey fabric by some photos one of my students sent me. The photo showed a flock of turkeys she sees in her yard. They looked like the turkeys on this fabric.
Turkeys
Turkeys
Showoff Turkeys
I need to choose some cuff fabric and wash these pieces, then I can make them. I have about two weeks before I need to send them off.
The other day I mentioned that I had finally received the Month 15 kit. At the guild meeting the other day I cut out all of the pieces for Month 16. After the meeting, I basted them all as well. Fortunately, it is a light month.
We were supposed to use a piece of the cameo for a medallion in this month’s rosette, but I decided to use a flower instead.
I finished the back! I also did the binding, which is not pictured. This piece is ready for quilting.
Pointillist Palette #4: Top Complete
I am pleased with the way the back came out. I think it looks moody. I also think it will go very well with the top.
I am thrilled that this piece is done. I took great pleasure in crossing it off my to do list. It is great timing since I start a new contract today and I won’t be able to sew in the afternoons much any more.
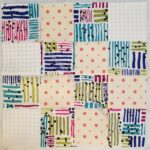
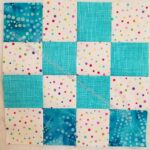
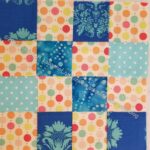
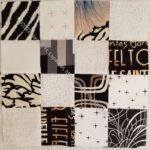
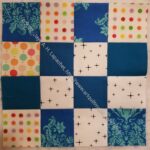
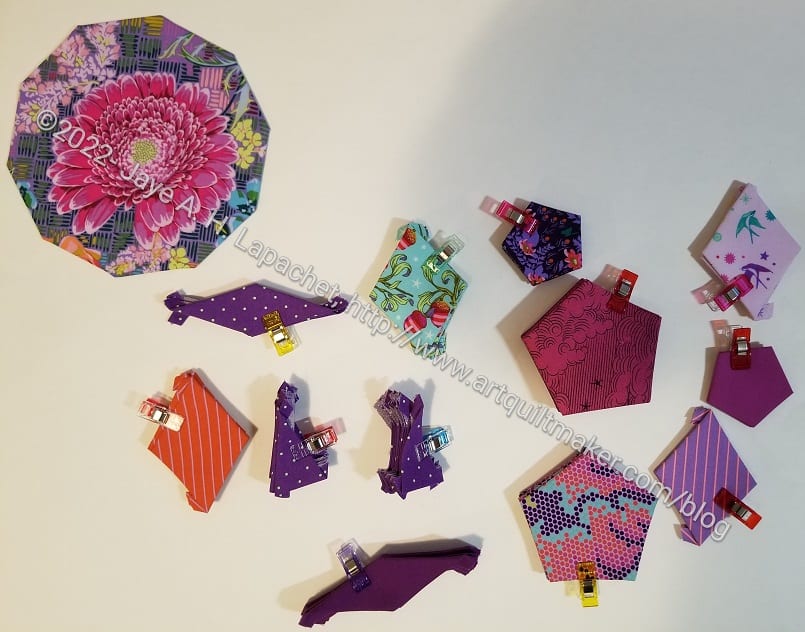
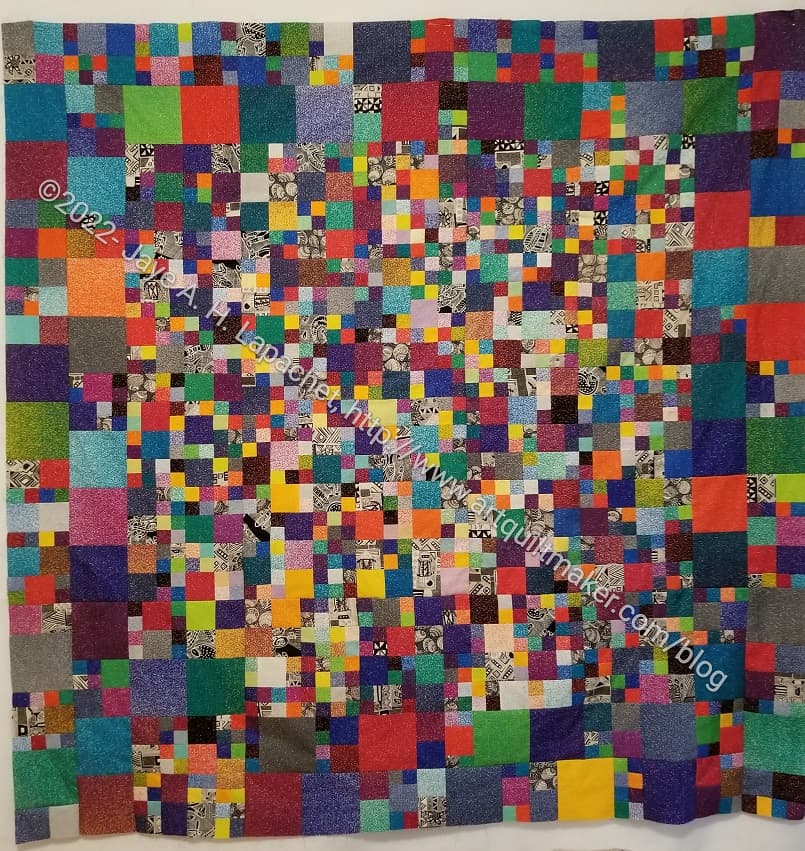
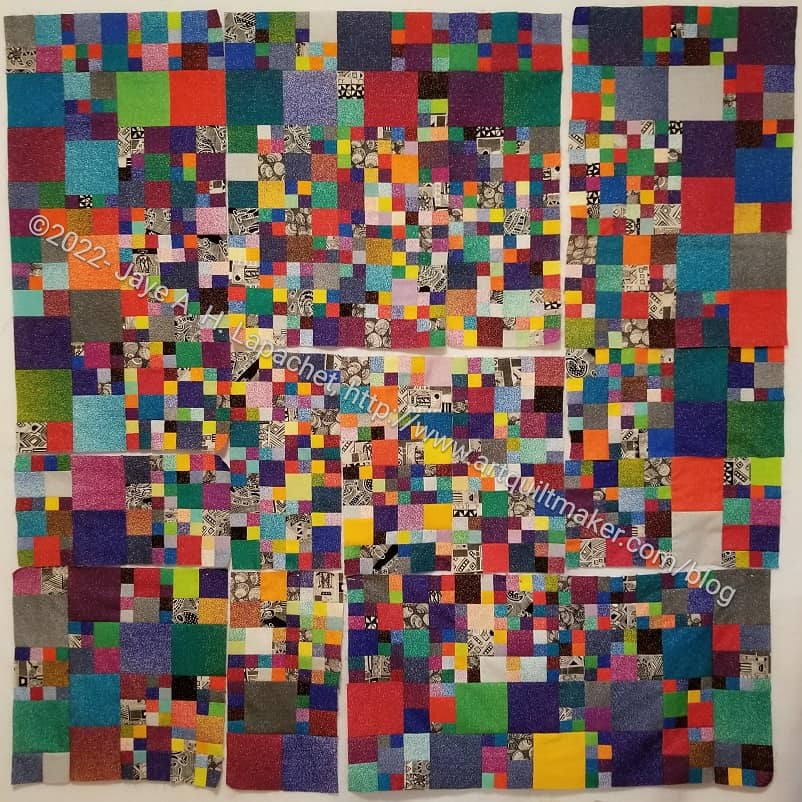
I finally (FINALLY!) made some Pantone Project blocks and handed them off to Julie when we were at PIQF.
I know there are a small number shown here, but along with the fabrics I have selected, I feel like I have made a good start. I am in the process of making the other blocks. Once I do that I will be caught up and should be able to make a couple of blocks per week. Fingers crossed.
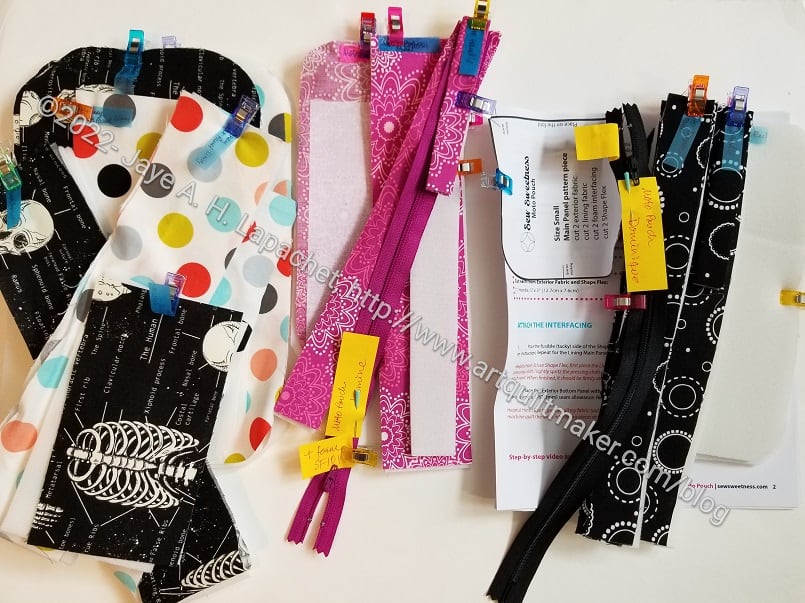
As mentioned the other day, I cut out some pouches when I was at Gerre’s house. All of the patterns happened to be Sew Sweetness patterns. I periodically buy acrylic templates for patterns I think I will use more than once.
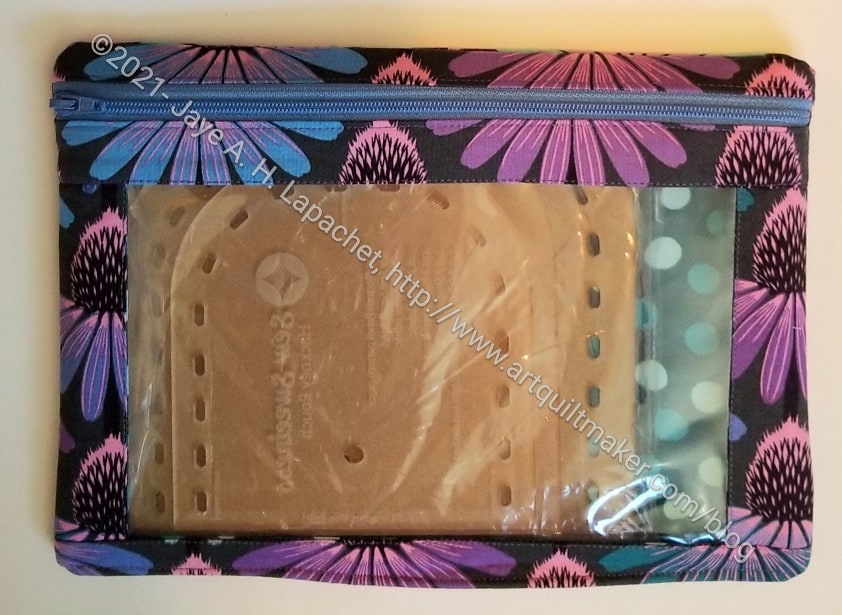
Medium I Spy Pouch
In this case, I cut out the Moto Pouch and the Hackney Pouch, both Minikins patterns. I have the acrylic templates for the Hackney Pouch, but not for the Moto Pouch. Remember when I made these I Spy Pouches for my Sew Sweetness templates? I need to make more, but I was pleased that they made transporting part of the project so much easier.
Having one set of templates and not the other gave me a good opportunity to think about whether I needed the templates. I have to say that cutting out the Moto Pouch sans templates took me twice as long as cutting out the Hackney pouch with templates. Yes, they were different sizes, but I don’t think that made much of a difference. I think having to be super careful not to cut the paper was the key. I don’t know if I will buy the Moto Pouch templates. I’ll have to see how I like the directions and the end result. I think it has the same kind of construction as the Percheron Pouch, with which I struggled. I think I should make another Percheron. If the construction of the Moto is the same, then it will give me some practice. I could make a Percheron for my sister for Christmas. We’ll see.
I have been replacing fabrics then chunking as the opportunity presents itself.
I made good progress and was really to put the whole top together when I realized that two pieces did not blend well at all and would have to be replaced. I was really irritated with myself and with the fabrics as well.
I used the ‘it’ll be ok’ test and decided I need to change those fabrics.
PP4 problems
In general, the piece is darker and moodier because of all the lighter fabrics I replaced. Still, those two lightish greys stick out like sore thumbs.
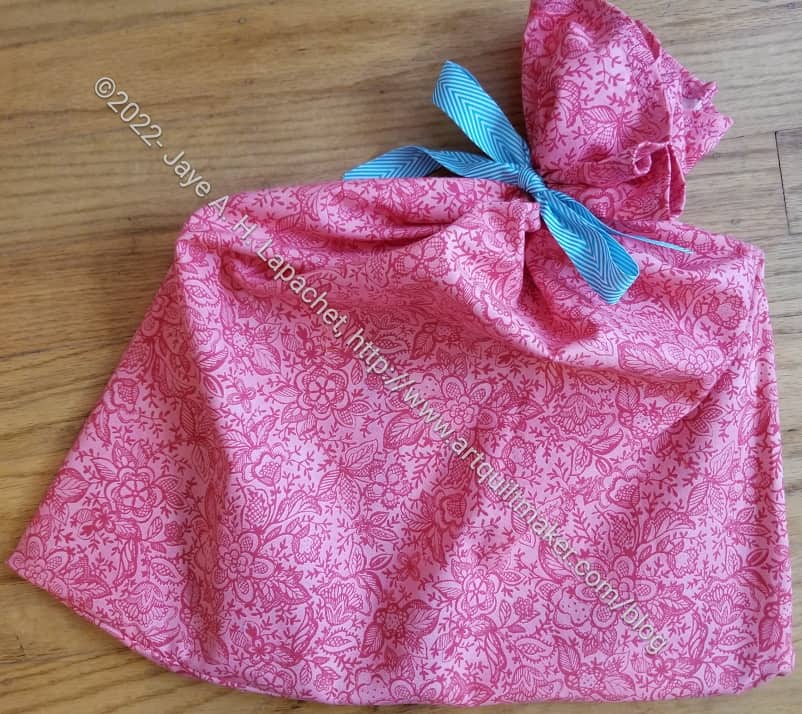
I saw an article about Christmas coming up fast. That article and the gift bags I made for birthdays recently reminded me that it was time to encourage all of you to make gift bags! I updated the tutorial and am reposting it here.
Pink Gift Bag for Mom
I love using fabric gift bags for all types of gifts – birthdays, Christmas, graduations, weddings. Besides the fact that I intensely dislike wrapping gifts with paper, the fabric feels so much nicer in my hands. For Christmas, or other specialty holidays, I also get to sew with the new and beautiful fabrics each year with out committing to a holiday quilt.
Gift bags are a great way to use up scrap fabric that would otherwise hang around unused. If a fabric is no longer to your taste, it will make a great gift bag.
You don’t need super high quality fabric for gift bags either. If stored properly gift bags can be reused year after year.
Supplies:
Basic Sewing Kit
Sewing machine
Thread
Fabric
Ribbon
Supply Notes:
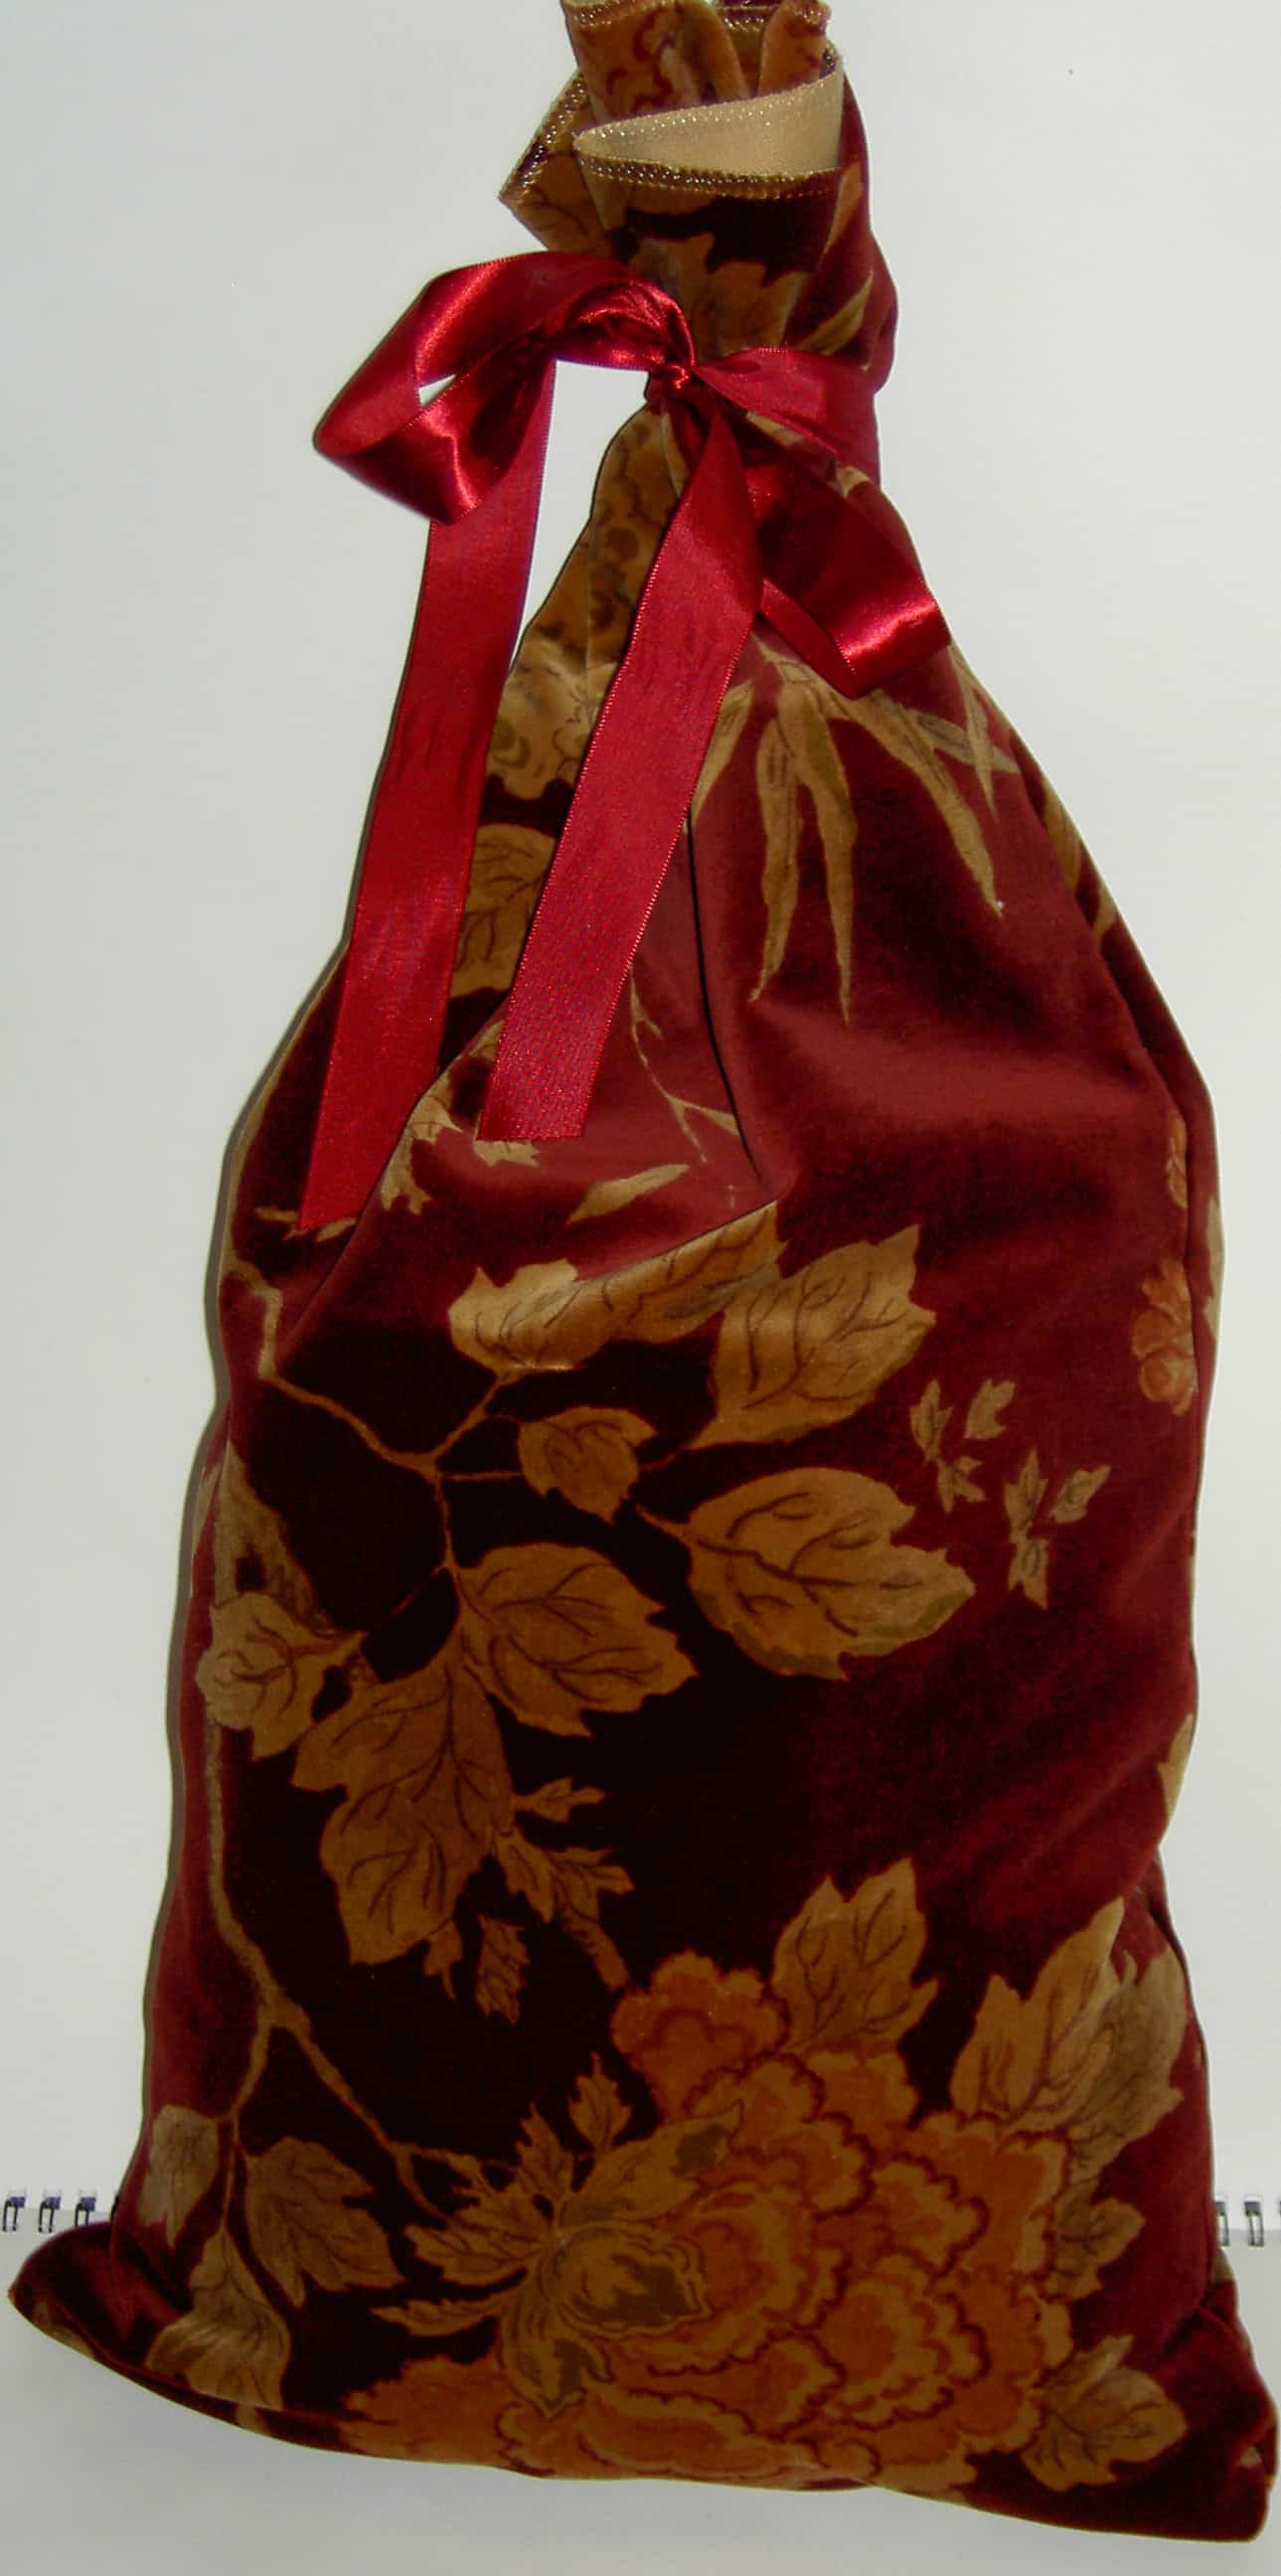
Lush Gift Bag
Fabric: the amount you need depends on the gift you are wrapping. If you are making some to have on hand, you can make one bag from a half yard or small bags from a fat quarter. Making gift bags is also a great way to use different fabrics such as upholstery fabric, velvet and other lush fabrics you wouldn’t normally use for quiltmaking.
Decorative stitches: This is a good way to get to know the resources required to use your decorative stitches. I made a lot of bags systematically using all the decorative stitches on my machine. This allowed me to know how much thread each one used and how long they took to stitch out.
Instructions:
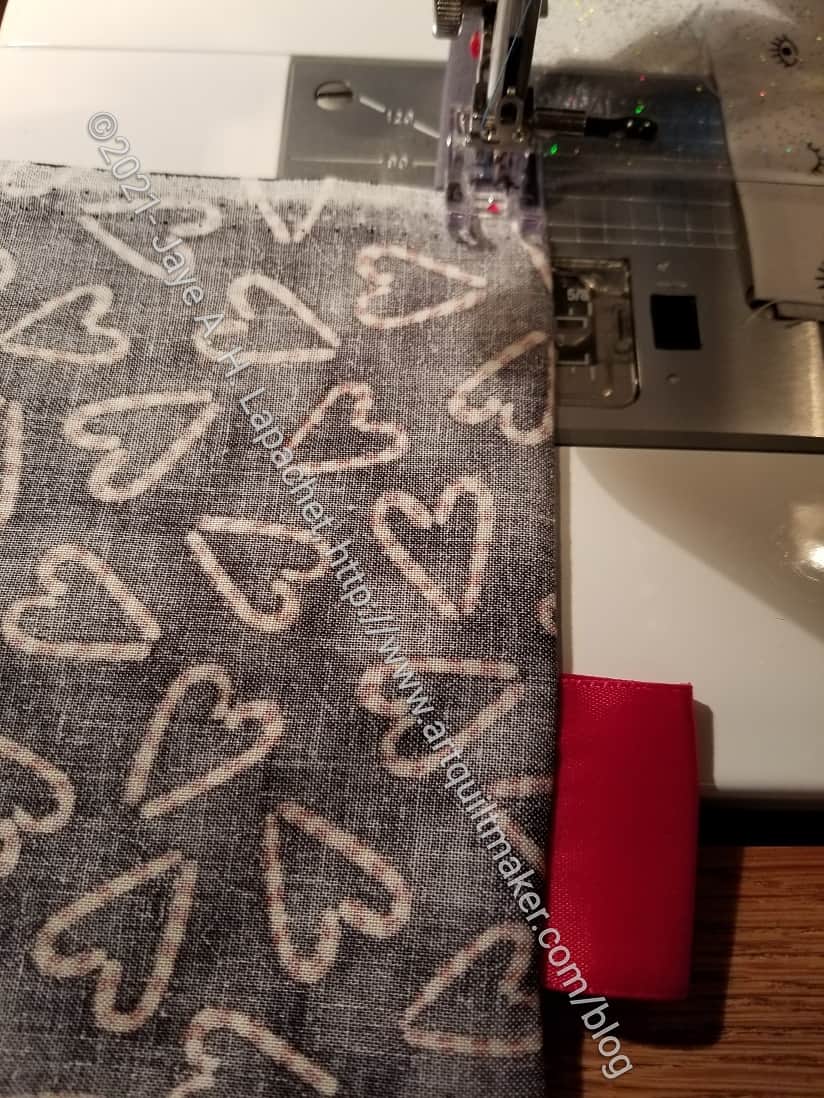
Press a double hem on the edge of your fabric that will be the top. I often use the selvedge so I can skip this step.
Finish the hem with a decorative stitch. If you do not have decorative stitches on your machine, two straight stitches close together make a nice finish.
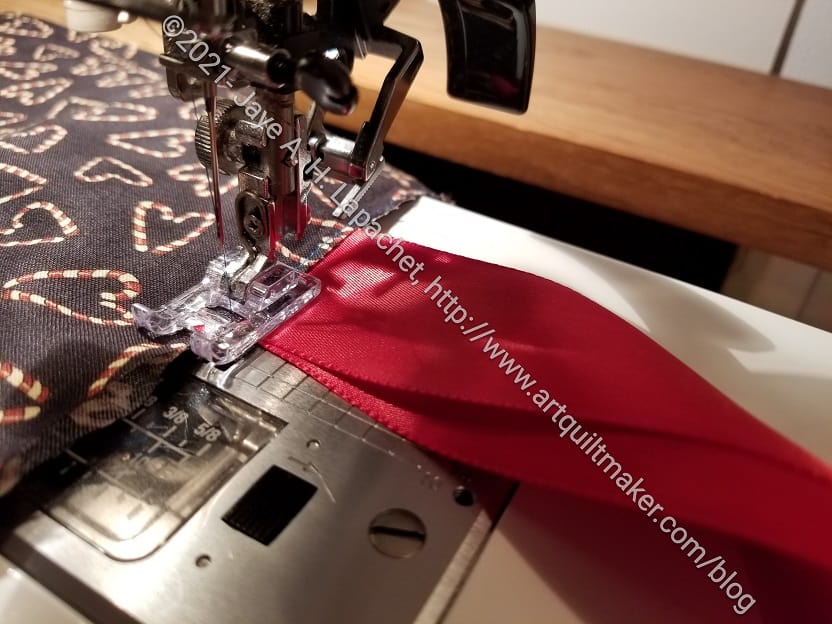
Sew first seam on gift bag
Once done, I fold the piece in half, wrong sides together, aligning the hem at the top. I put a piece of ribbon, folded in half. The end of the ribbon should be sticking out of the piece. Place the ribbon about a quarter of the way down the side.
Stitch down the side, starting with the hem using an 1/8 inch seam allowance. I reinforce the start backstitching over it a few times. I do the same for the ribbon and the end.
After sewing, trim any stray threads. Trim the corners.
Turn the bag wrong side out.
Finish French Seam
Stitch using a larger seam allowance. A quarter inch seam allowance may work, but you need to make sure you cover the entire previous seam allowance. Again, I reinforce the start backstitching over it a few times. I do the same for the ribbon and the end.
N.B. Be very careful that the end of the ribbon is out of the way.
Turn your bag right side out and poke out the corners carefully.
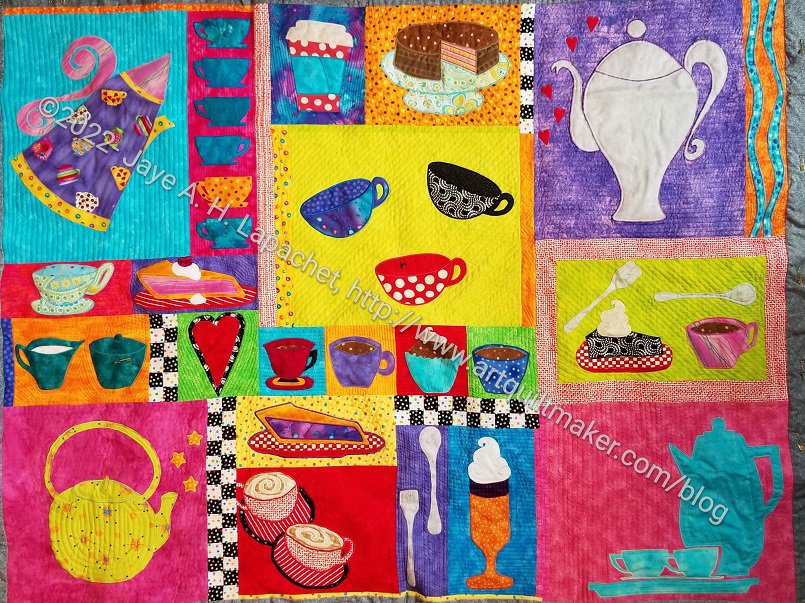
OMG. Quilting is endless. Over the last weekend I thought I was making progress. Today I am convinced I will never finish quilting this quilt. Sigh.
I finally tackled the large teapots. I am still following the edges and hoping I don’t ruin the quilt. I feel the space it too big to leave it completely unquilted, especially with the close quilting of the backgrounds. The teapots looked baggy. So, I held my nose and dived in. I am choosing threads that match the fabric, so hopefully the quilting won’t show too much.
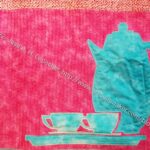
Tarts Tea Kettle – quilted
Tarts-Tea Service Tea Pot – quilting in process
I think the tea kettle looks pretty good. I am not so sure about the teapot in the tea service. I think I will rip some of the quilt in the Tea Service teapot out.
If I never quilt anything again, it will be too soon.
I totally forgot to show you the Halloween Pillowcases I made for the nephews and the YM. The black cat pillowcases are for my YM and his partner in honor of their black cat, Marie. I hadn’t intended to make him more pillowcases, but I couldn’t pass up the fabric.
The pumpkin pillowcases are for my two nephews who are in their first semesters of college. They are not twins; they are cousins, but are only two months apart. My intention is to send them a themed pillowcase every month, but we will see what happens.
I just want to let them know I am thinking about them and pillowcases are useful.