Projects Ready for Quilting / In the Quilting Process
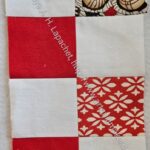
Chain Link Top finished
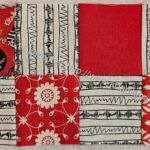
Old Town top complete
Finished: Triumphant top
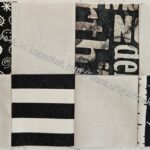
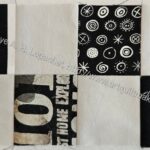
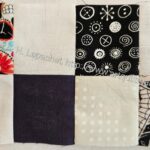
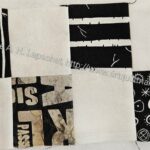
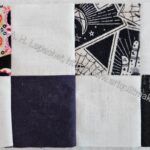
Handbag Sampler top finished
Projects In the Finishing Process
I had to change this from “July Projects In the Finishing Process” to just “Projects In the Finishing Process”, because the projects might linger here for a few months.
none yet
All the WIPs
WIPs are projects on which I am working. This means that I am past the cutting out of pieces stage, some sewing has taken place.
Country Revival – I have just started this quilt for my friend who is grieving her daughter. Photos soon.
La Passacaglia – I am working on the border, but need to work more and harder
Pantone Project – it has been nearly a year (where does time go?) since I worked on this. I need to get back to it.
Cut Out & Stopped
EPPic – This is all cut out and I have made tiny steps towards starting
Oxbow – SueS is organizing a Sew Day at her house to help us all finish our bags. It won’t be until the Fall so it gives me time to make some progress
Rose Petrillo bag – I found the pieces for this bag cut out, but not sewn.
Still UFOs
I still have UFOs. Who doesn’t, after all? A project in the ‘UFO’ category means I am stalled, it hasn’t been worked on in awhile or it is waiting its turn to be worked on. The list is a lot shorter and the projects are newer, for the most part.
I am annoyed that some of these are still UFOs. I have to give myself credit for completing some of them last year.
Mostly, I am trying to stock up on Half 16 patch blocks so I can make another Sidewalk quilt. A couple are from Sew Day. I am cutting some 4.5 x 8.5 inch rectangles from larger scraps and yardage to make another Sidewalk quilt from plain pieces of fabric. I am not including those ‘panels’ here as they are not really that interesting since there is no piecing.
Bonnie Hunter started her annual leaders and enders challenge recently. It isn’t too late to join in and reduce your scraps and create more donation quilts.
I was looking for a zipper tutorial on the Sew Sweetness site, which gave me the opportunity to look through Sara’s various bagmaking tutorials. WOW! I have missed a lot of them. Definitely go take a look, especially if you want to improve your bagmaking.
As mentioned above, Julie posted about the Patchwork Palooza in her July Cornucopia (where does she find these great links?) I signed up, but also went looking at Alison Glass fabrics. I saw some Sun Prints somewhere and can’t find the exact ones I saw. Perhaps they are old? I didn’t find the ones I was looking for, but saw that she has some Sun Prints called Whisper. They are described as “…entirely linework and motifs on a creamy white background—perfect for scrappy backgrounds or used individually as unique, dynamic neutrals.” I saw one with letters that I liked. I used some similar designs, but in different colorways, for Triumphant. I haven’t seen any of this in stores or online. Perhaps Alison Glass reserves certain prints for her website? However, I think I will use the Chrysanthemums and Coneflowers fabric pull I made. The flower prints are pretty large, though and might not be shown to their best advantage with these small blocks.
I am going through my journals and found some quotes from my review of Jennifer New’s Drawing from Life**. This quote spoke to me as I was reading Troublemakers: Silicon Valley’s Coming of Age** and there were clear parallels to the development of the technologies there and my creative efforts.
Stash Fabrics has the whole line for pre-order. Very tempting! Especially at a $1 less than on the AG site. 😉
Hawthorne Threads
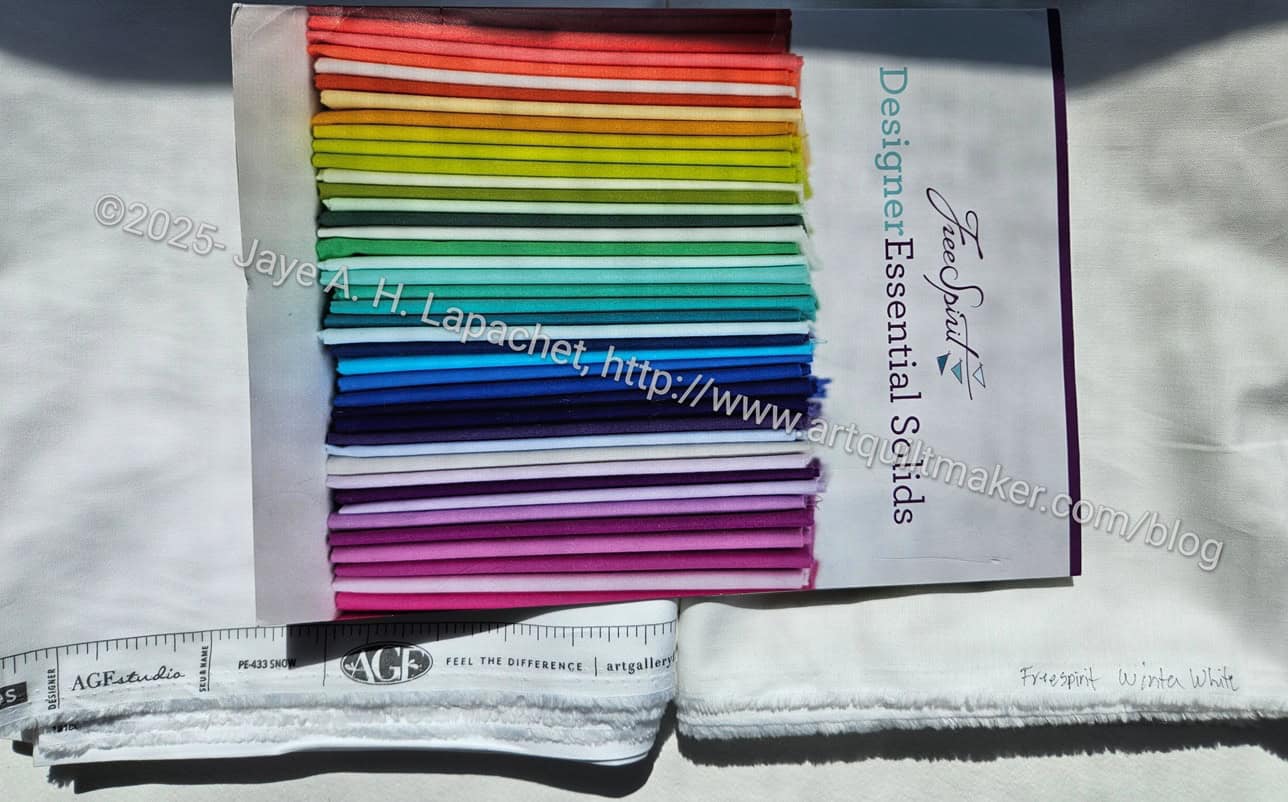
I used most of the white fabric I bought at Quilts & Things for the various Sidewalk quilts, so I bought more. I struggled with finding a bright white. I didn’t want cream. I chose based on a couple of color cards I have and I think I did well. The AGF pure Solids Snow is really bright. On spec, I bought a yard of Winter White from Free Spirit. It is also pretty bright, but not as bright as the AGF Snow. I decided to buy a color card so I have another resource for next time.
Tiny Apples order
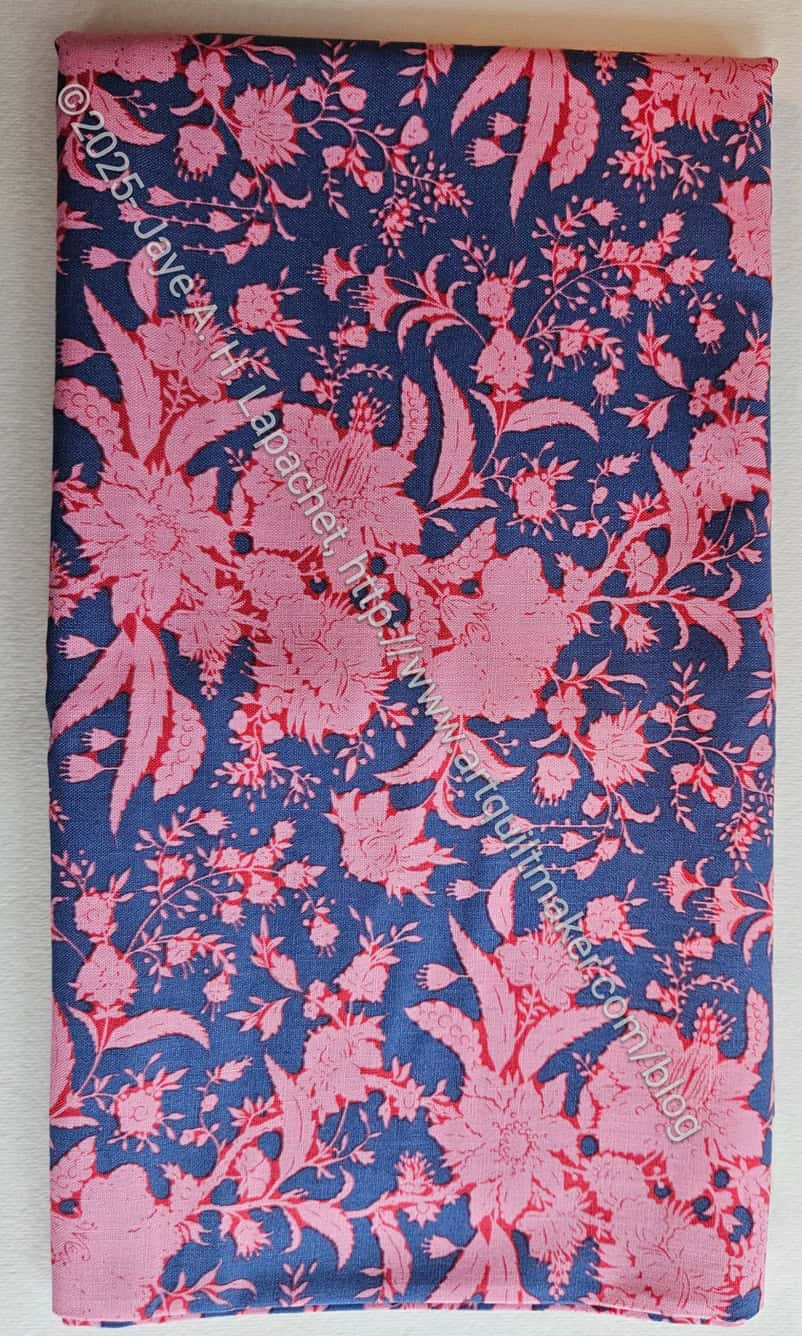
I really liked the Tilda pink and Prussian blue fabric I am using for the Country Revival block, so I bought a bit more of it. I also bought a mini charm pack of white squares, but the shop cancelled the order saying it was on the website by mistake. Now I have to cut some. I know I have a lot of new white, but it is easier just to buy the mini charms. I’ll drag out the Accuquilt.
When I need some supplies or hardware quickly, I have been turning to Wawak. It is not as fast as walking down to my (formerly) local Joann, but close enough. Last week, I placed an order for sliders for the Pearce backpack and got them in three days. I didn’t have to pay for rush shipping. I wish they would expand their offerings, but the bag hardware and zippers are great and well priced.
Summer Friday by Whistler Studios.
In case you haven’t noticed, I just love fabric. I am putting it out there. Not all fabric colors, but the possibilities of the fabric in colors I like. Recently, I saw Summer Friday by Whistler Studios. They look like really great blenders. I saw a FQ pack on sale, but didn’t buy it. I am at 50 yards used and I don’t want to eat into that right now. I might change my mind. I wish I could see these in person.
I splashed out and bought some bag supplies from Sewfisticated. They are the company I learned about when I was part of the Bag of the Month Club. Their bag pattern, Pandora Charisma, which I received as part of the club looks awesome and I am planning on making it, though haven’t yet. Sewfisticated is based in Singapore, so I hadn’t bought anything from them, even though I was interested in trying their products on their pattern. Recently they had a sale and I took advantage of the sale to try a couple of things. The best part? The items got to me in about a week. Note: this was pre-tariff, so I don’t know if that will have any effect going forward. I was really pleased at the speed of service.
Exhibits and Organizations
Just a reminder that the Santa Clara Valley Quilt Association is hosting their 2025 quilt show on September 27-28. The theme is 50 years of quilted memories and possibilities. Hours are 10-5 Saturday and 10-4 Sunday at Club Sportiva, 521 Charcot Ave, San Jose 95131, $15 at the door, $12 in advance. There is free parking as well! It will be before the next V&S is published, so I wanted to remind you to put it on your calendar.
There is a GoFundMe for Karen McTavish who has experienced a severe medical crisis. I am sharing this because I am outraged that a small business owner has to do something like this. As a country we need some kind of safety net to keep people from destitution because of something out of their control.
**N. B. : Obviously, you should shop at local quilt shops and small businesses. However, if you are too busy or can’t find what you need there, I use Amazon affiliate links and may be paid for your purchase of an item when you click on an item’s link in my post. There is no additional cost to you for clicking or purchasing items I recommend. I appreciate your clicks and purchases as it helps support this website.
The rummaging for the Handbag Sampler unearthed a lot of different things and I am not sure I like it. The findings included a number of old projects that I am not sure I want to finish.
One reason is that I thought I had a handle on my old projects when I counted them up in 2011. Maybe I didn’t care about them then either? Another is that I don’t want or need to deal with old projects.
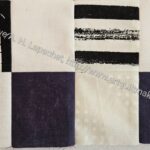
Laura W class piece?
In addition to the Diamond Test and the Cosmic Crazy pieces, I also found this, possibly, Laura Wasilowski piece. I taken a couple of her classes, but I don’t really remember this piece. I also don’t see it in any of the blog posts on those classes I could find.
She shares ‘management’ of the Chicago School of Fusing with Melody Johnson, so I could have taken a class from Melody and come up with similar results. See above about blog searching.
Fortunately, I like the colors and fabrics. It could end up as a small art piece. I see a bunch of quilting in its future.
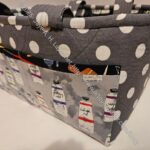
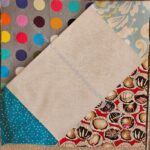
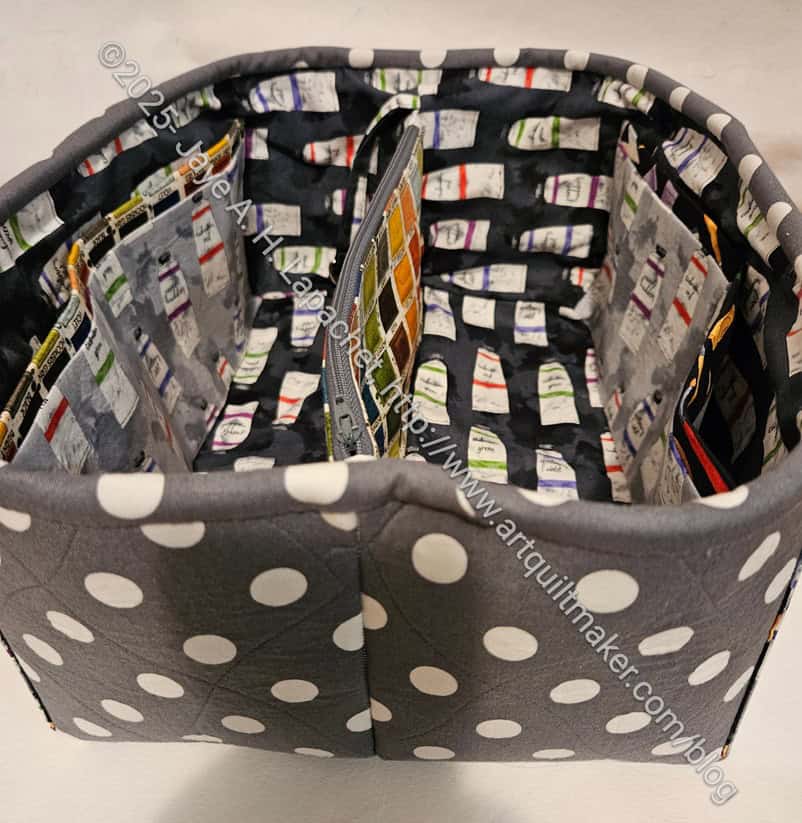
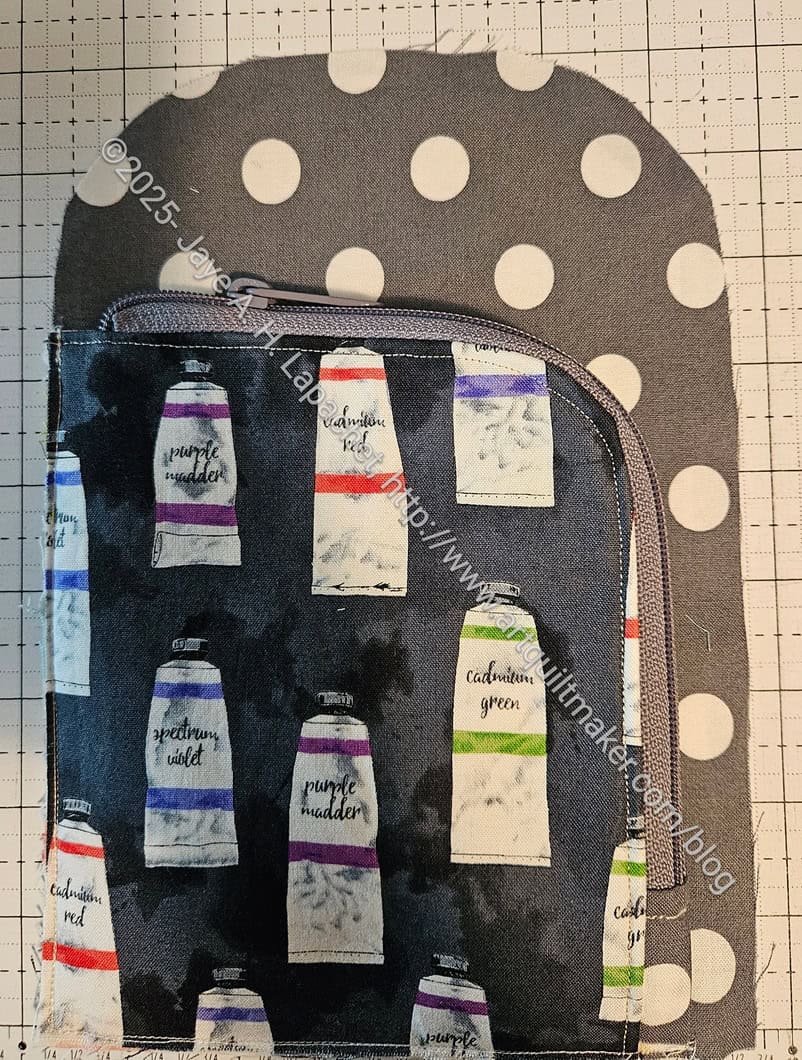
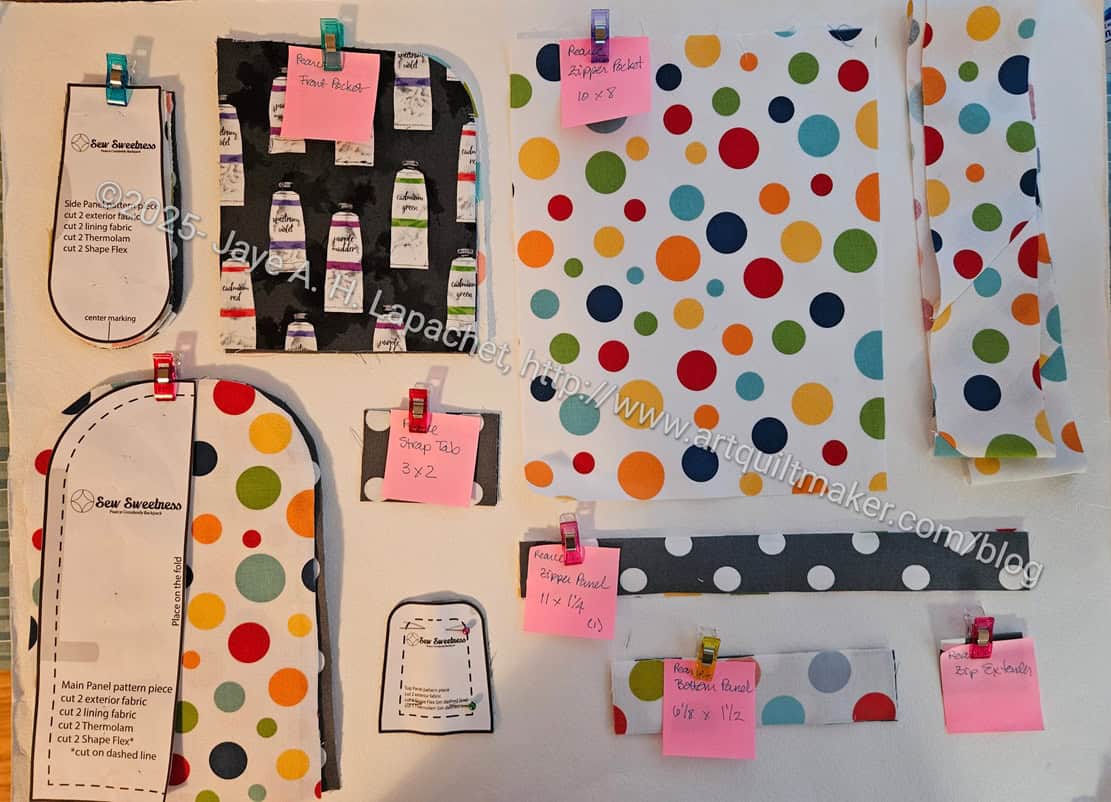
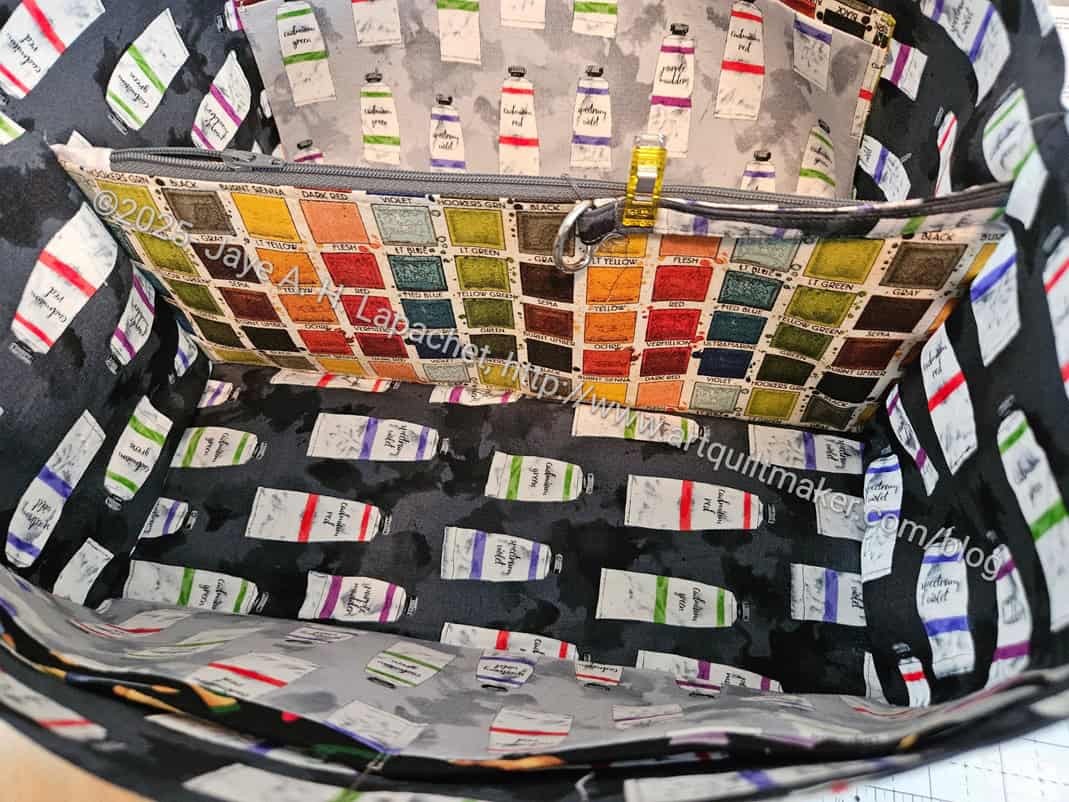
Today is surgery day for my mom and the Sewing Date Traveler is ready for duty.
For my purposes, this will be used to organize Mom’s stuff in the hospital room. There are a lot of little things in life that get strewn around and need to be moved for meals and doctor visits. This bag will provide the organization.
The bag has 5 pockets, but a couple of them are subdivided to keep items organized. One of the pockets is a zippered pocket, which provides the only security in the bag. Otherwise the bag is completely open.
I think it would be possible and useful to make the inside pockets, at least, from vinyl. It will mean that people can see what’s inside. The pockets are deep, too, so a phone inserted will be three quarters in the pocket.
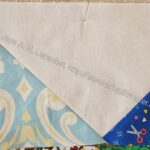
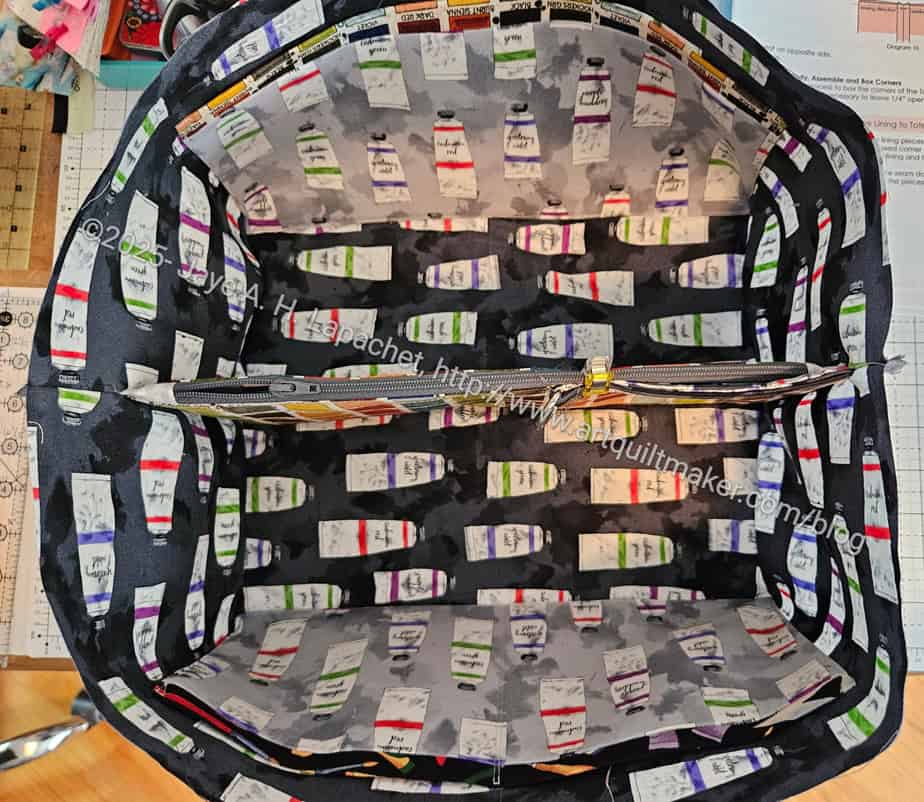
Sewing Date Traveler top view
The bag is large enough to keep a water bottle, a book, glasses, phone, hand lotion and a myriad of other items.
The pocket on the inside is one of the 5 mentioned above. It is divided in half so the sections are larger. A phone will fit inside.
The pattern says to do some stitching across the center seam near the top of the bag to anchor the lining. This was not enough for me. I didn’t want the lining getting caught on something and flipping out of the bag. My practice of anchoring linings to exteriors with Lynette the other week (month?) and a note in a Sew Sweetness pattern helped me figure out how to anchor this lining. As I was turning the project inside out, I realized that I could anchor the center bottom exterior seam with the center pocket seam. With a lot of jostling and bag wrangling, I was able to do it.
That didn’t solve all of my problems. I couldn’t figure out how to anchor the lining to the exterior using the boxing corners method that Lynette and I discussed. Not because I forgot how to do it, but because of that center pocket and because the whole bag was so stiff. I still needed more anchoring, because the corners were not anchored to anything. I ended up setting a few hand stitches in in the corners to keep the lining in the corners. If I were to make this again, I would do something different. I don’t know what, but something.
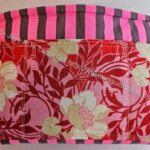
Sewing Date Traveler front
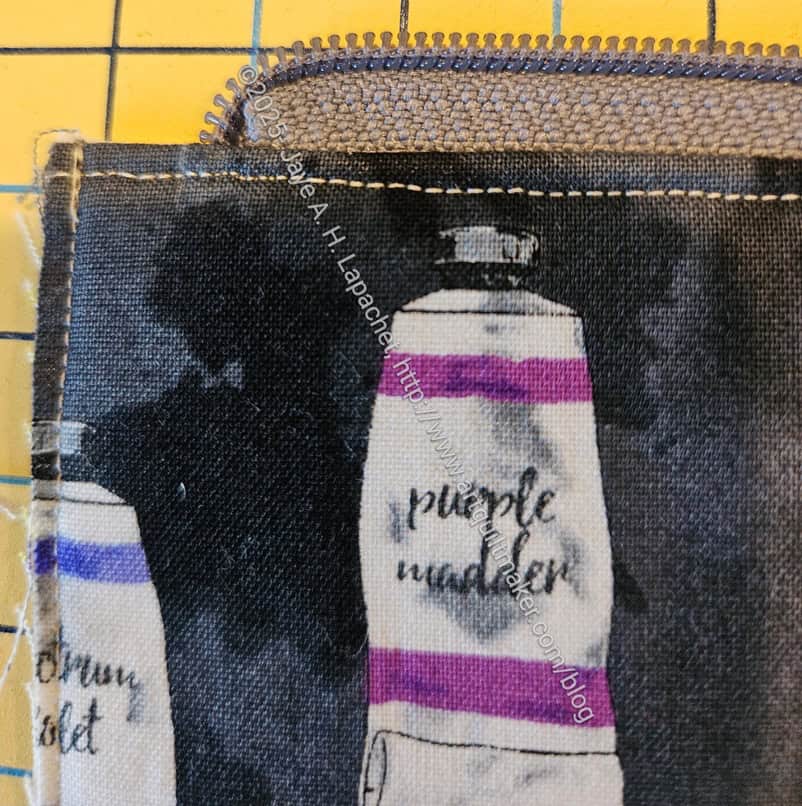
The exterior has more pockets. I divided the front pocket (photo, left) into 3 sections with the right section being largest. The smaller sections can be used for pens.
I like the trick of ‘self trimming’ for pockets. In this case, the trim is also the inside of the pocket. I wouldn’t do it again for this bag, or I would use a solid or tone-on-tone fabric. The art supplies fabric is lost in that small trim area.
I’ll let you know how Mom likes it and if it is useful. I am pleased I was able to finish it.
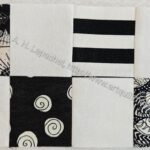
I struggled with the Chain Link quilt for a number of reasons. Once was the charm square sizes. Charm squares are supposed to be 5″, right? The charm squares for Chain Link were “about” 5 inches. Some were less and some were more.
What I do to Charm Squares
I try not to buy pre-cuts for this reason, but cutting charms into 2.5 inch squares is a quick way to make 16 patches.
I didn’t wash the Moda Grunge charms I bought recently even though I normally do. I happened to measure the first stack before I started to cut them up. I found they were larger than 5 inches. So I trimmed them, then cut them into 4 pieces. Why can’t charm squares be 5 inches?
I really think that cutting accurately is key. Having charm squares that are touted as being 5 inches NOT be 5 inches is false advertising. It also leads to a lot of problems:
designers assume 5 inches and write patterns for 5 inch squares
there is an implicit suggestion not to wash the charm squares
starting with an inaccurate size compounds problems across the quilt
the above affects a quilt’s outcome and can affect the quiltmaking experience.
I buy fabric to use. If pre-cuts are primarily made to look pretty on a shelf, they should be marketed that way. My advice: cut your own charm squares!
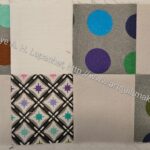
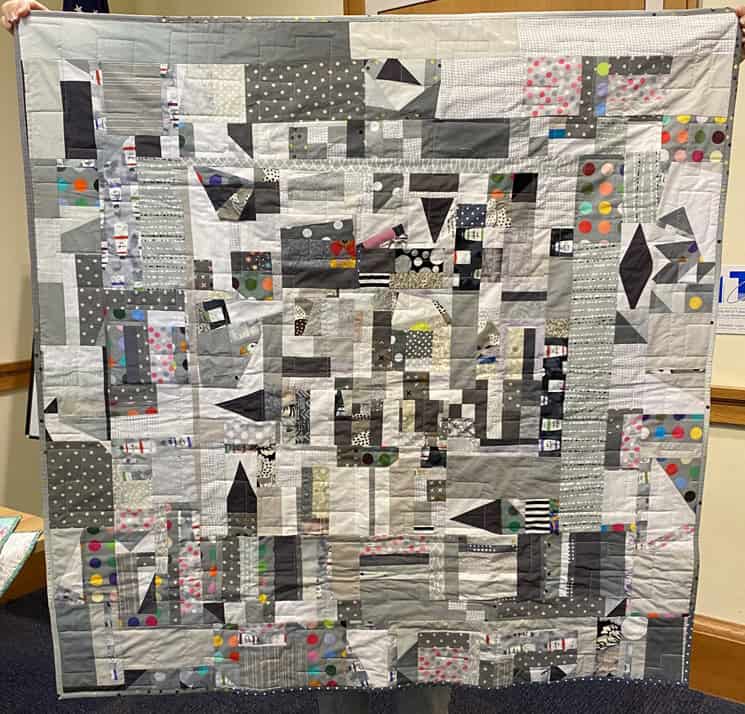
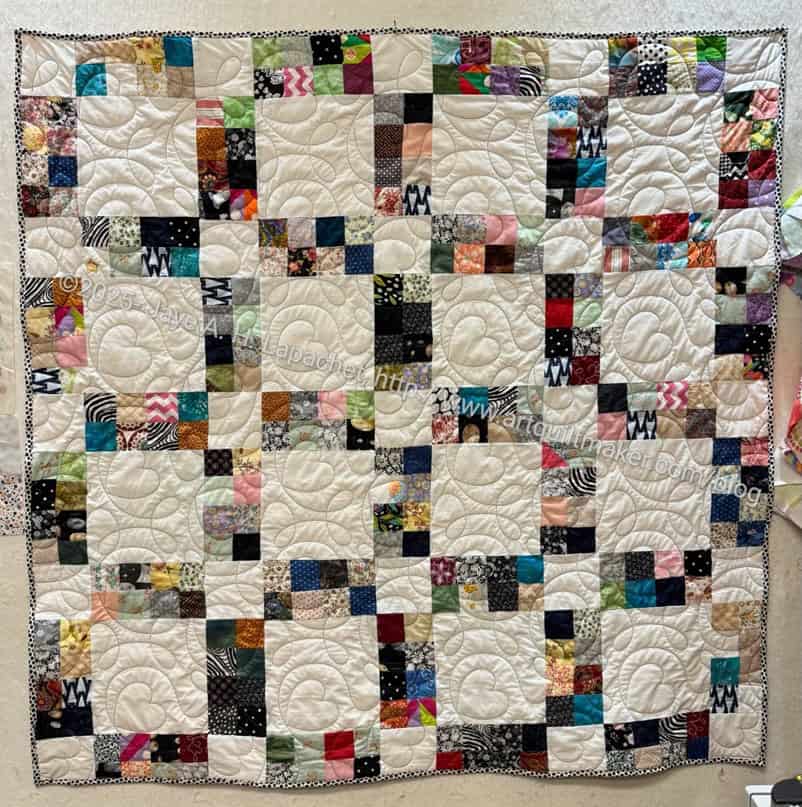
I wasn’t able to make the guild meeting on the 17th, but Lee Ann was kind enough to send me some photos of the recently finished quilts.
The grey looks really great. This grey improv quilt is one of my favorites. I am kind of sad to see it go to some random person. I am sure that person will appreciate it.
Since I have been using quite a bit of grey recently, I expect to work on another in the not too distant future.
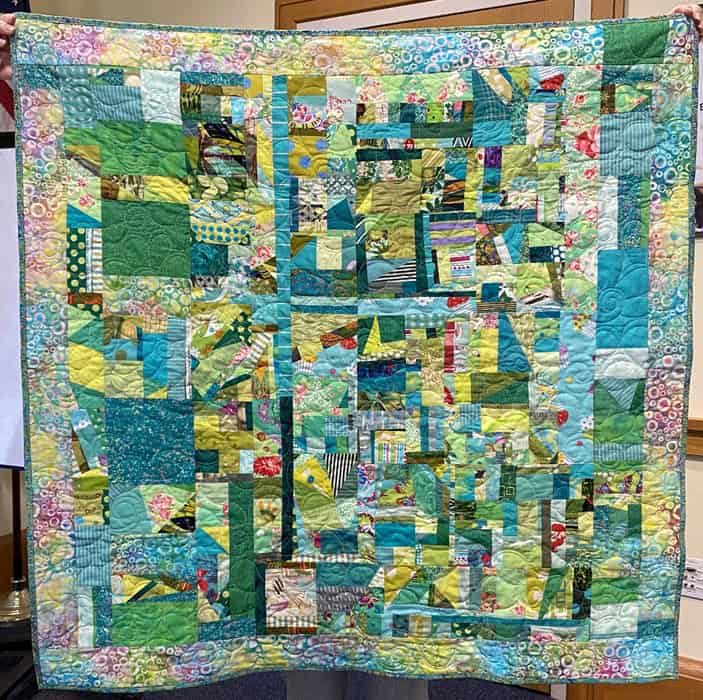
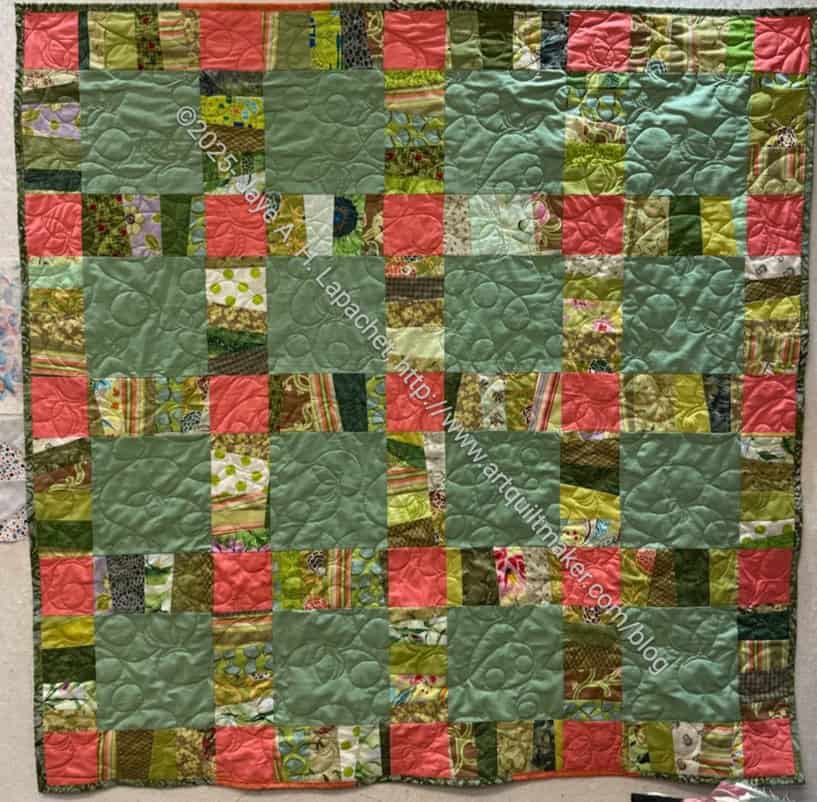
Green Improv #2 quilted and bound
The recent green one is also finished. It is not a favorite, but I know someone will like it.
I really appreciate the other guild members’ efforts in finishing these. It allows me to do the parts I enjoy.
I made some good and positive progress on the Pearce Sling. Cyndi and I got together for a Sew Day at her house. It was really nice to hang out with her and I was able to focus and get quite a bit done on this piece.
It takes quite a few steps to get to this point, but I didn’t feel annoyed about it. I felt like I was making good progress. Part of it was probably that I had someone with whom to consult and chat to.
I could have made more progress, but I decided to put a credit card pocket in the lining and I didn’t have a pattern piece with me. I switched to working on the Sleeping Bag Pouch, which was fun, too.
When I got home I pulled the credit card pattern piece out of the Sweetbay Crossbody project file and used it. It is a more vertical credit card pocket, so I might need to add another one, so Mom has enough for all of her cards. I was expecting the pocket to be horizontal. I am not as familiar with making these types of pockets, so I got what I got.
I am also excited about nailing down that skill. I had a little trouble with it on the Dogwood pouches I made, but after watching the Bag Lab tutorial, I understood the concept much better and was able to do it relatively easily. One key was to use thin pins to hold everything in place until you sew. I am not a big fan of thin pins, but they are key in this technique.
Pearce Sling front pocket
After doing all these steps, my Sling is well on its way.
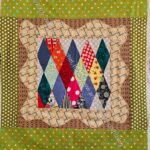
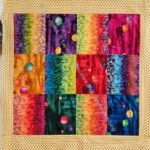
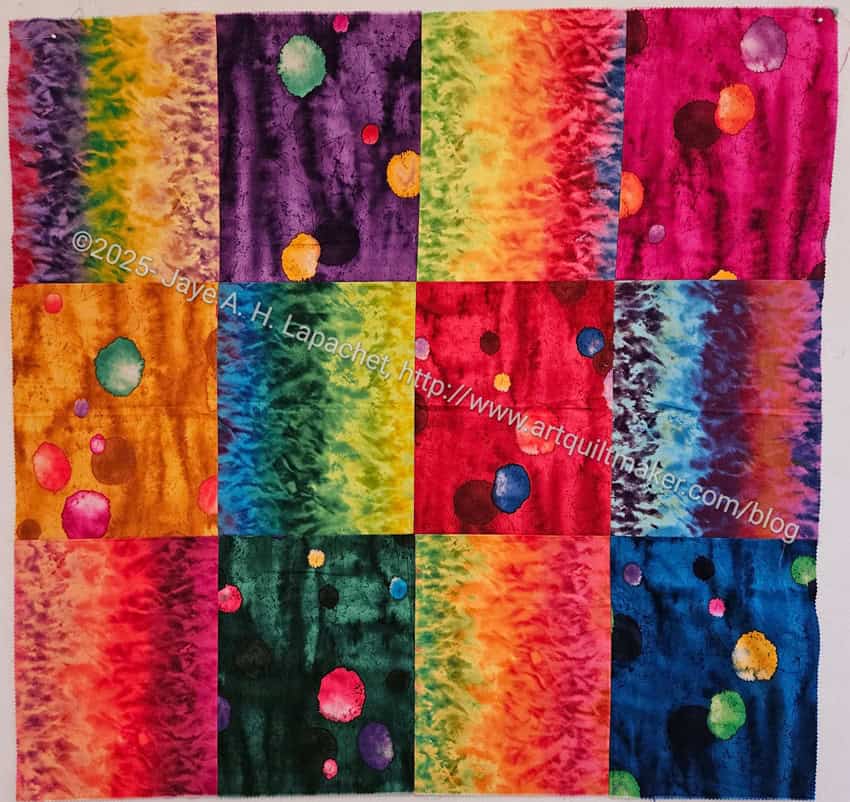
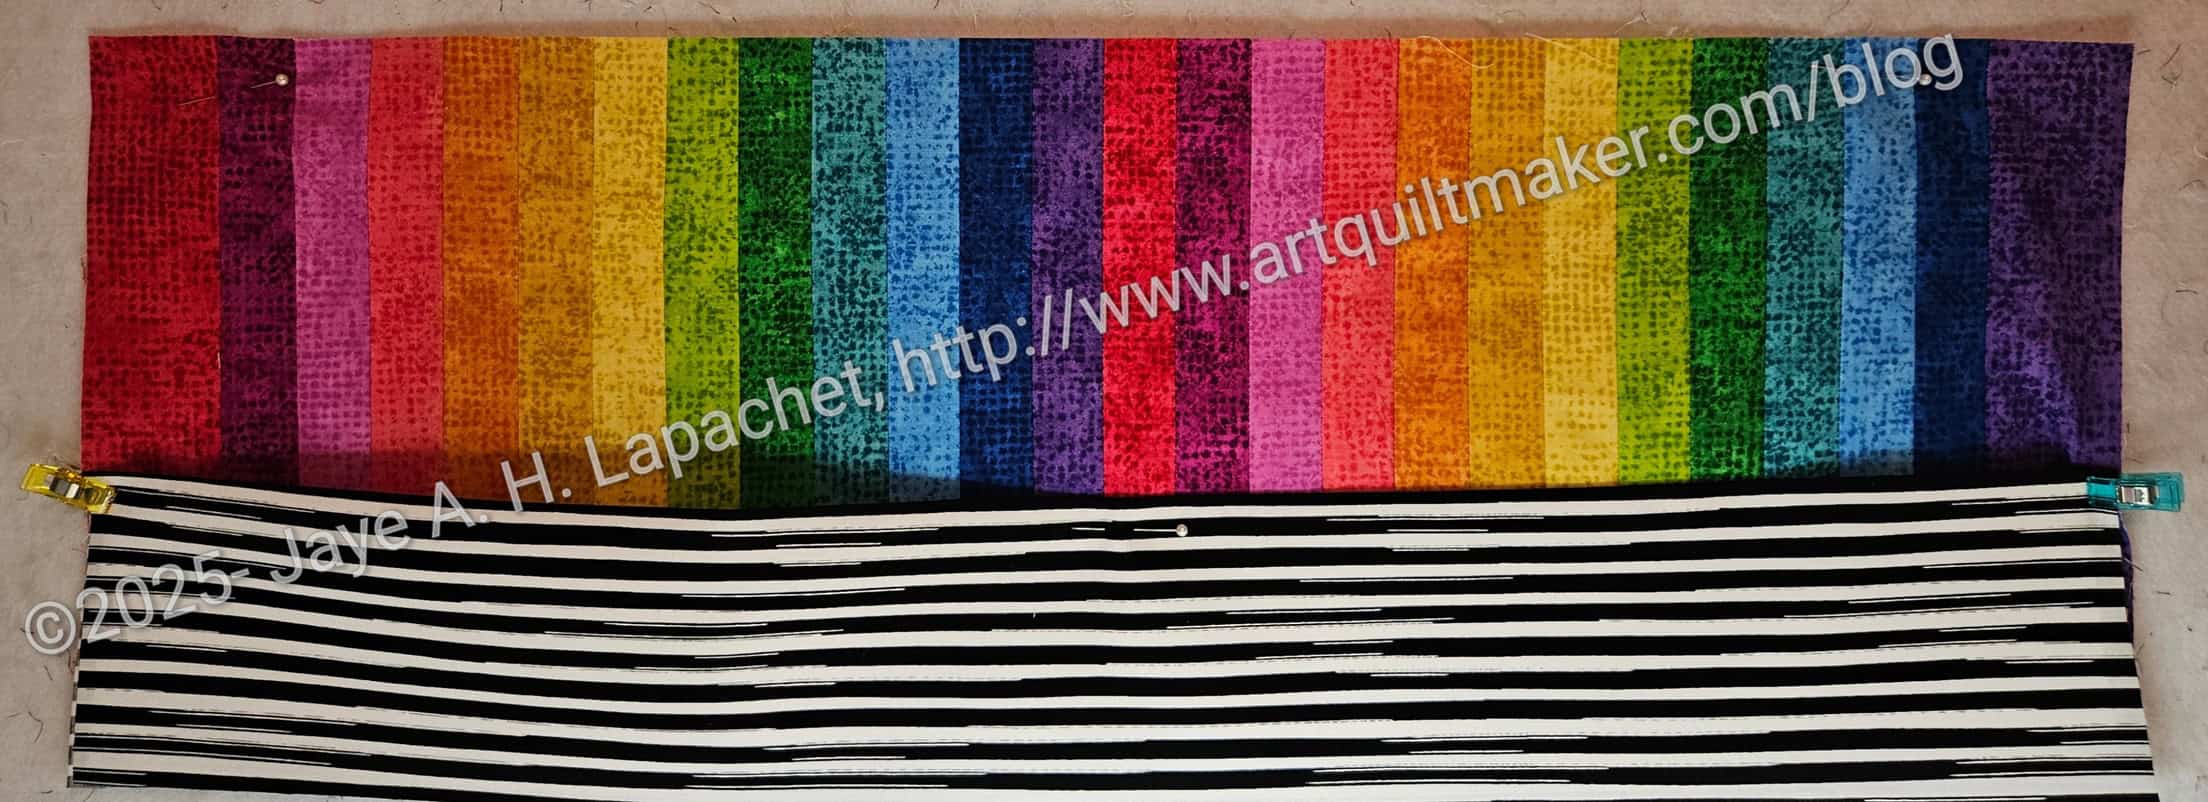
A few weeks ago, I talked about the Diamond Test project, which I turned into a donation quilt and top. When I found that project, I also found the piece in the photo.
I sort of remember getting the pack of rectangles and sewing them together because I didn’t want to cut the pieces up. The colors are incredibly vibrant. I can’t remember anything else about it. I can only think of it as Cosmic Crazy right now.
It is about 35 in x 35 in at the moment. I have it on my design wall while I think about what to do. My current thought is that I will add a gold border then another border and call it done. It will be another donation quilt.
Remember when I mentioned the sleeping bag pouch made by CraftyKristnf? Maybe I just mentioned it to you in my head? She posted some guidelines for making it and I have been mulling them over in my head.
One thing she mentioned in the guidelines were the size of the base piece. A couple of days ago was the day I decided to start. I cut the fabric I planned to use as a base. WOW! It is large. When I think of a pouch, I think small, but this baby will be big.
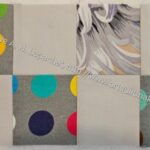
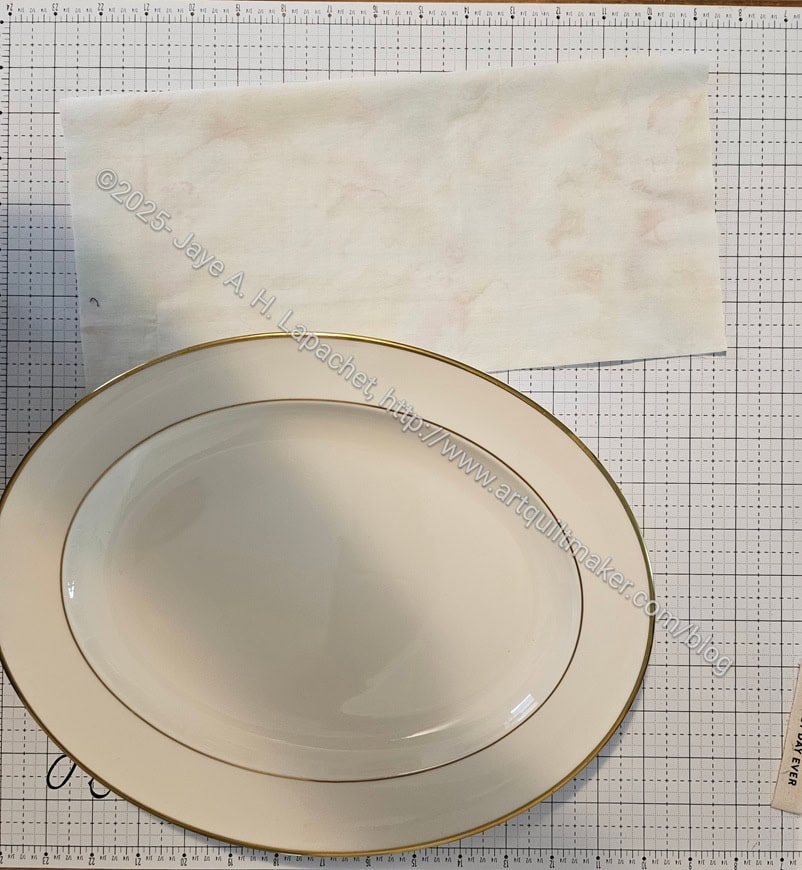
Template for a curve
The top is curved so my first order of business was to figure out the curve. I decided it was more of an oval than a circle after trying different plates and templates laying around the house. I finally ended up with one of the platters from my china set.
The platter hasn’t been out of the china cabinet for a year, maybe two, so I am sure it was pleased to have an outing.
I folded the fabric in half. In the photo above, the fold is at the top of the photo.
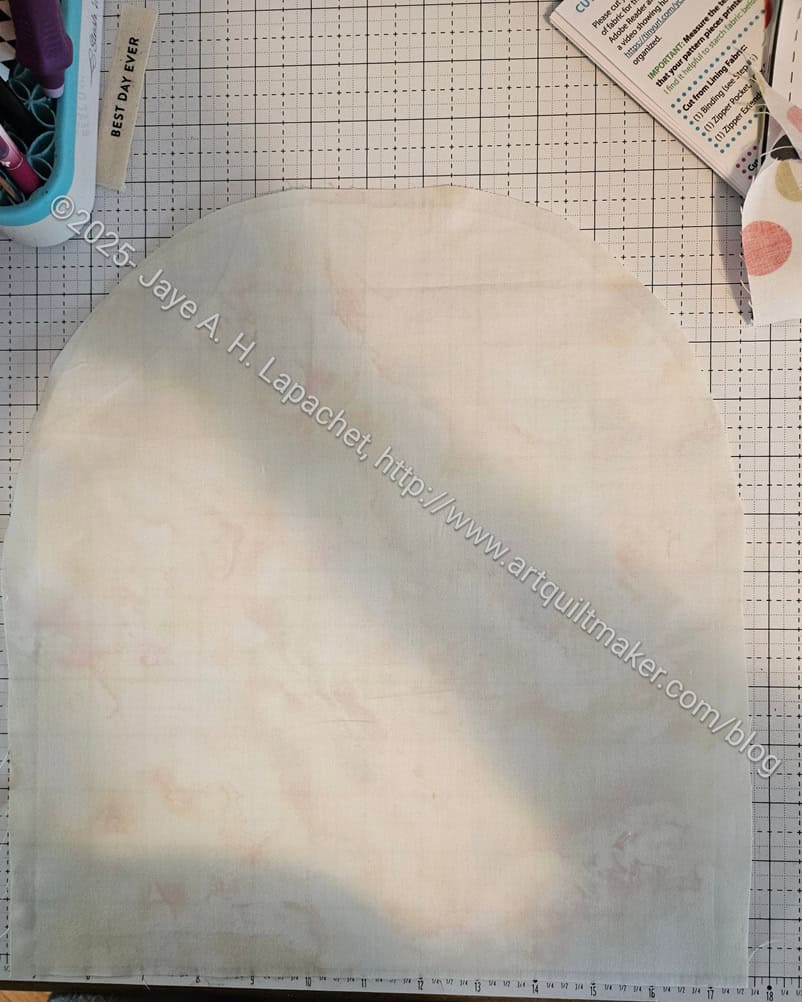
Sleeping Bag pouch base fabric cut
I lined up the ‘short’ end of the platter with the short end of the fabric. I also lined up the ‘long’ side of the platter with the open (non-fold) side of the fabric. It didn’t exactly fit, but it worked well enough. I drew a line and then cut a curve along the non-folded side of the fabric.
I was very pleased with the way the base fabric was shaped. I plan to trace it and use it as a template for future pouches like this. I don’t want to keep running downstairs for my platter. LOL!
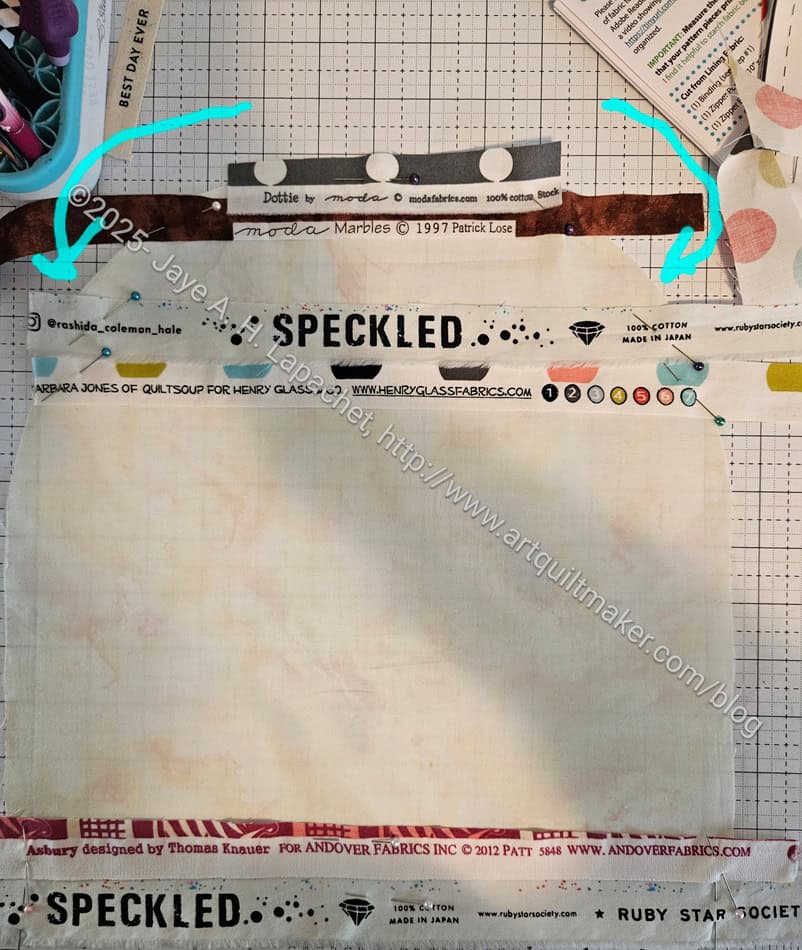
The example CraftyKristnf showed uses Renaissance Ribbon and is absolutely gorgeous. I’d love to make one like that. I have plenty of Renaissance Ribbons so materials are no problem. I didn’t want to use them if I was going to wreck my first effort. Selvedges occurred to me. I have a bin full of them as I haven’t cleared it out and given the most recent ones to Amy yet.
Applying selvedges to base
Before I started applying selvedges, I put some SF101 on the back of the base fabric. I thought it would strengthen the fabric for the applique’.
Next, I started arranging and pinning selvedges to the base fabric. Since the top is curved, I was able to use smaller pieces at the top. In the photo, left, you can see the arrows pointing to the curves at the top of the base fabric.
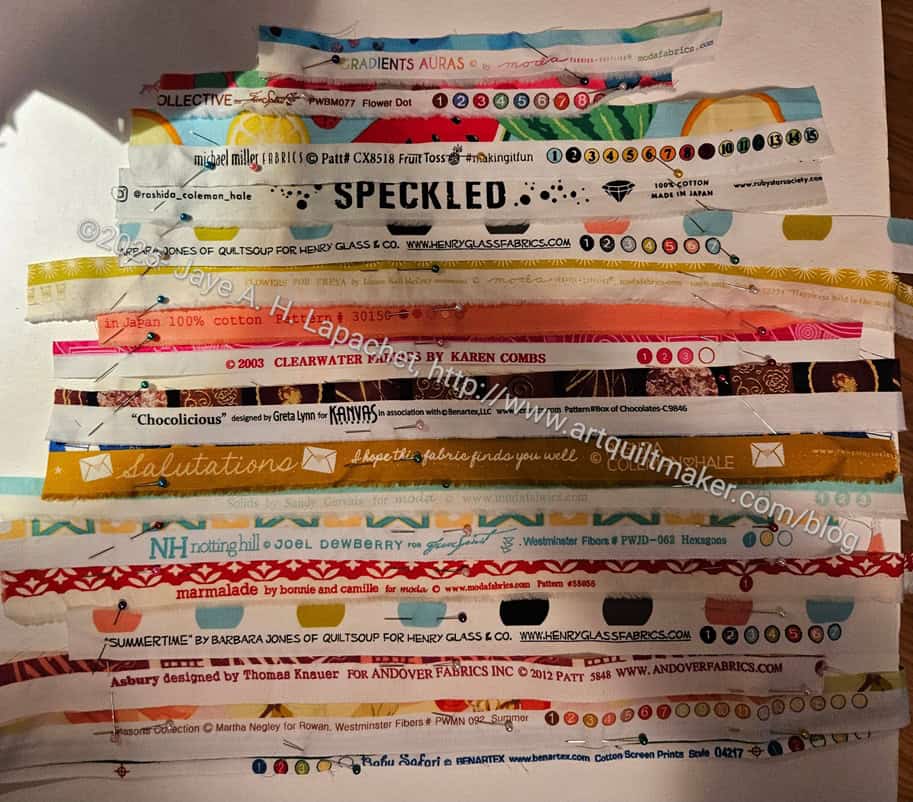
Sleeping Bag Pouch laid out
I was working on something else at the same time, so I dipped in an out of adding selvedges when I needed a break from the other project.
By the end of my sewing session, I had all the selvedges laid out and pinned down. Some of the selvedges are from favorite or much loved fabrics, which makes me happy.
My plan is to start sewing the selvedges on to the base and then trim the piece to size and shape of the base fabric. Then I’ll make the template, adjusting if necessary.
I feel so happy that I am trying this and that, so far, it is working out well.
Clearly I found my Sewjo again, because once again I am starting projects right and left. The latest is the Pearce Sling. I started it for my mom.
A few months ago, I made her a Day Trip Wallet. I made it so she wouldn’t carry a 40 lb. purse around after her surgery. She uses it all the time, but when she came over she had the Day Trip looped over her shoulder (cross body) and her hands full of stuff. Not great for someone with balance issues.
The Pearce sprang to mind. I bought it with the recent 4 pack release of patterns from Sew Sweetness. This isn’t one of the patterns I thought I would make from the 4 pack, but I am kind of glad I am making it. It is slightly larger than the Day Trip, so I thought it might work for my Mom to keep her more hands-free.
I haven’t made a backpack before, but I think I can do it. Perhaps this will set me up to tackle the Pandora Charisma.
There have been a few bumps in the road to finishing this project. Due to the thick interfacing described in the previous post, this is taking additional time. I thought I would finish over the weekend, but am still working on this.
Sewing Date Traveler lining assembled
The lining is done and ready to be put together with the exterior.
I really should, as a rule, make bag linings smaller than exteriors. This designer didn’t note that in her directions and I didn’t do it. I’ll need to think about a measurement that would be good to use when cutting a smaller lining. For example, should I cut the pieces one half inch smaller or an inch smaller or what?
Sewing Date Traveler Lining with Leash
I added a leash to the inside. This isn’t part of the pattern, but they are easy enough to add. I may make a small Open Wide pouch with a lobster clip for added storage. The leash will also be useful for keys.
Putting everything together is proving to be a challenge. Despite my practice at anchoring linings to exteriors with Lynette, I can’t figure out how to do this one.
If I make this again, I will consult with Lynette about that. Neither of us could make the meeting and I need this done before the 26th.
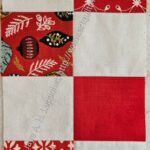
I was so excited to see that Laura was inspired to make a Sidewalk quilt when she saw one of mine in the batch of BAM quilts given to her for quilting.
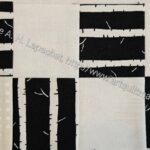
Green Sidewalk by LauraM
At Sew Day, we talked about it and she was excited that I had made the original one (aside from the one I saw at the Fair). She showed me a picture of one with a green background. I have been thinking about making one with a color for a background. I am not done with the white background yet. I can see where white strip blocks would work well with some kind of colored background.
We talked about making it bigger and it occurred to me to make a 12″ version. I can easily adjust the pattern, but I would have to find a new ruler if I actually pieced a larger quilt!
Is this a bag, do you think? On my computer, the folder is under ‘My Projects –> Bags”, but I wonder if it is a bag. I probably should call that folder ‘Small Projects’ instead of bags, but ‘Bags’ comes first in the alphabet, so doesn’t require as much scrolling.
Pencil roll in progress
I promised MaryC a pencil roll after she saw the one I brought to the organizer swap. I finally got started on it.
Yes, I am using the same fat quarter pack I used for the first one. I am using different fabrics for the pockets and flaps. In a way I am also trying to see how many projects I make with that fat quarter pack. I want to use a good portion of the FQ pack for each project, not just one piece. Obviously, I am using other fabrics, but I am still getting a lot out of the 3.25 yards.
I made good progress on Sidewalk #3 and was able to get this finished quickly. Using one patch, instead of improv piecing or Half 16 patch blocks, for the 8.5 inch x 4.5 inch units helped make the piecing go very quickly.
This is already with Laura waiting to be quilted.
I noticed after it was gone that I forgot to put a top border on. WTH? Oh well. I’ll do better next time.
I know I made a back for this quilt, but I didn’t take a picture of it. Again, WTH? Not like me at all.