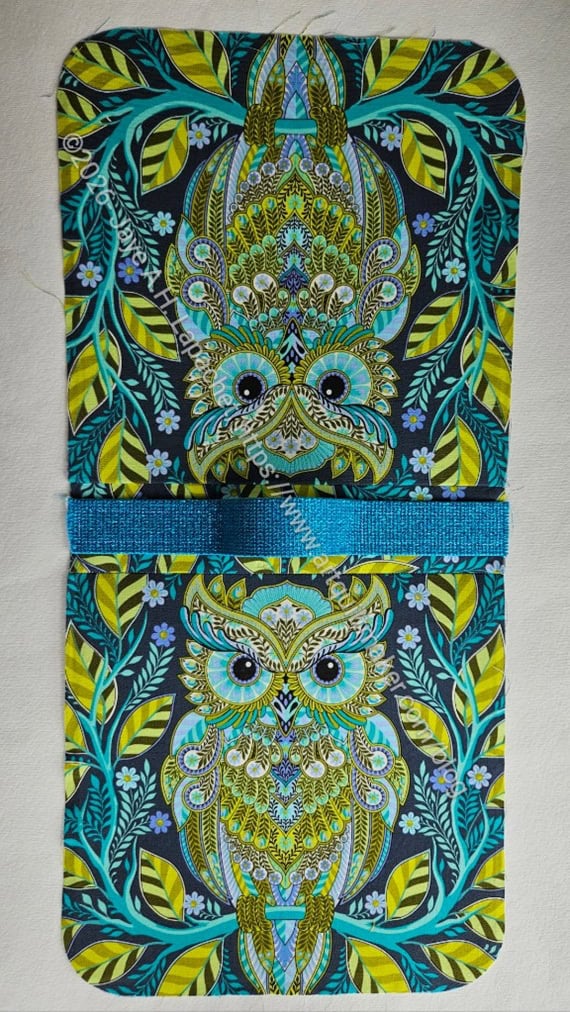
Gosh! I started this project in 2023! I am really not sure why I didn’t just make it.
This bag is easier than I expected. The pattern is by a new-to-me designer, as in I haven’t made any of her patterns before. The style of the directions are less hand holding and more “do this any way you want.” This style brings me up short a bit. I know how to do all of the steps, but I am unsure that I am doing it ‘right’. I can see that I encountered that sort of feeling when I worked on cutting out the pieces last year. I’ll have to think about that.
I started out with the exterior, as it said in the directions, and I finished that section pretty quickly. It makes a difference when everything is already cut out and interfaced.
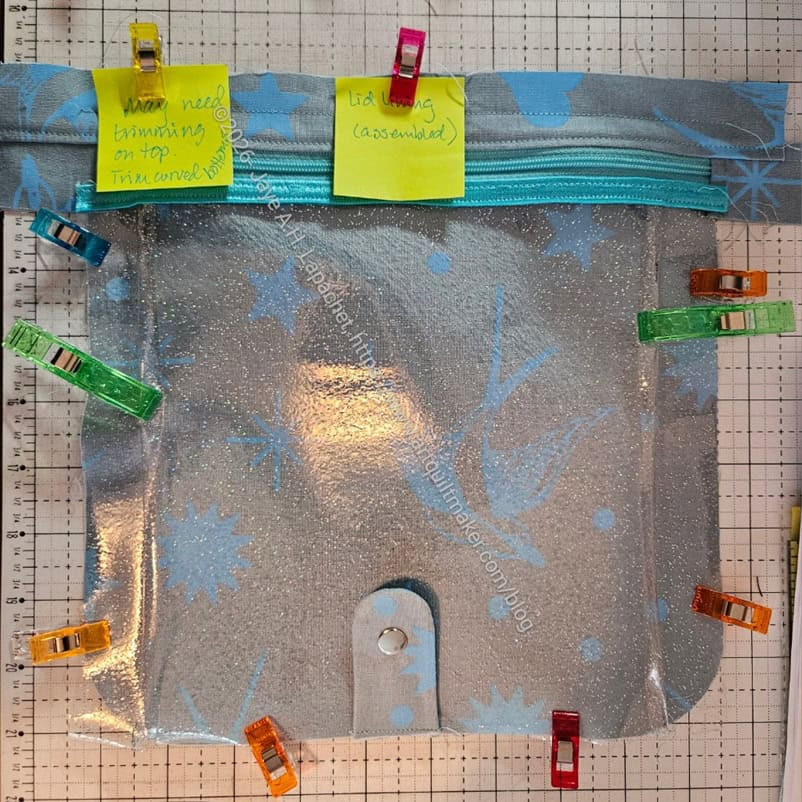
The next part was an inner vinyl pocket. Here I found that the naming of the pieces, or my understanding of the naming was a little off. I had to be really careful about making sure I had the right pieces.
I didn’t understand the pleating instructions, so I didn’t sew the pleats down initially. I clipped them and then sewed the top pleats when I sewed the foldover elastic as binding. I kept the bottom ones clipped until I had that AHA moment on how to sew them (horizontal to the edge not parallel to the pleat as I originally thought). I am glad I paused and let the directions simmer a bit.
I have never made a vinyl pocket with pleats before. It makes sense, but I wonder how the pocket will hold up?
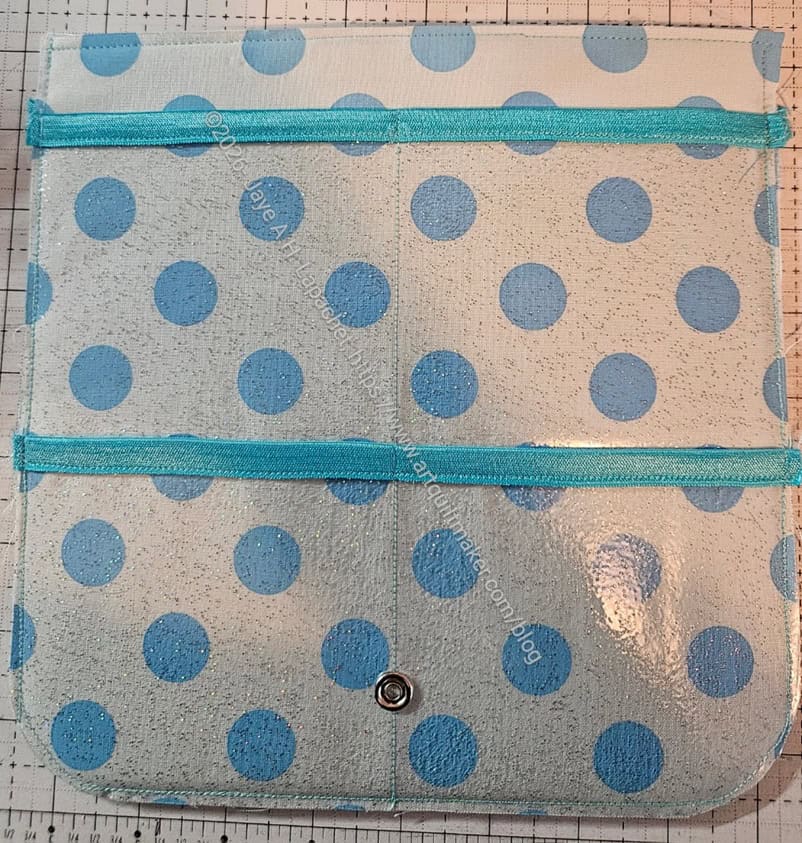
I didn’t really run into any problems until I got to the flap, which is part of the interior. I am not sure I have made a bag with a flap like this before. I didn’t really understand the directions.
I was able to find a page of video tutorials on the Chasing Tigers website. I do appreciate the effort that goes into these videos. It was really helpful to watch the video as one step was missing from the printed instructions – sewing up the sides.
I added a snap, as you can see. I didn’t have the magnetic snap with the prongs, so I used the SnapSetter and enjoyed hitting the tool with the hammer. LOL!
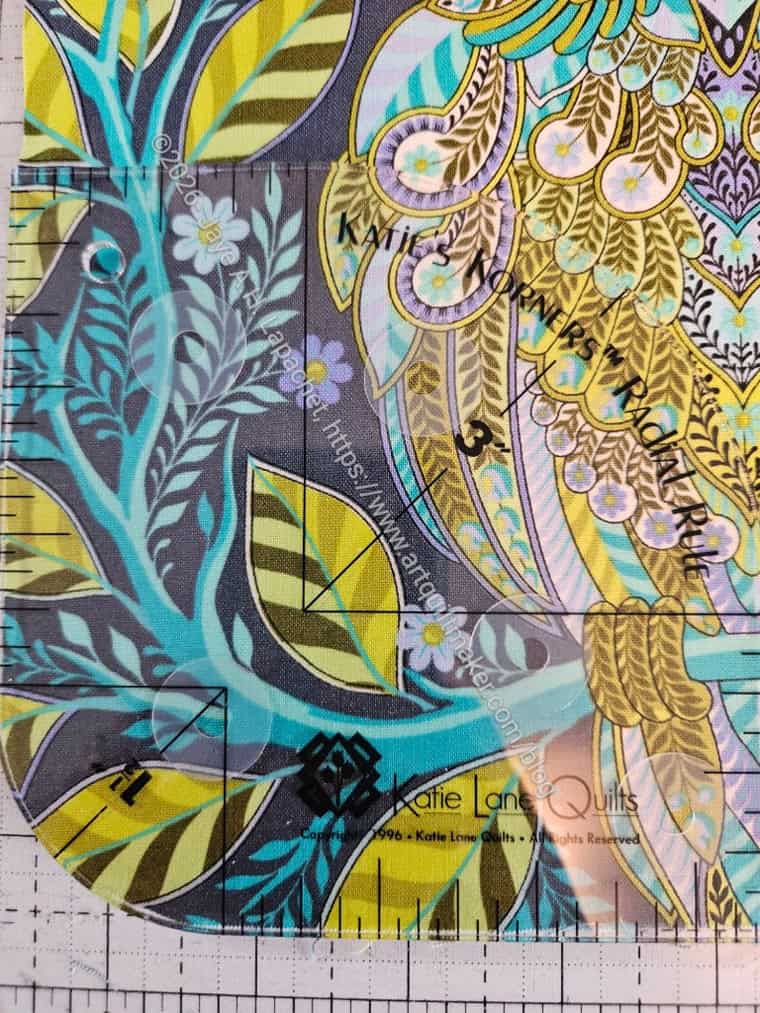
The corners of the bag edges are rounded and the pattern comes with a template for doing that. I didn’t want to use the tissue paper pattern/template I made. I went rummaging for a couple of corner rulers I have. I found that the Katie’s Korners Radial Rule (wasn’t able to find a link, so if you see one, buy it; very useful) was the perfect size for this project. Again, I was glad to find the exact size that I needed. I think an approximate size would have worked, but since I haven’t made this project before, I wasn’t sure what effect a different sized corner would have.
One thing I still need to figure out is the what the difference is between the patterns in the bundle. I am sure I knew at one point, but I have yet to figure it out. This is probably where the names of patterns comes in handy.
I am not sure what is next in the pattern, but I am making good progress and am pleased that this UFO will be finished soon.
